Home » Anime » Dragon Ball » How to Draw Gogeta in Base: Sketch the Fusion of Goku and Vegeta

How to Draw Gogeta in Base: Sketch the Fusion of Goku and Vegeta


Welcome to this step-by-step drawing tutorial that will teach you how to draw Gogeta in his base form. If you’re a fan of the Dragon Ball franchise, you’re in for a treat as you embark on a creative journey to bring this powerful fusion character to life.

The Mighty Gogeta: A Fusion of Goku and Vegeta

Gogeta is the result of a successful Fusion Dance between Goku and Vegeta. Known as one of the most powerful characters in the Dragon Ball universe, he combines the best of both warriors and amplifies their strengths. With a dual voice containing both Goku’s and Vegeta’s voices, Gogeta has appeared in various Dragon Ball series, from Fusion Reborn to Dragon Ball GT and even Broly.
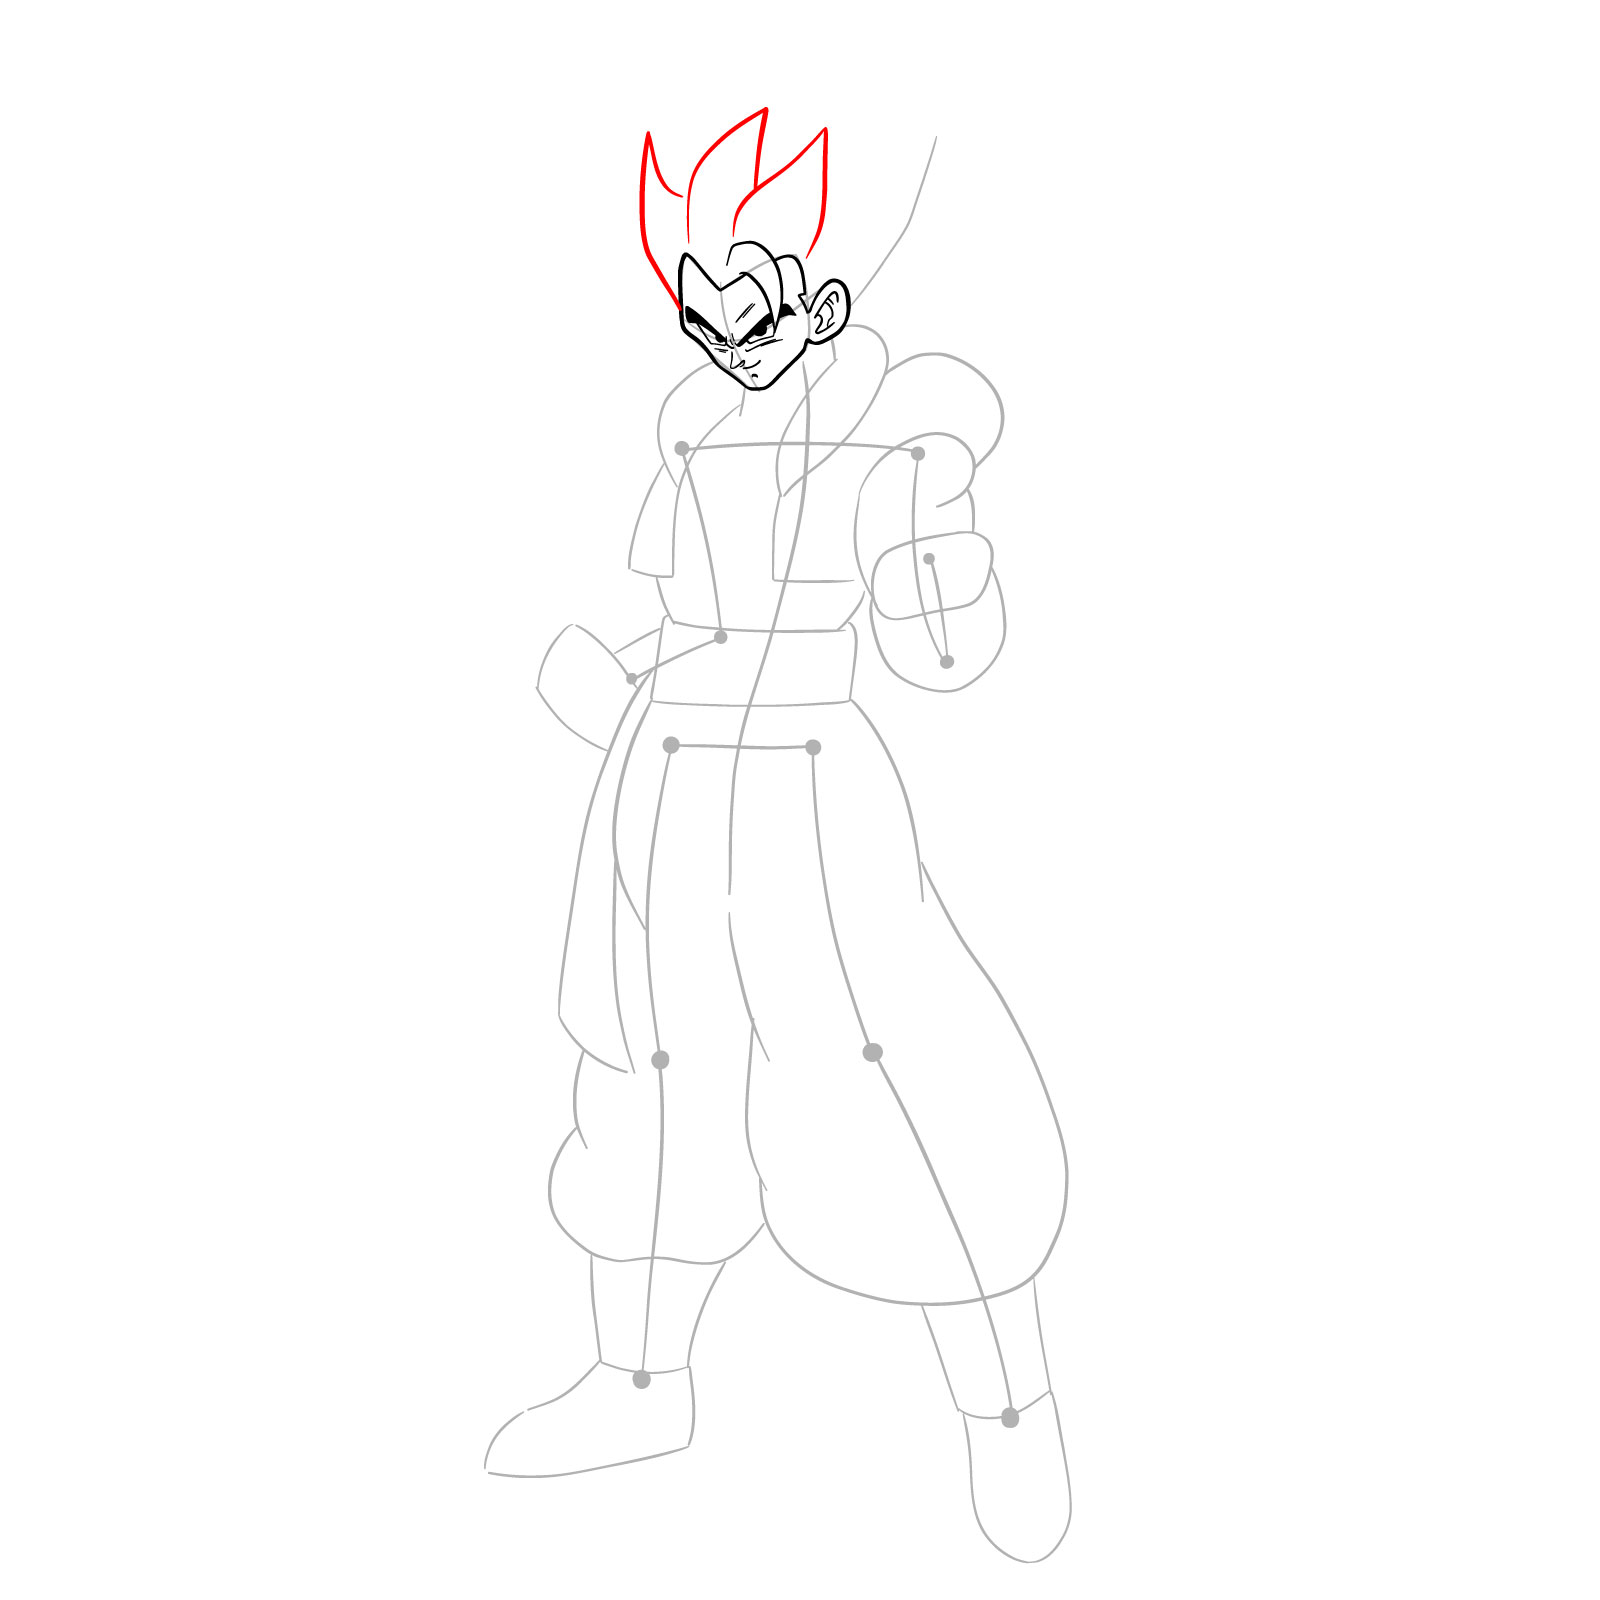
In his base form, Gogeta sports a jet-black hairstyle that resembles Vegeta’s, with longer and wider hair and an additional bang from his forehead. His tall physique is reminiscent of Goku, while his stern facial features are inherited from Vegeta.

Choose Your Artistic Arsenal

Before we dive into the drawing process, let’s gather the recommended materials and tools to ensure a smooth experience:

  • Pencils (HB or 2B) for sketching
  • Eraser for corrections
  • Fine-tipped black pen or marker for inking
  • (optional) Colored pencils, markers, or digital tools for coloring

Remember, these are just recommendations. Feel free to use your preferred tools and materials.

Step-by-Step Guide to Drawing Base Gogeta

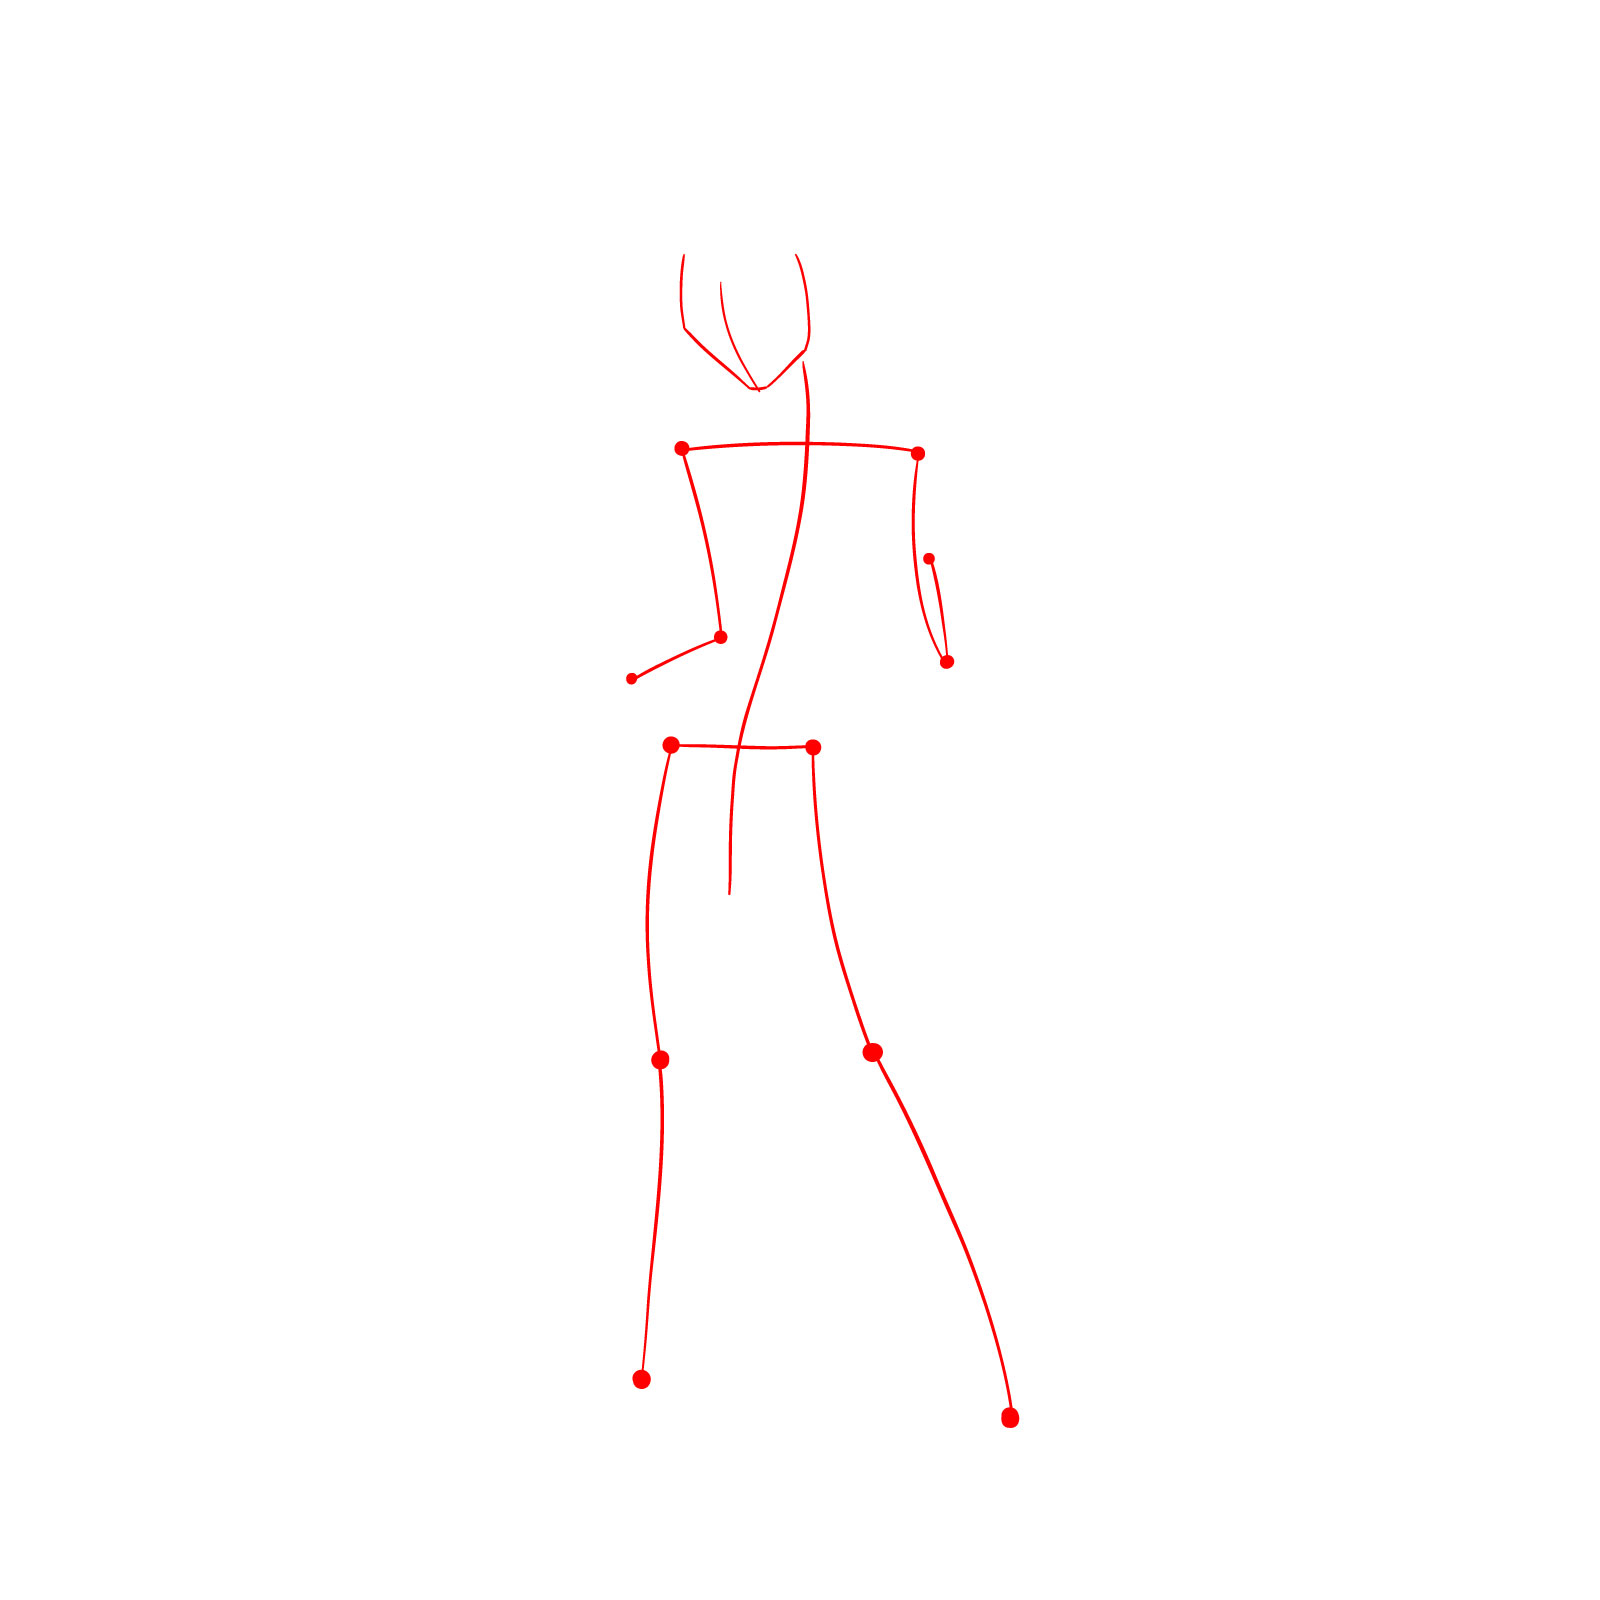
Stage 1: Basic Sketch

Start by creating a basic structure for Gogeta’s proportions using light pencil strokes. This initial sketch will serve as a guide for your drawing and help you get the overall shape and posture right.

Step 01

How to draw Gogeta in Base - step 01

Step 02

How to draw Gogeta in Base - step 02

Step 03

How to draw Gogeta in Base - step 03

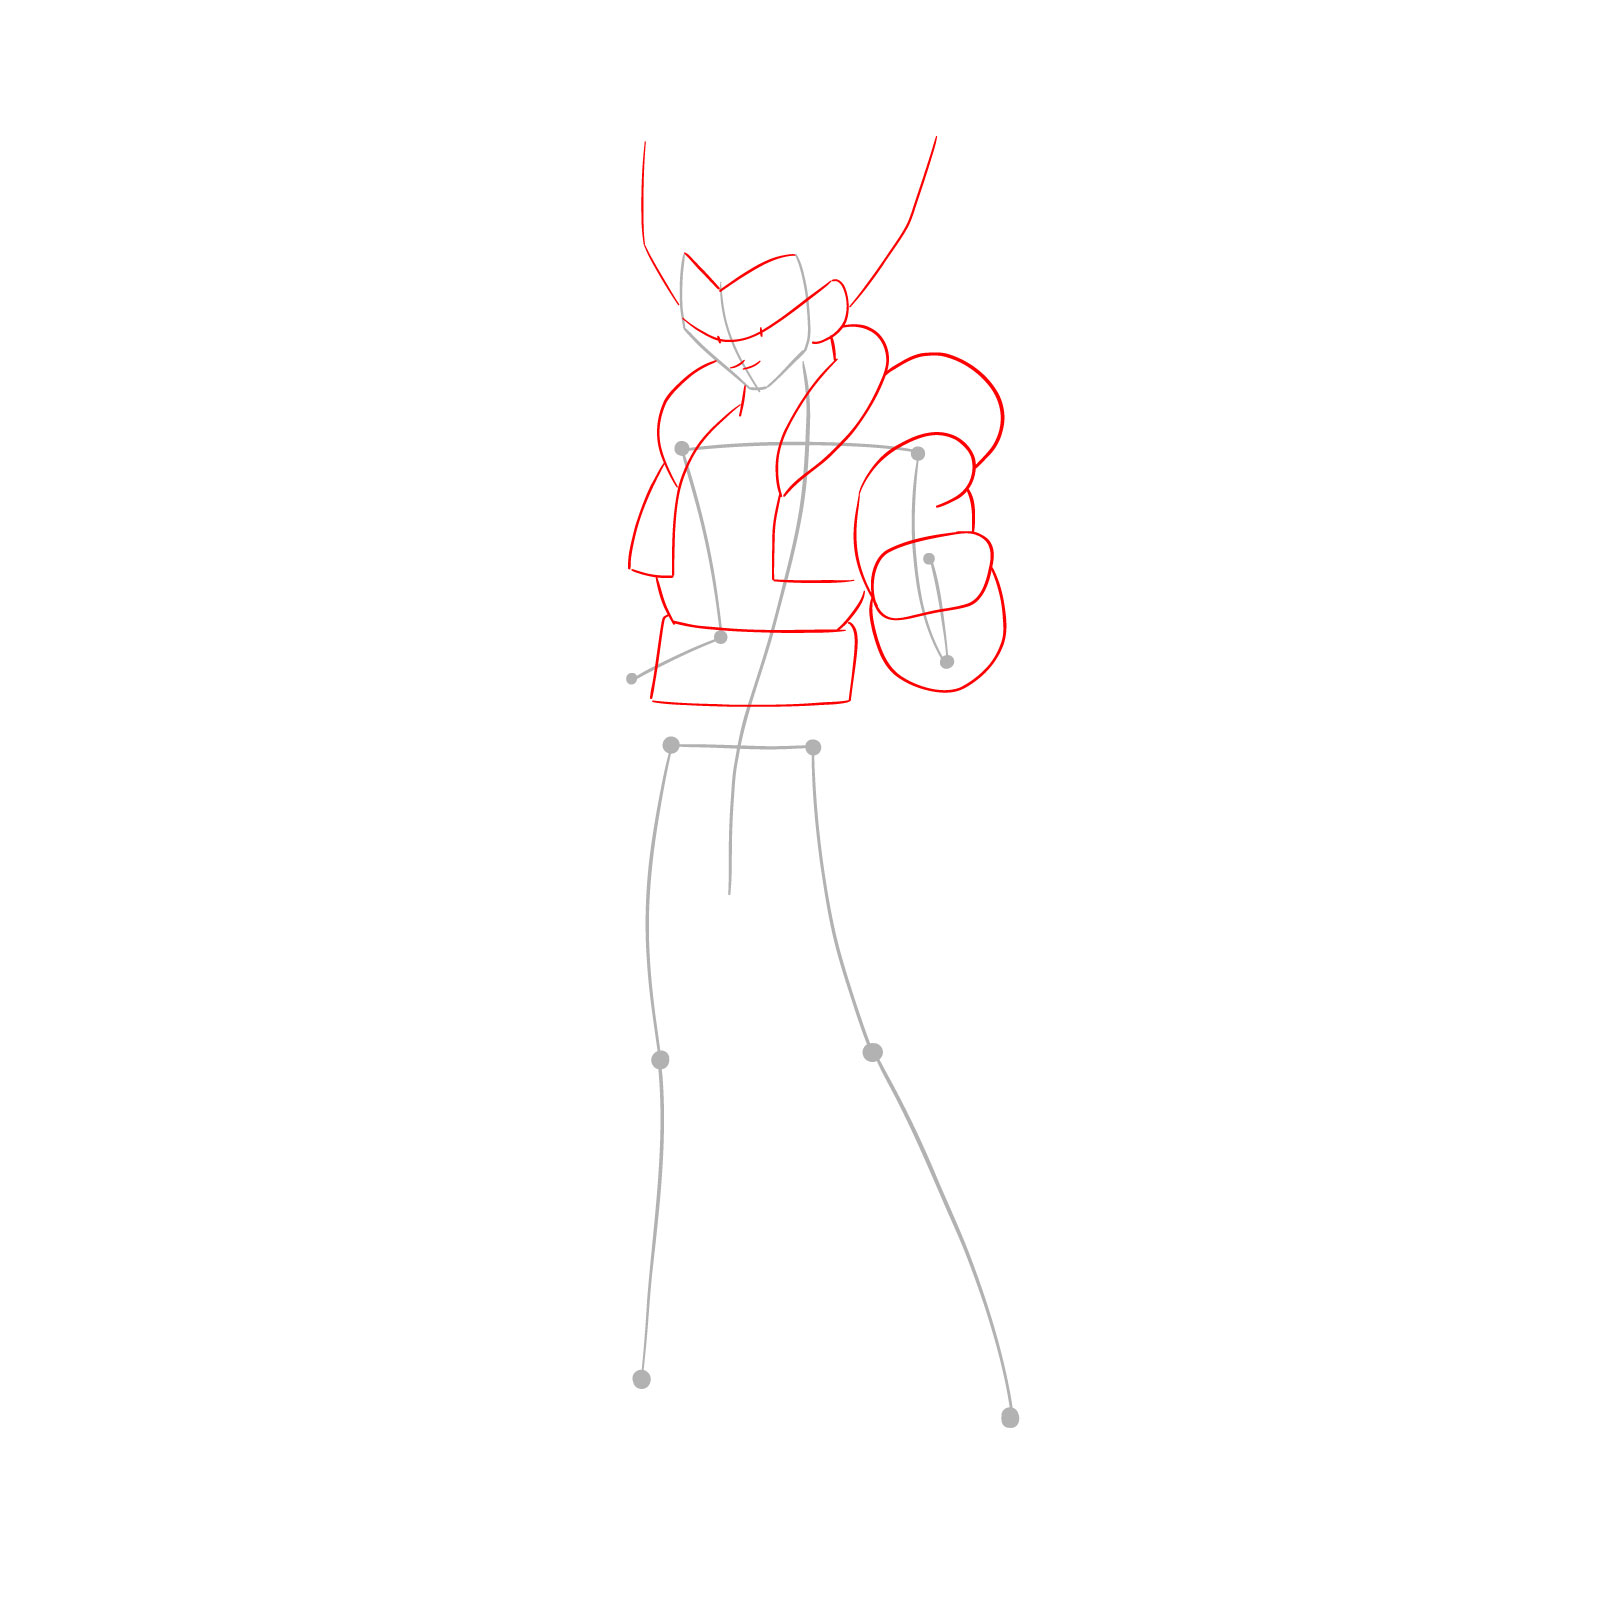
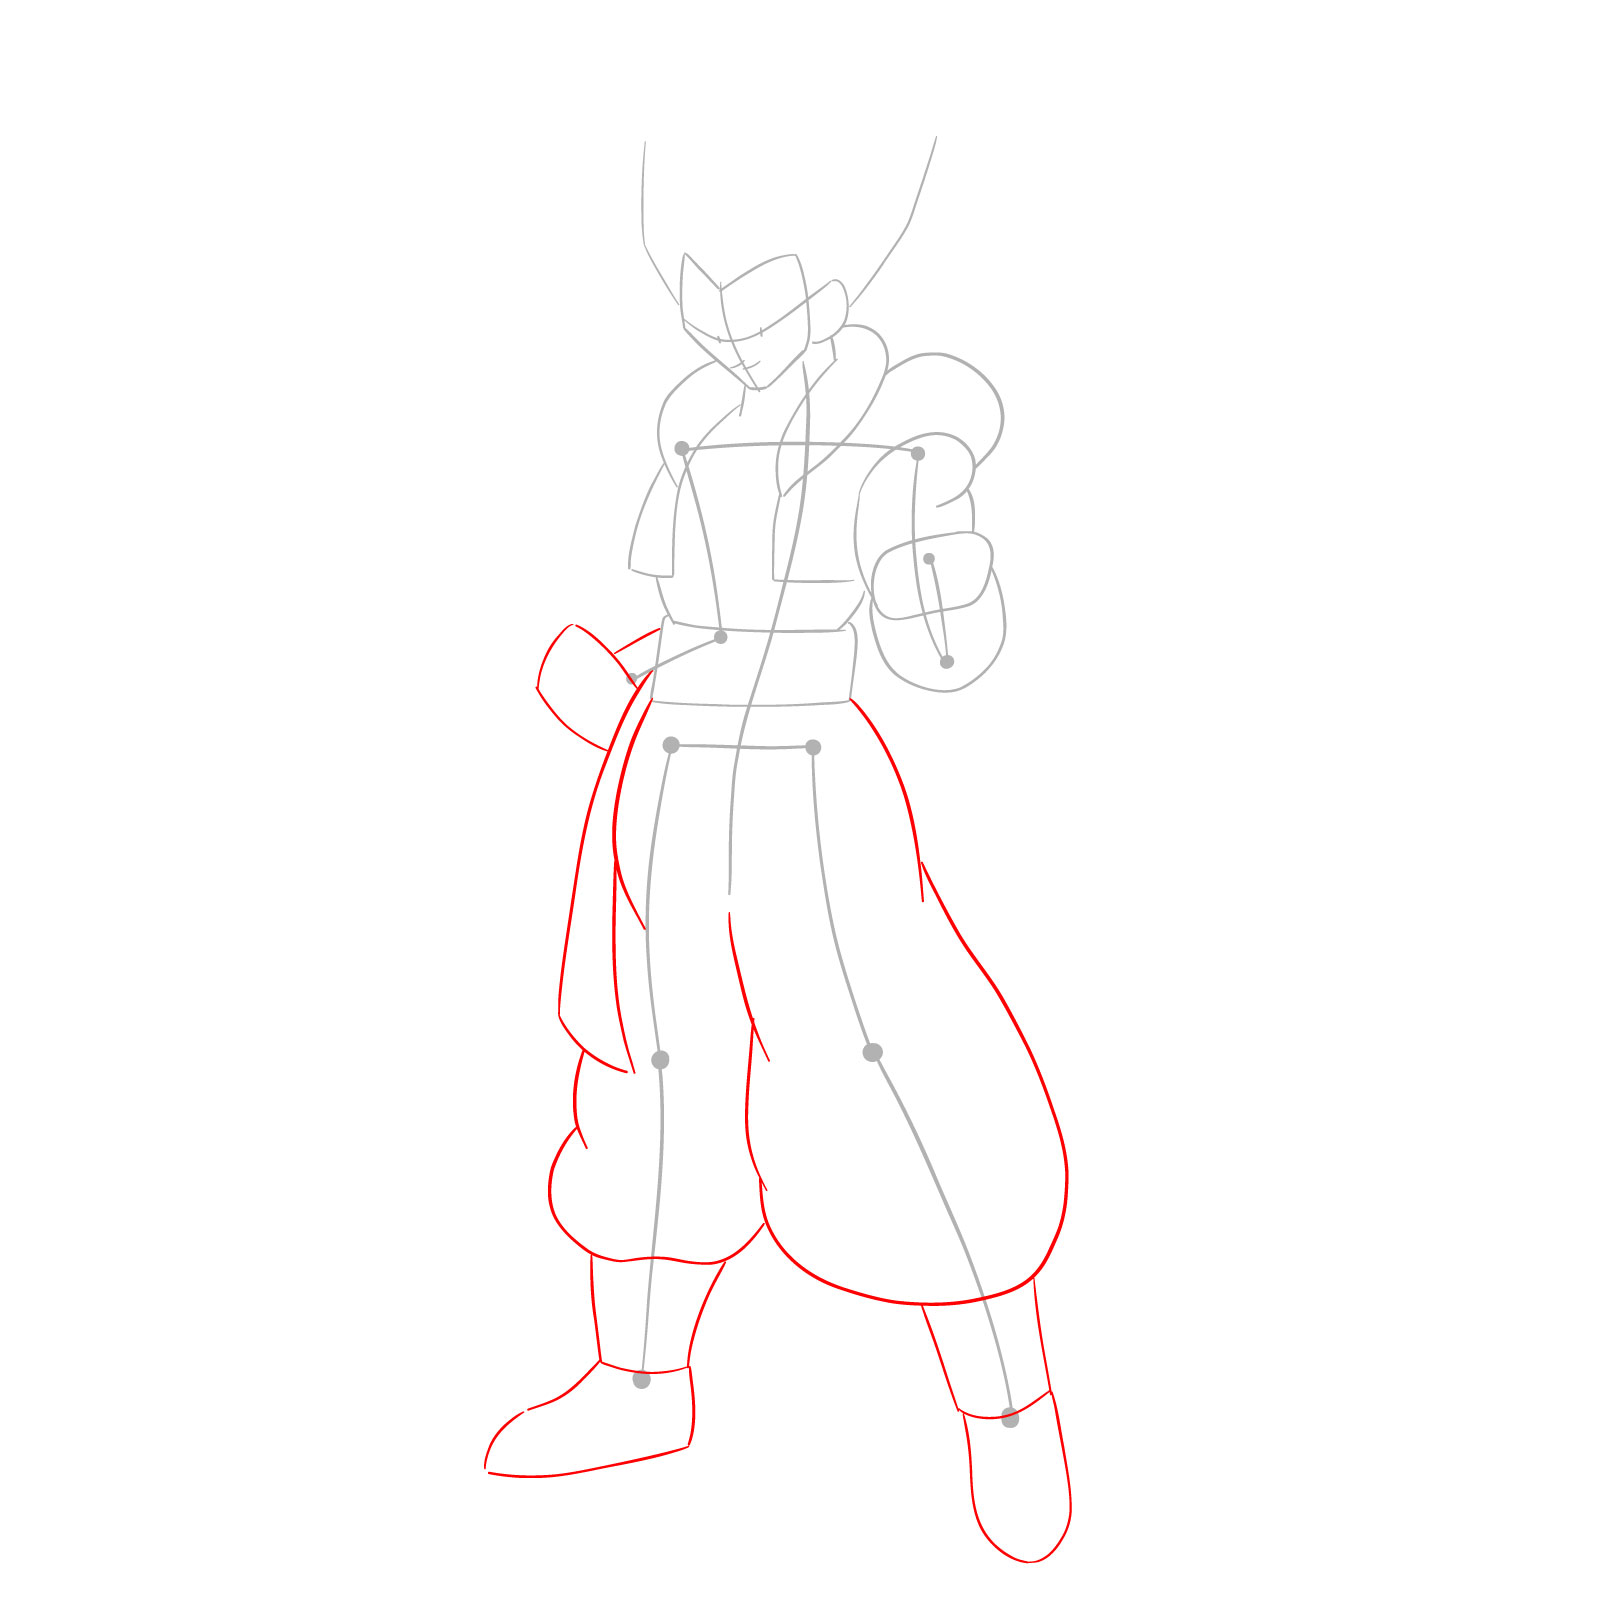
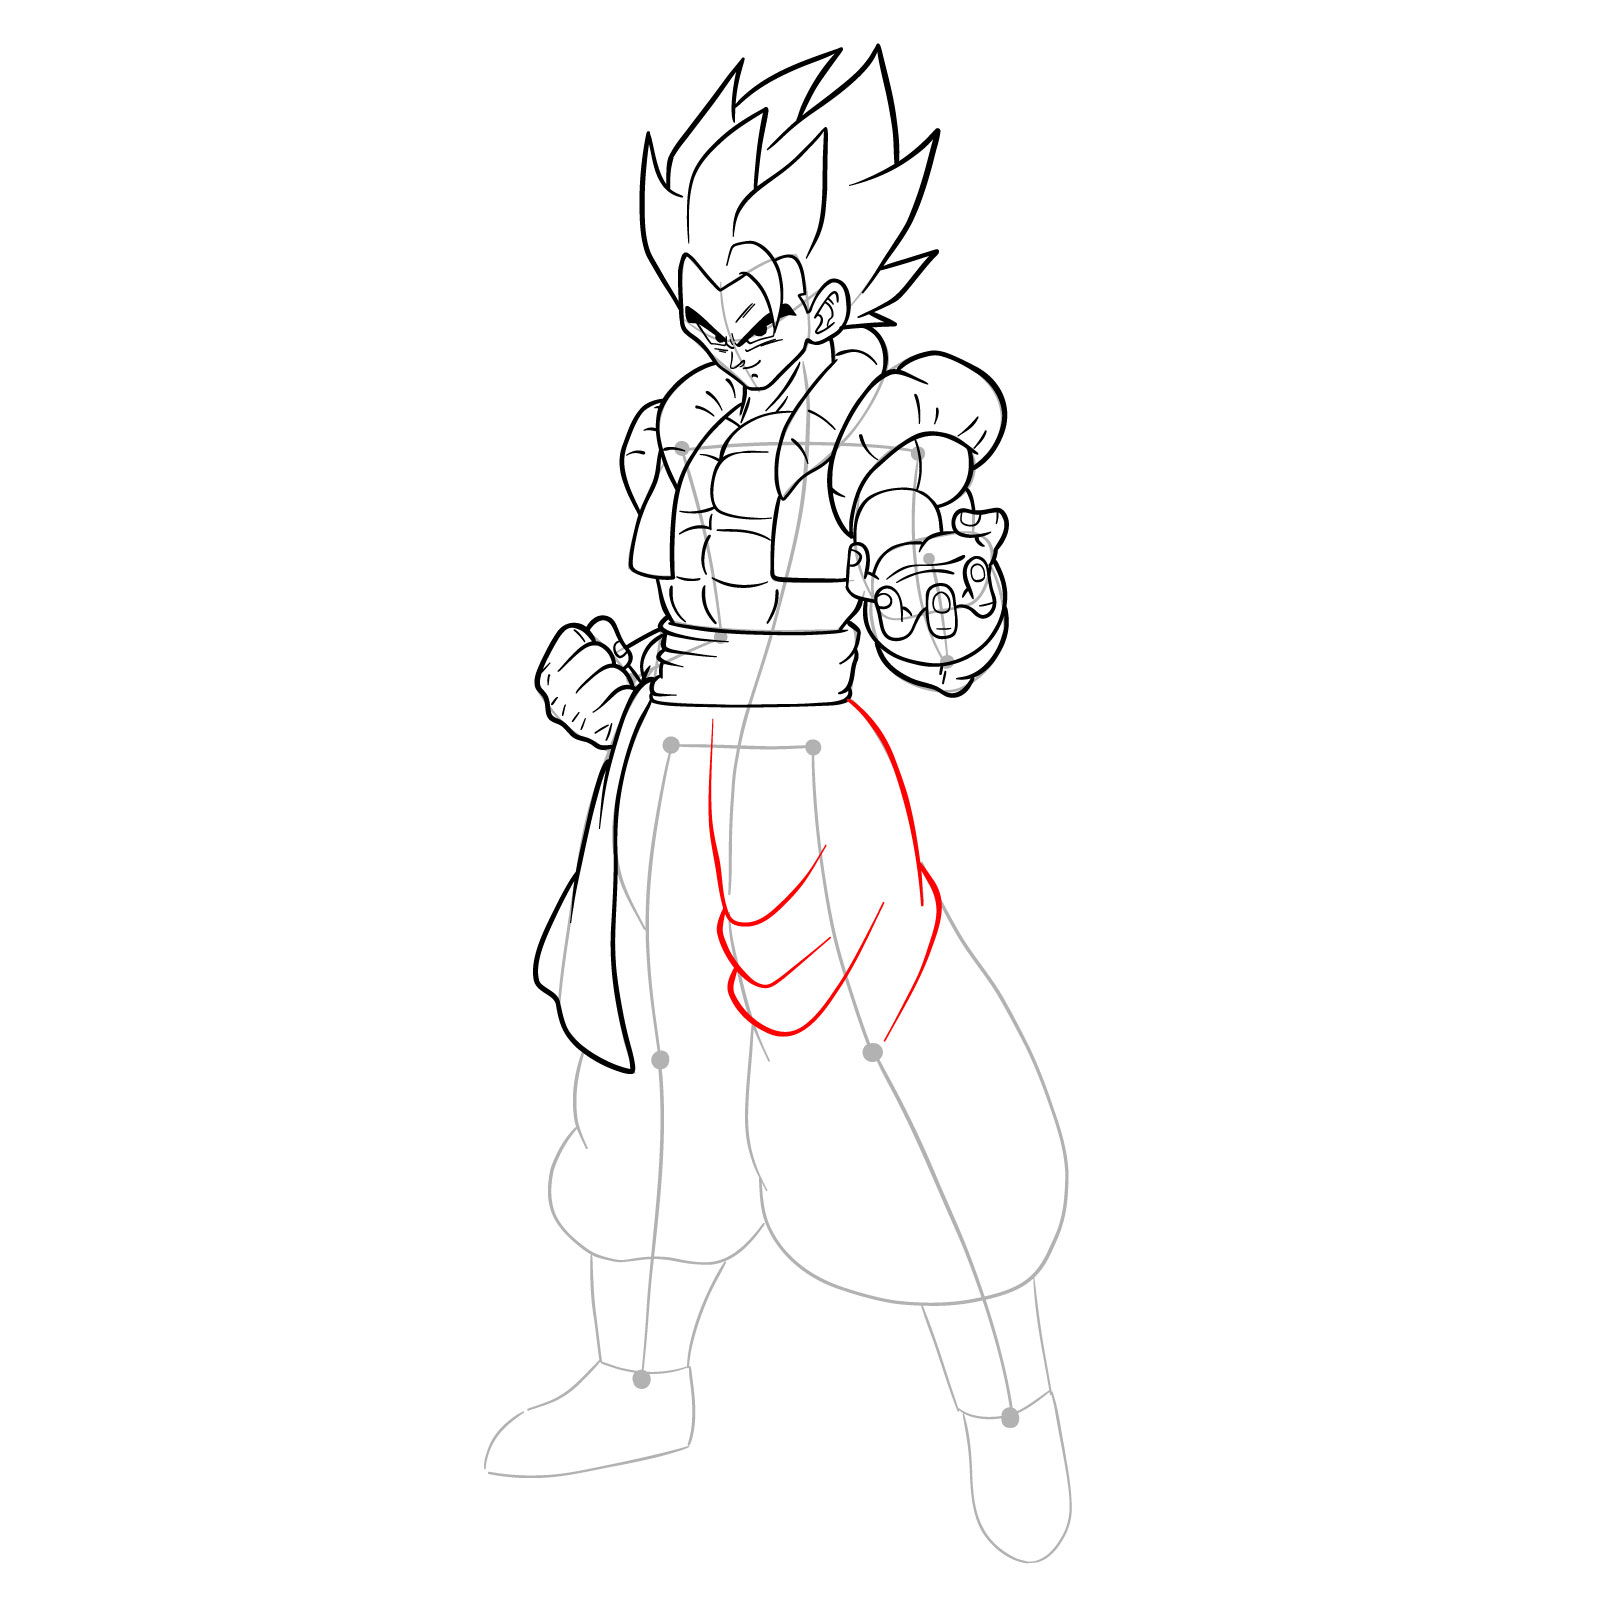
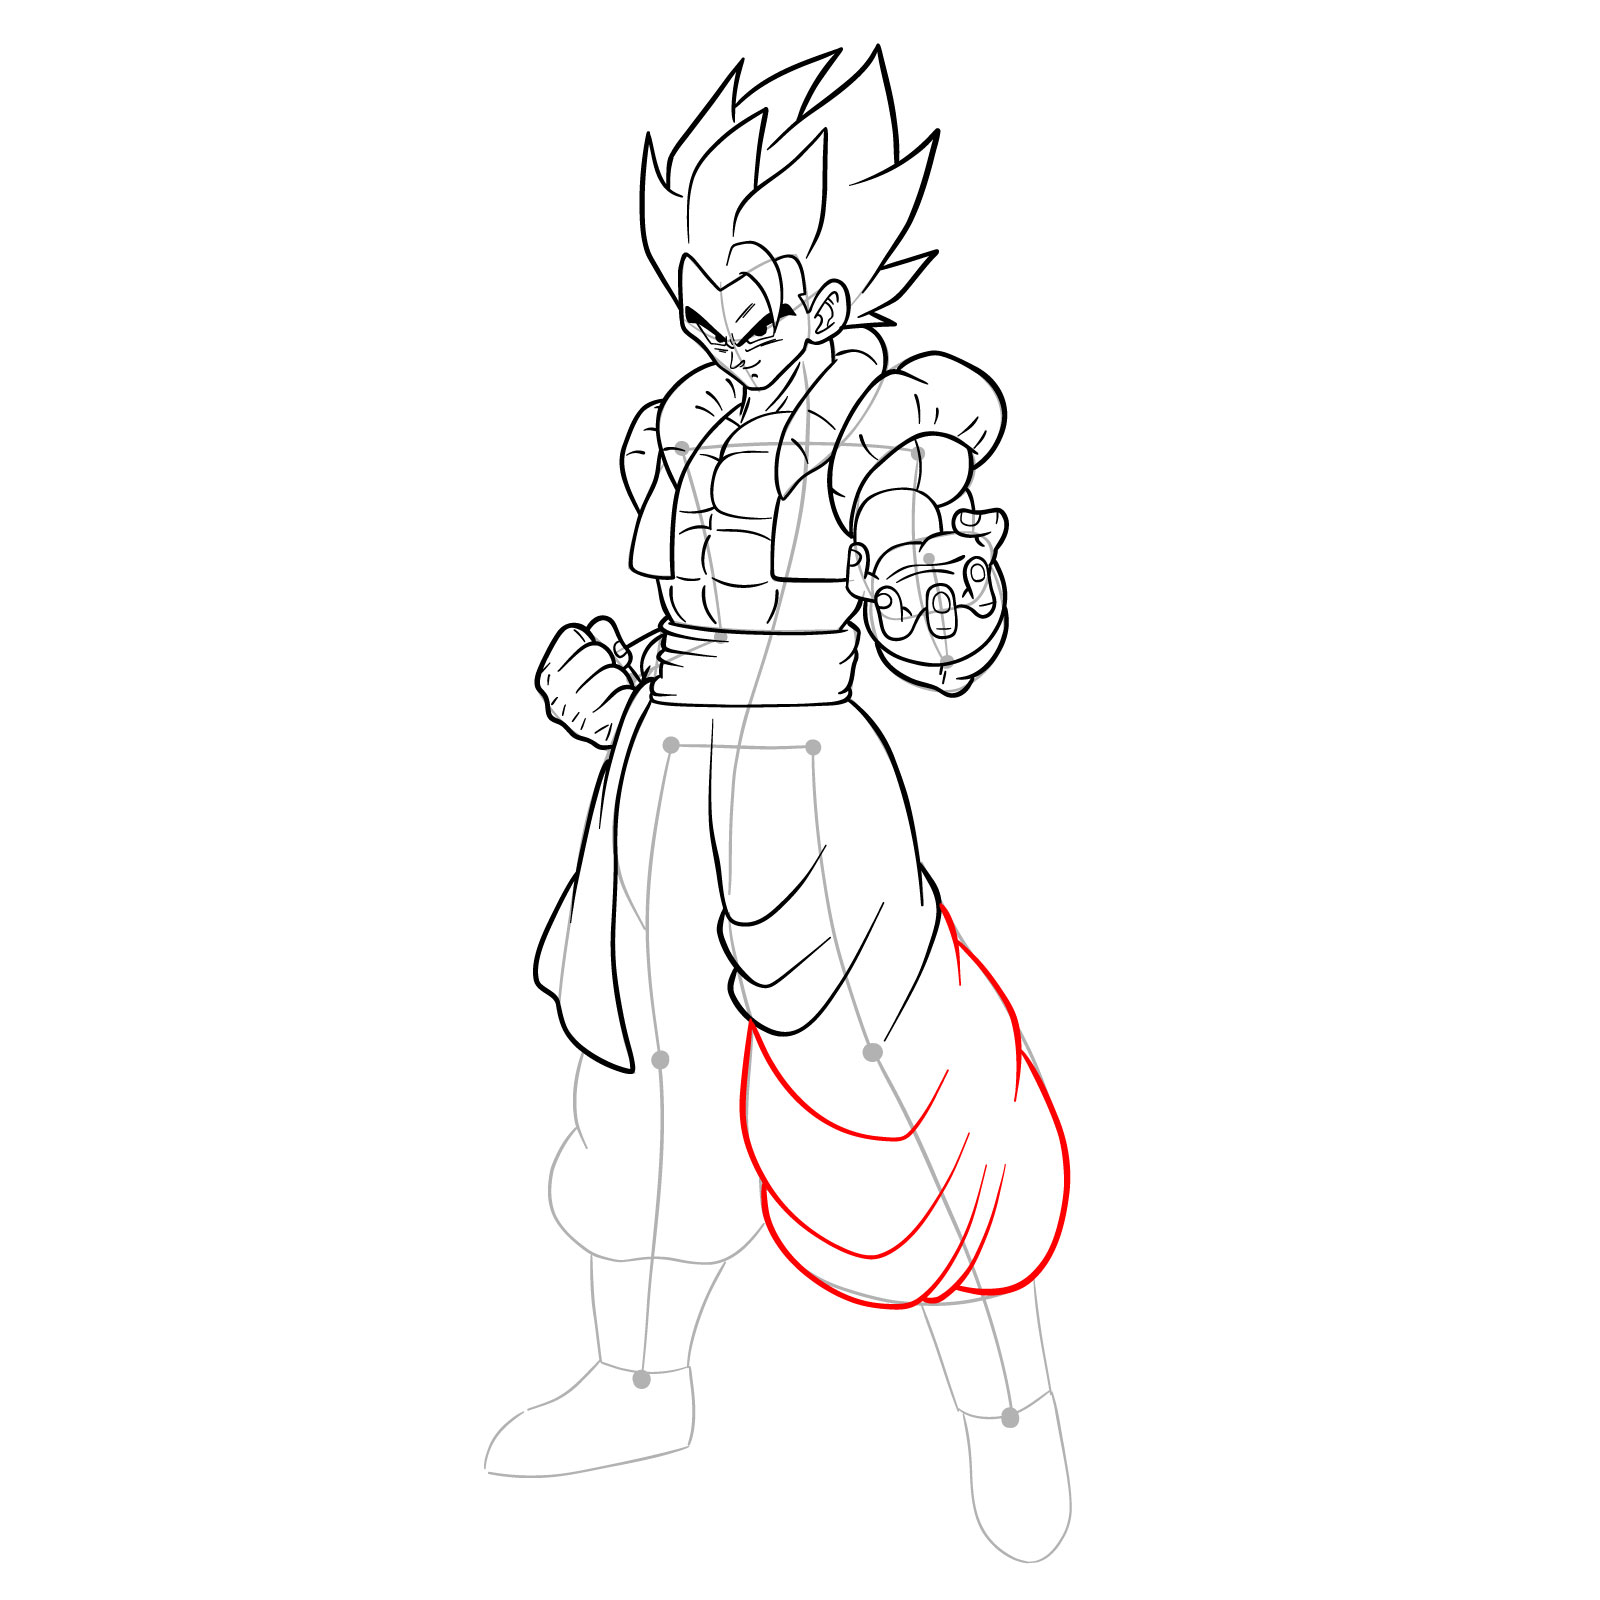
Stage 2: Refining the Sketch

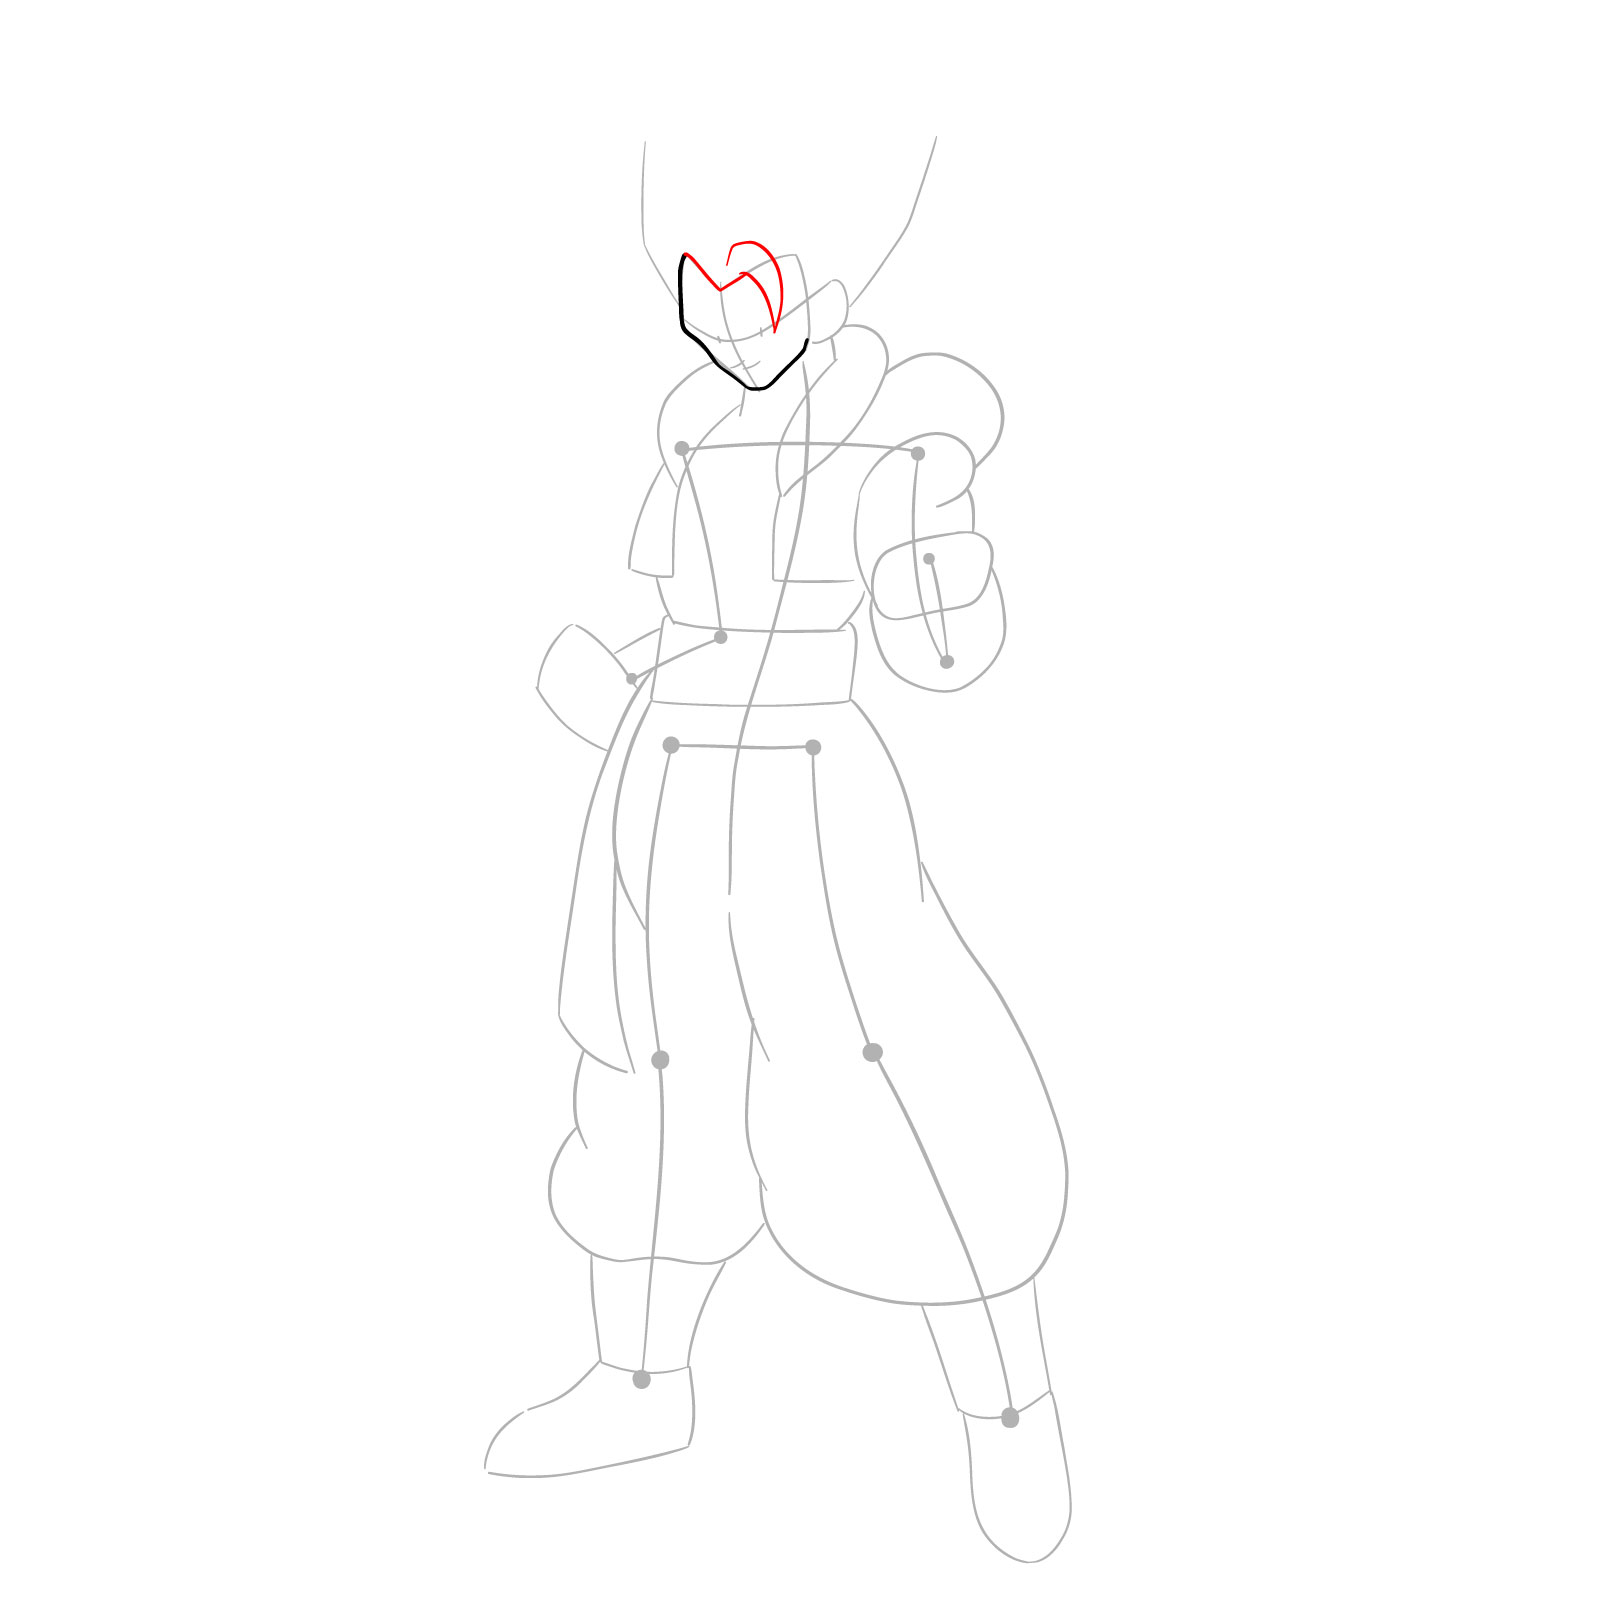
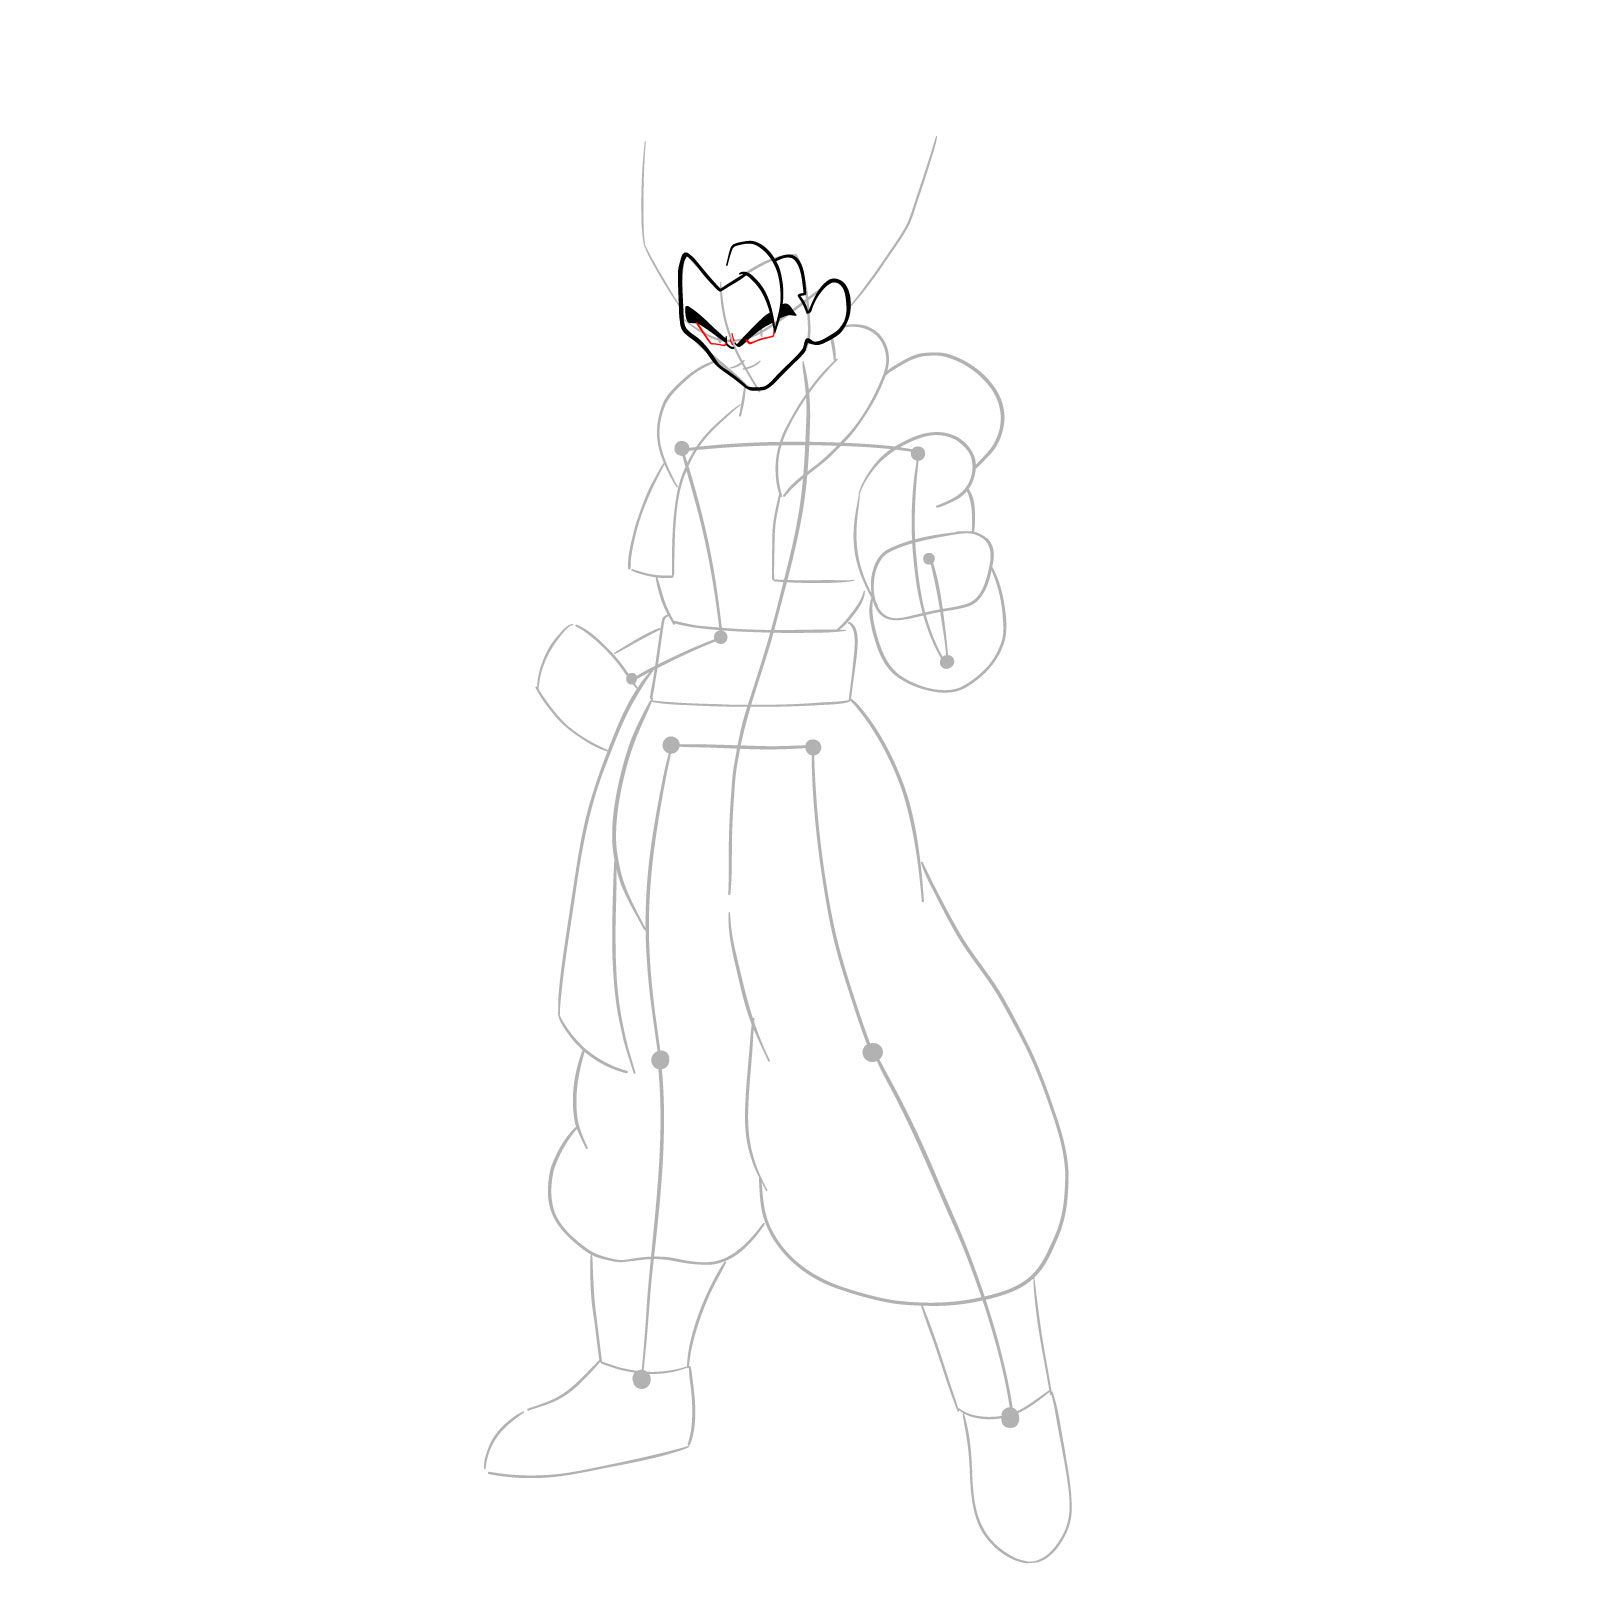
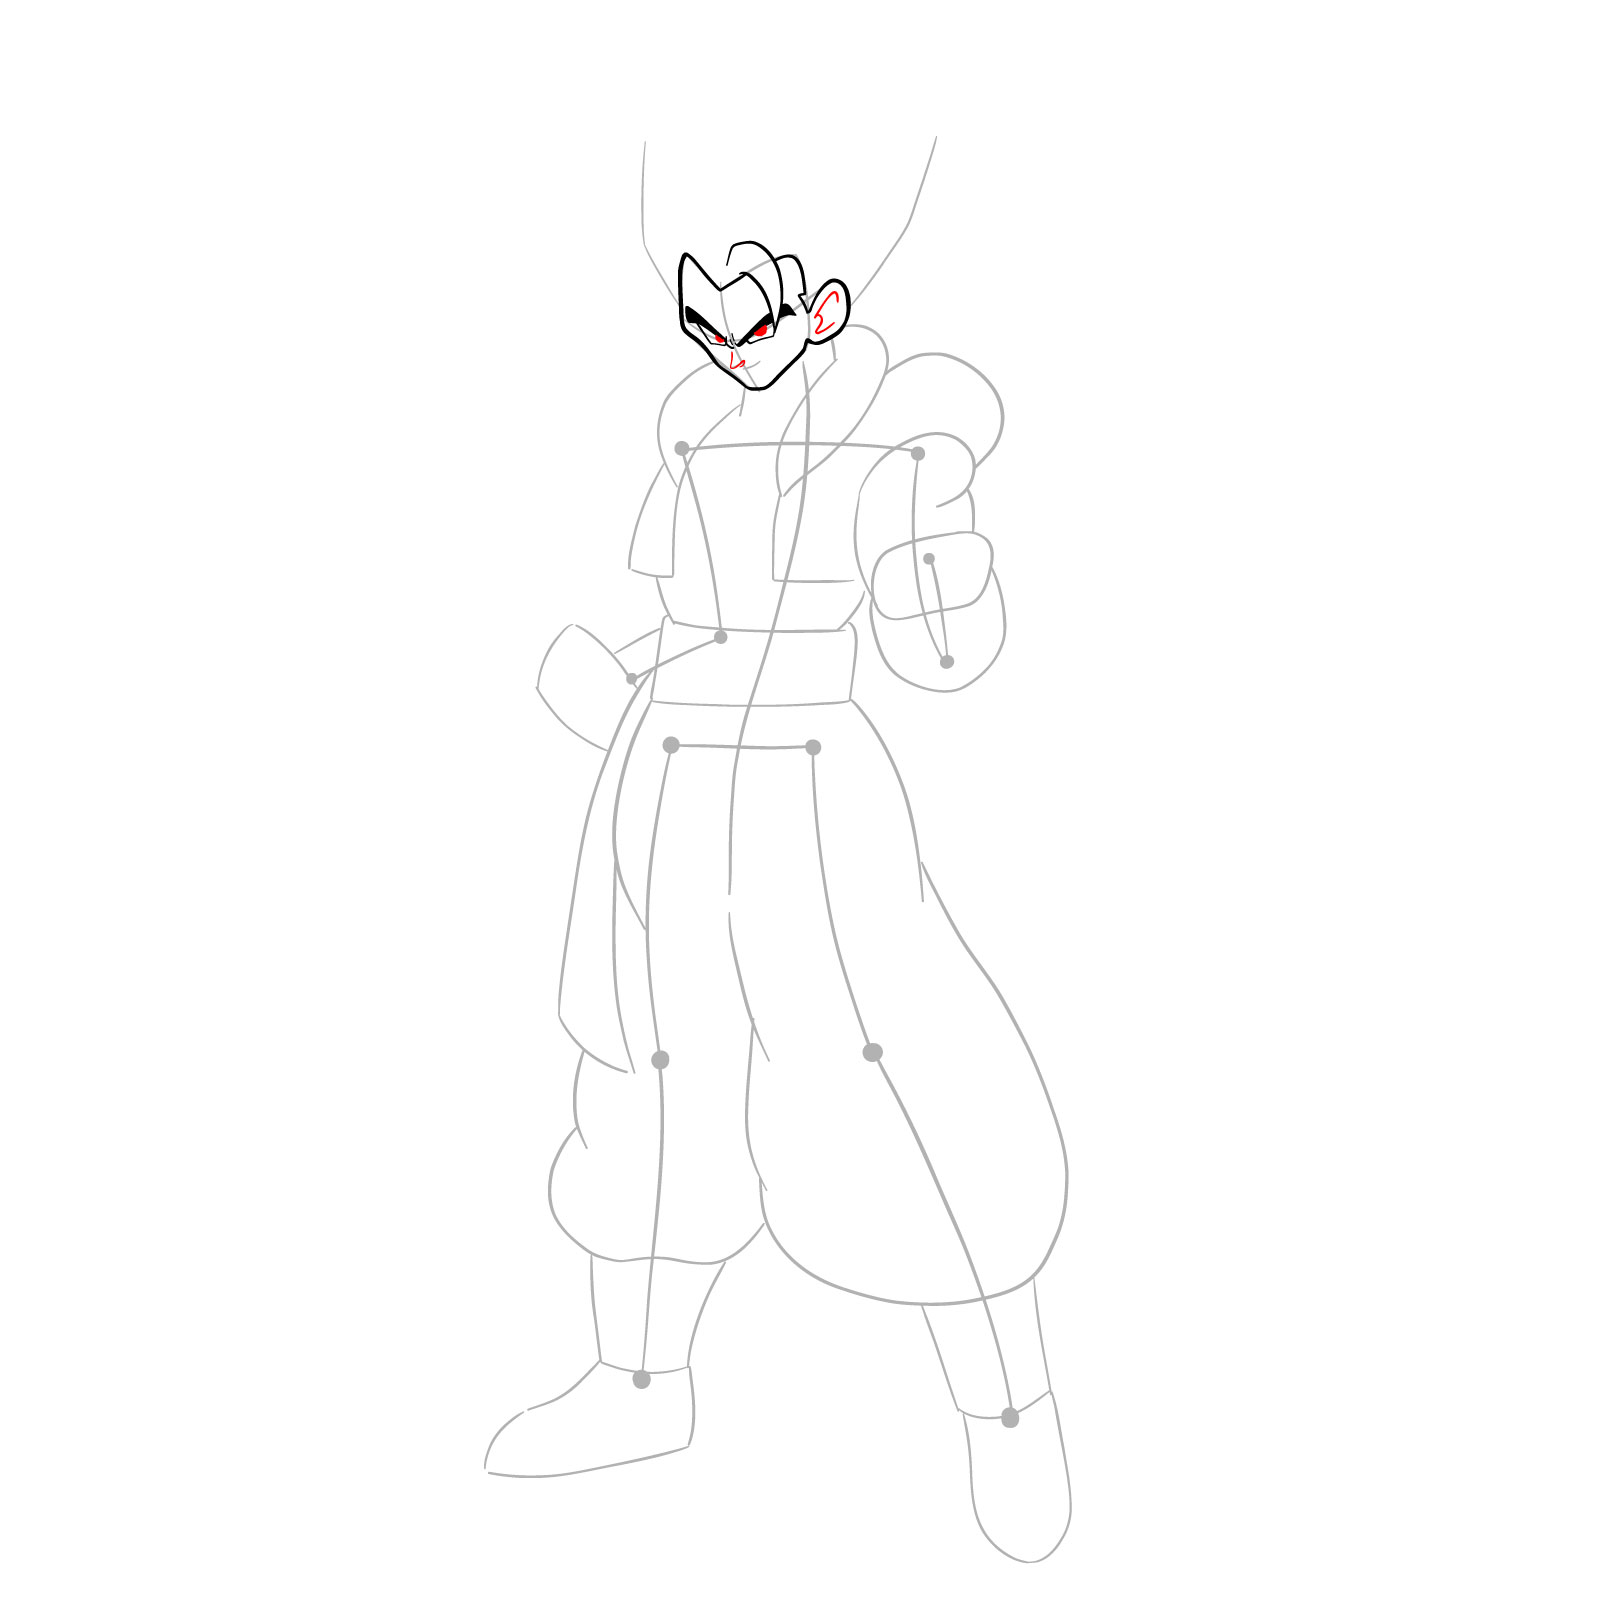
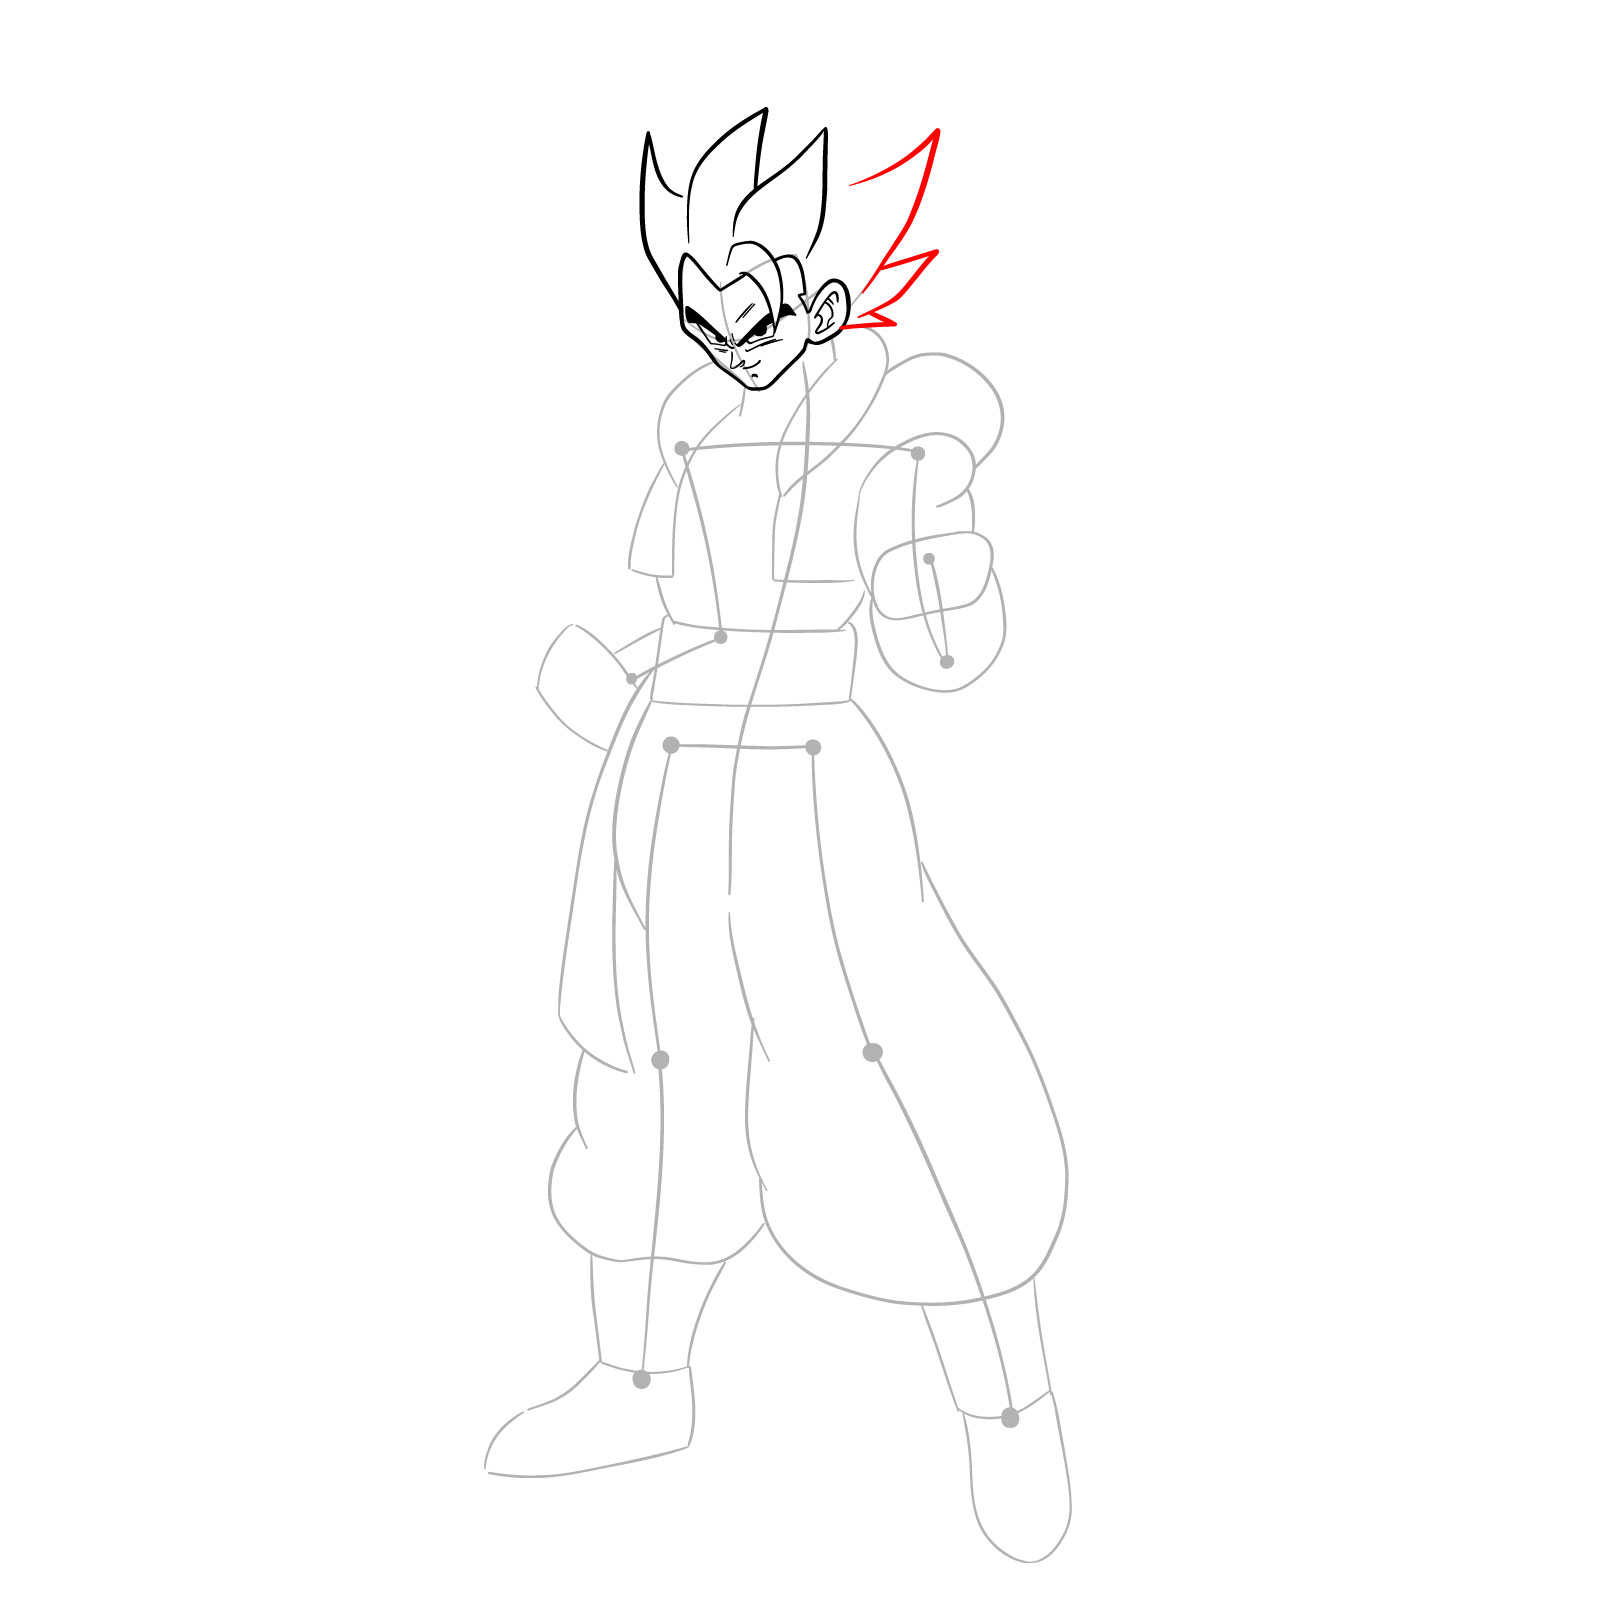
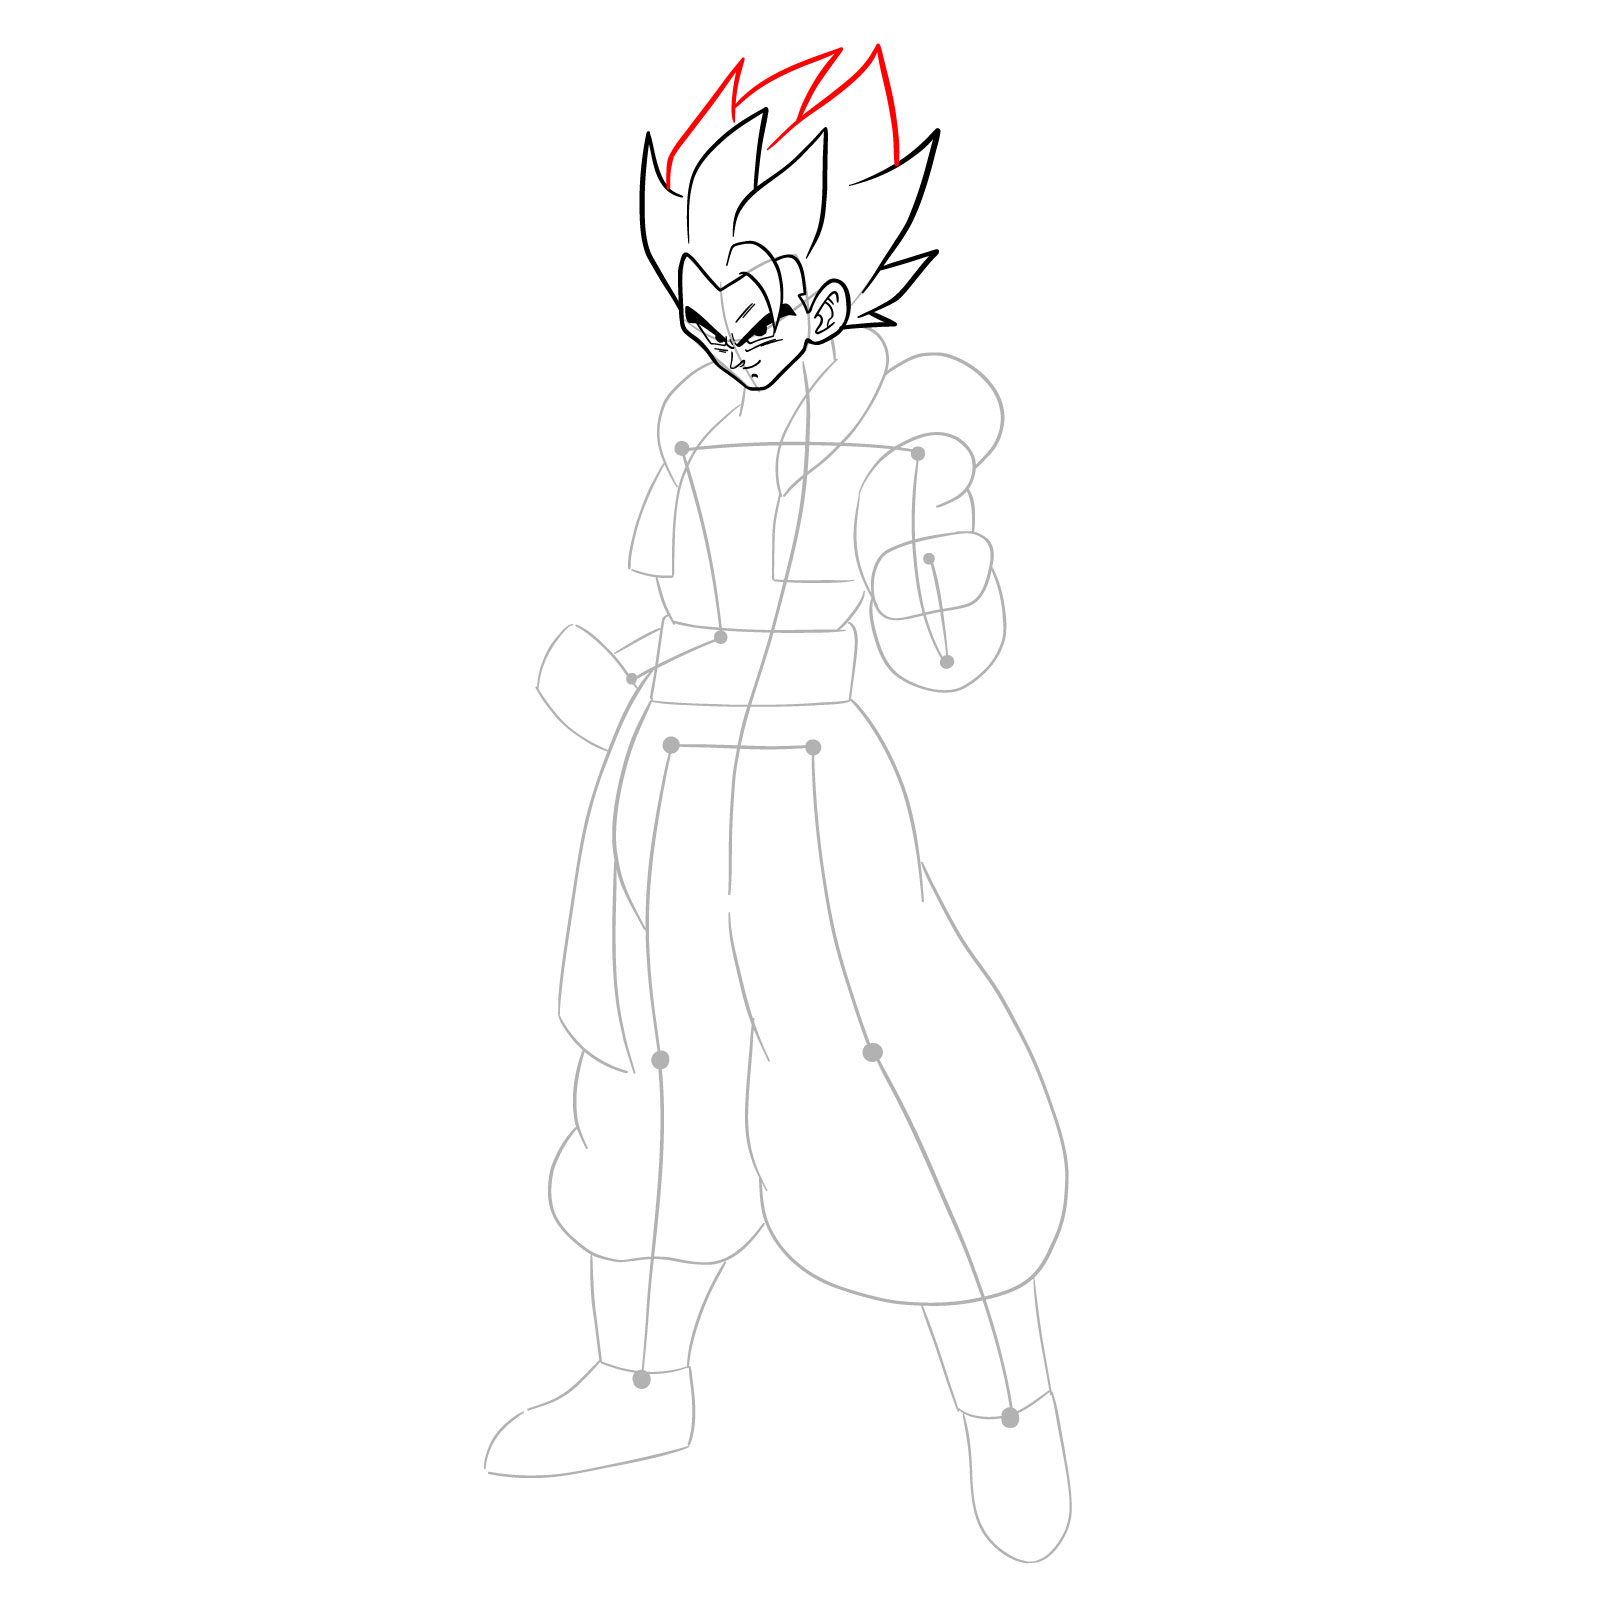
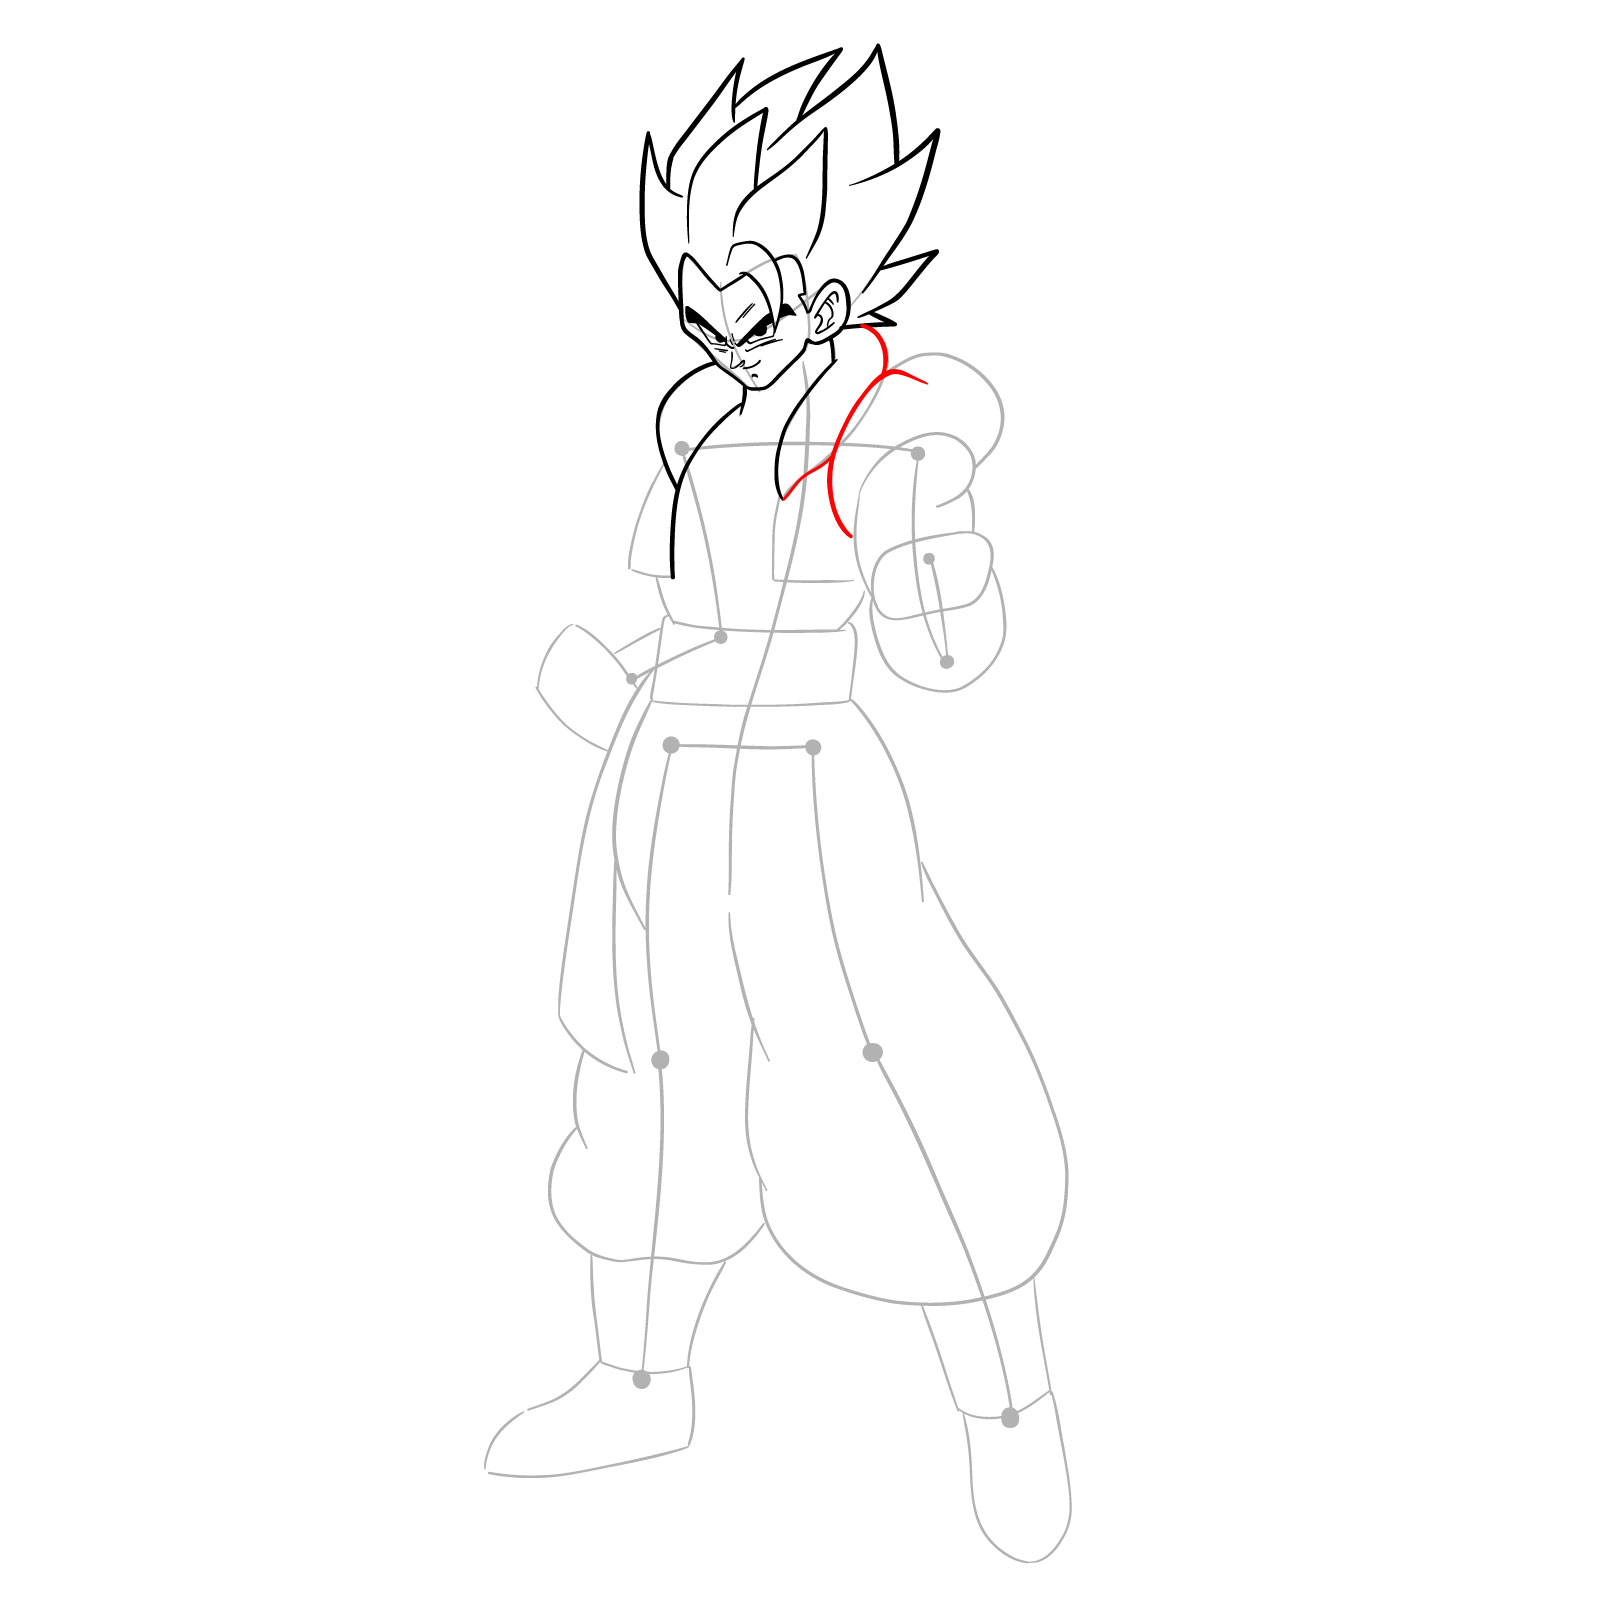
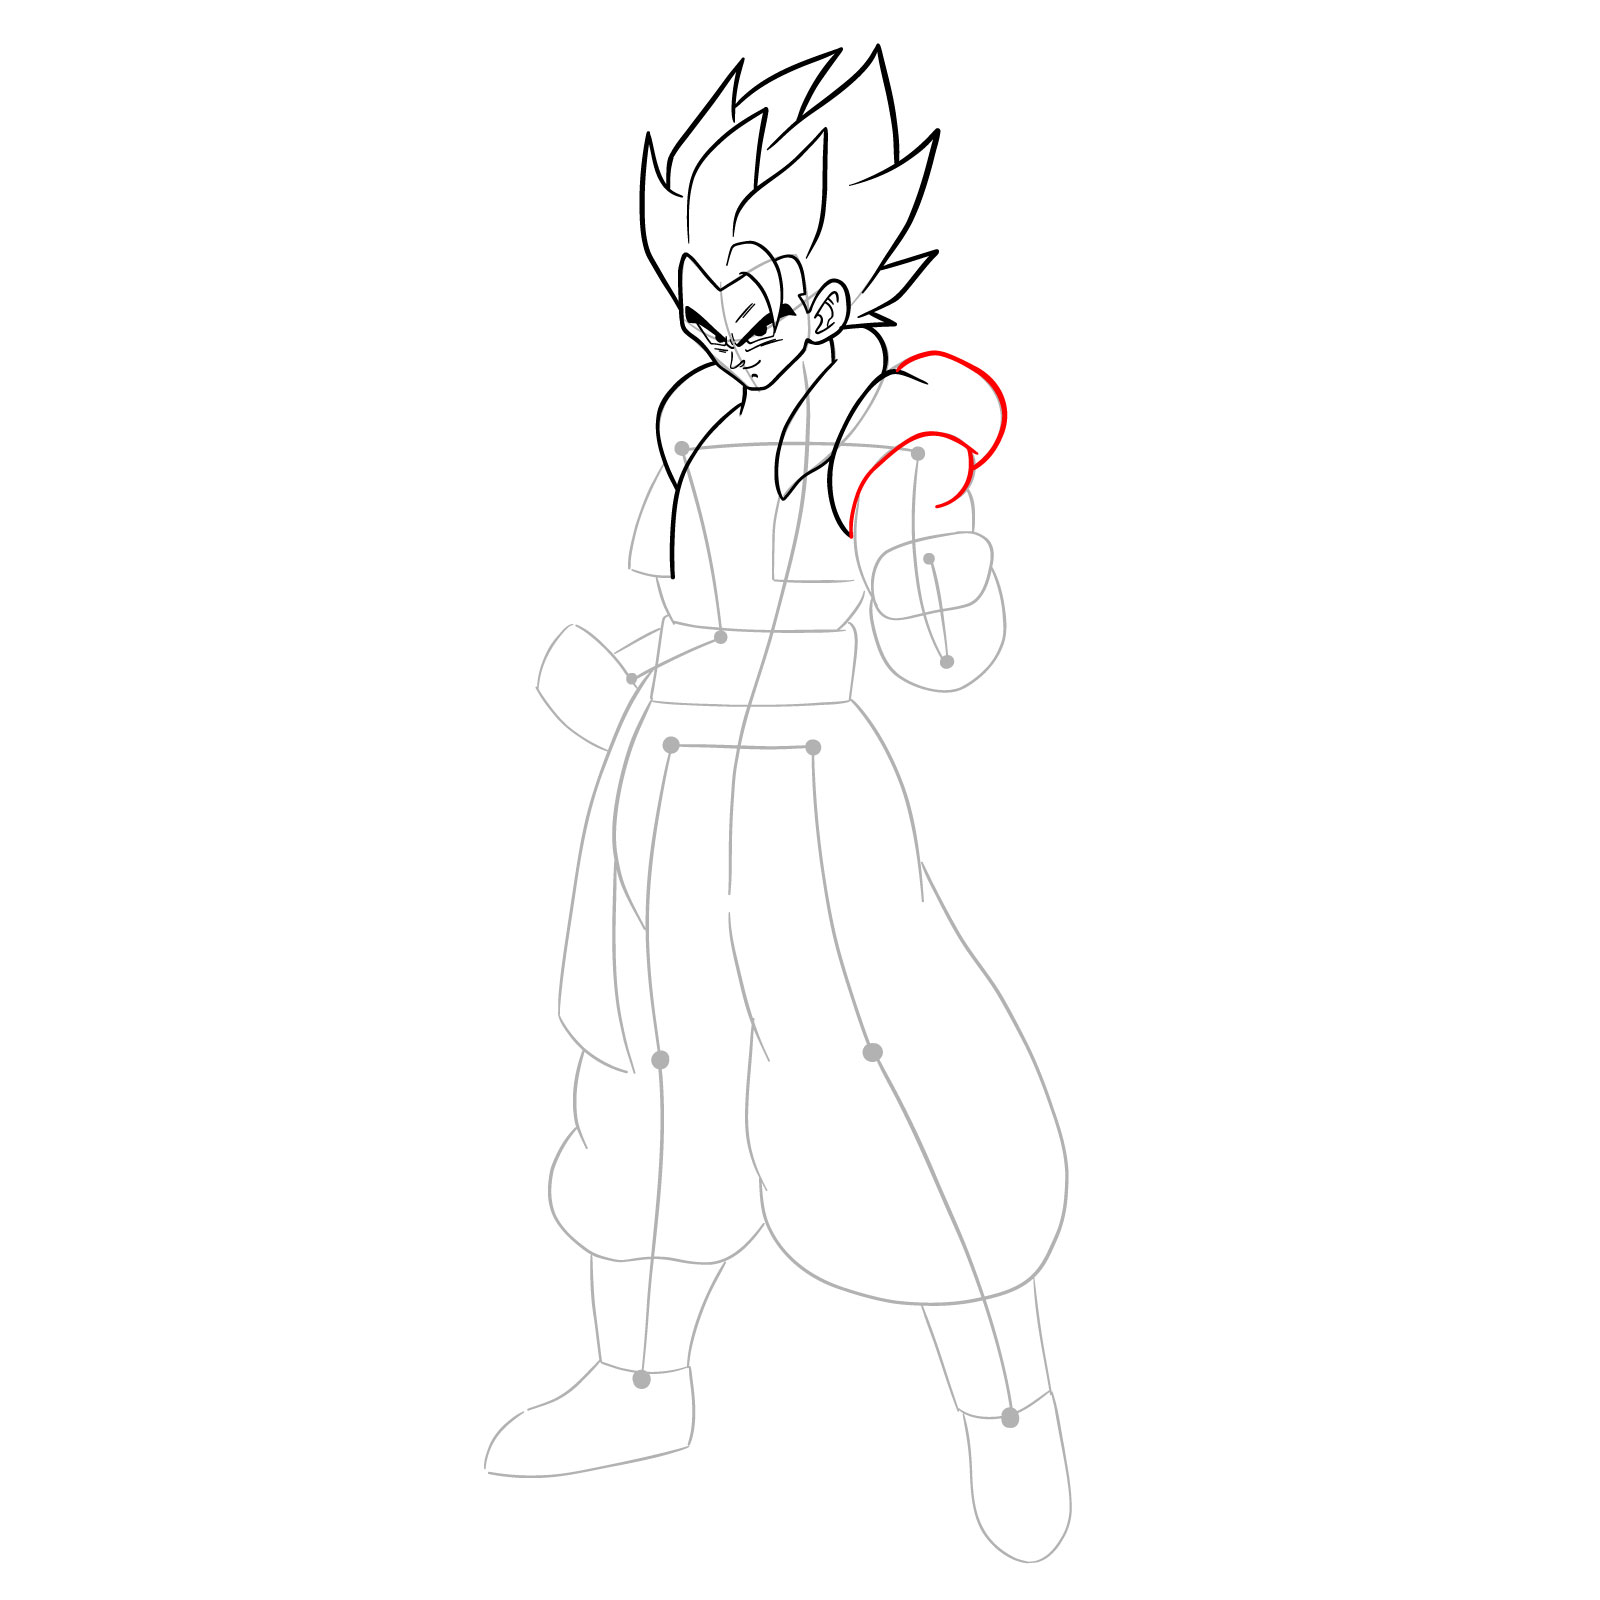
With the basic sketch in place, it’s time to refine the lines and add details to Gogeta’s face, hair, and clothing. Focus on perfecting the proportions and capturing his unique features, like the widow’s peak and the forehead bang.
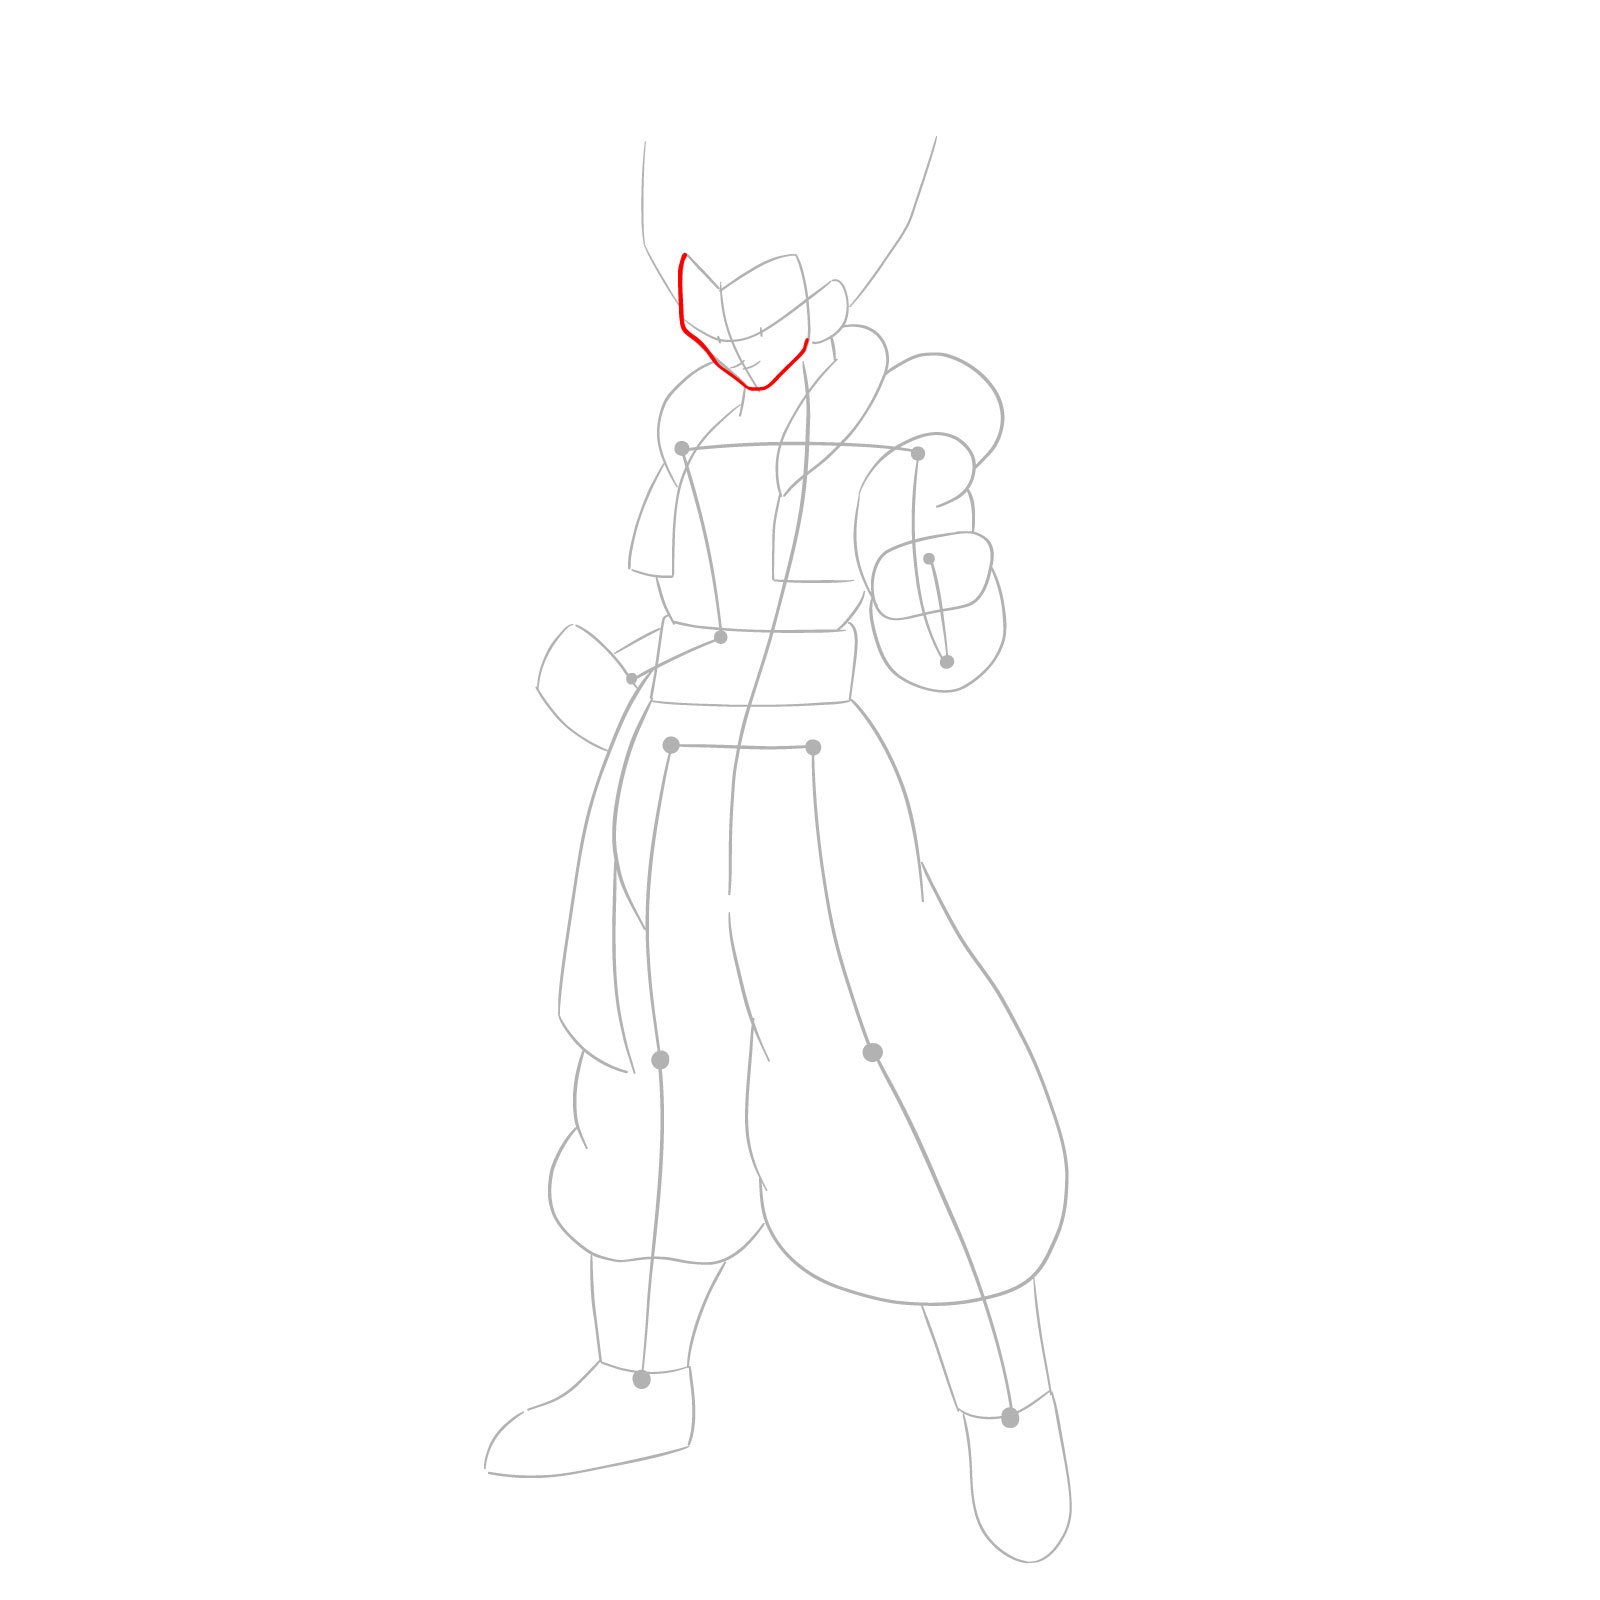
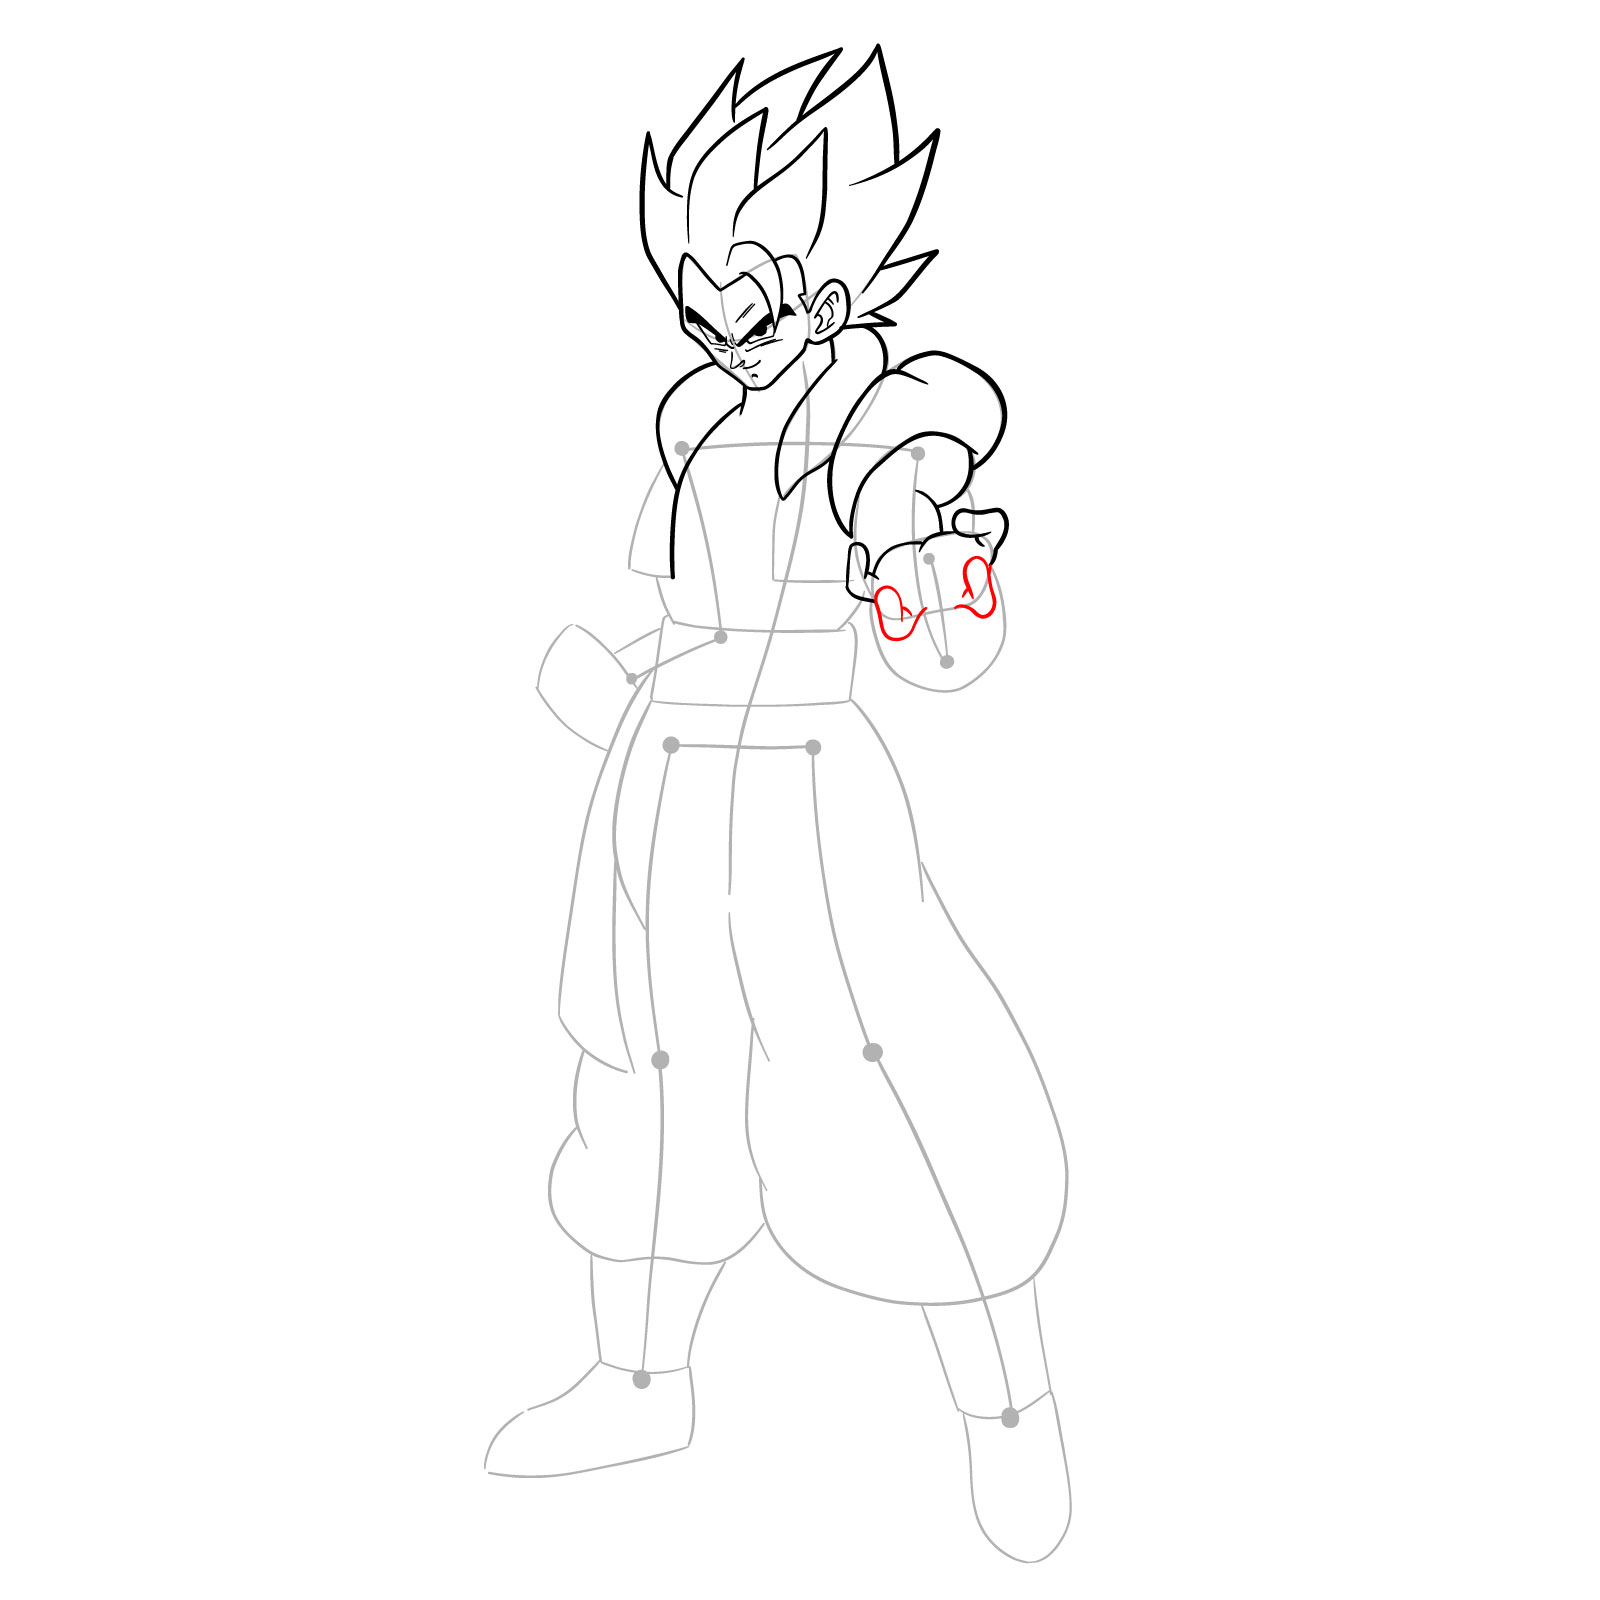
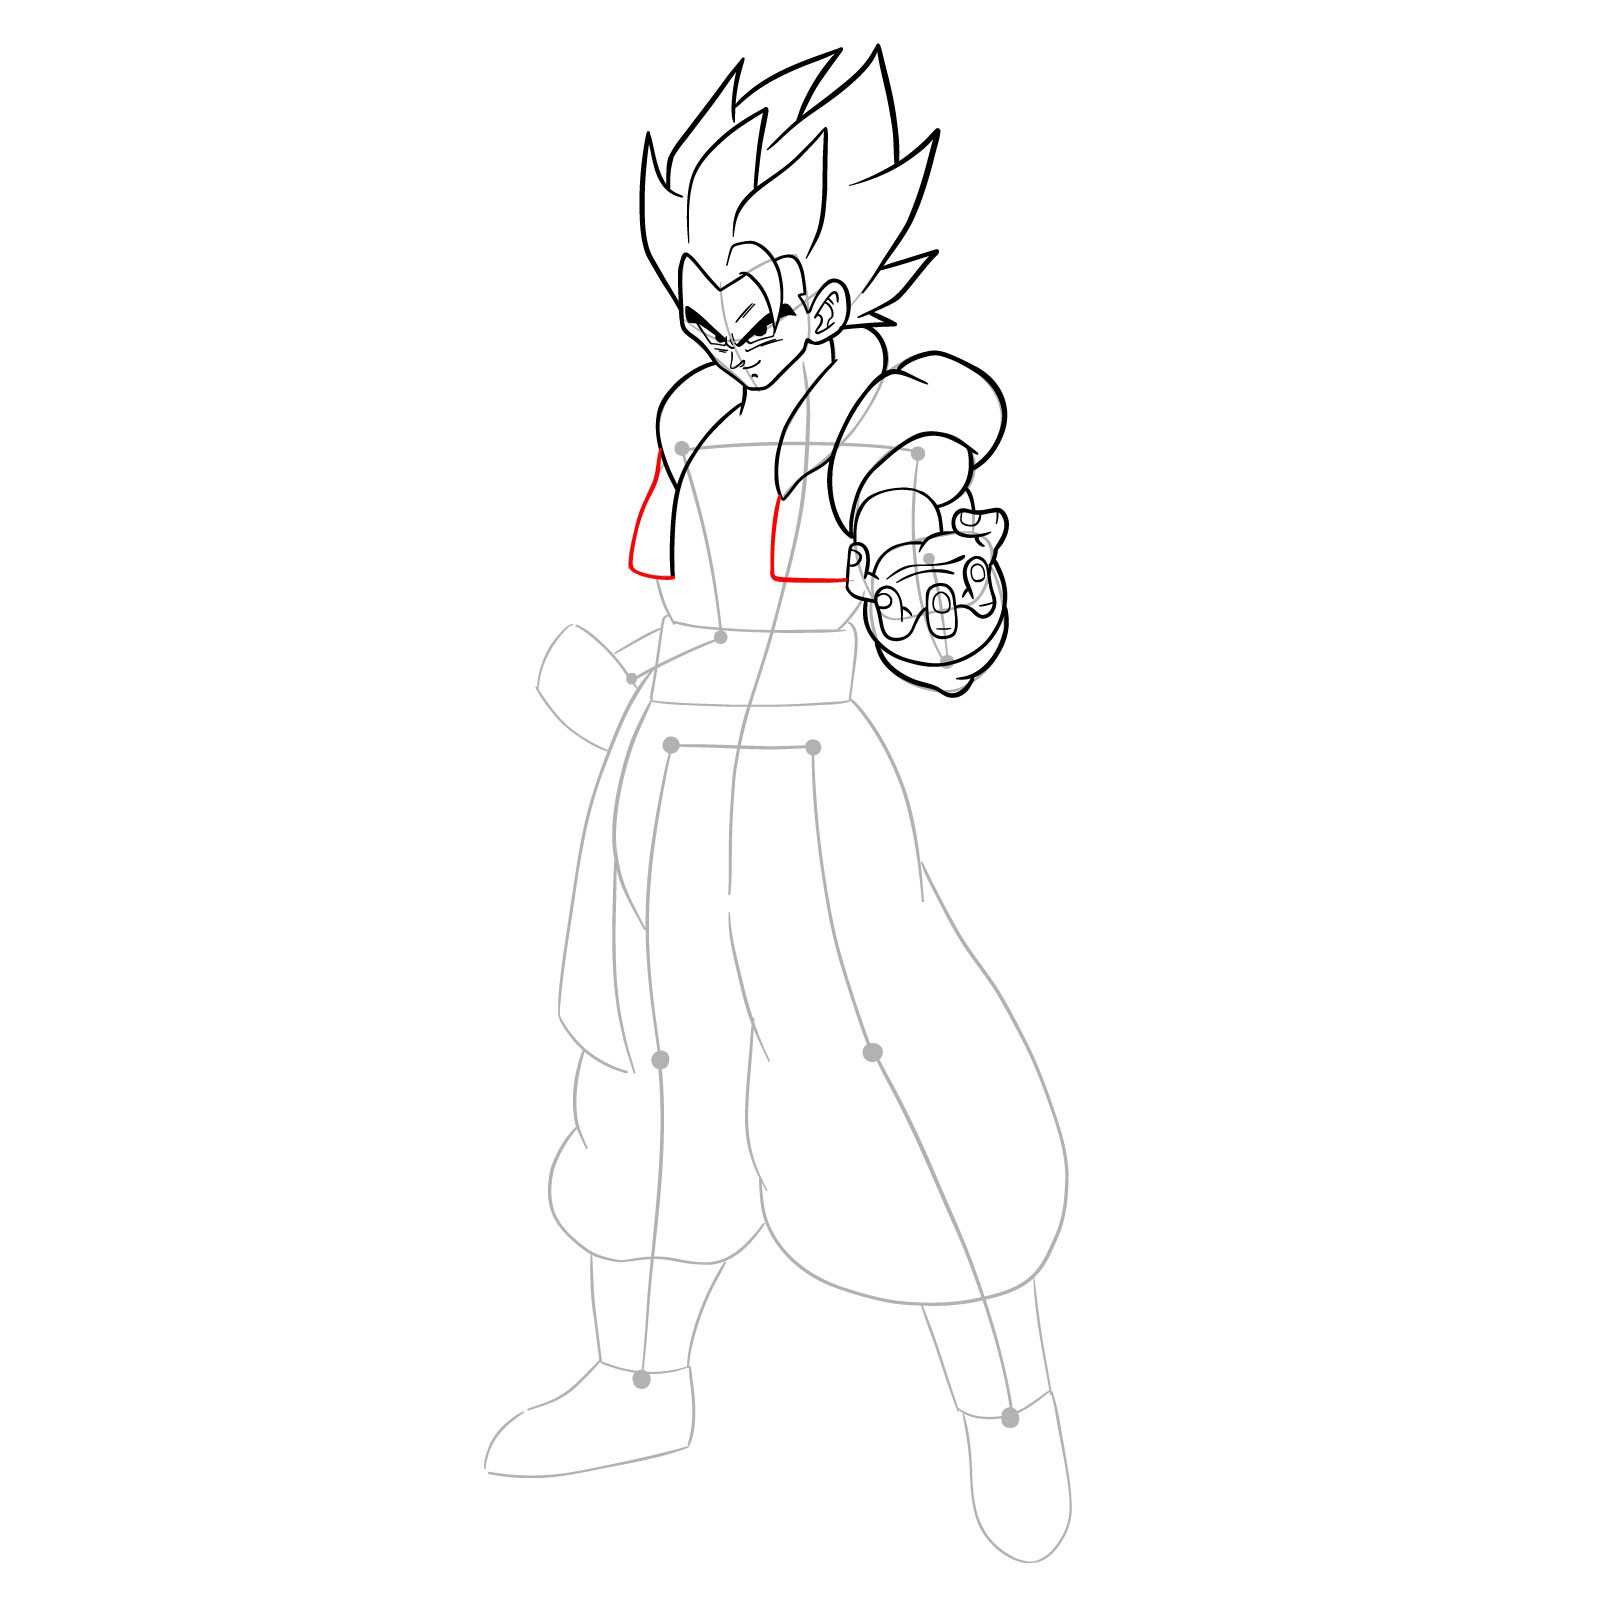
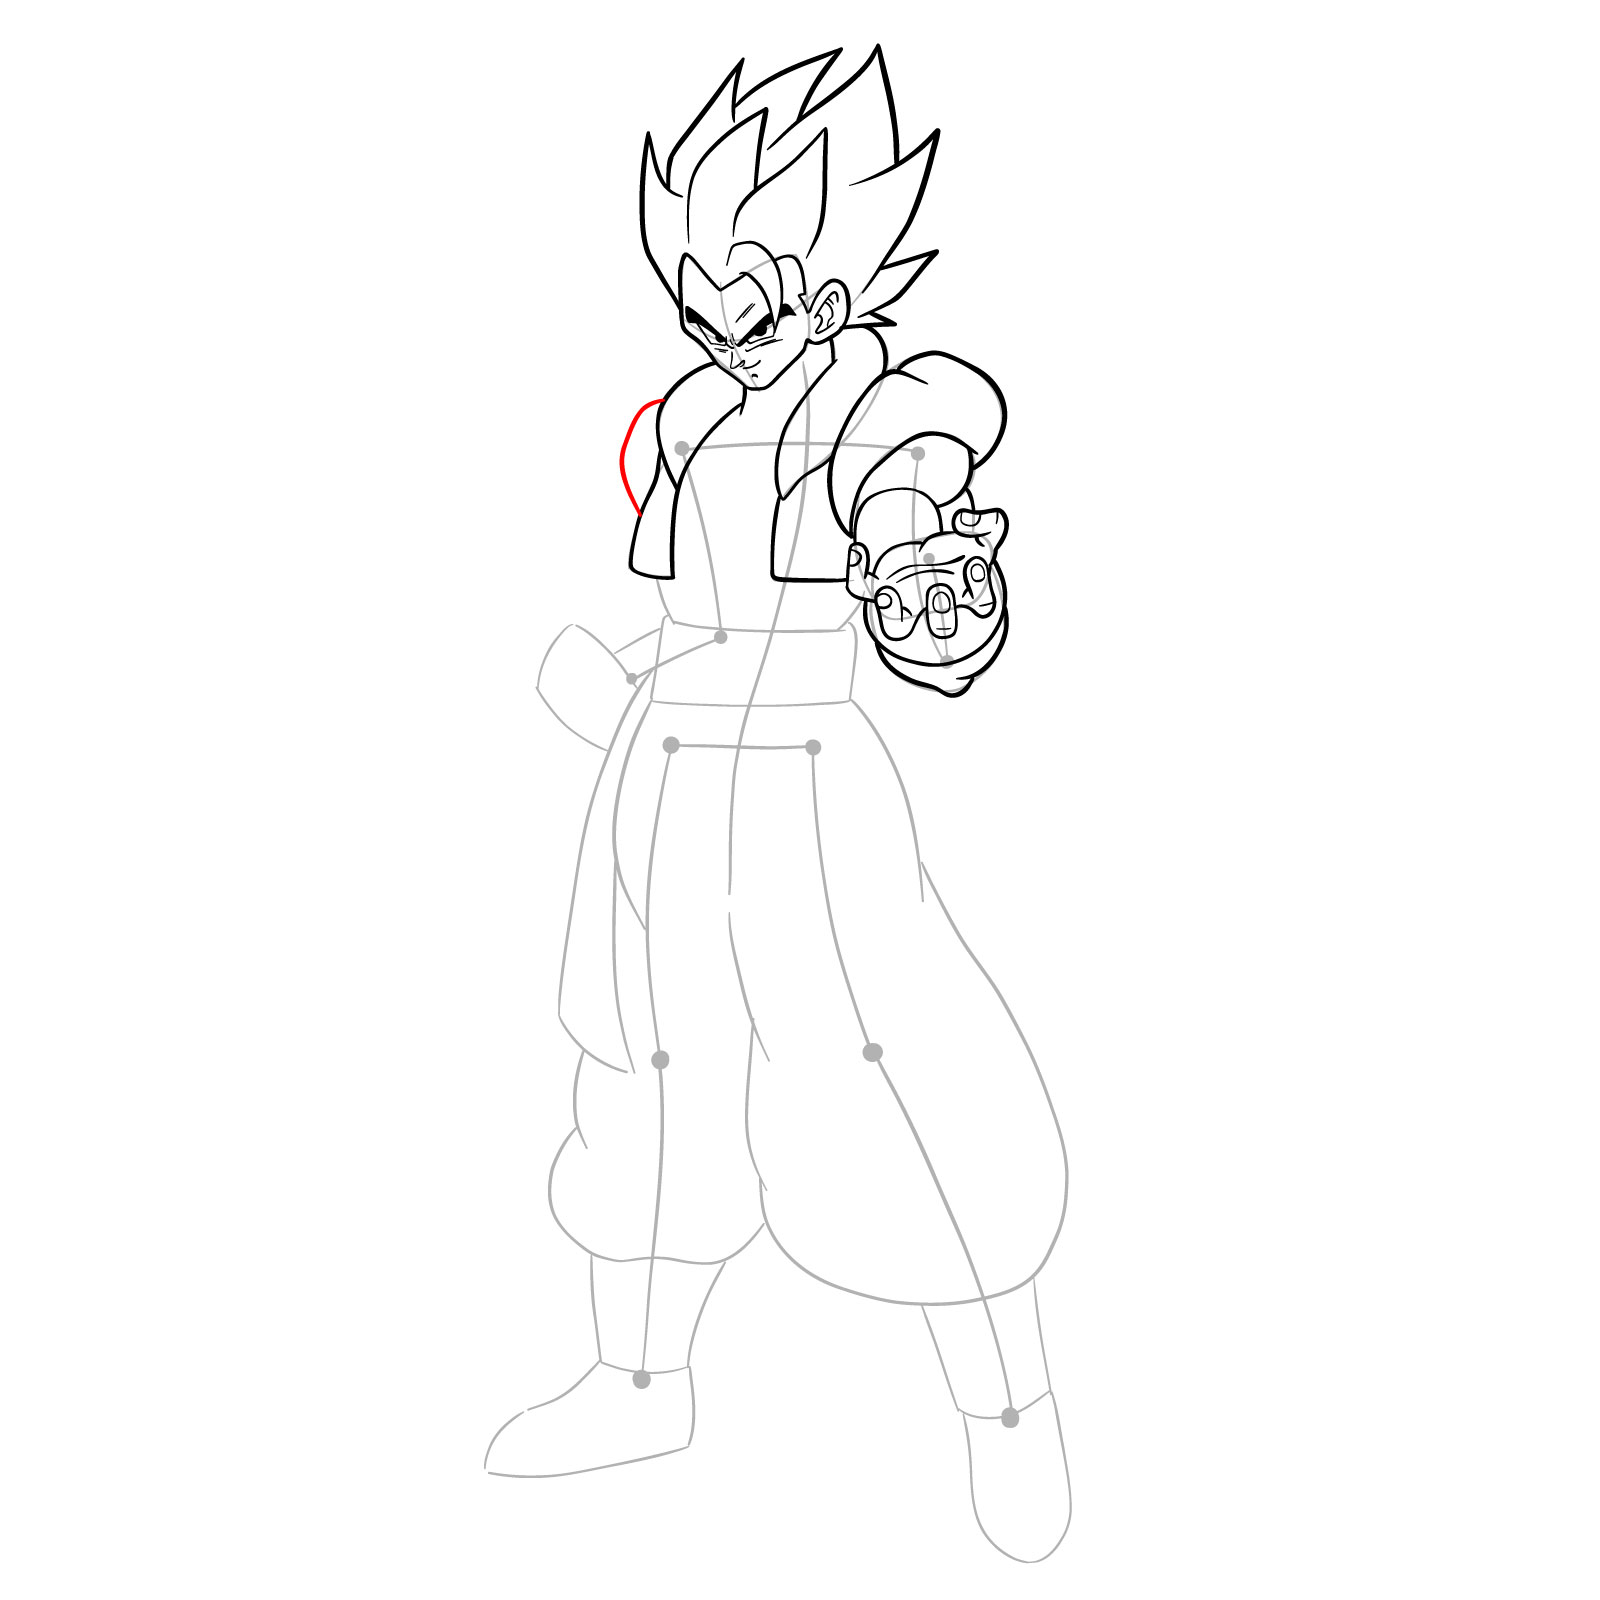
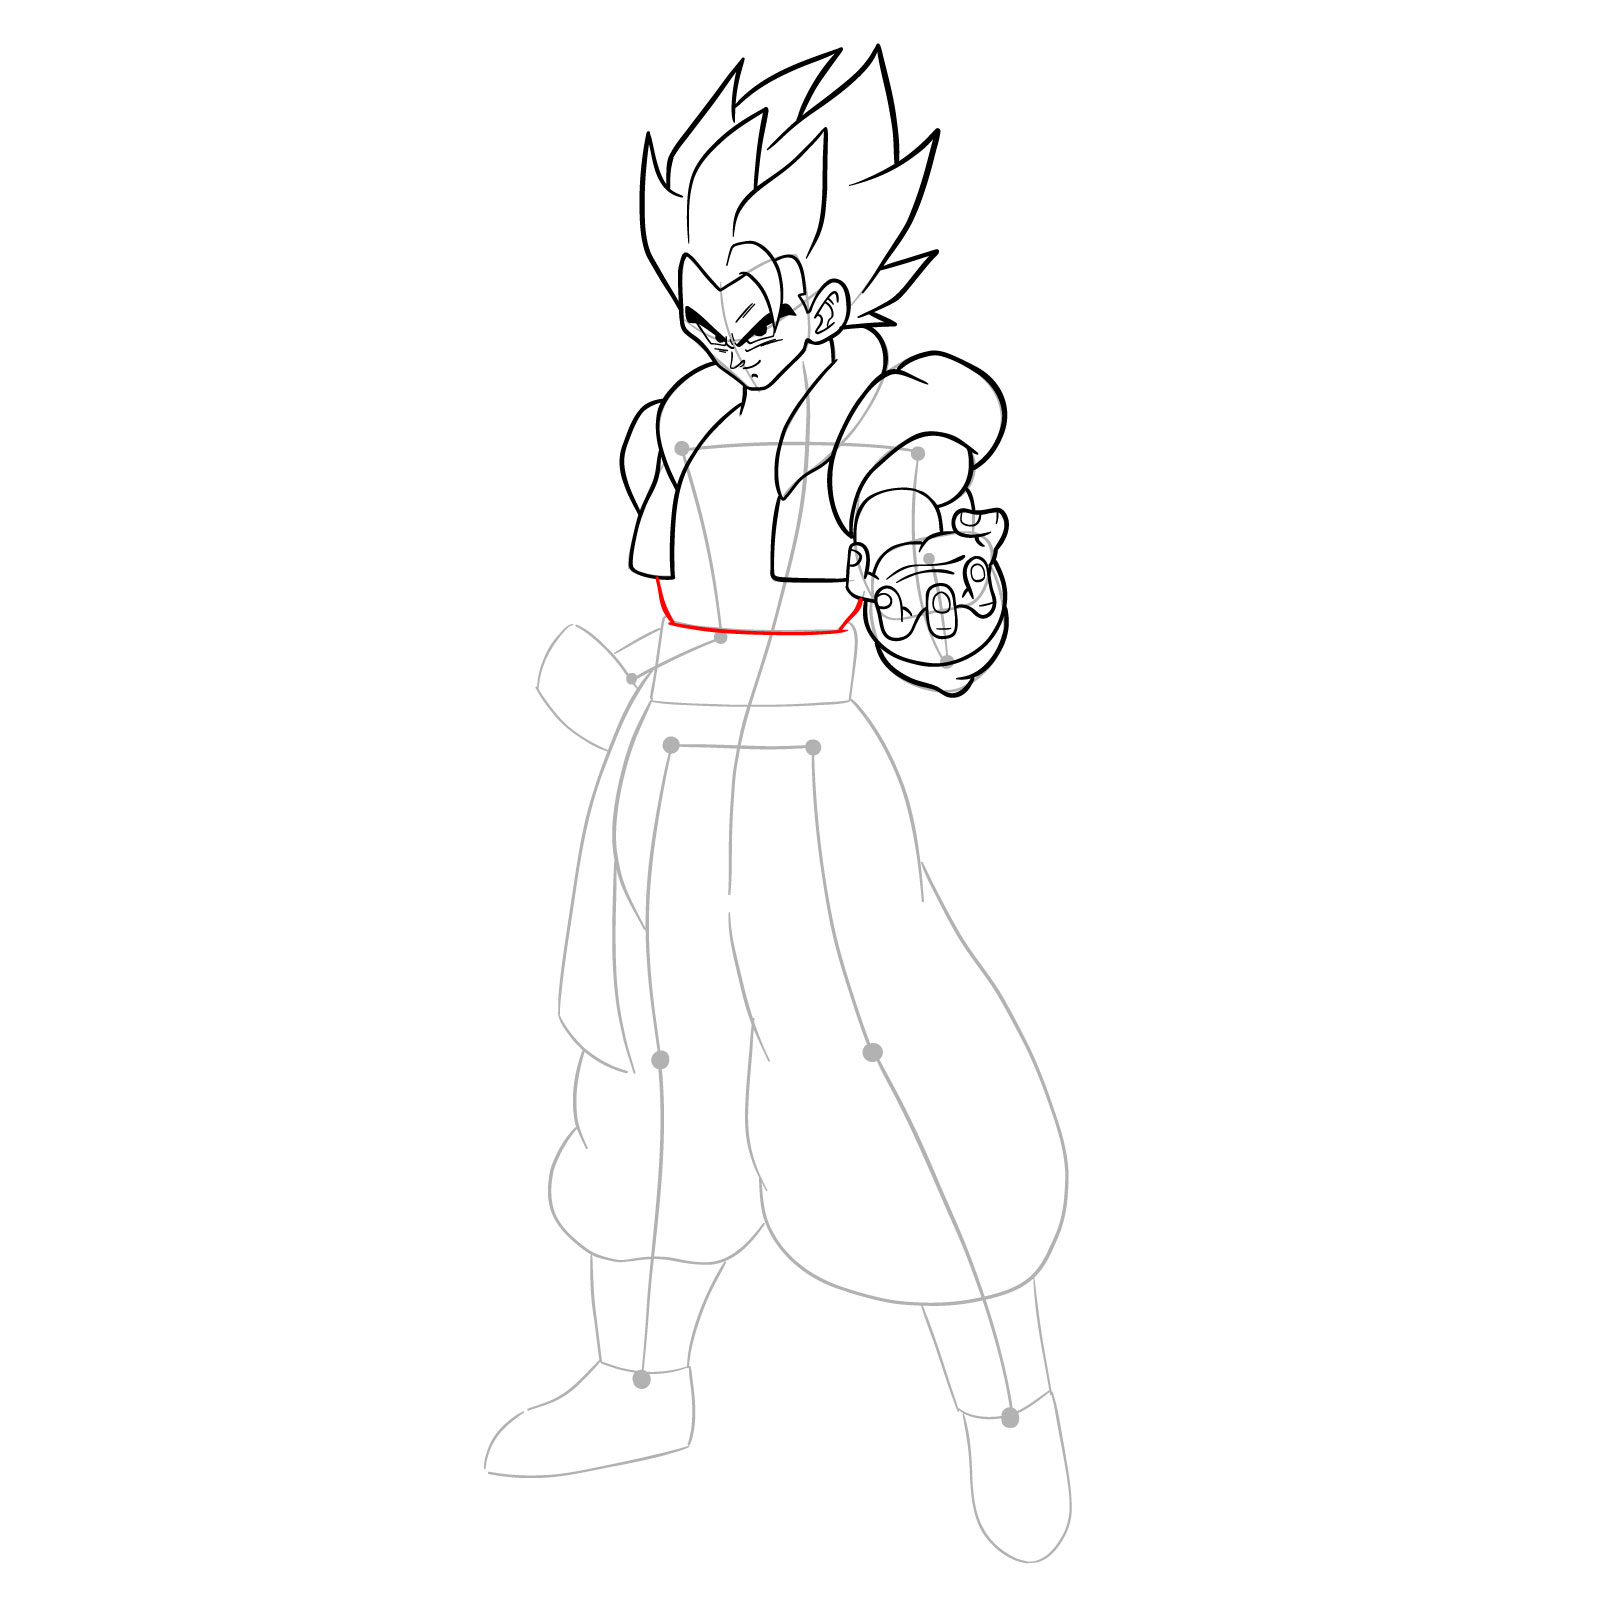
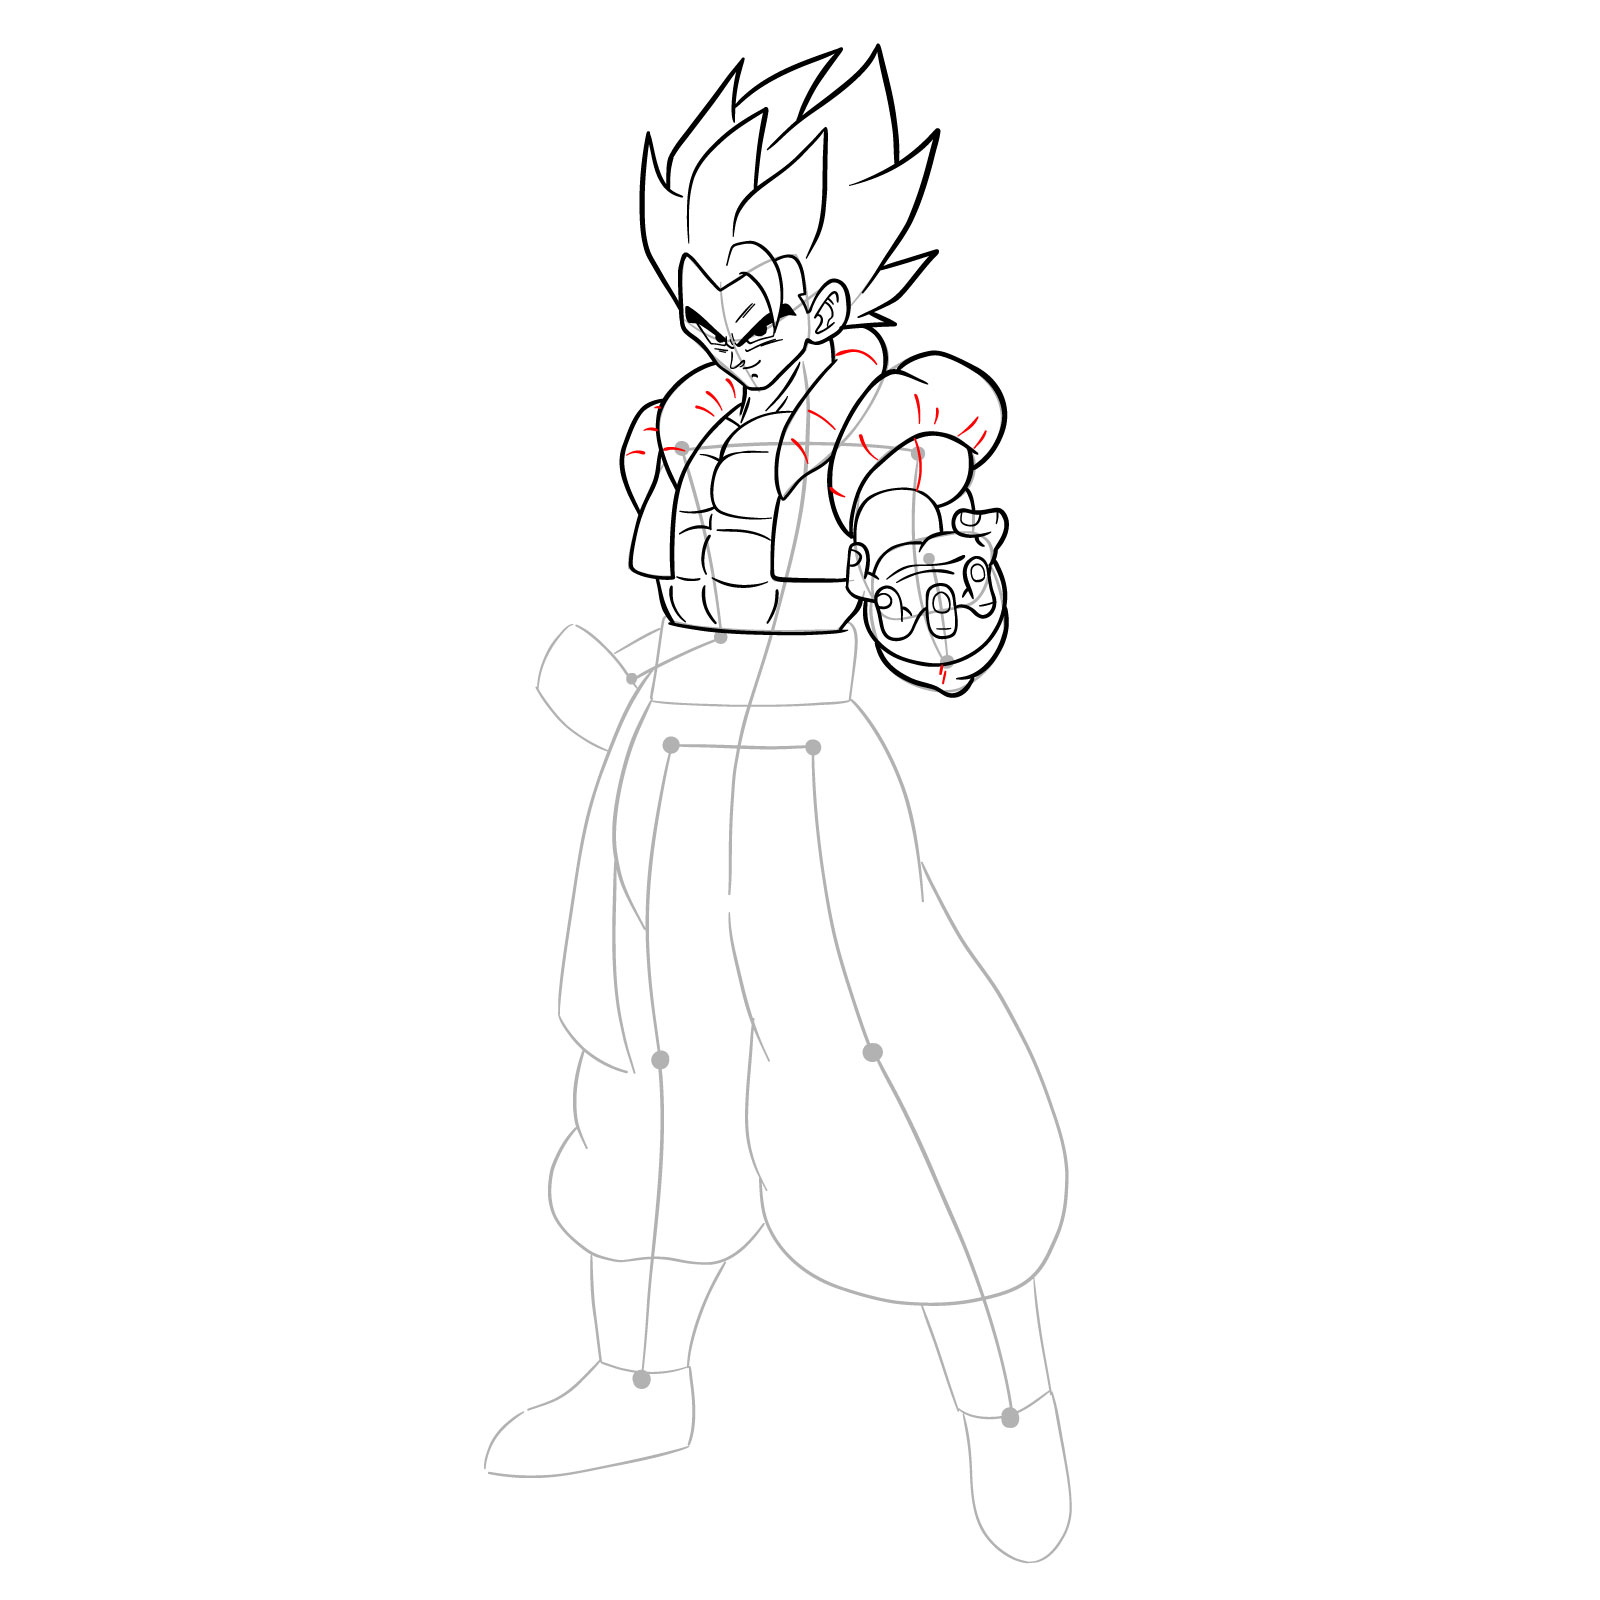
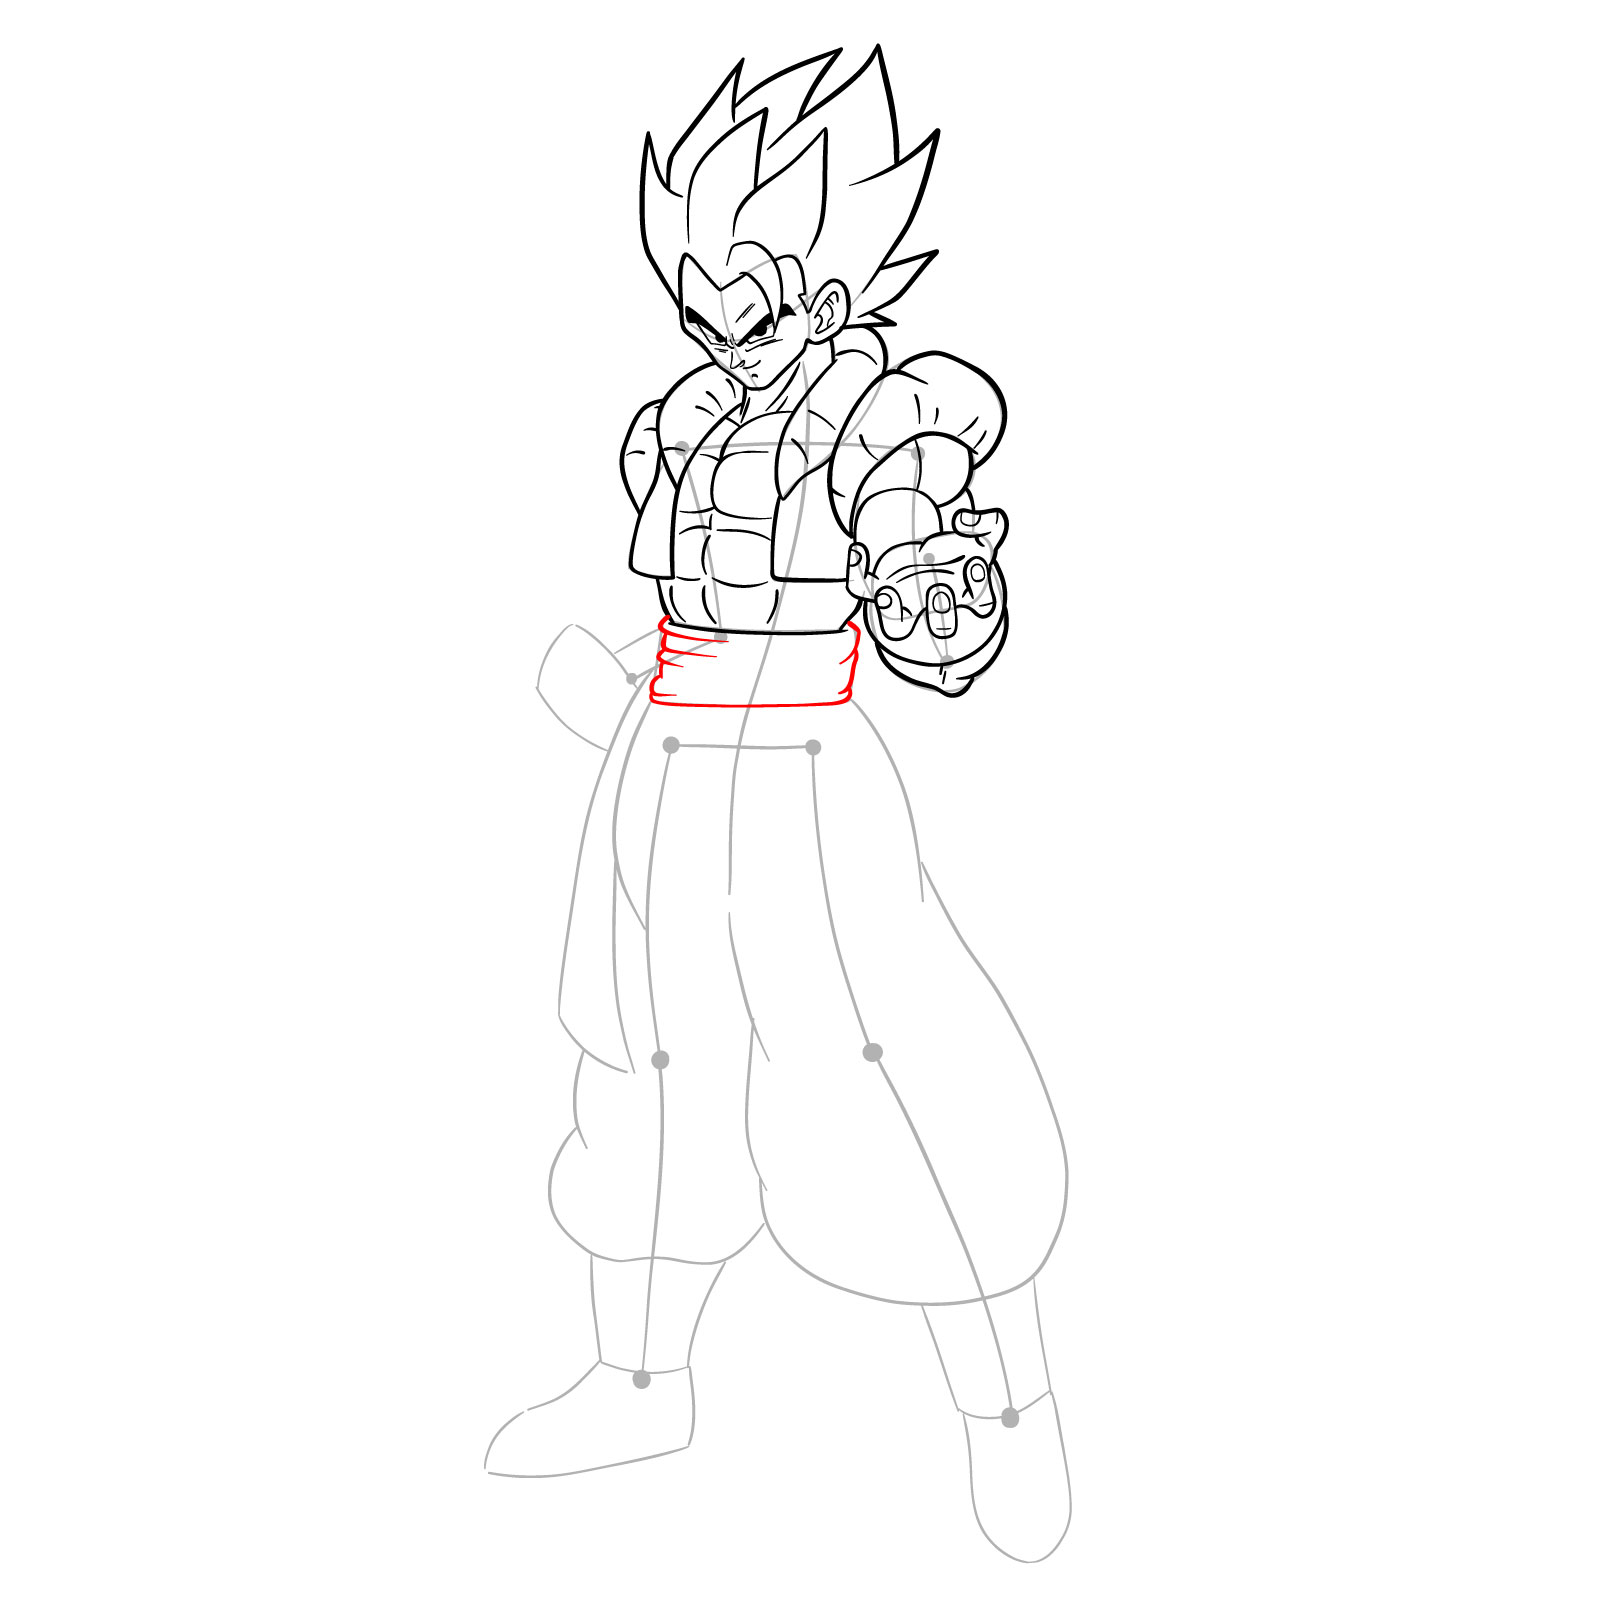
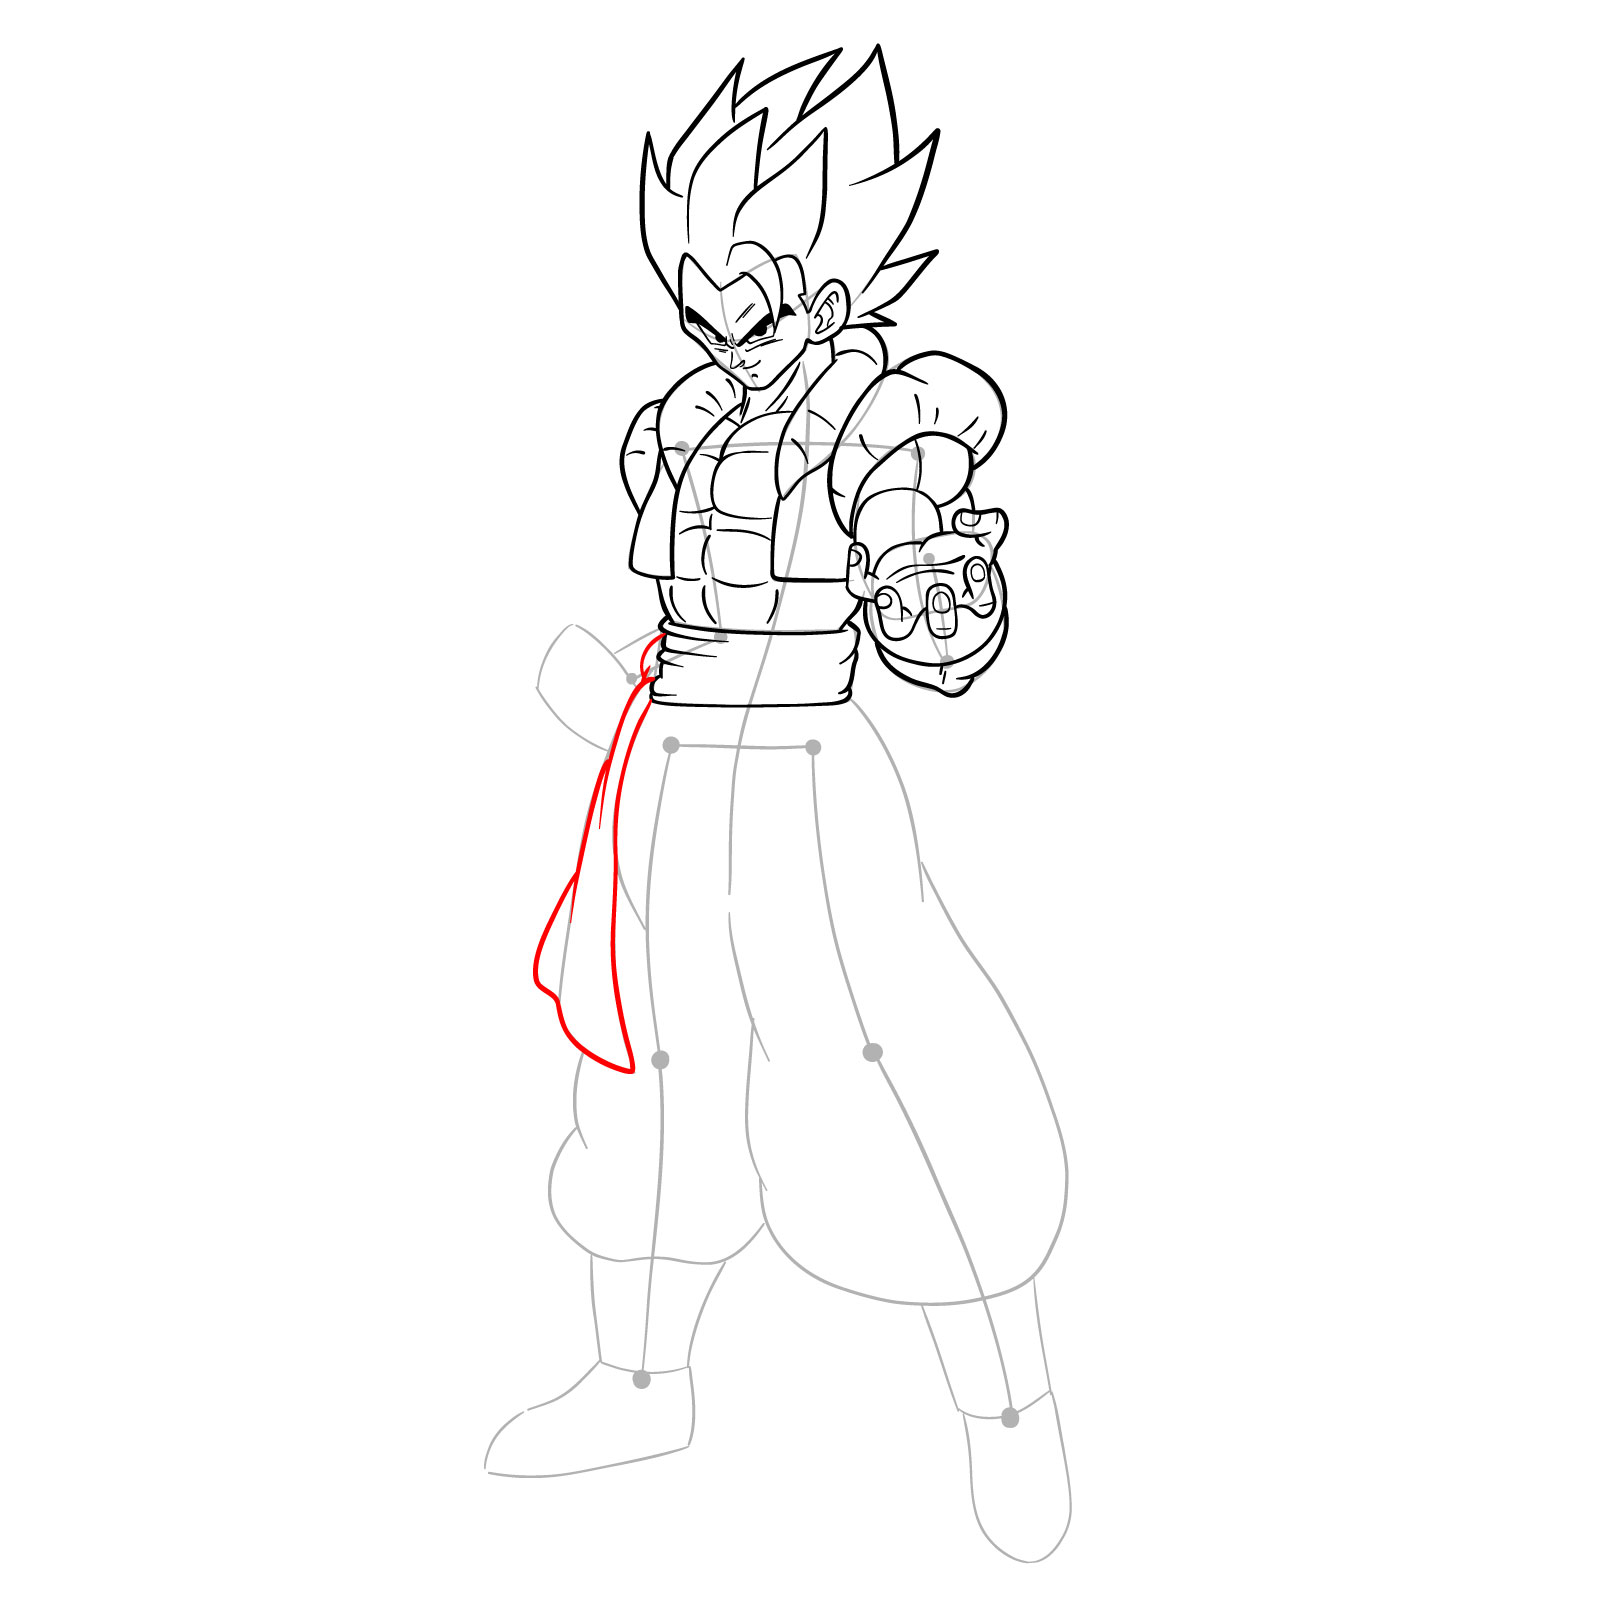
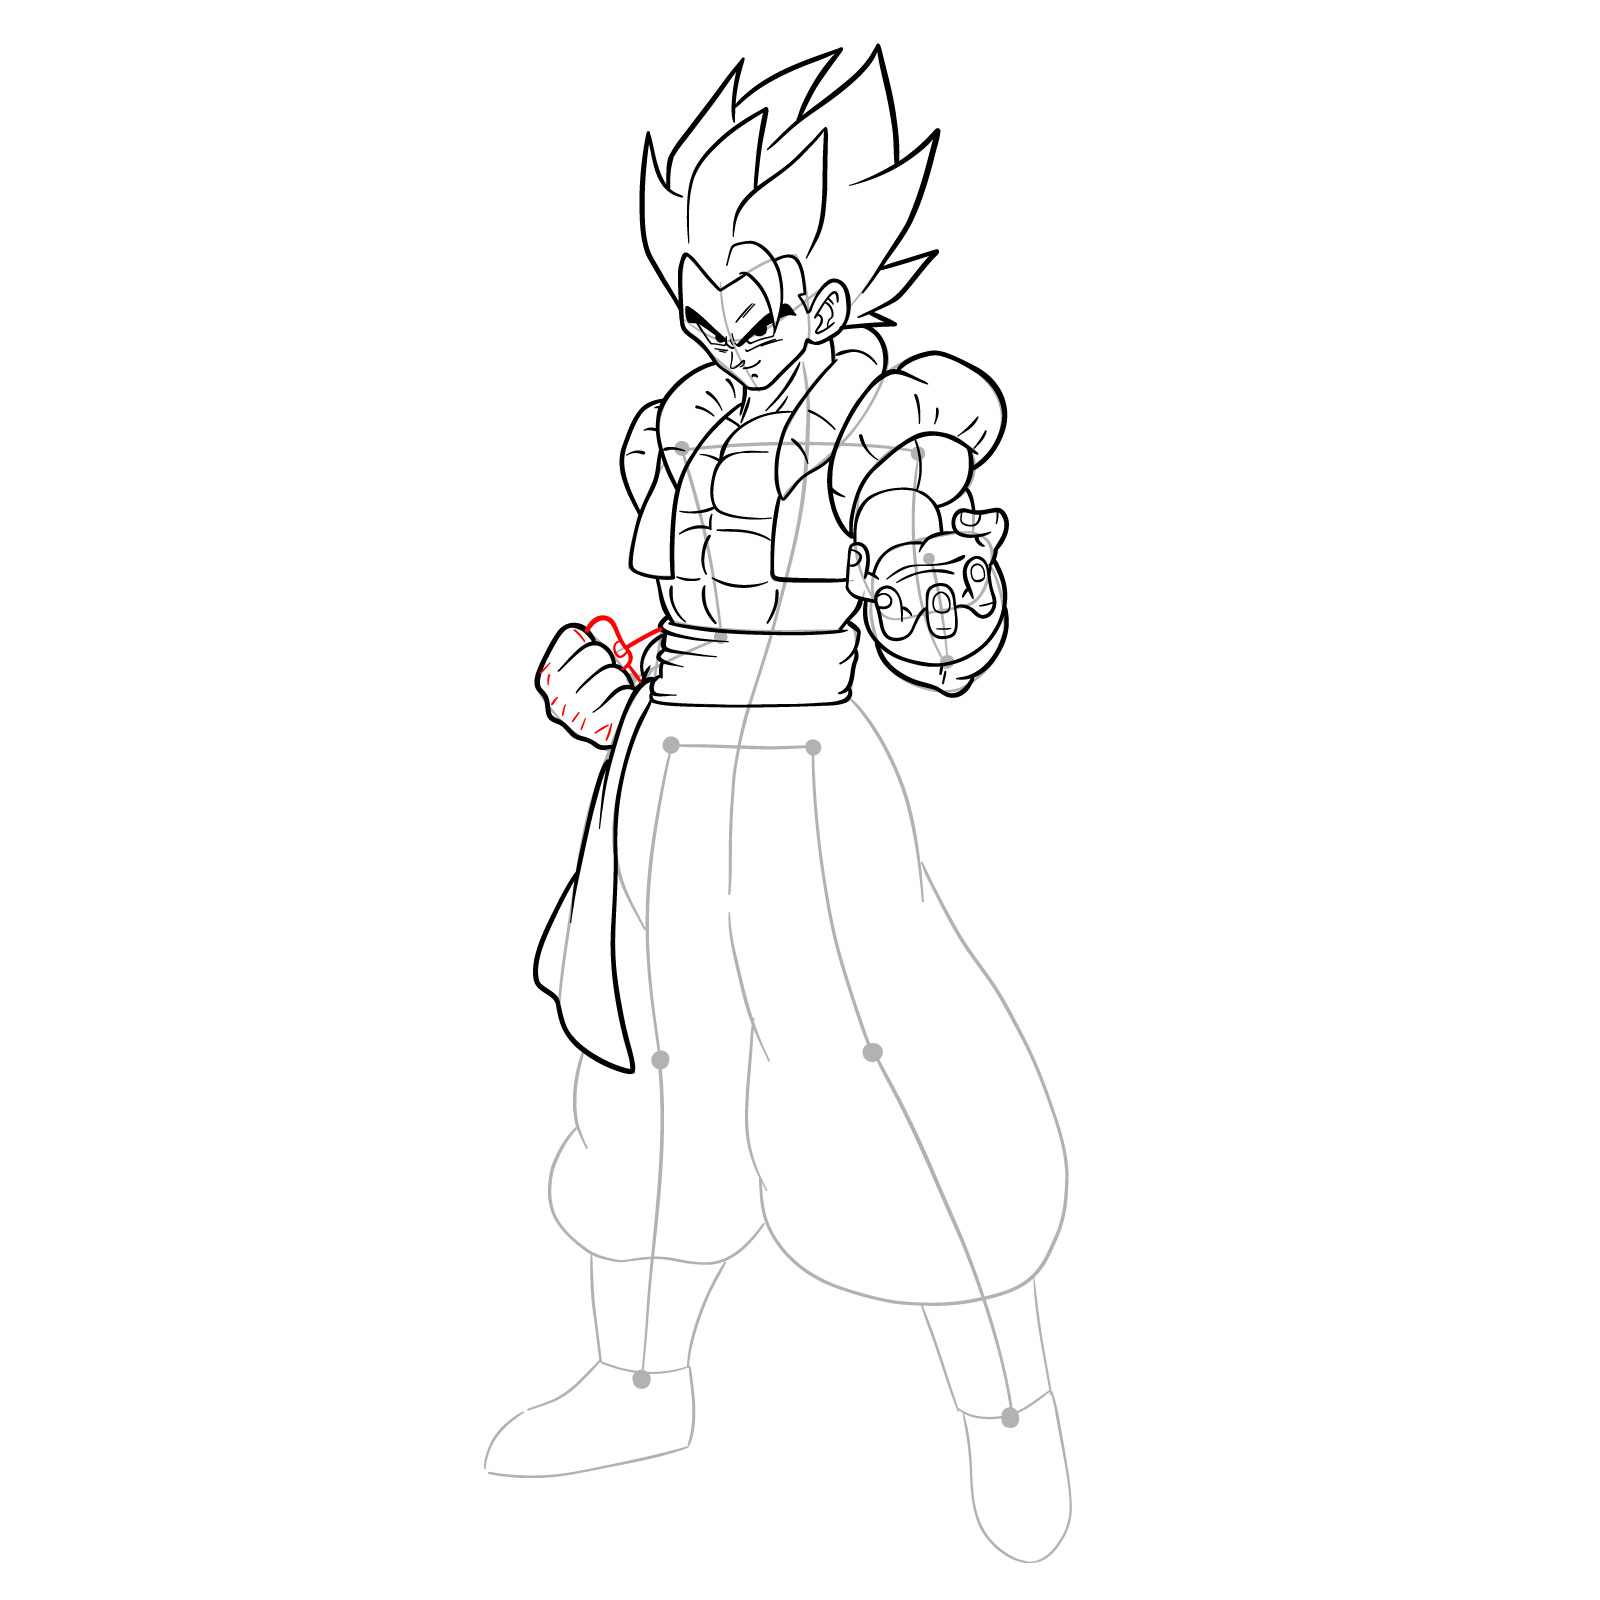
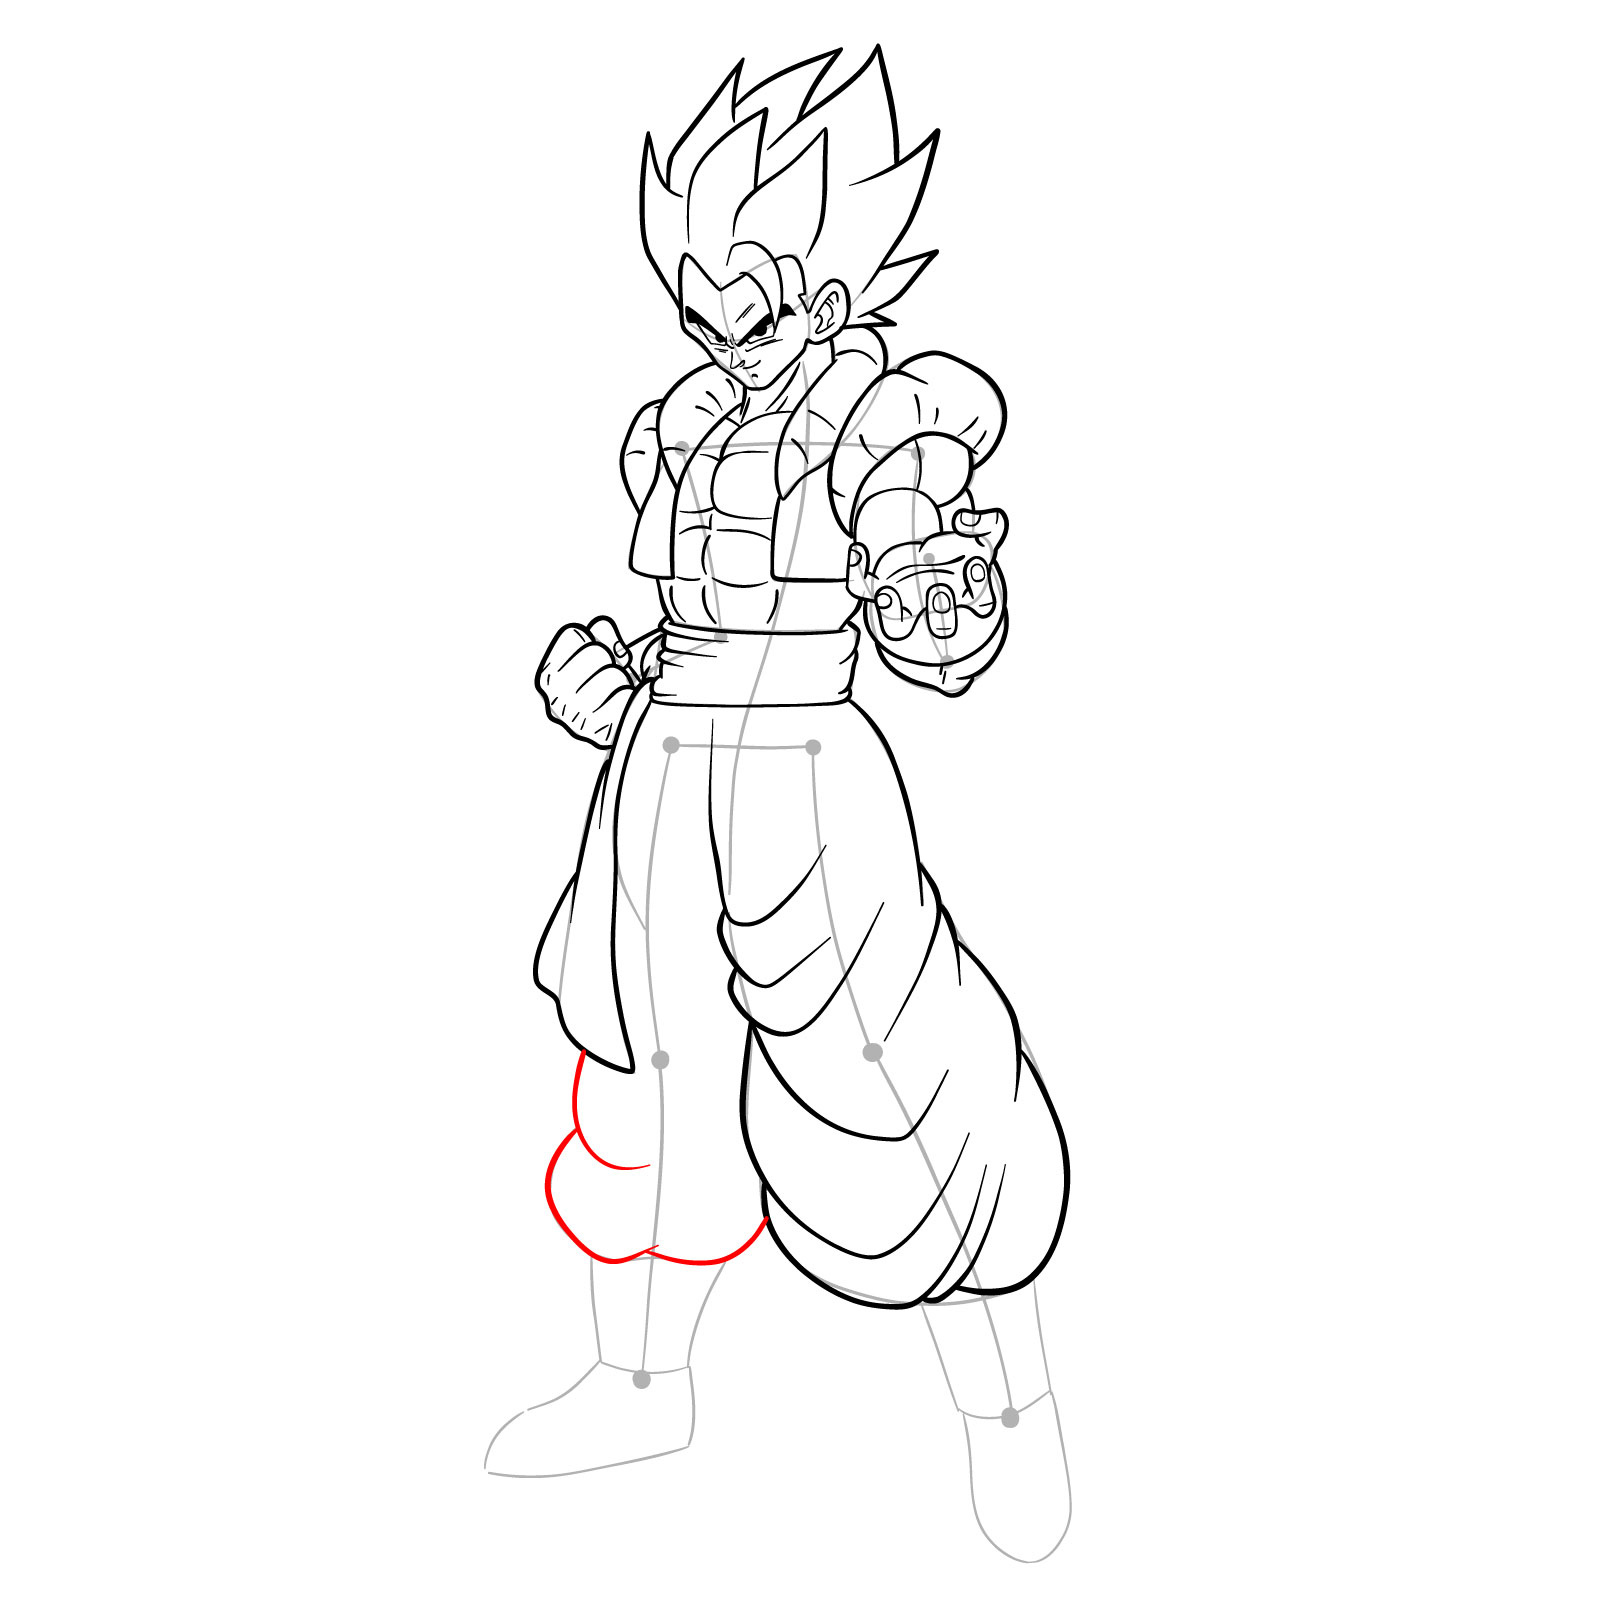
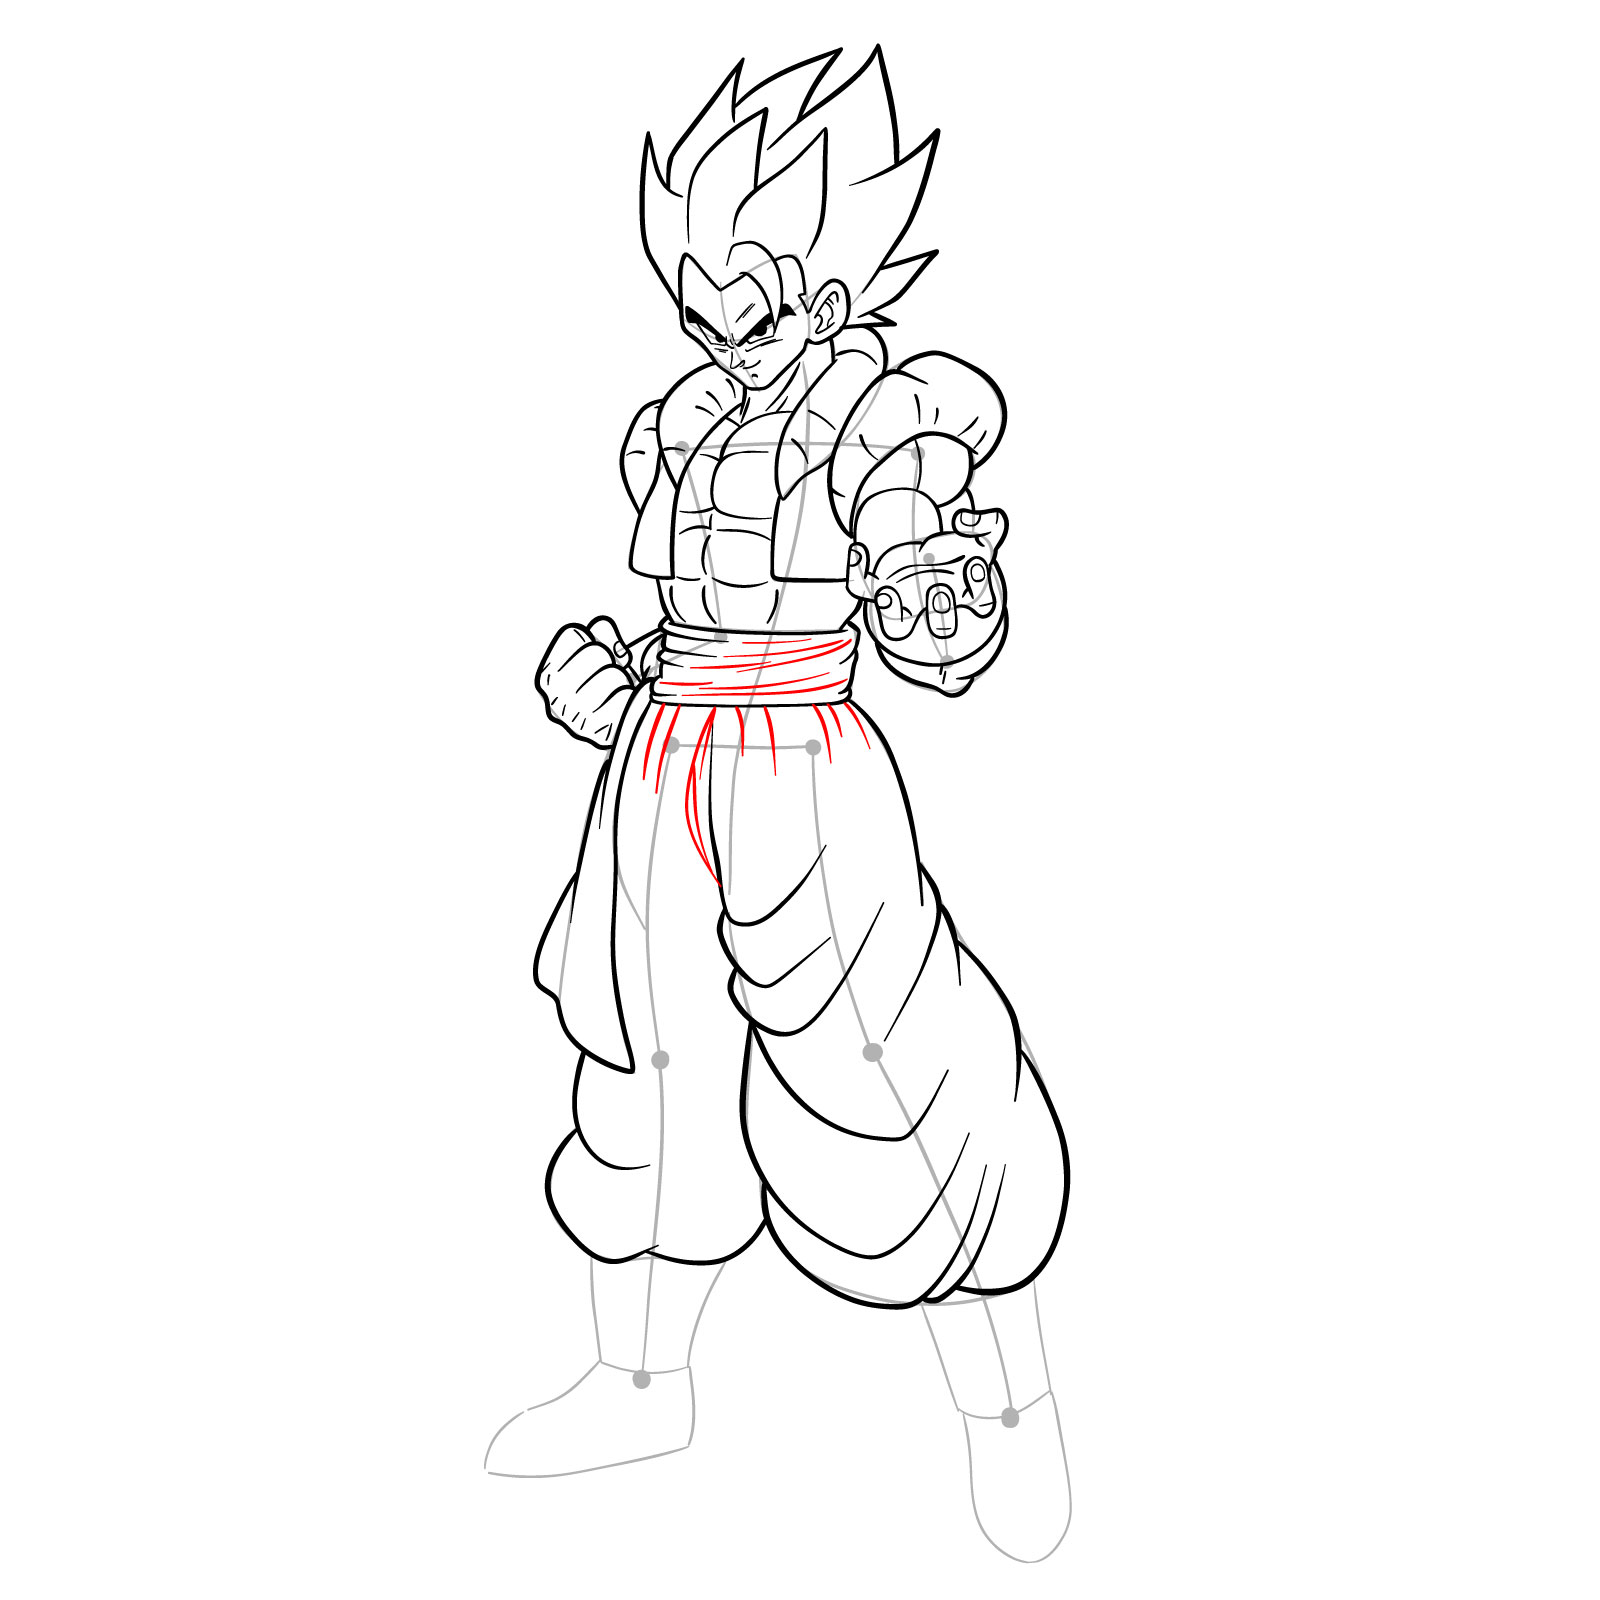
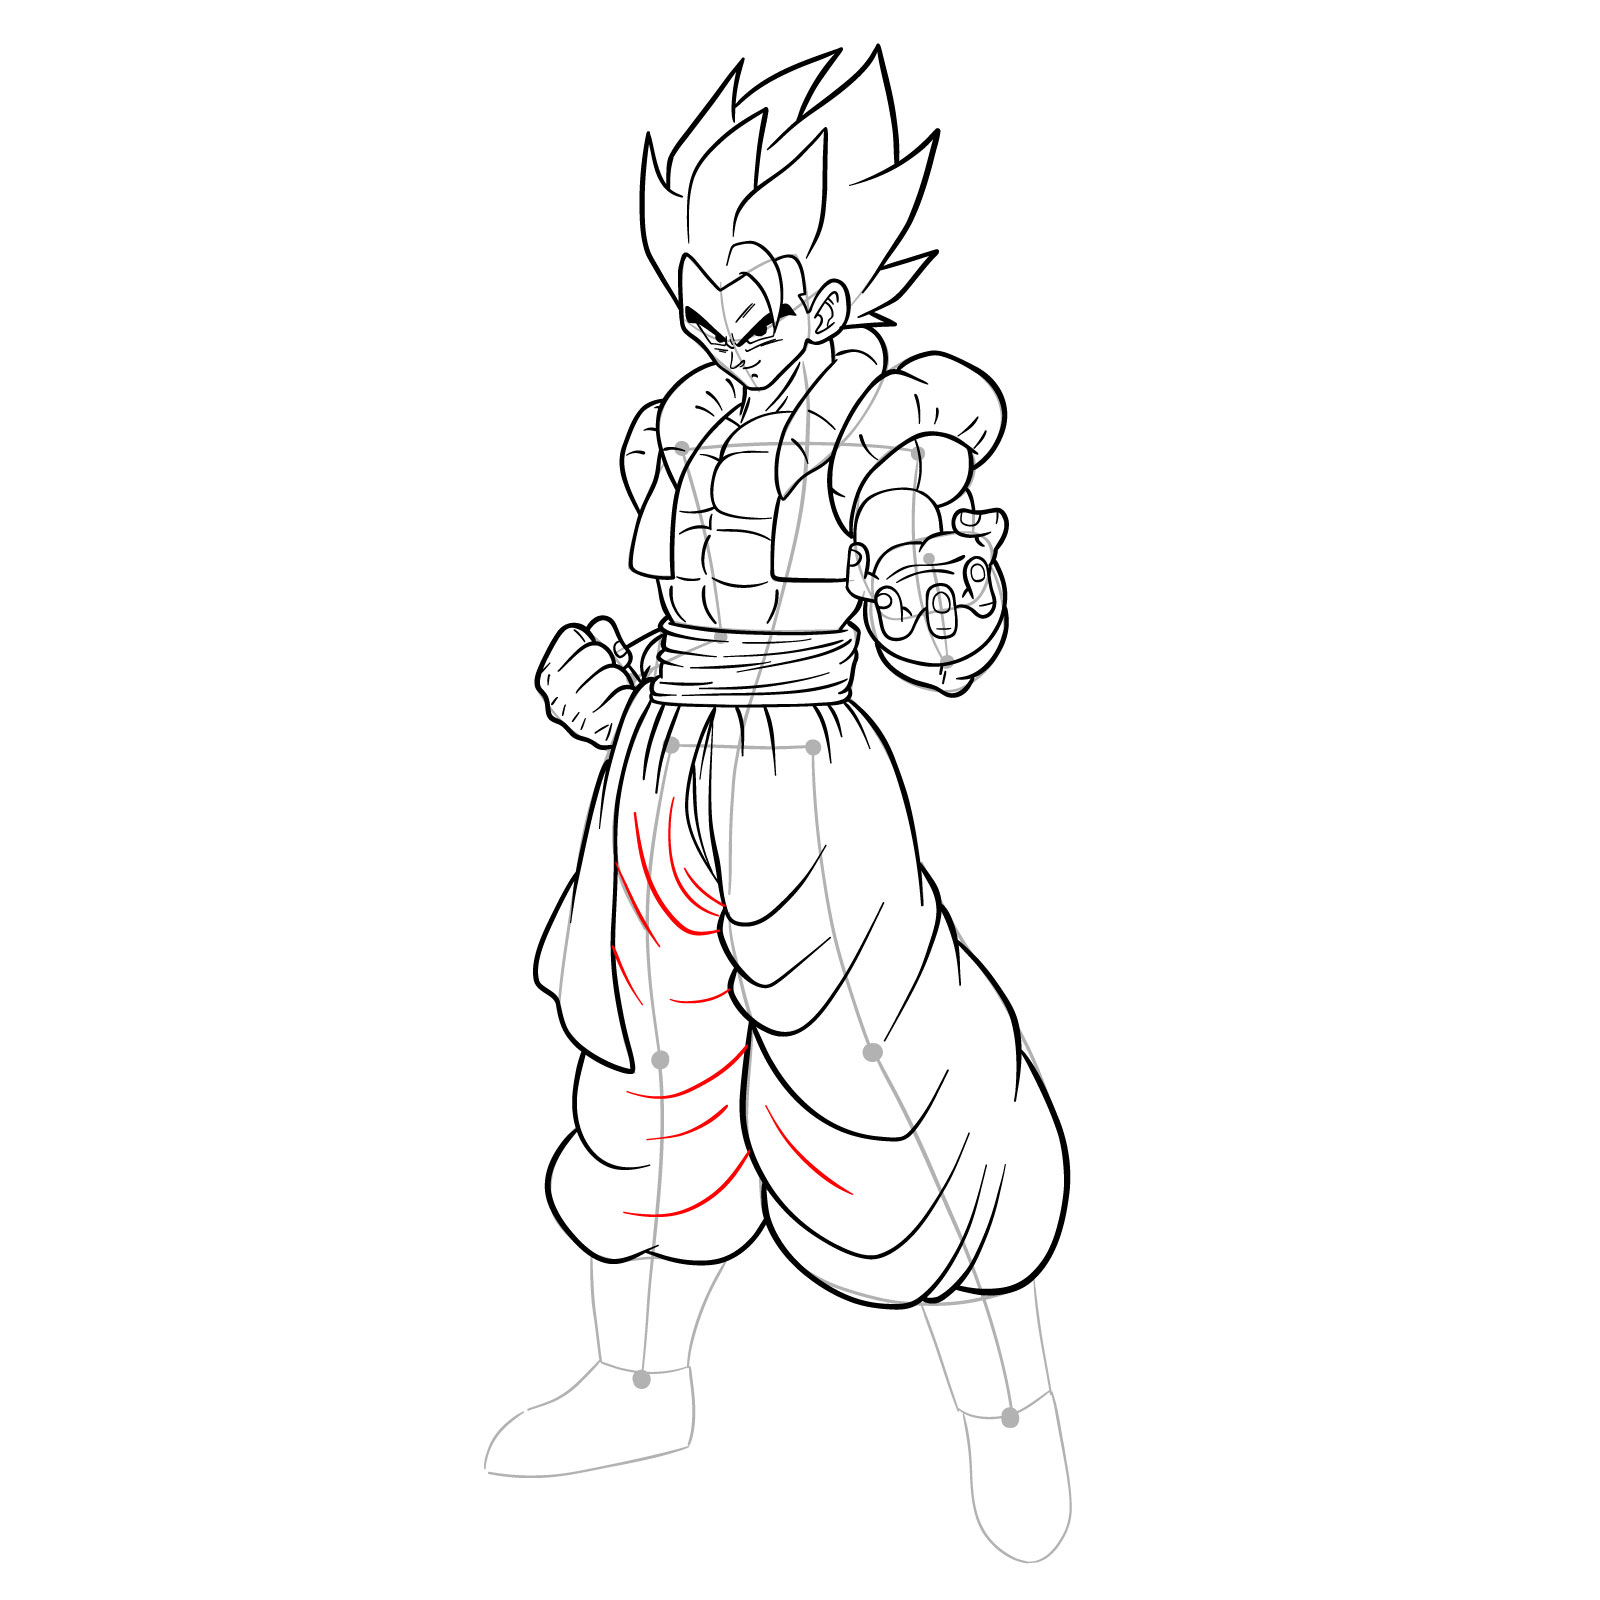
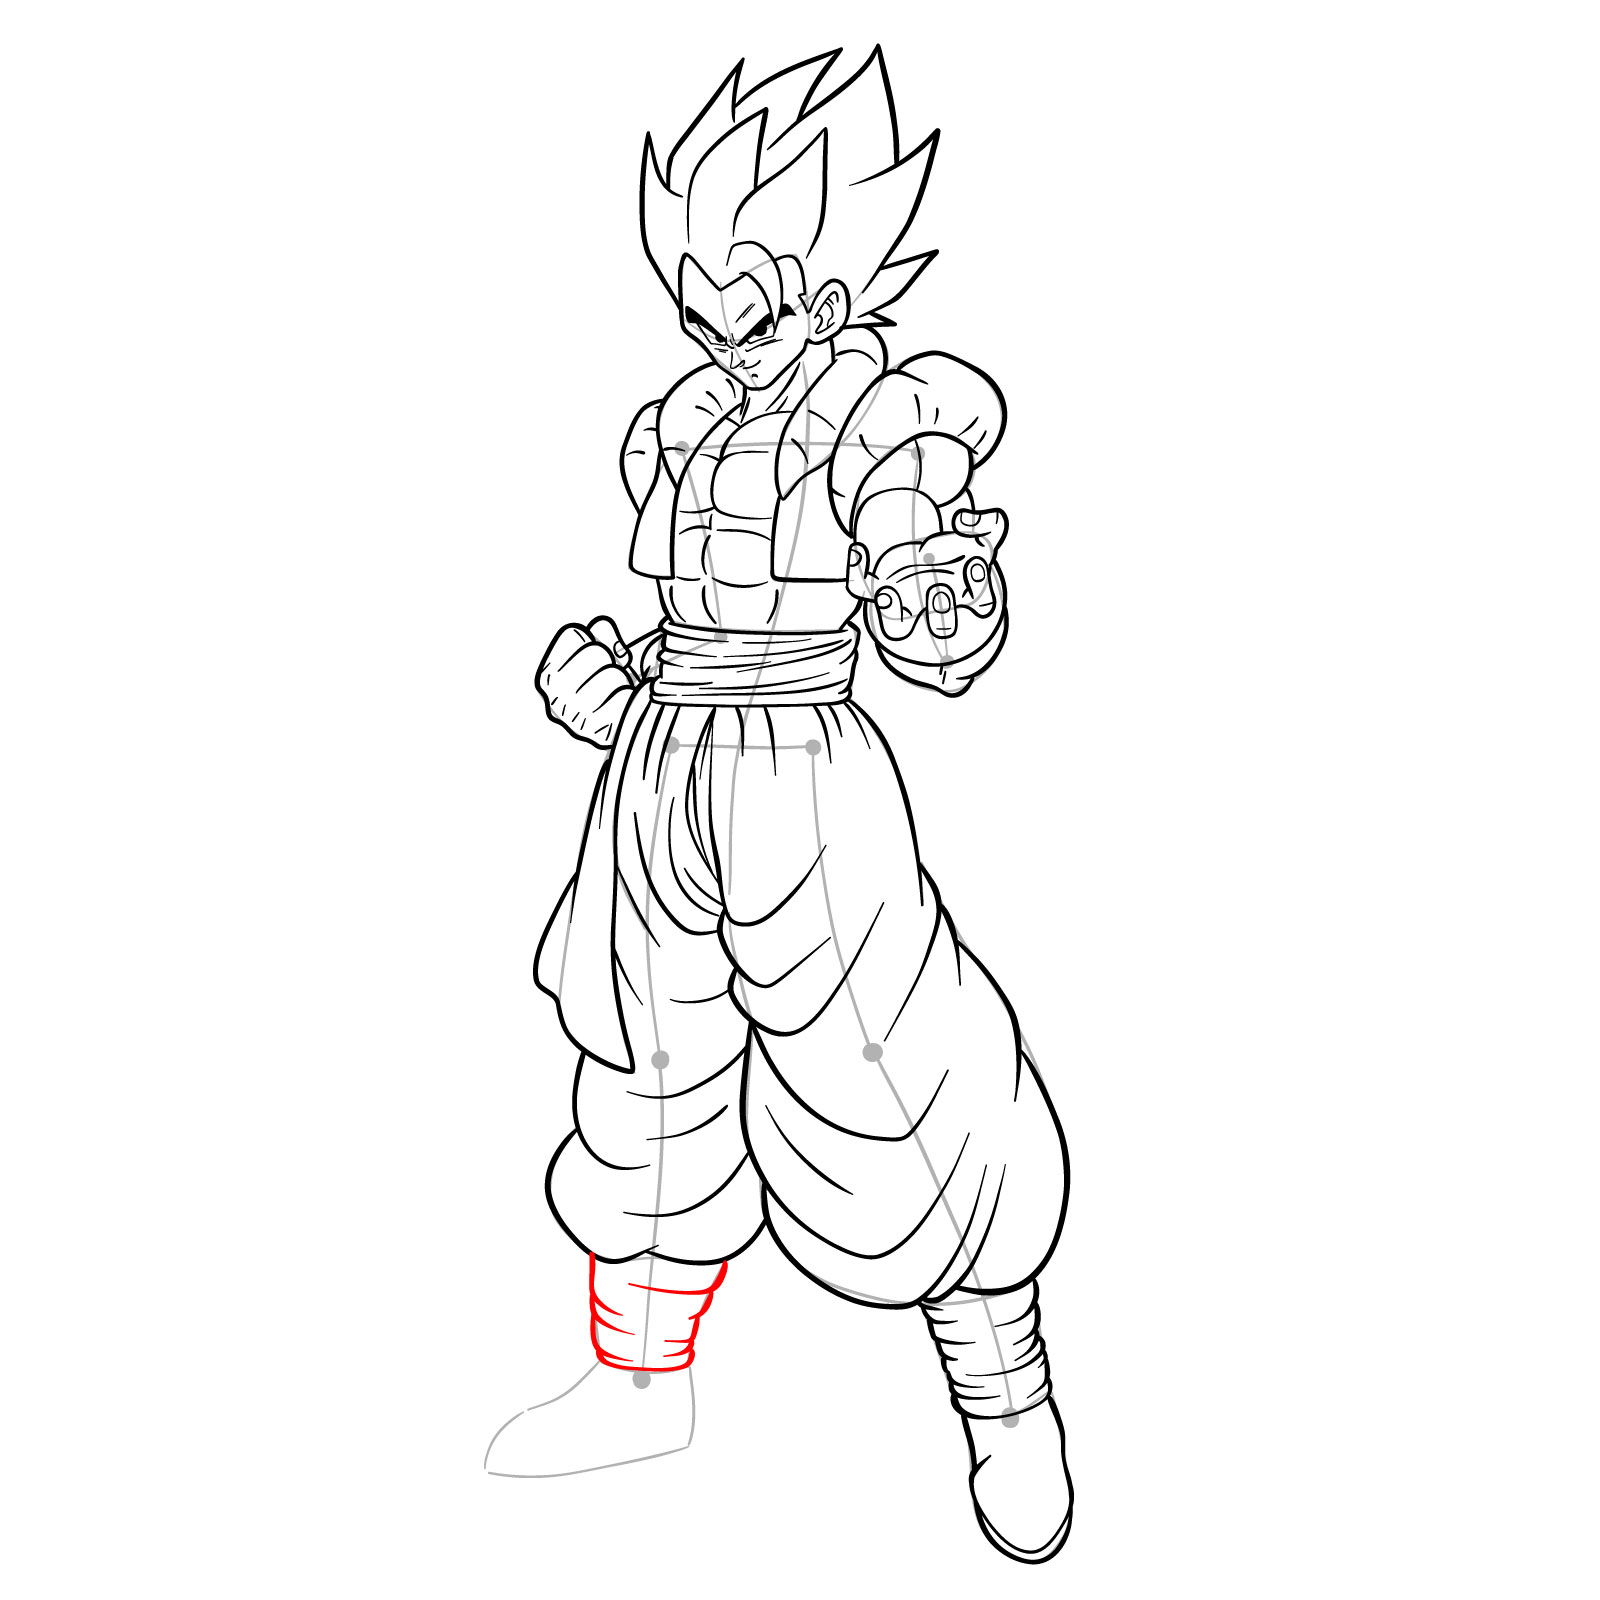
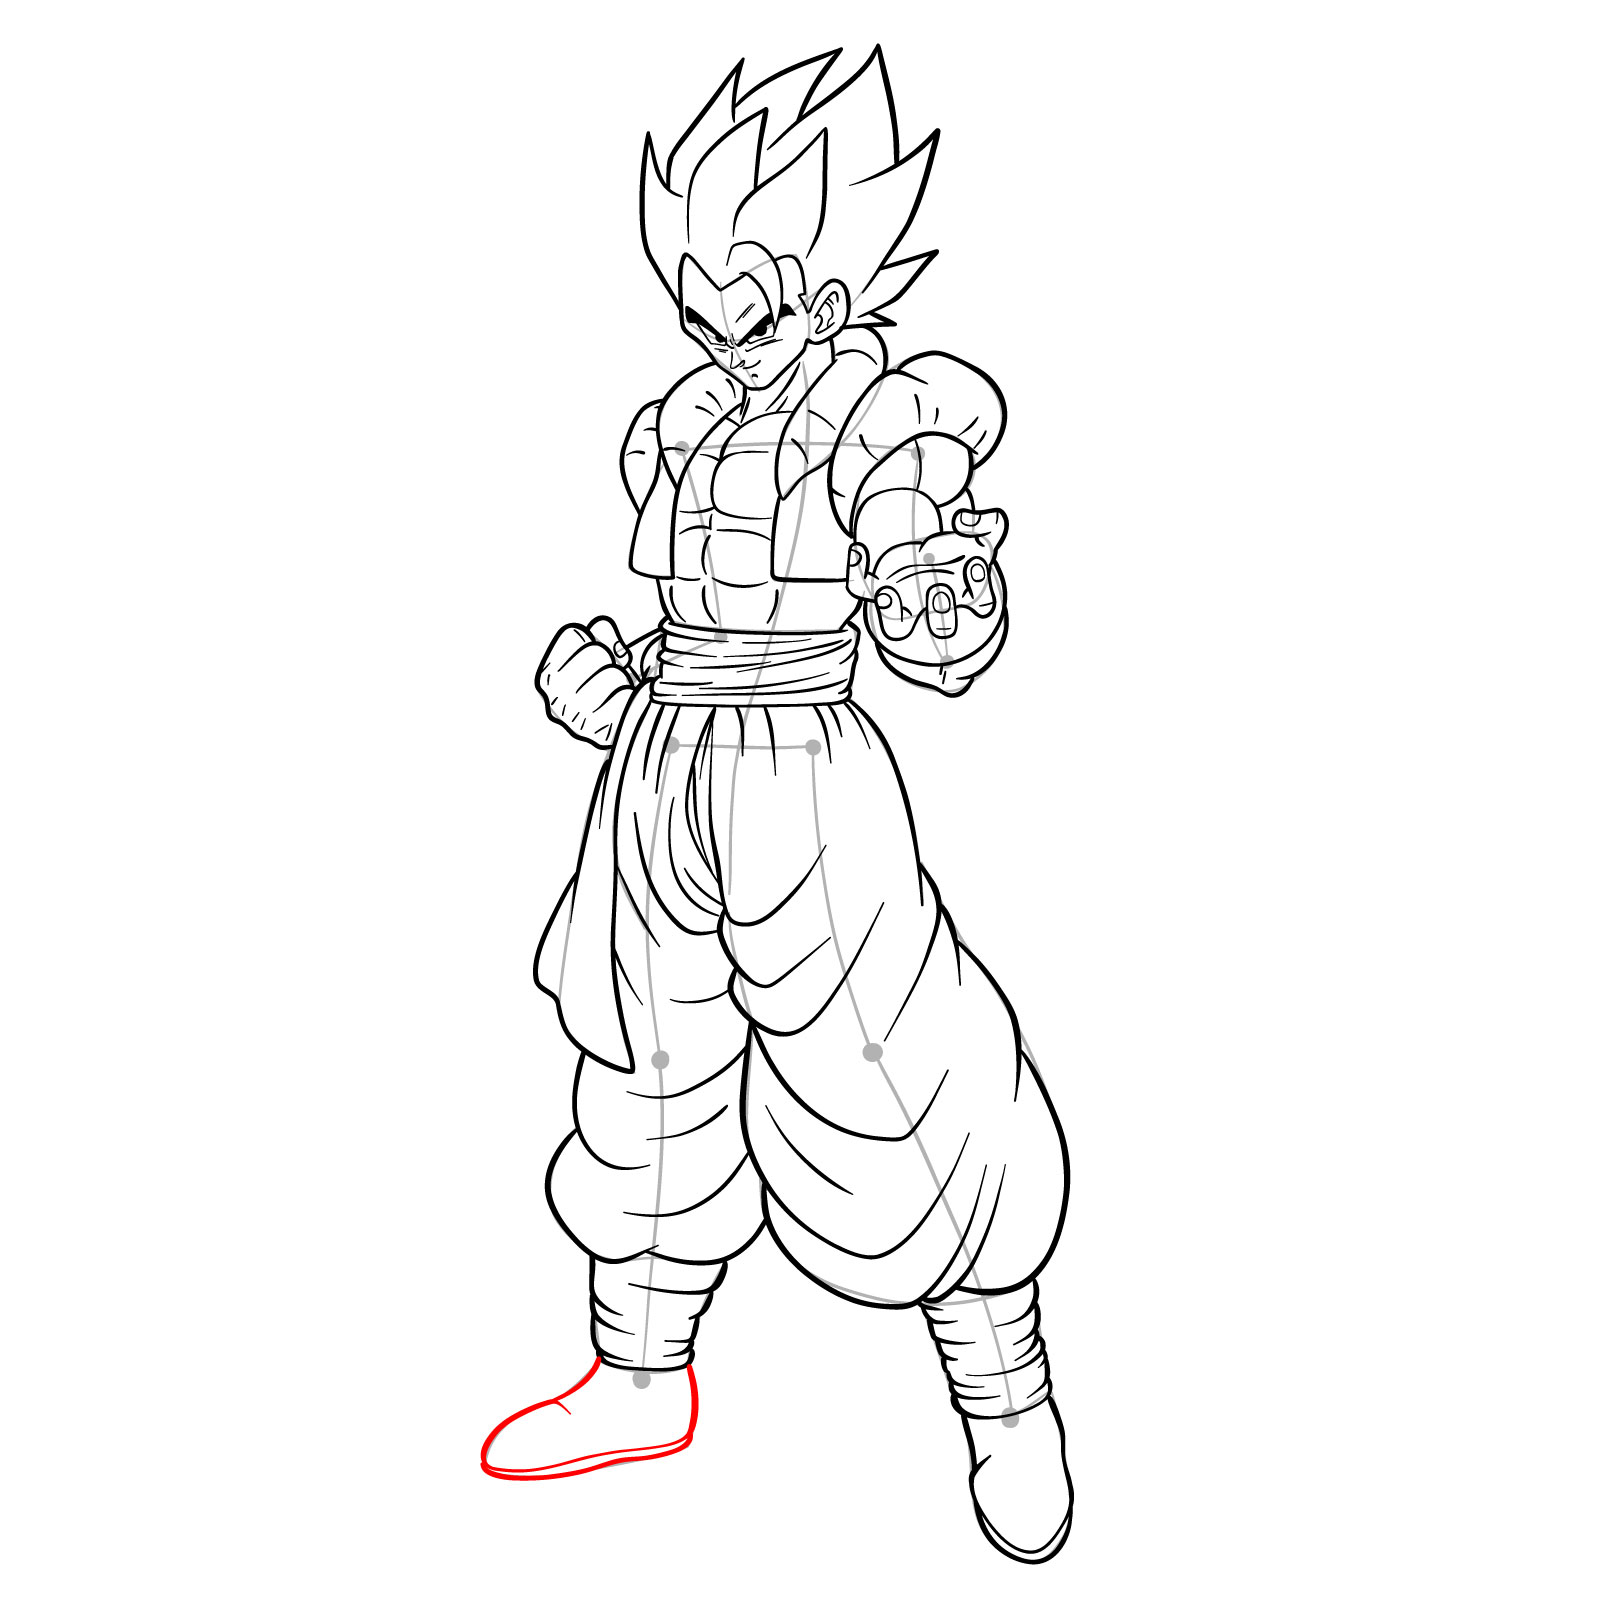
Step 04

How to draw Gogeta in Base - step 04

Step 05

How to draw Gogeta in Base - step 05

Step 06

How to draw Gogeta in Base - step 06

Step 07

How to draw Gogeta in Base - step 07

Step 08

How to draw Gogeta in Base - step 08

Step 09

How to draw Gogeta in Base - step 09

Step 10

How to draw Gogeta in Base - step 10

Step 11

How to draw Gogeta in Base - step 11

Step 12

How to draw Gogeta in Base - step 12

Step 13

How to draw Gogeta in Base - step 13

Step 14

How to draw Gogeta in Base - step 14

Step 15

How to draw Gogeta in Base - step 15

Step 16

How to draw Gogeta in Base - step 16

Step 17

How to draw Gogeta in Base - step 17

Step 18

How to draw Gogeta in Base - step 18

Step 19

How to draw Gogeta in Base - step 19

Step 20

How to draw Gogeta in Base - step 20

Step 21

How to draw Gogeta in Base - step 21

Step 22

How to draw Gogeta in Base - step 22

Step 23

How to draw Gogeta in Base - step 23

Step 24

How to draw Gogeta in Base - step 24

Step 25

How to draw Gogeta in Base - step 25

Step 26

How to draw Gogeta in Base - step 26

Step 27

How to draw Gogeta in Base - step 27

Step 28

How to draw Gogeta in Base - step 28

Step 29

How to draw Gogeta in Base - step 29

Step 30

How to draw Gogeta in Base - step 30

Step 31

How to draw Gogeta in Base - step 31

Step 32

How to draw Gogeta in Base - step 32

Step 33

How to draw Gogeta in Base - step 33

Step 34

How to draw Gogeta in Base - step 34

Step 35

How to draw Gogeta in Base - step 35

Step 36

How to draw Gogeta in Base - step 36

Step 37

How to draw Gogeta in Base - step 37

Step 38

How to draw Gogeta in Base - step 38

Step 39

How to draw Gogeta in Base - step 39

Step 40

How to draw Gogeta in Base - step 40

Stage 3: Inking

Once you’re satisfied with your refined sketch, proceed to ink the drawing. Carefully outline Gogeta’s features with fineliners or ink pens, adding final touches and details to make your Base Gogeta drawing come alive. Wait for ink to dry and erase the basic sketch.
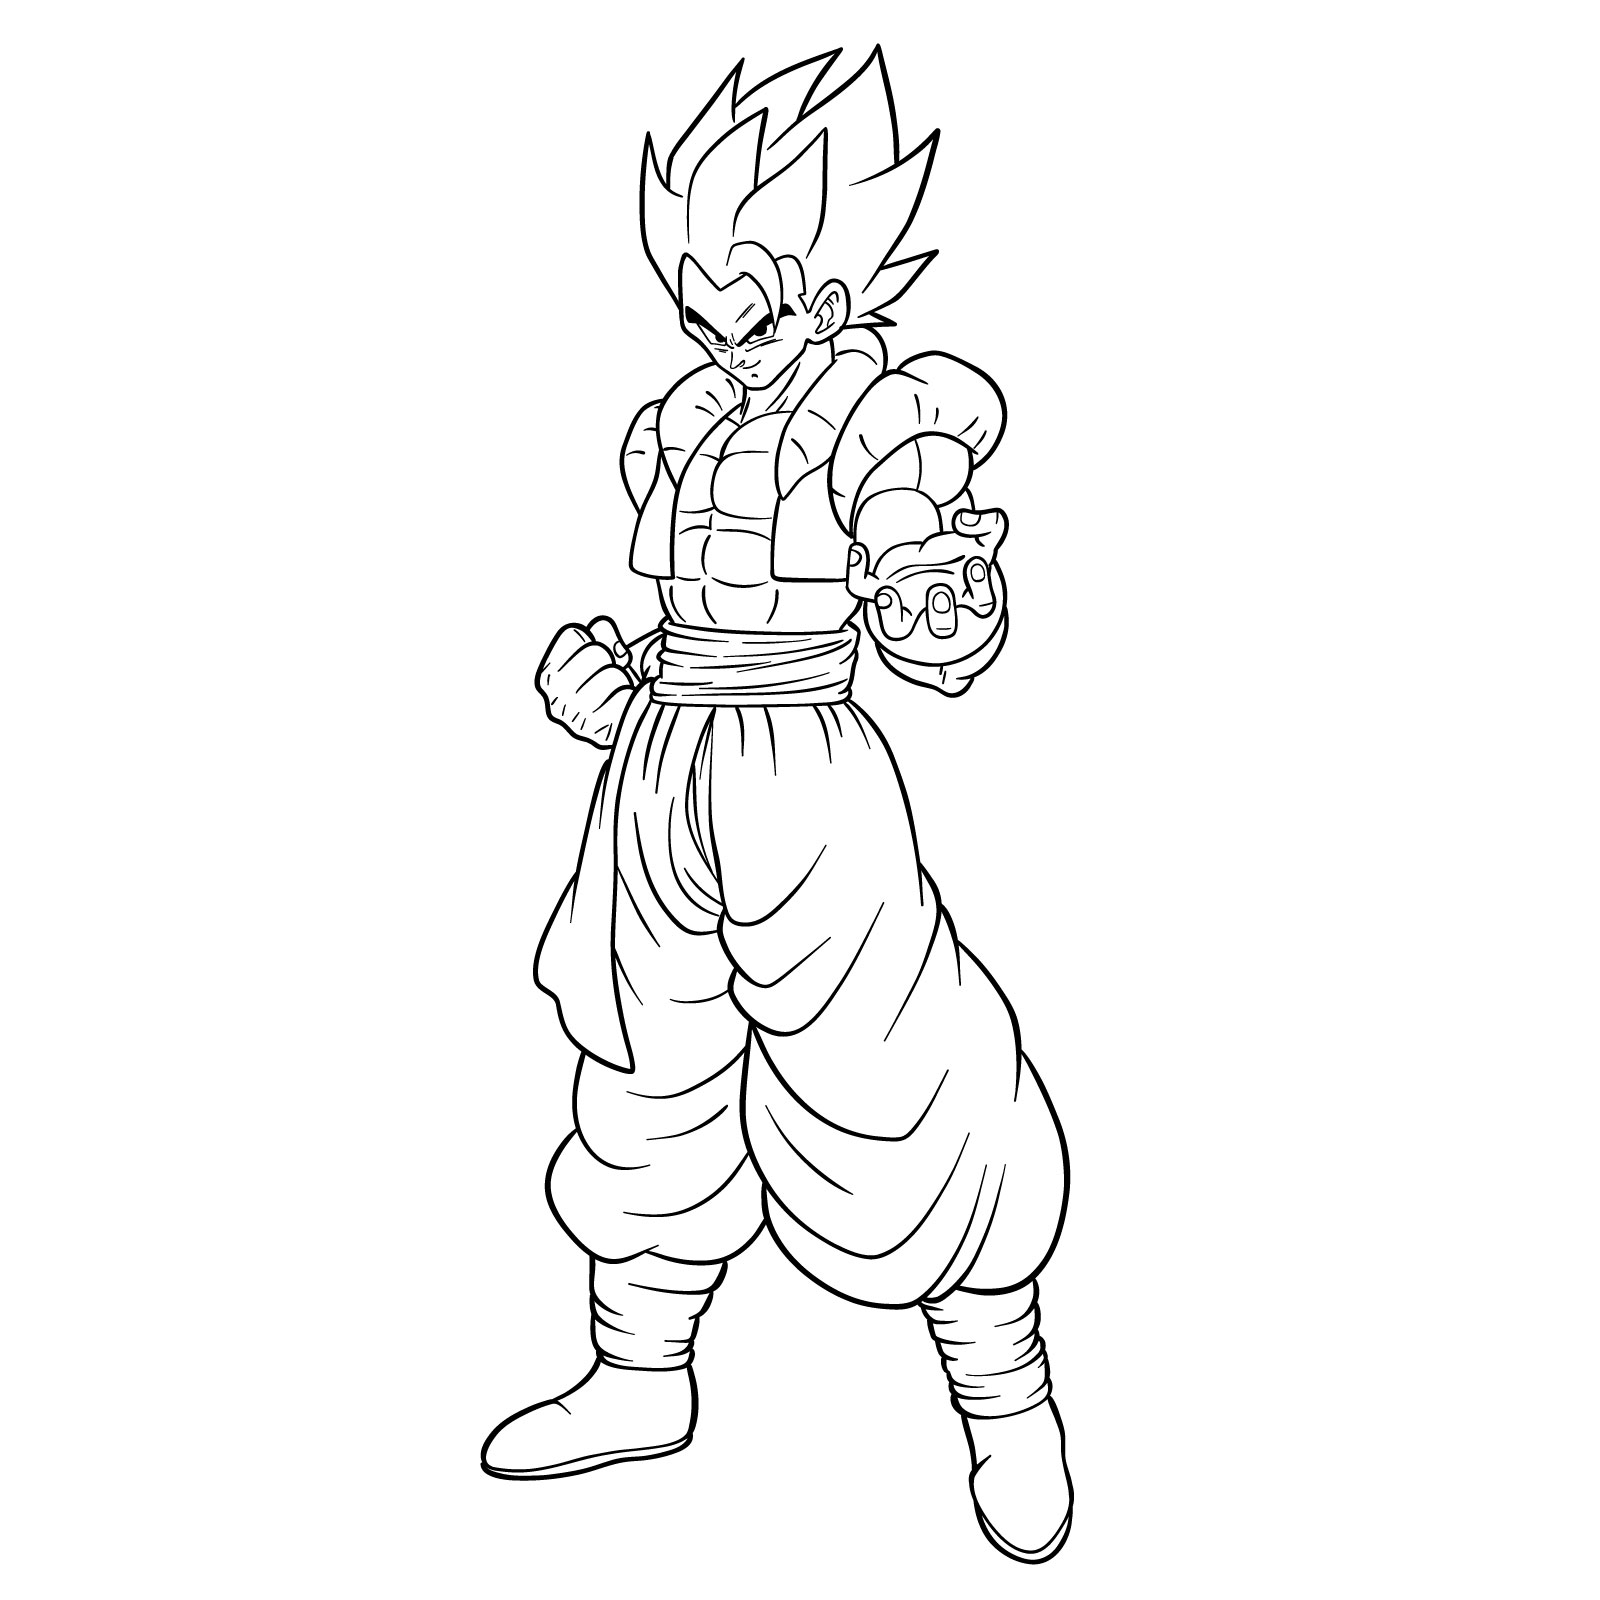
Step 41

How to draw Gogeta in Base - final step

Stage 4: Coloring and Shading (optional)

Finally, you may want to bring your drawing to life by adding color and shading. Use colored pencils, markers, or paints to fill in Gogeta’s hair, skin, and clothing, paying attention to highlights and shadows for a more realistic and dynamic appearance.

Unlocking Your Inner Saiyan: Tips and Techniques

Here are some additional tips and techniques to help you improve your Gogeta drawing:

  • Study references of Gogeta to better understand his unique features and characteristics.
  • Practice drawing different poses and expressions to capture Gogeta’s personality.
  • Experiment with various shading techniques to add depth and dimension to your artwork.
  • Don’t be afraid to make mistakes; learning and improving your drawing skills is an ongoing process.

Frequently Asked Questions

What drawing techniques can I use when sketching Gogeta?
Consider using techniques like cross-hatching or stippling for shading, and utilize gesture drawing to capture dynamic poses. Additionally, practice breaking complex shapes into simpler ones to make drawing Gogeta’s features more manageable.
How can I improve my proportions when drawing Gogeta?
Use guidelines and measurements to maintain accurate proportions. For instance, you can draw a grid or use the head-to-body ratio to ensure your Gogeta drawing has a balanced appearance.
What’s the best way to add highlights and shadows to my Gogeta drawing?
Pay attention to your light source when adding highlights and shadows. Use lighter colors and gentle pressure for highlights, while applying darker colors and increased pressure for shadows. Experiment with blending to create smooth transitions between shades.

Congratulations on completing your Base Gogeta drawing! With practice and patience, you’ll continue to improve and create even more amazing artwork. Don’t forget to share your masterpiece with friends and fellow artists. If you enjoyed this tutorial and would like to support our regular release of free drawing guides, consider donating to SketchOk at buymeacoffee.com/sketchok. And of course, check out our other tutorials for more drawing inspiration. Happy drawing!

Did you like the tutorial?

You can support the author of this website and also suggest your own ideas for new drawings by making a small donation here:

Leave a Comment

73