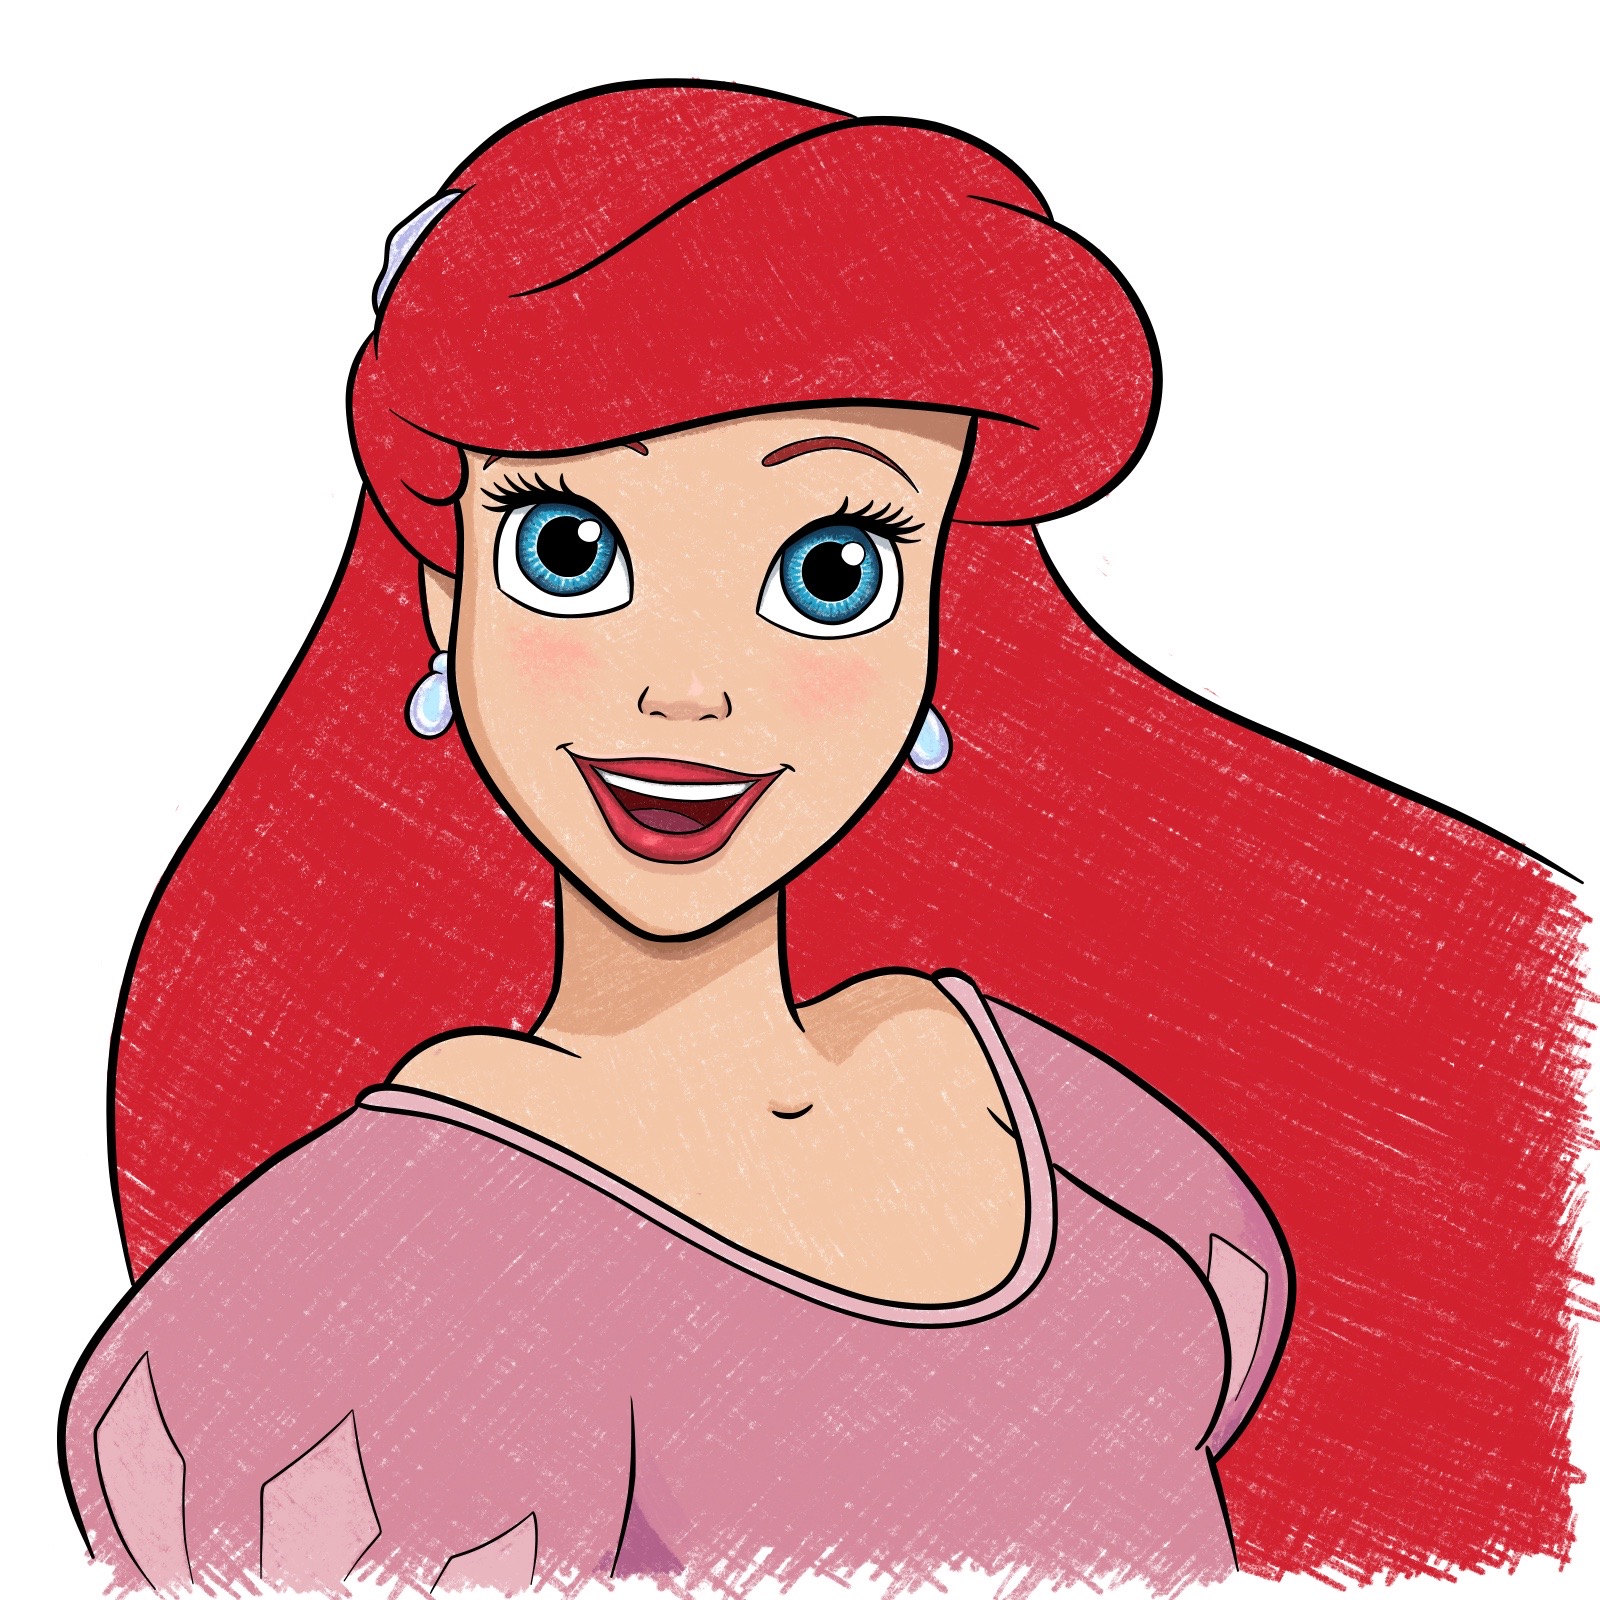
Do you want to learn how to draw Ariel, the Little Mermaid? Look no further! In this drawing guide, we will walk you through the process of sketching Ariel’s face using simple techniques and tools. Follow along as we break down the steps to create a beautiful Disney Princess drawing. By the end of this tutorial, you’ll know how to draw Ariel’s face and be one step closer to mastering sketching techniques.
Ariel, the Little Mermaid, is a beloved character from Disney’s classic animated film released in 1989. Her story is one of adventure, love, and self-discovery. Ariel, the youngest daughter of King Triton, lives in the underwater kingdom of Atlantica, where she dreams of exploring the human world above. Along her journey, she encounters various enchanting characters, such as the charming Prince Eric, her loyal friends Flounder and Sebastian, and the evil sea witch Ursula. Ariel’s tale of transformation, bravery, and love has captivated audiences of all ages and continues to inspire countless Disney fans. Her story is a testament to the power of curiosity and determination, and her vibrant personality shines through in every drawing of this iconic Disney Princess.
Are you eager to expand your drawing skills? In addition to learning how to draw Ariel’s face, our comprehensive guide series will provide you with a foundation for sketching other beloved characters like Cinderella, Belle, and Jasmine. As you follow along with our step-by-step instructions, you’ll discover the joy of bringing these iconic Little Mermaid and Disney Princess figures to life on paper. So, gather your materials and let your creativity flow as we delve into the world of drawing Ariel and other Disney Princesses and unlocking your artistic potential.
Materials and Tools for Drawing Ariel
To start, you’ll need sketching pencils for the outline and colored pencils to add life to your drawing. Don’t forget an eraser to clean up any mistakes and a sharpener to keep your pencils in top shape.
Examples of Colors We Used
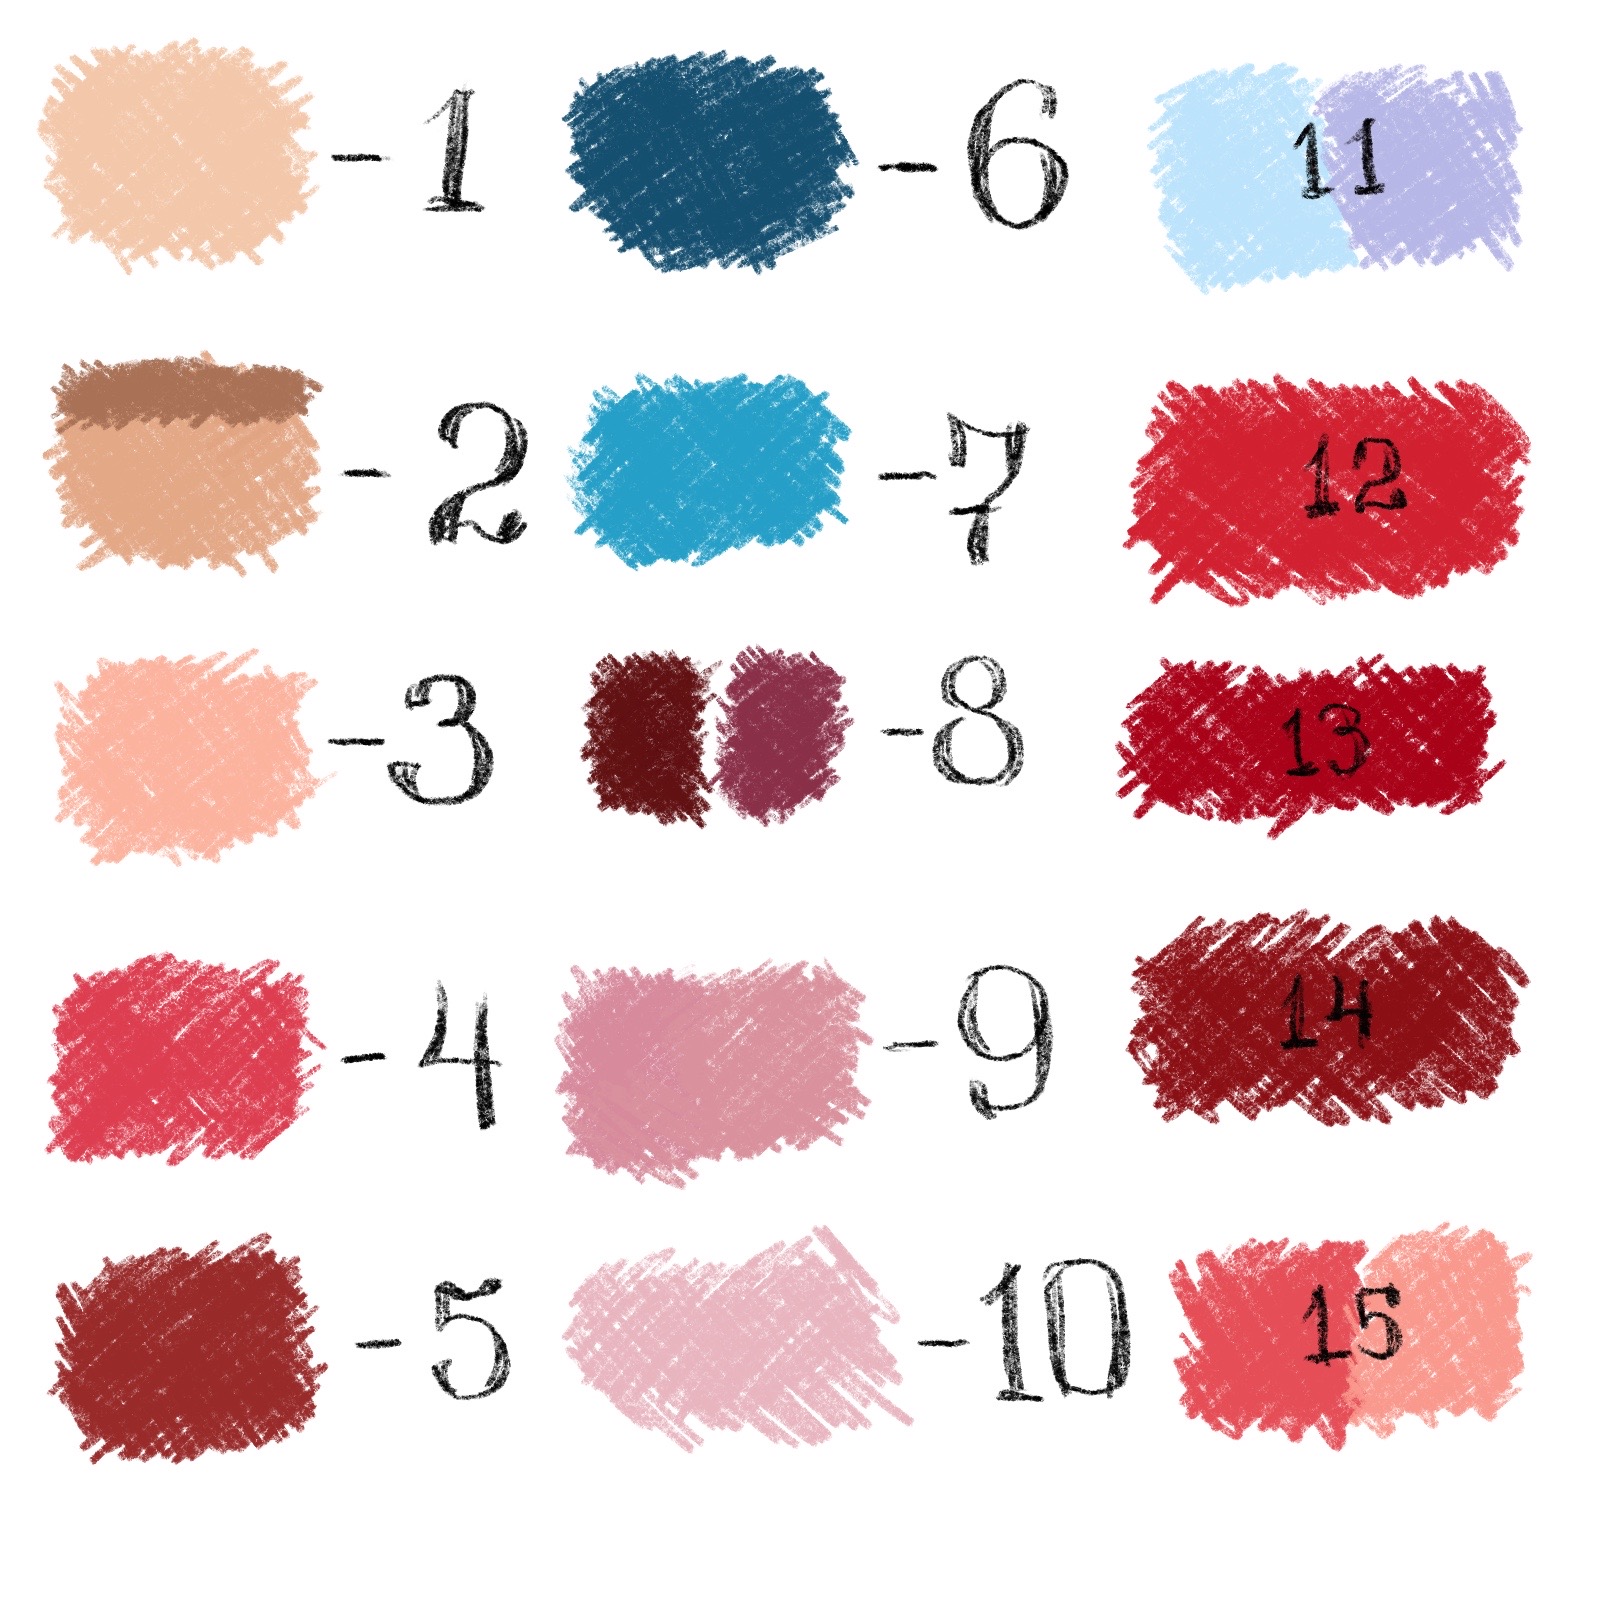
Here’s a color palette we used for reference. You can use these colors or choose your own:
1, 2, 3: Skin tones
4: Lips
5: Eyebrows
6, 7: Eyes
8: Mouth and tongue
9, 10: Dress
11: Accessories
12: Primary hair color
13, 14: Hair shading
15: Hair highlights
Sketching Techniques and Proportions
Let’s begin by creating a framework for Ariel’s face drawing. This will ensure that her facial features are placed correctly and maintain proper proportions.
Step 1: Draw the Foundation
Begin by drawing a circle to represent Ariel’s head. This will help us place her facial features in the correct spots and establish proper proportions.
Step 2: Establish the Eye Line and Chin
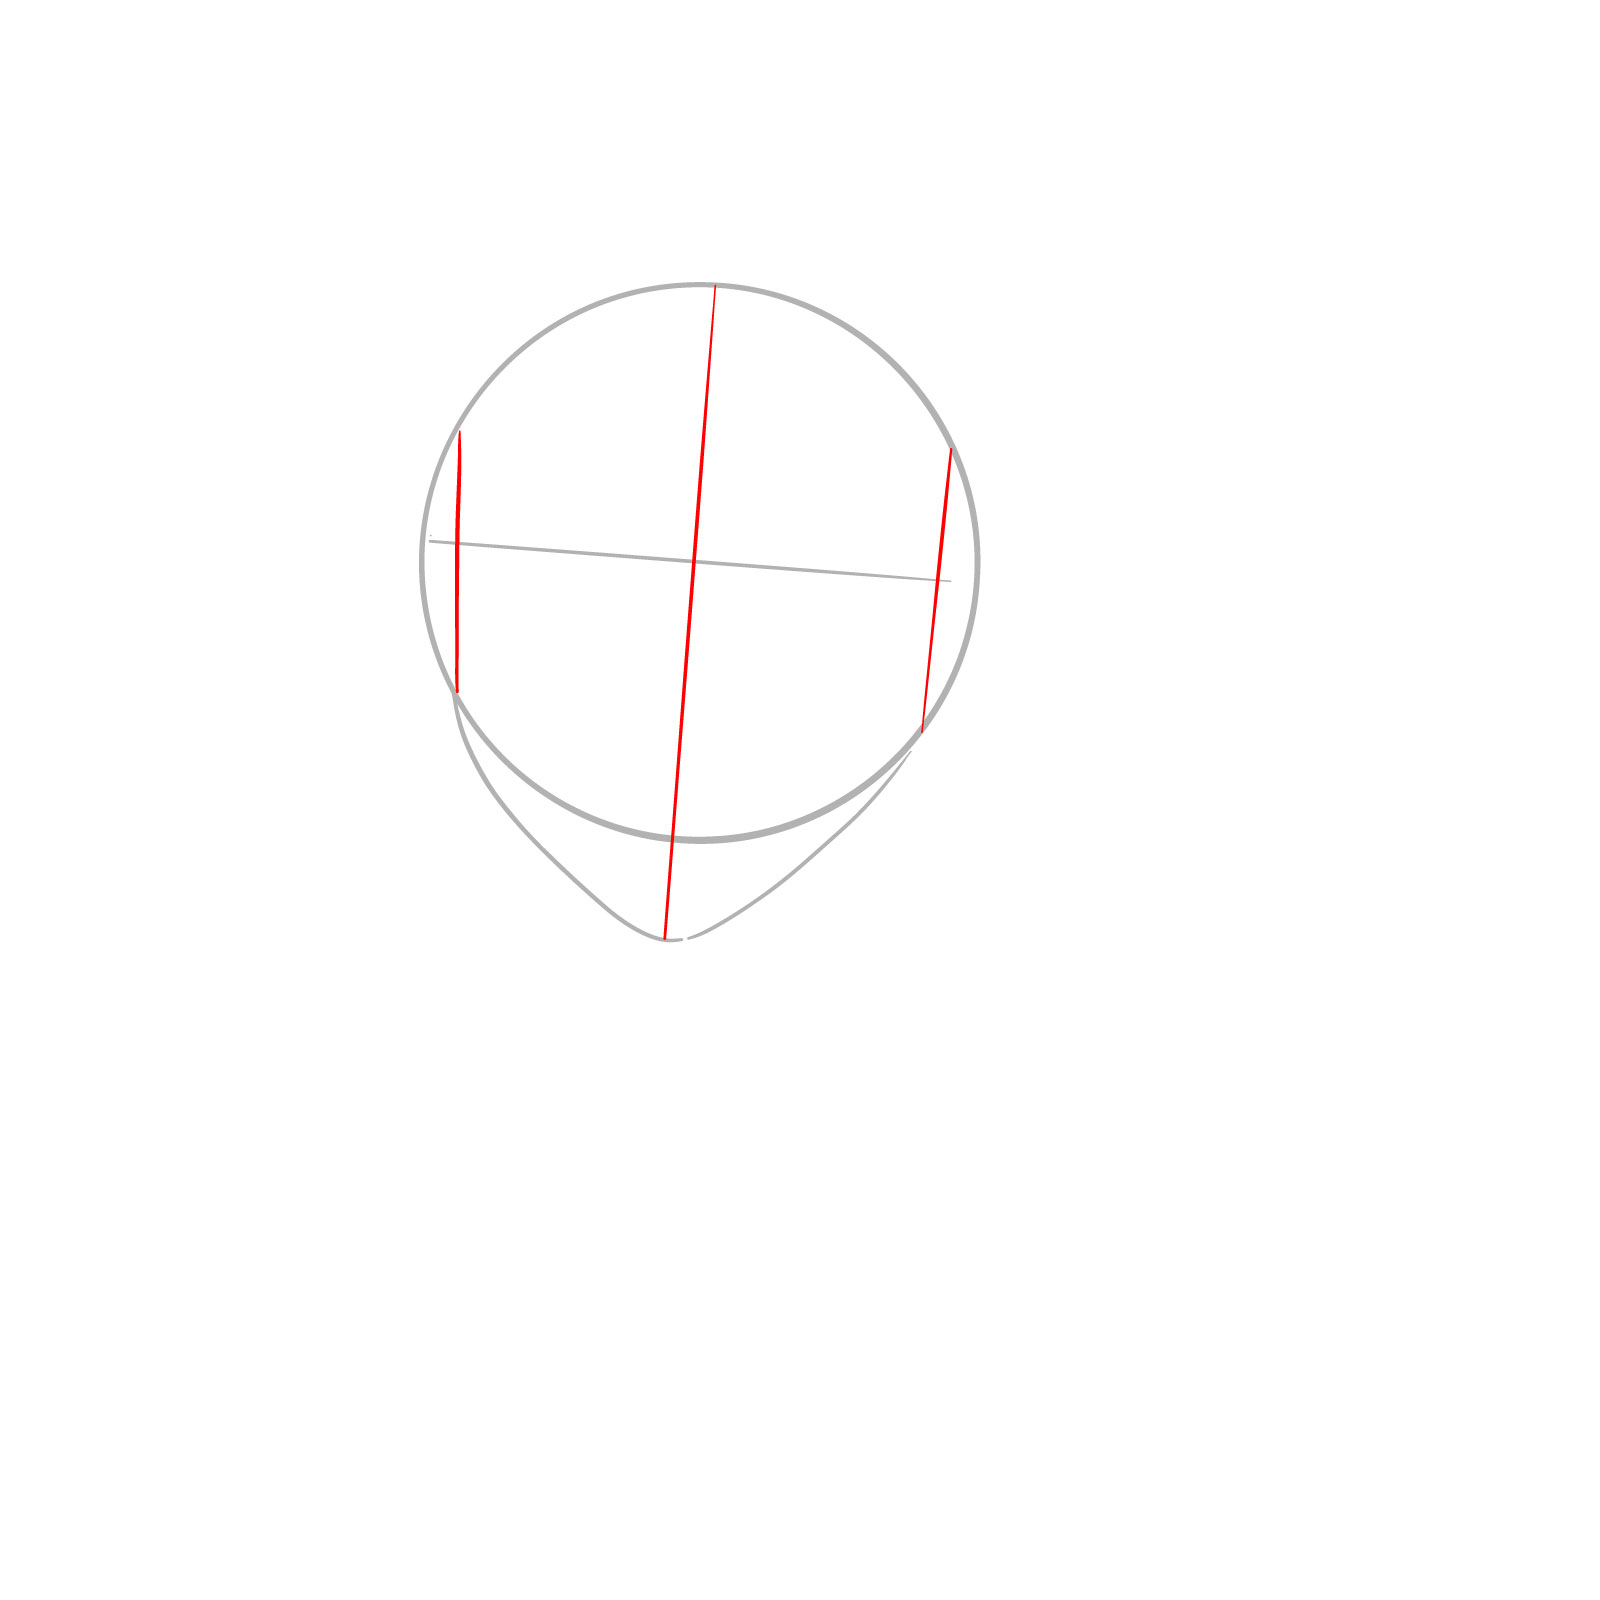
Add a horizontal line across the center of the circle to indicate the position of Ariel’s eyes. Sketch the outline of her chin below the circle, as shown in the image.
Step 3: Divide the Face
Sketch a vertical line through the center of the circle, dividing her face into two equal parts. Add two vertical lines on the left and right sides where her skullbones meet the circle.
Step 4: Nose and Eyebrow Lines
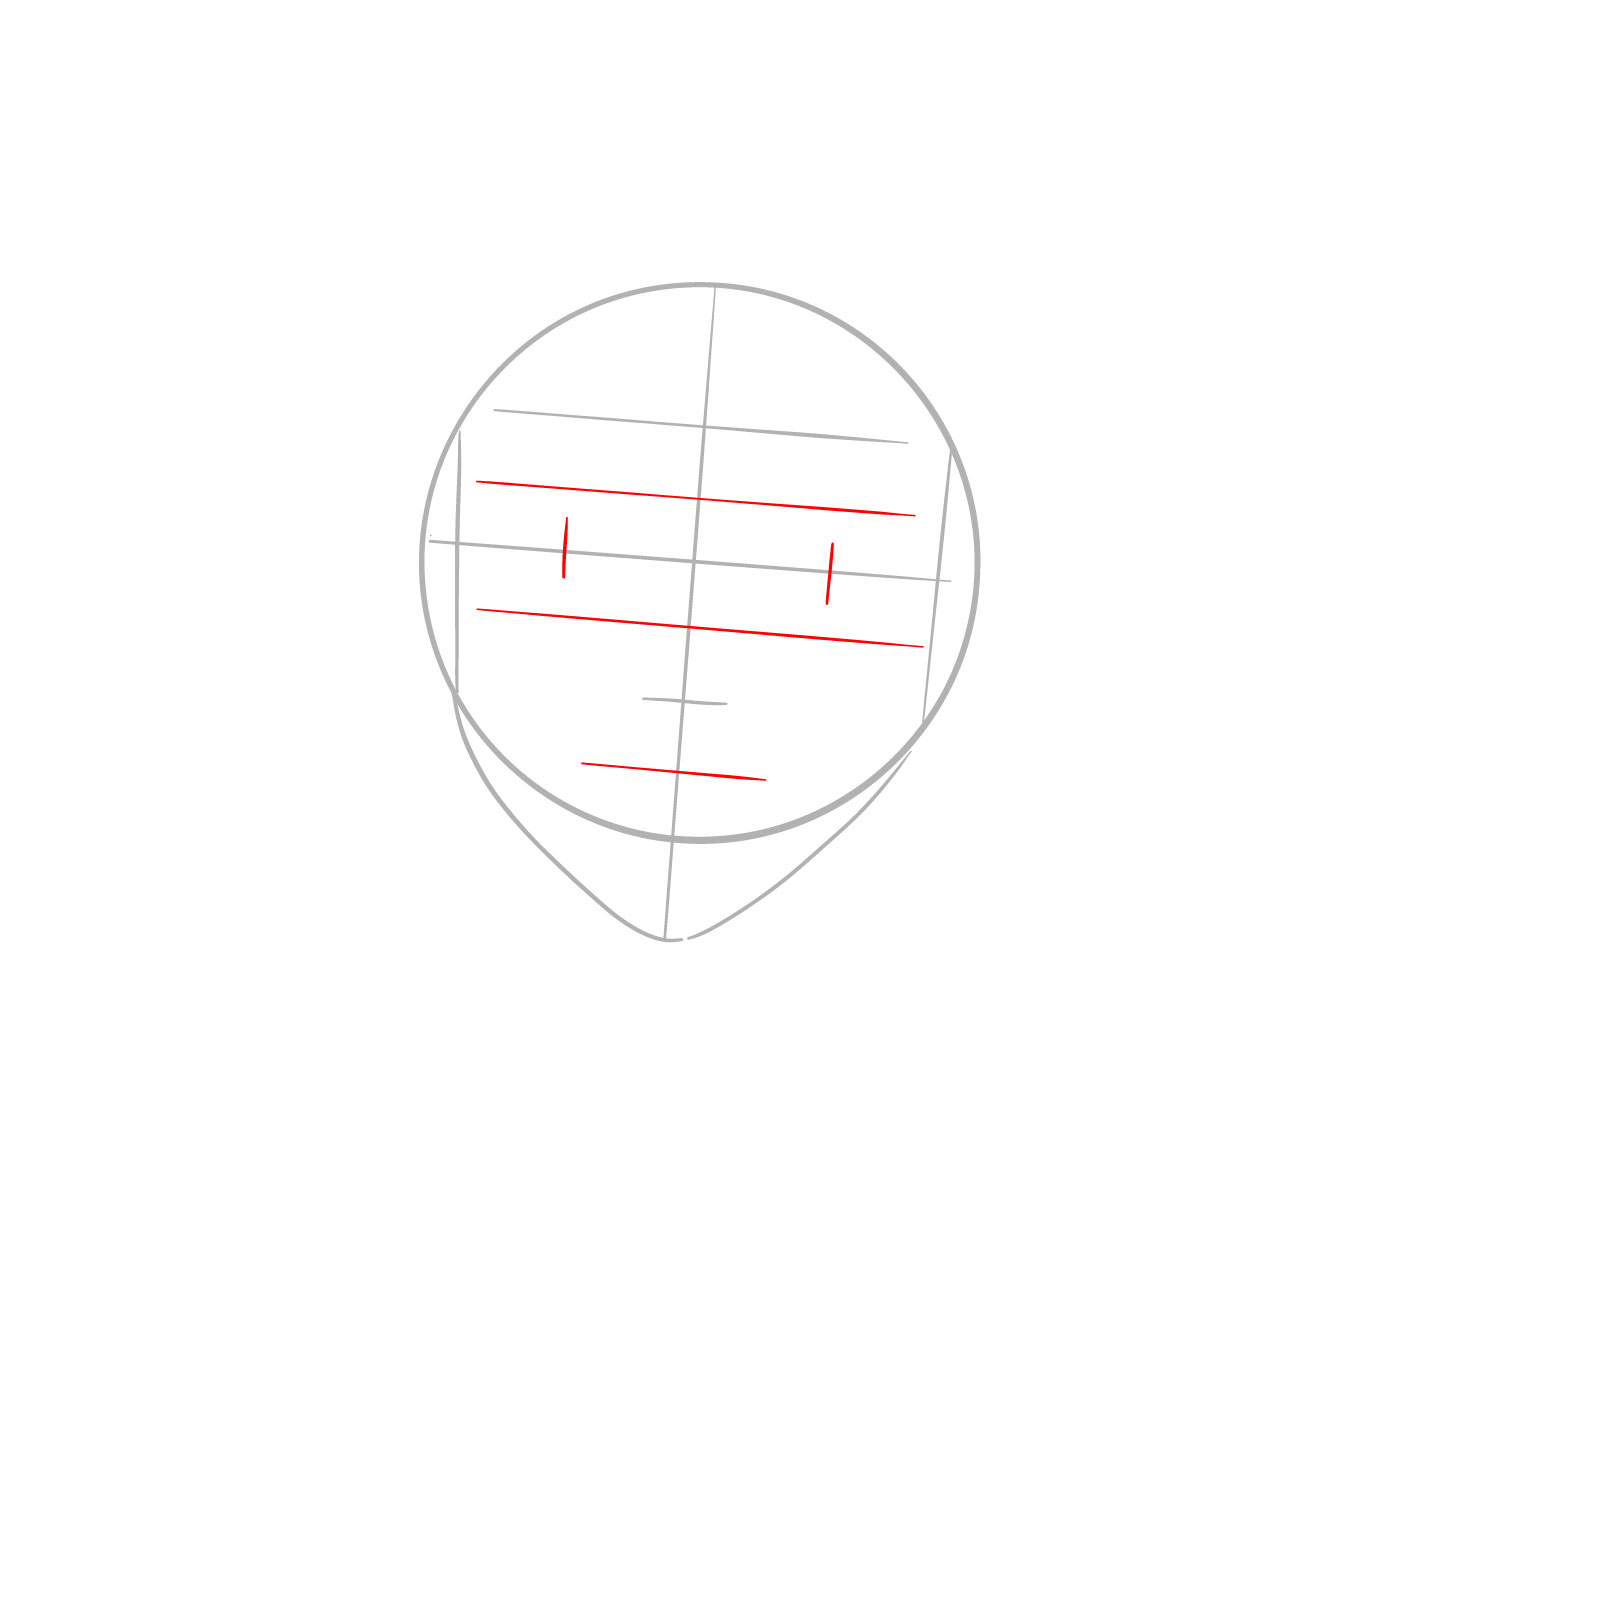
Draw a short horizontal line in the middle of the bottom half of the circle for Ariel’s nose placement. Next, sketch a line for her eyebrows, dividing the top half of the circle in half. This will create four equal parts along the vertical line.
Step 5: Mouth and Pupil Lines
Add a line for Ariel’s mouth, positioning it halfway between the nose line and the bottom of the circle. Then, draw two more horizontal lines: one between the center of the circle and her nose, and another between the eyebrows line and the center of the circle. Add two short vertical lines for the pupils, approximately in the center of the left and right sides of the eye line.
Step 6: Eyes, Neck, and Shoulders Outline
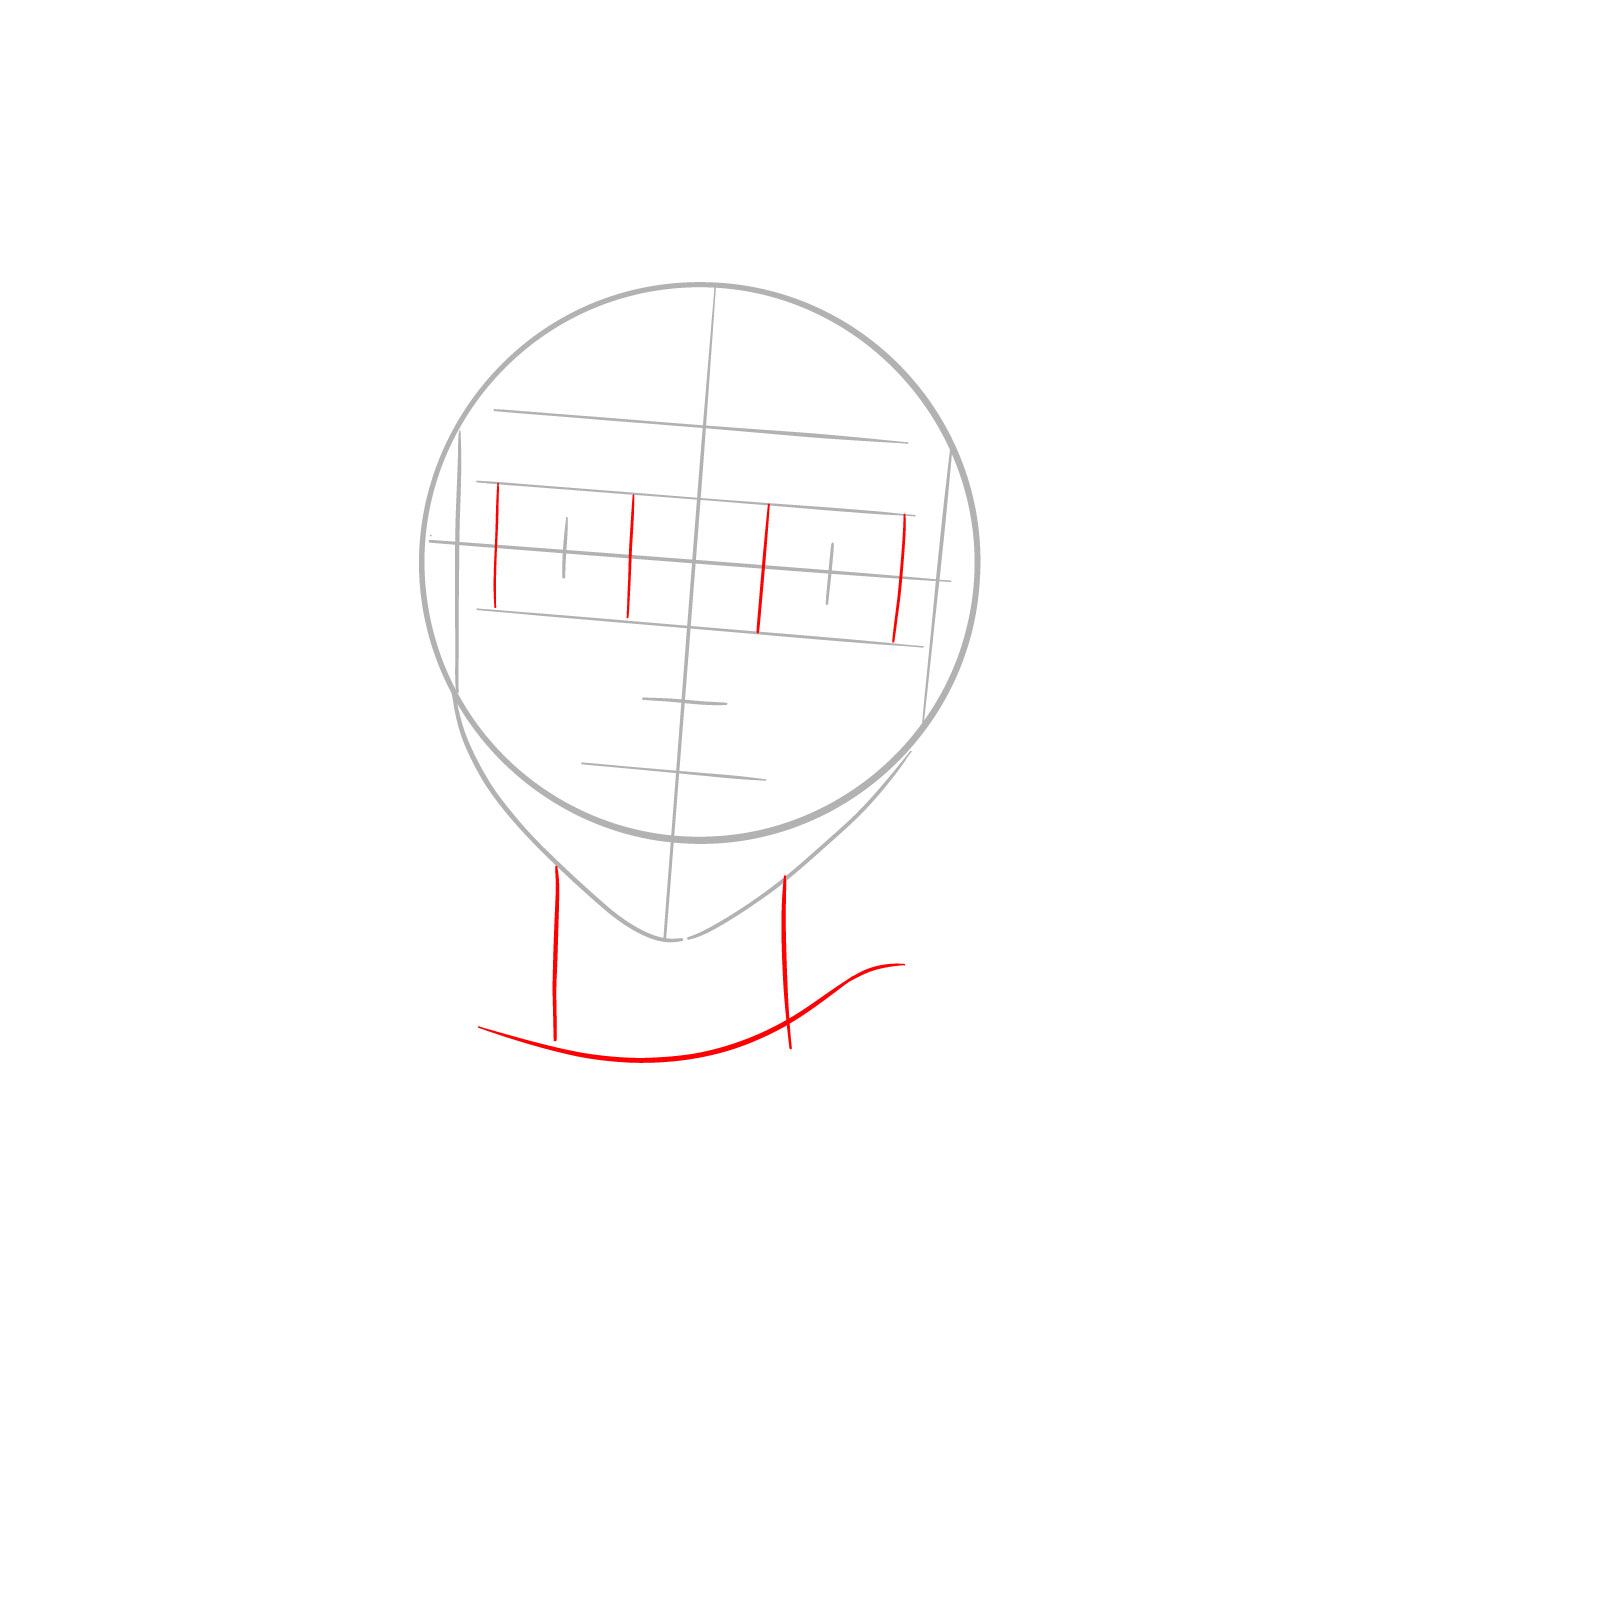
Now, sketch the vertical lines for Ariel’s eyes and draw a rough outline for her neck and shoulders.
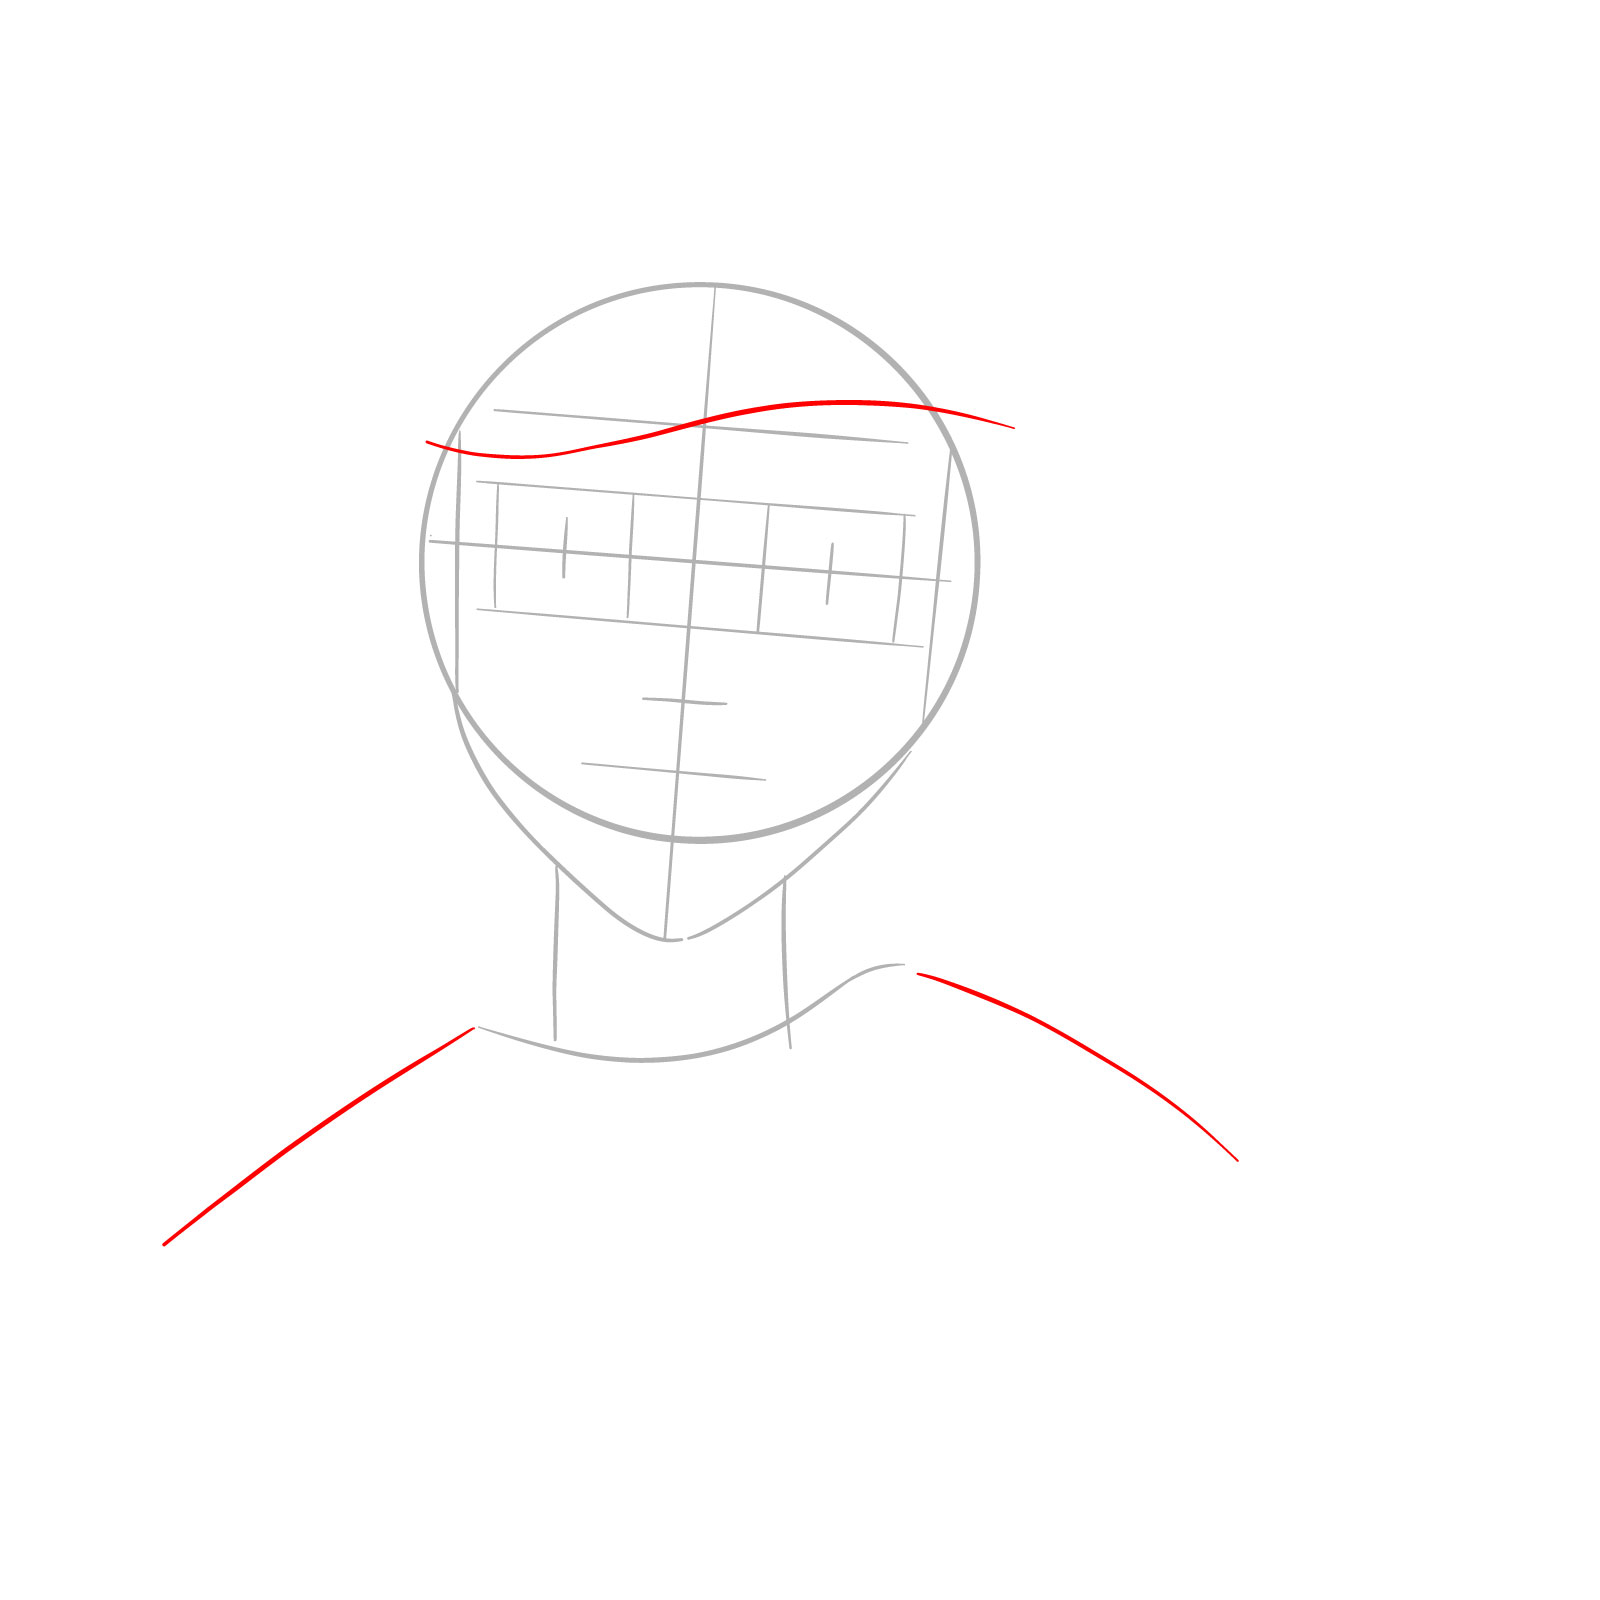
Step 7: Mapping Ariel’s Bangs
Continue with the shoulders and add a curved line to map out the position of Ariel’s bangs.
At this point, you’ve completed the basic sketch, which will serve as a foundation for the rest of the drawing. These lines and the circle will help maintain the proportions as we move forward and begin adding details.
Drawing Ariel’s Facial Features
Now that the foundation is complete, let’s start adding details to bring Ariel’s face to life.
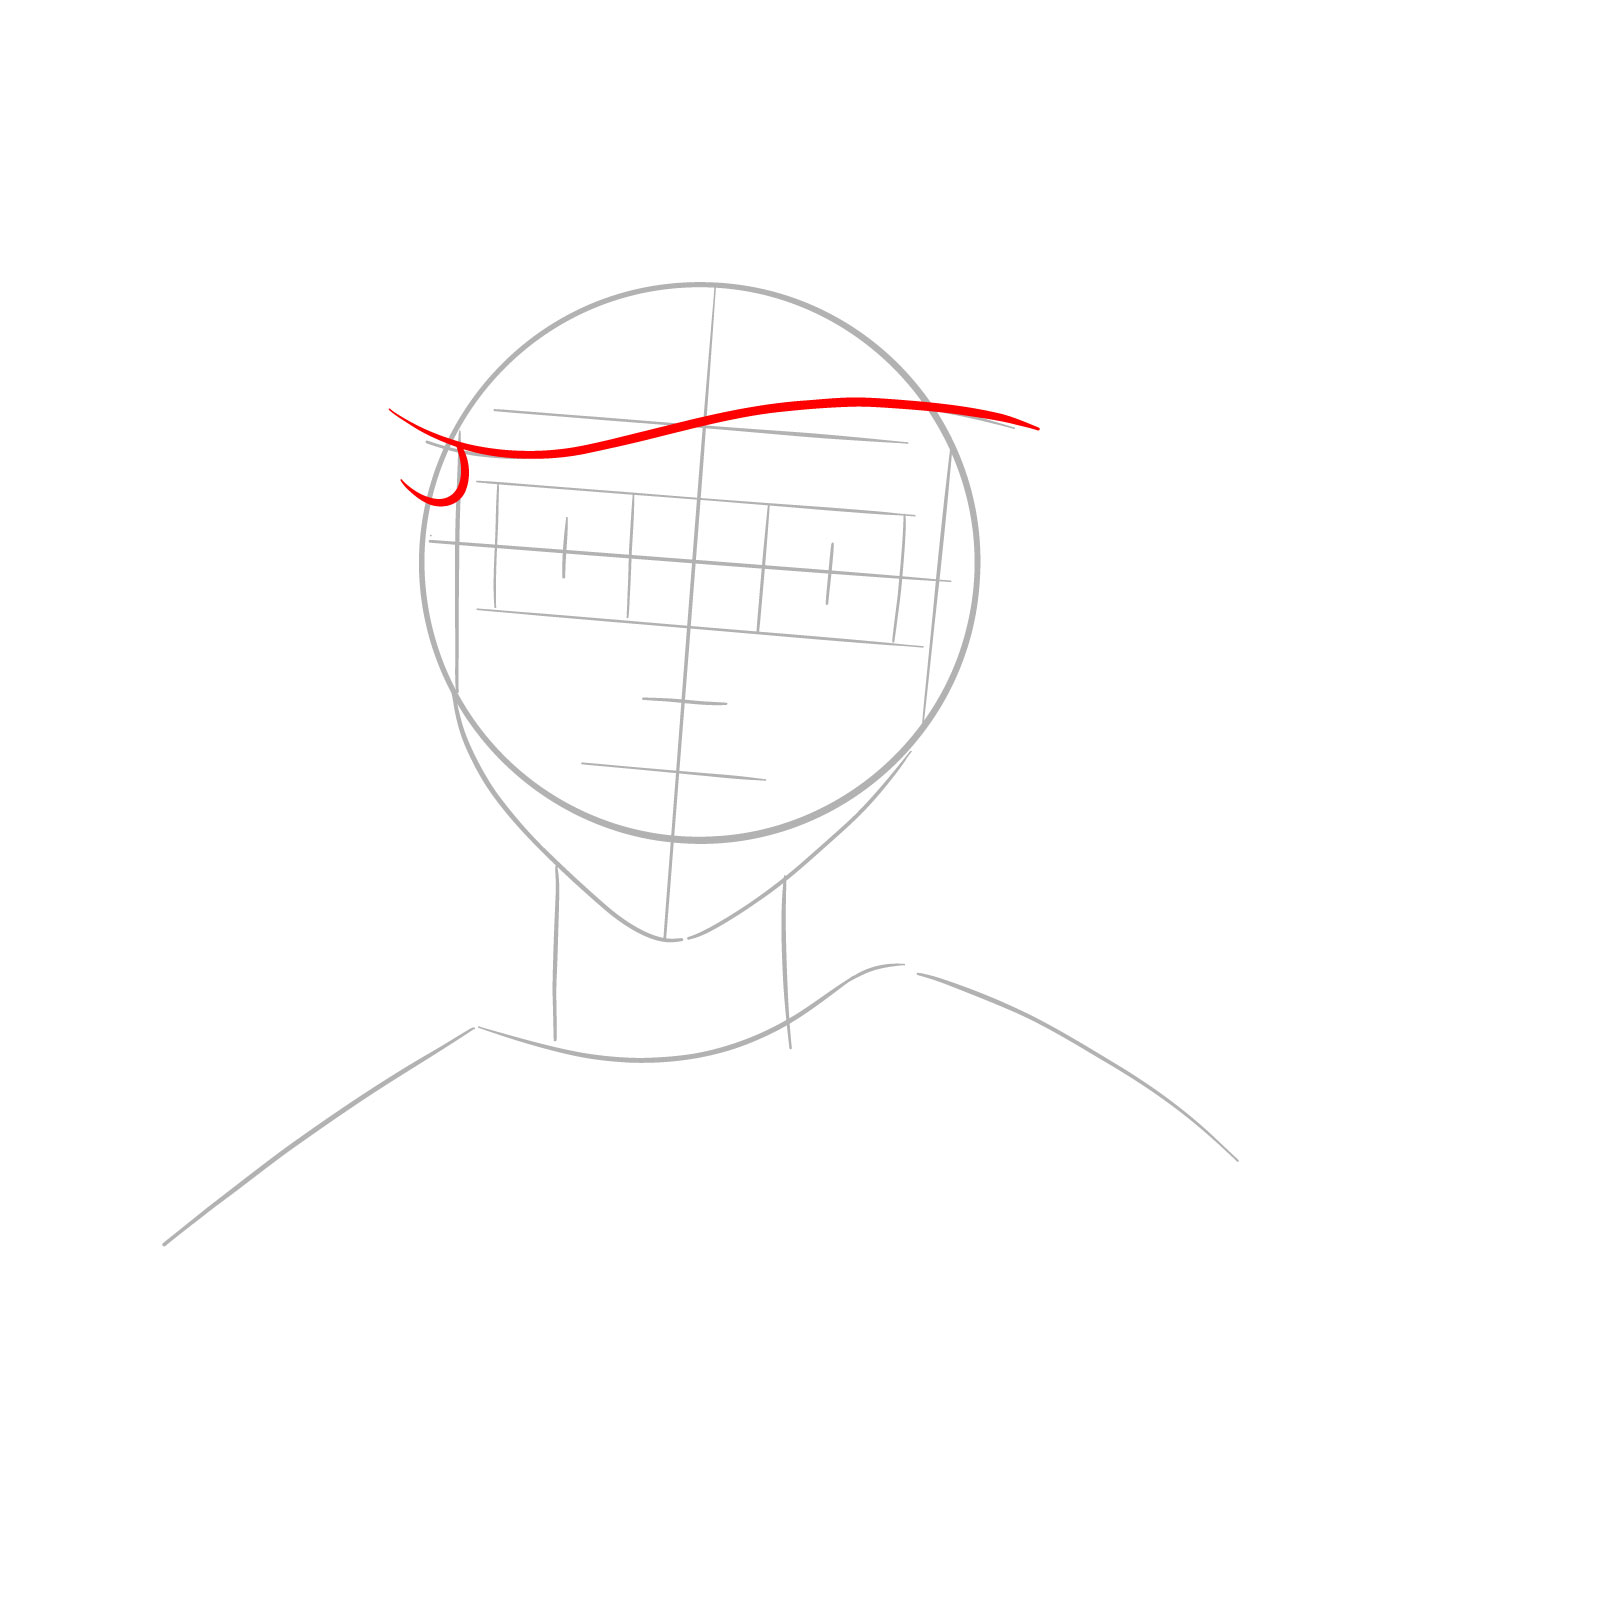
Step 8: Ariel’s Bangs
Sketch a line to define the shape of her bangs.
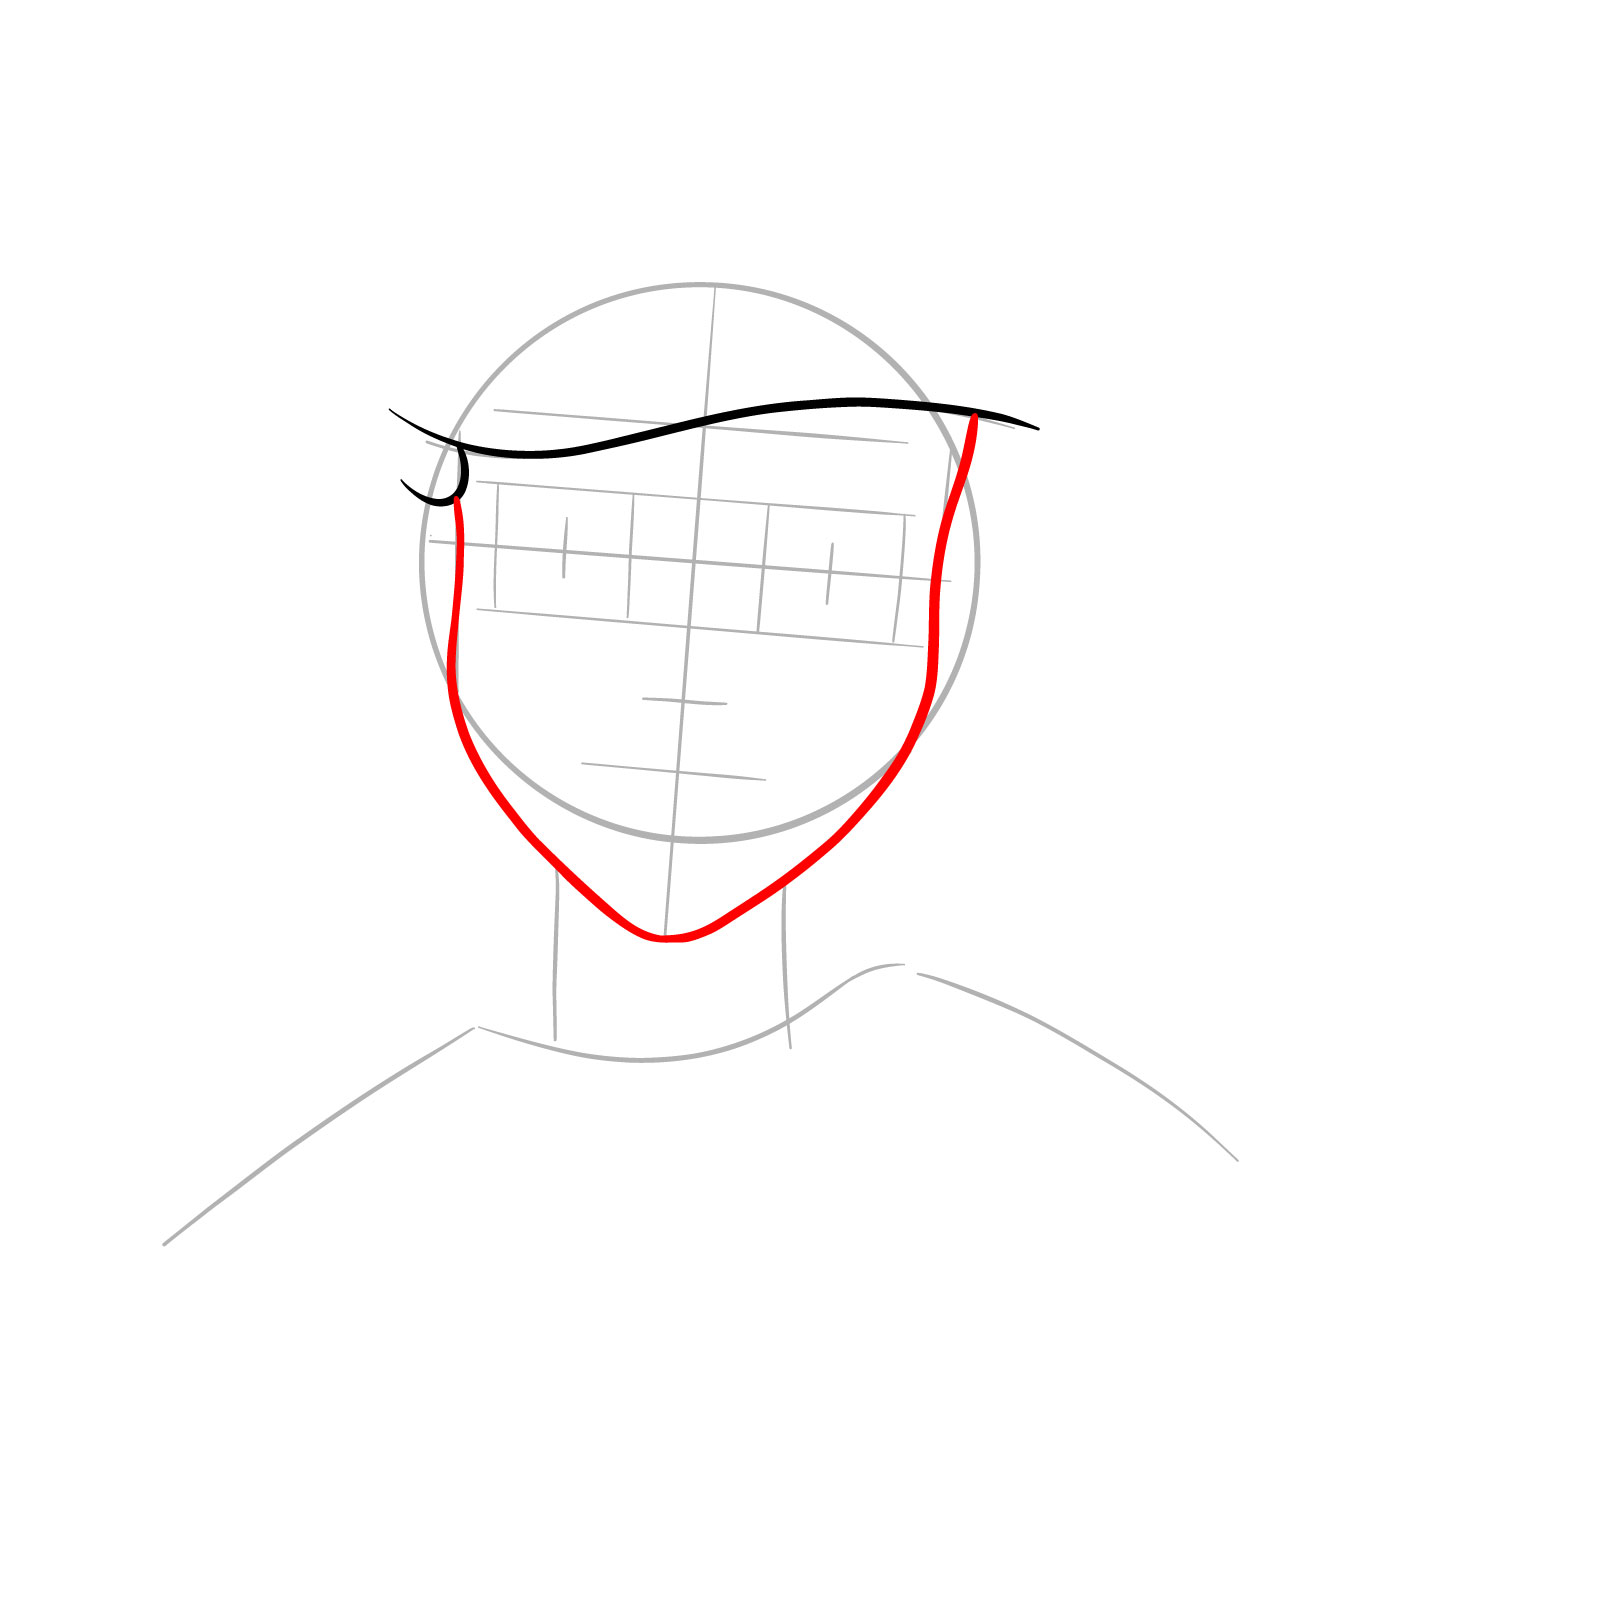
Step 9: Face Outline
Draw the outline of Ariel’s face, following the shape established by the circle and chin.
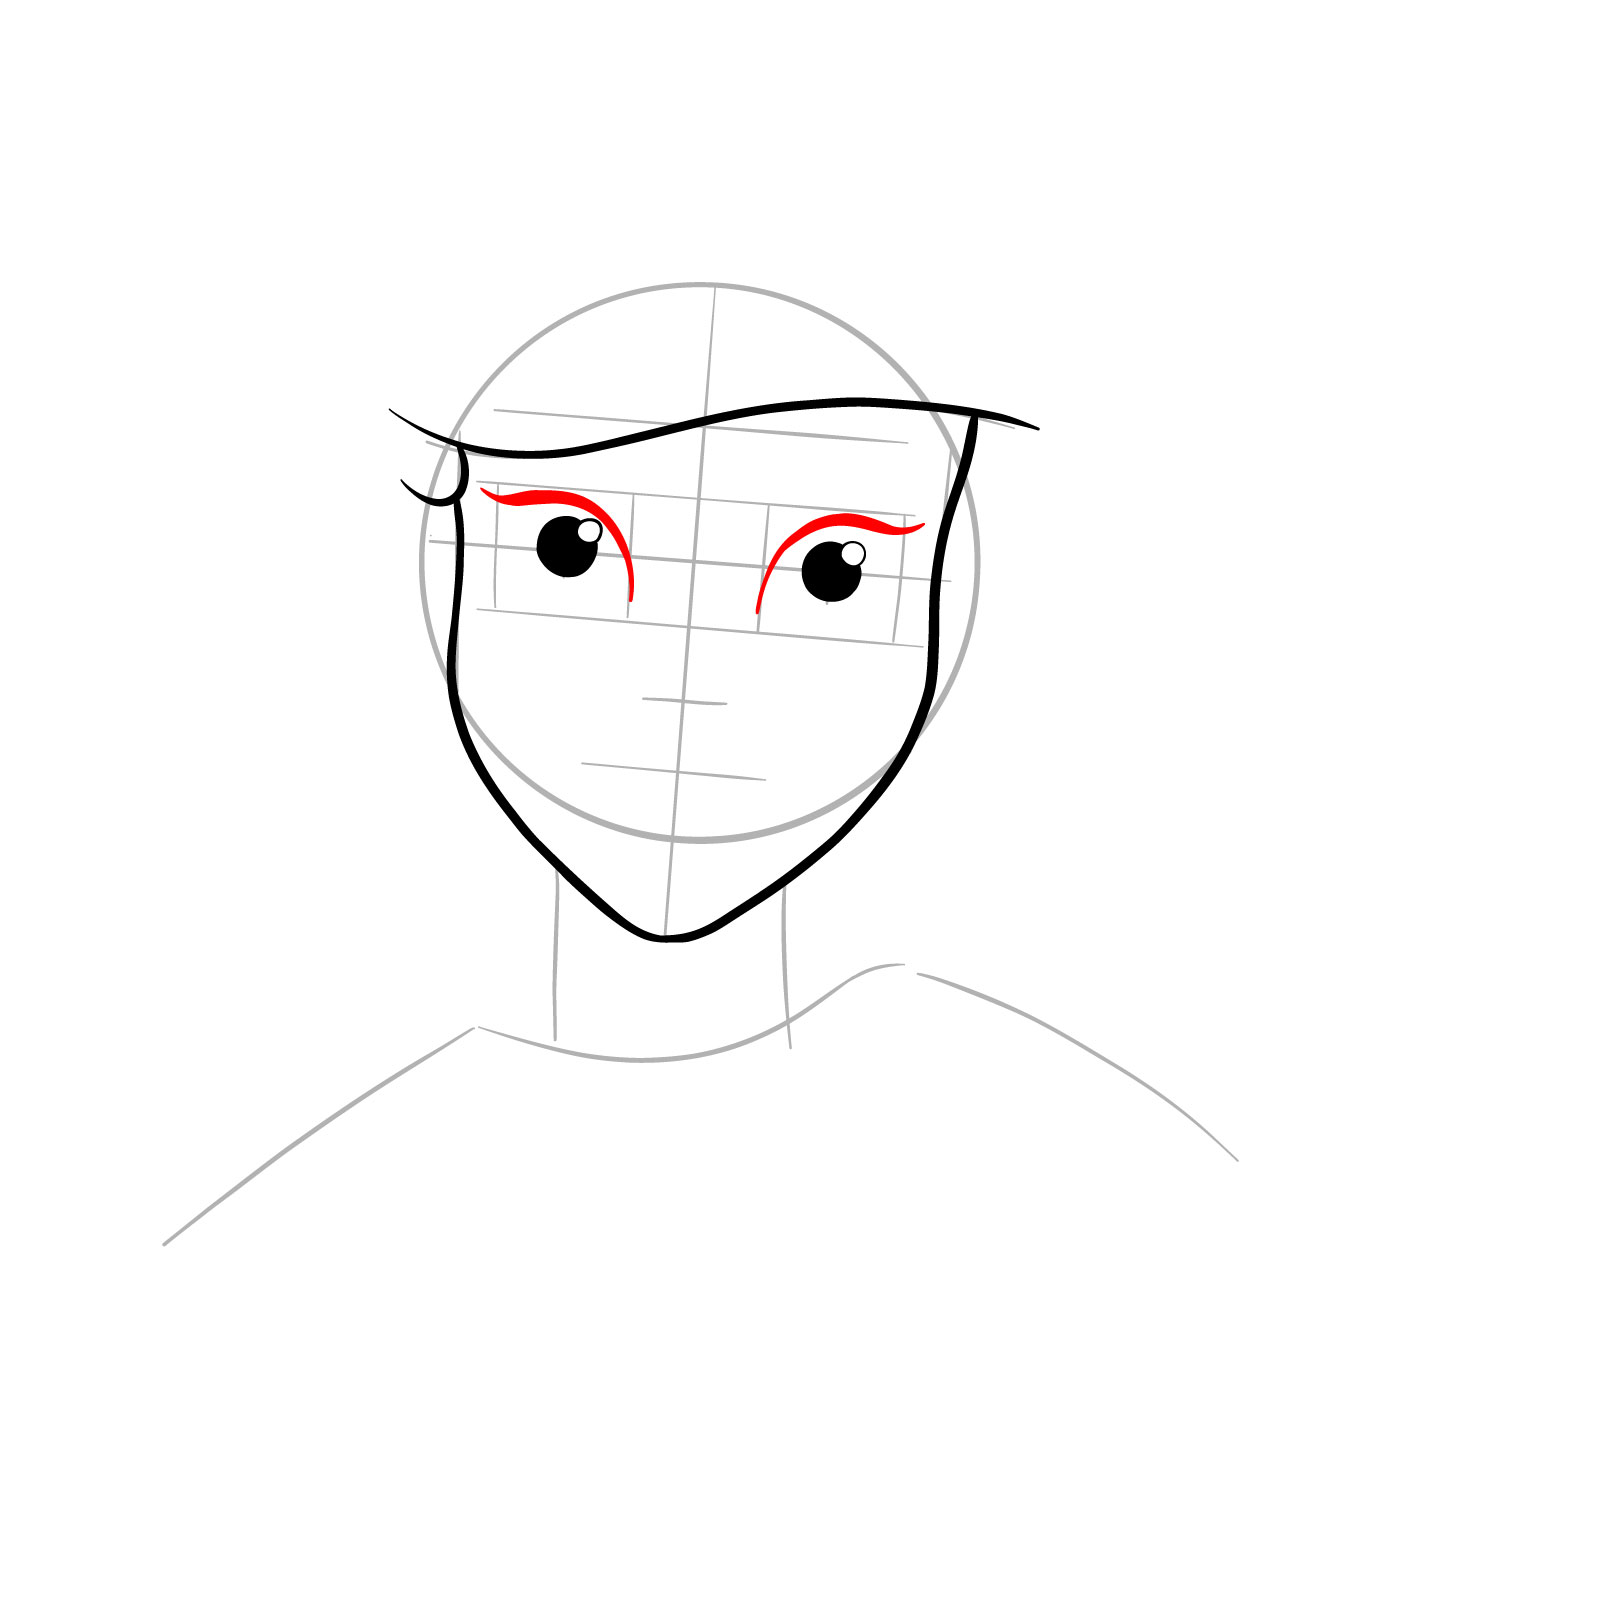
Step 10: Pupils and Glares
Fill in the pupils with black and draw small circles within them to represent glares.
Step 11: Upper Eye Lines and Eyelashes
Draw curved lines for the upper part of her eyes, making them slightly thicker to represent her eyelashes.
Step 12: Lower Eye Lines
Add the lower outline of Ariel’s eyes.
Step 13: Eyeballs
Sketch circles for her eyeballs.
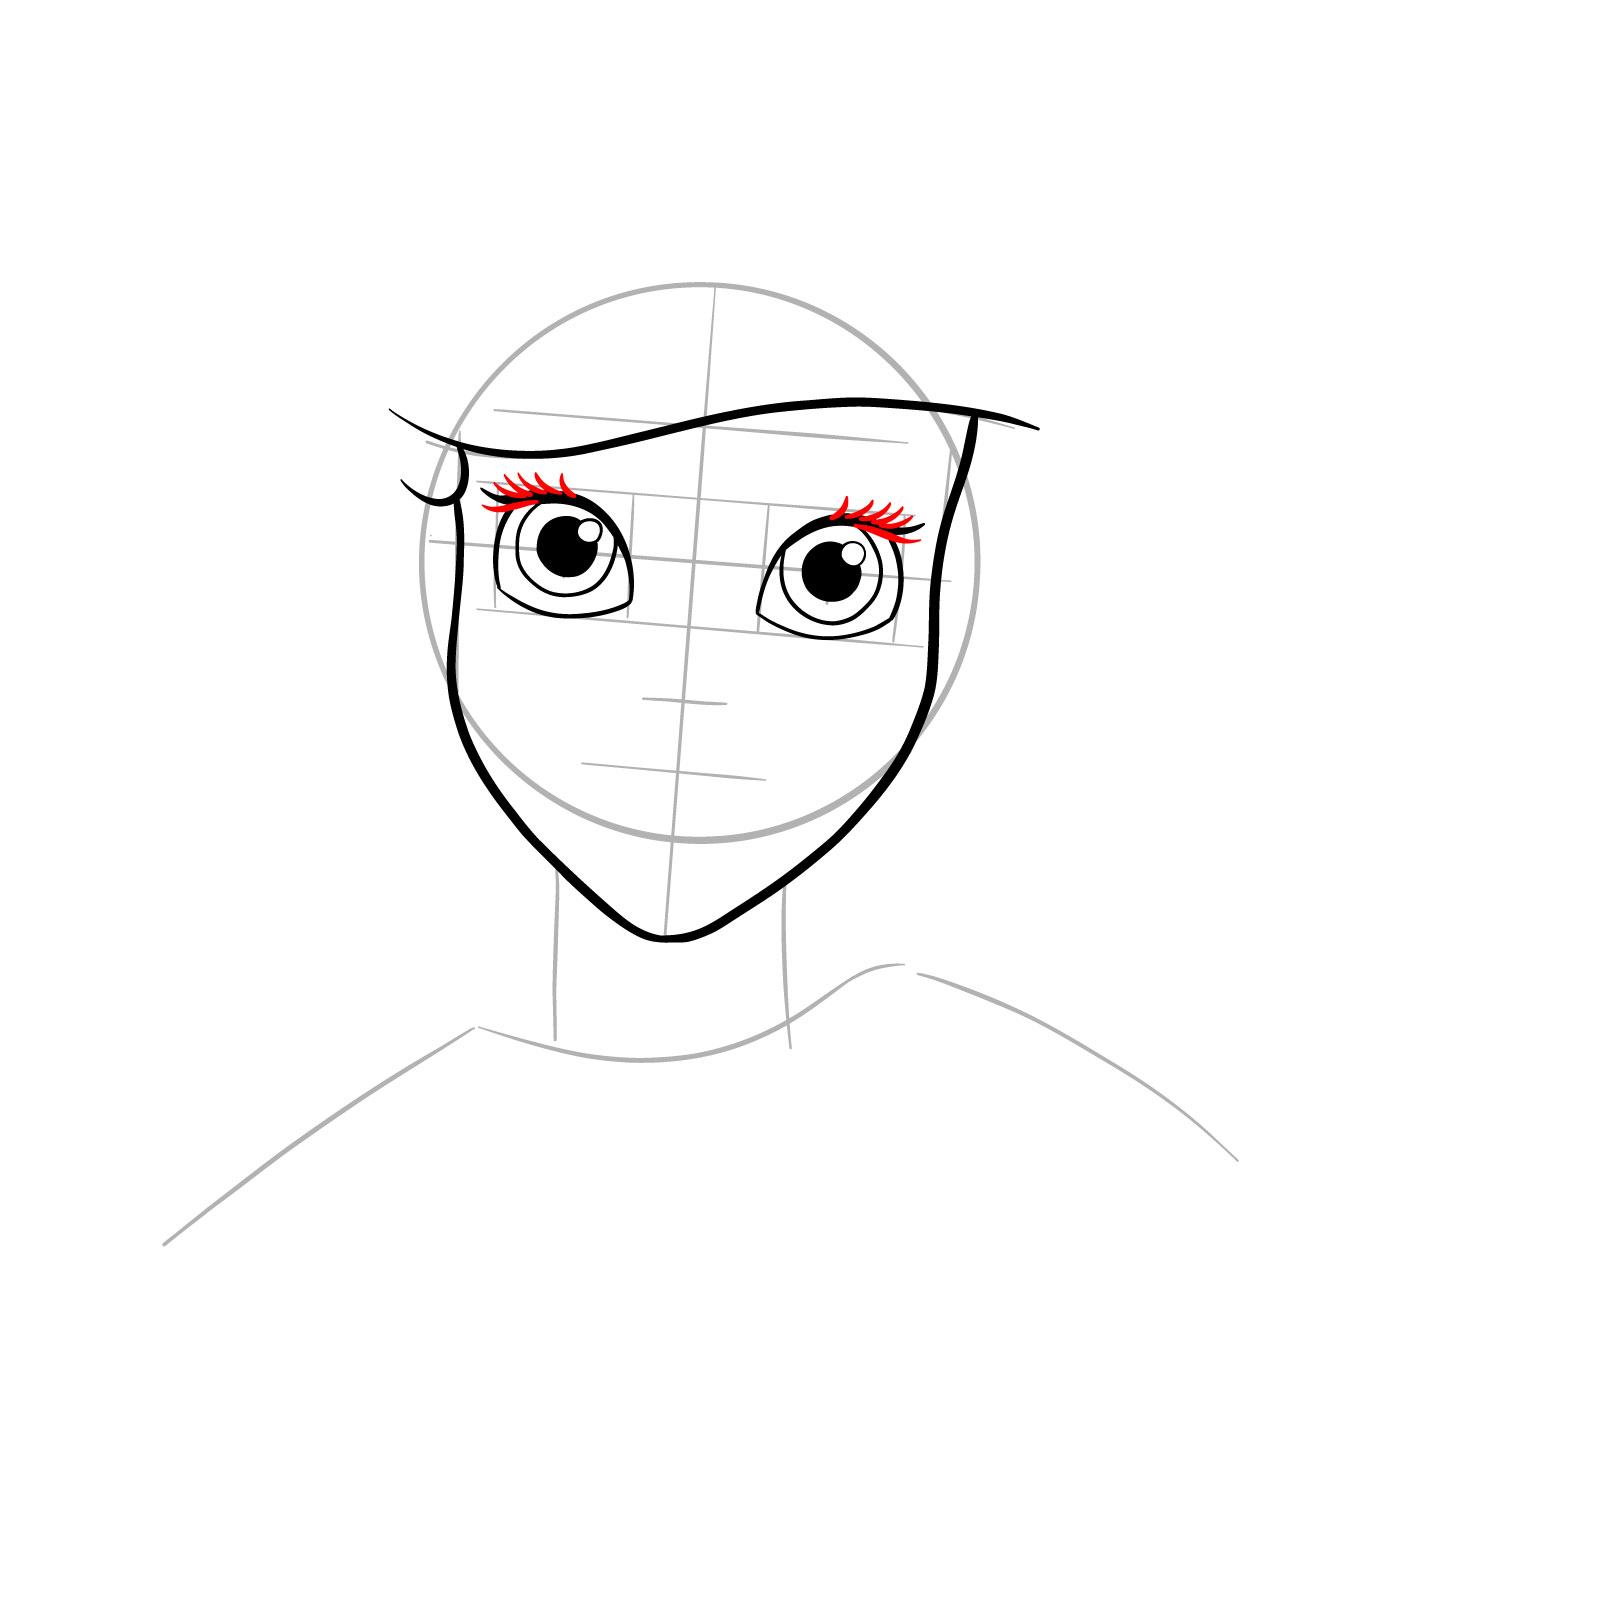
Step 14: Eyelashes
Add six thick eyelashes on both sides, starting from the top line of the eyes. Press lightly on the pencil, then gradually lift it to create thinning eyelashes towards the end.
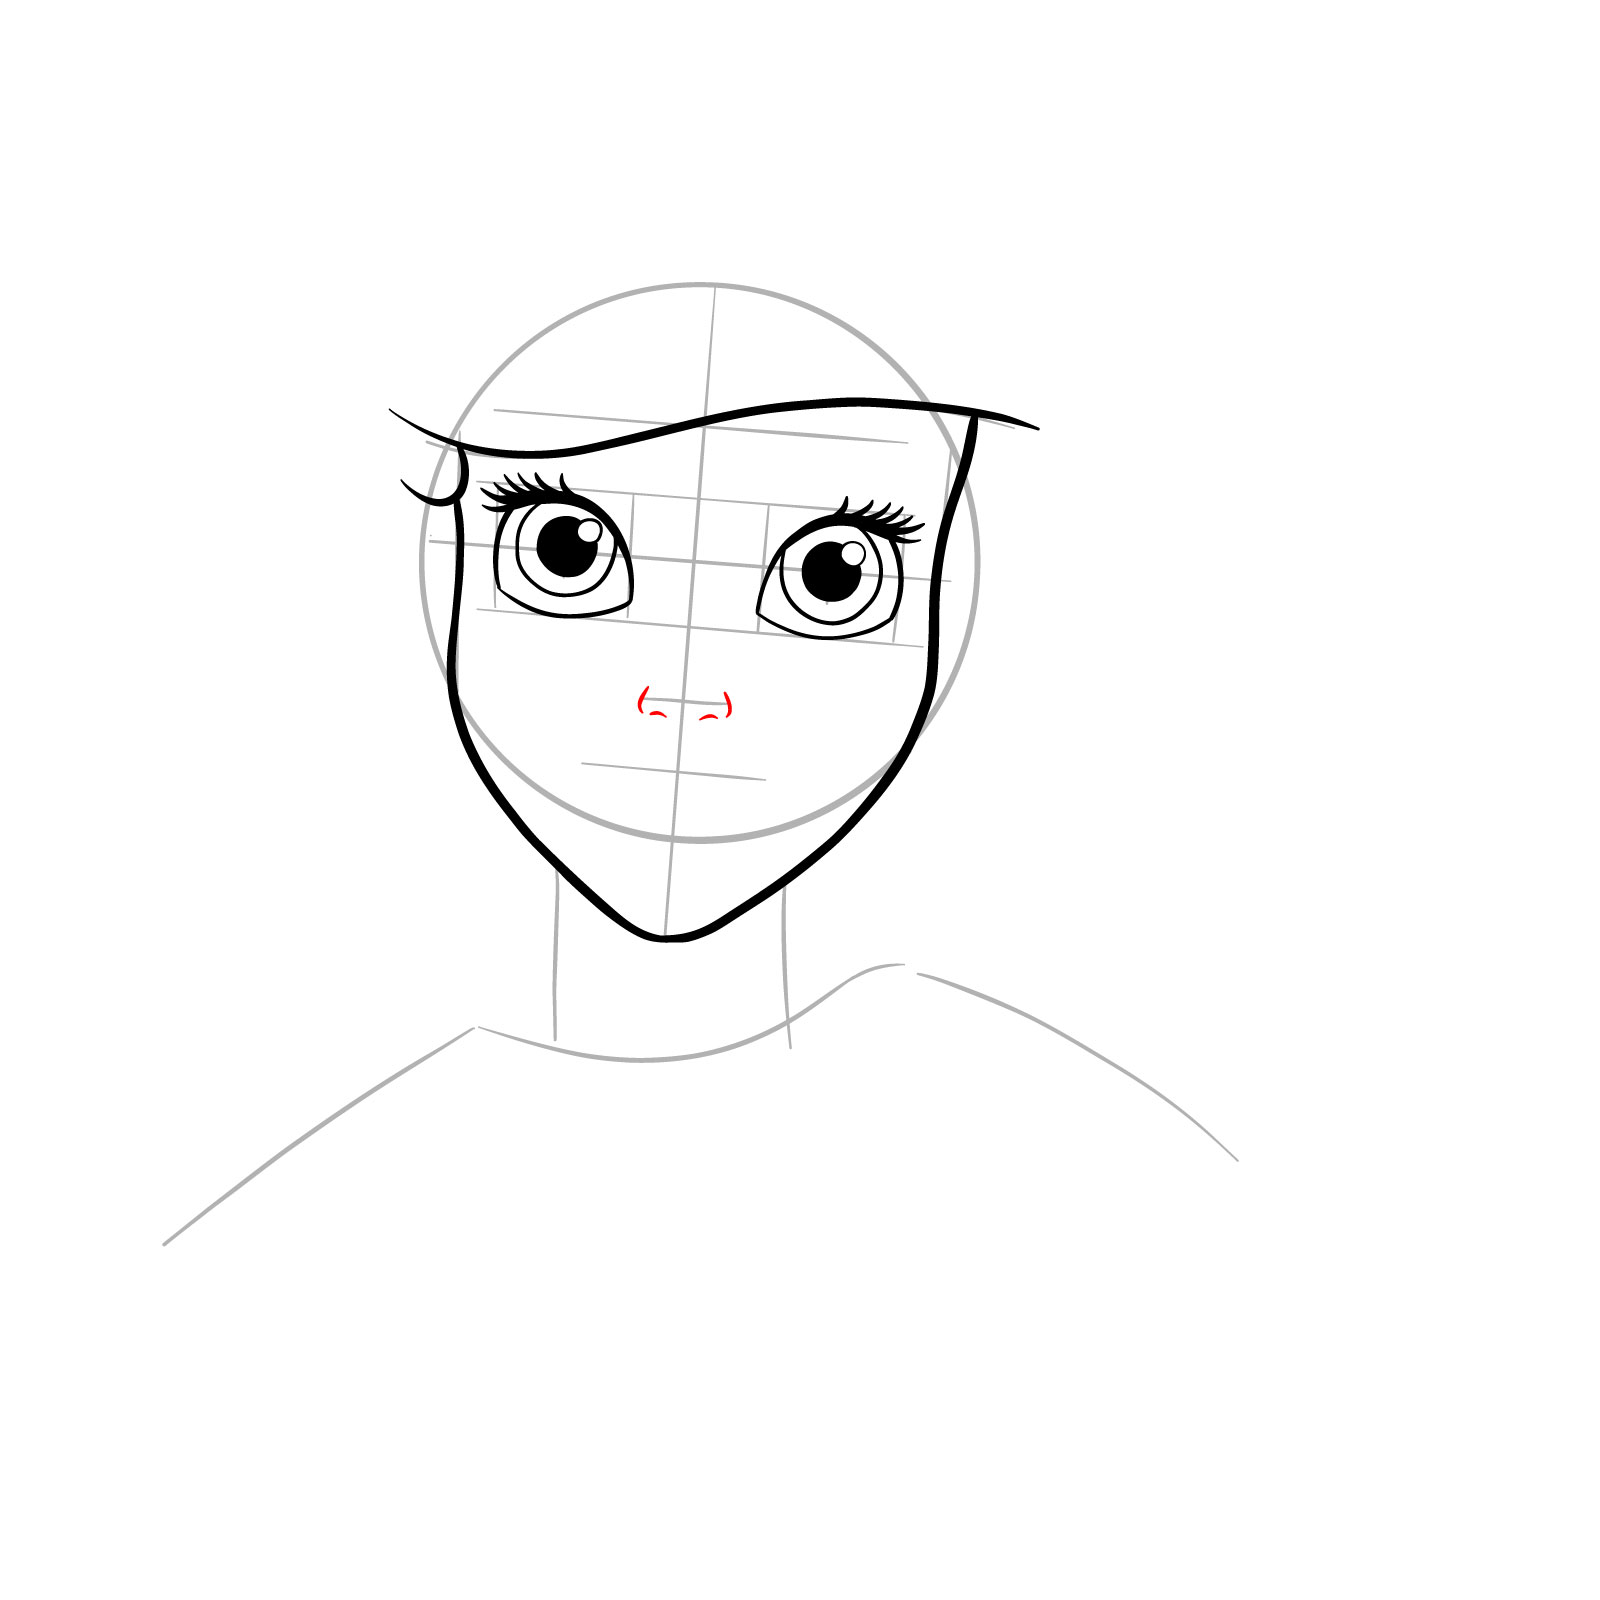
Step 15: Ariel’s Nose
Draw her nose, focusing on the nostrils and the bridge, while keeping it subtle and elegant.
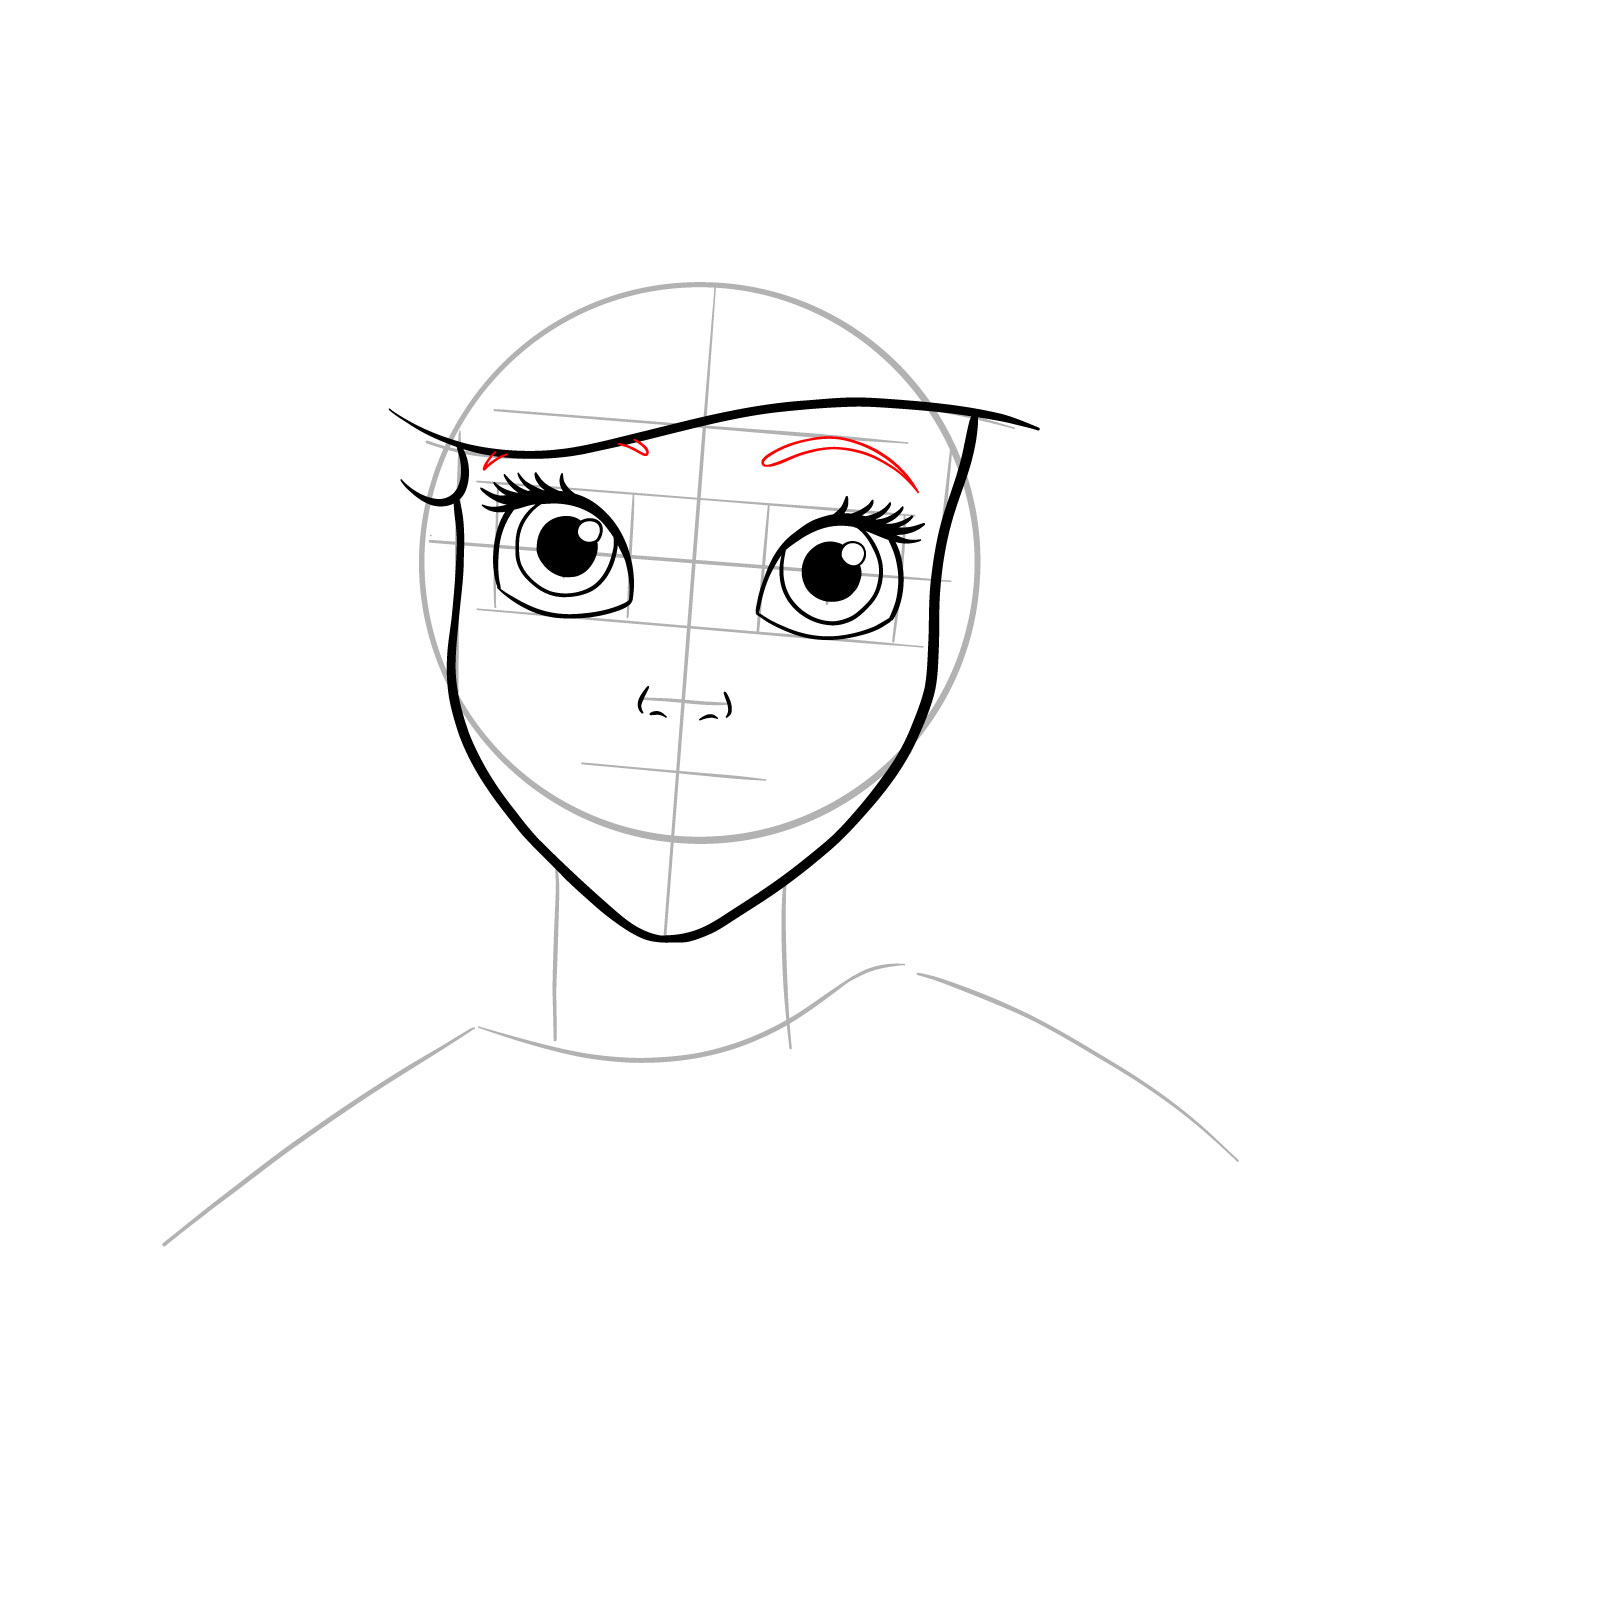
Step 16: Eyebrows
Add her eyebrows, following the eyebrow line you drew earlier. Remember to keep them soft and slightly curved, giving Ariel her gentle expression.
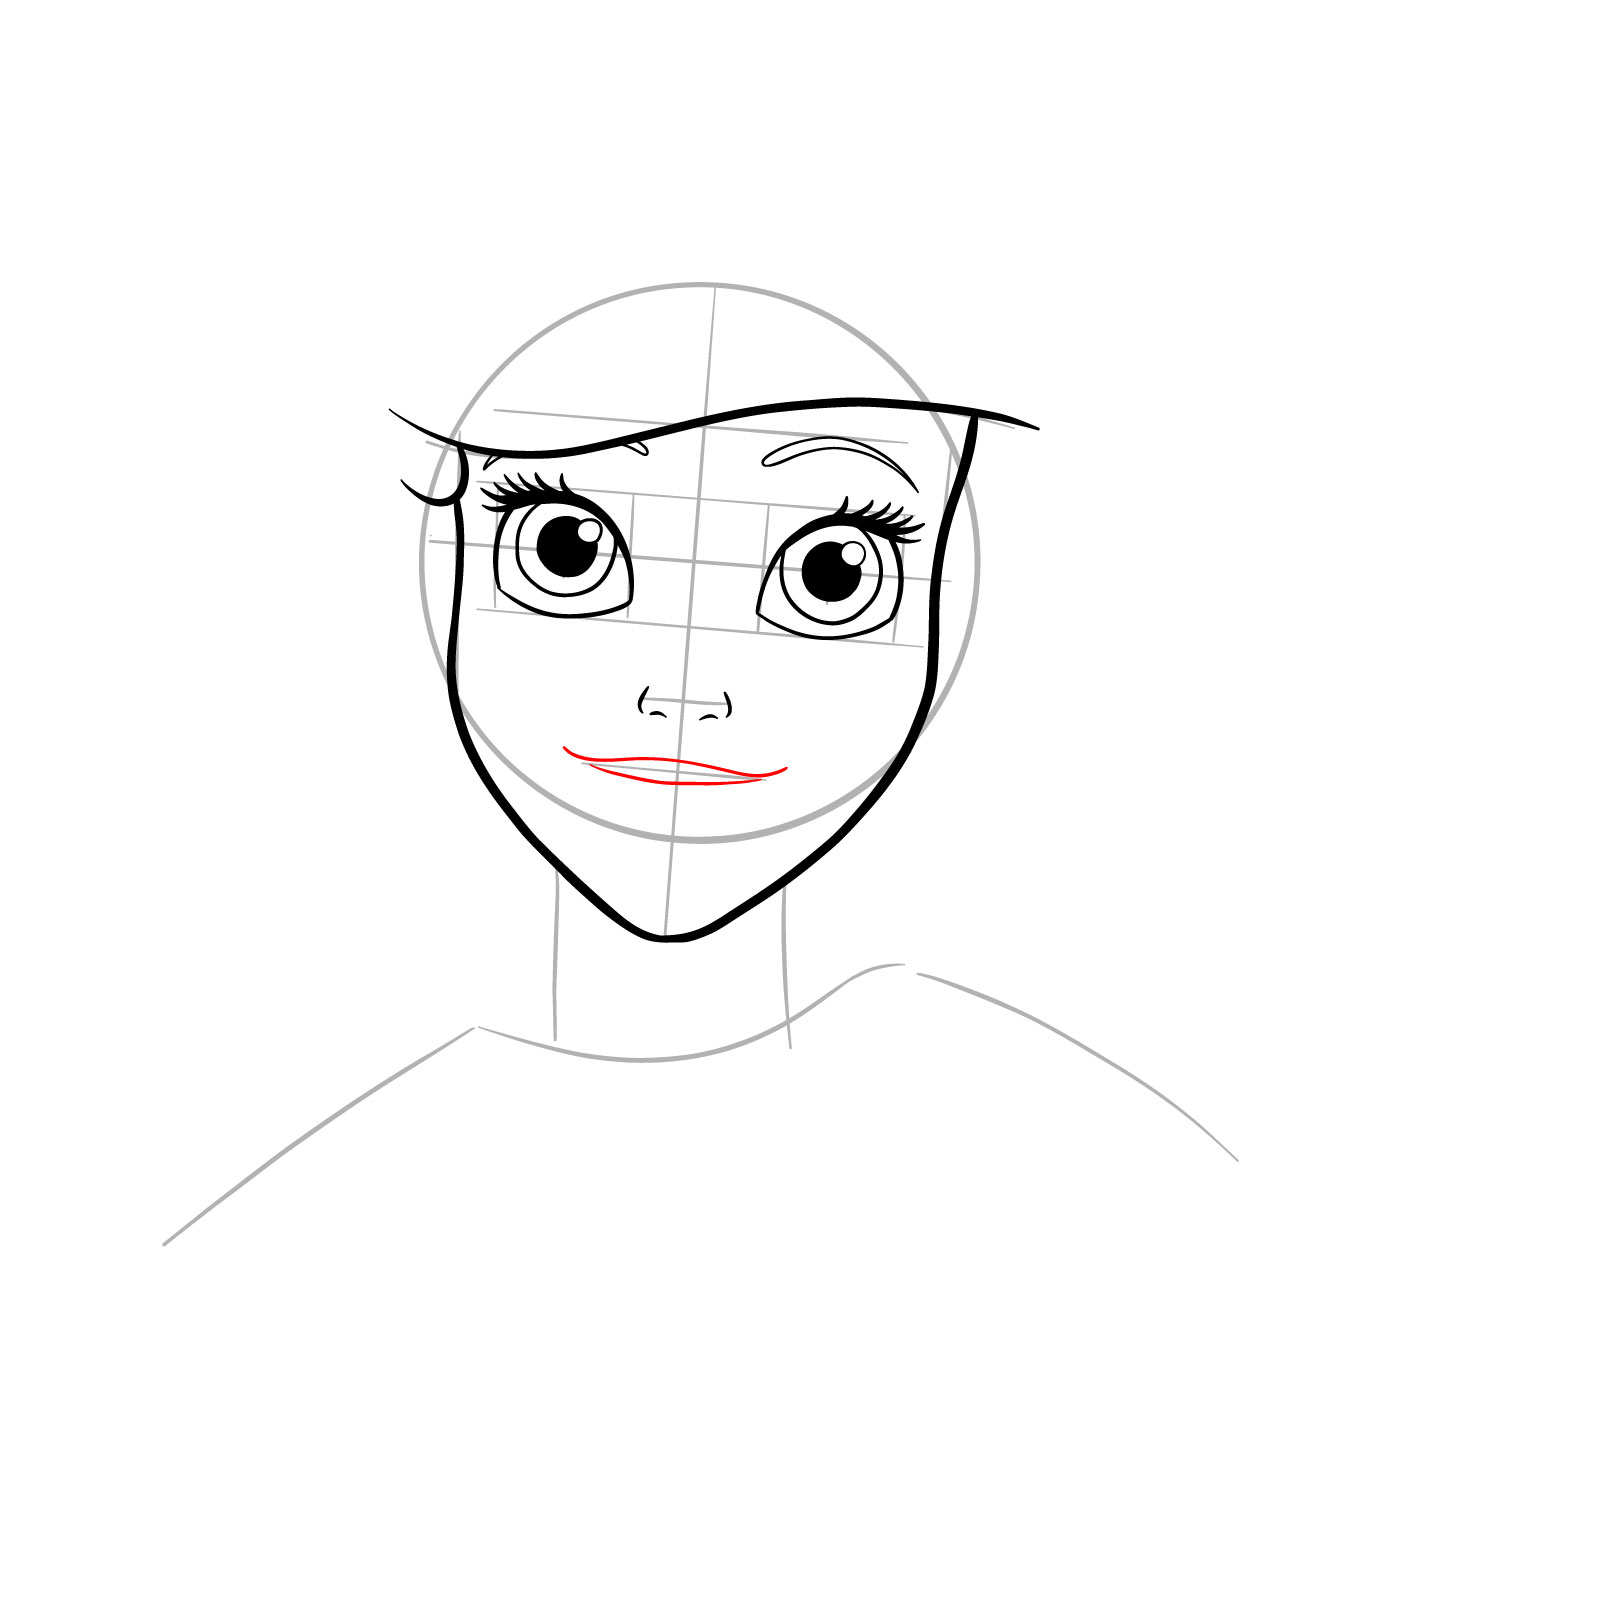
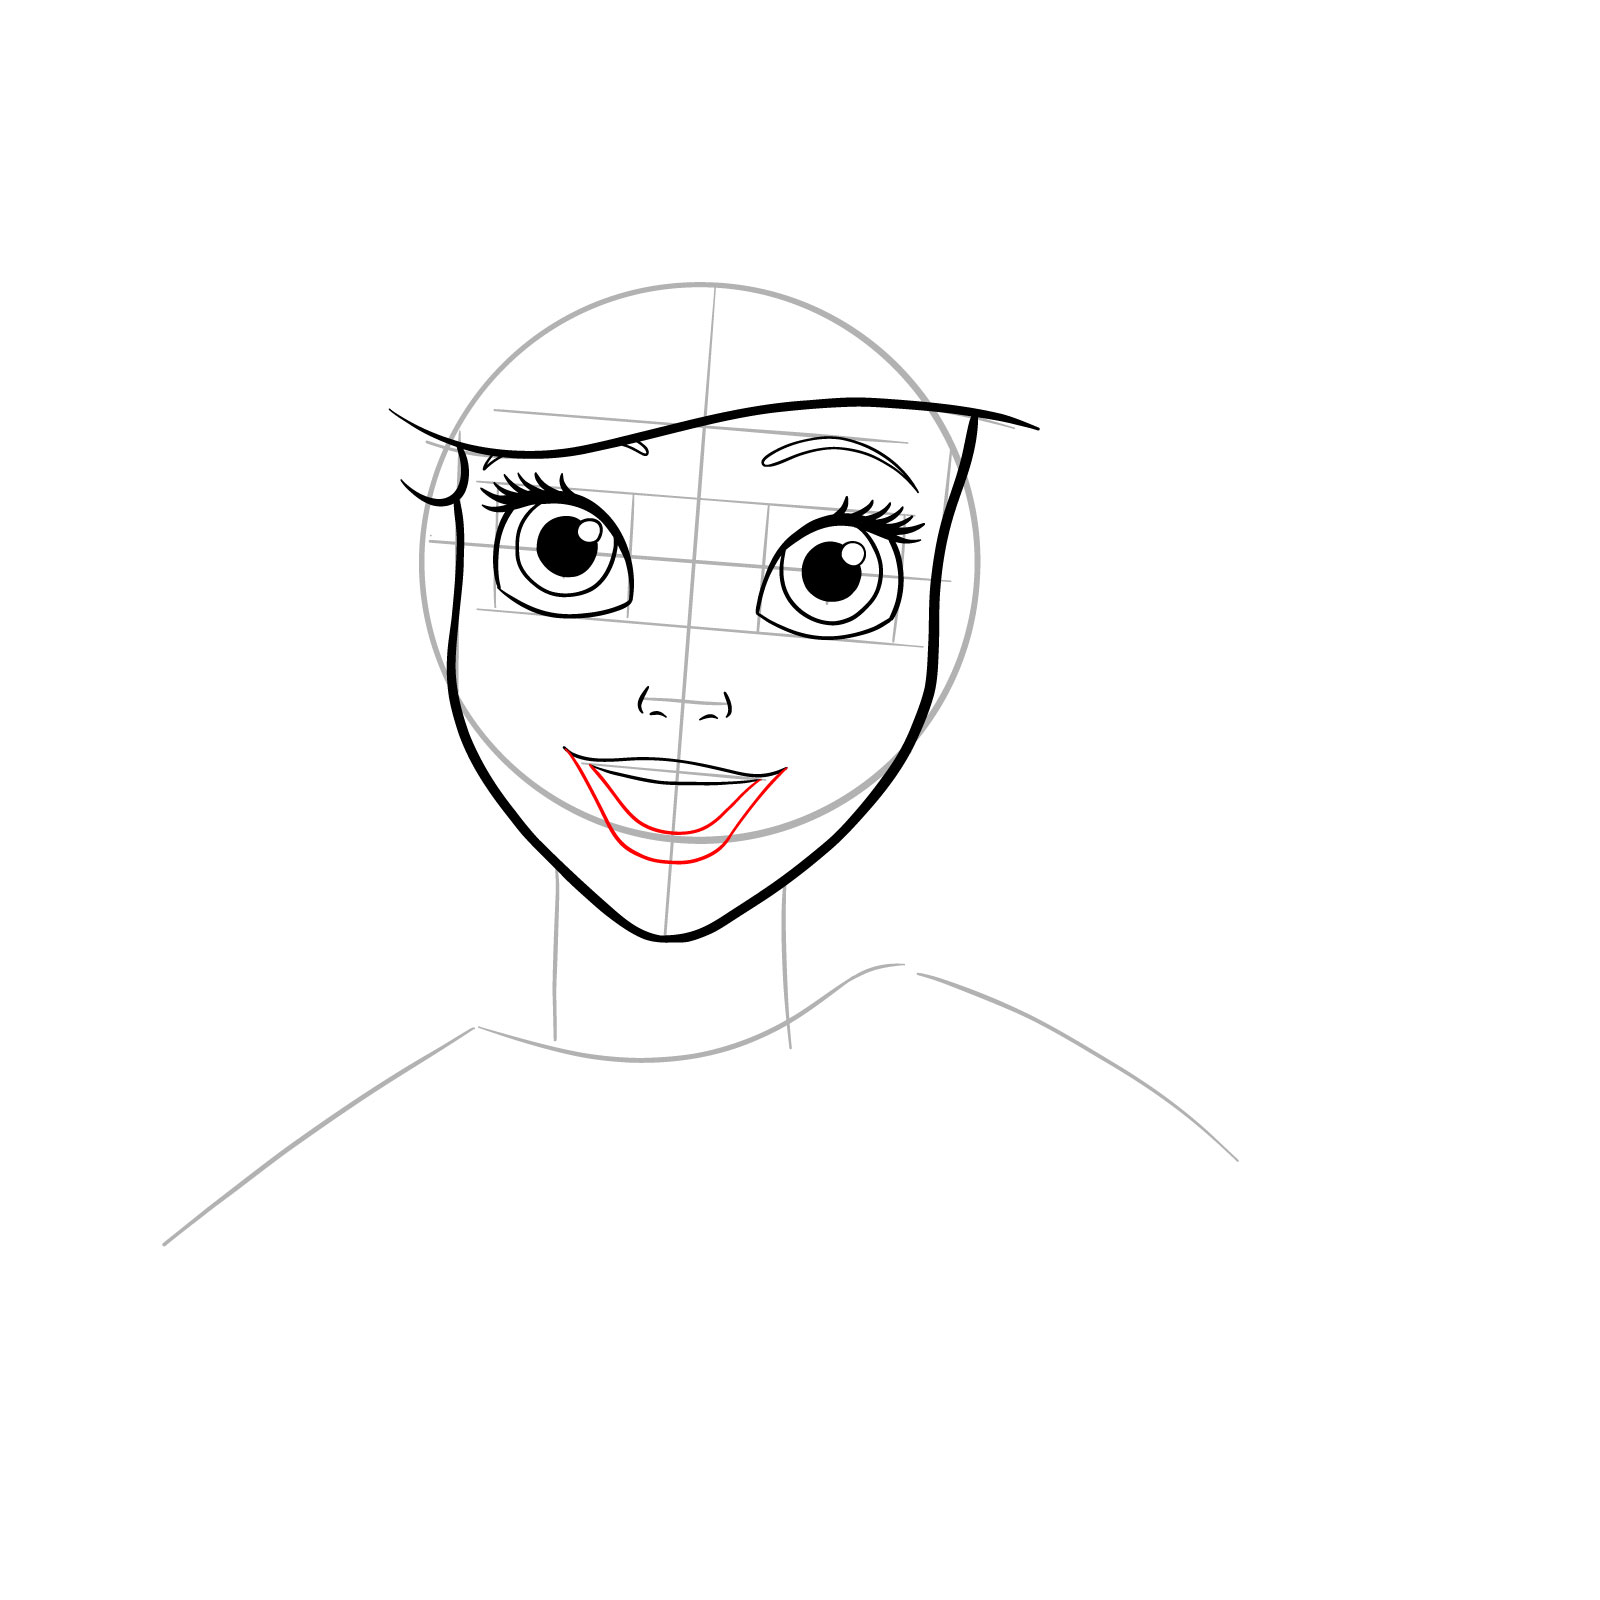
Step 17: Upper Lip
Sketch the outline of her upper lip, taking care to create a natural curve that matches her expression.
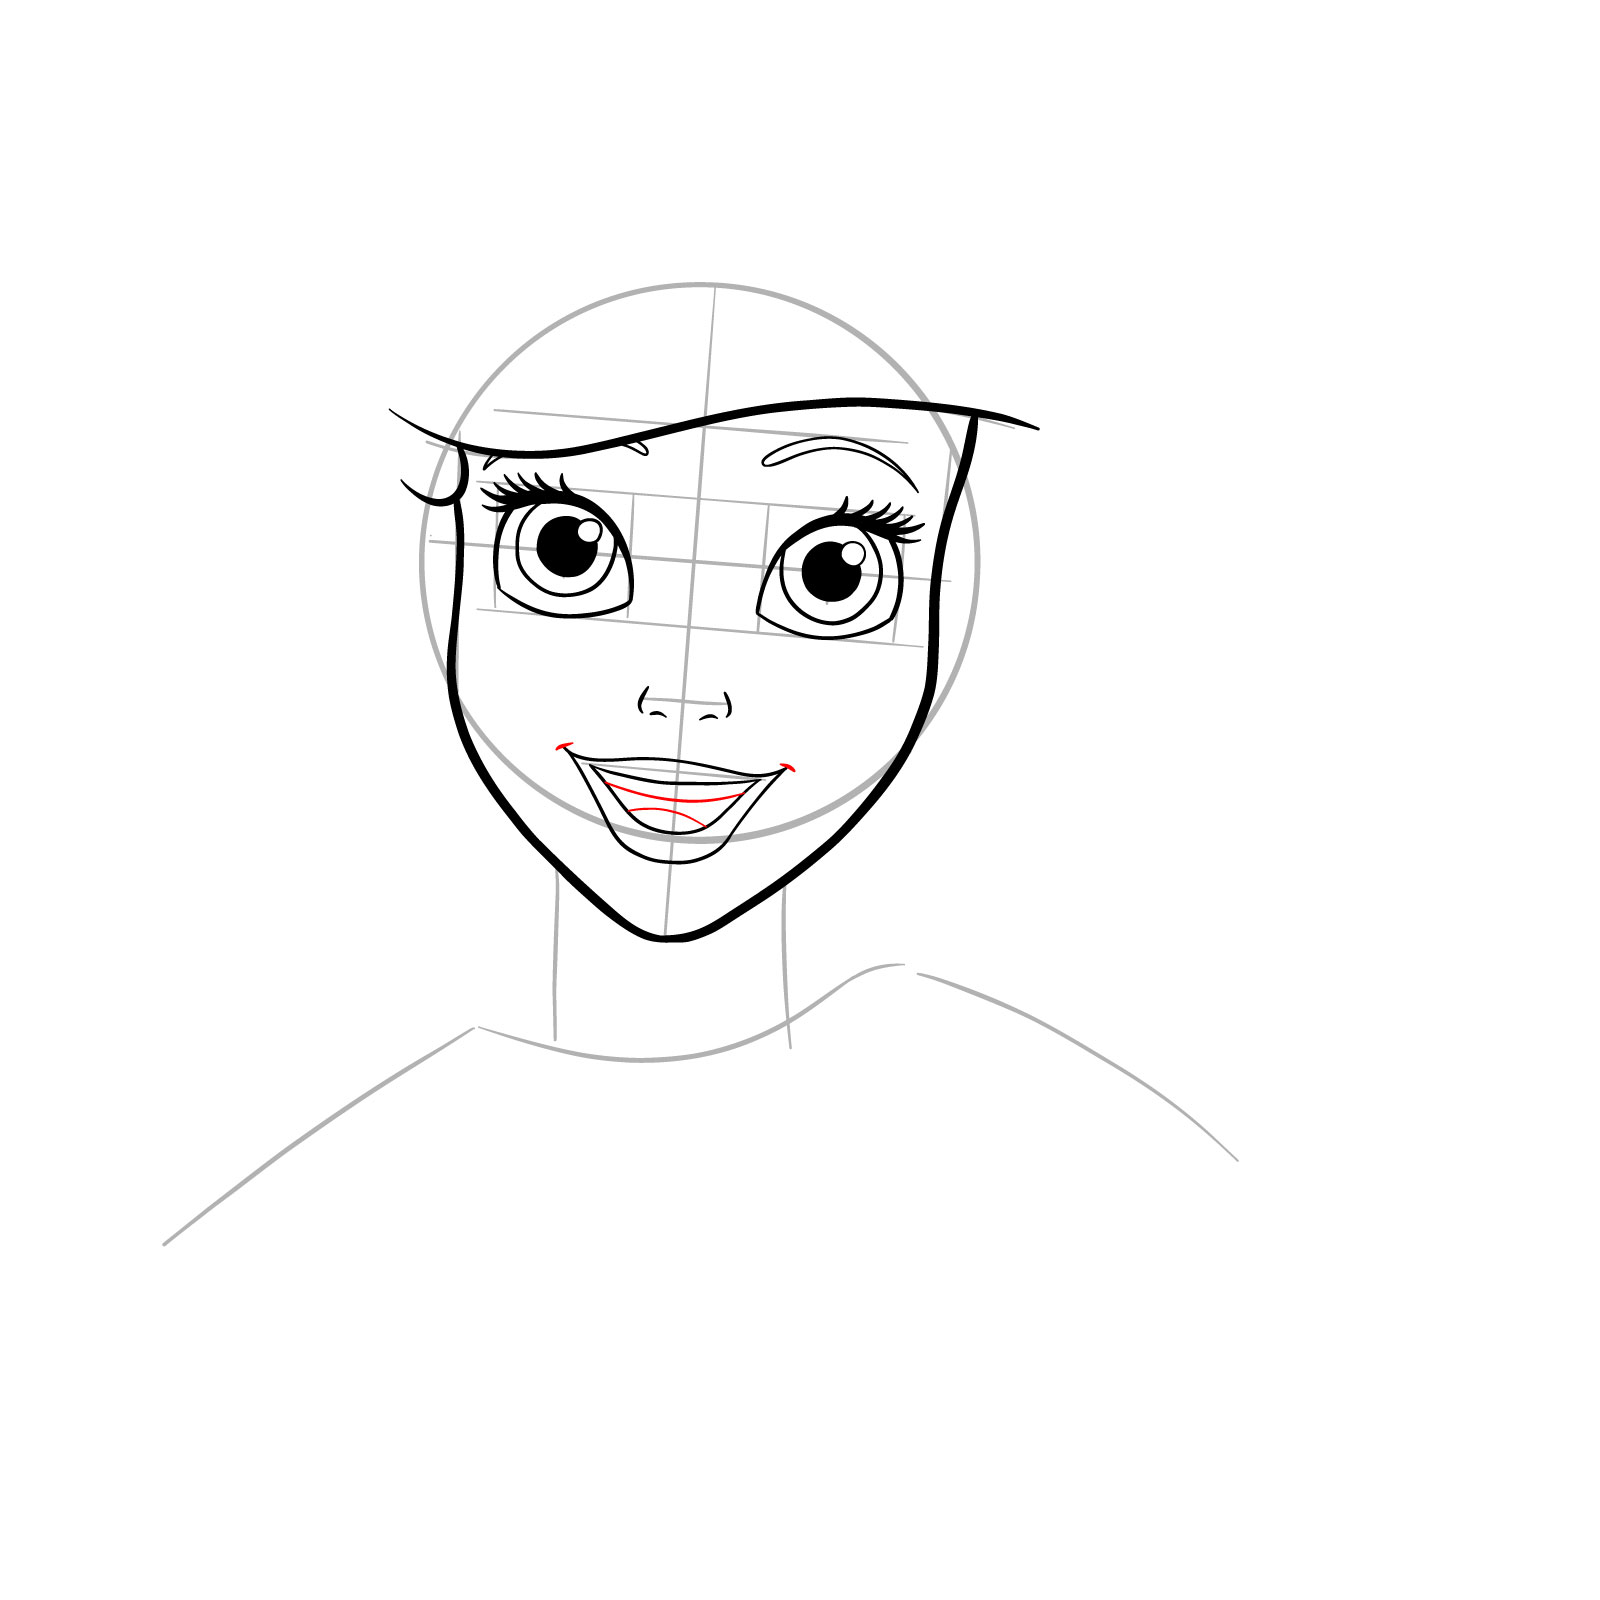
Step 18: Lower Lip
Add the outline of her bottom lip, ensuring that it complements the shape of the upper lip.
Step 19: Lips, Teeth, and Tongue
Complete her mouth by drawing the tips of her lips, a line for her upper teeth, and the outline of her tongue.
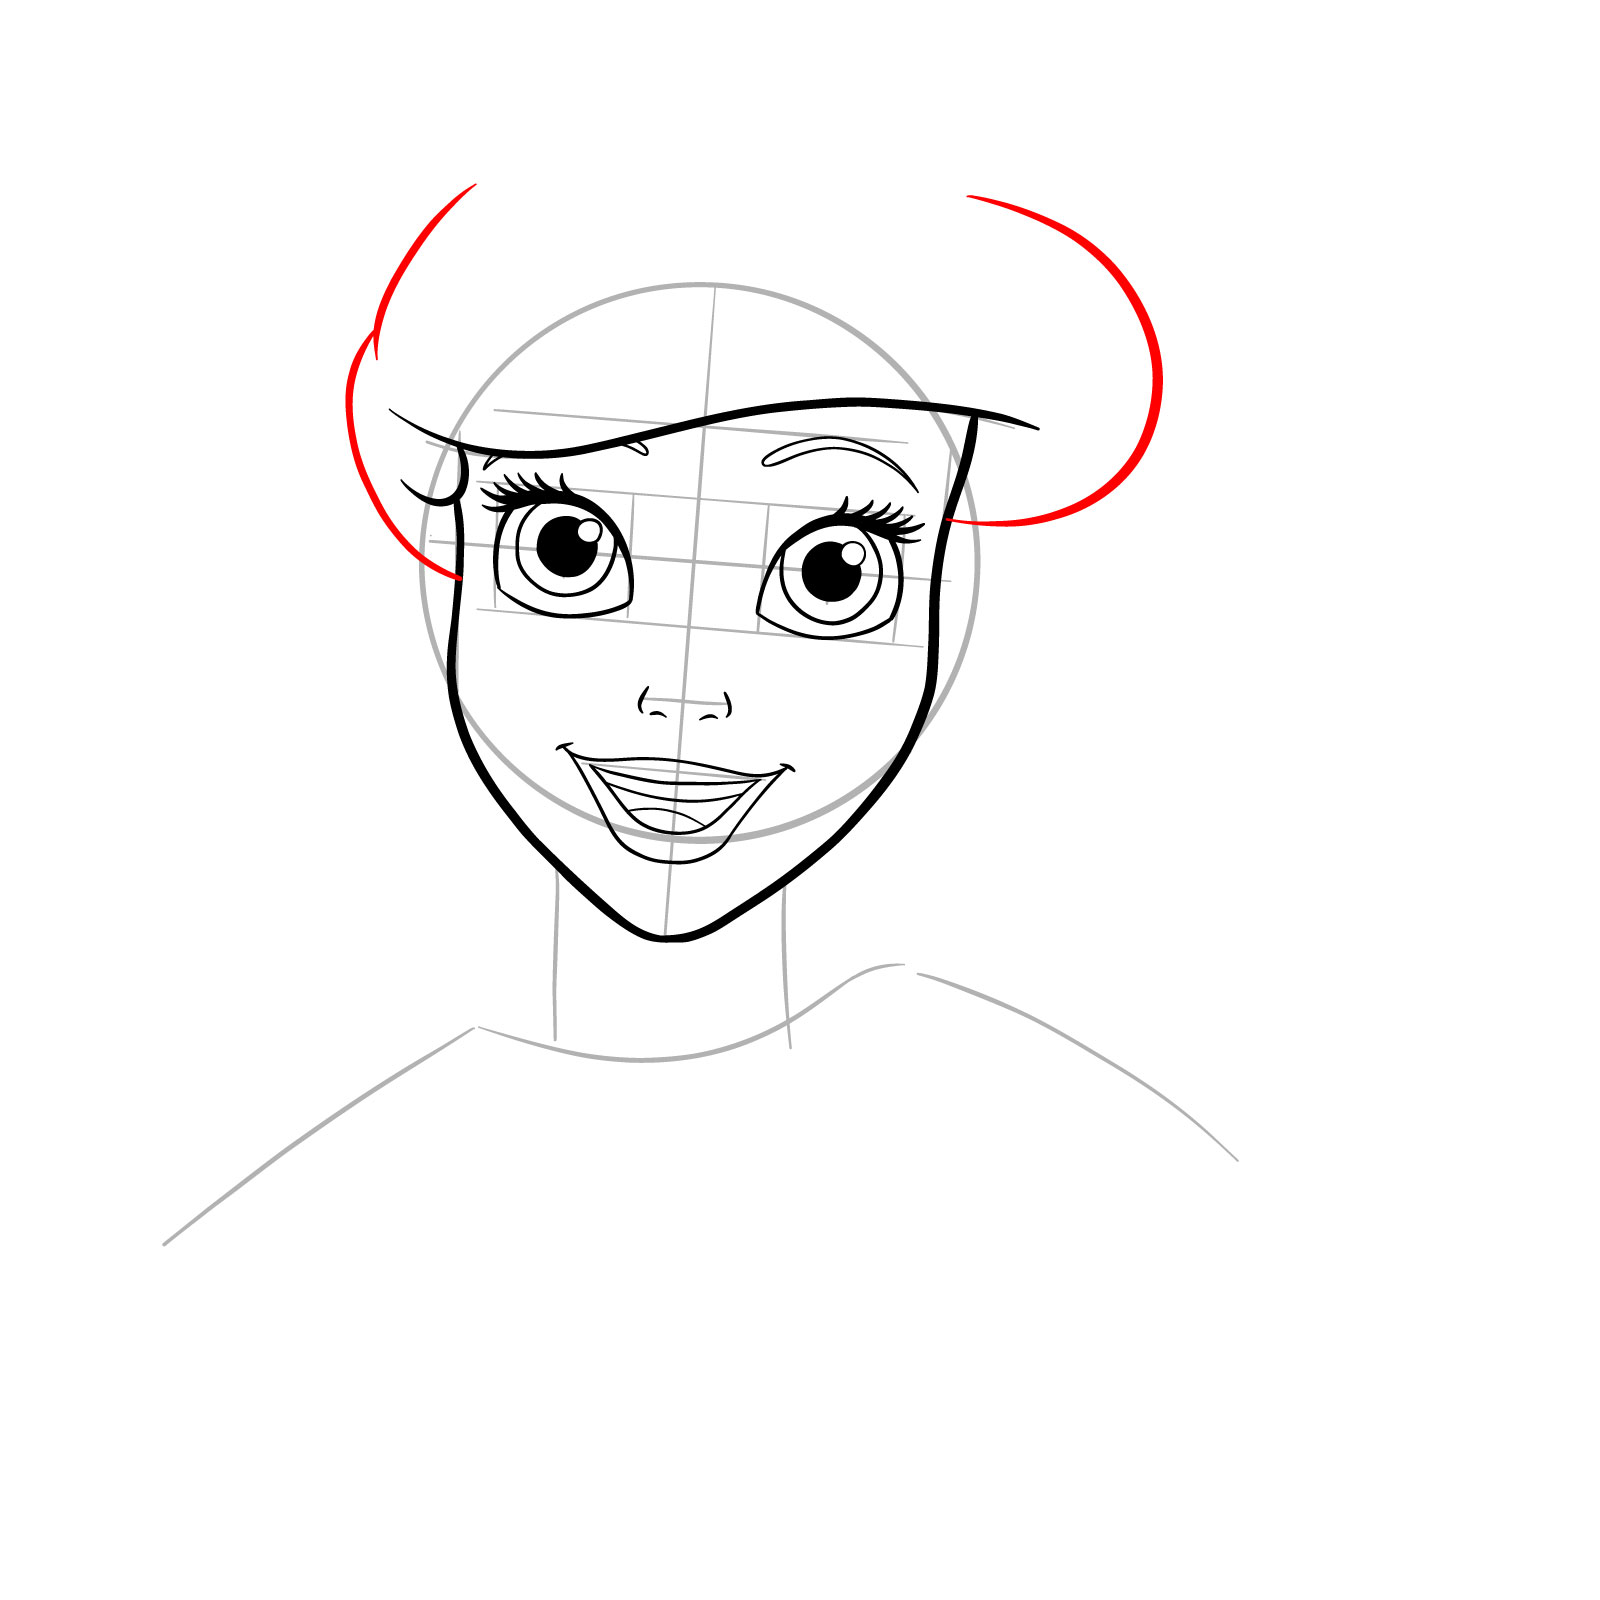
Step 20: Beginning Ariel’s Hair
Start sketching her hair, focusing on the strands that frame her face.
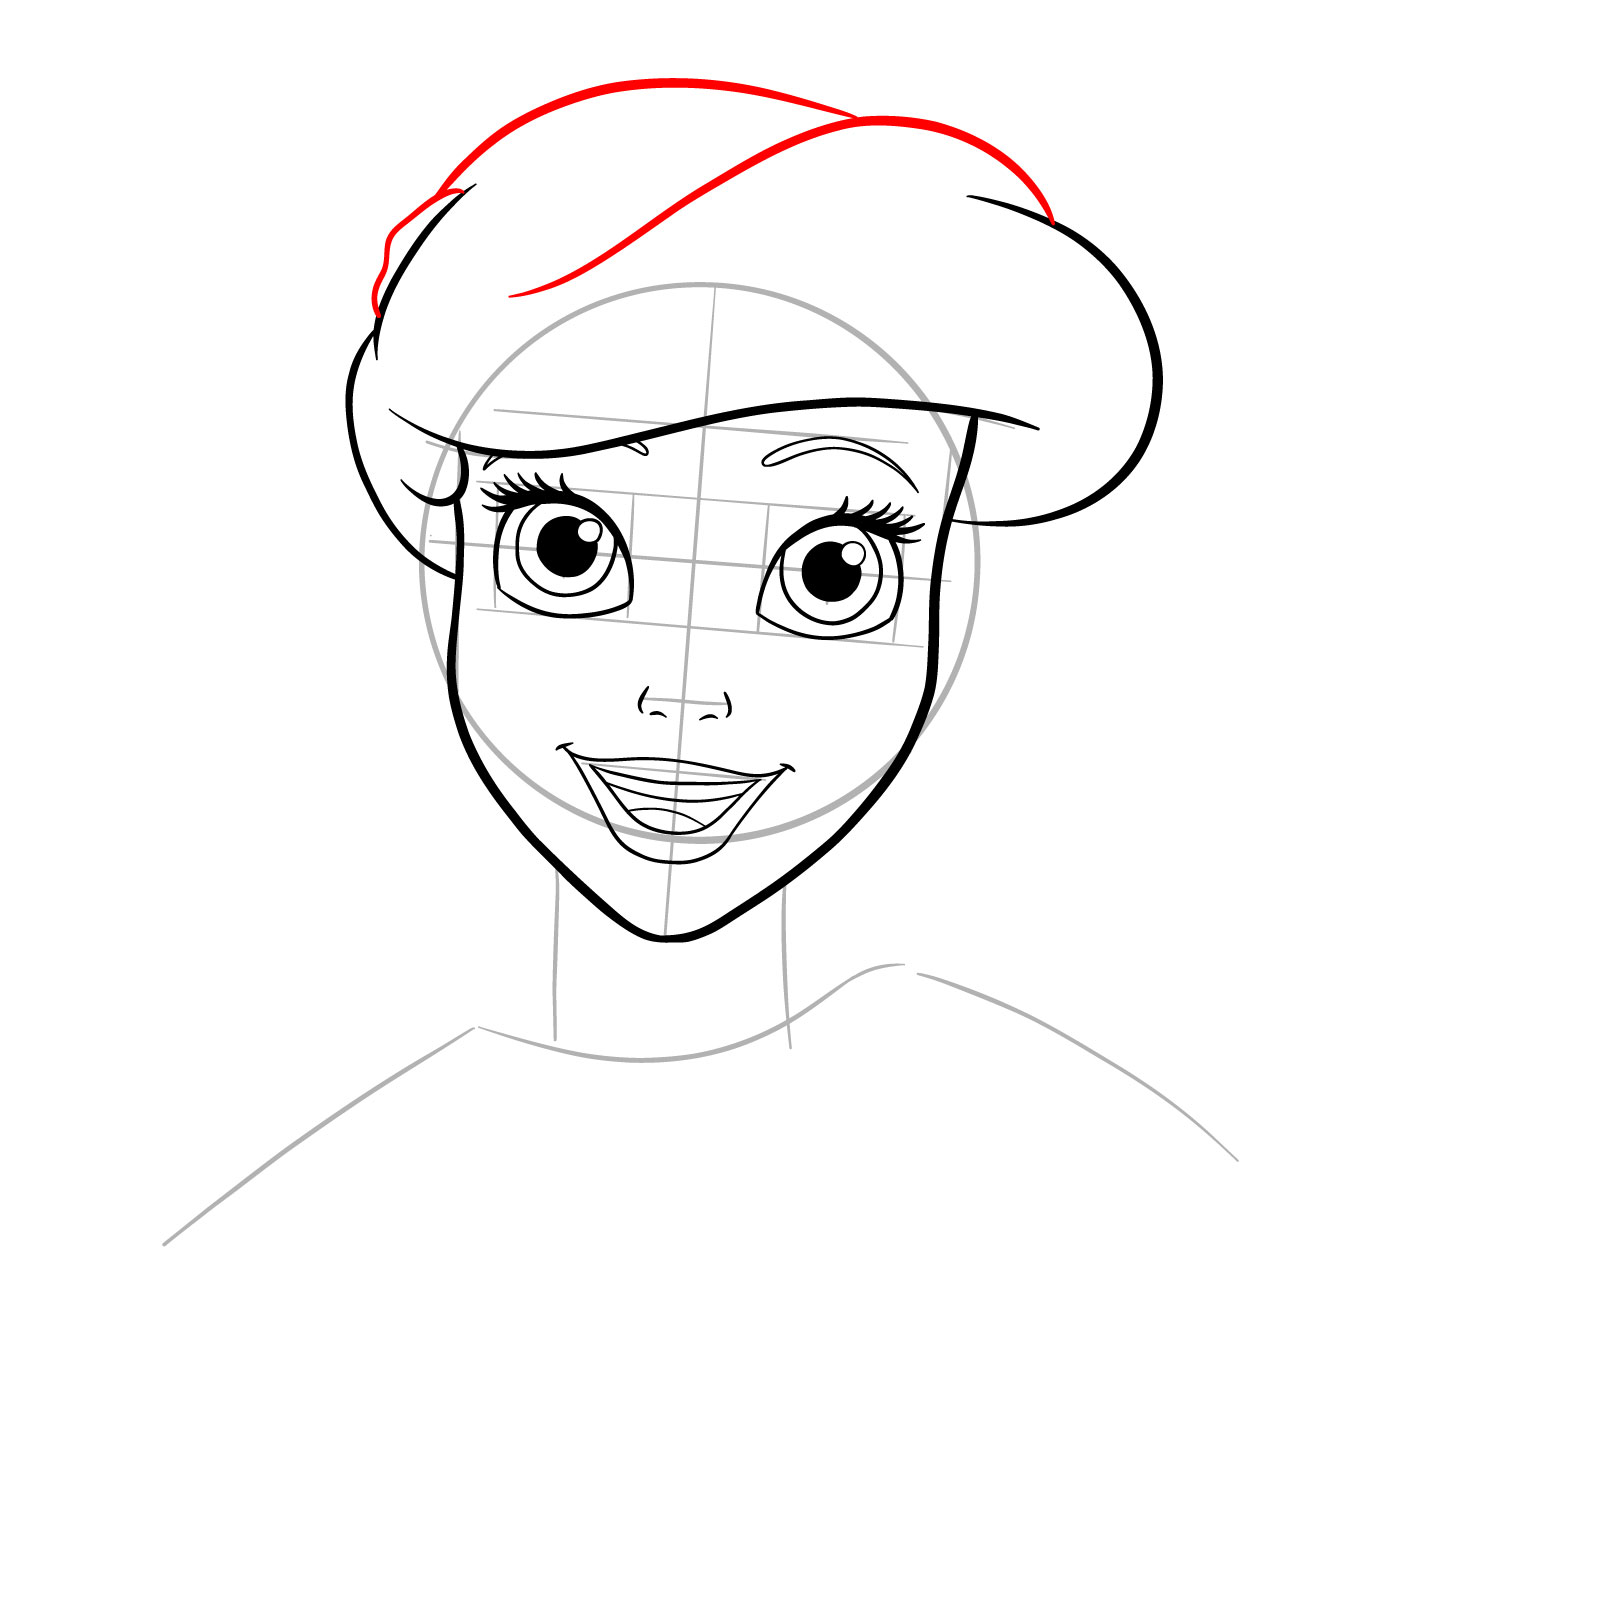
Step 21: Upper Hairstyle and Hairpin
Continue with the upper part of her hairstyle, adding volume and texture. Don’t forget to include her hairpin.
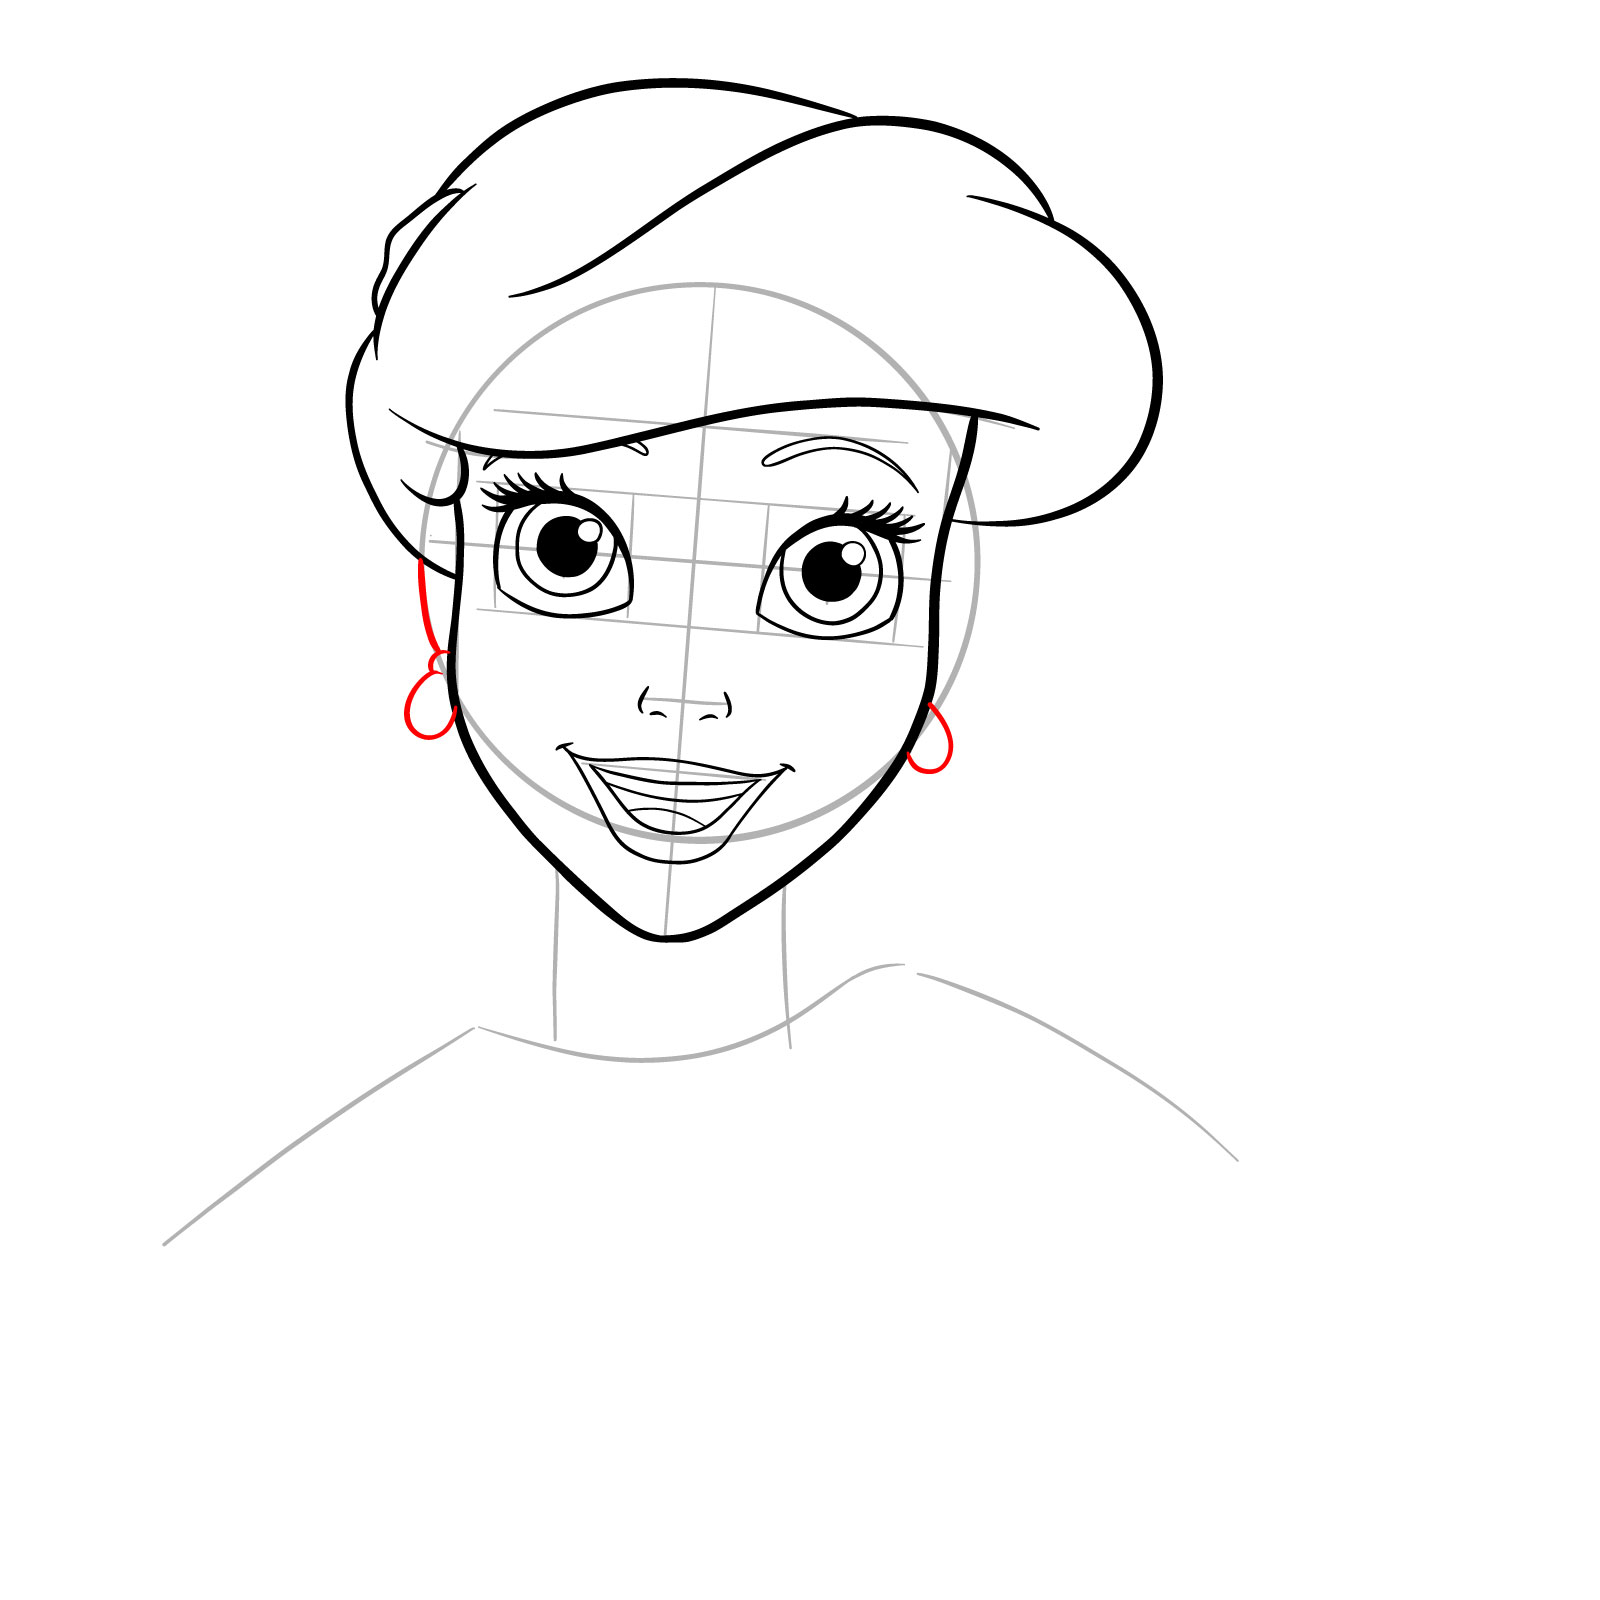
Step 22: Ear and Earrings
Draw her ear and add her signature seashell earrings.
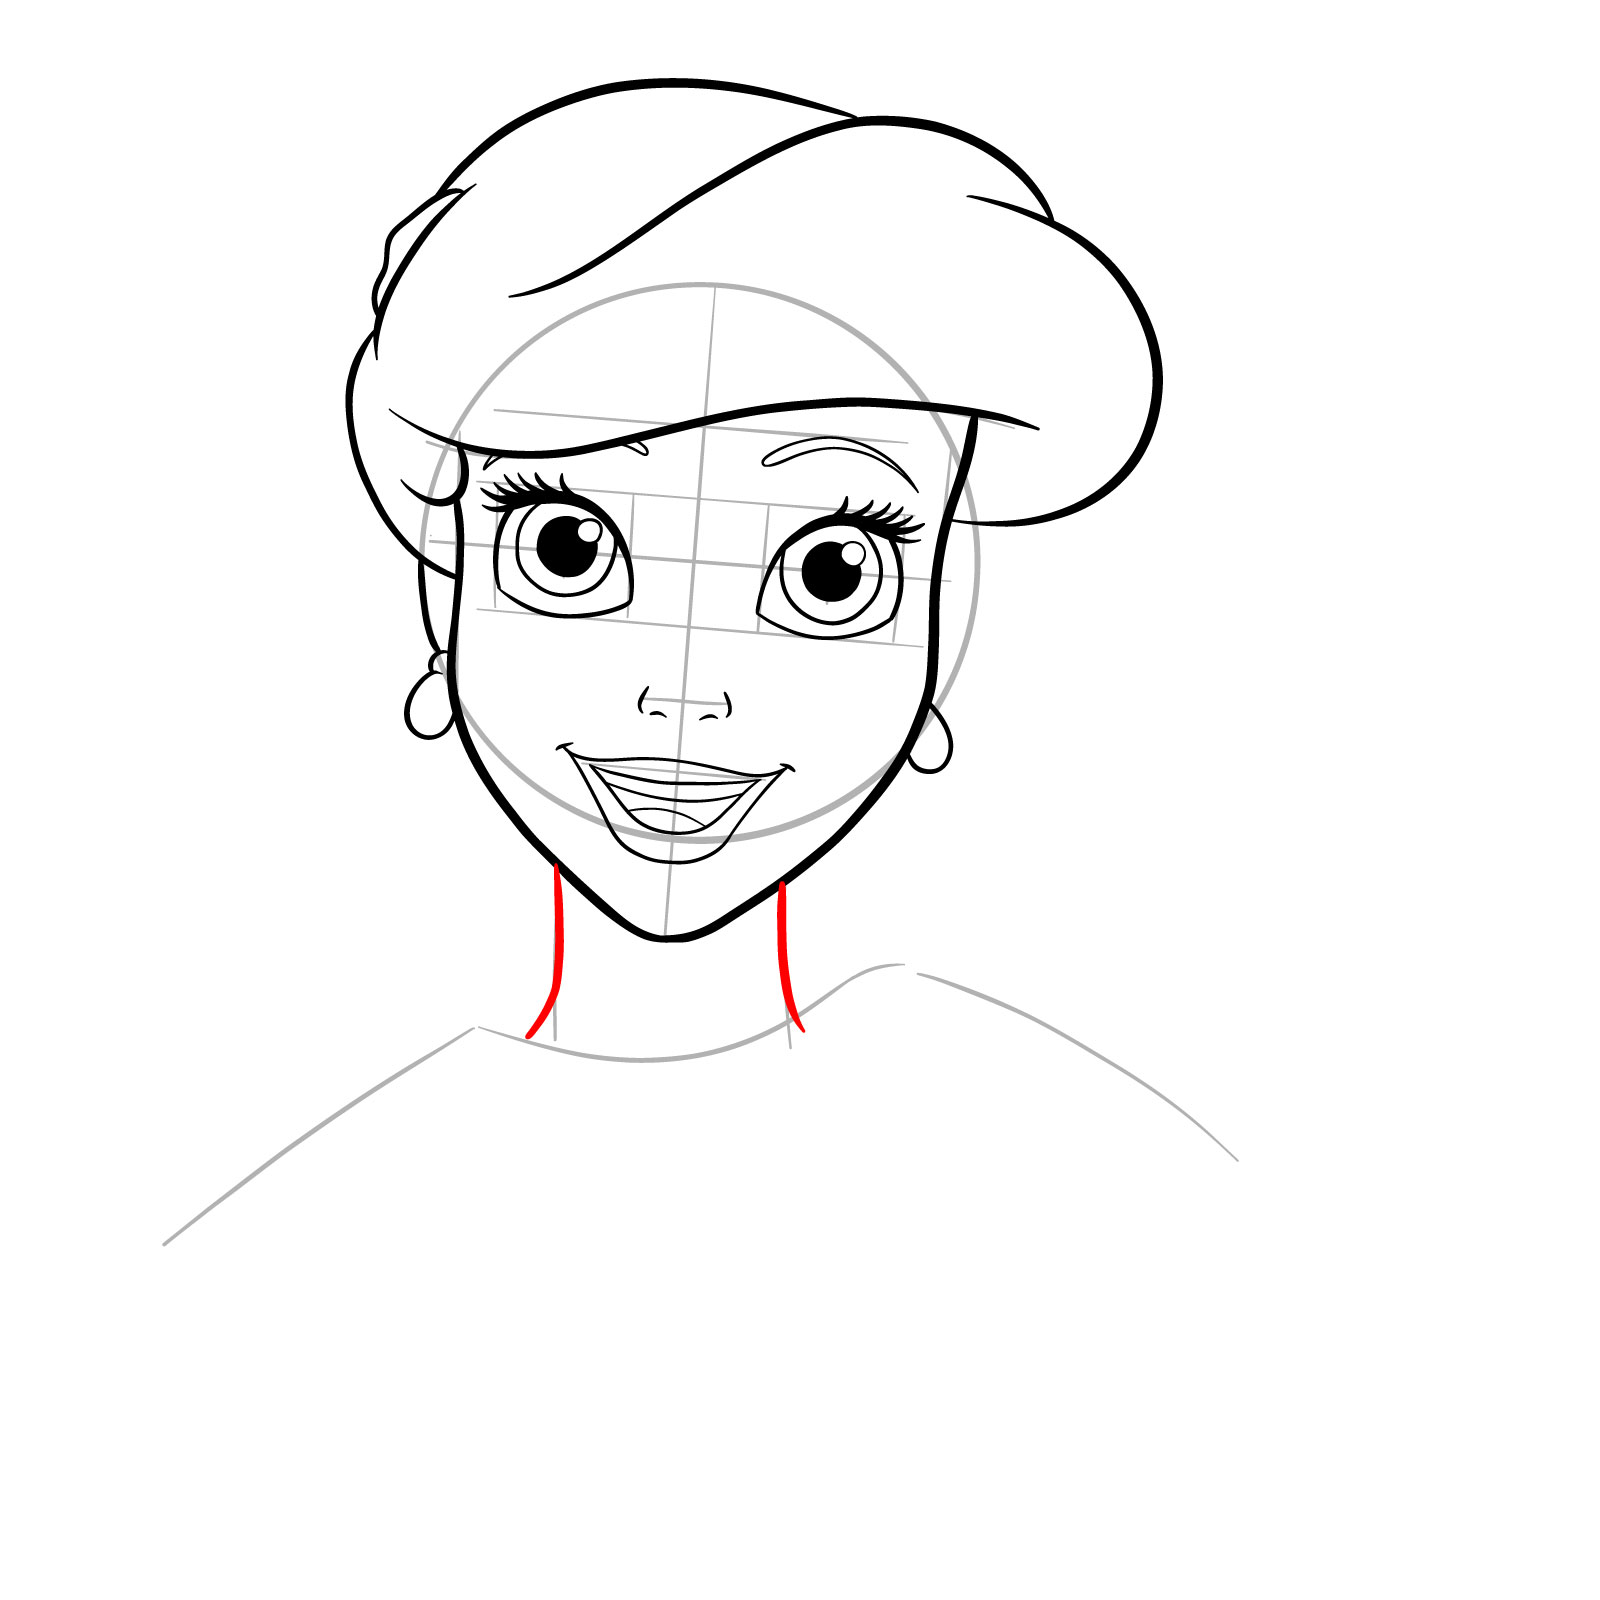
Step 23: Neck
Sketch the outline of Ariel’s neck, making sure it flows naturally from her head and shoulders.
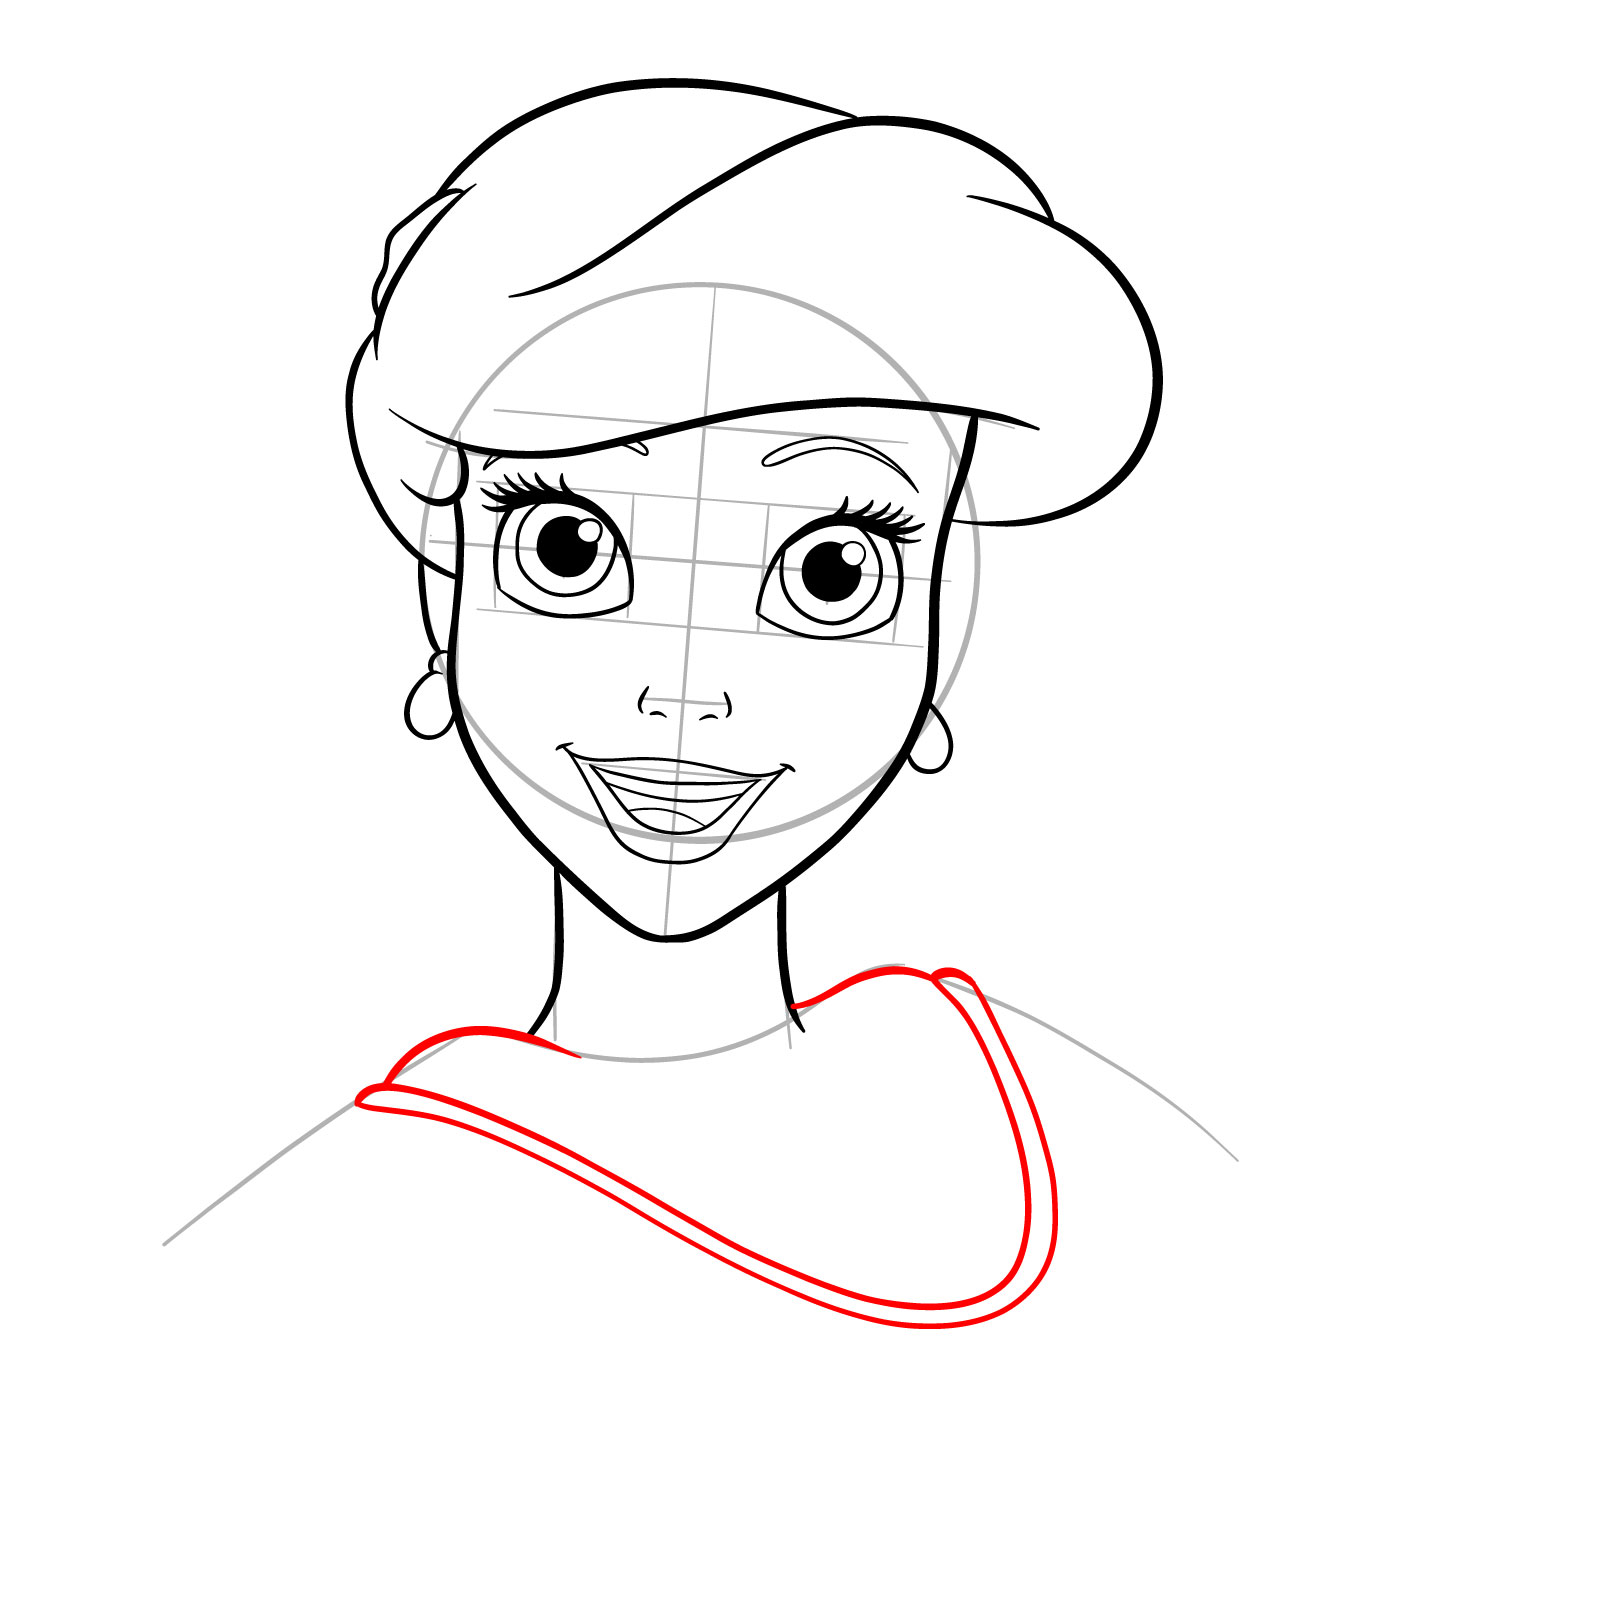
Step 24: Shoulders and Upper Dress
Start drawing her shoulders and the upper part of her dress, taking care to maintain the correct proportions and flow.
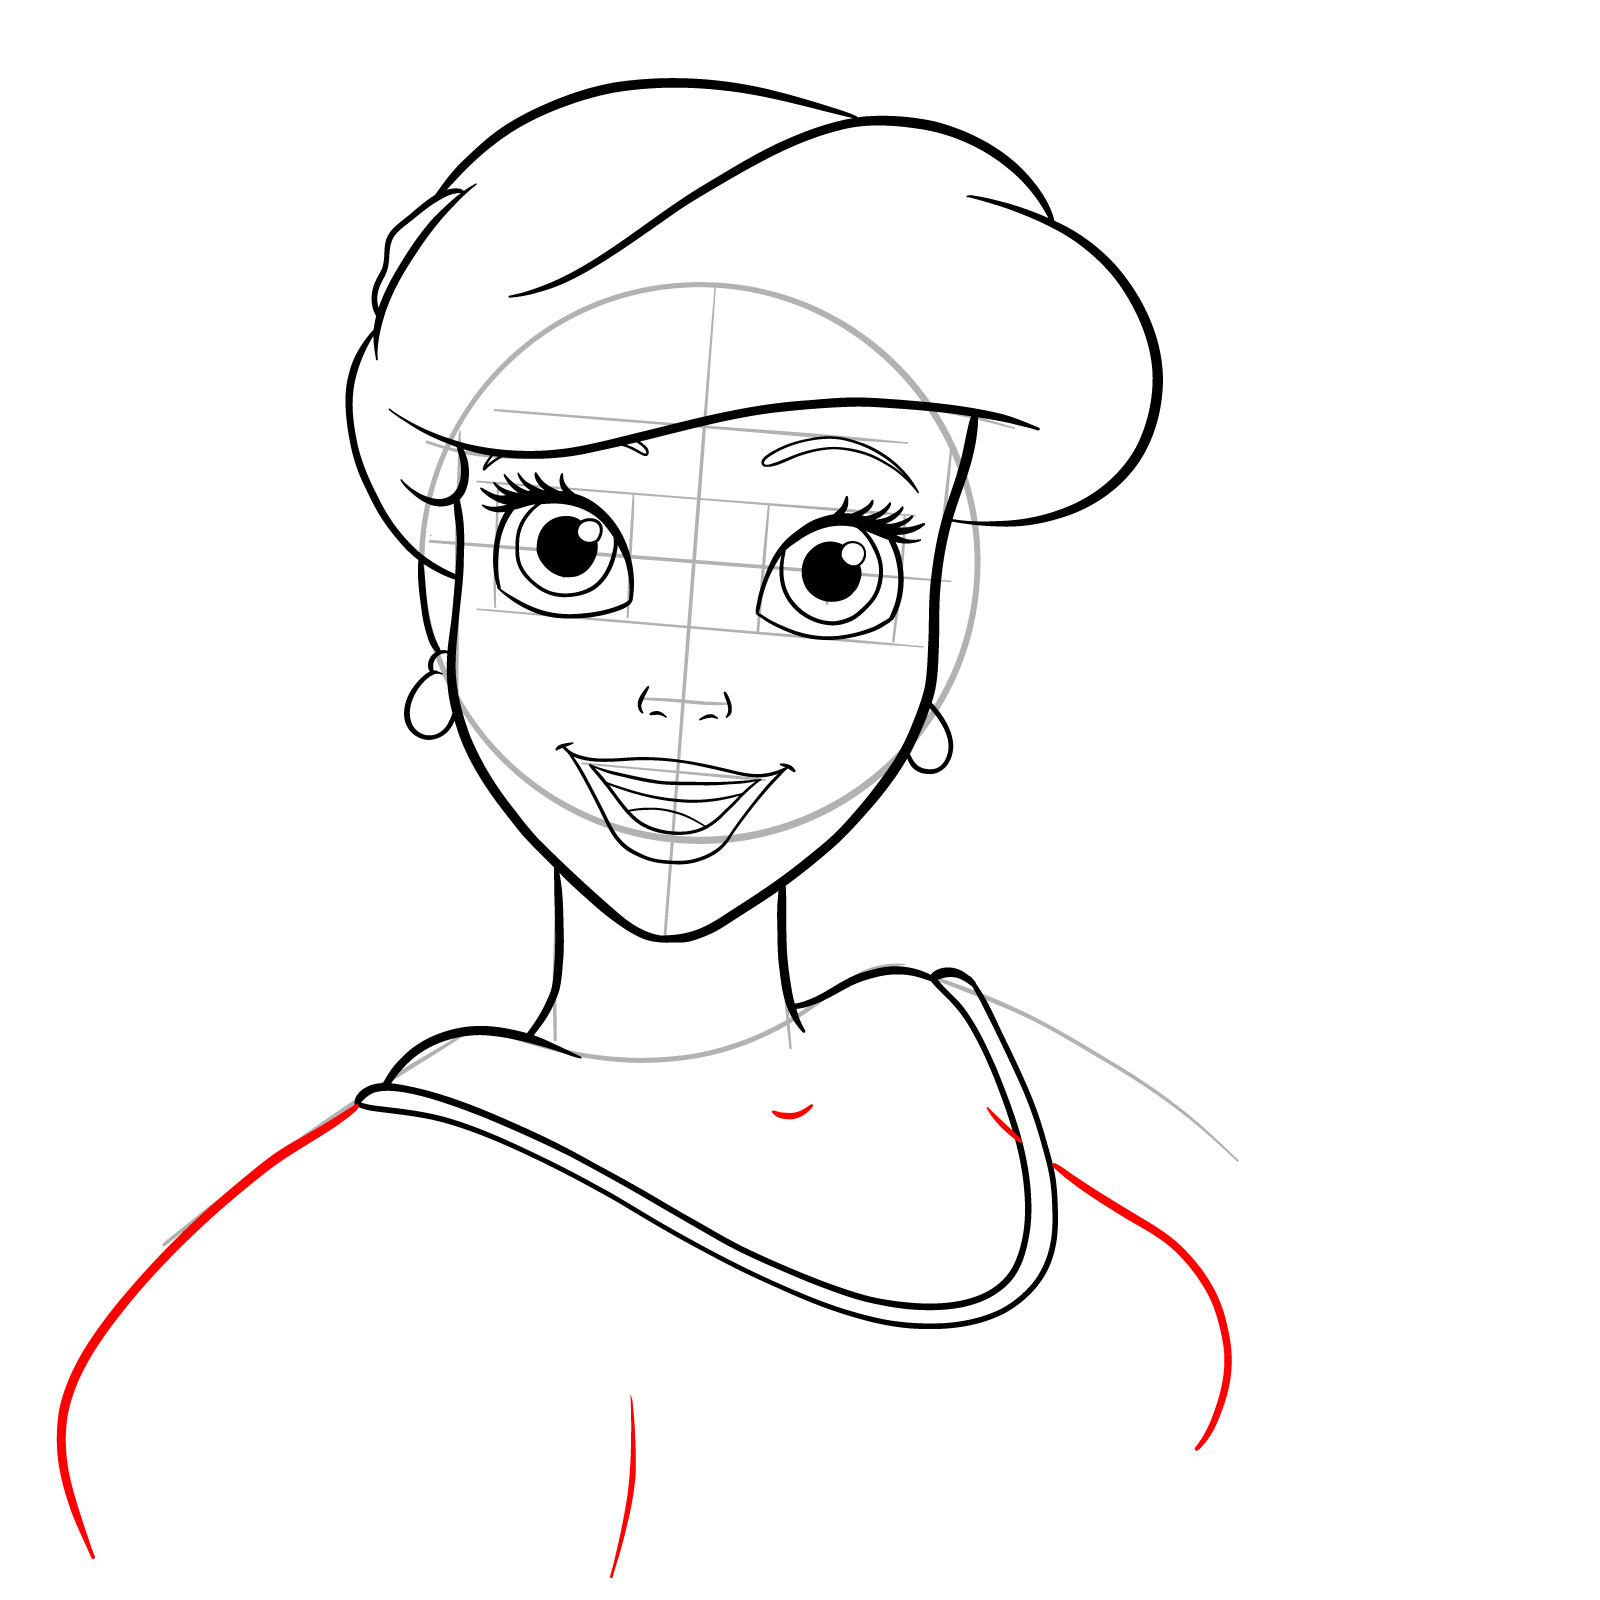
Step 25: Dress and Upper Body Shape
Continue with the dress, adding details to the design and establishing her upper body shape.
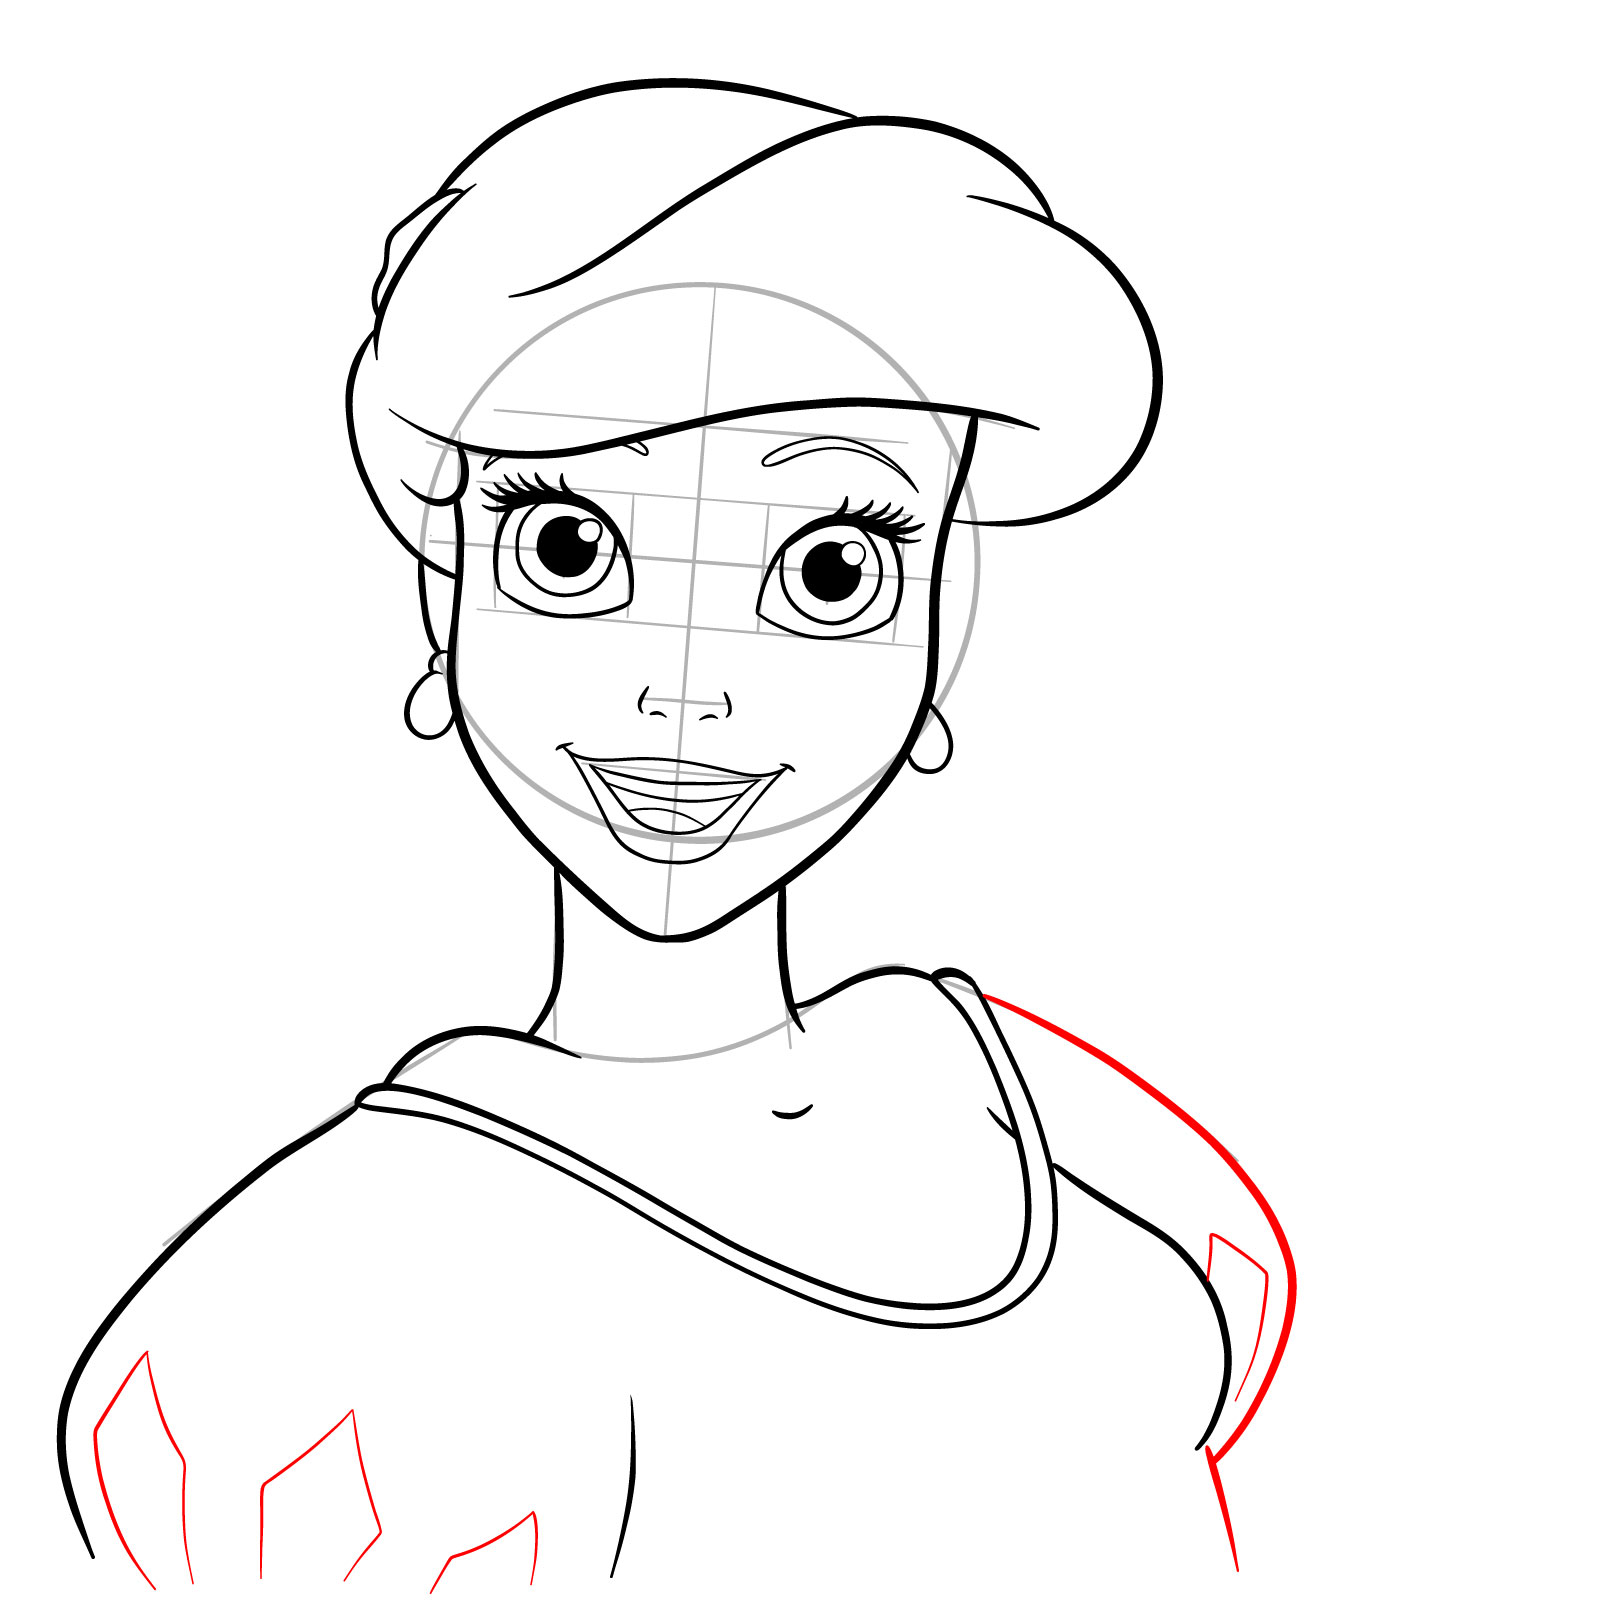
Step 26: Sleeve and Dress Pattern
Finally, for her body, add a left sleeve and the pattern on her dress.
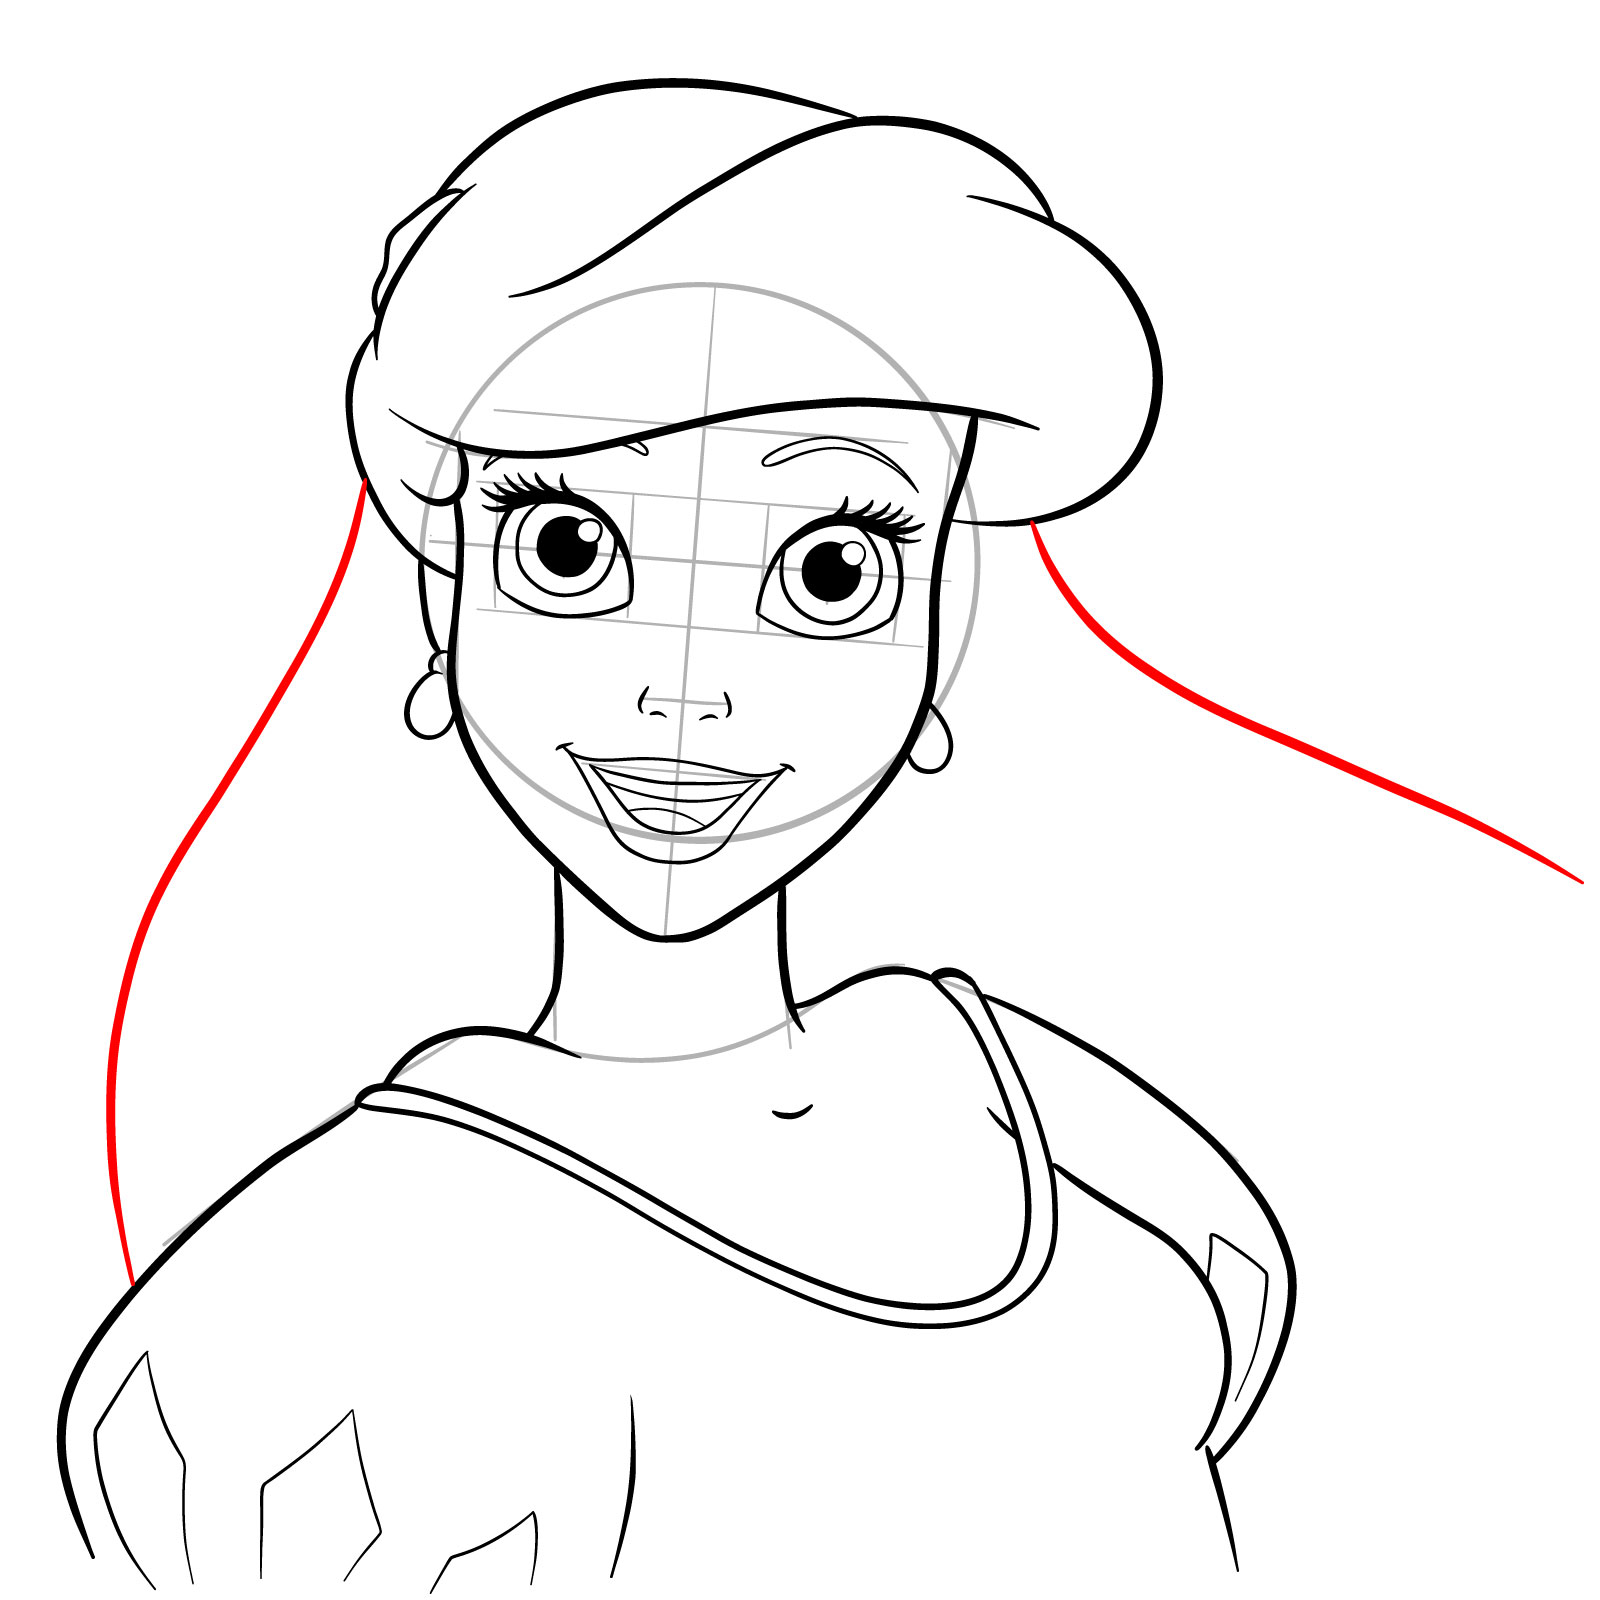
Step 27: Hair Outline
Sketch the outline of Ariel’s flowing hair, capturing its movement and volume.
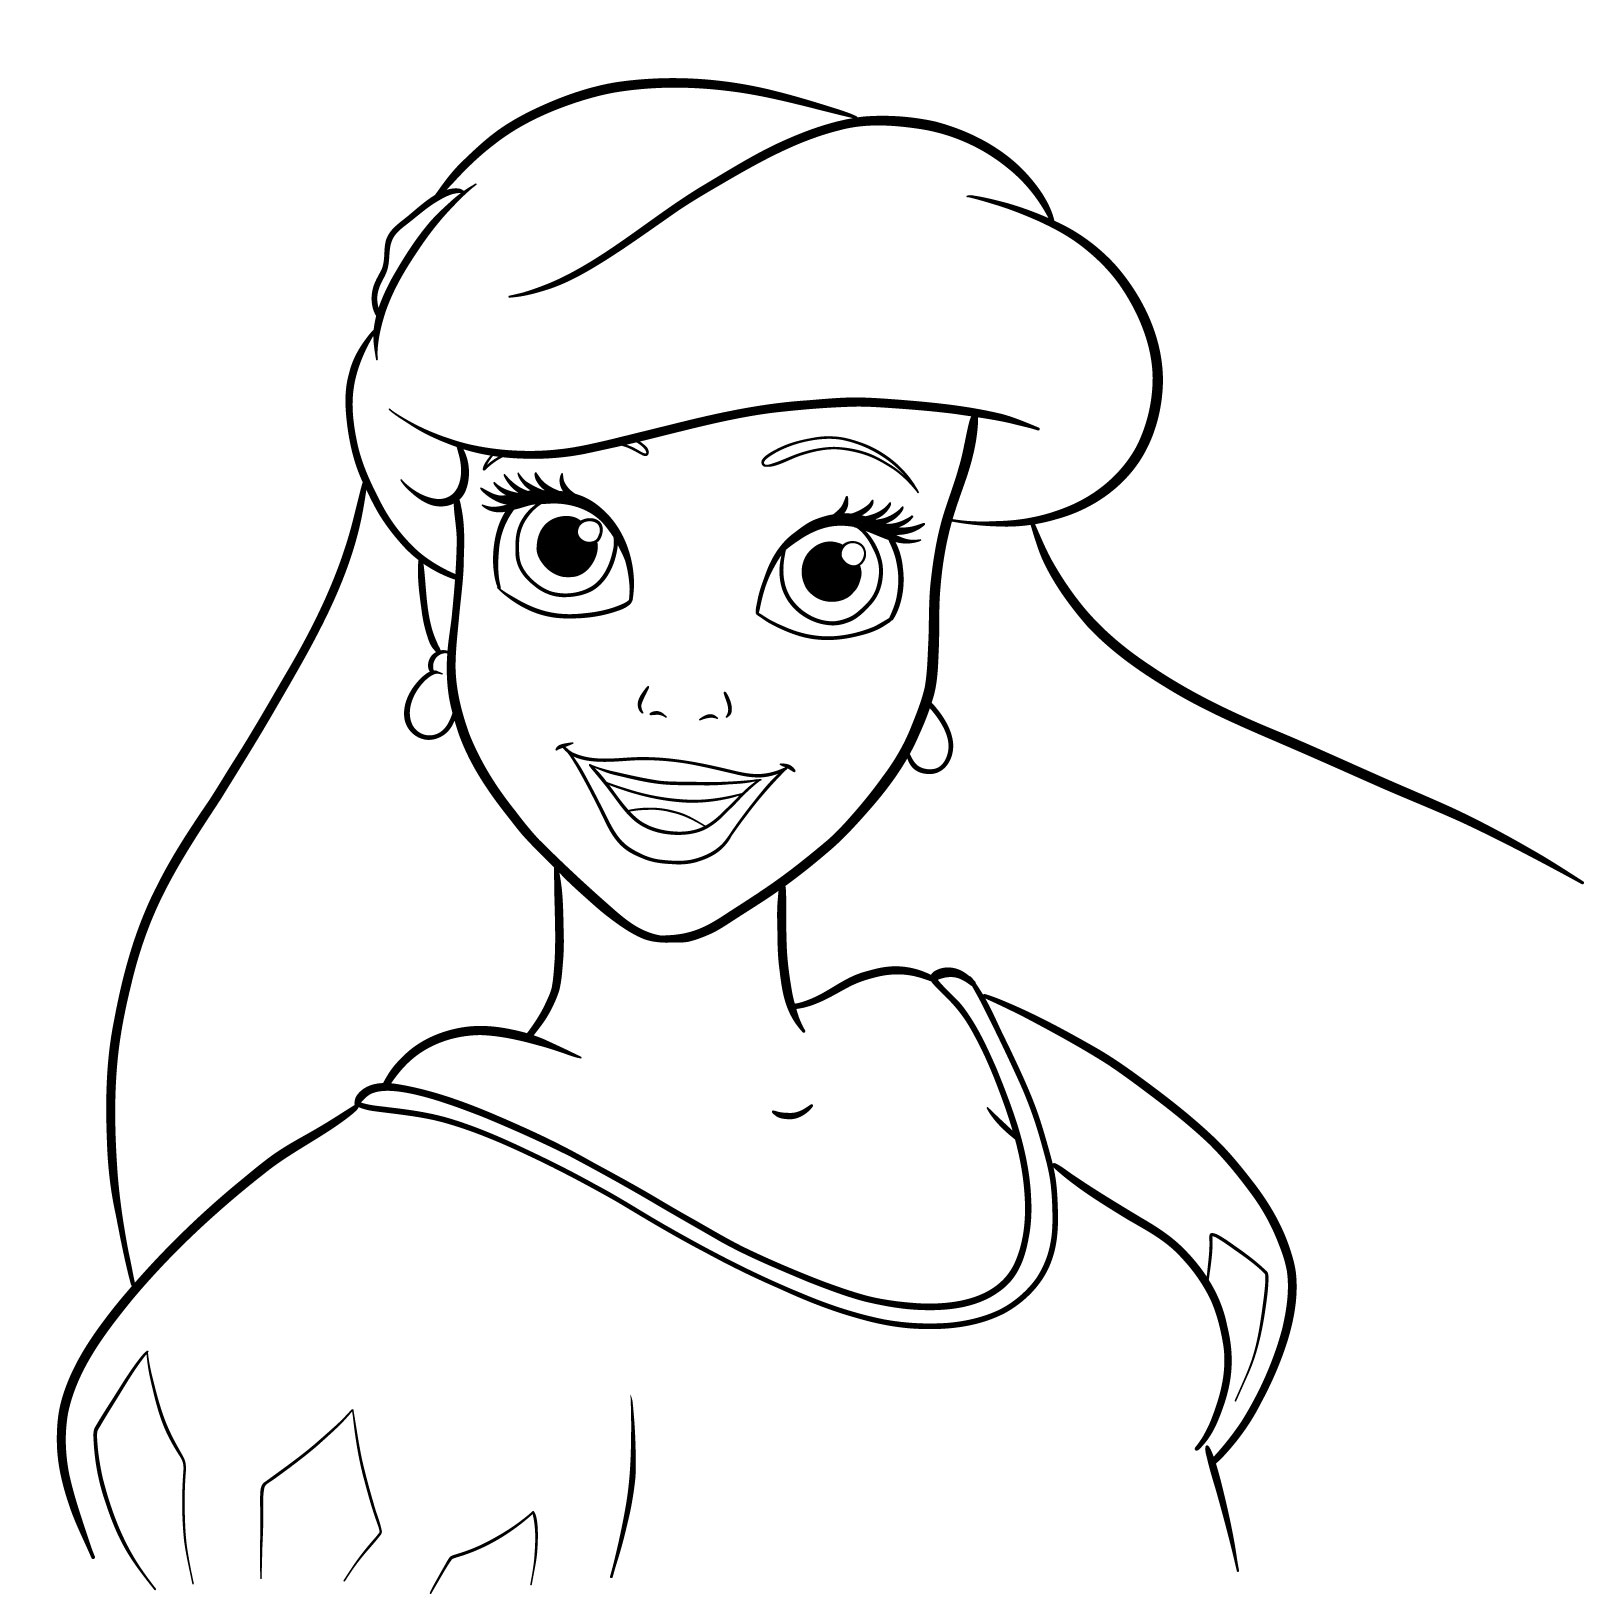
Step 28: Clean Up and Prepare for Coloring
Finish the sketch by erasing any unnecessary lines and get ready to add color to your drawing.
Coloring and Final Touches
Remember that this step is optional, and the colors we provide are only examples. Feel free to use any colors that you feel look best for your drawing.
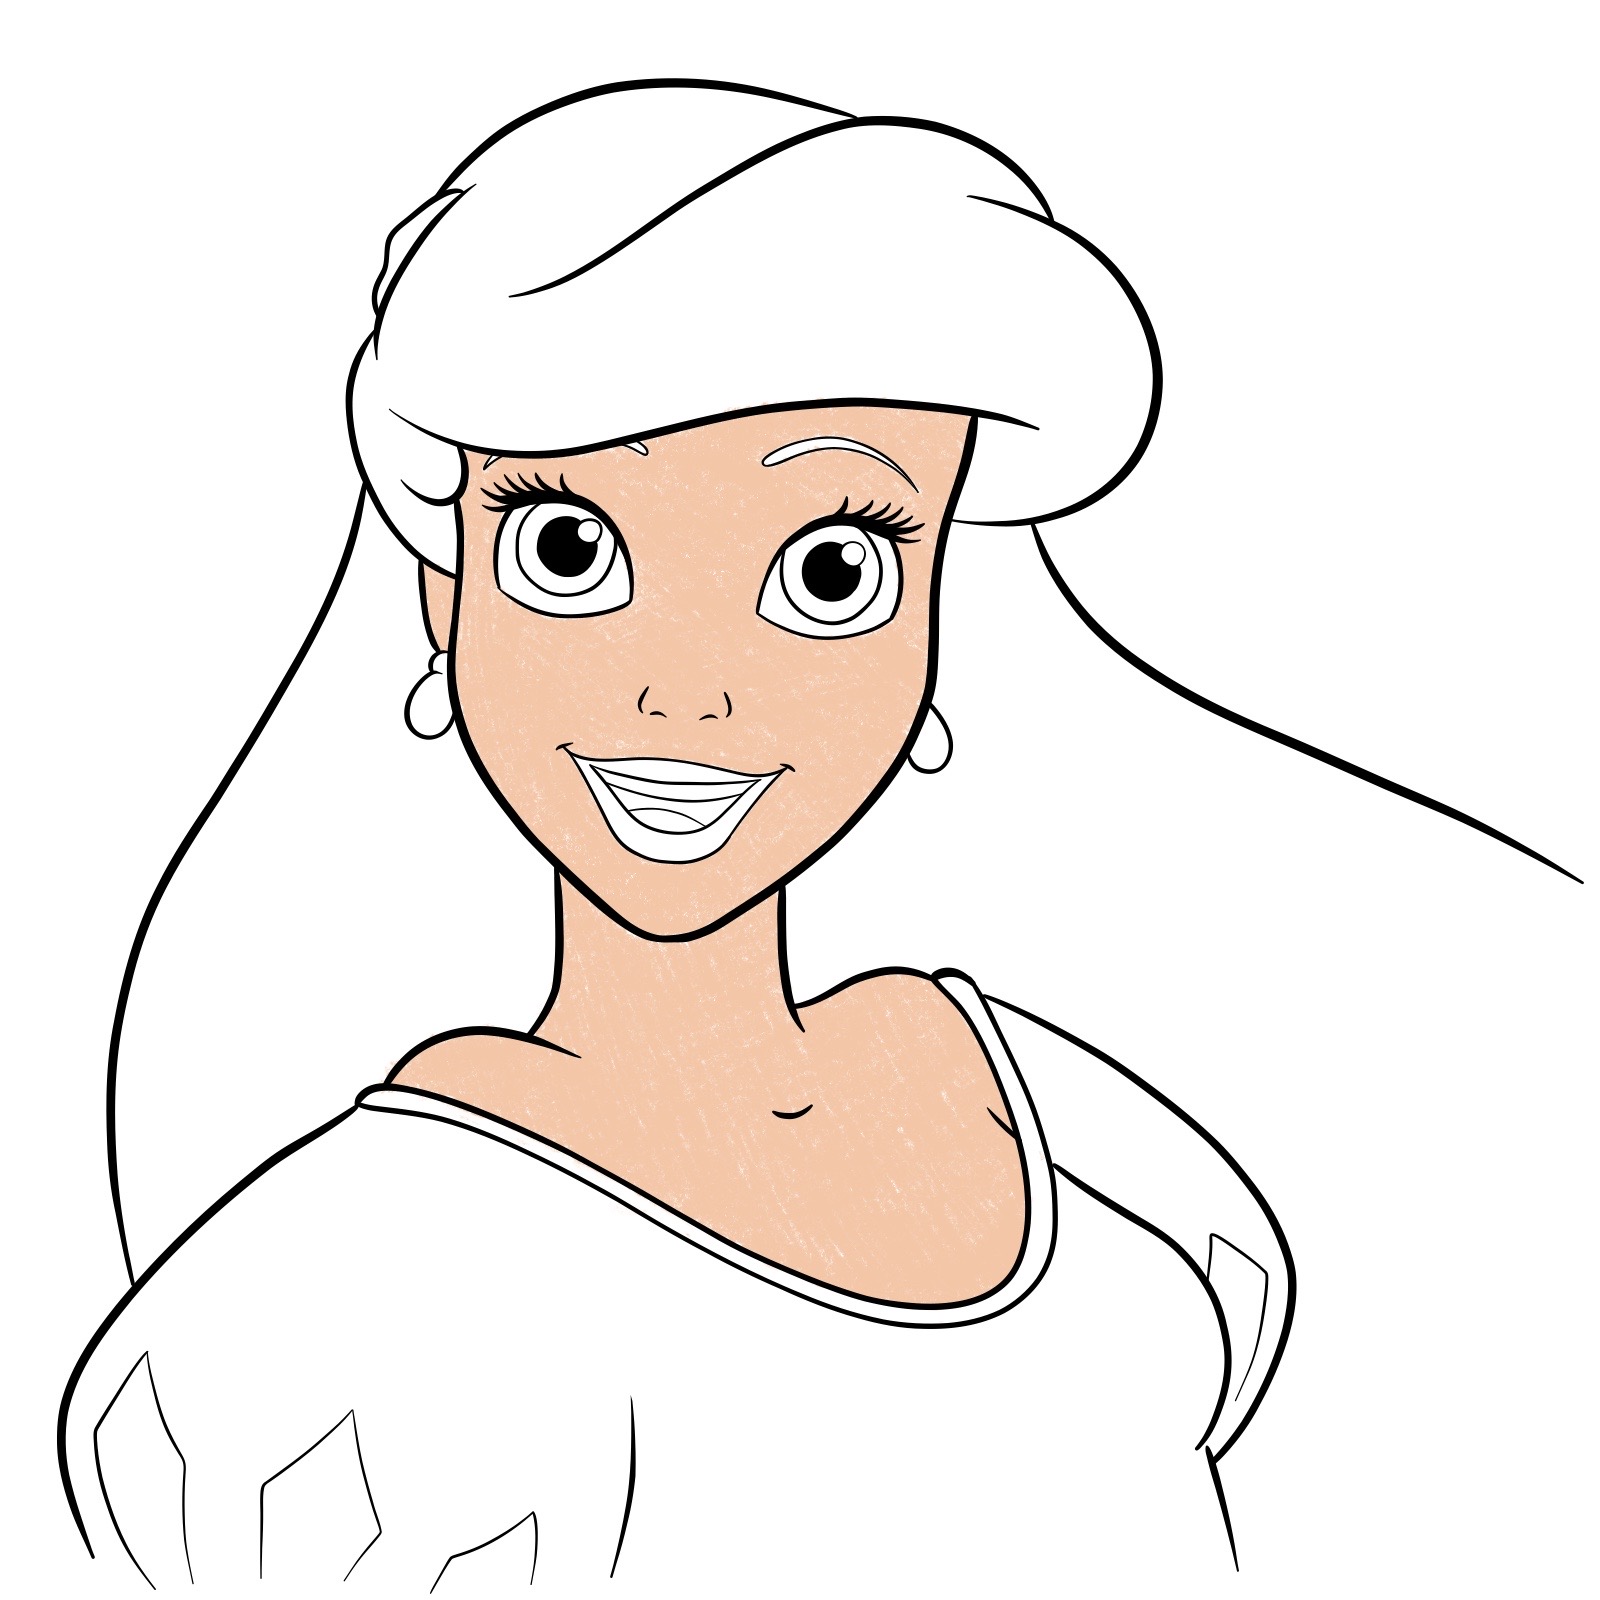
Step 29: Skin Coloring
Use color 1 to color Ariel’s skin, ensuring even coverage.
Step 30: Eye Coloring
Begin coloring her eyes with color 6, leaving some space near the pupils for the next color.
Step 31: Eye Detailing
Continue filling in her eyes, now using color 7 for added depth and contrast.
Step 32: Eye Highlights and Shadows
Use an eraser or white pencil to add highlights to her eyes, creating short strokes from the pupil to the eyeball outline. Add some shadowing using darker pencils under the eyelashes and along the outline of the eyeball.
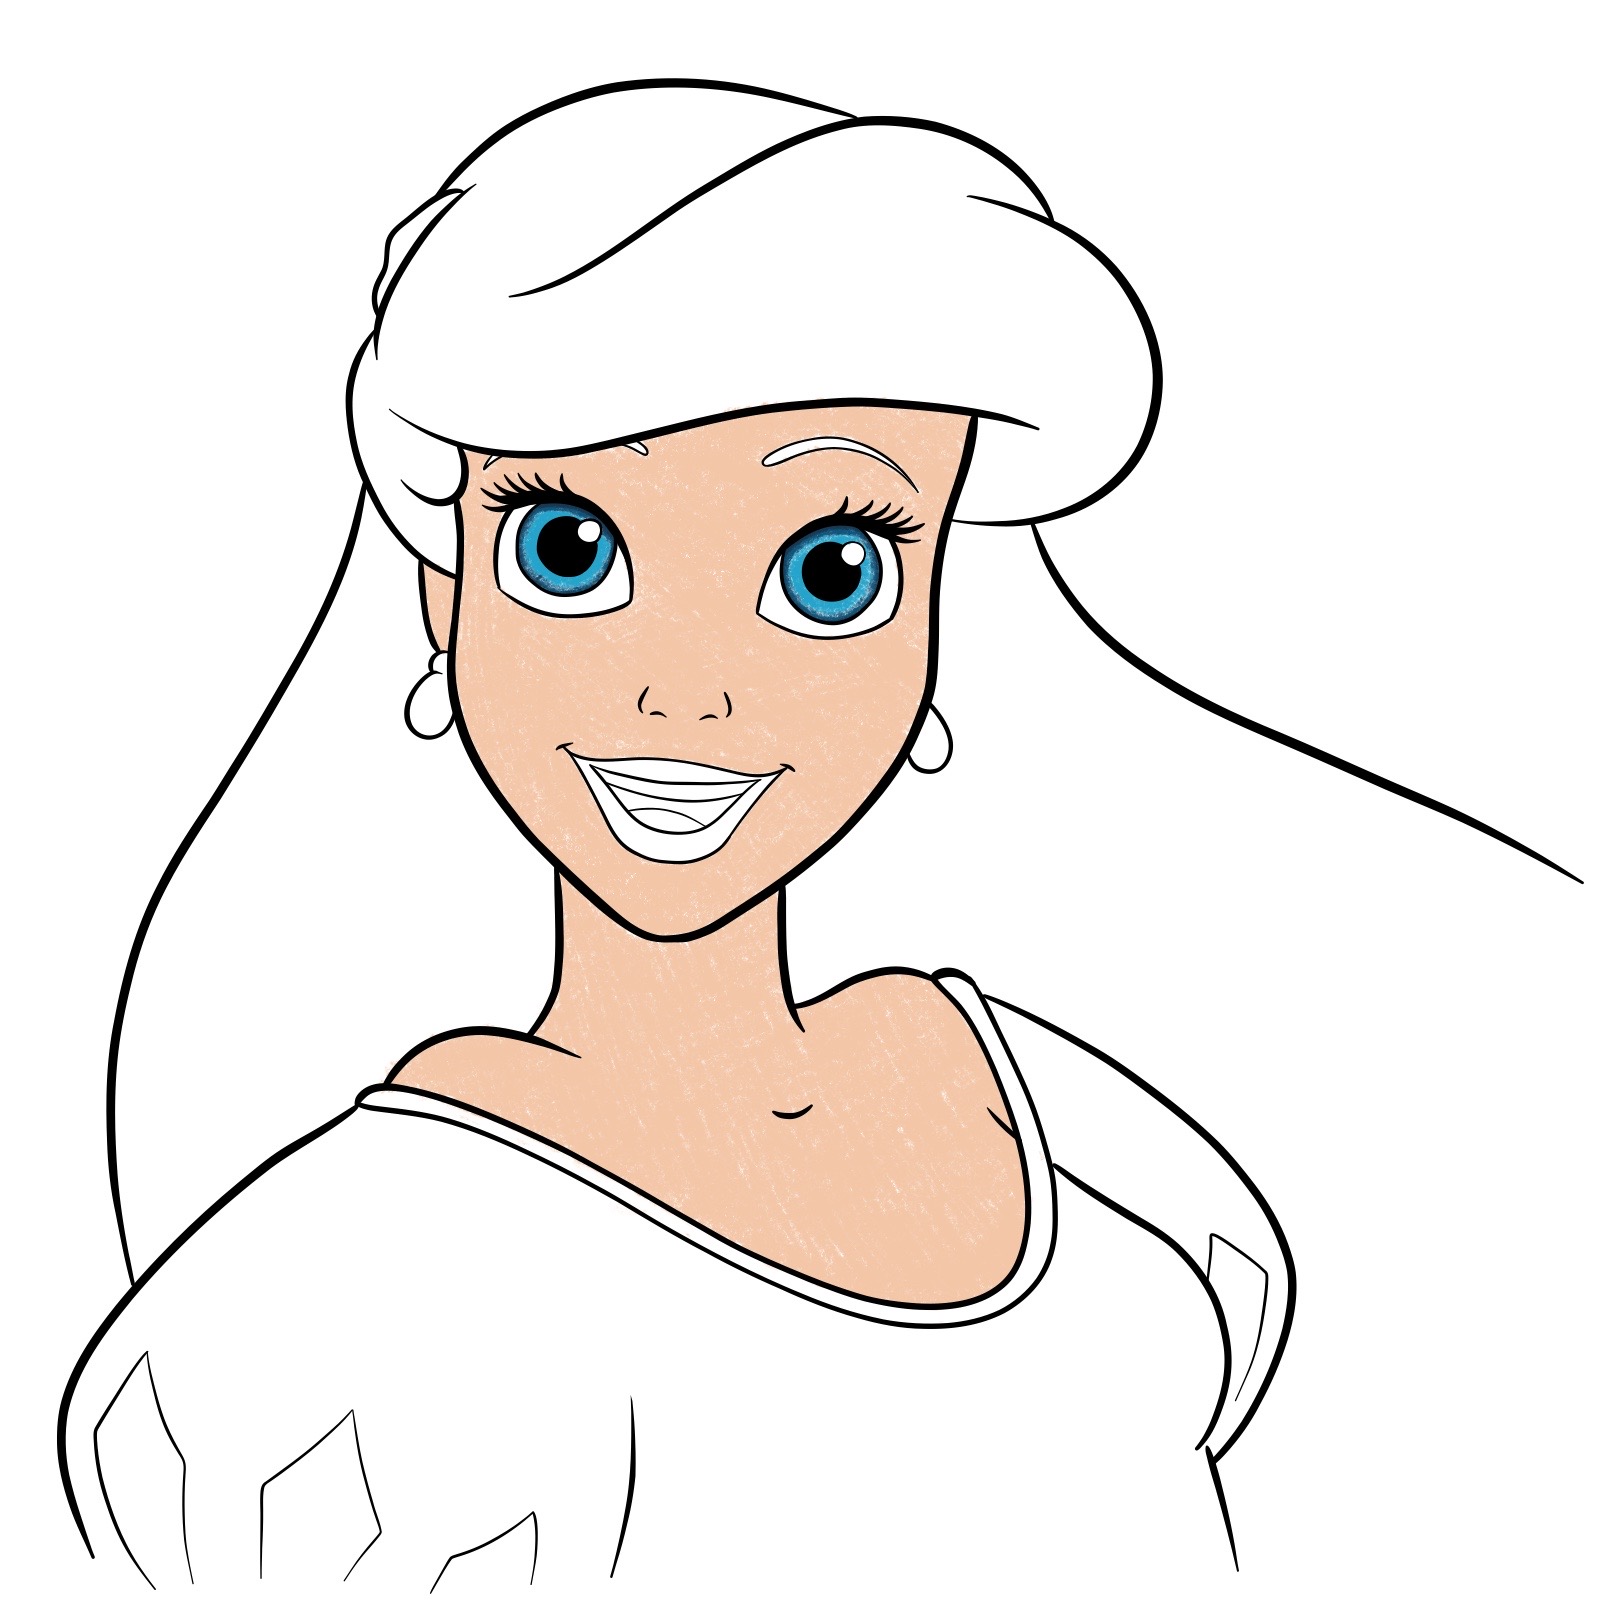
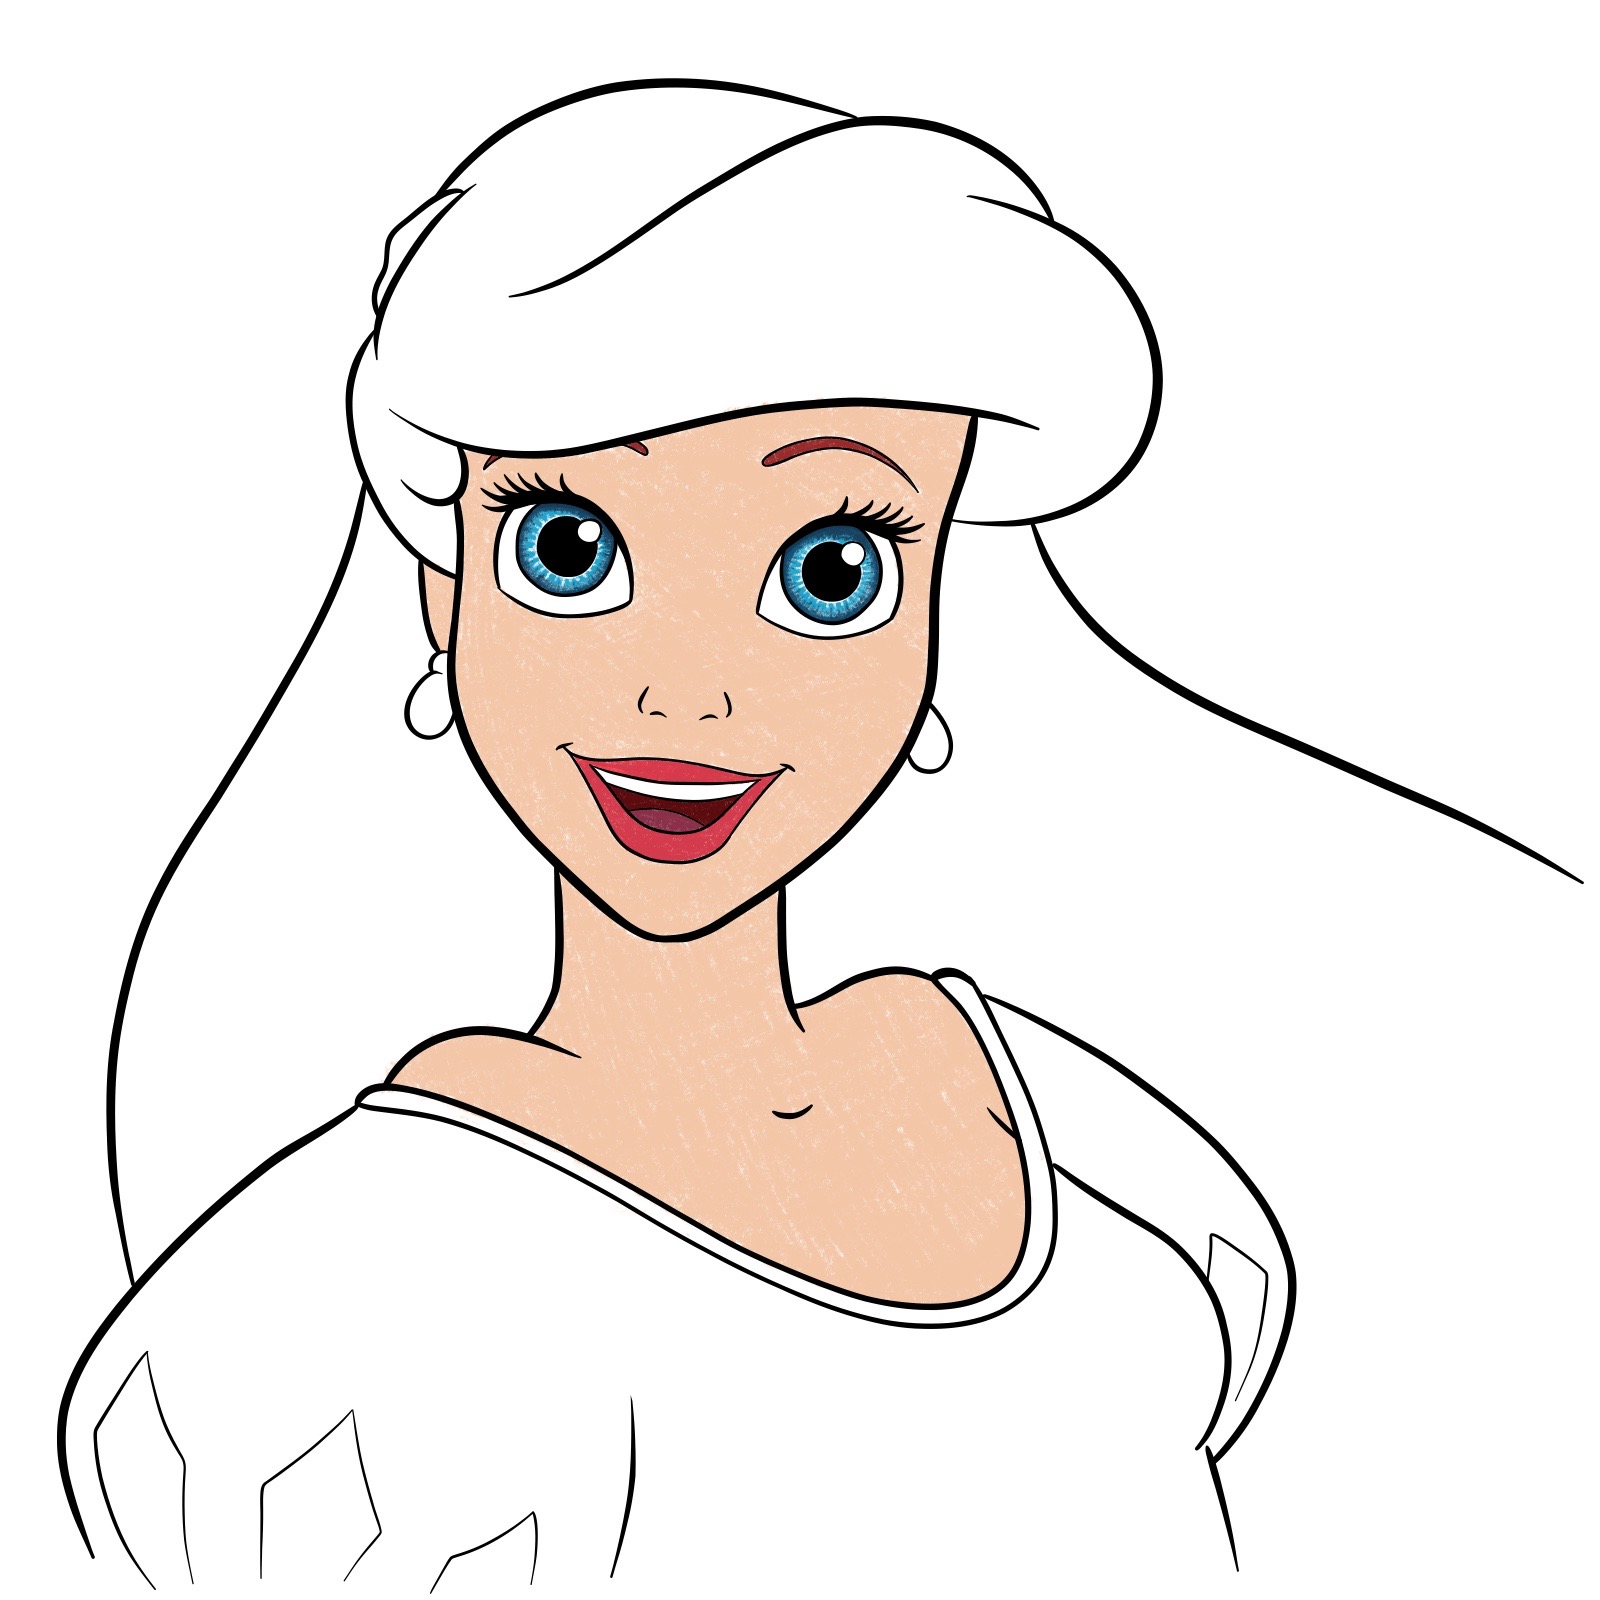
Step 33: Eyebrows, Lips, and Mouth
Fill in her eyebrows with color 5. Use color 4 for her lips, and darker 8 for the inside of her mouth and lighter 8 for her tongue.
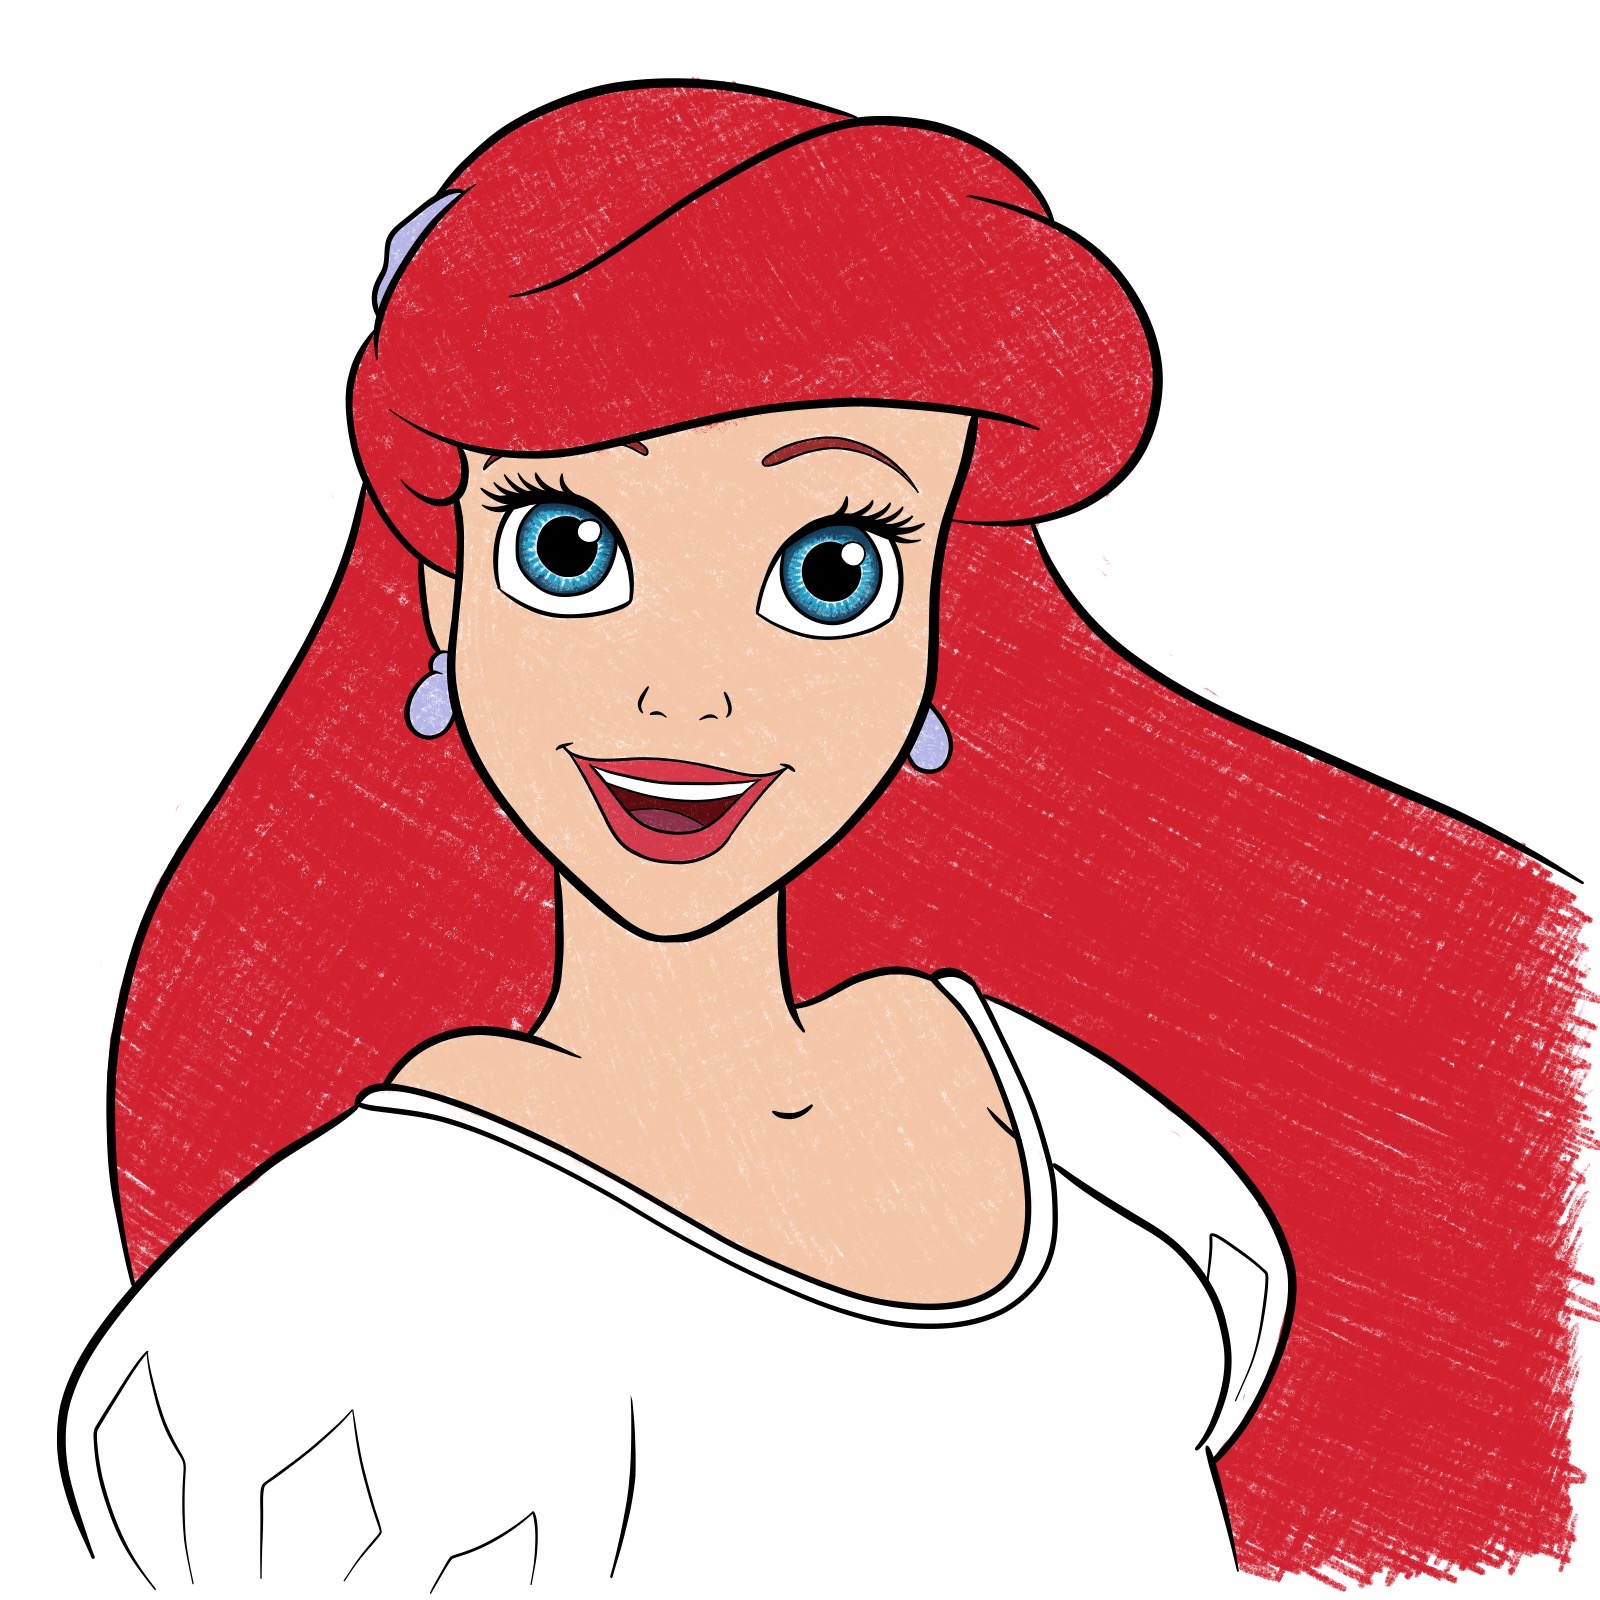
Step 34: Hair Coloring
Fill in Ariel’s hair with color 12, making sure to cover all the strands and maintain a consistent shade.
Step 35: Earrings and Hairpin
Color her earrings and hairpin with the purplish color 11.
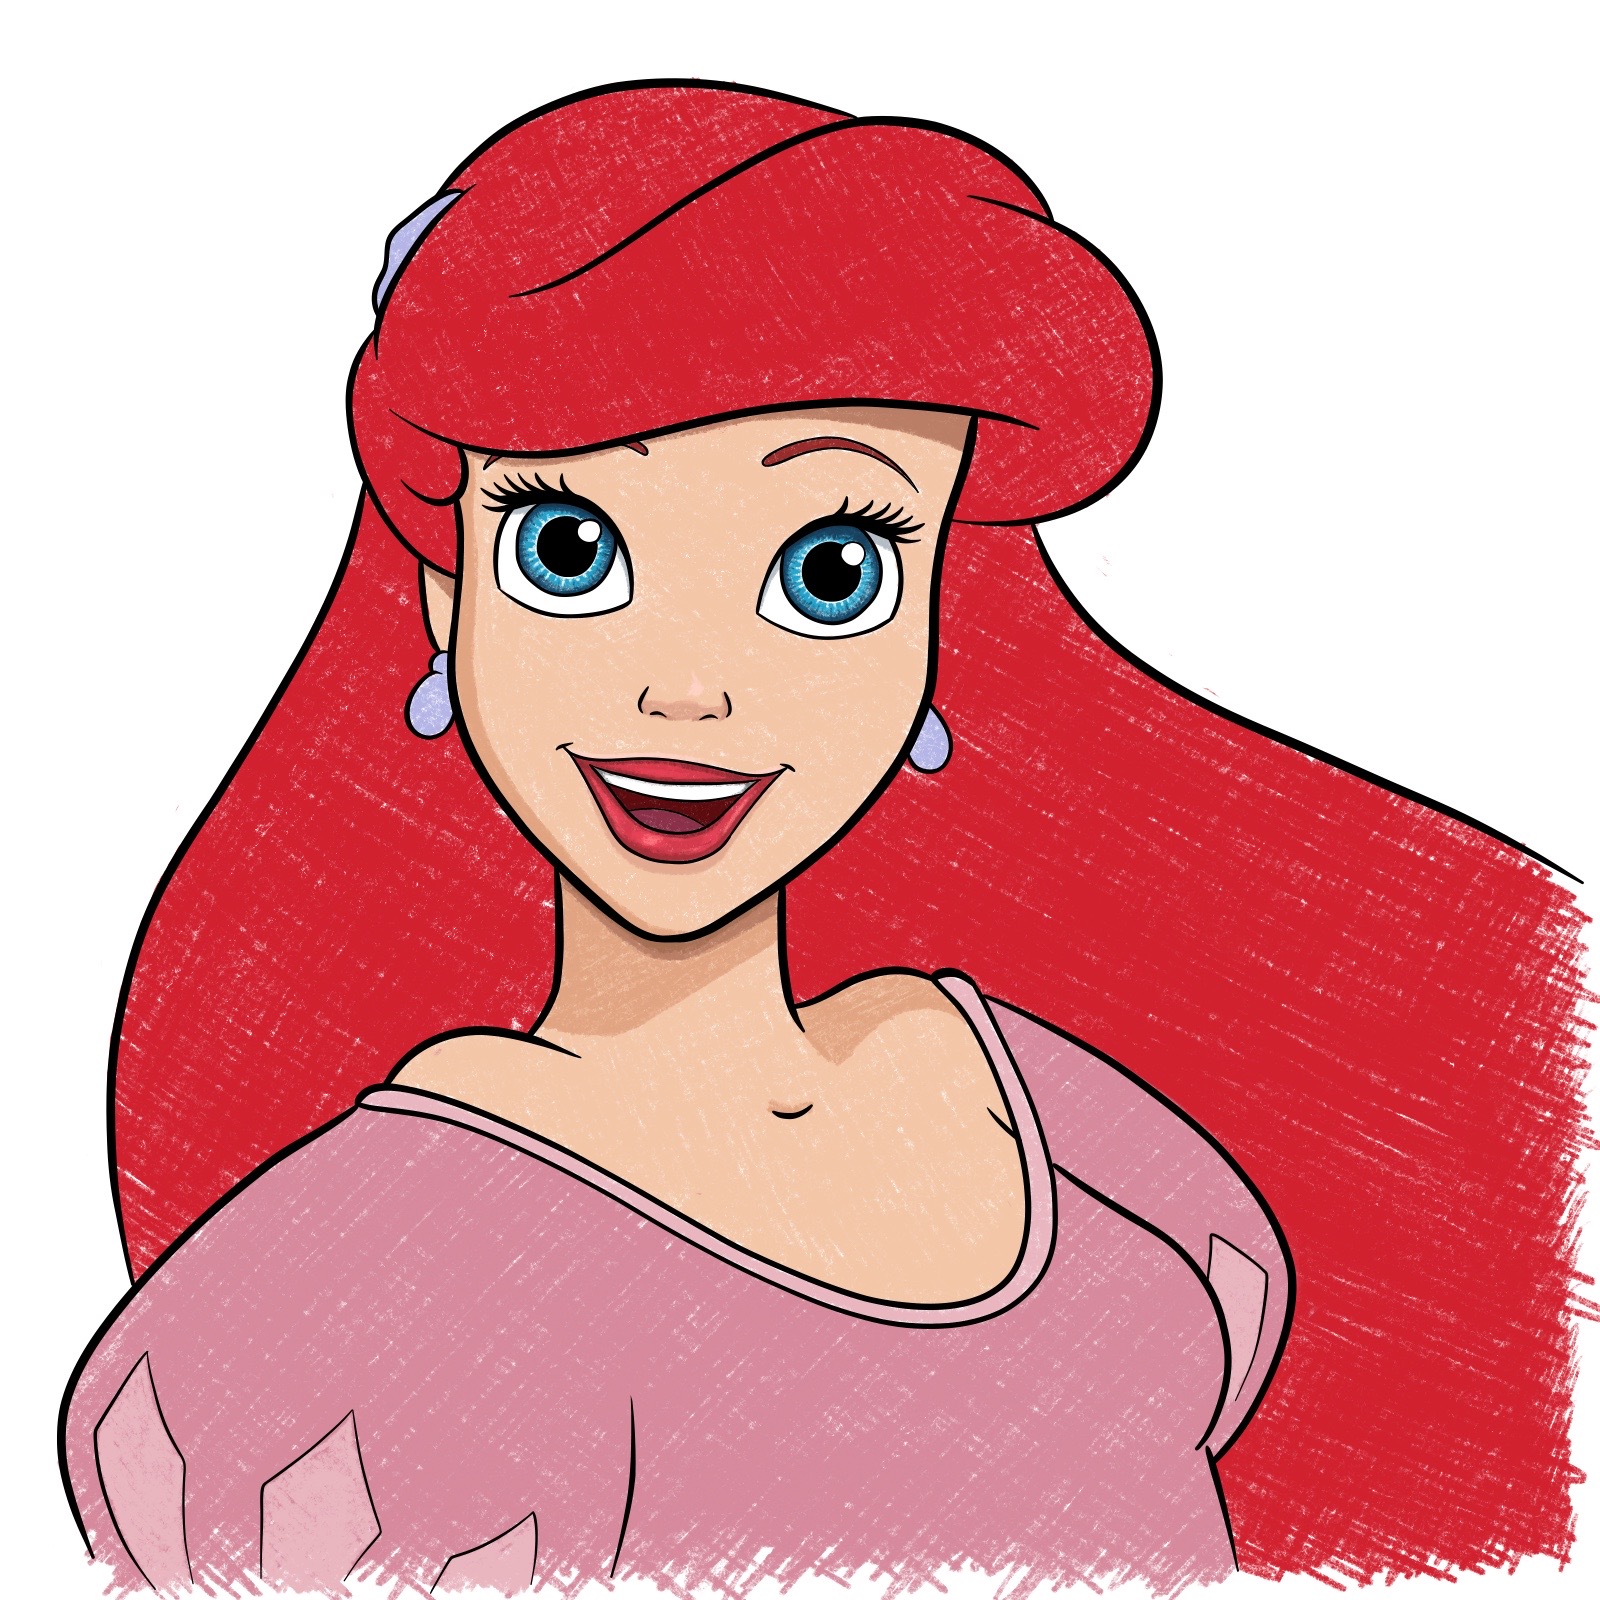
Step 36: Dress Coloring
Use color 9 as the primary color for her dress, and color 10 for the pattern.
Step 37: Shading the Face and Body
Begin shading by using darker color 2 for the shadow on her forehead, ear, and under her chin. Then, use a lighter color 2 to add shadow under her nose.
Step 38: Add some more shades
Continue shading with brighter color 2 on the right side of her face, under her chin, and on her left shoulder.
Step 39: Blush and Accessories Highlights
Add blush to her cheeks using color 3. Add highlights to her accessories using lighter color 11 or an eraser. Add shadows to the dress using a dark purple color (not included in the color examples).
Step 40: Hair Shading
Now, add darker tones and shadows to her hair using colors 13 and 14.
Step 41: More Hair Shadows
Continue adding shadows to her hair, enhancing the depth and texture.
Step 42: Final Hair Shadows
Add the final shadows to her hair before moving on to the last step.
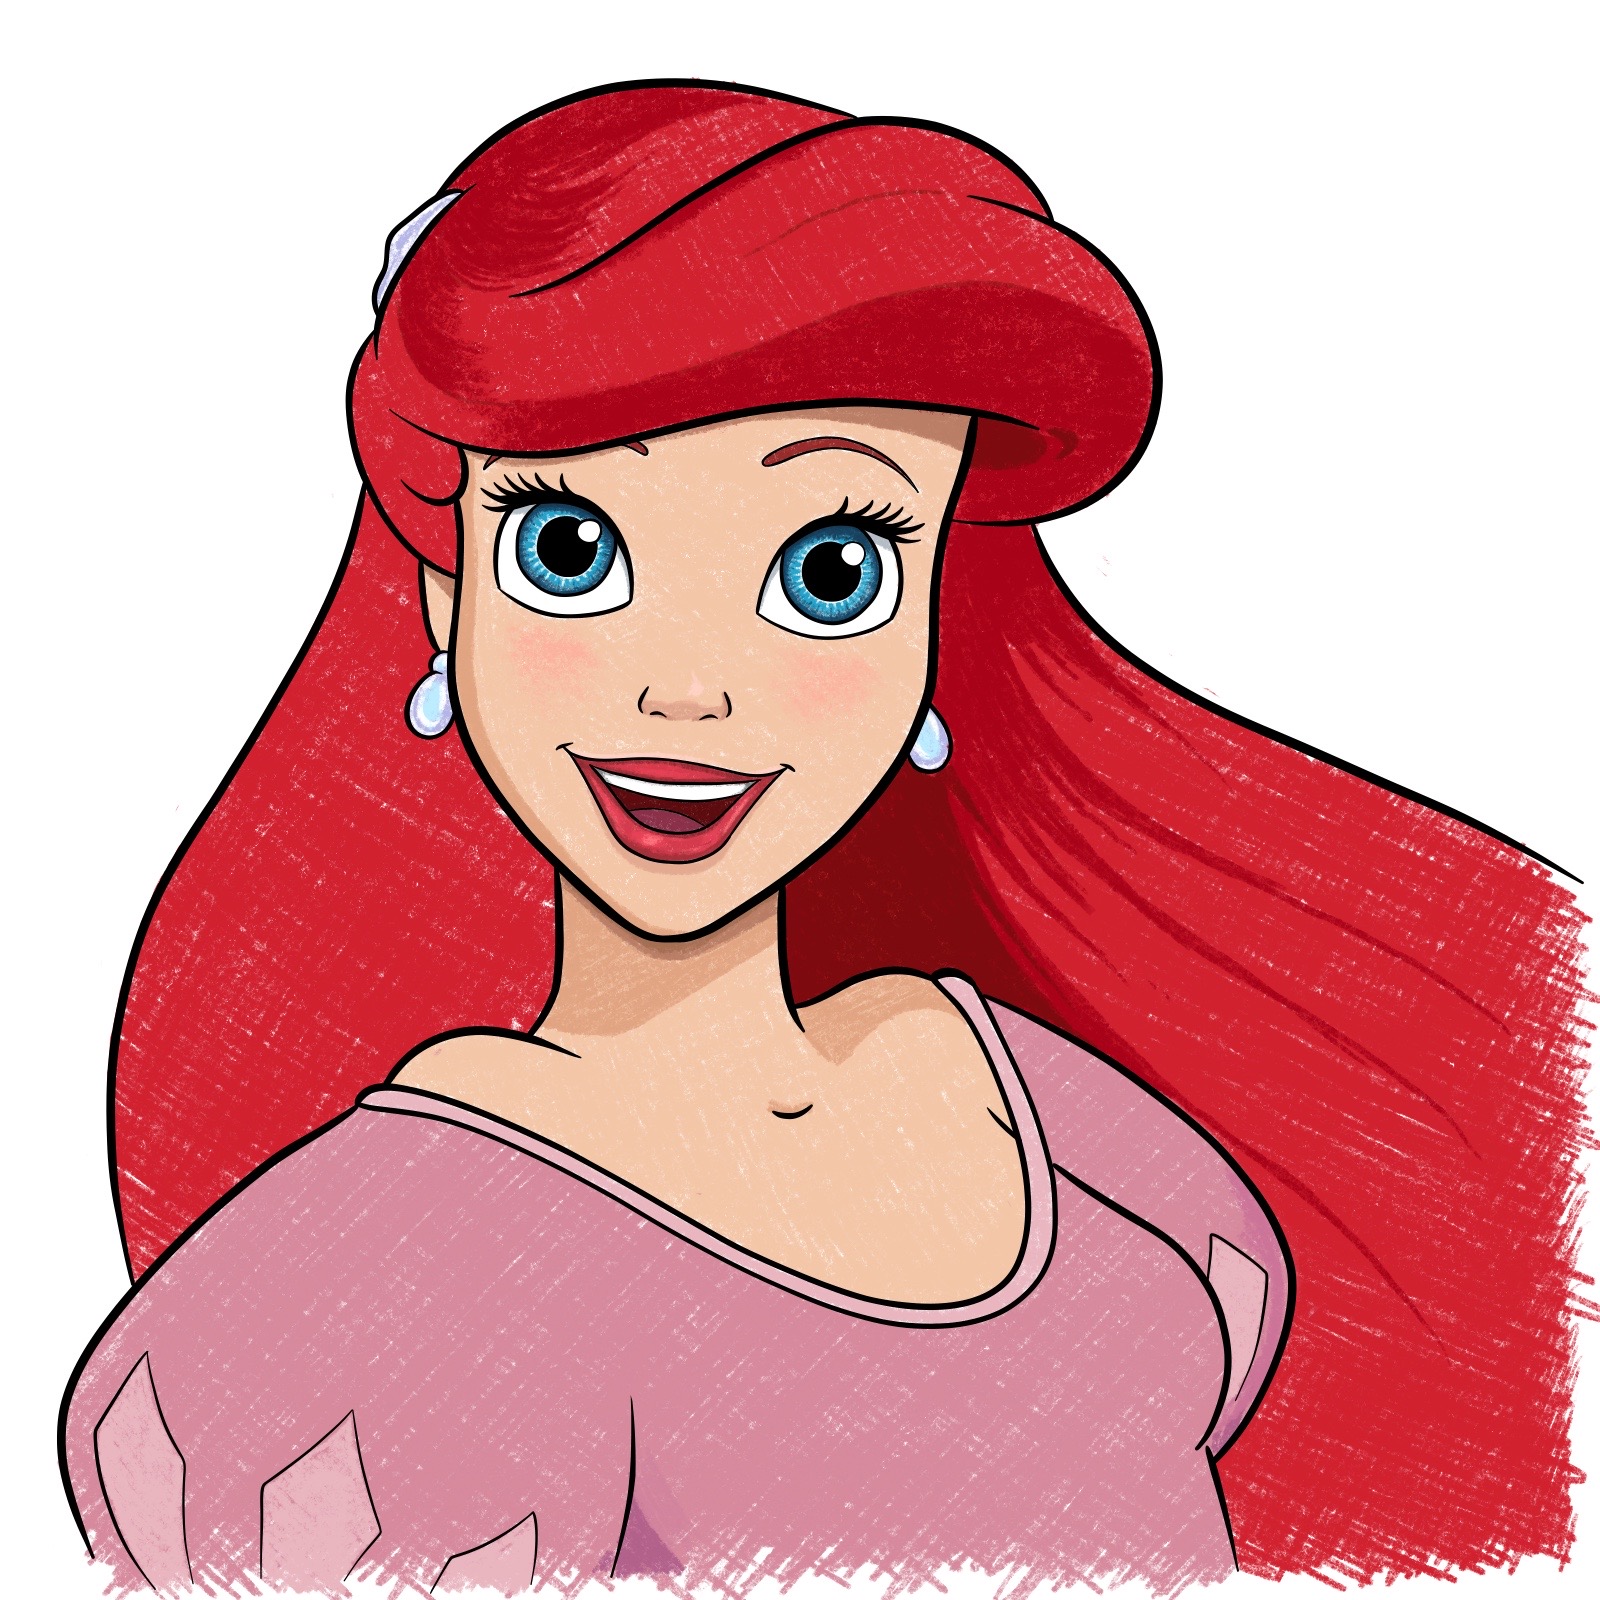
Step 43: Hair Highlights
The final step is adding highlights to Ariel’s hair using color 15. This will help give her hair a more vibrant and lifelike appearance.
Don't Miss New Tutorials! Follow SketchOk
I publish new step-by-step drawing guides every single day. Follow on your favorite platform so you never miss a tutorial. Thousands of artists are already drawing along and I can't wait you to join in!
On my Patreon you can grab unique hand-made coloring pages: each one drawn by me personally. Every purchase directly supports the creation of new drawing tutorials. It's the best way to practice your skills, keep the site going, and get something truly original at the same time.
Congratulations! You’ve successfully completed this step-by-step drawing guide on how to draw Ariel, the Little Mermaid. You’ve learned essential sketching techniques, how to draw Ariel’s face and facial features, and even how to add color to bring your drawing to life.
If you’ve found my drawing tutorials and guides helpful, consider showing your appreciation by supporting me on . By contributing, you’ll enable me to continue creating valuable content and sharing my passion for art with people like you. Plus, it’s a fantastic way for you to get involved with the creative community and connect with other art enthusiasts. Simply visit my Buy Me a Coffee page, choose the amount you’d like to contribute, and leave a message if you’d like. Your support means the world to me, and I’m incredibly grateful for every coffee you buy! Let’s keep learning, growing, and creating beautiful art together.
Remember, practice makes perfect. So, keep refining your skills by trying out different Disney characters, and soon you’ll be a master at drawing your favorite Disney Princesses. Don’t forget to share your artwork with friends and family or on social media, and be proud of your accomplishments!
Disclaimer: This is a non-commercial, fan-made educational site. All characters belong to their respective owners. We are not affiliated with any rights holders.
Read full Disclaimer