Last Updated on May 14, 2026
Embracing the realm of fantasy, Ariel from Disney’s The Little Mermaid has captured hearts around the globe. The vibrant and vivacious young mermaid princess who dreamt of a life beyond the ocean’s bounds is a favorite subject for many artists. If you’re aspiring to capture her beauty on canvas, you’re in the right place. This guide will help you grasp how to draw Ariel full body, offering clear guidelines for each stage of the artistic process.
A Closer Look at Ariel
- History: Ariel is not just Disney’s invention; she has her roots in the Danish fairy tale by Hans Christian Andersen. Though Disney provided her with a happier ending, the essence of the character remains rooted in age-old stories.
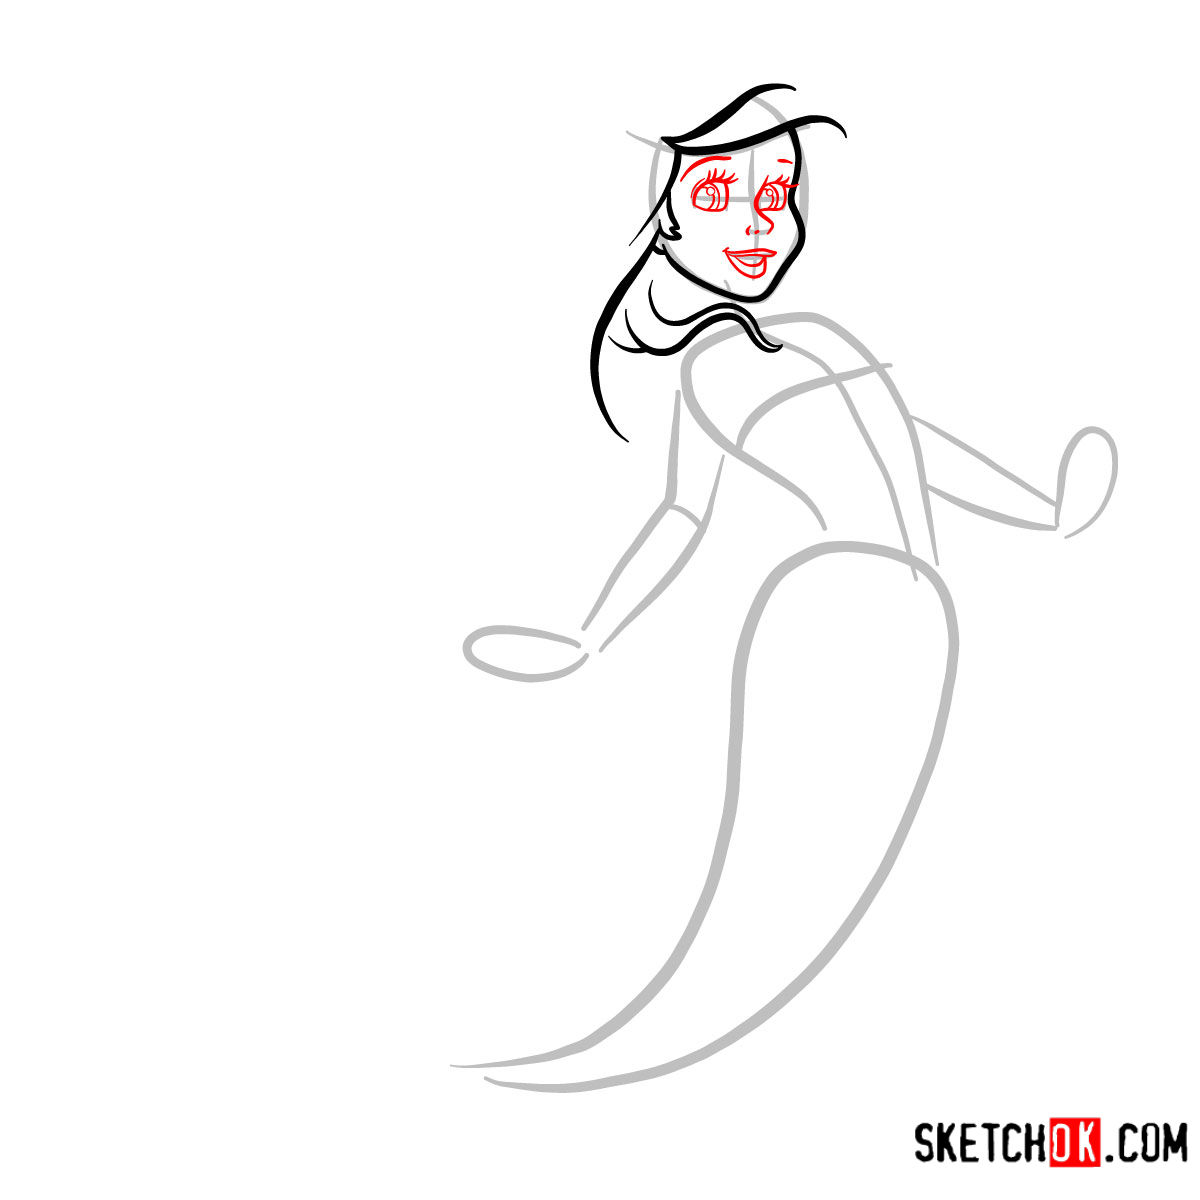
- Appearance: Characterized by her fiery red hair, aqua blue eyes, and a sea-green tail, Ariel’s look is unique and mesmerizing. Her hourglass figure and youthful face make her an interesting subject to sketch.
- Friends and Family: As you master the art of drawing Ariel, consider adding her companions like Flounder, Sebastian, or even Prince Eric to create a comprehensive scene.
About the Drawing Guide
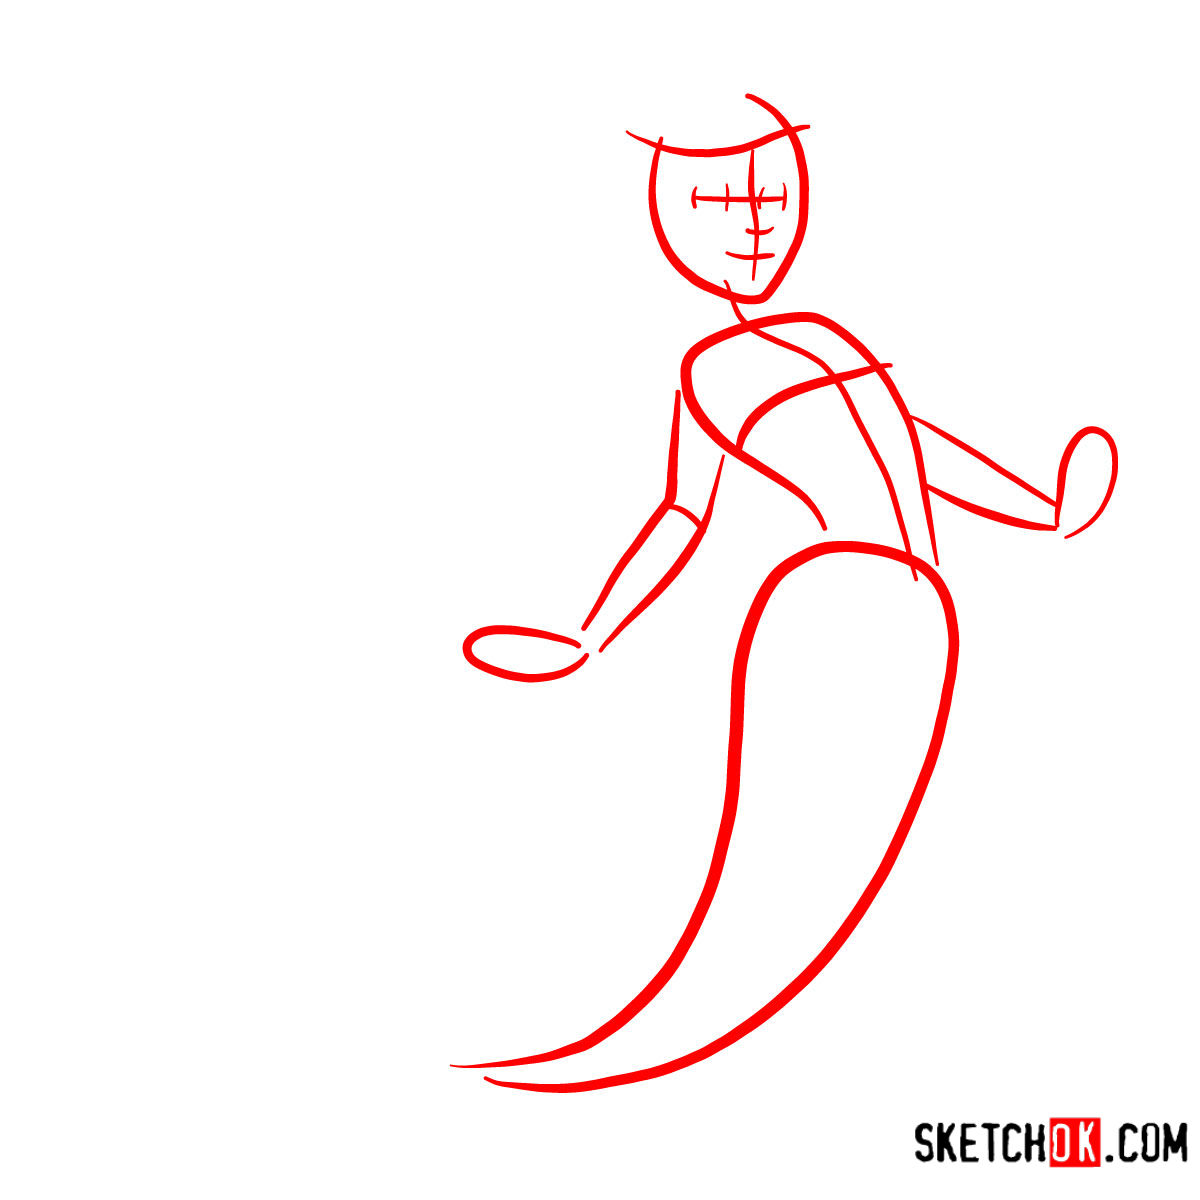
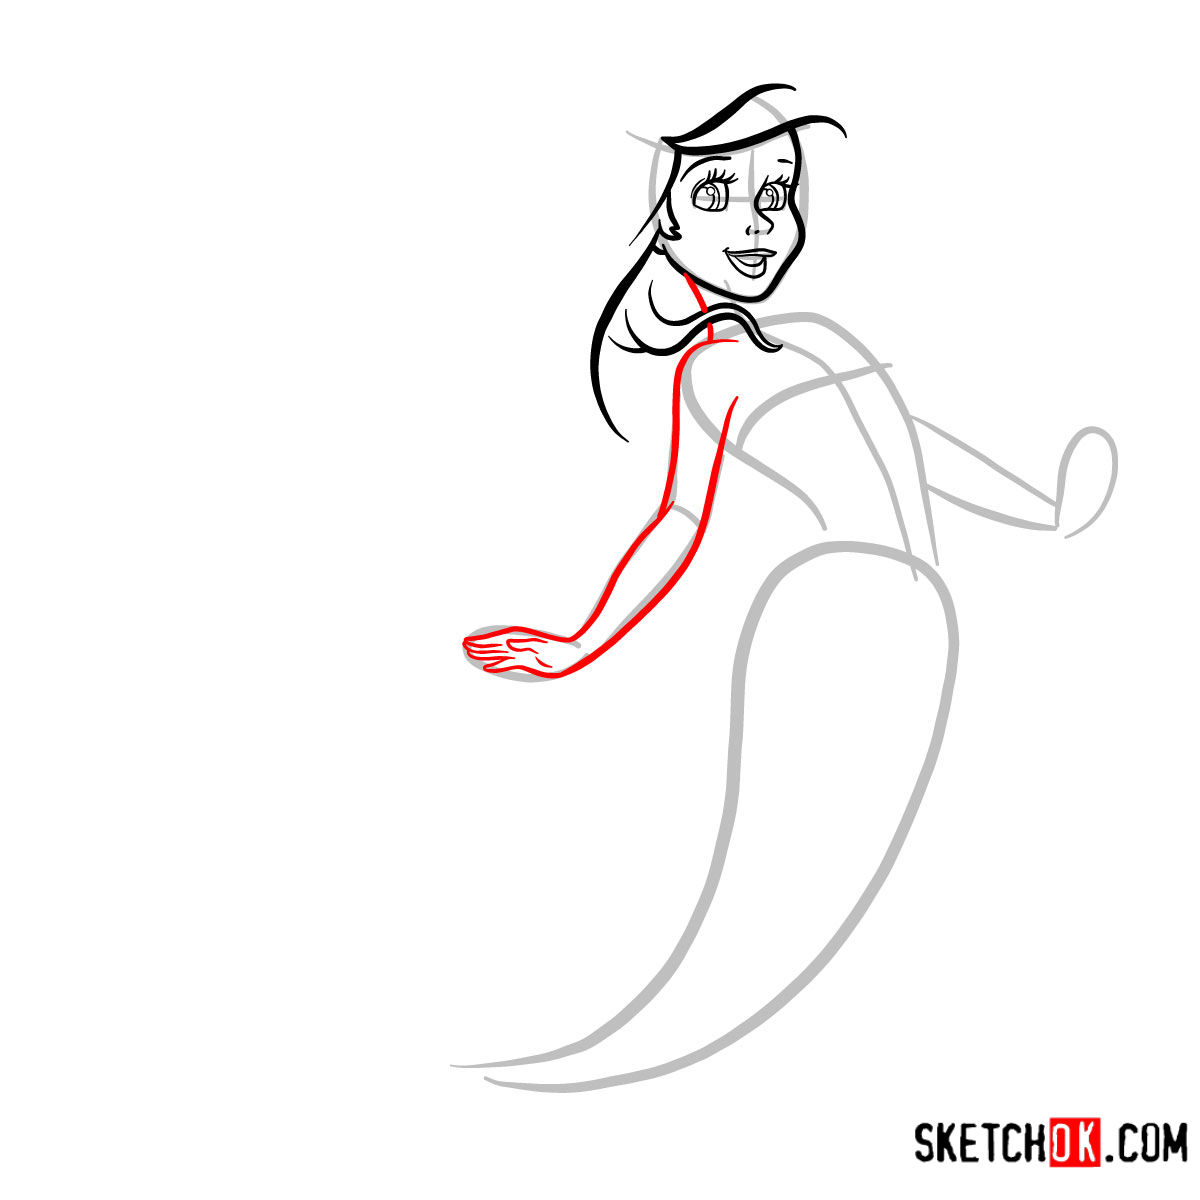
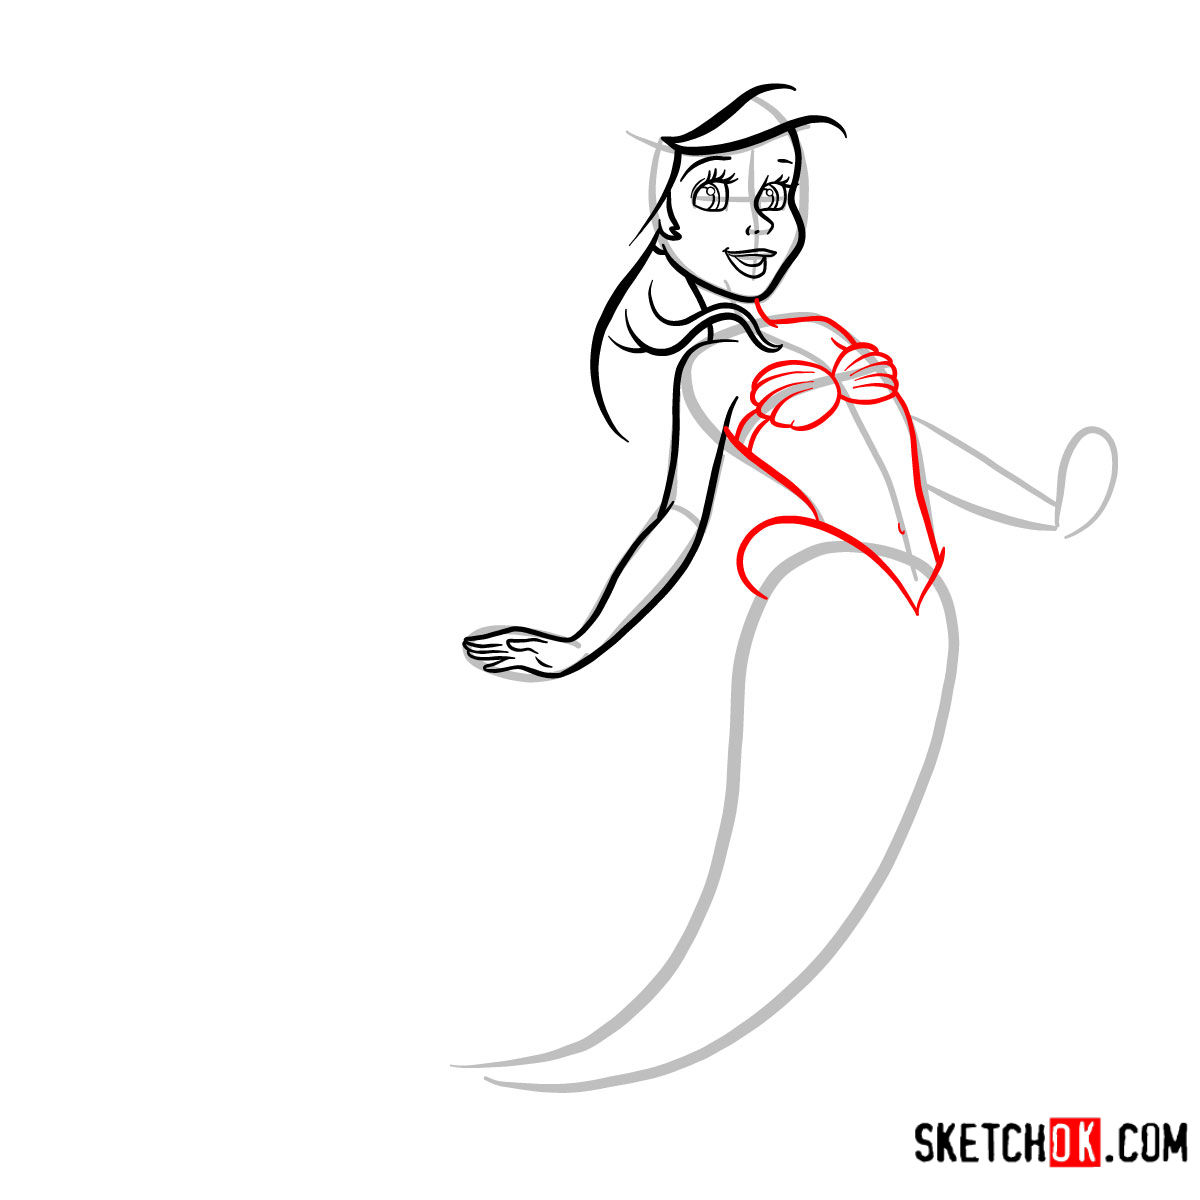
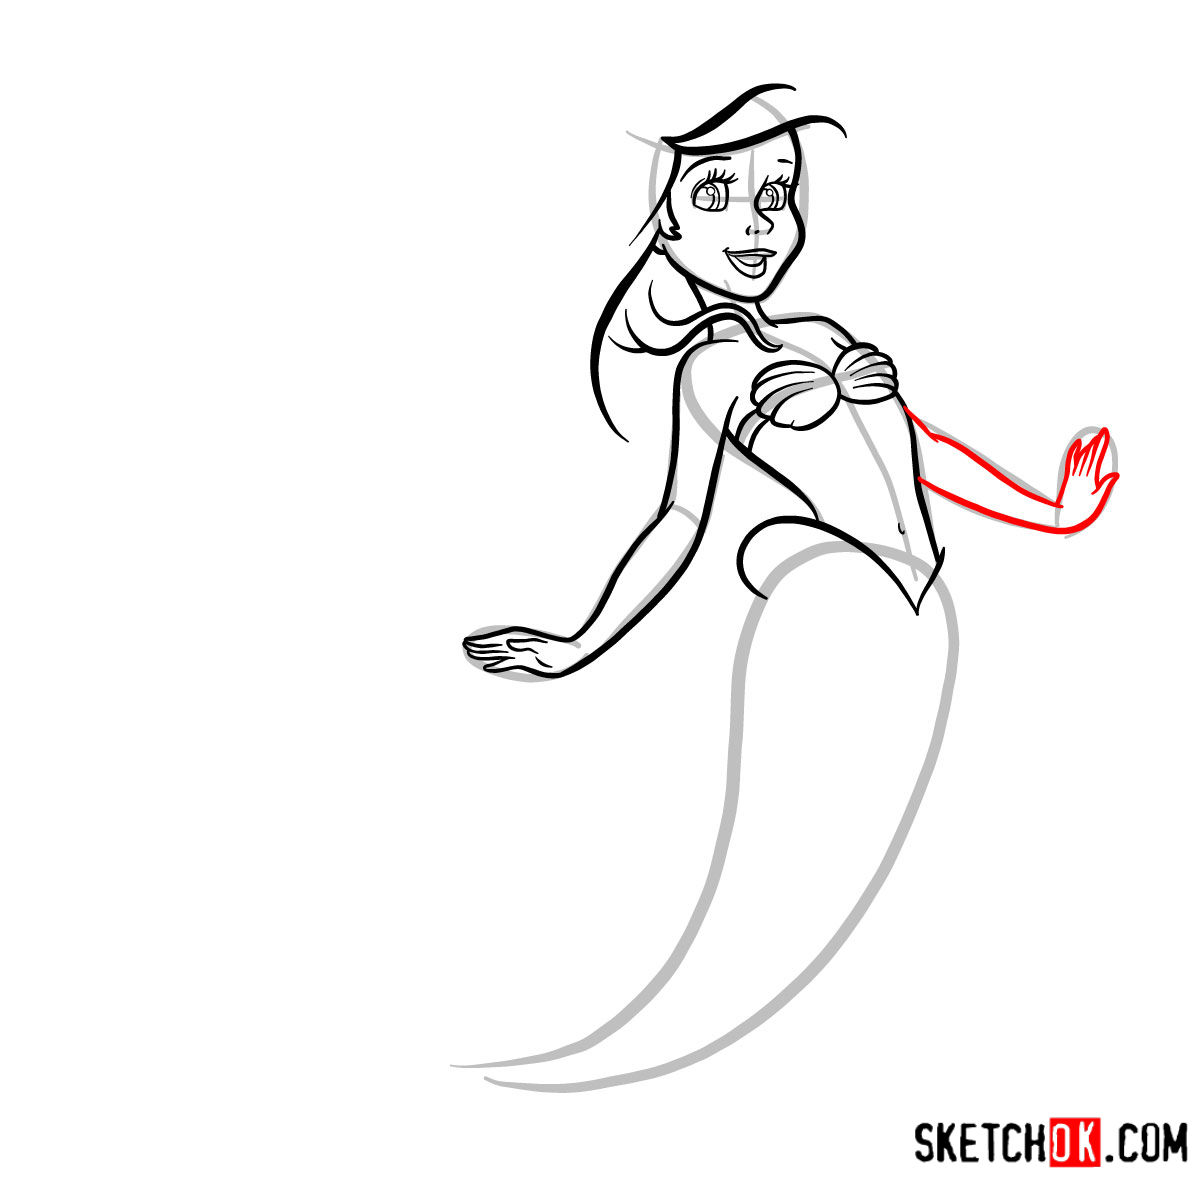
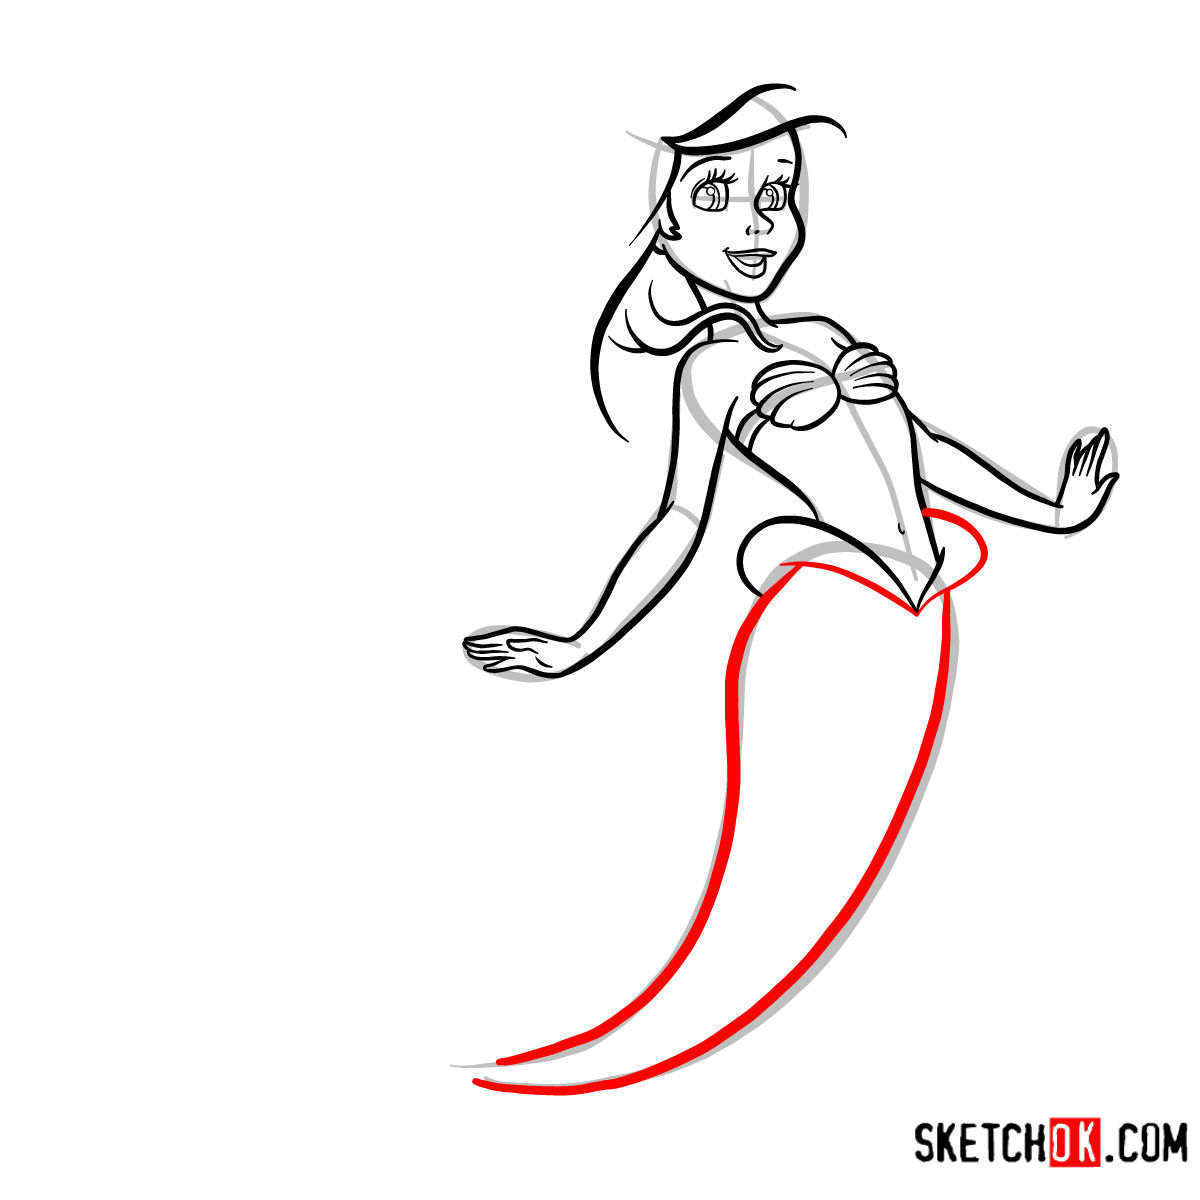
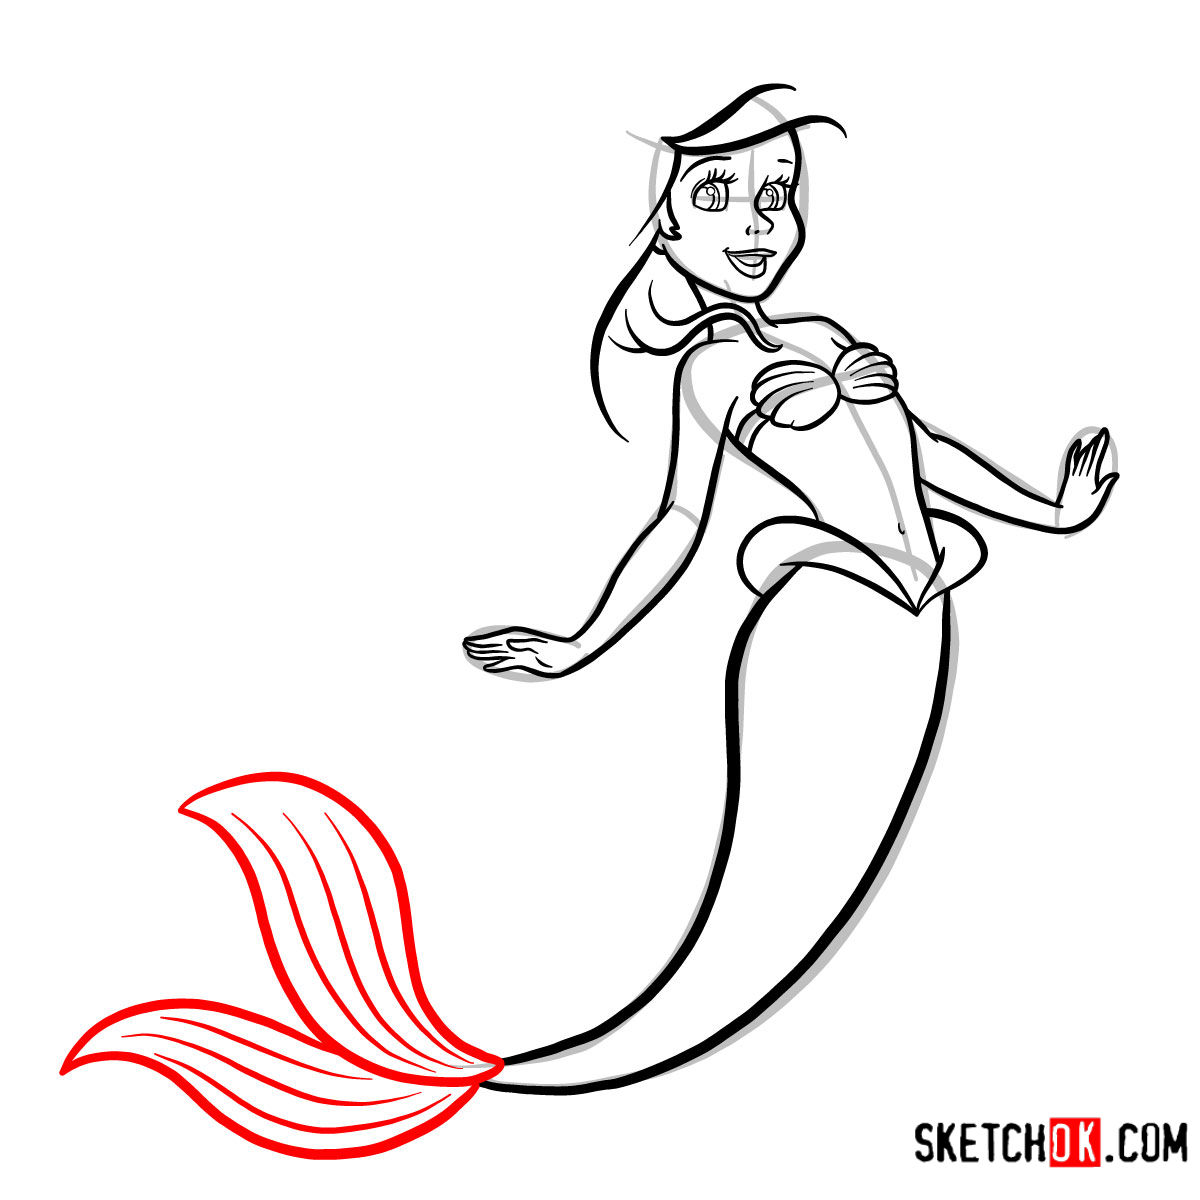
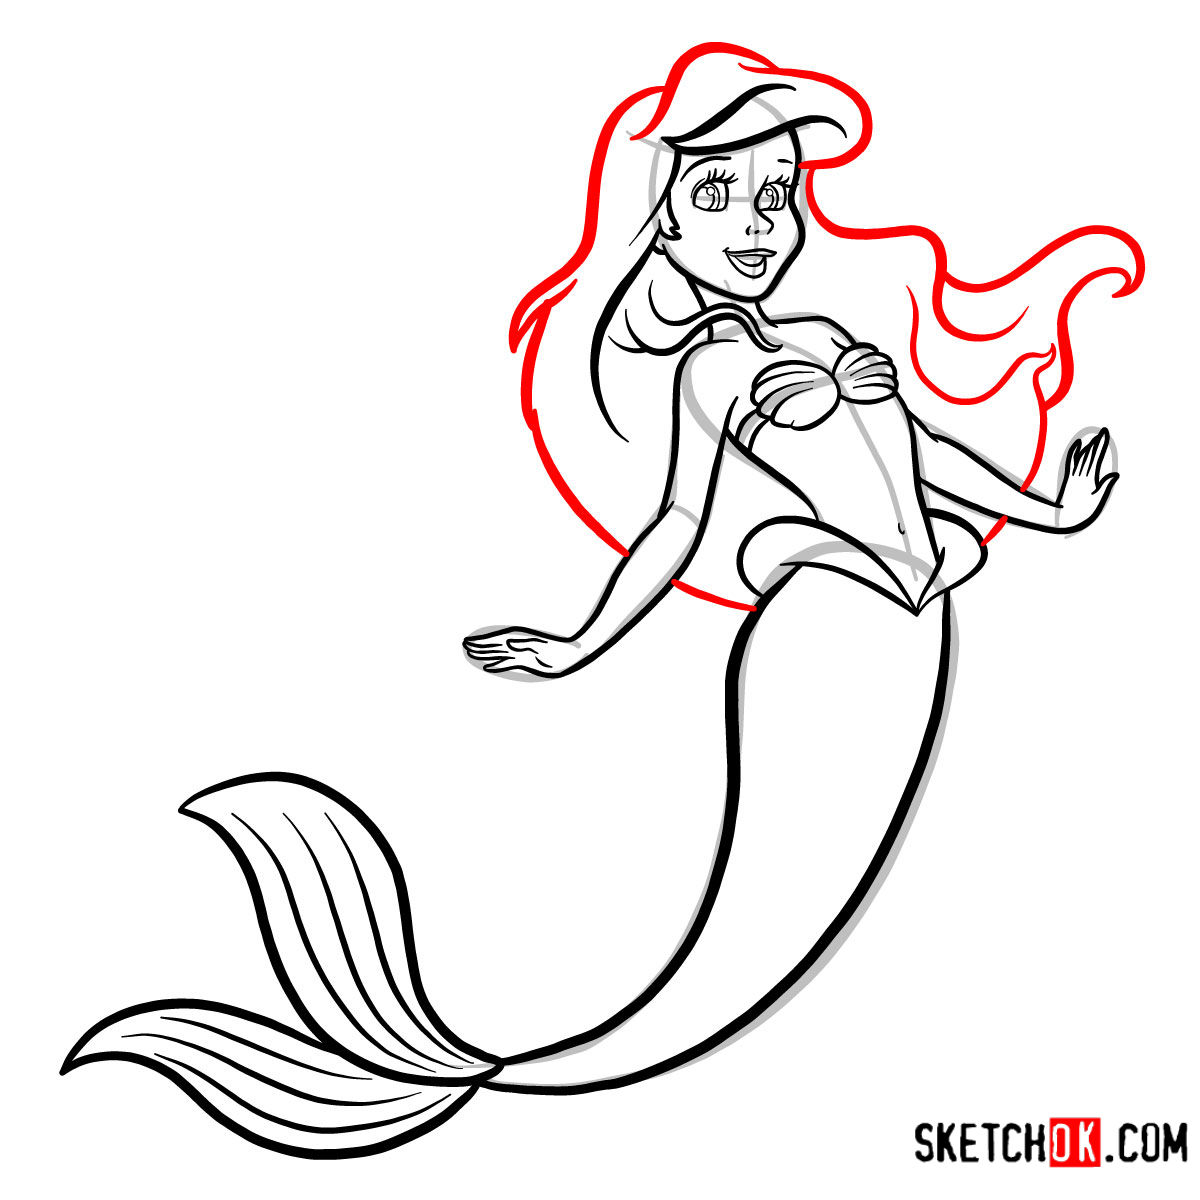
In this step-by-step tutorial consisting of 11 stages, you’ll begin with a basic sketch, helping ensure the right proportions. As you progress:
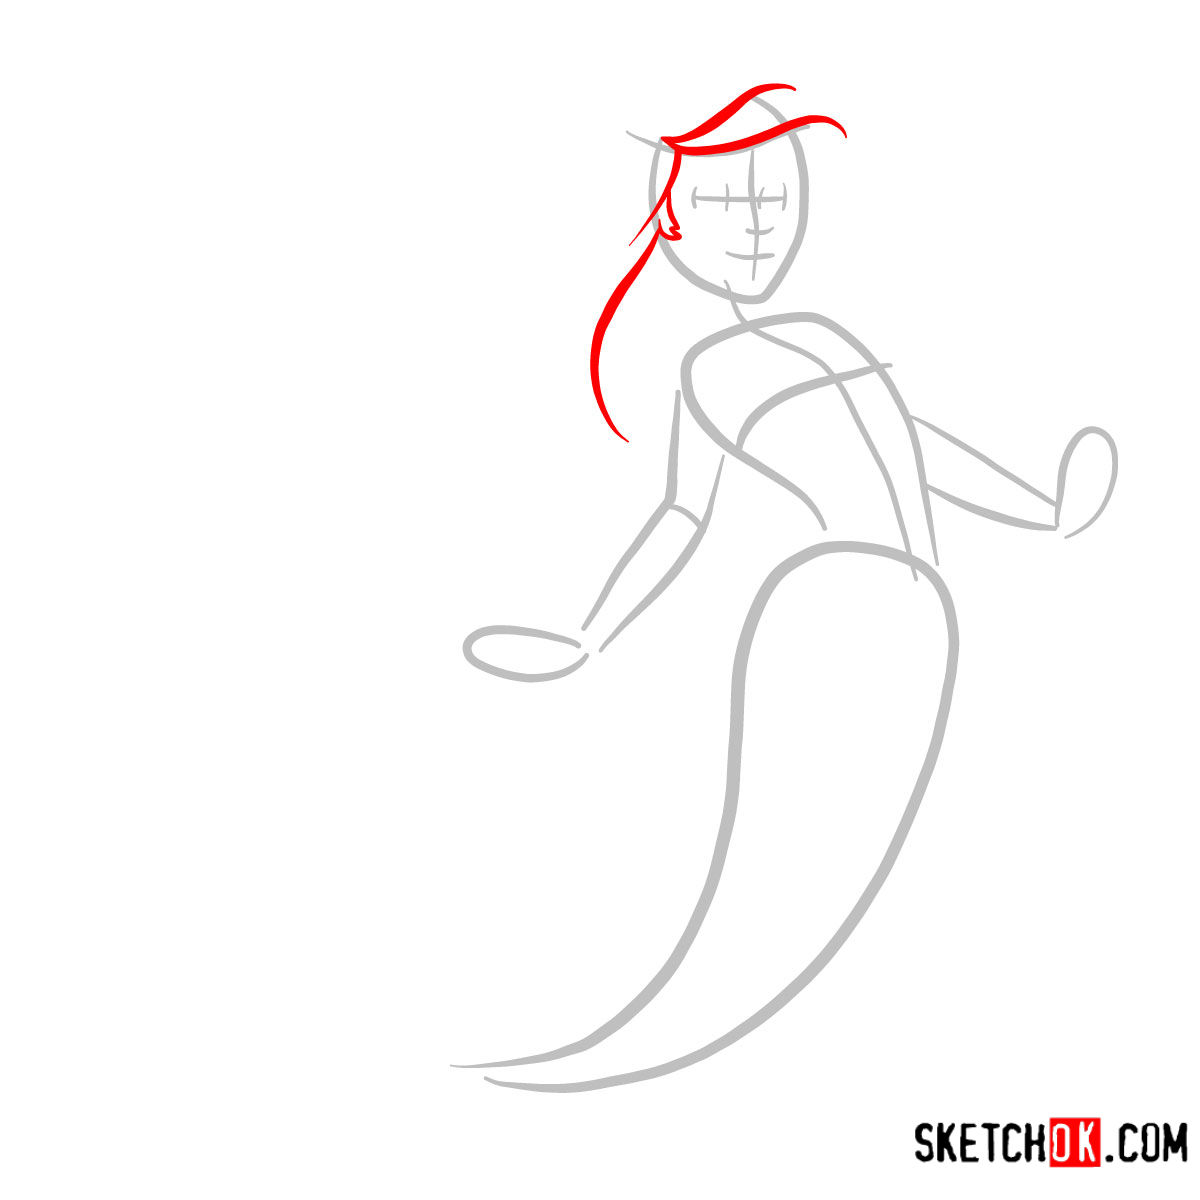
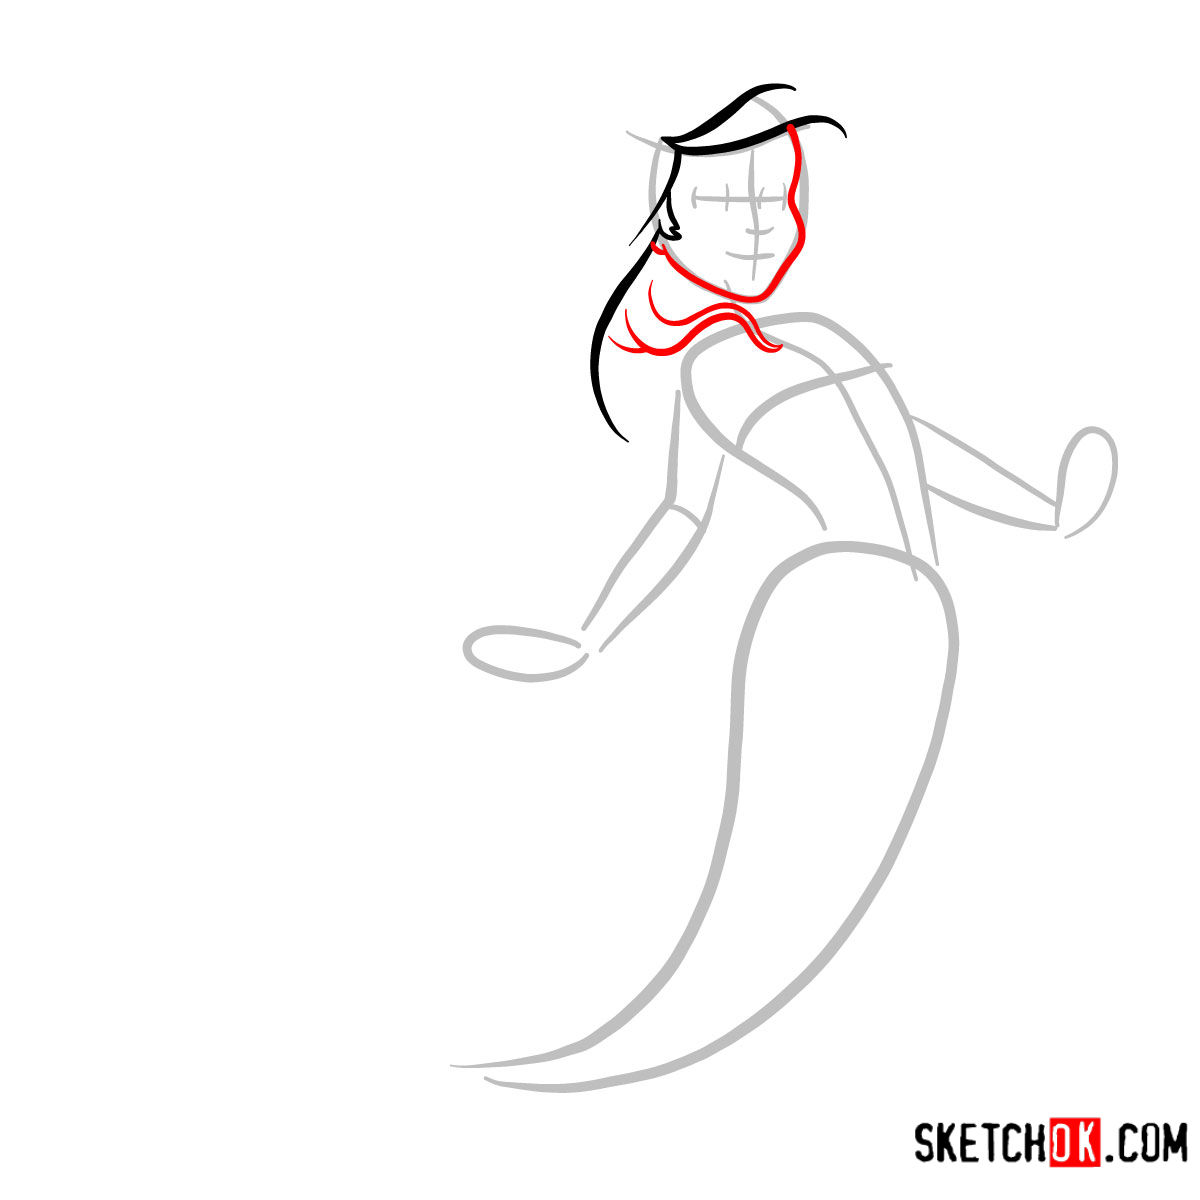
- Red Color: Represents the current step you’re on.
- Black Color: Denotes the lines you’ve previously sketched.
- Grey Color: Highlights the basic proportion sketch, guiding you as you advance.
Upon completion, you have the option of inking your sketch. Remember, patience is key. Let the ink dry fully before gently erasing the underlying pencil lines to avoid smudging.

Now that you’ve worked through how to draw cute Ariel, was she easier or harder than you expected? Her flowing hair and big eyes can be tricky to get just right, so I’m curious where you ran into the most trouble. Drop your thoughts (and your finished drawing) in the comments on the pinned Pinterest post, that’s where most of the conversation tends to happen.