Step into Ariel’s World: Sketching the Ocean’s Melody
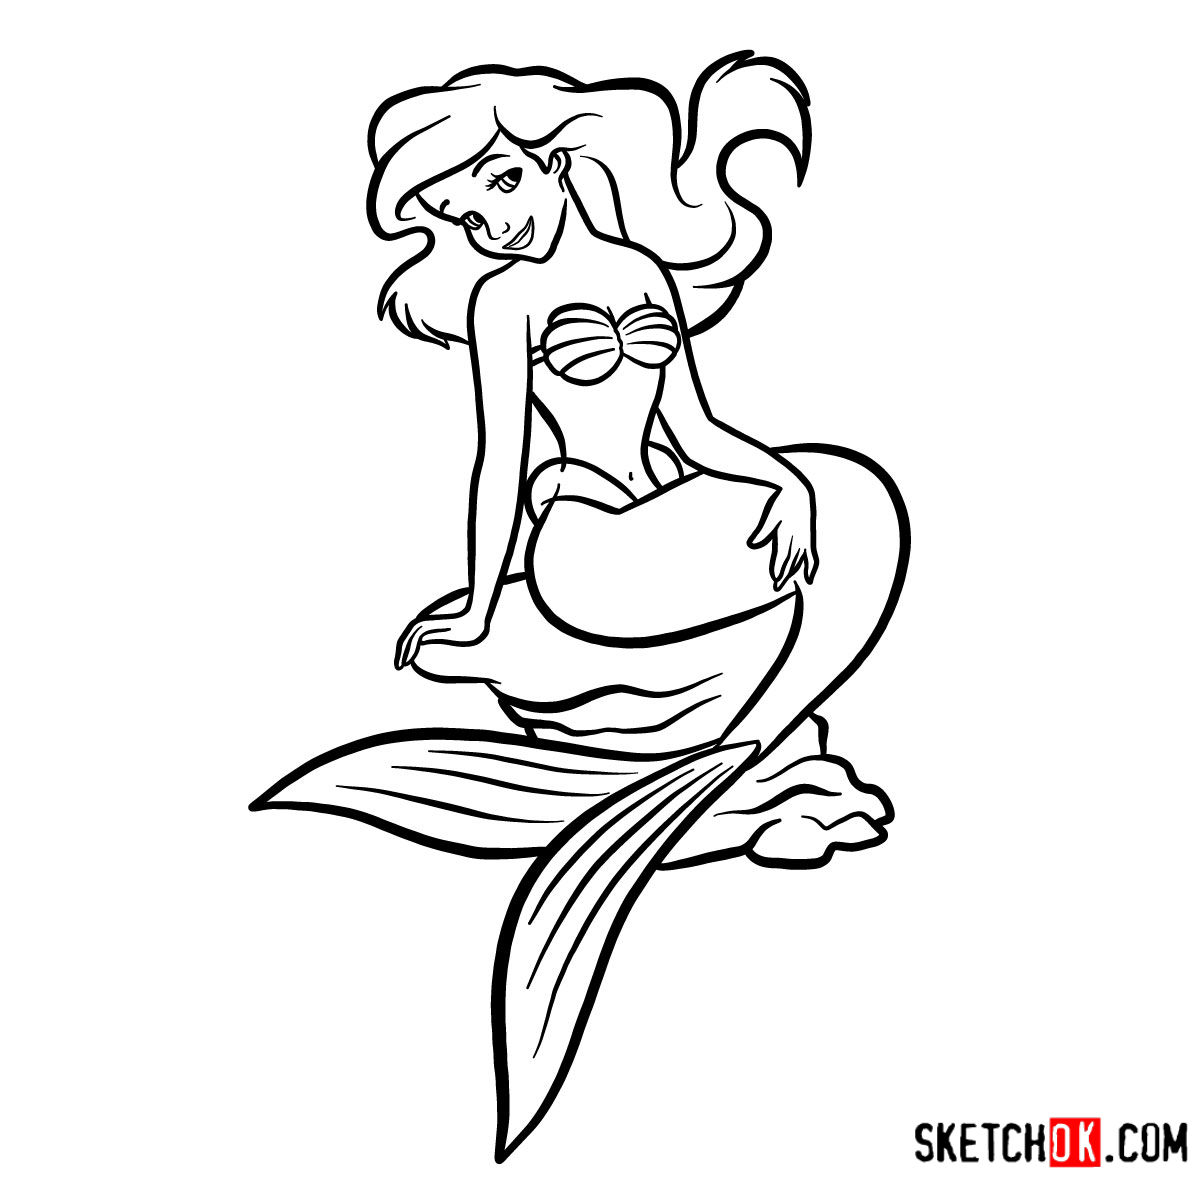
Ariel has captivated the hearts of many since her introduction in the classic tale. With her vibrant personality, flowing red hair, and enchanting voice, she’s not just a mermaid but an icon. If you’ve ever dreamed of illustrating this beloved character in her iconic pose, sitting atop a stone, then this guide is for you. Discover how to draw Ariel the Little Mermaid with precision and artistry.
A Glimpse at Ariel: Notable Features and Drawing Points
- Flowing Red Hair: Ariel’s hair isn’t just long and red; it flows like the currents of the ocean, making it a vital point of focus when sketching.
- Expressive Eyes: They say eyes are the window to the soul, and Ariel’s are no exception. Capture her dreamy, curious nature through her large, expressive eyes.
- Mermaid Tail: Unlike any other, Ariel’s tail is a blend of grace and power – a true representation of her free spirit.
- Iconic Pose on Stone: This particular pose speaks volumes of Ariel’s dreamy, yearning nature as she gazes at the horizon.
Drawing Ariel can be an enjoyable challenge. And if you’re aiming to craft a story through art, consider adding characters like Flounder or Sebastian for a more dynamic composition.
About This Sketching Guide
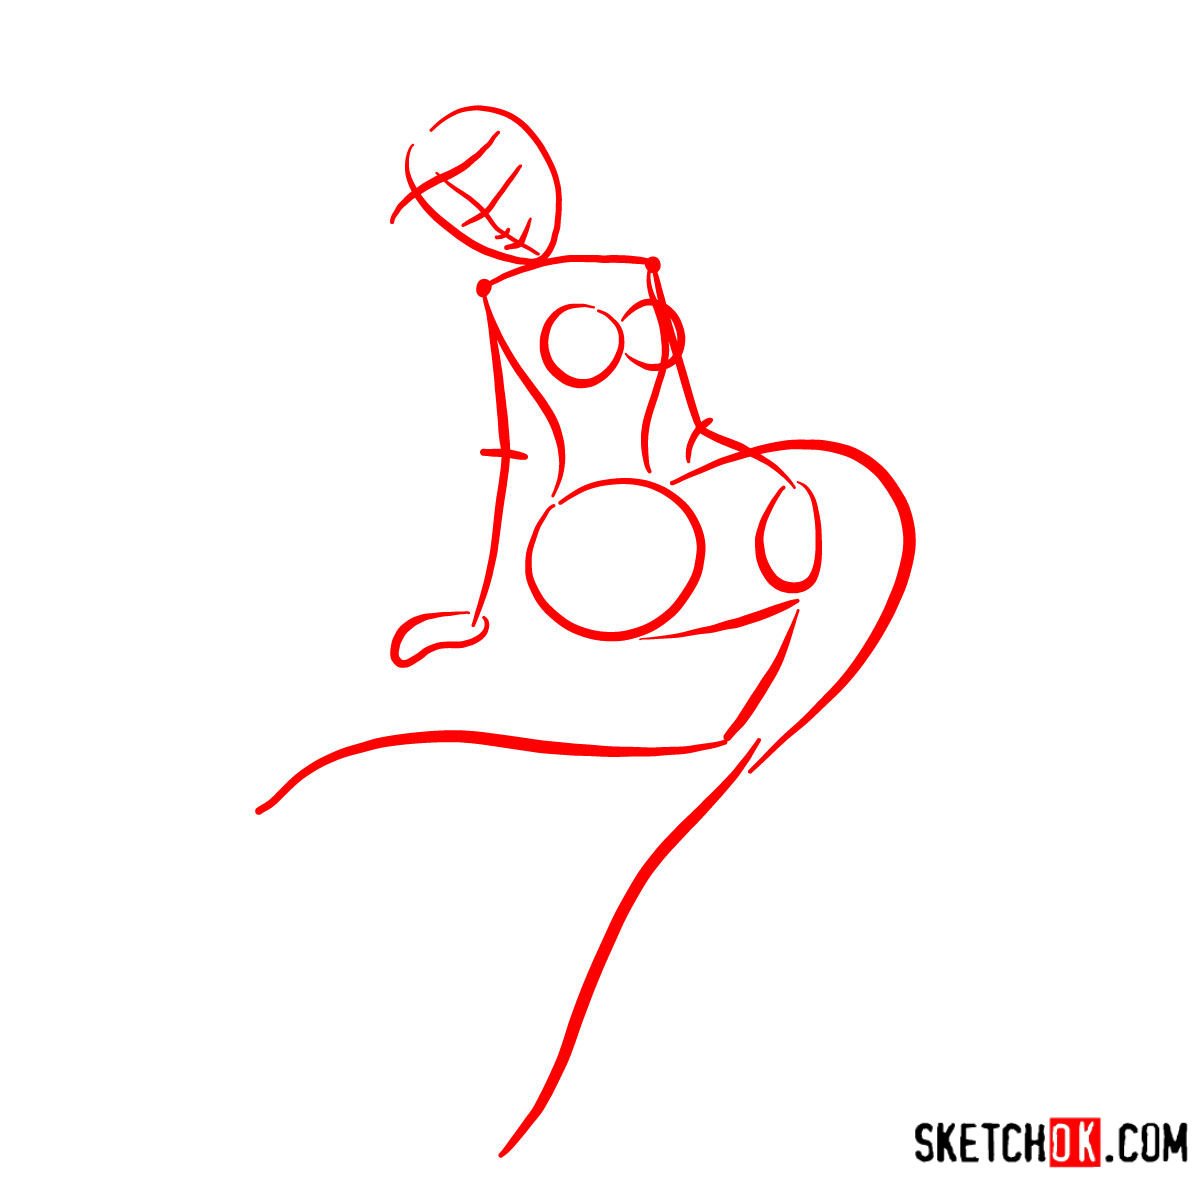
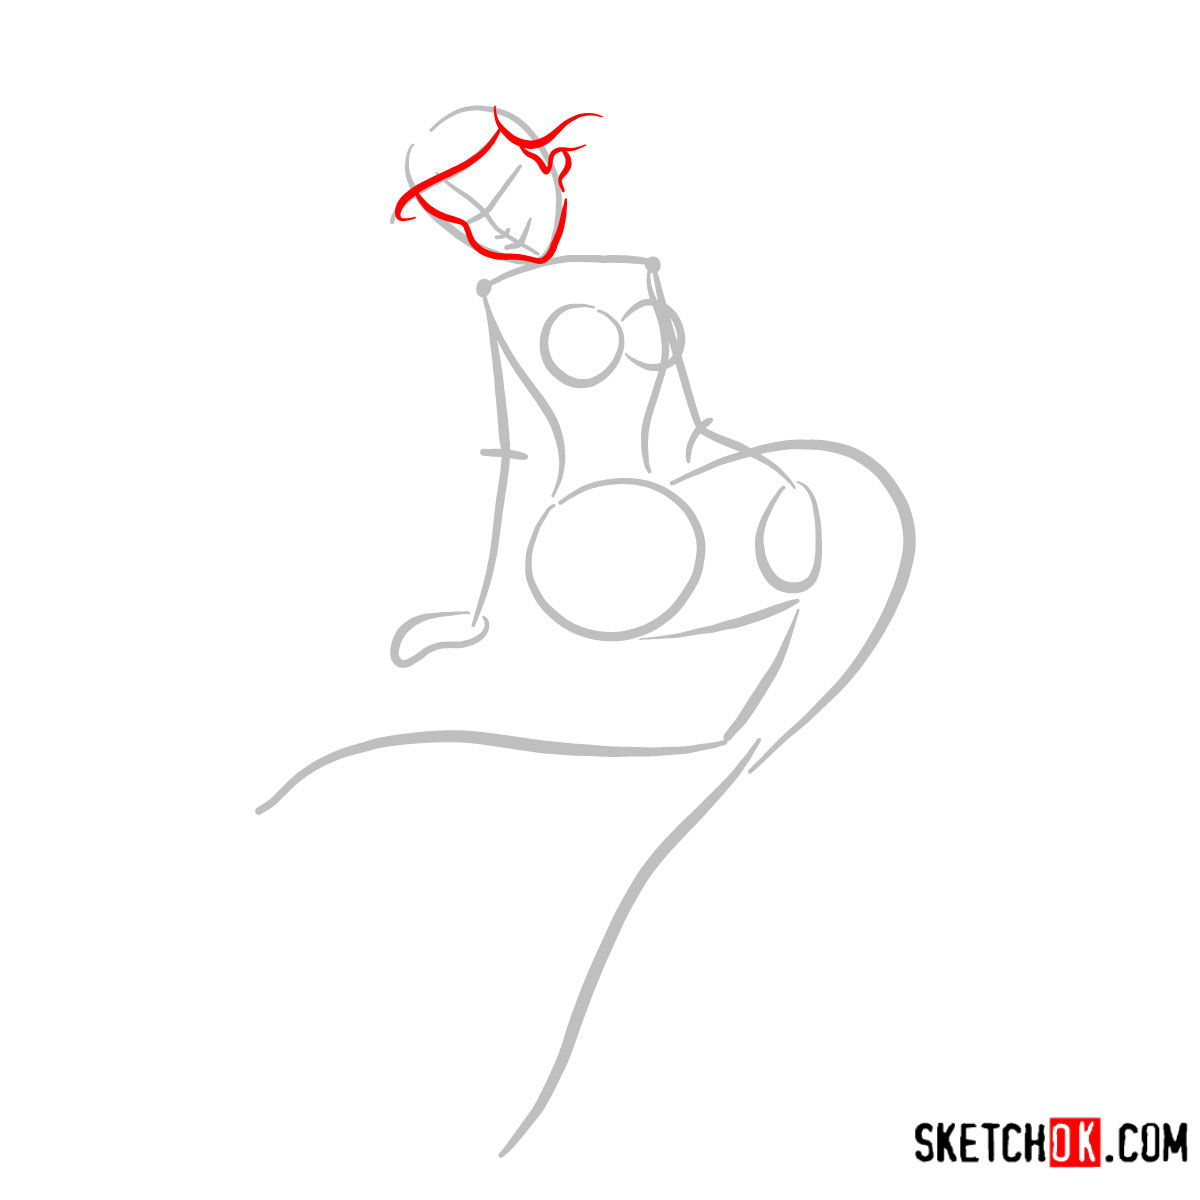
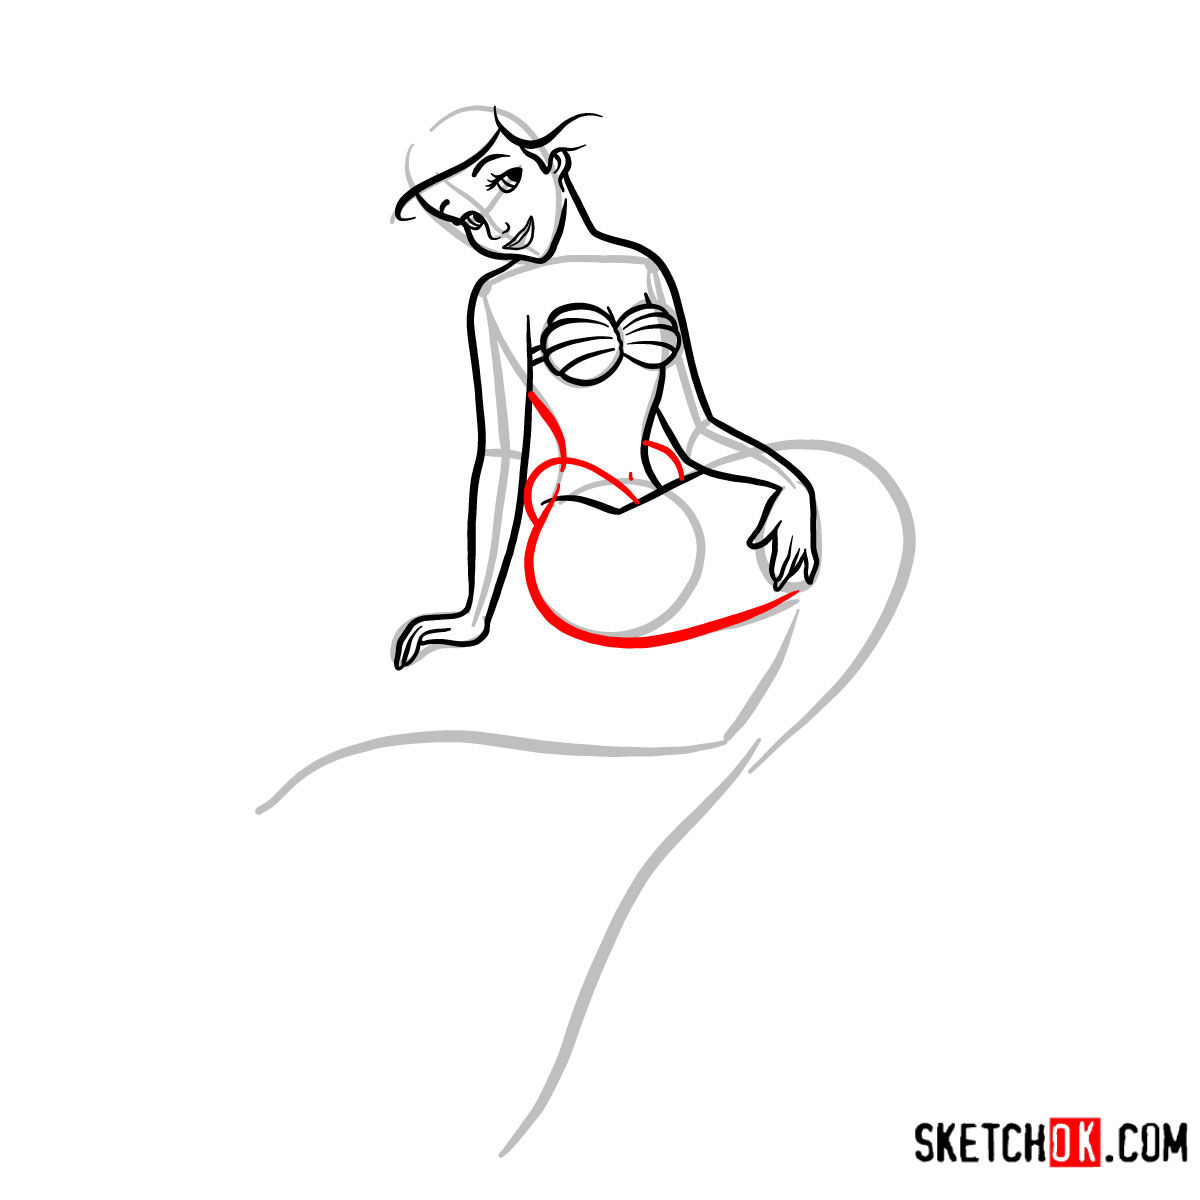
This guide provides 11 well-curated steps to help you bring Ariel to life. To ensure clarity and ease of following, we’ve used a unique color coding system:
- Red Color: Represents the current drawing step.
- Black Color: Highlights the lines you’ve already drawn.
- Grey Color: Illustrates the basic sketch or the initial proportions.
Beginning with a basic structure ensures the proportions are accurate. It’s essential to sketch lightly in the initial stages, making adjustments easier as you progress. Once you’re satisfied, the last step would be inking your sketch. Inking breathes life into your drawing, giving it a finished look. However, it’s crucial to let the ink dry completely before erasing any pencil marks to avoid smudging.







Now that you’ve got the hang of how to draw Ariel sitting on a stone, there are plenty more Little Mermaid characters and scenes worth tackling, so keep an eye out for those coming soon. If you want to stay in the loop when new guides drop, there’s a signup form at the top of the page for a weekly digest, or you can follow along on Pinterest and Facebook for updates. Ariel fans have been leaving their drawings in the comments on the Pinterest post for this one, which is always fun to browse.