Introduction: Unleashing Your Inner Asgardian
Are you a fan of the Marvel Cinematic Universe and have always wanted to learn how to draw Thor, the God of Thunder? In this step-by-step drawing tutorial, we’ll guide you through the process of sketching out the mighty Asgardian hero, Thor Odinson. So grab your pencil, paper, and a touch of Asgardian magic as we embark on this artistic adventure!
The God of Thunder: Thor’s Evolution and Story
Thor, portrayed by Chris Hemsworth, is one of the most recognizable characters in the Marvel Cinematic Universe. Inspired by the Norse mythological god and the Marvel Comics character of the same name, Thor Odinson is an Asgardian warrior who wields the mighty hammer Mjolnir. From his humble beginnings as the brash and arrogant heir to the throne of Asgard, Thor has evolved into a noble protector of Earth and a founding member of the Avengers.
Throughout his journey, Thor has faced numerous foes, including his mischievous brother Loki, the powerful Hela, and the unstoppable Thanos. With each challenge, Thor’s character has grown, and his appearance has transformed to reflect his changing role in the MCU. From his iconic Asgardian armor to more casual Earth attire, Thor’s look has become a symbol of strength and heroism.
Beyond the films, alternate versions of Thor have also been explored in the animated series, What If…?, which features unique storylines and new takes on the God of Thunder. Now, it’s your turn to join the ranks of artists who have brought this legendary character to life!
Art Supplies Assemble: Recommended Materials and Tools
Before we begin, gather your drawing tools of choice. While you’re free to use any materials you prefer, we recommend the following:
- Pencils: HB or 2B for sketching, 4B or 6B for shading
- Erasers: Kneaded and vinyl erasers for precise corrections
- Paper: Smooth, heavyweight drawing paper
- Inking tools: Fine-tipped pens or markers
- Coloring tools: Colored pencils, markers, or digital coloring tools
A Storm of Creativity: Step-by-Step Drawing Guide
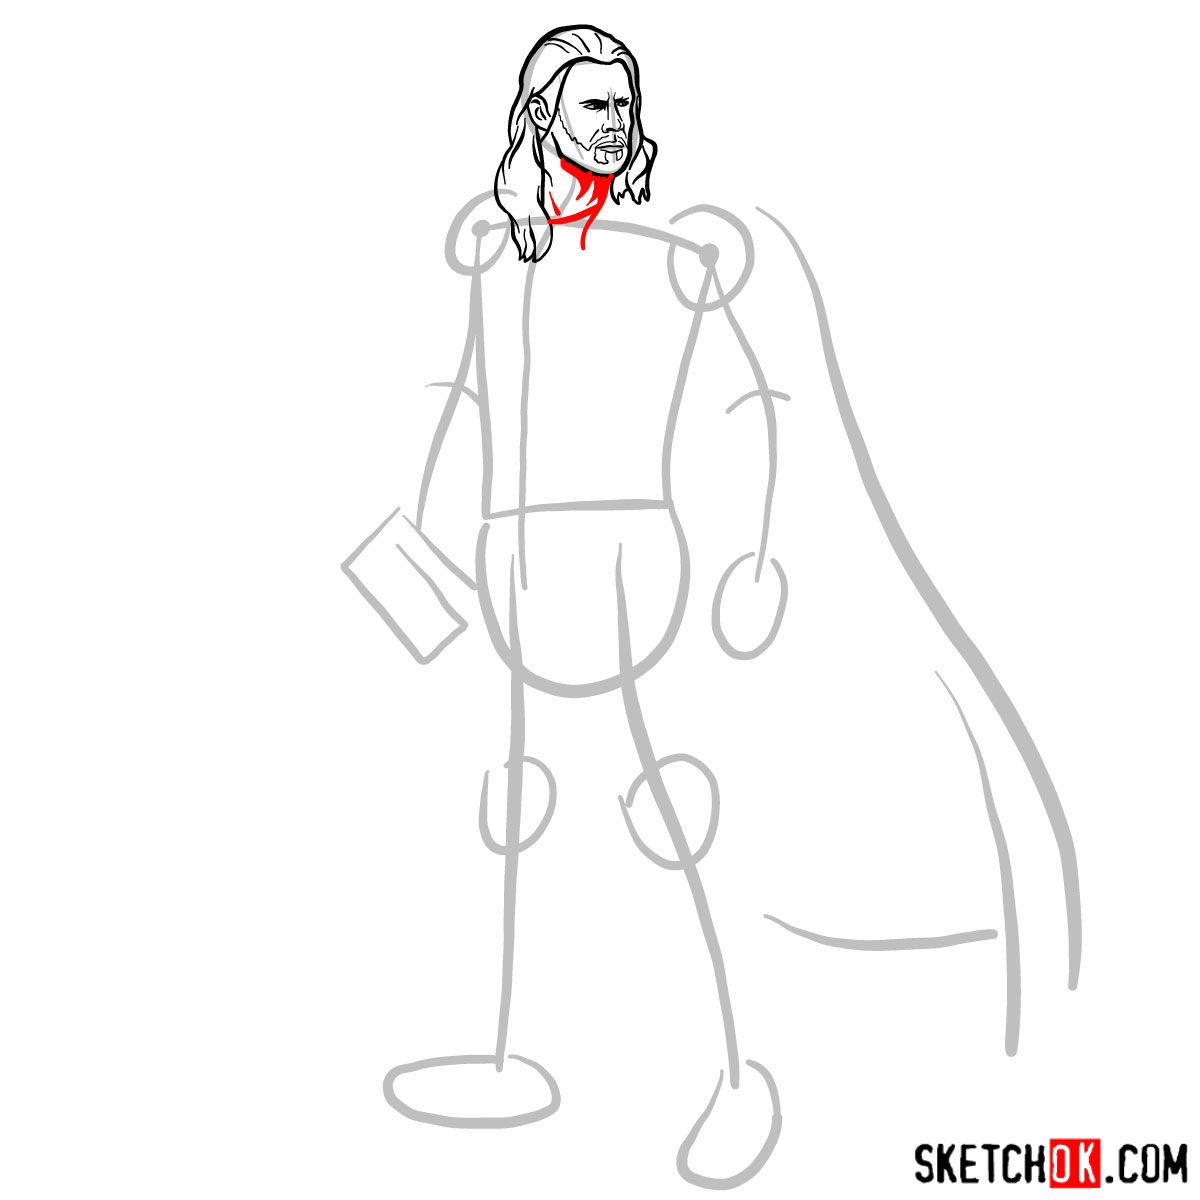
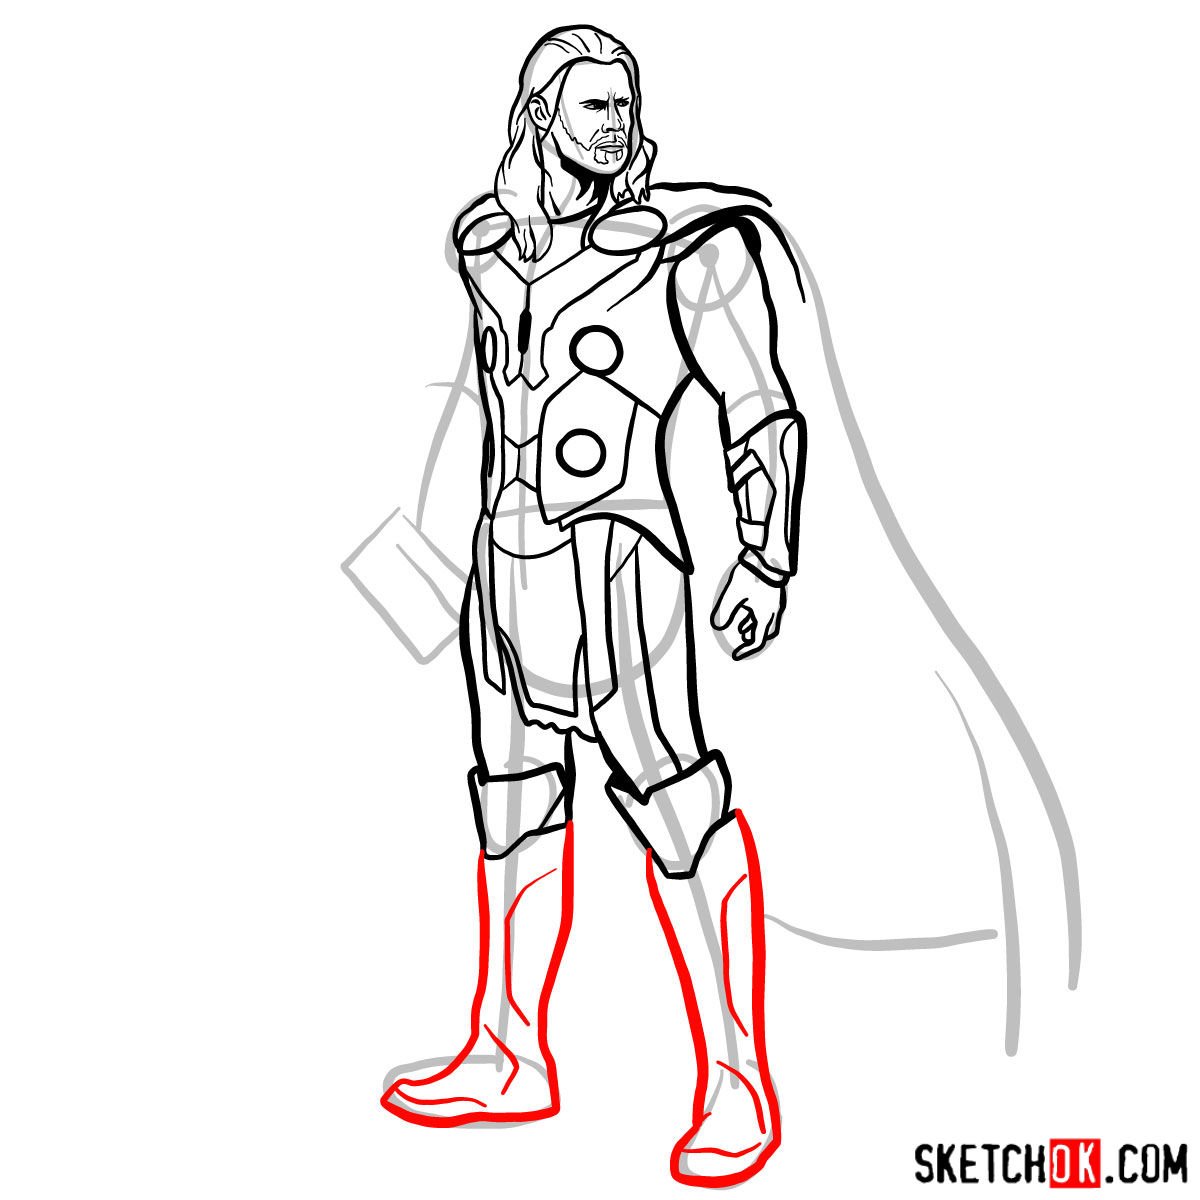
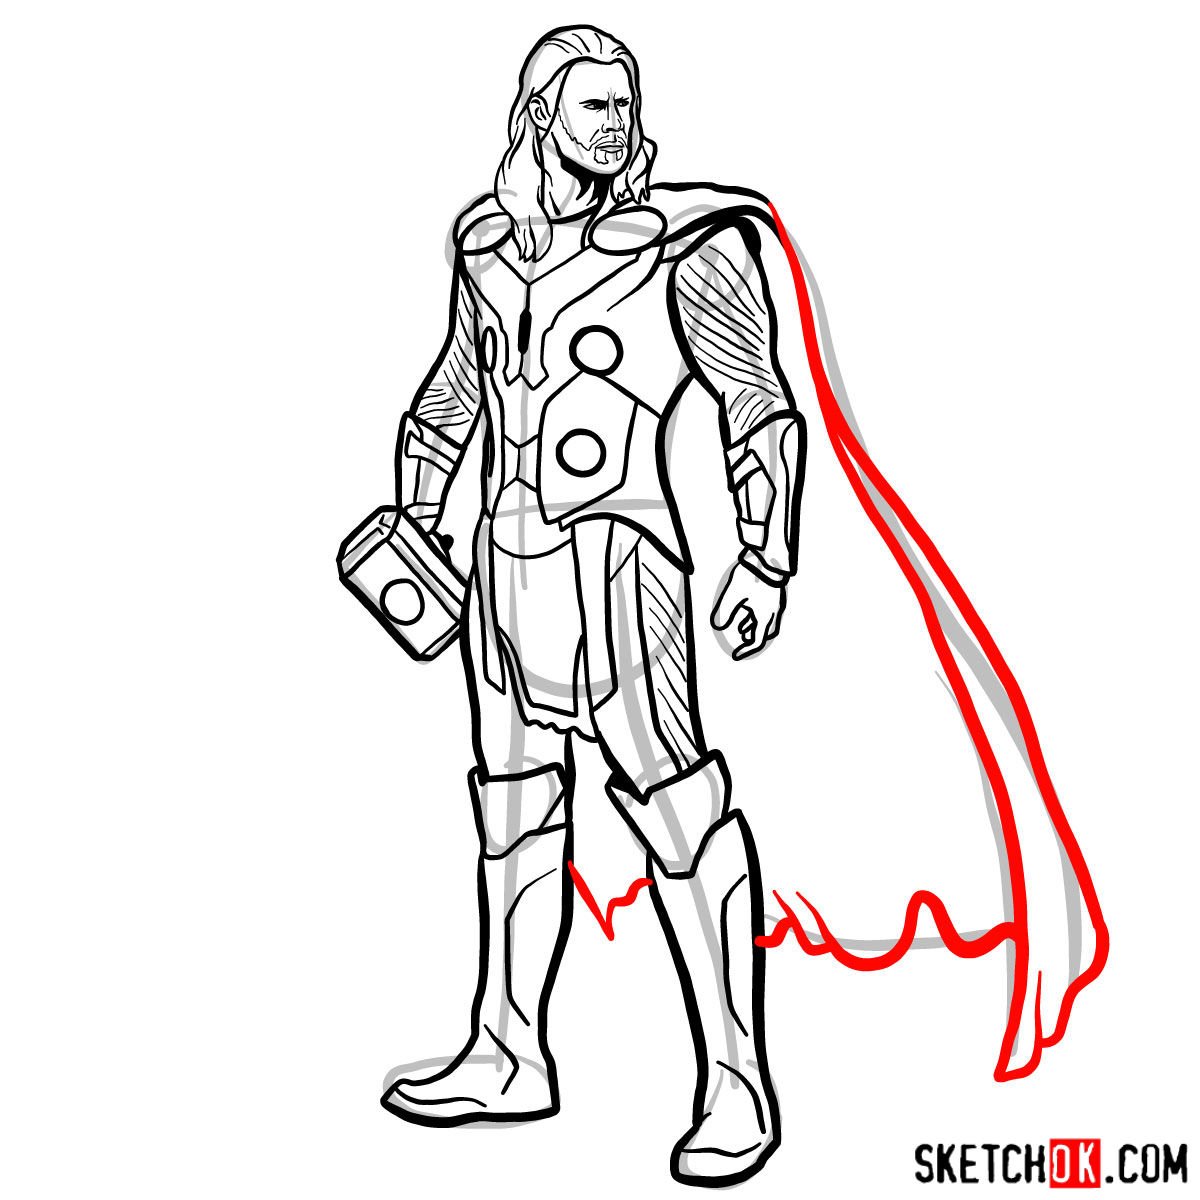
Our tutorial consists of a series of images that will help you bring the God of Thunder to life on paper. Before we dive in, remember that the images use red for the current drawing step, grey for the basic proportions sketch, and black for previously drawn lines.
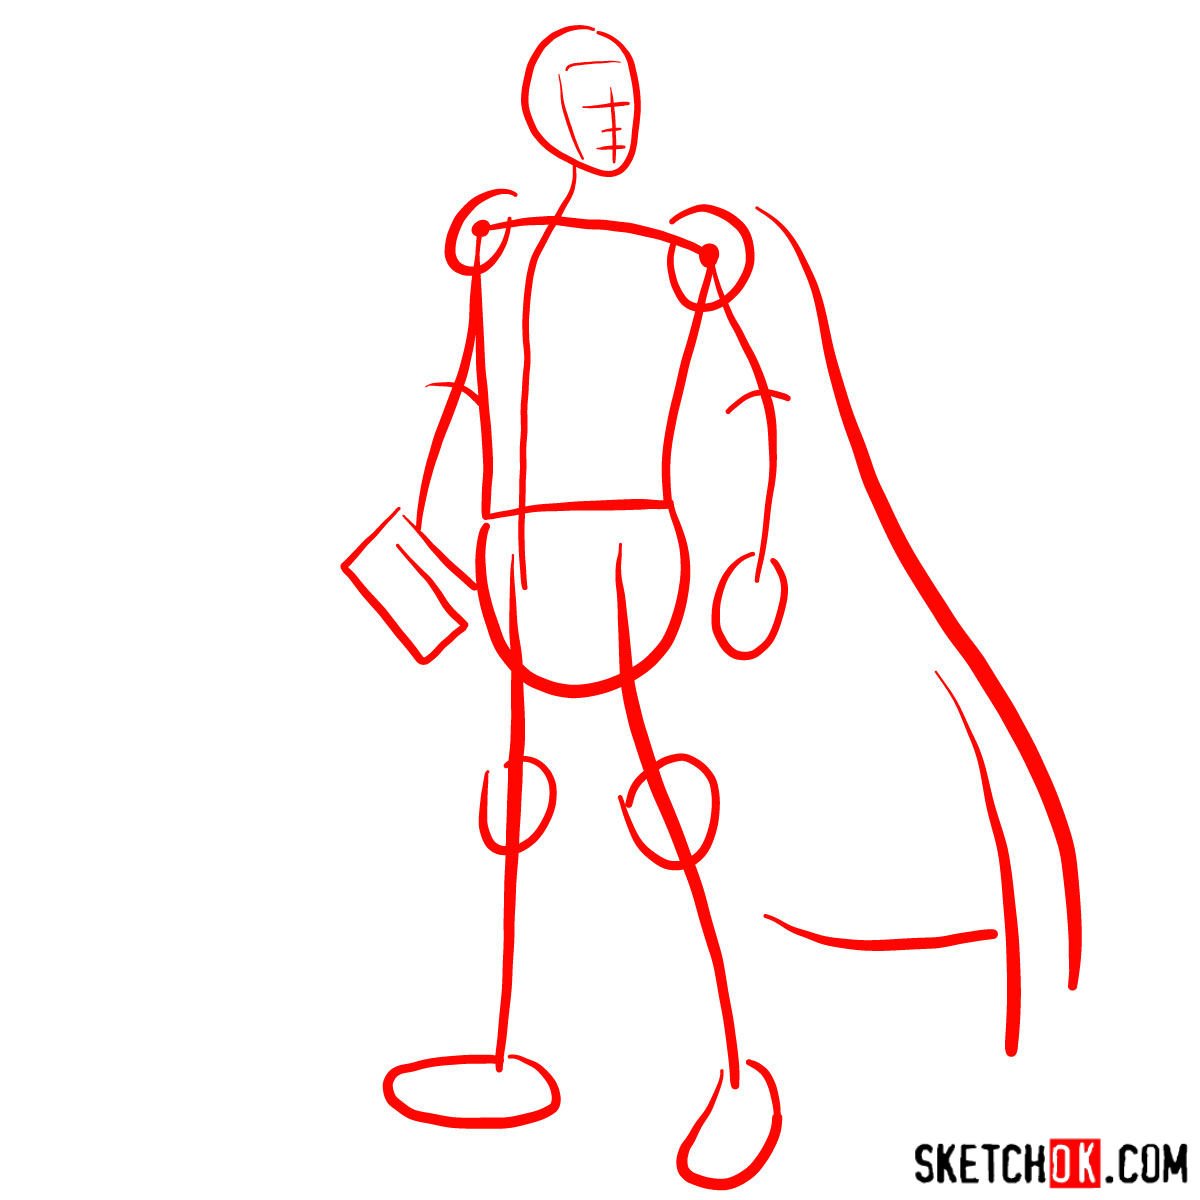
Asgardian Foundations: Basic Sketch
In the first step, create a basic structure for Thor using light pencil strokes. This will serve as the foundation for your drawing, ensuring accurate proportions and correct placement of features. Focus on capturing the overall shape and form of Thor, including his iconic armor and weapon.
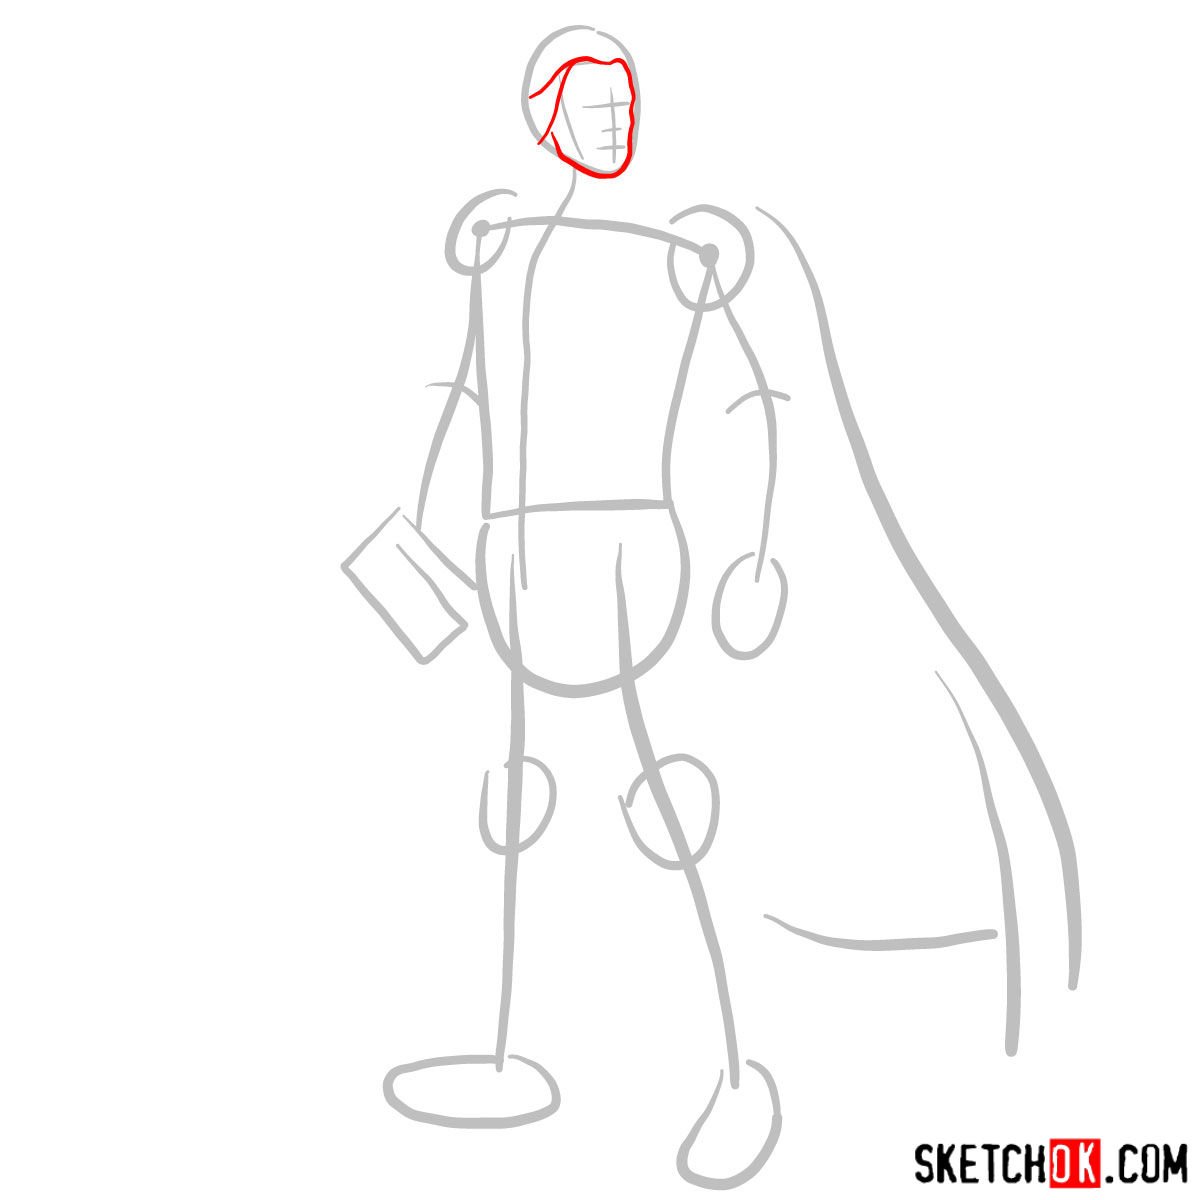
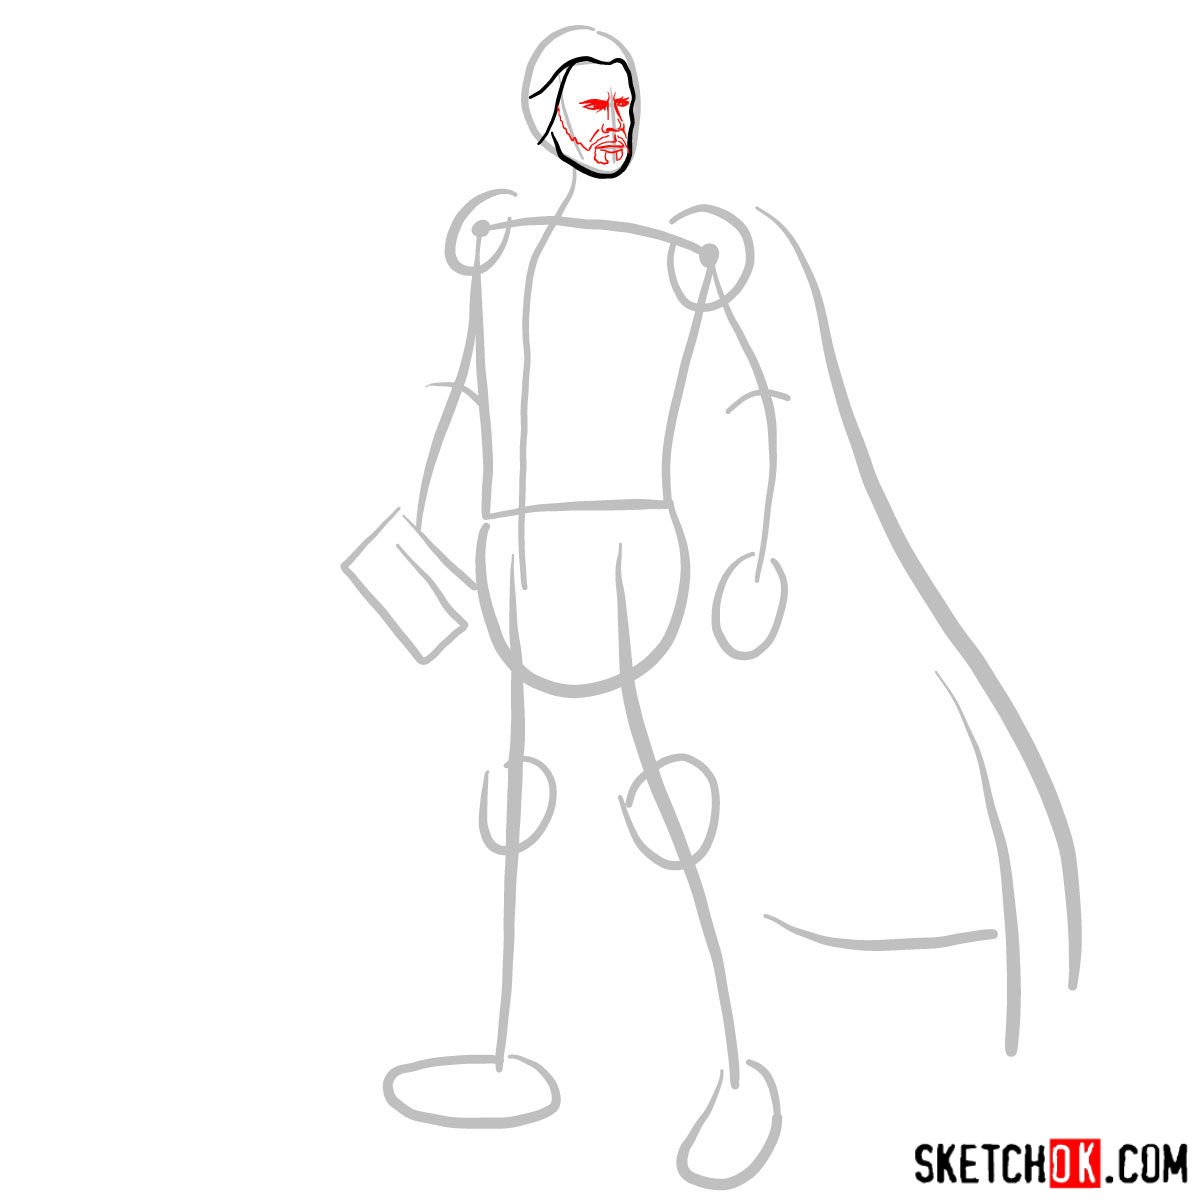
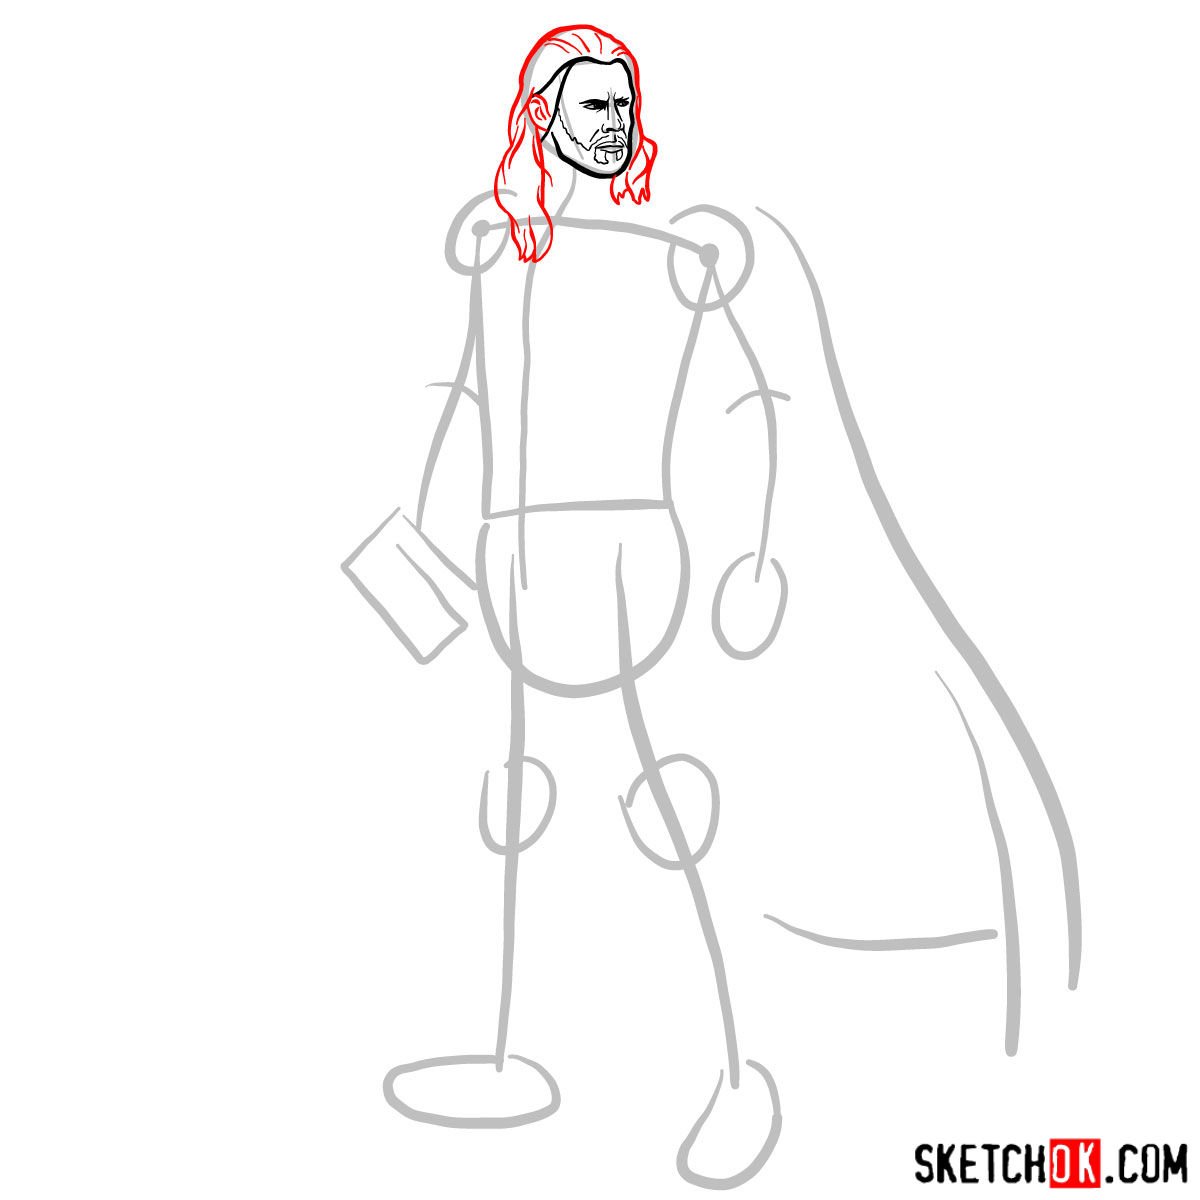
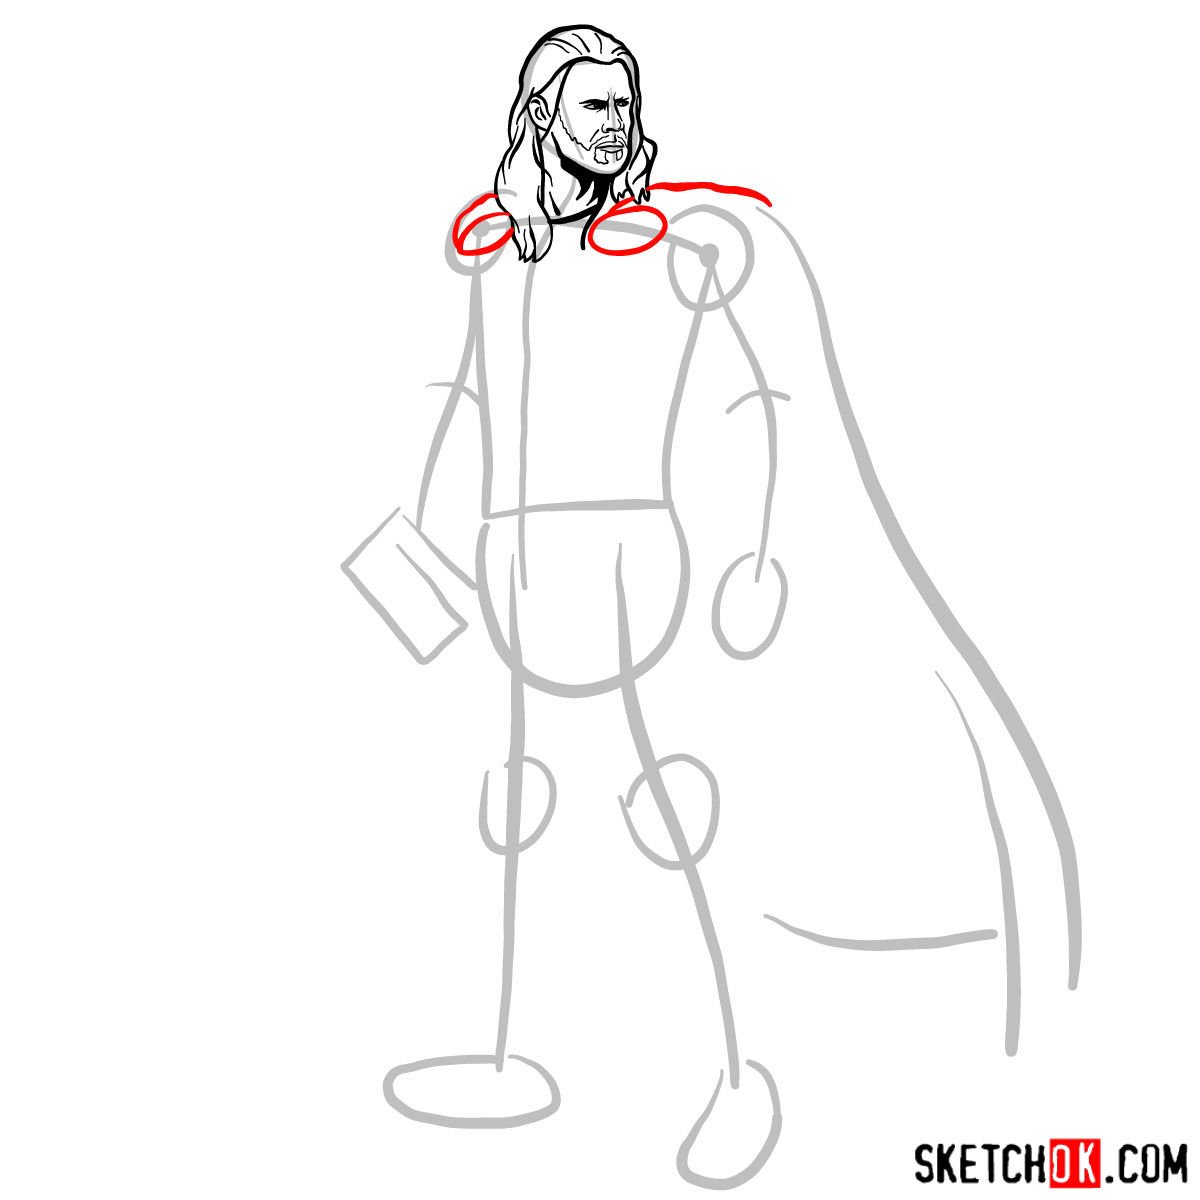
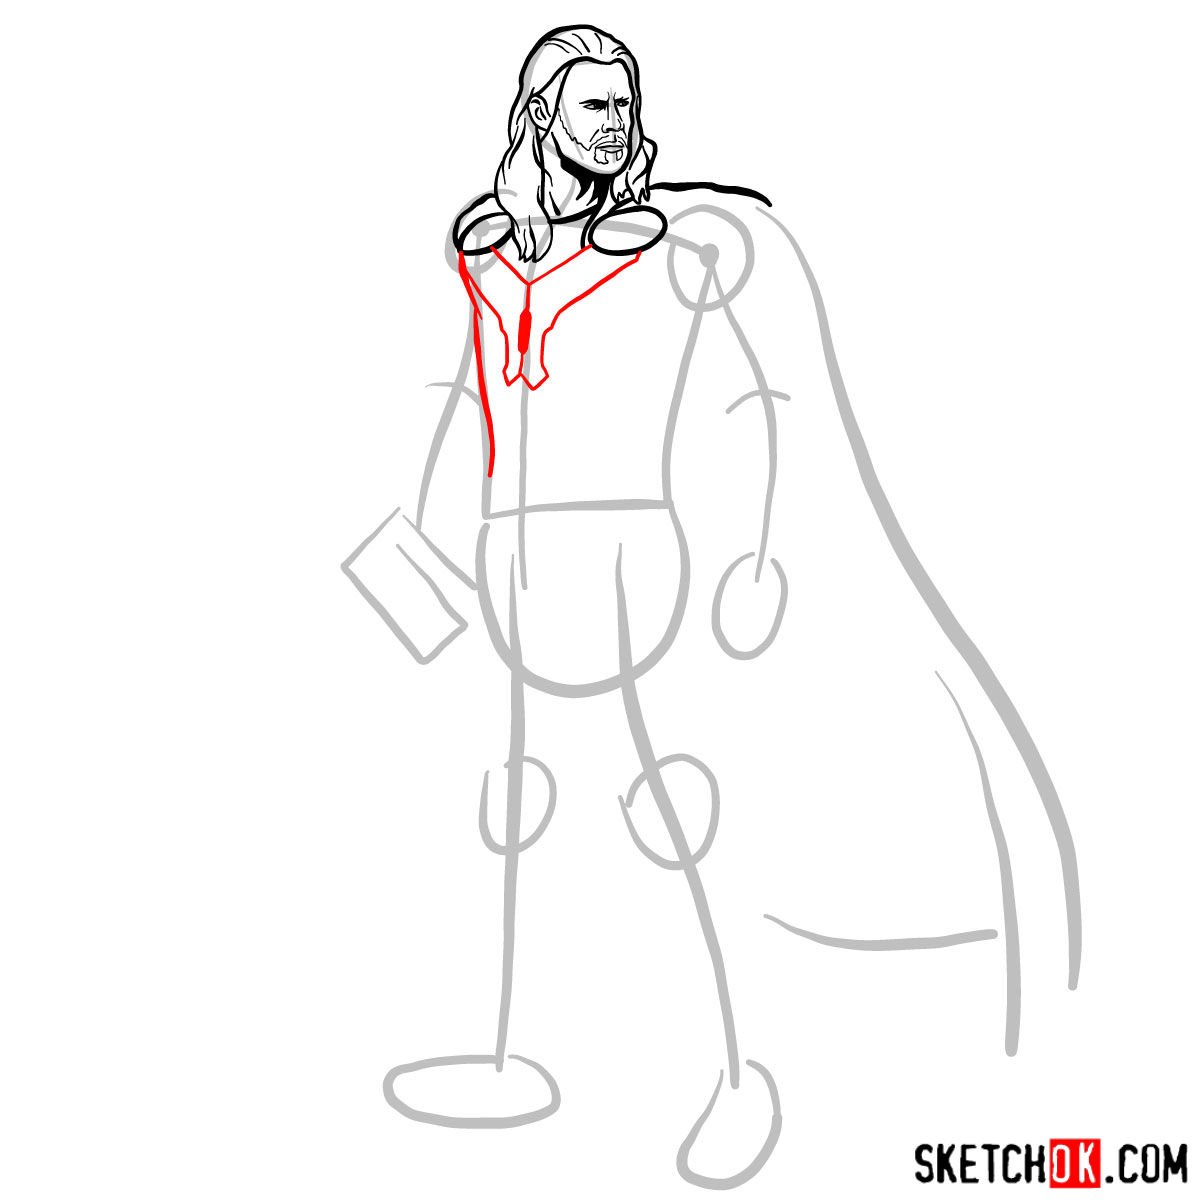
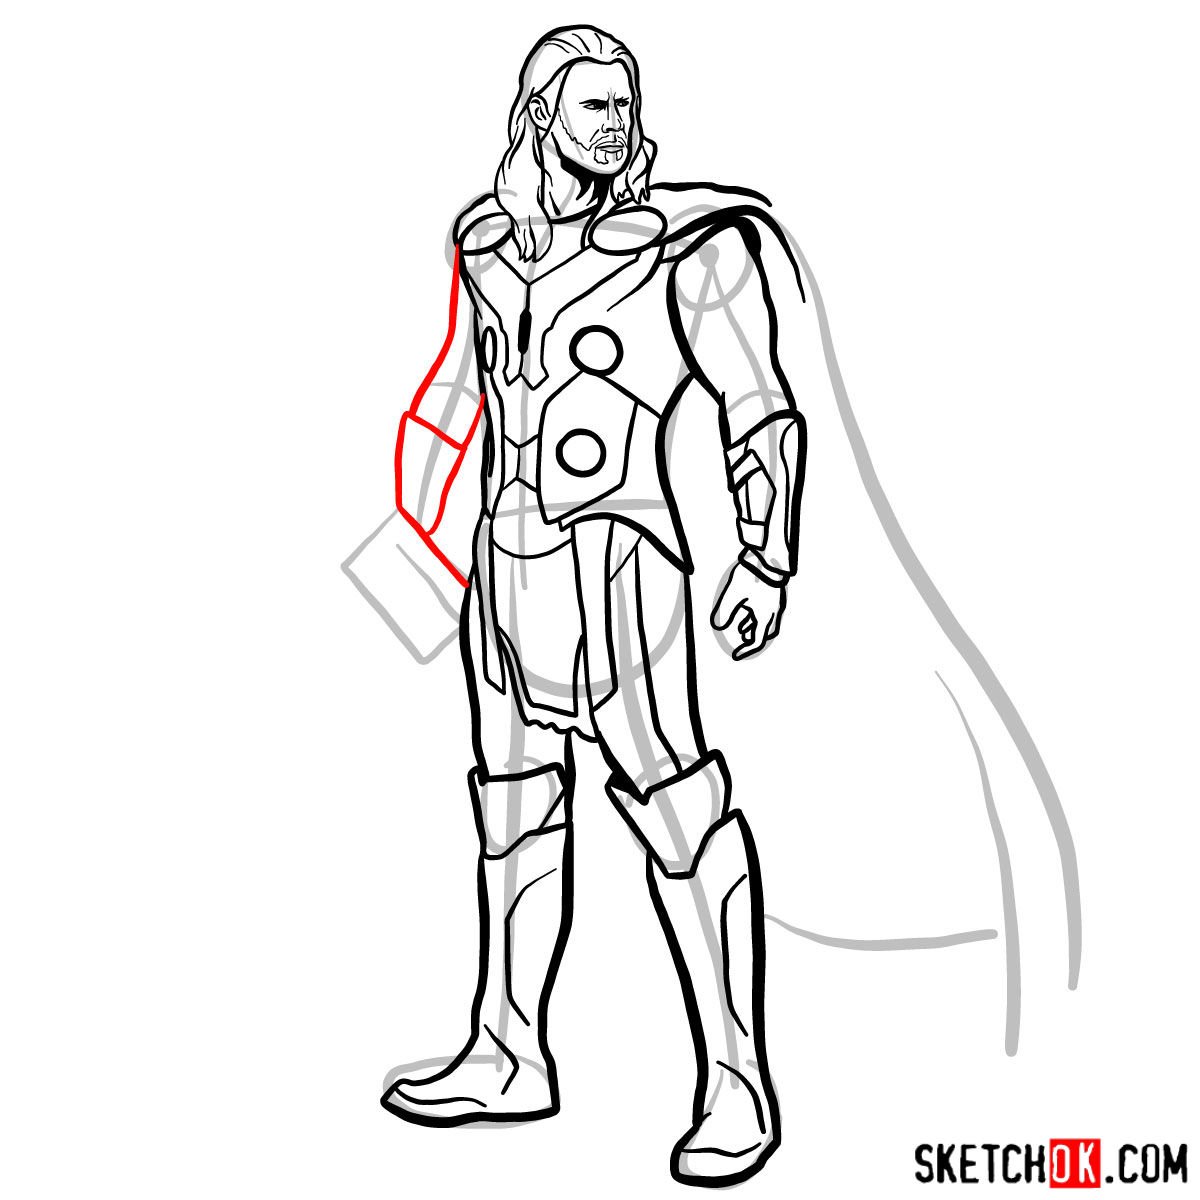
Refining the Hammer-Wielder: Refining the Sketch
Next, add more detail and refine the basic sketch. Pay close attention to Thor’s facial features, armor, and Mjolnir to ensure accuracy. Work on improving proportions and adding depth to your drawing, while still keeping your lines light and easy to erase if needed.
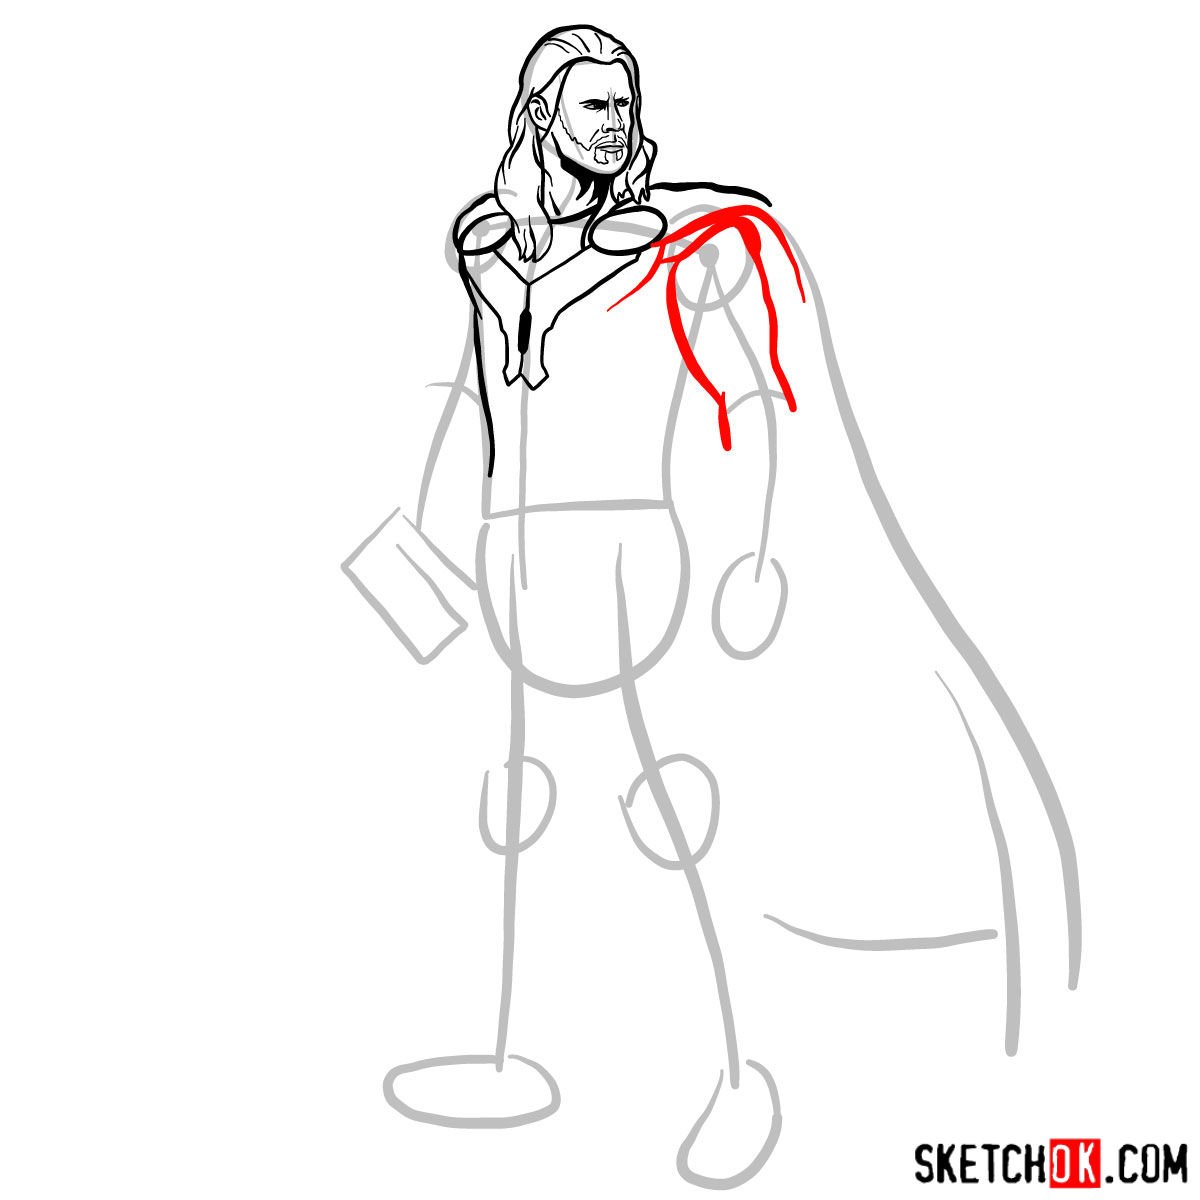
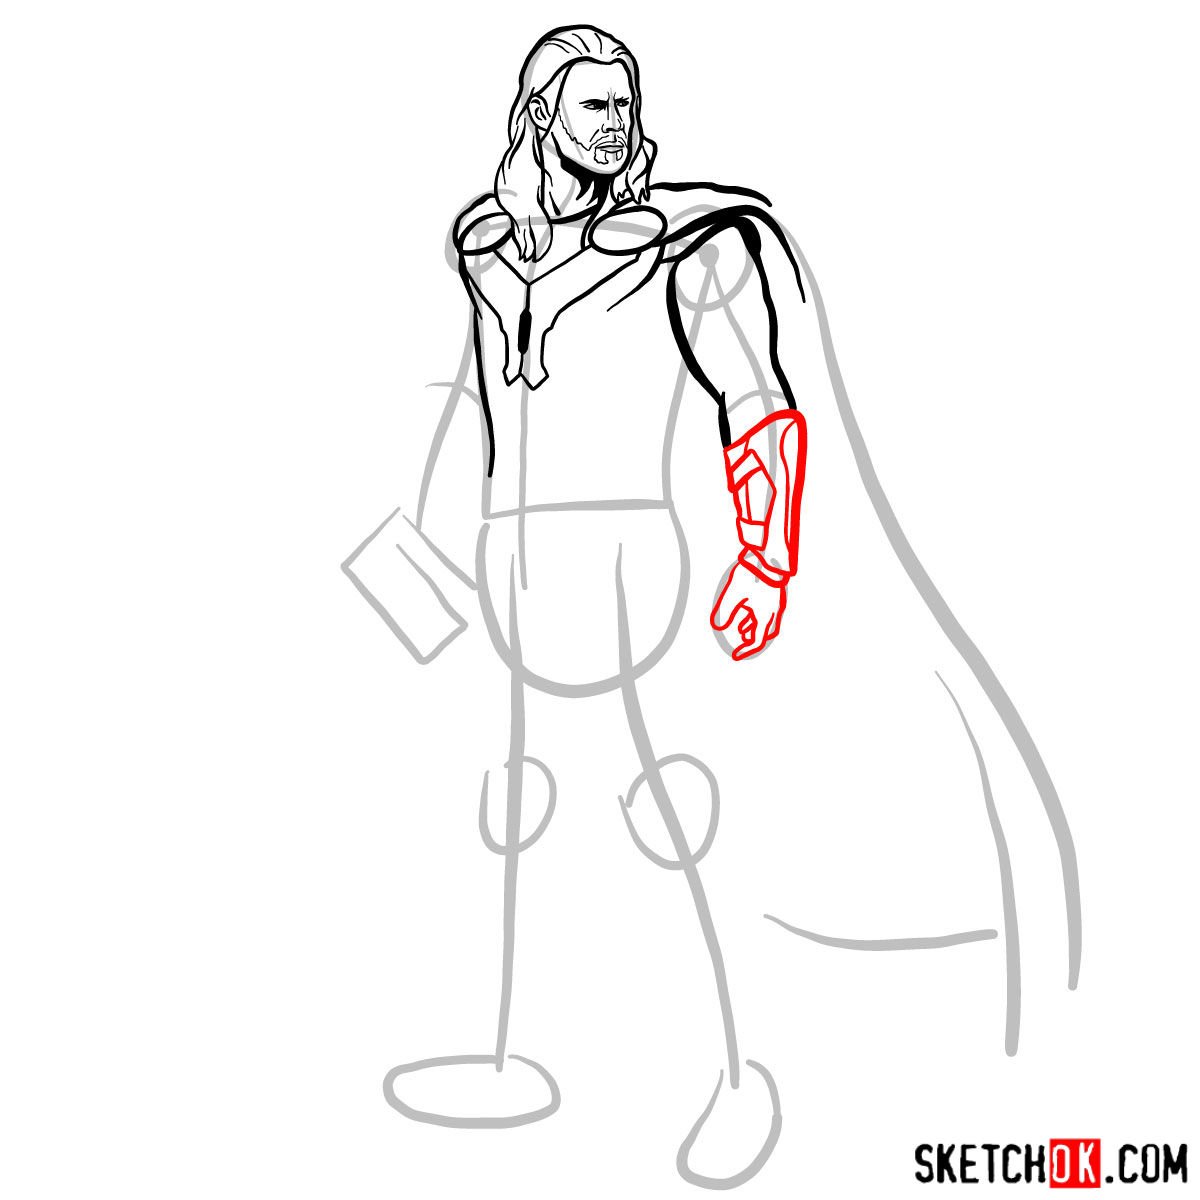
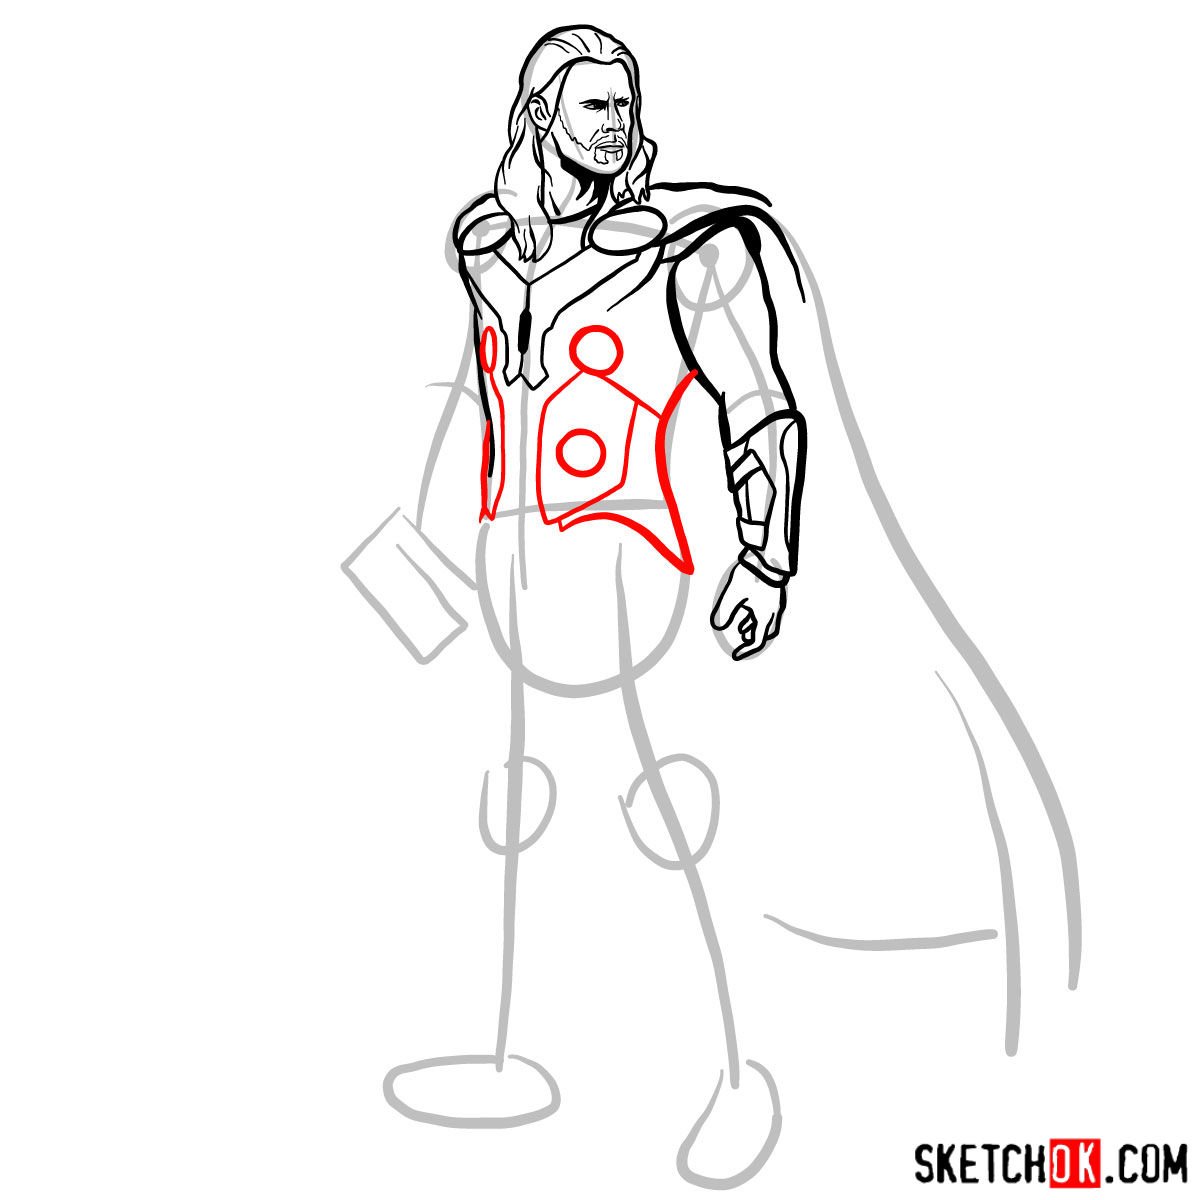
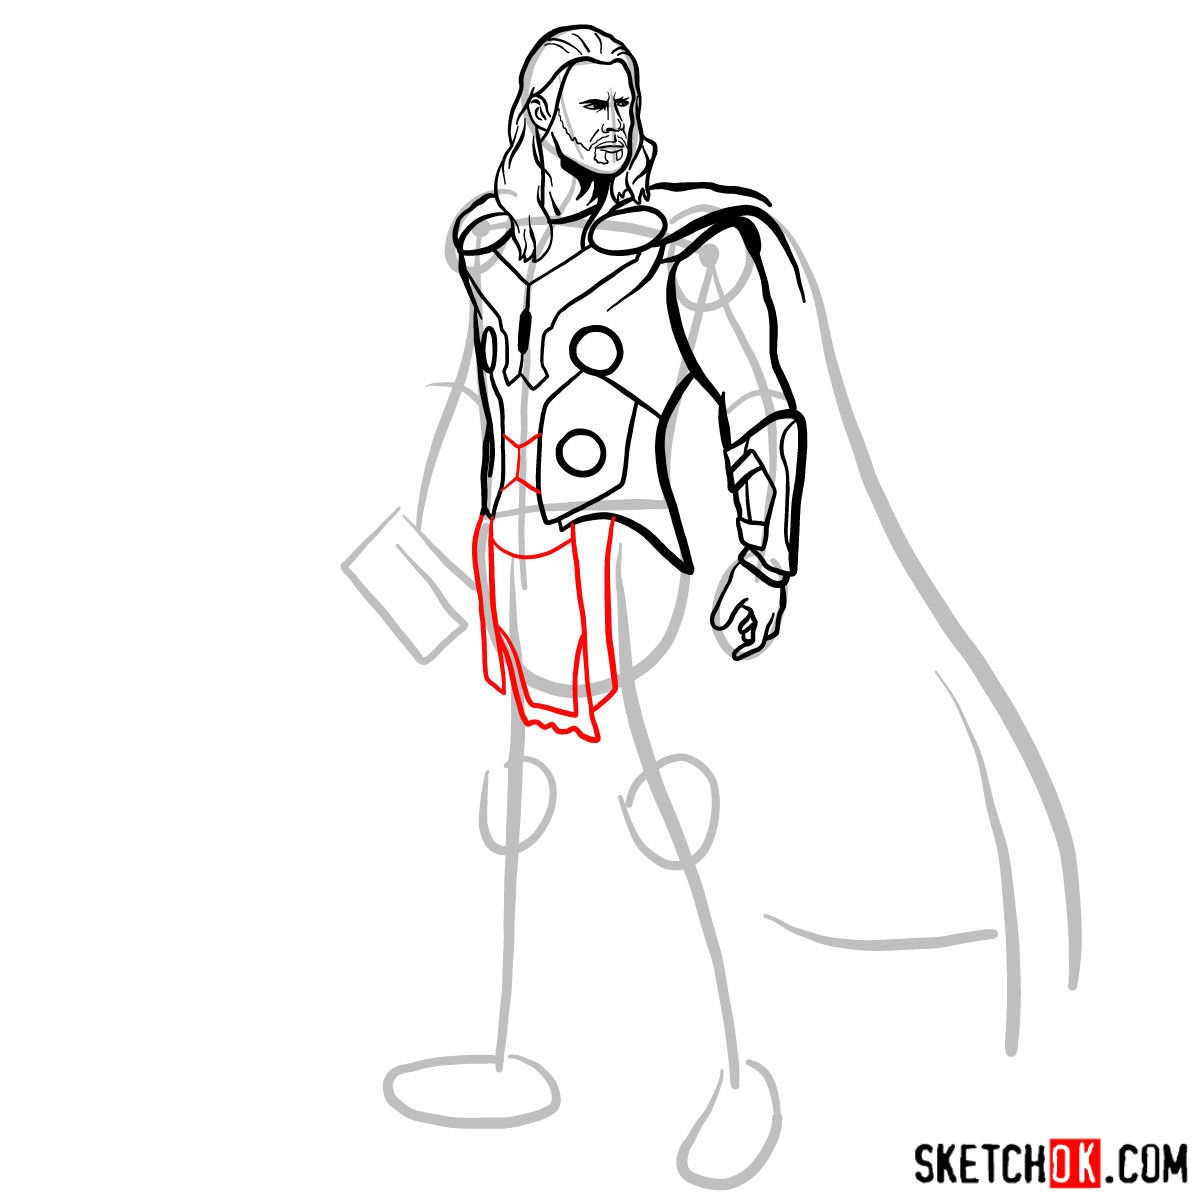
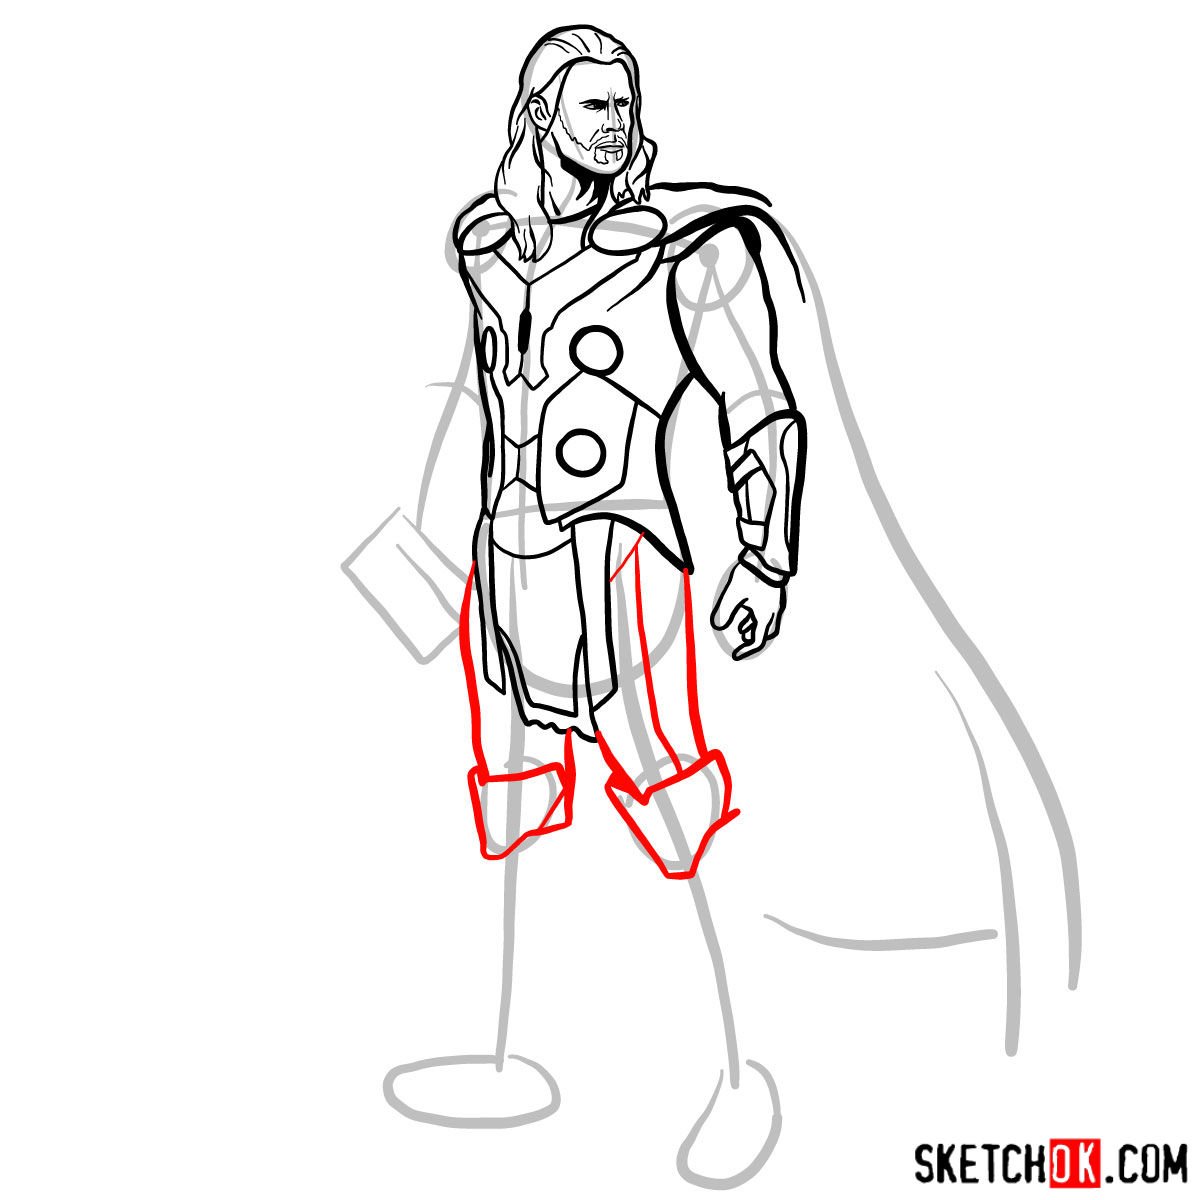
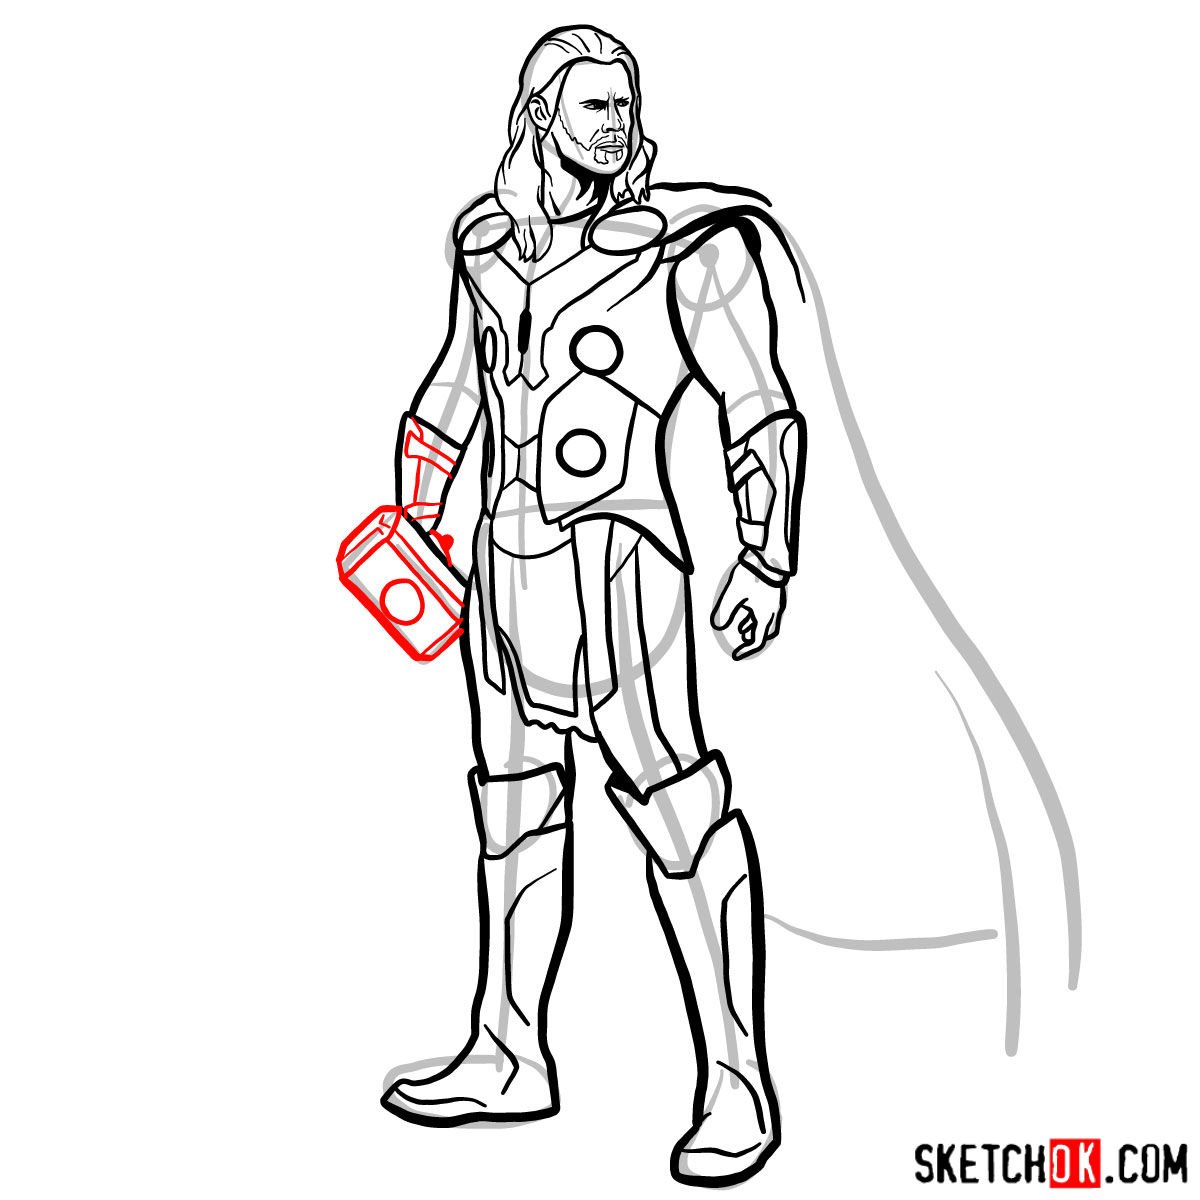
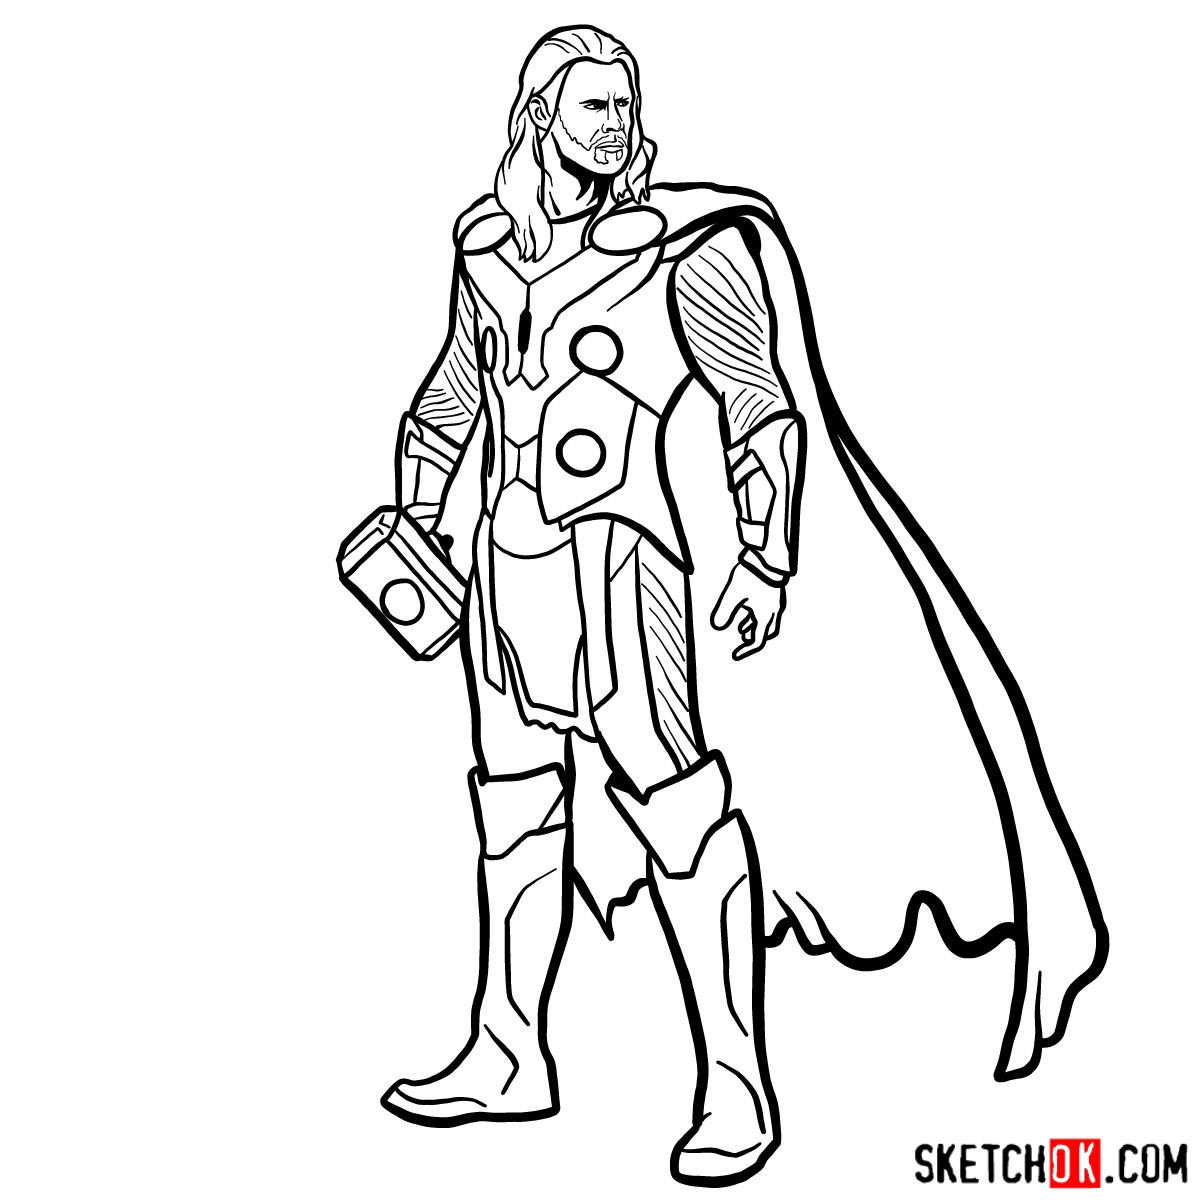
From Pencil to Ink: Inking
Once you’re satisfied with your refined sketch, it’s time to start inking. Carefully outline your drawing using fine-tipped pens or markers, adding definition and contrast to Thor’s features. As you ink, focus on creating clean, crisp lines and consider varying your line weight to add depth and dimension to your drawing.
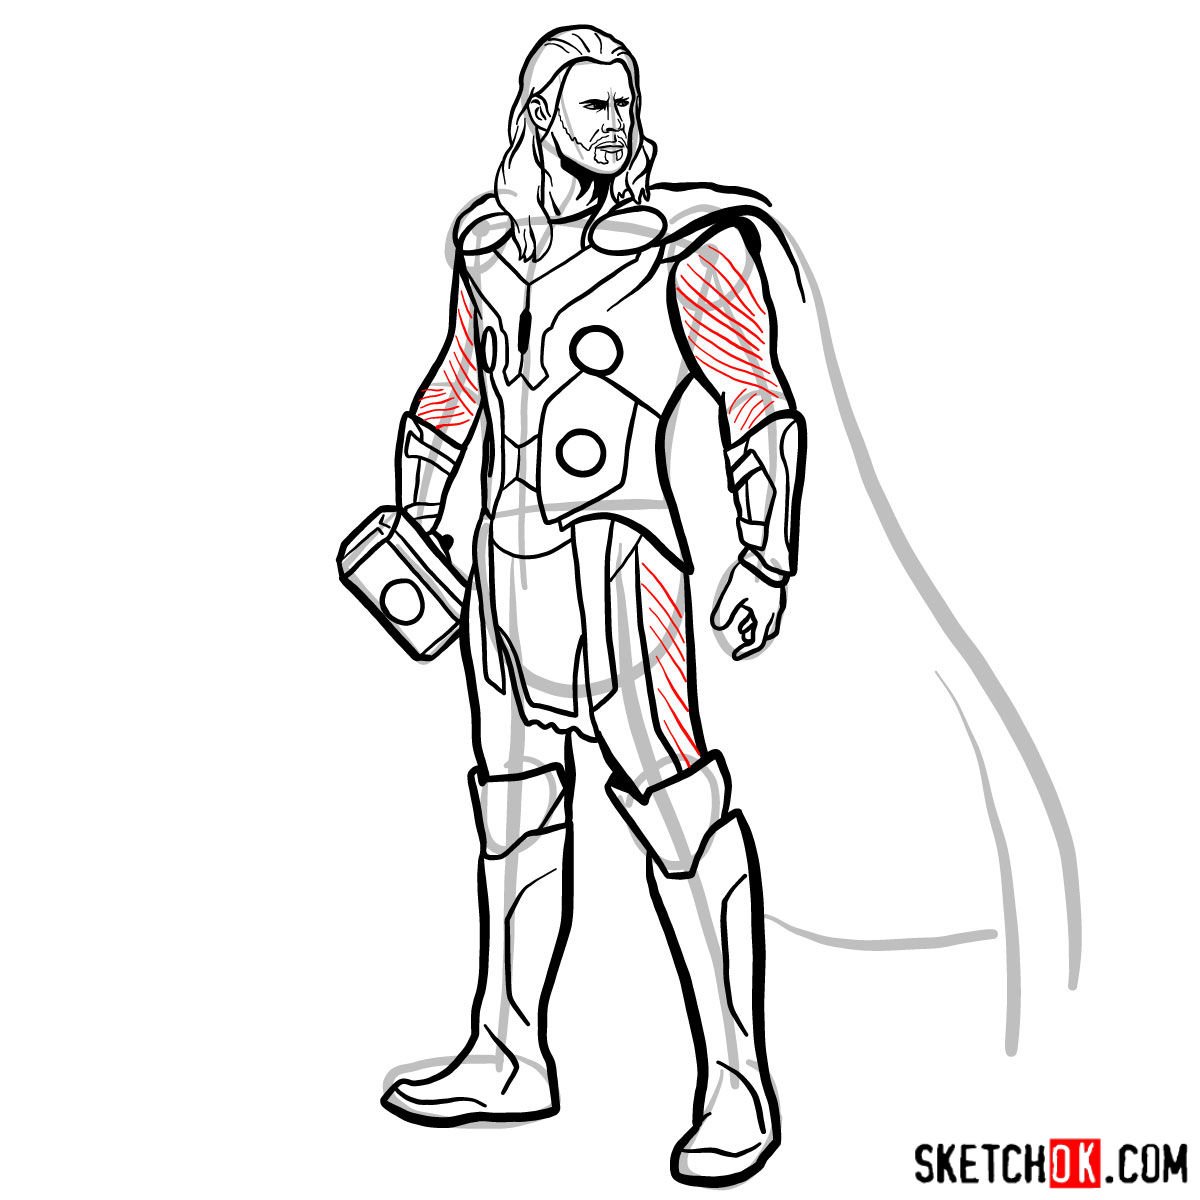
Color of the Gods: Coloring and Shading
Finally, add color, shading, and highlights to your drawing to bring Thor to life. Use colored pencils, markers, or digital coloring tools to apply vibrant hues to his armor, cape, and hair. Pay attention to light sources and shadows to give your artwork a more realistic and dynamic appearance.
")
If you want fresh drawing guides sent straight to you each week, the signup form at the top of this page is the easiest way to do it, no need to remember to check back. That’s a wrap on how to draw Thor Odinson, and hopefully Mjolnir looks worthy in your version. Drop your finished piece in the comments on the Pinterest post for this guide, it’s always good to see how people put their own spin on the God of Thunder.