Last Updated on May 14, 2026
Have you ever wanted to dive into the world of Marvel Comics and bring one of its most iconic characters to life? It’s time to explore your artistic abilities and learn how to draw The Hulk, a character that has captivated fans for decades. In this tutorial, we’ll guide you through a step-by-step process to create your very own Hulk masterpiece. So, grab your pencils, paper, and get ready to unleash your inner artist!
Emerald Giant: Delving into The Hulk’s Appearance and Story
Created by writer Stan Lee and artist Jack Kirby, The Hulk first appeared in The Incredible Hulk comic book in 1962. This powerful superhero is the alter ego of Dr. Robert Bruce Banner, a brilliant physicist who transforms into a green-skinned, muscular giant when subjected to emotional stress or anger.
The Hulk’s incredible strength is directly proportional to his rage, making him a force to be reckoned with. His story has evolved over time, introducing new alter egos and complexities to his character. Despite his desire for solitude, The Hulk has become a beloved member of the Avengers and has even formed strong bonds with characters like She-Hulk, his cousin, and his love interest Black Widow.
One of the most visually striking aspects of The Hulk is his green skin and enormous size. His appearance is heavily influenced by classic literature, such as Frankenstein and Dr. Jekyll and Mr. Hyde, giving him a distinct, unforgettable look.
Artistic Arsenal: Recommended Materials and Tools
Before you begin your Hulk drawing, gather your materials and tools. While you can use any tools you prefer, we recommend the following:
- Pencil (HB or 2B)
- Erasers (kneaded and regular)
- Pen or fine liner for inking
- Colored pencils or markers for coloring
- Quality drawing paper
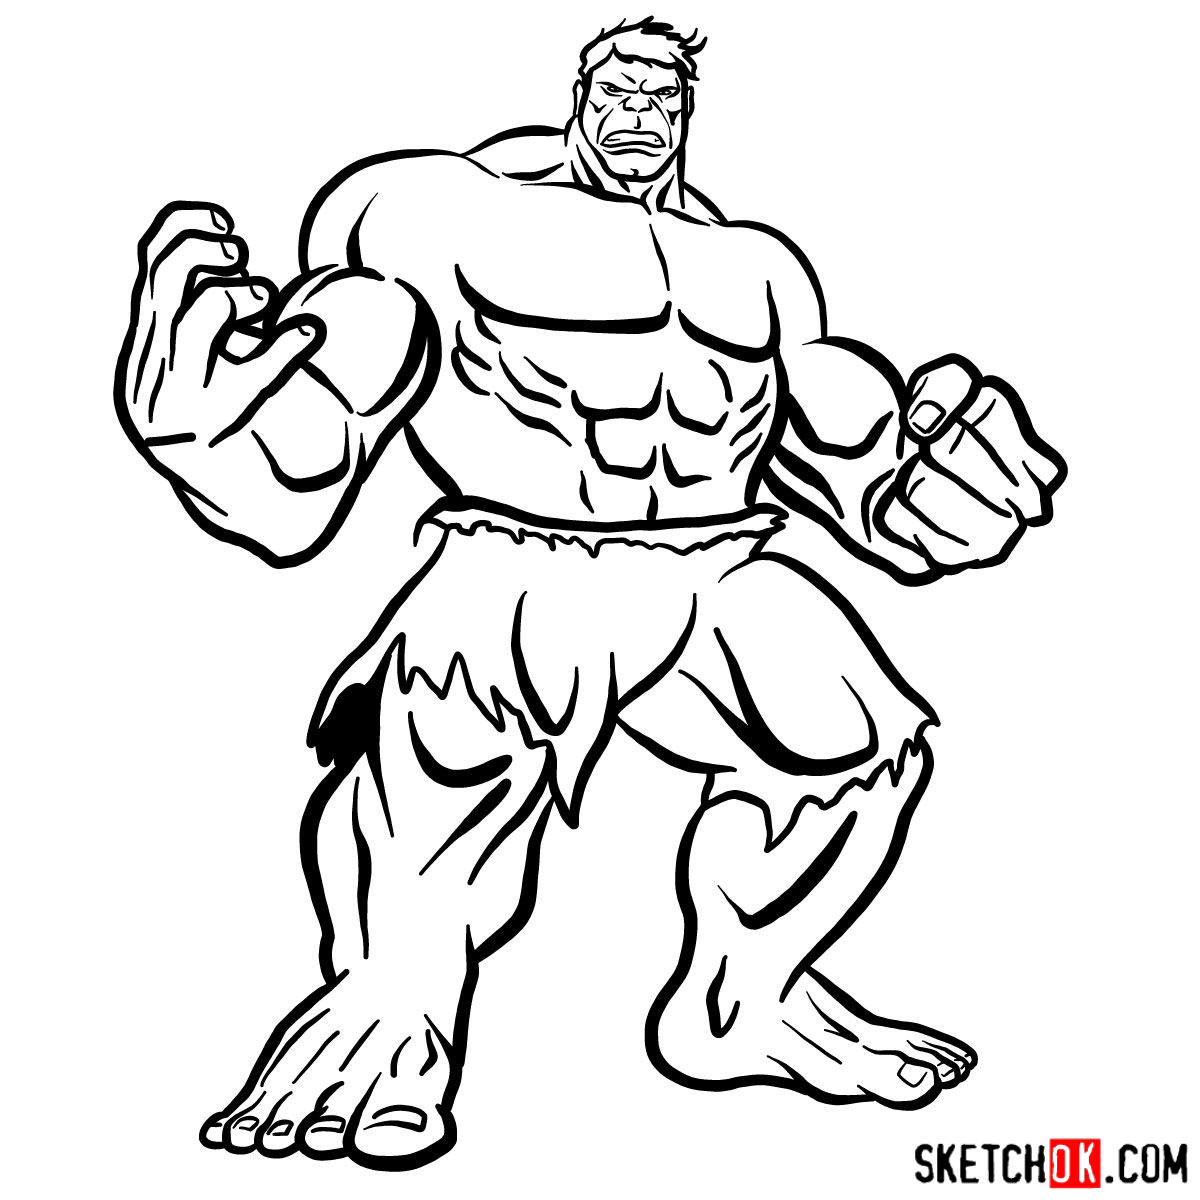
Unleashing the Beast: Step-by-Step Drawing Guide
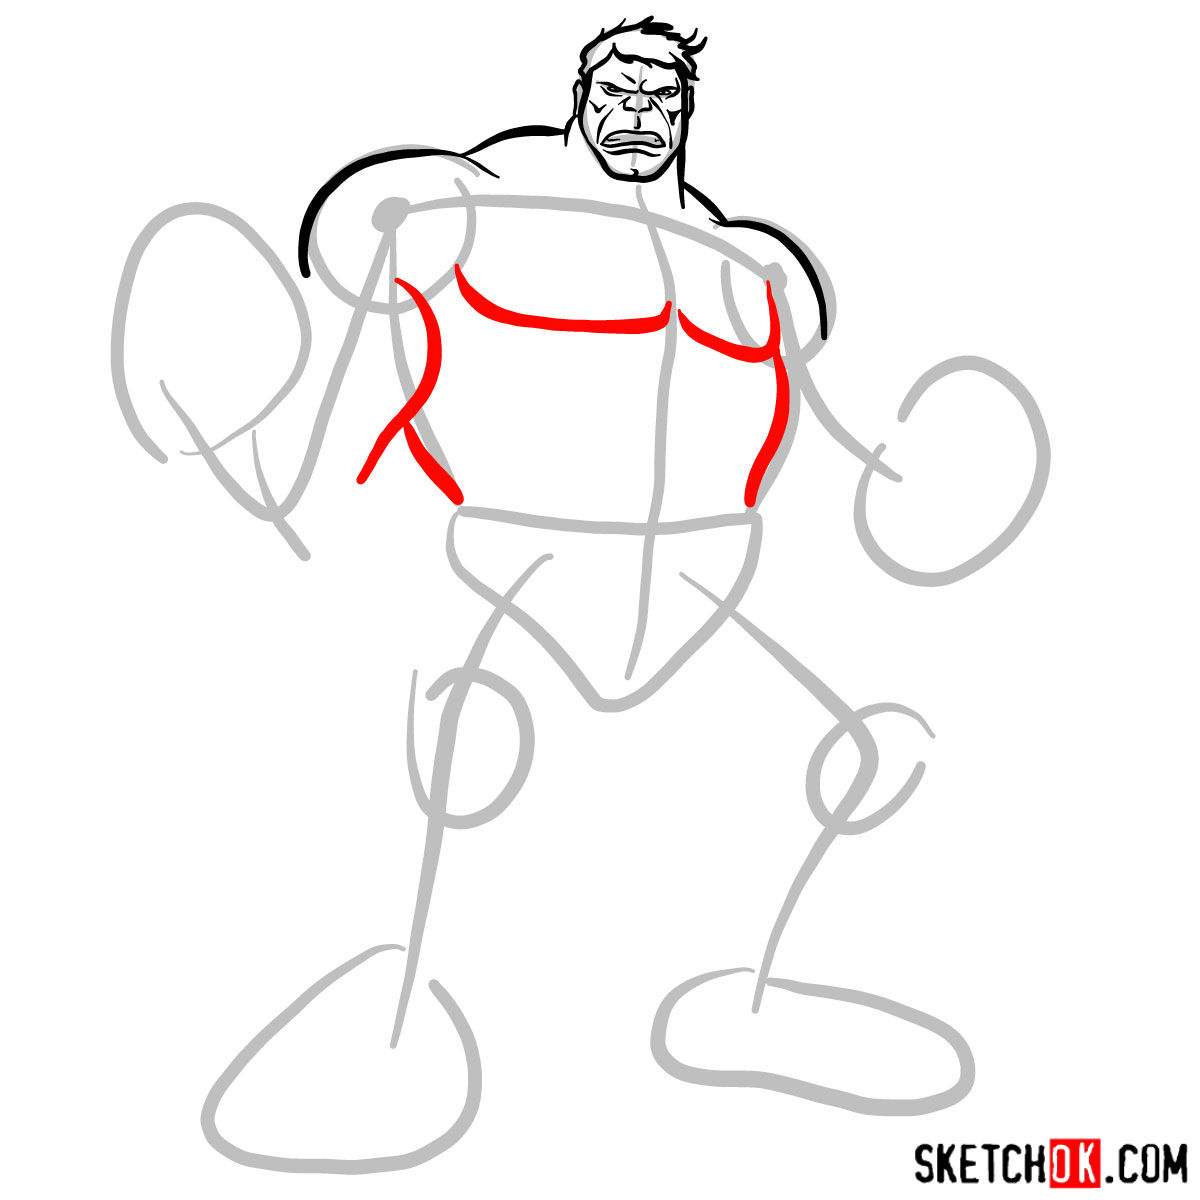
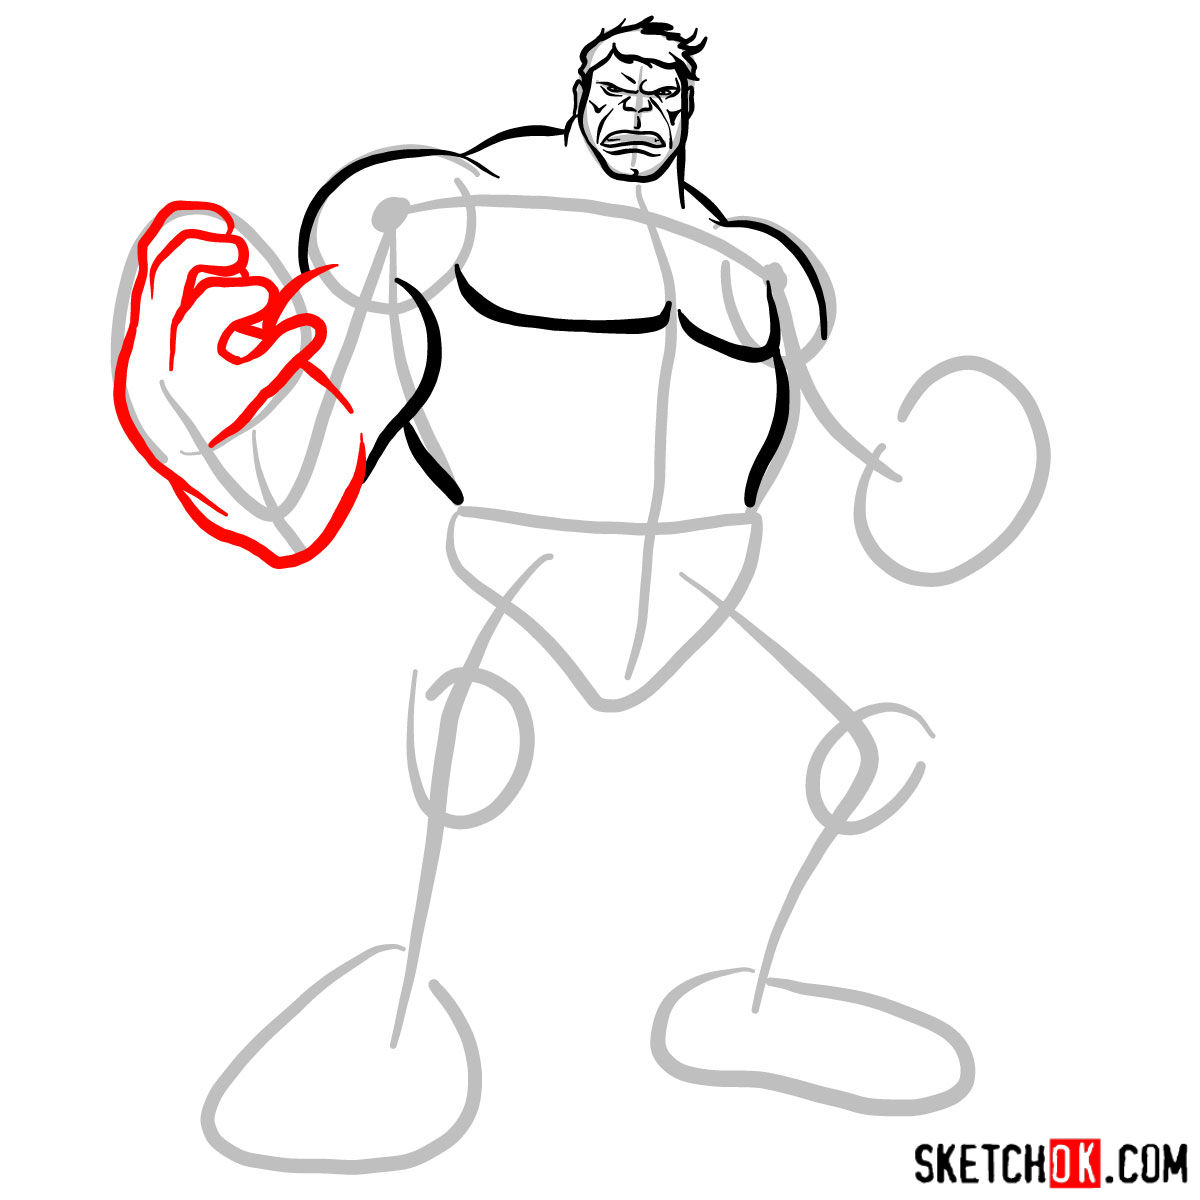
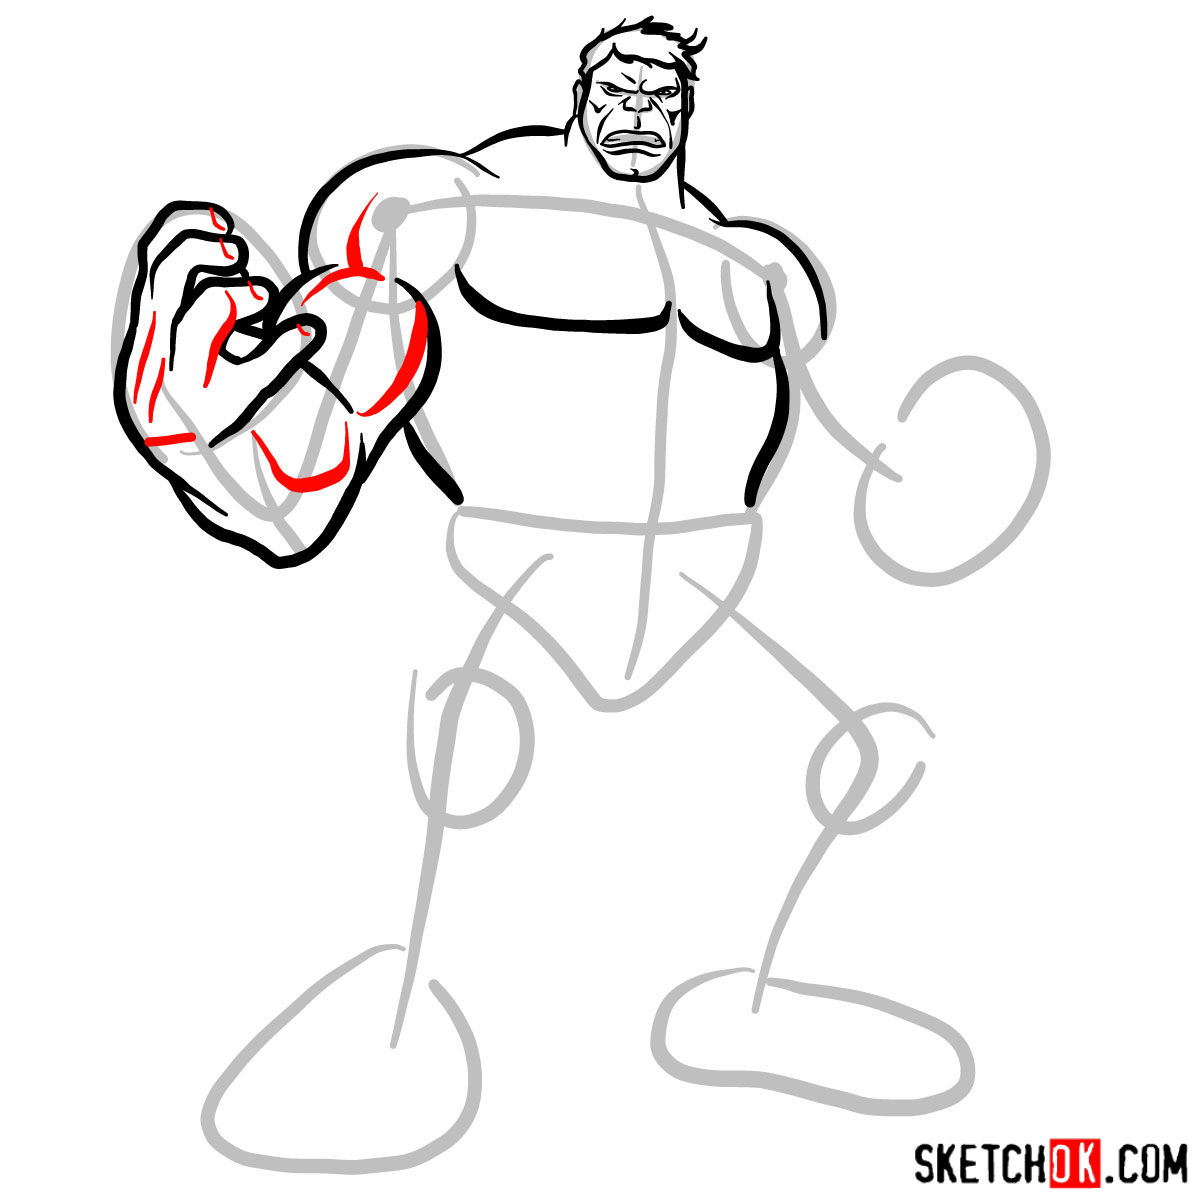
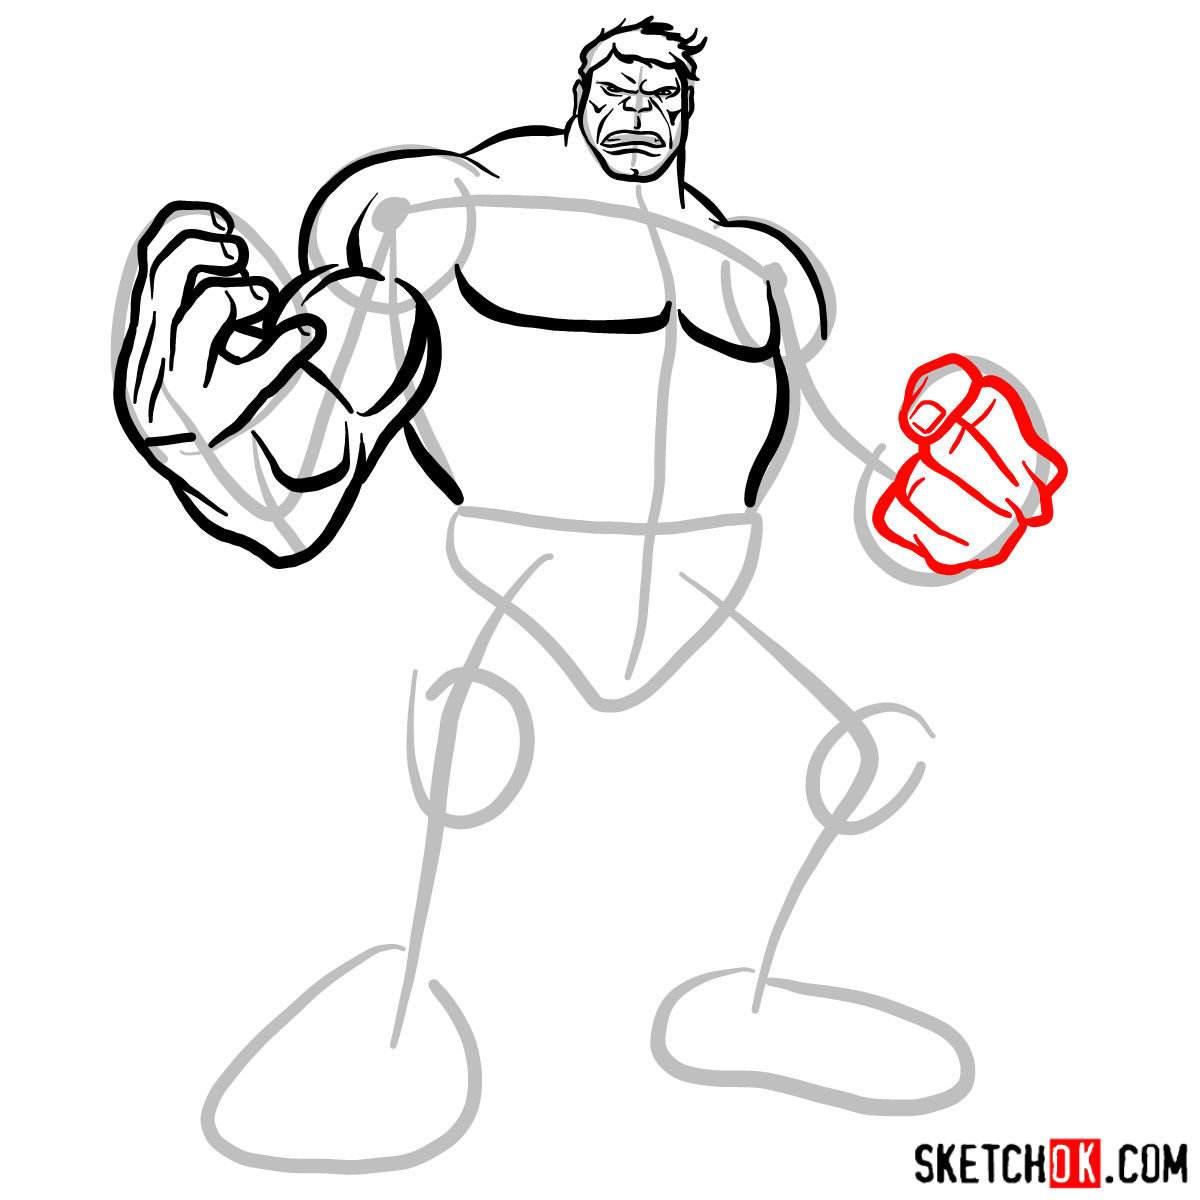
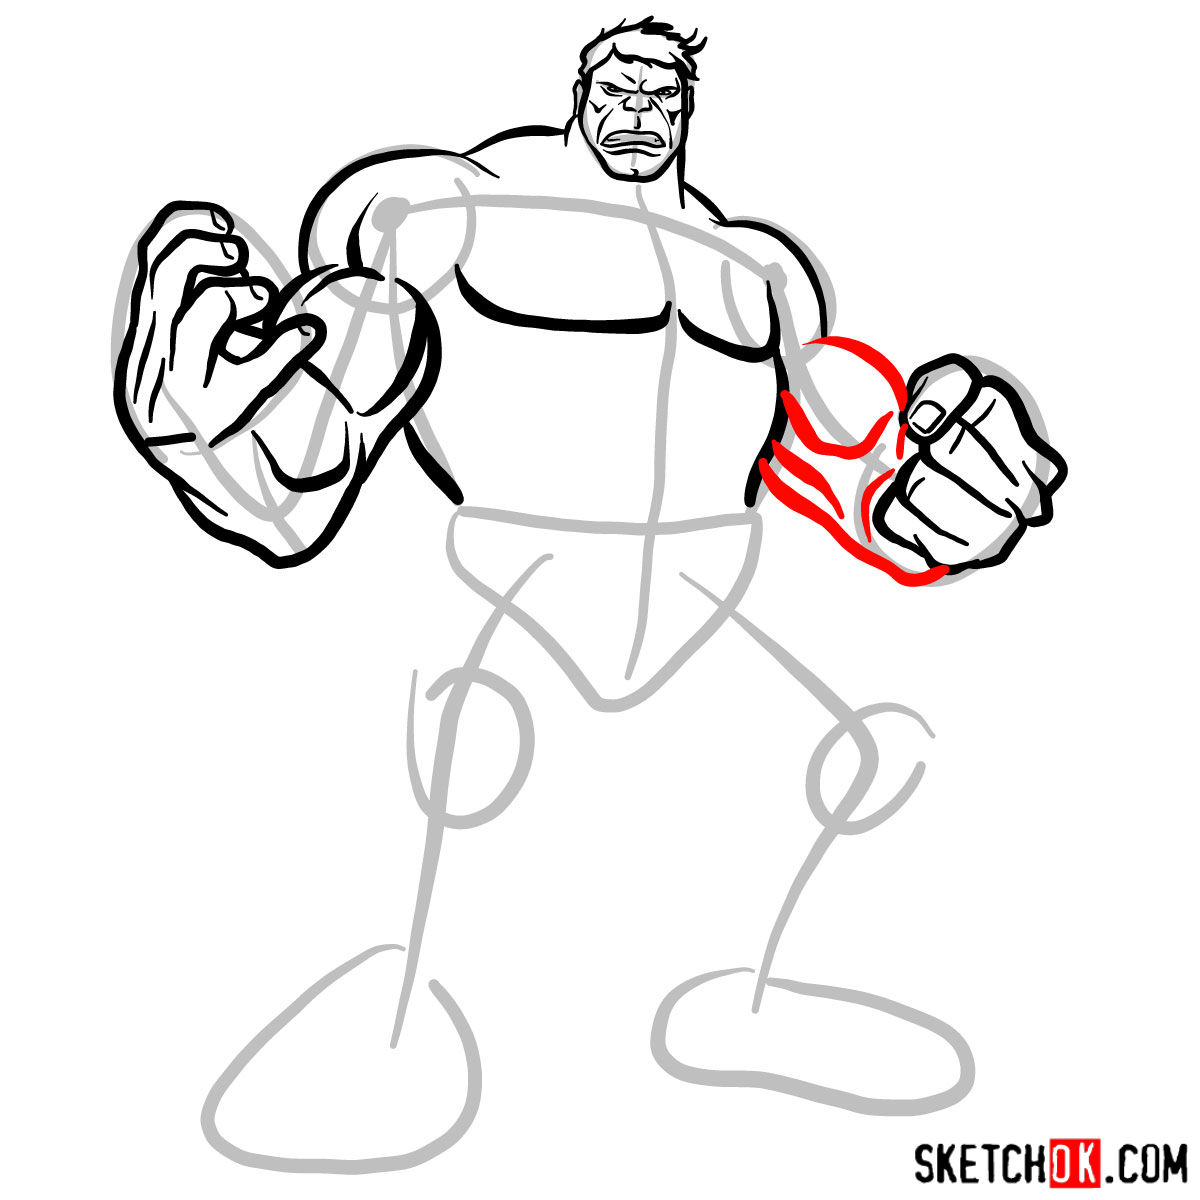
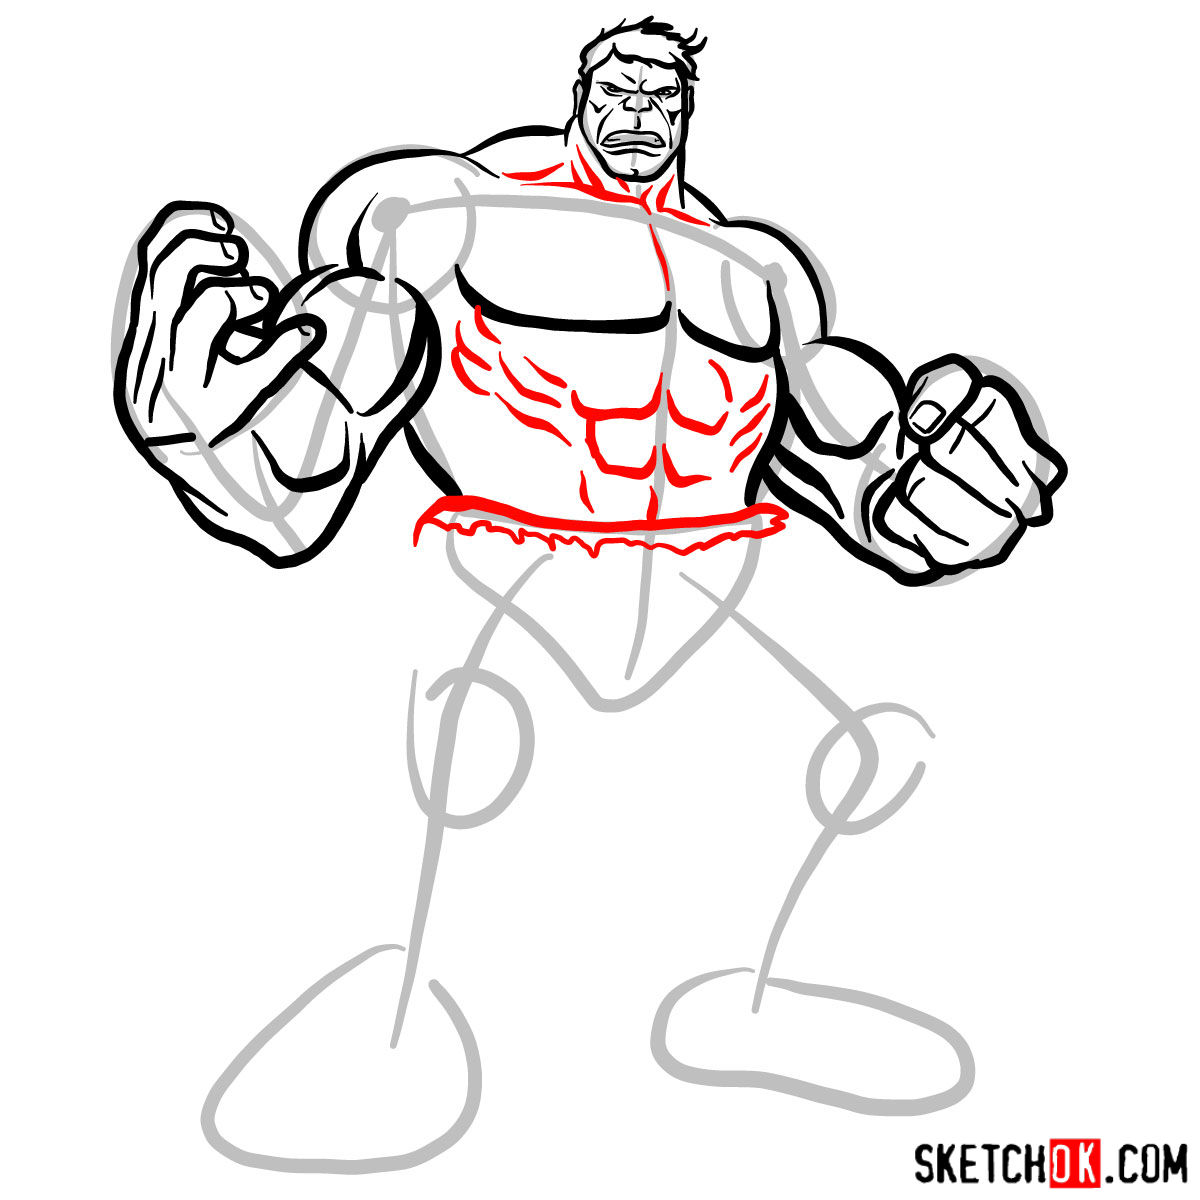
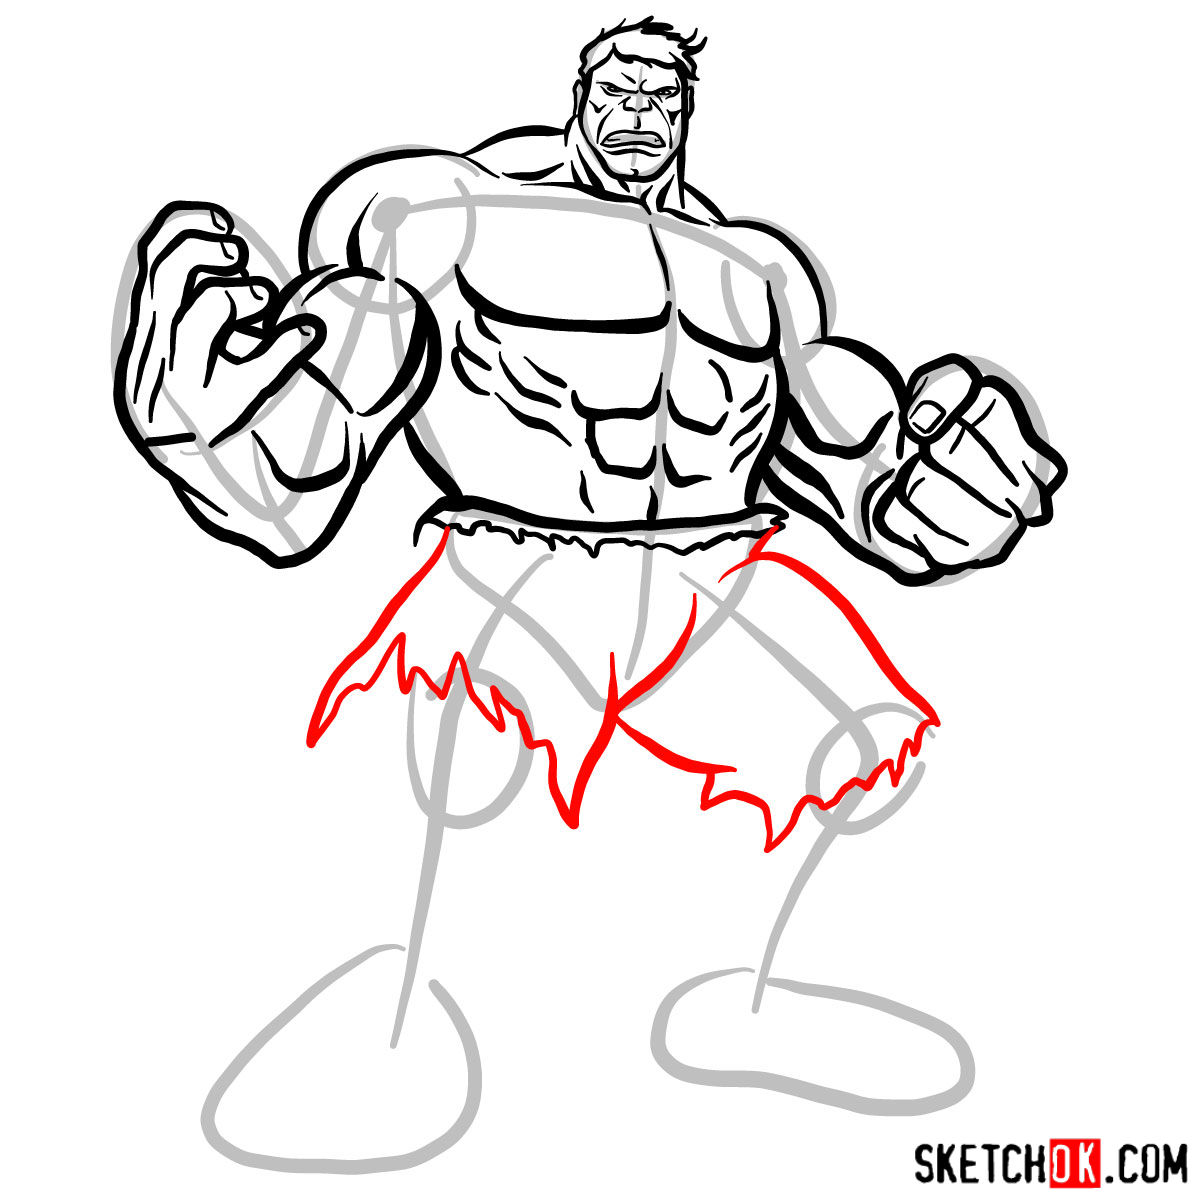
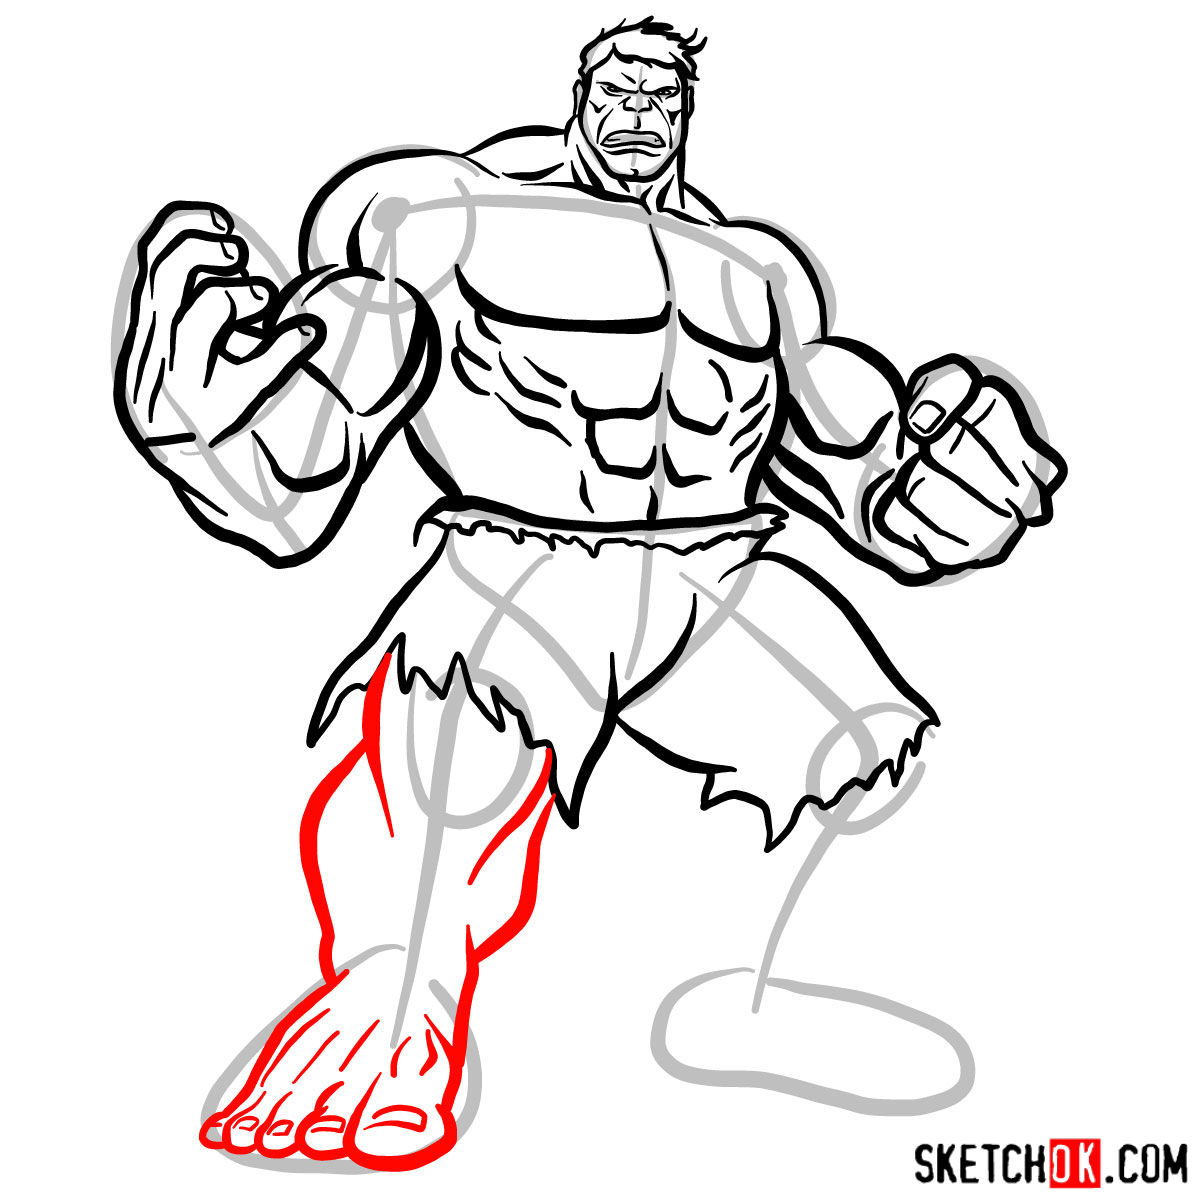
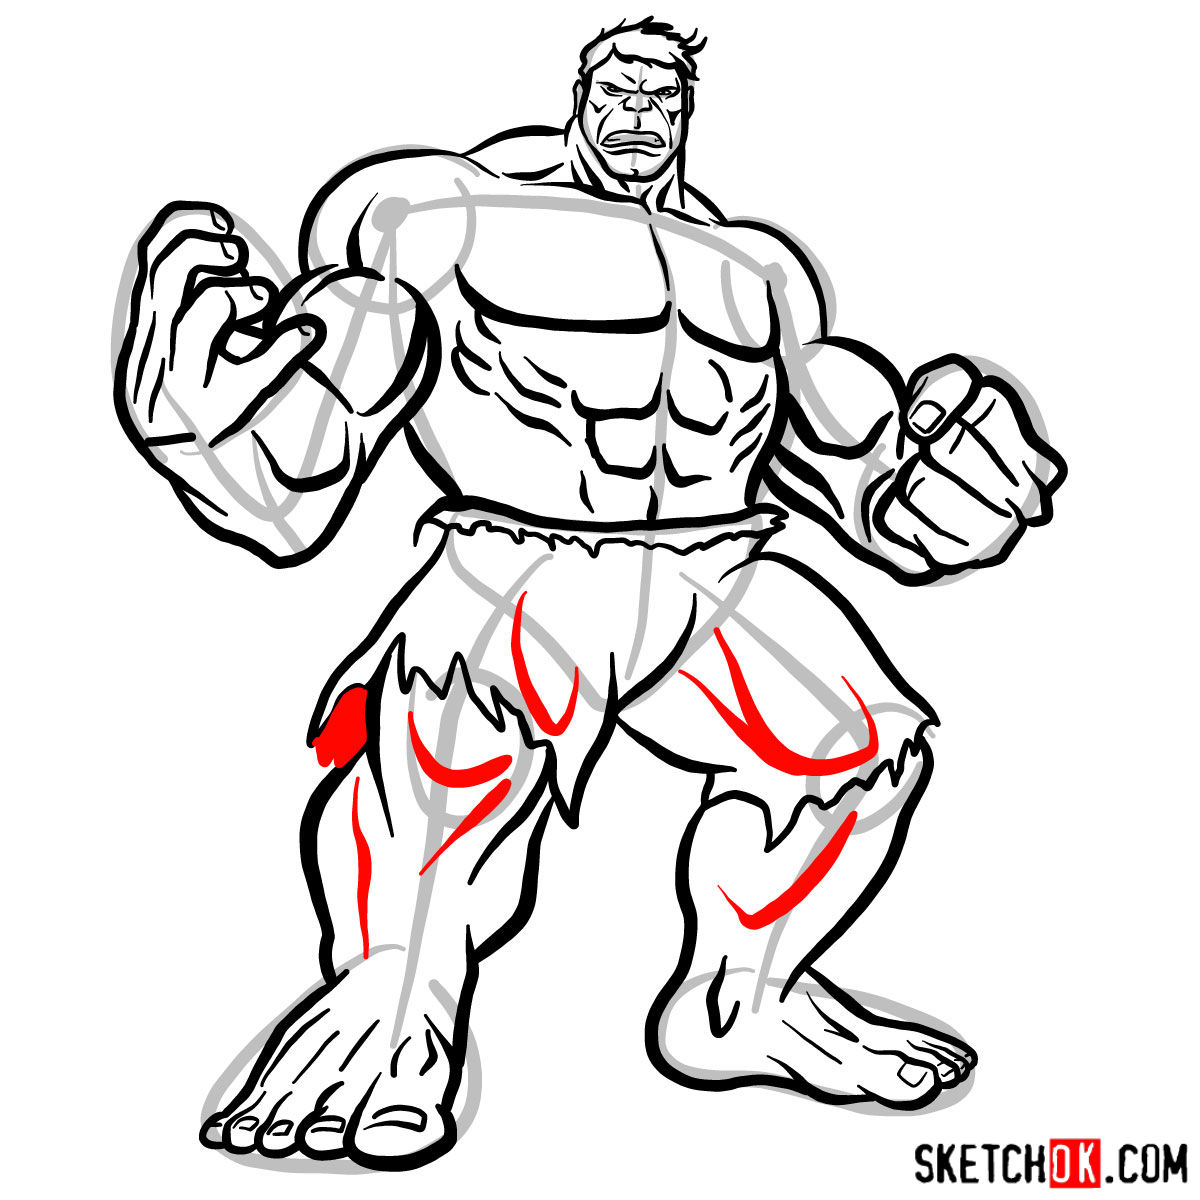
In this tutorial, we’ll explore the process of drawing The Hulk in four main steps. Each step is accompanied by images to guide you, with red representing the current drawing step, grey indicating the basic proportions sketch, and black for the previously drawn lines.
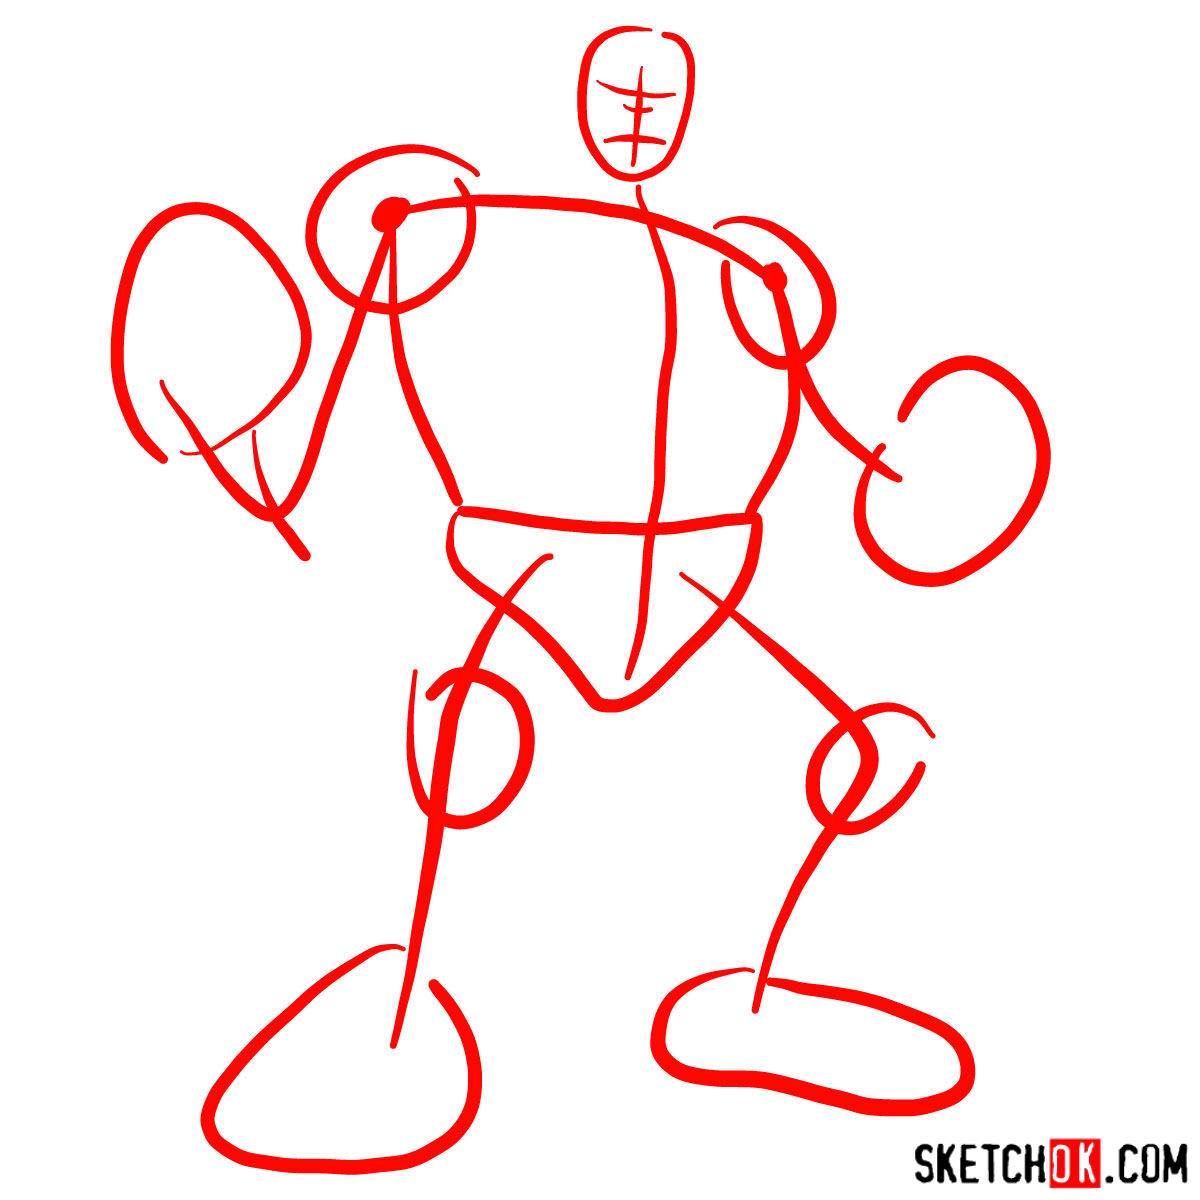
Part 1: Laying the Foundation
Begin by creating a basic sketch of The Hulk’s proportions using light pencil strokes. This initial sketch will serve as the foundation for your drawing, so take your time to ensure accuracy and balance.
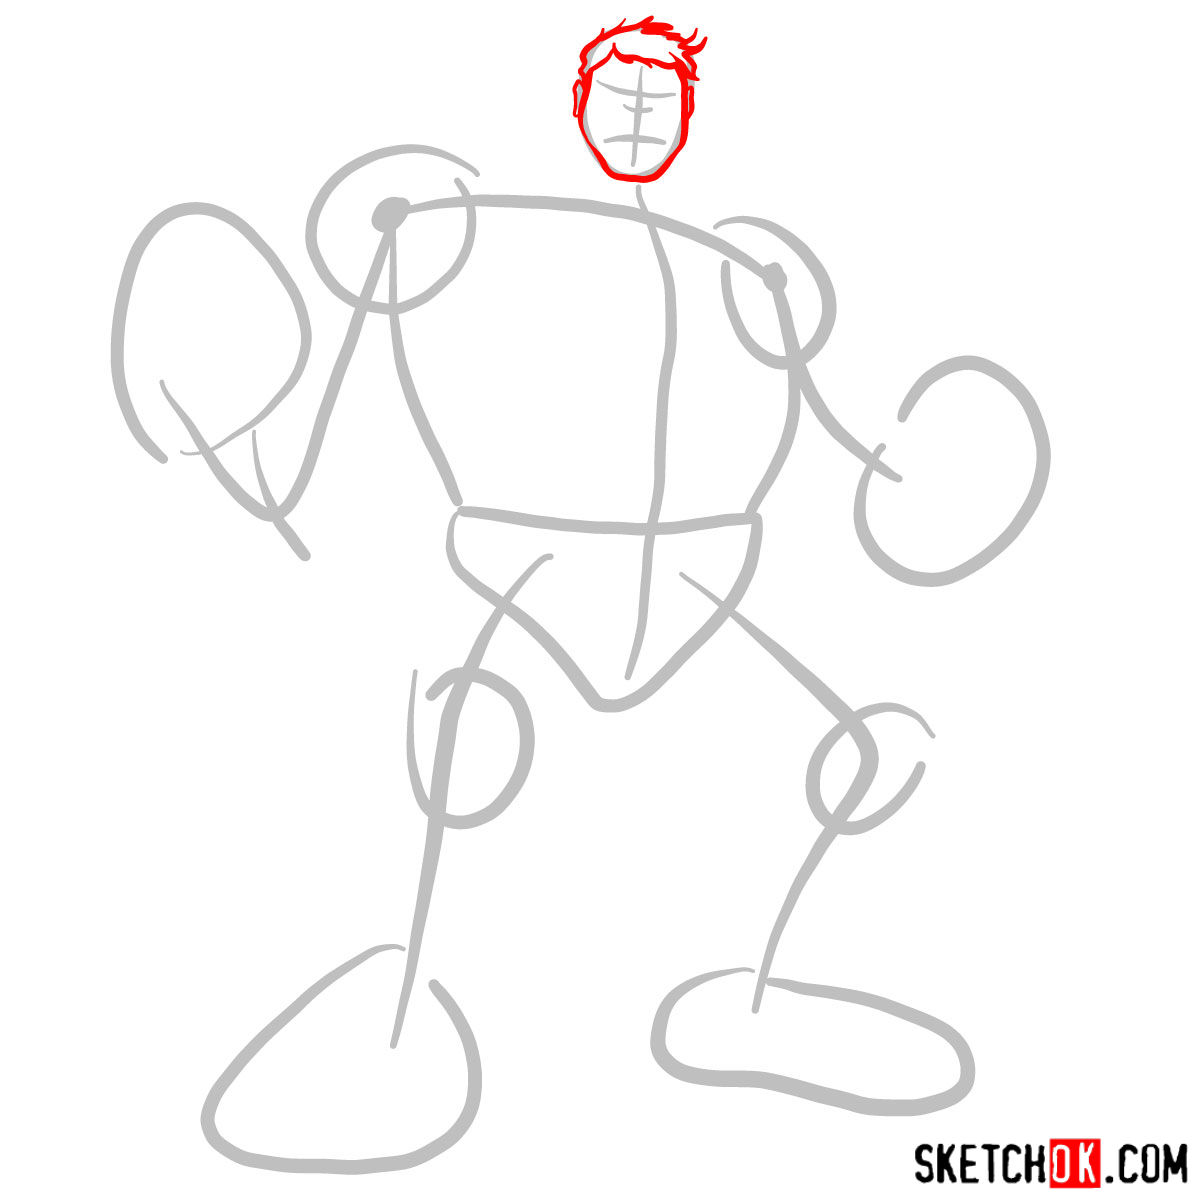
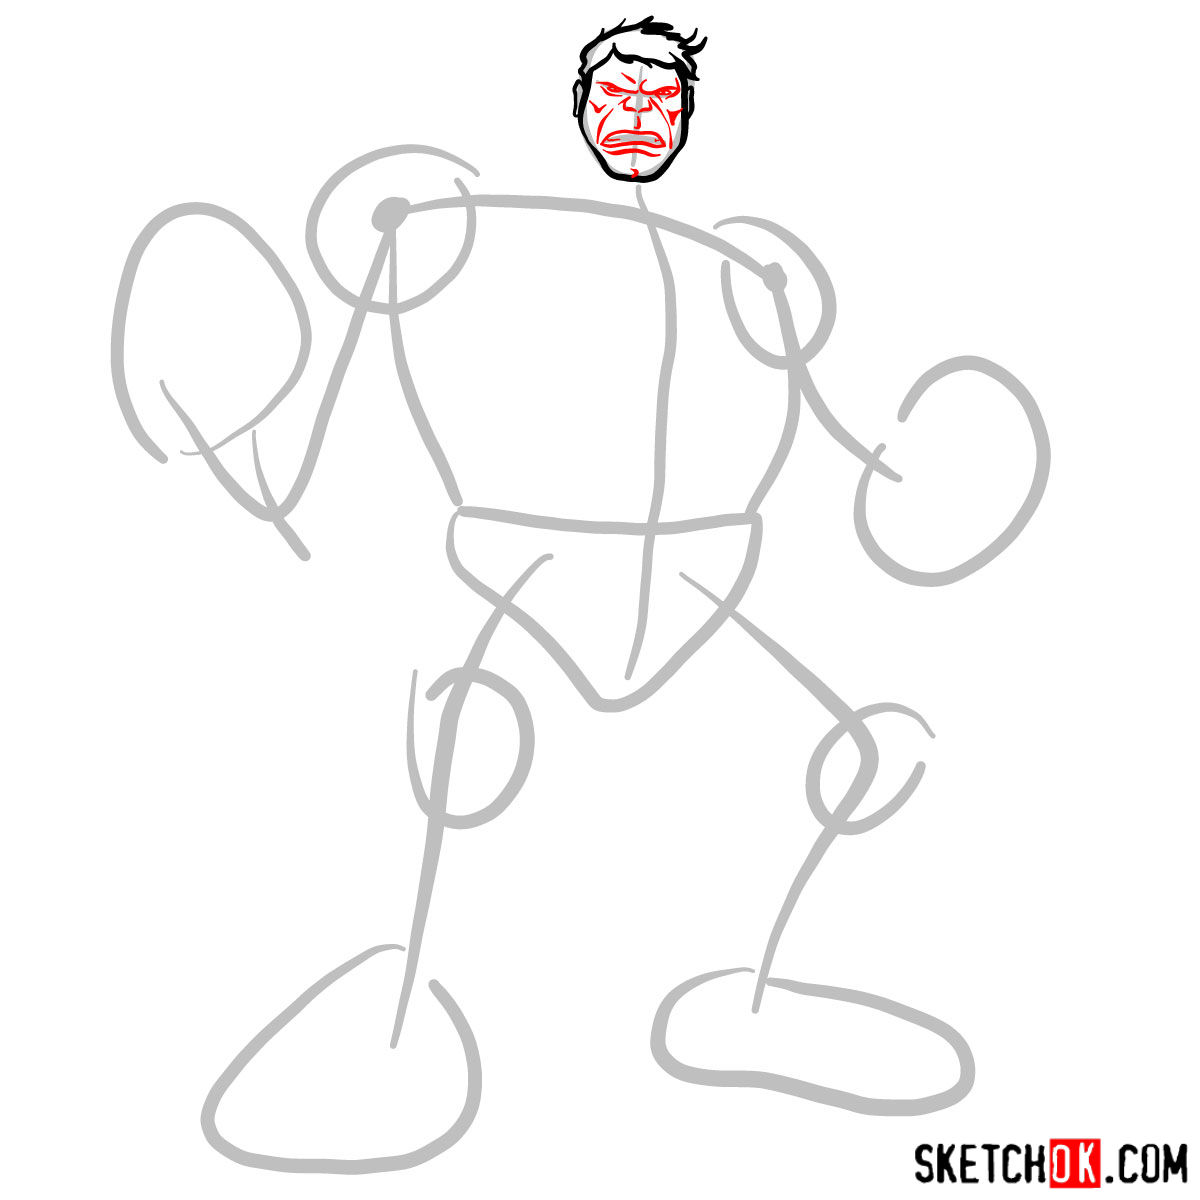
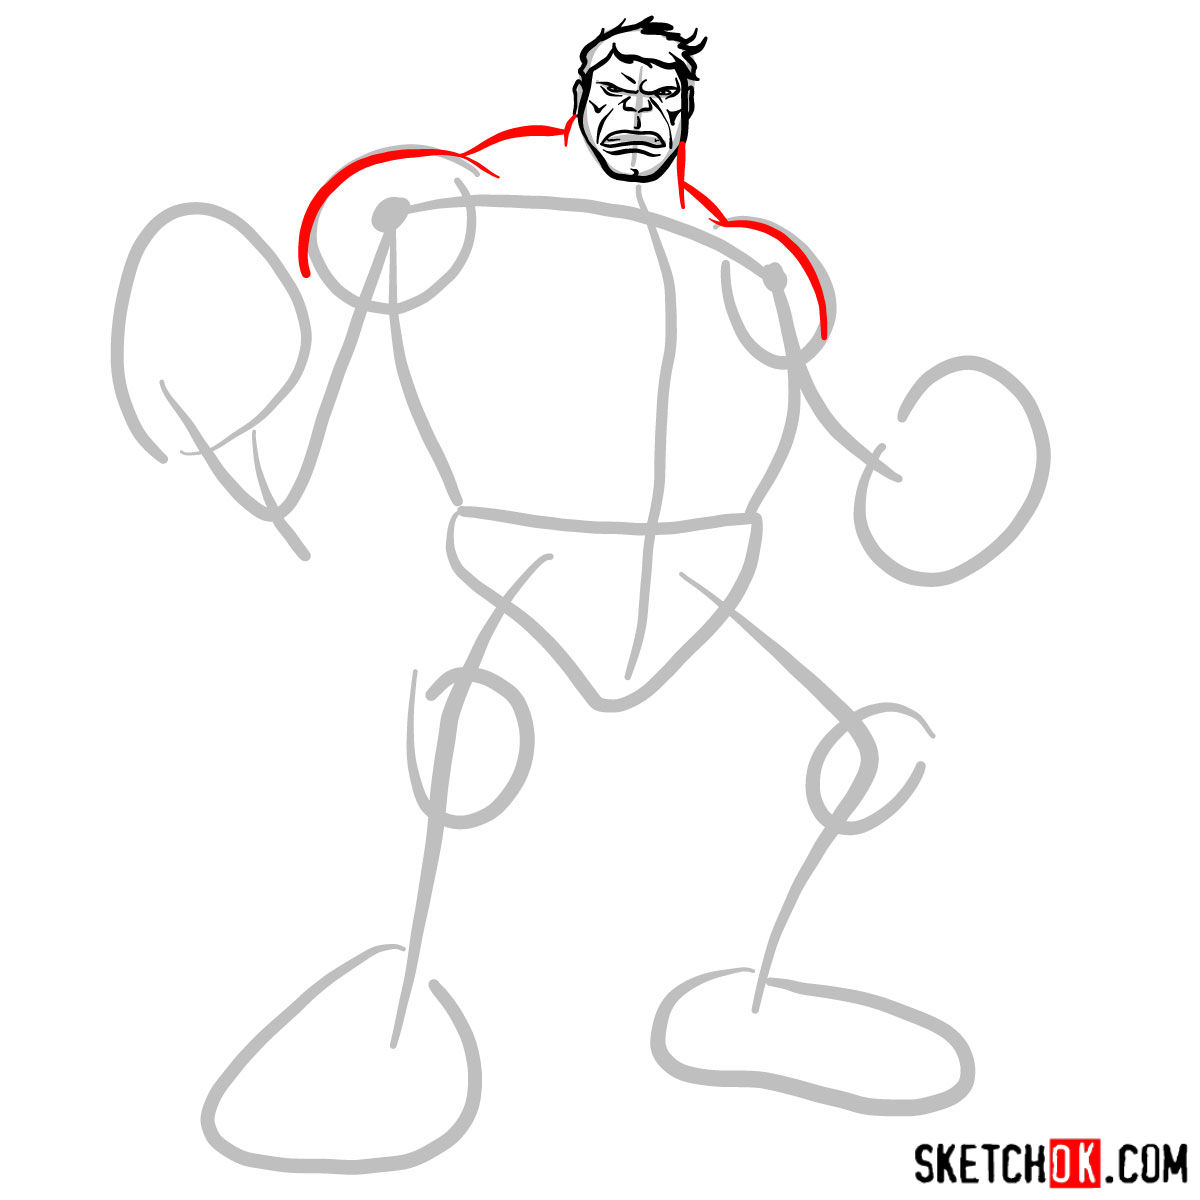
Part 2: Sculpting the Muscles
With the basic structure in place, it’s time to refine your sketch. Add details to The Hulk’s muscular physique and improve proportions. Don’t be afraid to make adjustments as you work to achieve the desired result.
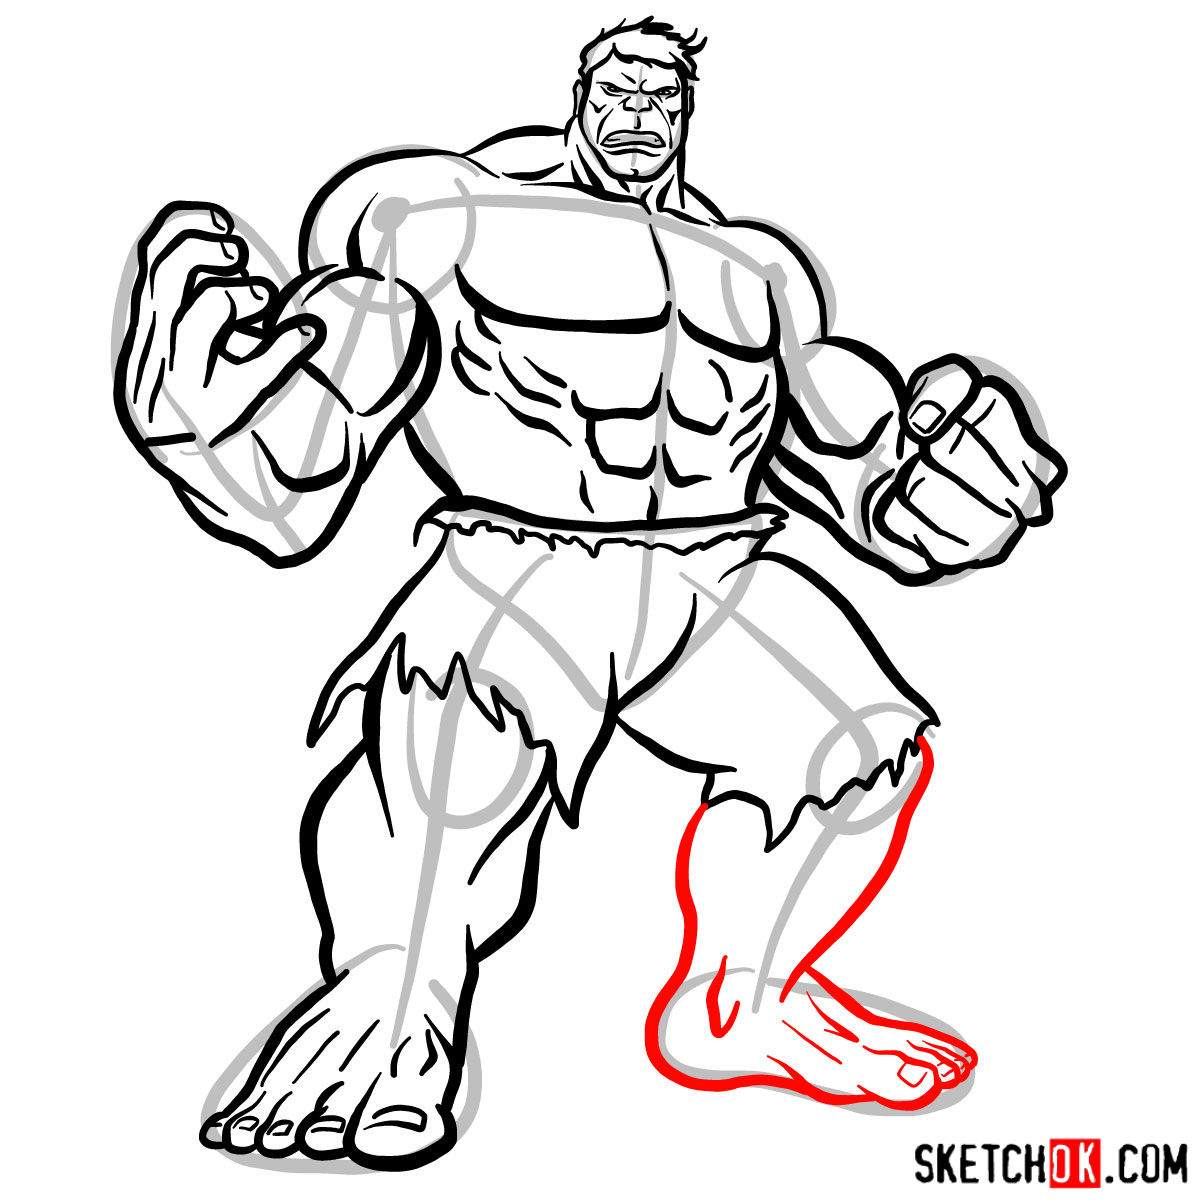
Part 3: Outlining the Beast
Once you’re satisfied with your refined sketch, it’s time to outline your drawing. Use a pen or fine liner to carefully trace over your pencil lines, adding any final touches as needed. This step brings The Hulk’s powerful form to life.
Part 4: Bringing Color to the Rage
Now that your drawing is outlined, it’s time to add color and shading. Use colored pencils or markers to fill in The Hulk’s iconic green skin, purple shorts, and any other necessary details. Pay attention to shading and highlights to give your drawing depth and dimension.

If you want fresh drawing guides without having to check back here, the signup form at the top of the page gets you a weekly digest of whatever’s new. That’s probably the easiest way to keep practicing, and knowing how to draw The Hulk is a solid step toward tackling more complex superhero poses and figures. You can also find the Pinterest page useful for sharing your finished Hulk drawing and seeing what other readers have done with the same tutorial.