Introduction: Get Ready to Rock with The Thing
Are you a fan of Marvel’s Fantastic Four and want to learn how to draw The Thing? You’re in the right place! In this tutorial, we’ll guide you through the process of sketching, refining, inking, and coloring your very own Ben Grimm drawing. So grab your art supplies, and let’s get clobberin’!
The Thing: A Rocky Road to Superhero Status
Benjamin Jacob Grimm, better known as The Thing, is a founding member of the Fantastic Four. Created by Stan Lee and Jack Kirby, The Thing first appeared in Fantastic Four #1 in 1961. Known for his iconic rocky exterior, Ben Grimm possesses superhuman strength, a great sense of humor, and a memorable battle cry: “It’s clobberin’ time!”
Over the years, The Thing has been portrayed in various films, including the 1994 movie The Fantastic Four, 2005’s Fantastic Four, and its 2007 sequel, Fantastic Four: Rise of the Silver Surfer. In 2015, The Thing returned to the big screen in the rebooted Fantastic Four, played by Jamie Bell. Throughout all these adaptations, The Thing’s appearance and personality have remained true to his comic book origins.
The Thing’s transformation from Ben Grimm to a rocky superhero provides a unique drawing challenge. By mastering his rugged appearance and powerful stance, you’ll be one step closer to capturing other Marvel characters like Hulk, Iron Man, or Thor in your artwork.
Essential Art Supplies for Drawing The Thing
Before we begin our step-by-step drawing guide, let’s gather the necessary tools and materials:
- Pencil (preferably with a soft lead)
- Eraser
- Black fine-tipped pen or marker
- Colored pencils, markers, or digital coloring tools
- Drawing paper or digital canvas
Feel free to use any tools you’re comfortable with, as these are just recommendations.
Step-by-Step Guide: From Ben Grimm to The Thing
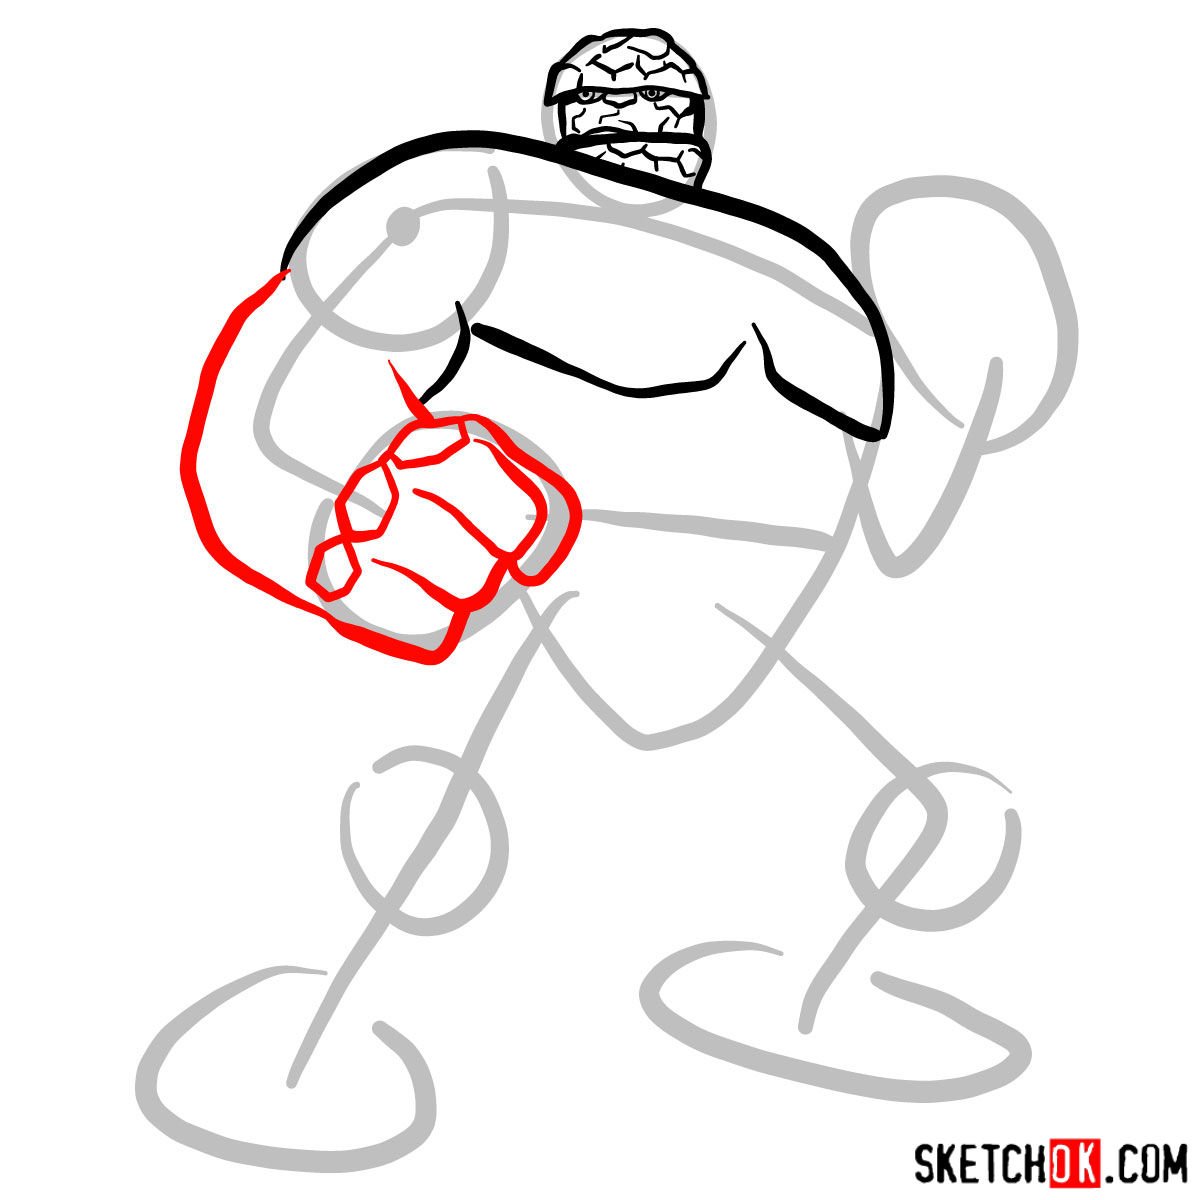
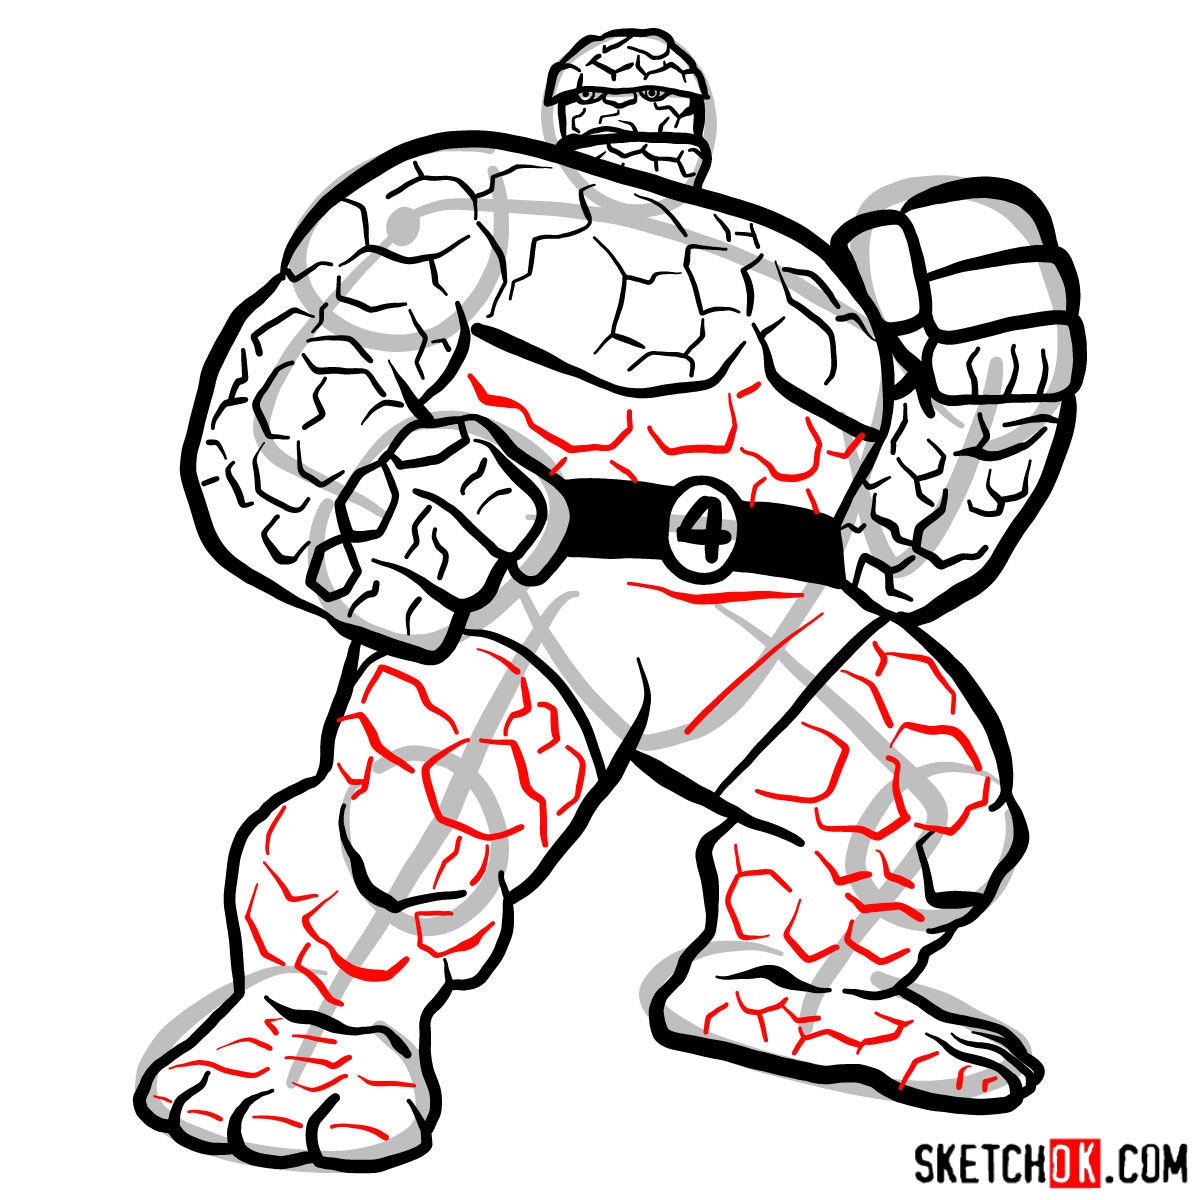
Our drawing guide consists of four main parts, each focusing on a different aspect of the drawing process. Each step in the tutorial images is represented in red, with the basic proportions sketch in grey and previously drawn lines in black.
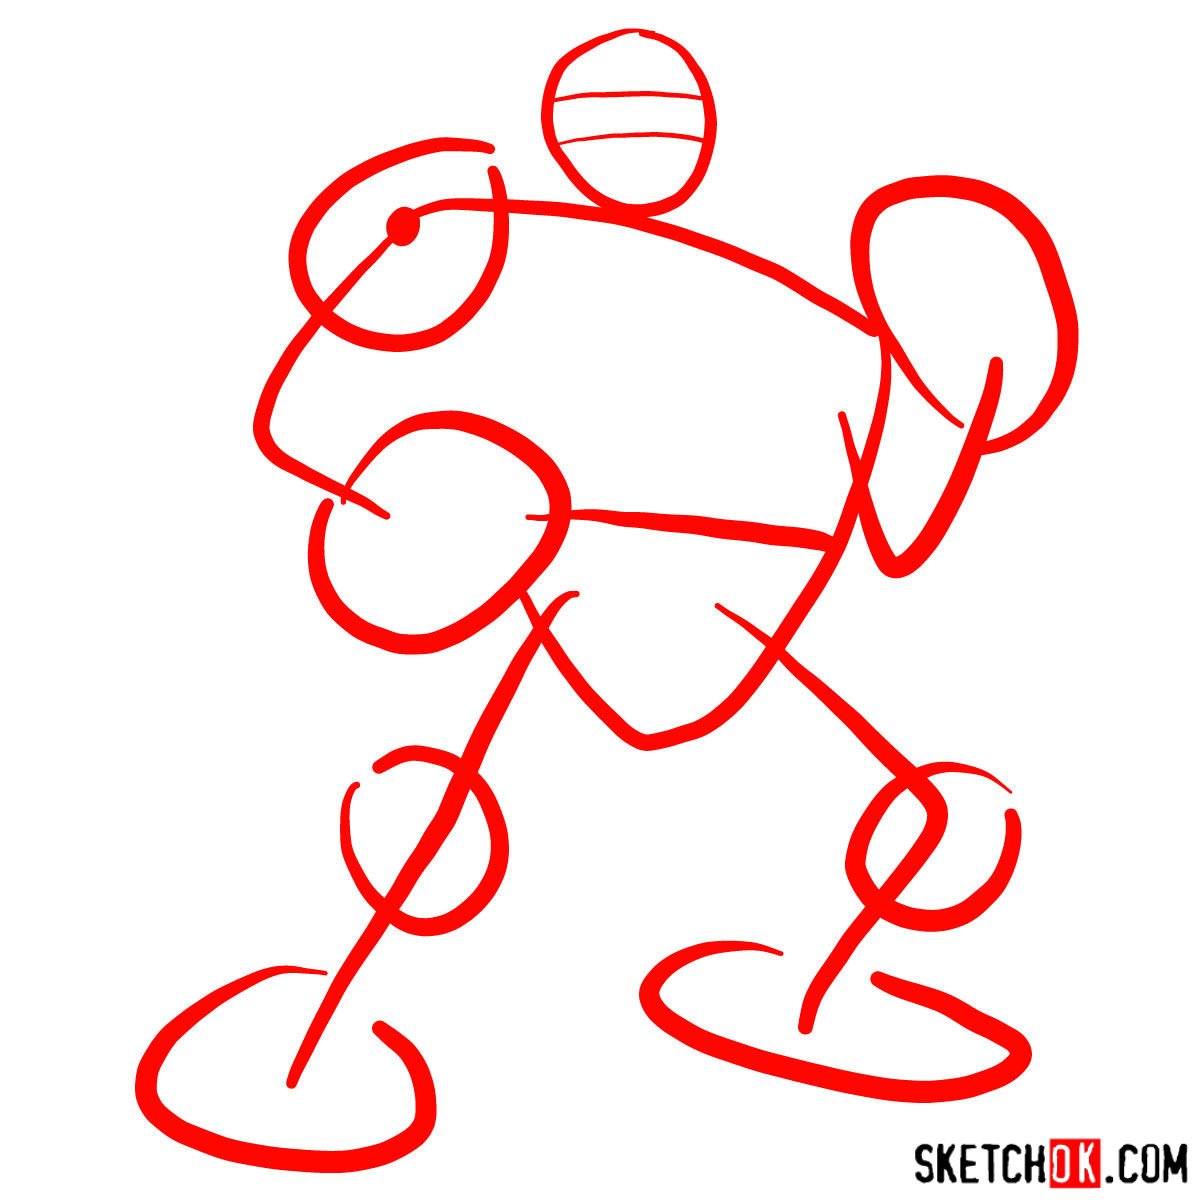
Part 1: Laying the Foundation with a Basic Sketch
Start by drawing a basic structure using light pencil strokes. This initial sketch will help you establish the proper proportions and pose for The Thing. Don’t worry about details at this stage; just focus on getting the overall shape right.
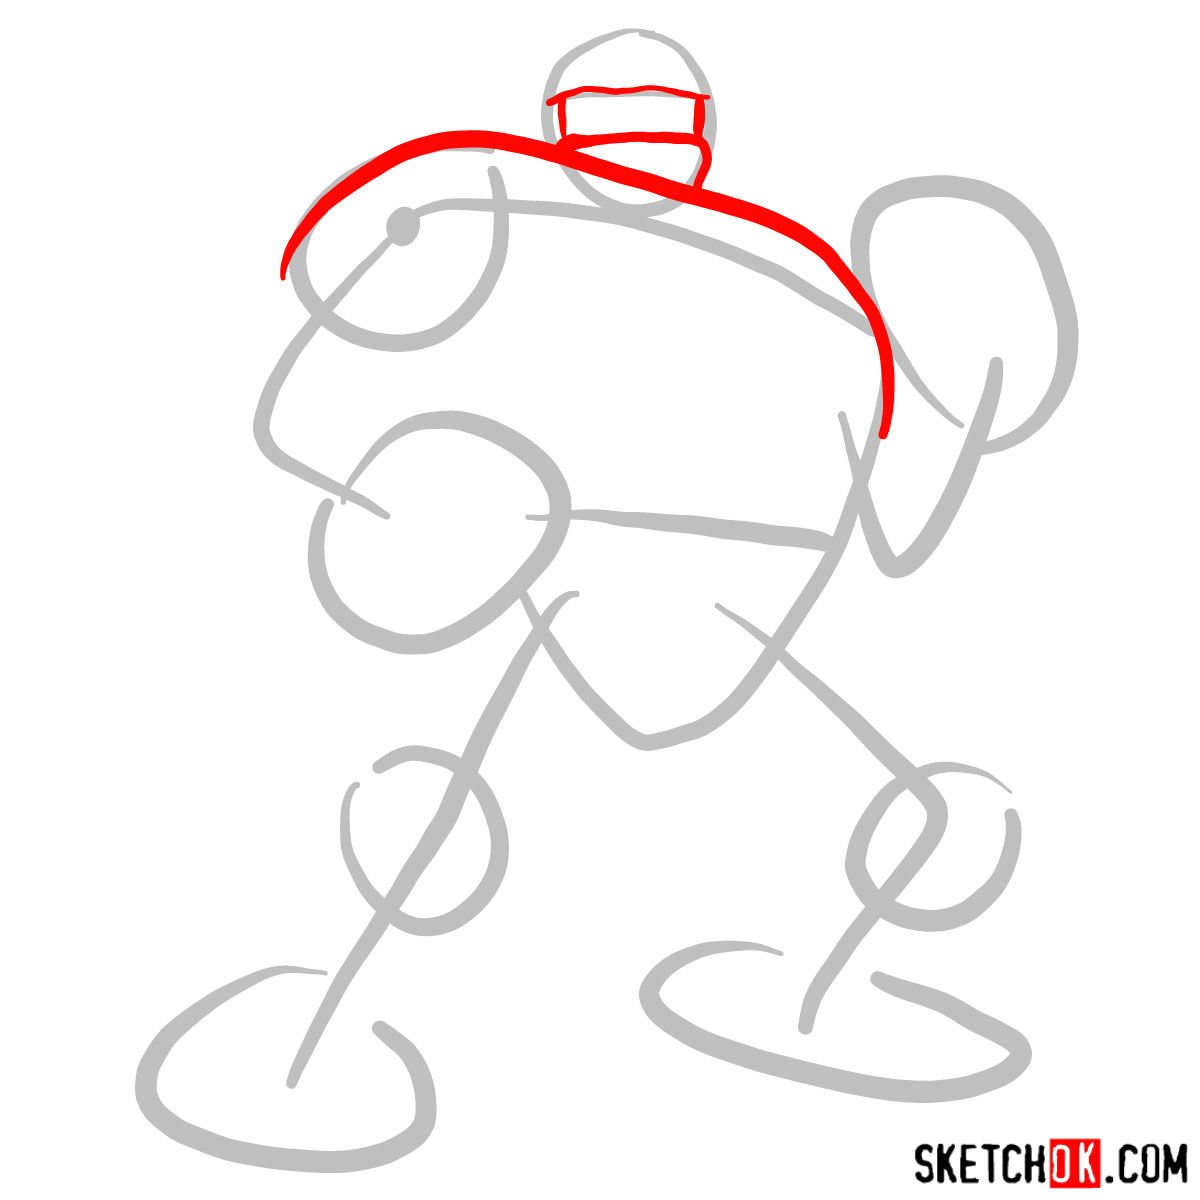
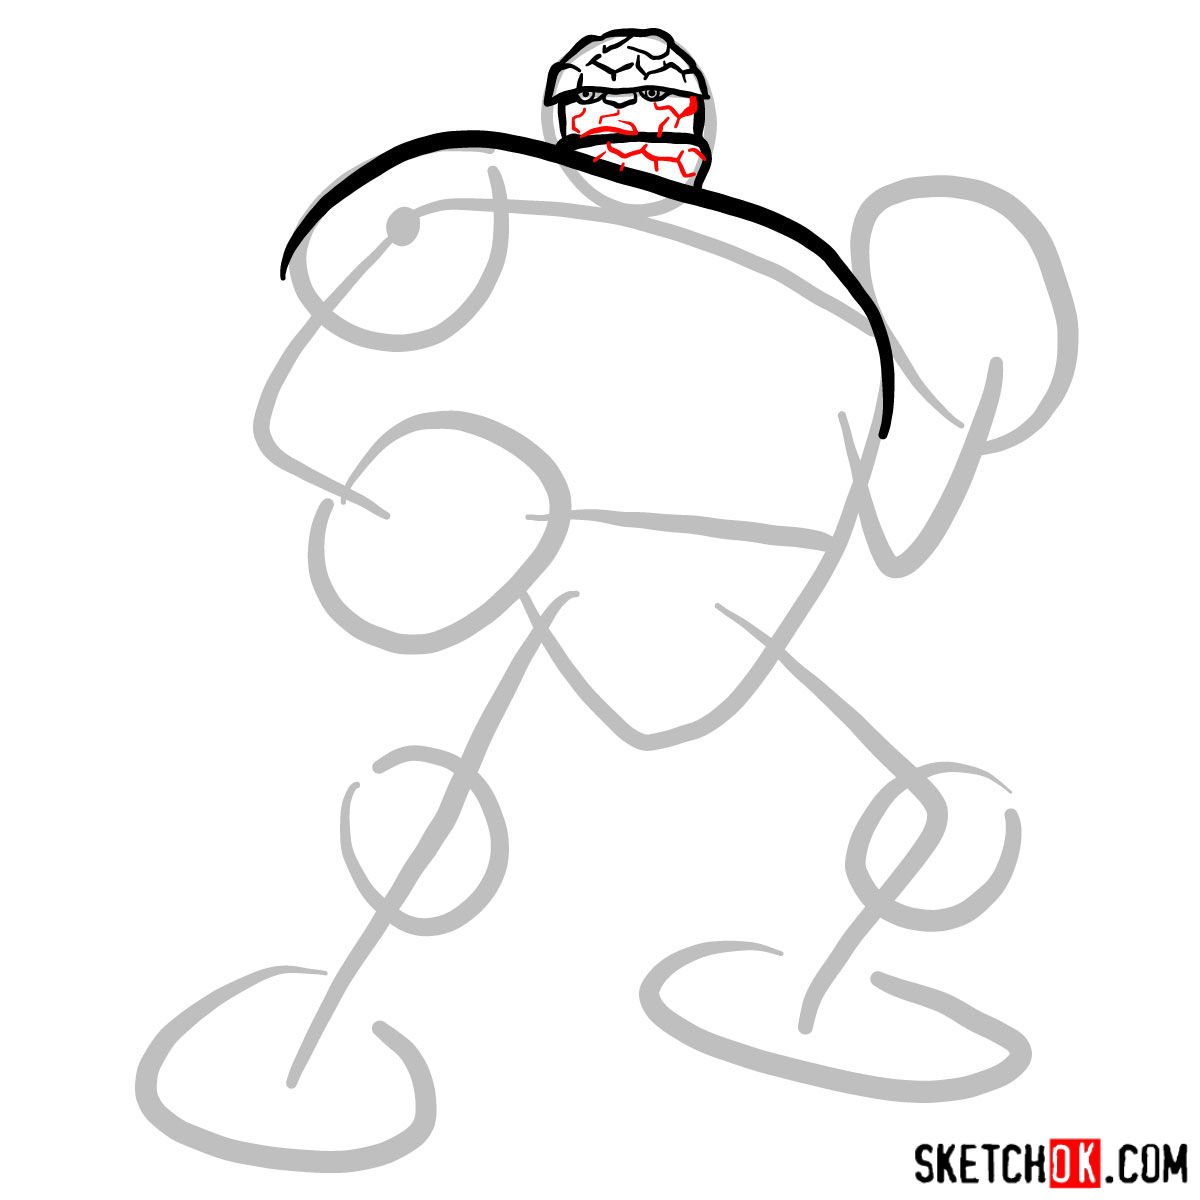
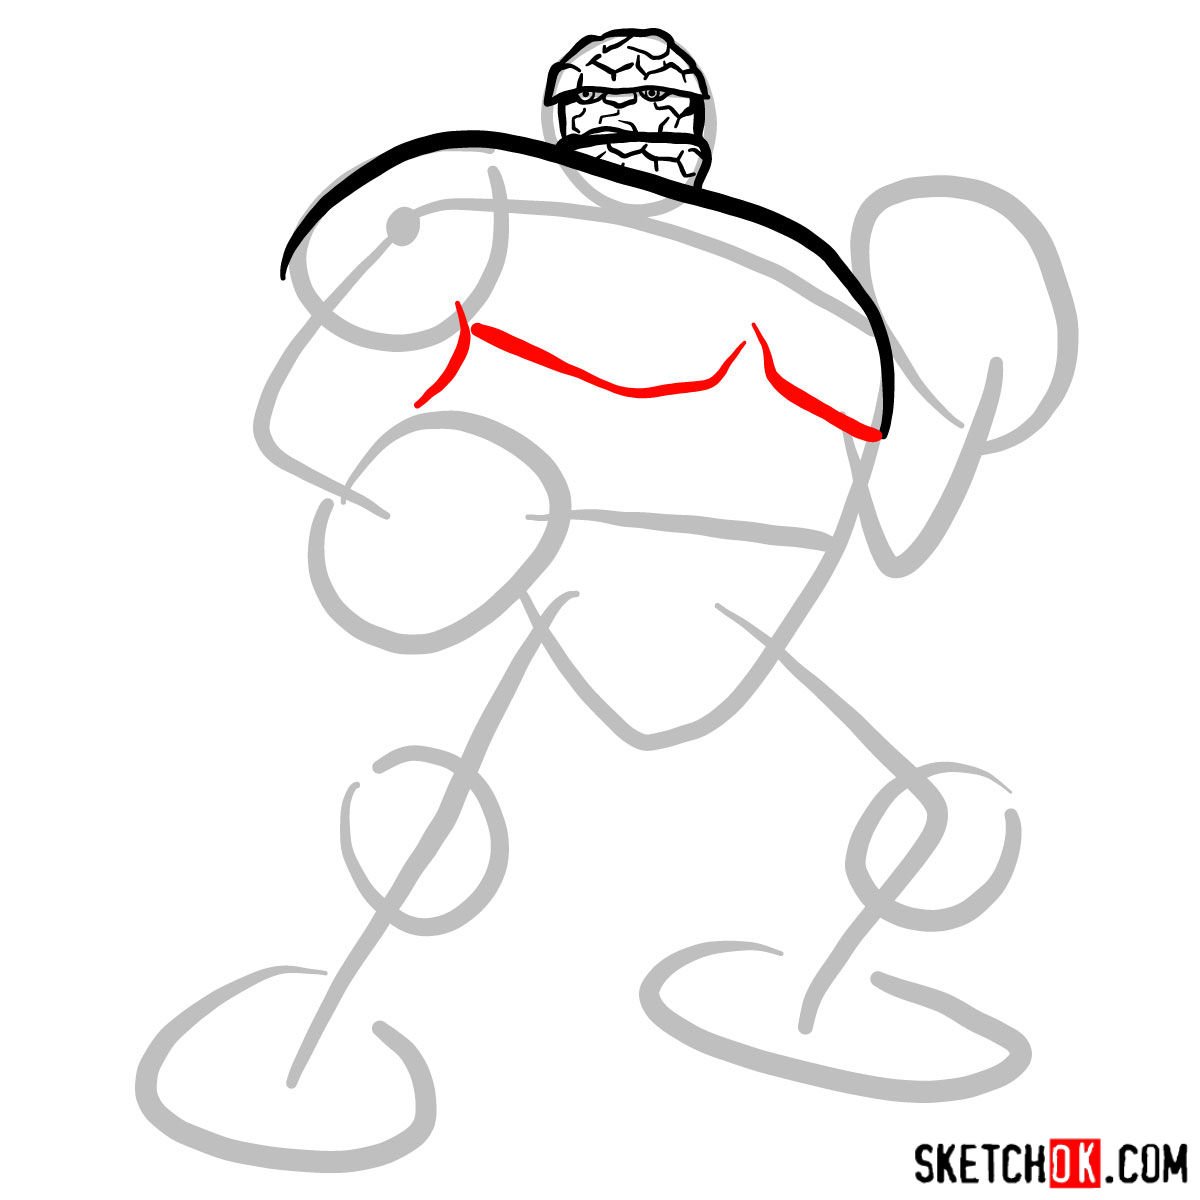
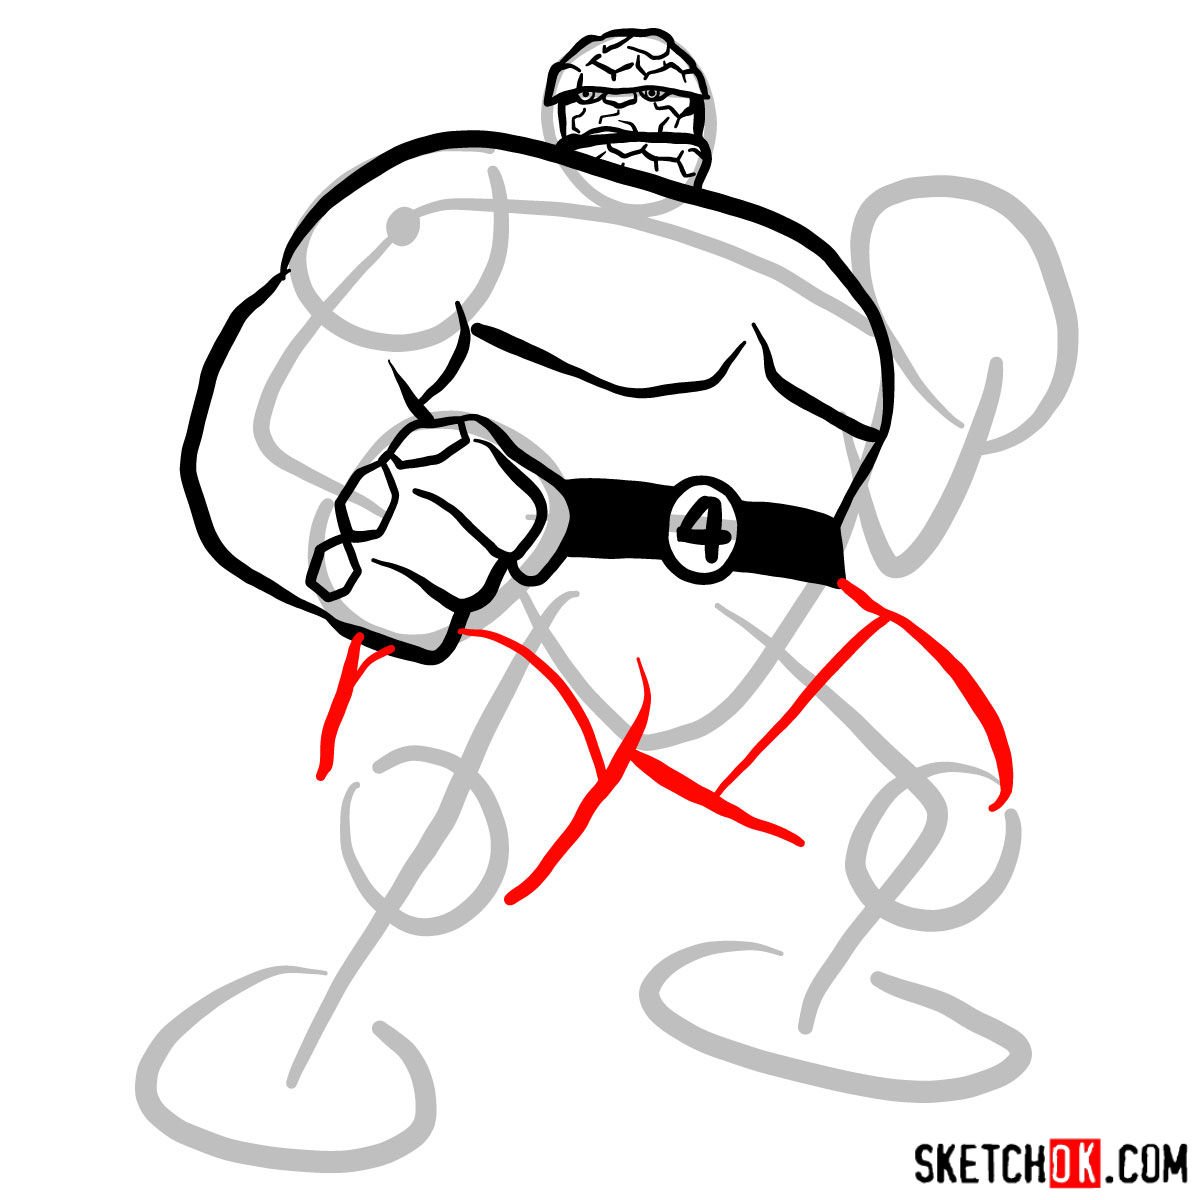
Part 2: Rock-Solid Refinement
Now that you have the foundation in place, it’s time to refine your sketch. Add details to The Thing’s rocky appearance, improve proportions, and emphasize his powerful stance. Remember to keep your lines light so that they’re easy to erase if necessary.


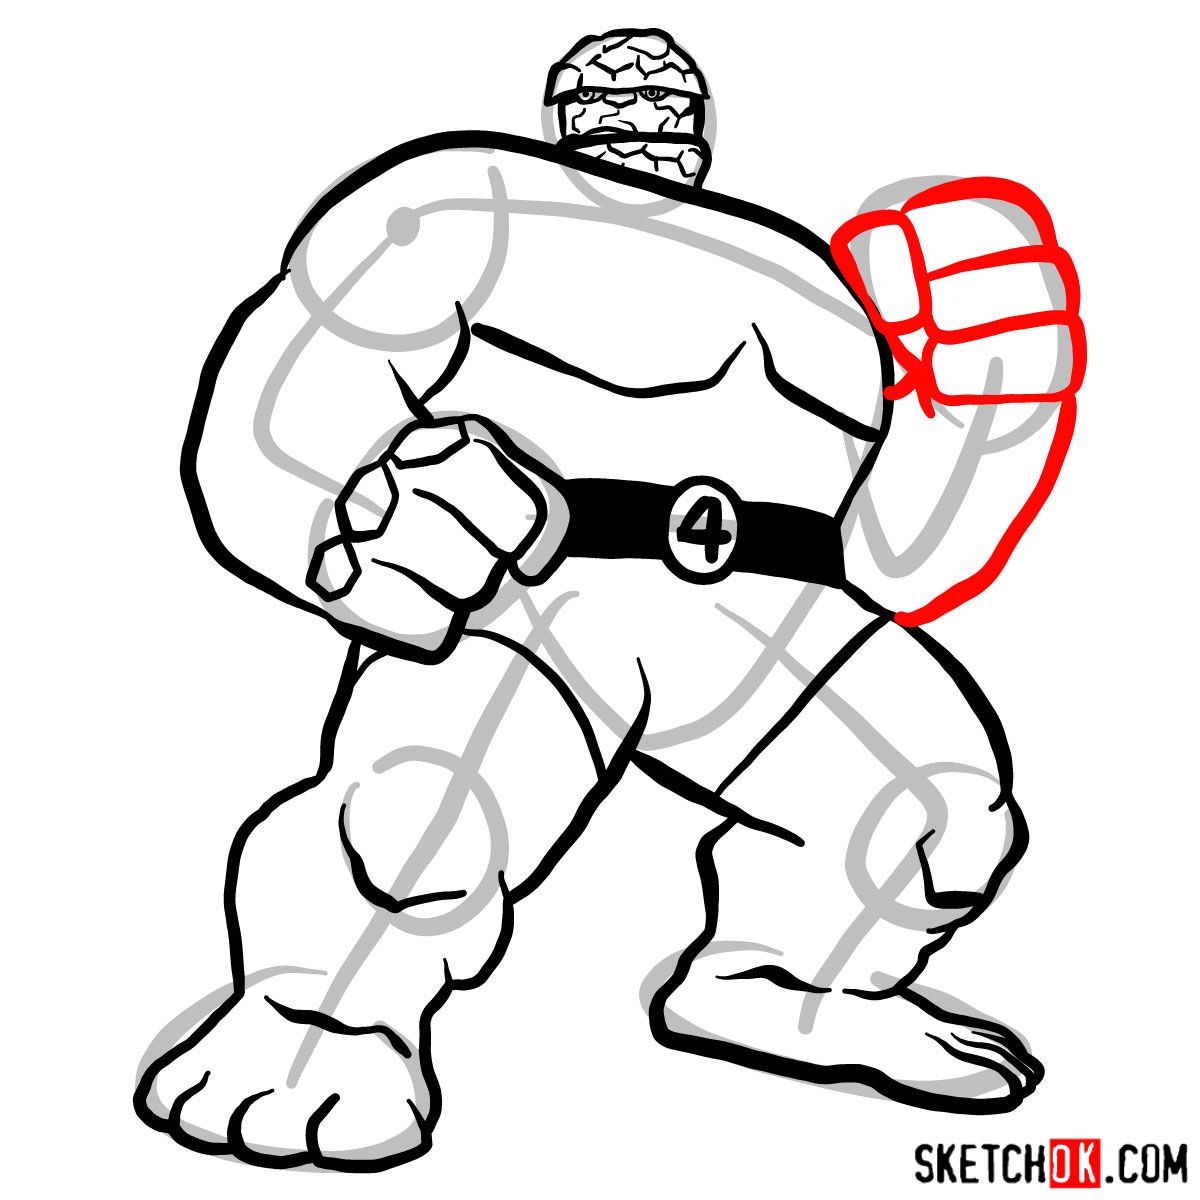
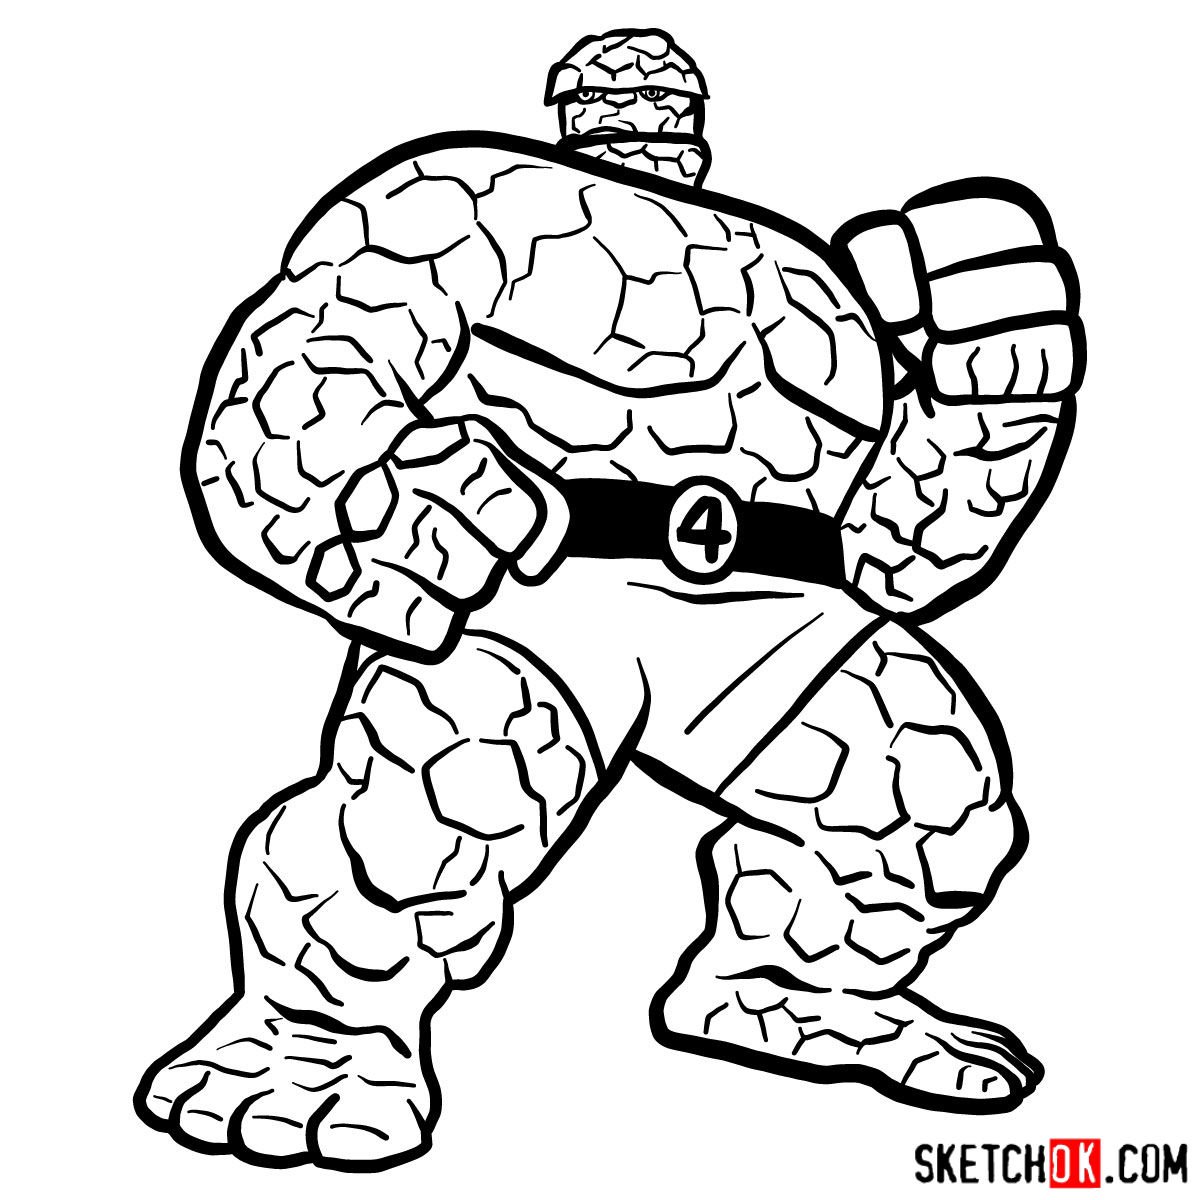
Part 3: Inking Like a Pro
Once you’re satisfied with your sketch, carefully outline your drawing using a fine-tipped pen or marker. Focus on clean, confident lines that capture the rugged texture of The Thing’s rocky exterior. Don’t forget to add some shadows and highlights to give your drawing depth and dimension.
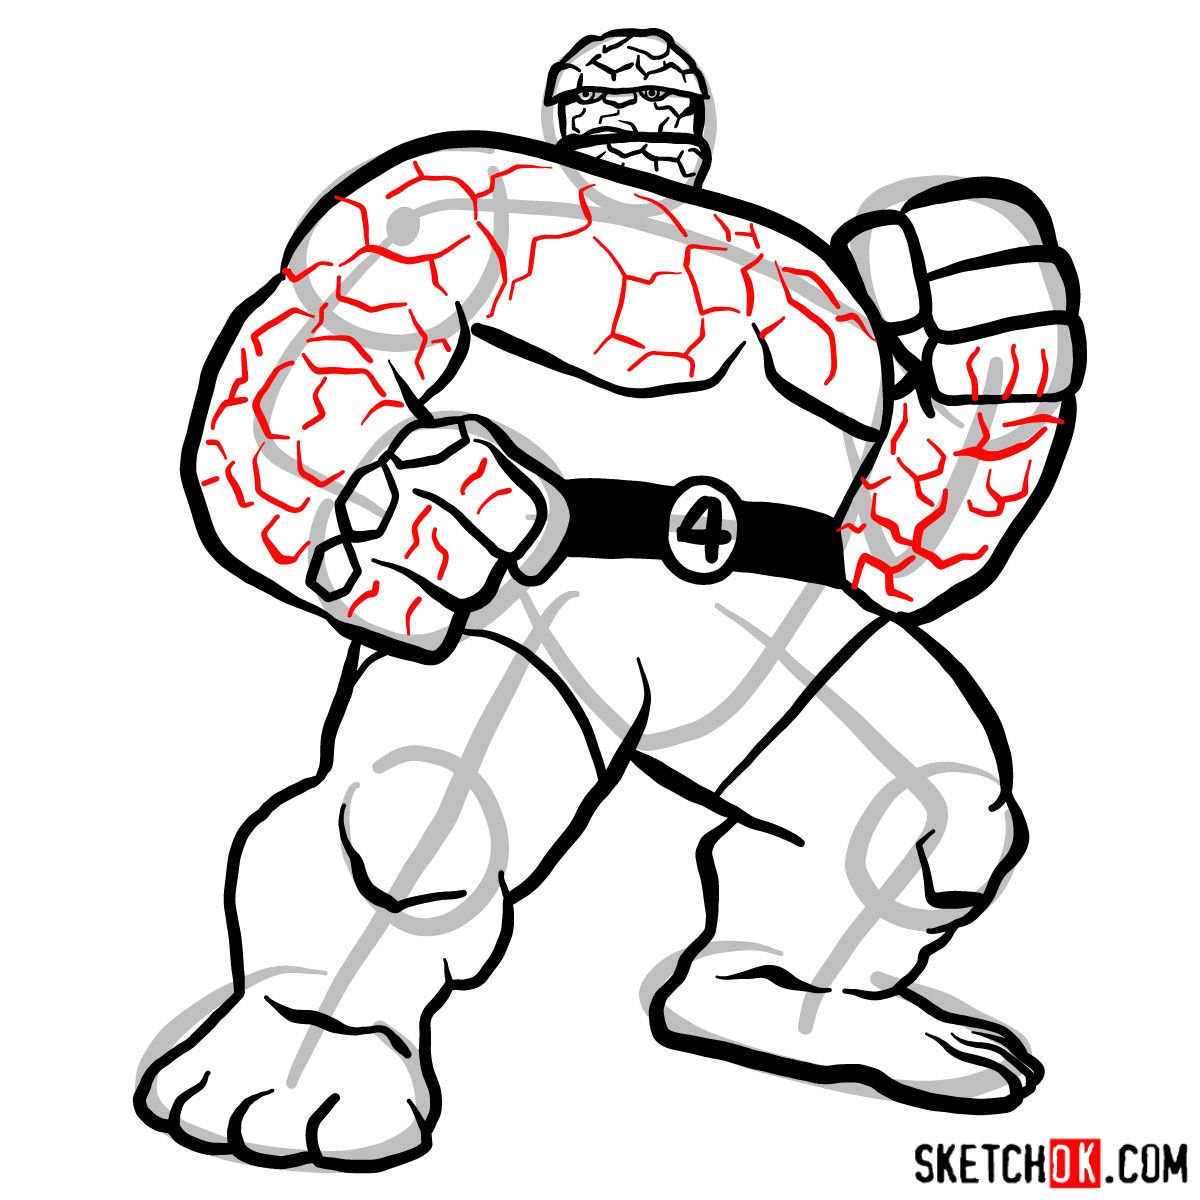
Part 4: Coloring and Shading Your Masterpiece
With your inking complete, it’s time to bring The Thing to life with color. Use colored pencils, markers, or digital coloring tools to add vibrant hues to your drawing. Pay attention to shading and highlights, as these will help create a more realistic and dynamic depiction of character’s unique appearance.
")
If your version of The Thing looks a little rougher or different from the final image here, that’s completely fine and honestly expected, especially early on. Learning how to draw The Thing is more about building the habit of breaking down complex shapes and textures than nailing a perfect replica on the first try. You can drop your work-in-progress sketches in the comments on the pinned Pinterest post for this guide, where other people share their takes too.