
Are you a fan of aviation history and want to bring your passion to the canvas? Get ready to embark on a creative adventure with our step-by-step tutorial on how to draw McDonnell Douglas F-4 Phantom II, an iconic fighter jet that has left its mark in history. Grab your pencils and let’s begin!
A Legend of the Skies: The McDonnell Douglas F-4 Phantom II
The McDonnell Douglas F-4 Phantom II is an American fighter jet that has played a significant role in military history. Initially developed for the United States Navy, it quickly became an essential part of the air forces of the United States Marine Corps and the United States Air Force. With a total of 5,195 aircraft built, it remains the most produced American supersonic military aircraft in history.
Not only is the Phantom II a symbol of American air superiority, but it also holds 15 world records for in-flight performance, making it a fascinating subject to draw. This versatile aircraft has been in service for more than six decades, serving various roles such as air superiority fighter, ground-attack, aerial reconnaissance, and even flight demonstration for both the United States Air Force Thunderbirds and the United States Navy Blue Angels.
Prepare for Takeoff: Materials and Tools
To get started with our Phantom II drawing tutorial, you’ll need the following materials and tools:
- Pencil
- Eraser
- Pen or fine liner for inking
- Quality paper
- A ruler or straight edge for straight lines
- Reference images of the McDonnell Douglas F-4 Phantom II
- Colored pencils, markers, or any other coloring tools of your choice (optional, if you decide to color the sketch)
Capturing the Essence of the F-4 Phantom II: Step-by-Step Drawing Guide
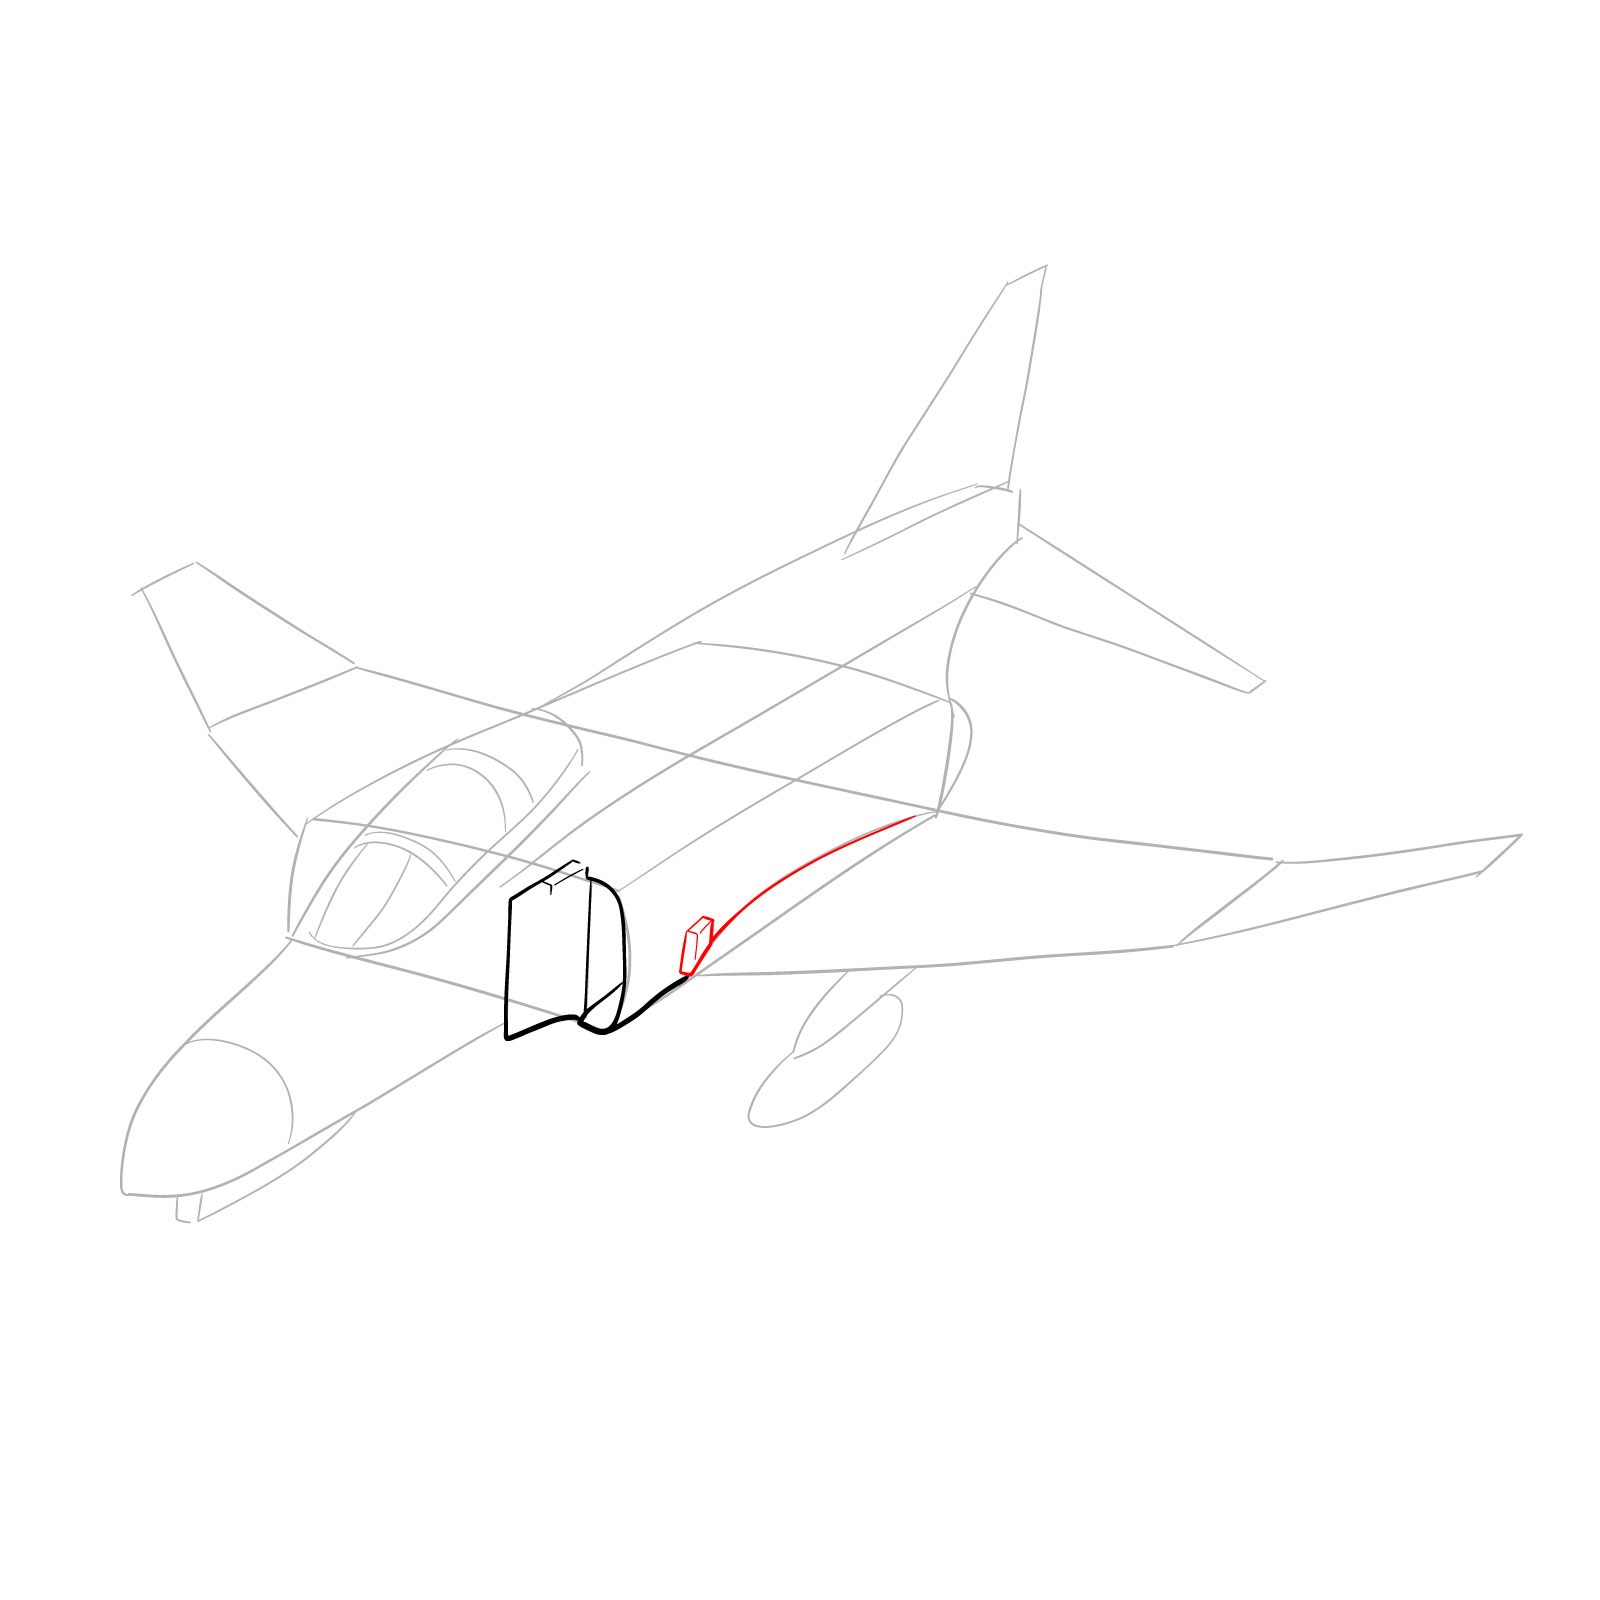
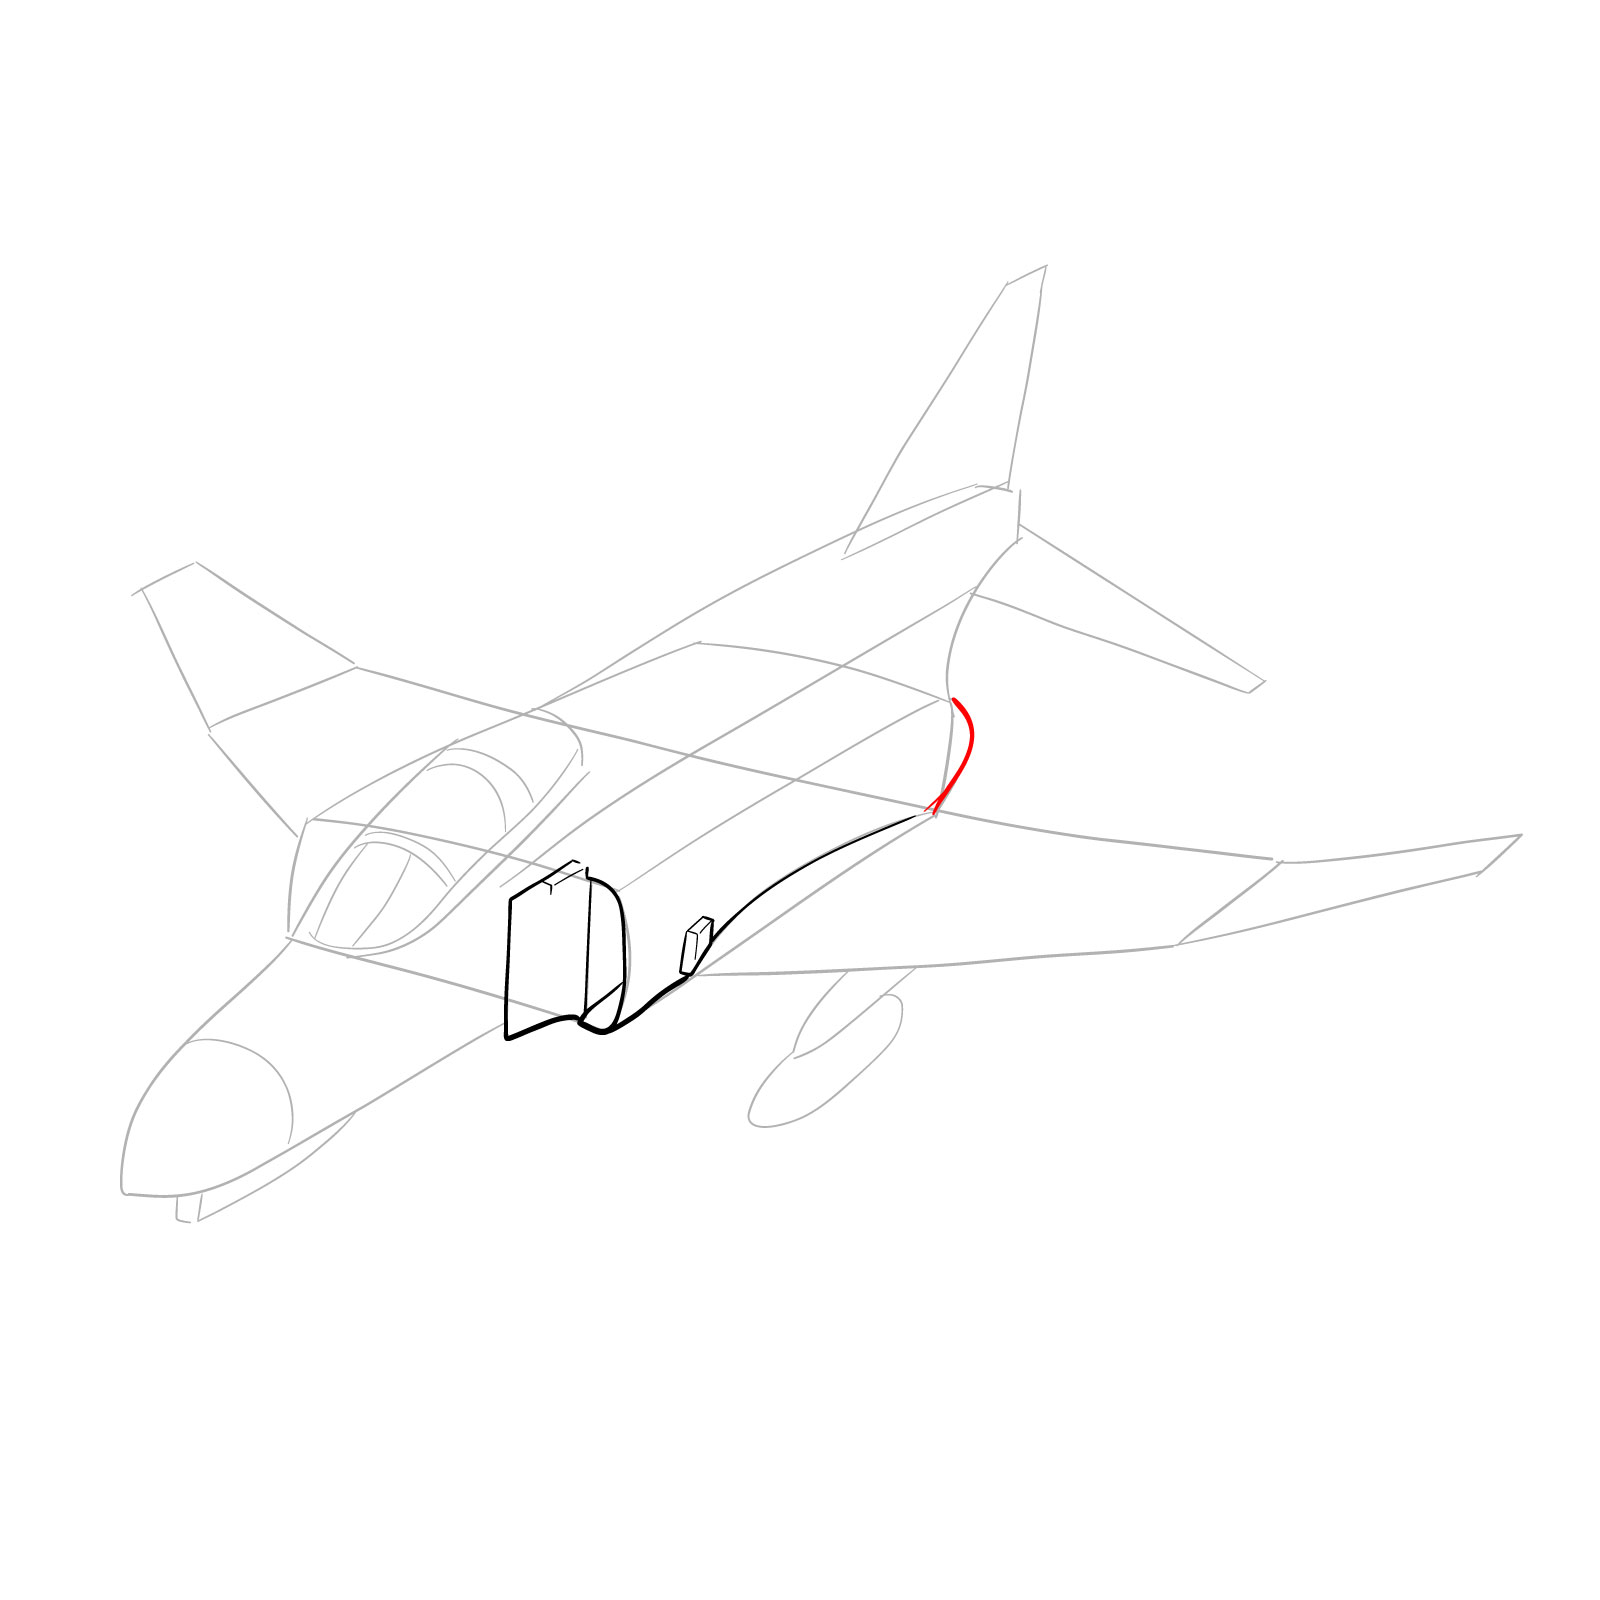
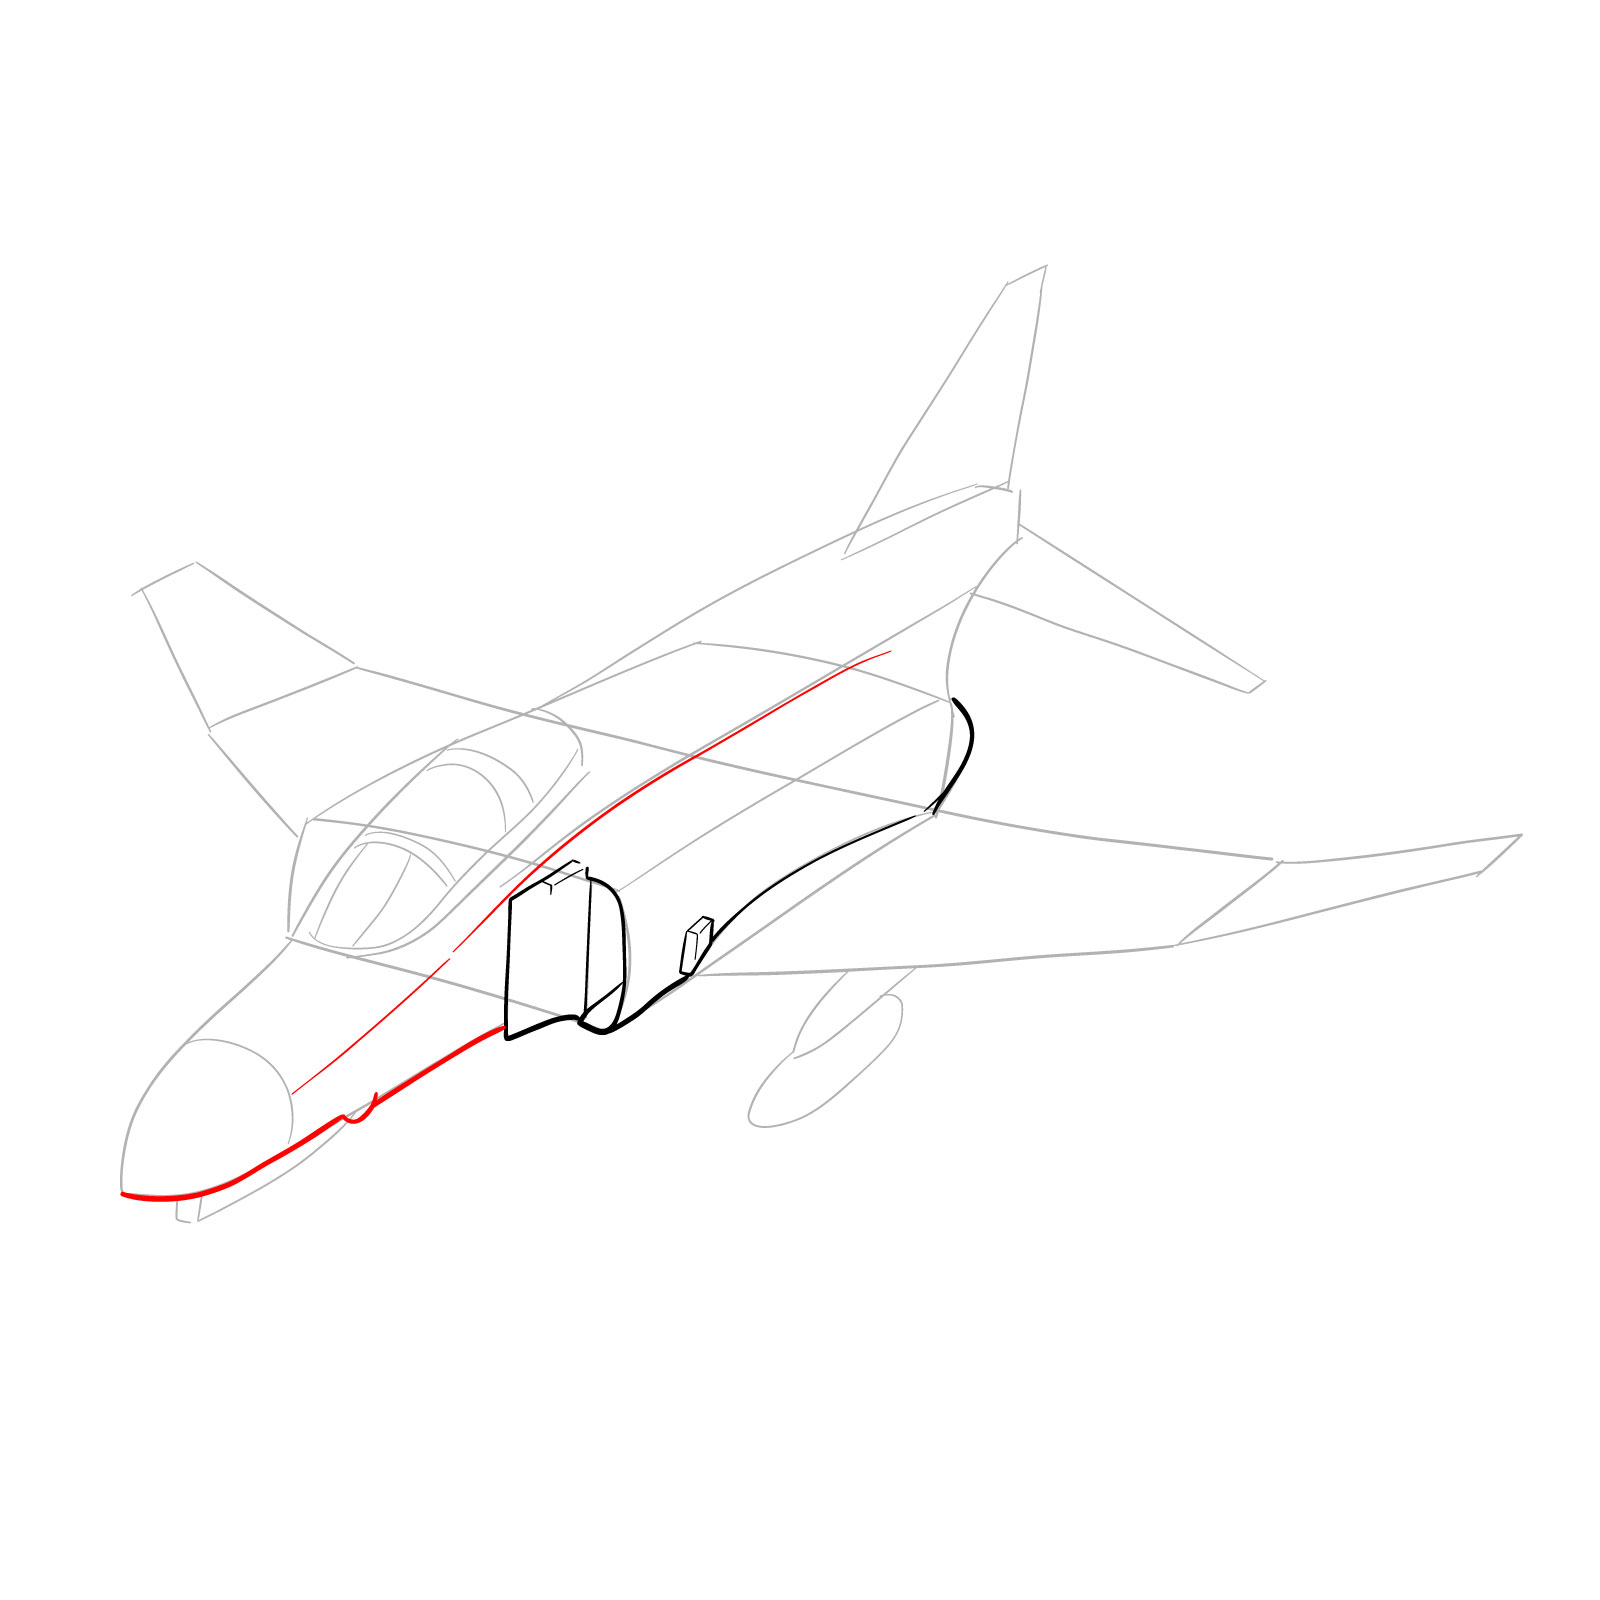
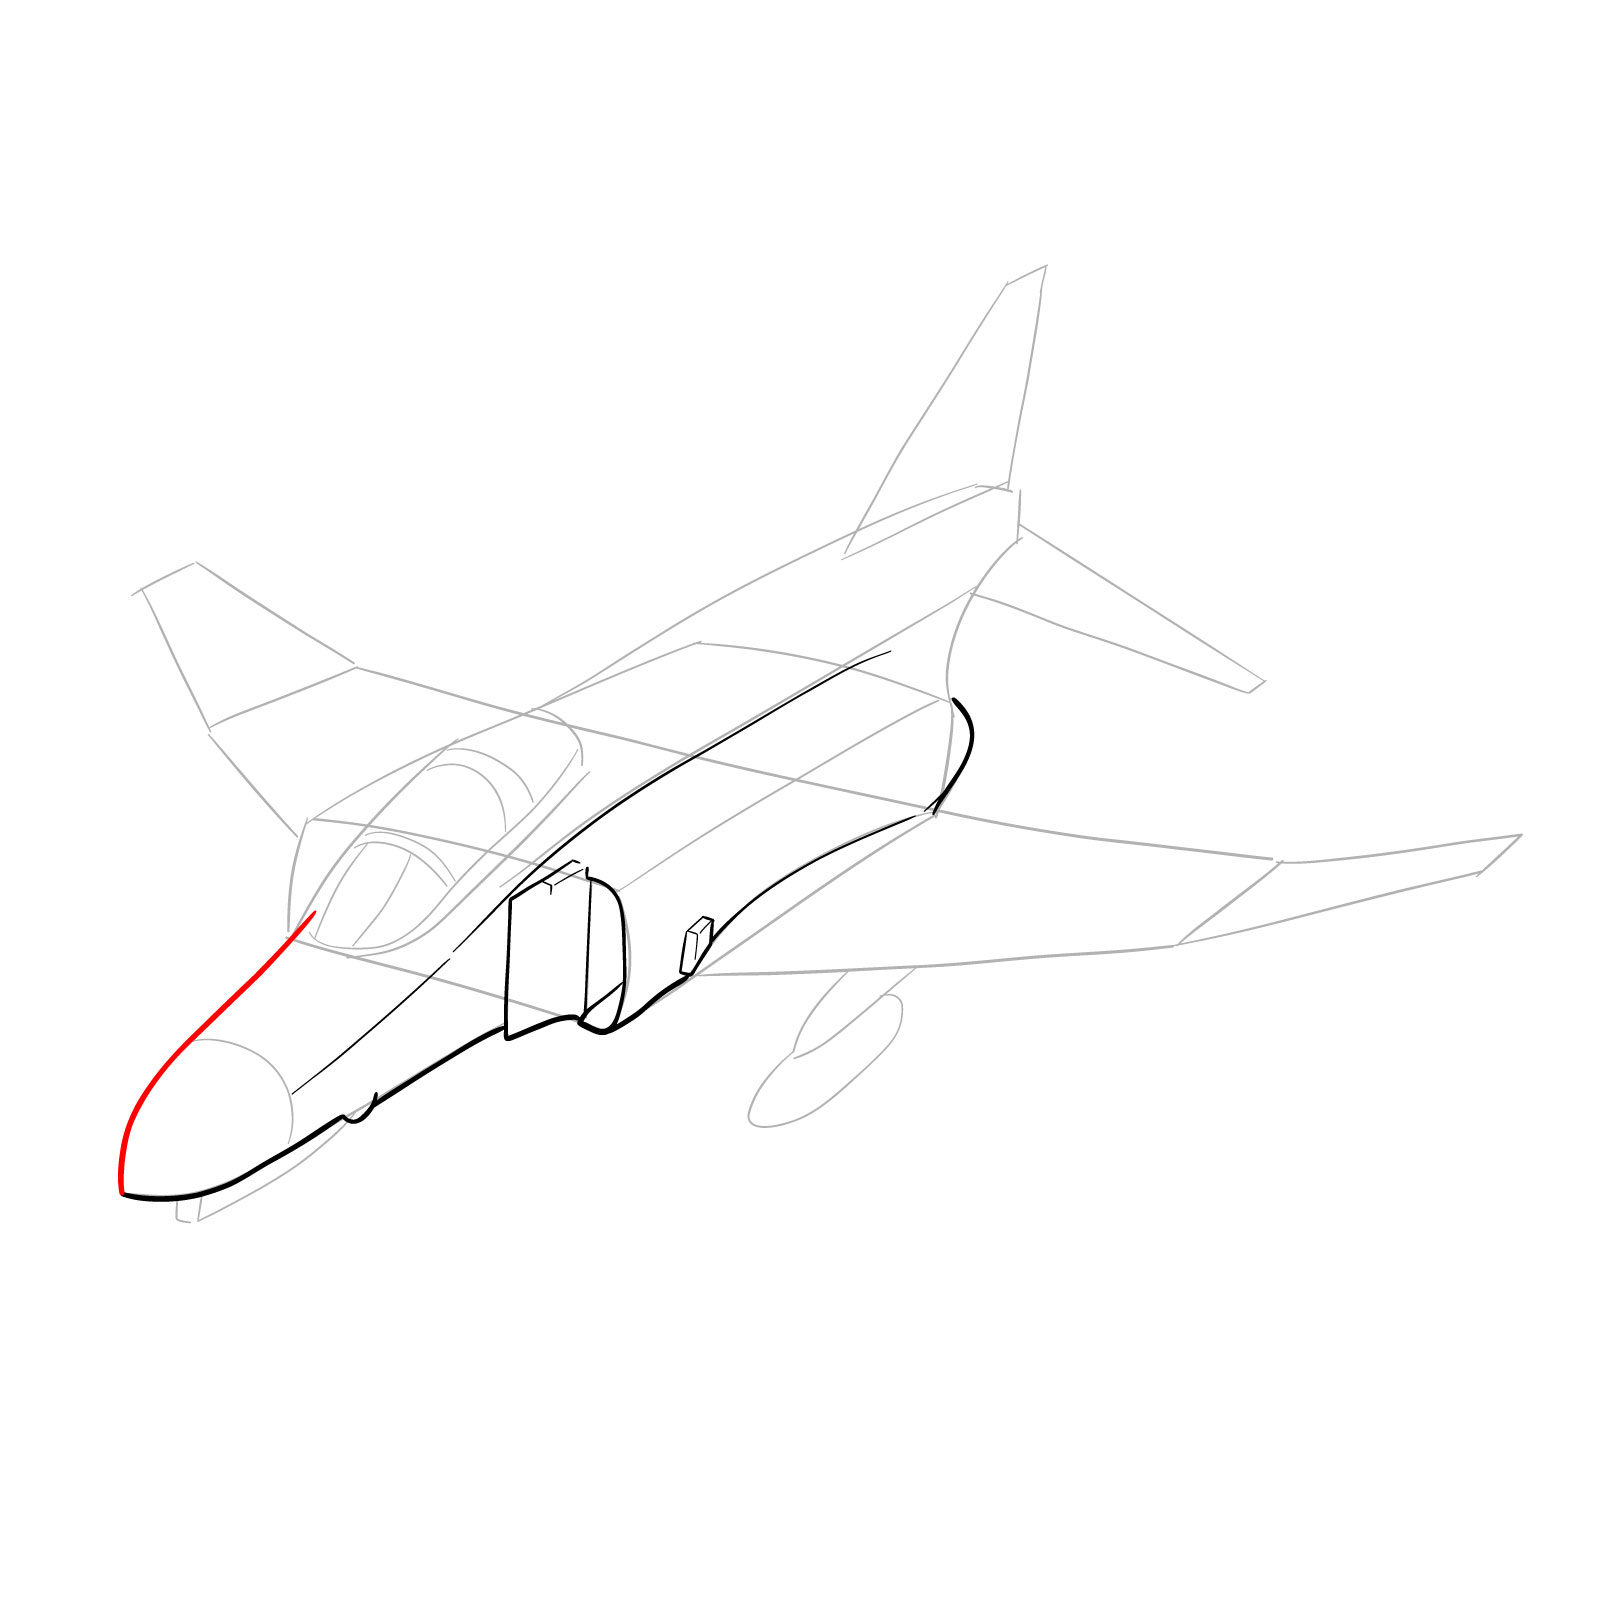
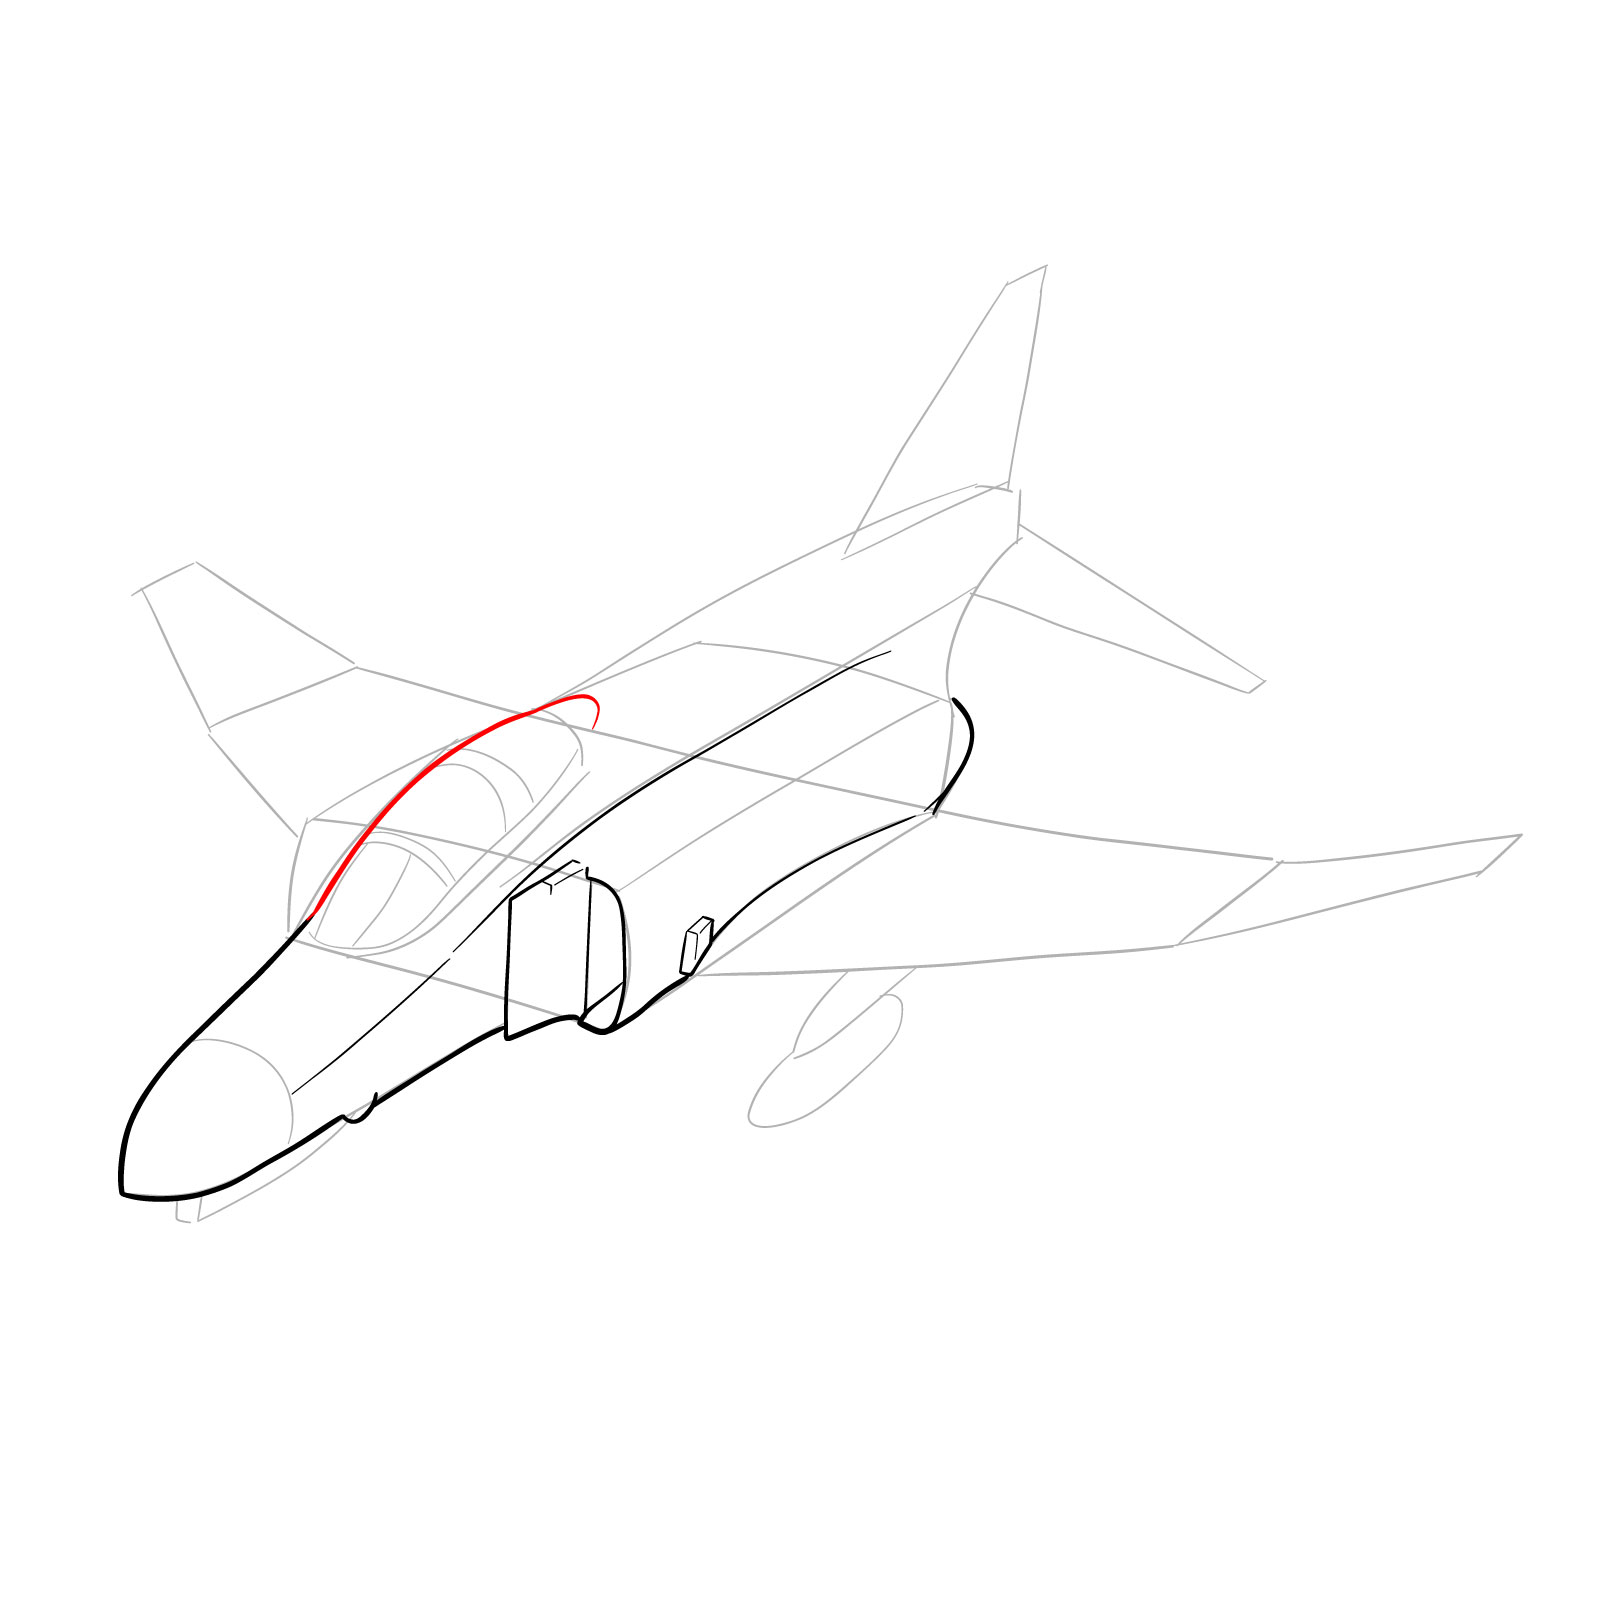
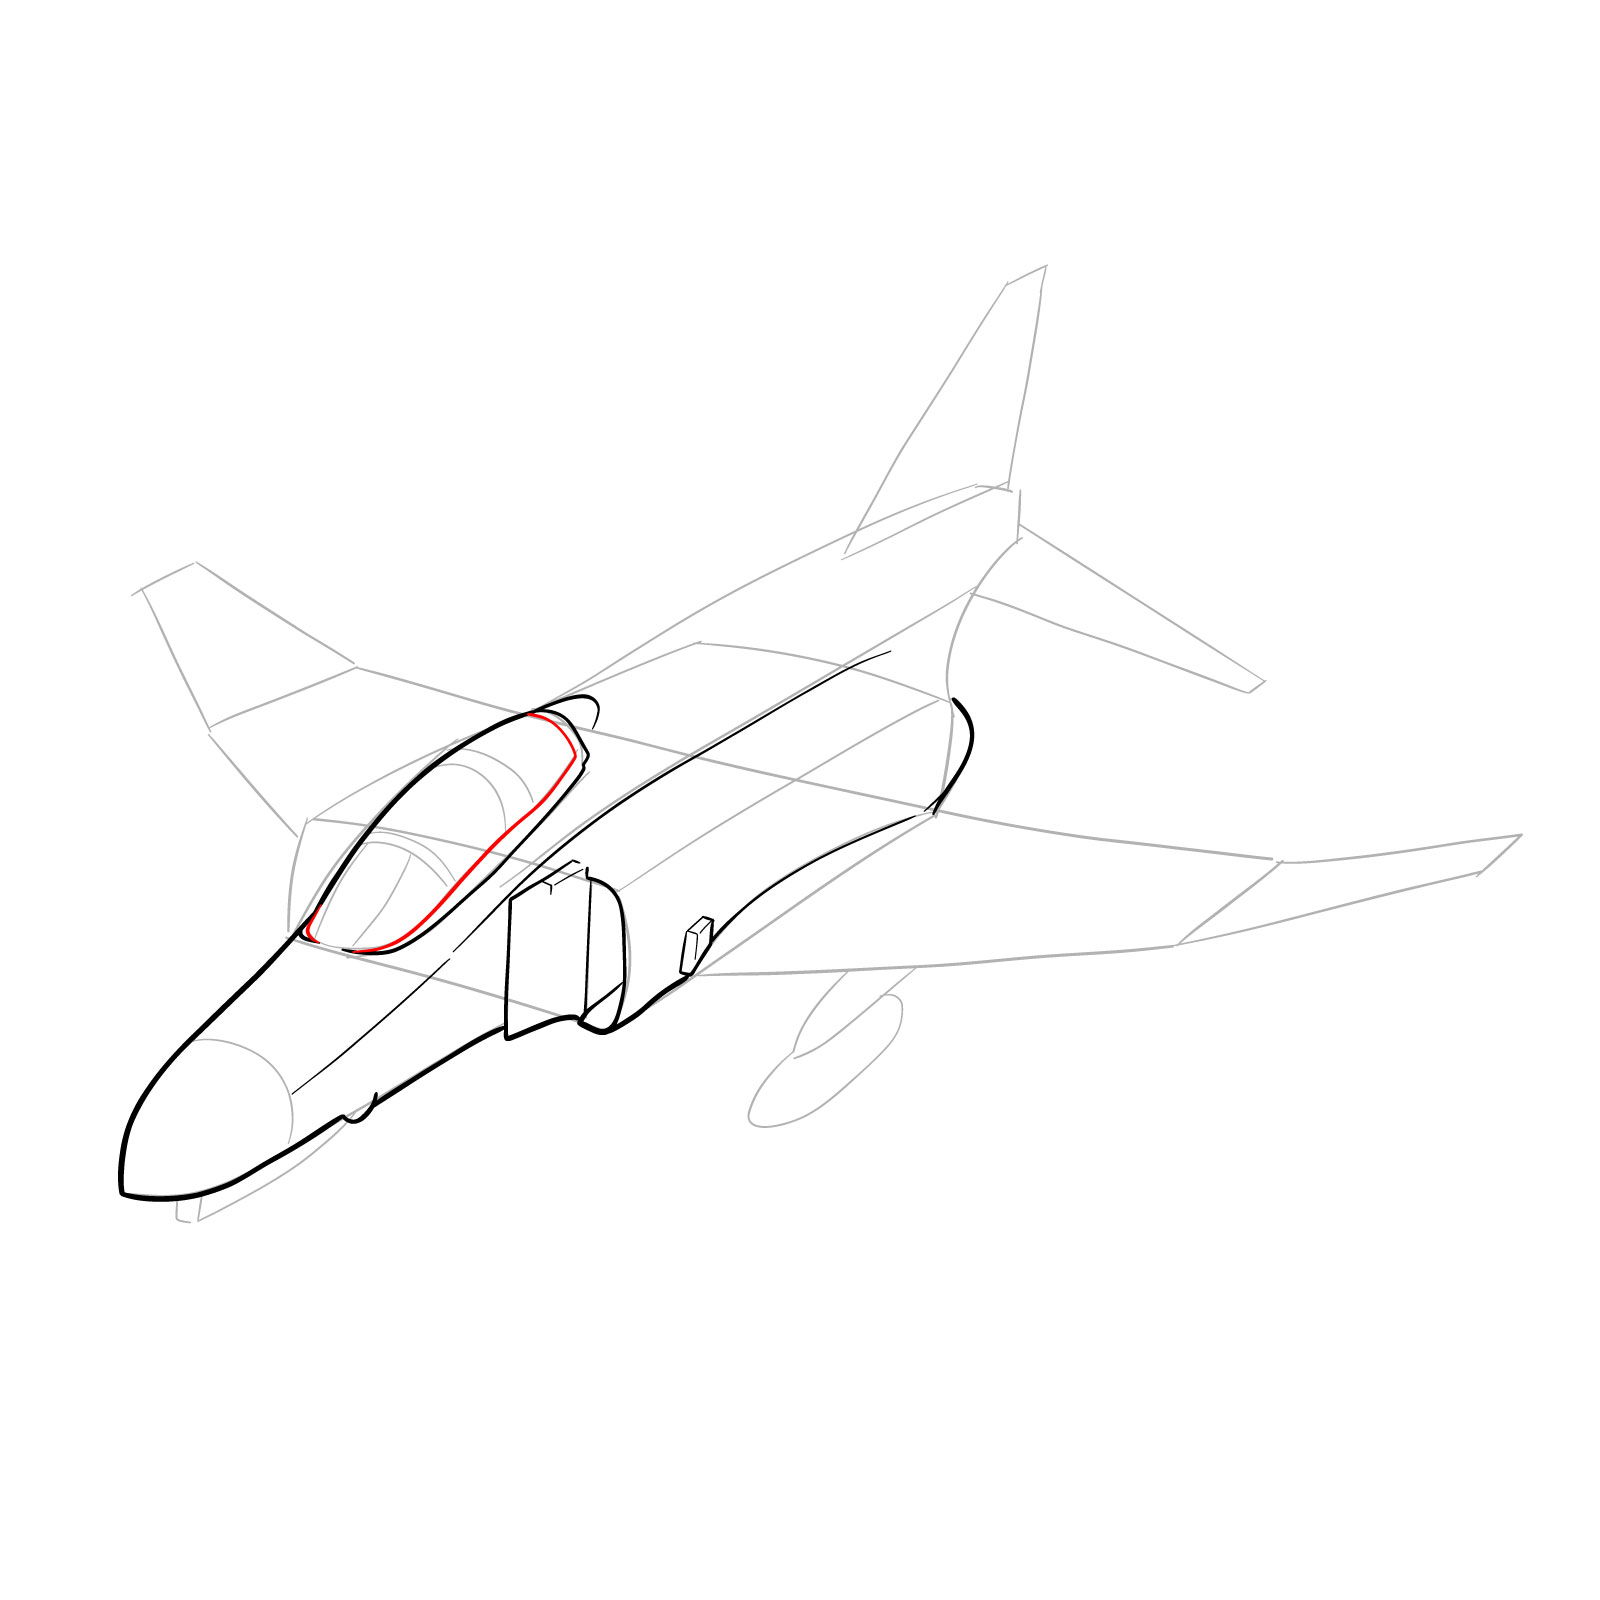
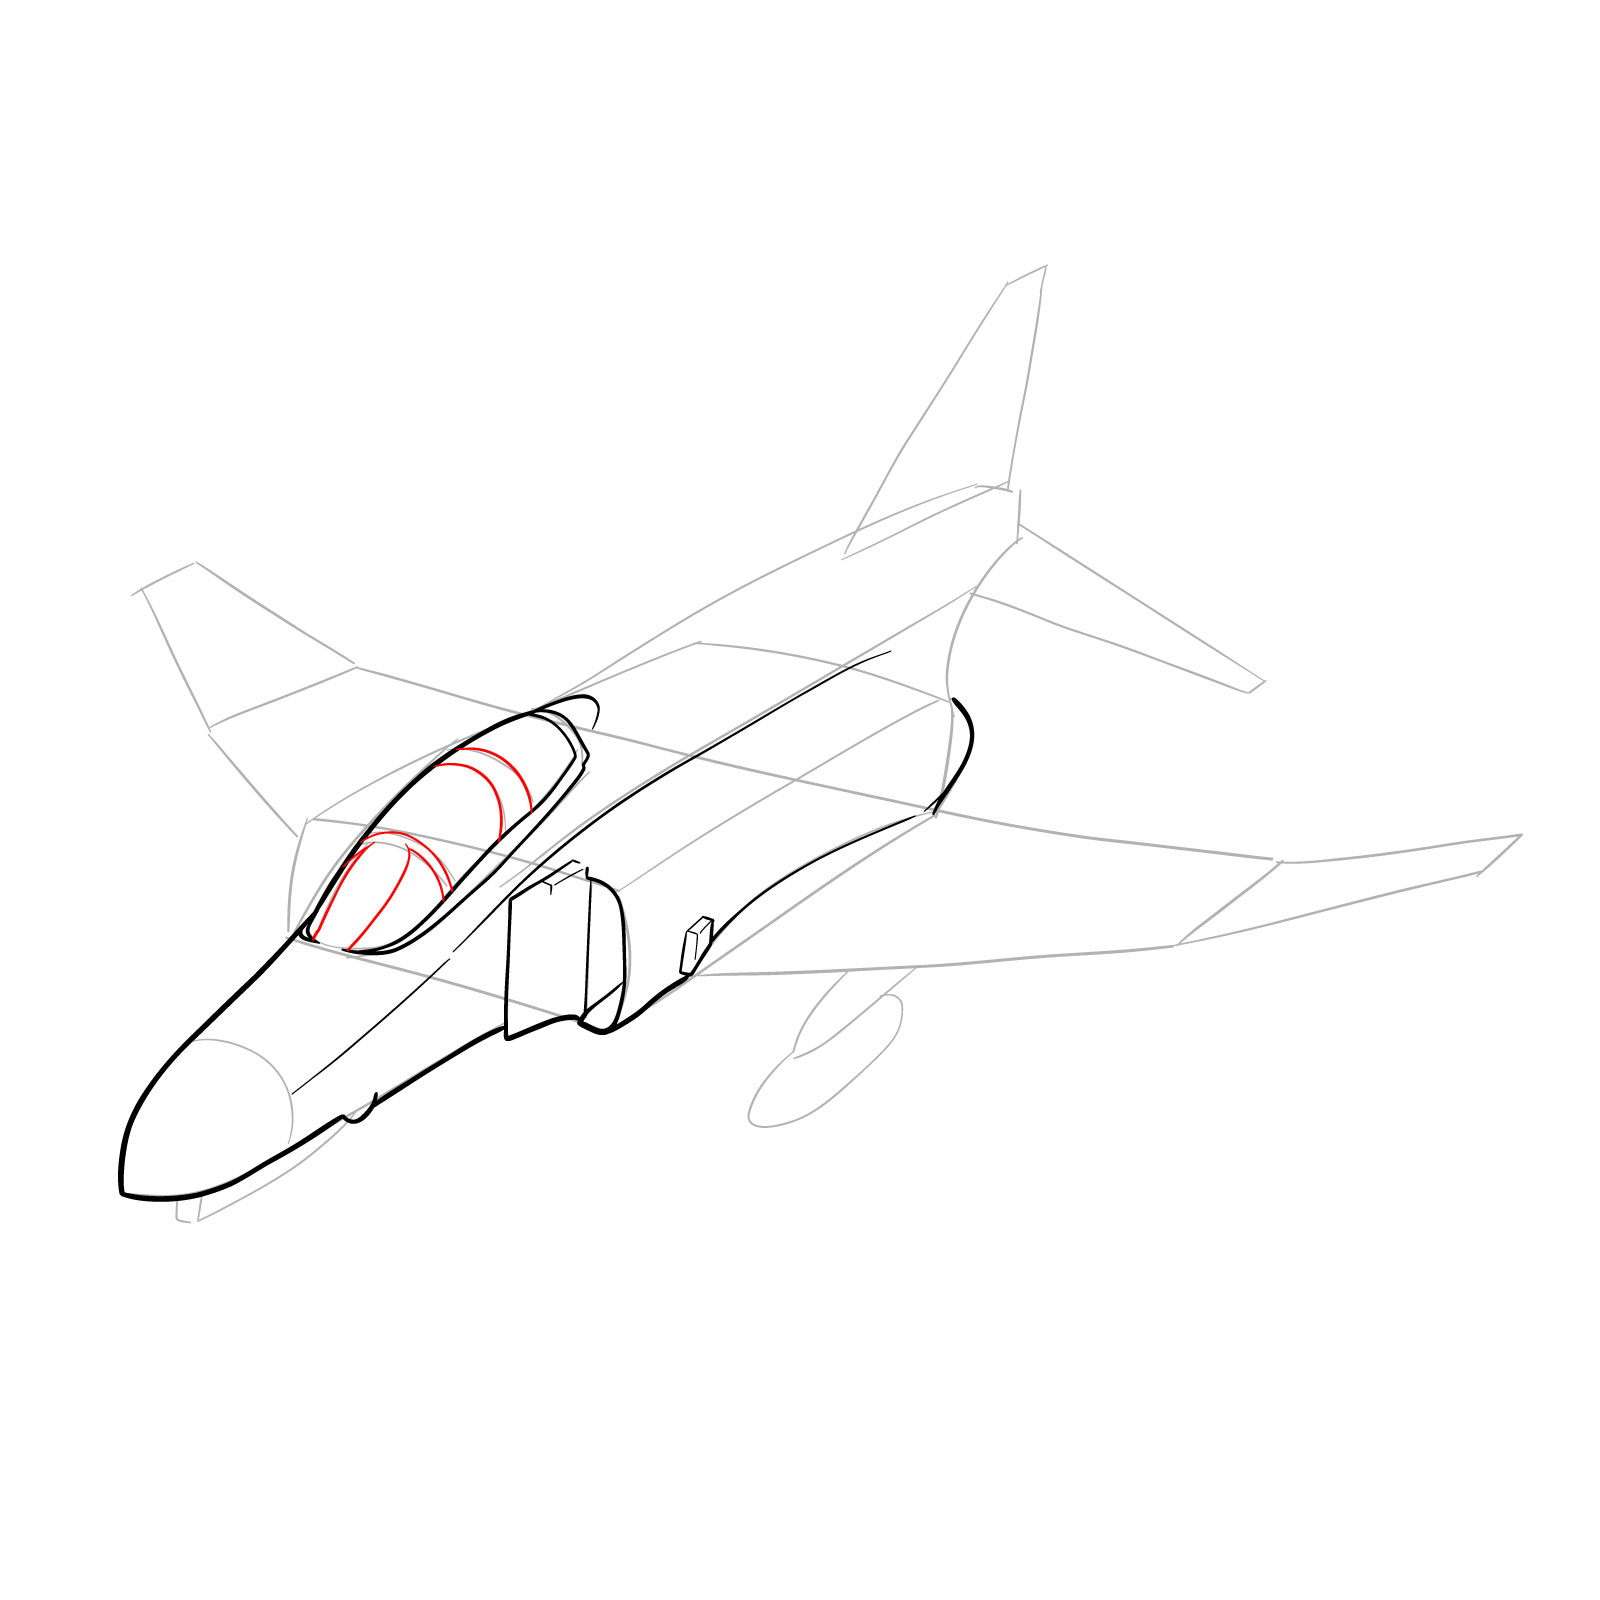
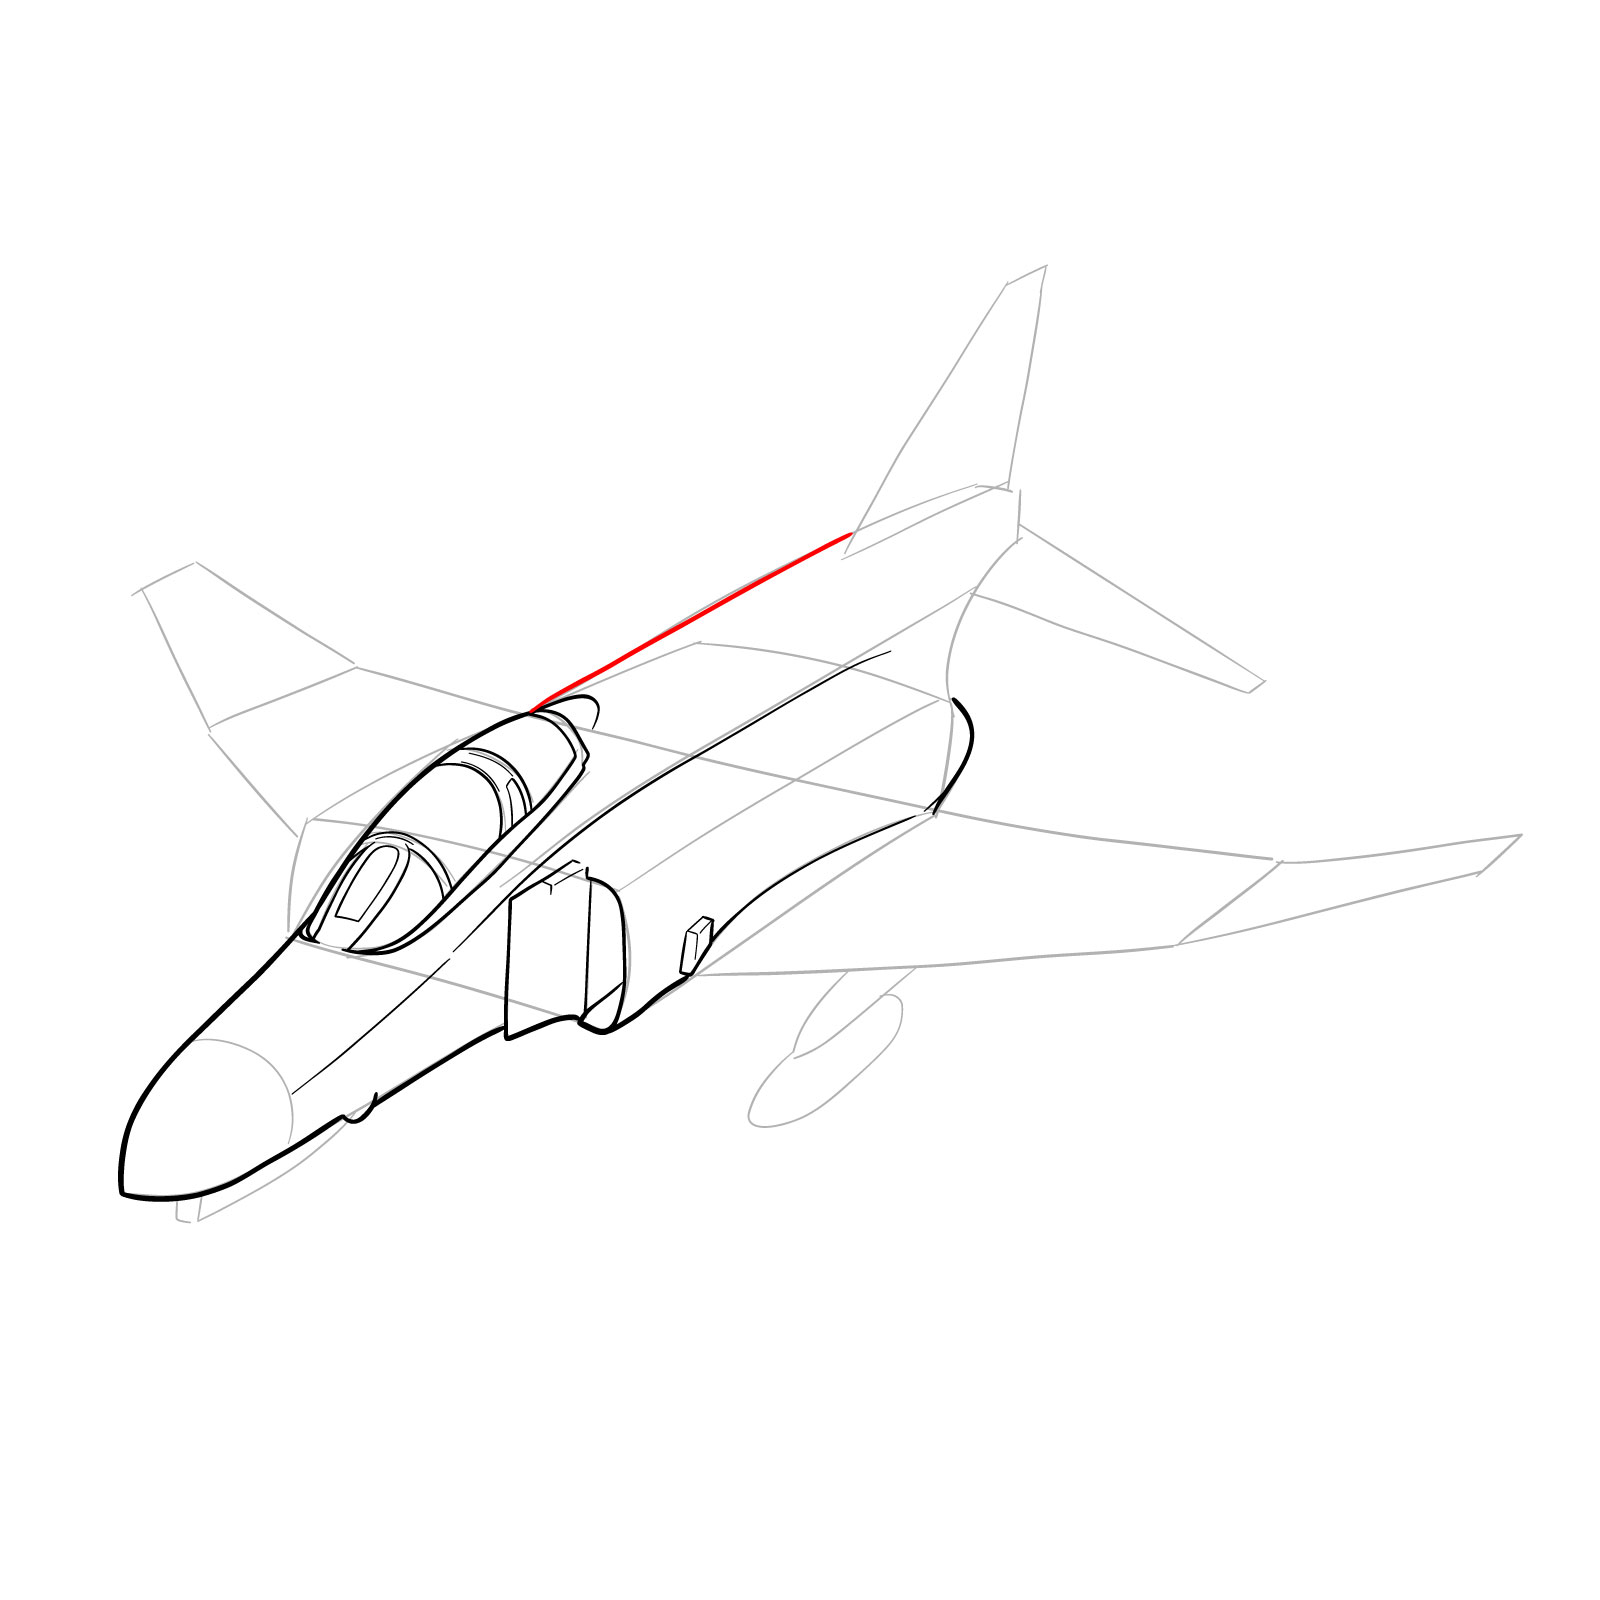
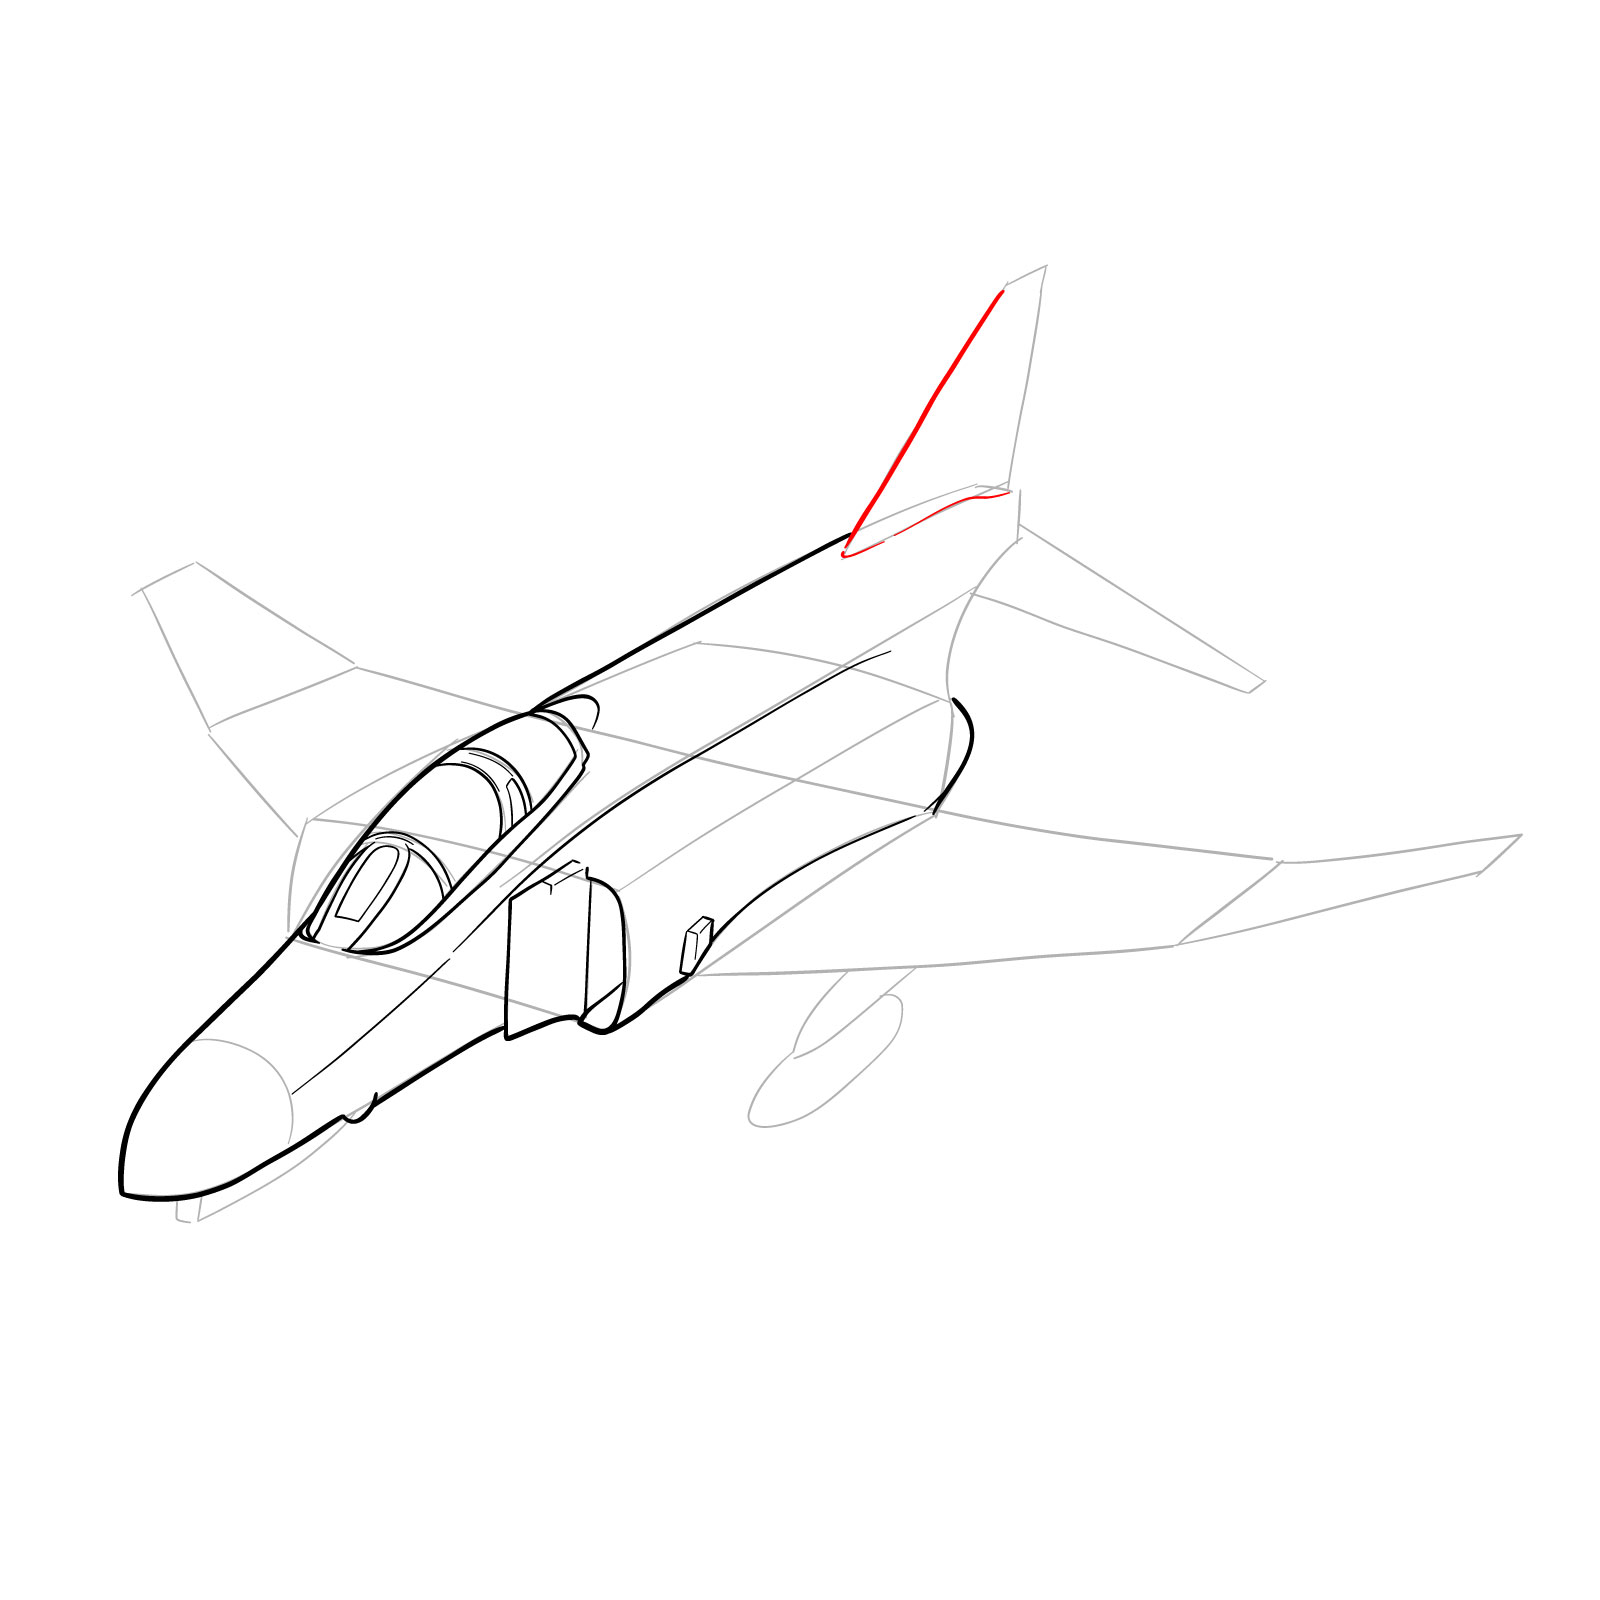
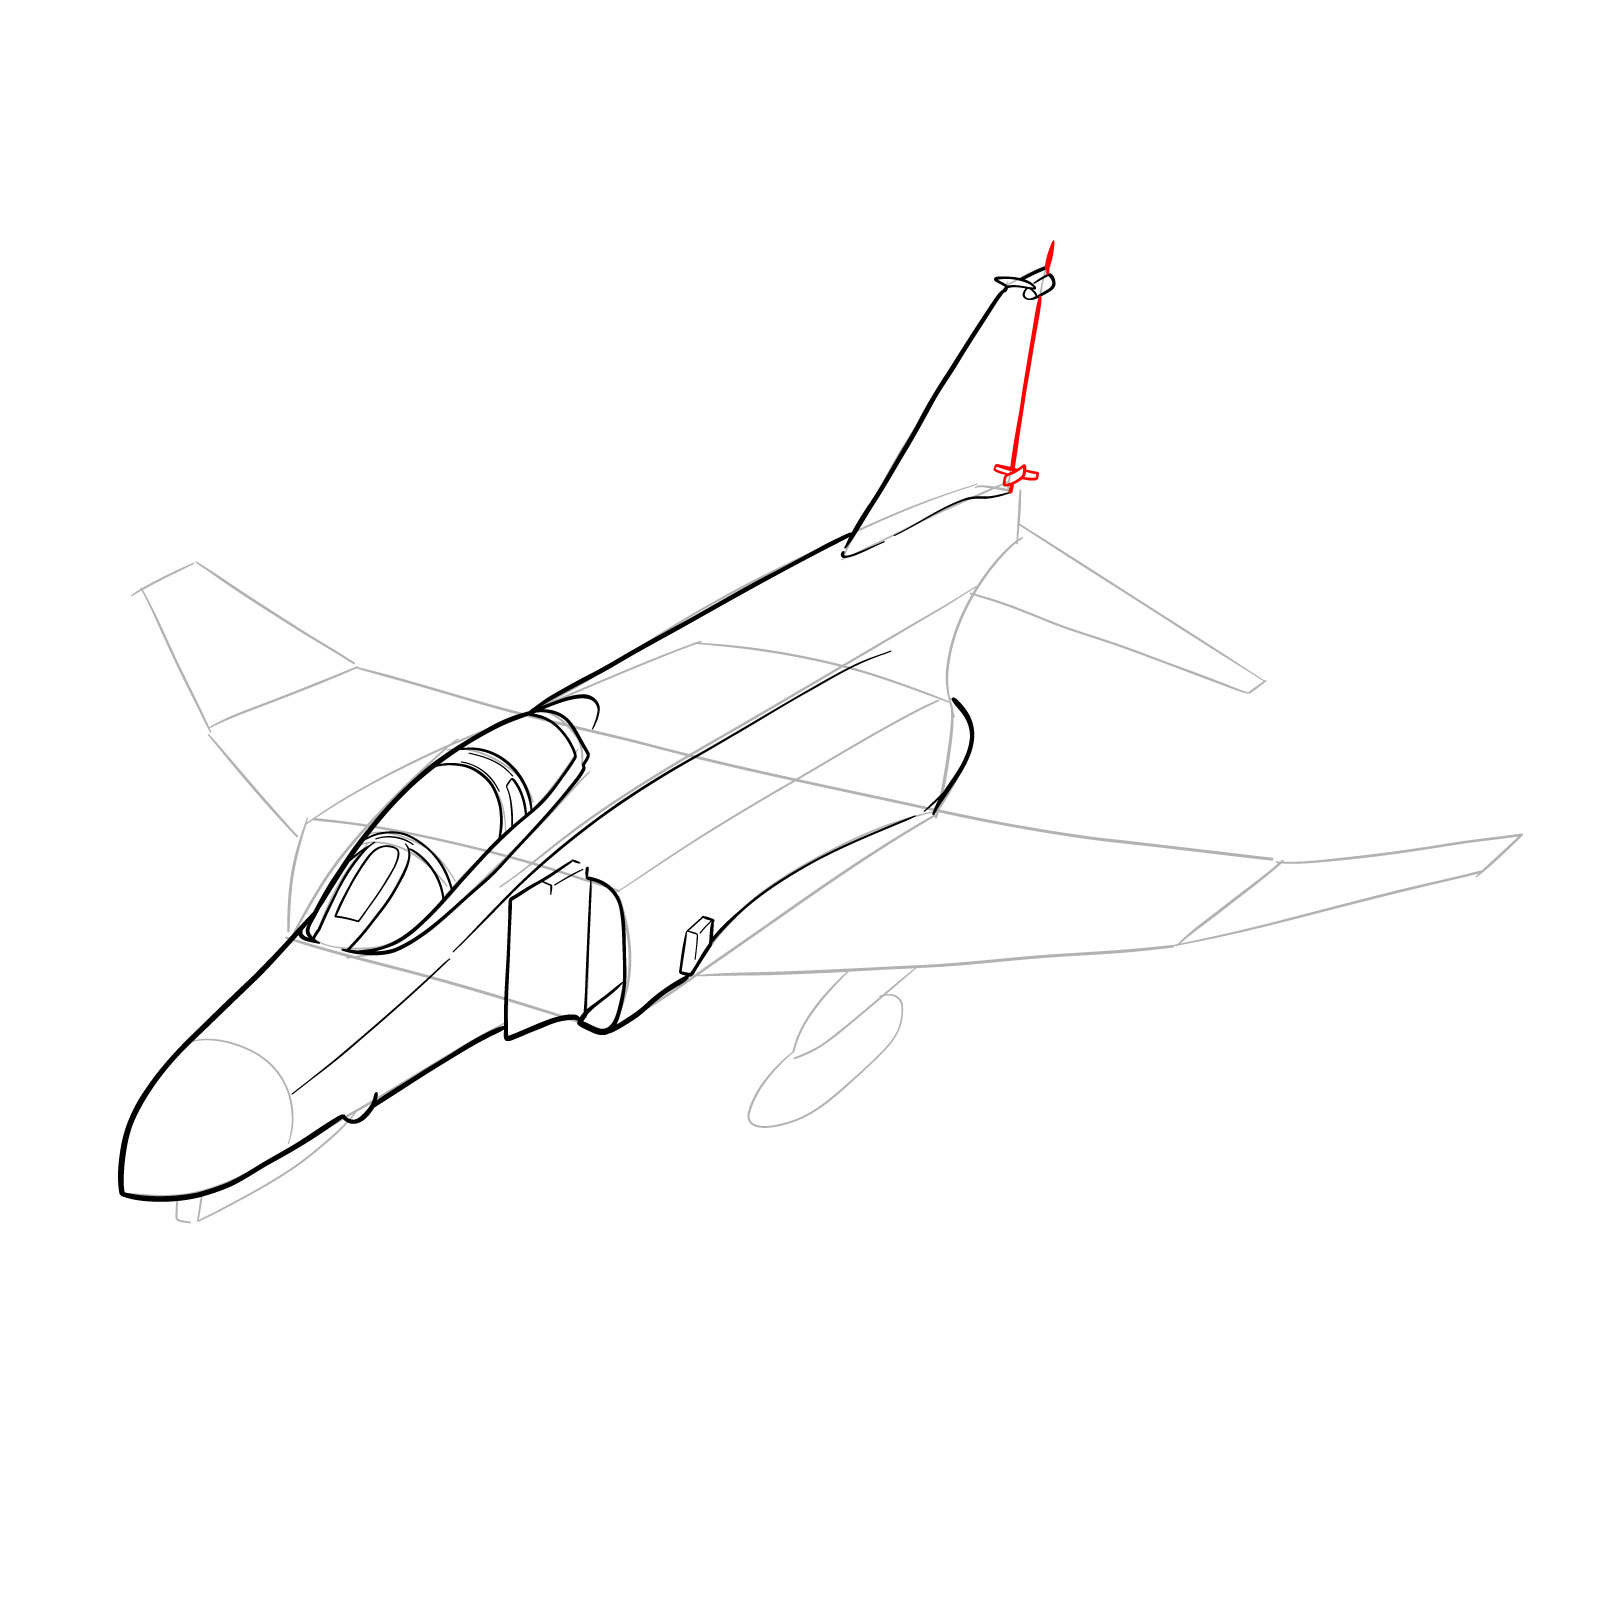
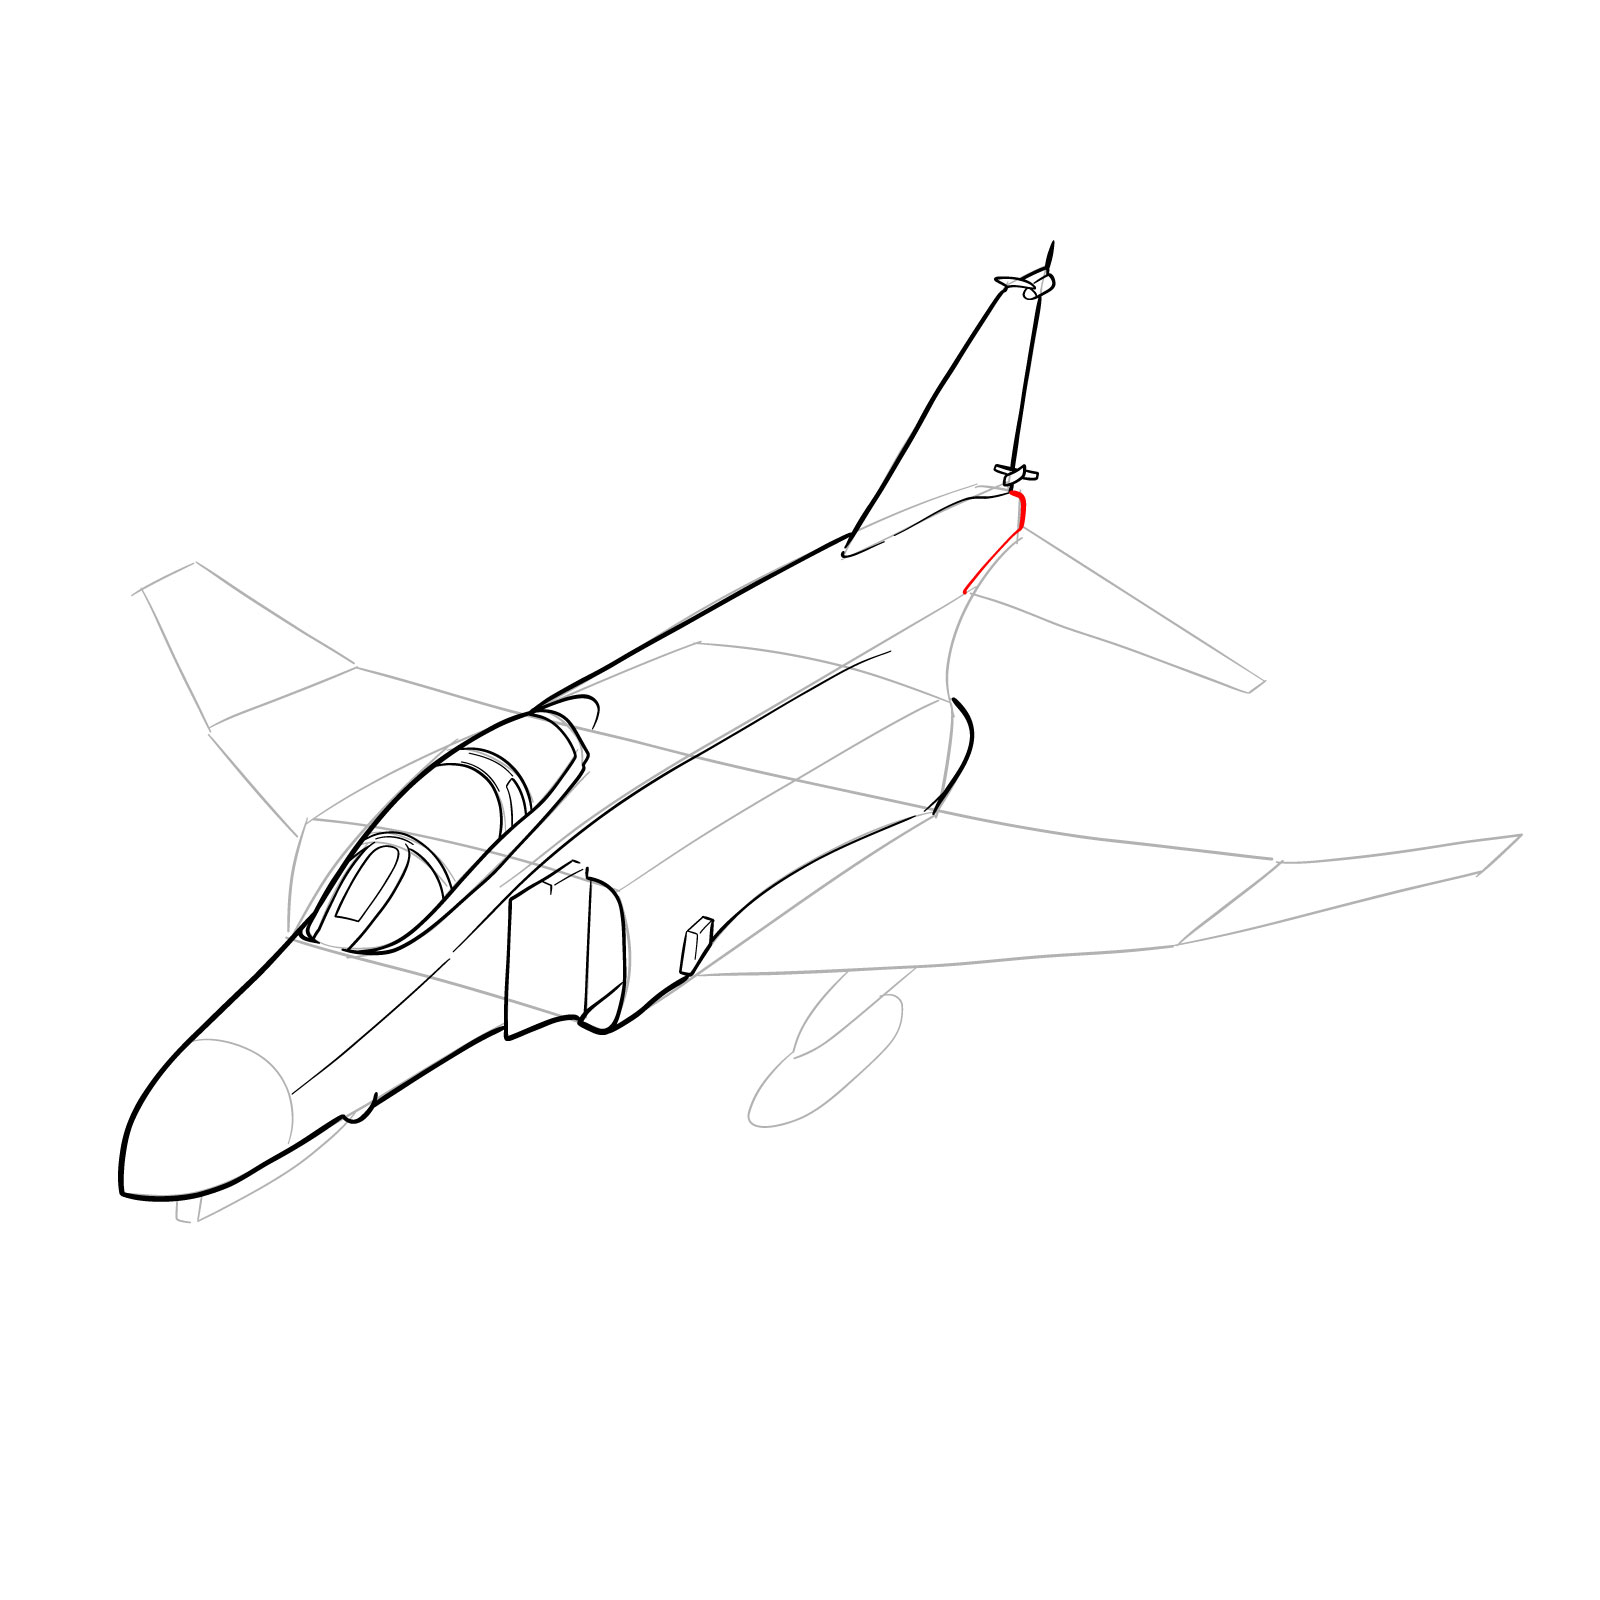
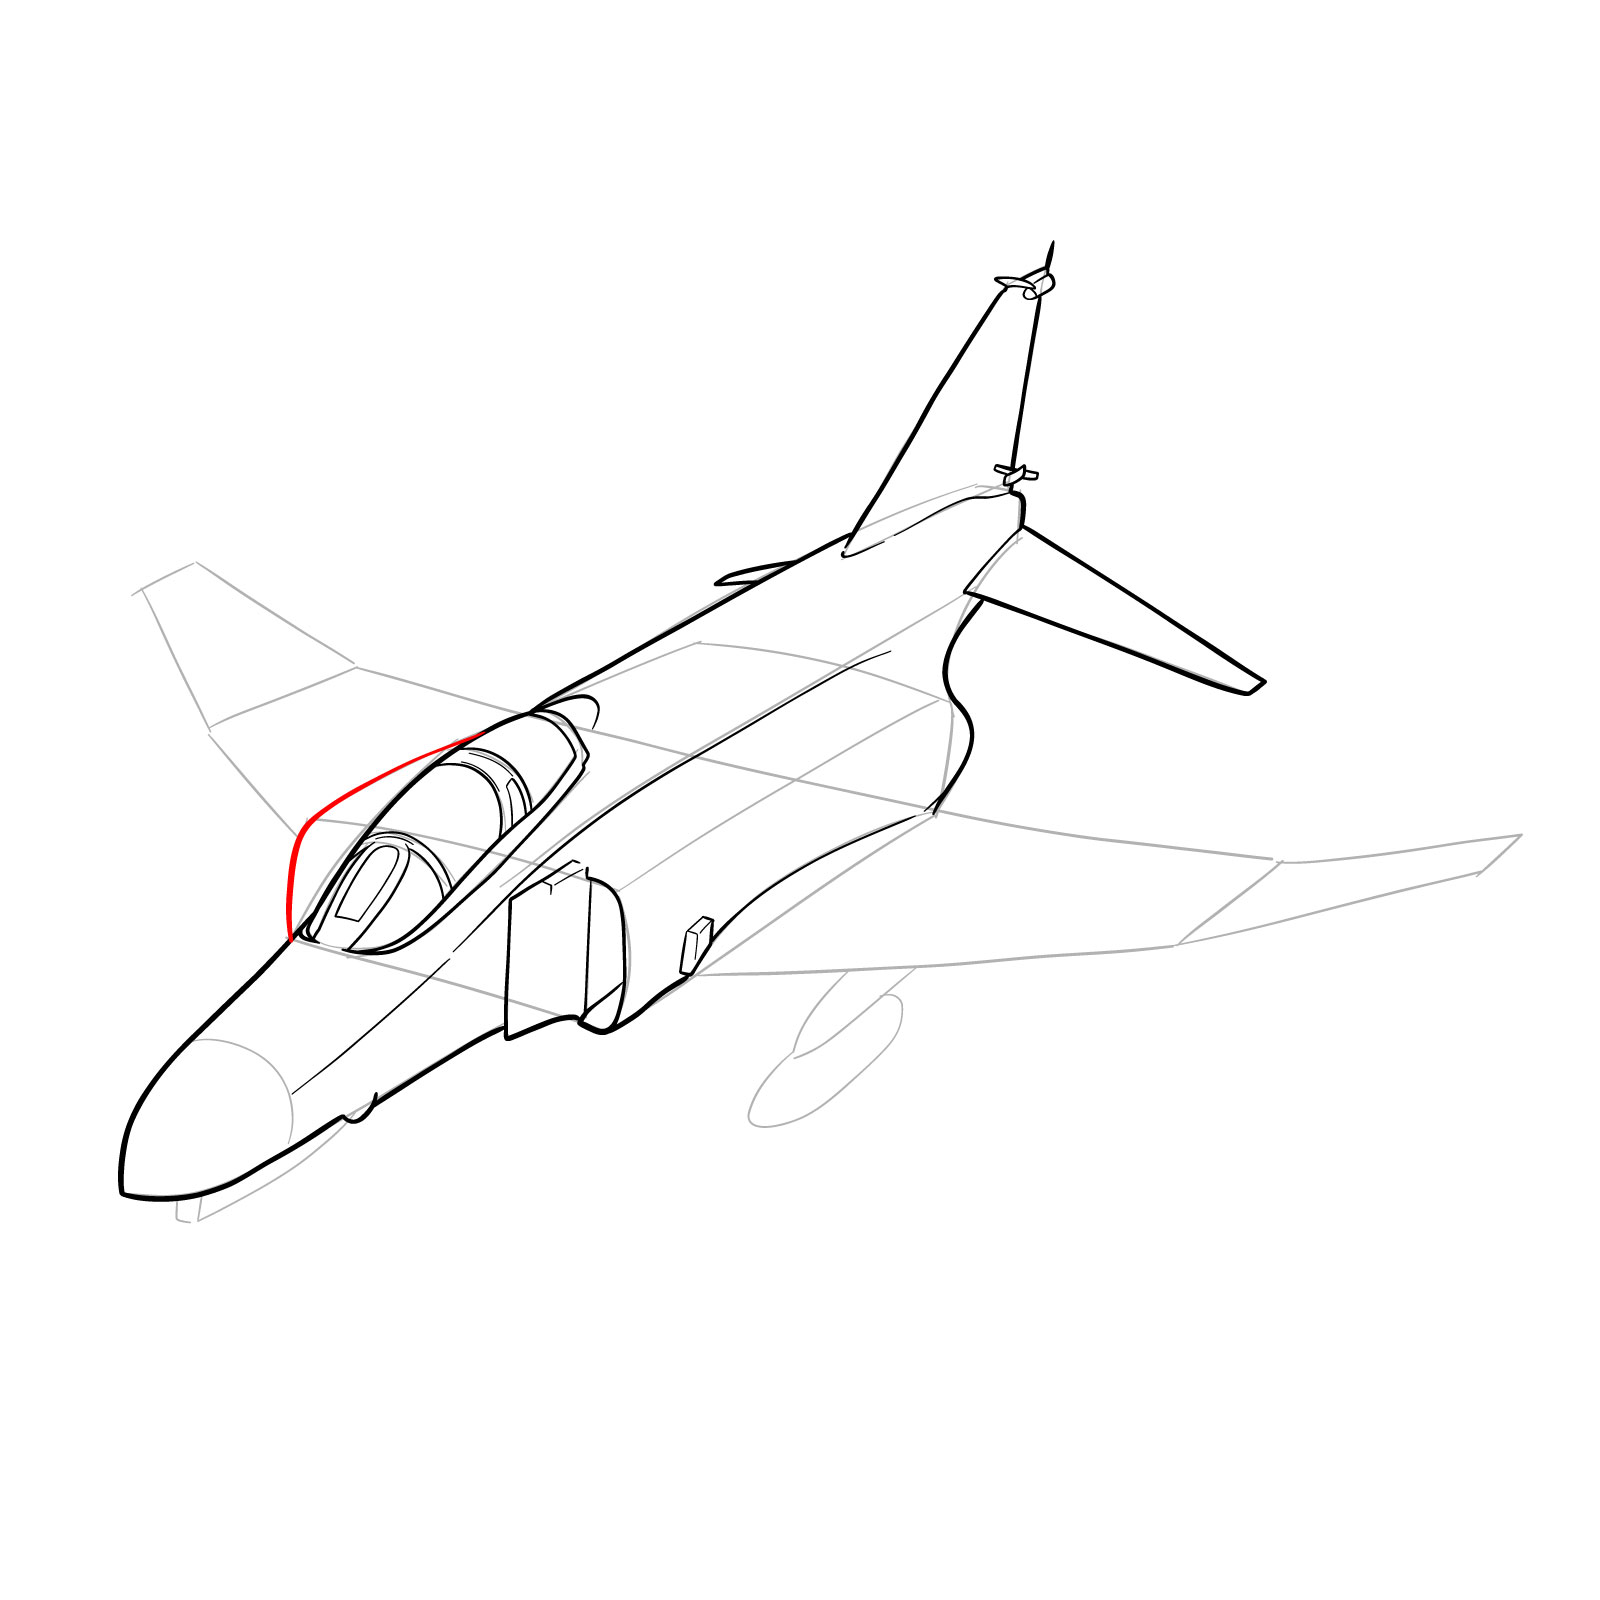
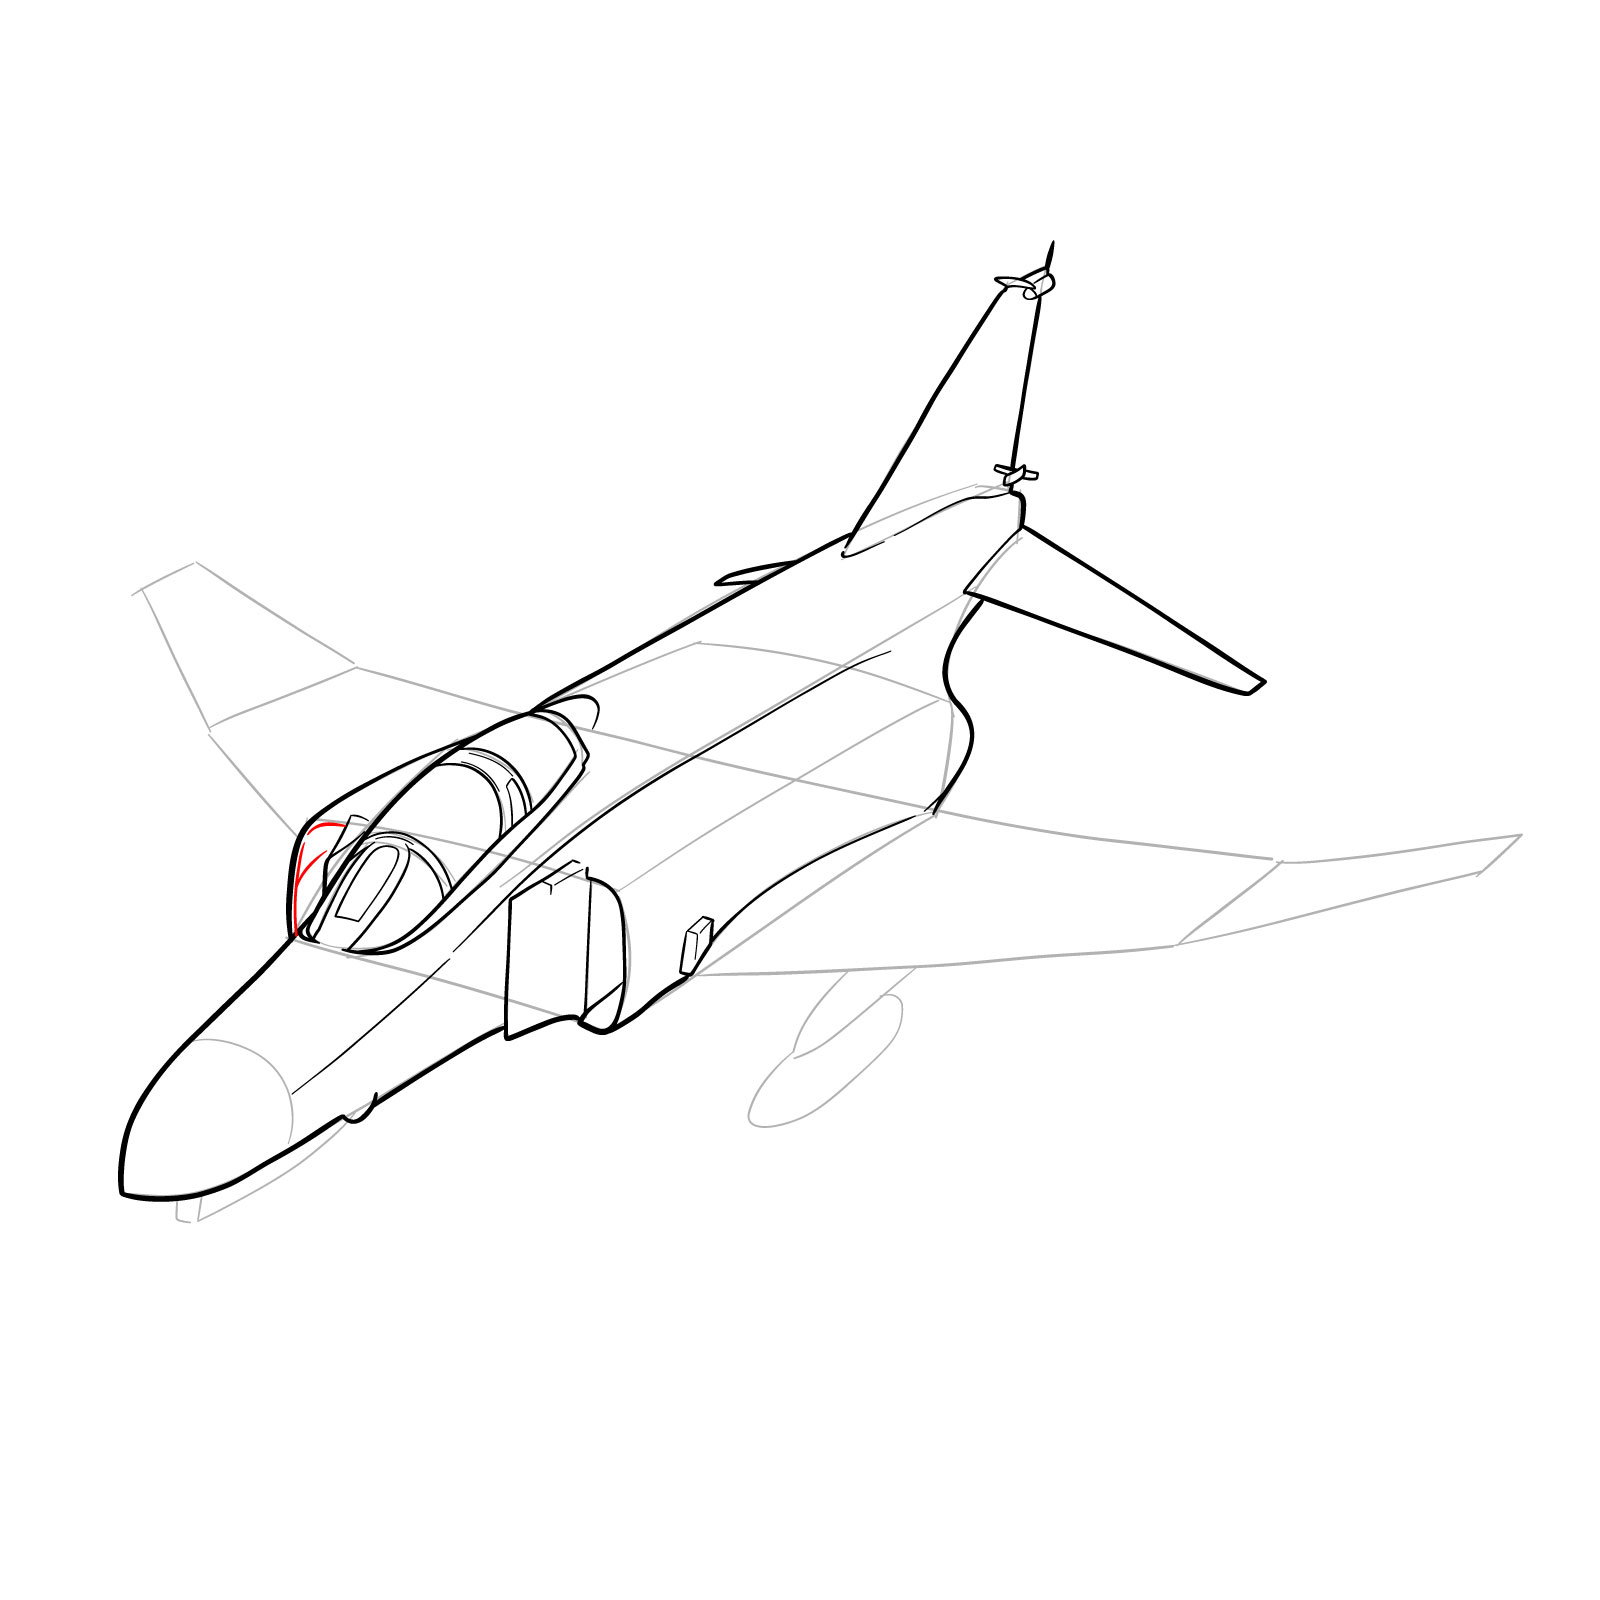
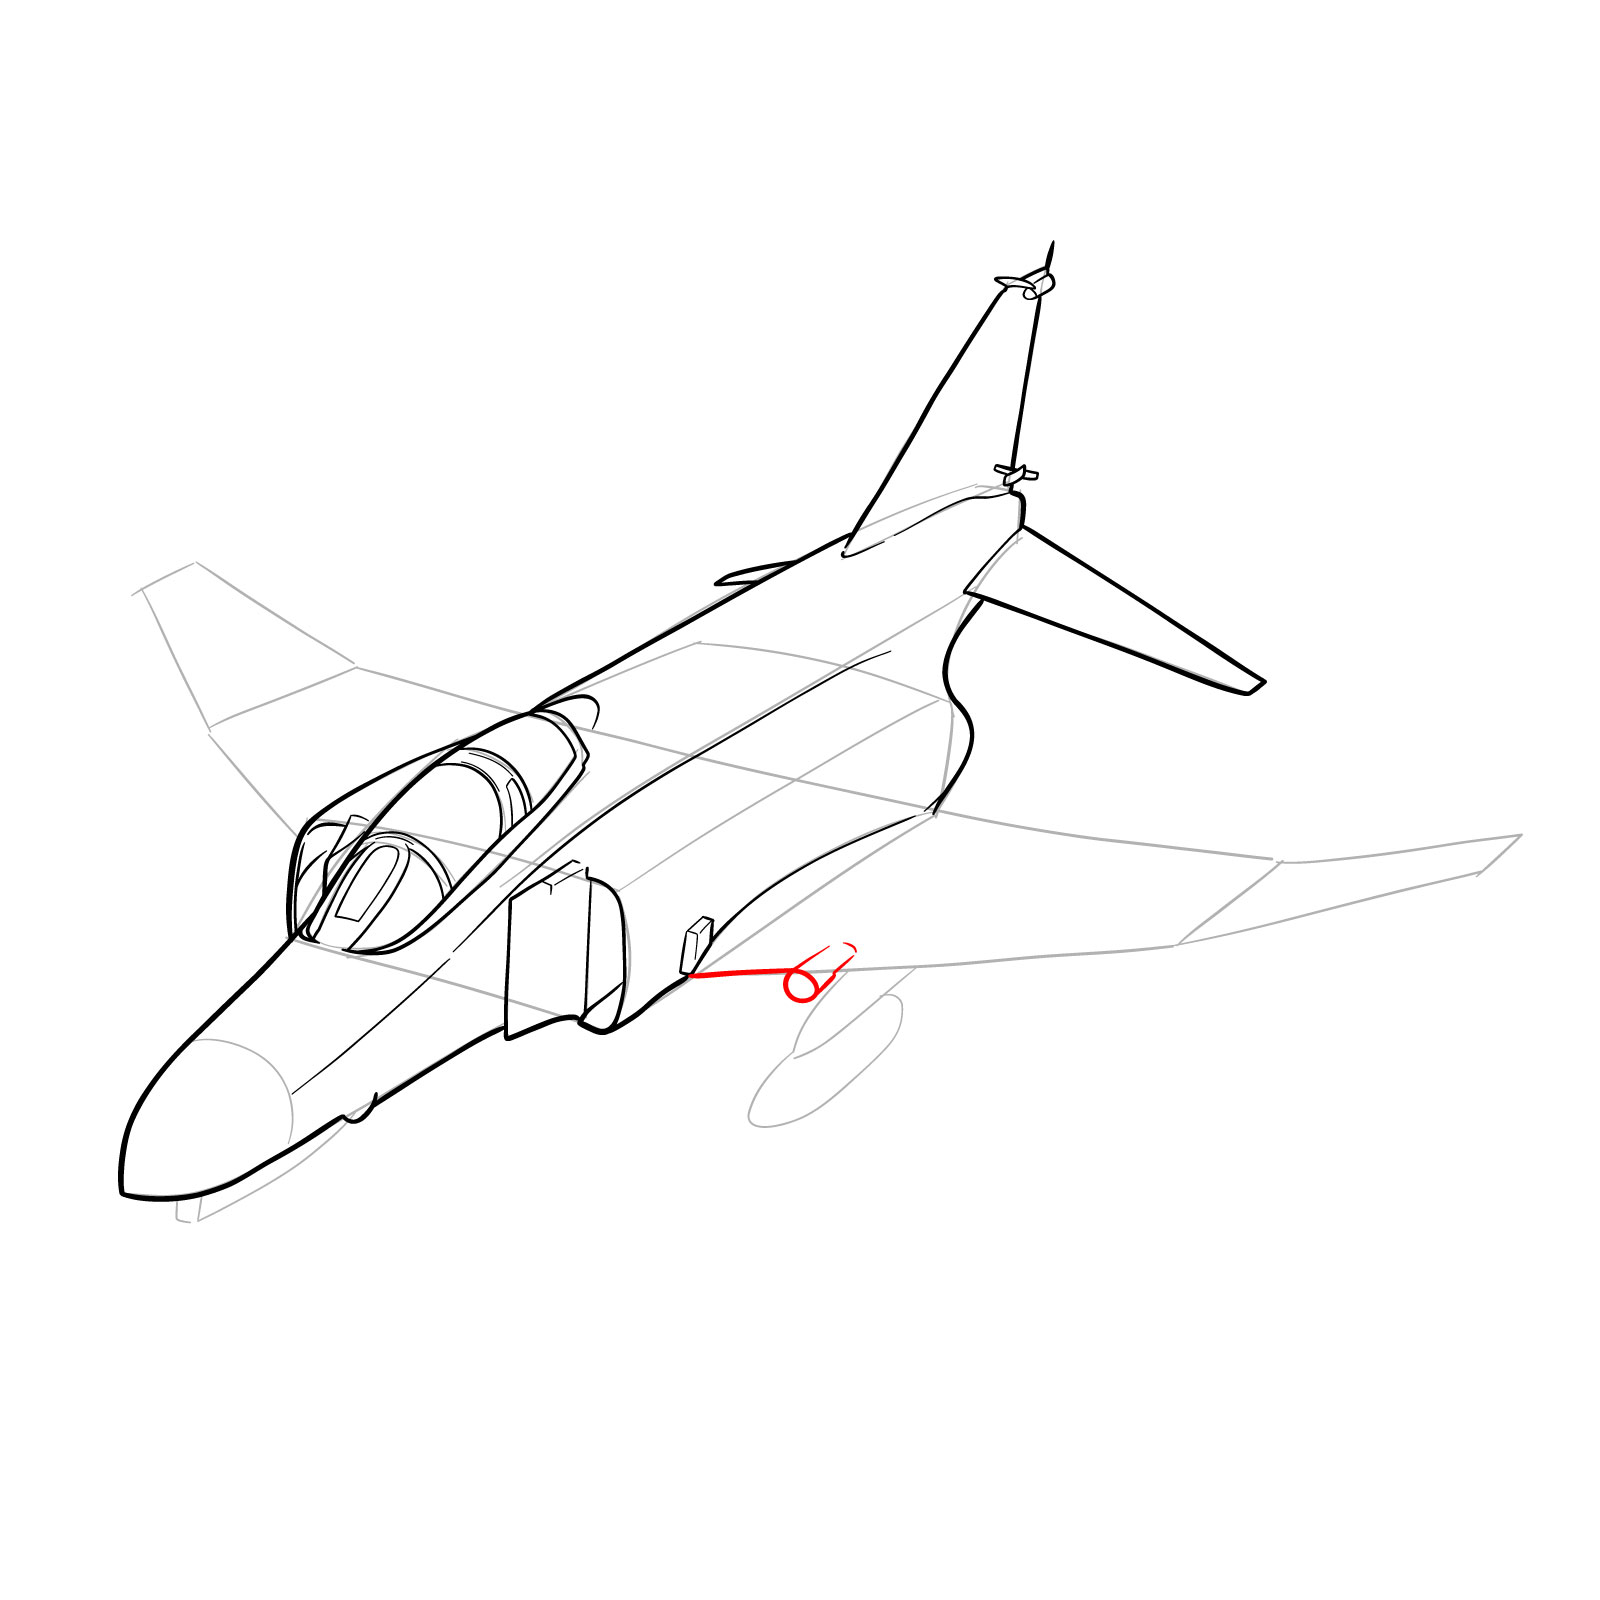
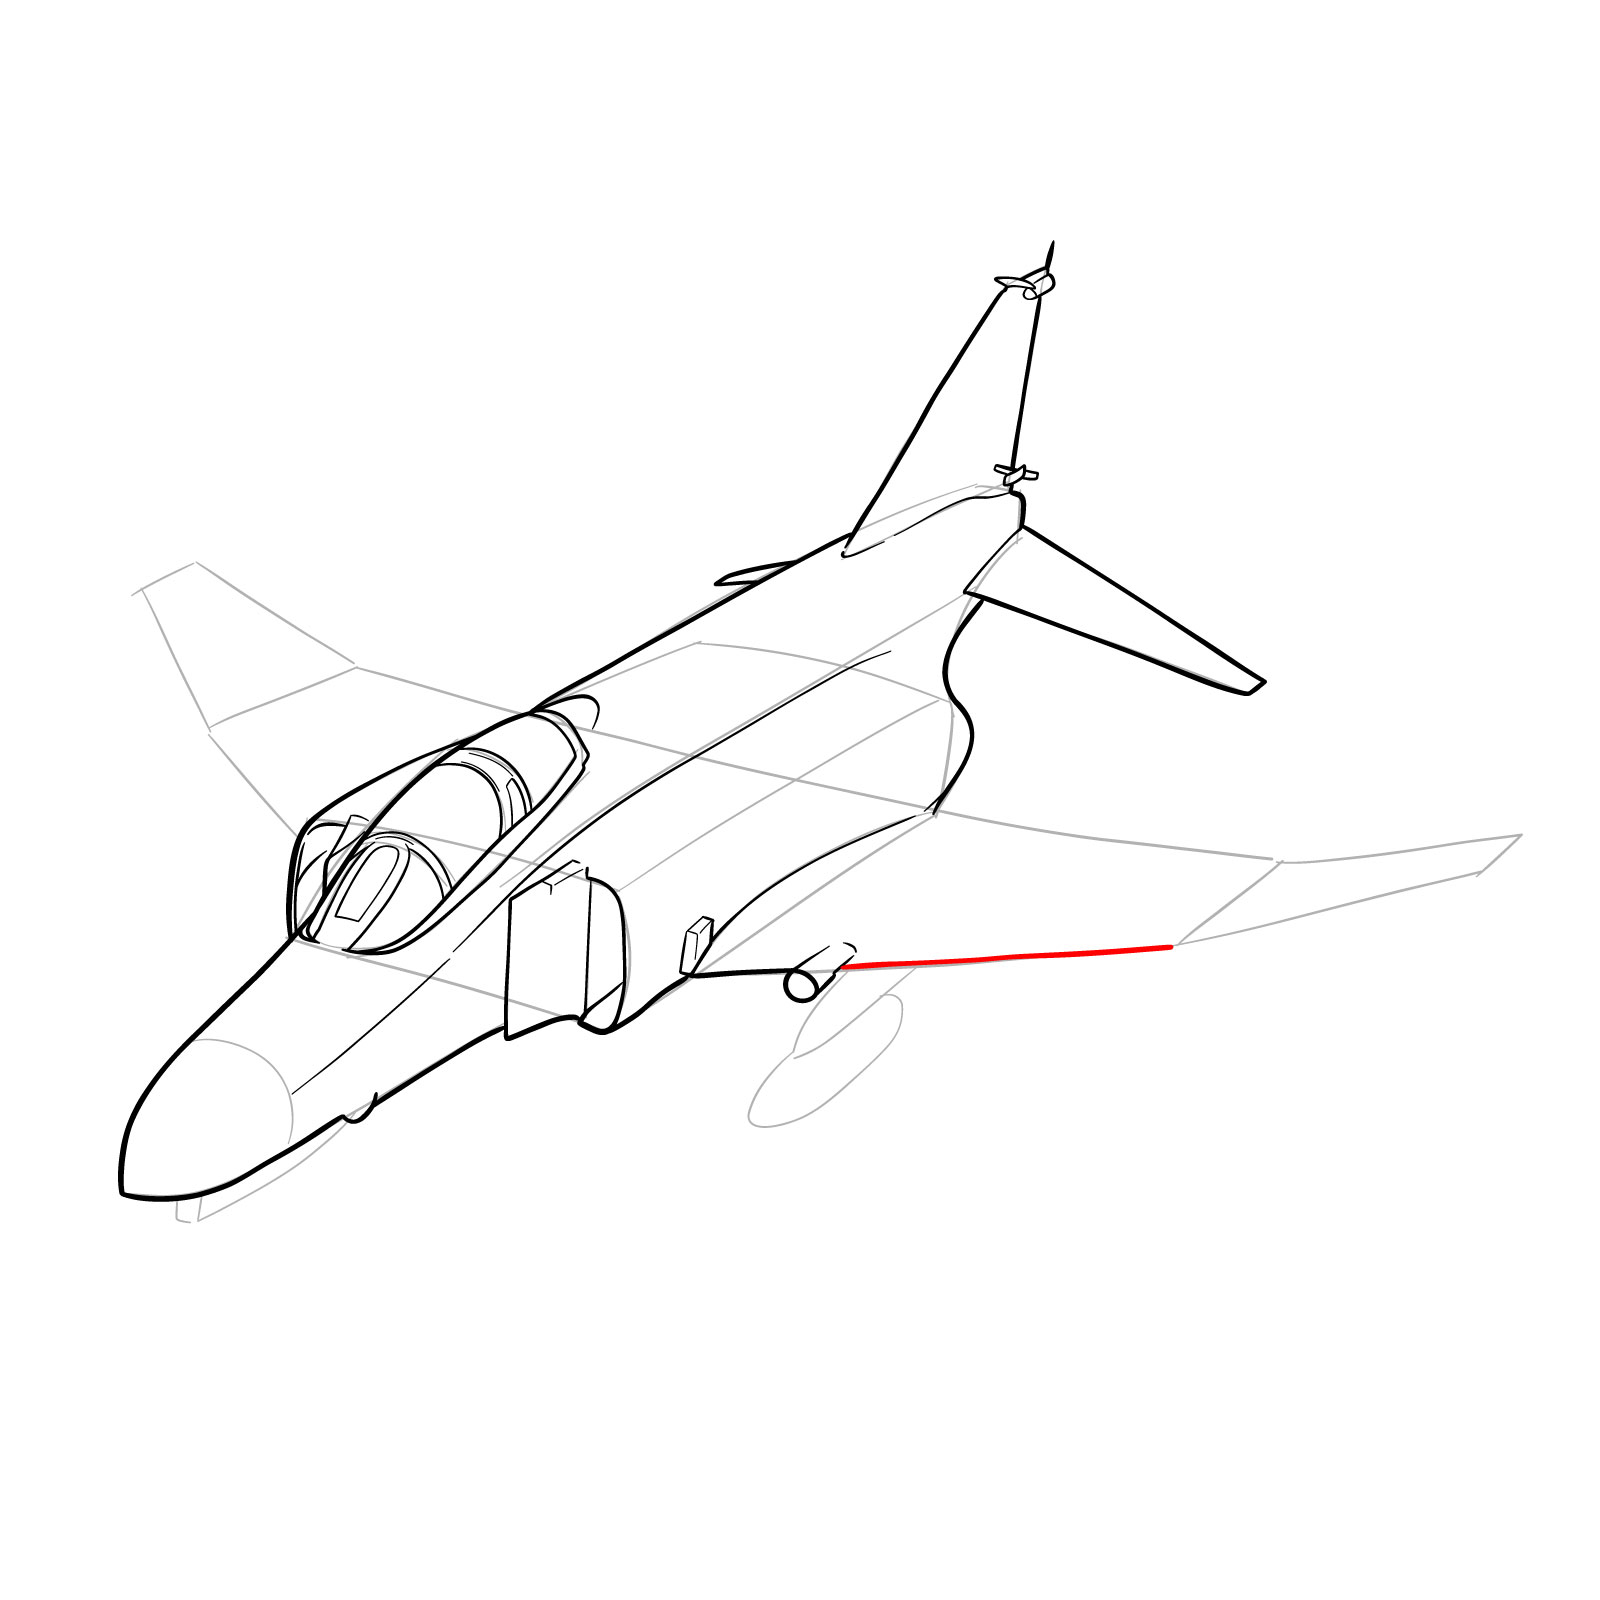
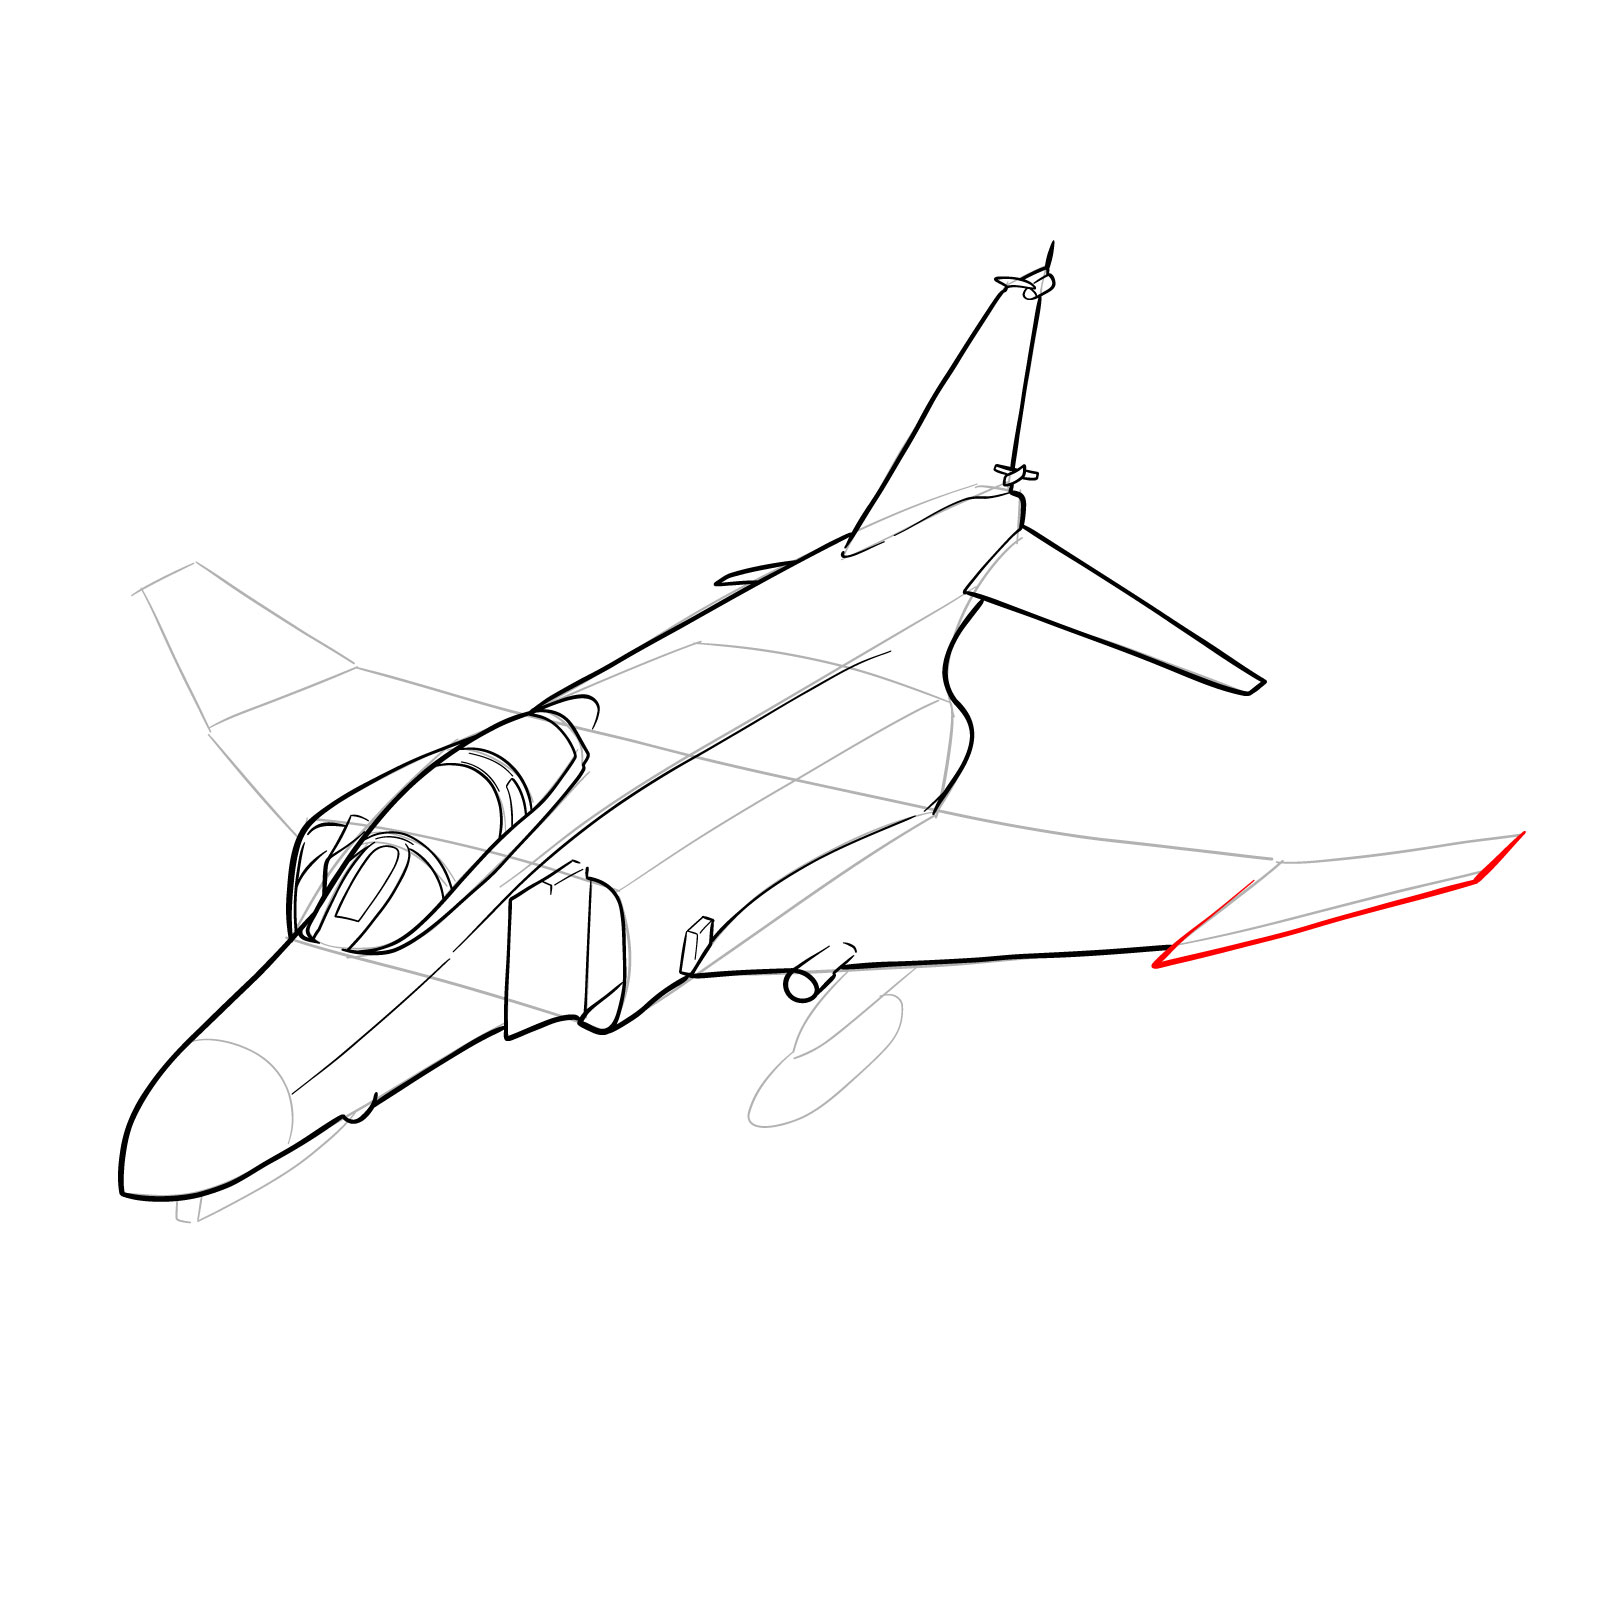
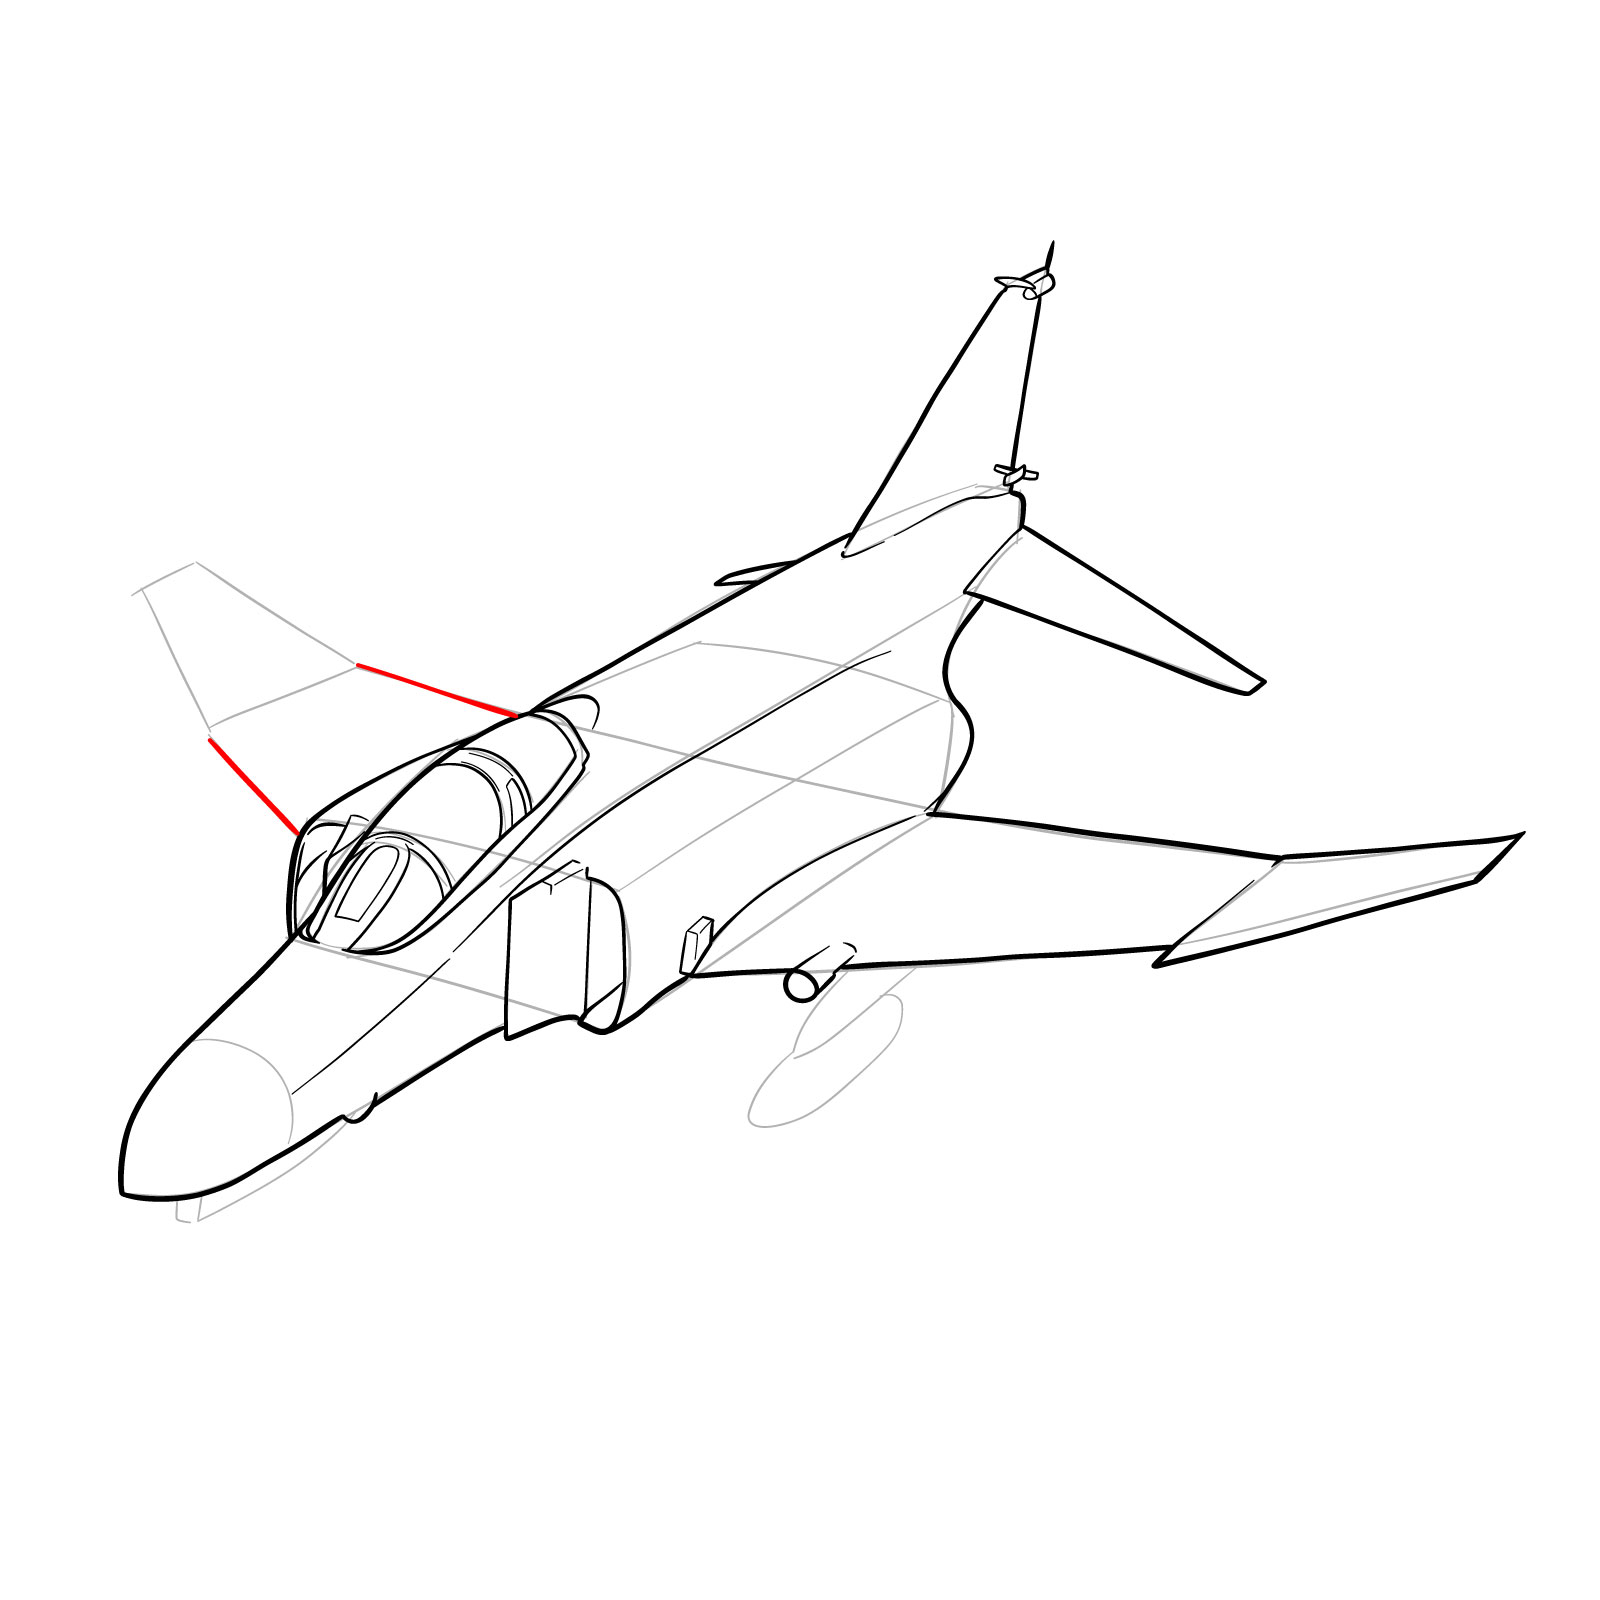
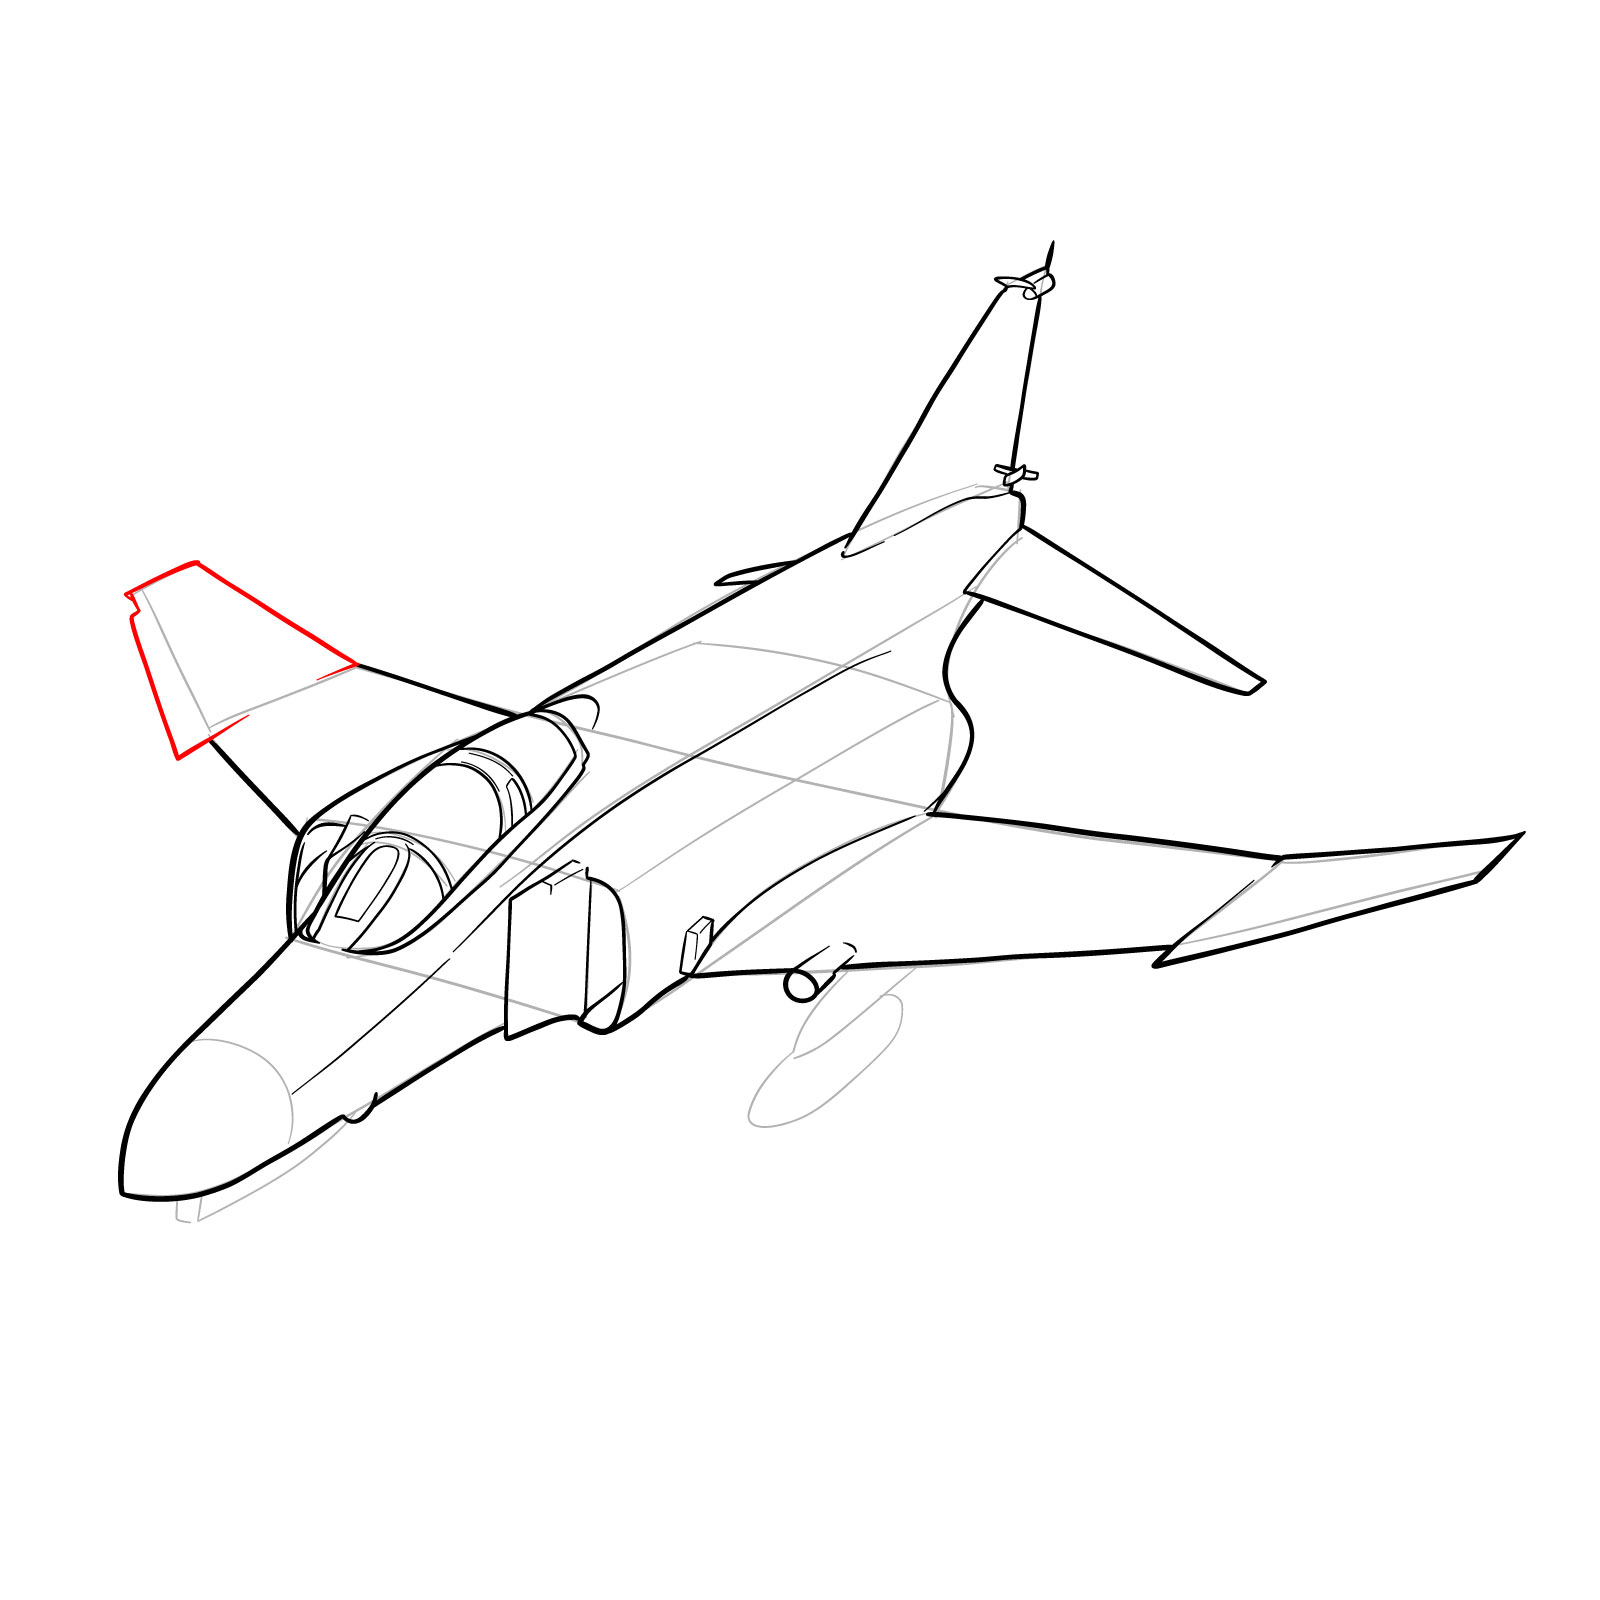
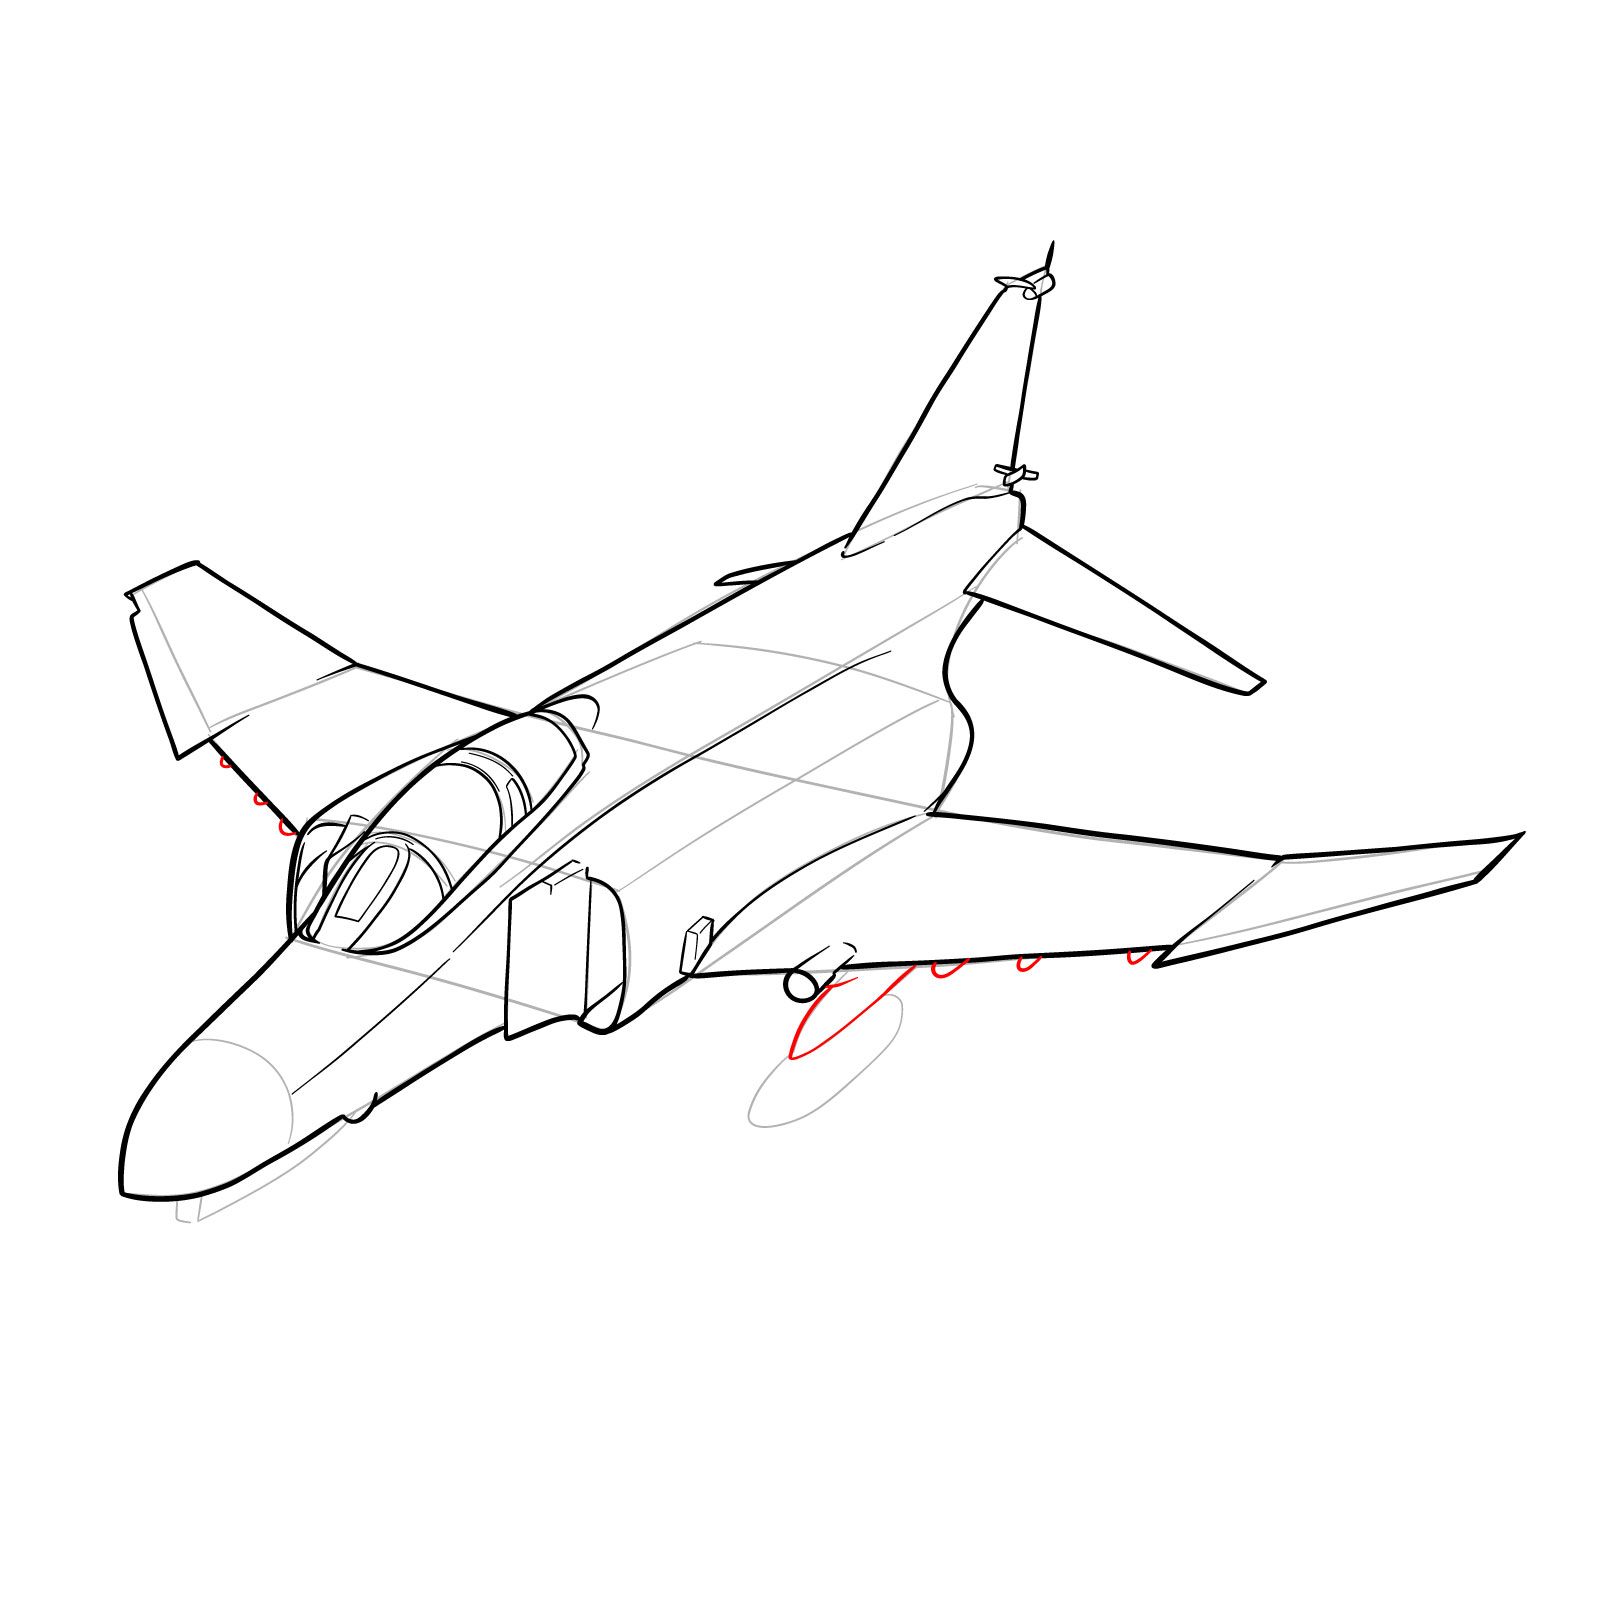
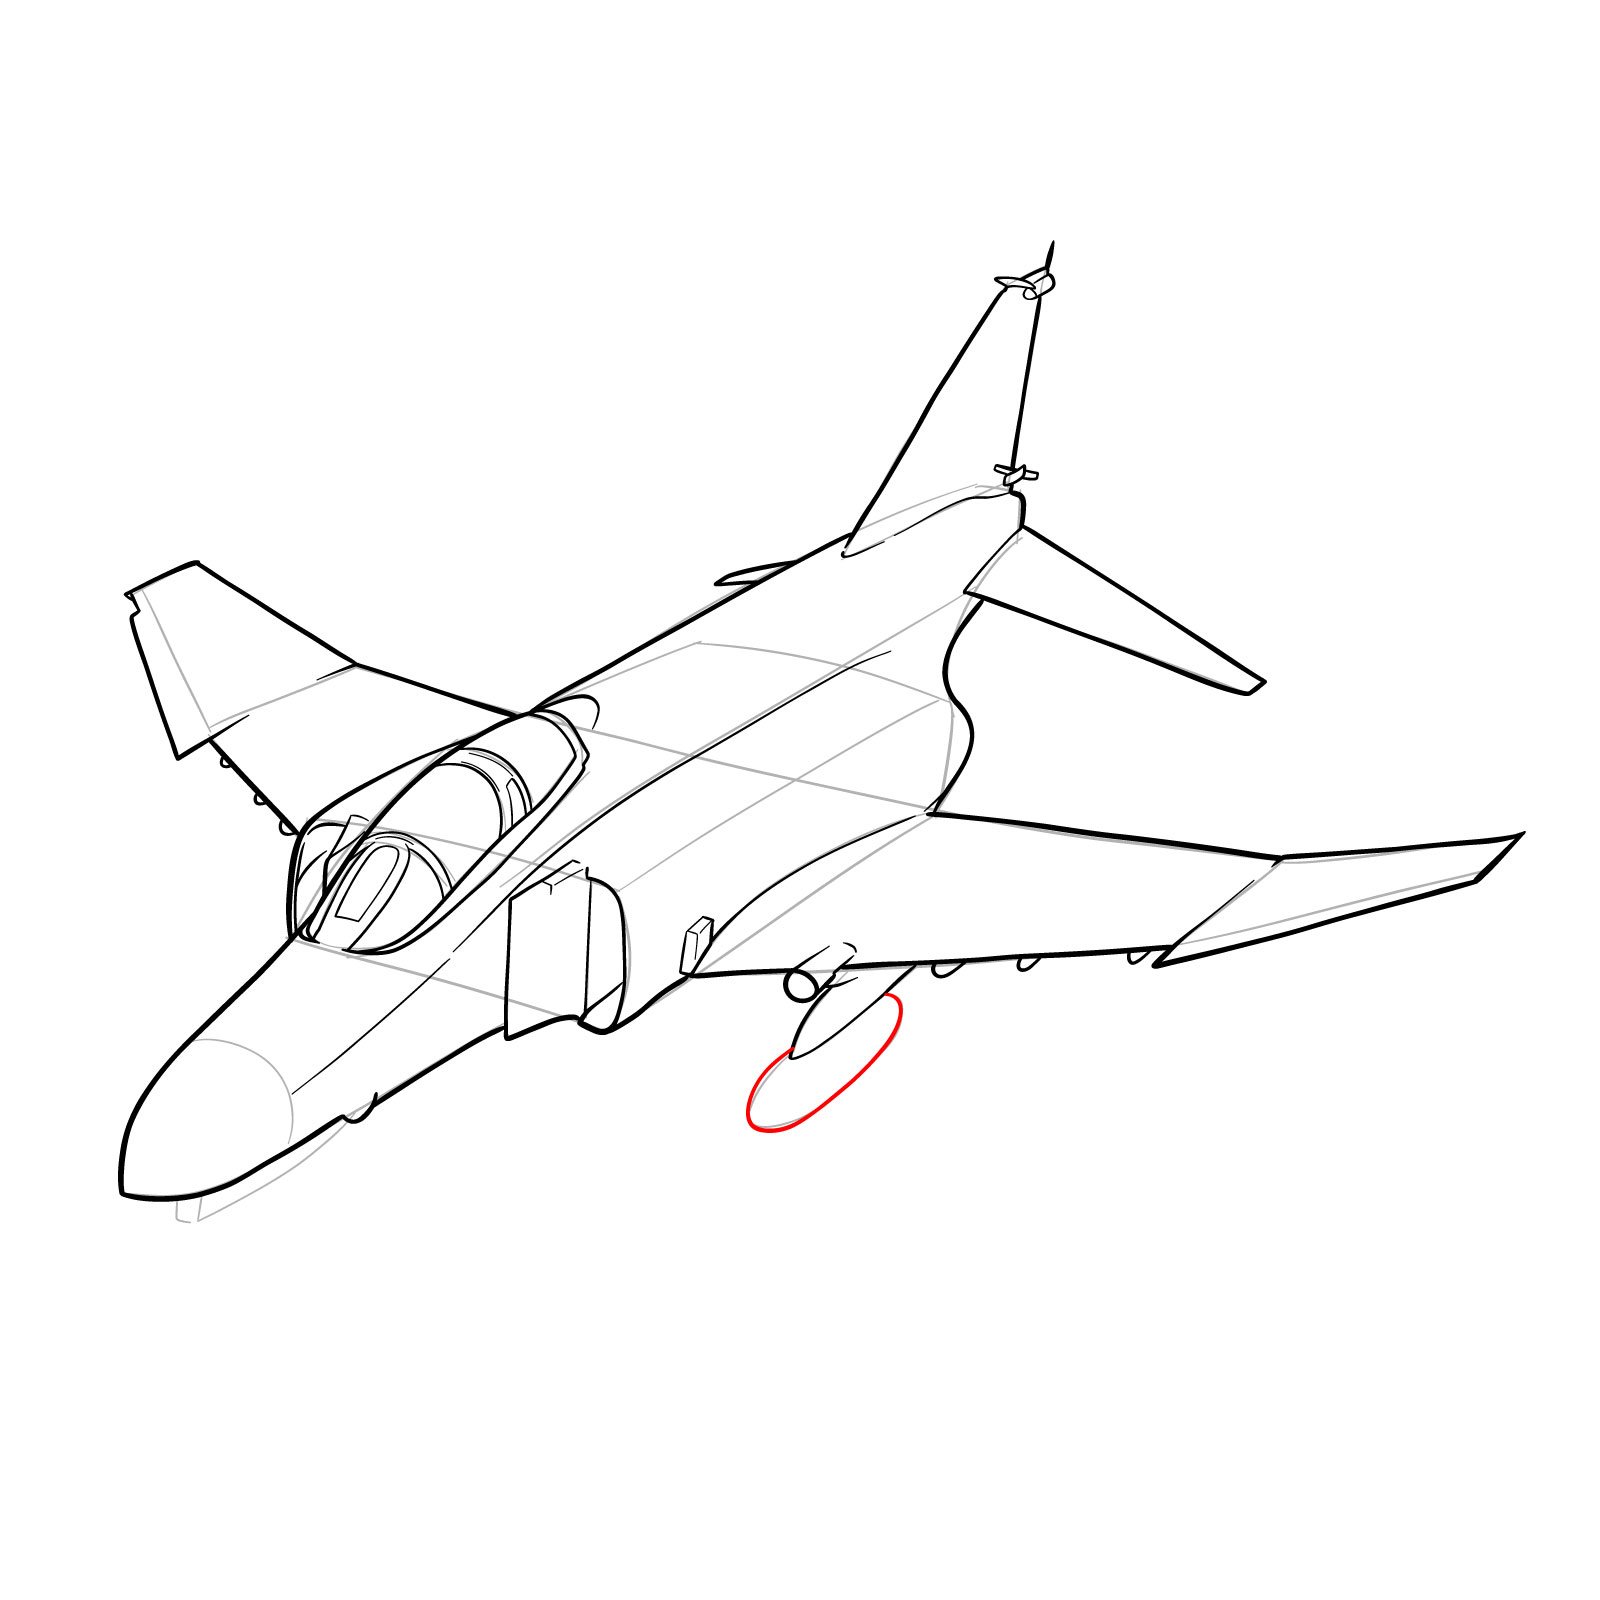
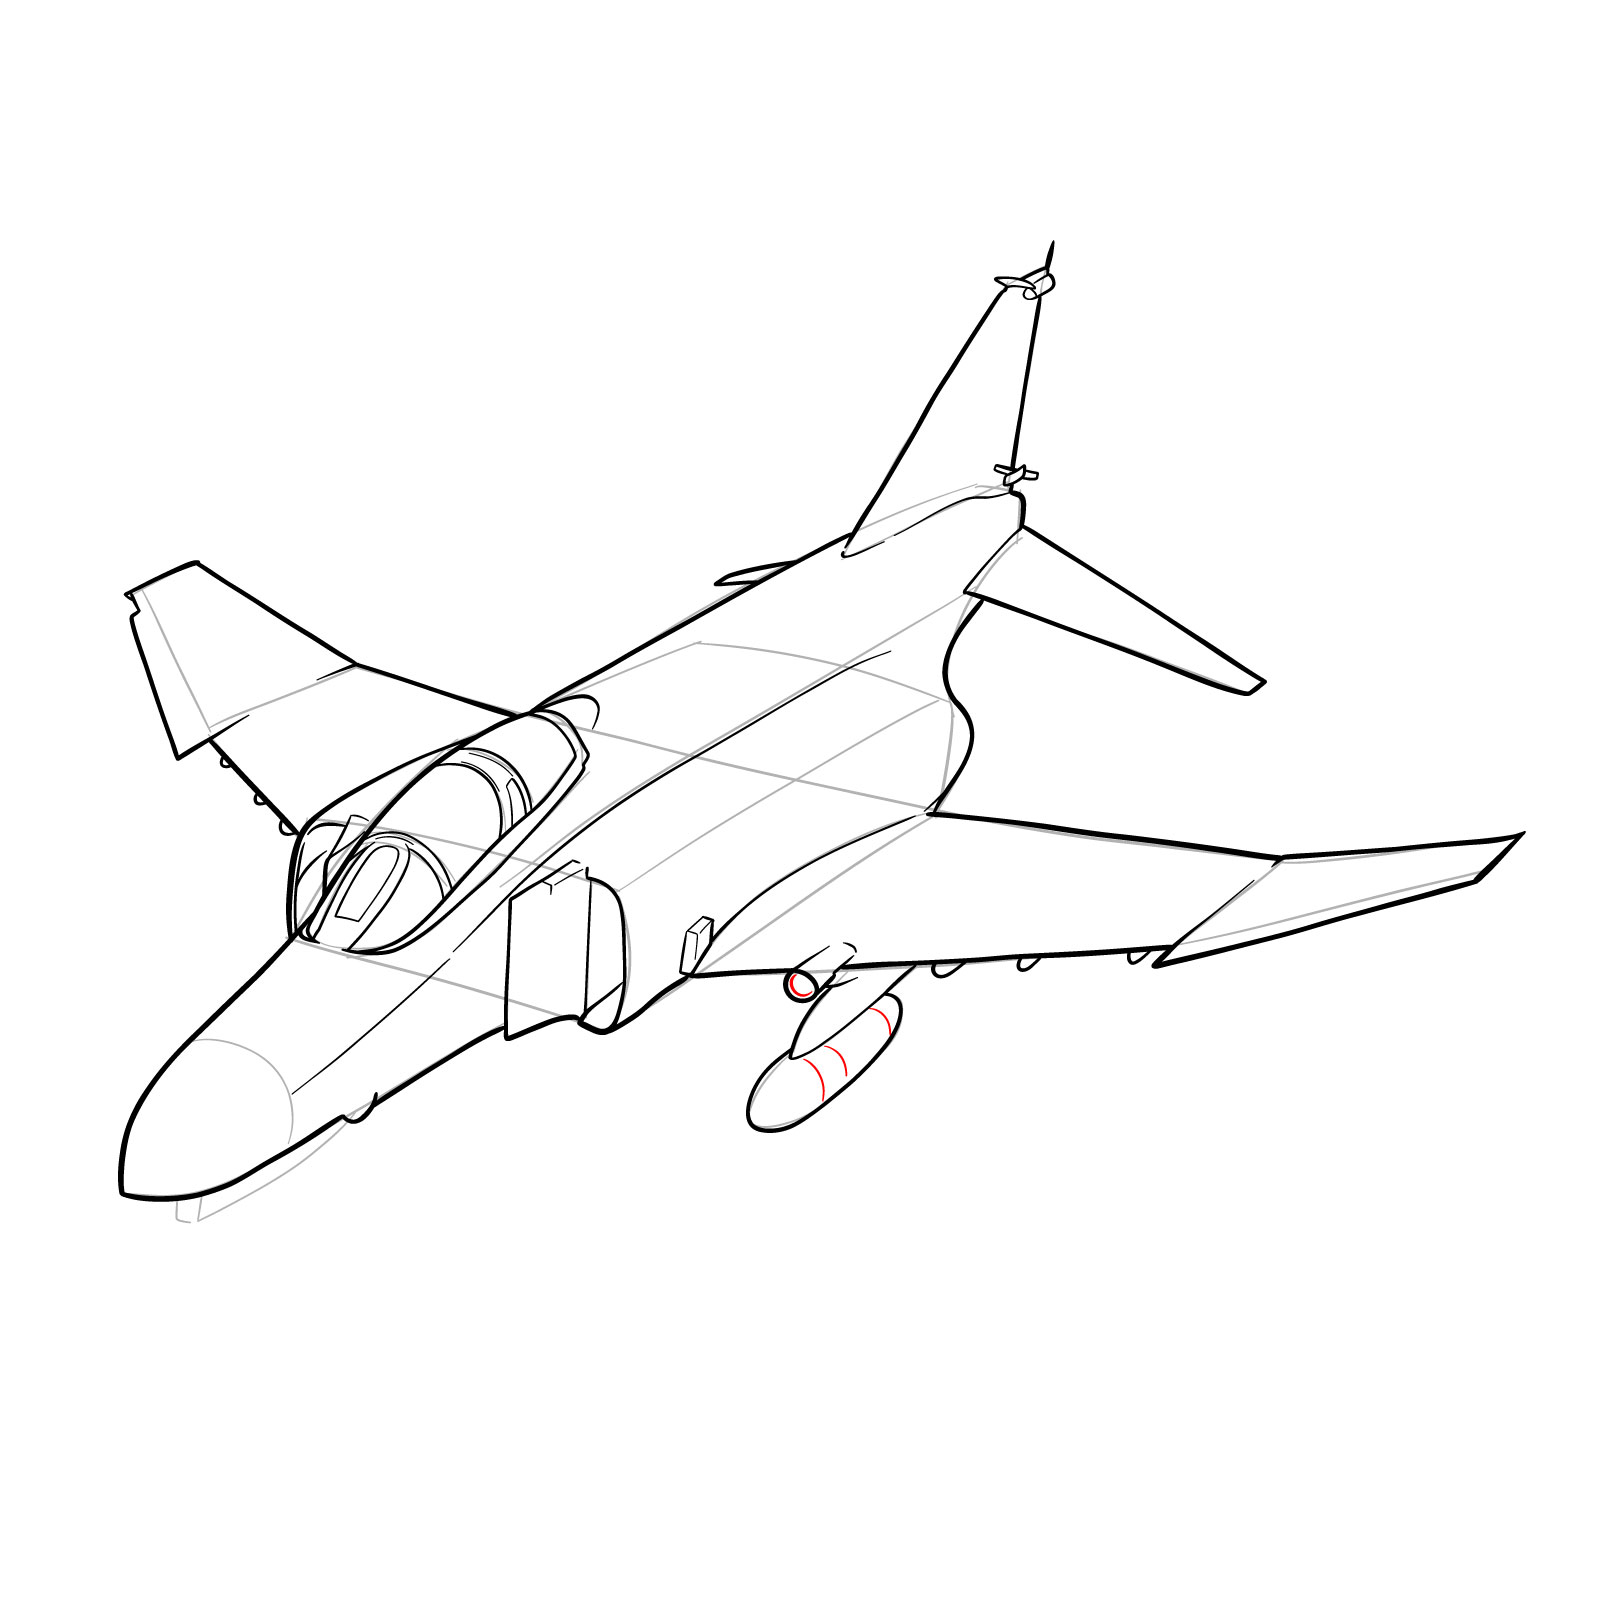
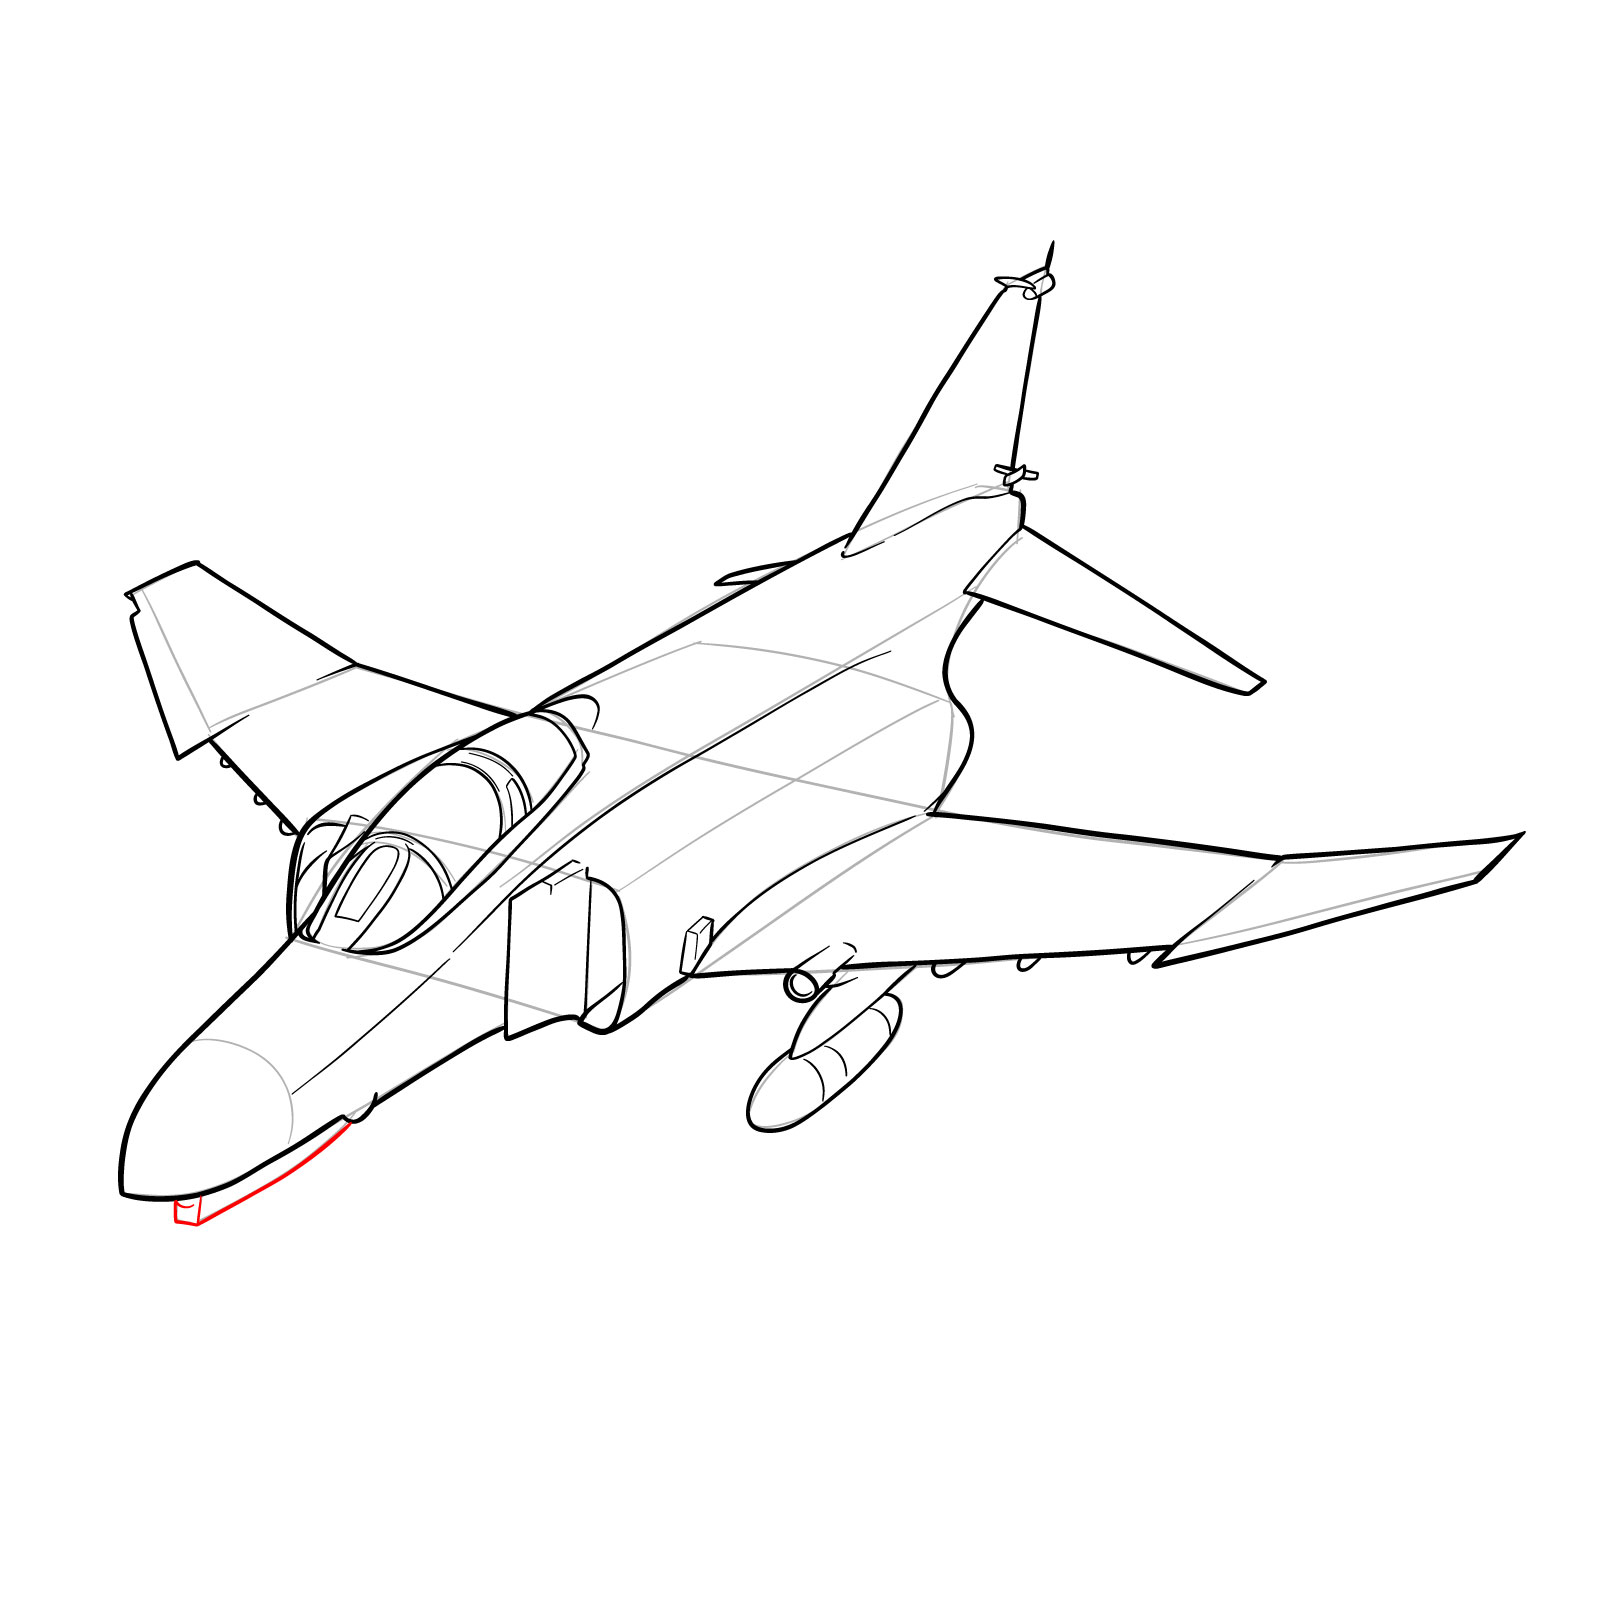
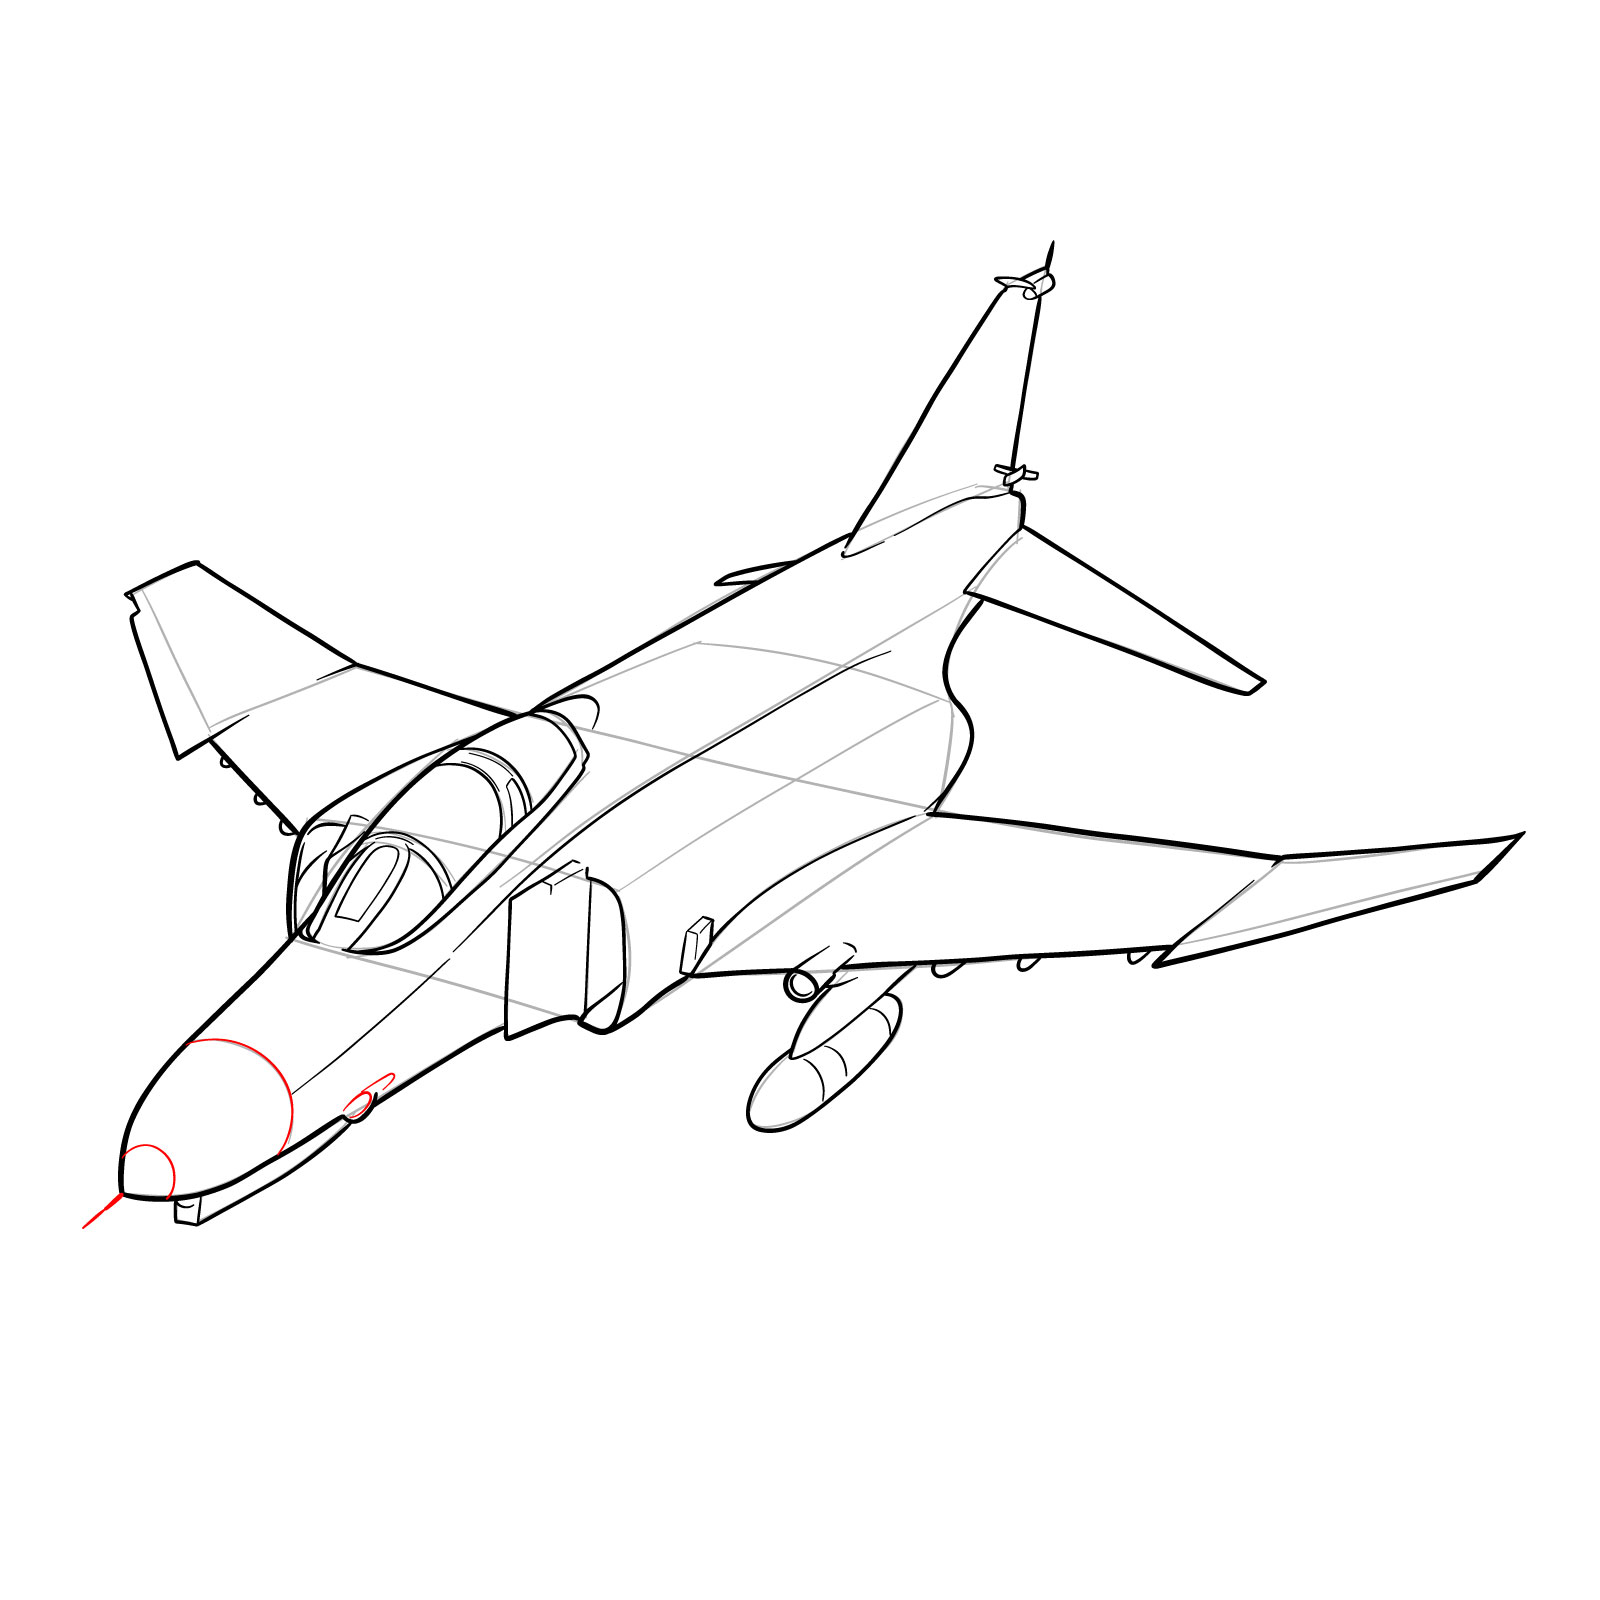
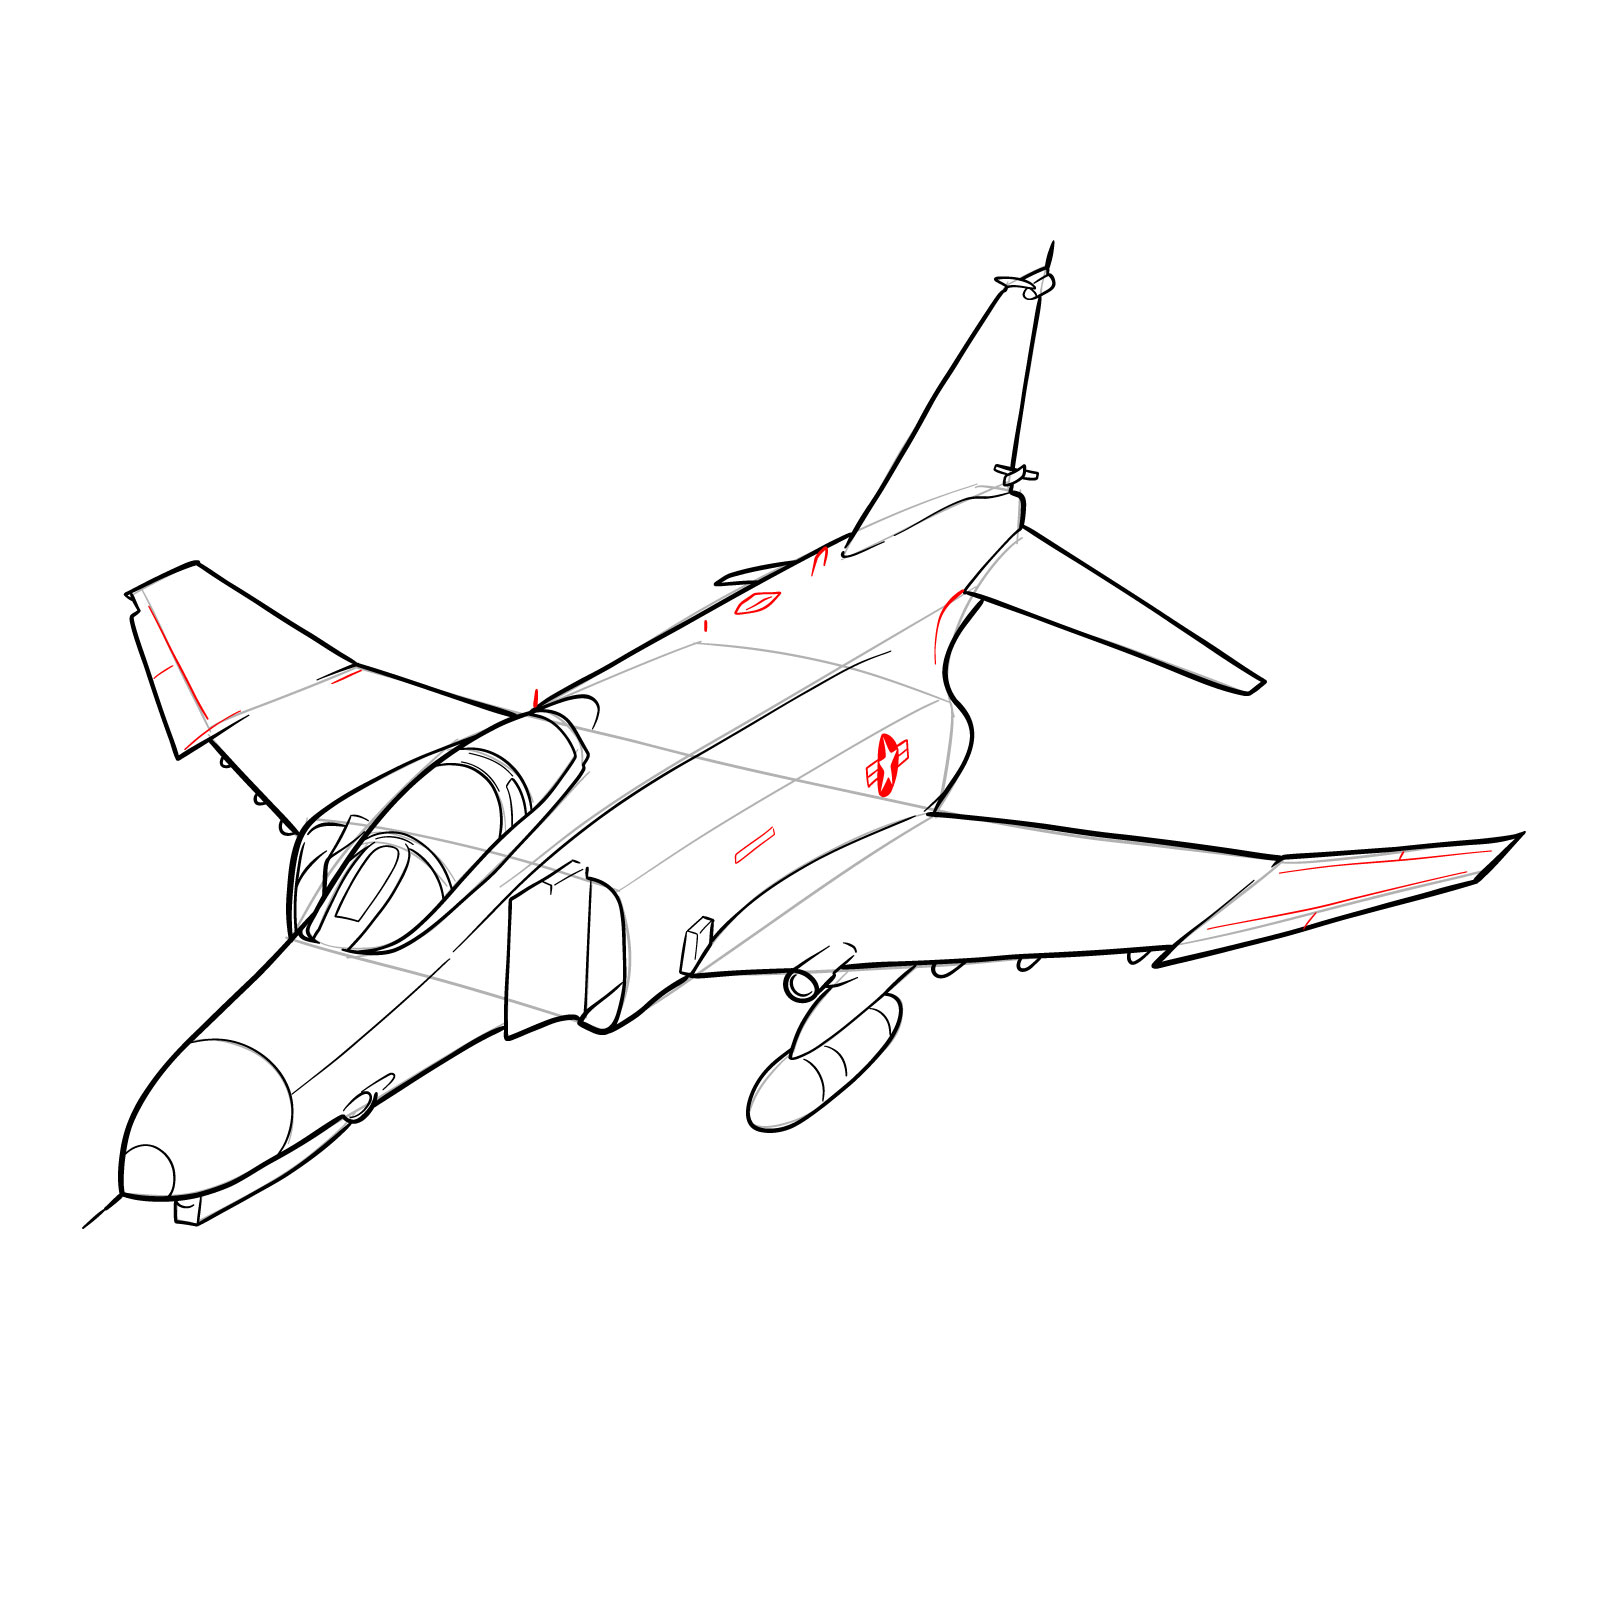
In this tutorial, we’ll guide you through the process of drawing the McDonnell Douglas F-4 Phantom II using a series of images. Each image will represent a step in the drawing process, with red lines indicating the current step, grey lines for the basic proportion sketch, and black lines for previously drawn lines.
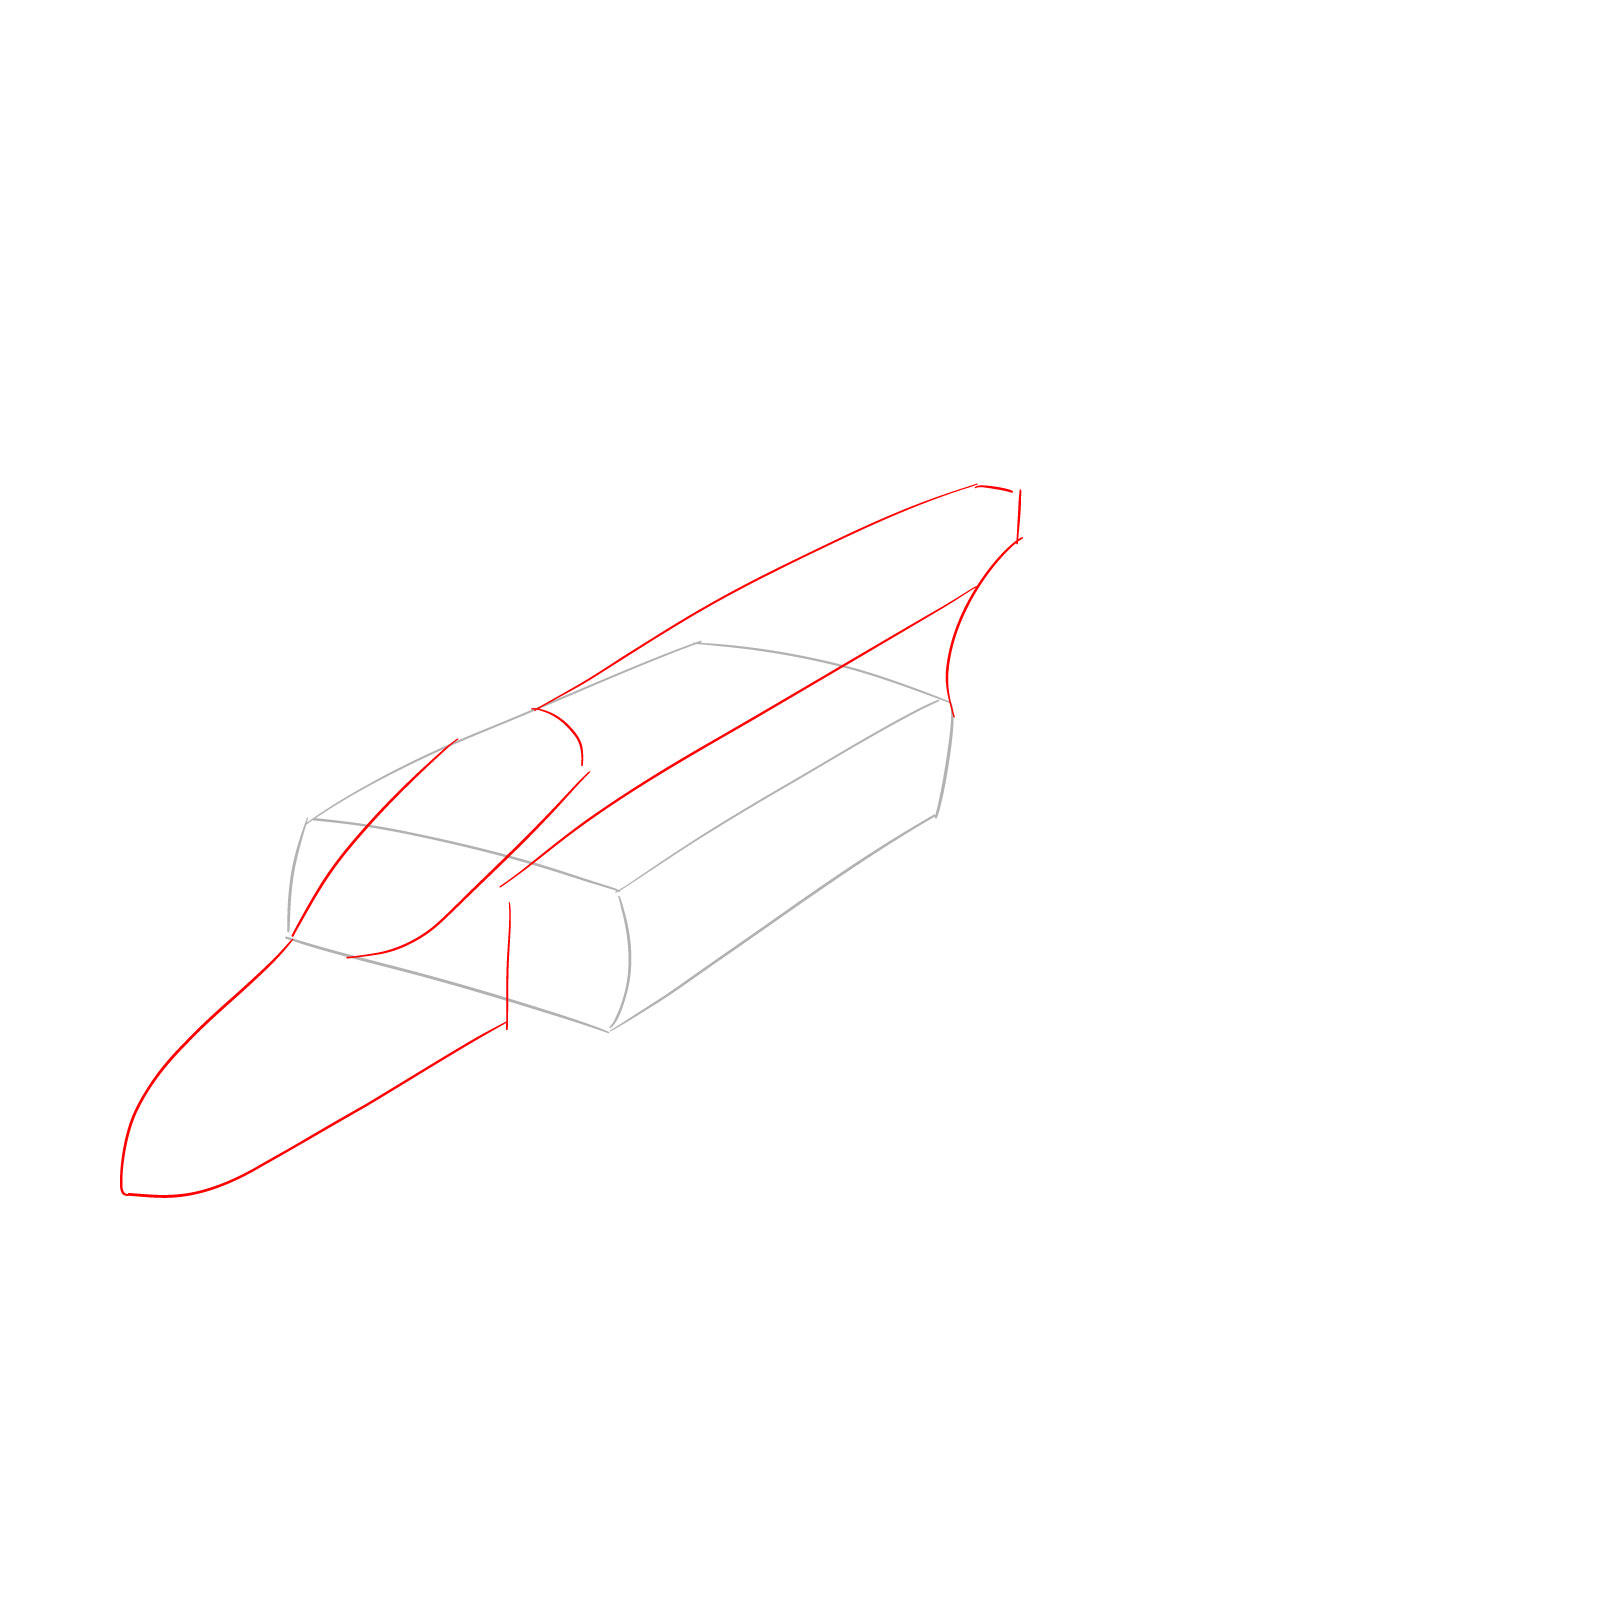
Part 1: Laying the Foundation
Start by sketching the basic structure of the F-4 Phantom II using light pencil strokes. This initial sketch will help you establish accurate proportions and a solid foundation for your drawing. Don’t worry about adding details at this stage; focus on the overall shape and form of the aircraft. Next 4 images will guide you through the basic form creation.


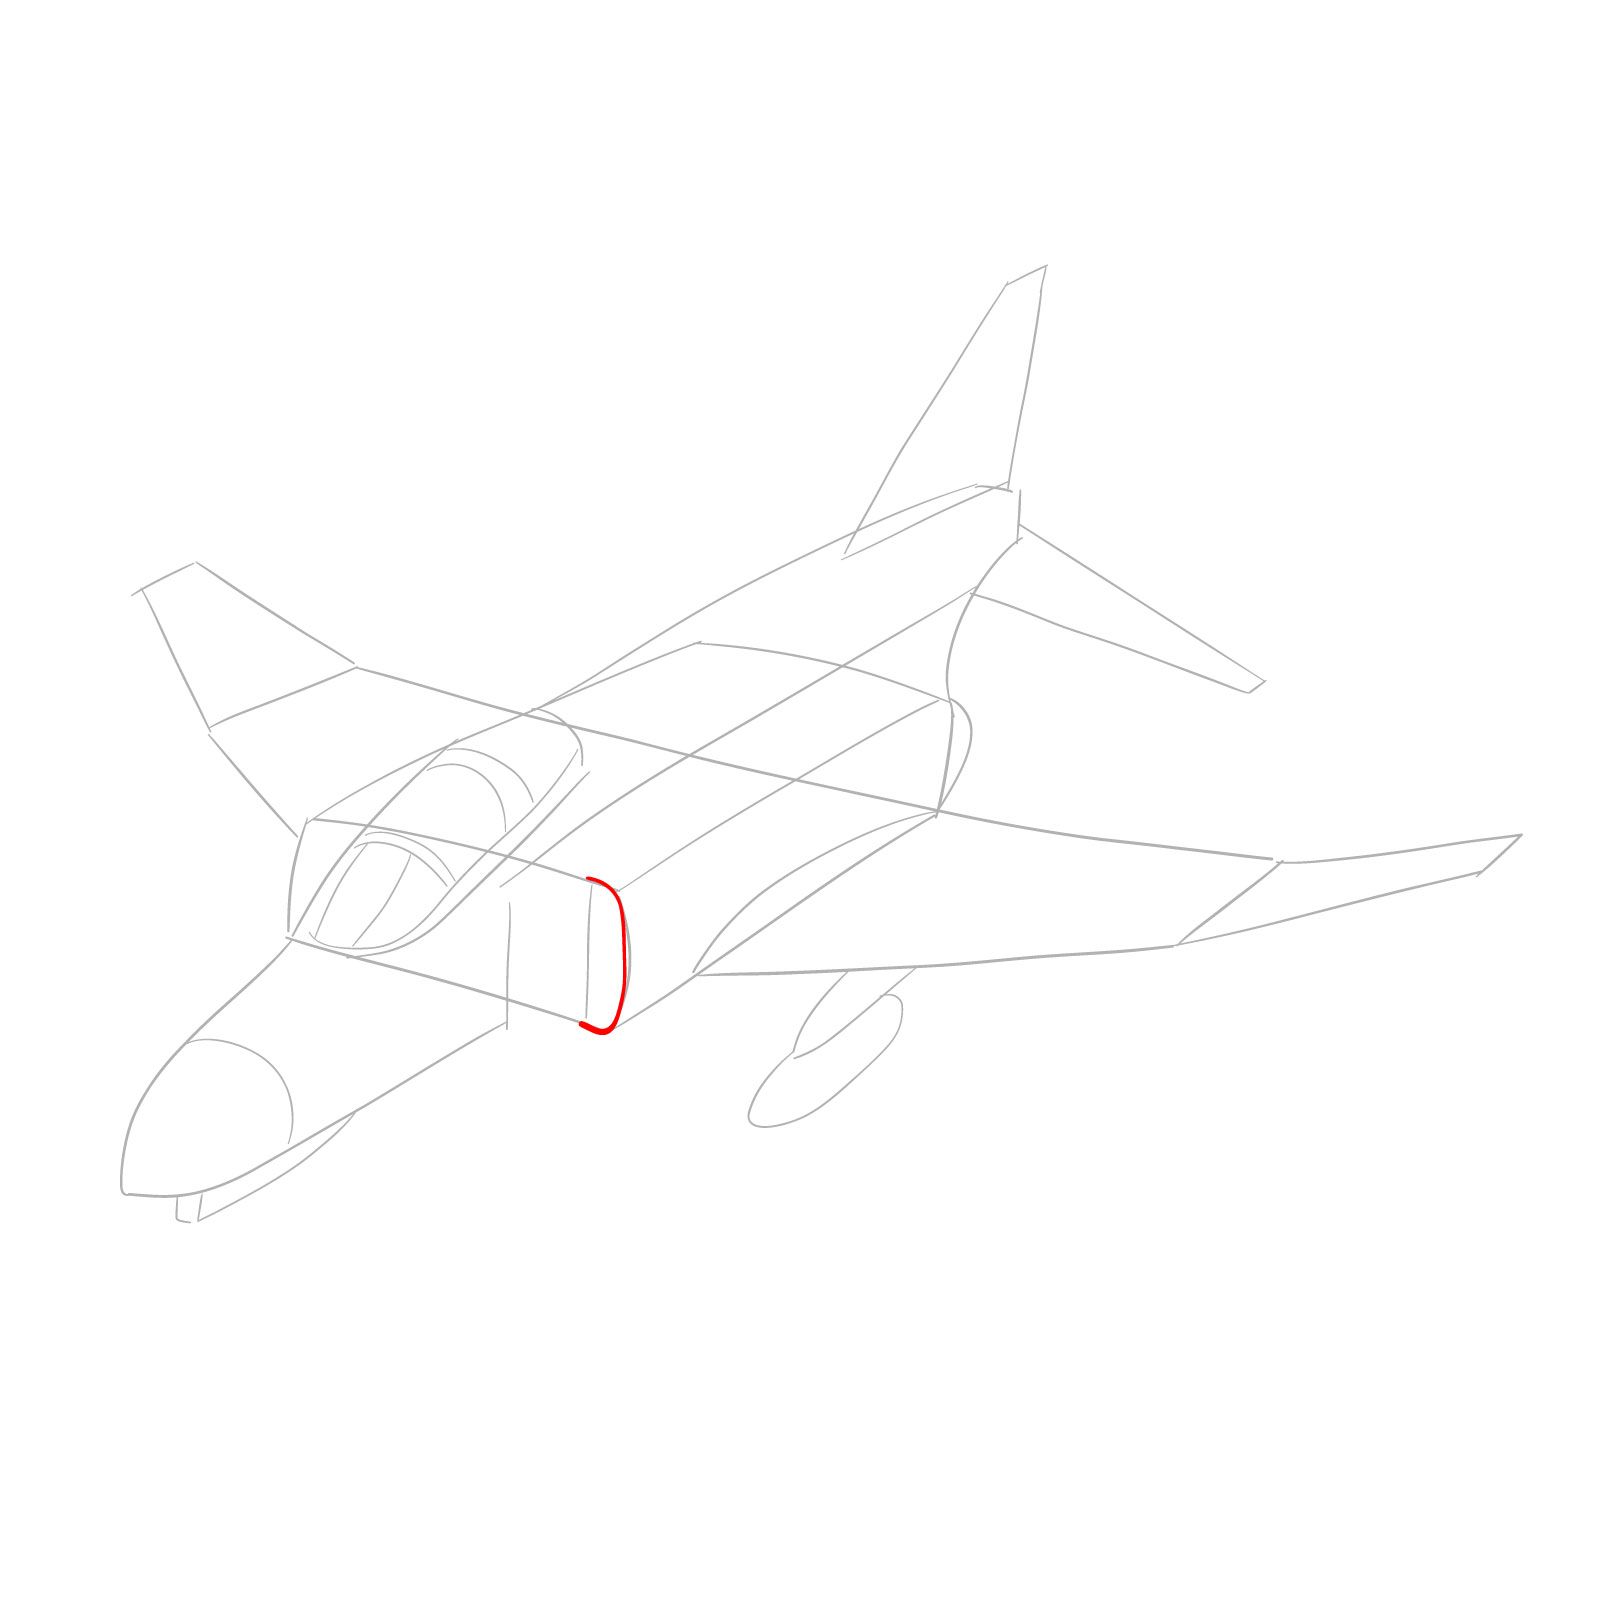
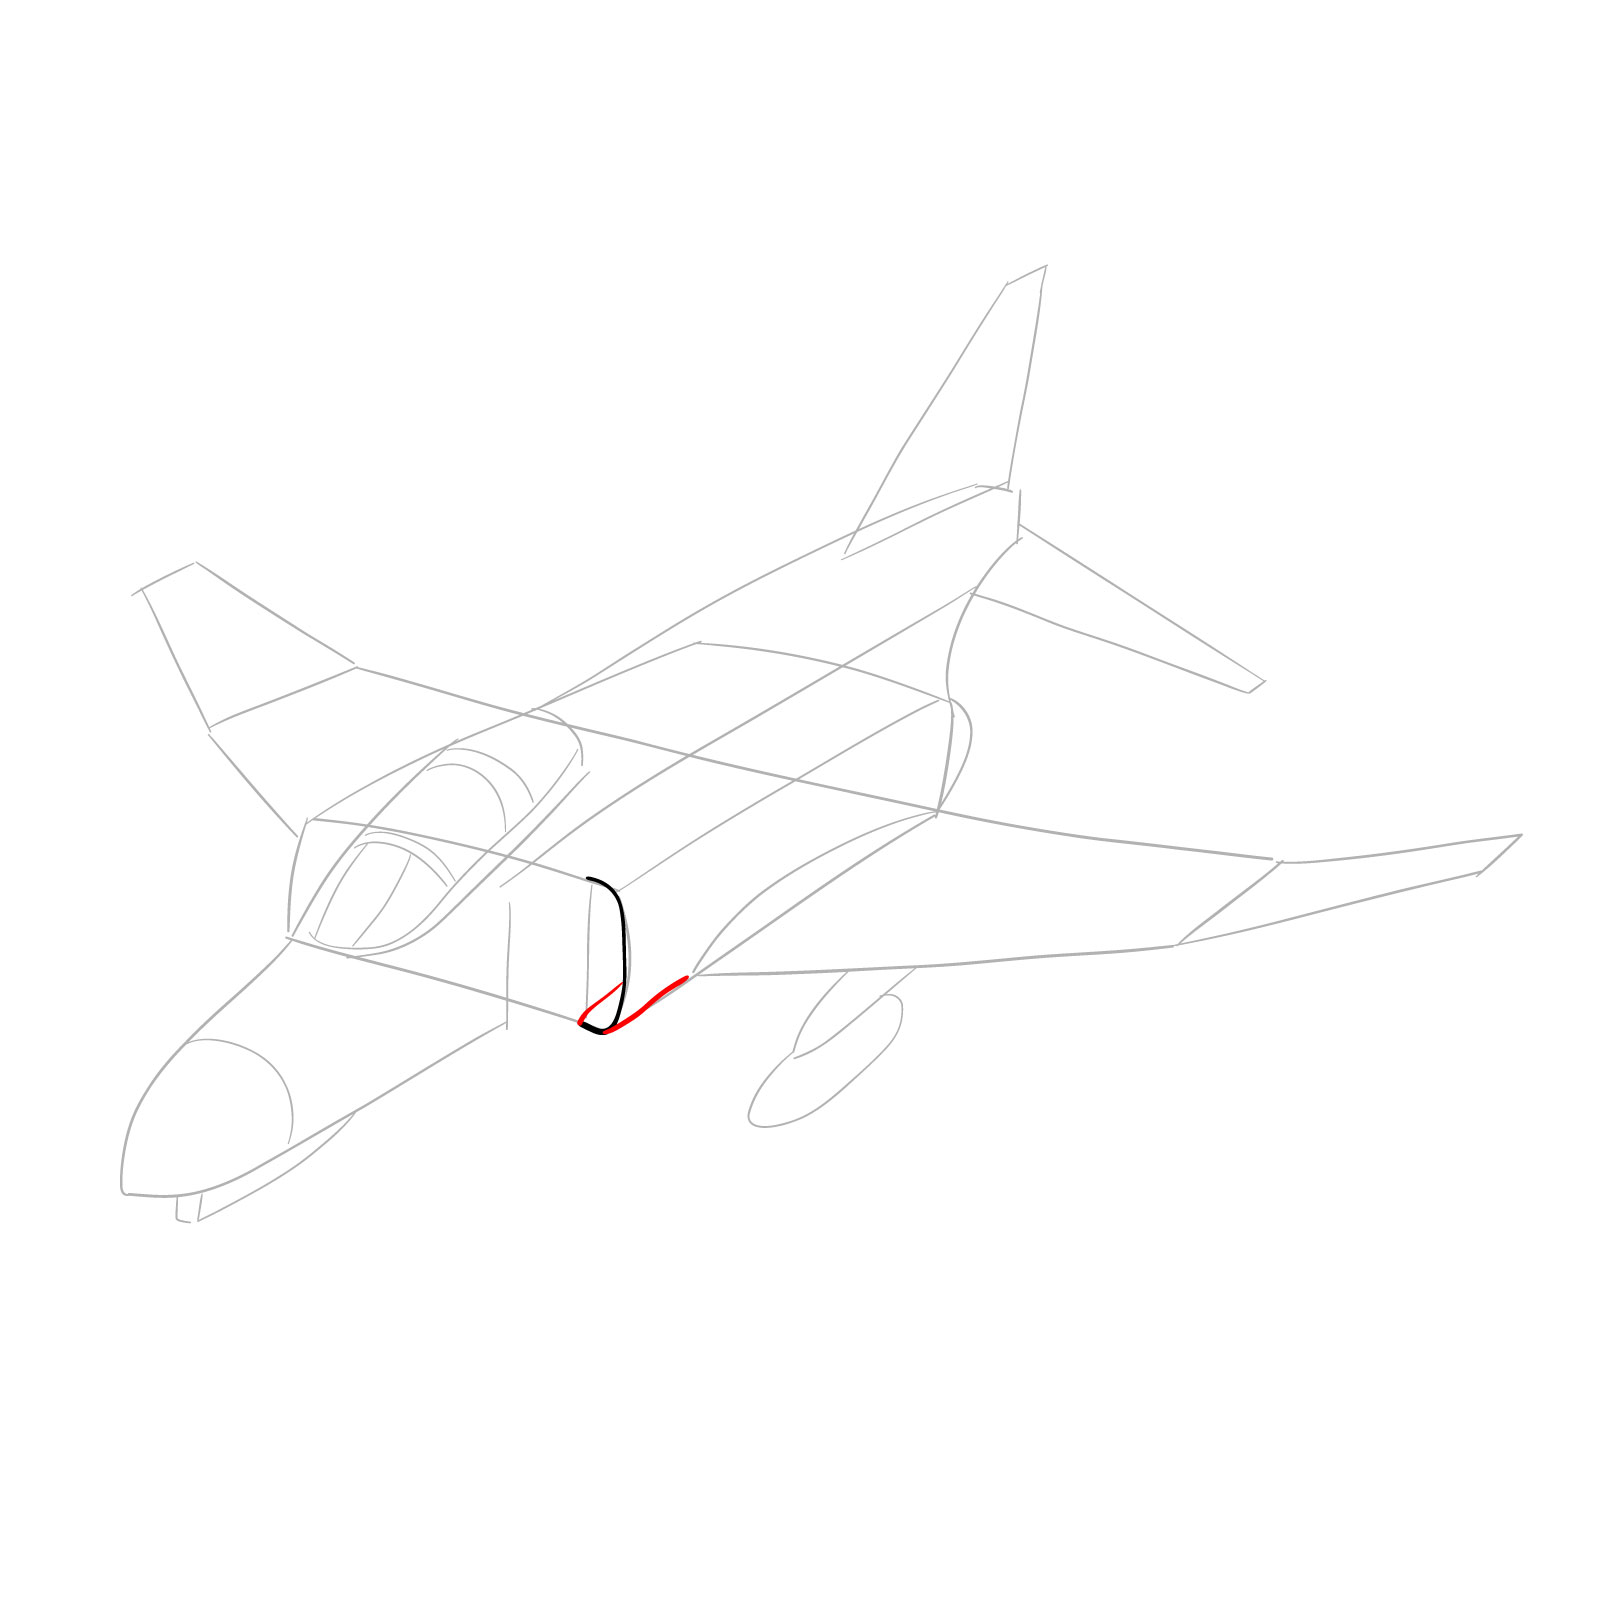
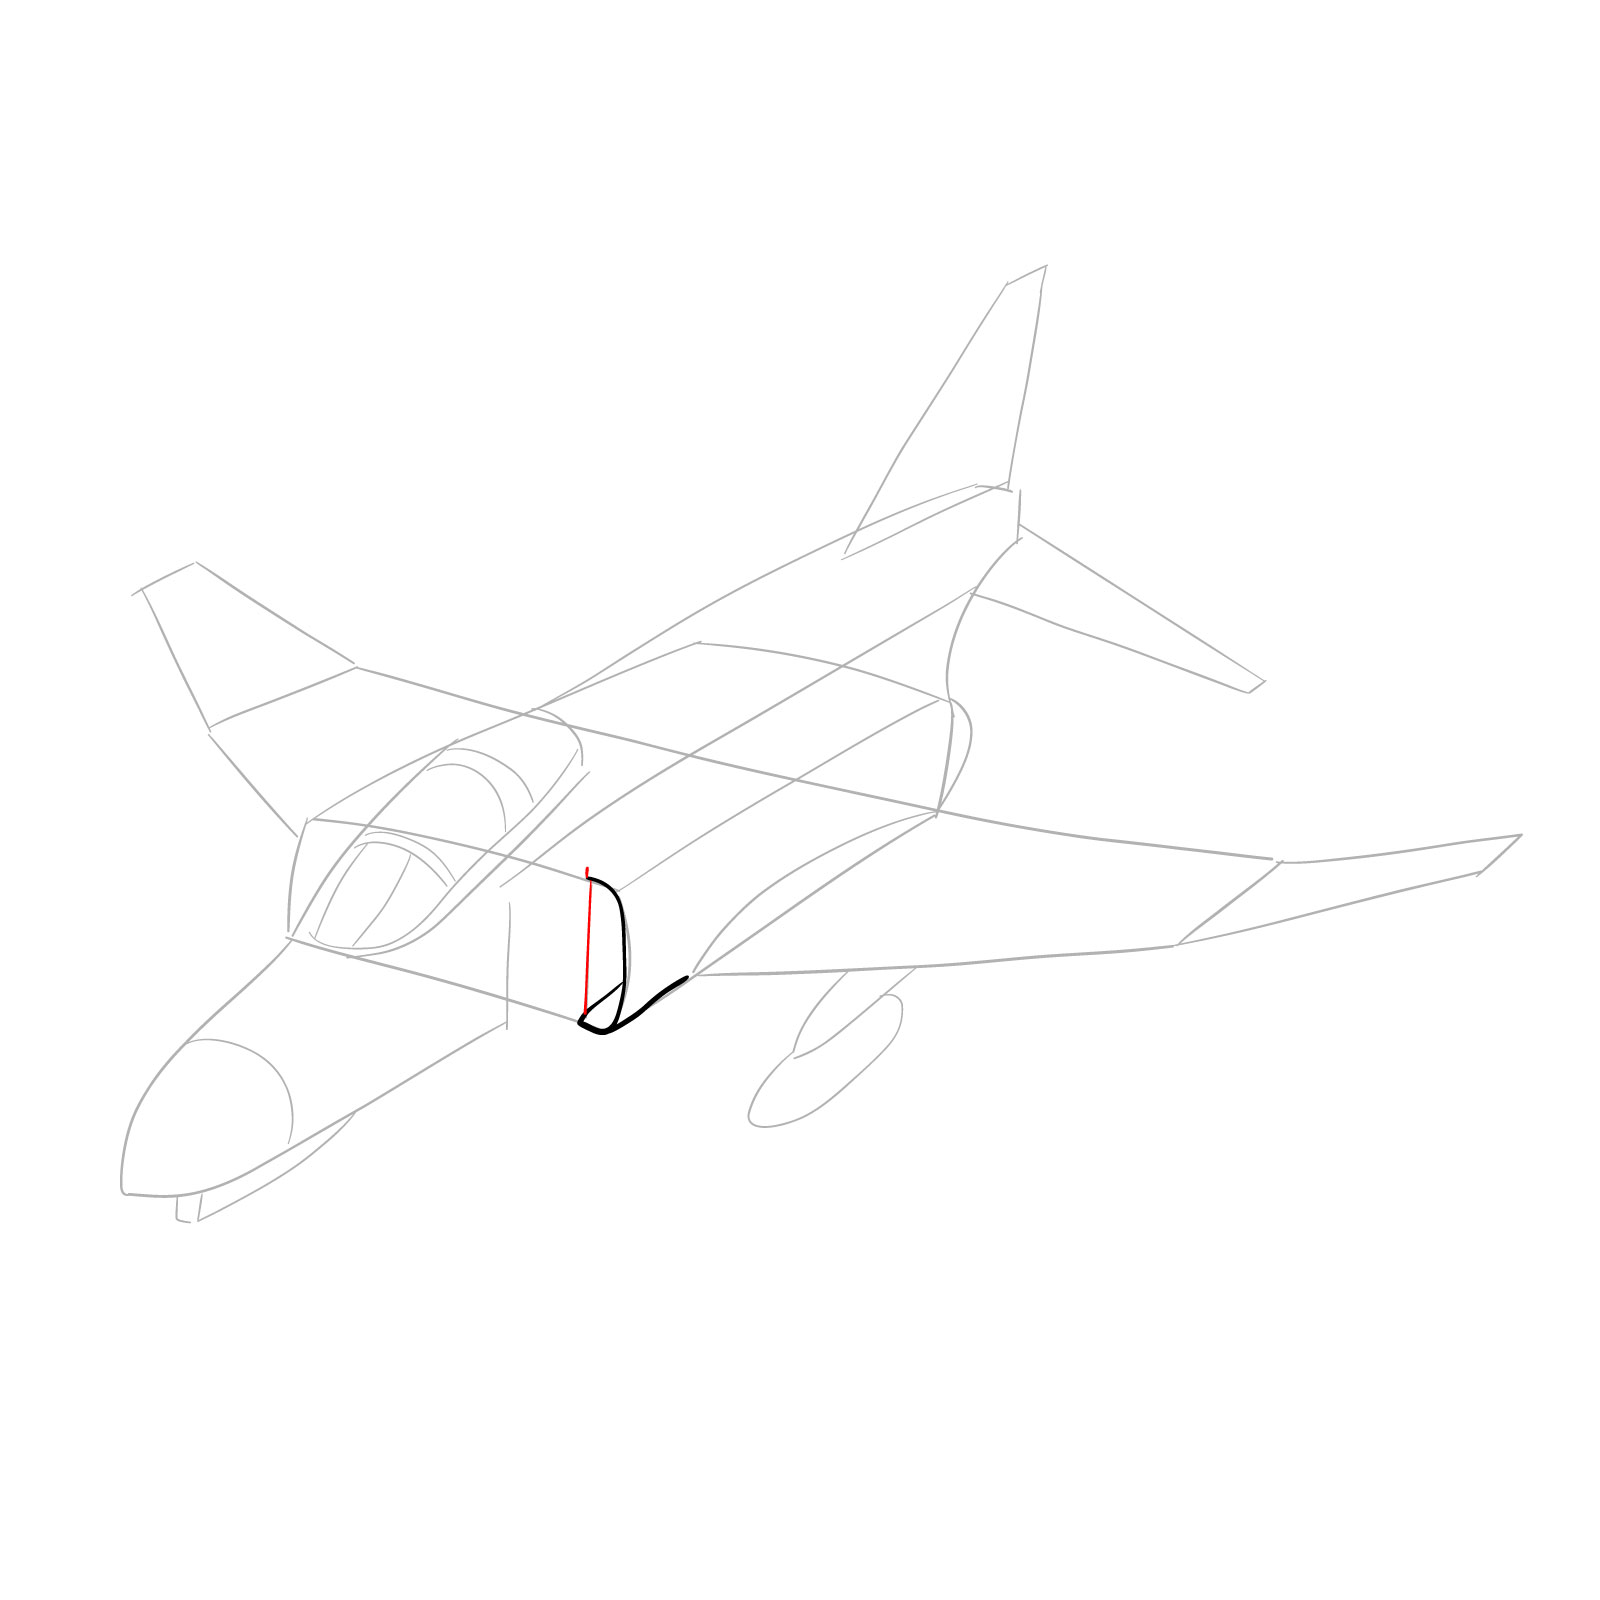
Part 2: Refining the Sketch
With the basic structure in place, begin refining your sketch by adding details to the F-4 Phantom II. Pay attention to the various components of the aircraft, such as the cockpit, wings, and landing gear. Be sure to maintain the correct proportions as you enhance the sketch.


Part 3: Inking Your Masterpiece
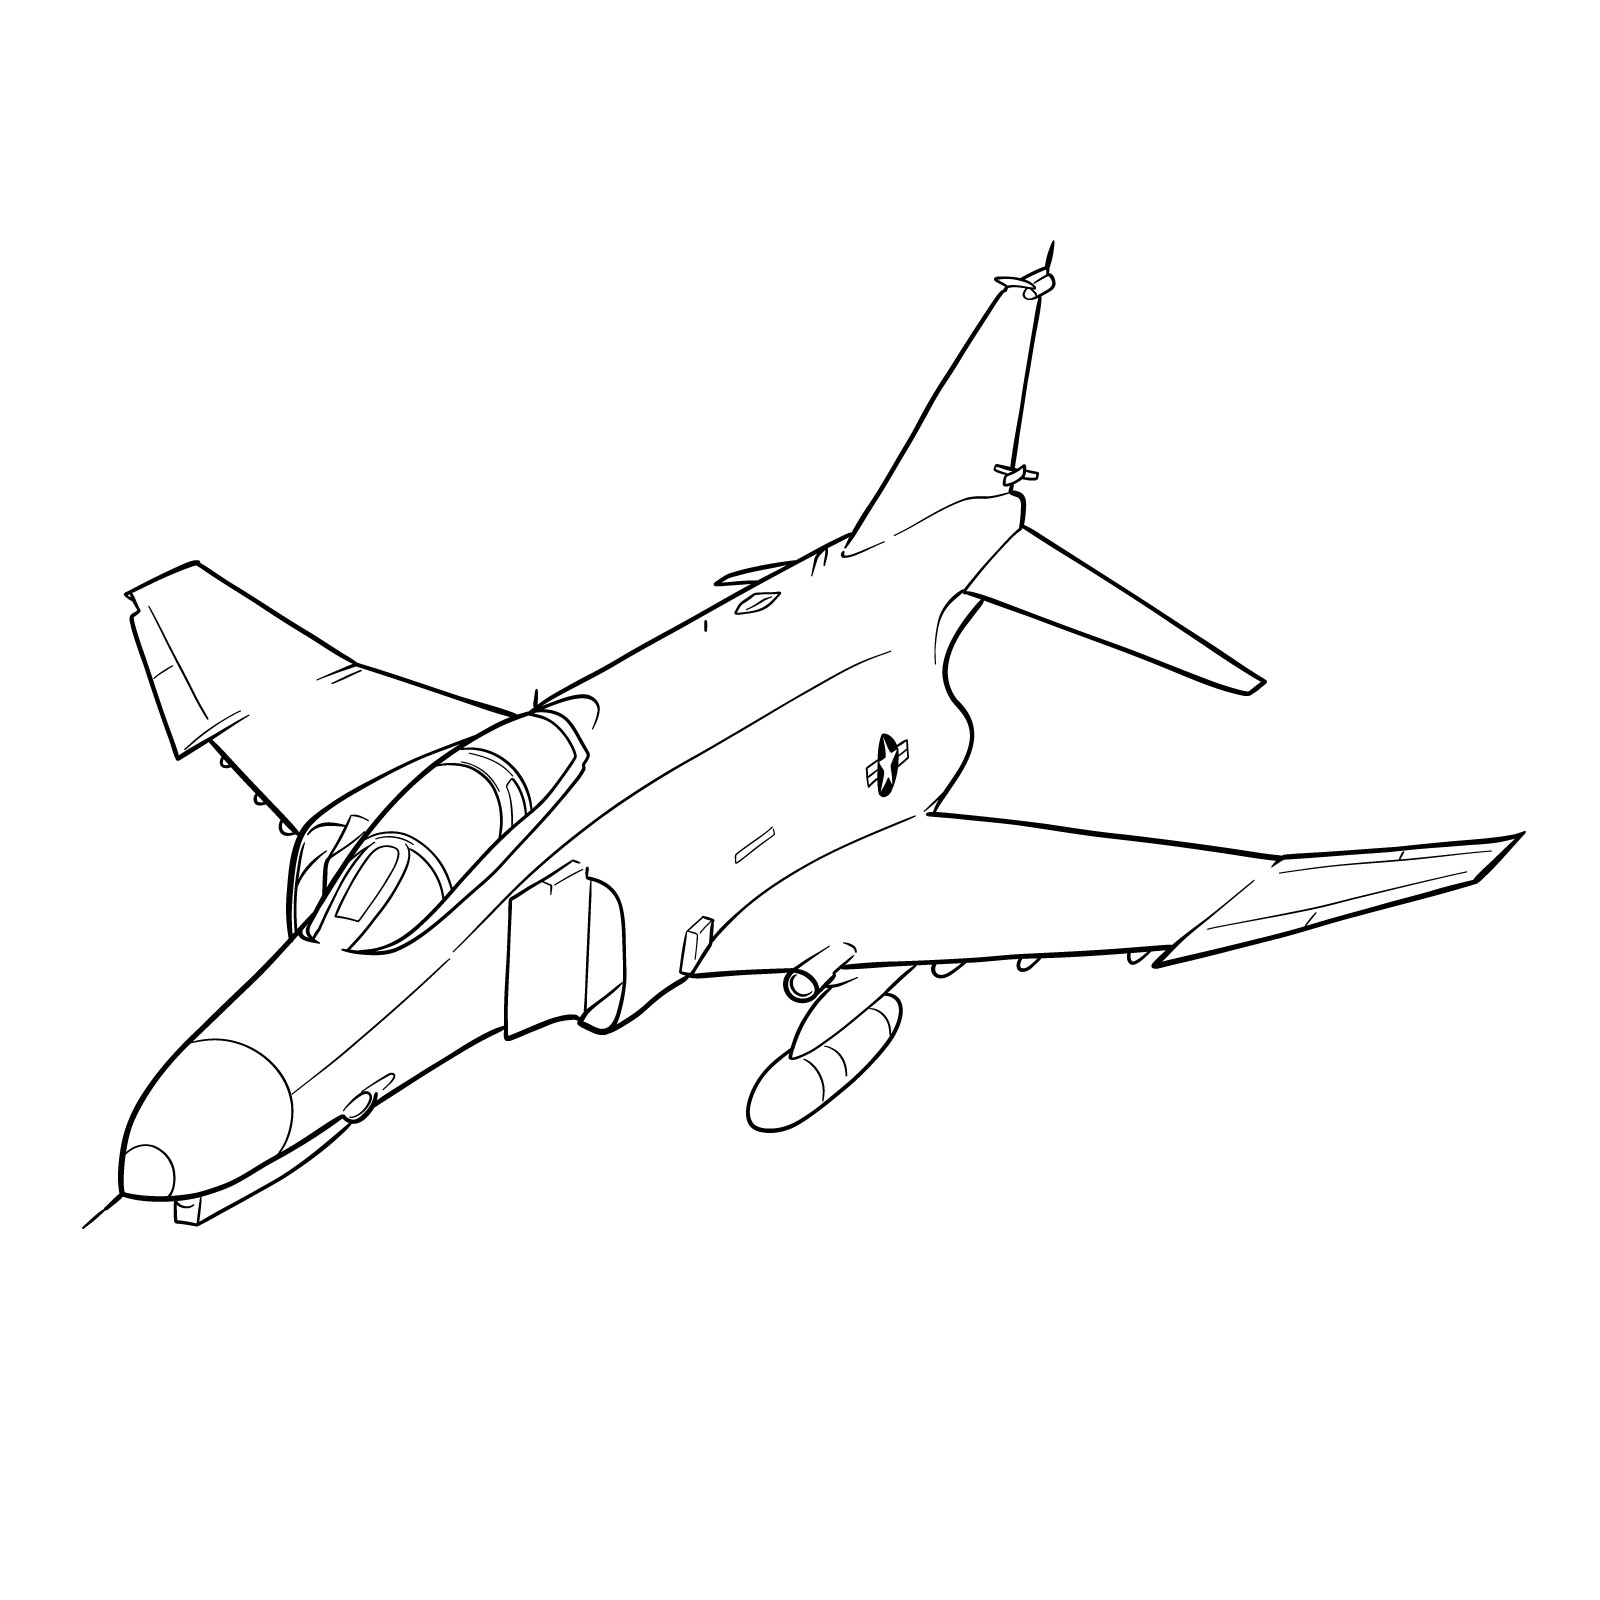
Once you’re satisfied with your refined sketch, it’s time to add the finishing touches with ink. Using a pen or fine liner, carefully outline your drawing and add any additional details to make the F-4 Phantom II come to life. Be sure to let the ink dry completely before erasing any pencil marks.
Now that you know how to draw the McDonnell Douglas F-4 Phantom II, there are plenty more classic jets and warbirds in the series to tackle, so keep an eye out for upcoming guides in the Jets And Planes collection. If you want to catch new tutorials as they go live, the email signup form at the top of the page sends a weekly digest straight to your inbox. You can also follow along on Pinterest or Facebook for updates and to share your own F-4 Phantom II sketch with other readers.