Jets and Planes
Do you dream of soaring through the sky and leaving your mark on the clouds? Welcome to Sketchok, your go-to website for step-by-step drawing guides on different categories. With our guides, you can learn how to draw jets and planes that will have you flying high in no time. Whether you’re an aspiring artist, aviation enthusiast, or just looking for a fun new hobby, our guides are perfect for you. From essential techniques to step-by-step tutorials, our comprehensive guide will take your art to new heights.

Our drawing tutorials are designed to help you improve your drawing skills and create realistic-looking aircraft illustrations. In this guide, we will take you through the process of drawing jets and planes, from the basic shapes to the final touches. By the end of this guide, you will be able to create stunning drawings of various types of aircraft.
Before we dive into the guide, let’s first discuss the importance of learning how to draw jets and planes.
Why Learn How to Draw Jets and Planes?
Drawing jets and planes can be a fun and rewarding experience. It allows you to express your creativity and imagination while improving your hand-eye coordination and attention to detail. Moreover, drawing aircraft is a practical skill that can open up career opportunities in fields such as aviation, engineering, and architecture.
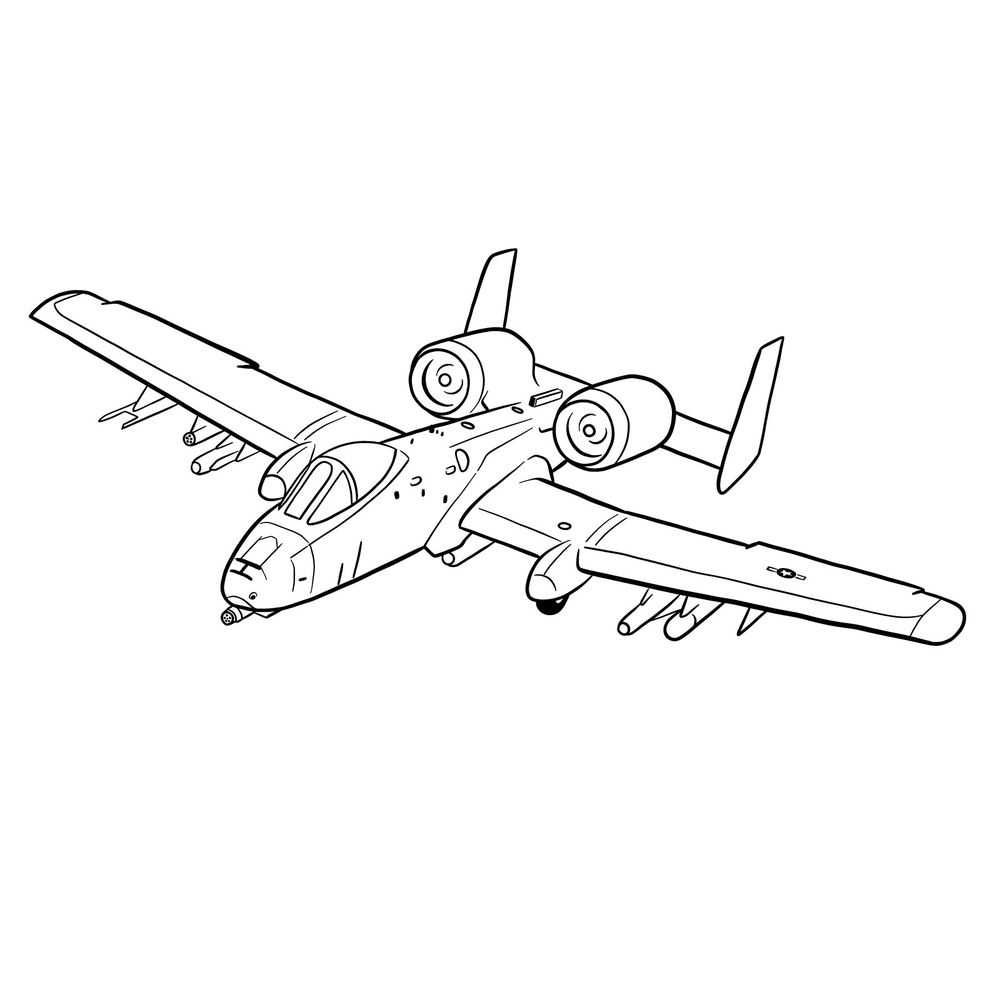
Now that we’ve established the importance of learning how to draw jets and planes, let’s move on to the steps involved.
Step 1: Understanding the Basic Shapes
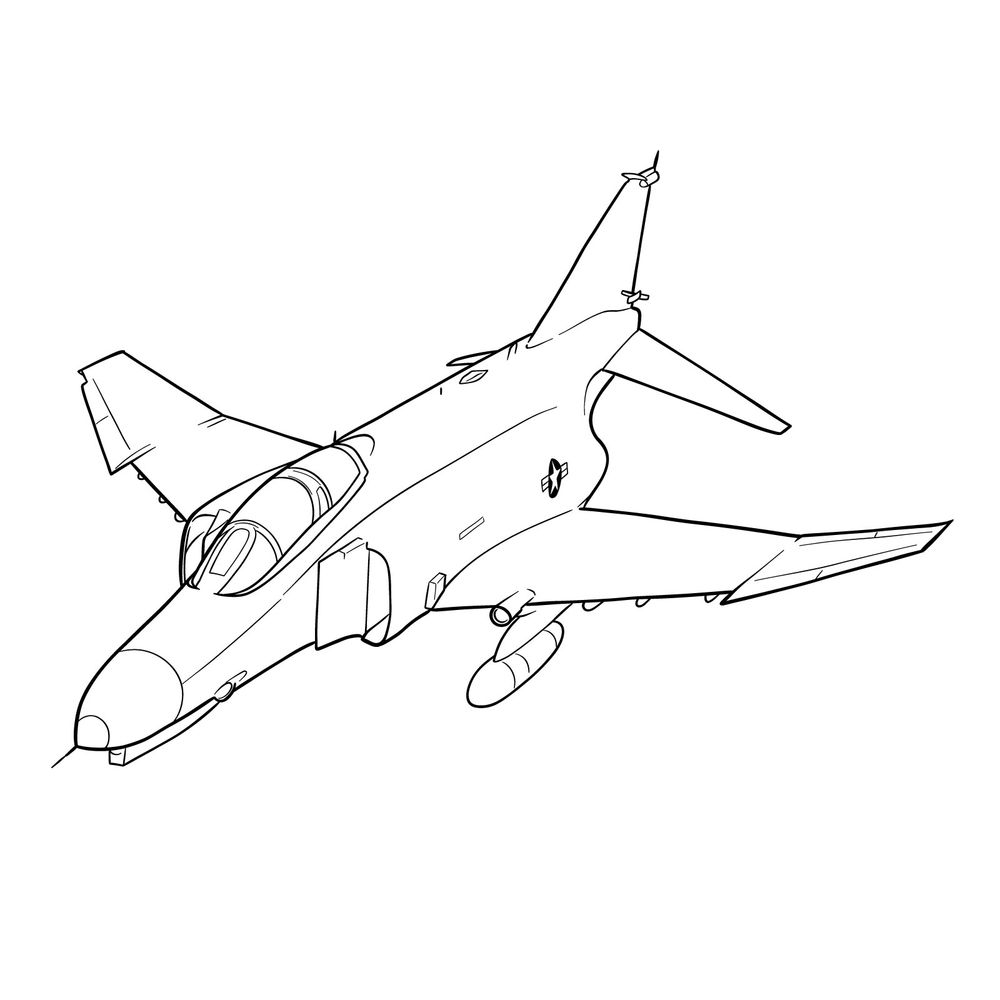
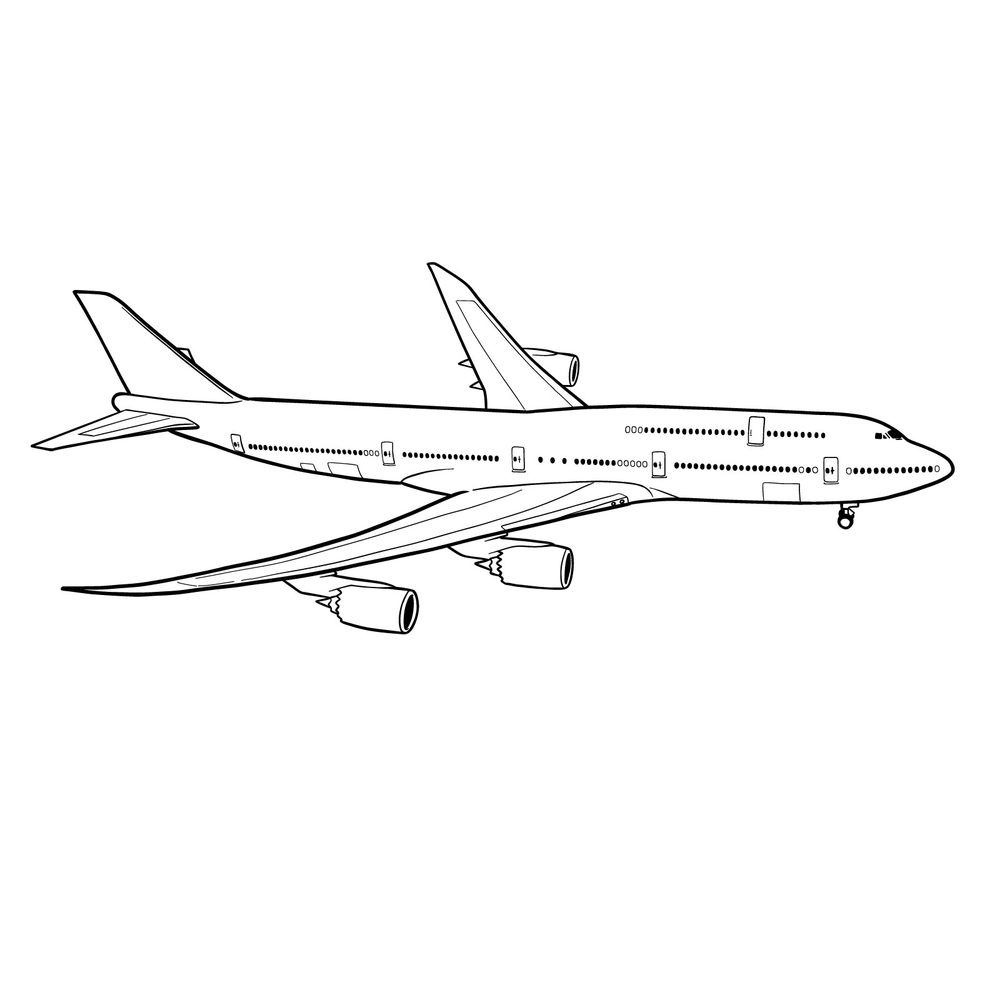
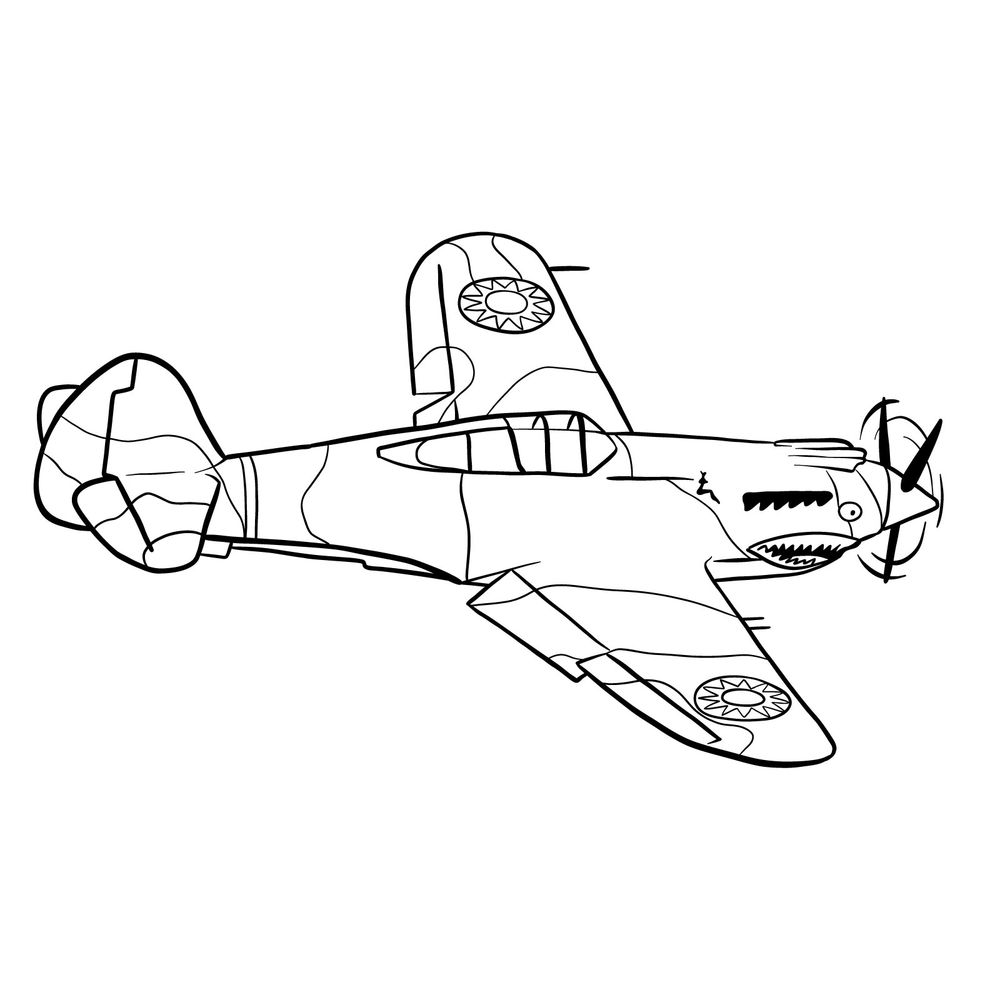
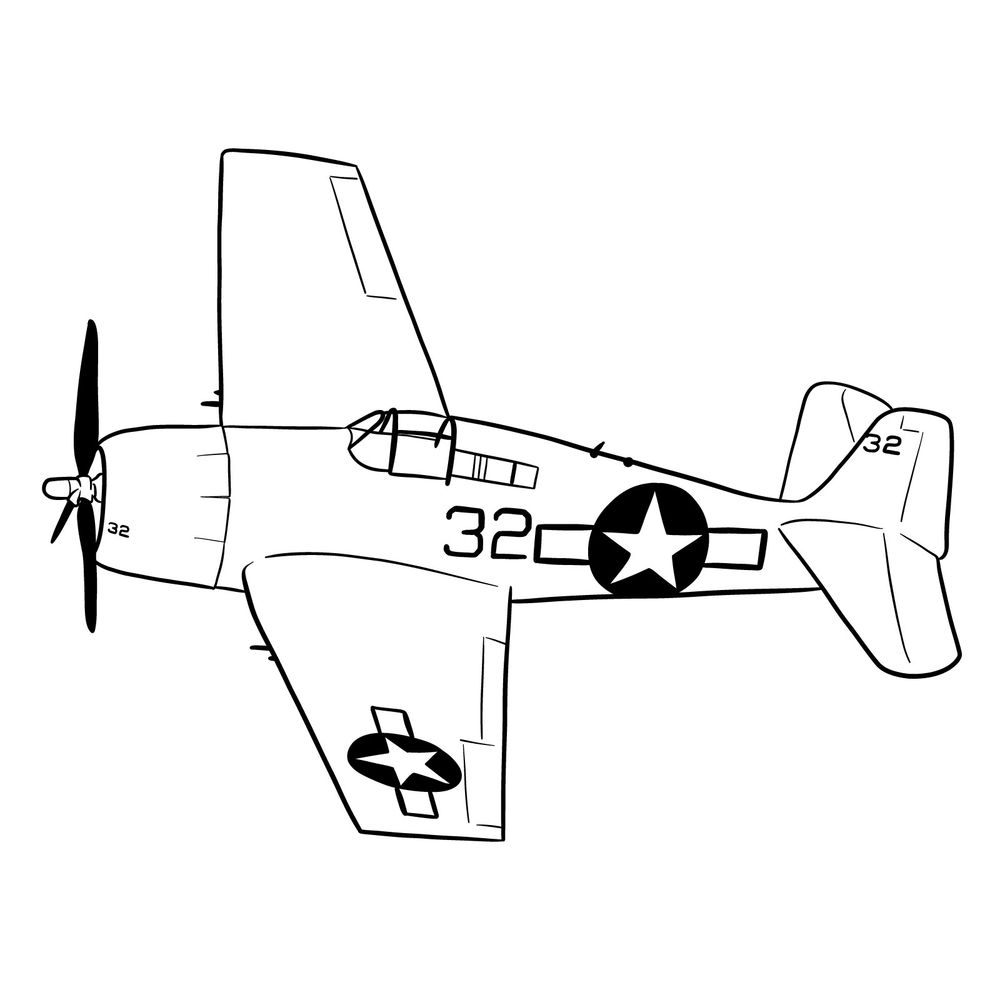
The first step in drawing jets and planes is to understand the basic shapes that make up their structure. The fuselage, wings, tail, and engines all have specific shapes that can be broken down into simpler forms. Understanding these basic shapes will make it easier to create a more accurate and realistic-looking drawing.
Step 2: Sketching the Outline
Once you have a good understanding of the basic shapes, it’s time to start sketching the outline of the aircraft. Start with the fuselage, then add the wings, tail, and engines. Pay close attention to the proportions and placement of each part. You can use a ruler or other drawing tools to ensure straight lines and accurate angles.
Step 3: Adding Details
Now that you have the basic outline of the aircraft, it’s time to add the details that make each type of aircraft unique. This may include things like cockpit windows, landing gear, air intakes, and exhaust nozzles. Take your time with this step and pay close attention to the details.
Step 4: Shading and Coloring
The final step in drawing jets and planes is to add shading and coloring to bring the drawing to life. This can be done using pencils, markers, or digital tools. Use light and shadow to create depth and dimension in the drawing, and choose colors that accurately represent the real aircraft.

FAQs
Q: Do I need any special tools to draw jets and planes?
A: No, you can use basic drawing tools like pencils and paper to create your aircraft drawings. However, if you want to create digital drawings, you will need appropriate software and hardware.
Q: How long does it take to learn how to draw jets and planes?
A: The time it takes to learn how to draw jets and planes depends on your level of skill and the amount of practice you put in. Some people may be able to create realistic-looking drawings in a matter of weeks, while others may take months or years to master the skill.
Q: Are there any tips for drawing realistic-looking aircraft?
A: Yes, pay close attention to the details and proportions of the aircraft, use shading and coloring to create depth and dimension, and practice regularly to improve your skills.
