Introduction: Get Ready to Draw Master Wu
Welcome, aspiring artists! Are you ready to embark on a creative journey and learn how to draw Master Wu, the ancient and wise mentor of the ninja from the world of Ninjago? This step-by-step drawing tutorial will guide you through the process, making Master Wu drawing accessible and enjoyable for everyone. So, gather your drawing tools and let’s get started!
The Wise and Witty Master Wu: A Brief Character Overview
Master Wu, the brother of Garmadon and uncle of Lloyd, is a pivotal character in the Ninjago series. With his extensive knowledge of Spinjitzu and ninja arts, he trains young heroes to protect the land created by his father, the First Spinjitzu Master. Throughout the series, Master Wu encounters numerous adventures and battles against formidable foes, such as the Serpentine, the Overlord, and the Time Twins. As the story unfolds, he even faces personal challenges, such as being lost in time and turning into a baby due to the Reversal Time Blade. Master Wu’s wisdom, courage, and wit make him a beloved character and a fantastic subject for a drawing tutorial.
Recommended Materials and Tools
Before we dive into the drawing process, let’s gather the materials and tools you’ll need for this tutorial. While you’re free to use any drawing tools you prefer, we recommend the following:
- Pencil (HB or 2B)
- Eraser
- Drawing paper
- Fineliner or ink pen
- Colored pencils or markers
With your tools in hand, you’re ready to begin your artistic adventure!
Master the Art of Drawing Master Wu: Step-by-Step Guide
In this tutorial, we’ll break down the drawing process into four main parts. Follow along as we create a sketch of Master Wu, refine it, ink the outlines, and add color and shading.
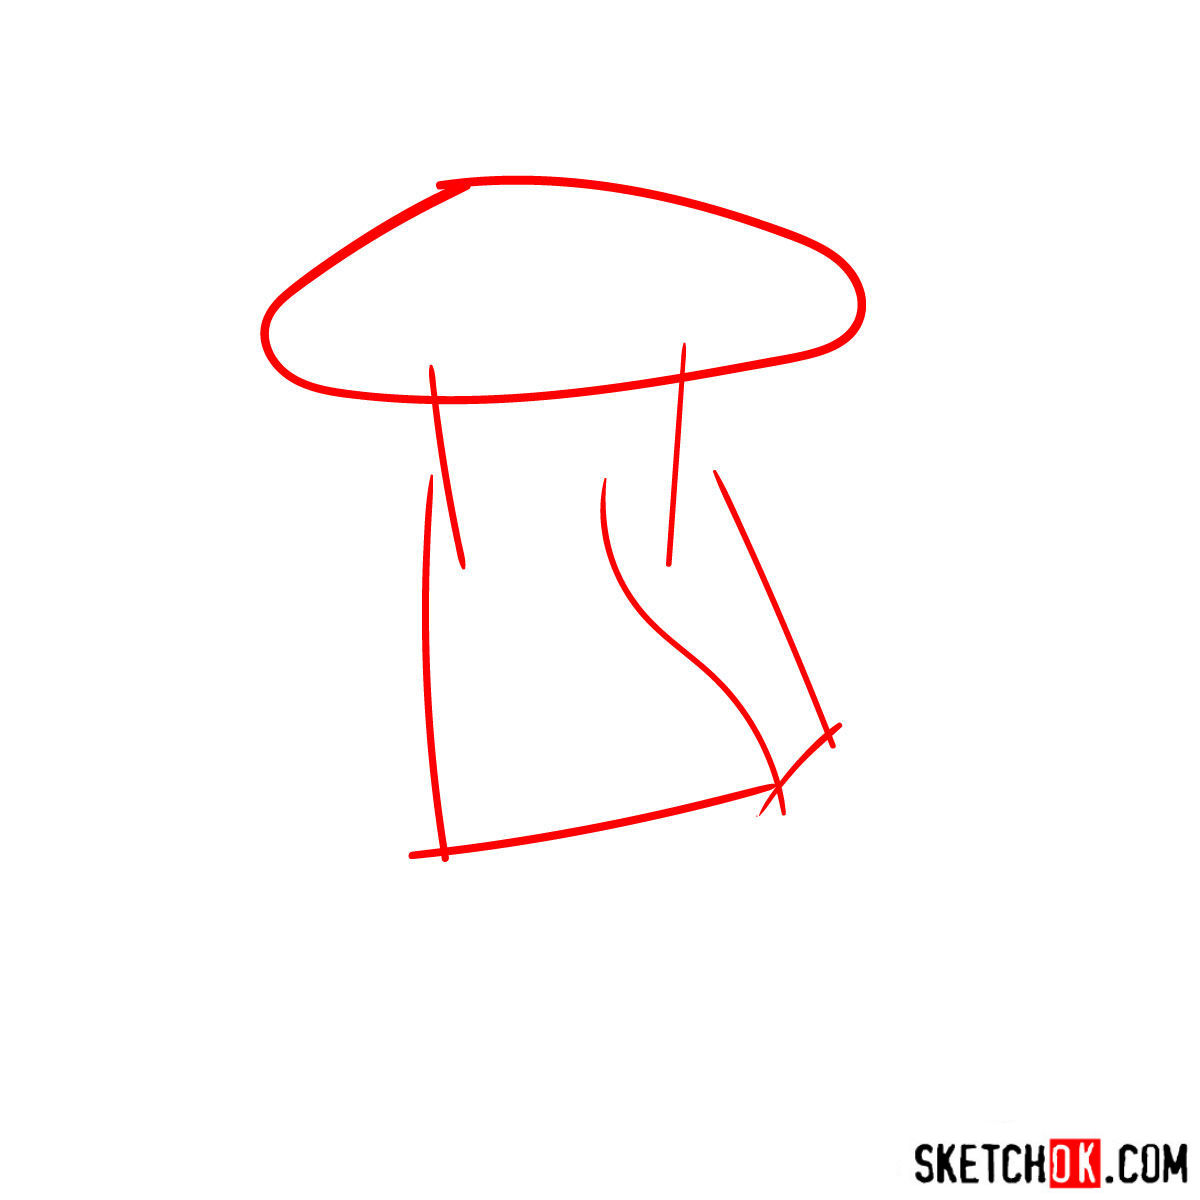
Part 1: Laying the Foundation with a Basic Sketch
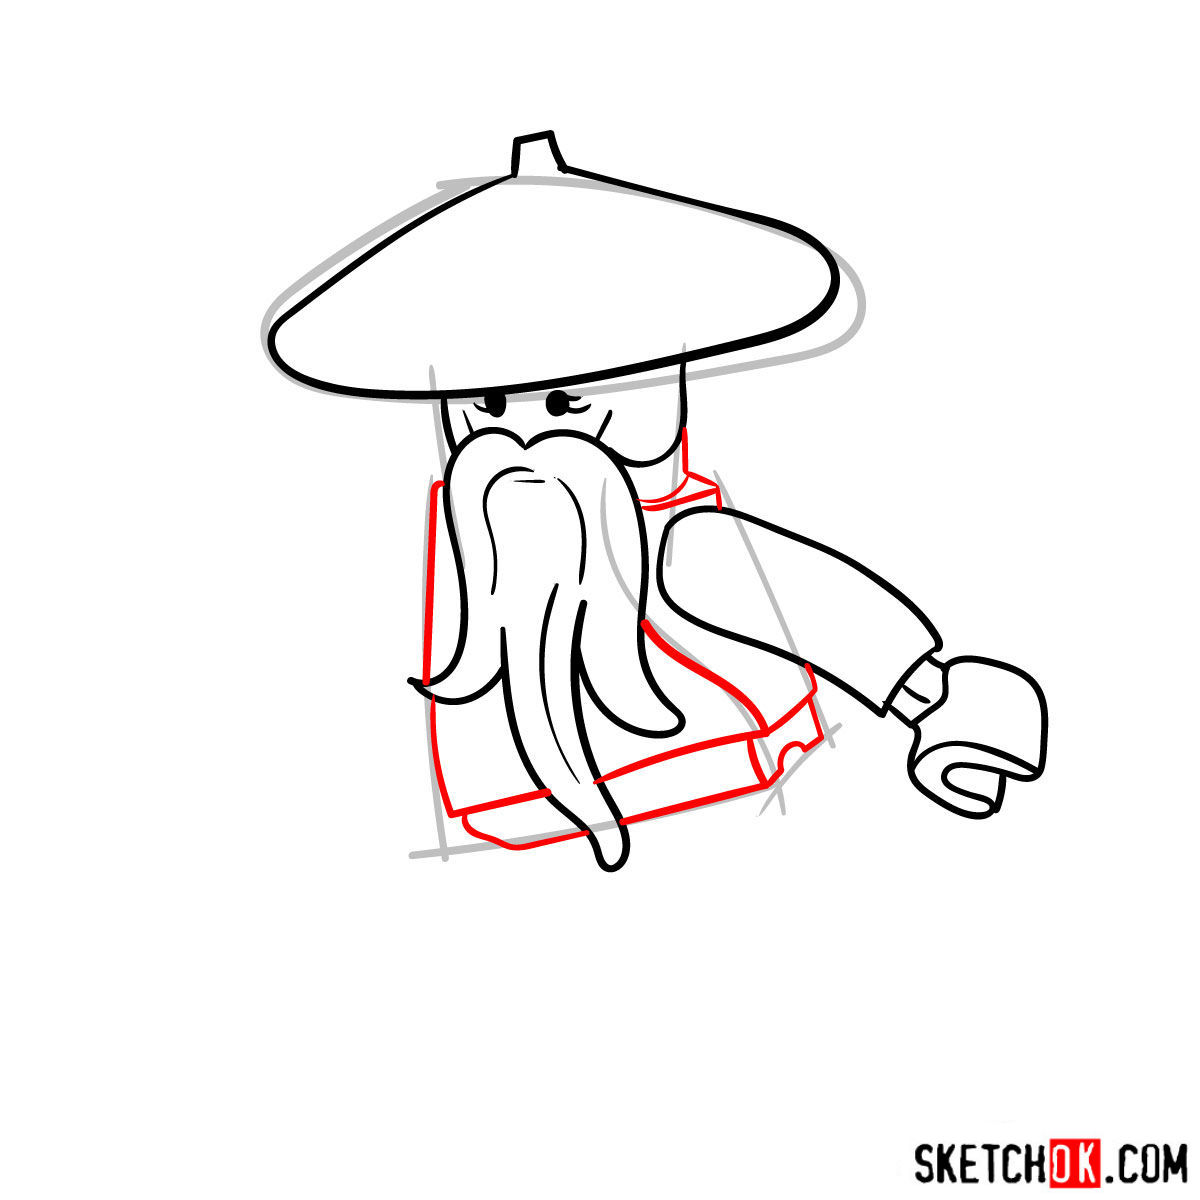
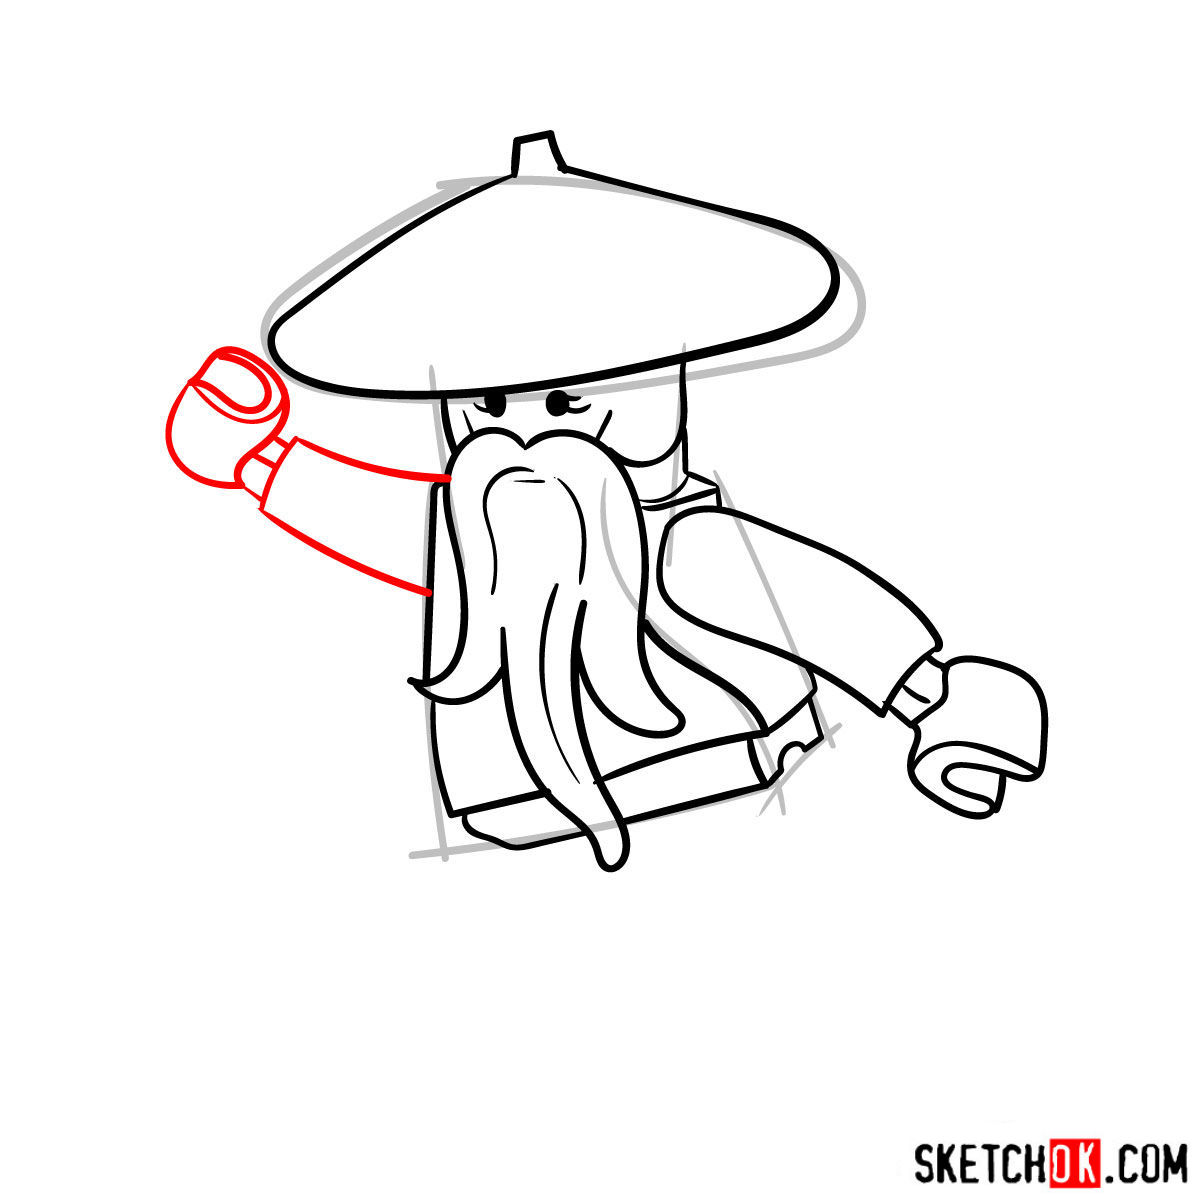
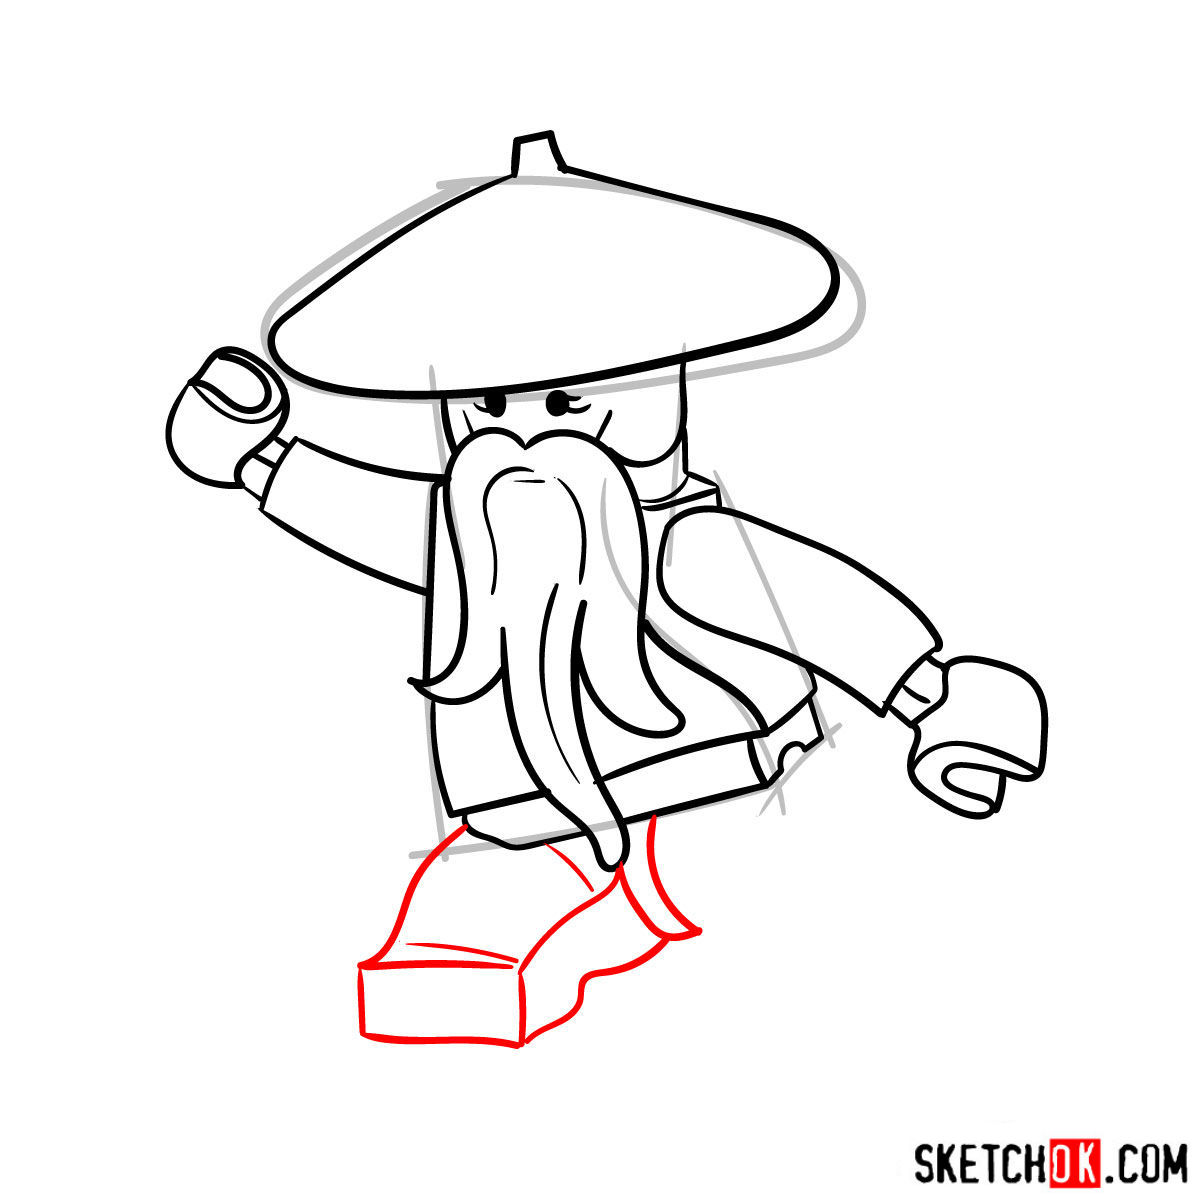
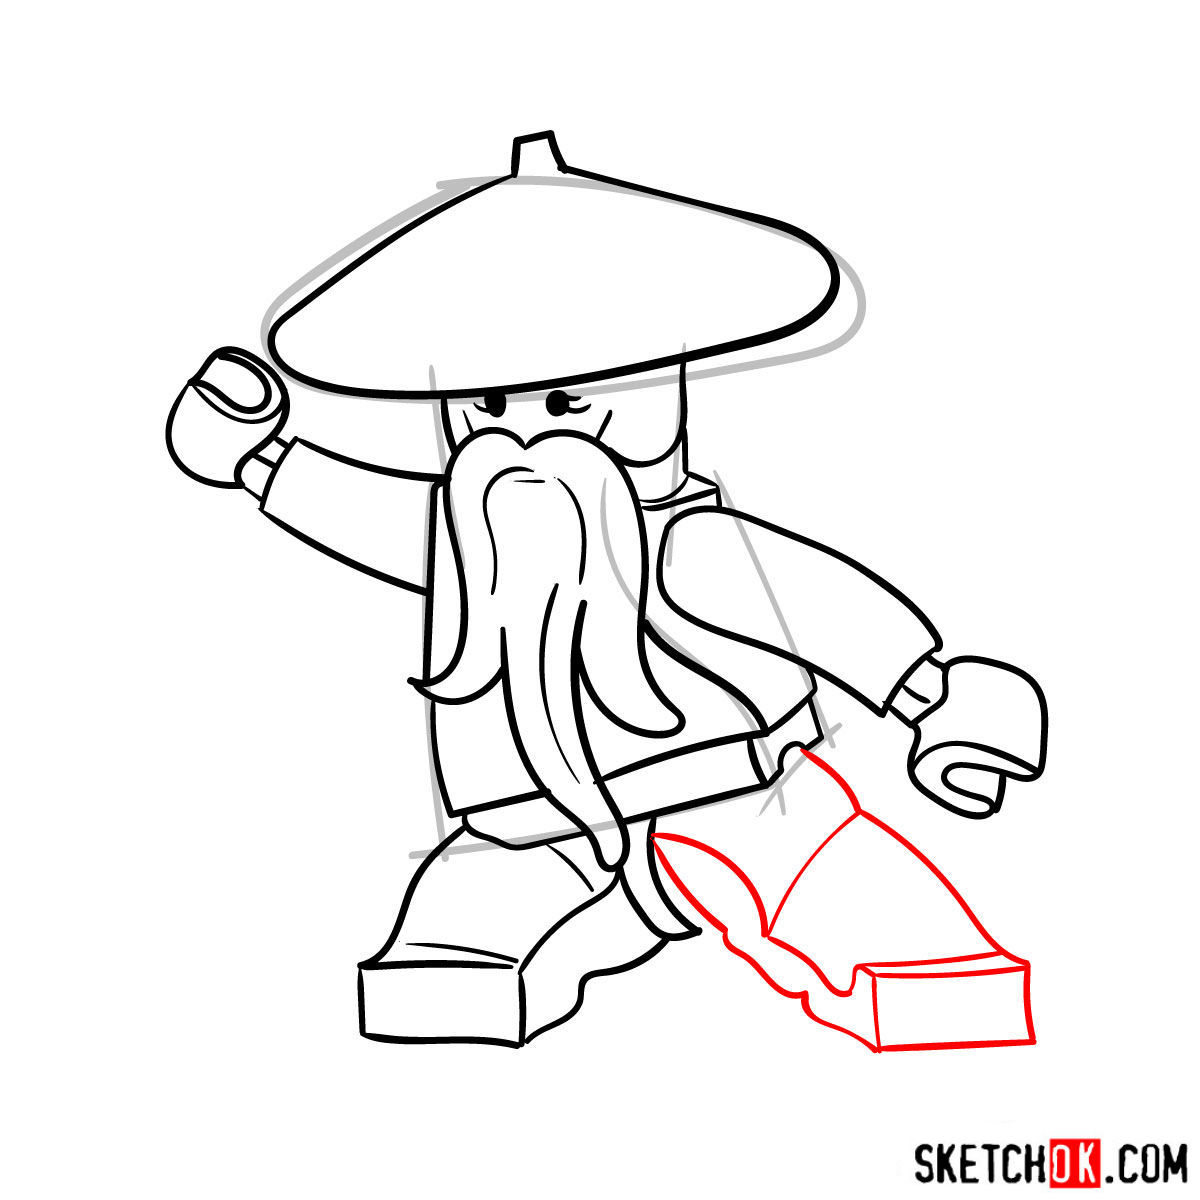
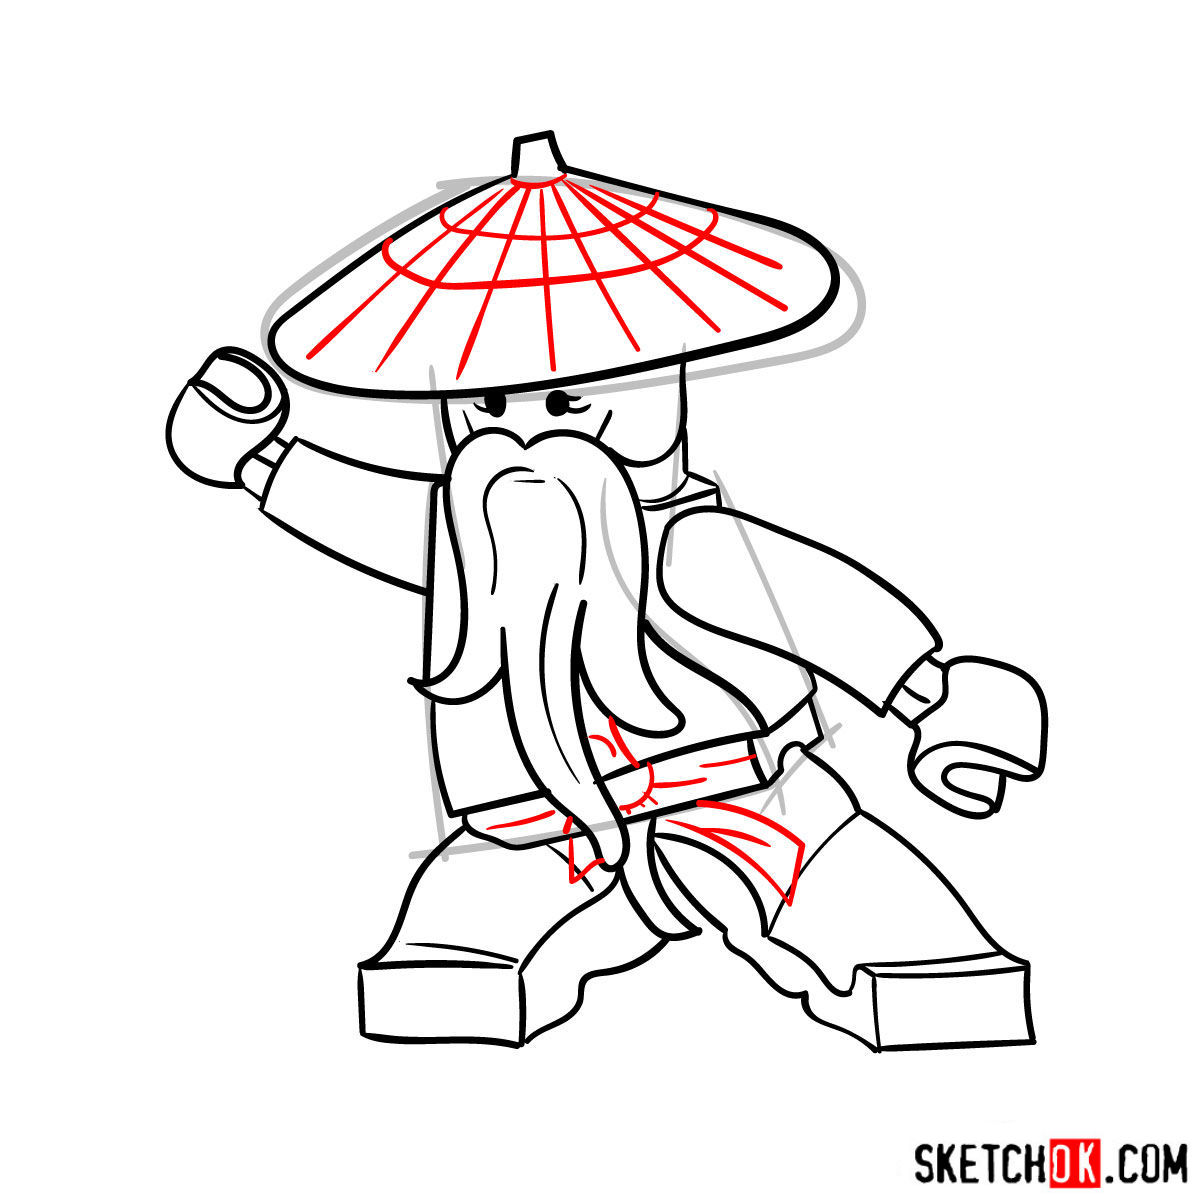
The first step in drawing Master Wu is creating a basic sketch to establish the character’s proportions and structure. Using light pencil strokes, draw simple shapes and guidelines to represent the main features of Master Wu’s figure. This step is crucial as it sets the foundation for the entire drawing. Remember, the red color in the tutorial images indicates the current step, while the gray and black colors represent the basic proportions and previously drawn elements, respectively.
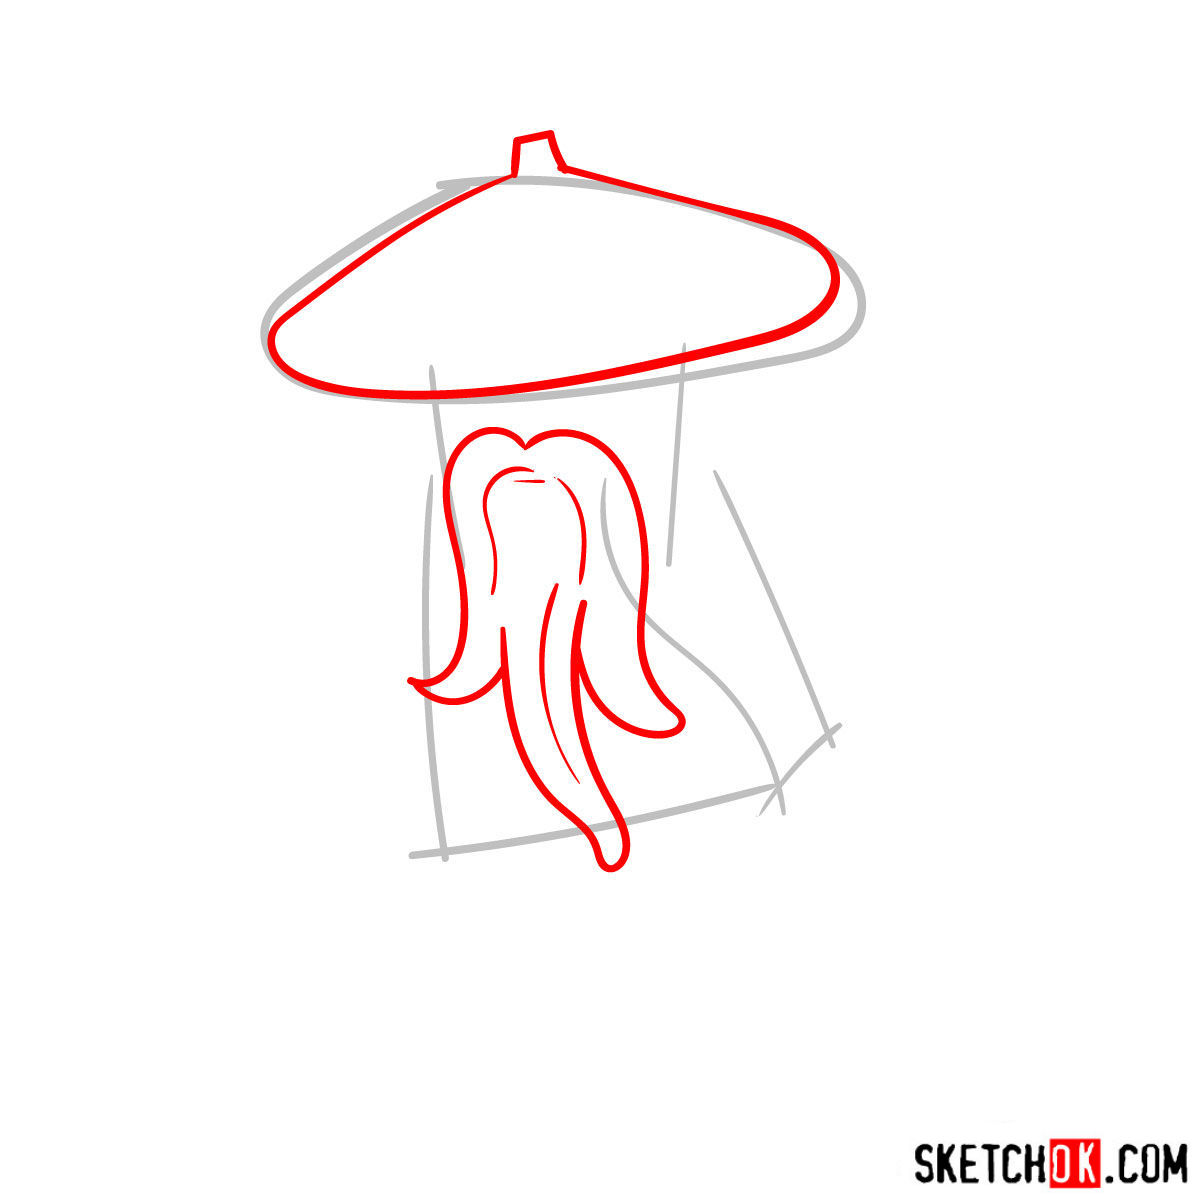
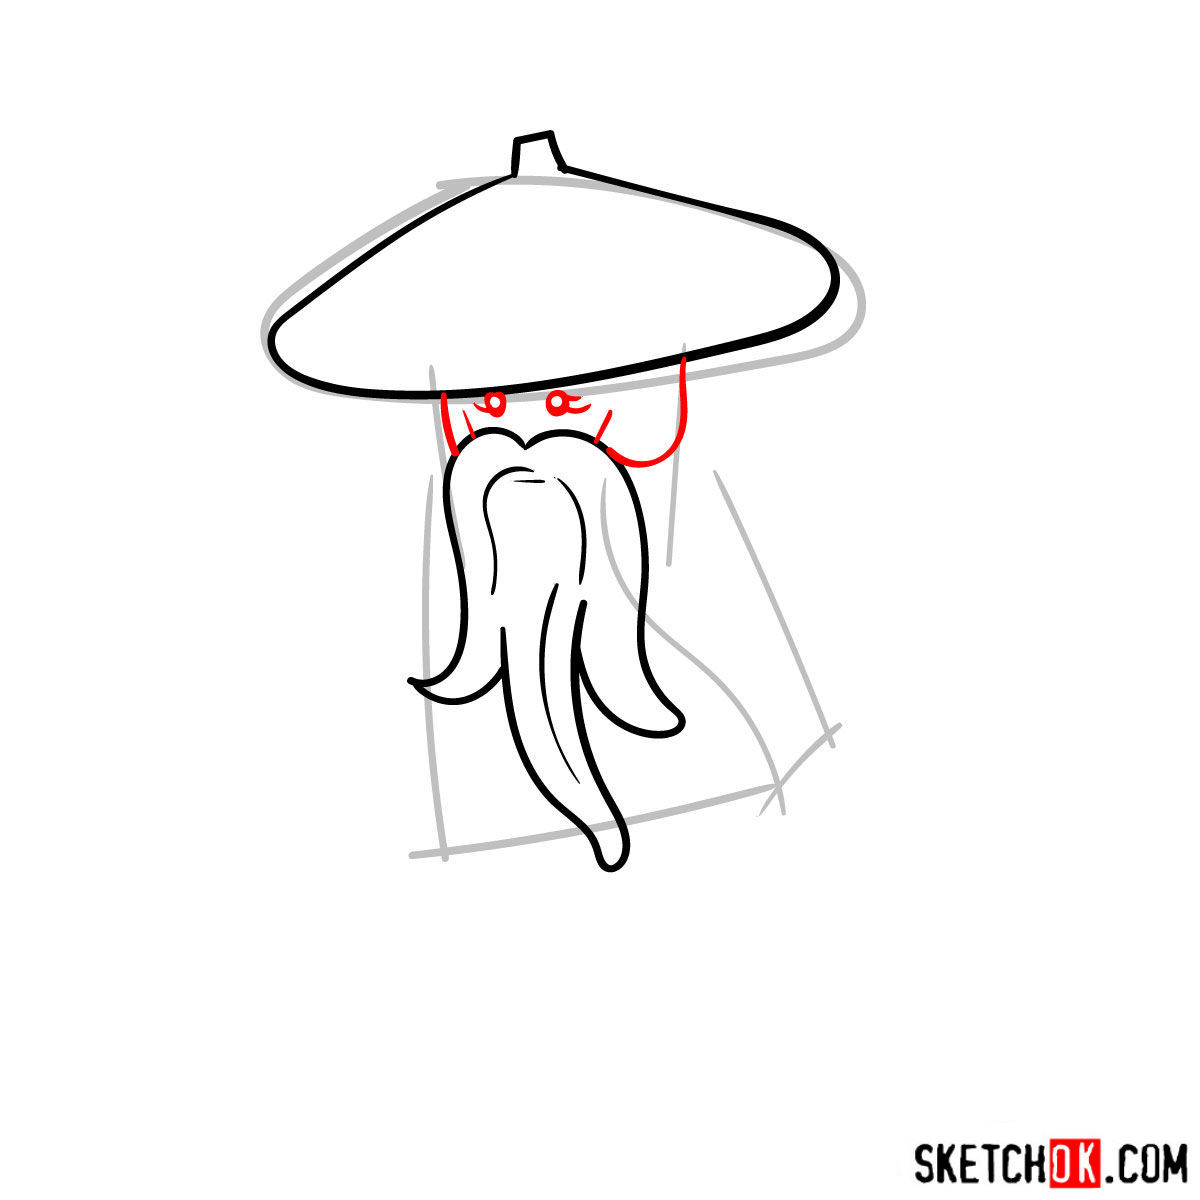
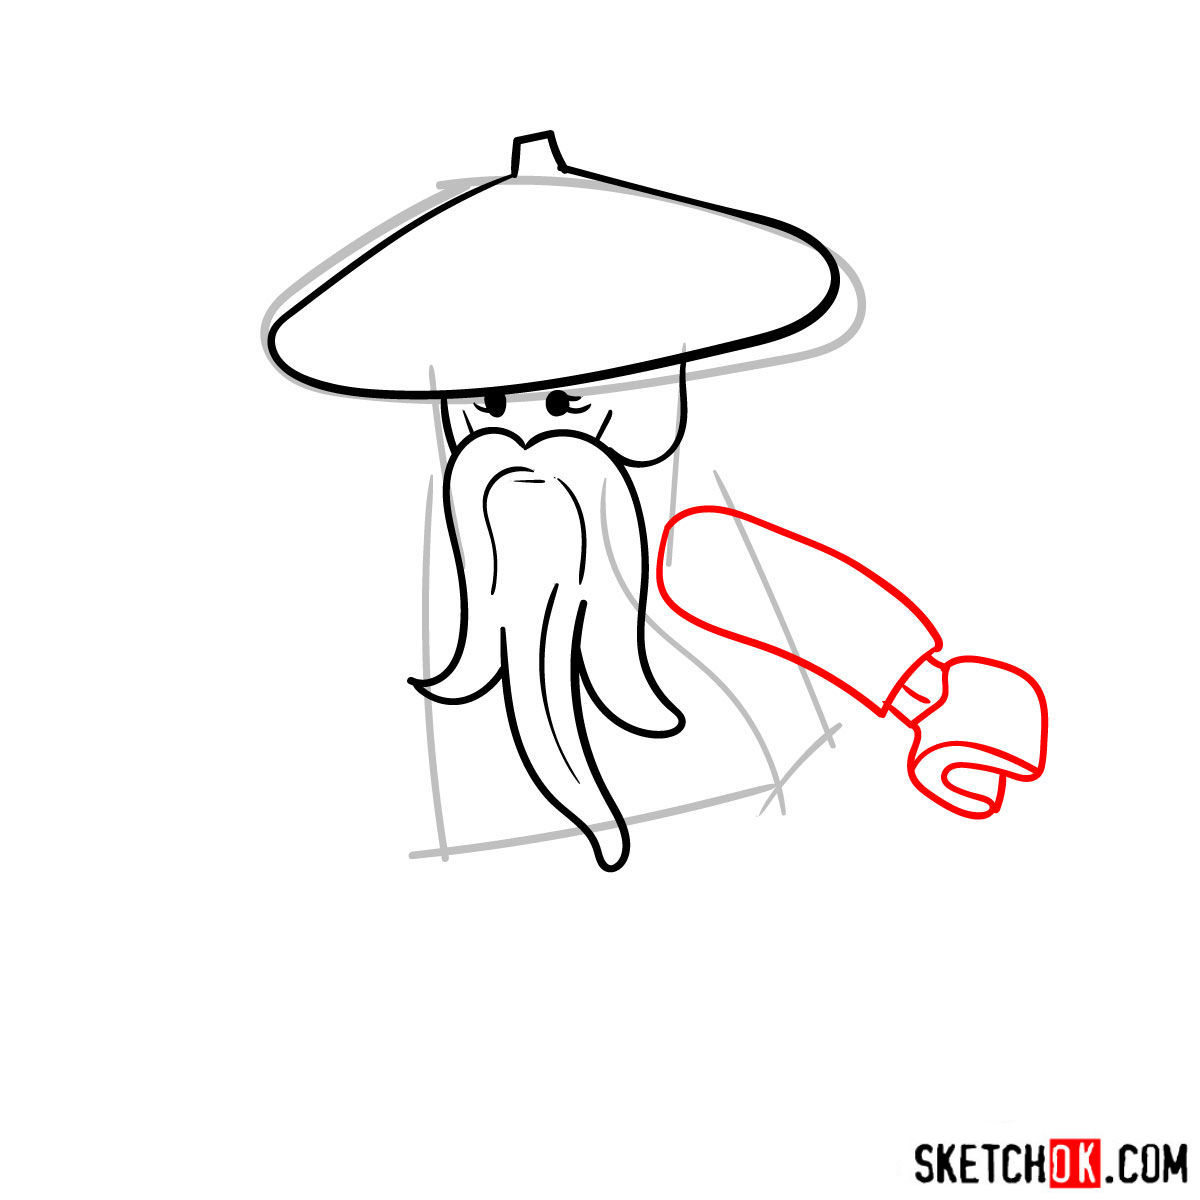
Part 2: Refining the Masterpiece: Adding Details and Improving Proportions
With the basic sketch in place, it’s time to refine your drawing by adding details and improving proportions. Carefully study the character’s appearance, paying attention to his iconic hat, flowing beard, and intricate robes. As you refine your sketch, consider how Master Wu’s design elements relate to other Ninjago characters, such as Kai, Jay and Zane. This step will help you capture the essence of Master Wu and bring your drawing closer to completion.
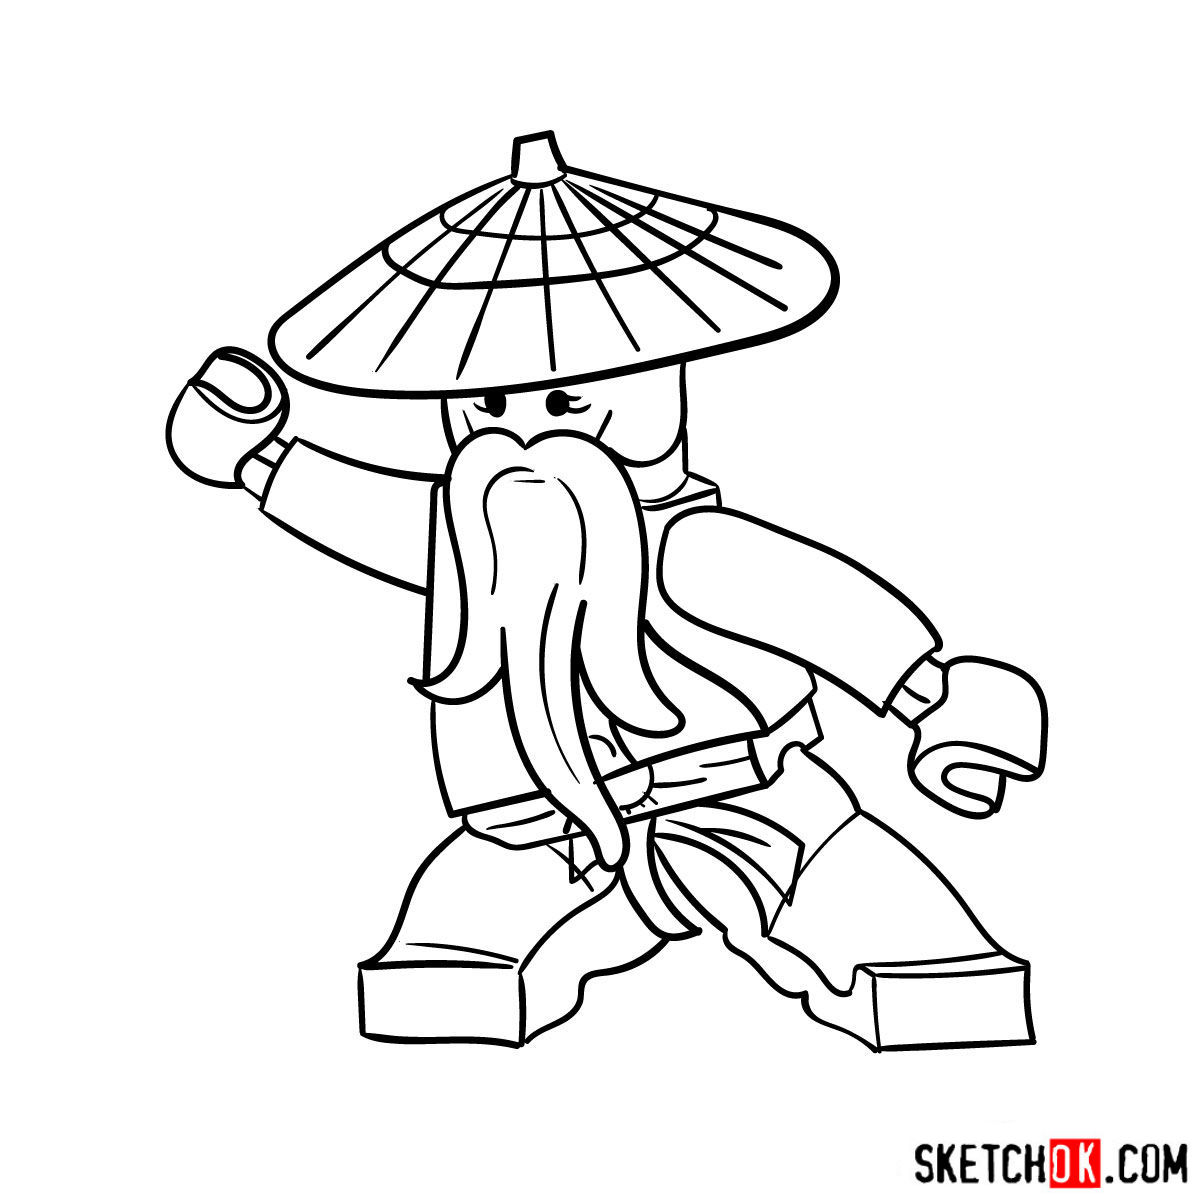
Part 3: Ink It Up: Outlining and Adding Final Touches
Once you’re satisfied with your refined sketch, it’s time to move on to inking. Grab your fineliner or ink pen and carefully trace the outlines of your drawing. Be sure to add any final details that will make Master Wu’s character shine, such as the texture of his robes, the expression on his face, or the intricate patterns on his hat. While inking, remember to let your drawing breathe by not overcrowding it with lines. Outlining your drawing will make it crisp, clean, and ready for the final step: coloring.
Part 4: Bring Master Wu to Life: Coloring and Shading
The final step in our drawing journey is adding color, shading, and highlights to your Master Wu drawing. Choose your preferred coloring tools, such as colored pencils or markers, and begin applying color to your drawing. Pay attention to the character’s color scheme and consider how light and shadows interact with his form. Adding shading and highlights will create depth and dimension, bringing your drawing of Master Wu to life!

Your first attempt at how to draw Sensei Wu might not look exactly the way you pictured, and that’s totally fine, even expected. His long beard, the conical hat, and those layered robes have a lot of detail to nail down, so keep that sketch around and try it again sometime. More guides like this one show up regularly, so follow SketchOk on Pinterest or Facebook to stay in the loop, and video versions of some guides appear on YouTube if you prefer watching along.