Welcome to this exciting step-by-step tutorial on how to draw Ninjago Kai, the fierce and fiery Ninja of Fire. If you’re a fan of the LEGO Ninjago series and want to bring your favorite character to life, you’ve come to the right place. By following the steps in this guide, you’ll master the art of drawing Kai in no time. So, sharpen your pencils, and let’s get started!
Getting to Know Kai: The Fiery Master of Fire
As the current Elemental Master of Fire, Kai is a vital member of the Ninjago team. Alongside his sister Nya, he has faced numerous challenges and embarked on countless adventures with his fellow ninja teammates: Cole, Jay, Zane, and Lloyd. From battling the Serpentine and the Stone Army to fighting the Time Twins, Kai has proven himself to be a brave and resilient warrior. Now, it’s your turn to bring this incredible character to life on paper.
Prepare Your Arsenal: Gathering Materials and Tools
Before diving into the drawing process, it’s essential to gather the right materials and tools. Here’s a list of recommended items for this tutorial:
- Pencil: A standard HB pencil is perfect for sketching the initial structure.
- Eraser: A kneaded or regular eraser will help you correct any mistakes.
- Inking pen: Choose a fine-tip pen for inking the outlines and adding final details.
- Coloring tools: Colored pencils, markers, or even digital tools can be used to bring Kai to life with vibrant colors.
Remember, these are just suggestions – feel free to use any tools you prefer or have at hand.
Unleashing the Master: Step-by-Step Drawing Guide
With your materials ready, it’s time to embark on your artistic journey. This guide is designed to help you create a fantastic Kai drawing, one step at a time.
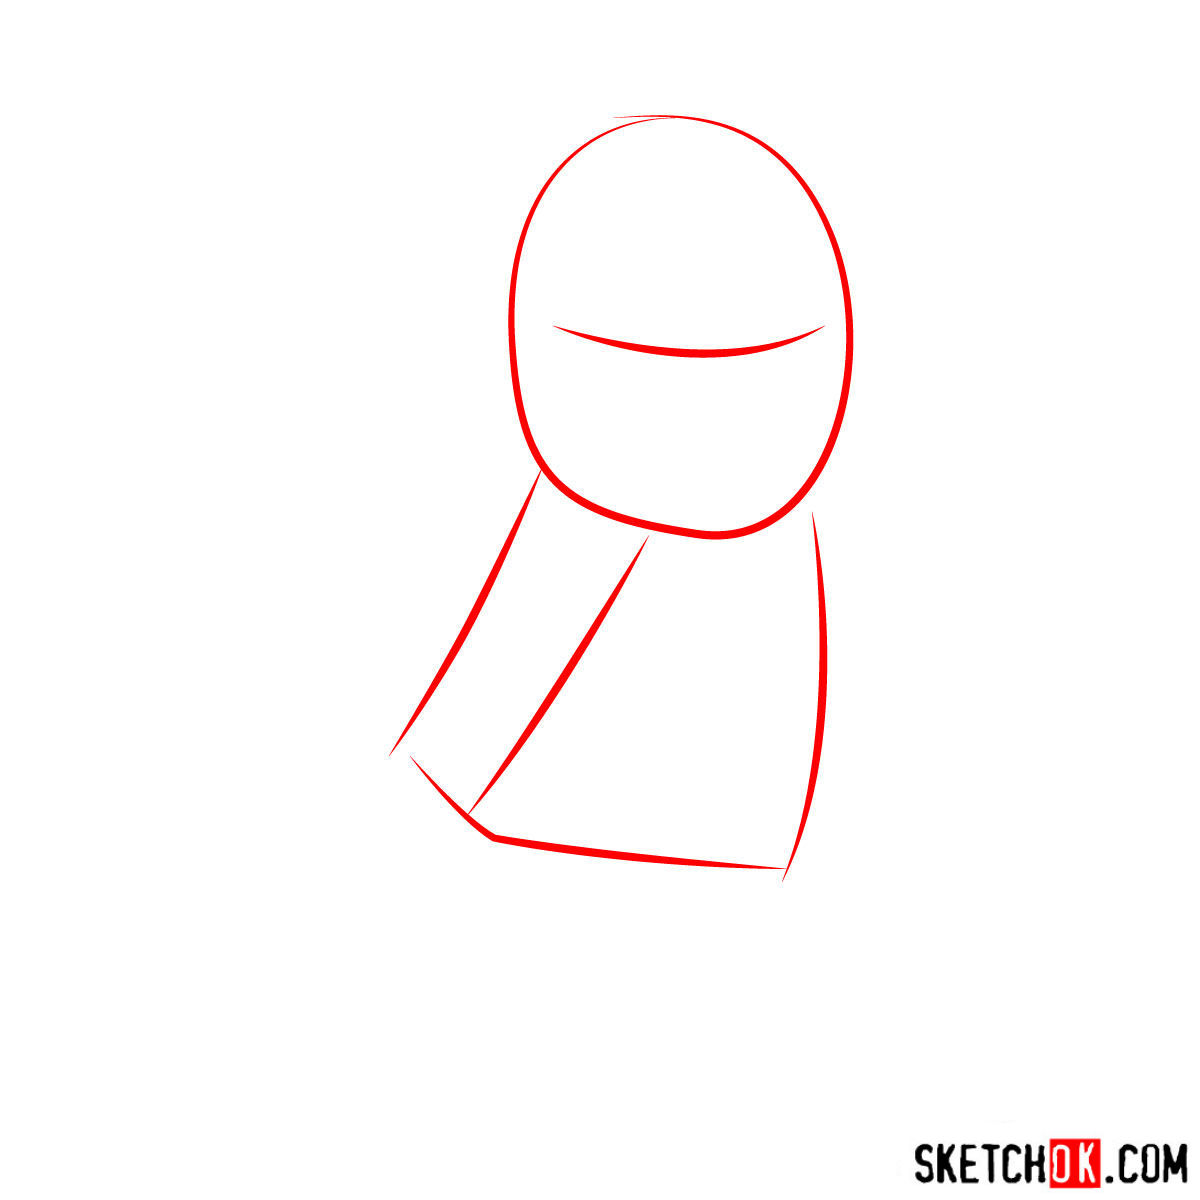
Part 1: Laying the Foundation
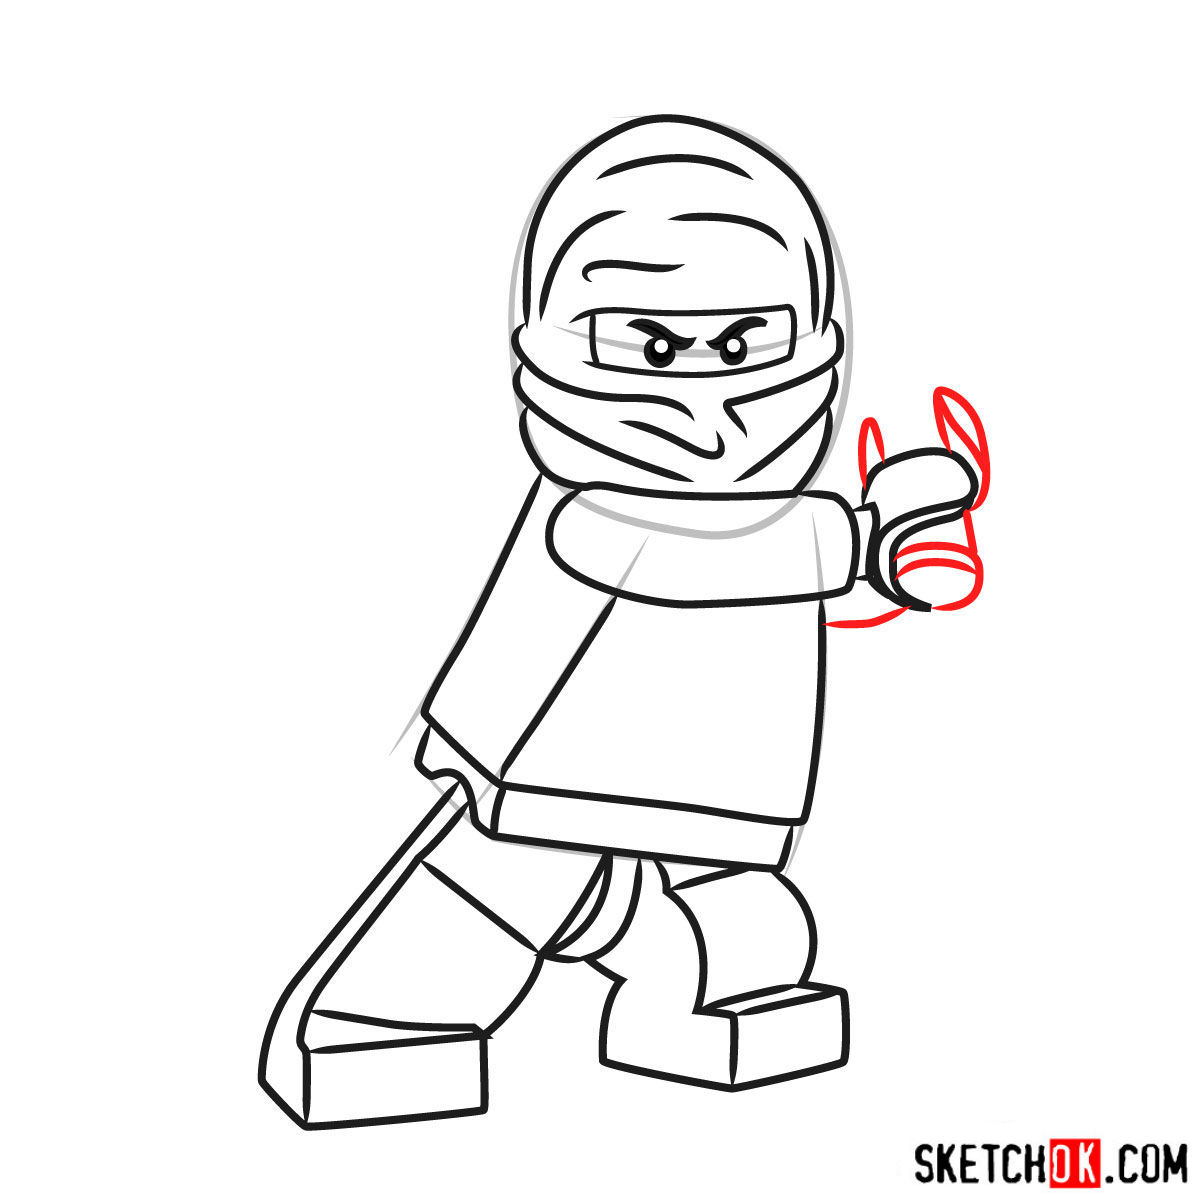
In this initial step, use light pencil strokes to create a basic structure for your Kai sketch. Focus on establishing correct proportions and capturing the character’s overall form. The grey color in the reference images represents this foundational sketch, while the red color highlights the current drawing step.
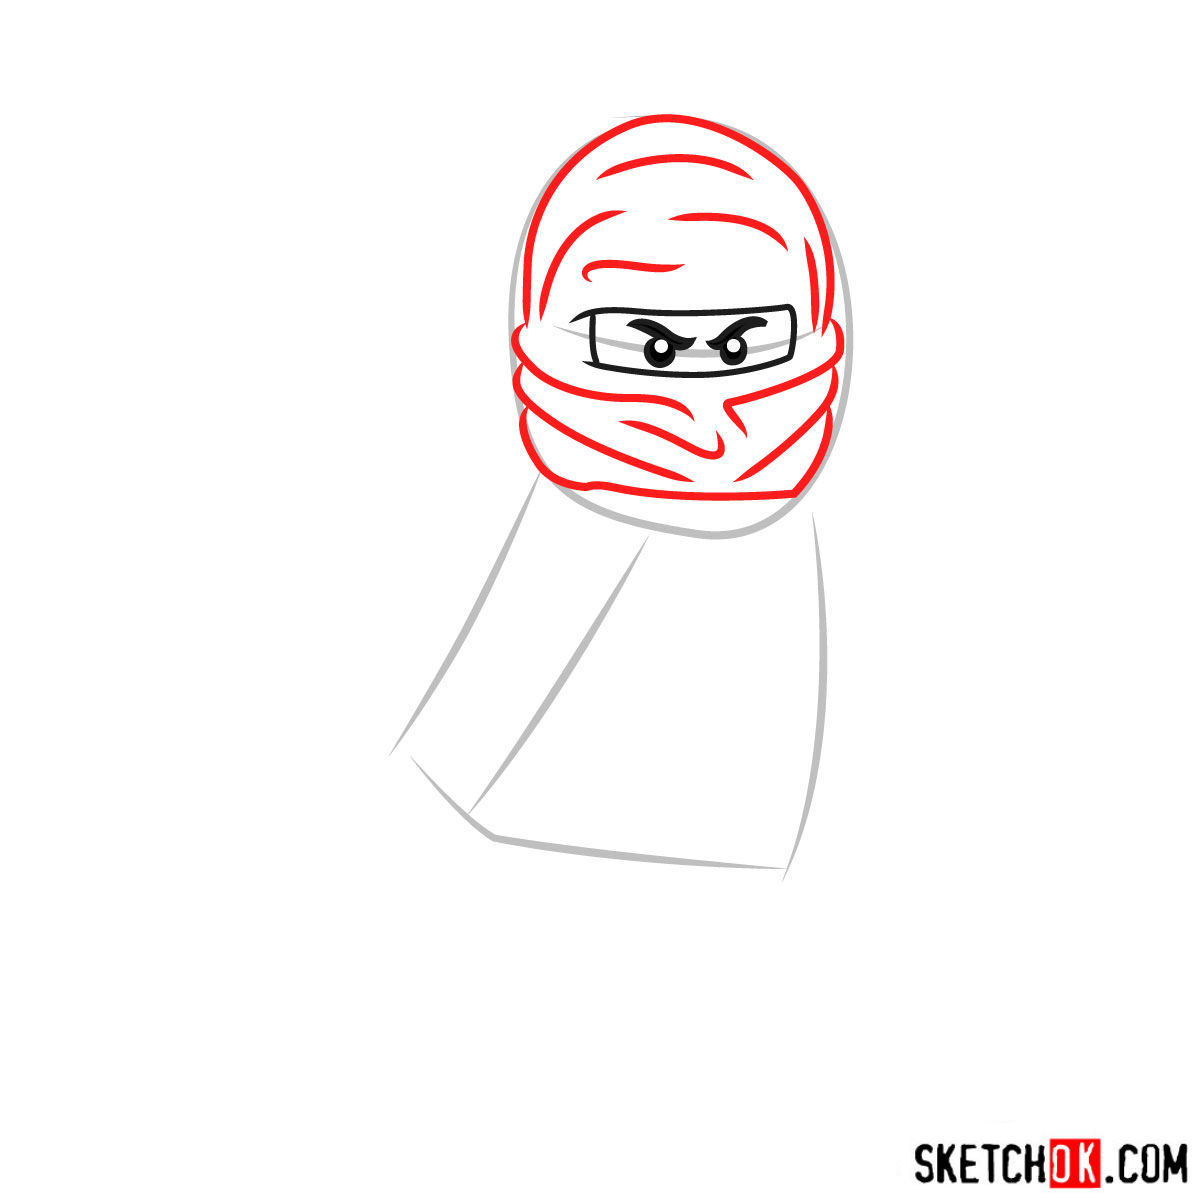
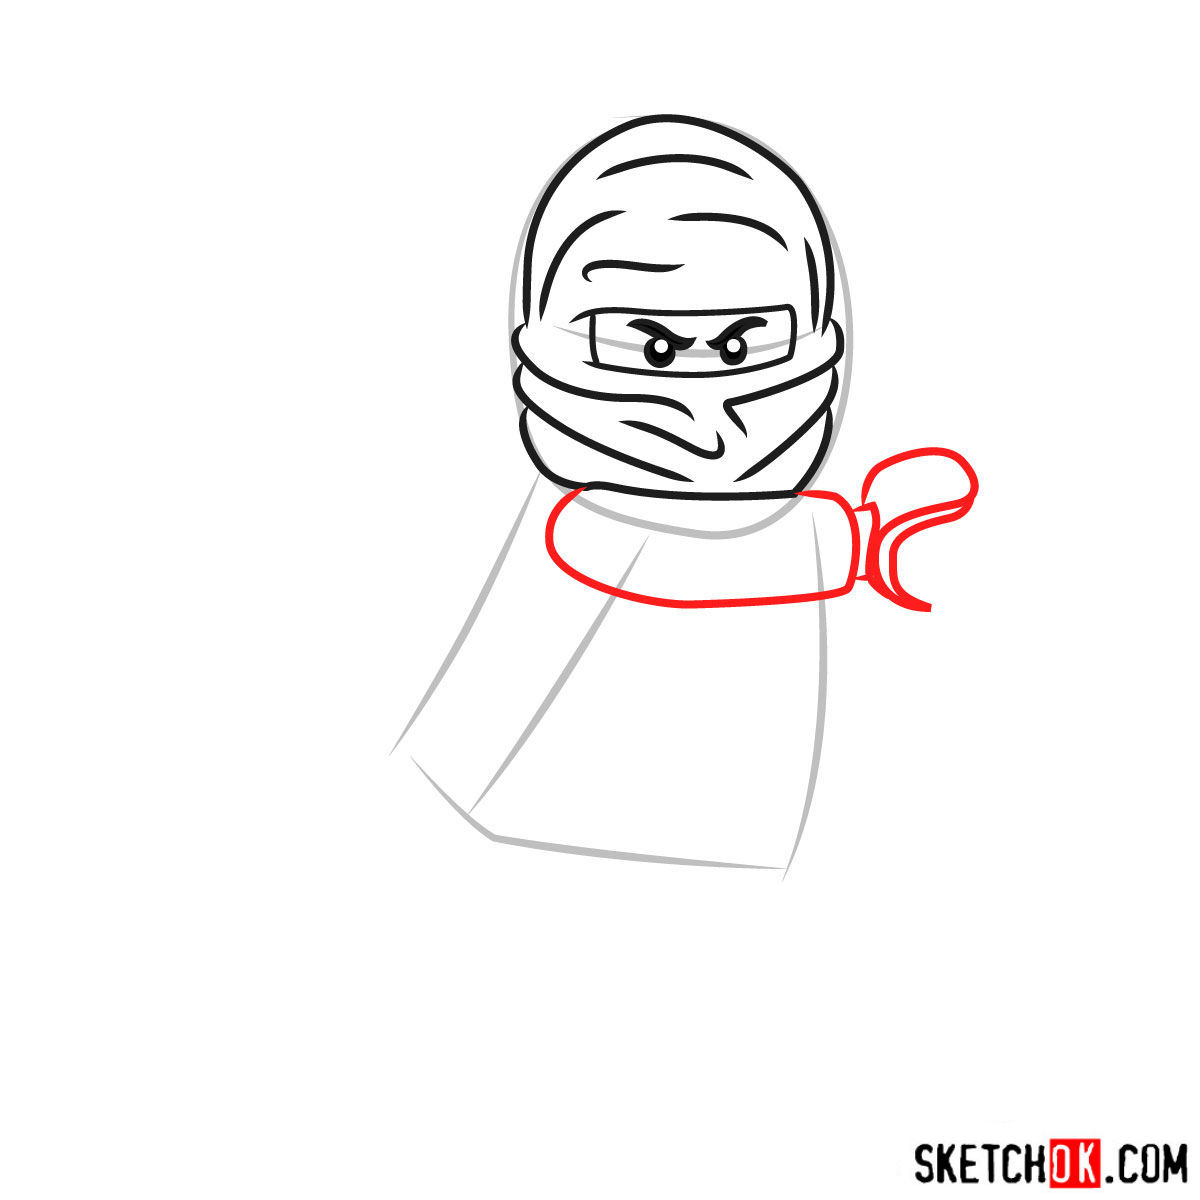
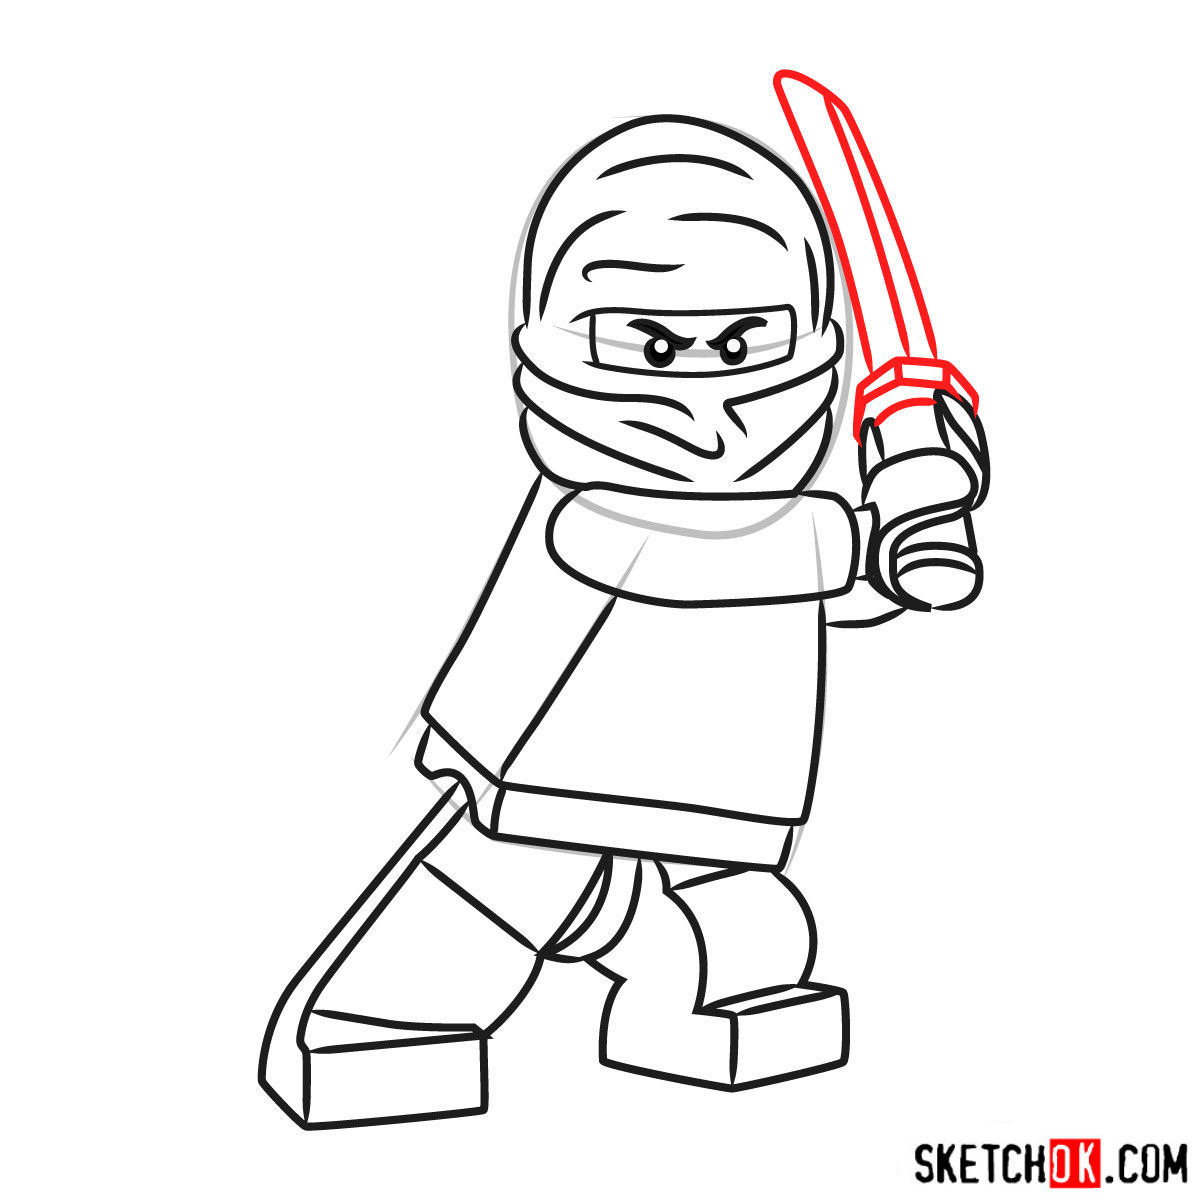
Part 2: Refining the Sketch
Once you’ve established a solid base, it’s time to add more details and improve proportions. Use the red color in the reference images as a guide for this step. Pay attention to Kai’s facial features, clothing, and accessories, and refine your sketch accordingly.


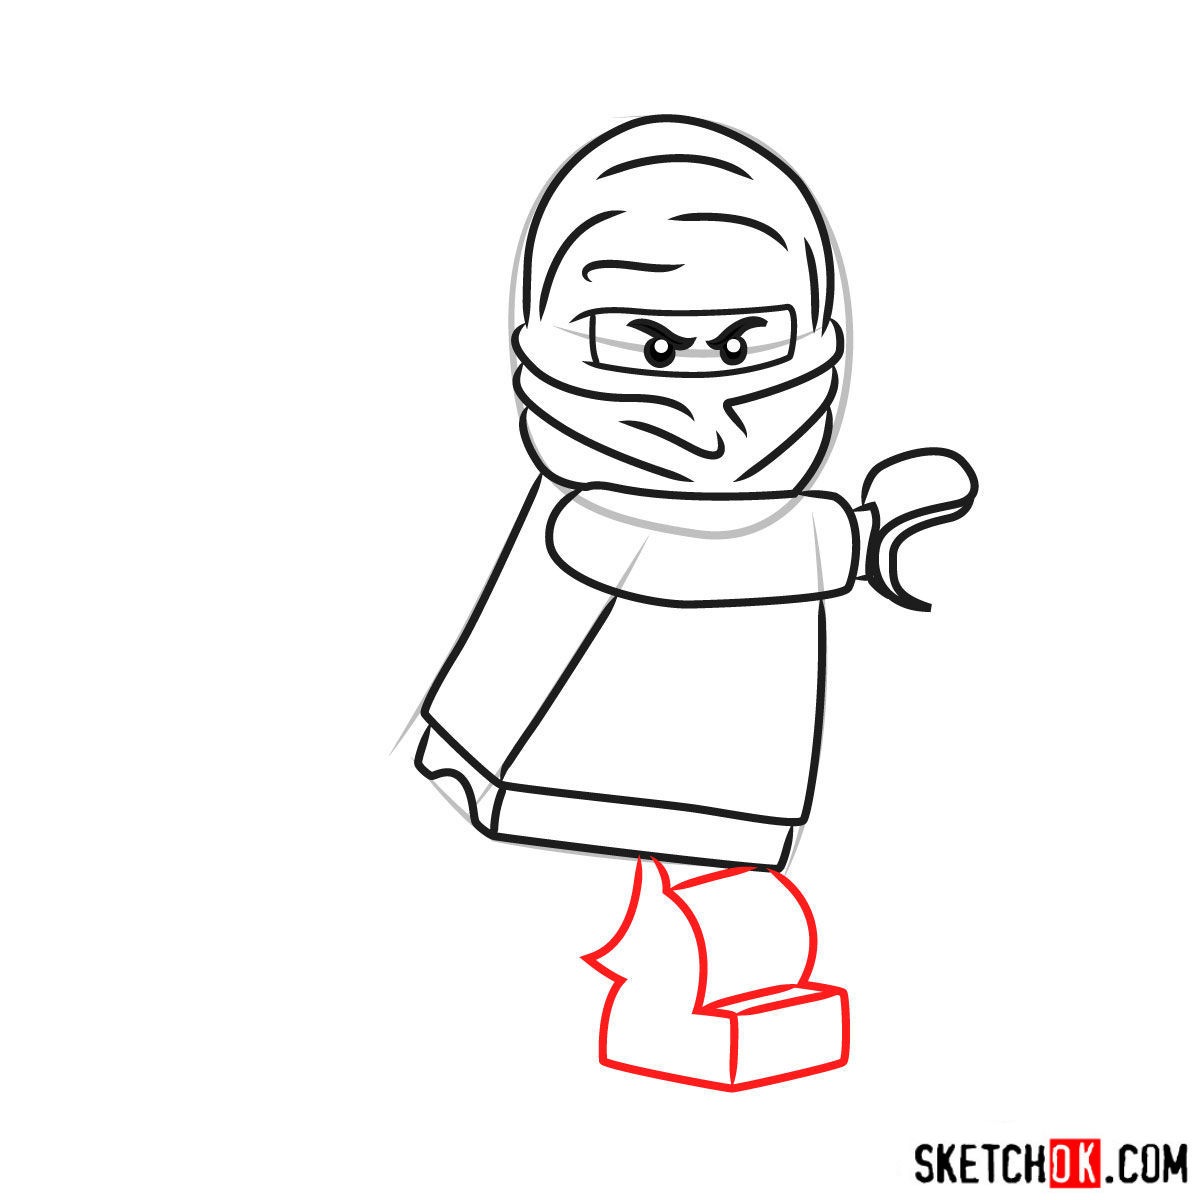

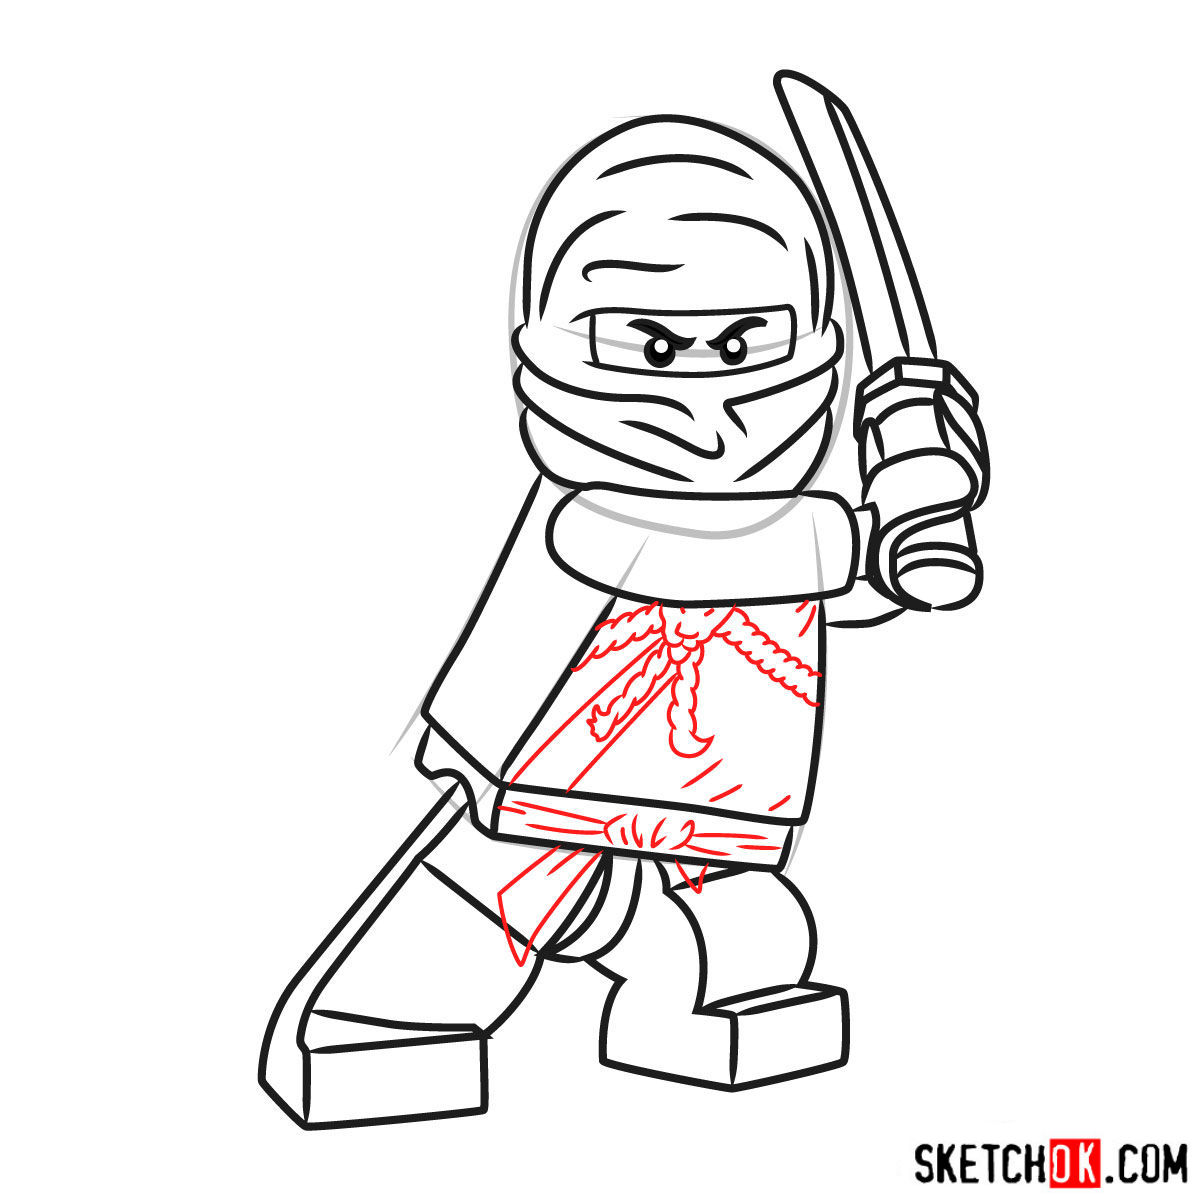
Part 3: Inking the Masterpiece
With your refined sketch in place, start inking your drawing using a fine-tip pen. Carefully outline Kai’s form, adding final touches and details as needed. The black color in the reference images represents the inked lines. Take your time during this step, as inking can significantly impact the final result.
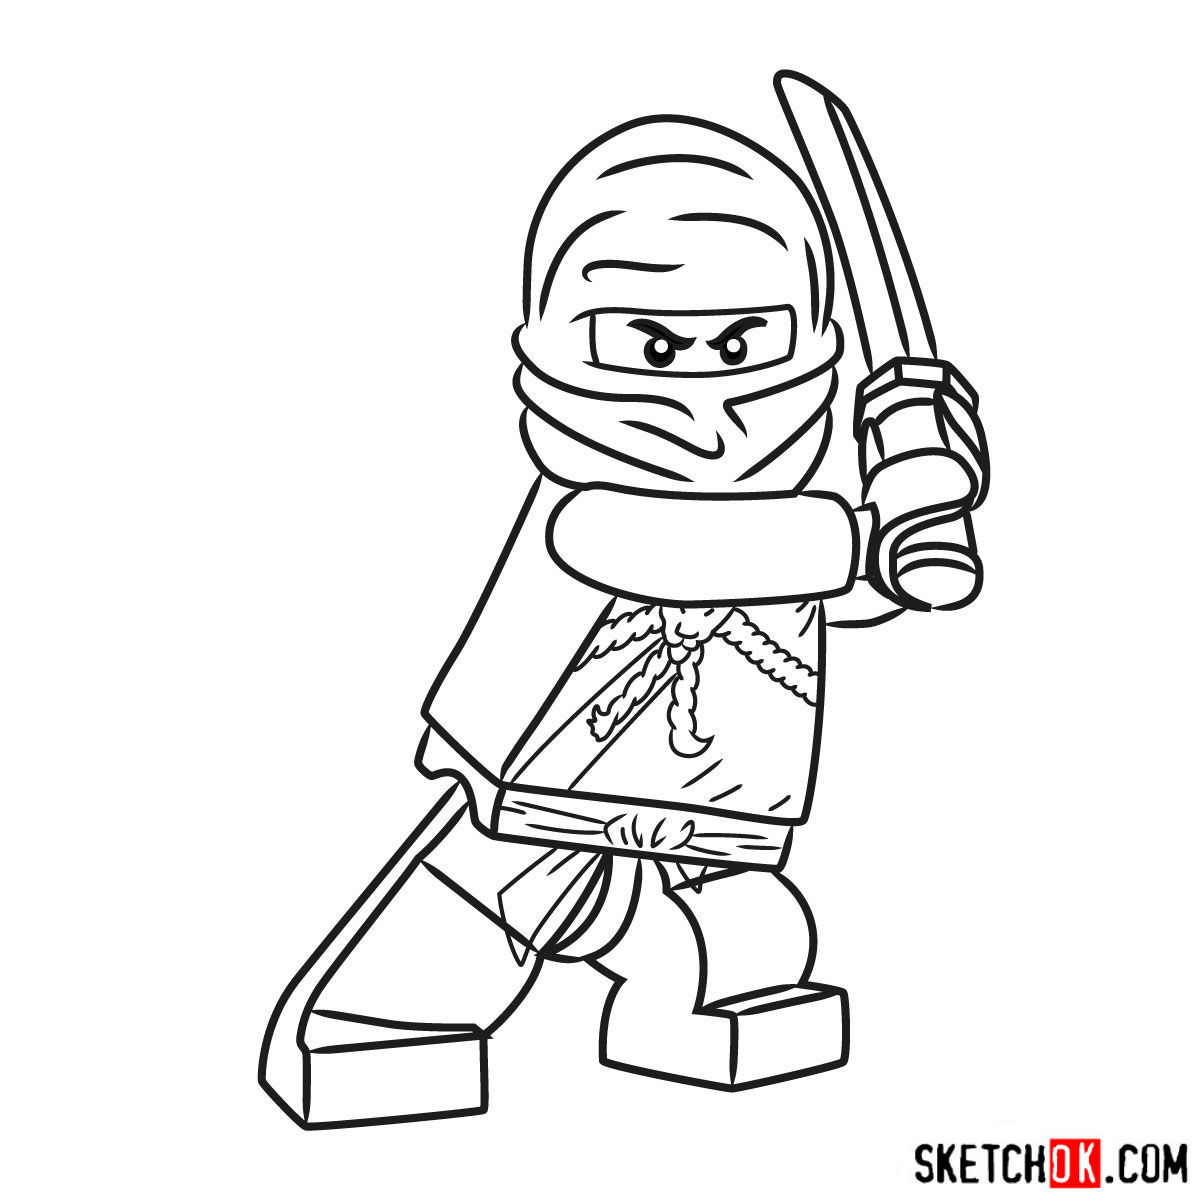
Part 4: Coloring and Shading
Now that your drawing is inked, it’s time to bring Kai to life with vibrant colors. Choose your preferred coloring tools and follow the reference images to add shades, highlights, and depth to your artwork. Pay attention to the color palette and shading techniques to create a visually appealing and dynamic Ninjago Kai drawing.

That covers how to draw Kai NinjaGo from start to finish, and hopefully your version is looking sharp and ready to battle. If you want to keep up with new guides as they drop, the email signup form at the top of the page sends a weekly digest, and the Pinterest page is a good spot to share what you drew or browse what others have posted. Nice work getting Kai on paper.
can you do a differenf suit? please??
Sure, I’ll post it in a day or two so don’t miss it