Introduction: A Cool Adventure Awaits
Are you ready to embark on an exciting drawing journey? In this step-by-step tutorial, we’ll teach you how to draw Ninjago Zane, the Elemental Master and Ninja of Ice. Follow along as we guide you through the process, from creating the basic sketch to adding the final touches that bring Zane to life. Grab your favorite drawing tools and let’s get started!
Discovering the Ice Ninja: Zane’s Journey
Zane is the first Nindroid ever created and serves as the Elemental Master and Ninja of Ice in the world of Ninjago. Recruited by Master Wu, he honed his Spinjitzu skills and embarked on numerous adventures with his teammates, battling formidable foes such as the Serpentine and Stone Army. Zane’s story is filled with twists and turns, from the discovery of his creator, Dr. Julien, to his self-sacrifice and rebirth as a titanium warrior. In this tutorial, we’ll capture the essence of Zane’s unique character as we guide you through the drawing process.
Chillingly Cool Drawing Tools: Recommended Materials
Although you’re free to use any drawing materials you prefer, here are some recommendations to help you create an amazing Zane drawing:
- Pencils: A range of hardness from 2H to 6B will provide versatility in sketching, shading, and detailing.
- Eraser: A kneaded eraser or a plastic eraser is perfect for correcting mistakes and cleaning up your sketch.
- Inking pens: Fine-tipped pens with waterproof ink will help you create clean, bold outlines.
- Colored pencils or markers: Choose your favorite coloring medium to bring Zane’s icy powers to life.
- Paper: A smooth, heavyweight paper will withstand erasing and layering without tearing or smudging.
Conquering the Art of Ninjago Zane: A Step-by-Step Drawing Guide
This drawing guide is designed to lead you through the process of creating an accurate and dynamic representation of Zane.. Just follow along and enjoy the artistic journey.
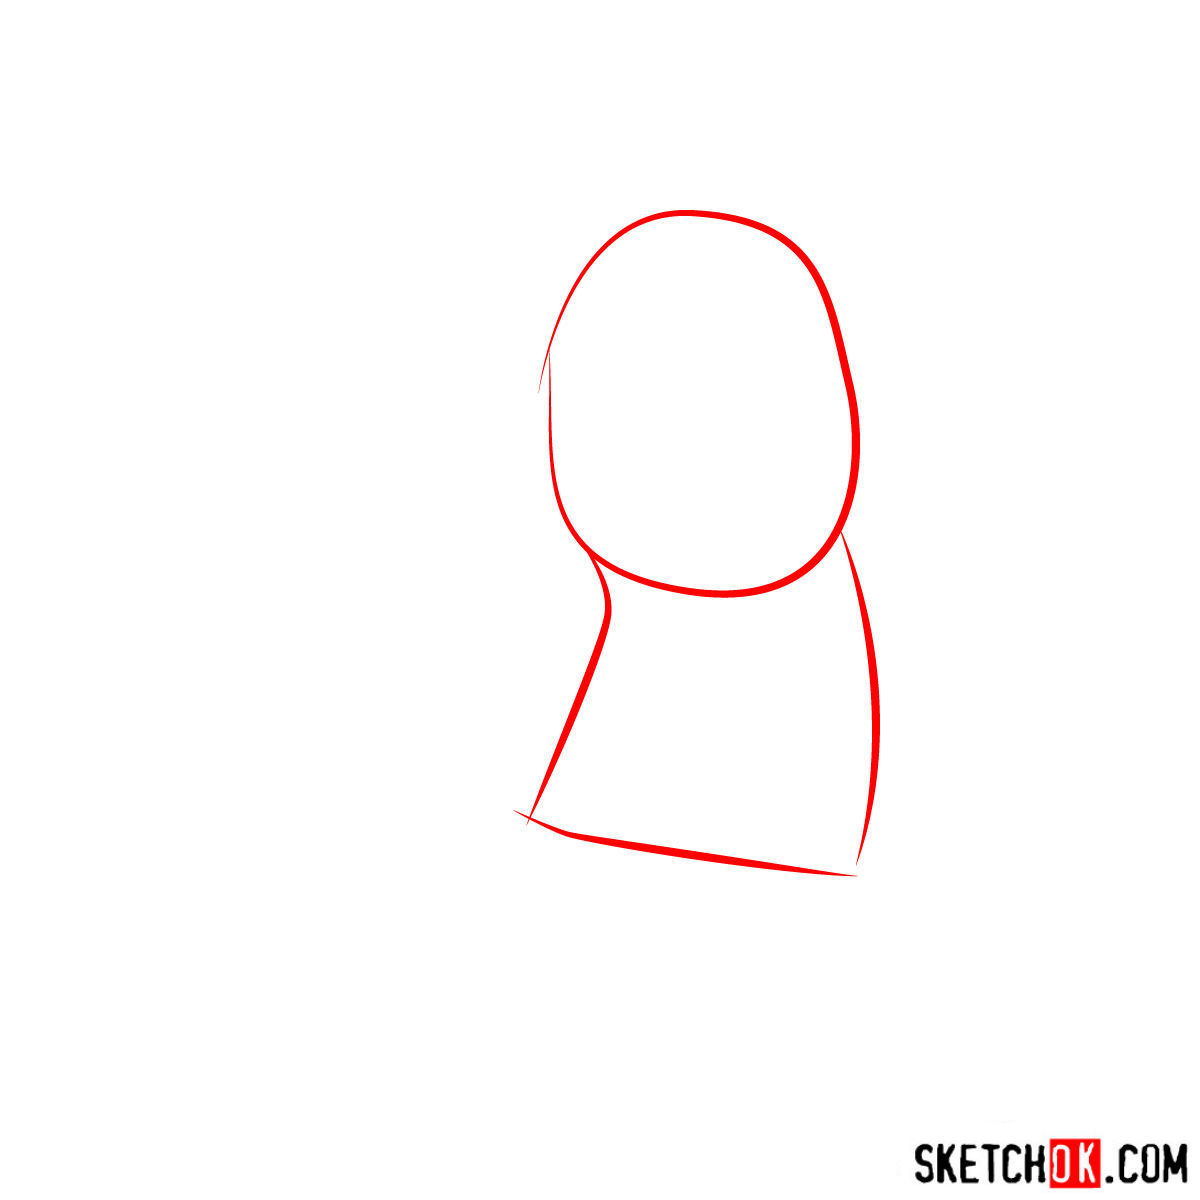
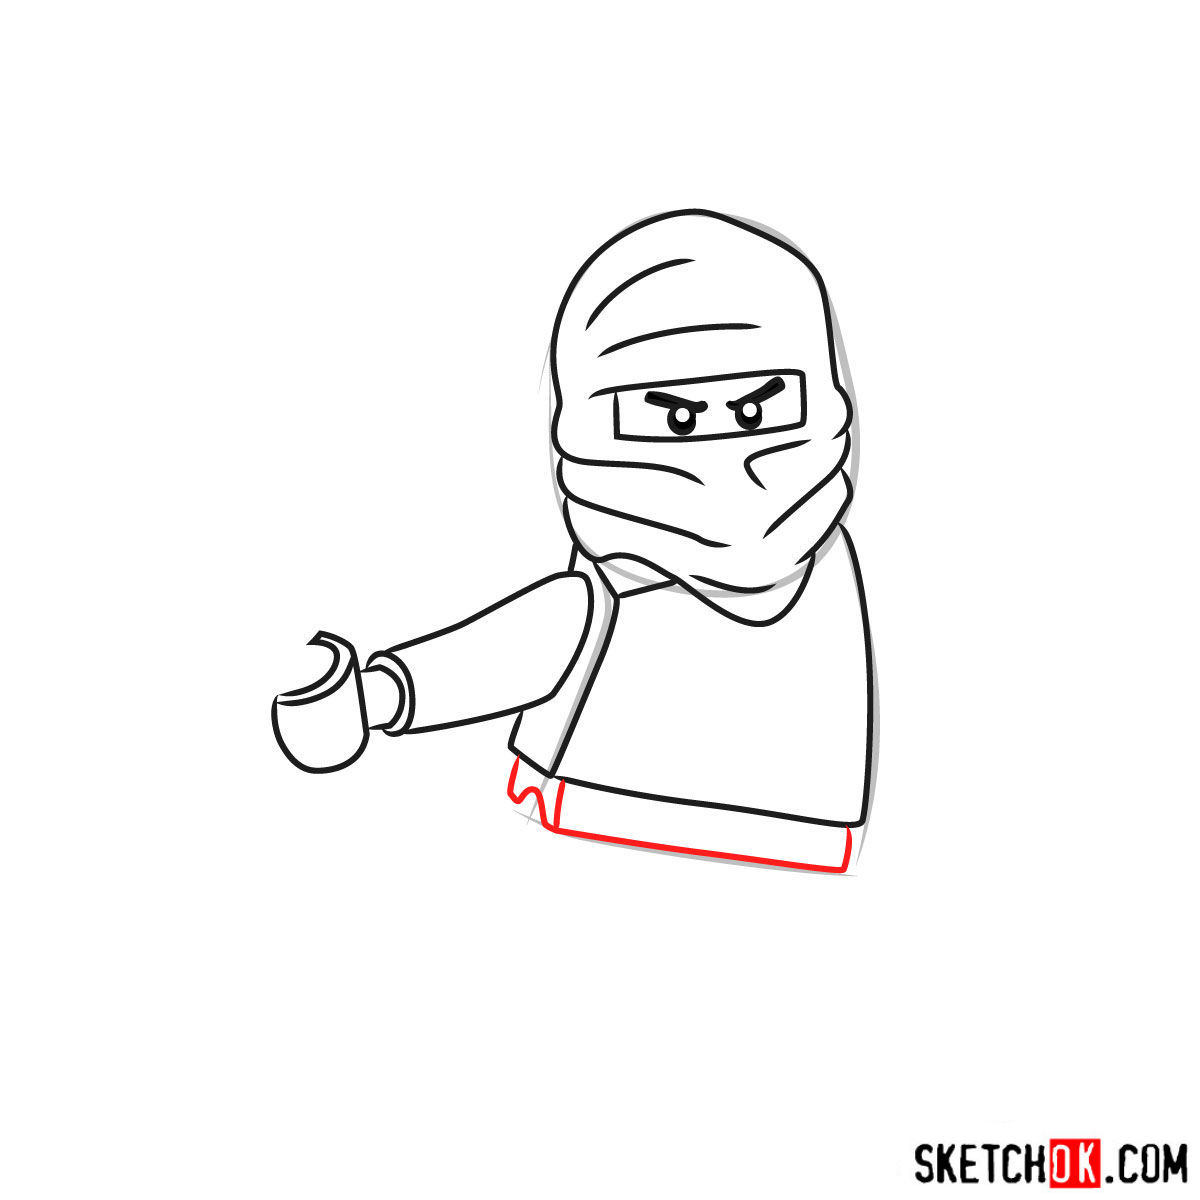
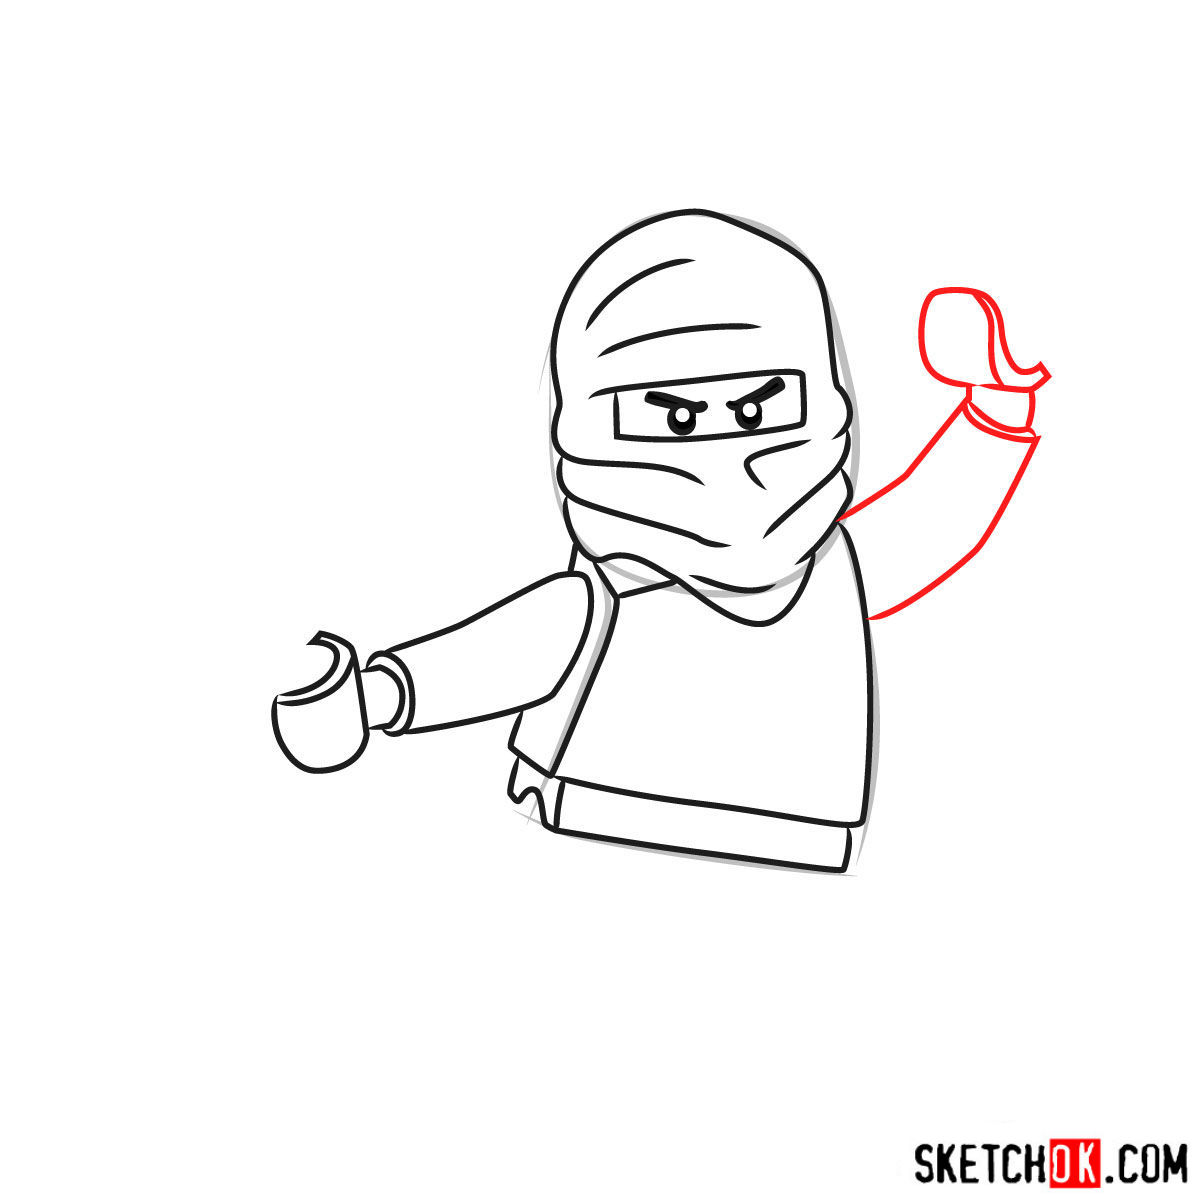
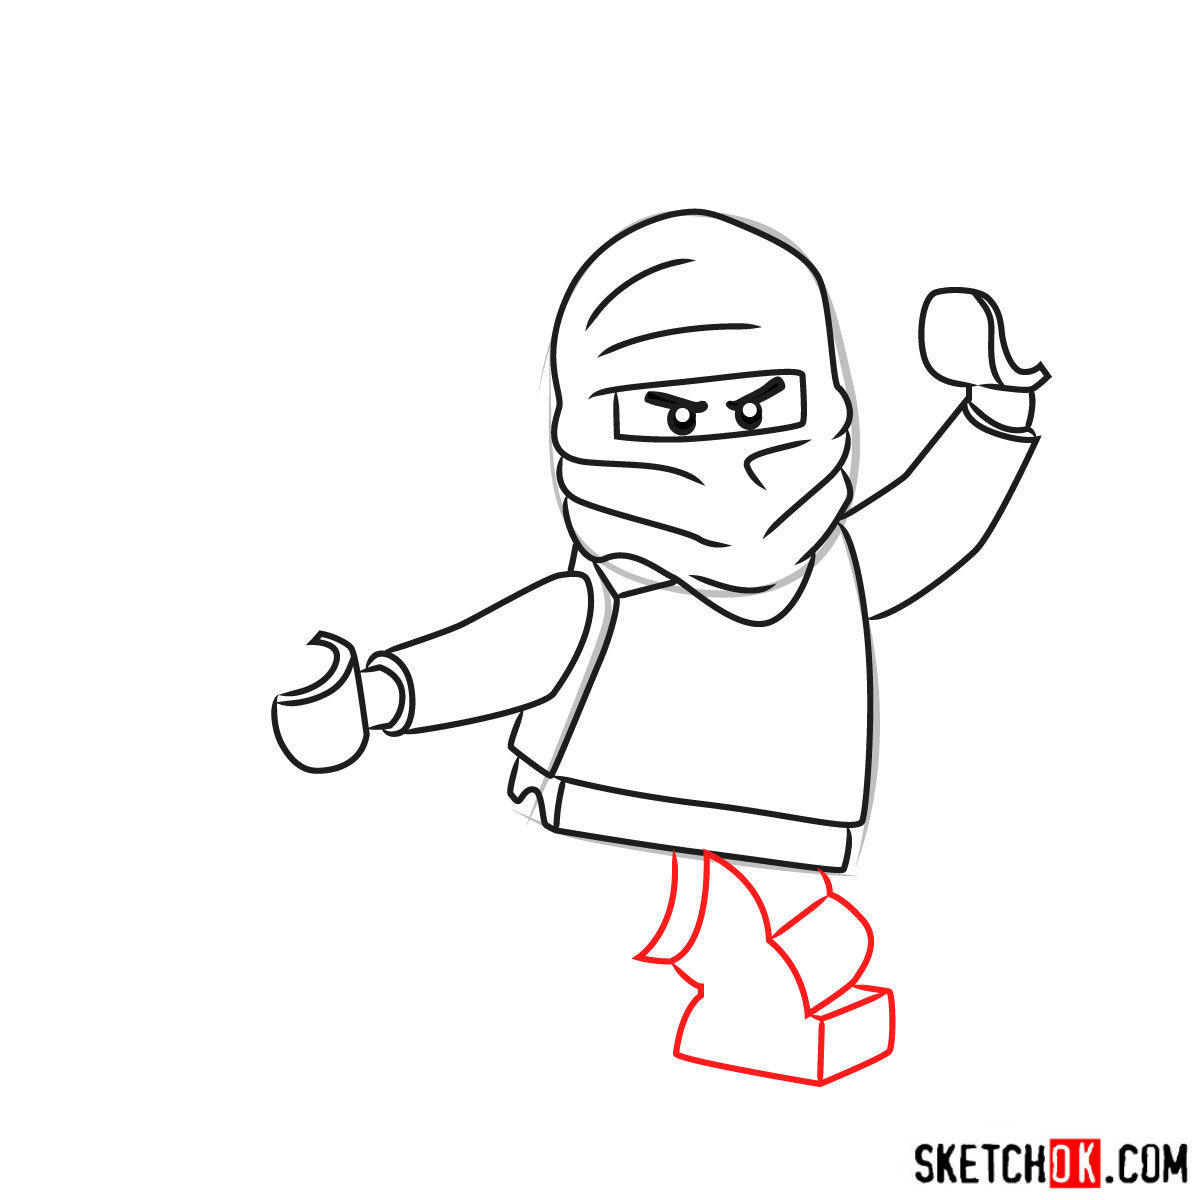
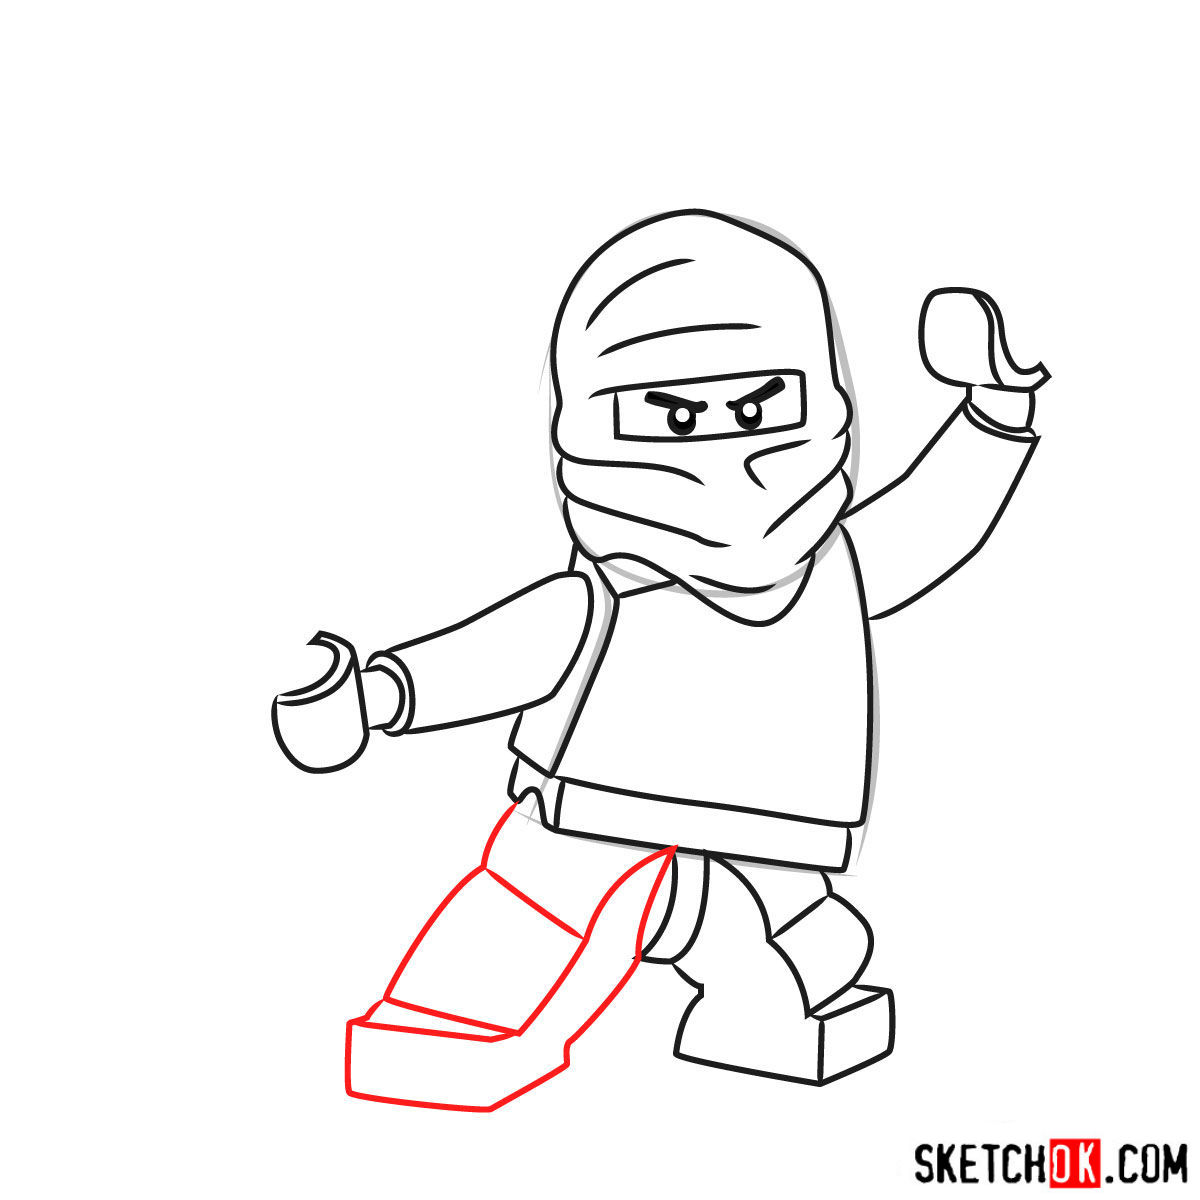
Part 1: Frosty Foundations: Crafting the Basic Sketch
The first step in drawing Zane is to establish the basic structure and proportions of his character. Using light pencil strokes, create a rough outline of Zane’s body and head. This initial sketch will serve as a guideline for the rest of the drawing.
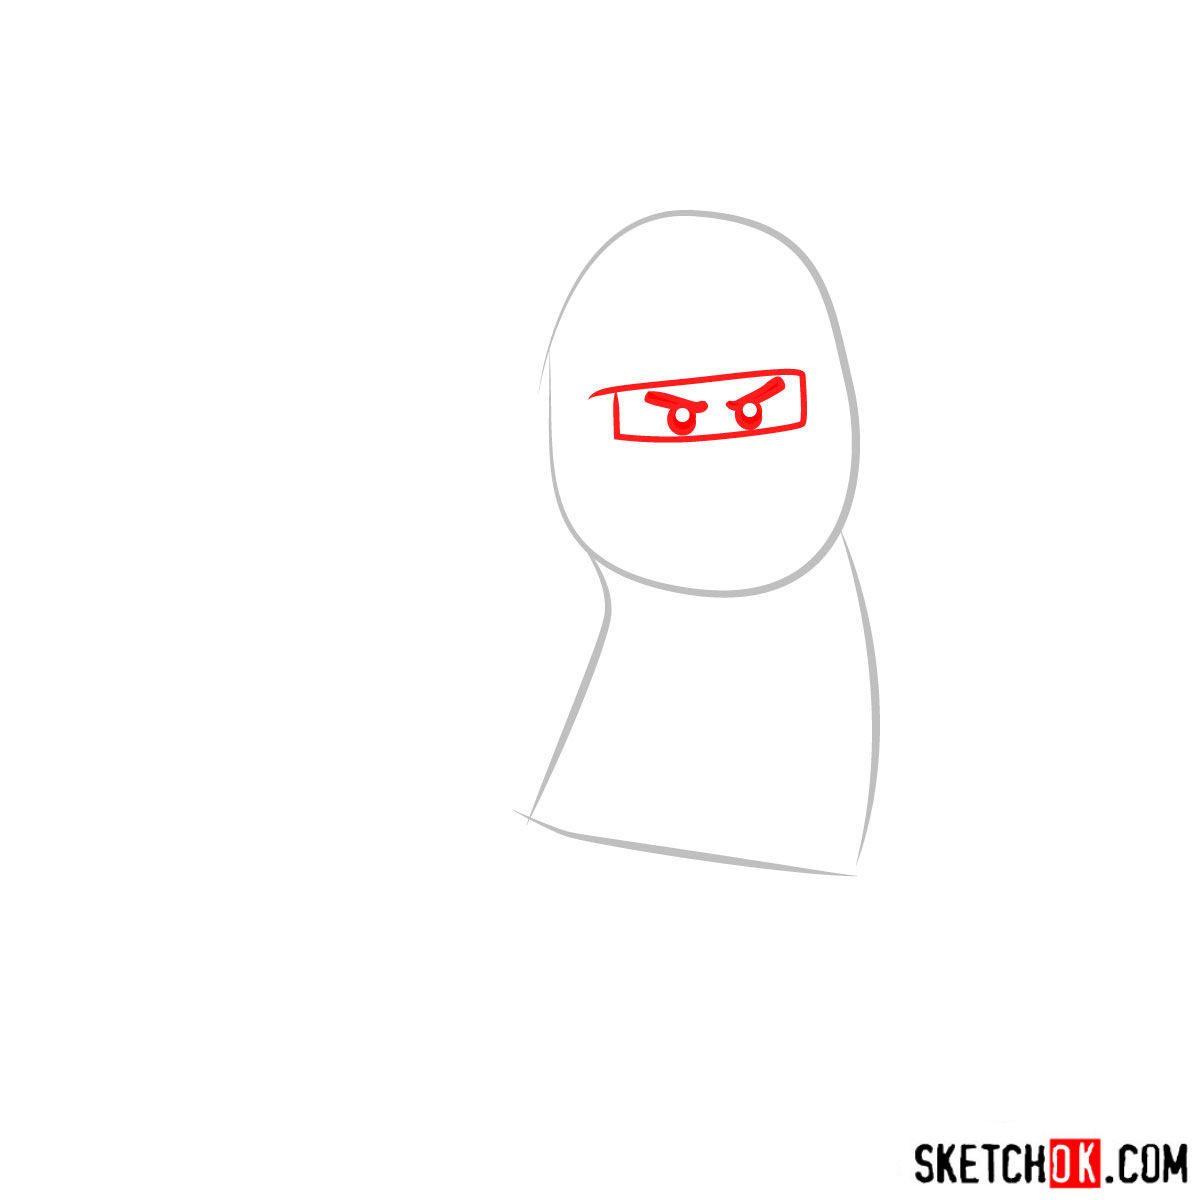
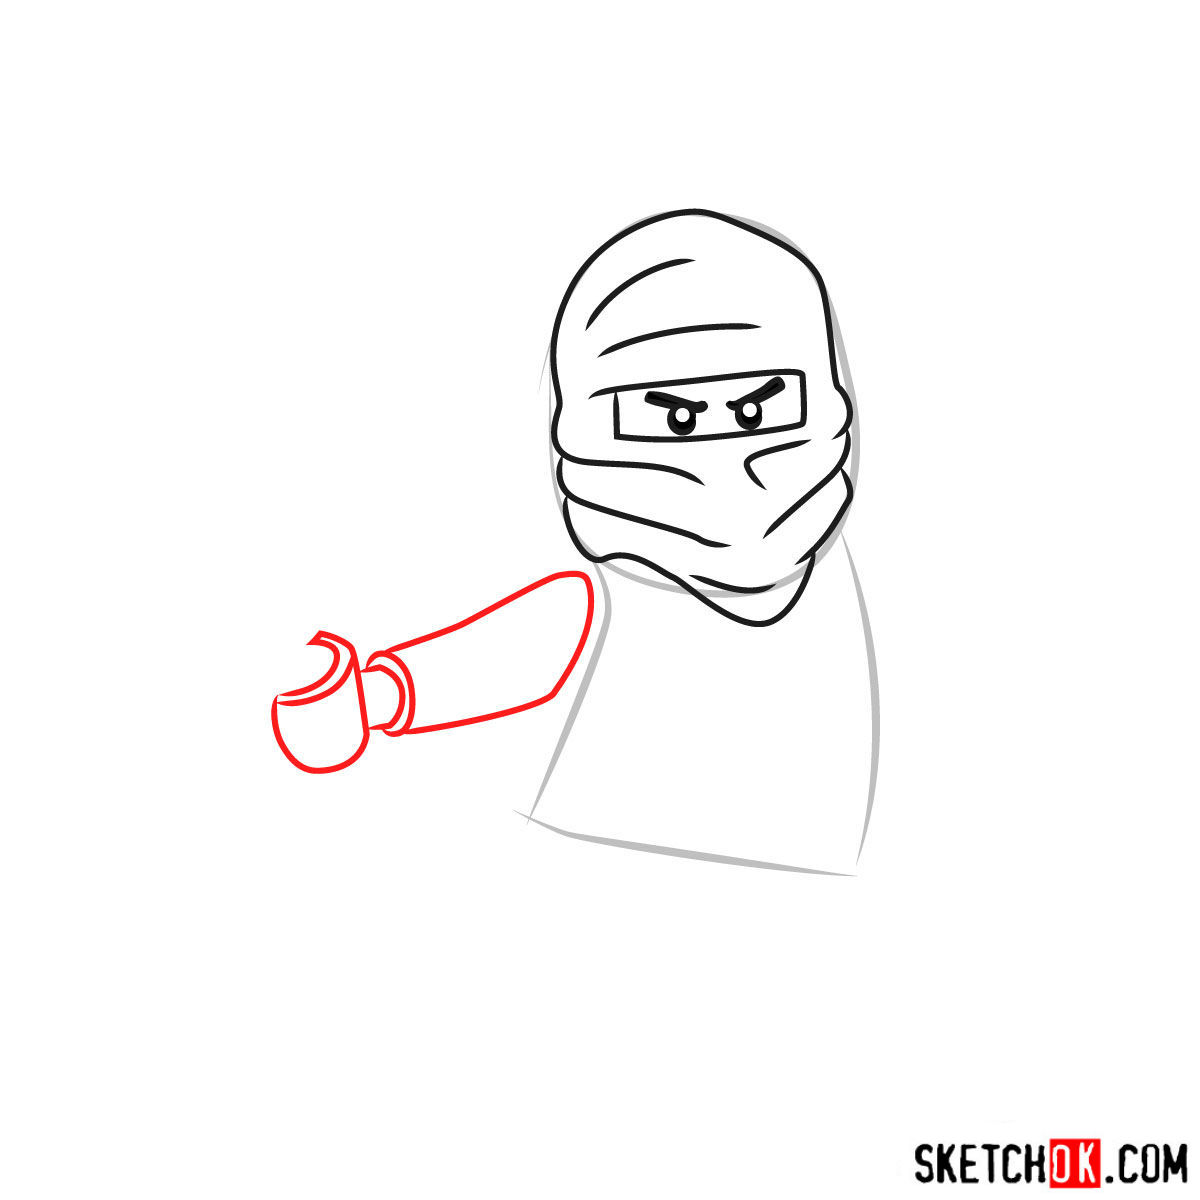
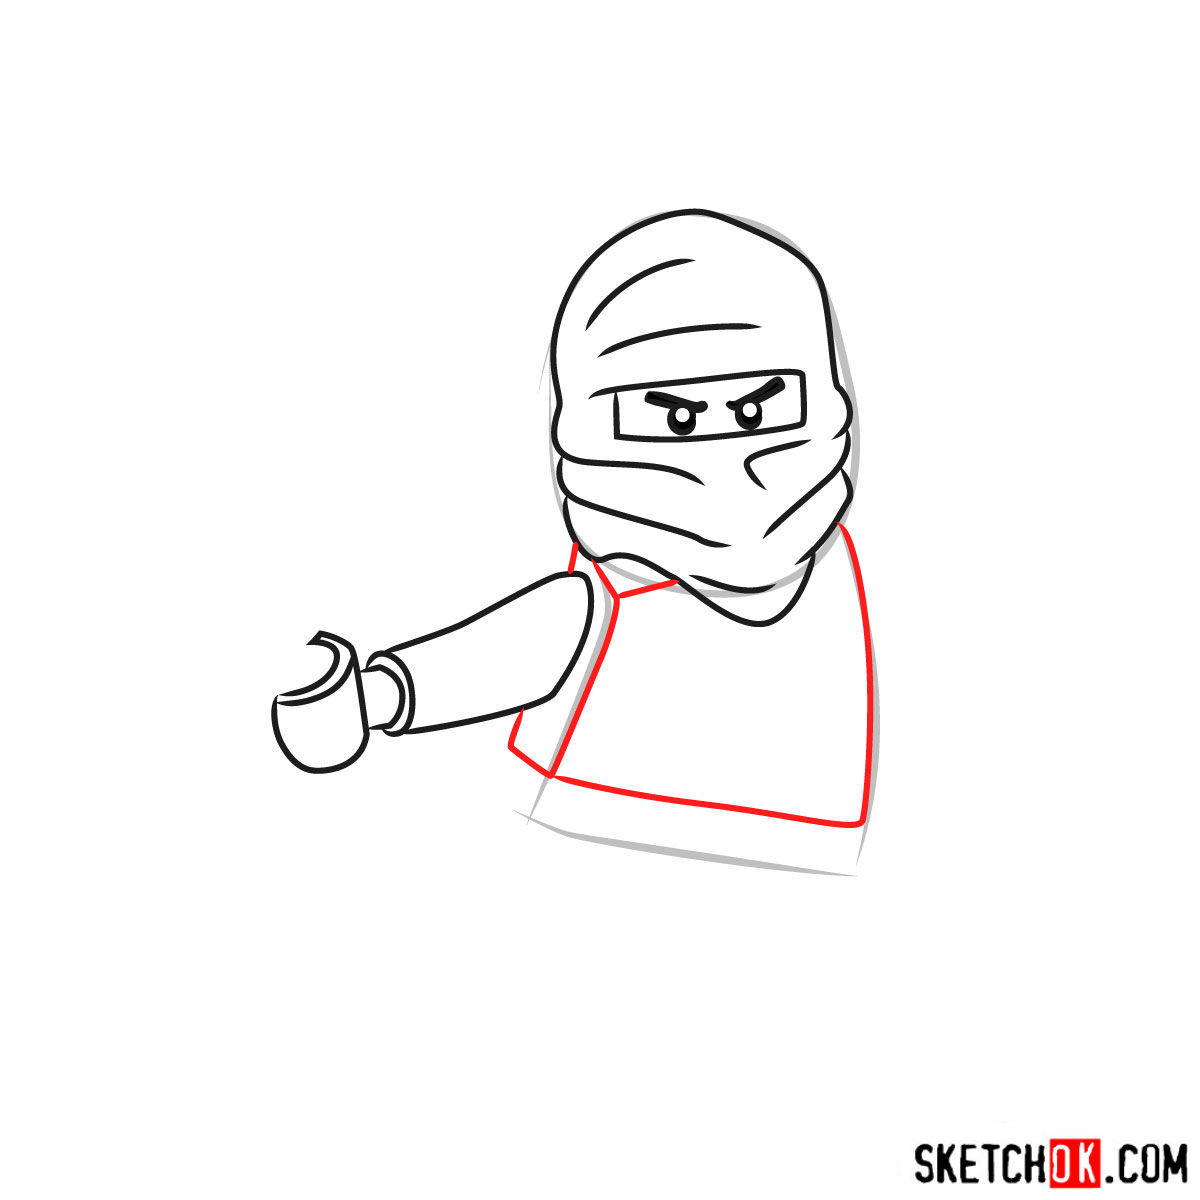
Part 2: Refining the Icy Edges: Enhancing the Sketch
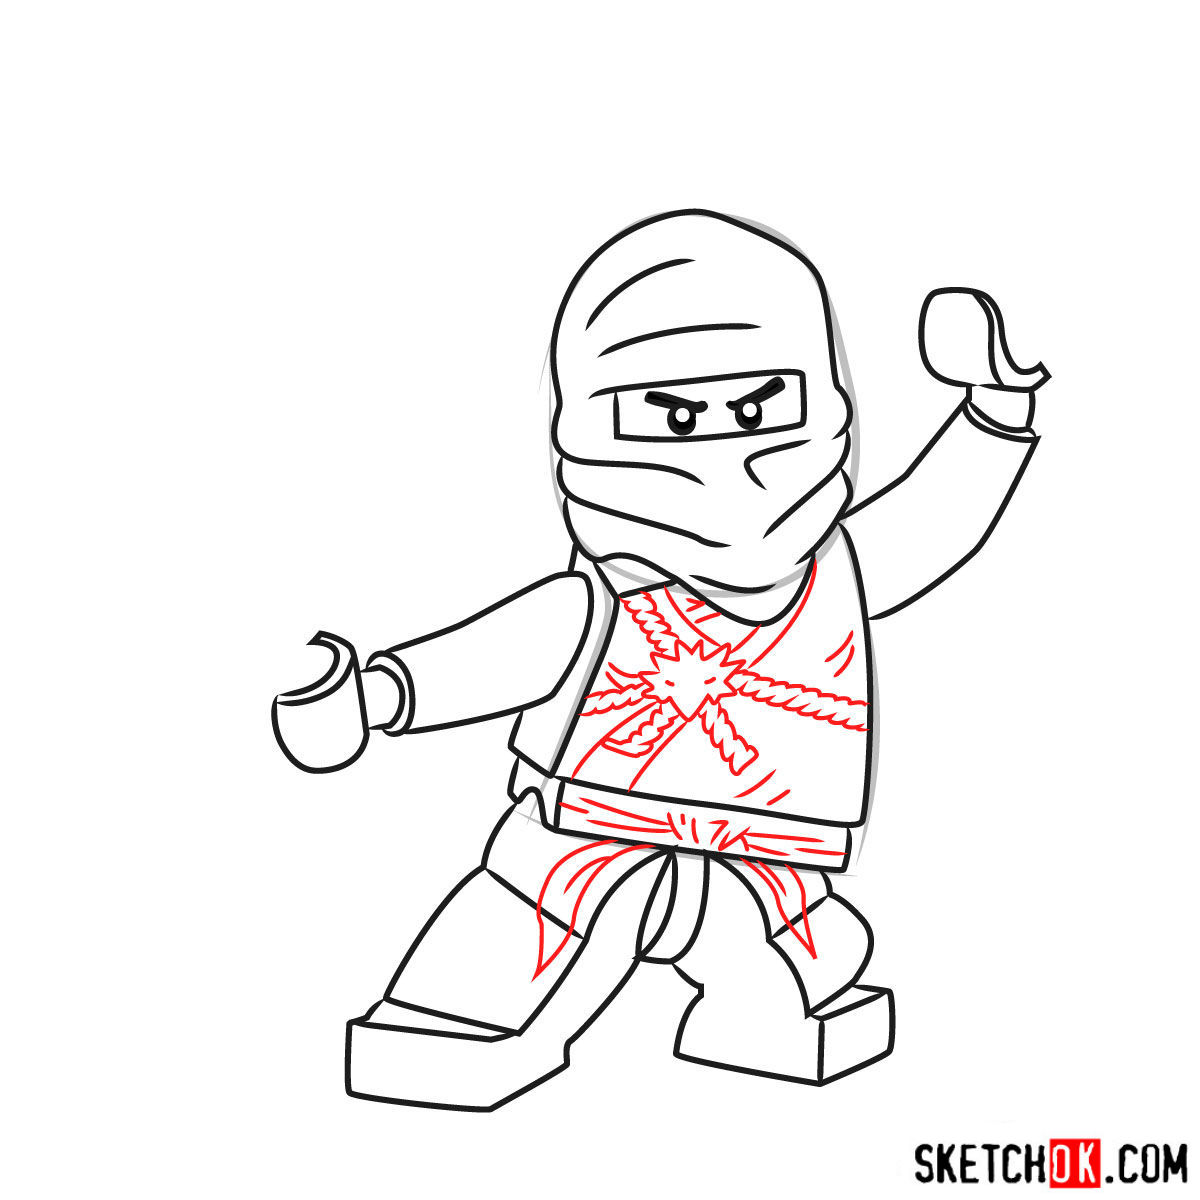
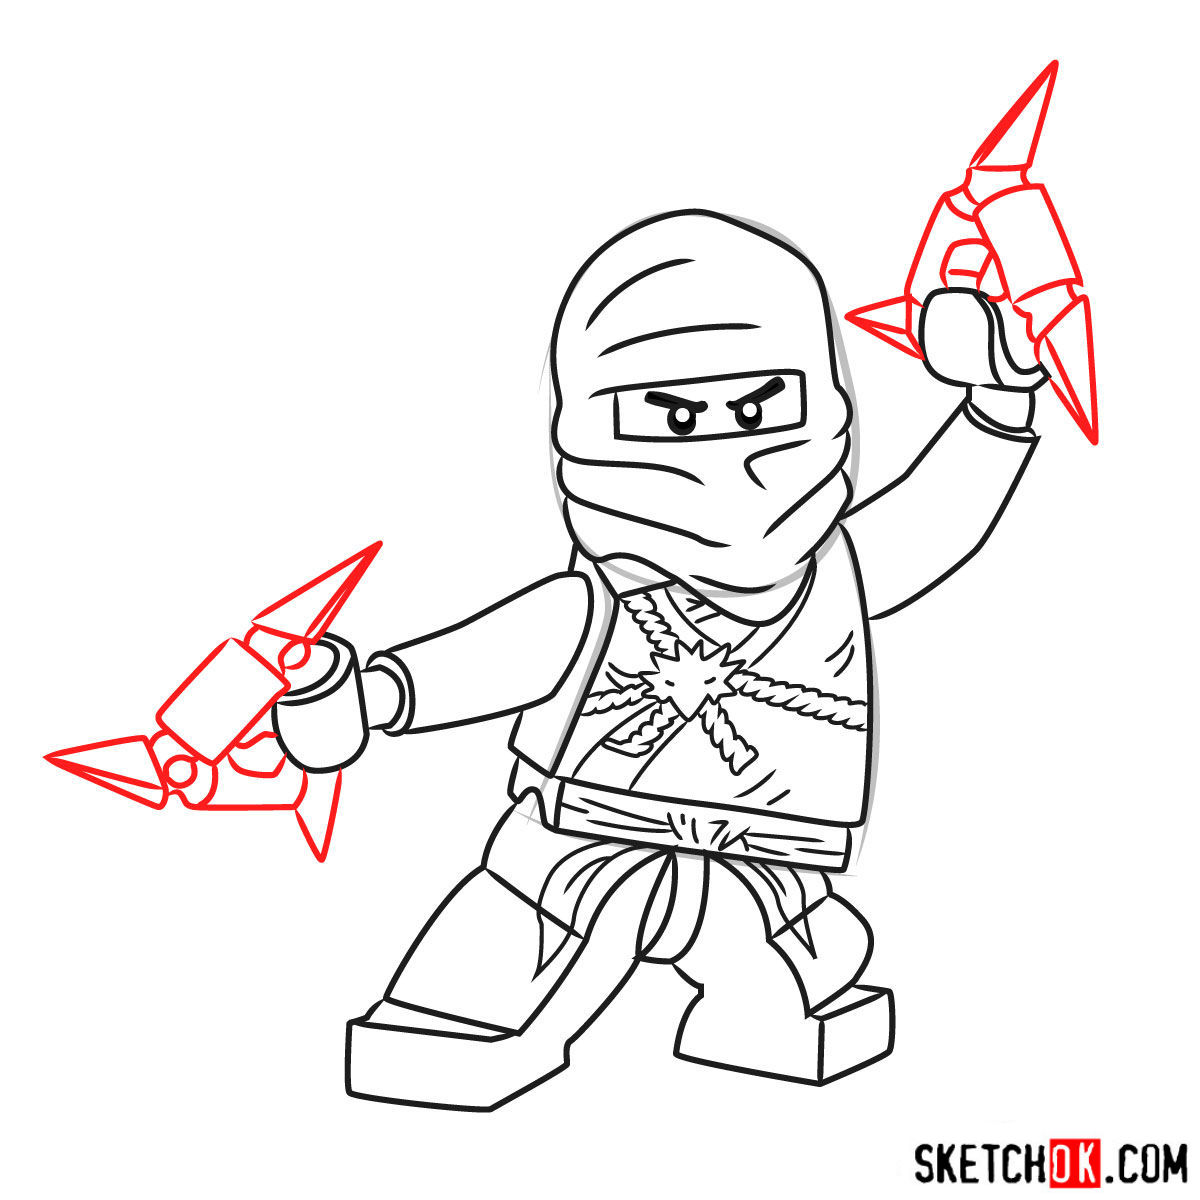
With the basic structure in place, it’s time to refine your sketch by adding details and improving proportions. Focus on Zane’s facial features, costume elements, and weaponry, making sure to accurately capture his unique design. Pay attention to the relationships between different elements, as these will help create a cohesive and visually appealing drawing.

Part 3: Inking the Ice Ninja: Outlining and Adding Final Touches
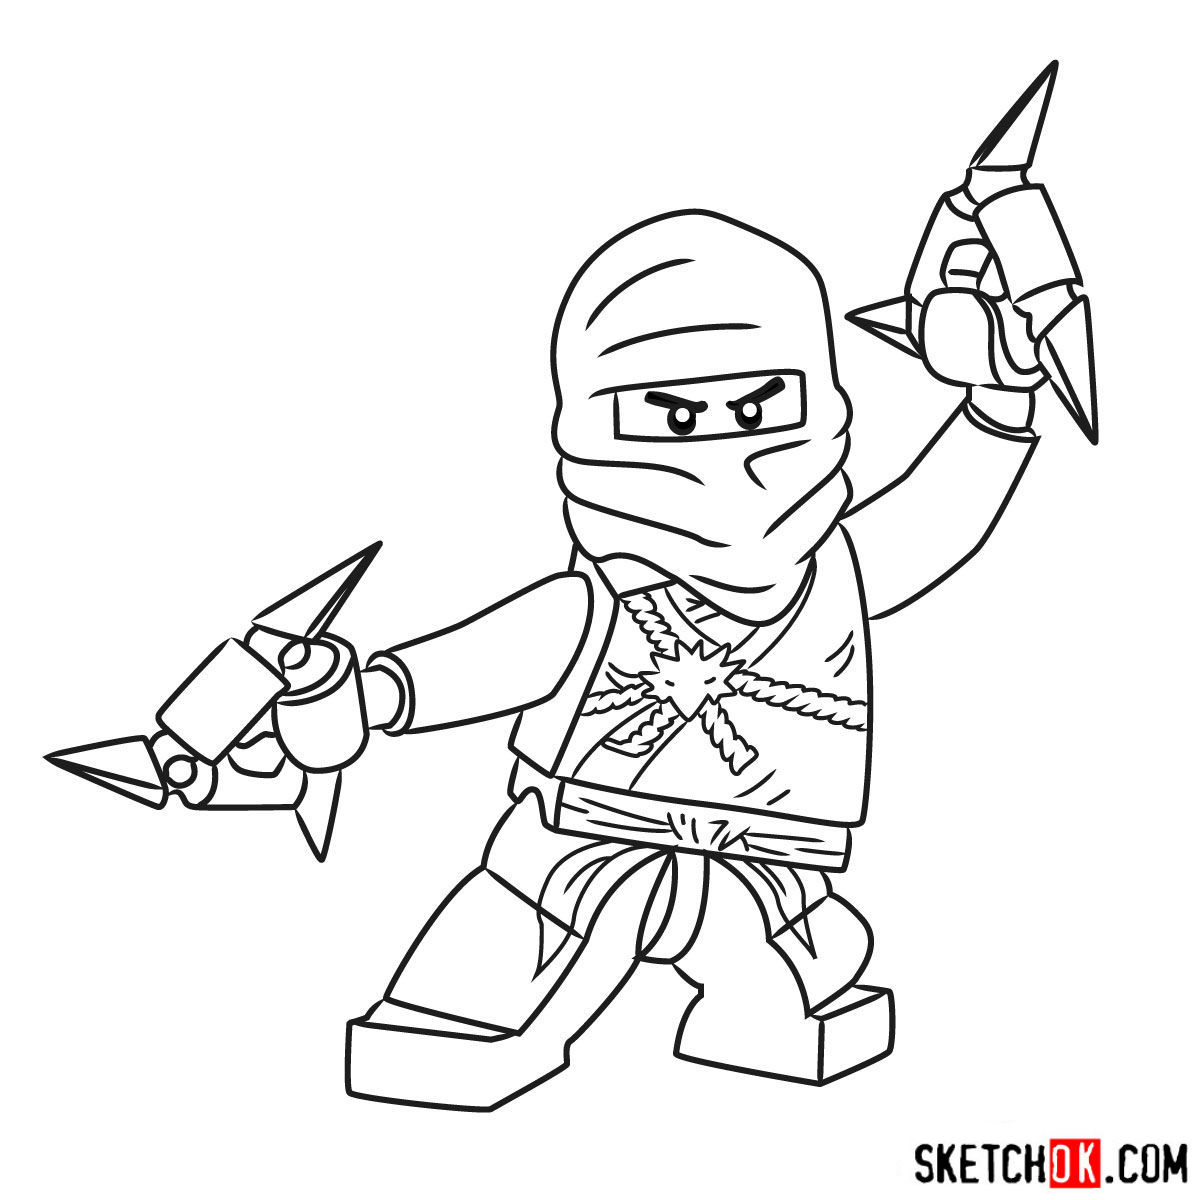
Once you’re satisfied with your refined sketch, it’s time to bring out the inking pens. Carefully trace over your pencil lines with a fine-tipped pen, creating clean, bold outlines that define Zane’s form. Take your time during this stage, as any mistakes can be difficult to correct. After inking, use an eraser to remove any remaining pencil lines, leaving a crisp, clear drawing.
Part 4: Coloring the Cold Warrior: Shading and Highlights
The final step in creating your Zane drawing is to add color, shading, and highlights. Choose your preferred coloring medium (colored pencils, markers, etc.) and carefully fill in Zane’s costume, weapons. Pay attention to the direction of your light source, adding shadows and highlights to create a sense of depth and dimension. This will bring your drawing to life, capturing Zane’s icy energy in all its glory.

That’s the full breakdown of how to draw Zane NinjaGo, from his sharp armor details to that calm, focused expression that makes him stand out from the rest of the ninja crew. If you want to keep up with new guides as they come out, there’s a weekly digest you can sign up for at the top of the page, and the SketchOk Pinterest has a pinned post for this tutorial where you can drop your finished Zane drawing in the comments.