Introduction: Embarking on a Nindroid Adventure
Have you ever wanted to learn how to draw P.I.X.A.L. from Ninjago? If so, you’ve come to the right place! In this step-by-step tutorial, we’ll guide you through the process of creating a detailed and accurate drawing of P.I.X.A.L., the primary interactive eXternal Assistant Life-form from the world of Ninjago. With a little practice and patience, you’ll be well on your way to mastering the art of drawing this iconic character. So grab your pencils, paper, and let’s begin!
The Intriguing Tale of P.I.X.A.L.
Before we dive into the drawing process, let’s take a moment to explore characters’ fascinating story. As a Nindroid created by Cyrus Borg, P.I.X.A.L. was initially designed to serve as his assistant. However, her journey took a dramatic turn when she was taken over by the Digital Overlord, only to be later redeemed by Zane, one of the famed Ninjago ninjas. This redemption led to a close relationship between Zane and P.I.X.A.L., with the latter eventually transforming into a formidable ally for the entire ninja team.
Throughout her adventures, P.I.X.A.L. has faced numerous challenges, including being temporarily trapped in Zane’s head as an A.I. program and taking on the role of Samurai X. Despite these trials, this nindroid’s courage and determination have made her an essential member of the team, fighting alongside her friends against the forces of evil in Ninjago.
Preparing for Your Nindroid Drawing Session
To begin your P.I.X.A.L. drawing journey, gather the following recommended materials and tools:
- Pencils with various hardness levels (e.g., HB, 2B, 4B)
- Eraser
- Sharpener
- Drawing paper
- Fineliner pens or markers (for inking)
- Colored pencils, markers, or other coloring tools
Remember, these recommendations are just a starting point, and you’re welcome to use any tools you prefer!
P.I.X.A.L. Drawing Guide: Step-by-Step Artistry
With your materials ready, it’s time to embark on the exciting artistic journey. Follow this comprehensive guide to create a stunning depiction of the beloved Nindroid.
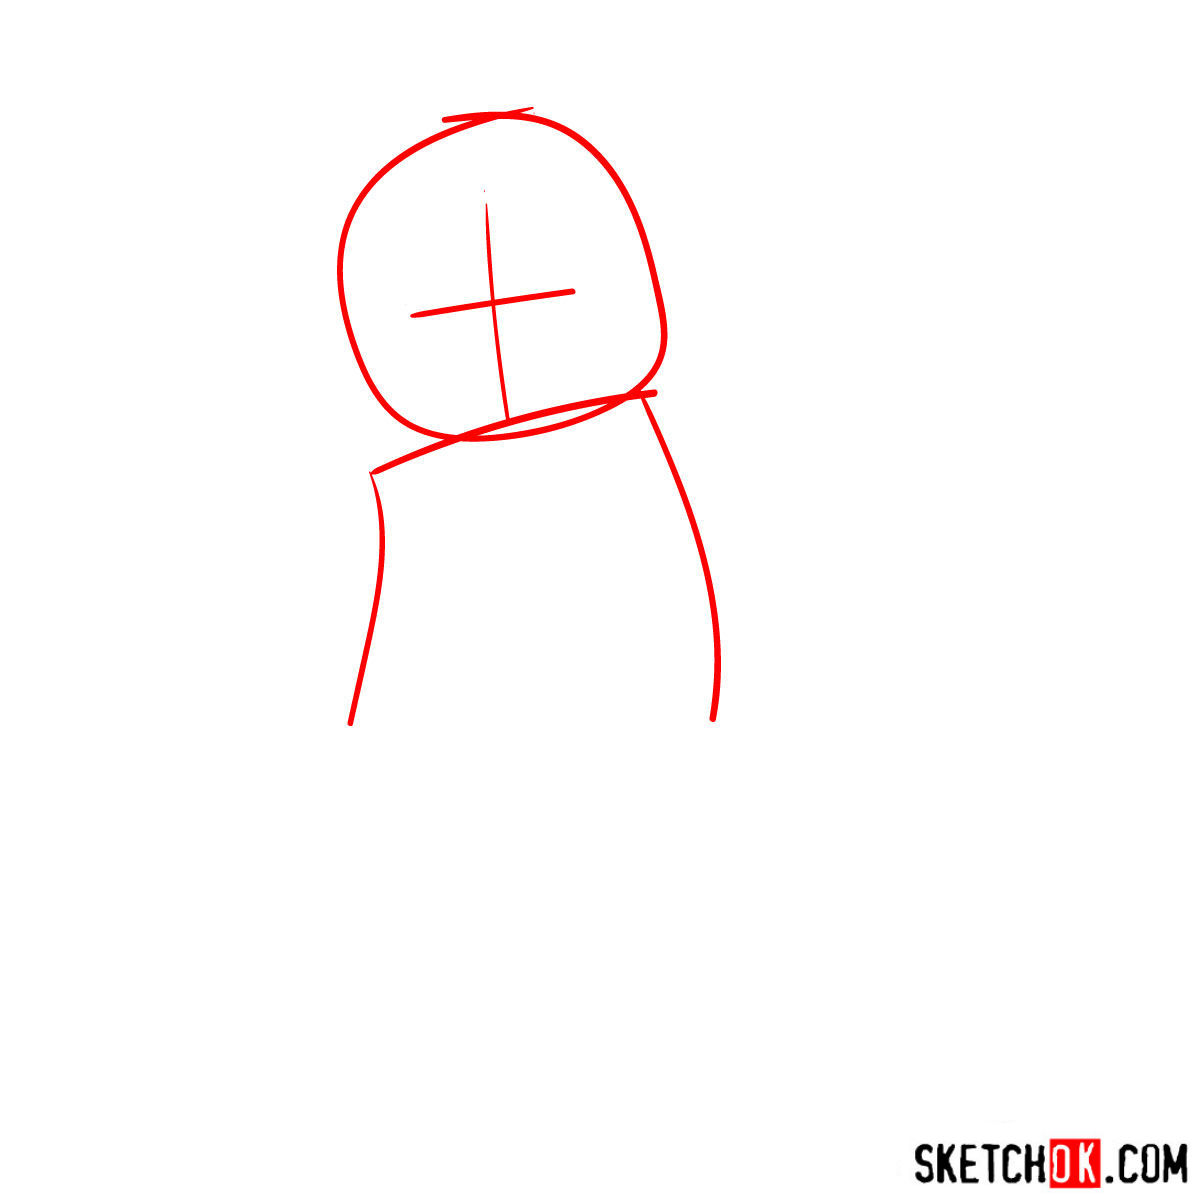
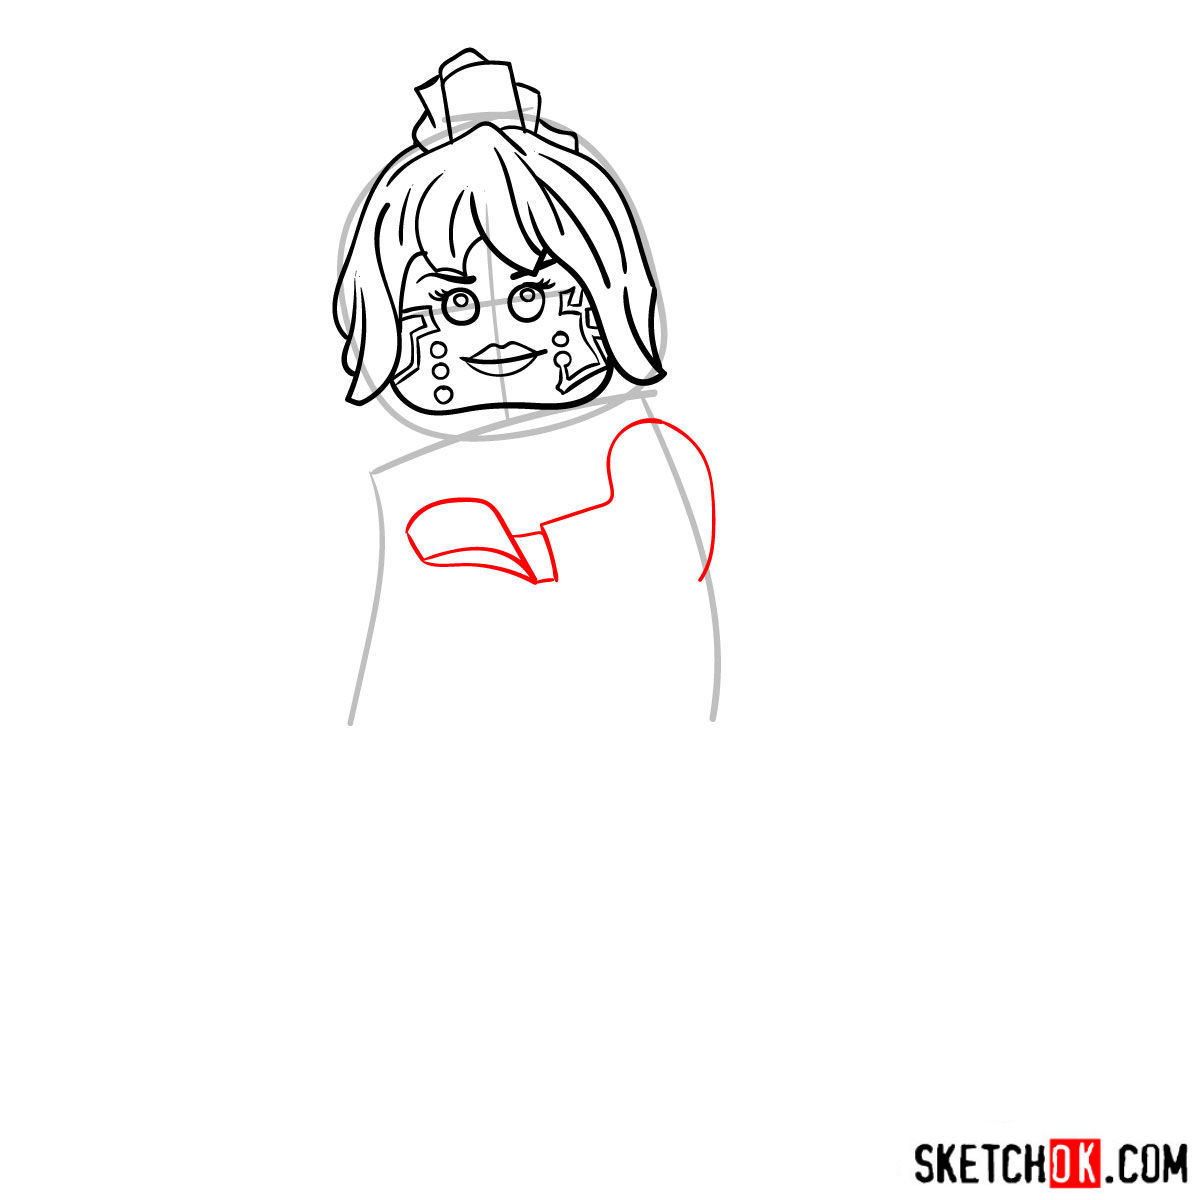
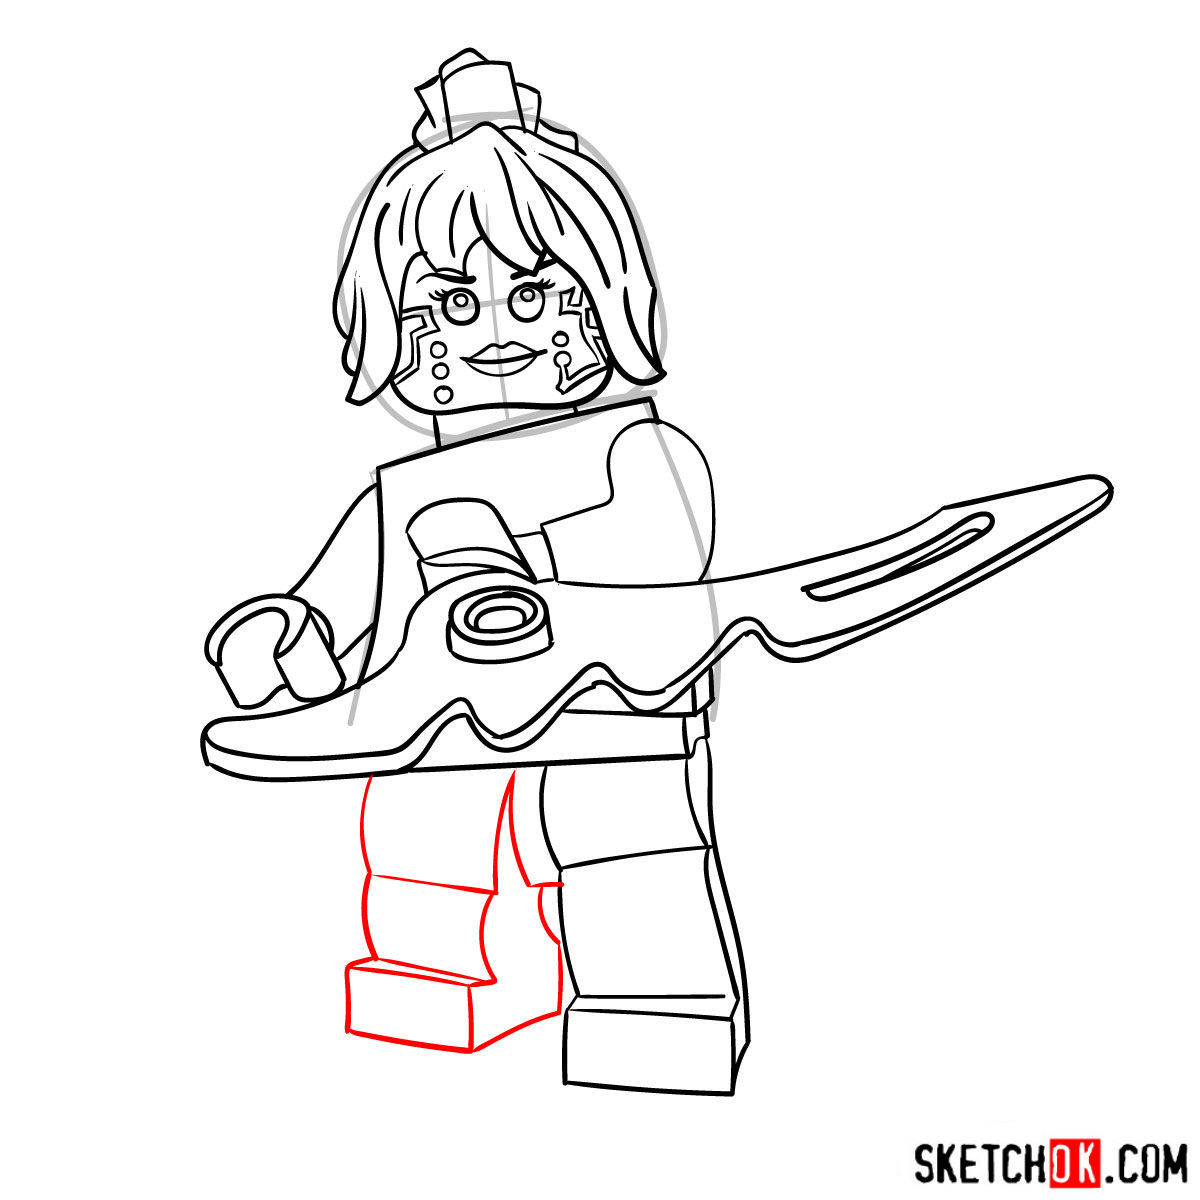
Part 1: Building the Basic Sketch
Begin by creating a basic structure of P.I.X.A.L.’s form using light pencil strokes. This initial sketch will serve as a foundation for establishing accurate proportions and ensuring a balanced composition. Don’t worry about details at this stage; focus on capturing the overall shape and structure of the character.
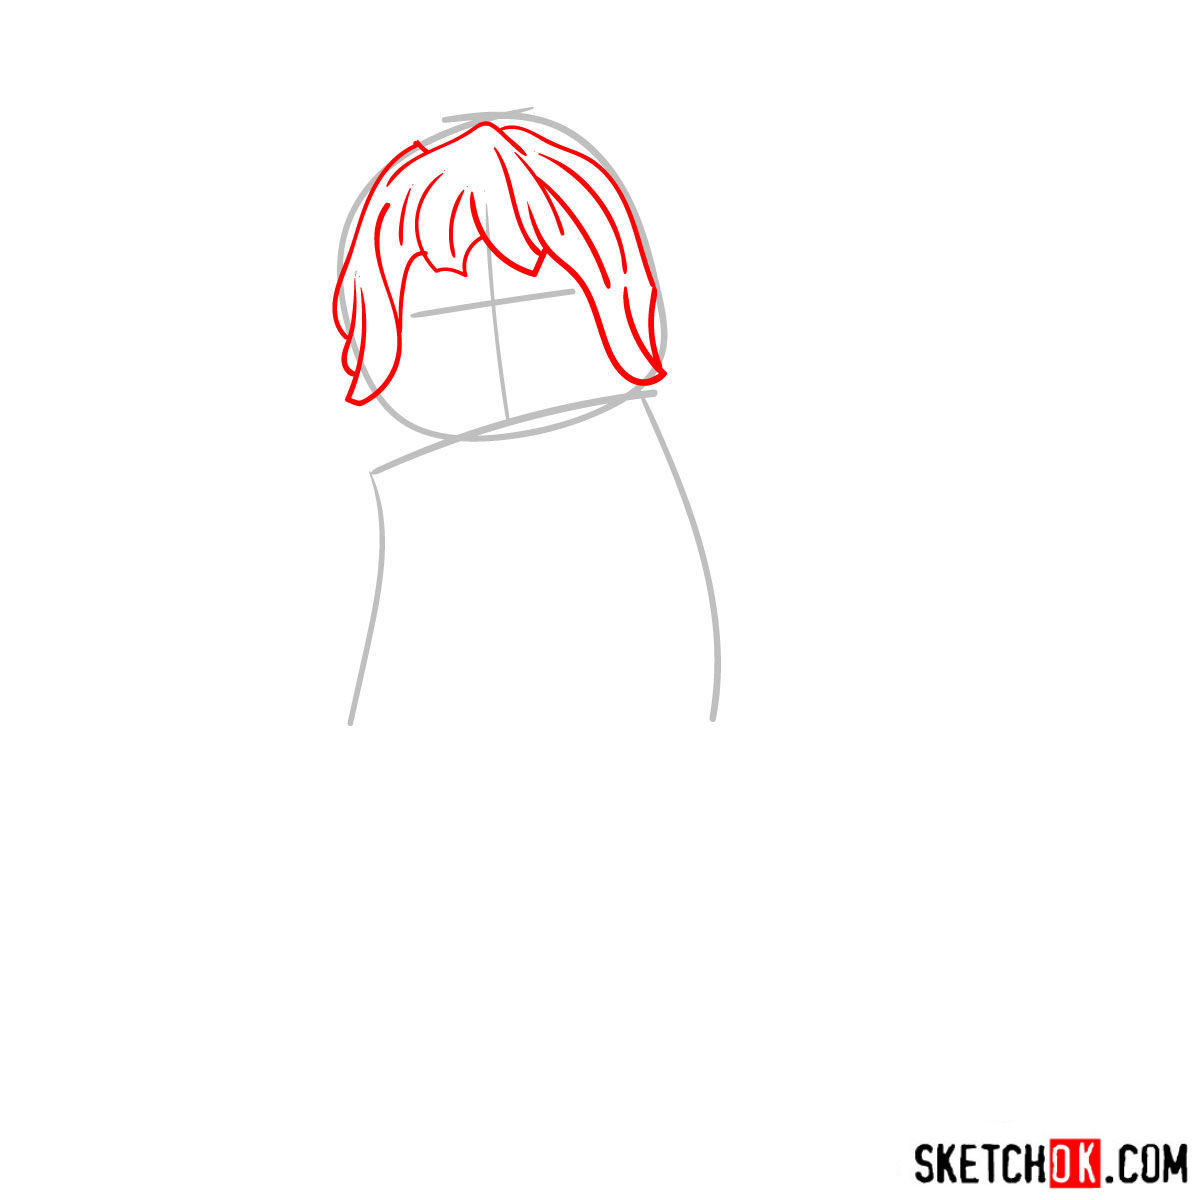
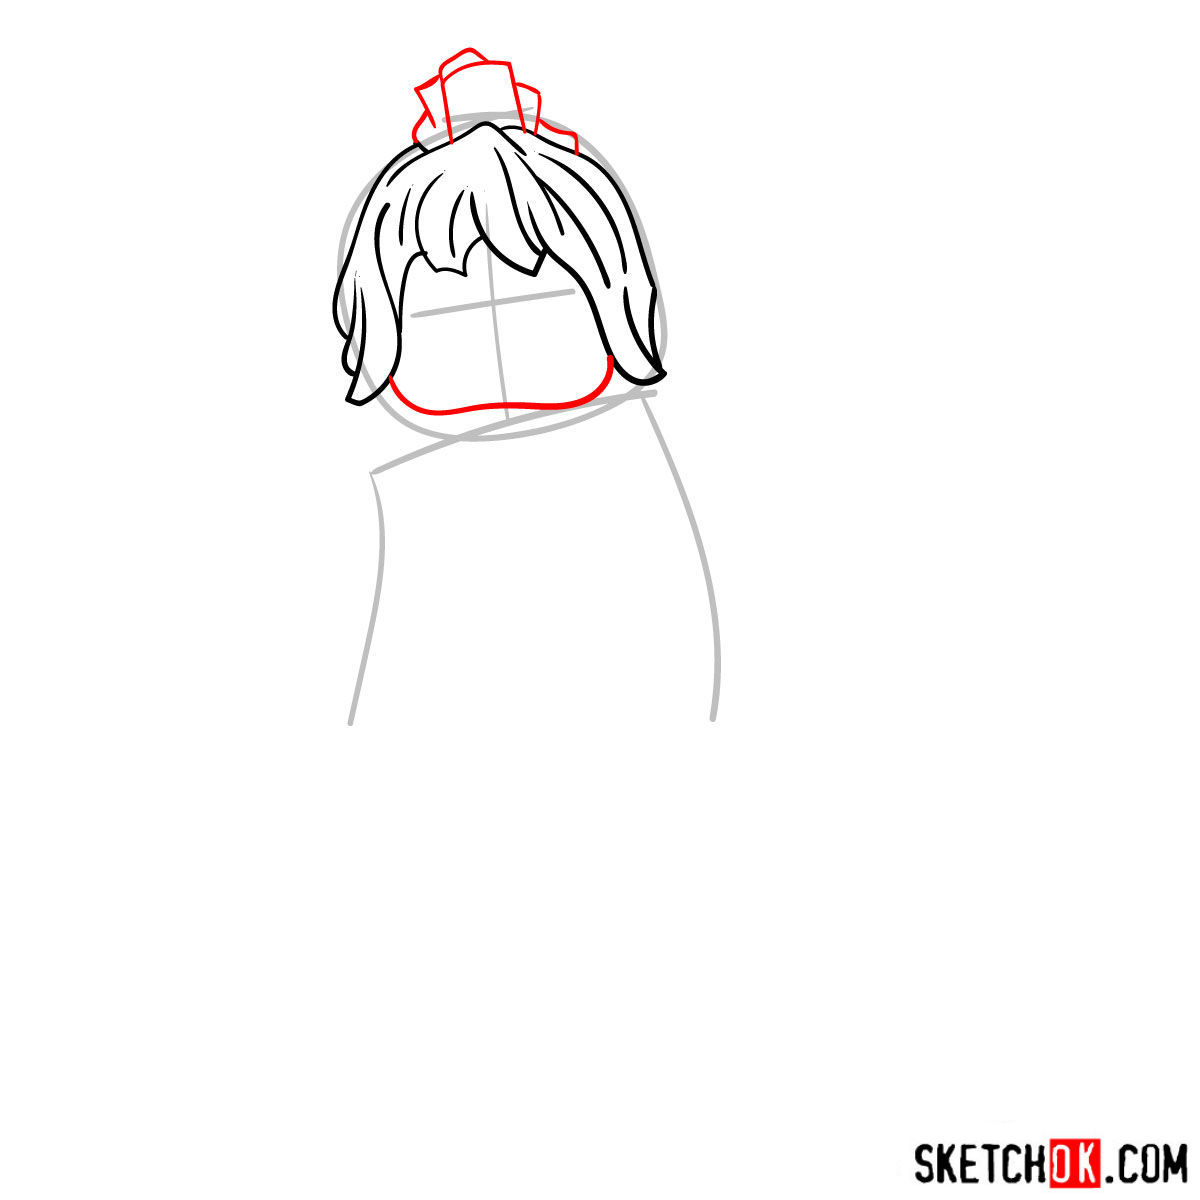
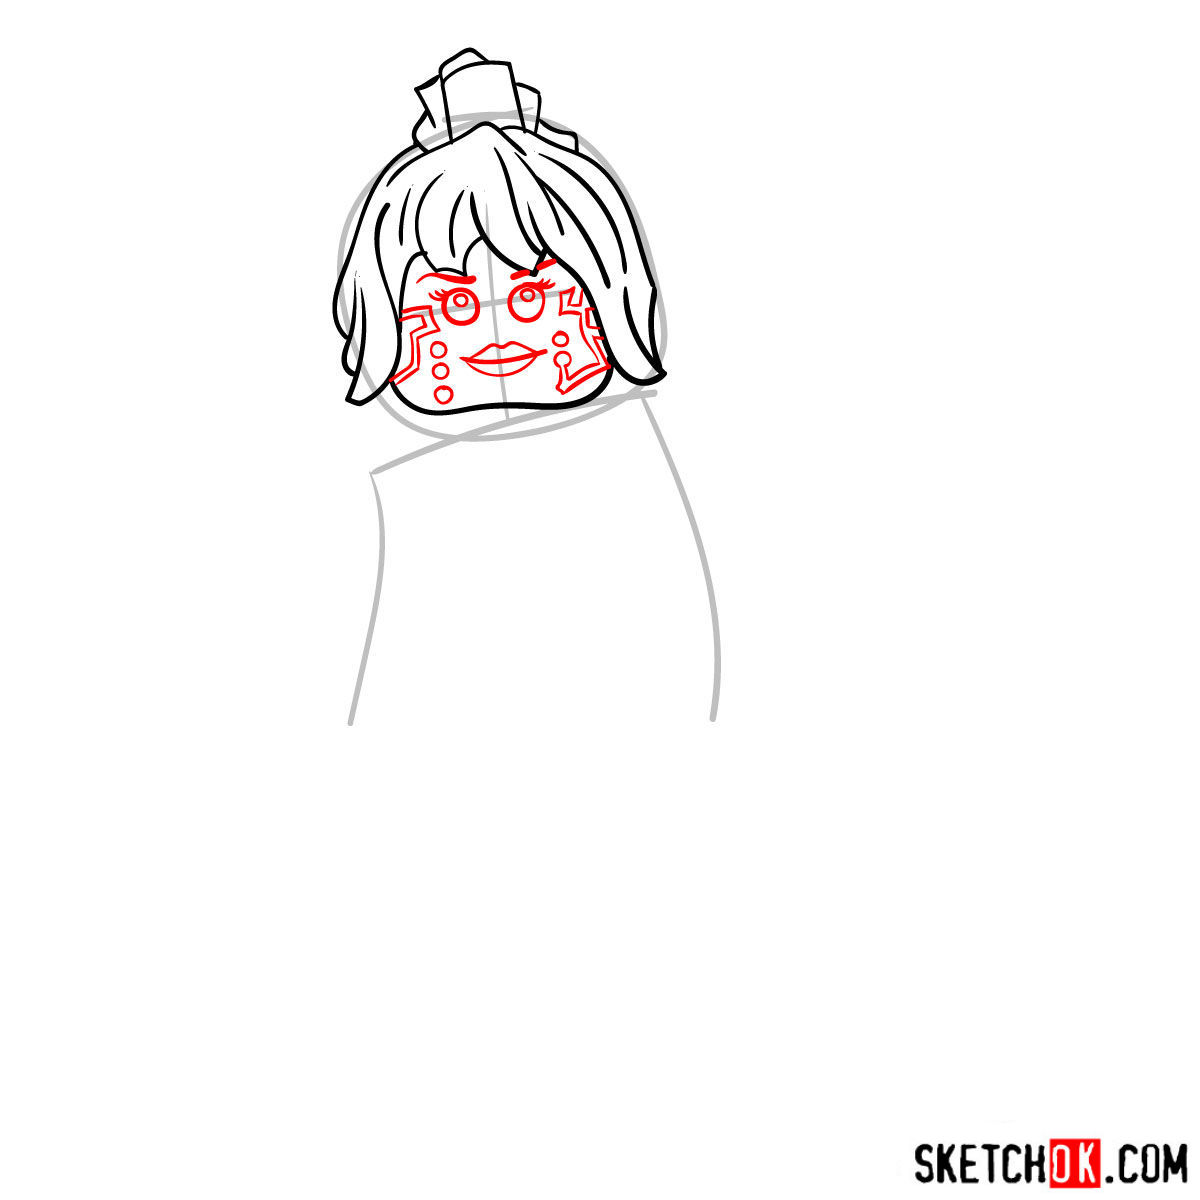
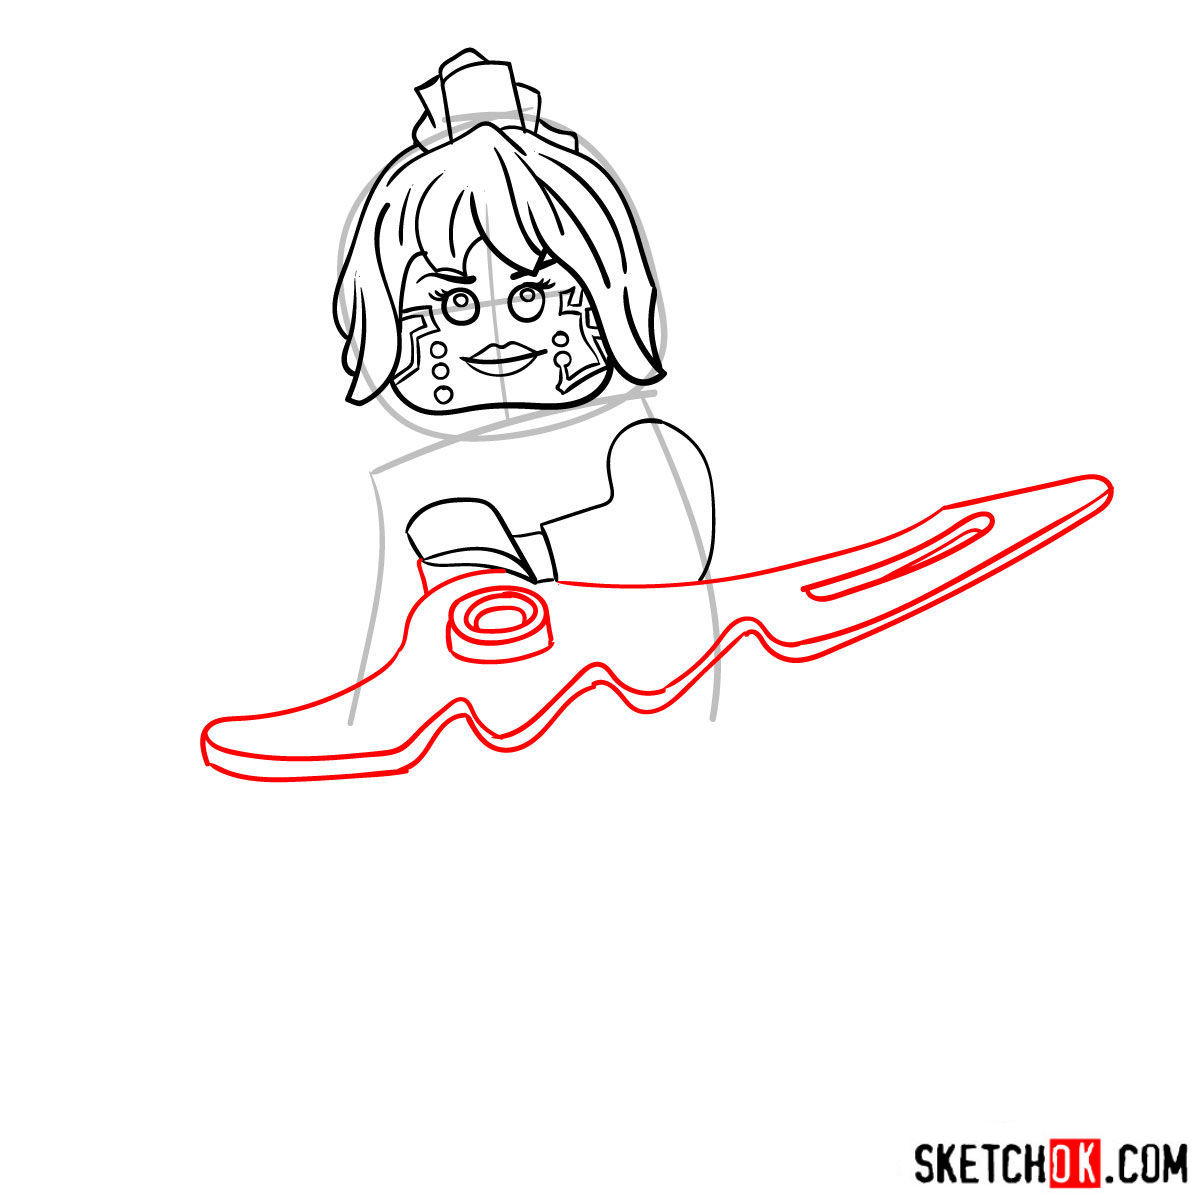
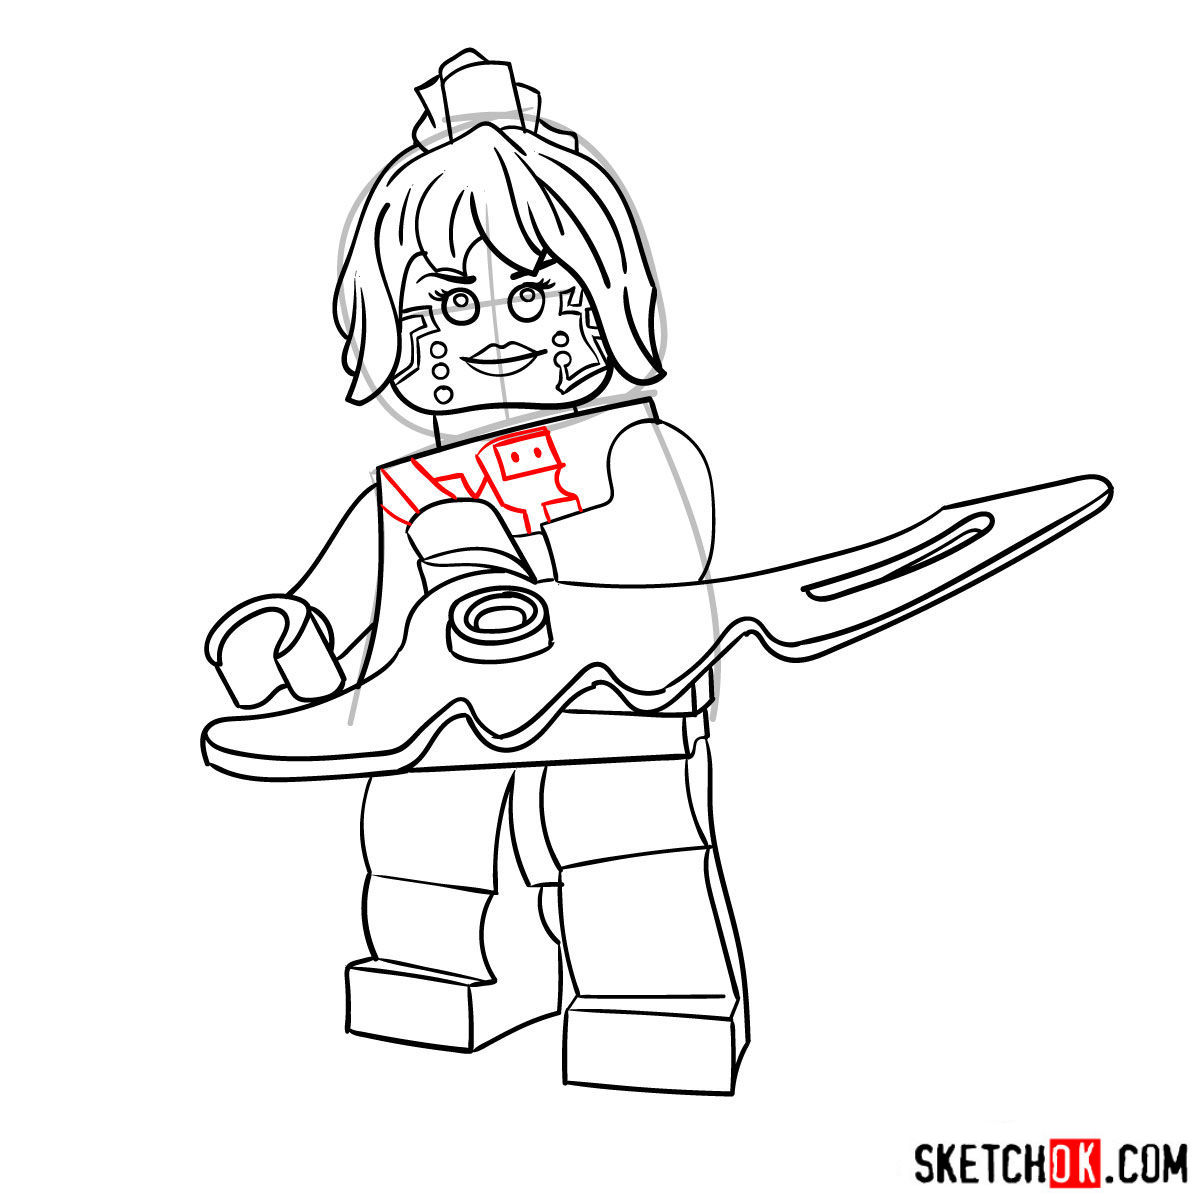
Part 2: Refining the Nindroid Lines
With the basic structure in place, it’s time to refine your sketch. Add details to P.I.X.A.L.’s facial features, armor, and other design elements while improving the proportions and correcting any inaccuracies. Remember to keep your pencil strokes light, as you’ll be inking the drawing later.
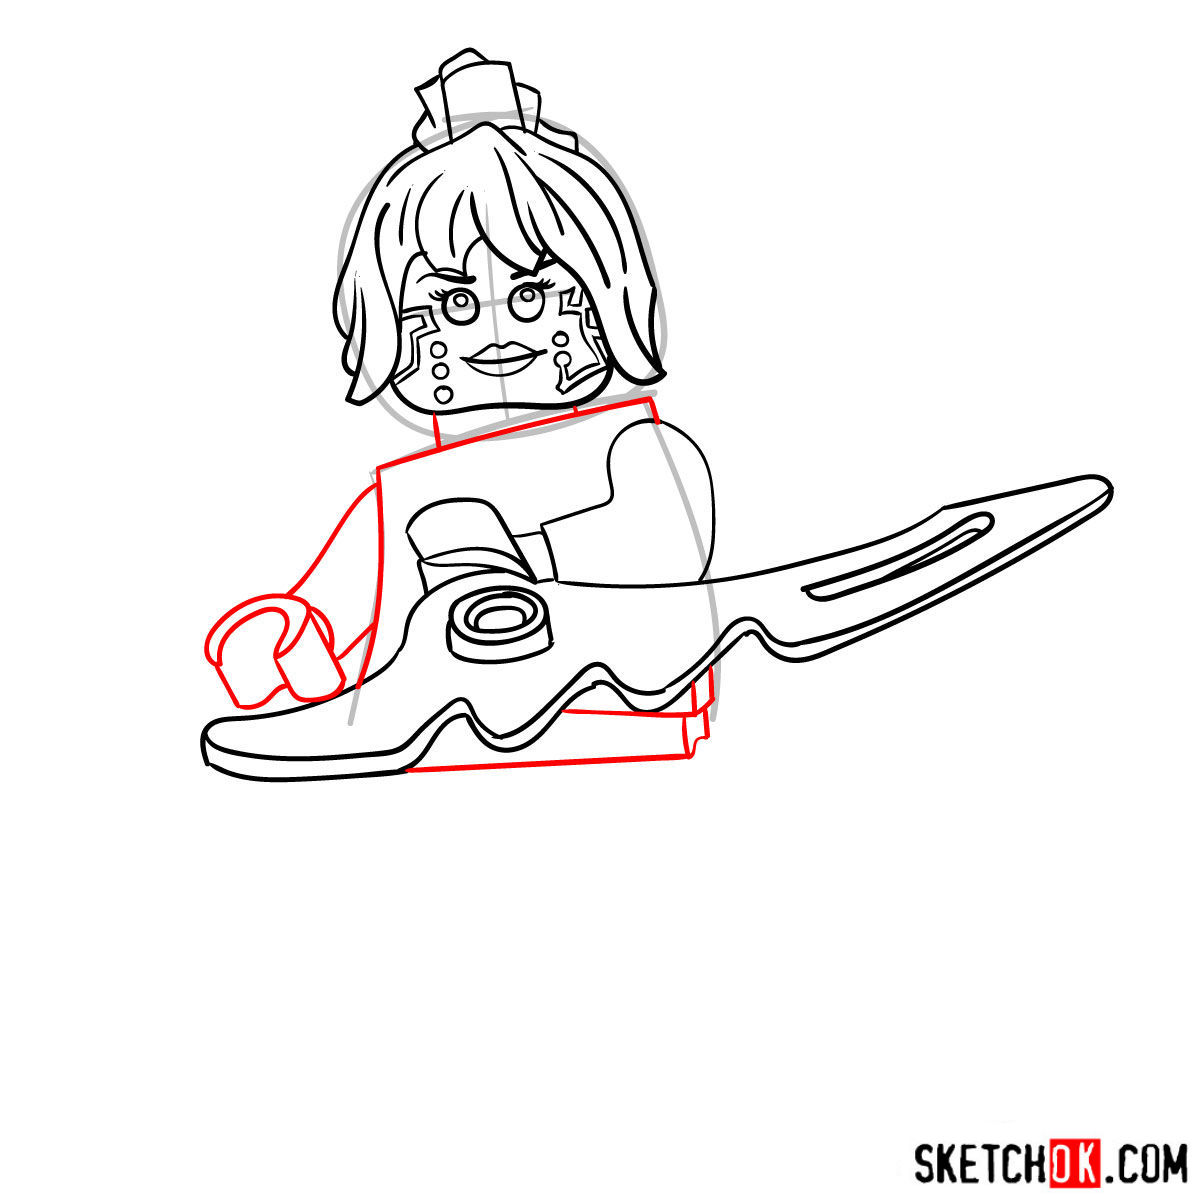
Part 3: Inking the Artwork
Once you’re satisfied with your refined sketch, it’s time to ink your drawing. Using fineliner pens or markers, carefully trace over the pencil lines to create a clean, bold outline of P.I.X.A.L. Don’t forget to add any additional details or final touches during this stage. After inking, let the ink dry and gently erase any remaining pencil lines.

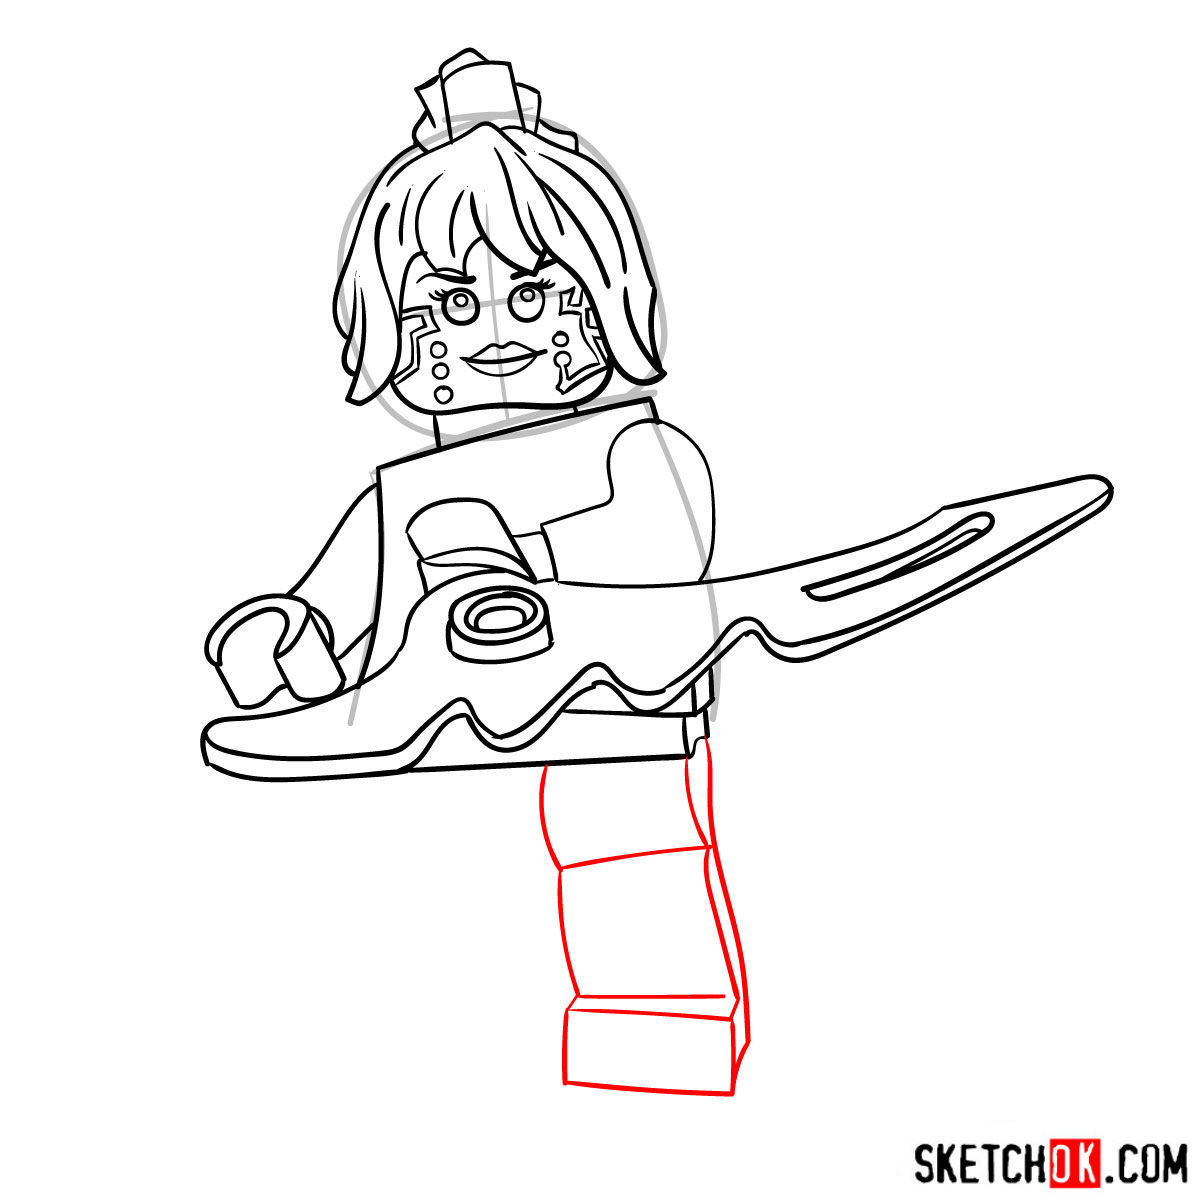
Part 4: Coloring and Shading Your Nindroid Masterpiece
The final step in your drawing journey is to add color, shading, and highlights. Choose your preferred coloring tools, such as colored pencils or markers, and carefully fill in the various sections of P.I.X.A.L.’s design. Pay attention to the character’s color scheme and add shading and highlights to create depth and dimension in your artwork.

That covers everything you need to know about how to draw P.I.X.A.L. from Lego Ninjago, so grab your pencil and give her those sharp, tech-savvy details she deserves. If you want to show off your finished version, the Pinterest pinned post for this guide is a great spot to share it.