Do you admire the incredible strength, speed, and flight of Warpath from the X-Men series? Have you ever wanted to bring James Proudstar’s character to life on paper? Look no further! We have created a step-by-step tutorial for aspiring artists that will teach you how to draw Warpath in all his glory.
Unraveling the Legend of Warpath
Before diving into the drawing process, let’s learn more about Warpath, the Apache superhero with impressive superhuman abilities. Initially known as Thunderbird, James Proudstar made his first appearance in New Mutants #16 in June 1984. Blaming the X-Men for his brother’s death, he joined the Hellions squad led by Emma Frost. He later became a long-standing member of the militant X-Men offshoot, X-Force.
As one of the few Native American superheroes in Marvel Comics, Warpath has a unique cultural background and a powerful presence. He appeared in the 2014 film X-Men: Days of Future Past, portrayed by Booboo Stewart.
Now that you have a better understanding of Warpath’s character, it’s time to grab your drawing tools and get ready to create your own version of this iconic superhero.
The Artist’s Toolkit: What You’ll Need
While you can use any tools you prefer for this drawing, we recommend having the following items on hand:
- Pencils of varying hardness (e.g., HB, 2B)
- Drawing paper or sketchpad
- Eraser
- Sharpener
- Fineliner or inking pen
- Colored pencils or markers (optional)
Step into Warpath’s World: The Drawing Guide
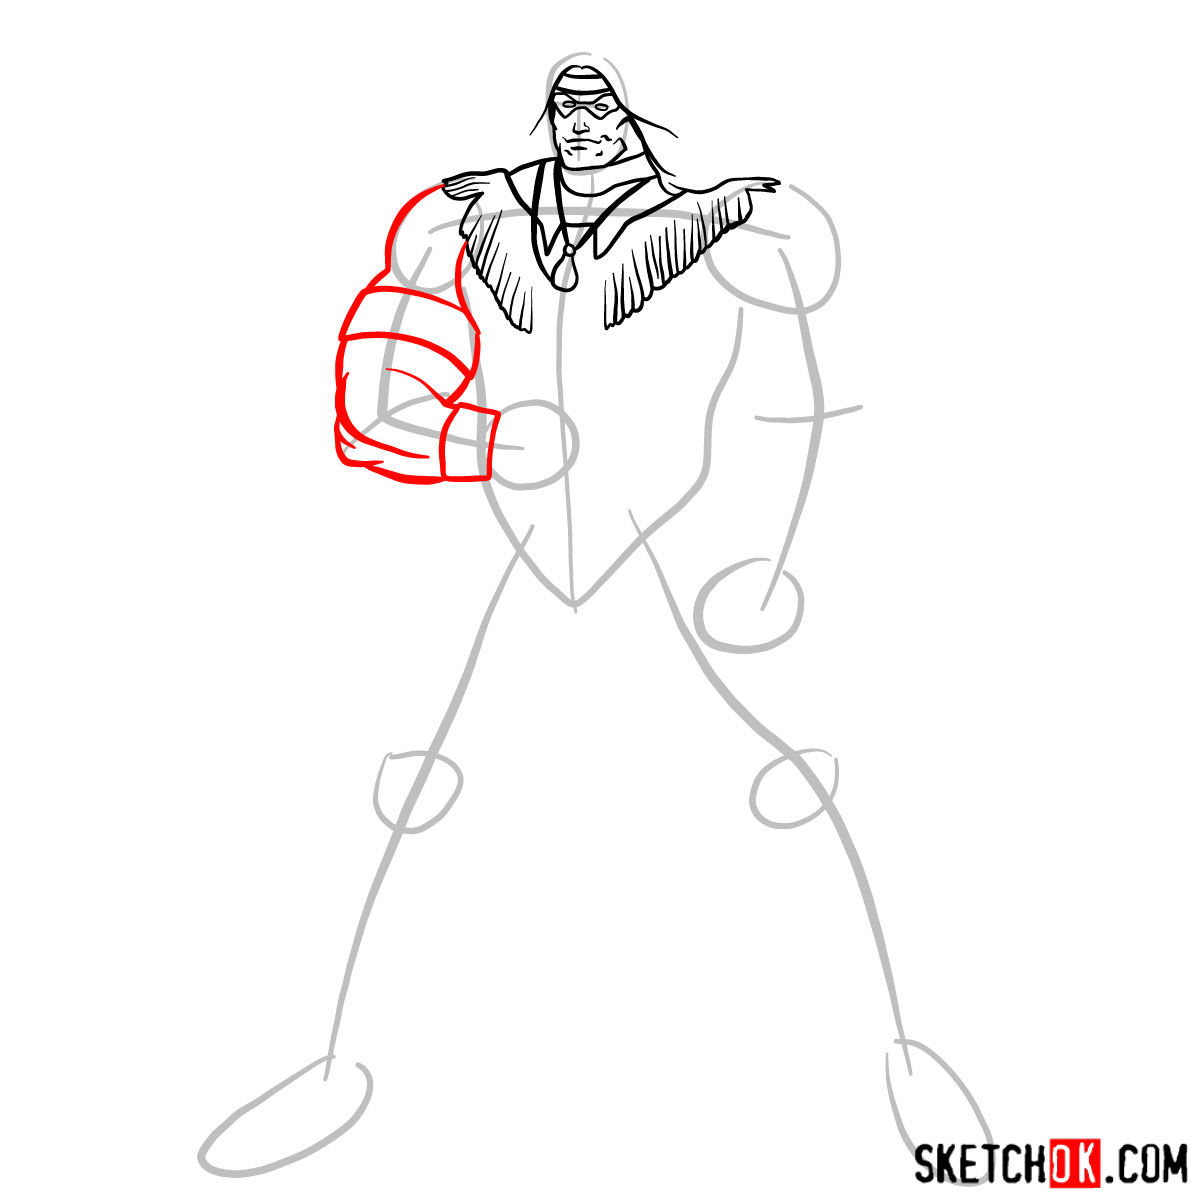
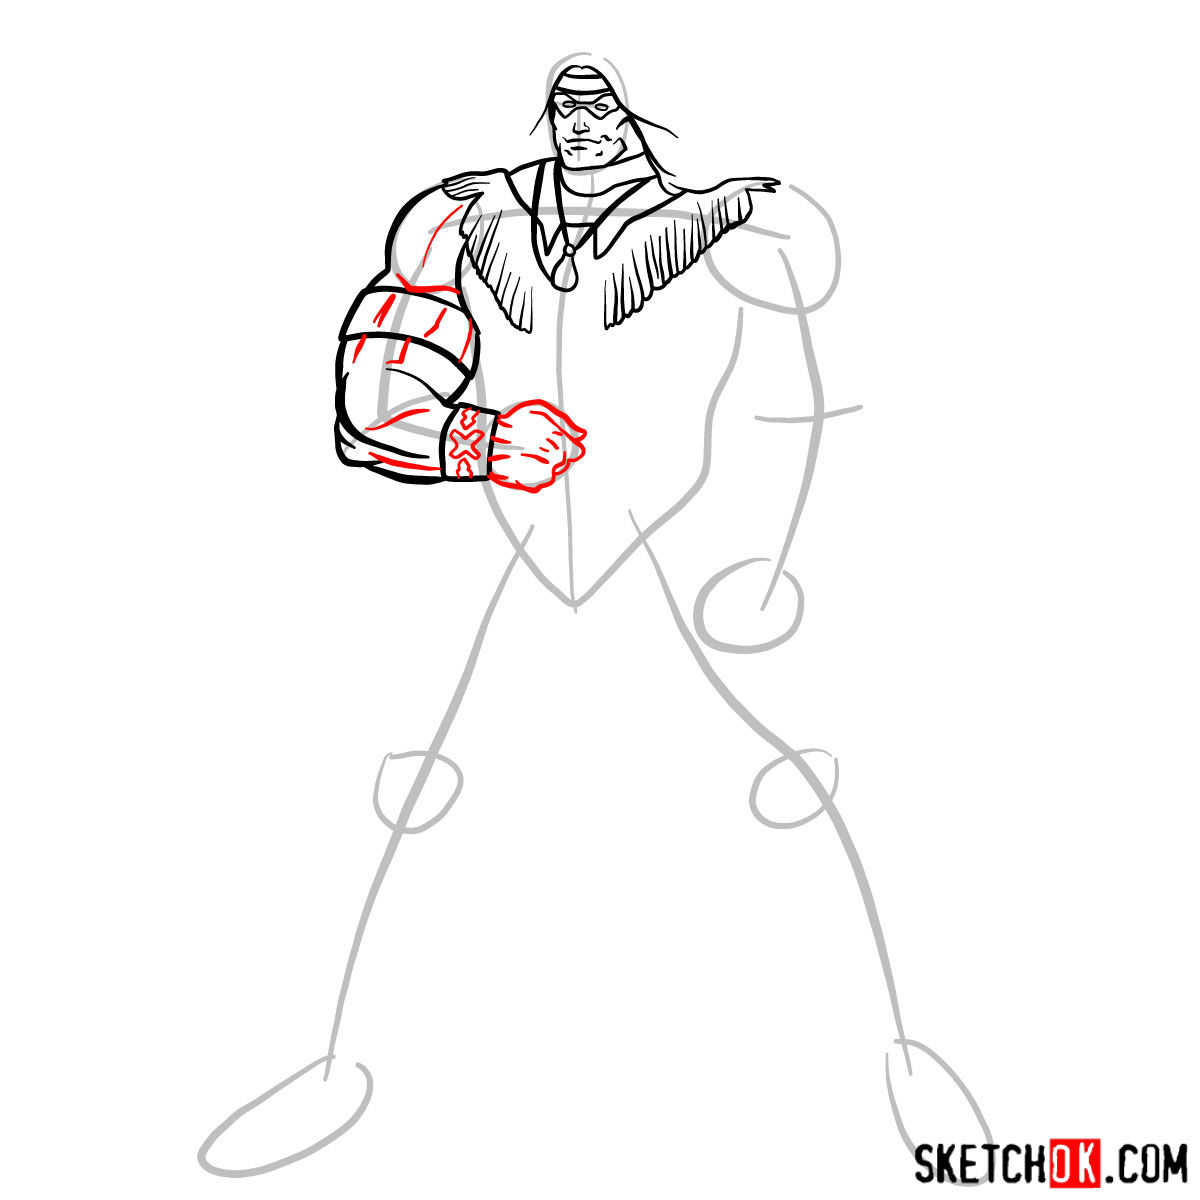
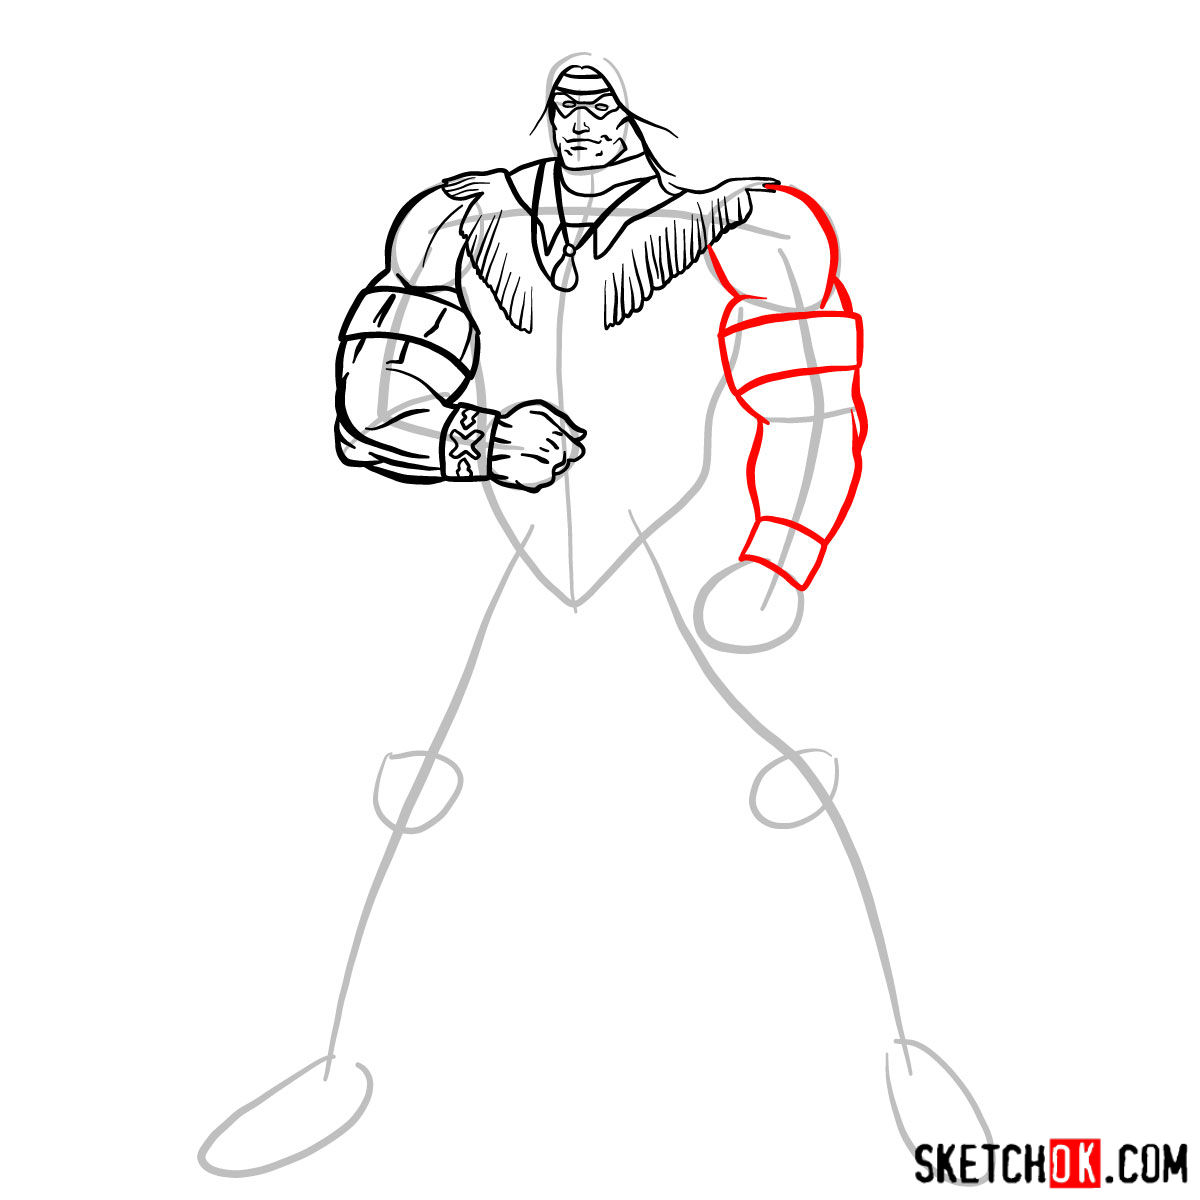
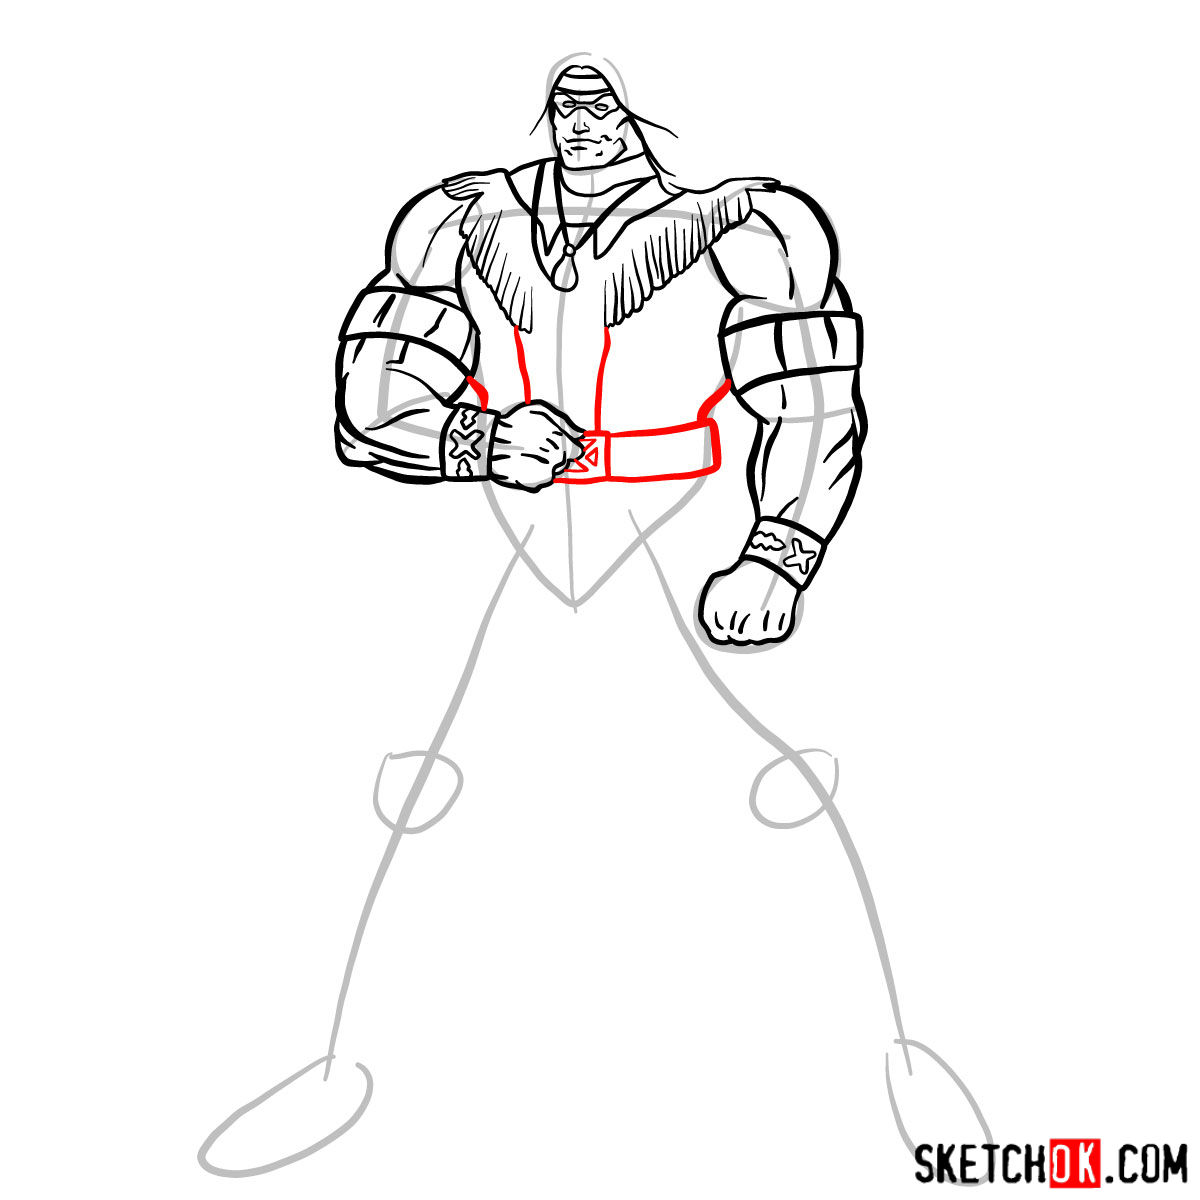
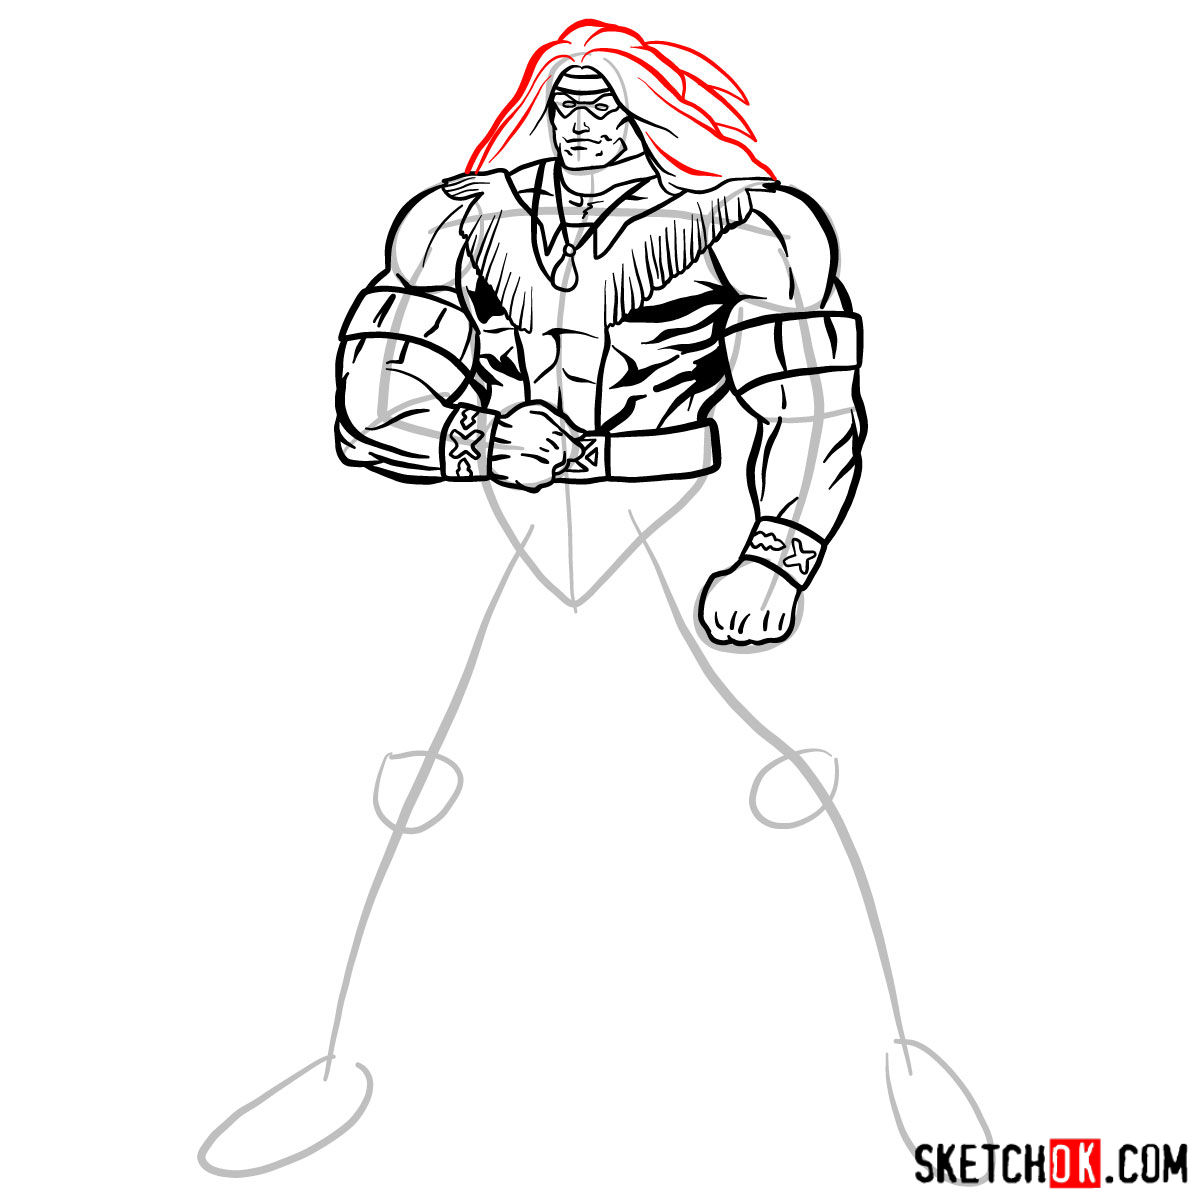
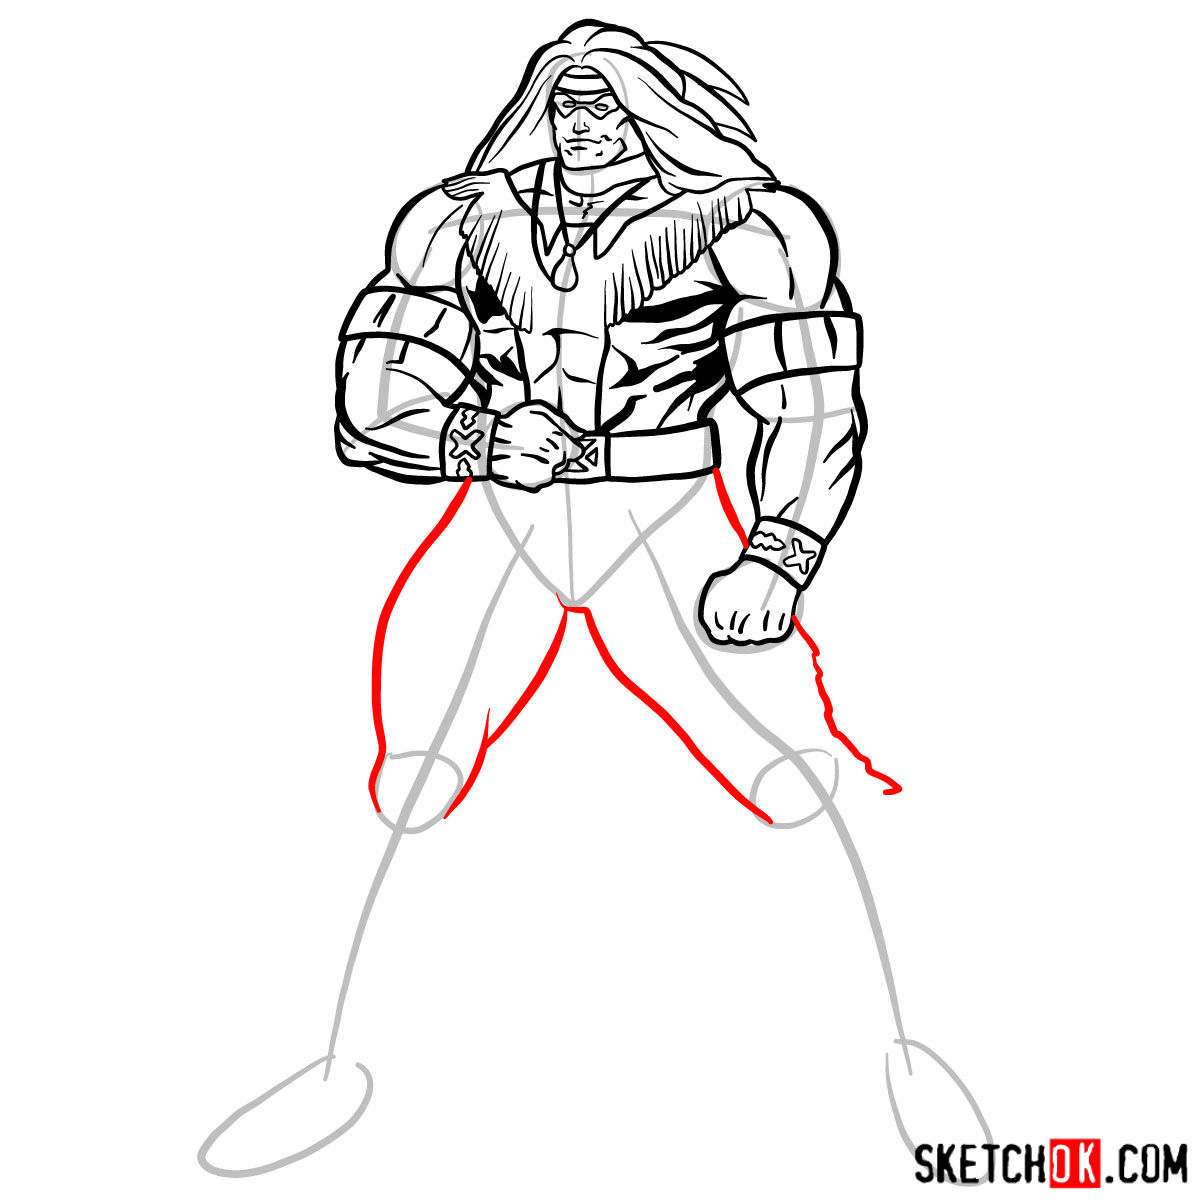
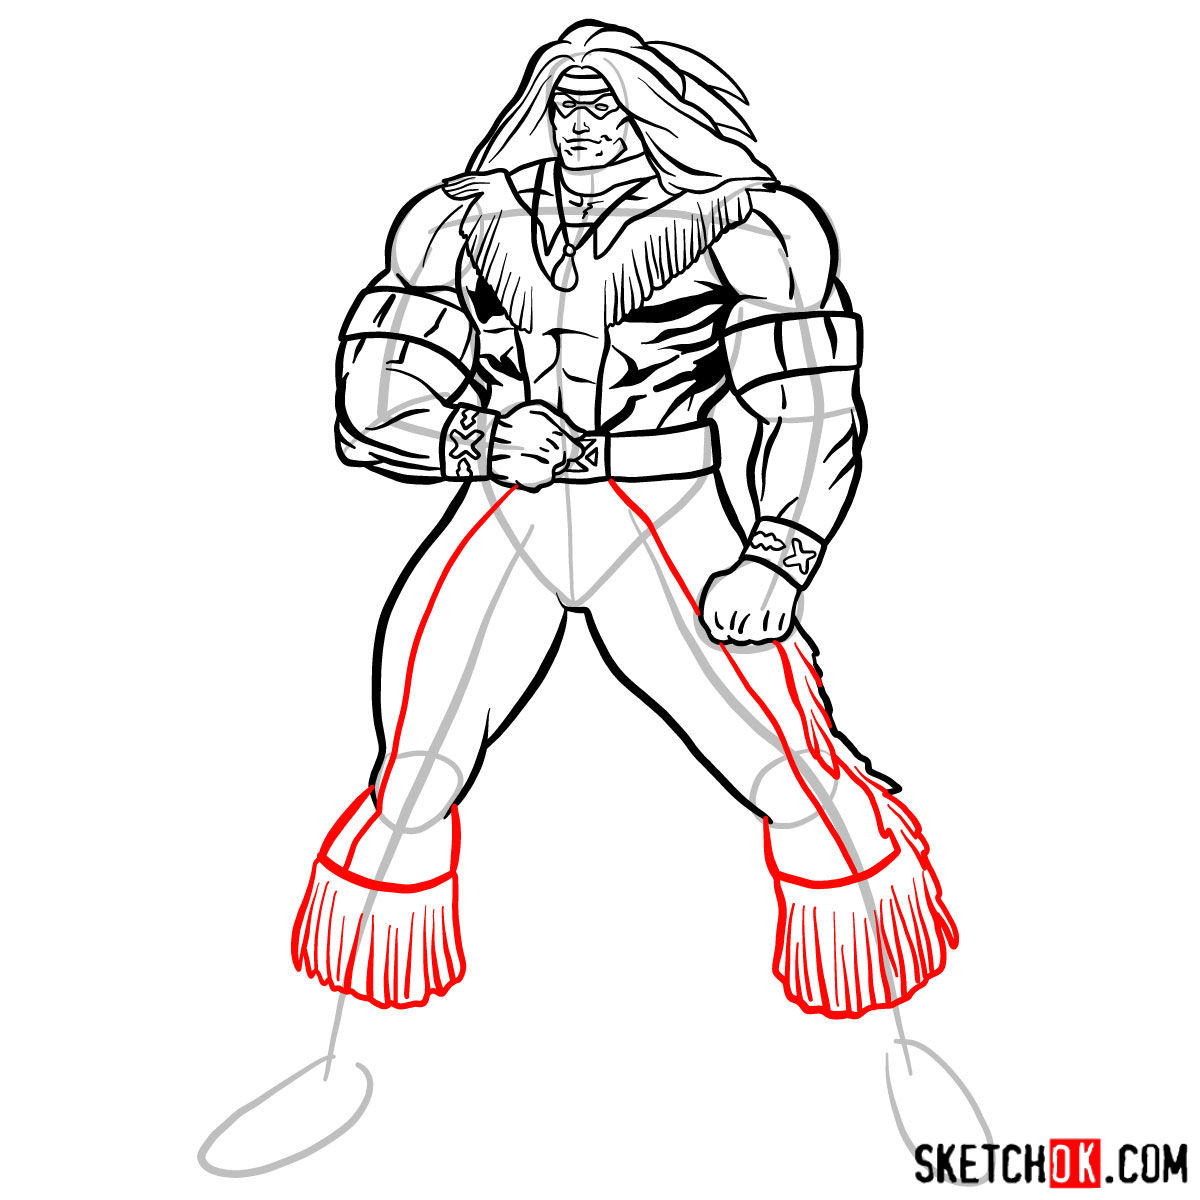
Our step-by-step drawing guide is designed to make drawing Warpath an enjoyable and rewarding experience. Each image in the tutorial is color-coded to help you follow along: red represents the current step, grey shows the basic proportions sketch, and black indicates previously drawn lines.
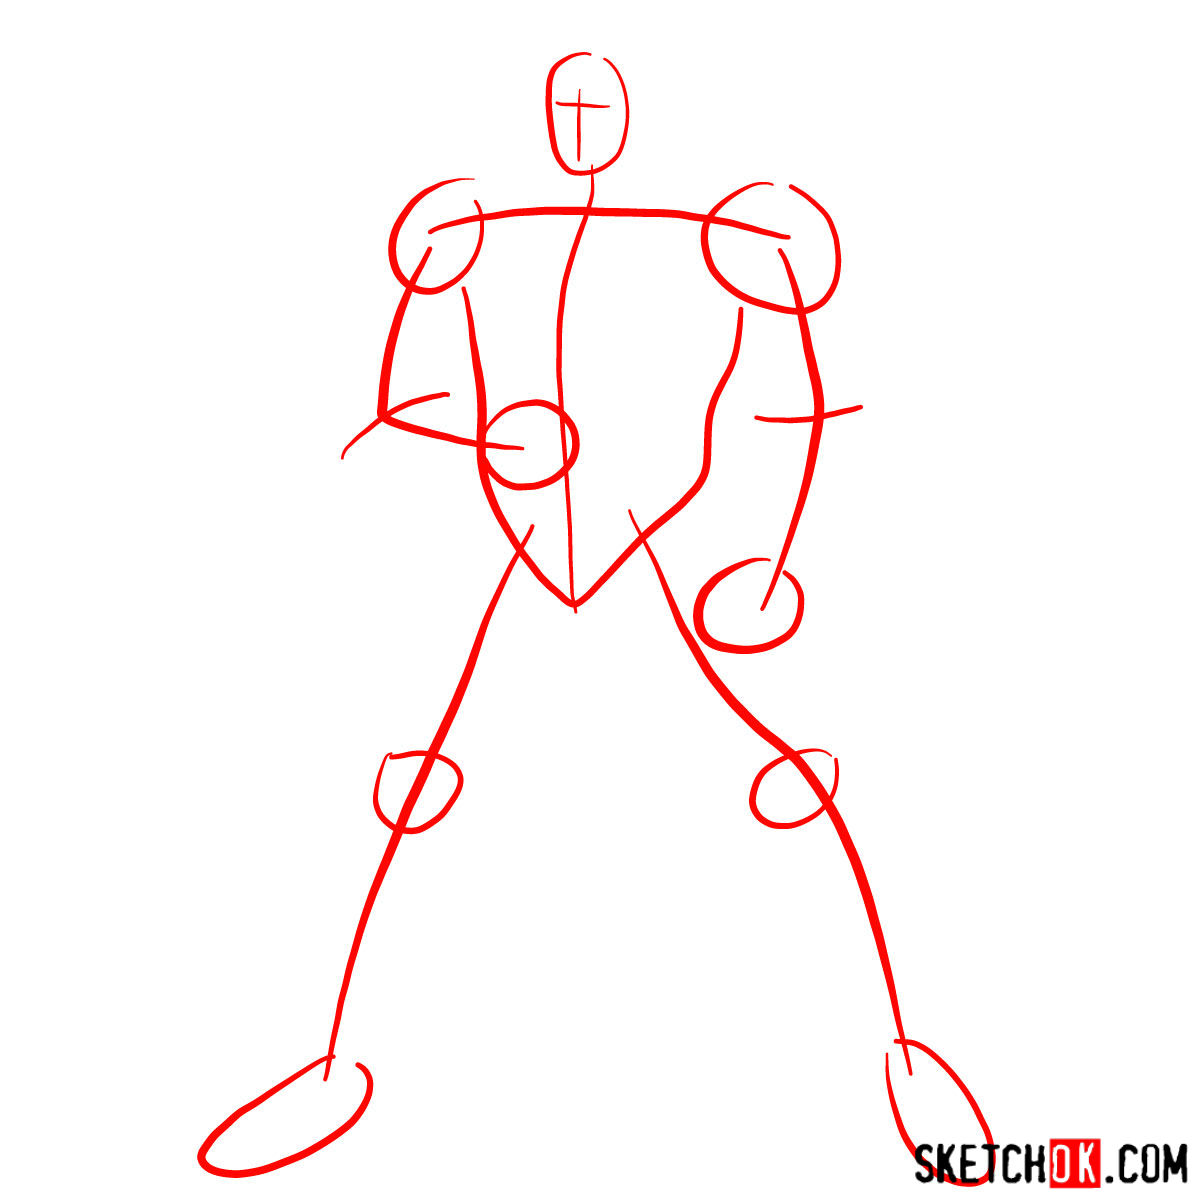
Part 1: The Foundation – Sketching the Basics
The first step in drawing Warpath involves creating a basic structure using light pencil strokes. This will ensure that you have a solid foundation for the character’s proportions, making it easier to refine your drawing later on.
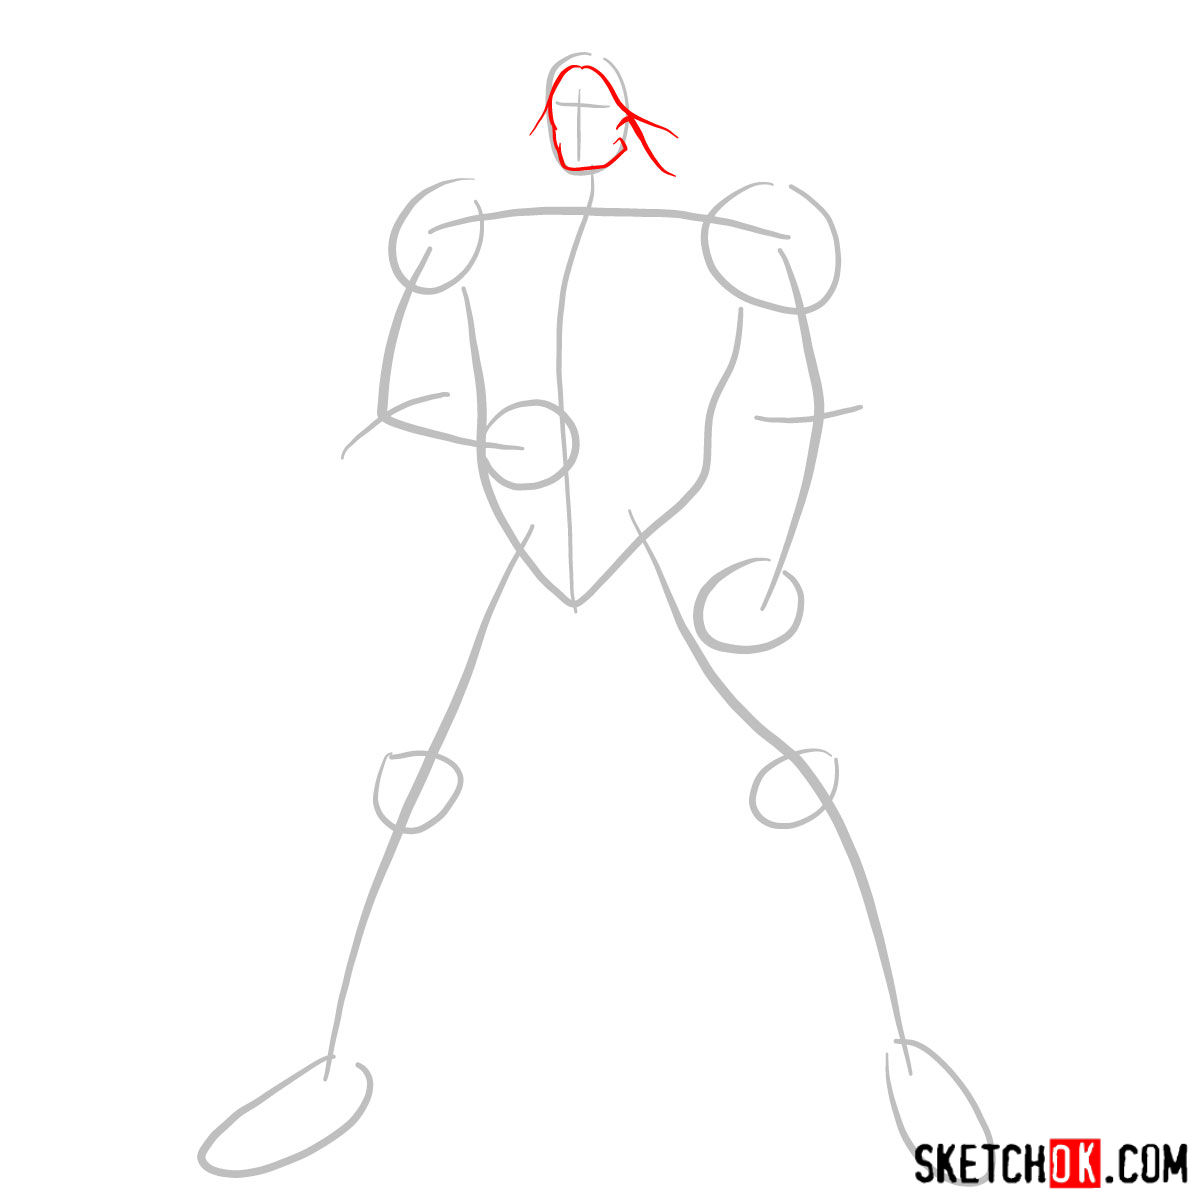
Part 2: Powering Up – Refining the Sketch
Once your basic structure is in place, it’s time to add details and improve the proportions. Carefully observe the reference images and make adjustments to your sketch as needed. This is an essential step in capturing Warpath’s likeness accurately.
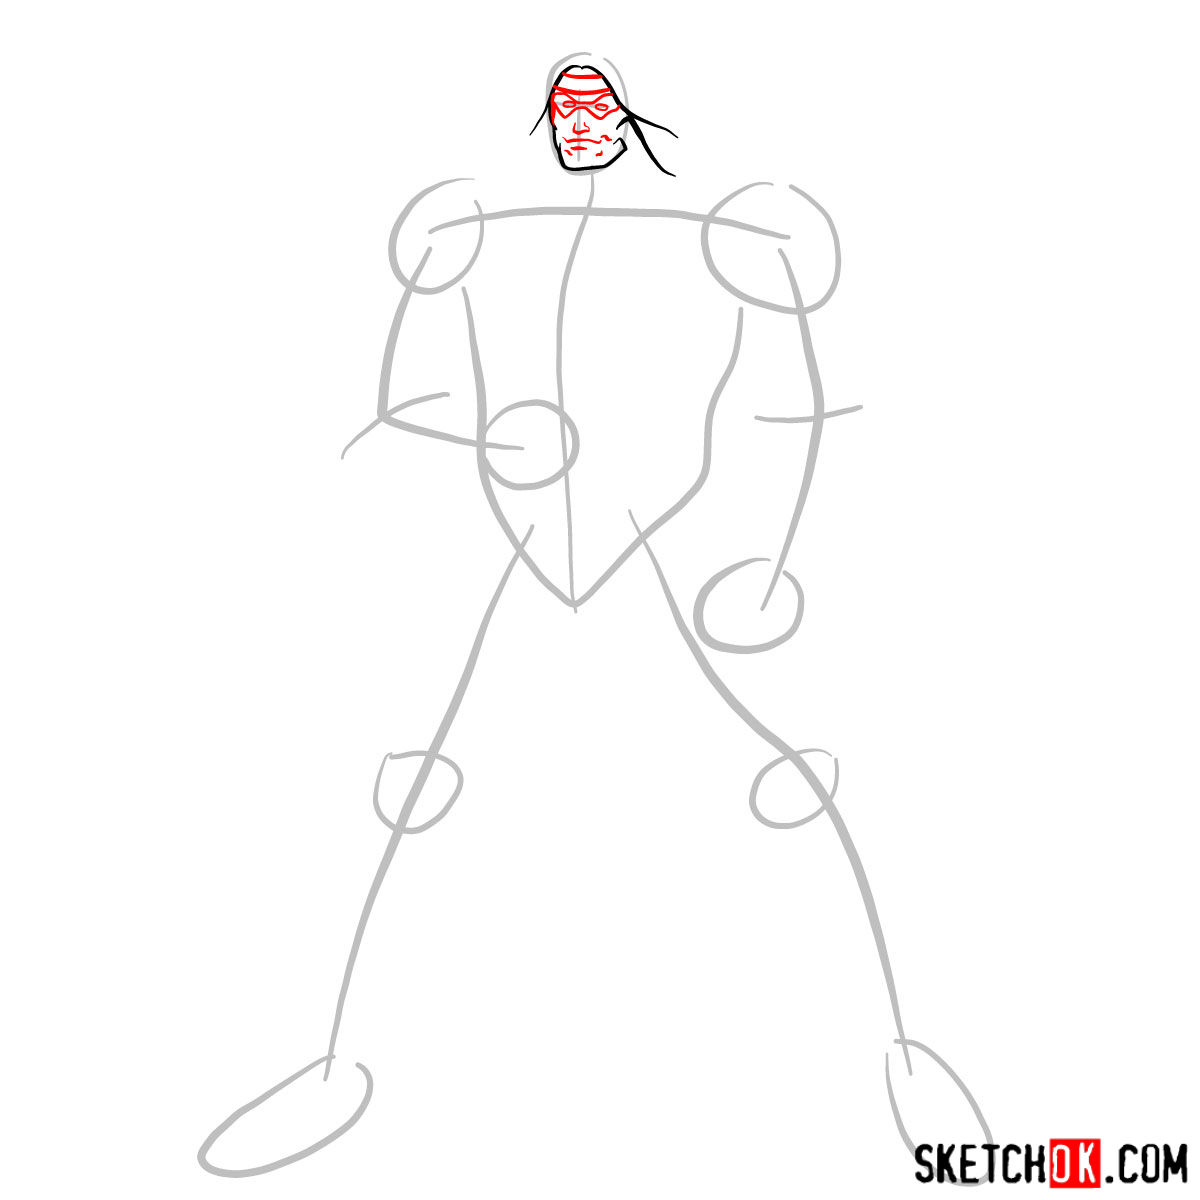
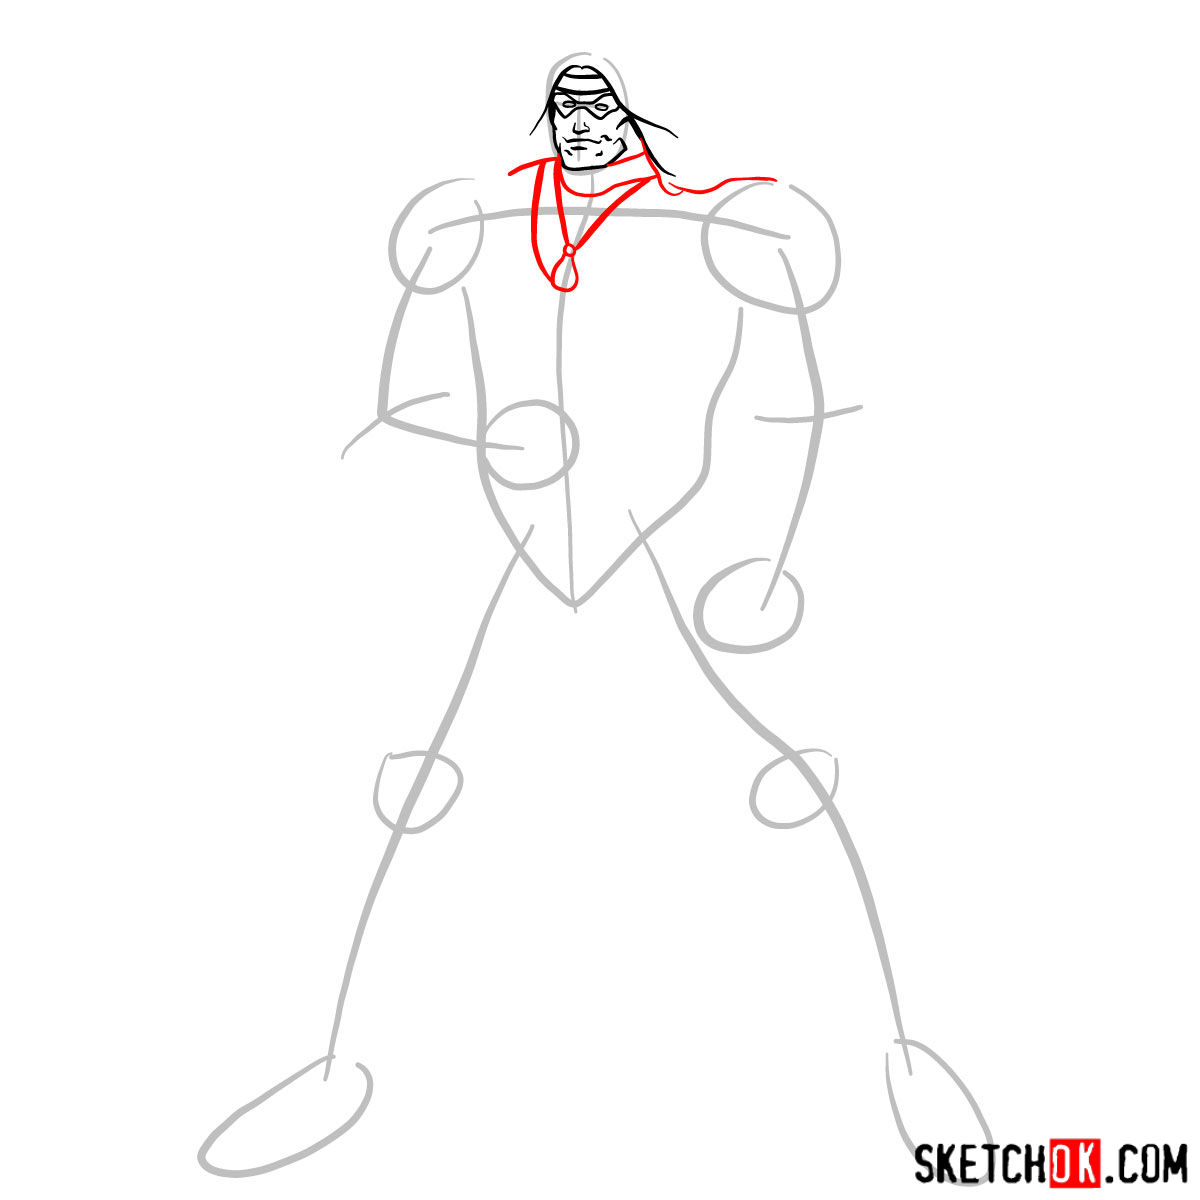

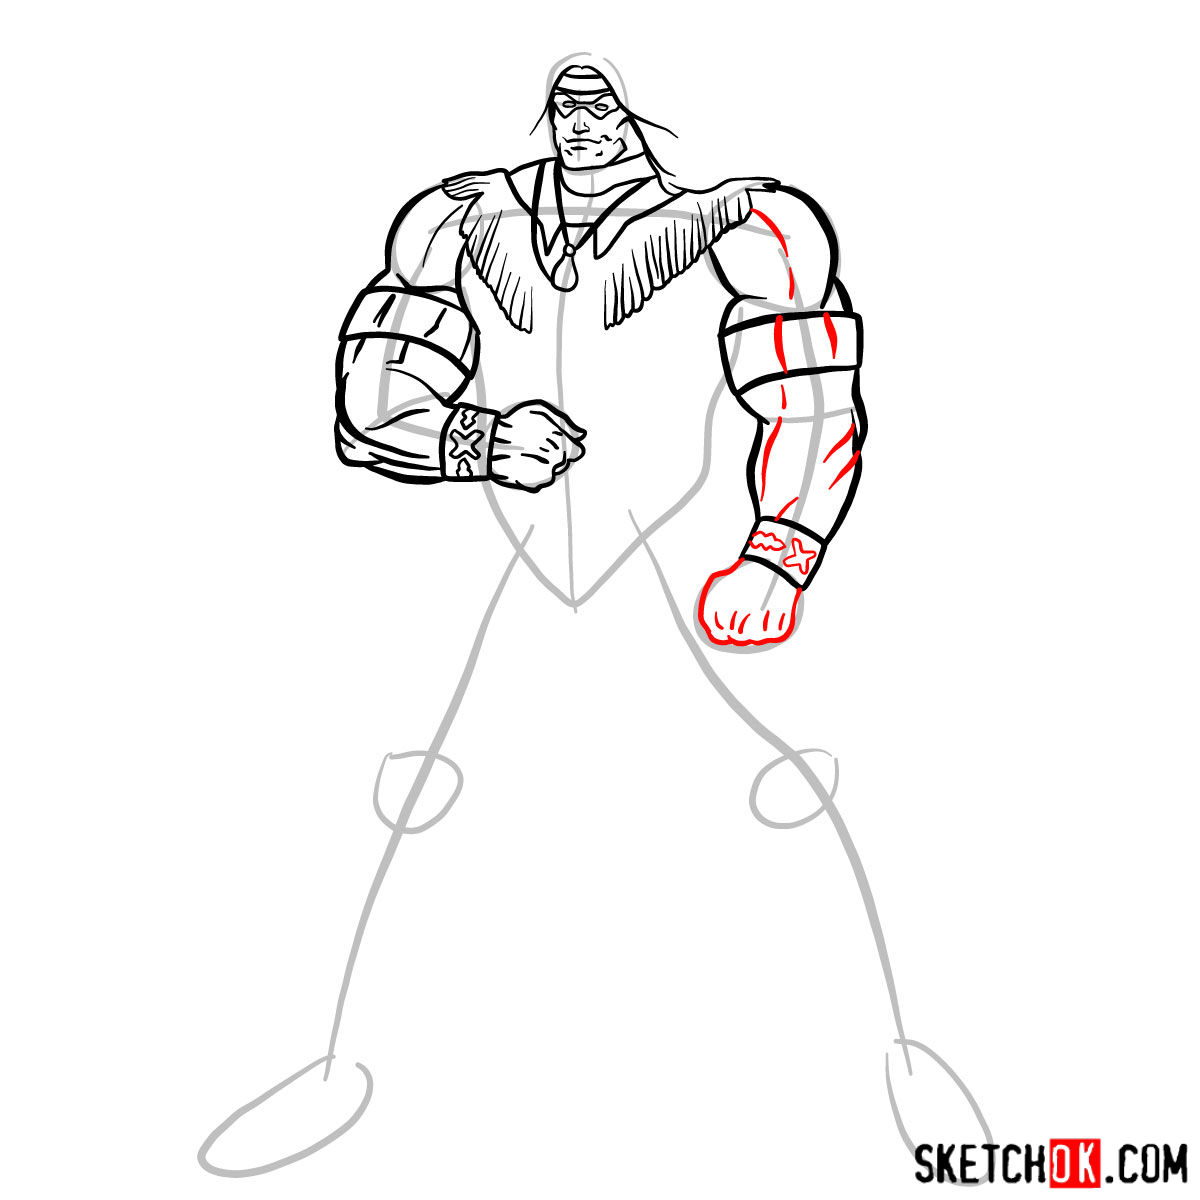


Part 3: Inking – Outlining the Warrior
With your refined sketch in place, it’s time to ink your drawing. Using a fineliner or inking pen, carefully trace over your pencil lines to create clean, crisp outlines. Be sure to add final touches that capture Warpath’s powerful appearance and unique features.

Part 4: Coloring and Shading – Bringing Warpath to Life
Now that your drawing is inked, it’s time to add color, shading, and highlights. Whether you’re using colored pencils or markers, pay close attention to the character’s color scheme and use shading techniques to create depth and dimension in your artwork.
")
Now that you know how to draw Warpath, feel free to experiment with his pose or add some background details to give him that larger-than-life presence he deserves. If you prefer watching someone draw rather than reading steps, the SketchOk YouTube channel uploads drawing videos regularly and might be worth checking out. You can also find pinned tutorials on Pinterest, which is a great spot to drop your finished Warpath sketch in the comments and see what others have come up with.