Introduction: Awaken the Mutant Artist Within You
Are you a fan of the X-Men and want to learn how to draw Cyclops, the team’s fearless leader? Look no further! In this step-by-step drawing tutorial, we’ll guide you through the process of creating your very own mutant masterpiece. Whether you’re a beginner or an experienced artist, this tutorial will help you improve your drawing skills and bring the iconic Marvel character to life.
The Laser-Eyed Leader: Cyclops’ Appearance and Story
Before we dive into the drawing process, let’s take a moment to appreciate Cyclops’ unique appearance and backstory. As one of the founding members of the X-Men, Cyclops, also known as Scott Summers, has been a vital part of the Marvel Universe since his debut in 1963. Born with mutant powers, Cyclops emits powerful energy beams from his eyes, which he controls using his signature ruby-quartz visor. Over the years, Scott has evolved from a young, inexperienced hero to a seasoned and respected leader of the X-Men.
Created by the legendary duo of Stan Lee and Jack Kirby, Cyclops stands out as a classic American superhero archetype. He embodies the values of responsibility, duty, and honor, setting him apart from more rebellious characters like his teammate Wolverine. With his iconic X-Men costume and visor, Cyclops has been portrayed by actors such as James Marsden, Tye Sheridan, and Tim Pocock in various X-Men movies.
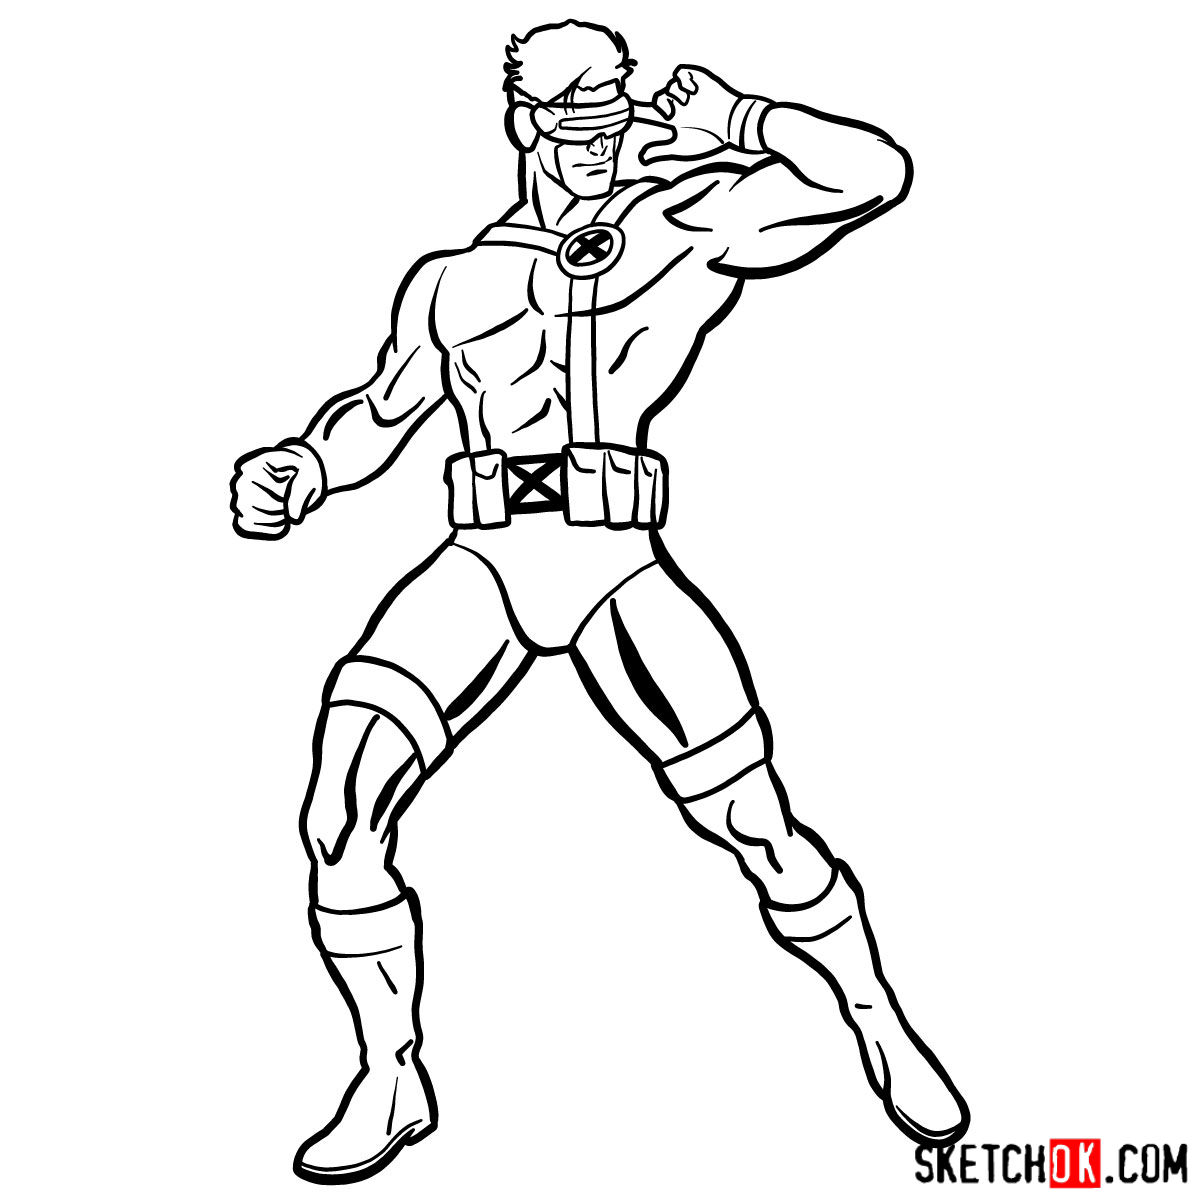
As you embark on your Cyclops drawing journey, keep in mind his heroic persona and distinct appearance. Understanding the character’s story and visual features will help you capture his essence in your artwork. By the way, here’s the drawing of the character in his dark-red costume.
Tools of the Mutant Trade: Materials and Tools
Before you begin, gather the following materials and tools to make your Cyclops drawing experience as smooth as possible:
- Pencils: A variety of graphite pencils, ranging from 2H to 6B, for different stages of sketching, refining, and shading.
- Eraser: A kneaded or vinyl eraser to correct mistakes and clean up your drawing.
- Inking pens: Fine-tip pens or markers for outlining and adding final details.
- Colored pencils or markers: To add color, shading, and highlights to your completed drawing.
- Paper: drawing or sketch paper that can handle various mediums without smudging or bleeding through.
Remember, these are just recommendations – feel free to use any tools you’re comfortable with!
Step-by-Step Cyclops Drawing Guide: Unraveling the Mystery
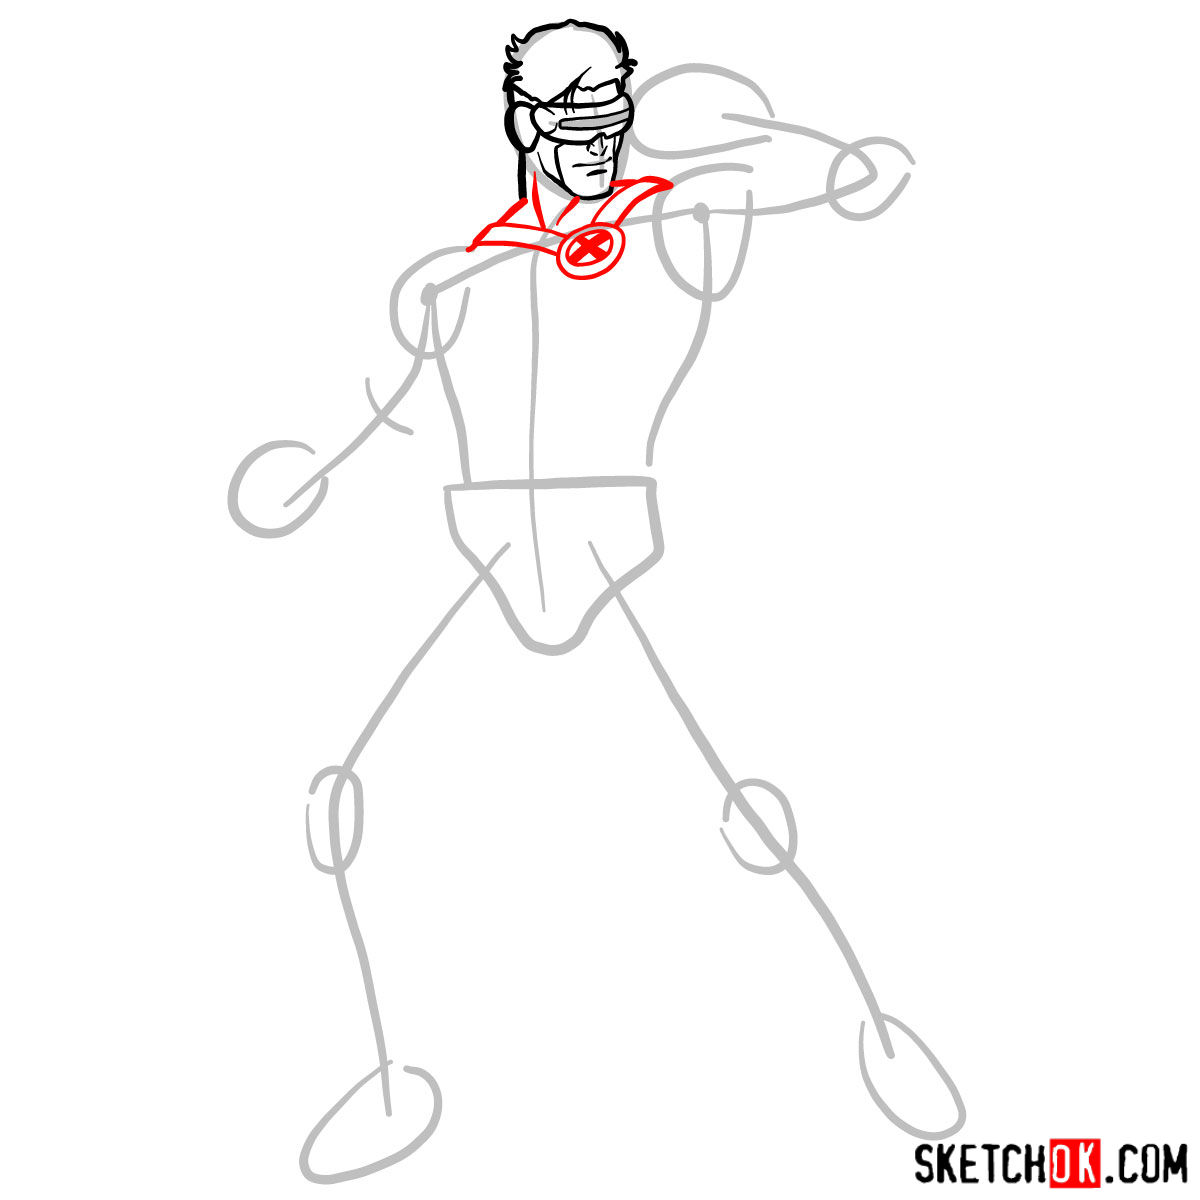
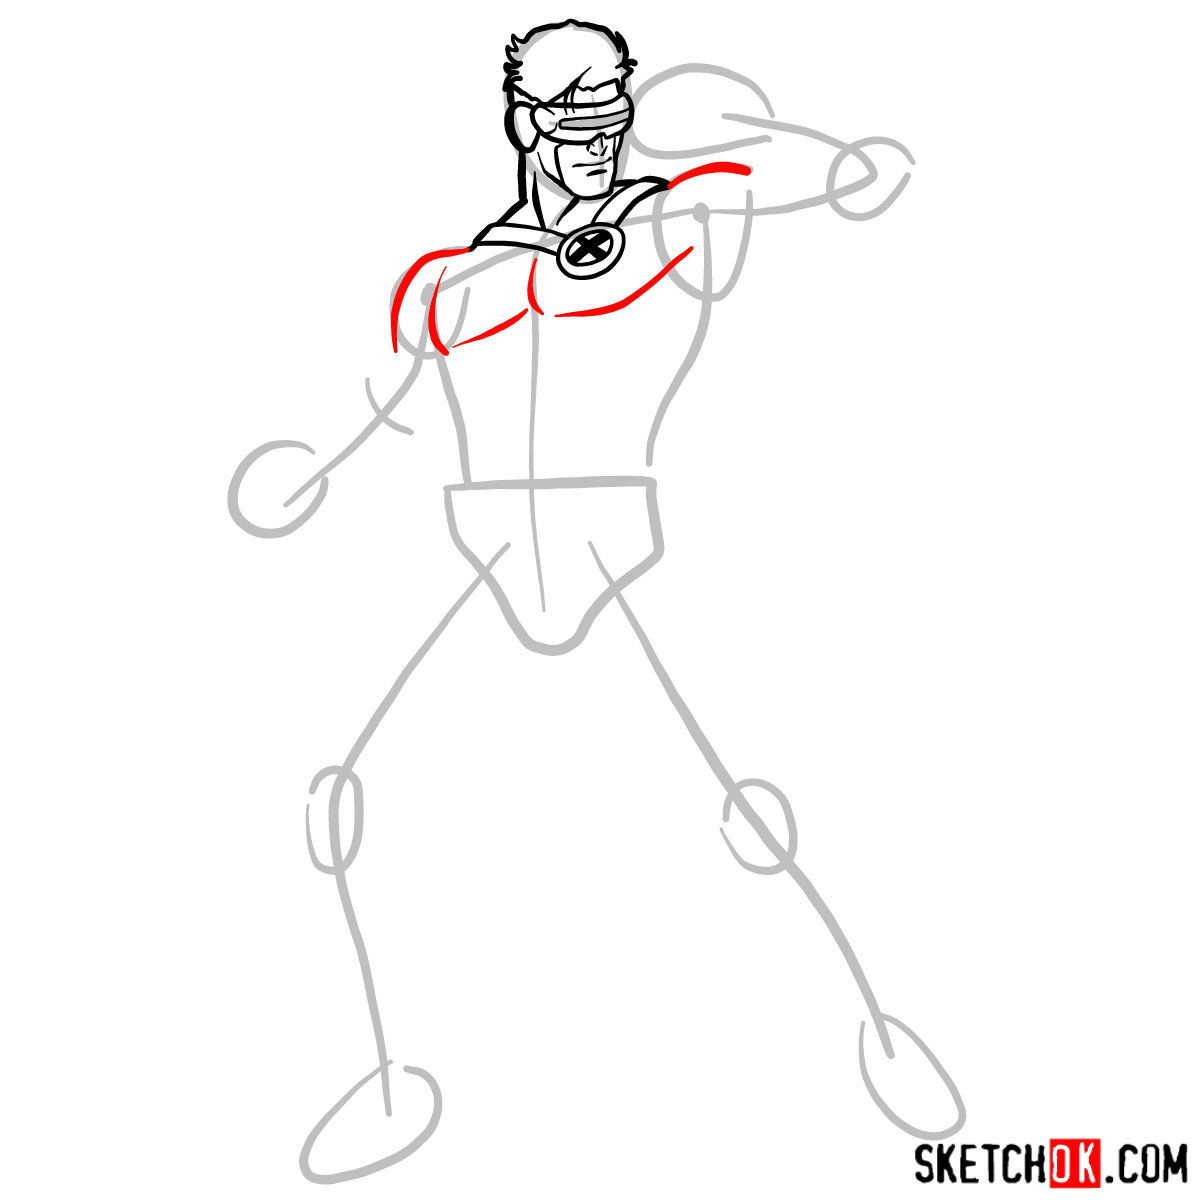
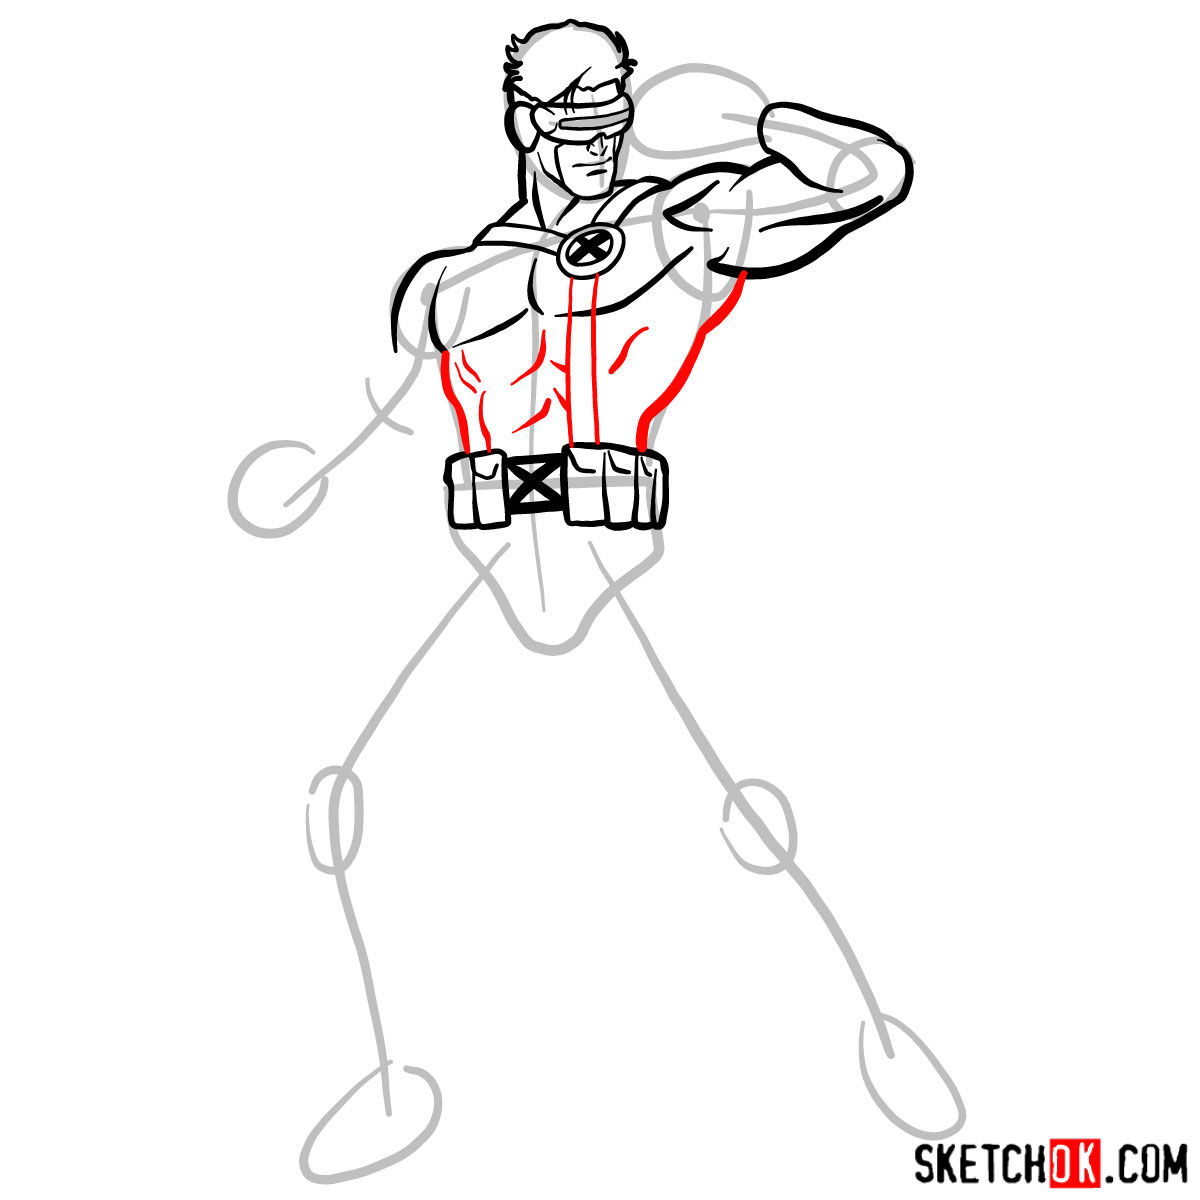
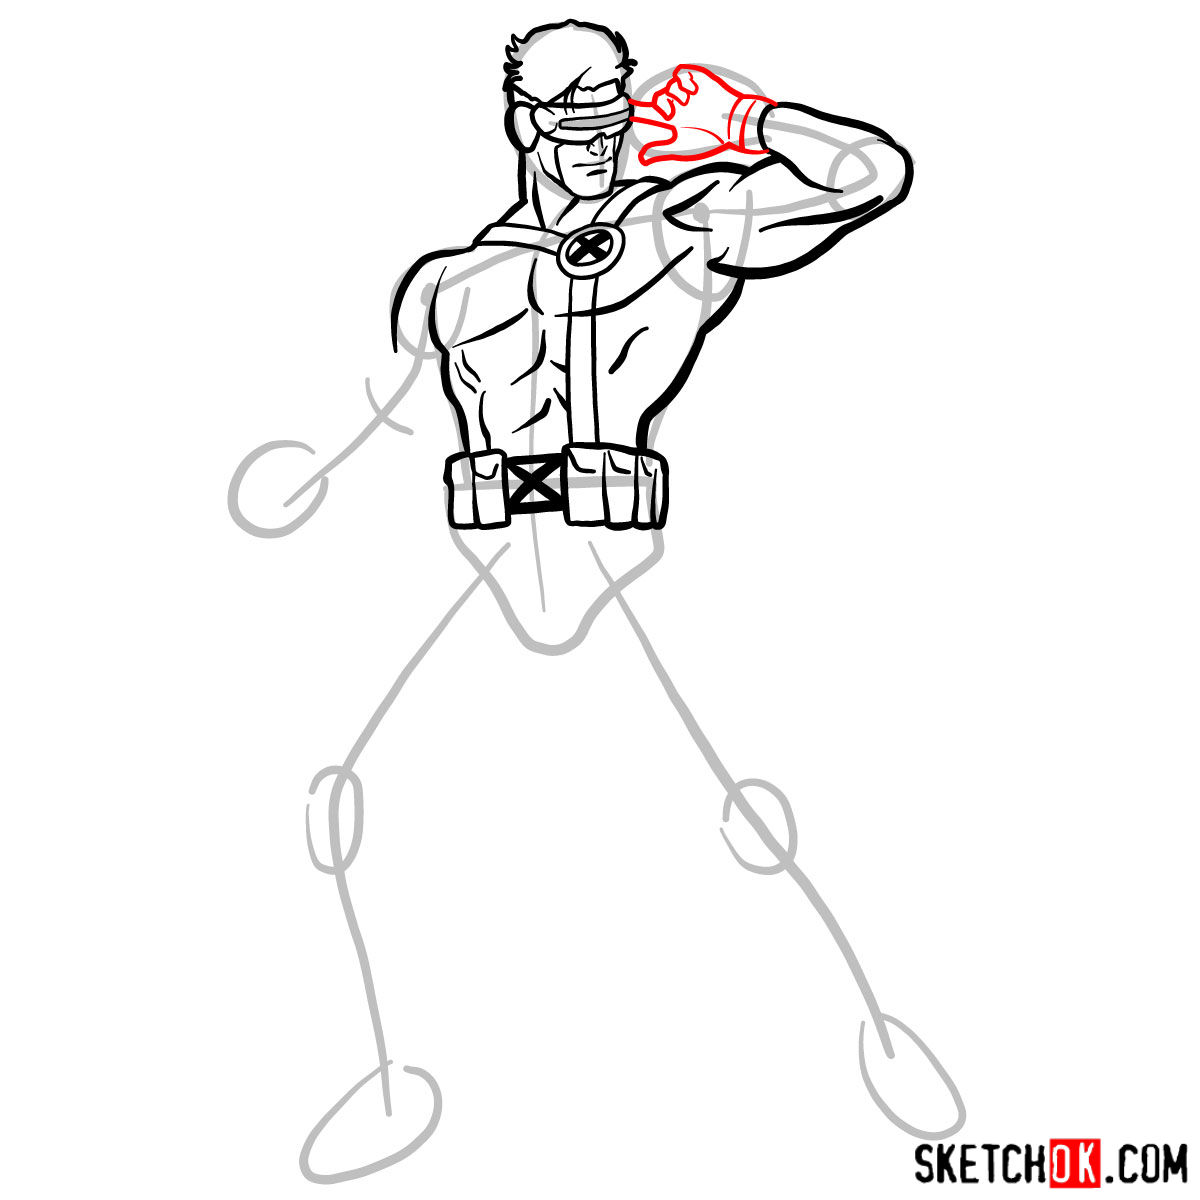
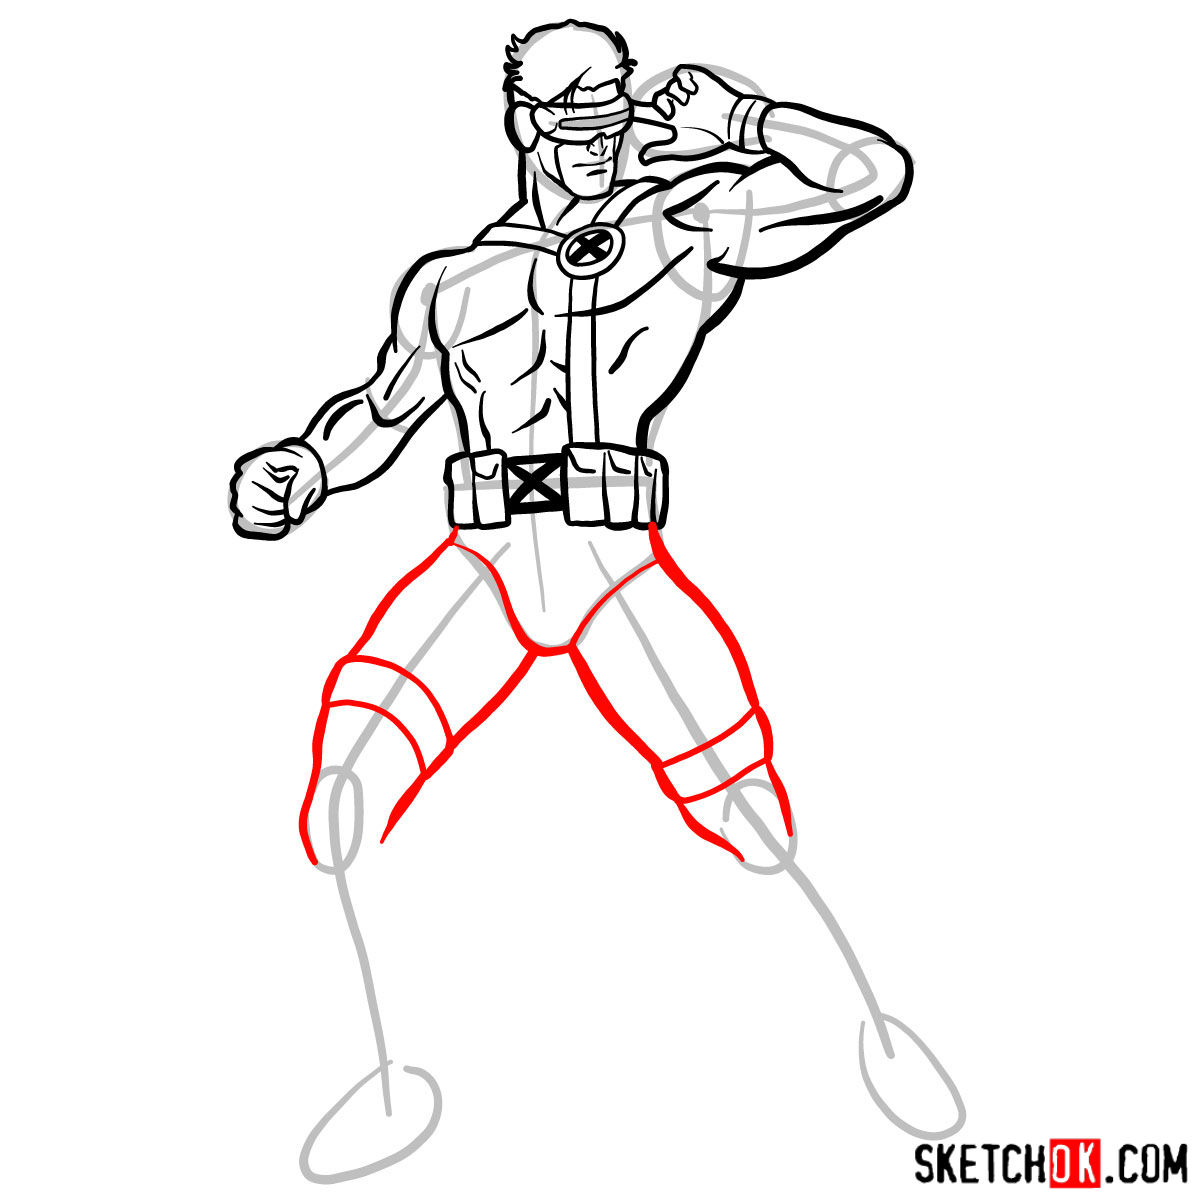
In this guide, we’ll break down the Cyclops drawing process into four main parts. Each part will be represented by a series of images, with red lines indicating the current step, grey lines for the basic proportions sketch, and black lines for previously drawn elements.
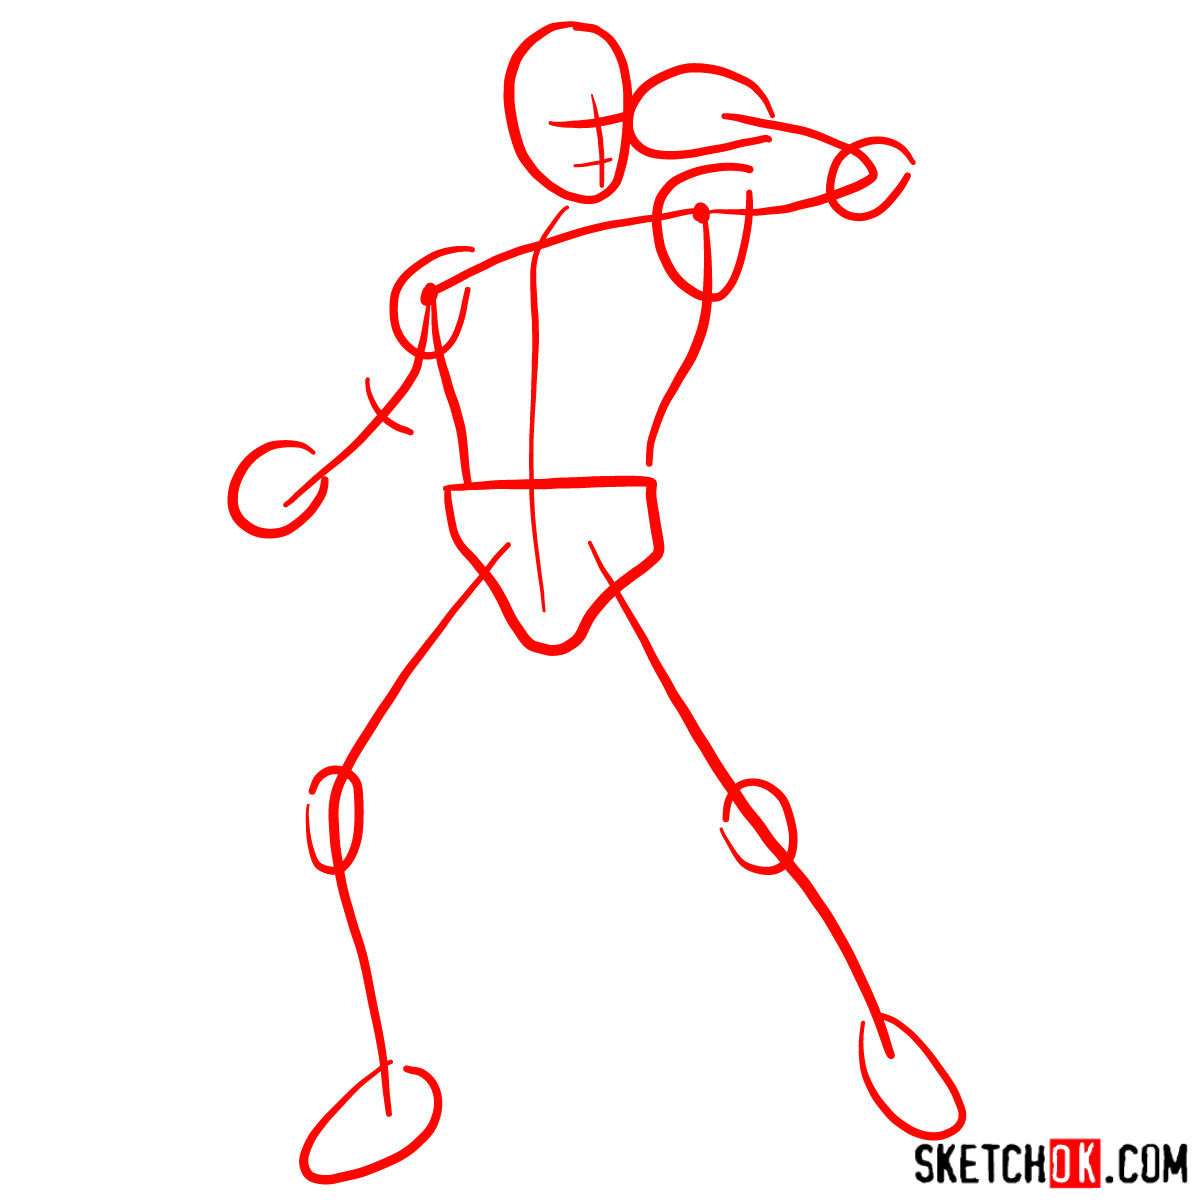
Part 1: Crafting the Basic Sketch
Begin your drawing journey by creating a basic sketch of Cyclops using light pencil strokes. This initial sketch will serve as the foundation for your drawing, helping you establish the correct proportions and overall structure of the character. Remember to keep your lines light and loose, as this stage is all about getting a feel for Cyclops’ form and pose.
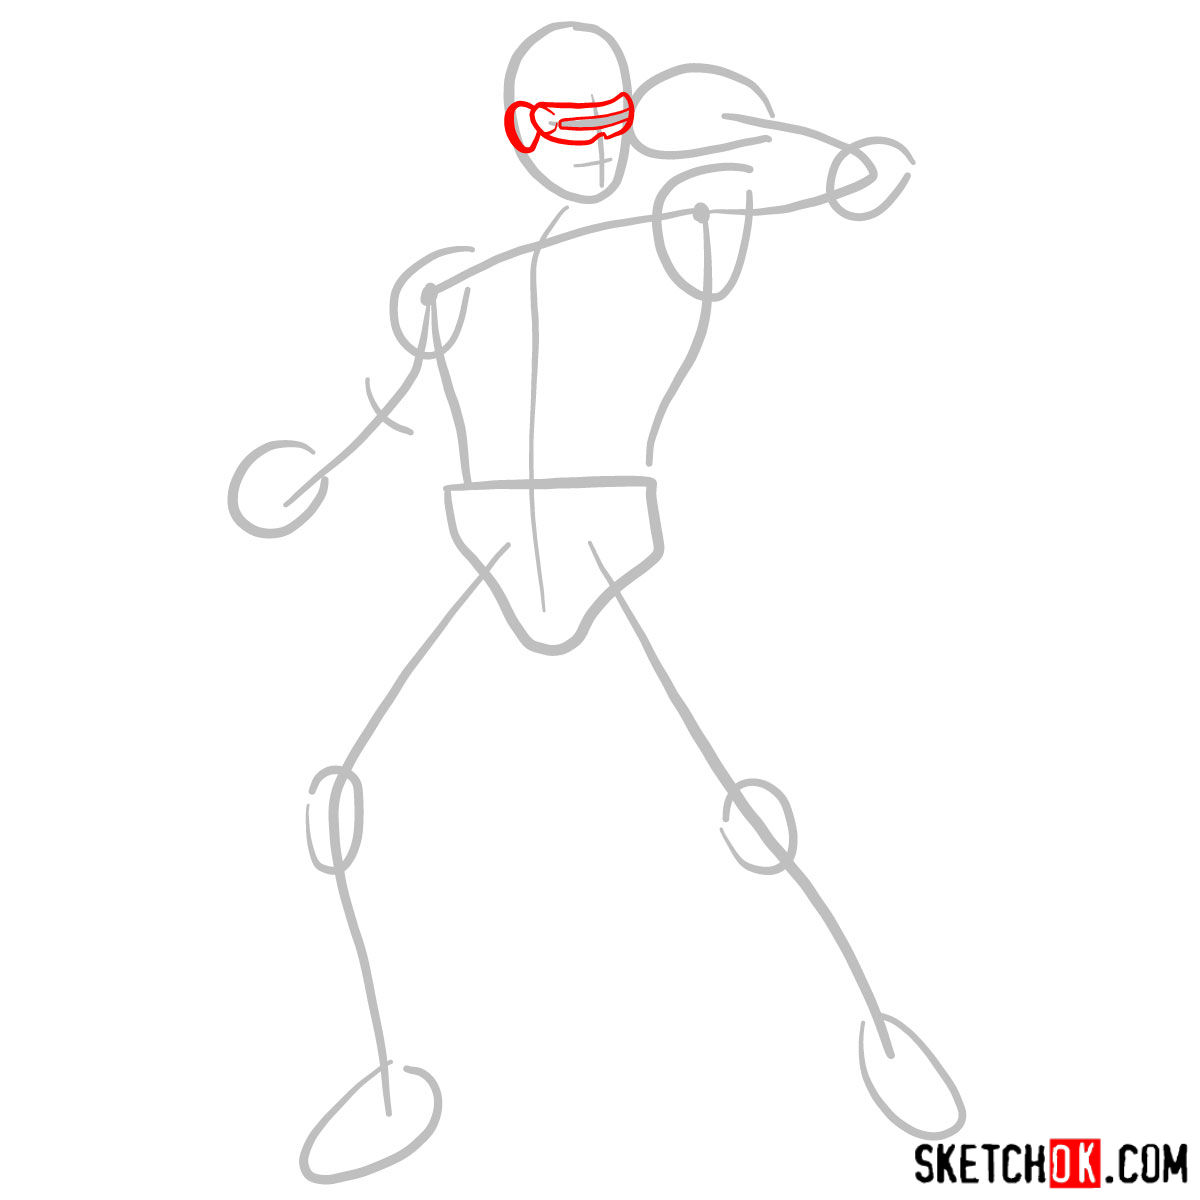
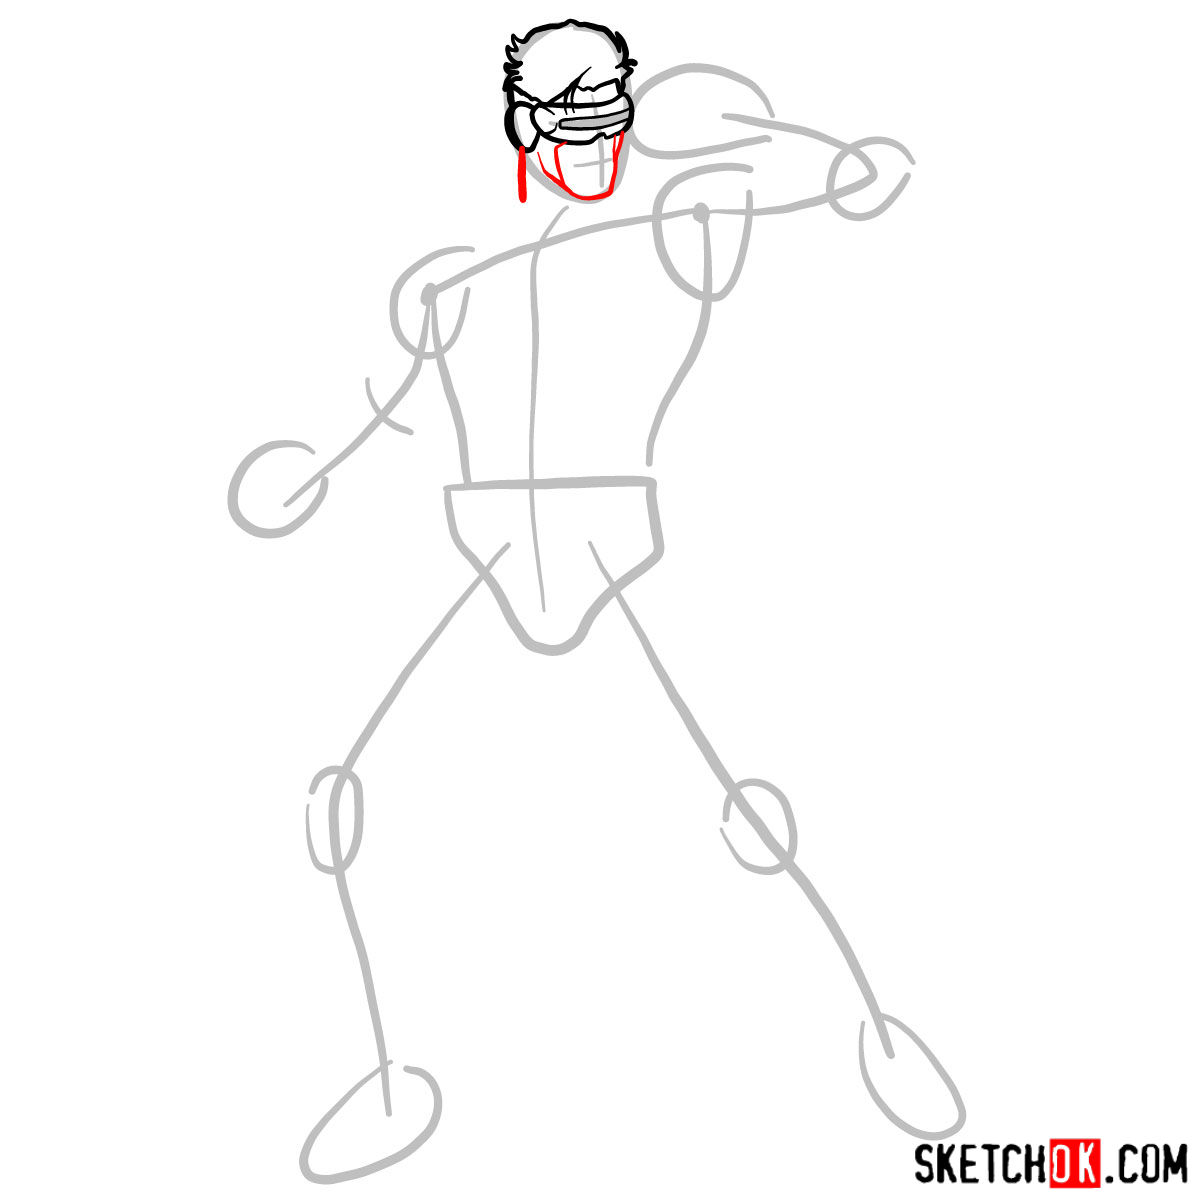
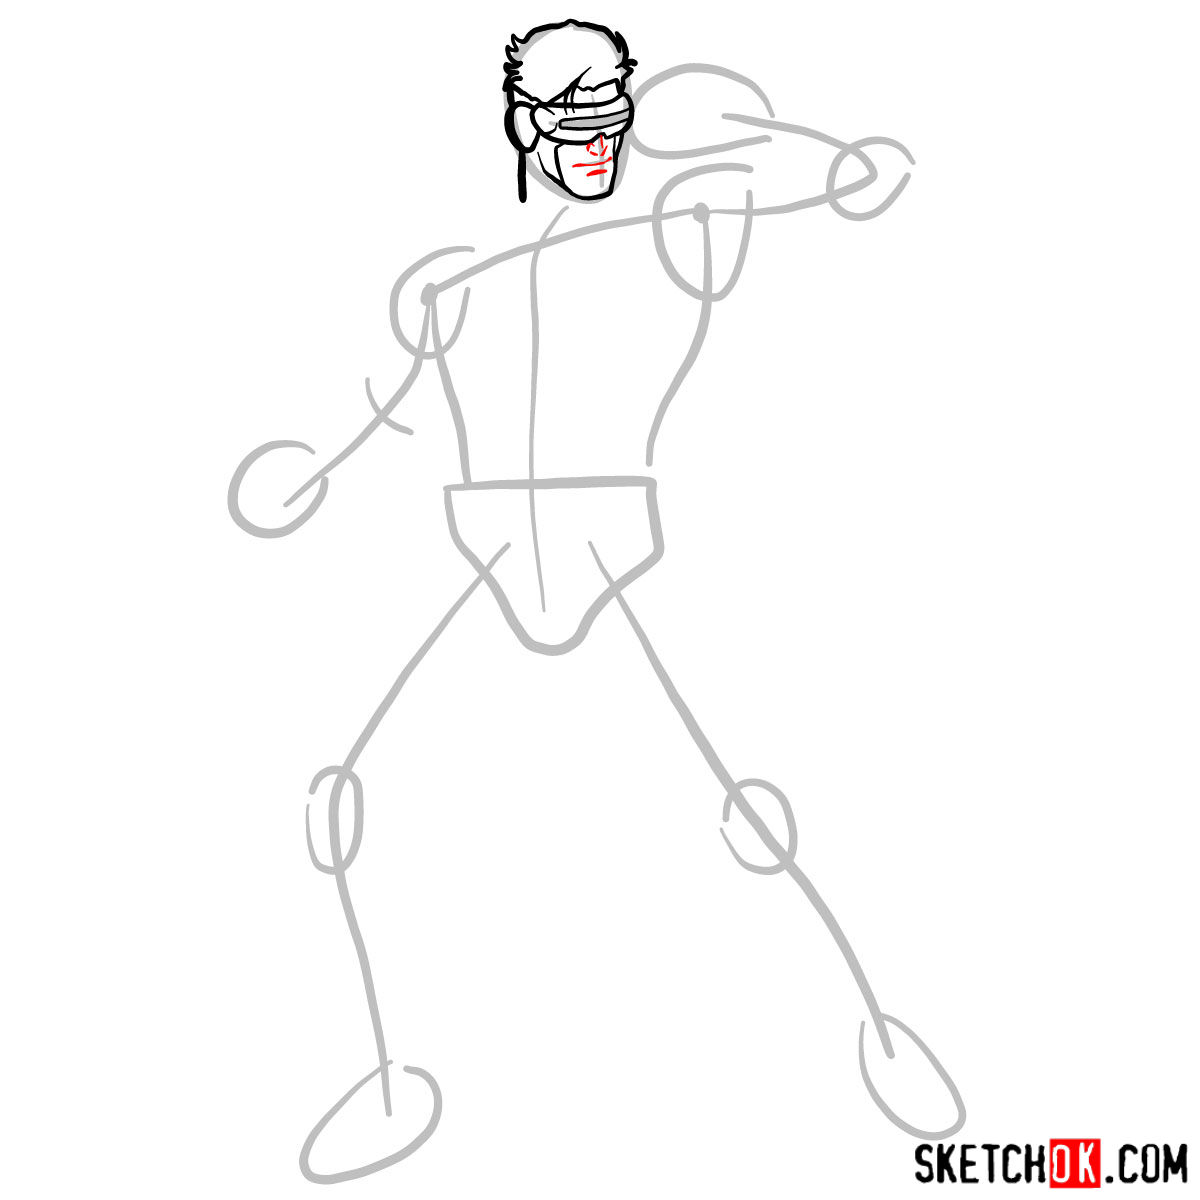
Part 2: Refining the Sketch
With the basic structure in place, it’s time to refine your sketch by adding more details and improving proportions. At this stage, focus on defining Cyclops’ facial features, costume elements, and other distinguishing characteristics. Gradually build up your drawing, making adjustments as needed to ensure an accurate representation of the character.

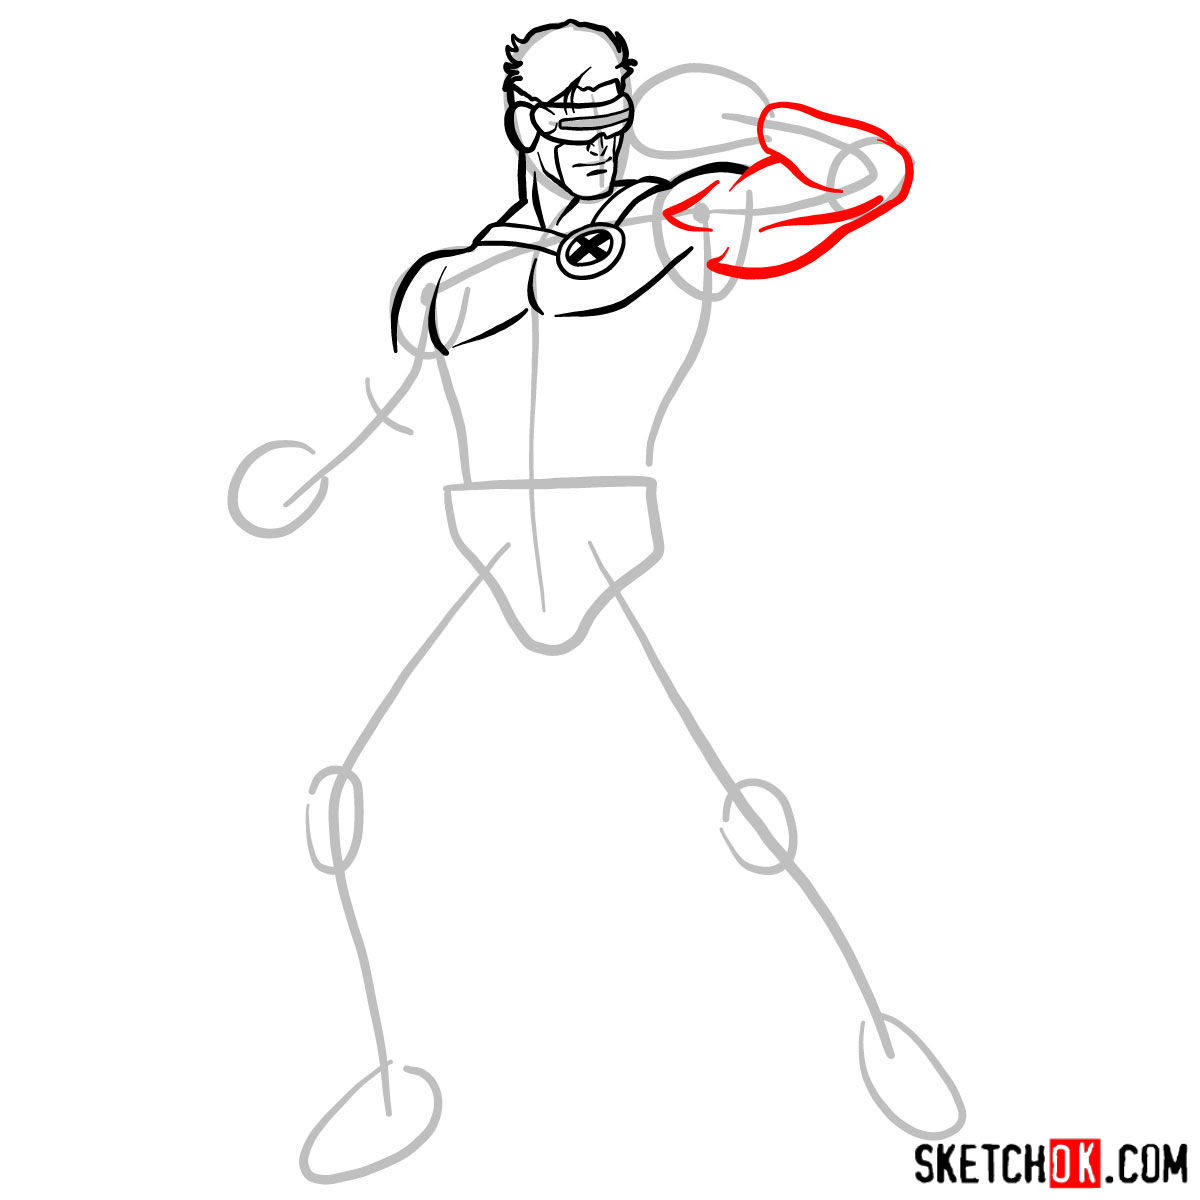
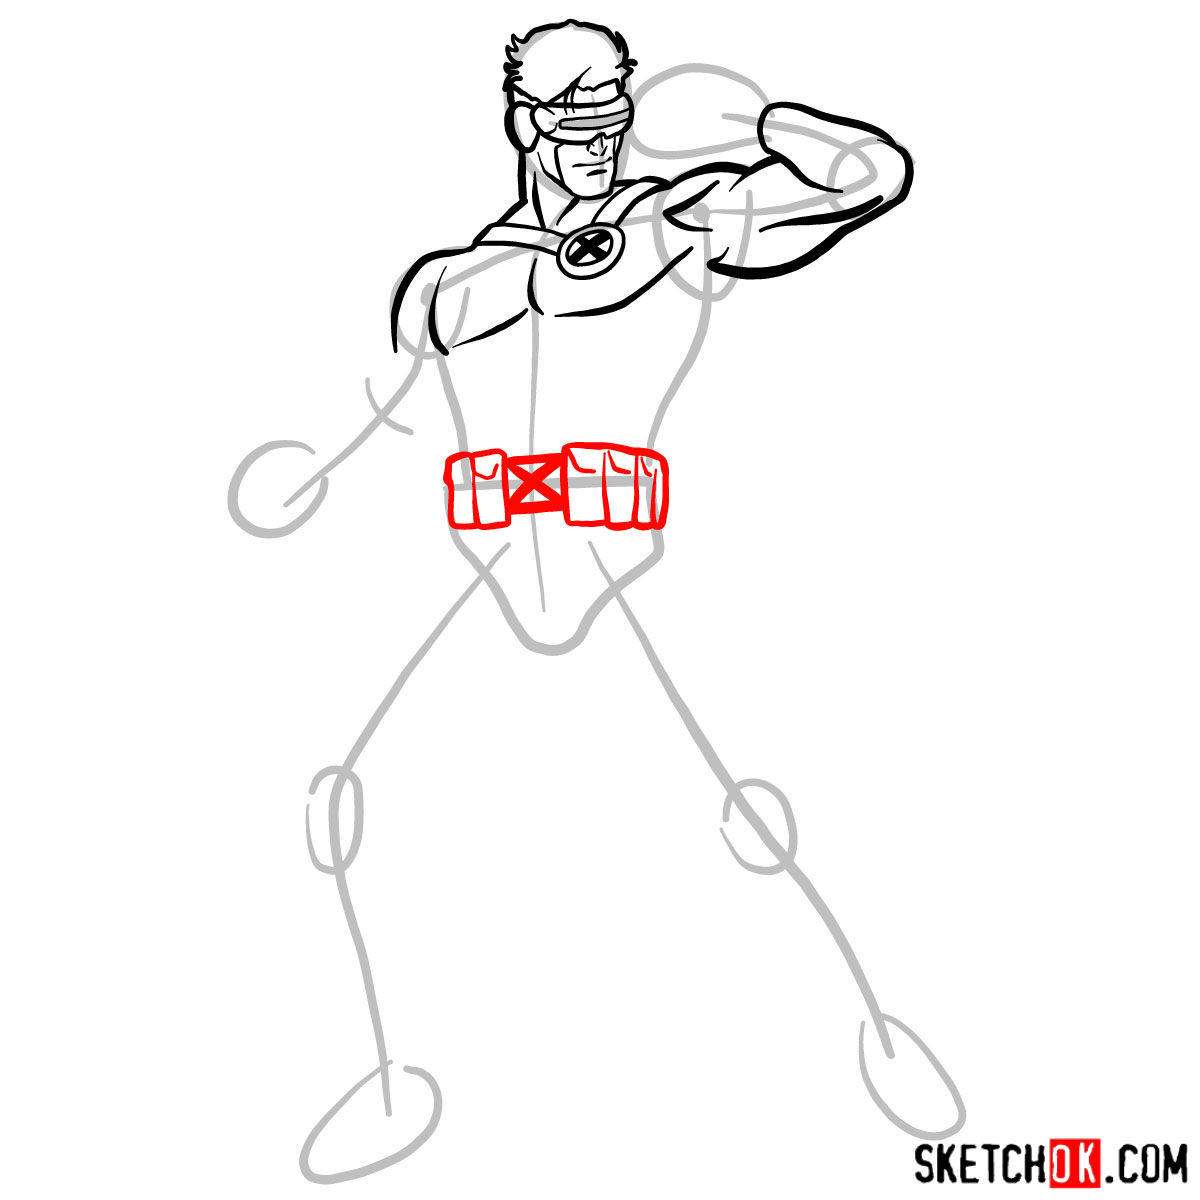

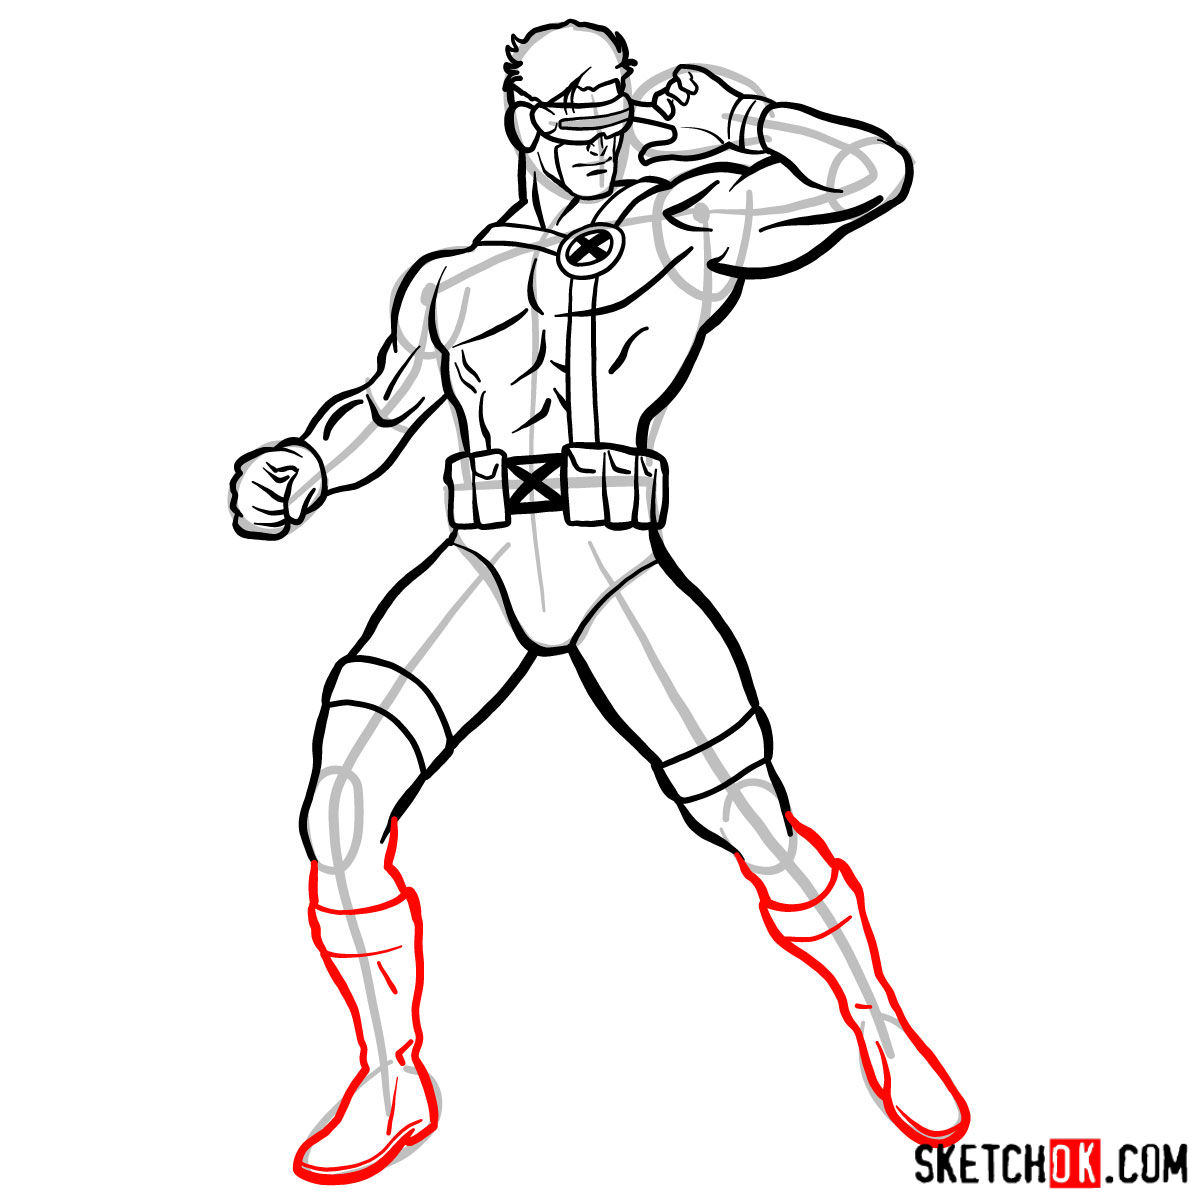

Part 3: Inking the Masterpiece
Once you’re satisfied with your refined sketch, proceed to ink the drawing. Carefully outline the character, paying close attention to line weight and consistency. Be bold with your lines and add depth to the drawing by varying the thickness of your strokes. Don’t forget to include the fine details that make Cyclops unique, such as his visor and X-Men emblem.
Part 4: Coloring and Shading
With your inked drawing complete, it’s time to add color and bring Cyclops to life. Choose your preferred coloring tools and apply colors that match the character’s iconic costume. Add shading and highlights to enhance the sense of depth and dimension in your drawing. Experiment with different techniques to achieve the desired level of realism and style.

That covers how to draw Cyclops from start to finish, but if any particular step felt unclear or rushed, drop a comment and let me know which one. That kind of feedback genuinely helps when updating the guide for future readers. You can also share your finished Cyclops drawing on Pinterest, where others post theirs in the comments on the pinned post.