Last Updated on May 14, 2026
Welcome to our step-by-step drawing tutorial, where we’ll guide you through the process of creating a stunning portrait of Professor X, the iconic leader and founder of the X-Men. In this tutorial, you’ll learn about the character’s history, story, and design while mastering the skills needed to bring him to life on paper. Let’s get started!
Professor X: The Mind Behind the Mutants
Professor Charles Francis Xavier, also known as Professor X, first appeared in the Marvel Comics universe in 1963. Created by writer Stan Lee and artist Jack Kirby, Professor X is a powerful mutant telepath who can read and control the minds of others. As the founder of the X-Men, he dedicates his life to promoting peaceful coexistence and equality between humans and mutants.
Throughout his comic book history, Professor X is often depicted as a paraplegic who uses a wheelchair. Despite his physical limitations, he is a scientific genius and a leading authority on genetics. He has created advanced technology such as Cerebro to enhance psionic powers and track mutant individuals.
The character’s pacifist ideology and actions are often contrasted with that of Magneto, another mutant leader with whom Charles shares a complex relationship.
Materials and Tools: Prepare for Your Artistic Adventure
Before we begin our drawing tutorial, gather the necessary materials and tools to make your drawing experience enjoyable and productive. Recommended supplies include:
- Pencil (HB or 2B)
- Eraser
- Sharpener
- Drawing paper
- Inking pens (optional)
- Colored pencils or markers (optional)
Step-by-Step Drawing Guide: Bring Professor X to Life
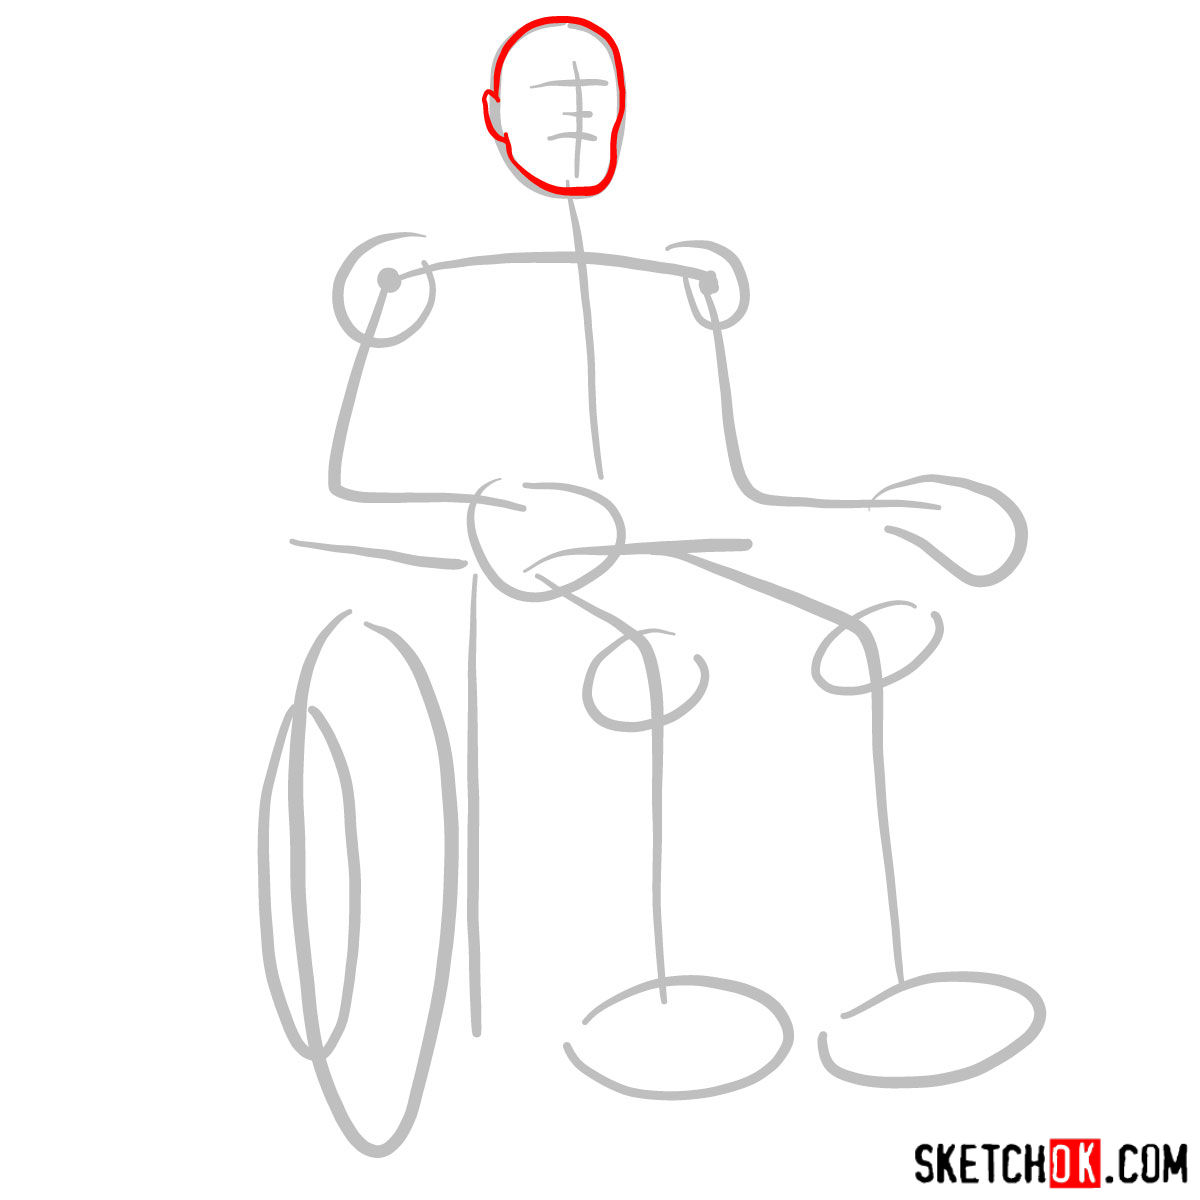
Our drawing guide will take you through each step of creating a beautiful portrait of Professor X. We’ll start with a basic sketch, refine the details, ink, and add color and shading. Remember, red lines in the tutorial images represent the current step, gray lines show the basic proportions, and black lines indicate previously drawn parts.
Part 1: Laying the Foundation
The first step in our drawing process is creating a basic structure for Professor X’s proportions. Begin with light pencil strokes to sketch out the character’s shape and form, making it easier to adjust later if necessary.

Part 2: Refining the Sketch
Once you have a solid foundation, refine the sketch by adding details and improving the character’s proportions. Pay close attention to Professor’s facial features, hair, and iconic attire as you work.


Part 3: Inking the Masterpiece
After refining your sketch, it’s time to ink the drawing. Use a fine-tipped pen to outline and add final touches to Professor X, ensuring that all lines are clean and precise.

Part 4: Coloring and Shading
Finally, we’ll bring our drawing of Charles Xavier to life with color, shading, and highlights. Use colored pencils or markers to add depth and dimension to the character, considering the light source and shadows in your rendering.

If you want a steady stream of new guides sent straight to you, the signup form at the top of the page is the easiest way to stay in the loop, and you’ll get a weekly digest of whatever’s new on SketchOk. Now that you know how to draw Professor X, it’s a natural next step to try some of the other X-Men characters and build out a full roster. You can also find the community sharing their sketches over on the SketchOk Pinterest, which is worth a look for some extra inspiration.