Introduction: Attracting Your Creative Powers
Are you ready to harness the power of magnetism and create an awe-inspiring illustration of Magneto, one of the most iconic characters in the Marvel universe? In this step-by-step drawing tutorial, we’ll show you how to draw him and guide you through the process of bringing the magnetic mastermind to life on paper.
Understanding Magneto: A Powerful Mutant’s Story
Born as Max Eisenhardt and later known as Erik Lehnsherr, Magneto made his first appearance in The X-Men #1 in 1963. As a powerful mutant with the ability to control magnetic fields, Magneto sees mutants as the next step in human evolution. This belief puts him at odds with his friend, Professor X, who advocates for peaceful coexistence between mutants and humans. Magneto’s tragic past as a Holocaust survivor shapes his extreme methods and unwavering determination to protect mutants from persecution.
Over time, Magneto’s role has evolved from a supervillain to an antihero, and even a superhero at times. He has occasionally allied with the X-Men and has even led the New Mutants for a time. The character has been portrayed by Ian McKellen and Michael Fassbender in various X-Men films, giving Magneto a lasting presence on the big screen as well.
Now that you know Magneto’s captivating story, let’s gather the necessary tools and materials to bring him to life in your drawing.
Magnetic Materials: Tools for Your Magneto Masterpiece
To create your very own Magneto illustration, you’ll need the following materials:
- Pencils: A variety of graphite pencils, ranging from hard (2H) to soft (6B), for sketching and shading.
- Paper: Smooth drawing paper that allows easy blending and erasing.
- Eraser: A soft eraser for cleaning up sketches and refining details.
- Inking pens: Fine-tip inking pens for outlining and adding final touches.
- Coloring tools: Colored pencils, markers, or pastels for adding color and depth to your drawing.
Step-by-Step Guide: Channeling Your Artistic Magnetism
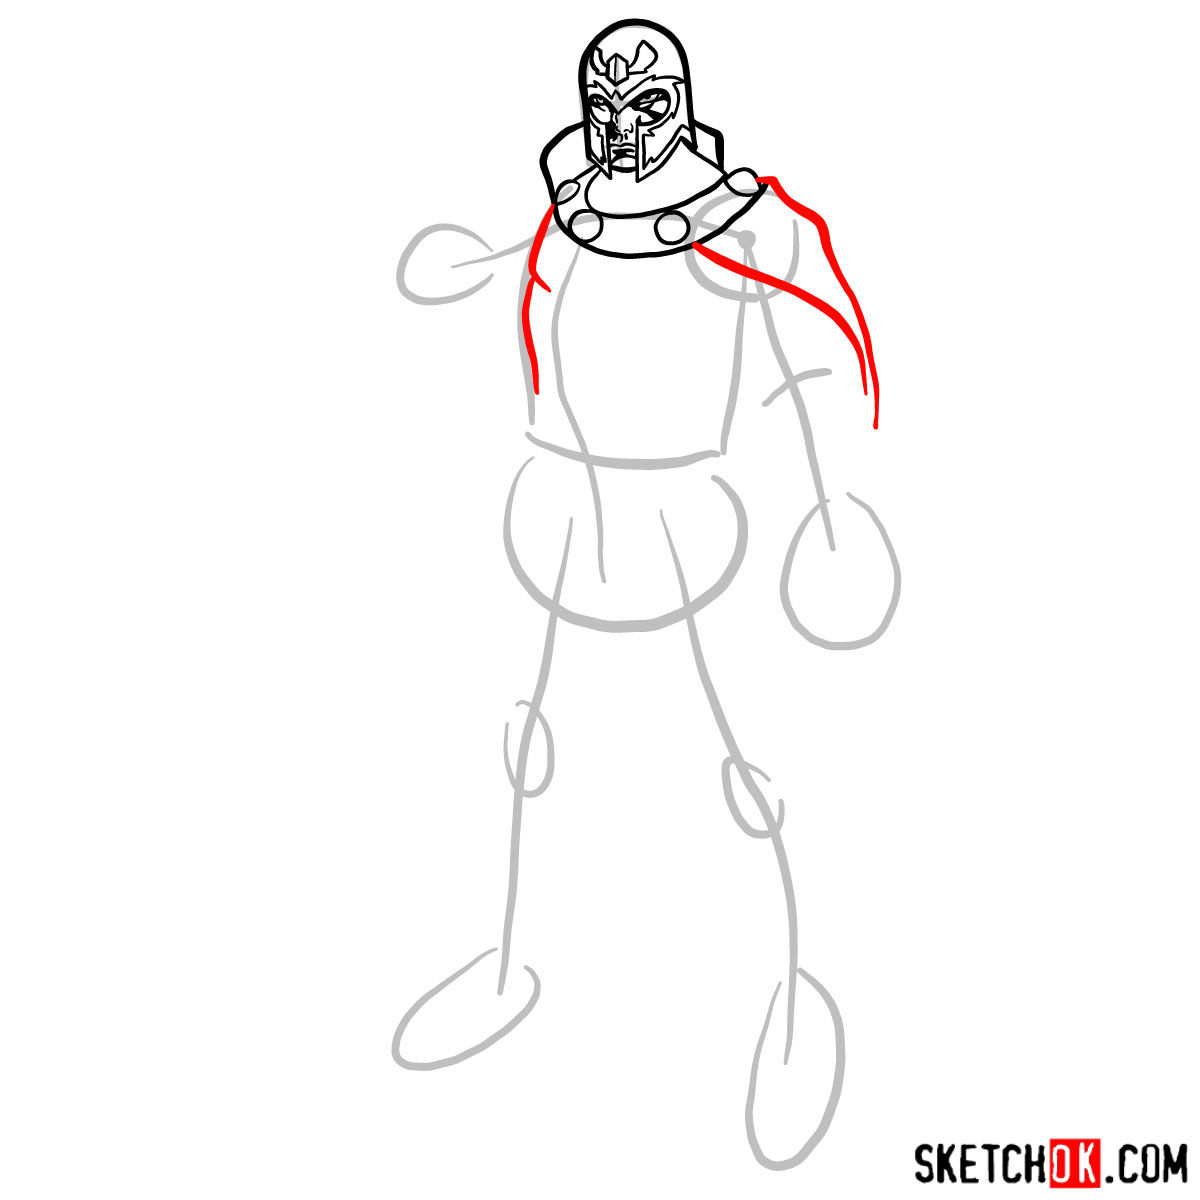
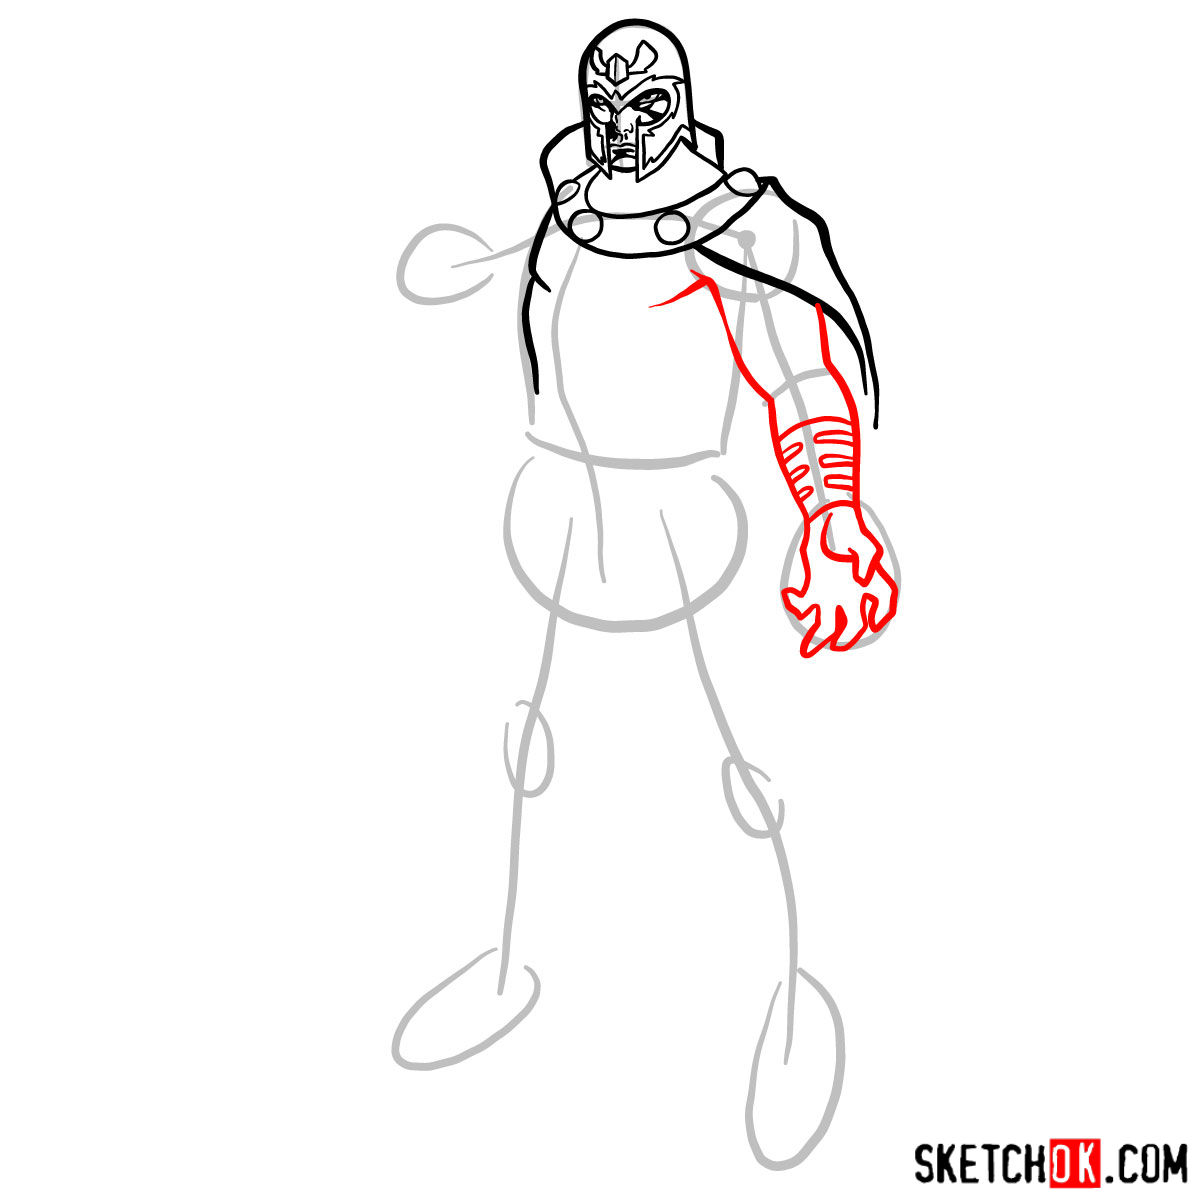
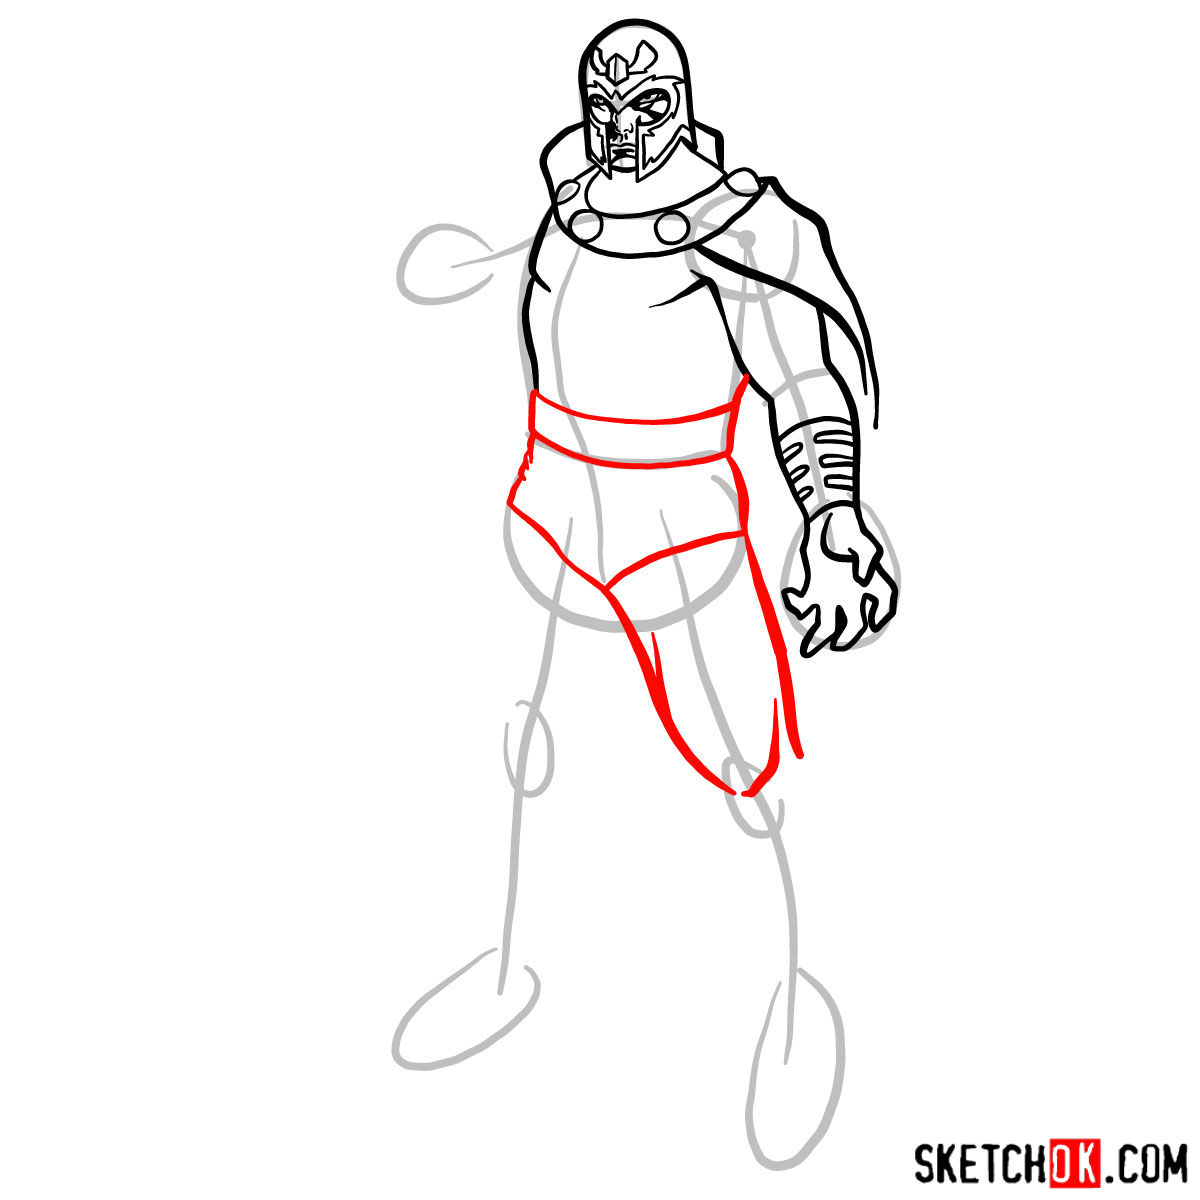
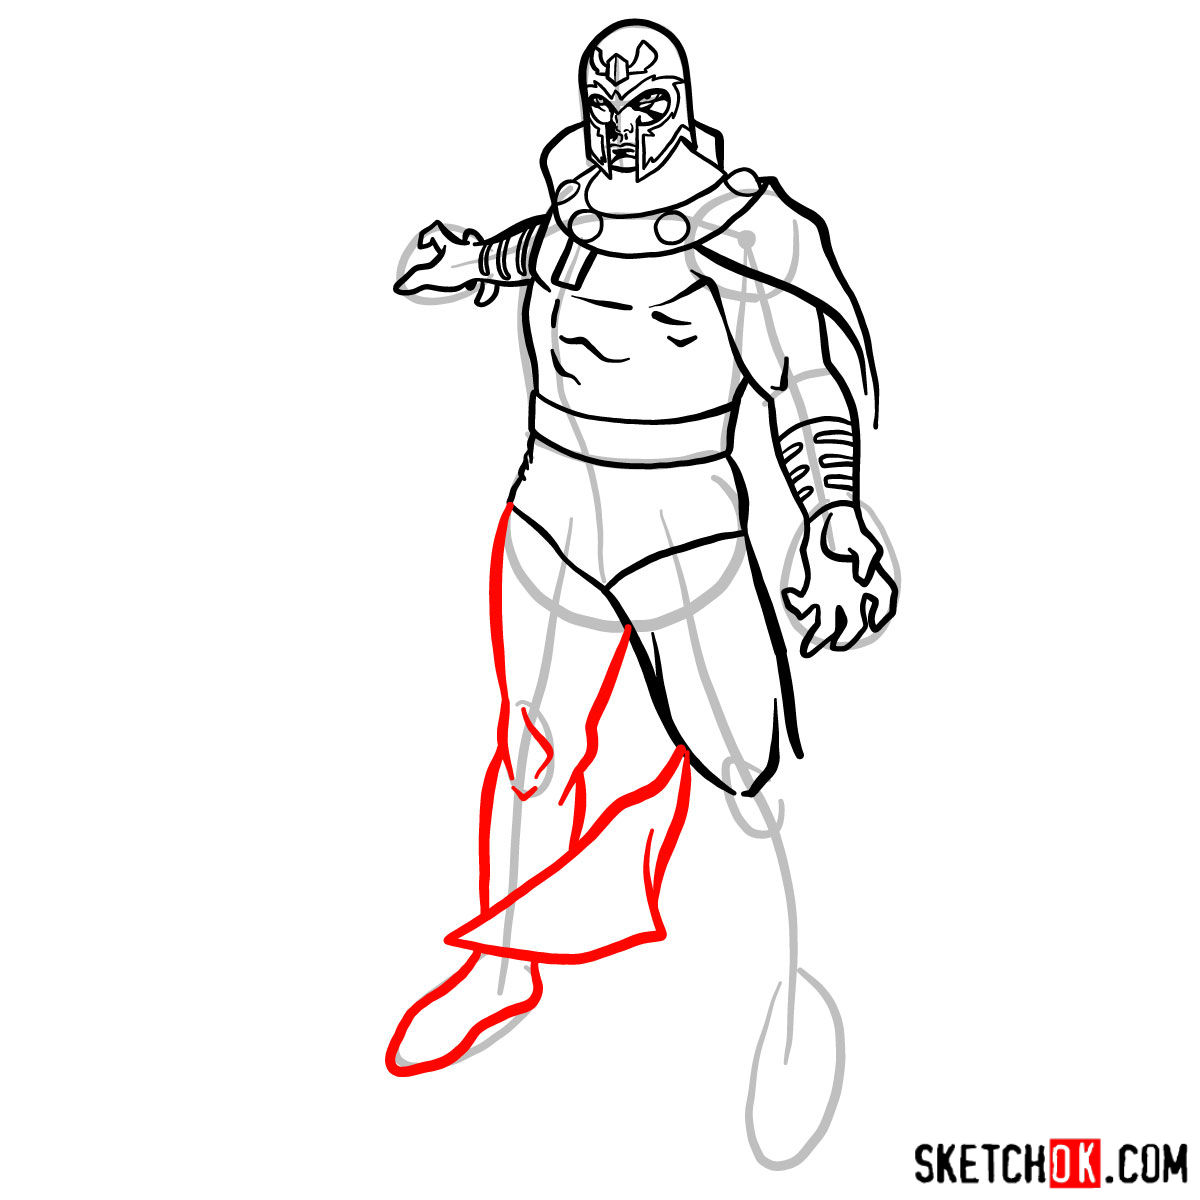
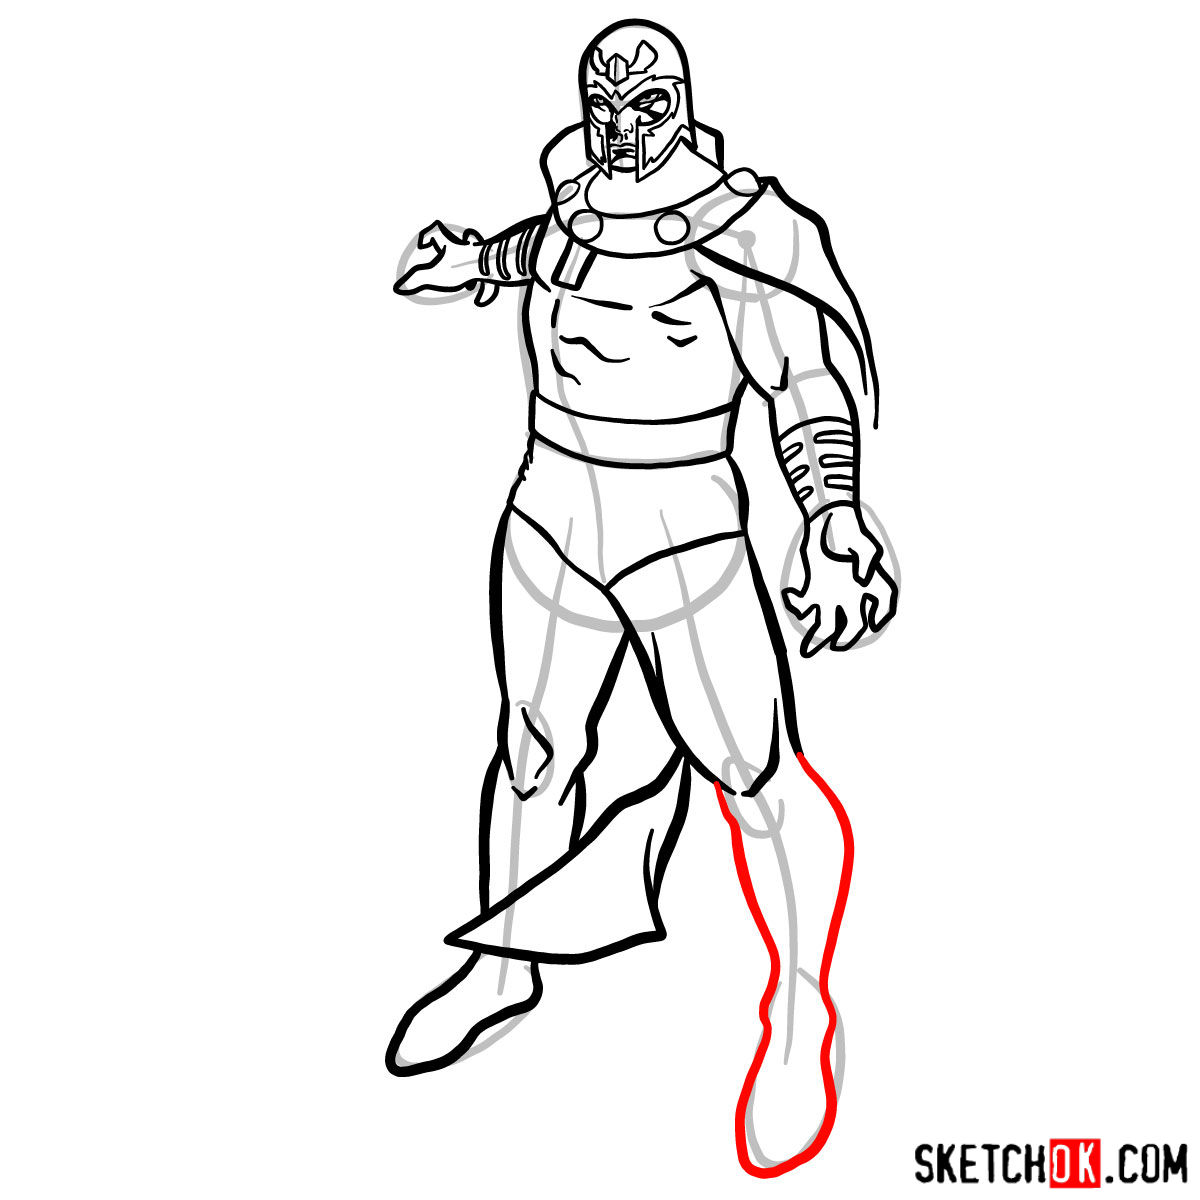
Our step-by-step drawing guide uses images with red, grey, and black colors to help you understand each step. The red color represents the current drawing step, grey illustrates the basic proportion sketch, and black shows previously drawn lines.
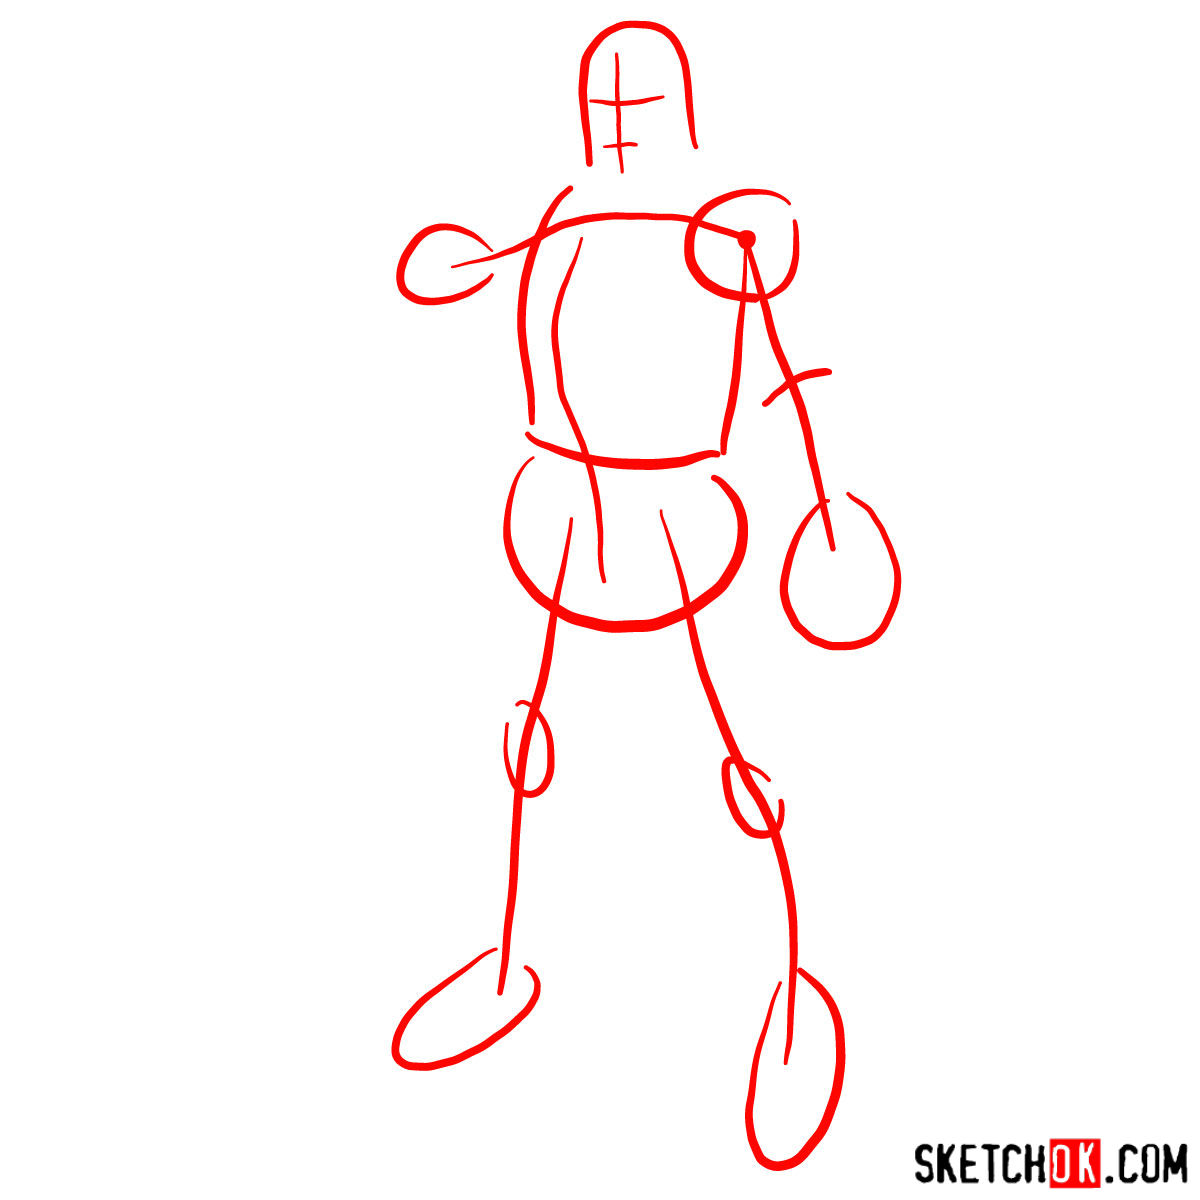
Part 1: Laying the Groundwork
In this first step, create a basic structure for Magneto’s sketch using light pencil strokes. This will ensure accurate proportions and set the stage for the rest of your drawing.
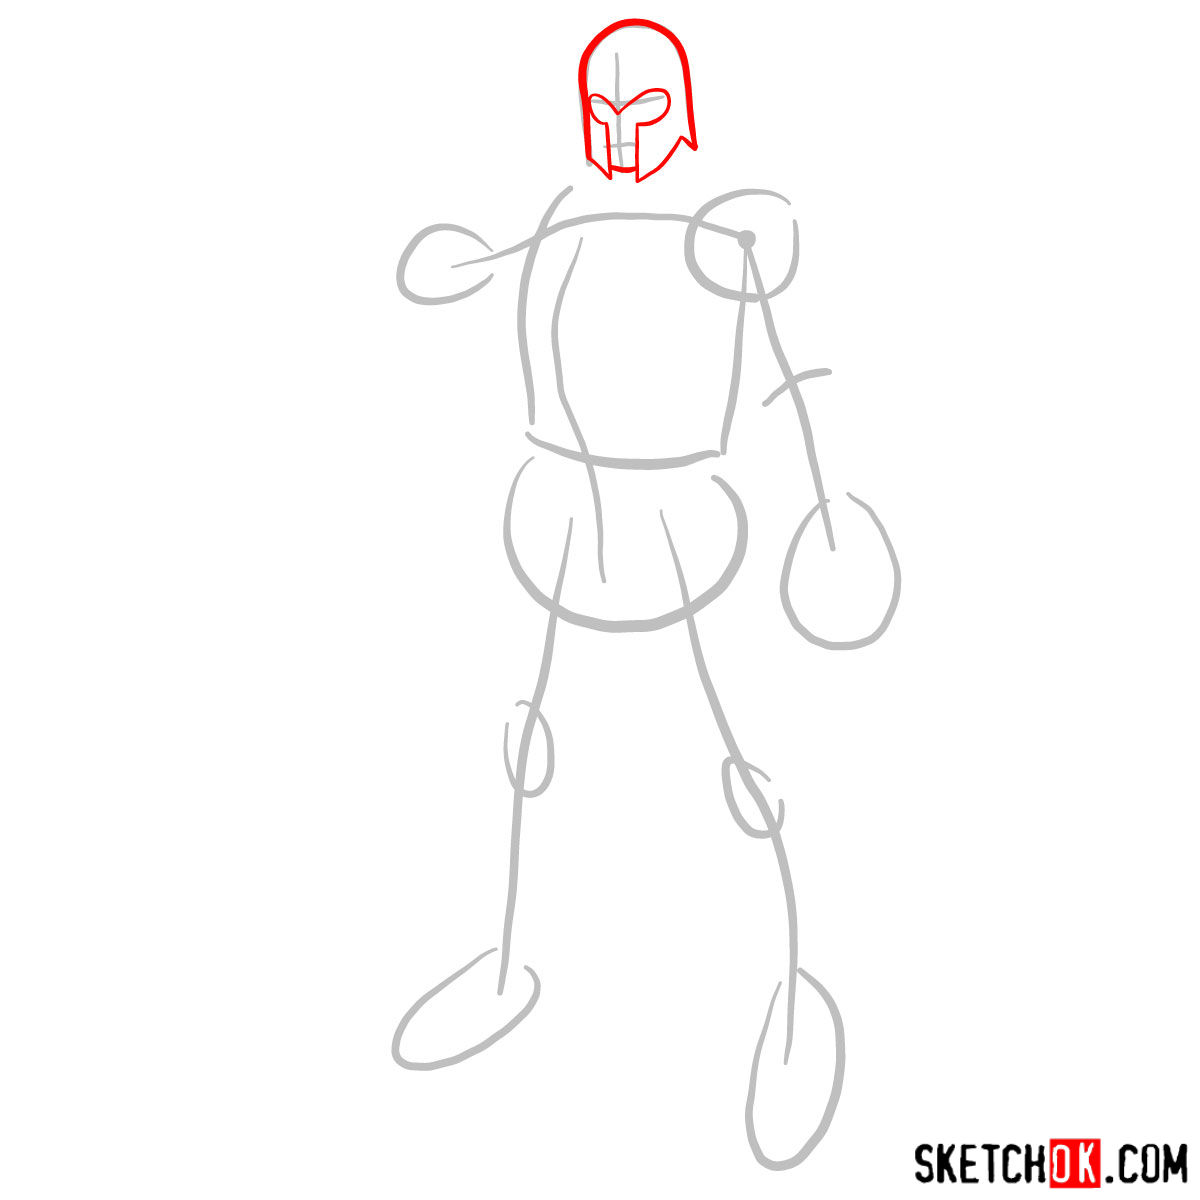
Part 2: Refining the Magnetic Marvel
With the foundation in place, refine your sketch by adding details, improving proportions, and shaping Magneto’s unique features.
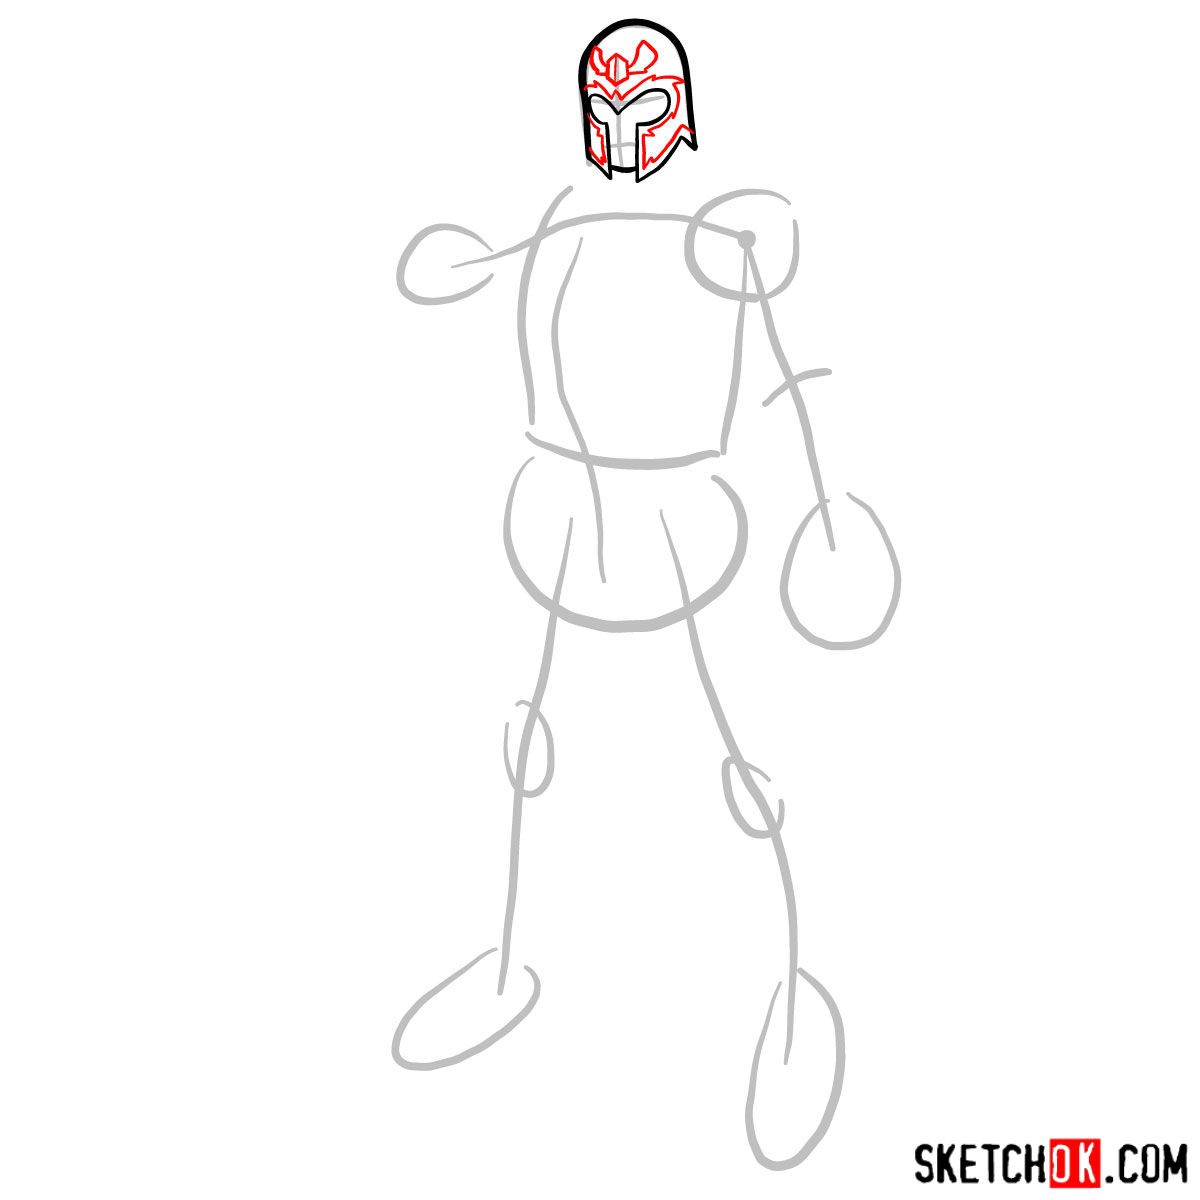
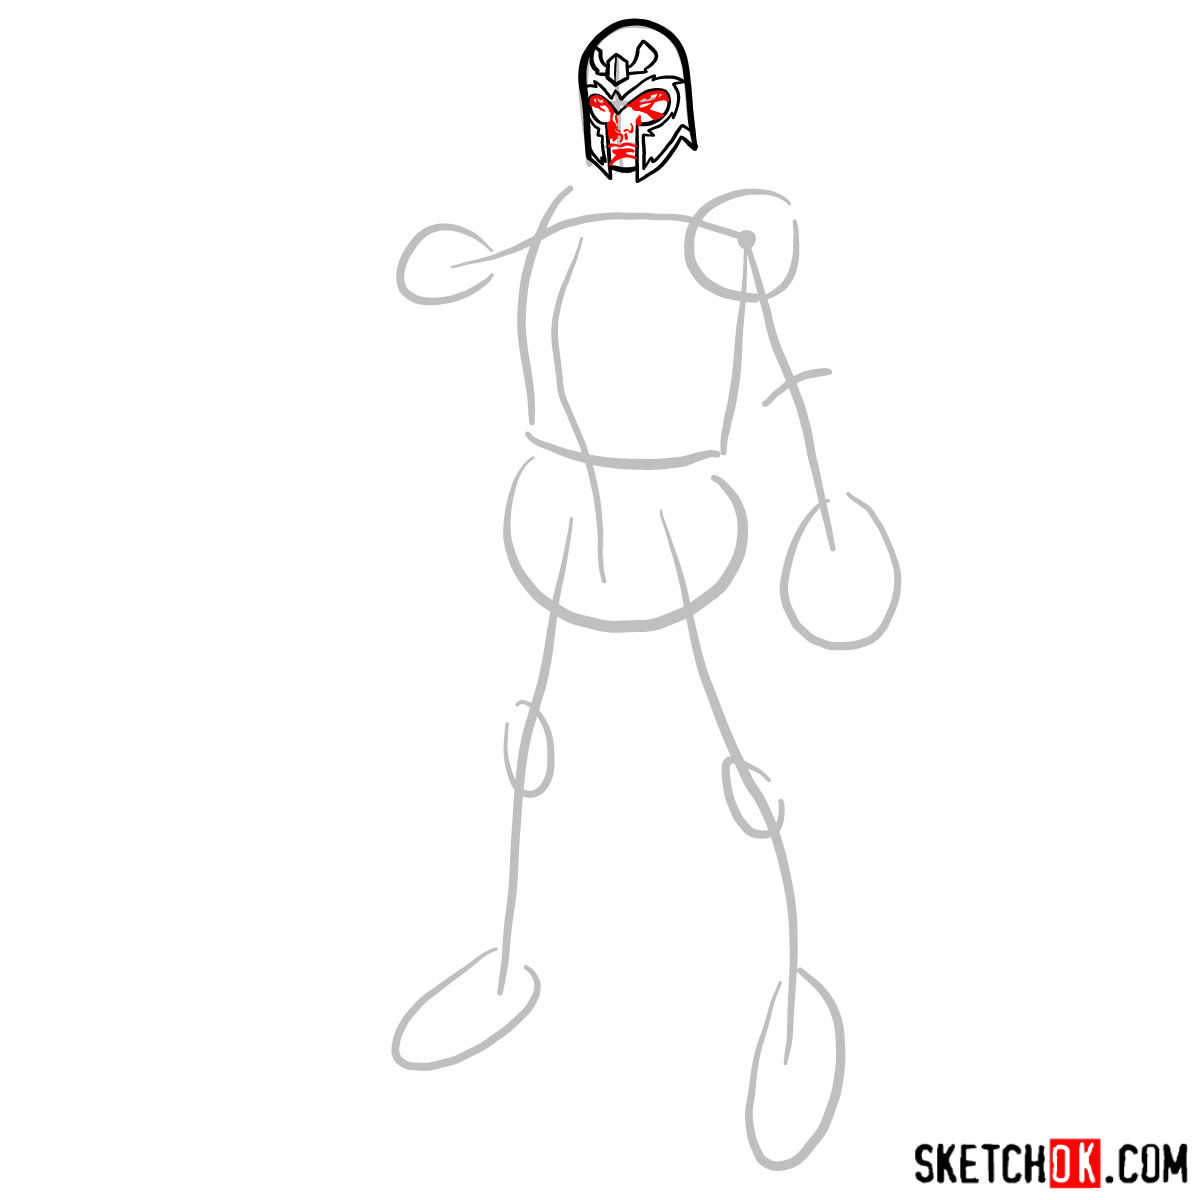

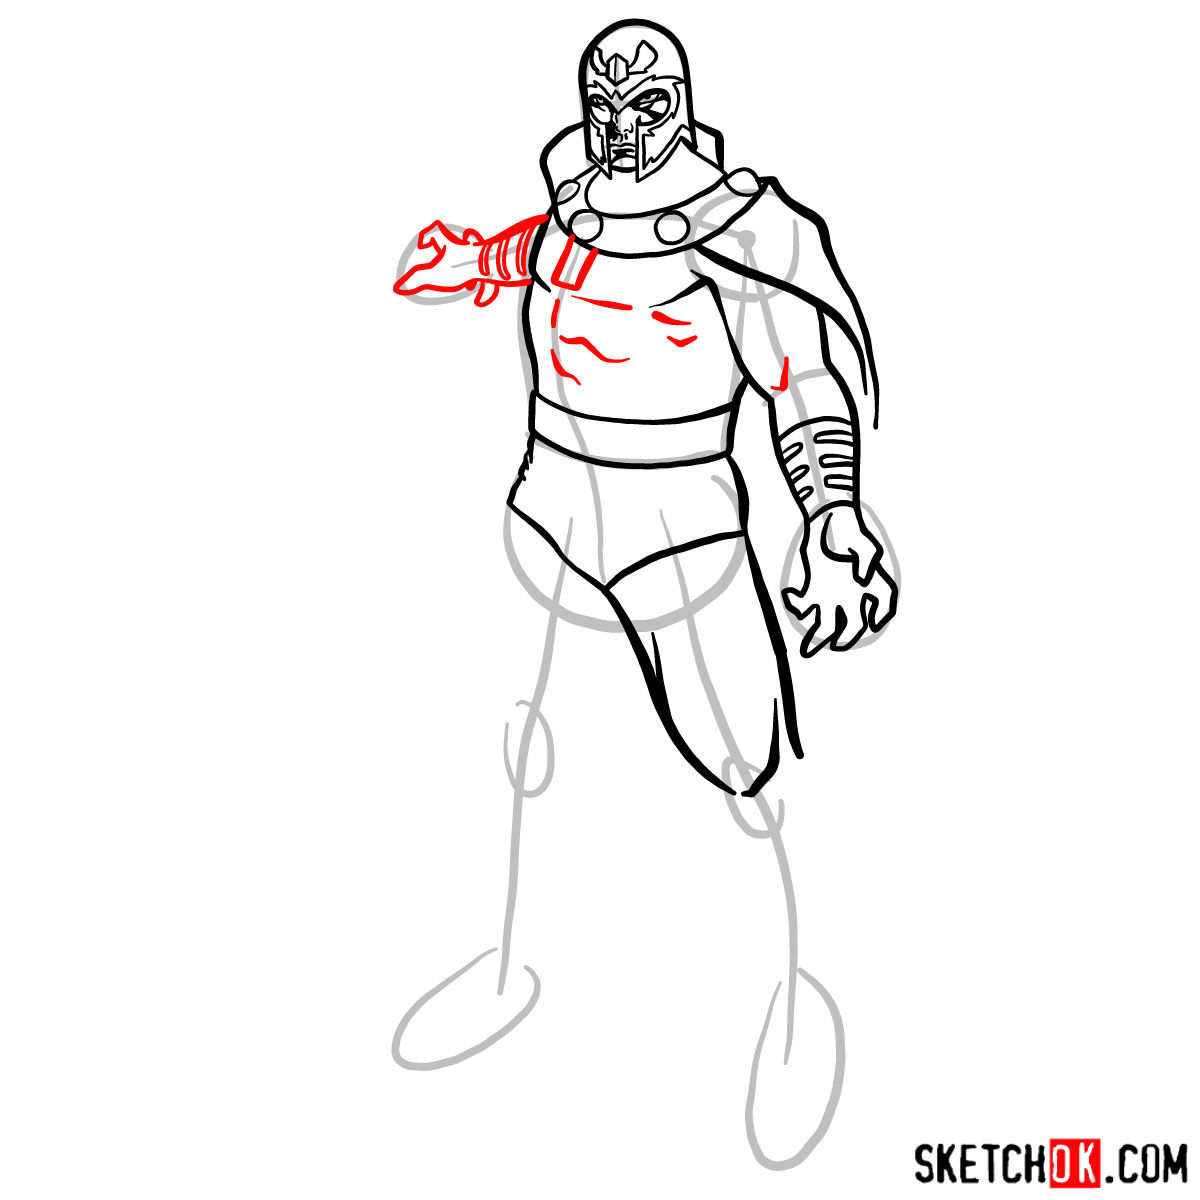

Part 3: Inking the Magnetic Mastermind
After refining the sketch, outline Magneto with inking pens to emphasize the character’s features and add depth to your drawing. This process will also help to finalize the details and make your illustration stand out.
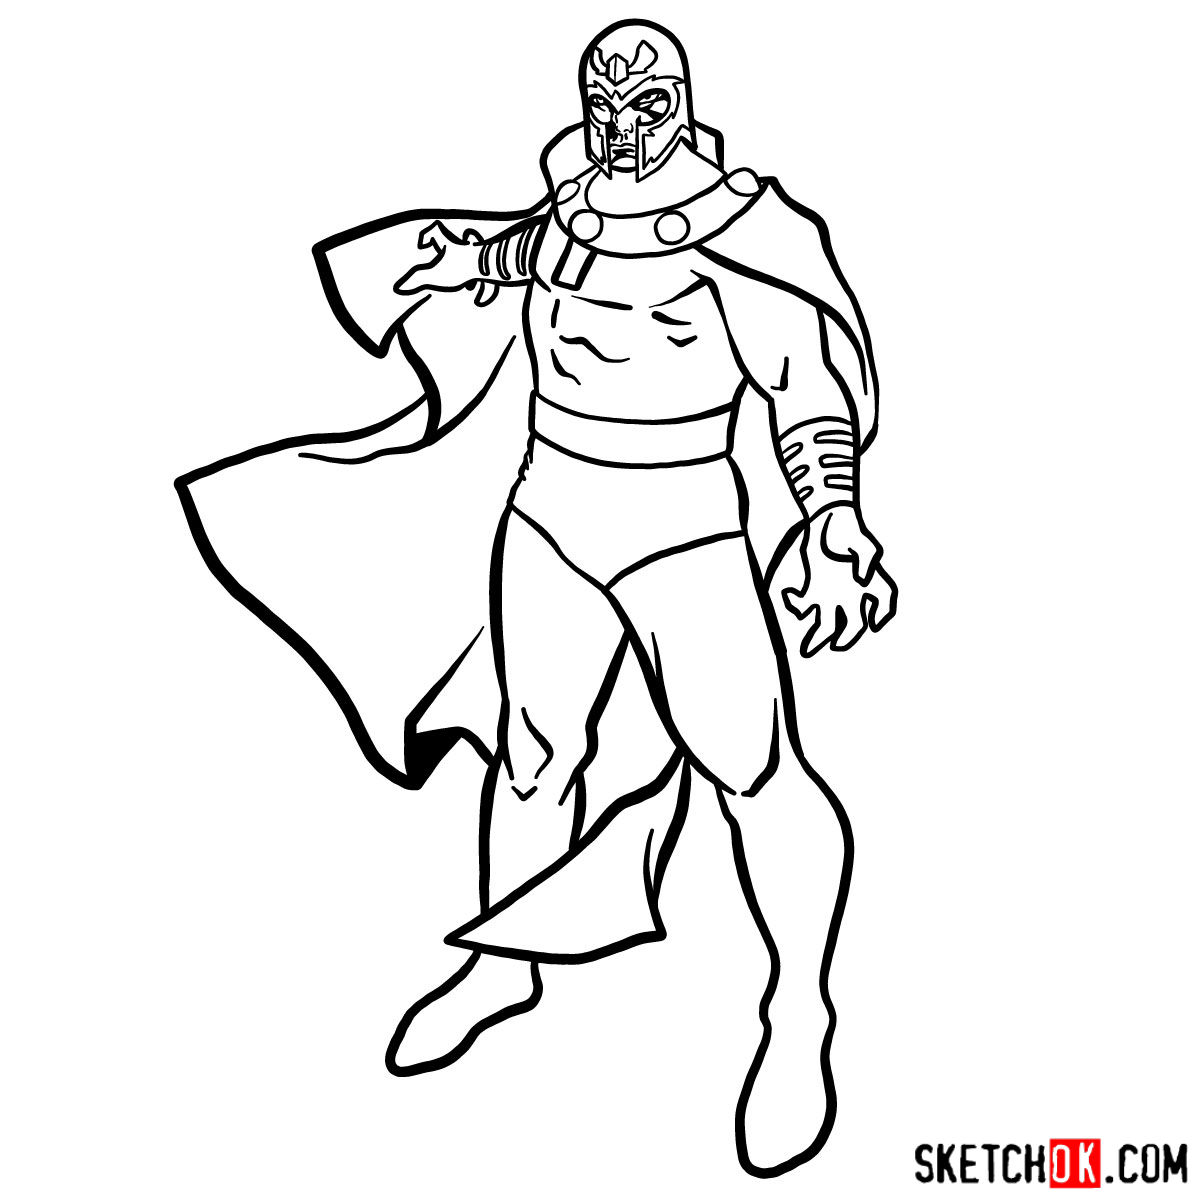
Part 4: Colors and Shades of Magnetism
Now it’s time to bring Magneto to life with color! Use colored pencils, markers, or pastels to add vibrant hues to your drawing. Remember to include shading and highlights for a more realistic and dynamic appearance.
")
Now that you’ve worked through how to draw Magneto, try setting the sketch aside for a day or two and then redrawing him from memory. It’s a surprisingly effective way to lock in the proportions and details so they stick. New guides go up regularly, and you can follow along on SketchOk’s Pinterest or check the YouTube channel where video versions of some guides get uploaded over time.