As a novice artist, it can be intimidating to start drawing, but with our easy guide on how to draw Pluto in 15 steps, you’ll be sketching this lovable pup before you know it. By following our tutorial, step by step, your artistic journey becomes simpler and more rewarding.
Pluto Unleashed: Character Details
When drawing Pluto in a front view, remember to focus on the following key aspects:
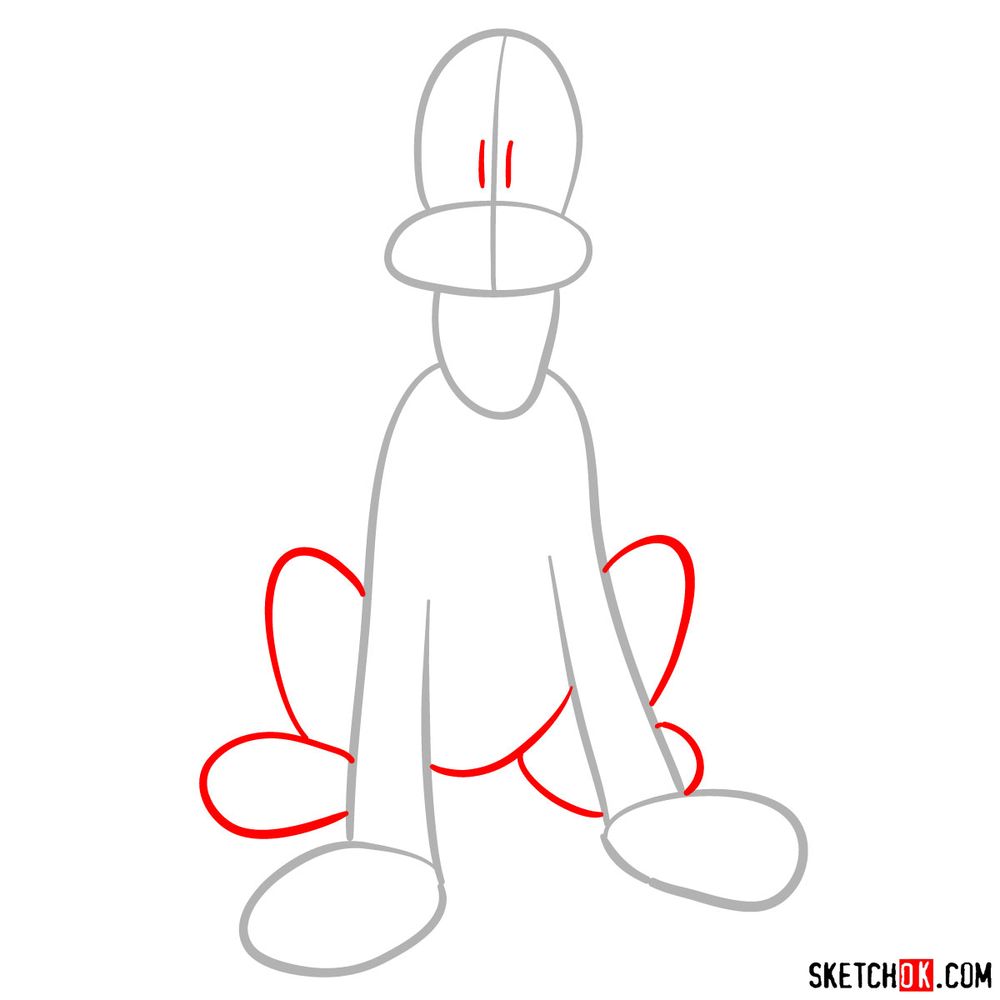
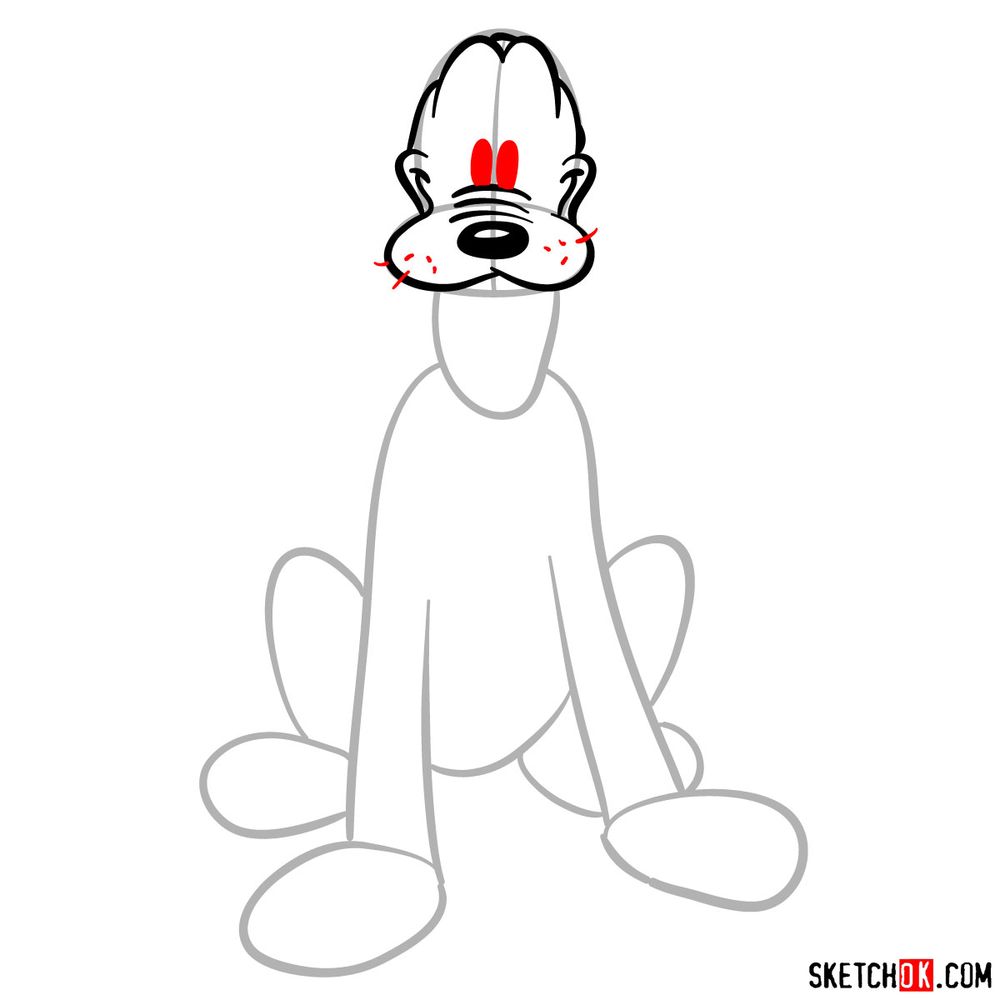
- The friendly eyes that convey his warmth and loyalty.
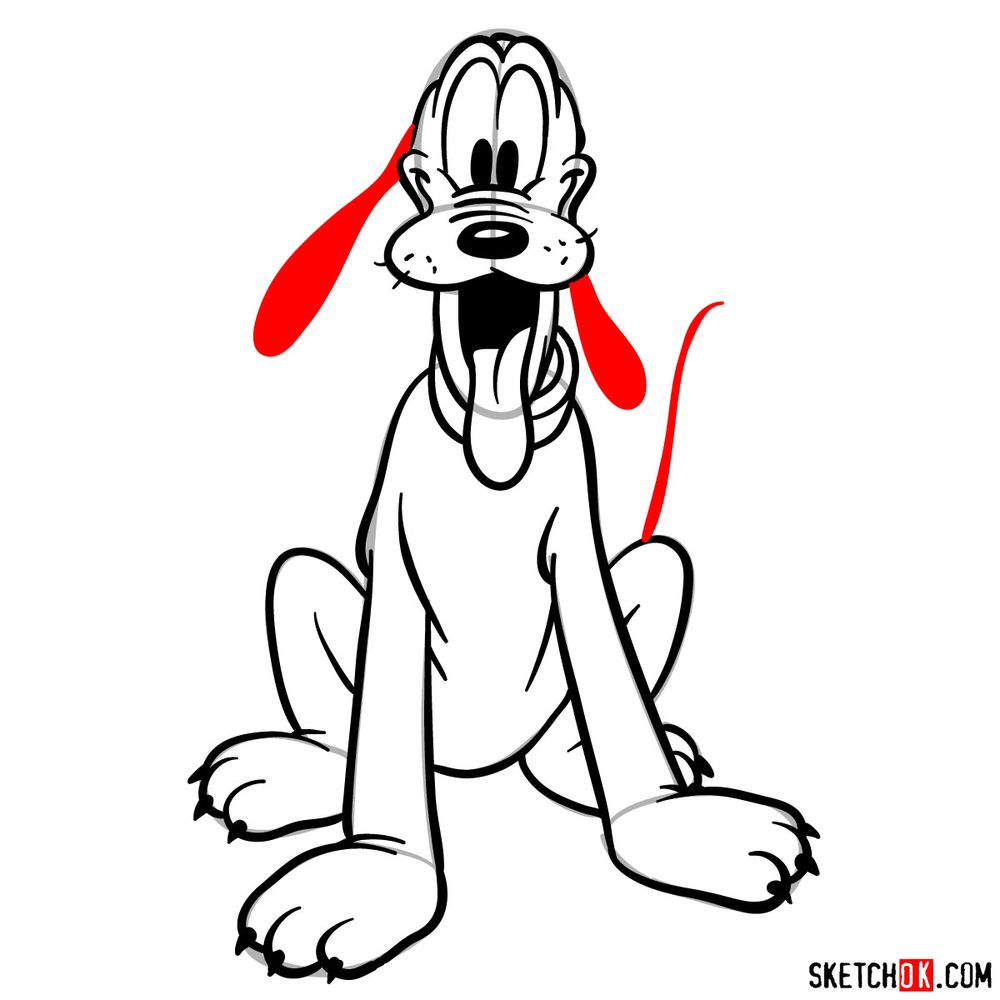
- His floppy ears that reflect his playful nature.
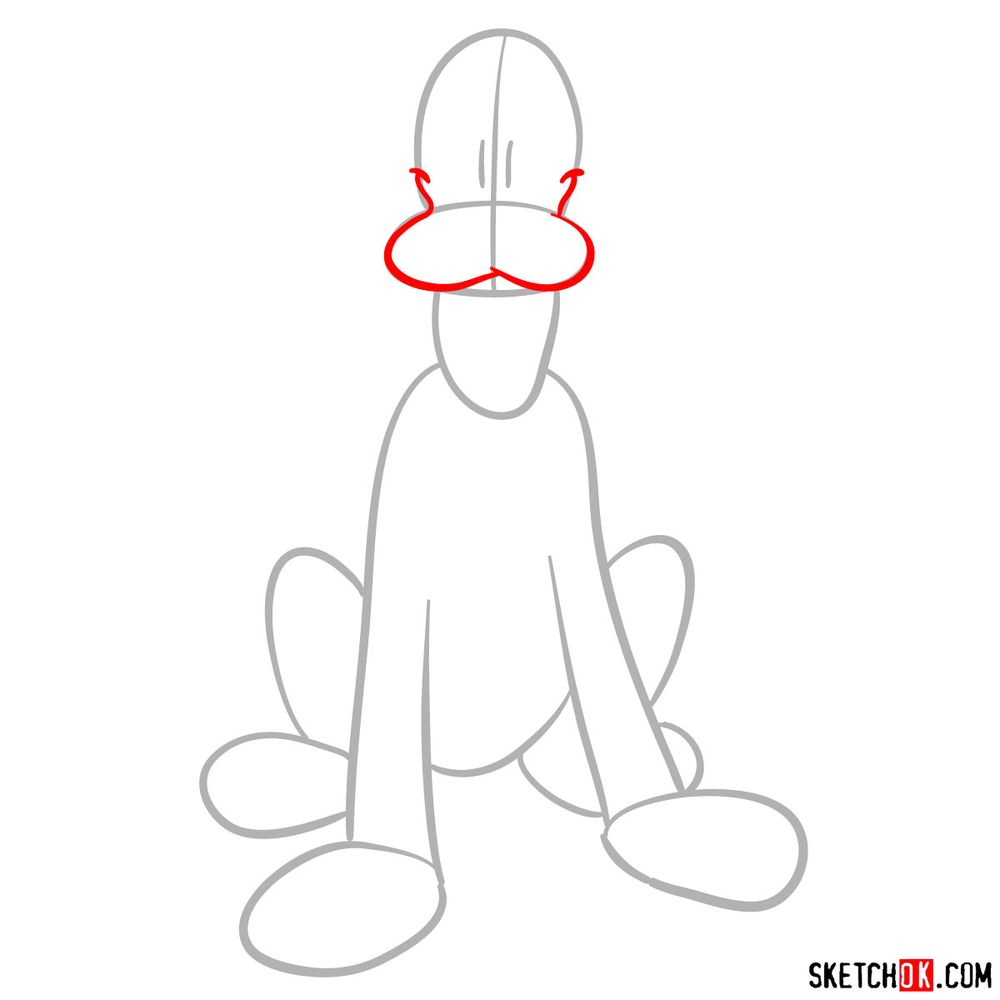
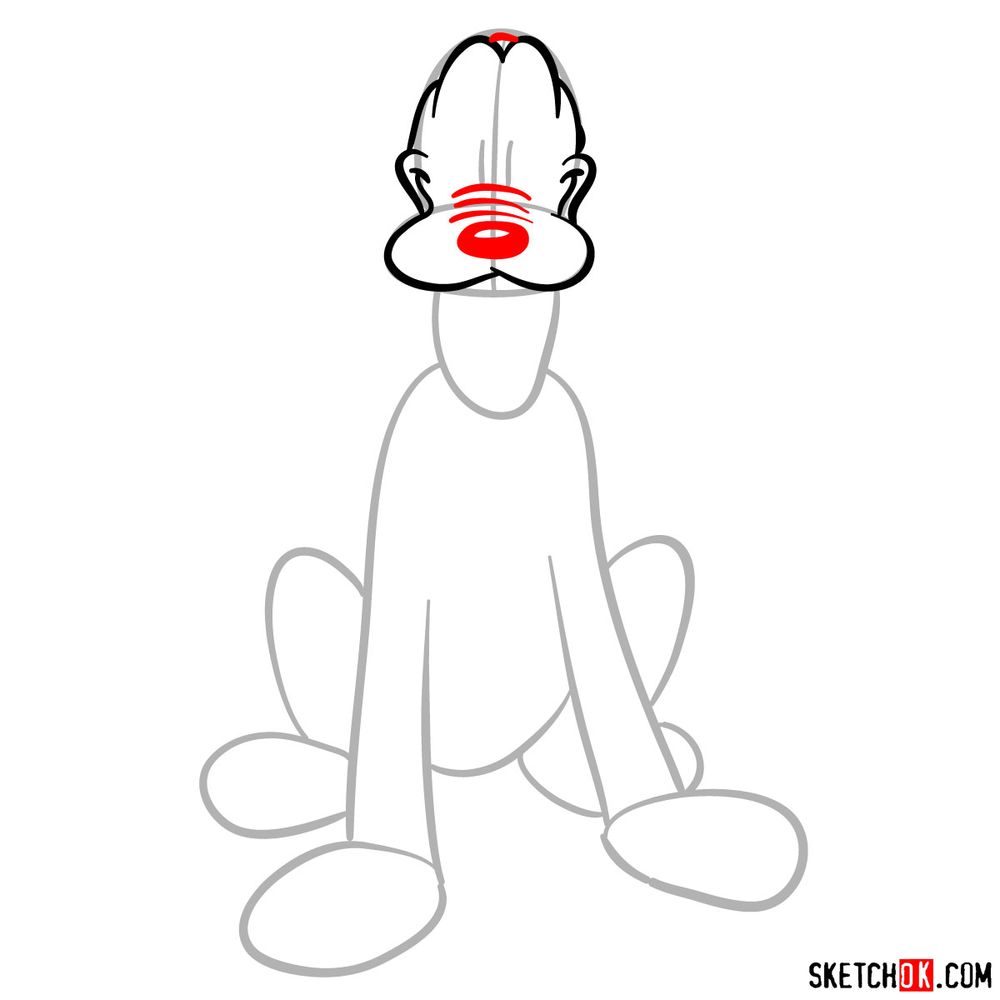
- His curved snout that gives him his unique dog-like appearance.
Once you have mastered the art of drawing Pluto, consider adding other classic Disney characters like Mickey Mouse, Goofy, or Donald Duck to your art portfolio to create a dynamic Disney-themed collection.
Painting a Picture: Guide Insights
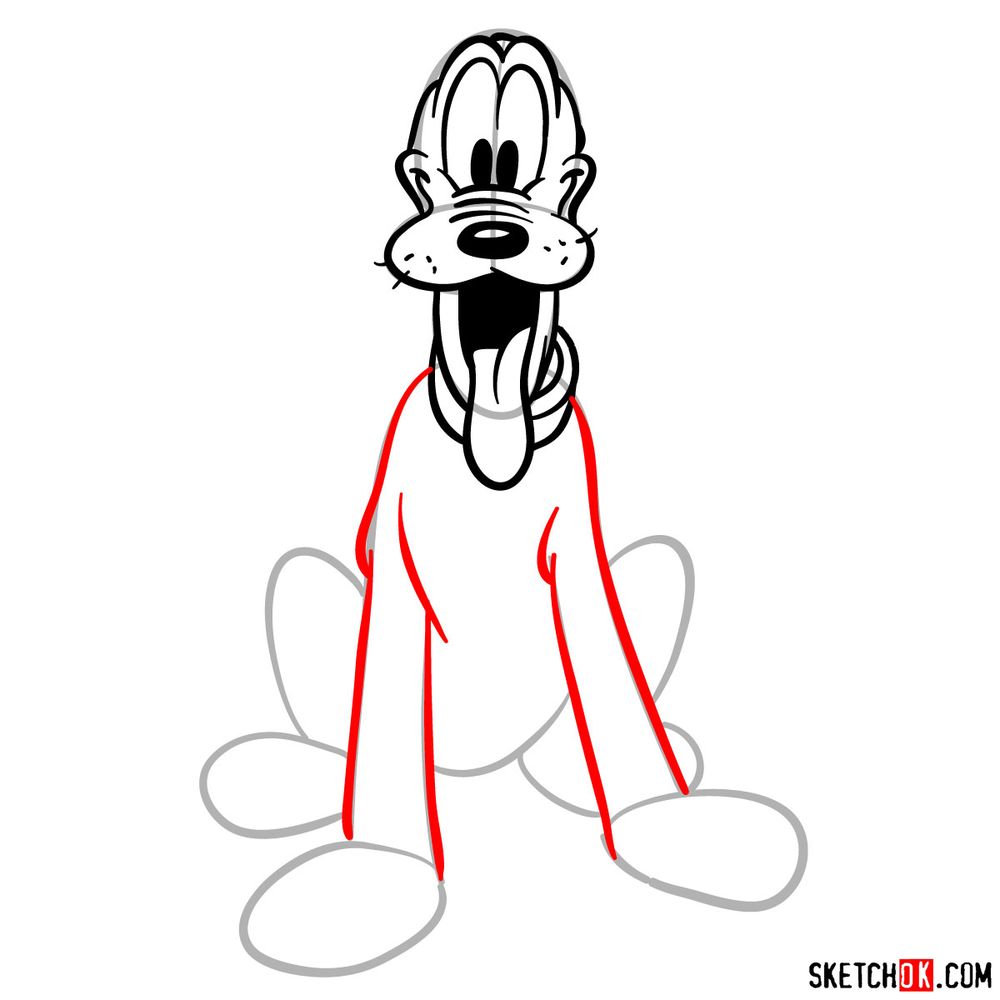
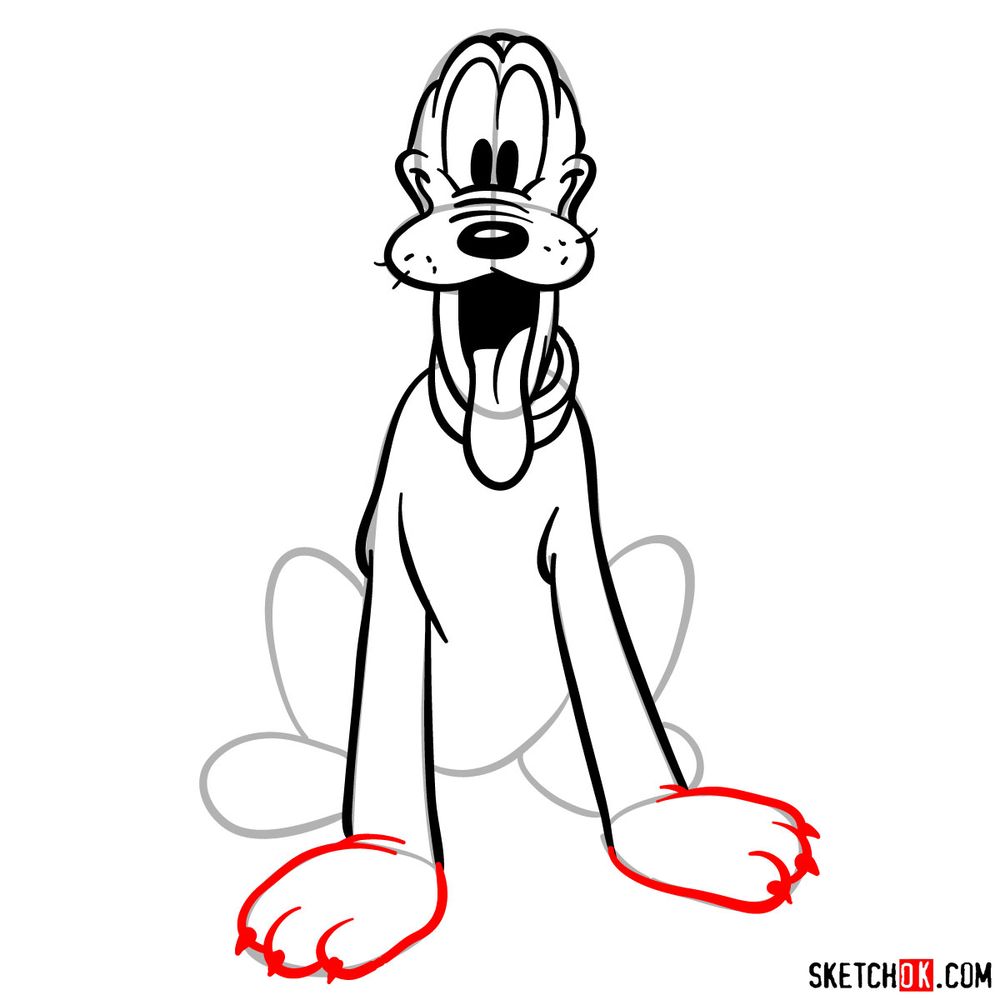
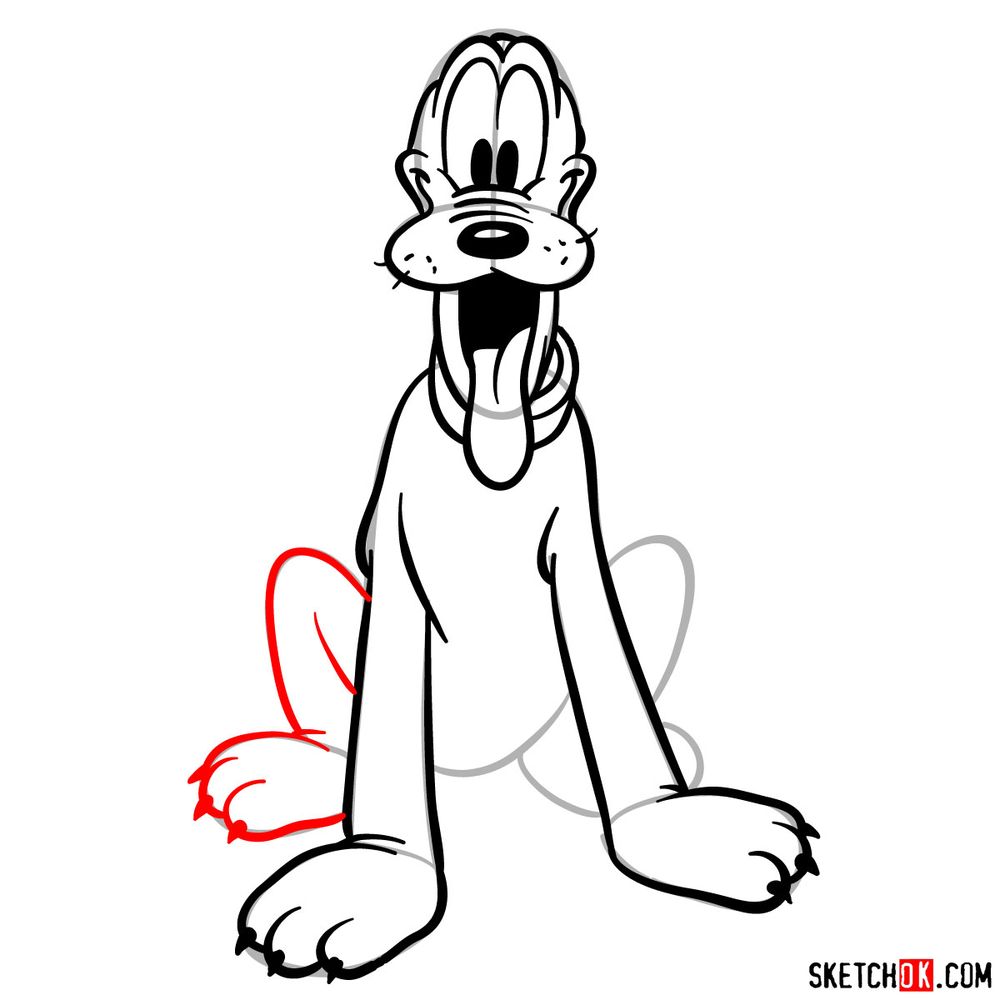
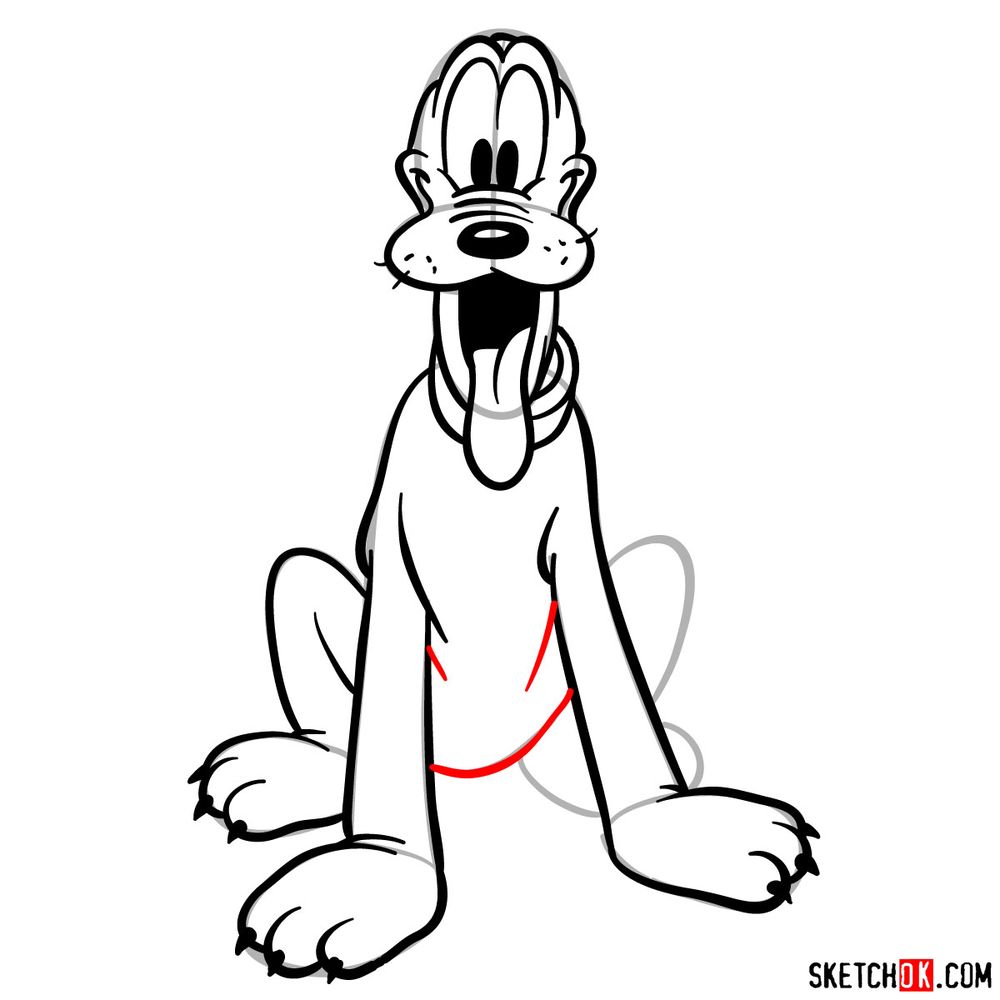
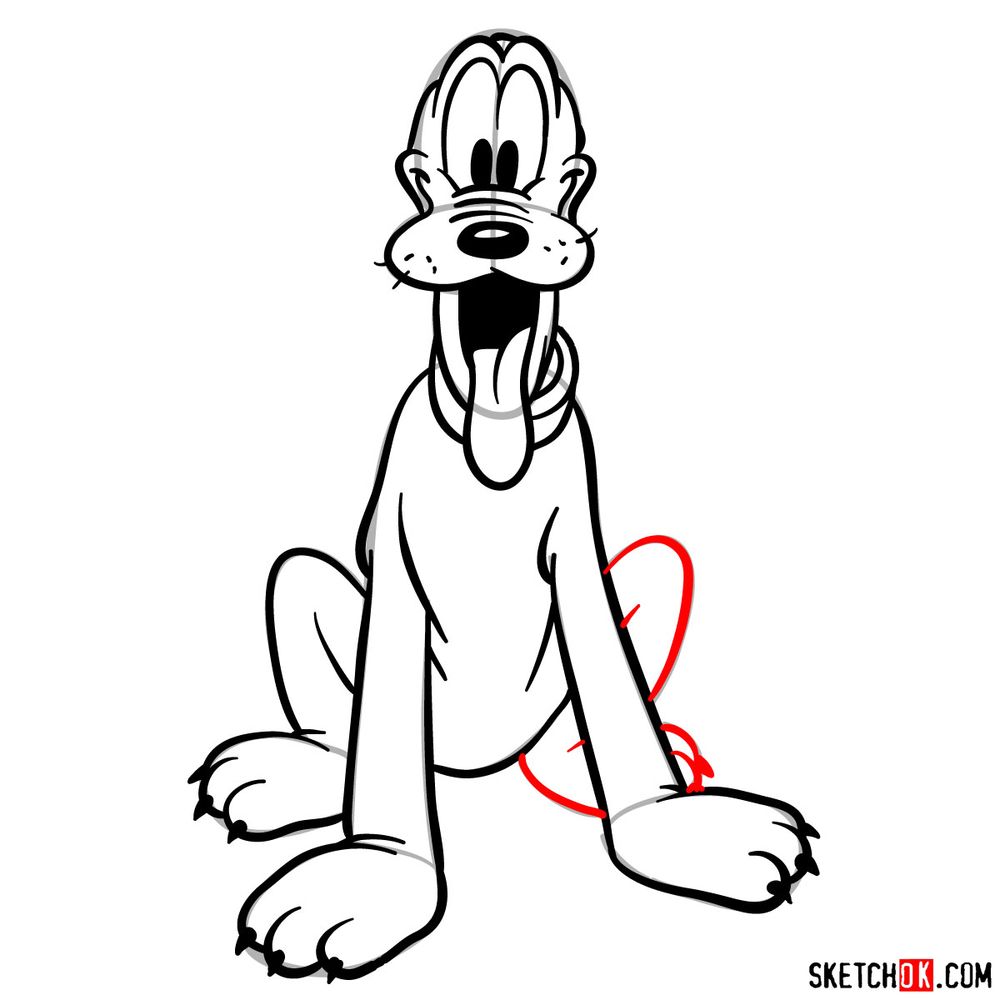
This guide, comprised of 15 steps, uses a simple color-coding system to make your drawing process easier:
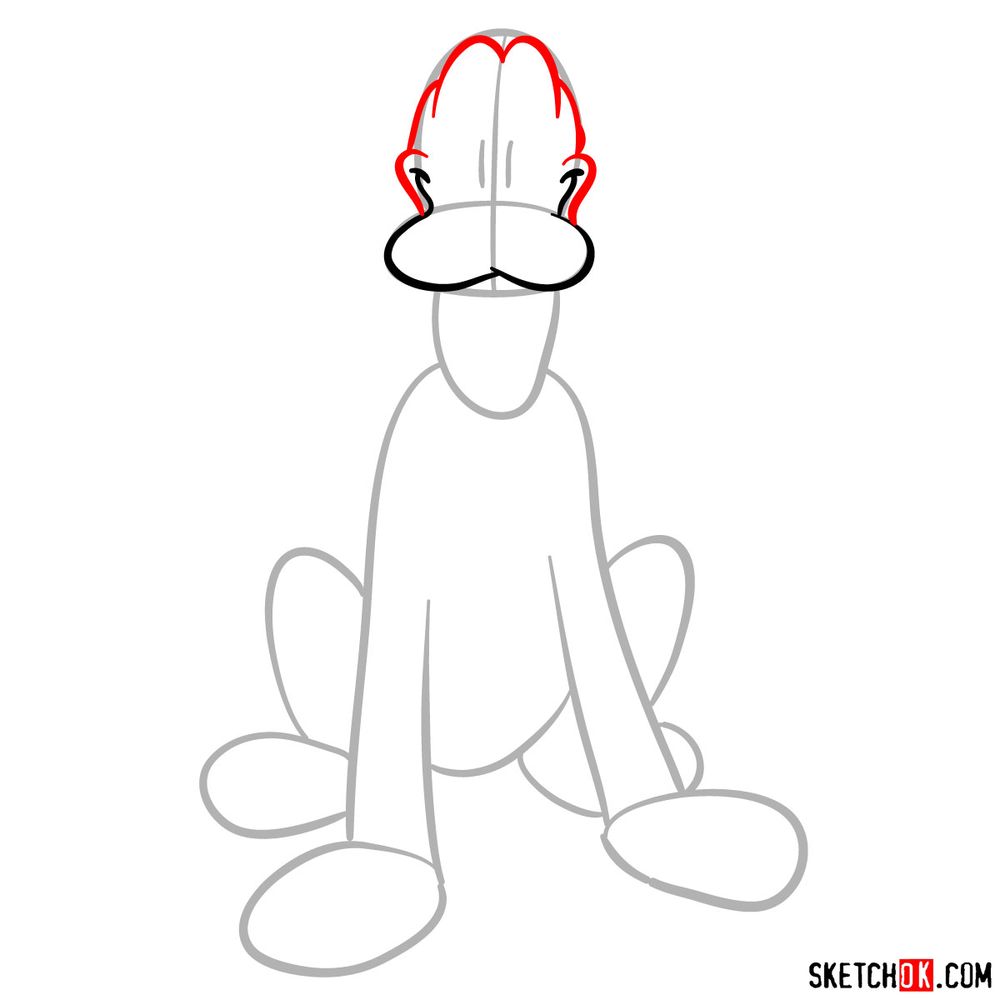
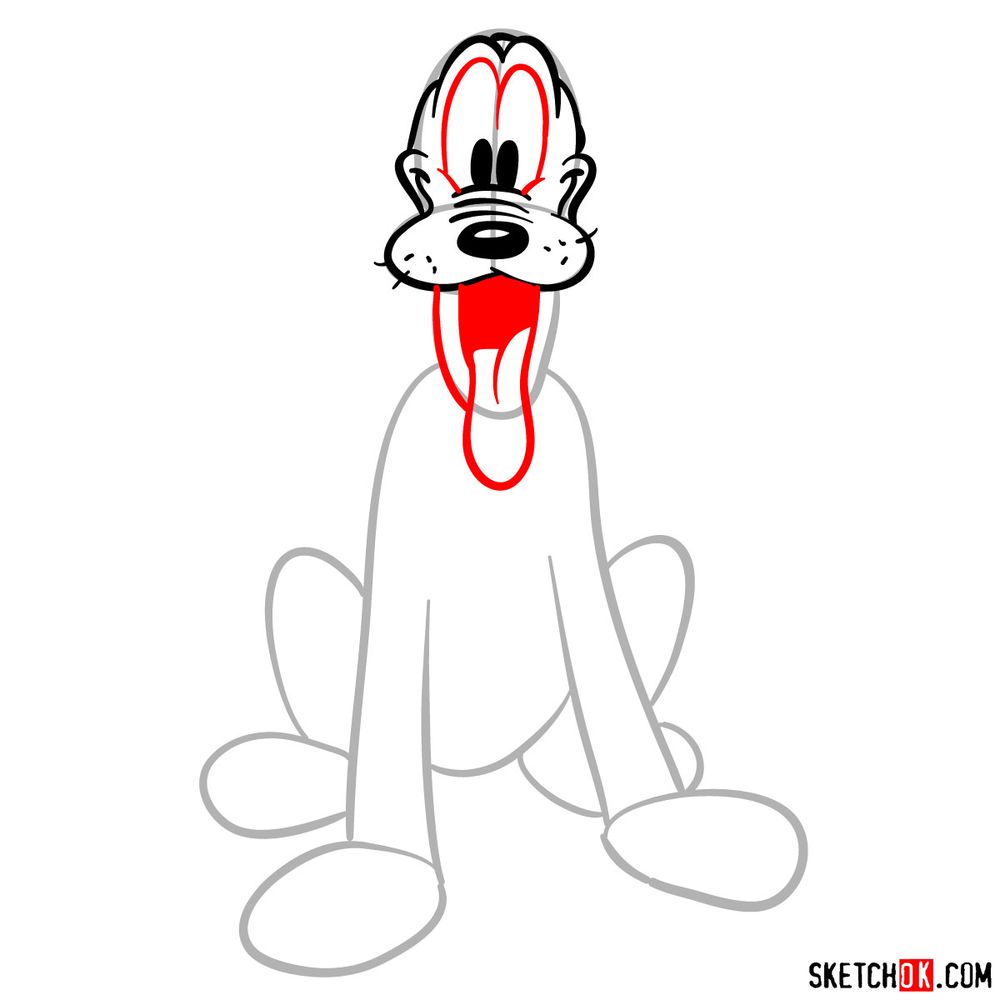
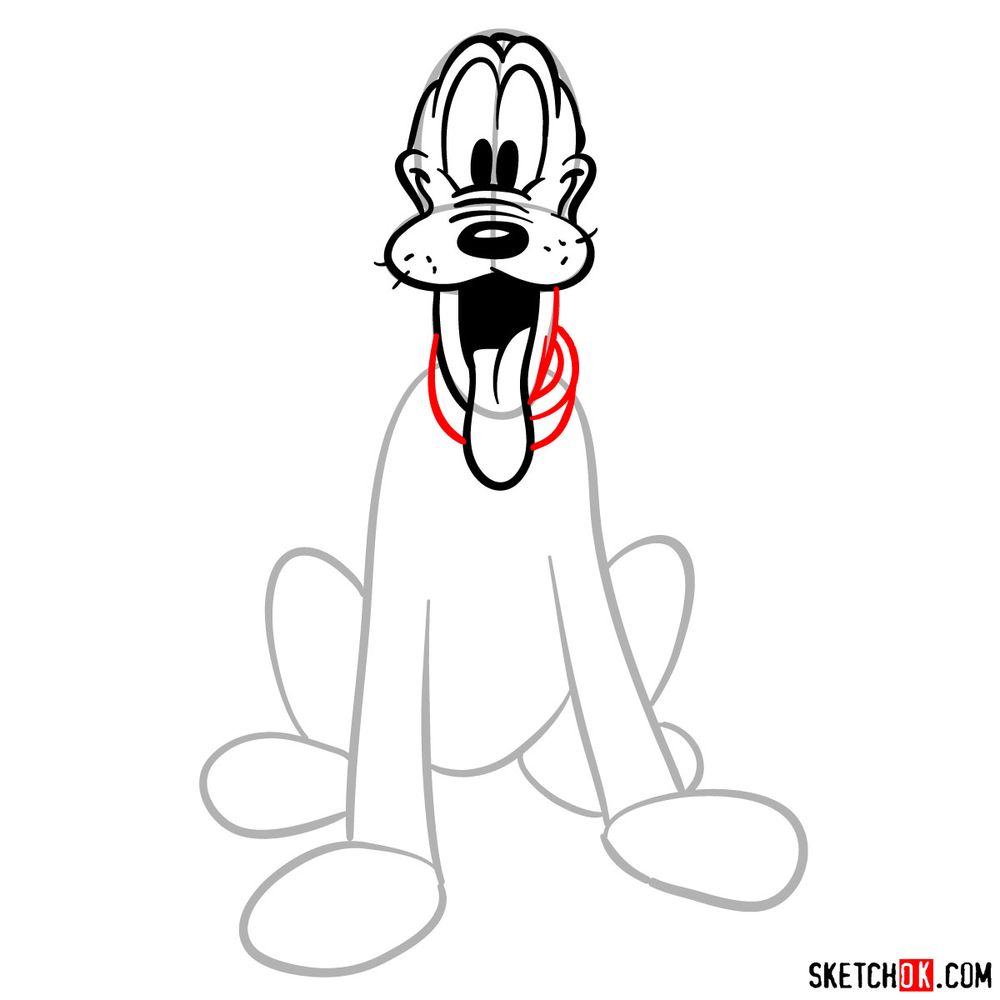
- Red Color: Indicates the lines for the current drawing step.
- Black Color: Denotes the lines drawn in the previous steps.
- Grey Color: Highlights the basic sketch and proportions that guide the entire process.
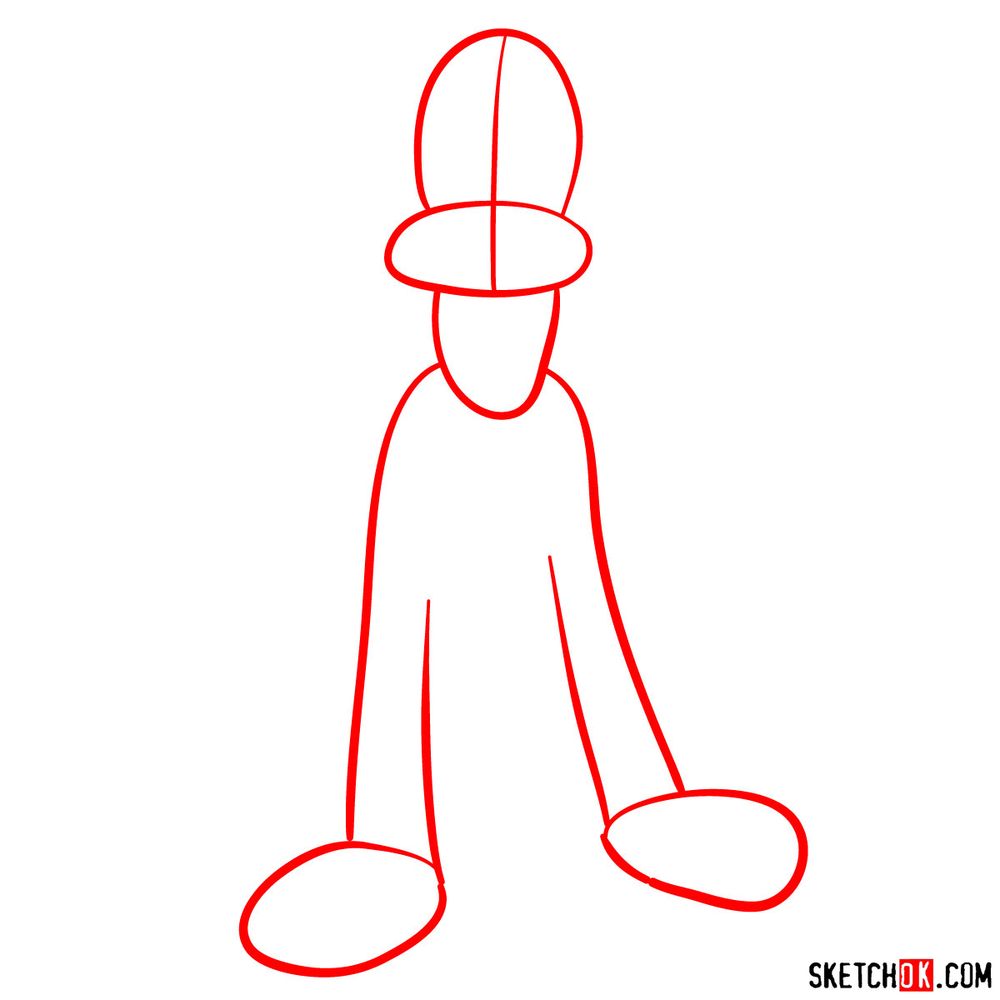
The first 2 steps are dedicated to forming Pluto’s basic structure using light pencil strokes. Once your sketch is complete, you can choose to ink it. Wait for the ink to dry completely before gently erasing the pencil sketch to prevent any smudging.

If you want to see drawing guides come to life with narration and real-time sketching, the SketchOk YouTube channel posts new video tutorials as they get produced, so it’s worth subscribing if you prefer watching over reading. For anyone who worked through how to draw Pluto in 15 steps and wants to show off the result, drop it in the comments on the Pinterest pin for this guide where other readers share theirs too. You can also sign up for the weekly digest using the form at the top of the page to catch new guides as they come out.