Last Updated on May 14, 2026
Art can be a fantastic way to express oneself, and there’s no better way to start than by learning how to draw the face of Goofy, one of Disney’s most beloved characters. Goofy’s playful and distinctive features make him a fun character to bring to life on paper. Join us on this unique drawing journey and unlock the joy of creating your own work of art.
Understanding Goofy’s Visage: The Key to Your Artistic Journey
Recognizing the signature features of Goofy is critical when sketching his face. Here are a few key points to keep in mind:
- Goofy has a tall, slender face with a pronounced jawline.
- His two large, oval-shaped eyes, giving him a playful, goofy look.
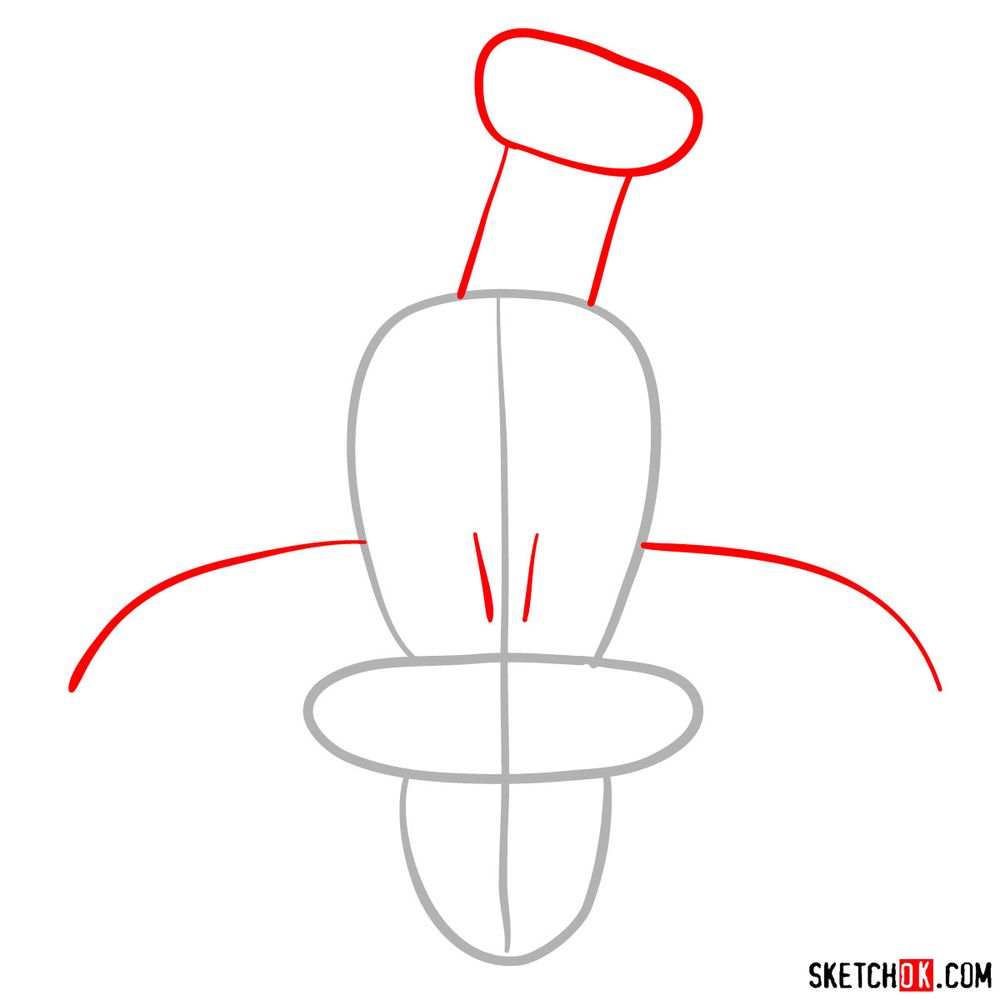
- Goofy’s distinct hat sits atop his head, creating a striking silhouette.
- His iconic, wide grin reveals two prominent front teeth.
- His floppy ears are another unique element of his character.
If you’re feeling adventurous, you can also add Mickey Mouse or Donald Duck, Goofy’s frequent companions in numerous Disney adventures, to your drawing to create a wholesome Disney scene.
About the Guide: Decoding the Steps
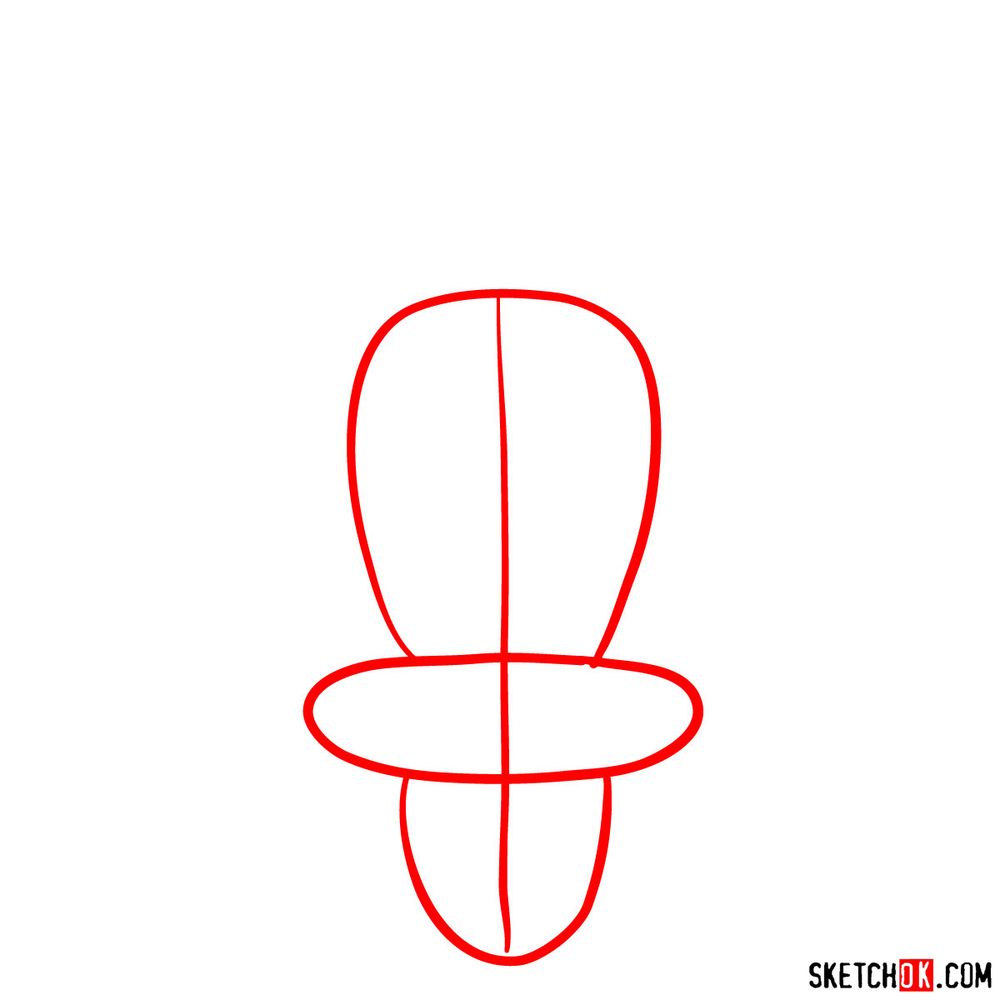
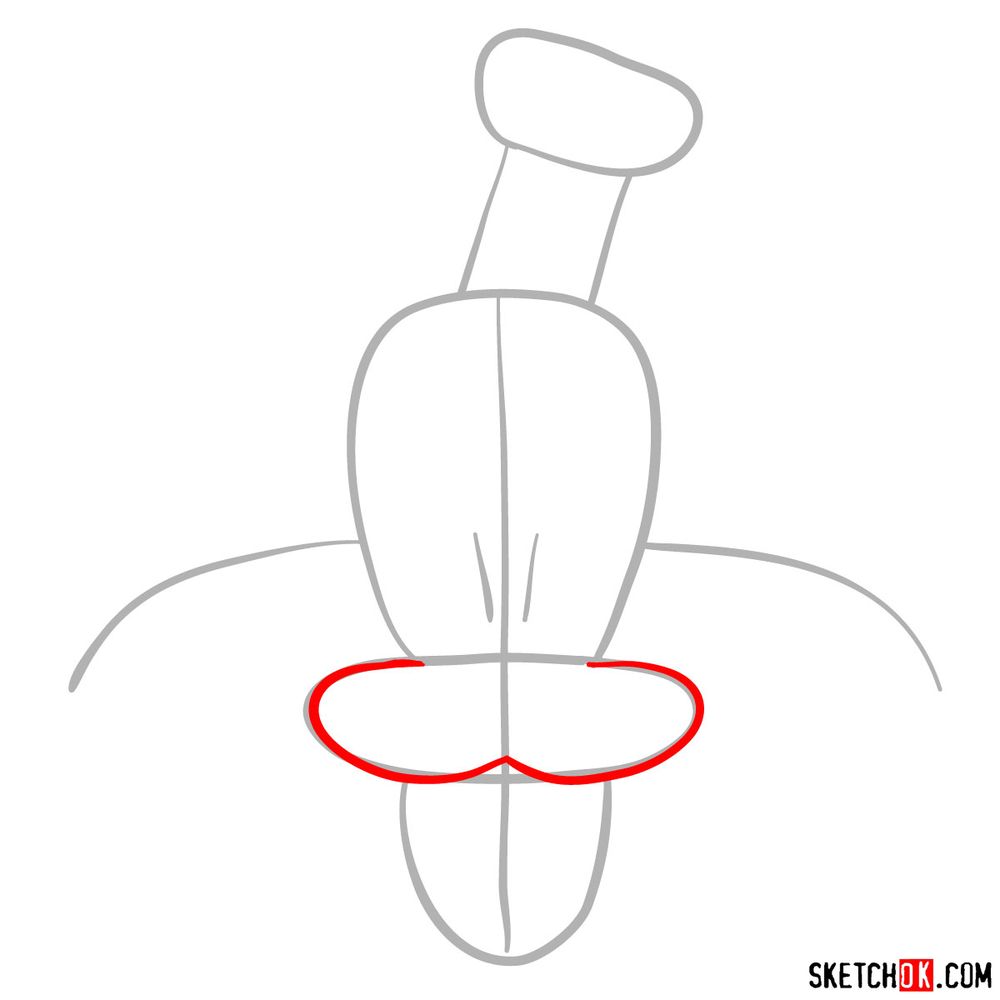
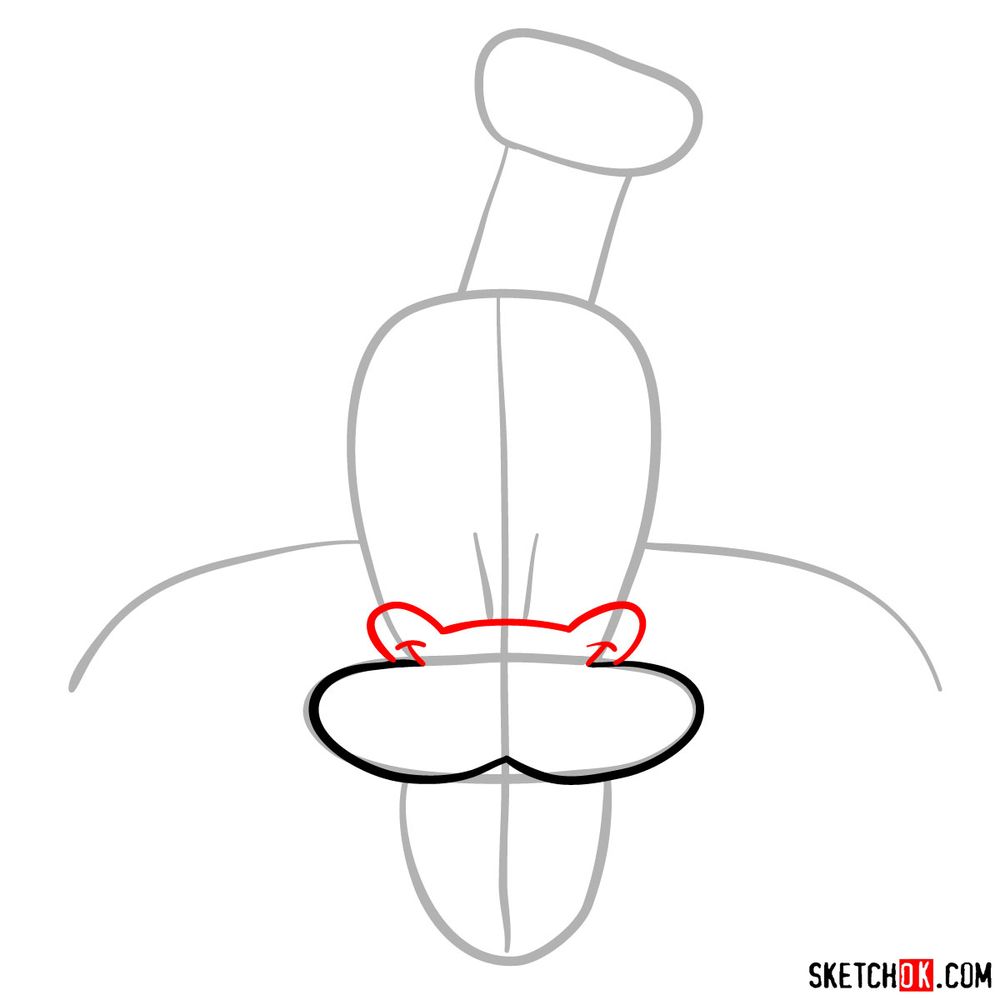
This guide breaks down the process of drawing Goofy’s face into 14 manageable steps. The first 2 steps involve creating a basic structure or sketch using light pencil strokes. This approach provides a solid foundation and helps maintain proportion.
- Red Color: Represents the current step you should be focusing on.
- Black Color: Showcases the lines you have previously drawn.
- Grey Color: Displays the basic sketch that serves as your guide.
The final stage of the guide introduces the inking process. Inking helps to highlight the final lines of your sketch. Be sure to allow the ink to dry before gently erasing the pencil sketch to prevent any smudging.


Now that you’ve worked through how to draw the face of Goofy, feel free to drop your finished drawing in the comments under the pinned version of this tutorial on Pinterest. Other artists going through the same guide will see it there, which makes it a nice little spot to compare approaches and pick up ideas. If you want a steady stream of new guides, the signup form at the top of the page sends a weekly digest, and you can also follow along on Facebook or check the YouTube channel for video versions of some guides.