Welcome to the enchanting world of sketching, where paper and pencil create magic. In this guide, we take you on a fun-filled journey on how to draw Pluto in a walking pose in just 17 steps. Crafted for budding artists and enthusiasts, this guide simplifies the process of drawing, helping you recreate one of Disney’s most lovable characters with ease.
Decoding Pluto’s Appearance: Characteristic Traits for Drawing
As we embark on this artistic journey, here are some key characteristics of Pluto to keep in mind:
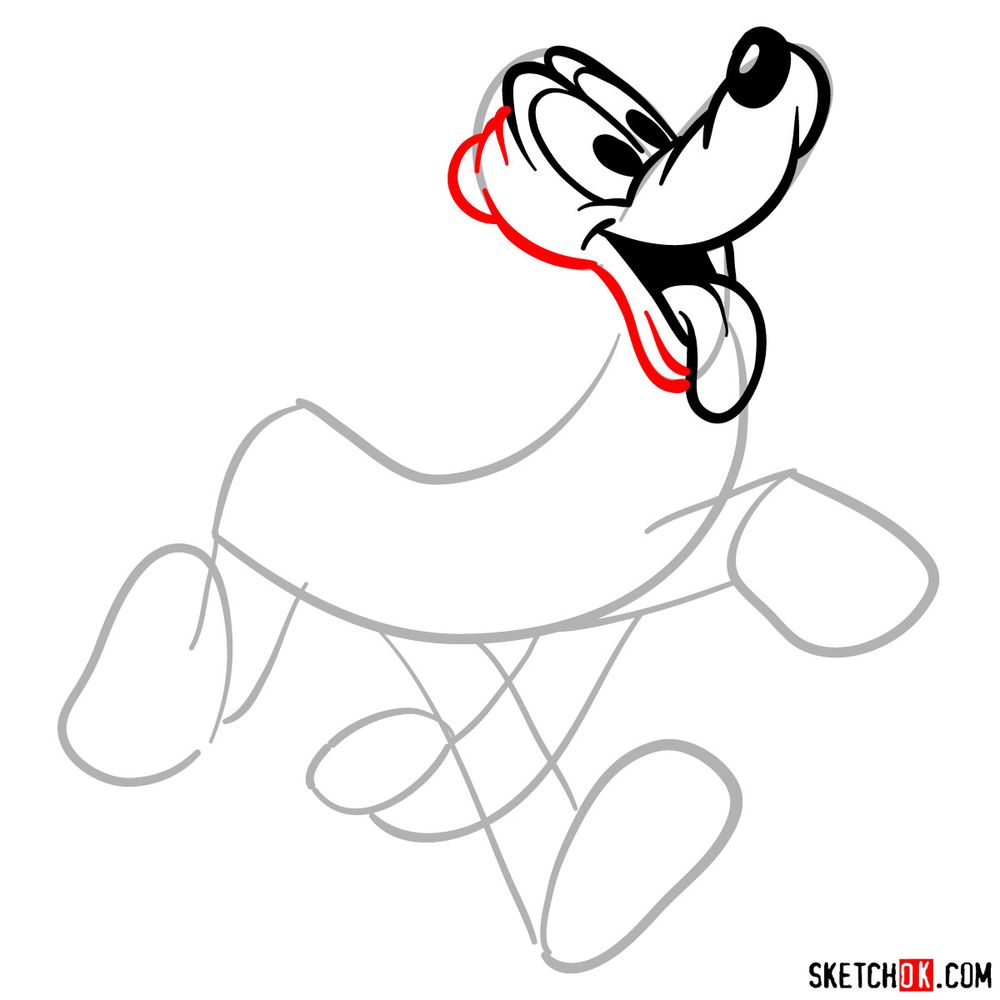
- His signature floppy ears that hang down the sides of his face.
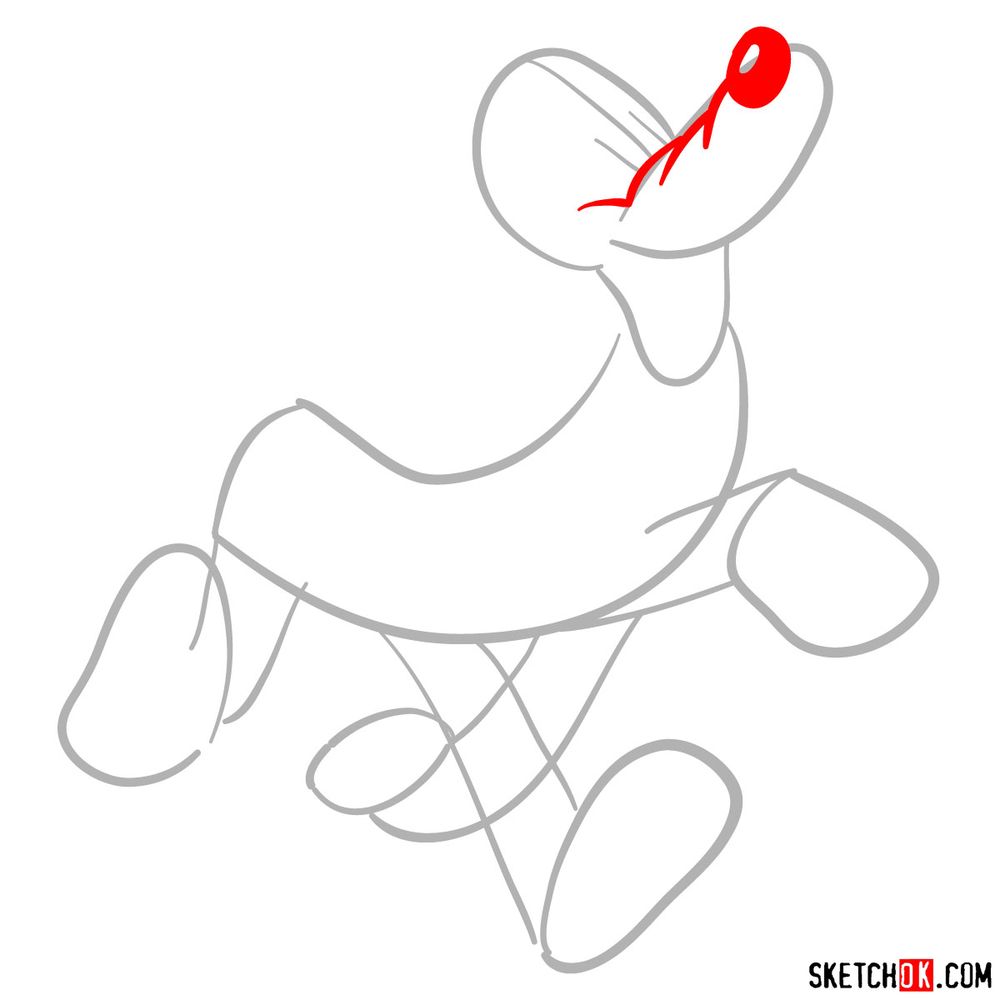
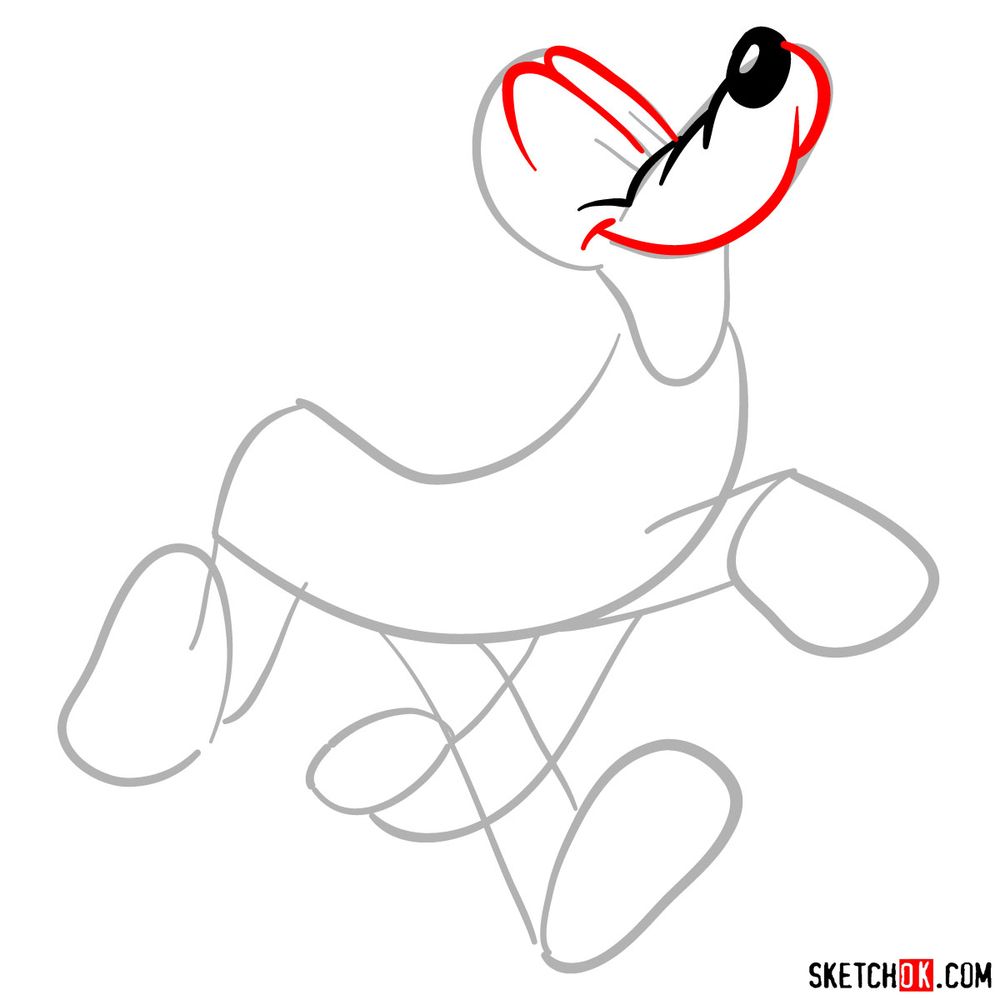
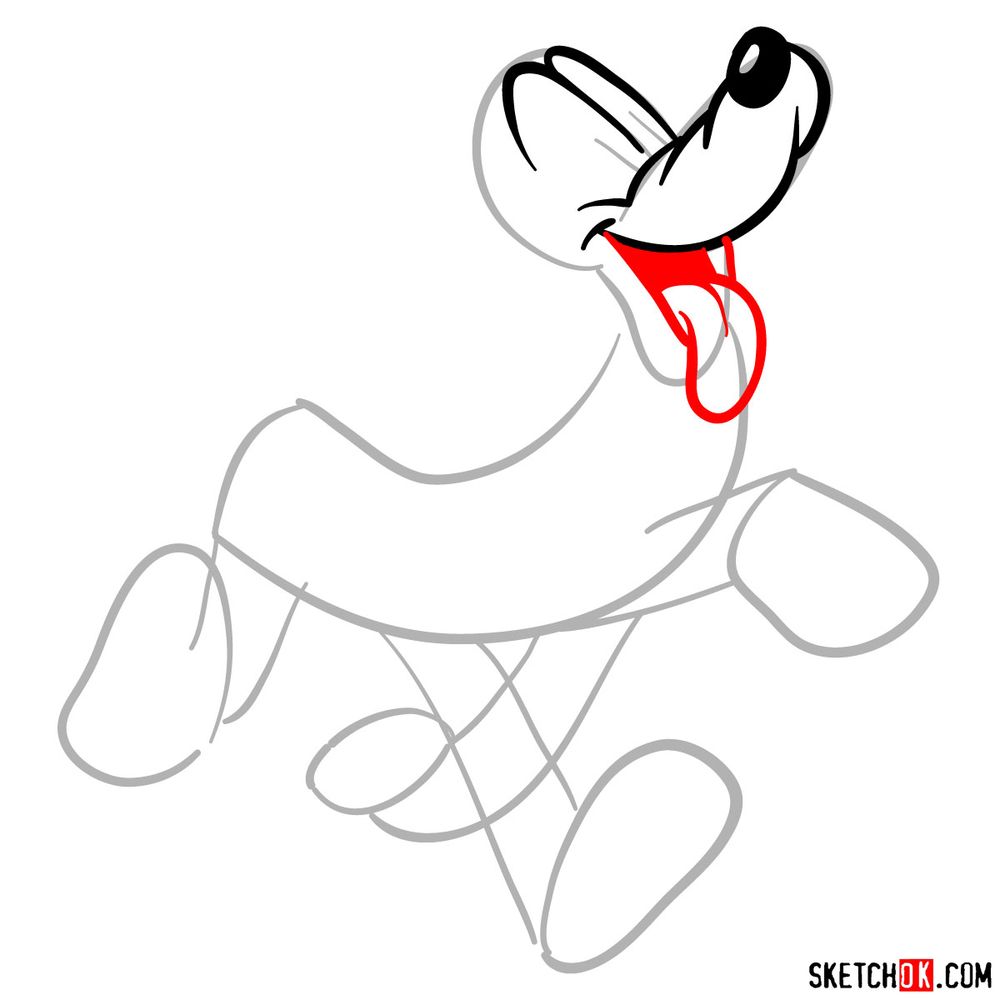
- The elongated snout with a black nose at the end.
- His expressive eyes that bring his personality to life.
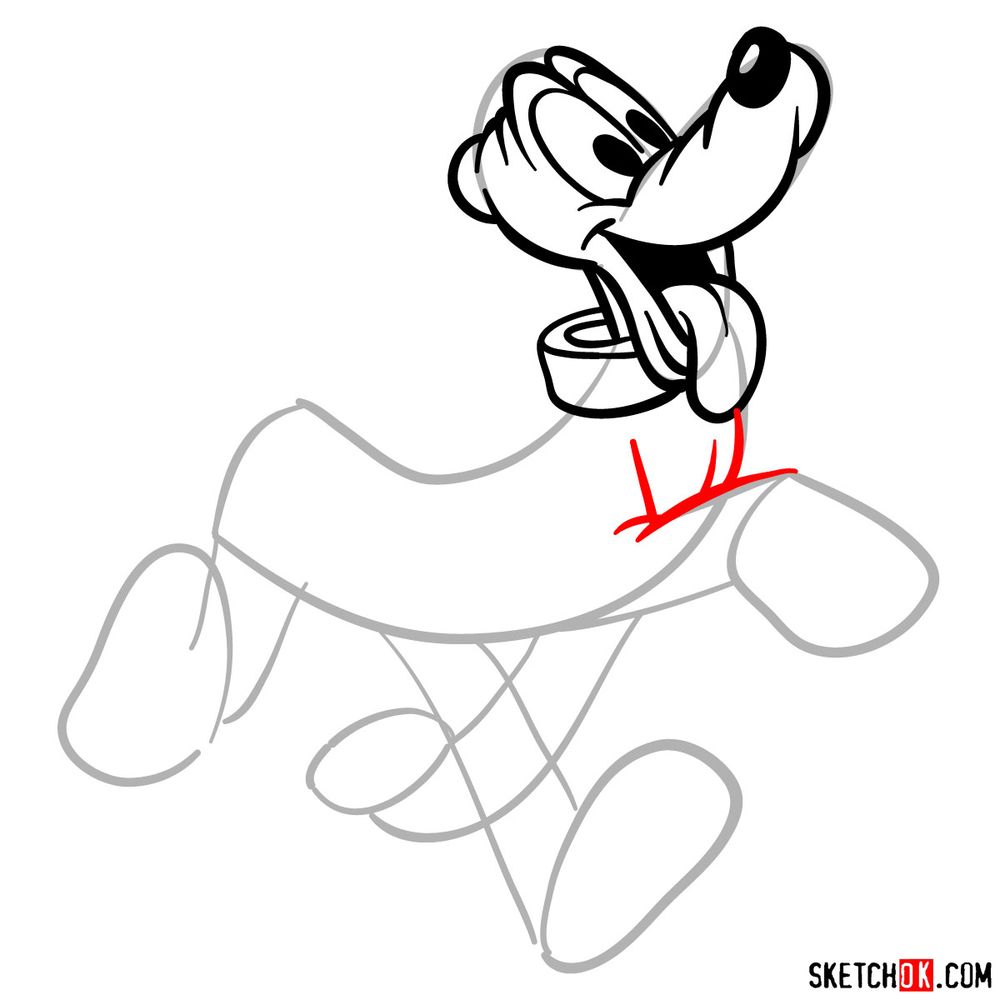
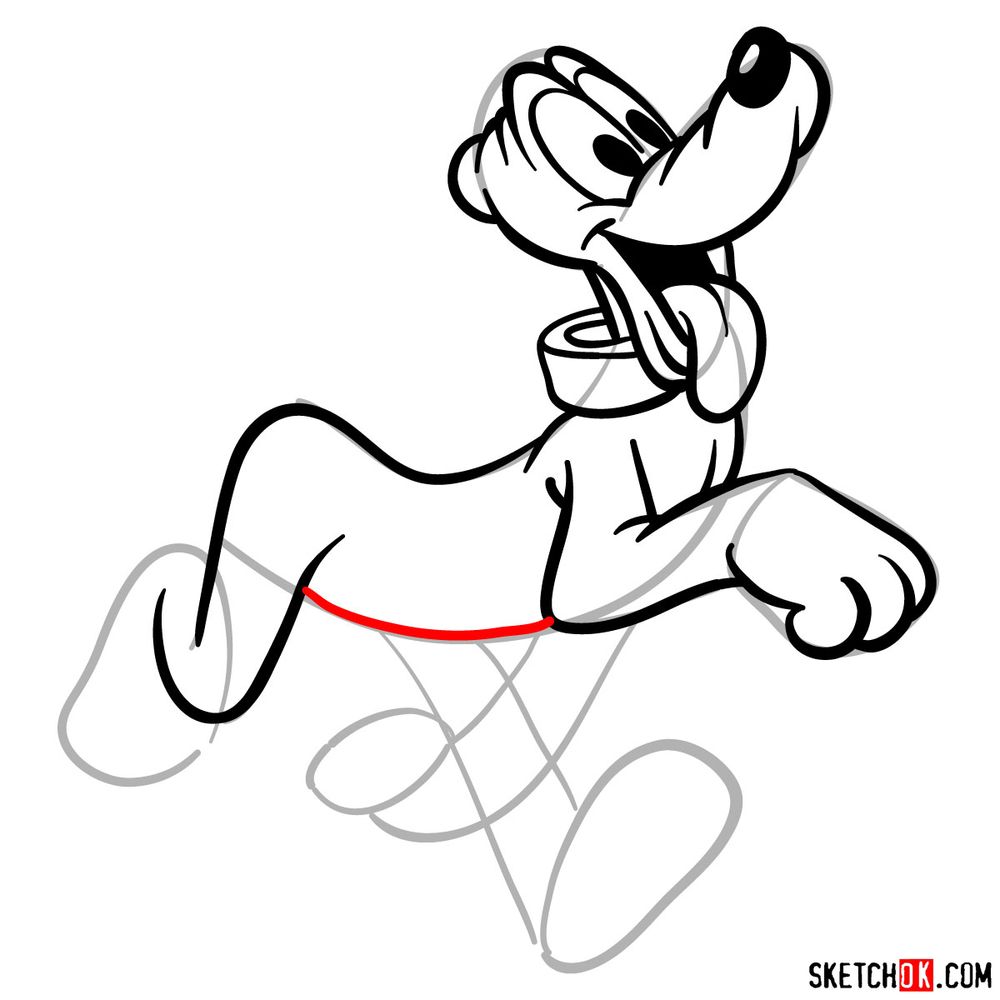
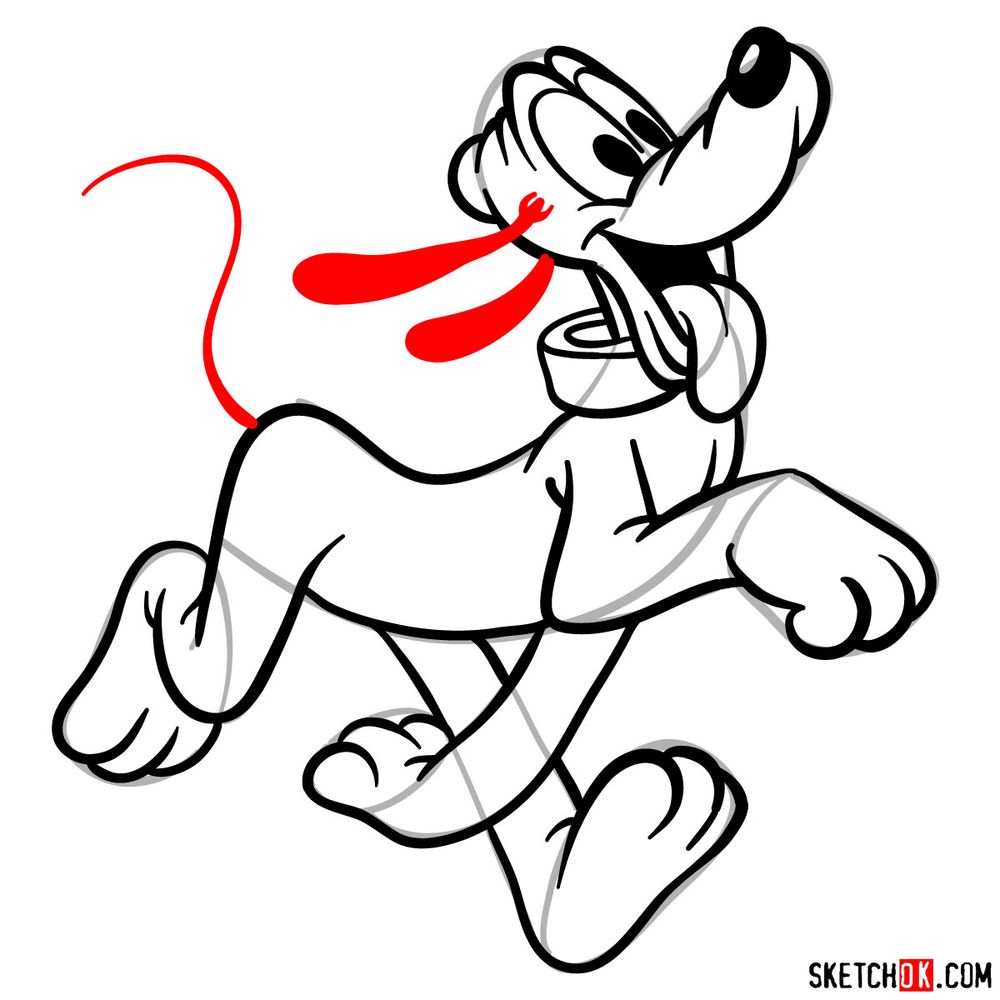
- The robust body with a thin tail.
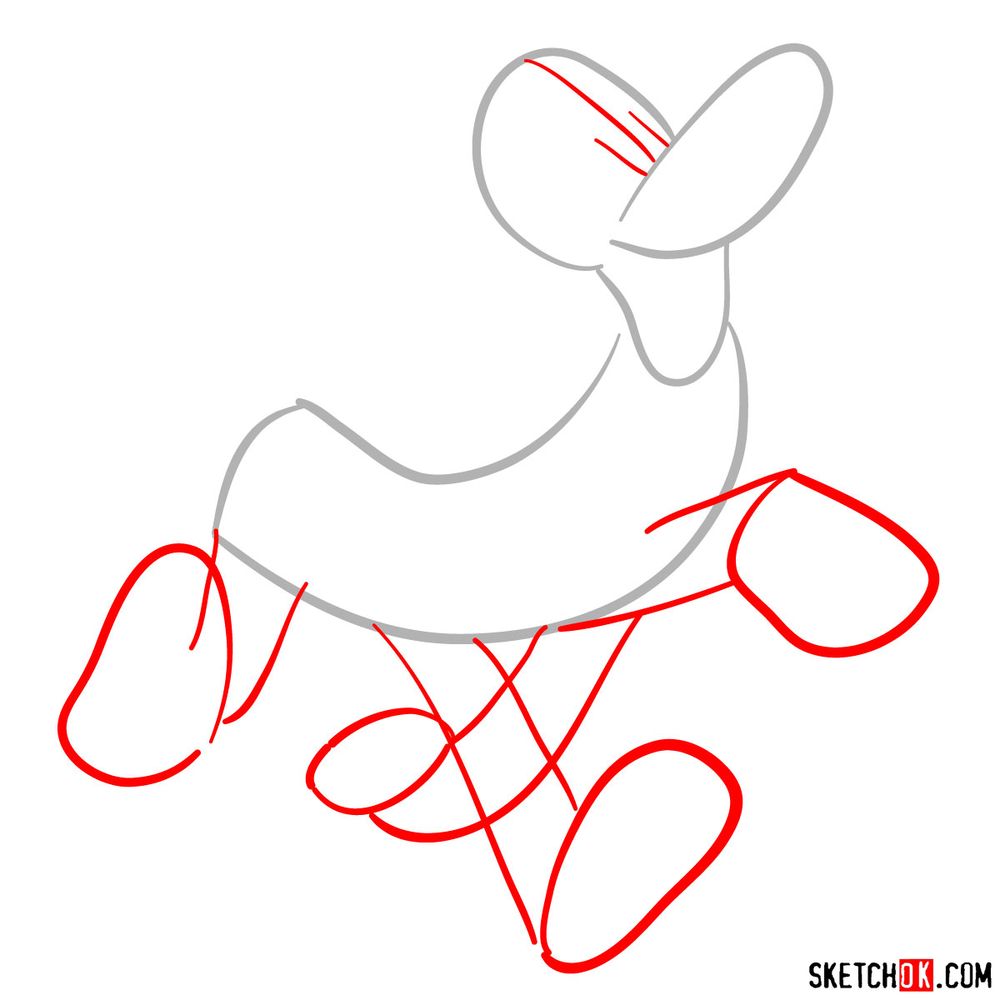
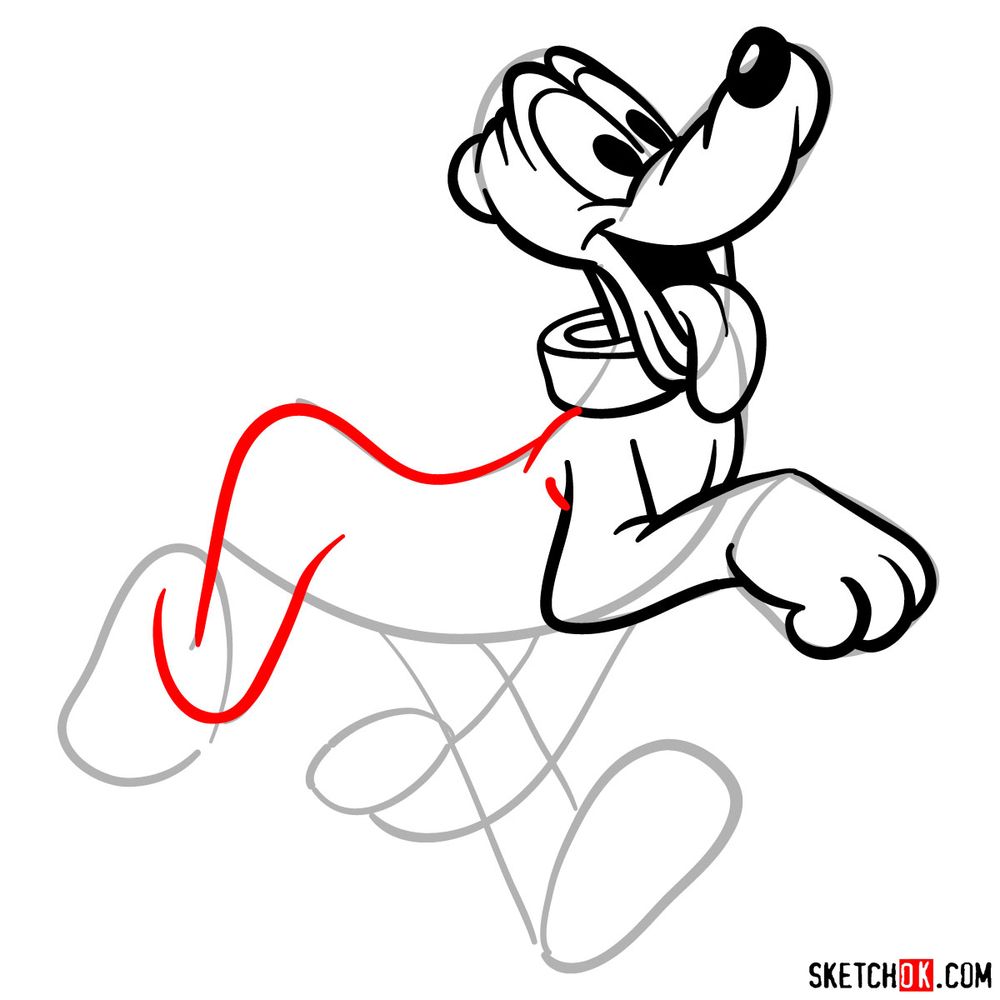
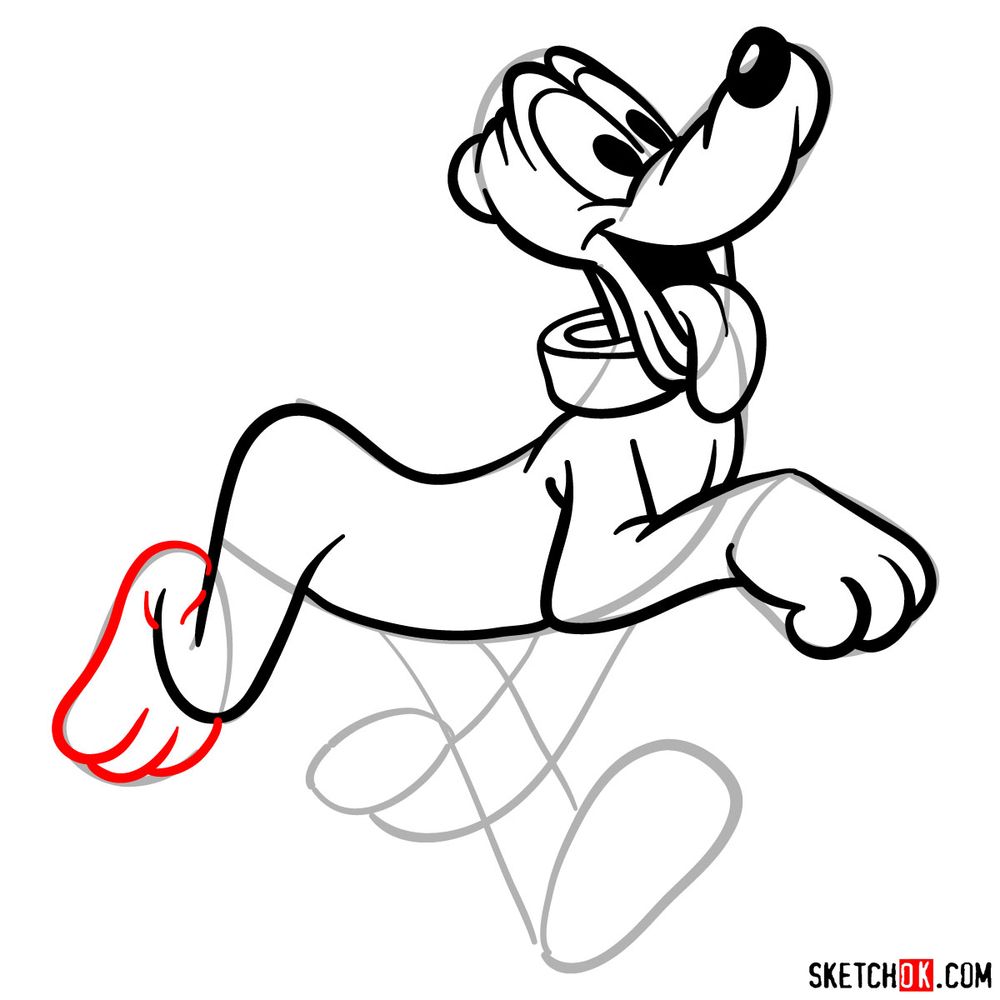
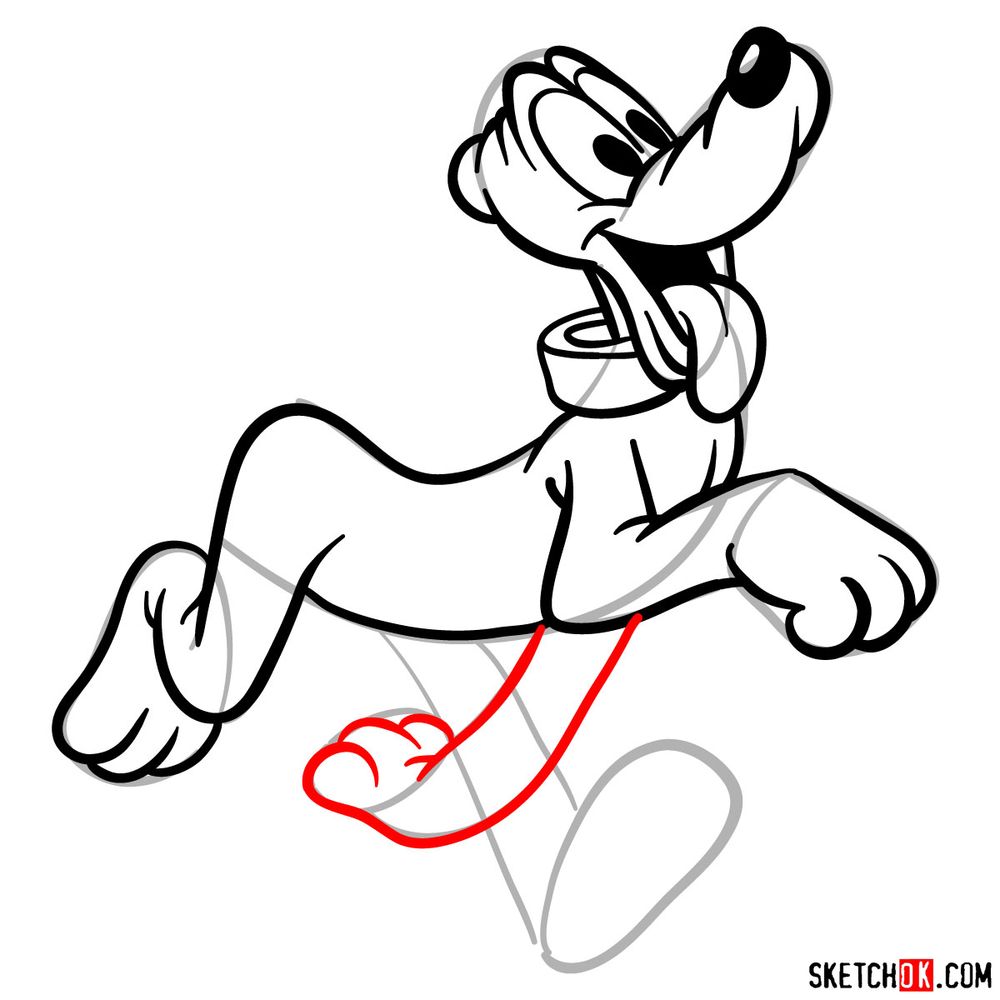
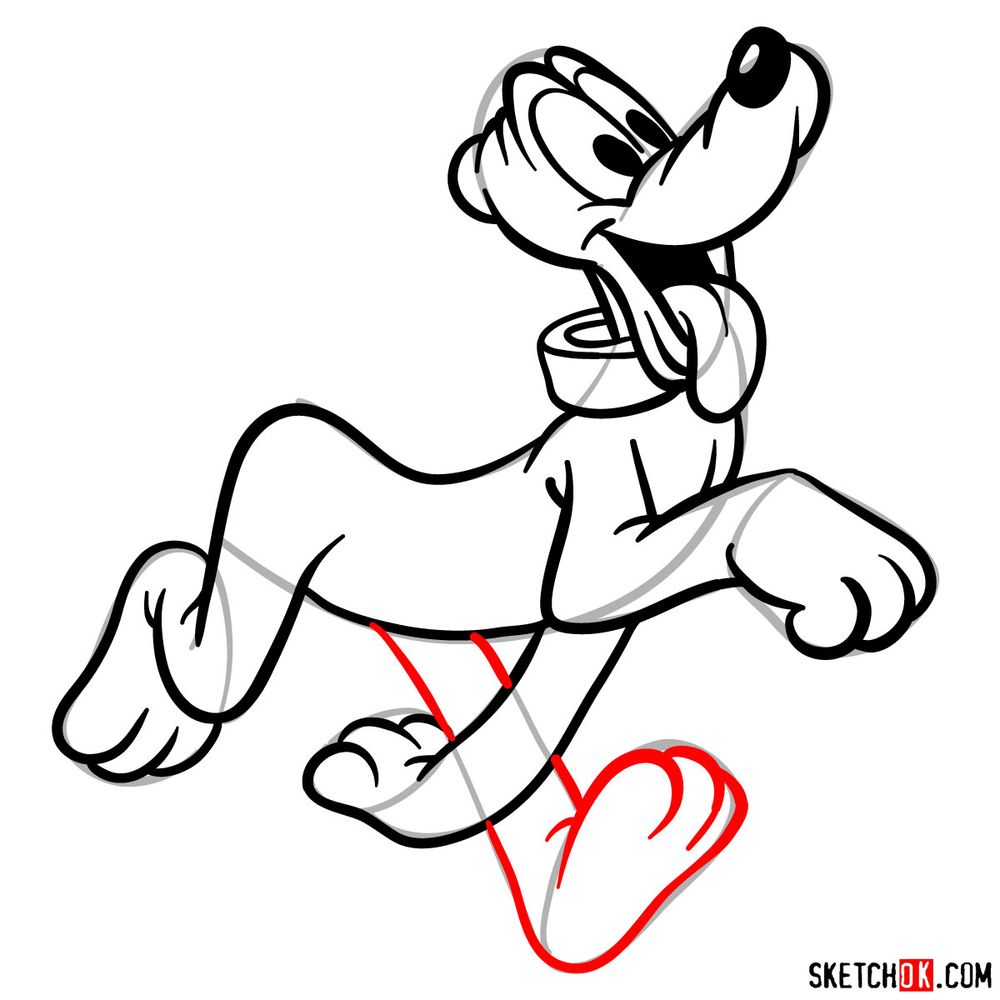
- His four legs, crucial for capturing Pluto’s walking pose.
Once you master the art of drawing Pluto, try bringing his Disney companions to life! A sketch of Mickey Mouse or Donald Duck would make a great addition to your Disney portfolio.
Understanding the Guide: A Step-by-Step Approach
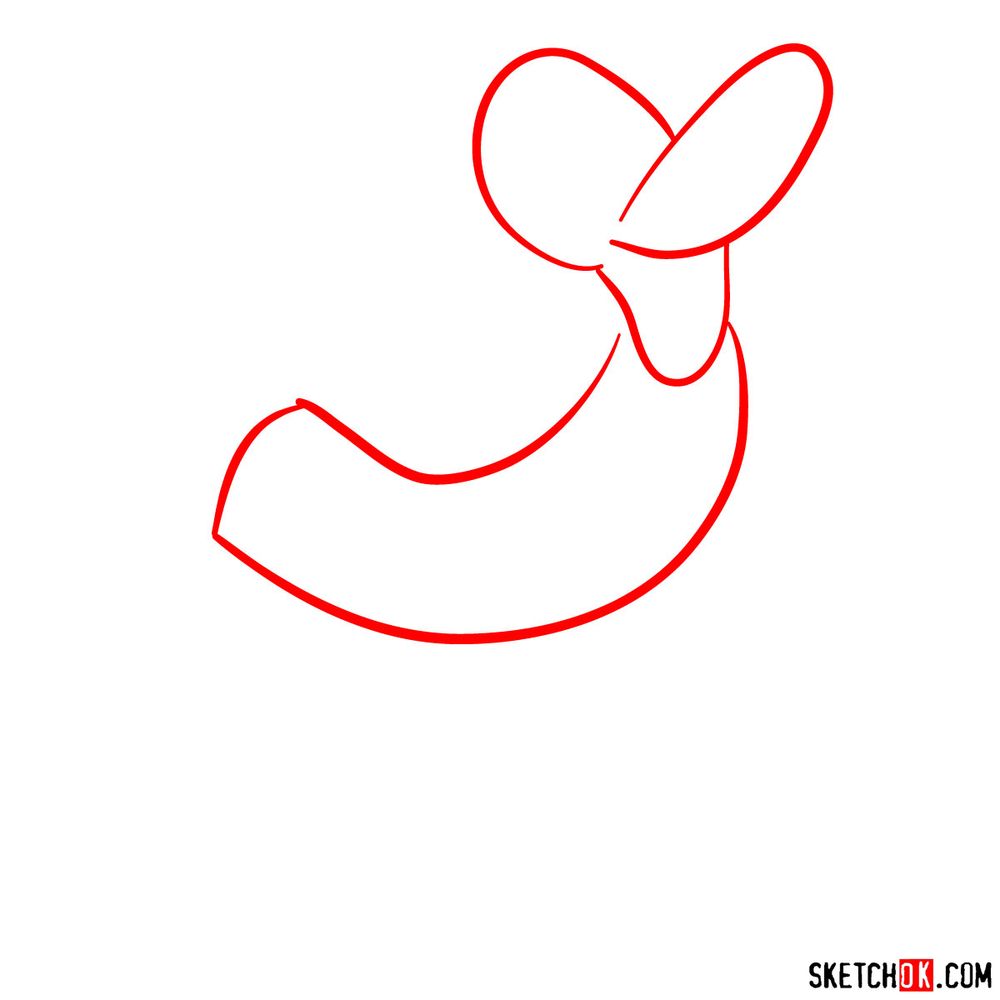
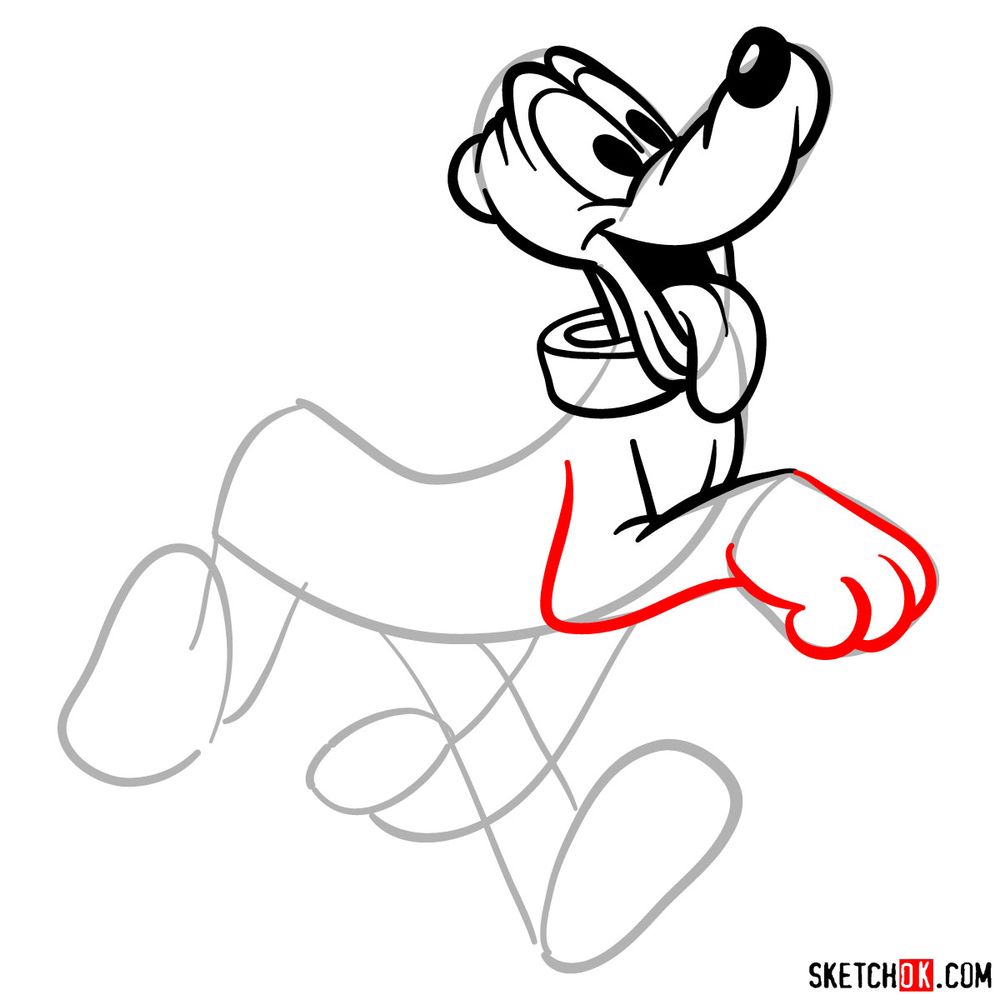
Our guide is designed to make drawing Pluto a simple and enjoyable process. It is broken down into 17 easy steps, with the first 2 focusing on creating the basic sketch using light pencil strokes. Here’s the color code:
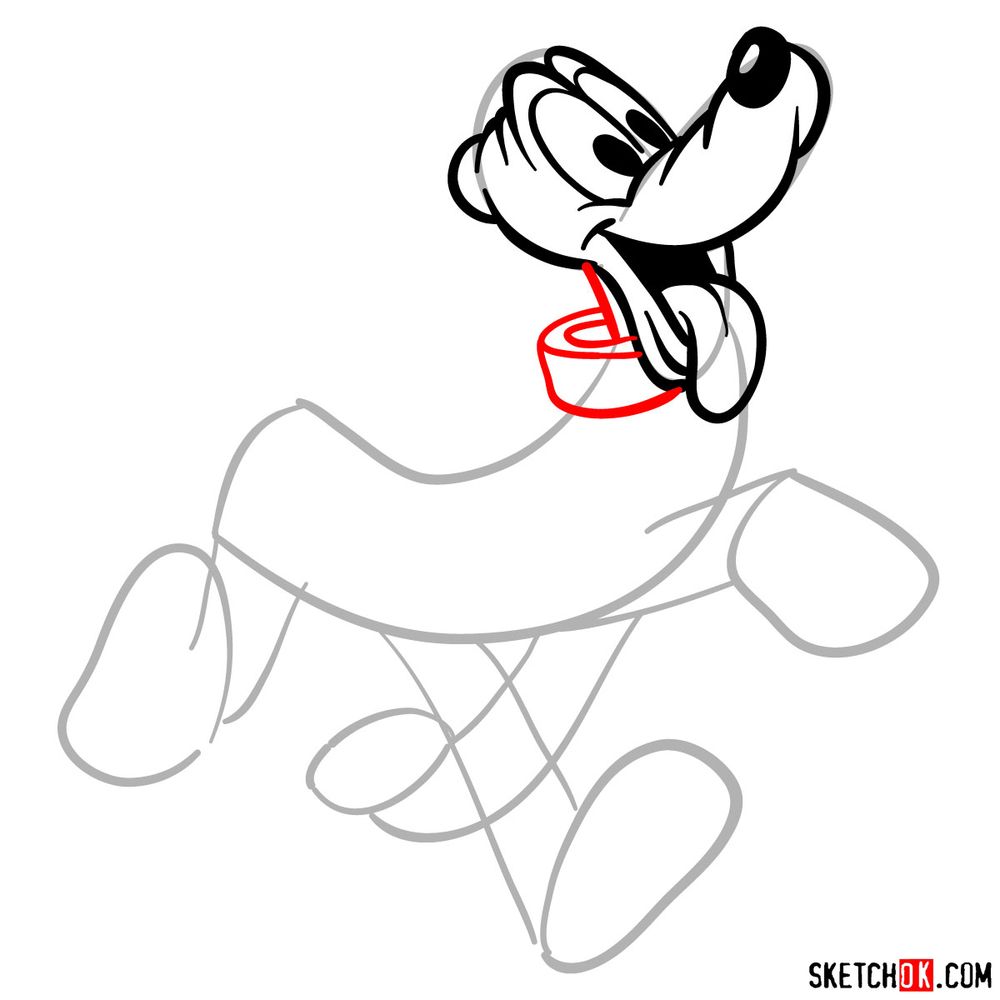
- Red Color: Highlights the current step you should focus on.
- Black Color: Showcases the lines drawn in previous steps.
- Grey Color: Represents the basic sketch for proportions.
After you have completed all the steps and are satisfied with your sketch, you may choose to ink it. Remember to allow the ink to dry before erasing any pencil lines to prevent smudging.


How did your Pluto turn out? If you followed along with how to draw Pluto in 17 steps, you should have a pretty solid sketch of Disney’s lovable pup by now, and you’re welcome to drop your finished drawing in the comments under the pinned post on Pinterest. If you want a fresh batch of guides showing up in your inbox each week, the signup form is waiting at the top of this page.