Calling all aspiring artists! Ever wondered how to draw Olive Oyl, the iconic character from Popeye? Now is your chance to bring her to life with our fun and straightforward step-by-step guide. Olive Oyl is a unique character with her exaggerated slim build, her long black hair usually rolled into a neat bun, and her enormous feet, which make for some fascinating artistic features to capture.
Characteristics of Olive Oyl and Points to Consider When Drawing
Olive Oyl is a character full of personality and unique physical attributes. Here are some points to consider when drawing her:
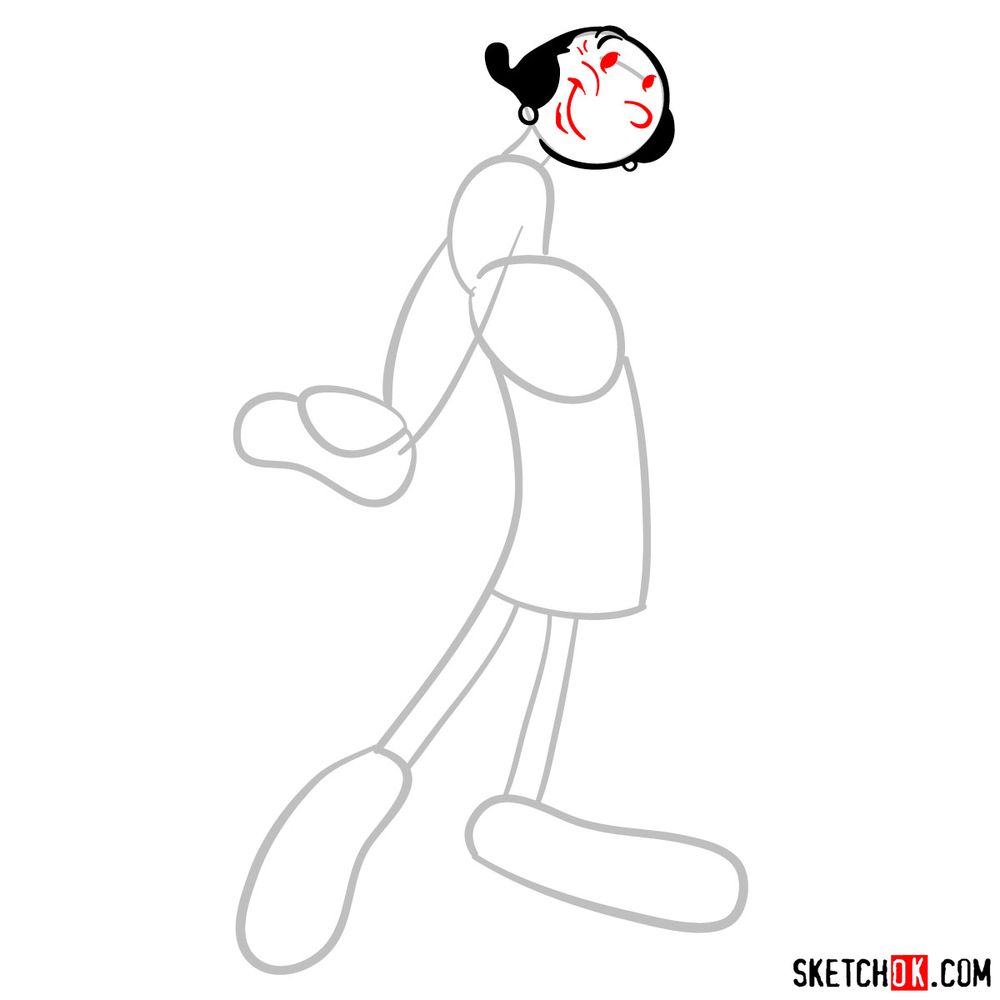
- Slim Build: One of the most defining features of Olive Oyl is her remarkably thin physique. This can be a challenge to capture accurately, but it’s what gives her character its distinctive look.
- Long Black Hair: Olive Oyl’s hair, always neatly arranged in a bun, is another characteristic feature. Remember to illustrate this as a defining element of her appearance.
- Large Feet: Olive’s disproportionately large feet are a humorous aspect of her character, which you should not forget to include in your drawing.
In addition to Olive Oyl, the Popeye universe is filled with other memorable characters. So why stop here? Consider adding Popeye to your drawing to create a dynamic scene.
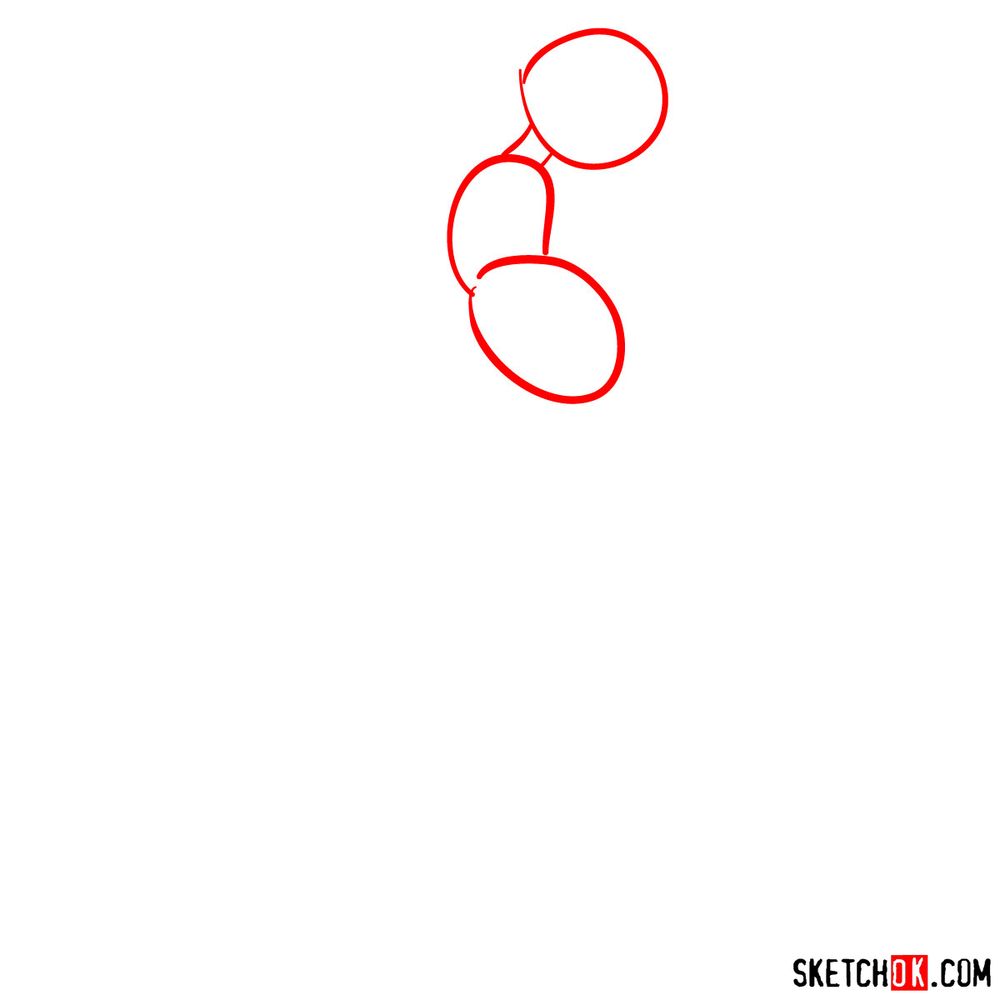
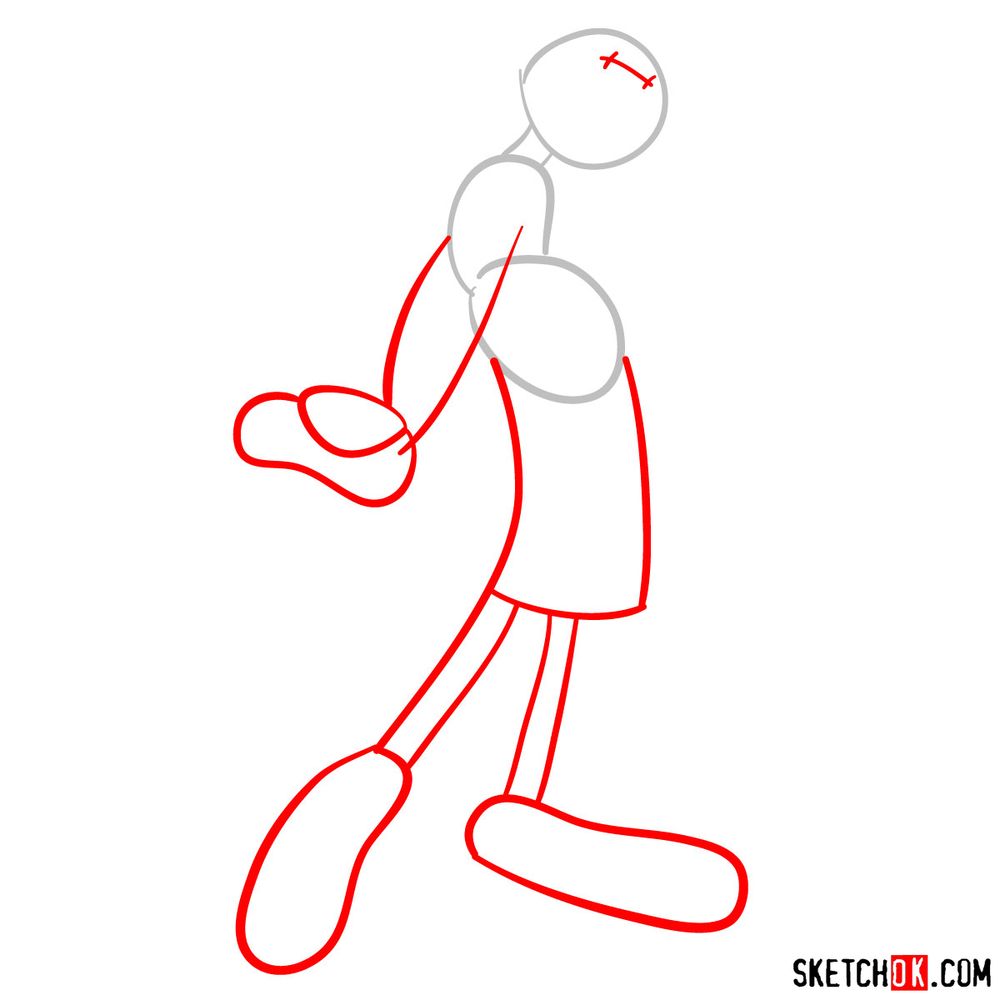
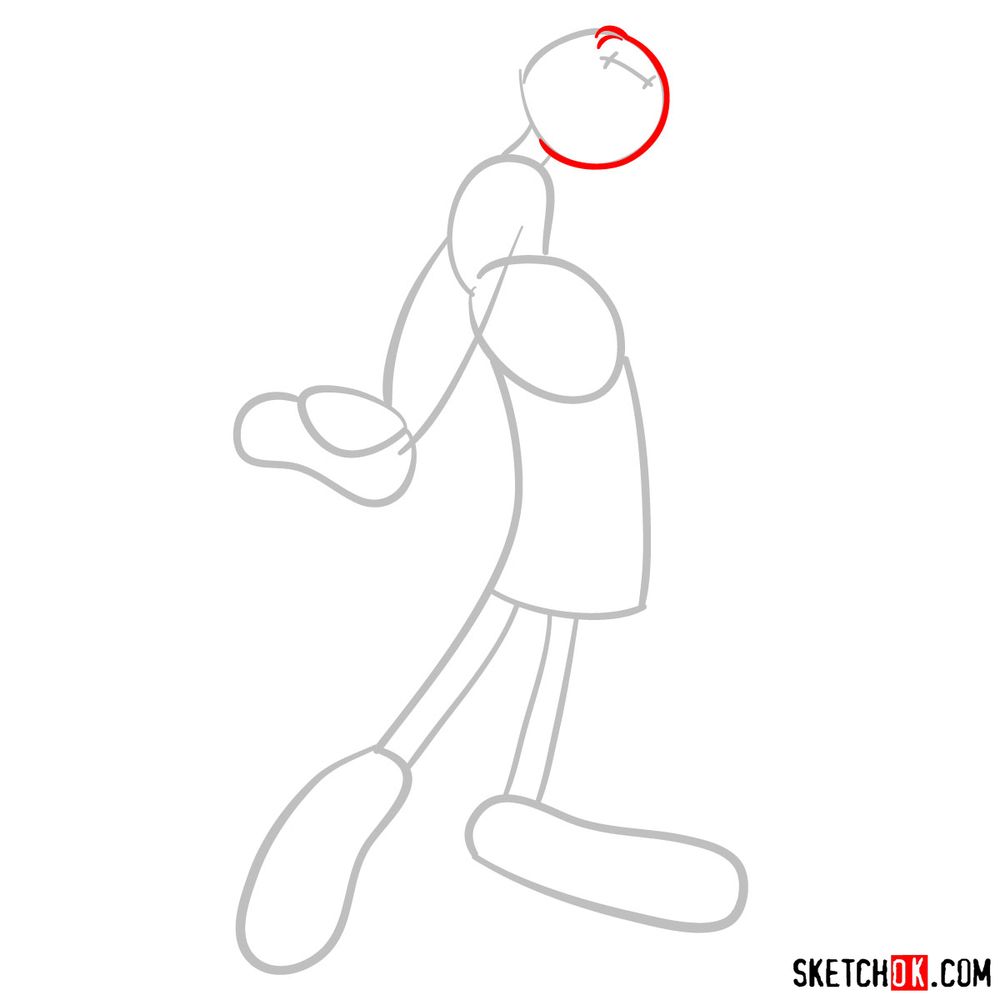
About the Drawing Guide
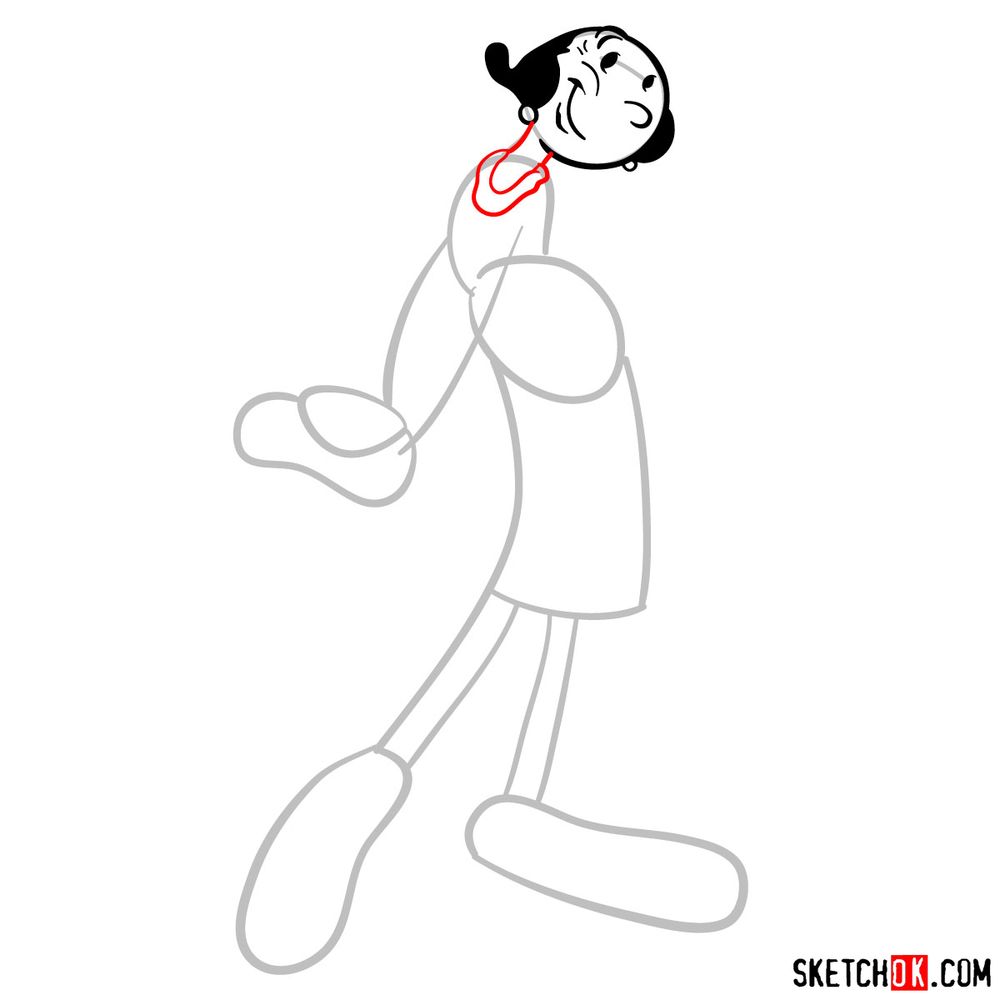
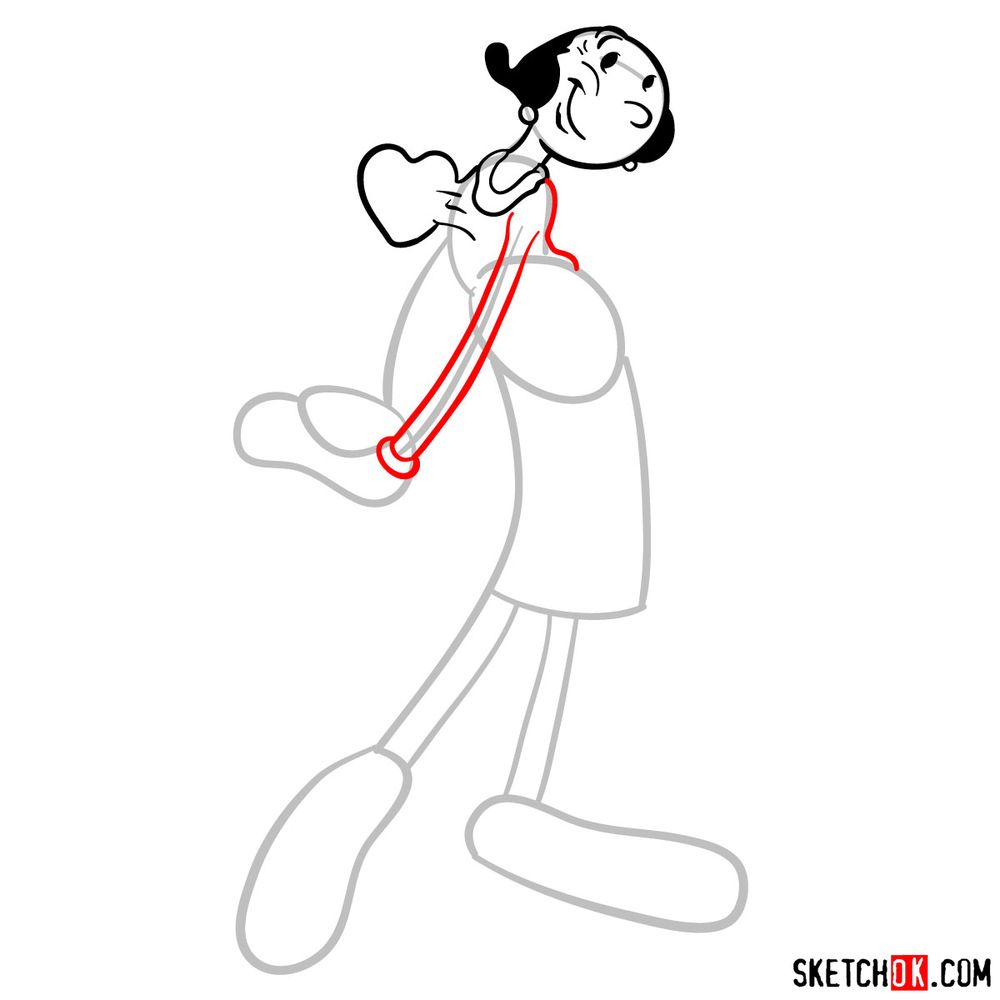
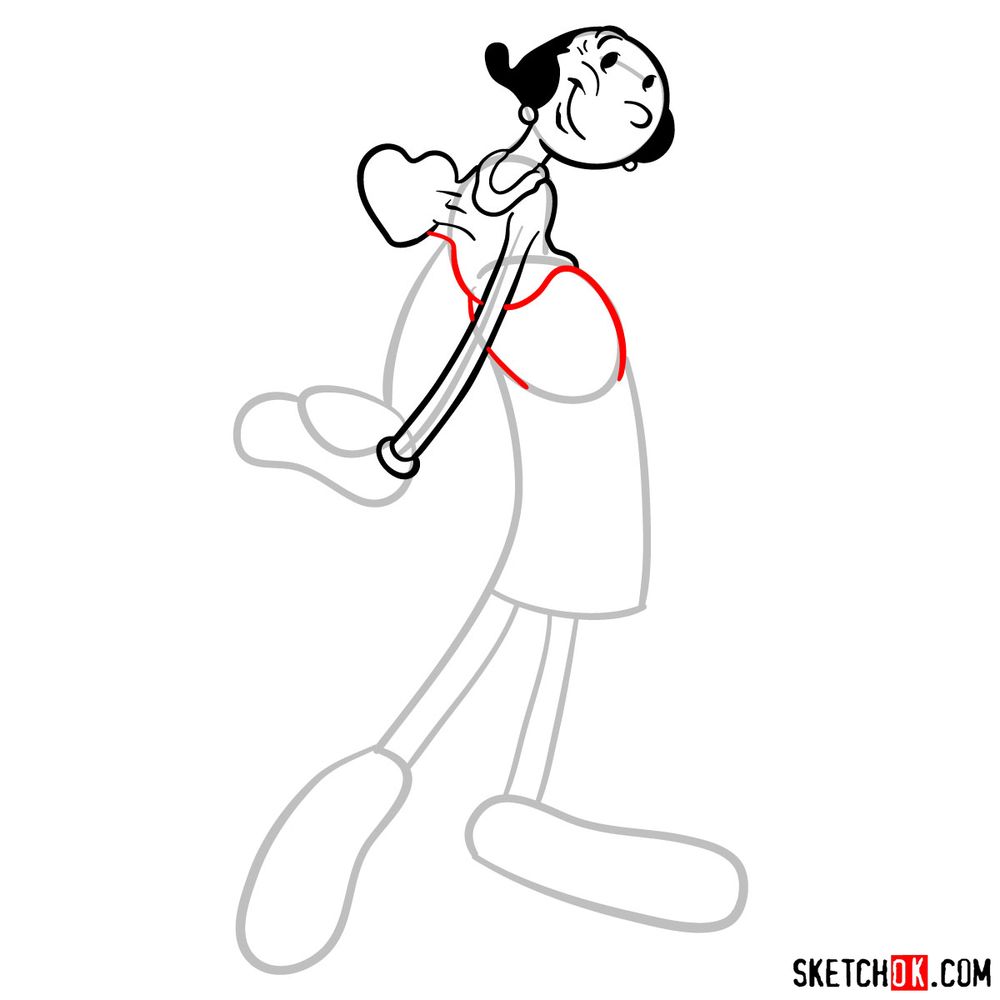
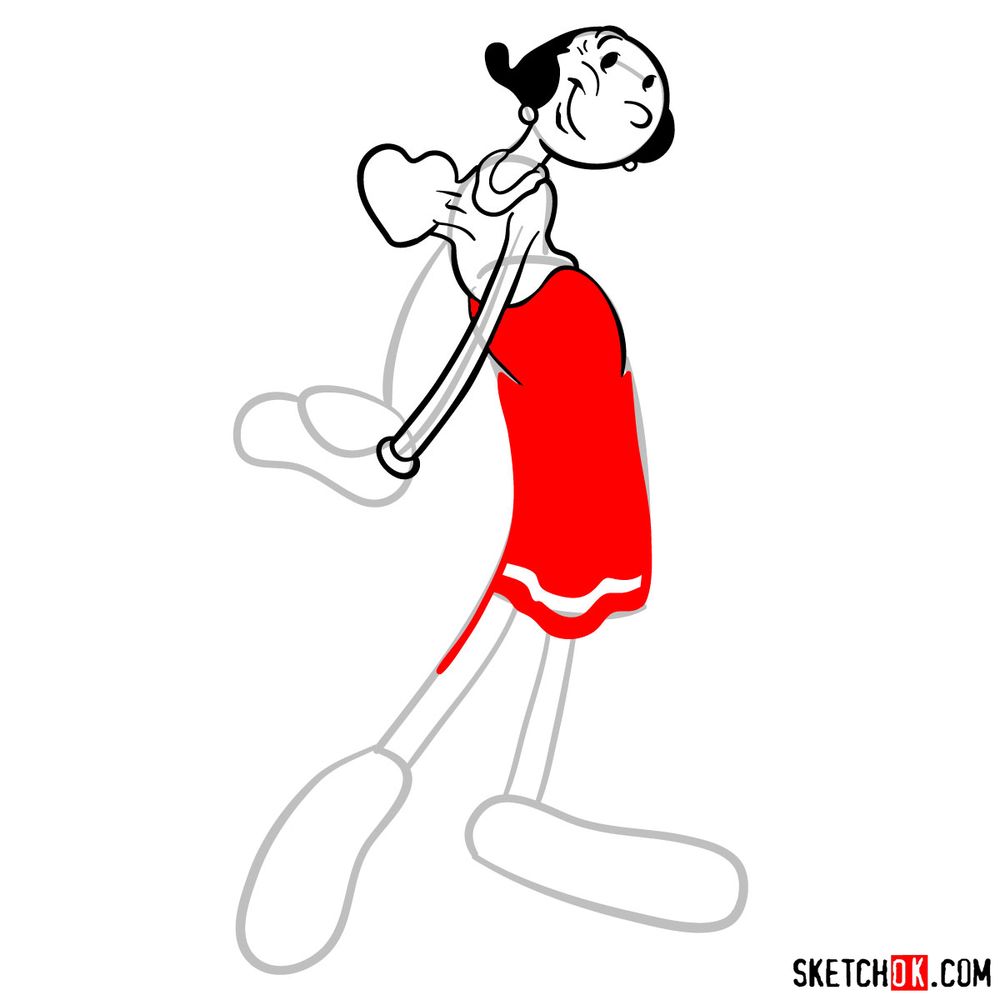
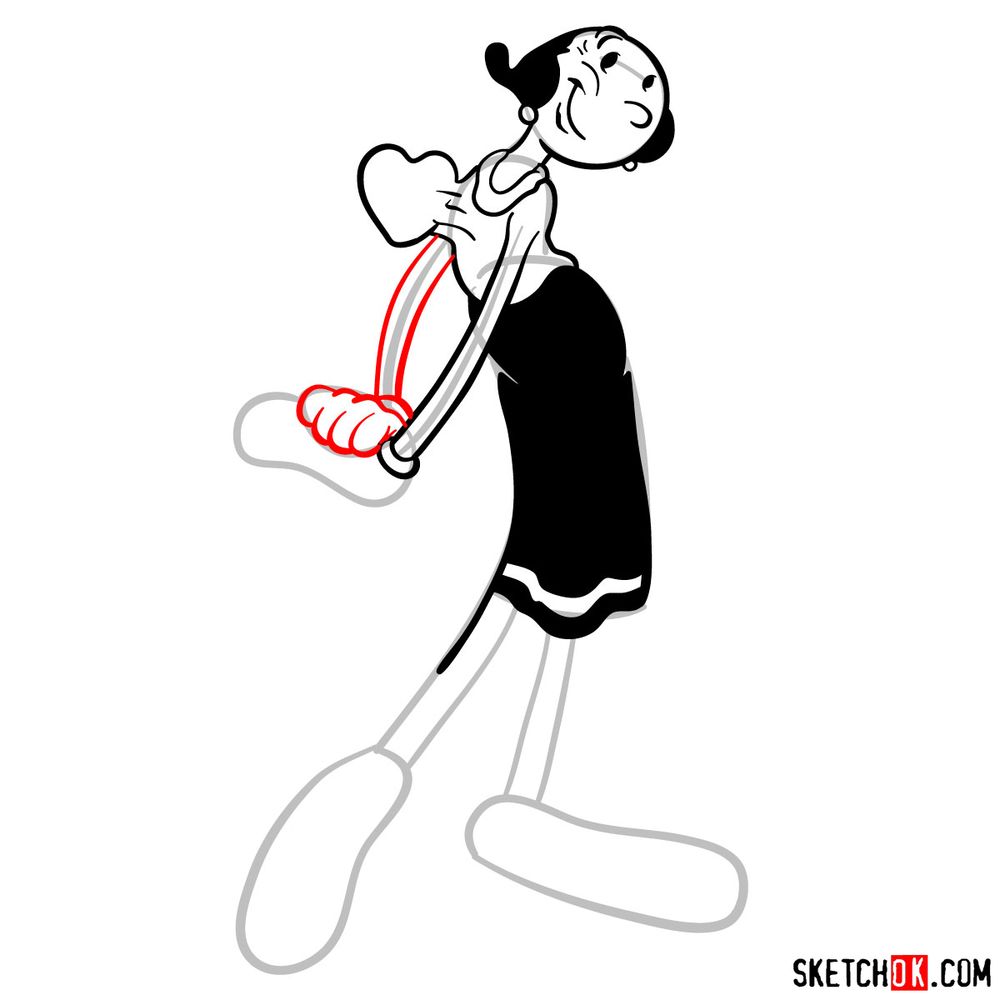
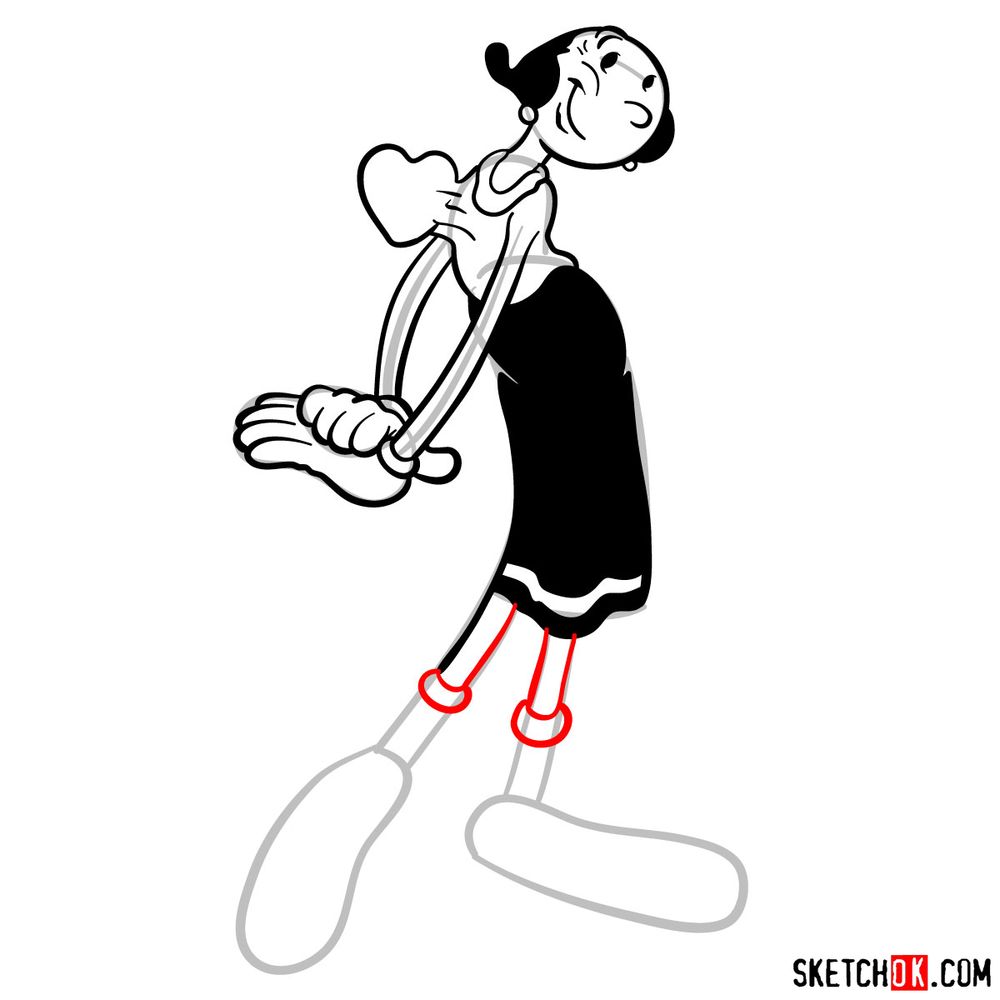
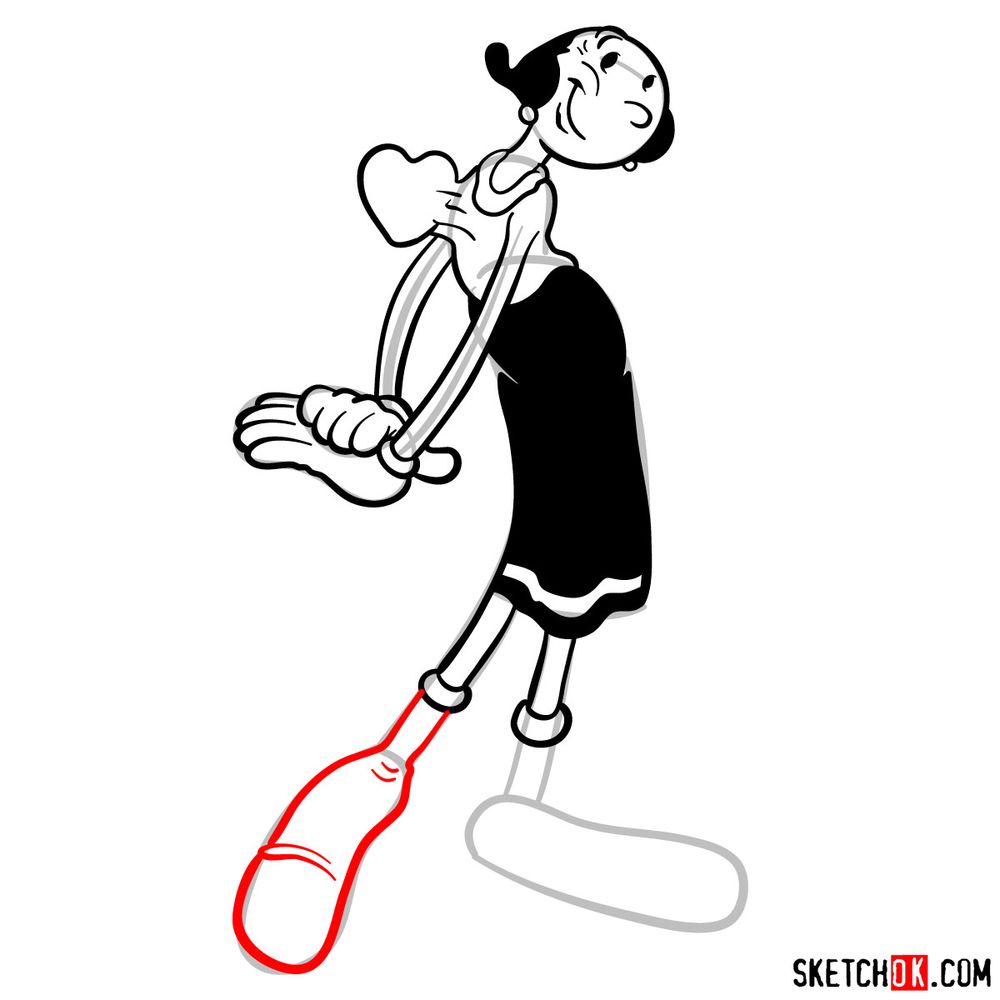
Our guide includes 16 steps to help you master the art of drawing Olive Oyl. The guide utilizes a color-coding system to guide you through each step:
- Red Color: Indicates the current step you should be focusing on.
- Grey Color: Represents the basic proportions sketch, which is created in the initial stages of the drawing process. Light pencil strokes are recommended for this step to allow easy adjustments.
- Black Color: Shows the previously drawn lines that form the foundation of your sketch.
Once you’ve completed the sketch, you may choose to ink it. Inking gives your drawing a polished look, highlighting the details and giving depth. After inking, wait for it to dry completely before gently erasing the pencil lines. This prevents smudging and maintains the crispness of your lines. The last image in our guide serves as a color reference to help you add life to your Olive Oyl sketch with appropriate colors.


Now that you know how to draw Olive Oyl, head over to the pinned post for this tutorial on Pinterest and share what you came up with. That’s where the SketchOk community posts their finished sketches and talks through tricky bits like getting her bun just right or nailing that long, willowy silhouette. If you prefer learning by watching, video versions of some guides appear on the YouTube channel, so it’s worth checking there too.