Home » Anime » One Piece » How to Draw Luffy in Gear 4 Bounceman

How to Draw Luffy in Gear 4 Bounceman

Welcome aspiring artists and One Piece enthusiasts! If you’ve ever wanted to know how to draw Luffy in Gear 4 Bounceman, you’re in for a treat. This step-by-step guide is tailored to help you master the techniques of bringing Luffy to life on paper.

Luffy in Gear 4 Bounceman: Key Features to Capture

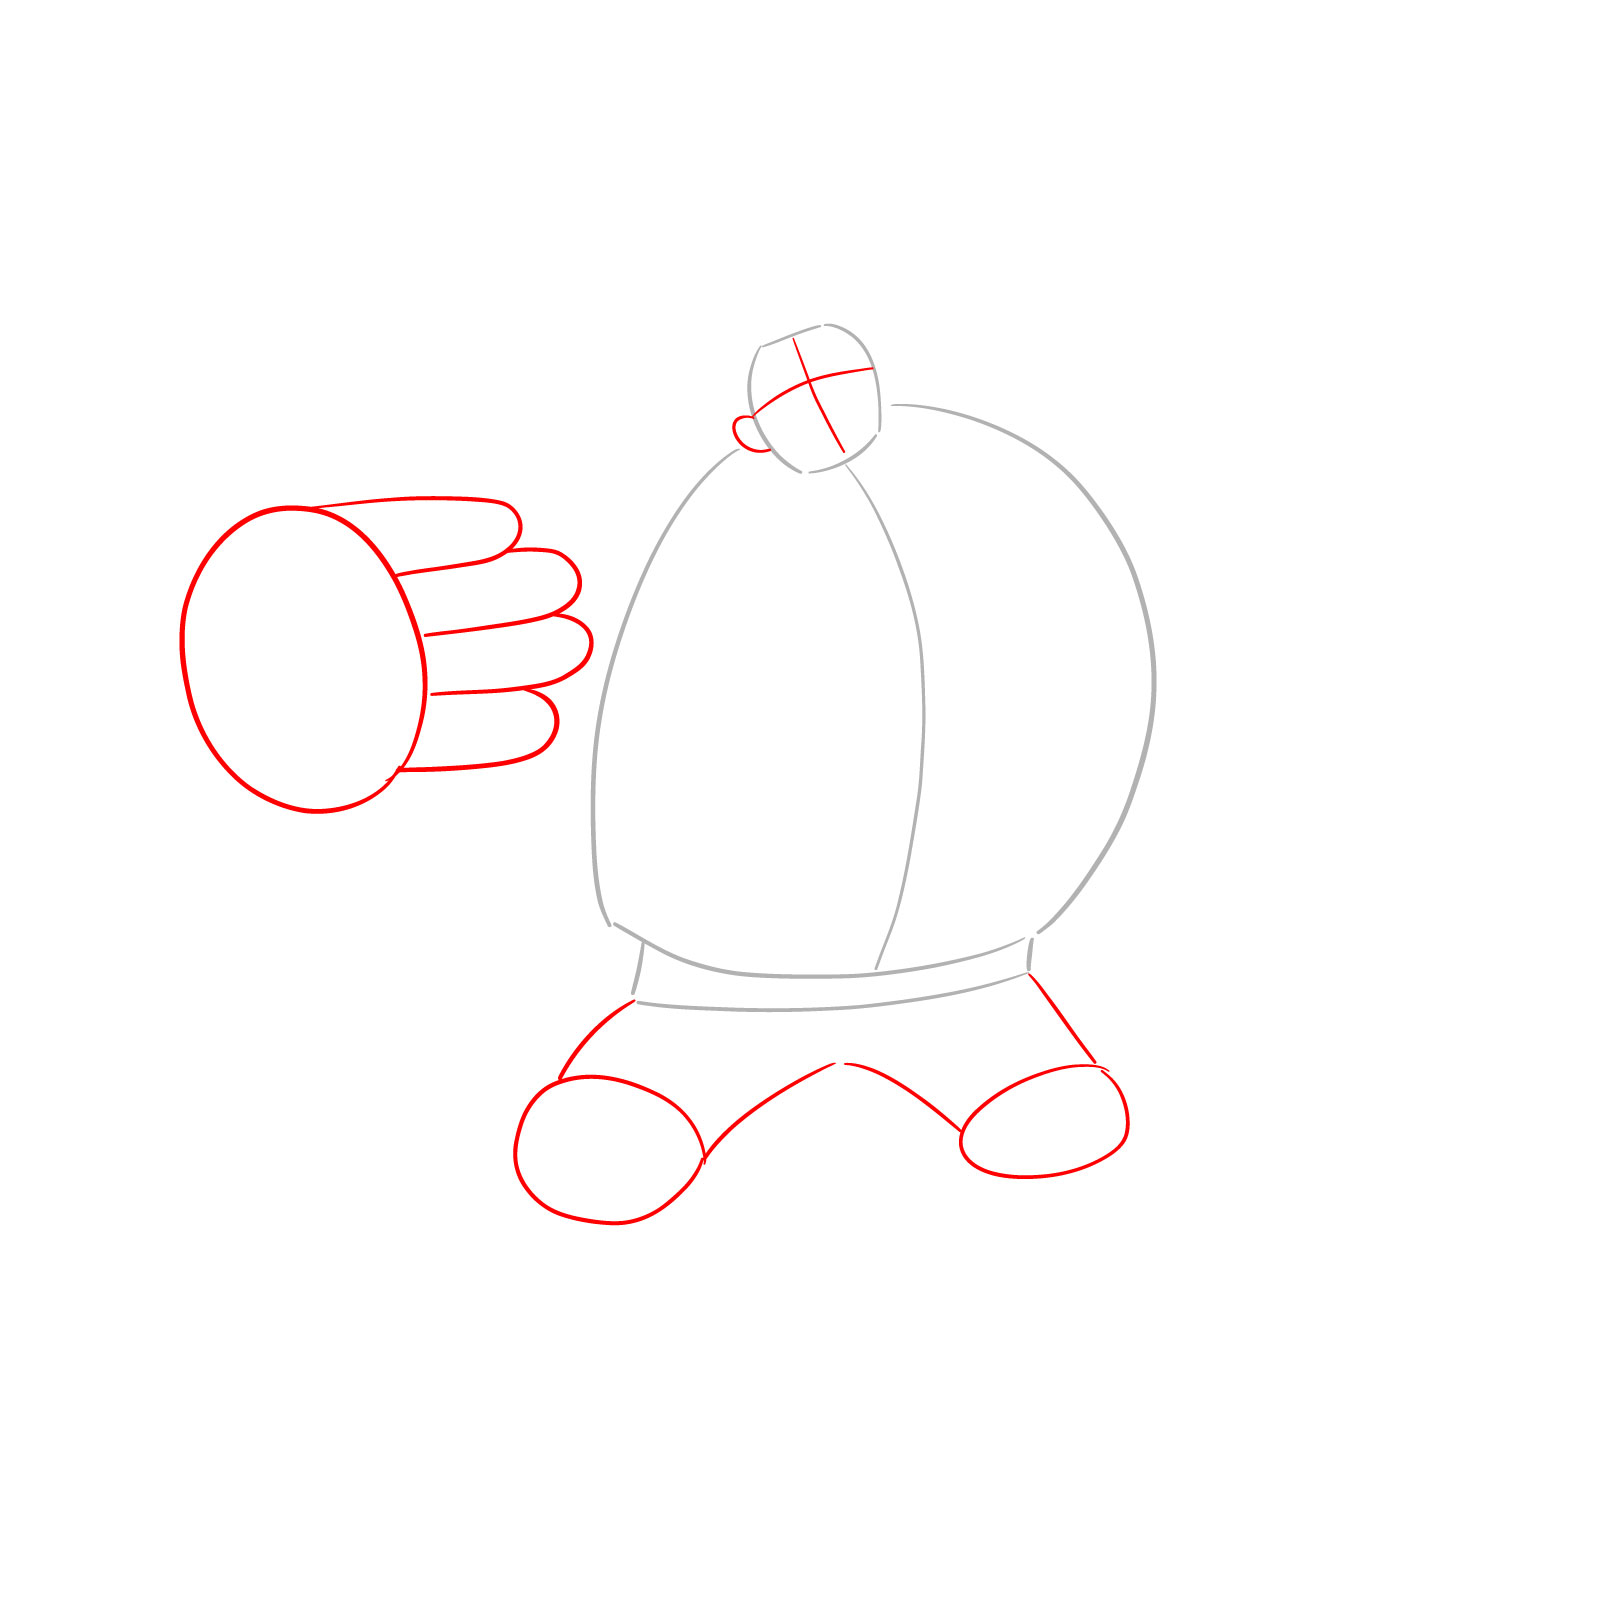
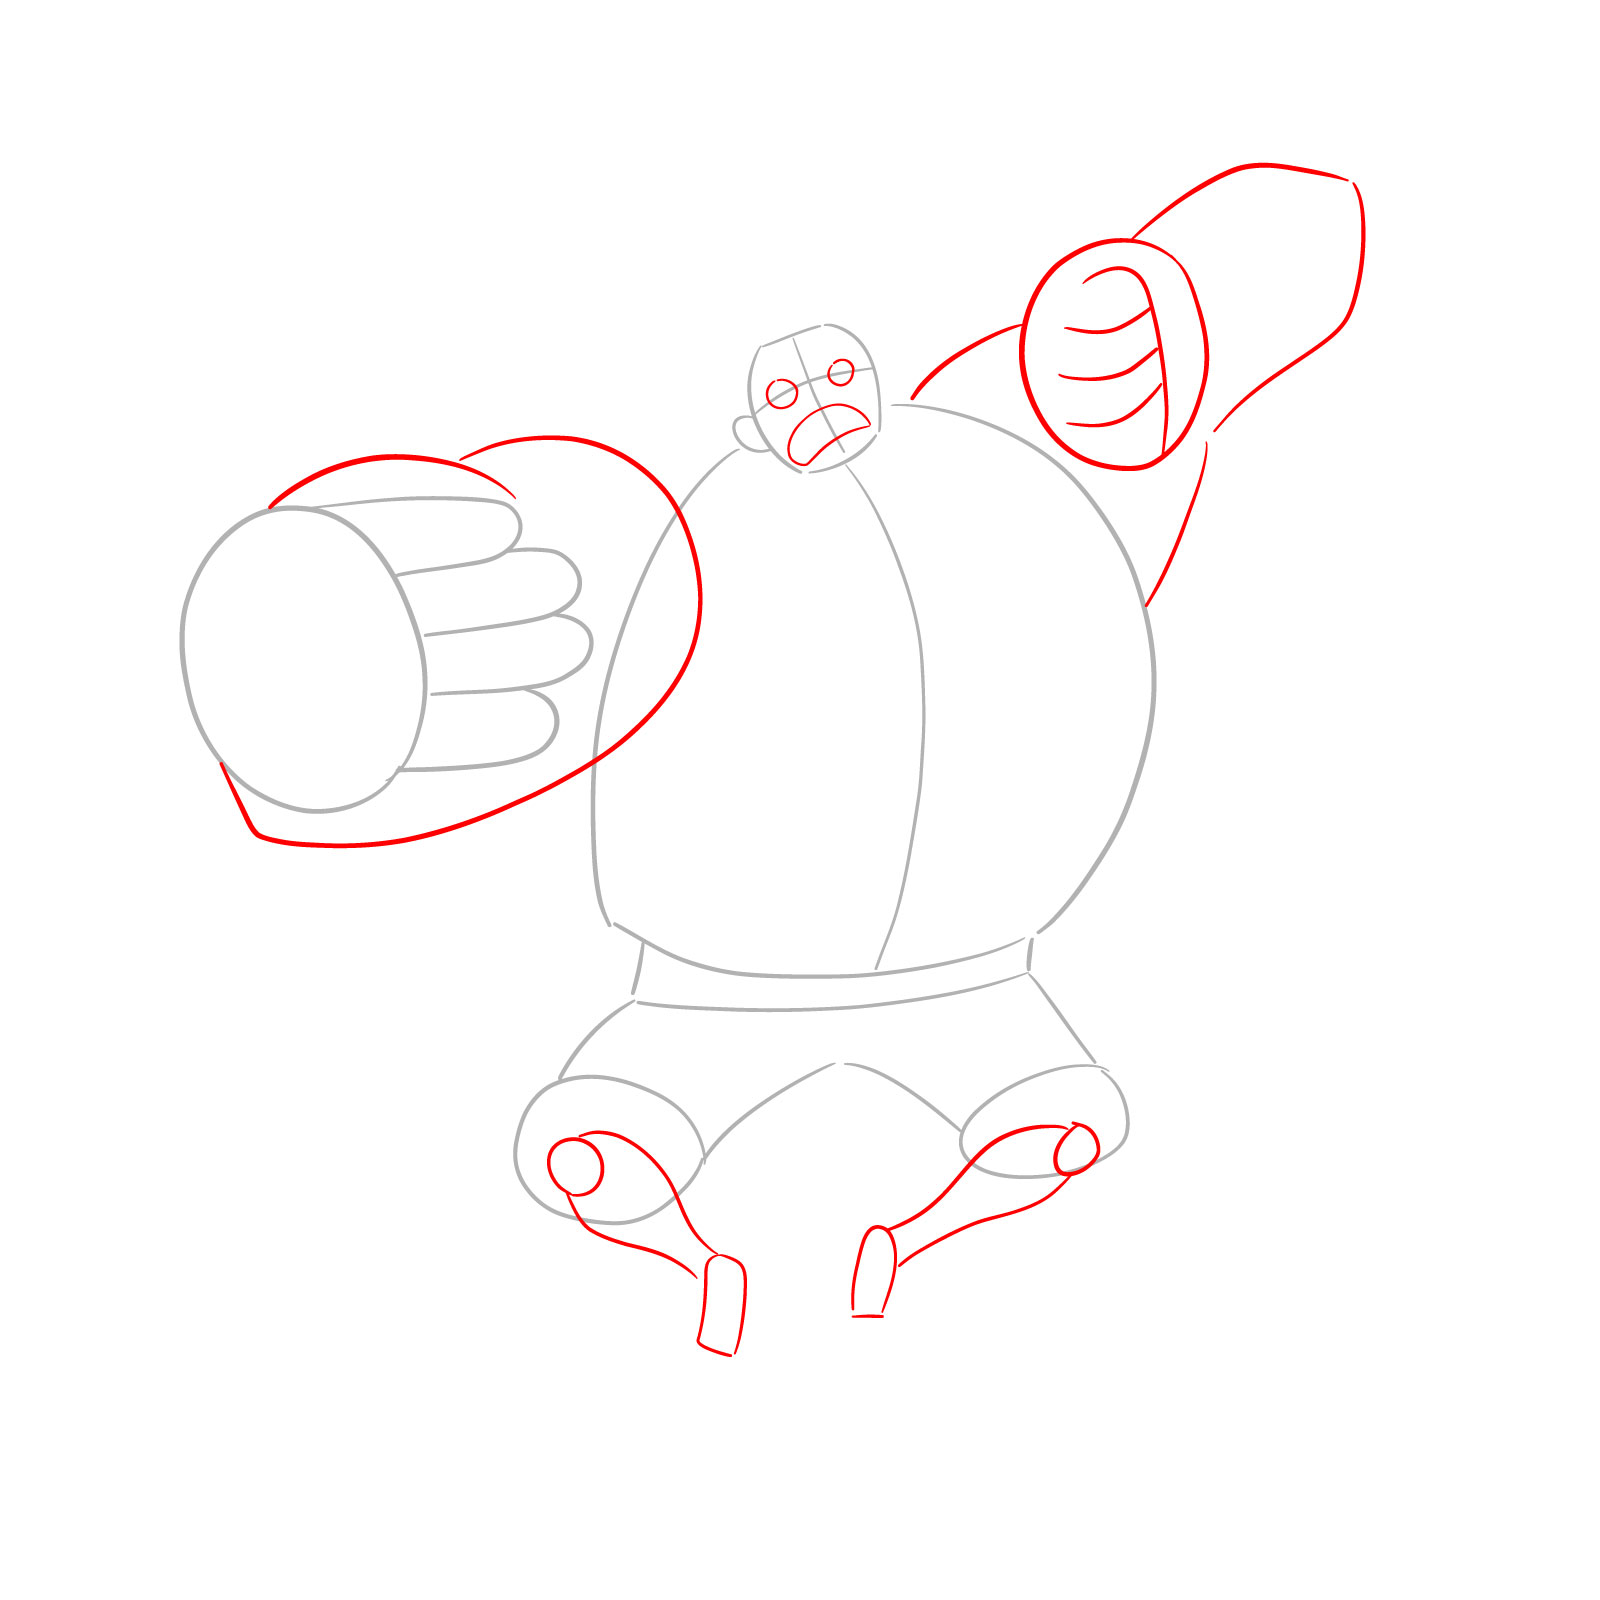
  • Luffy’s Posture: The defining stance of Gear 4, where Luffy is often seen hunched, muscles bulging and ready for action.
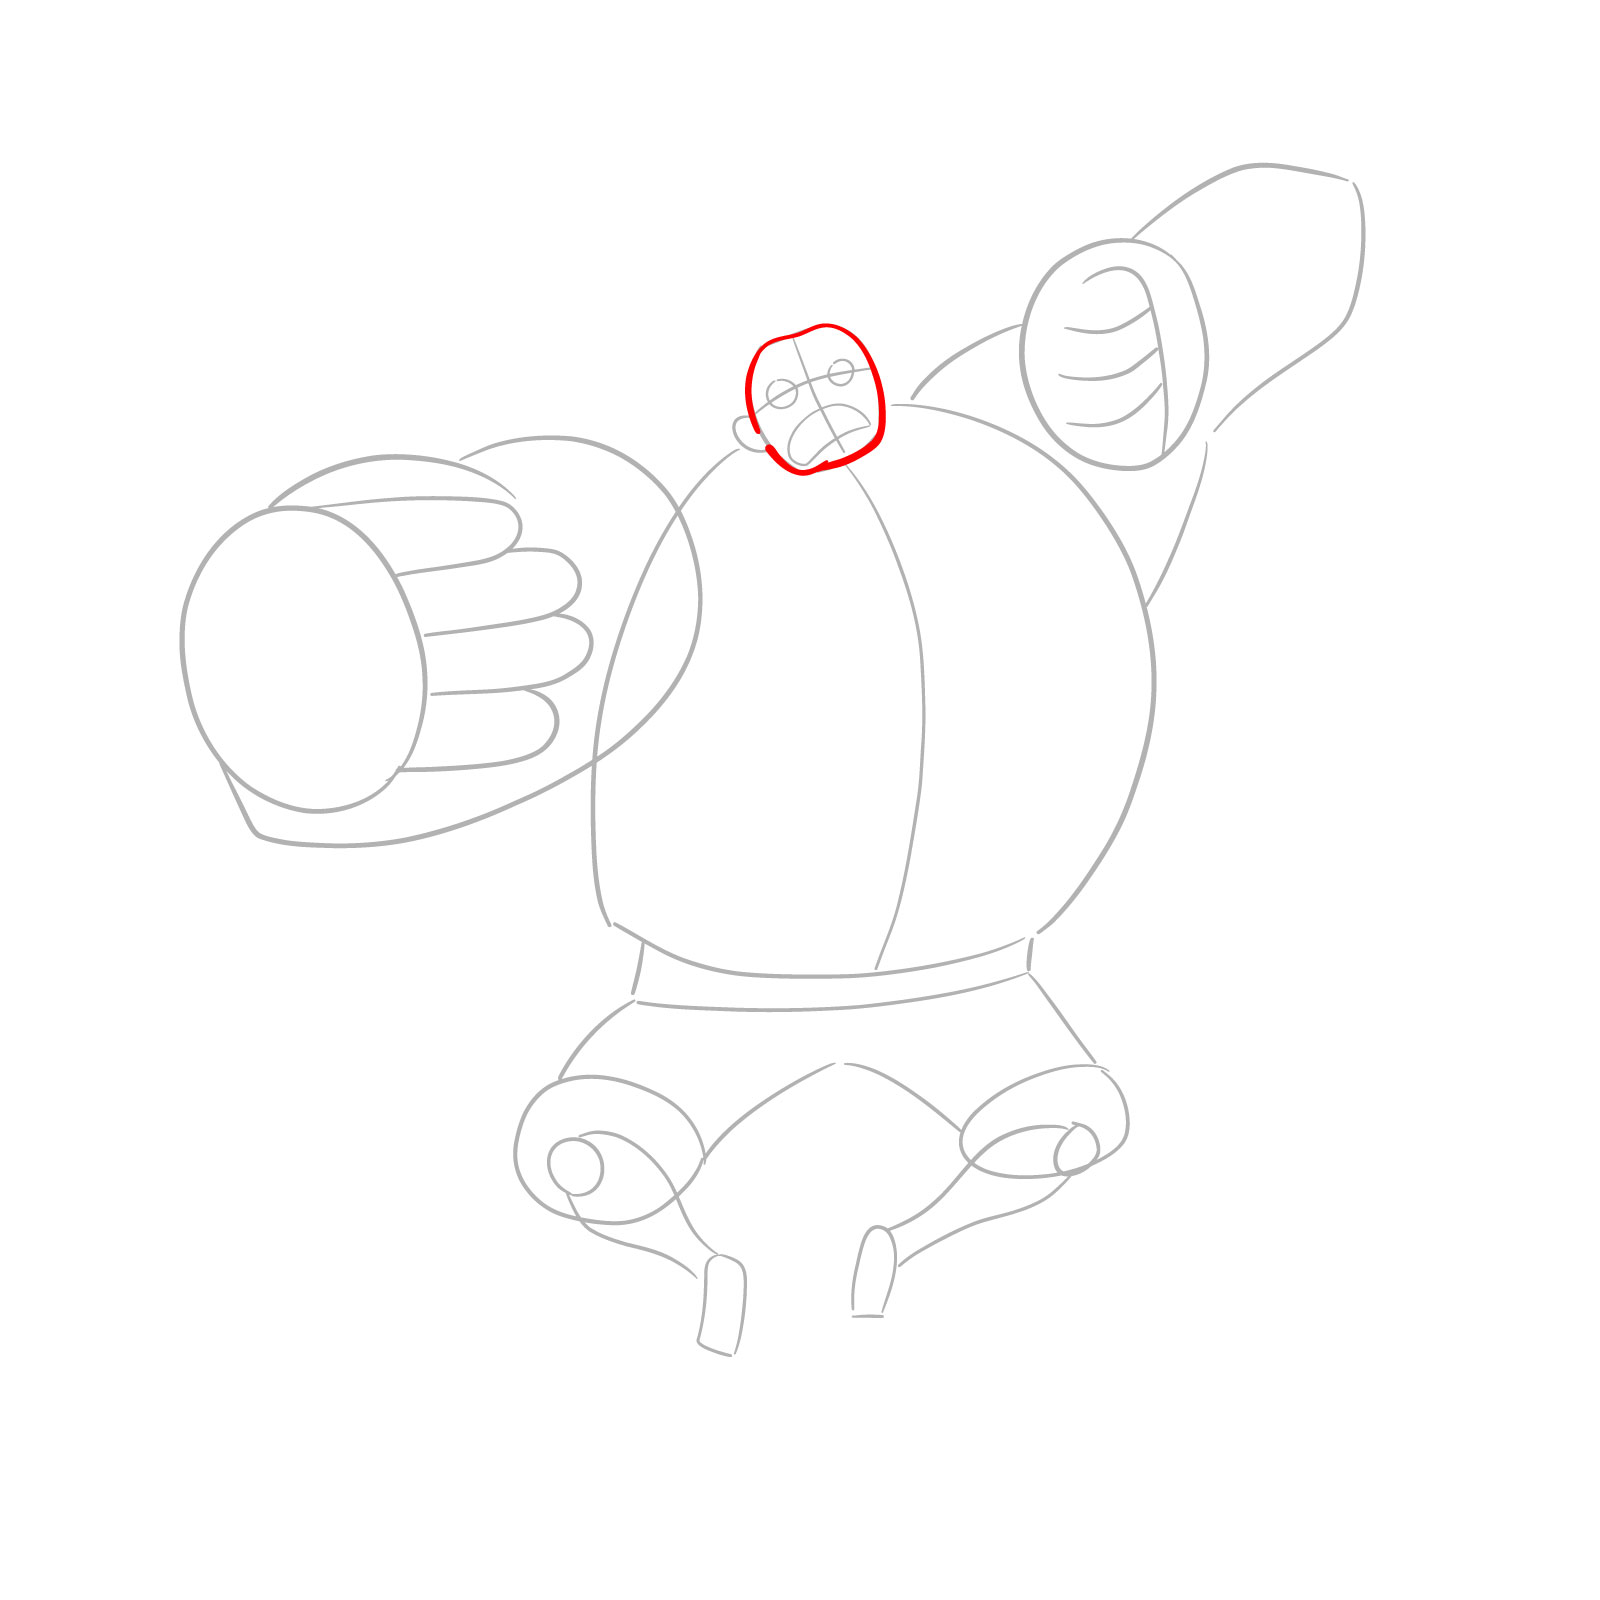
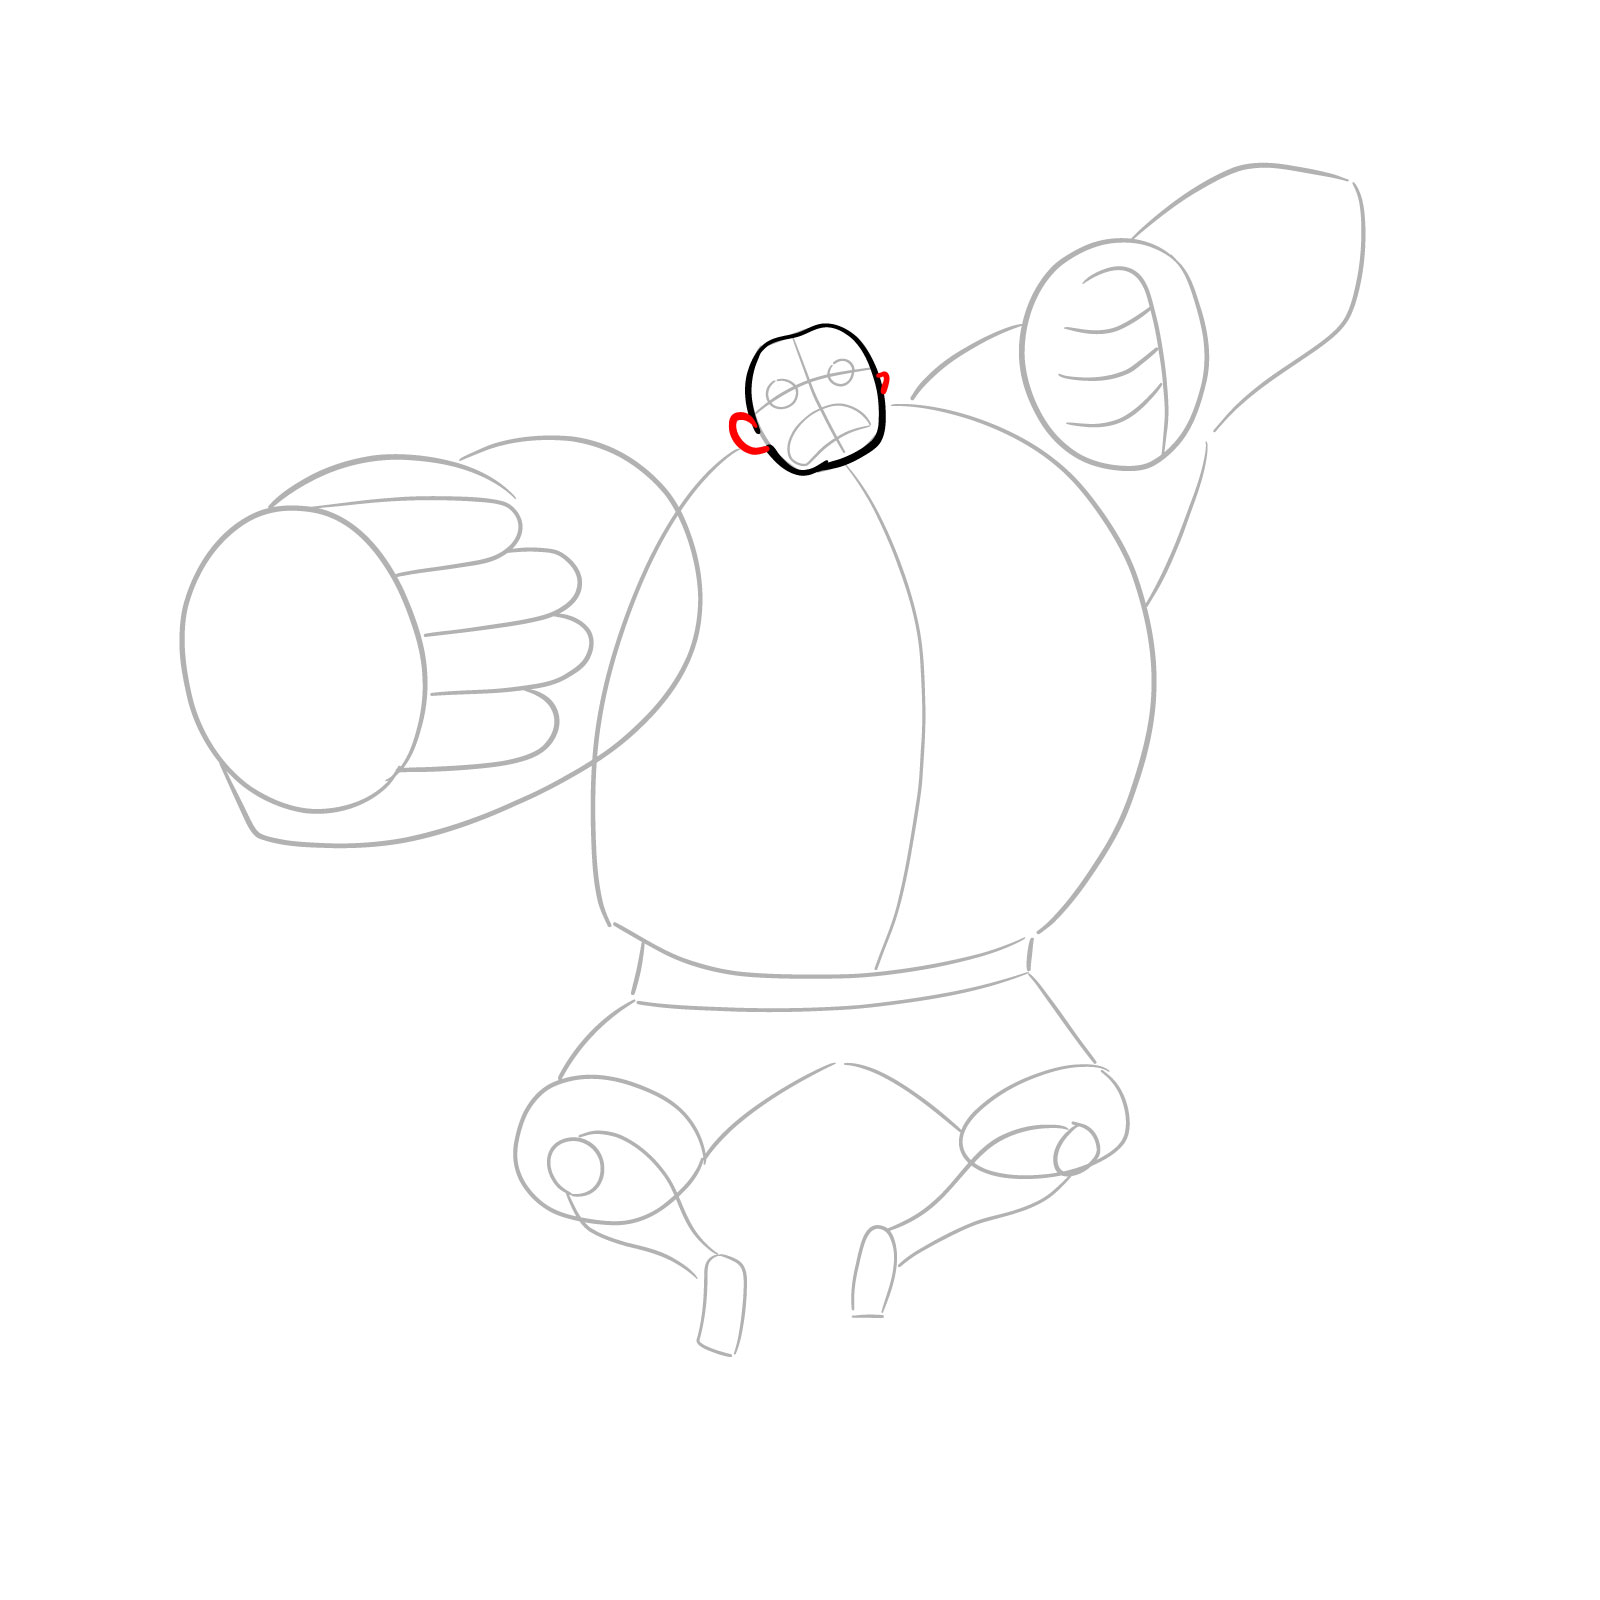
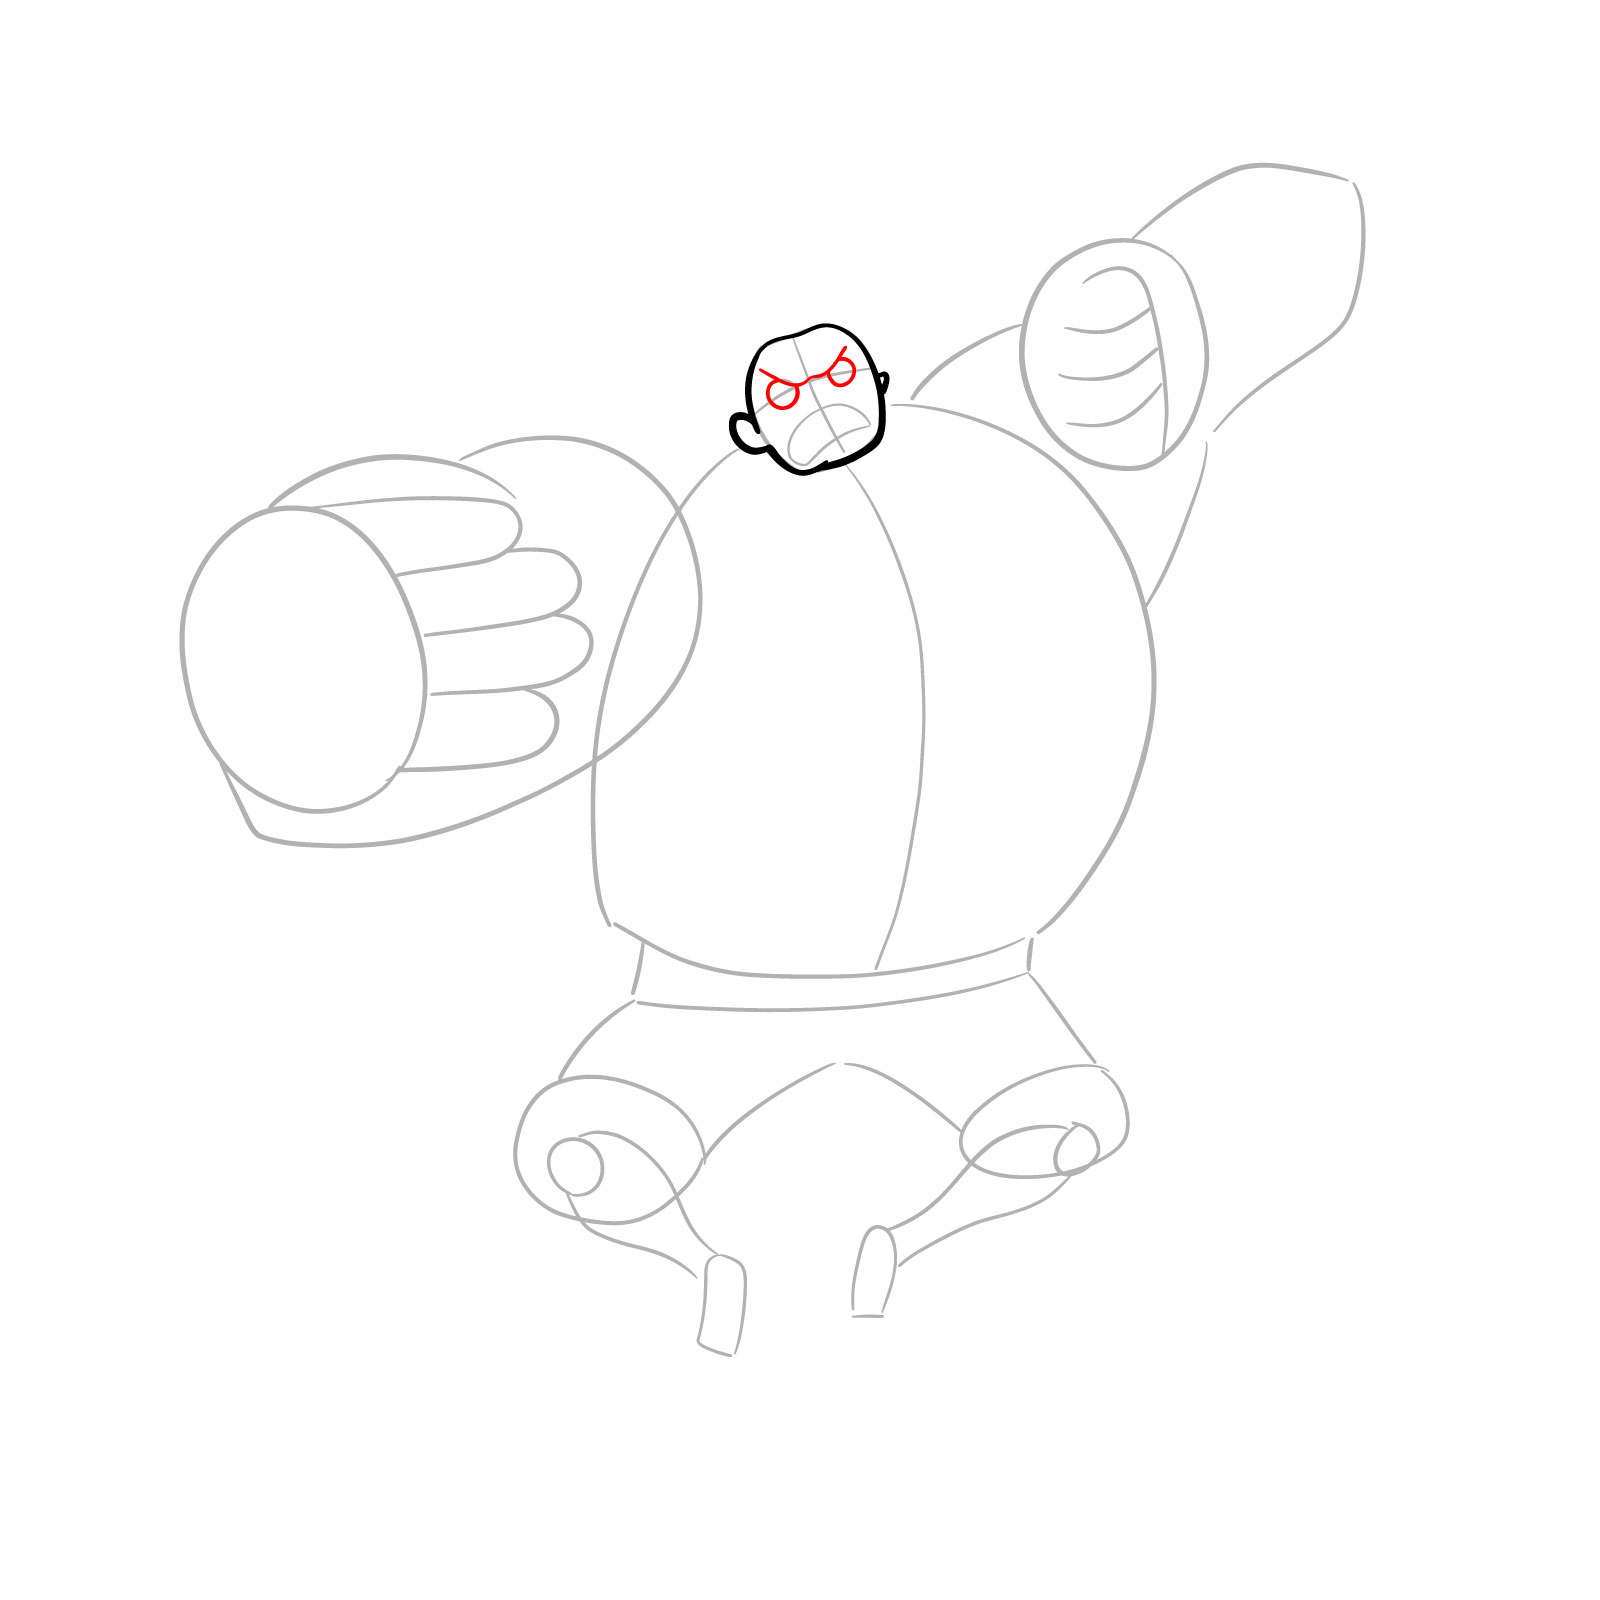
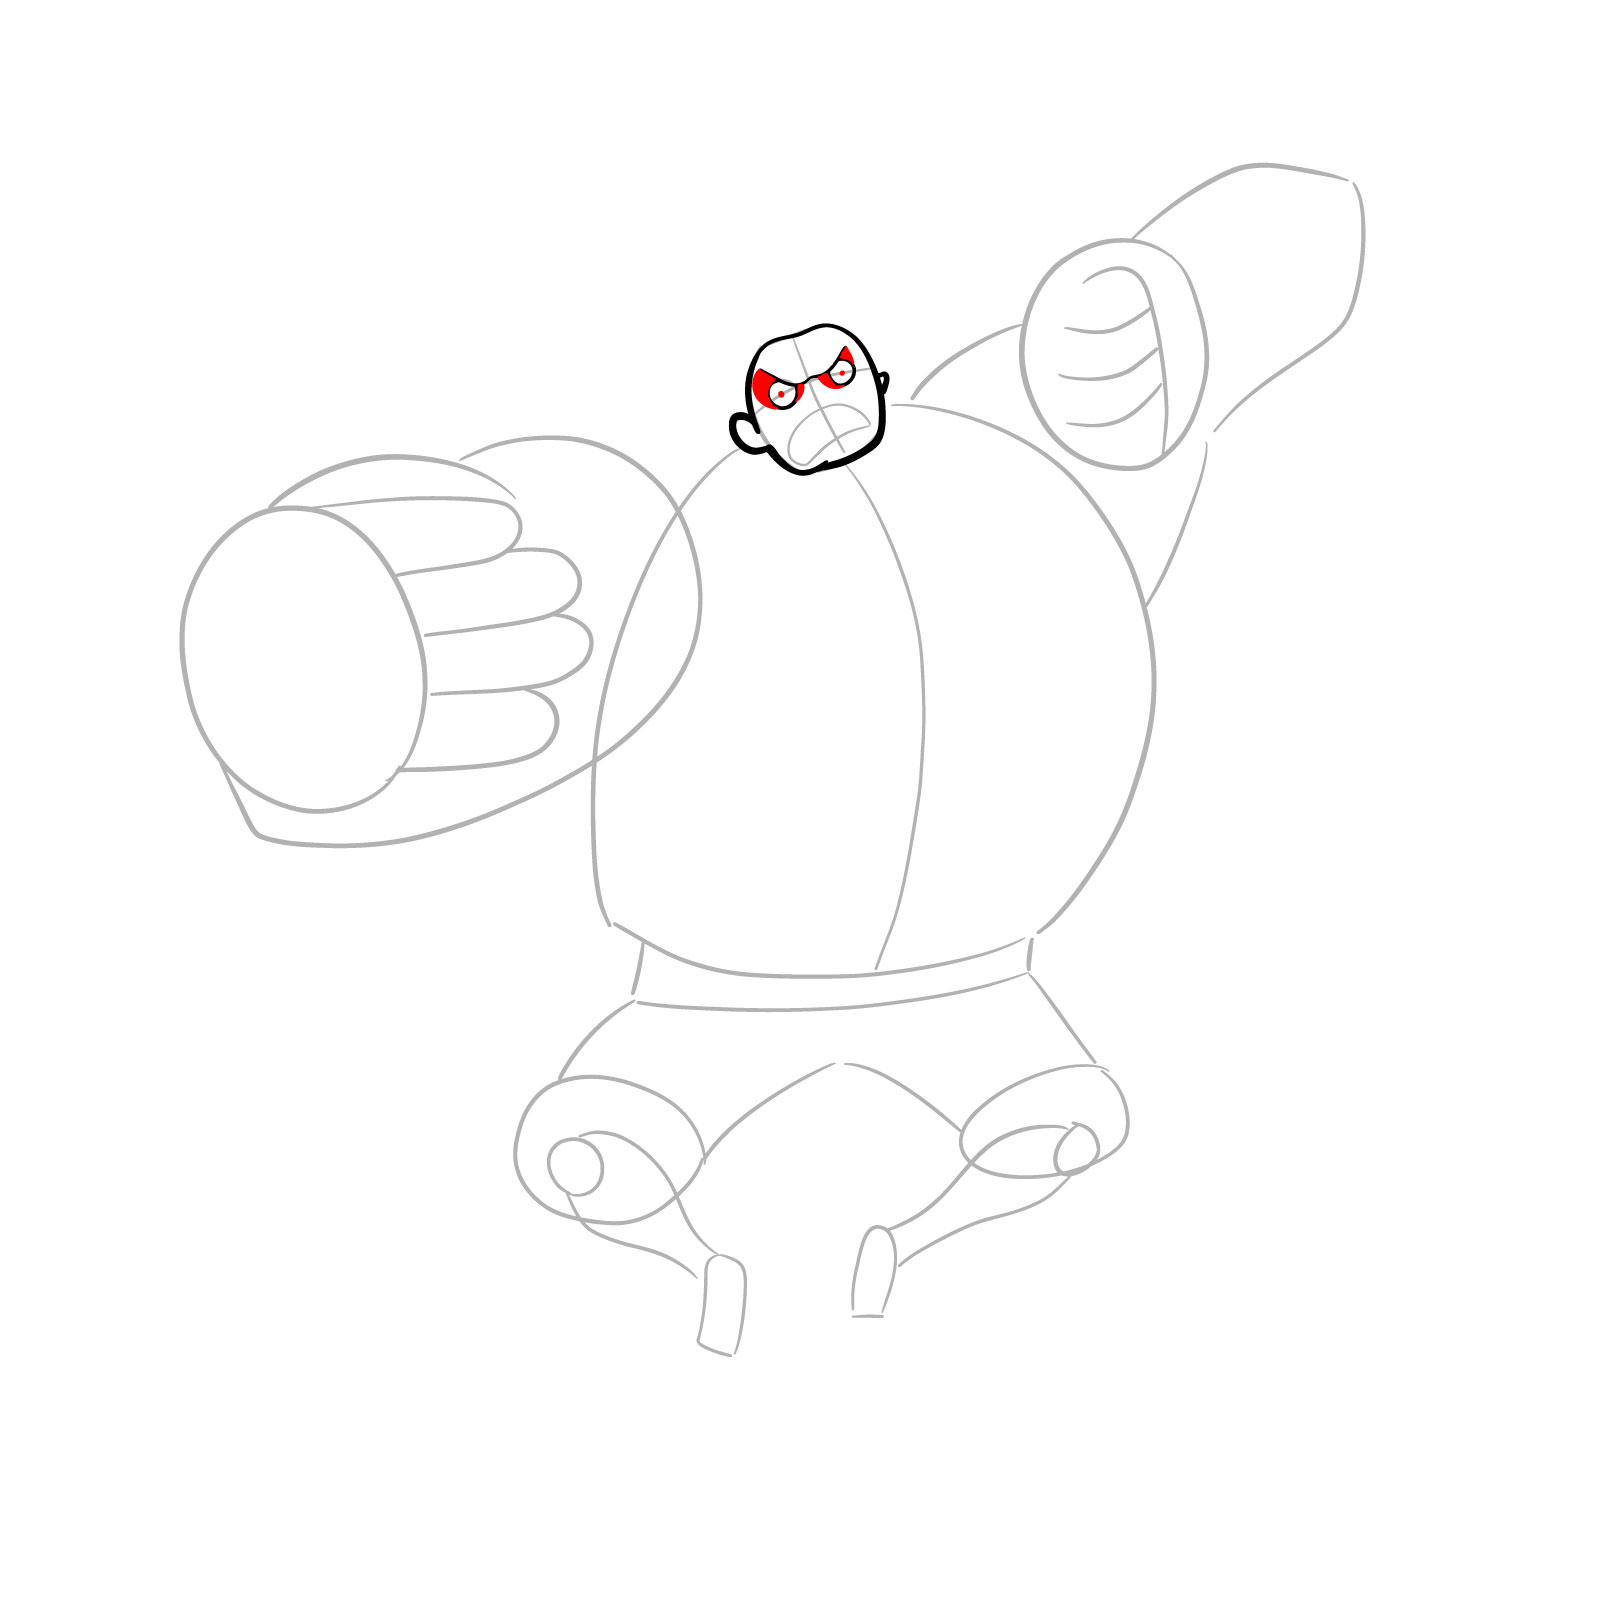
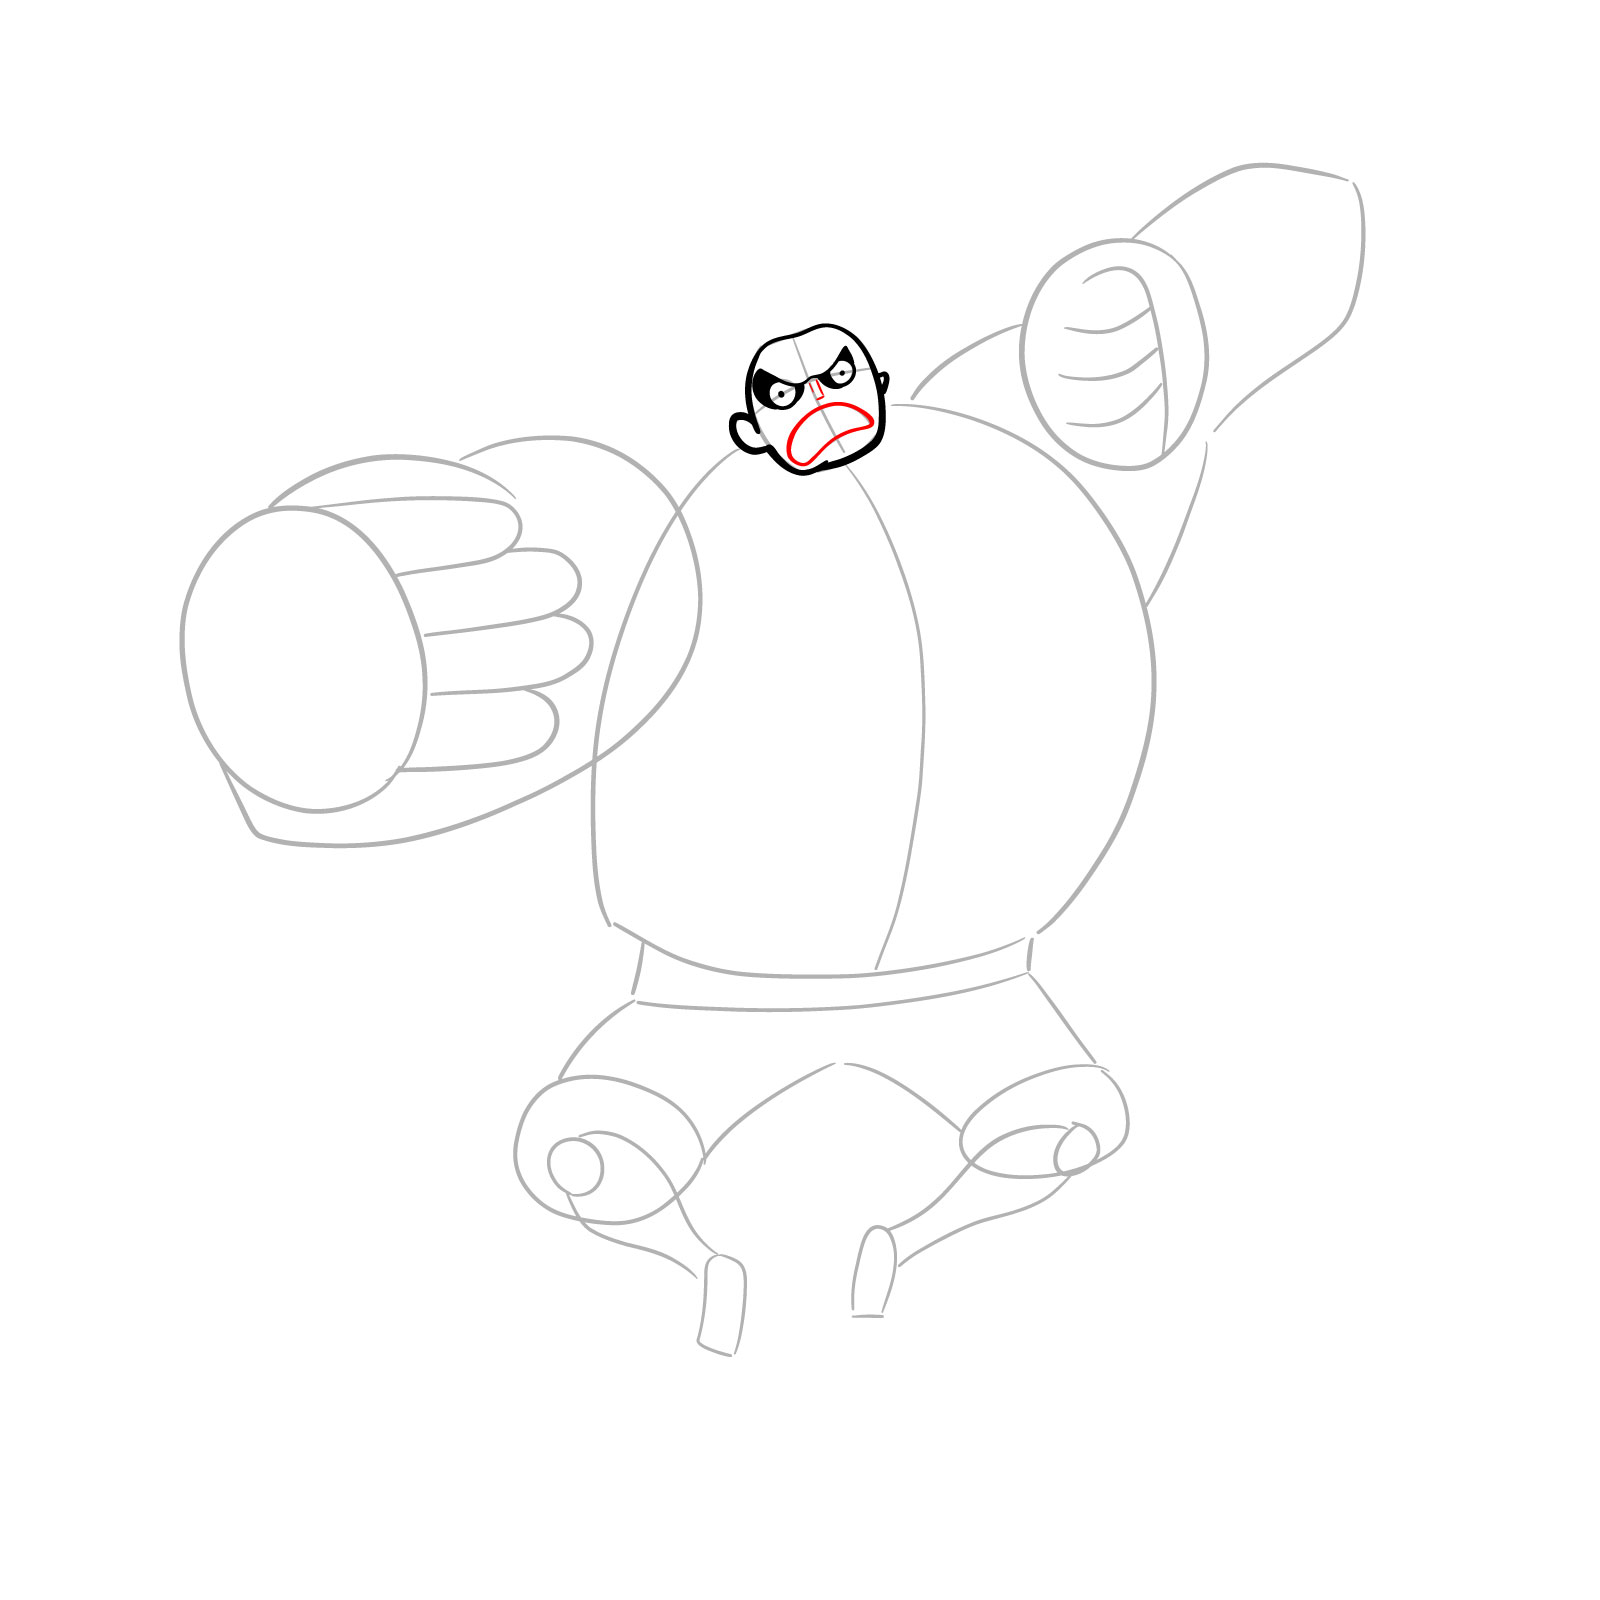
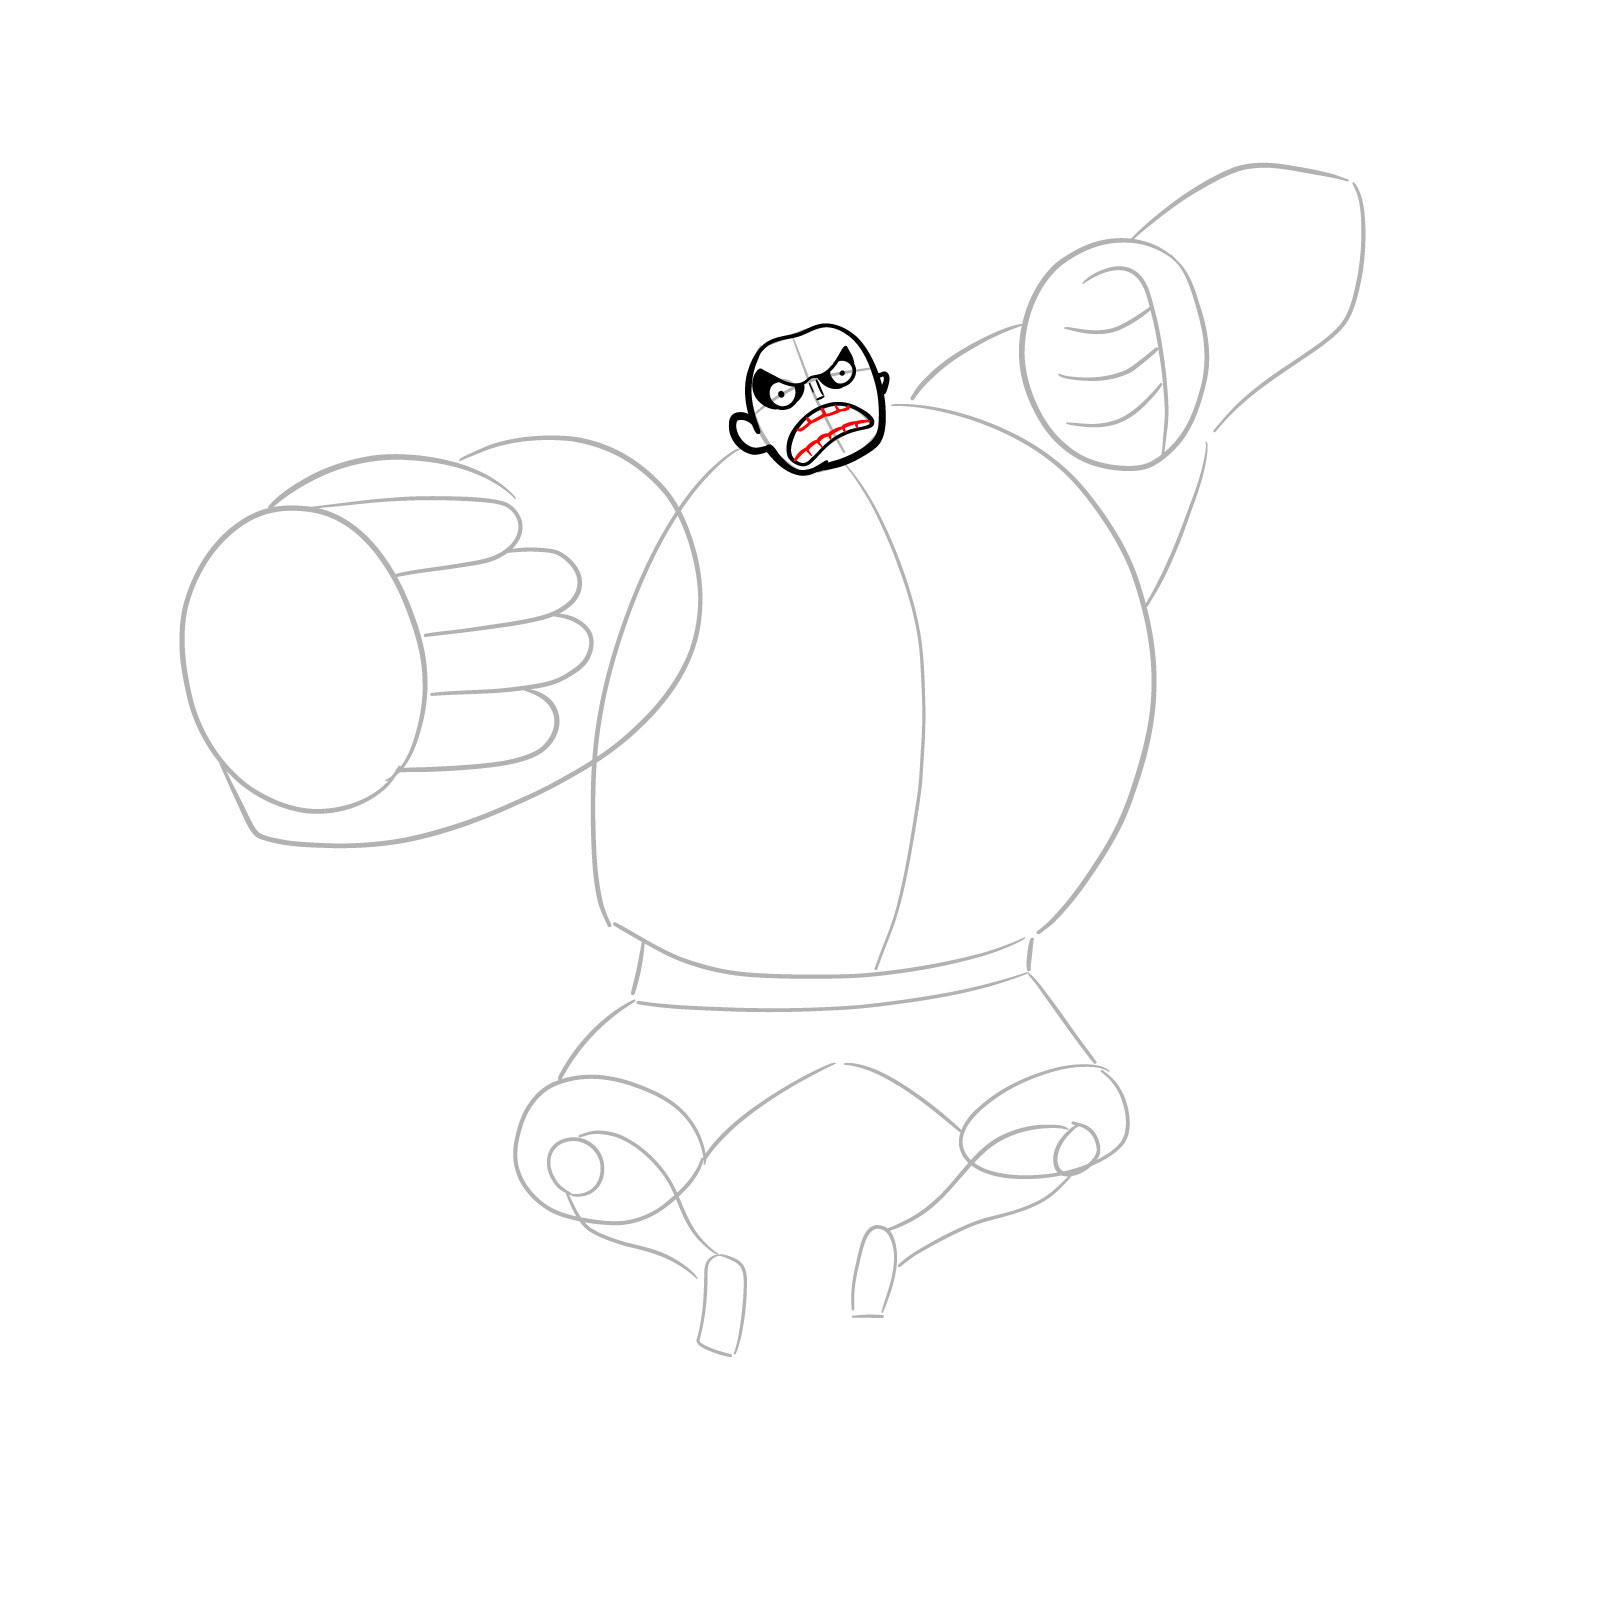
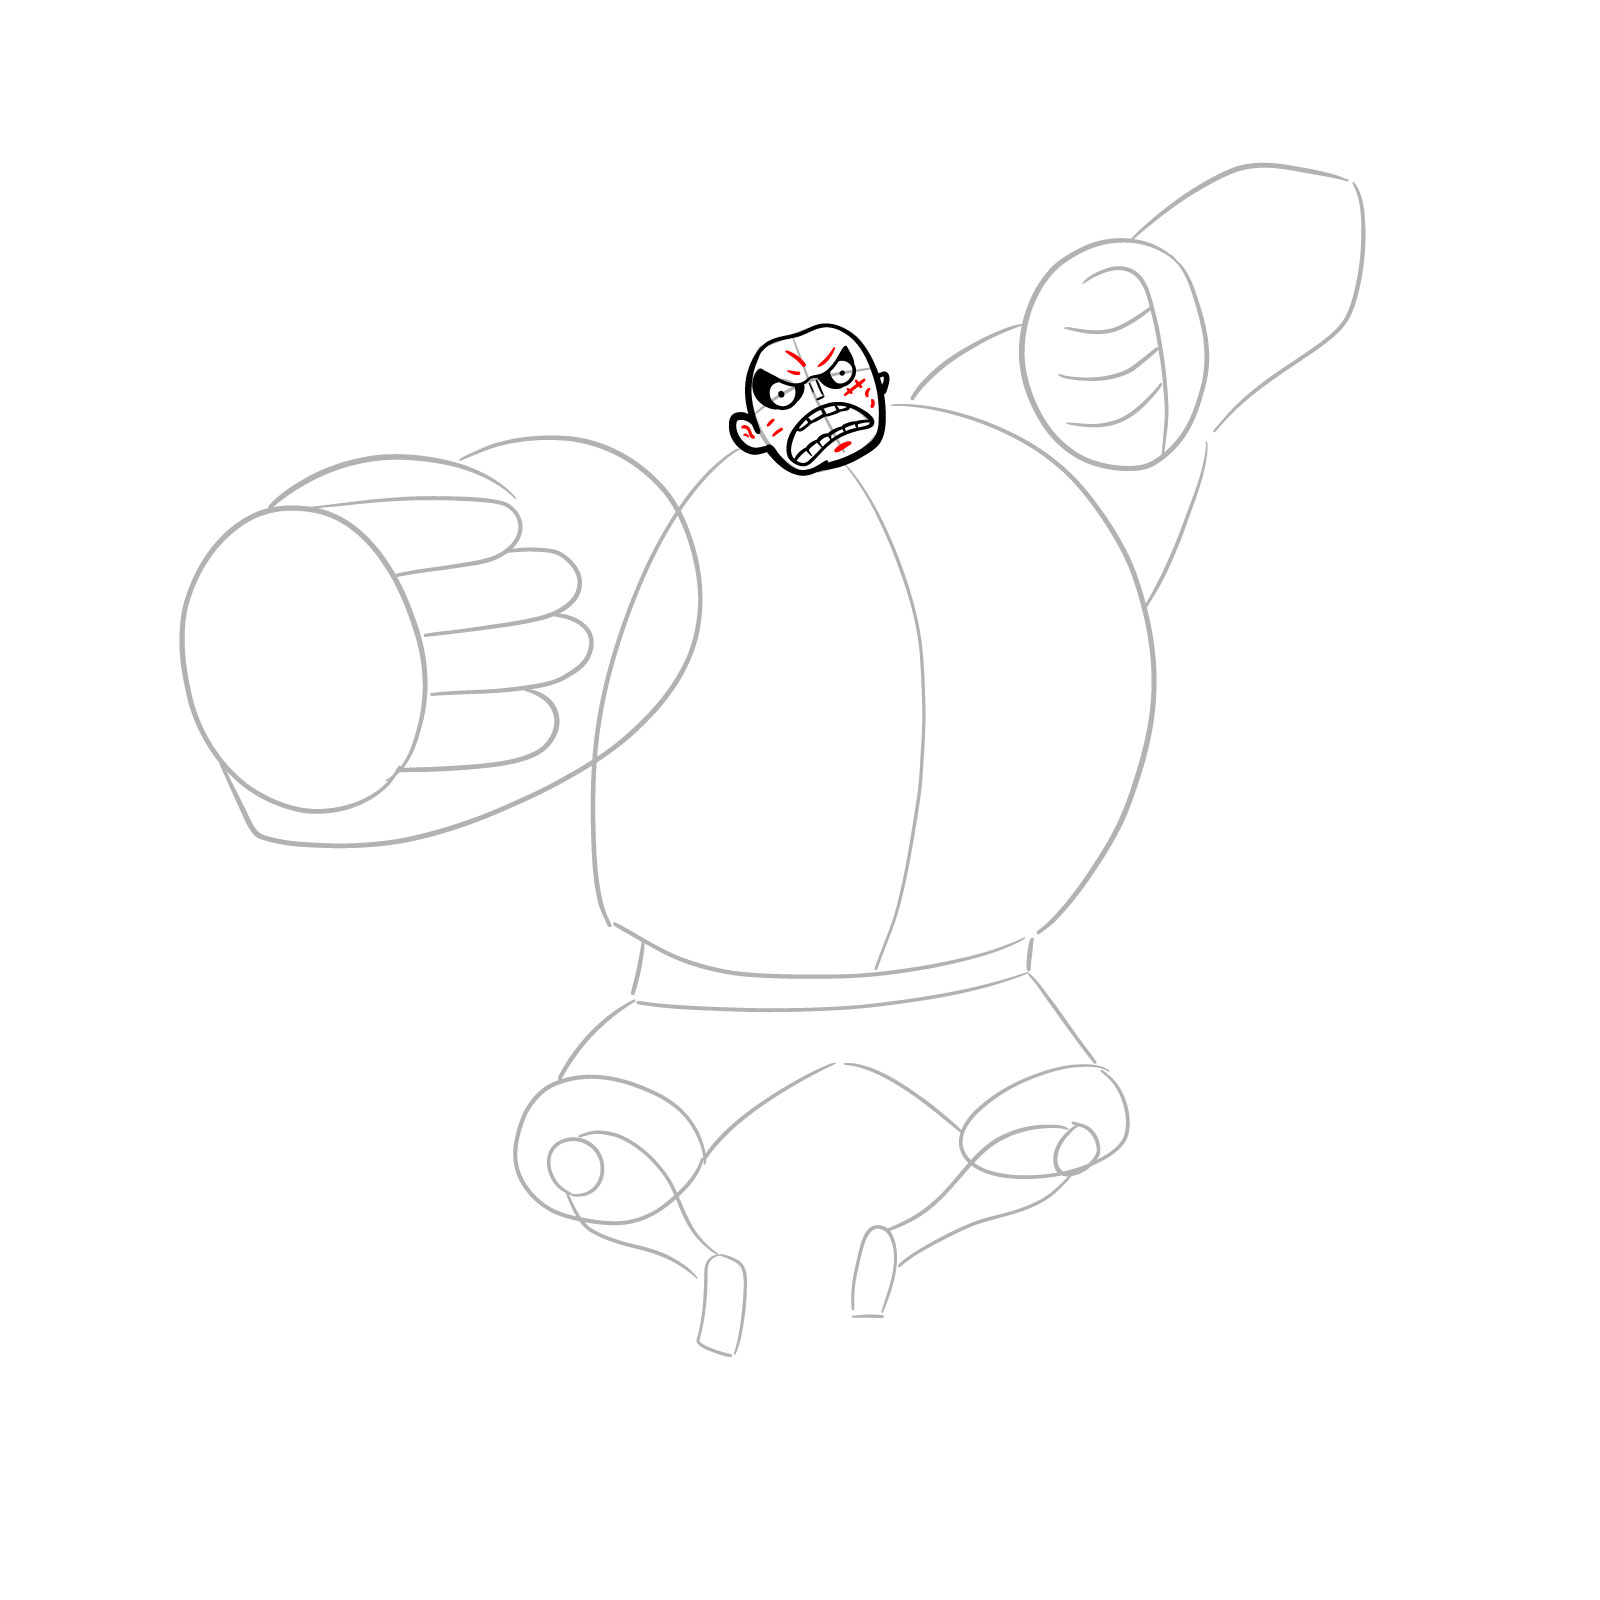
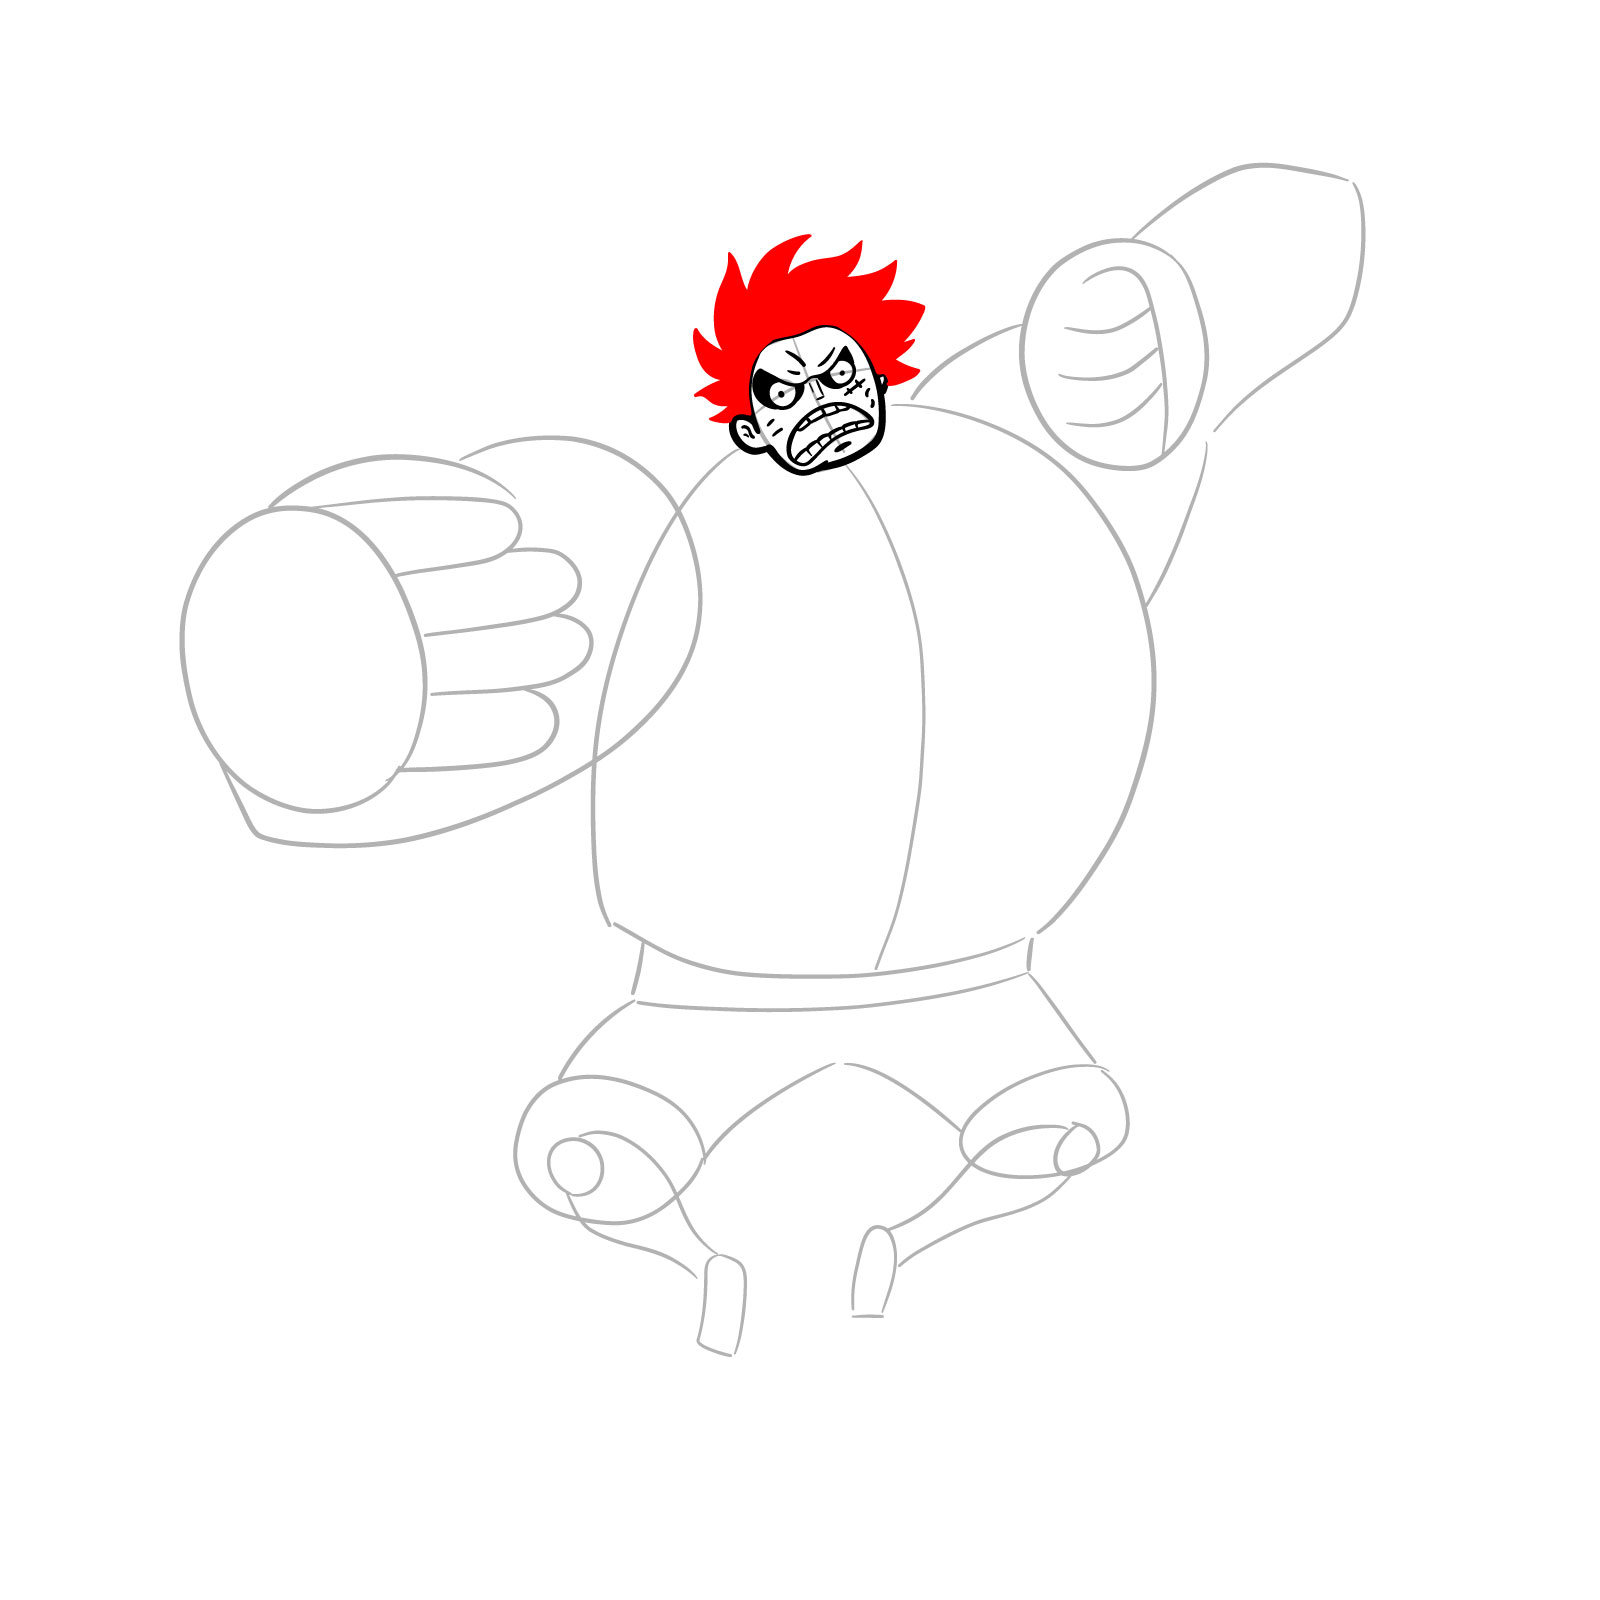
  • Expressions: The intense, fierce look that accompanies Luffy when in this transformation.
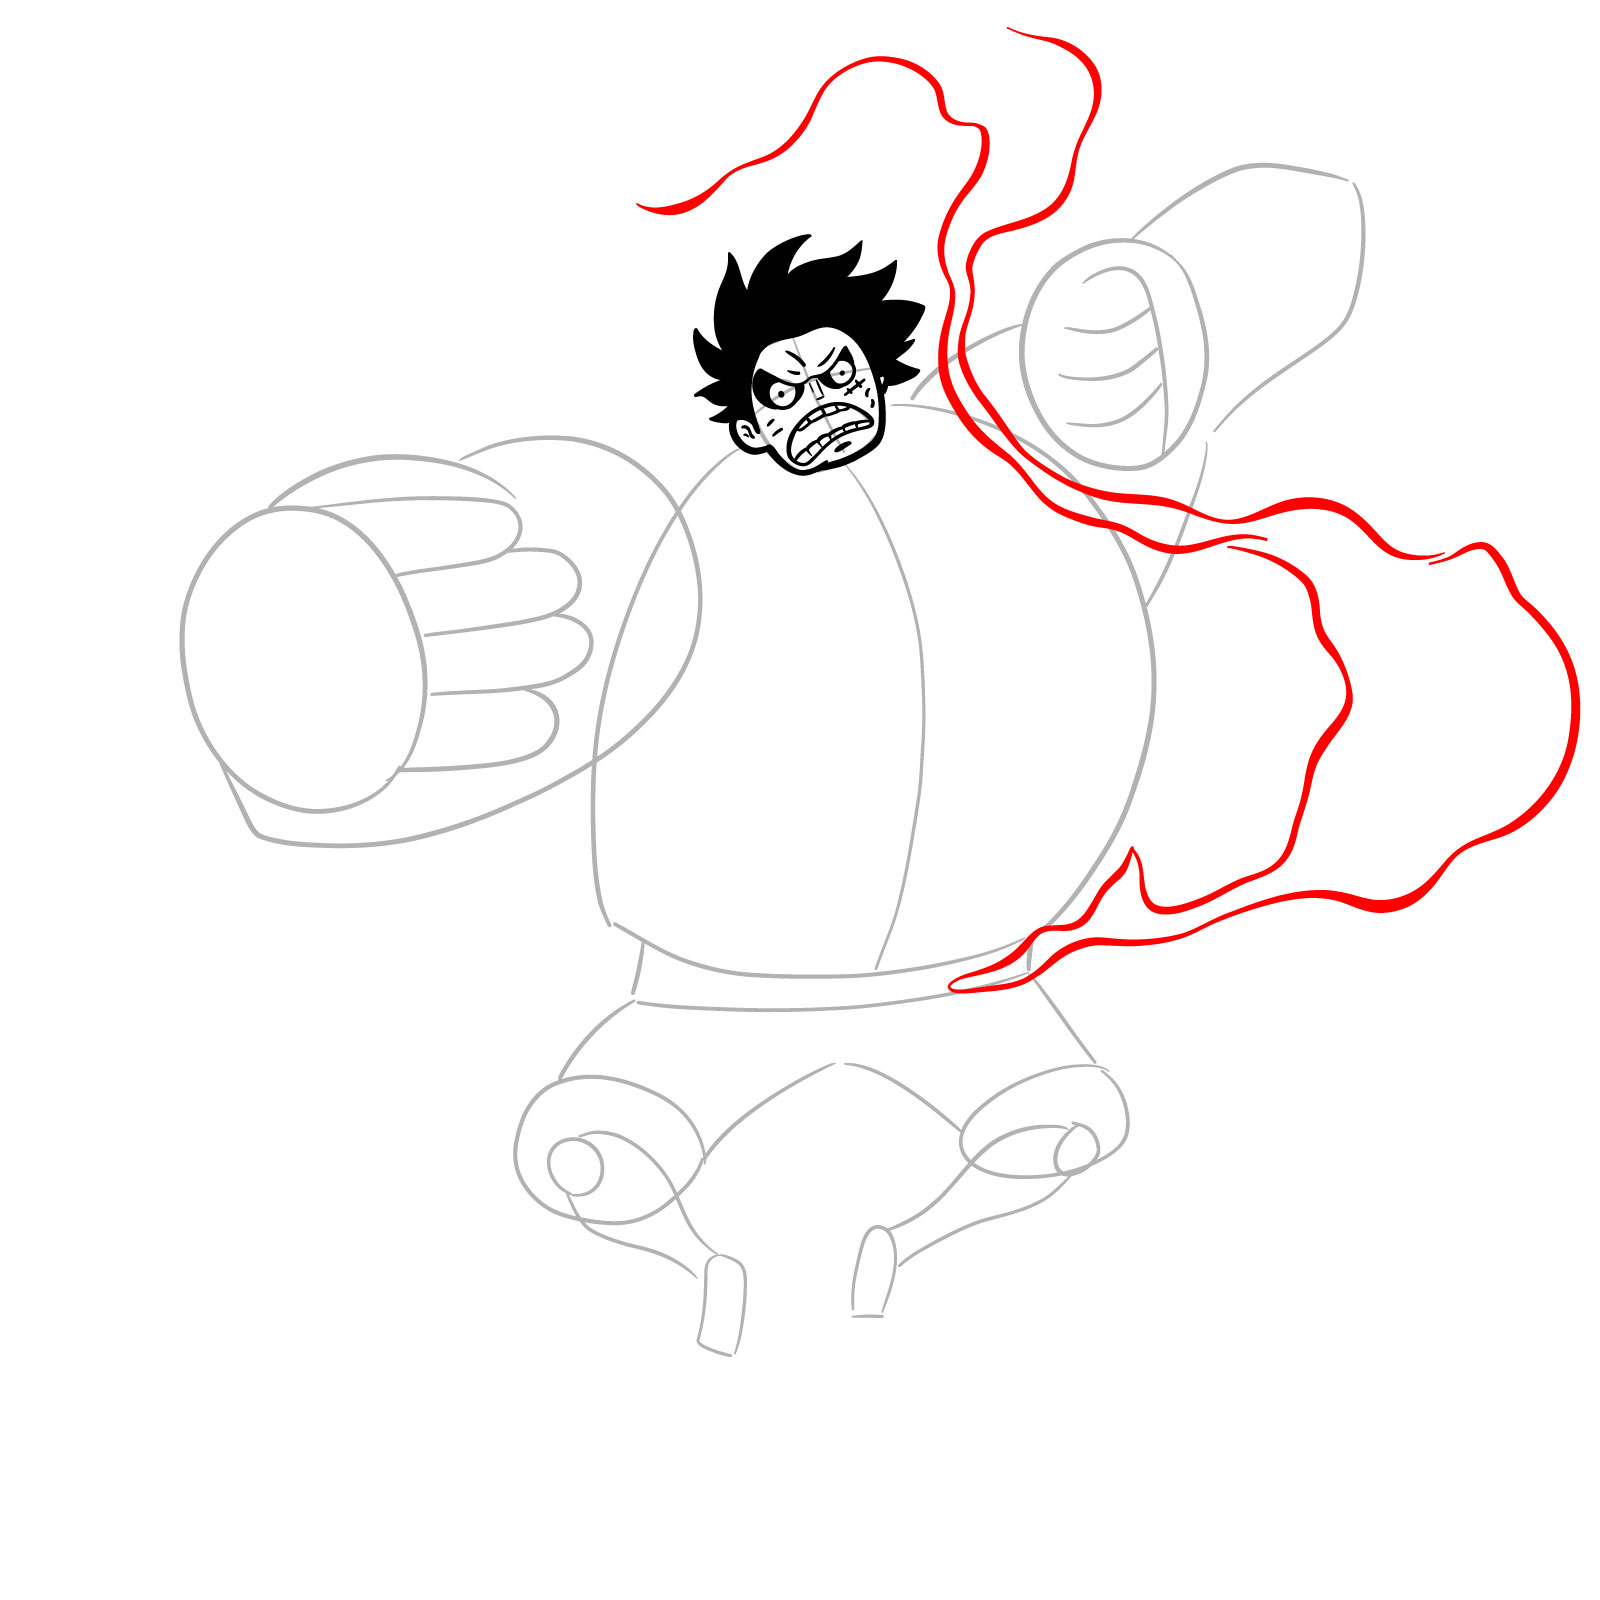
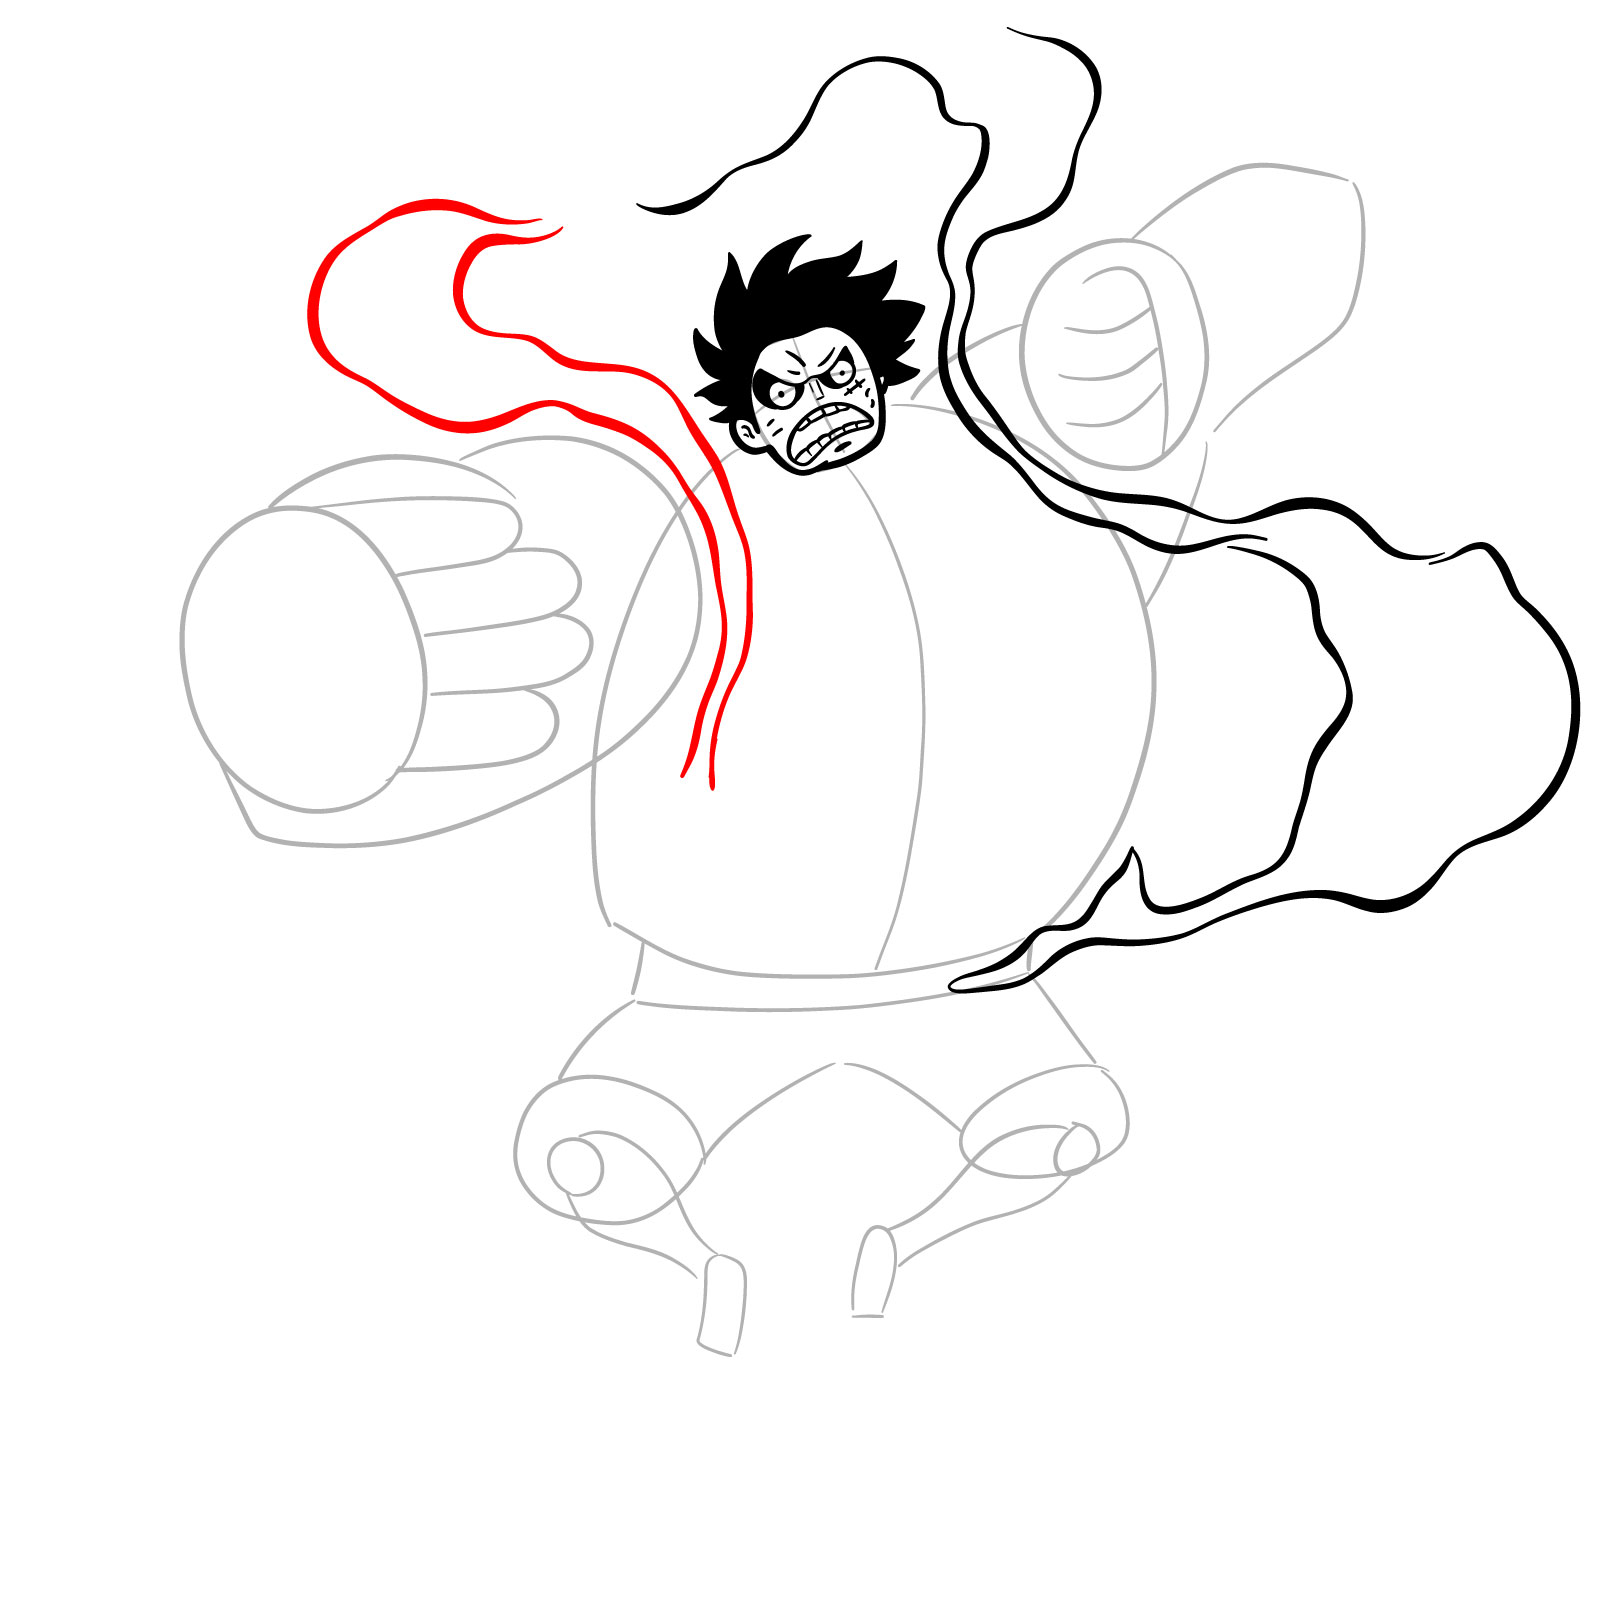
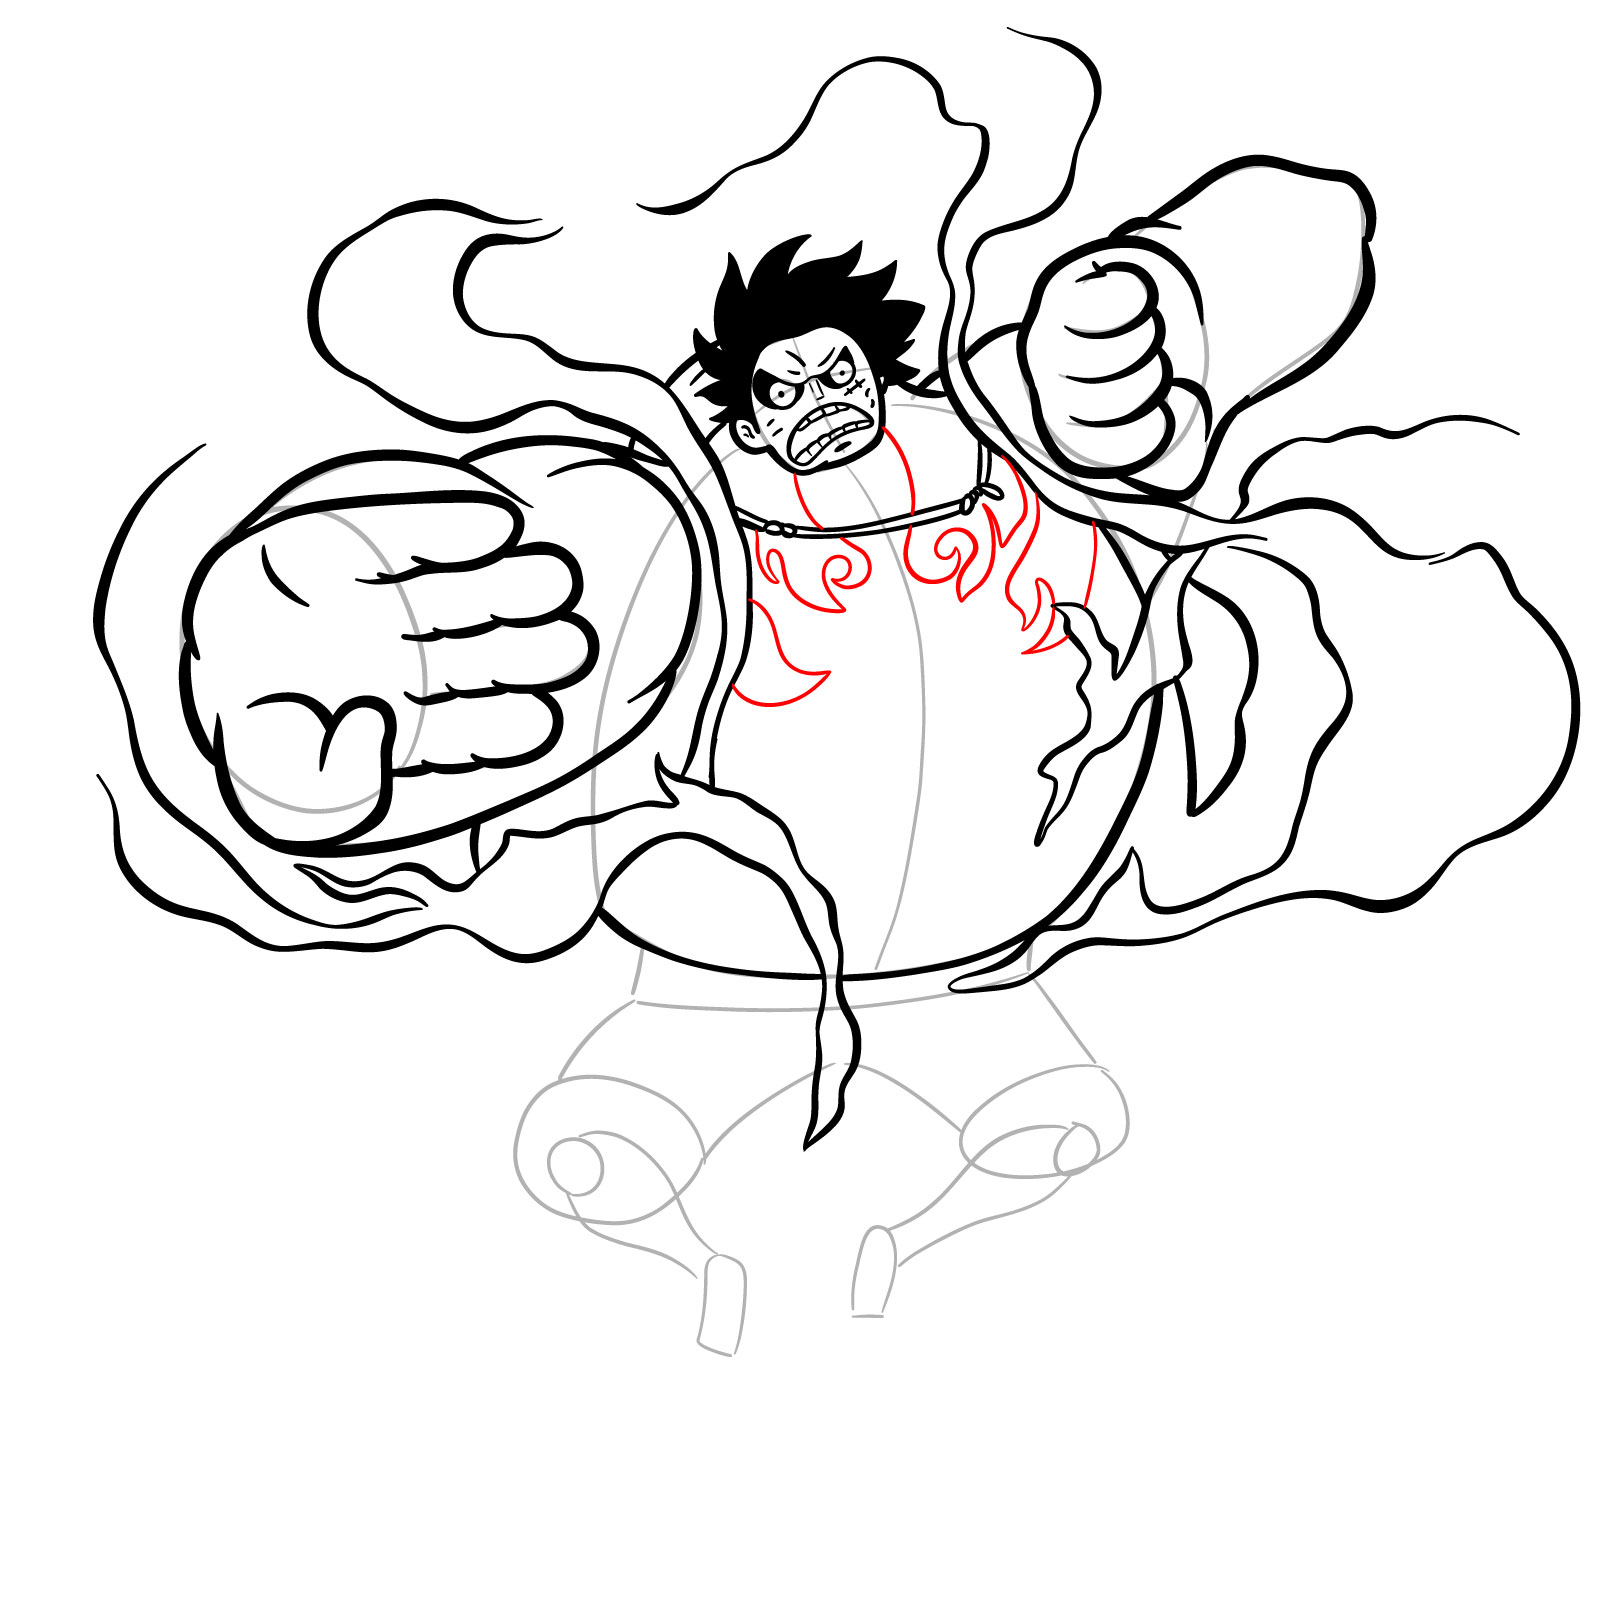
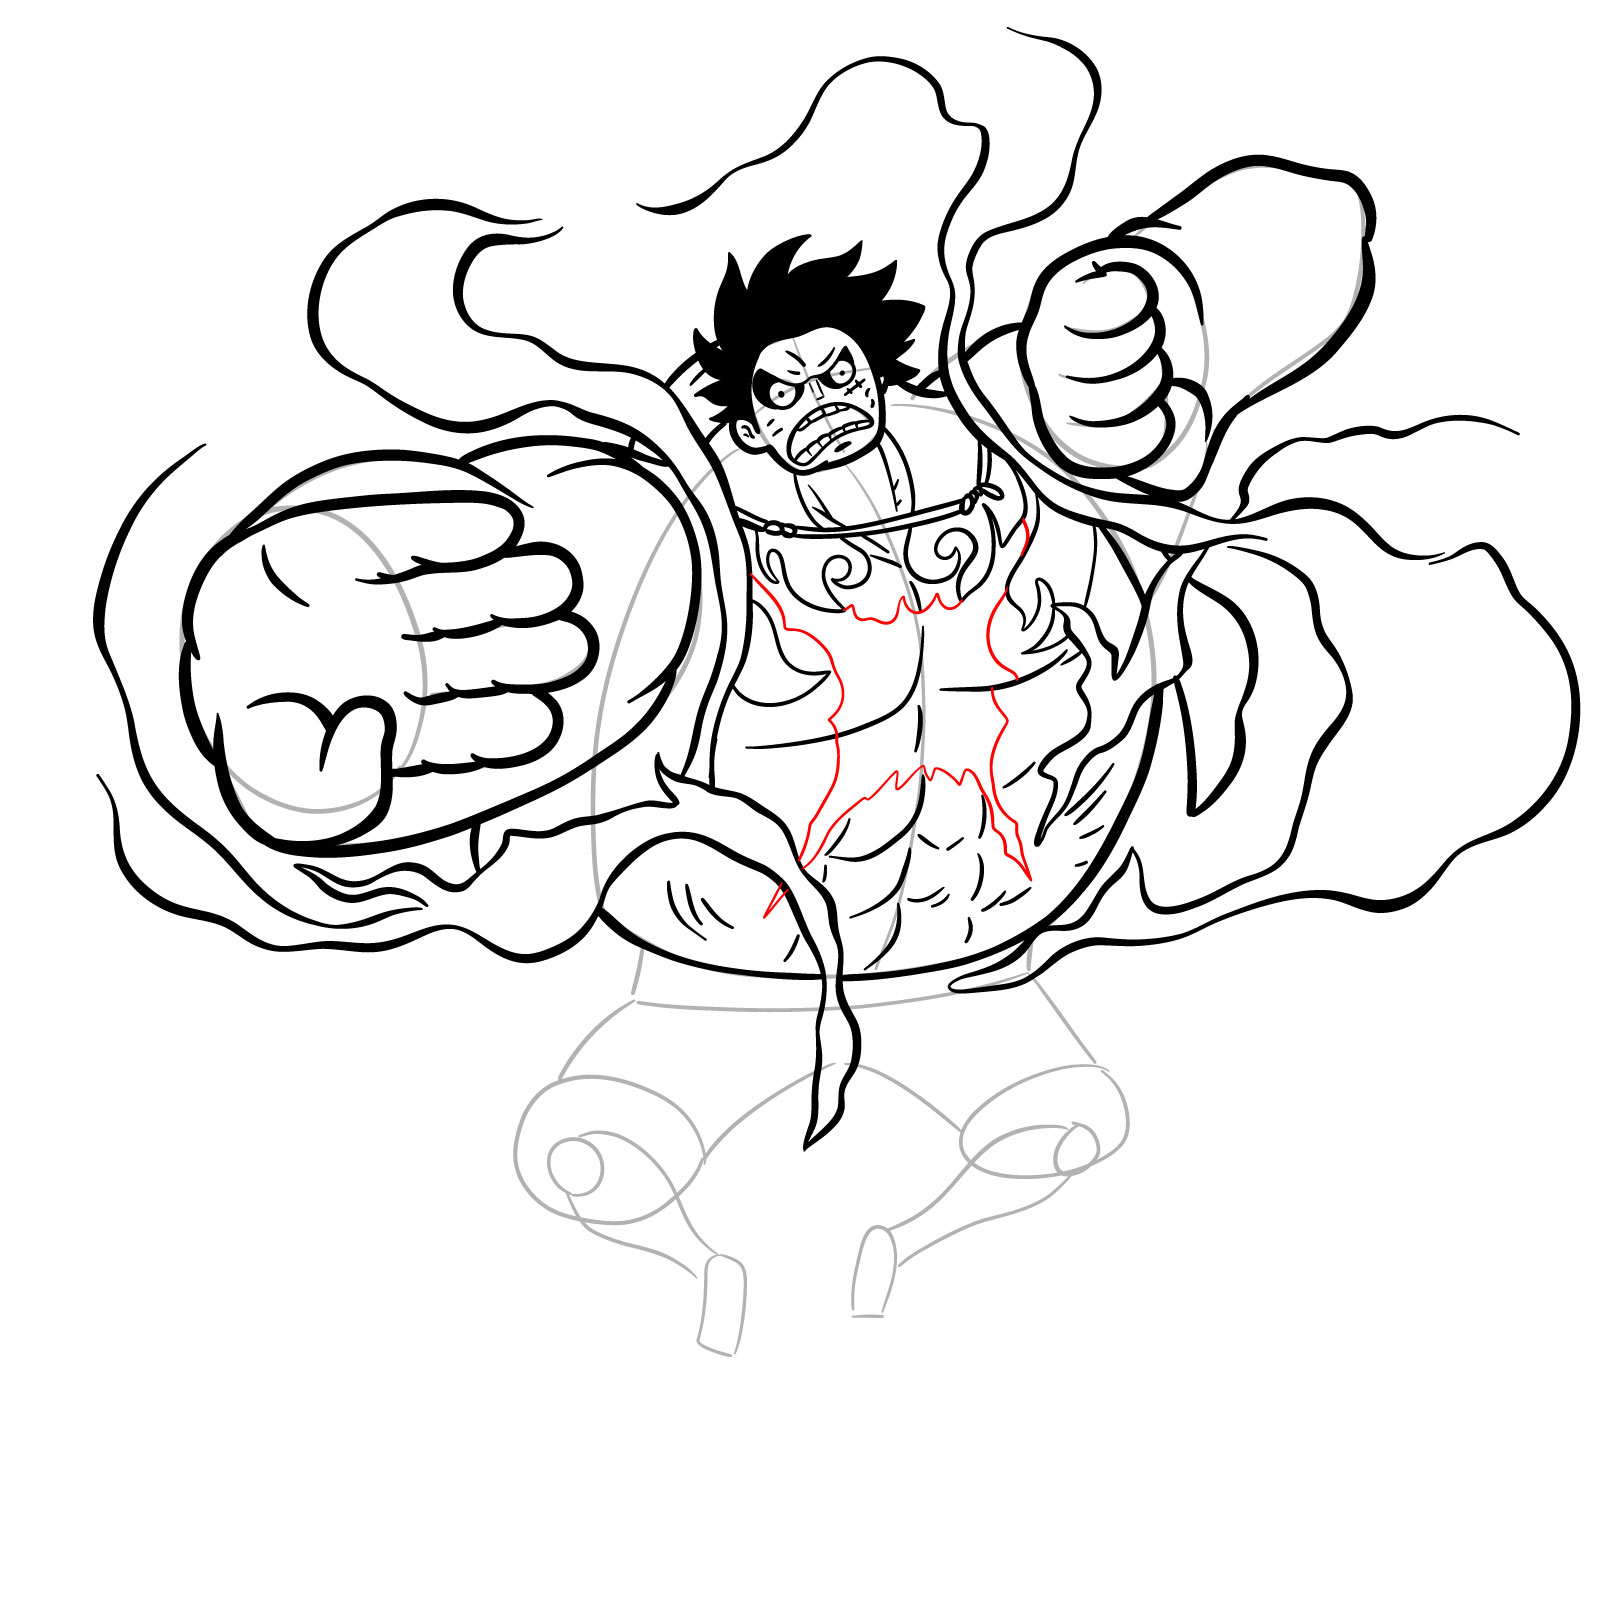
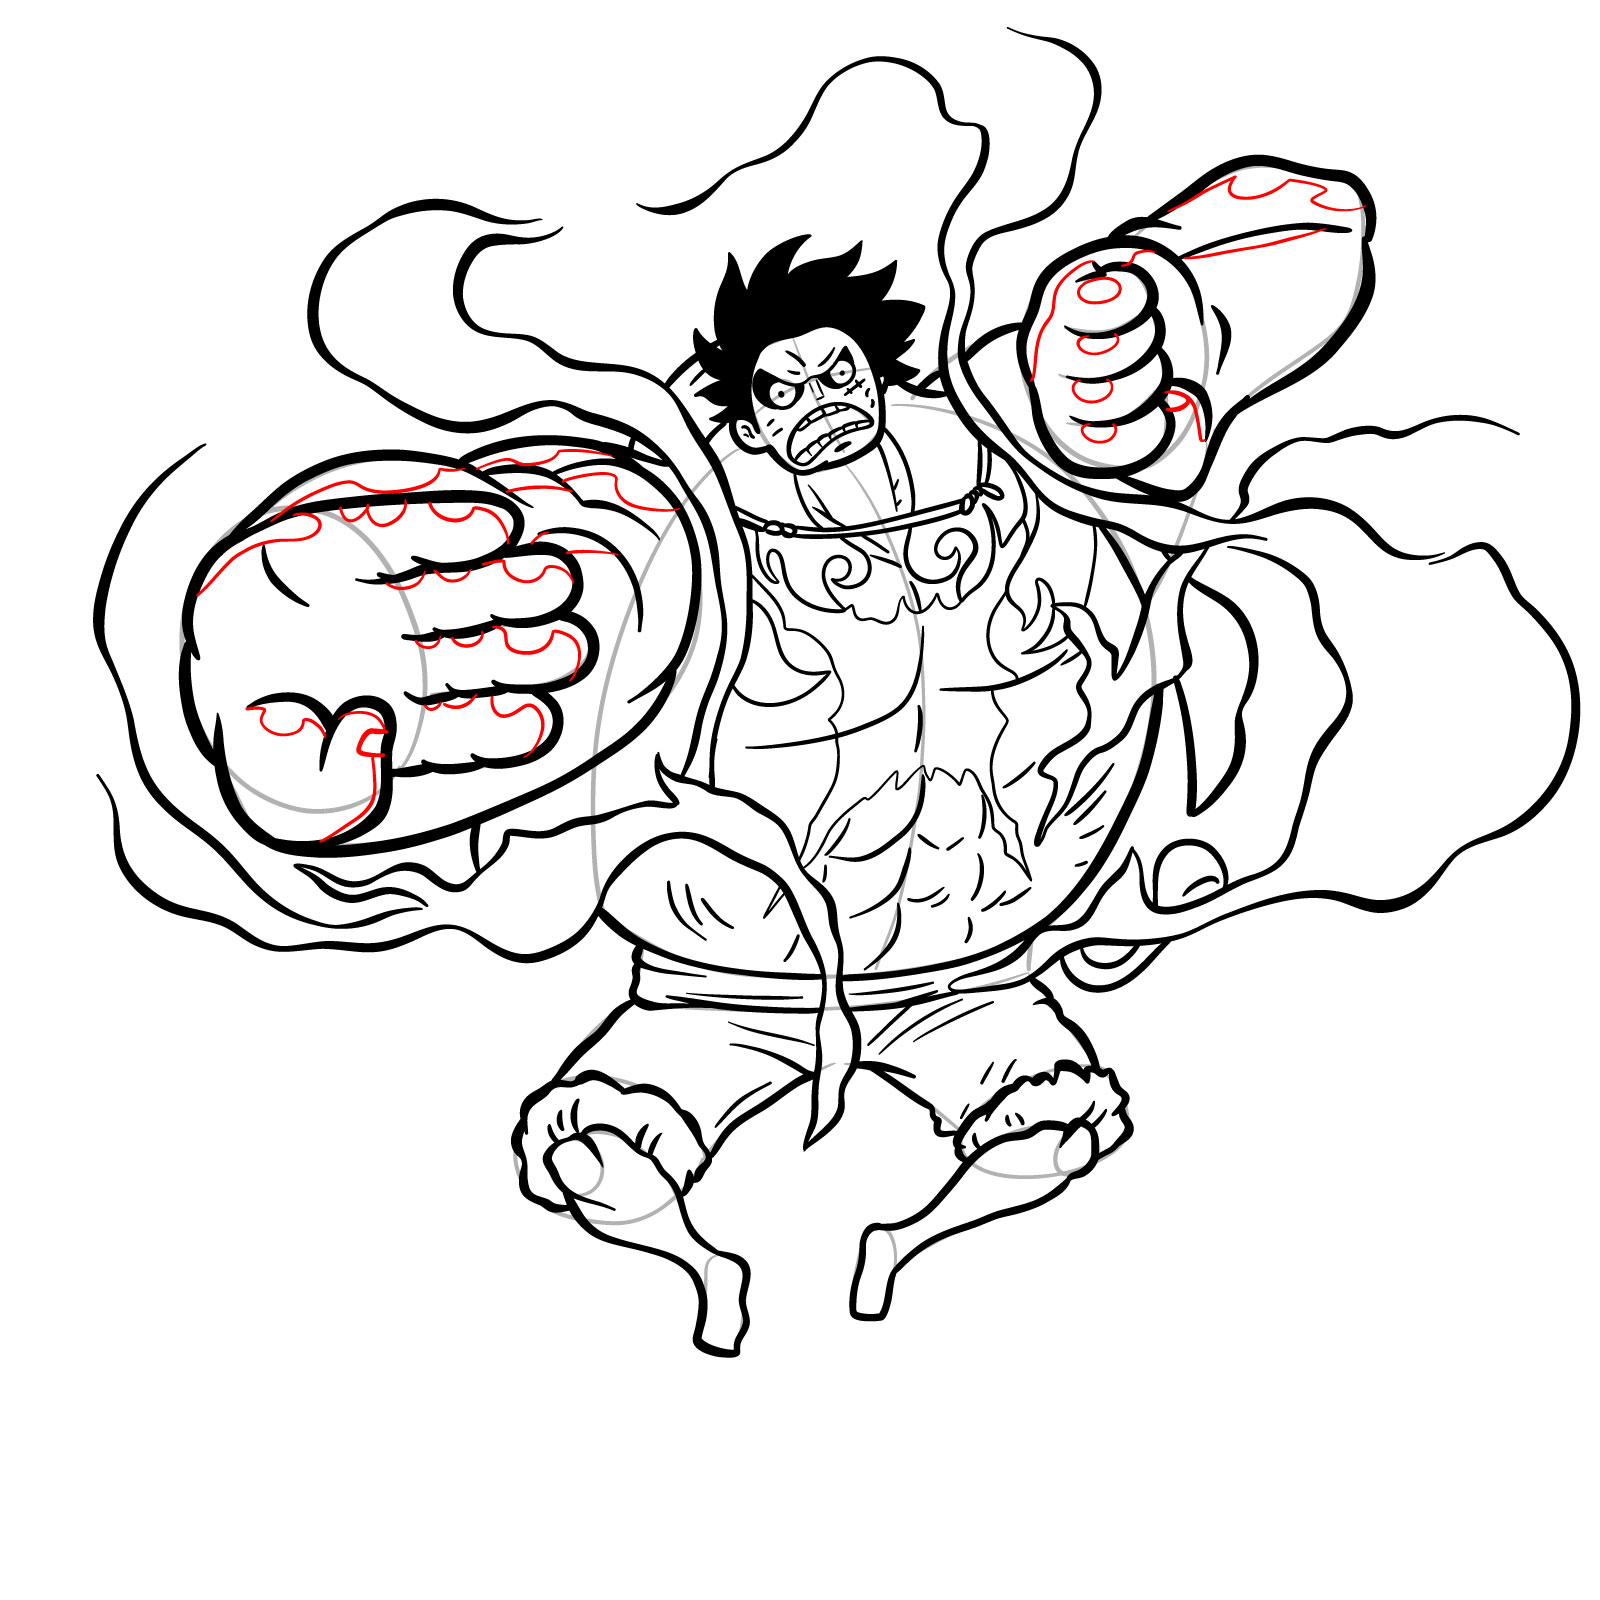
  • Physical Features: Gear 4 grants Luffy a more muscular physique, enlarged limbs, and distinctive markings.
  • Signature Attacks: Like the Gomu Gomu no Kong Gun and Rhino Schneider, which showcase Luffy’s enhanced capabilities.

Once you’re comfortable with Luffy, why not expand your portfolio with other Straw Hat Pirates, or perhaps other Luffy’s forms like Gear 2, Gear 3, Gear 4 Snakeman, Gear 5 or even Nightmare Luffy ?

Decoding the Guide’s Palette

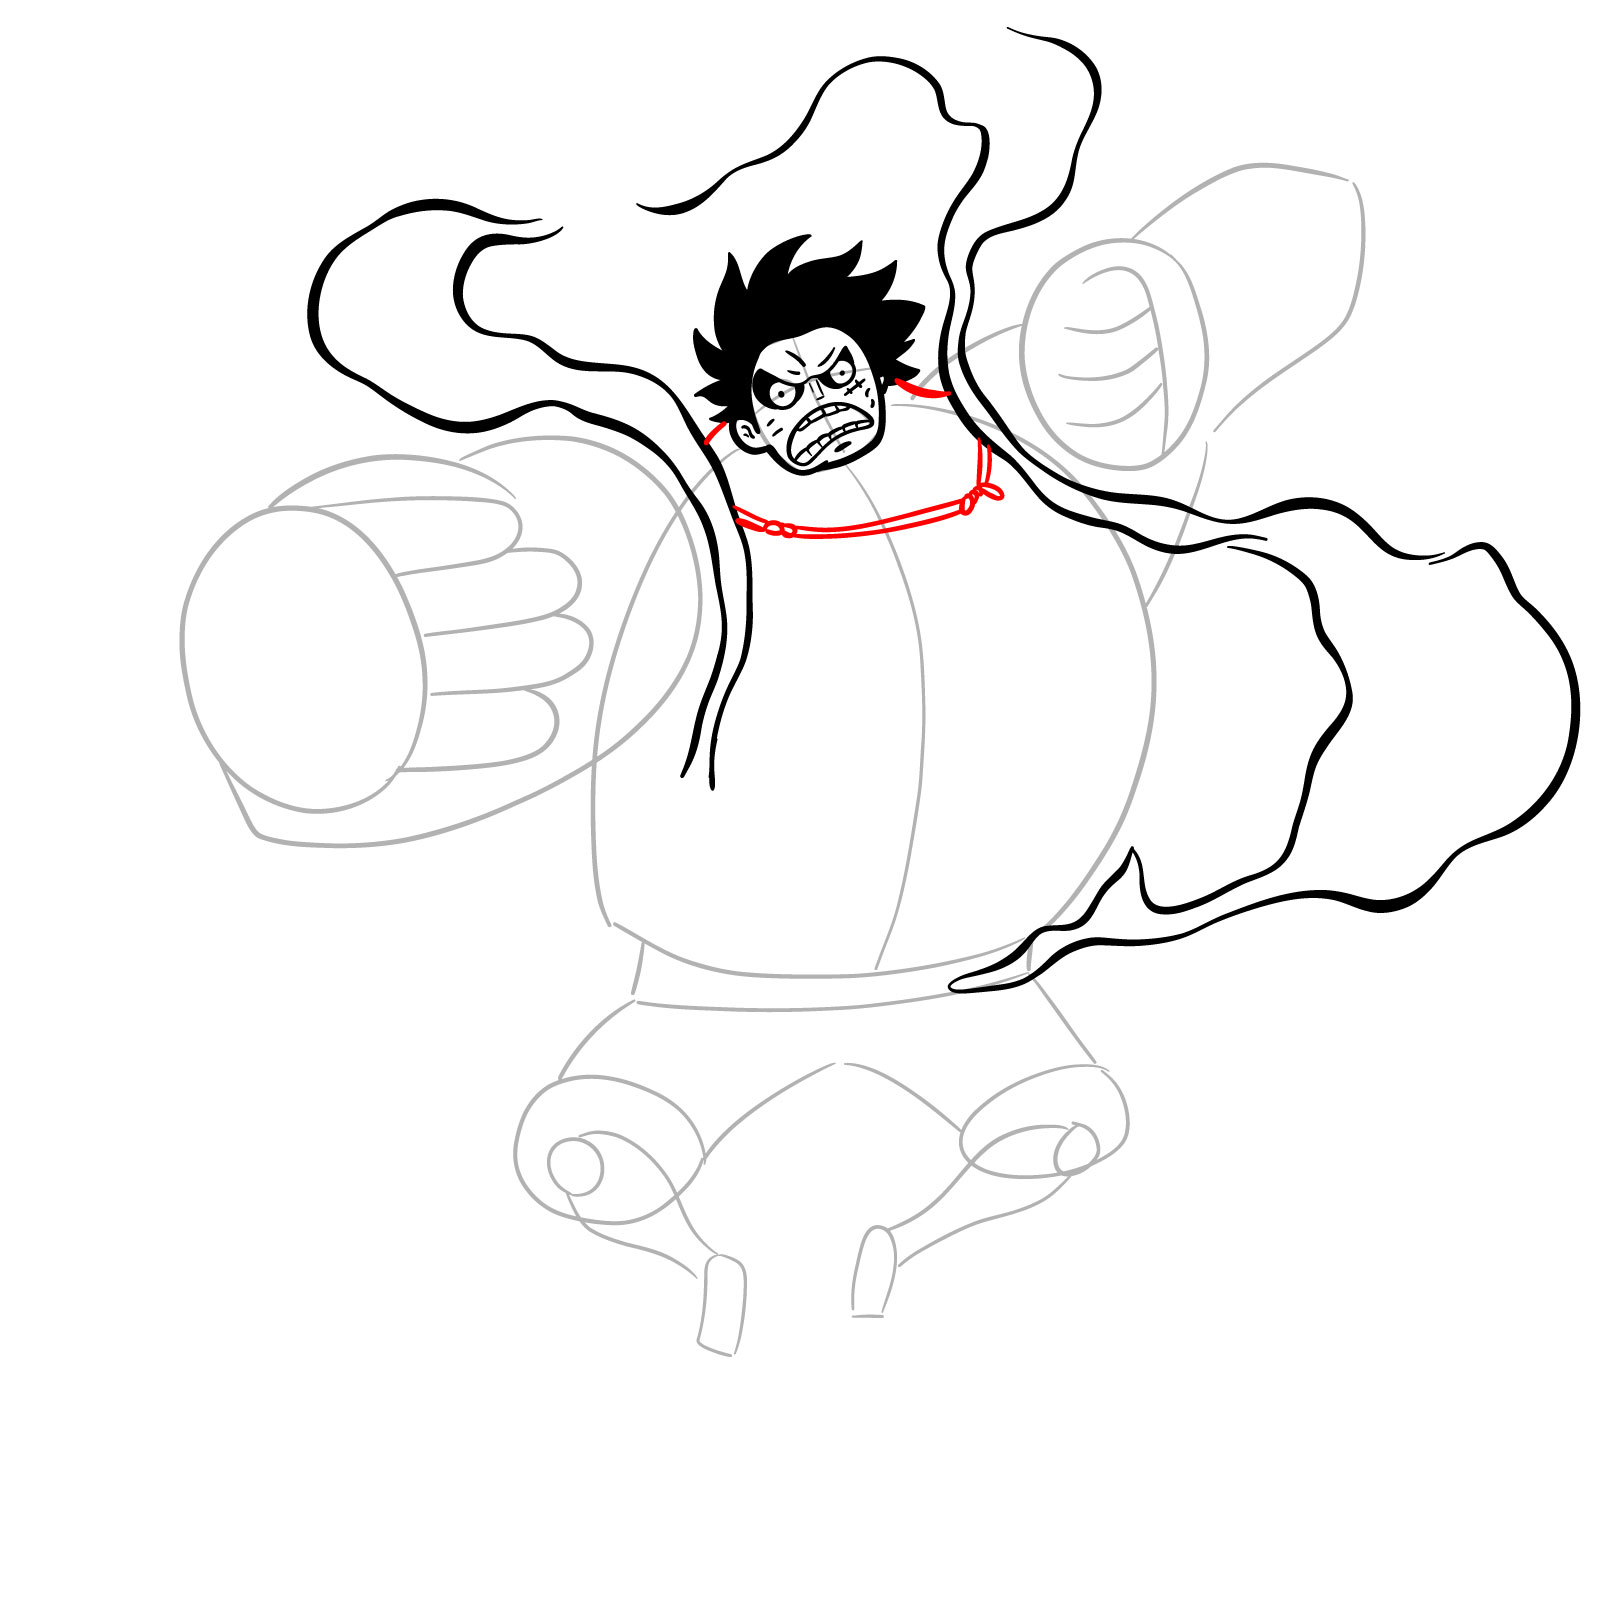
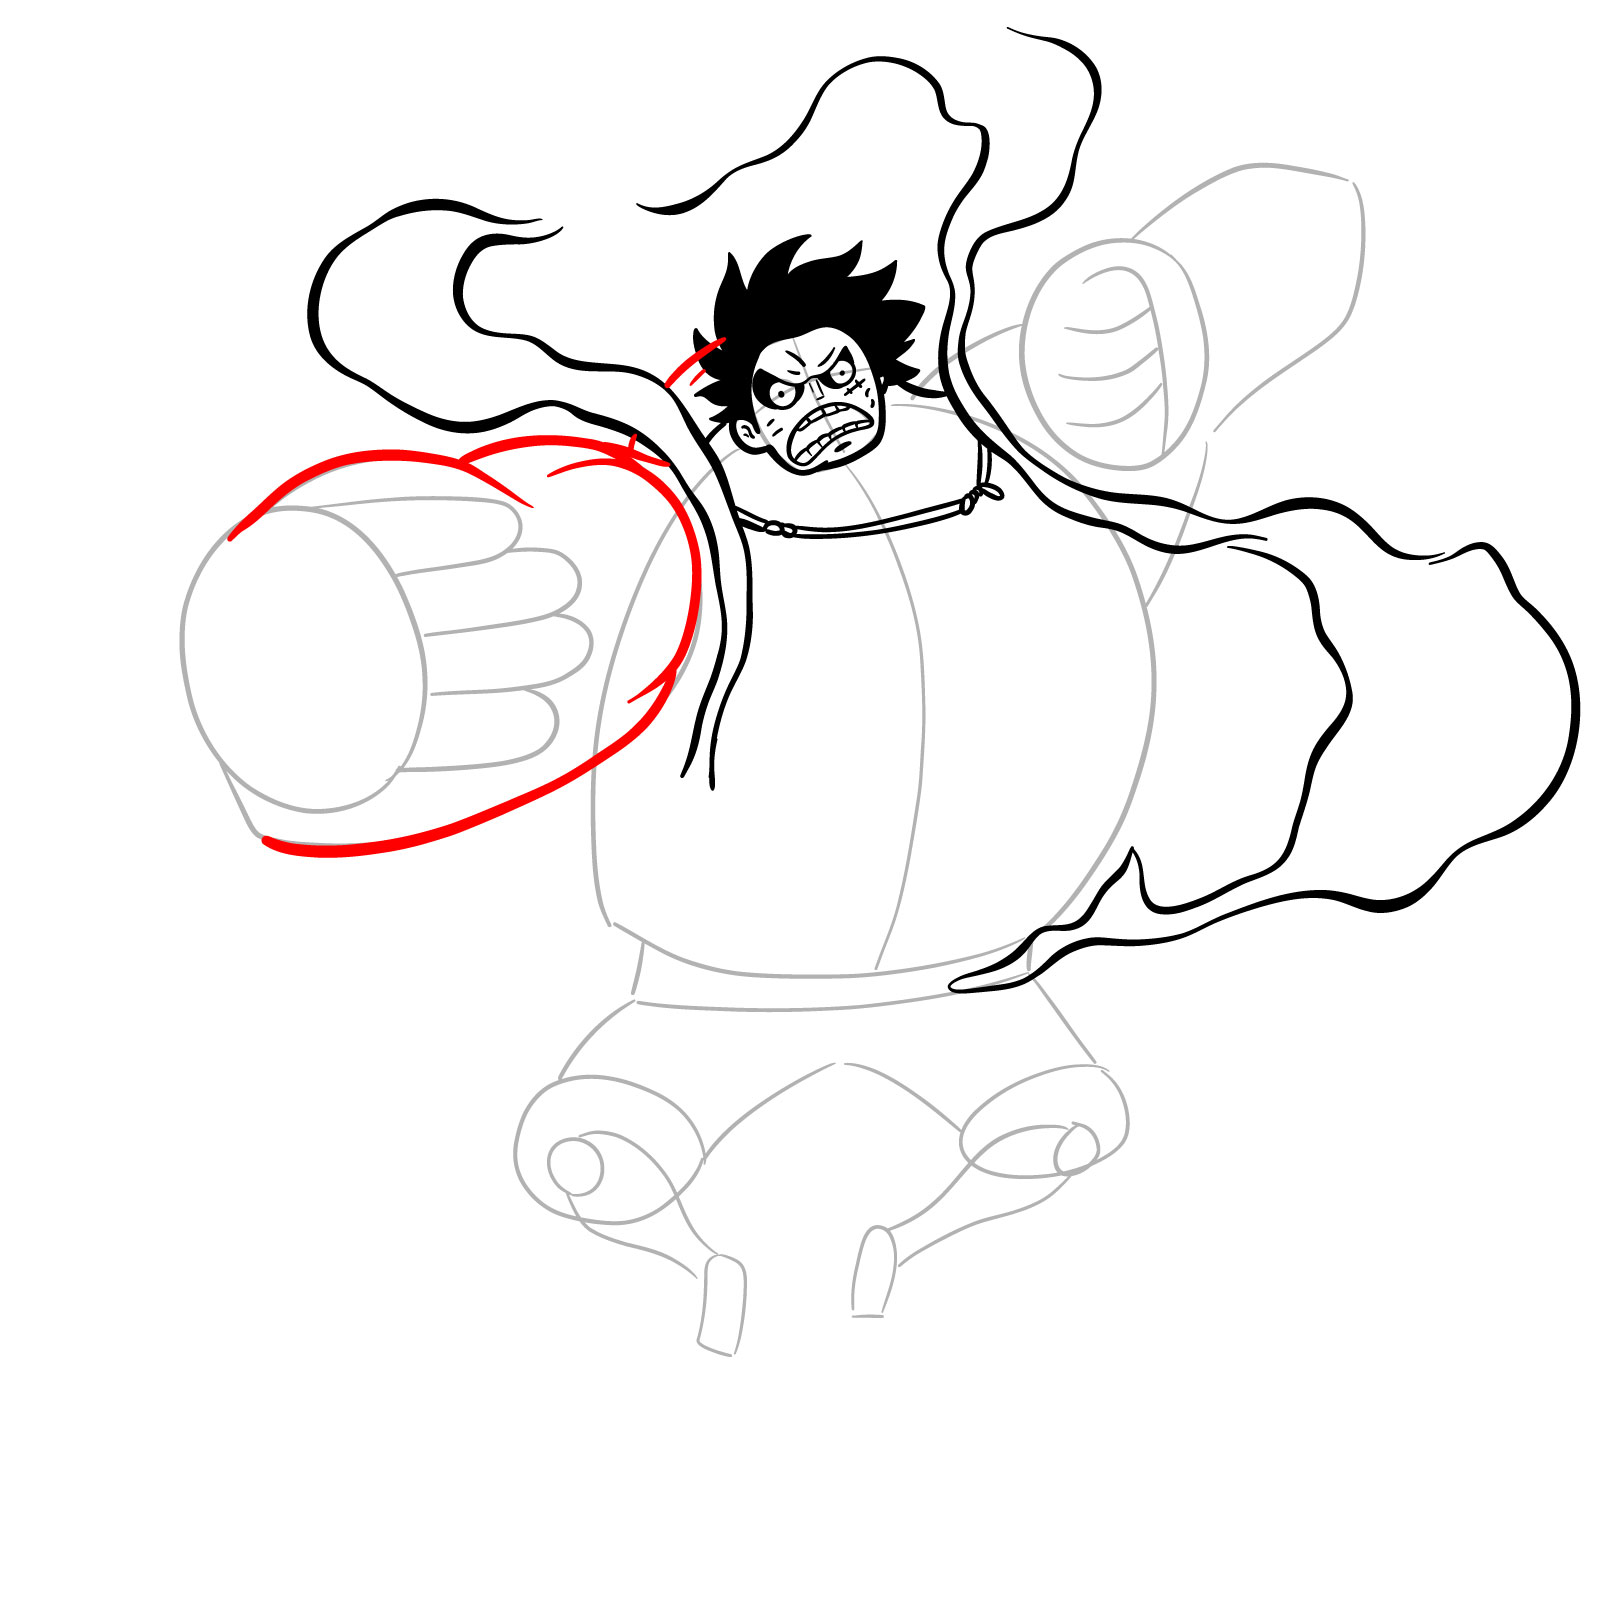
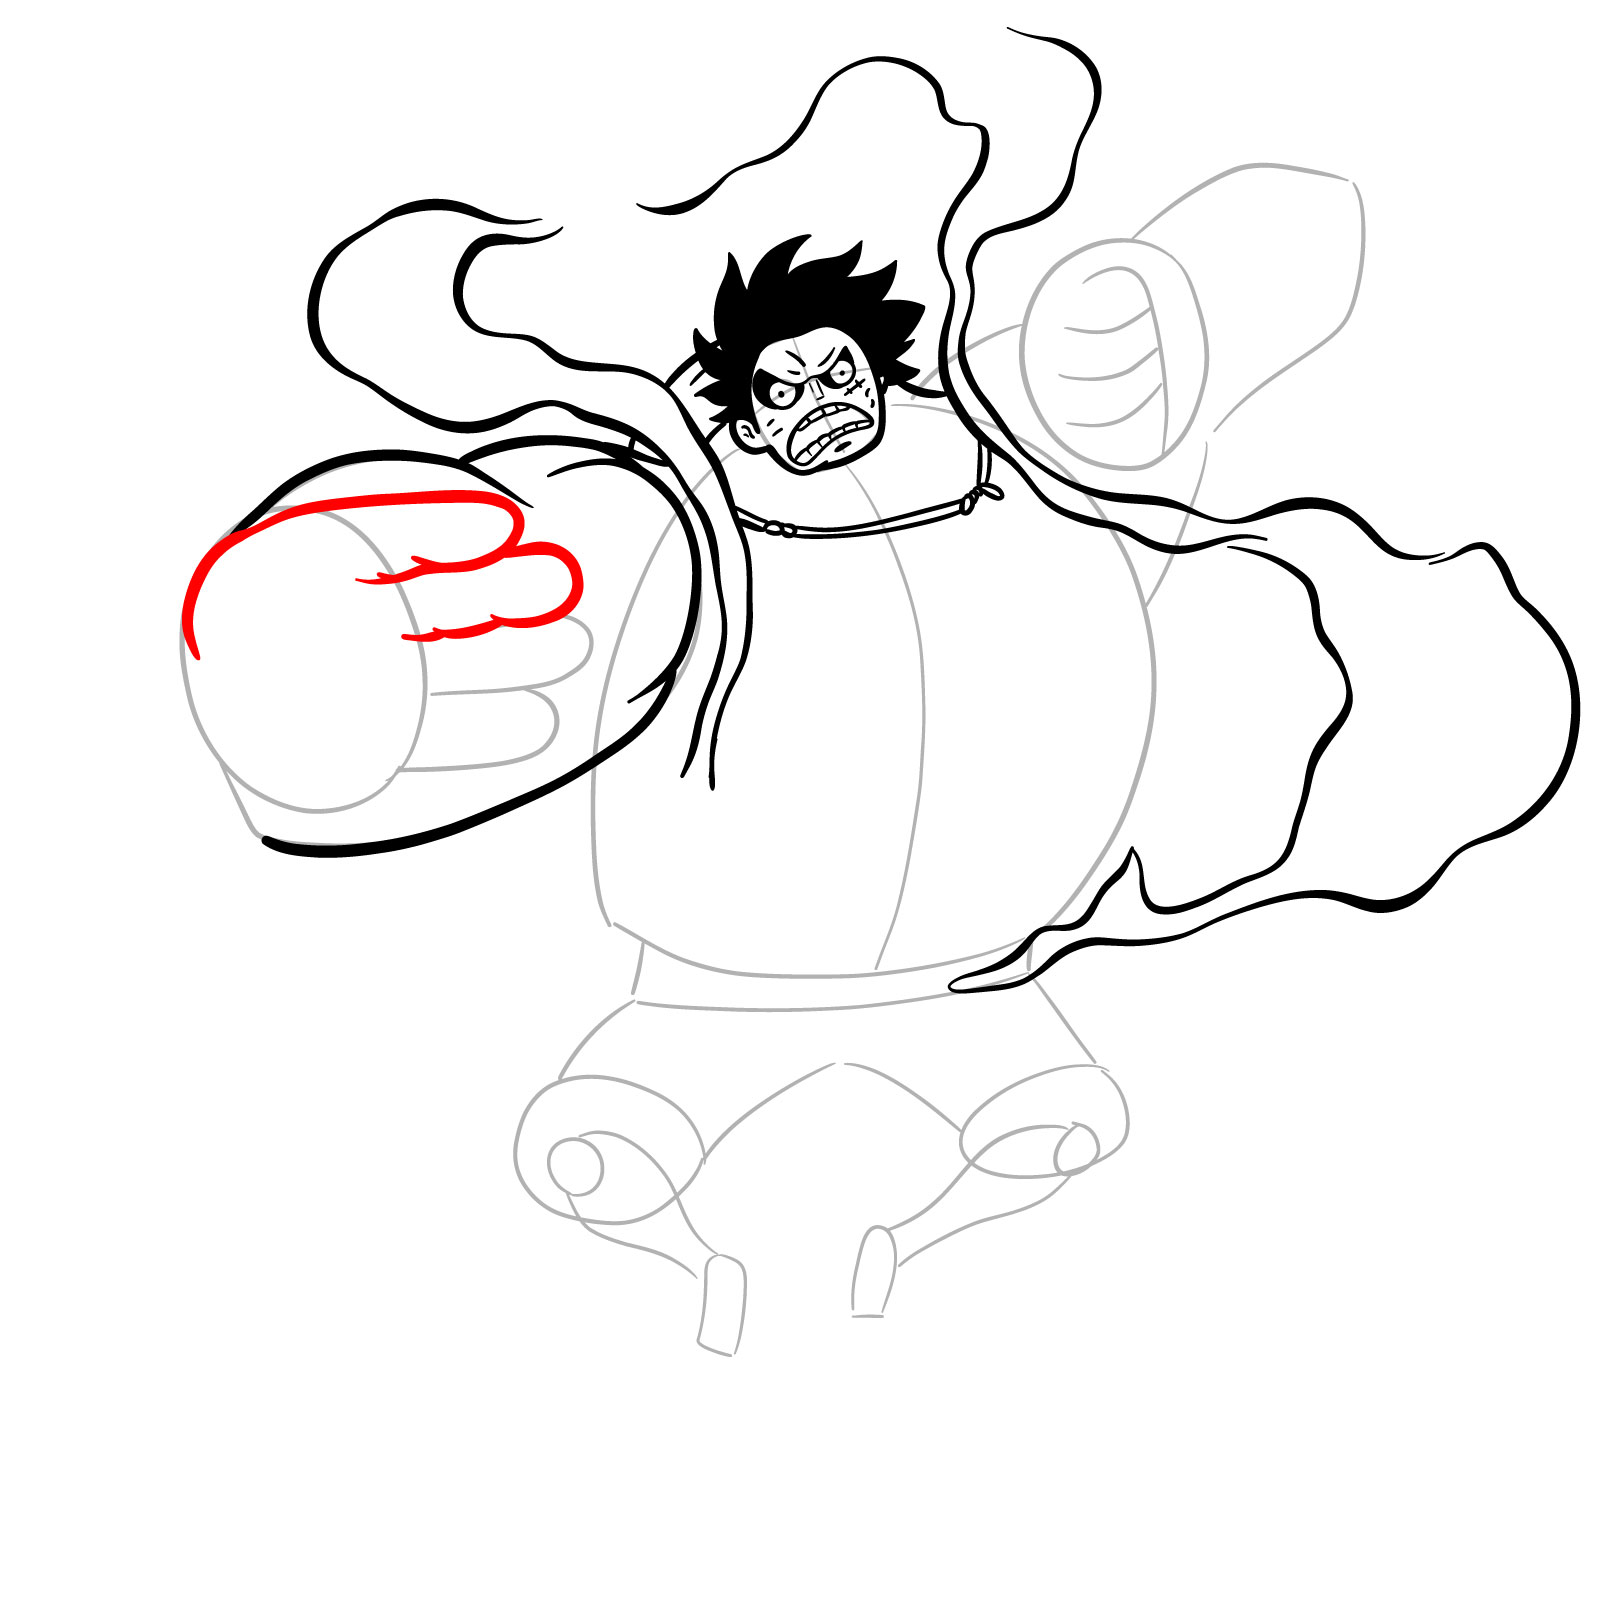
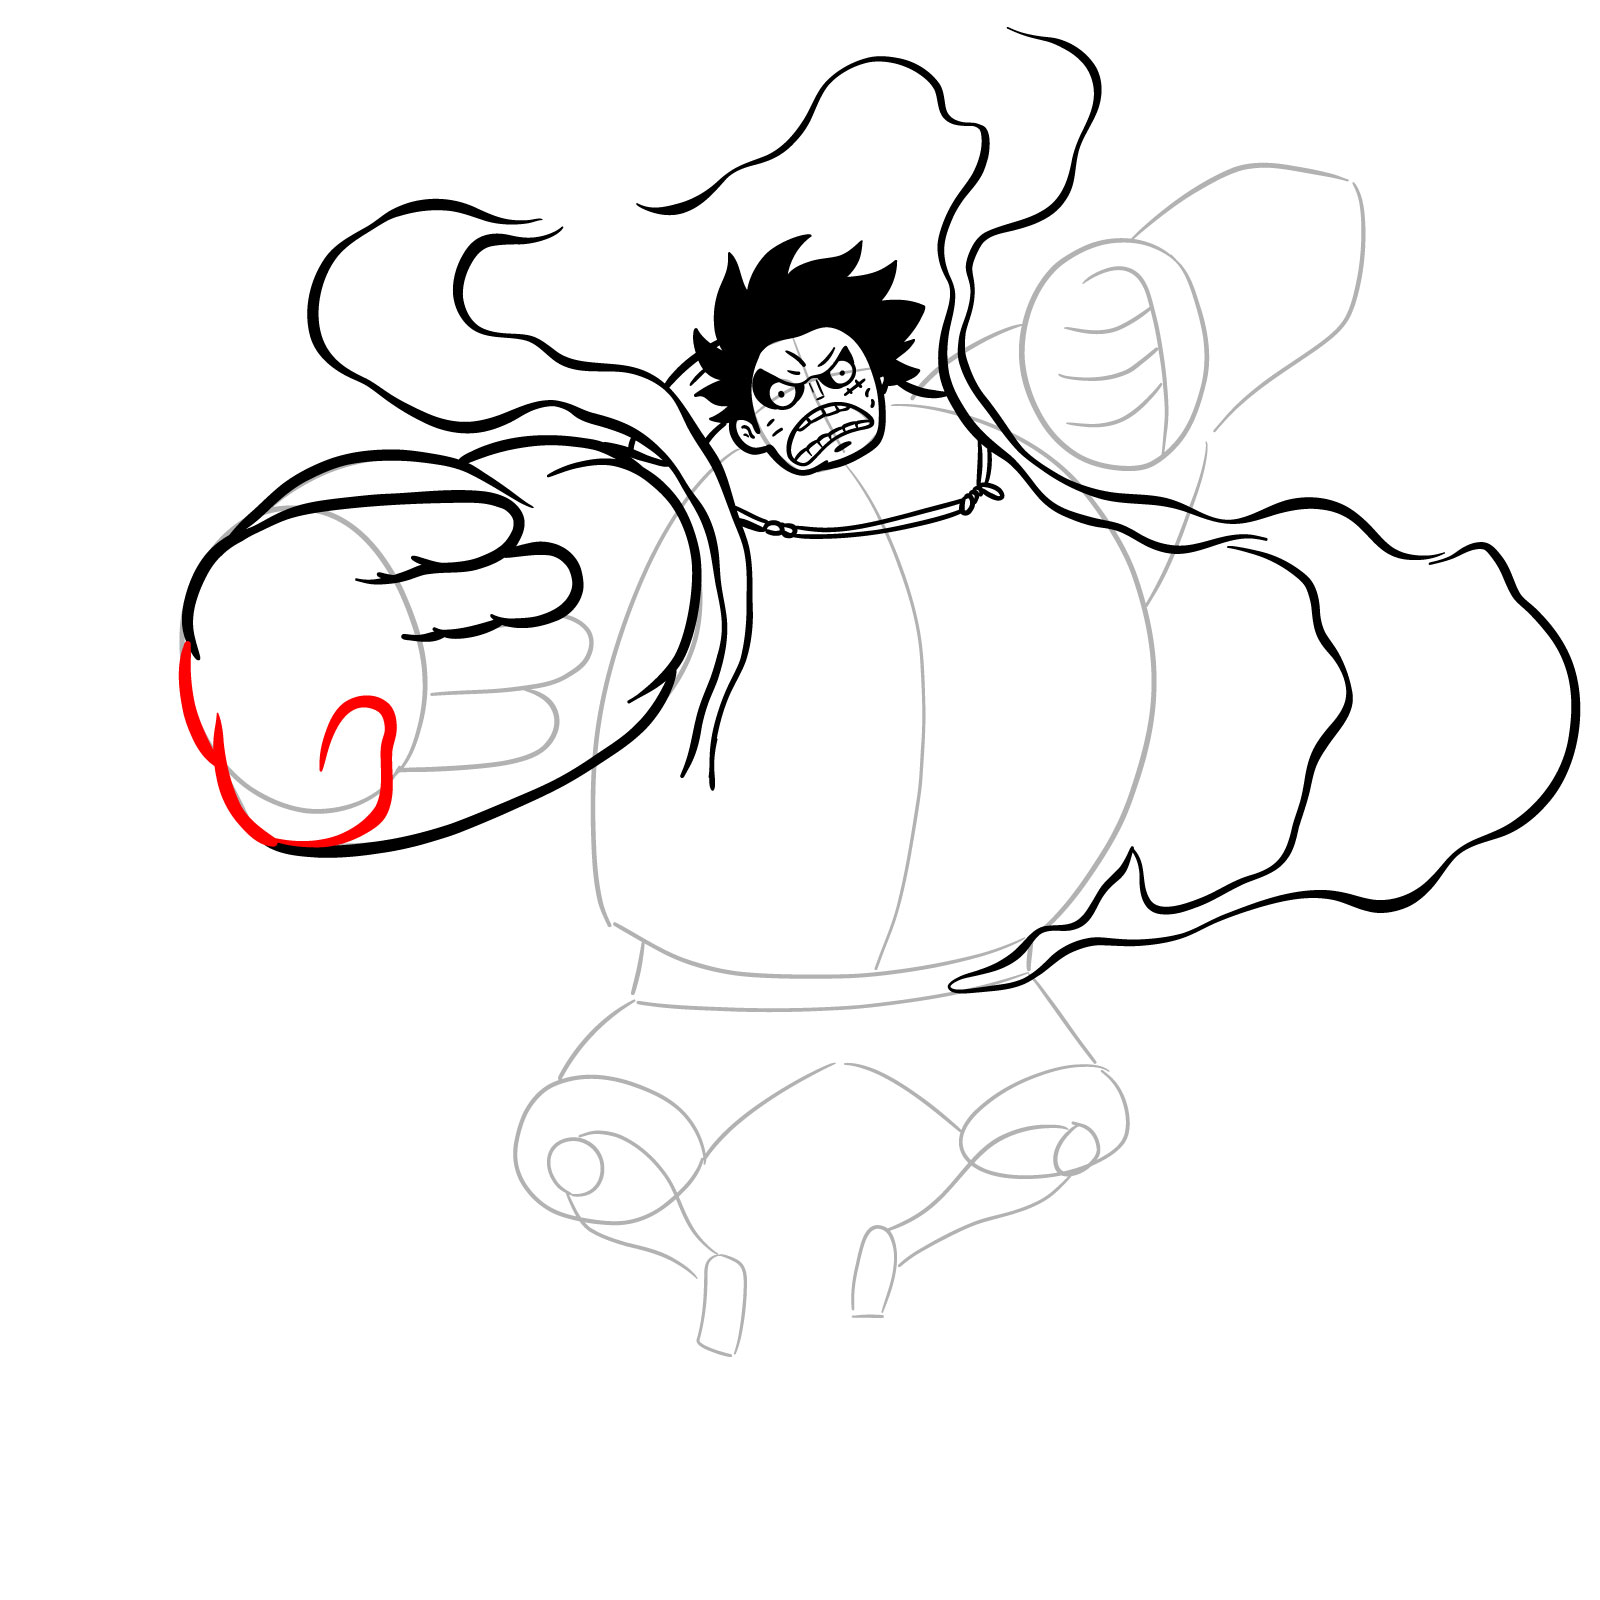
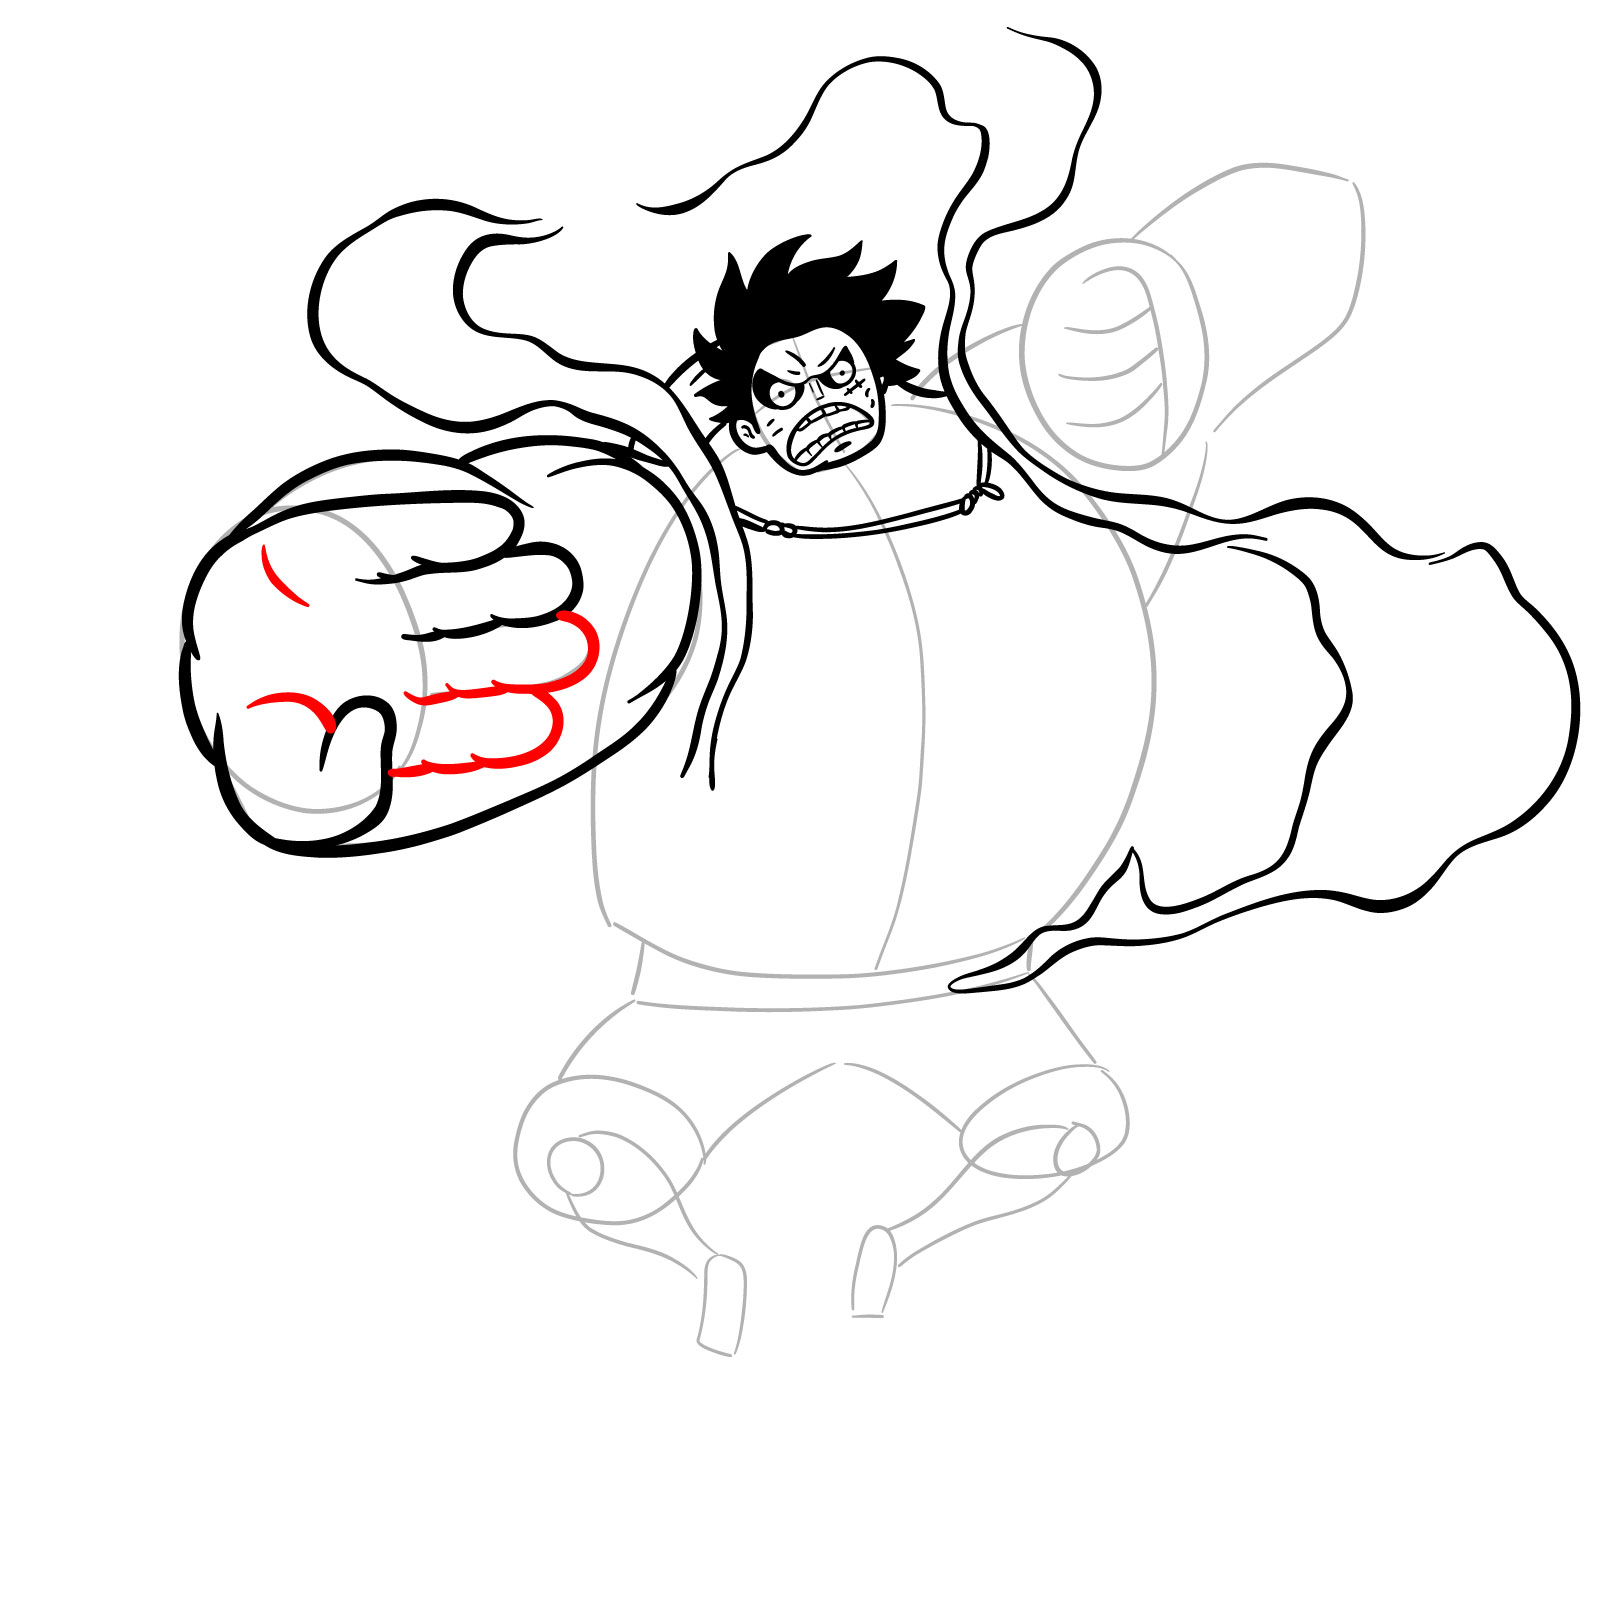
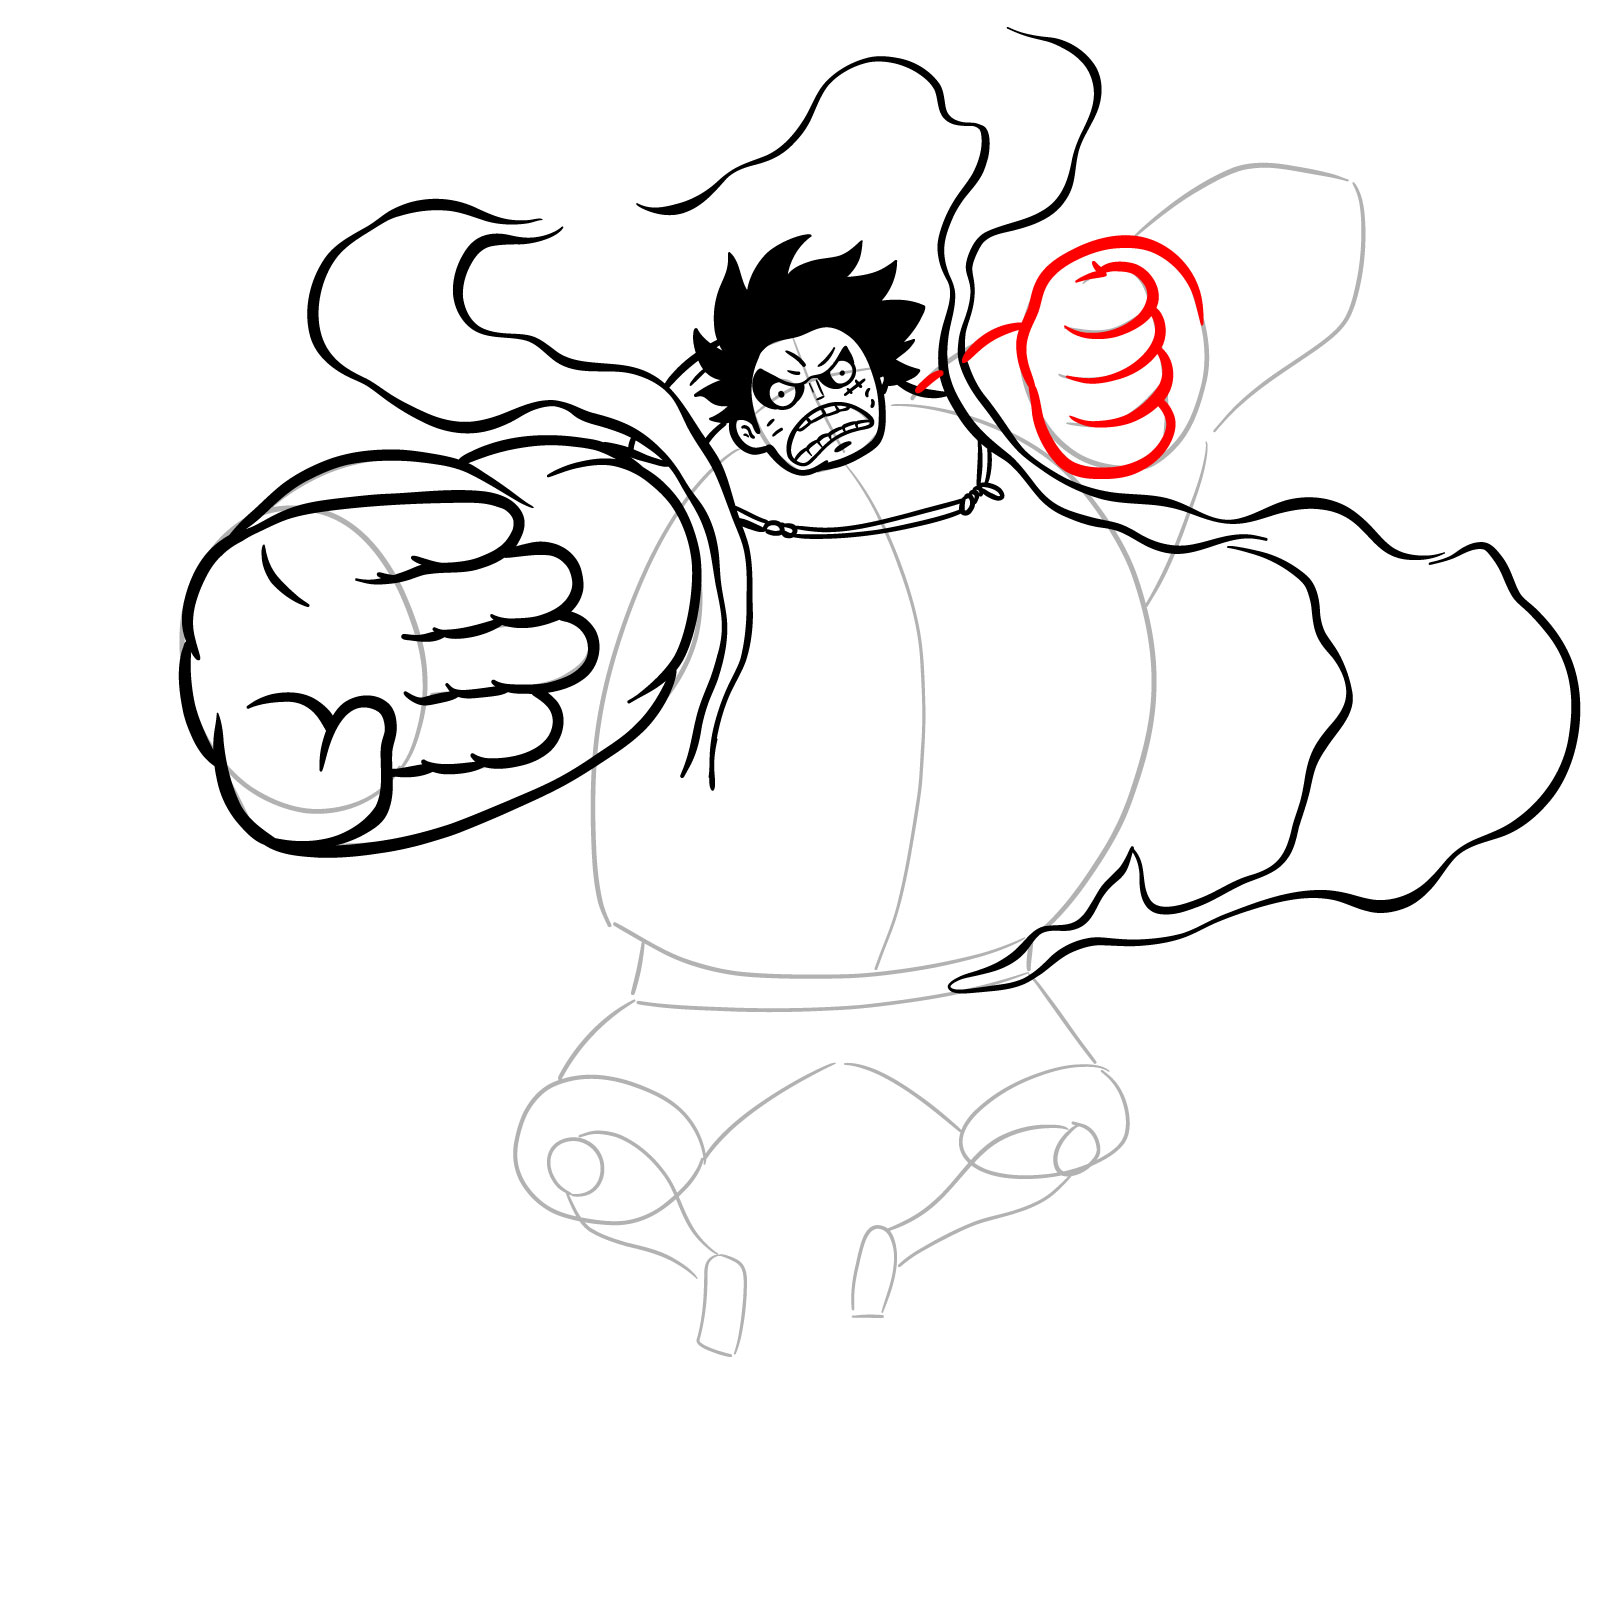
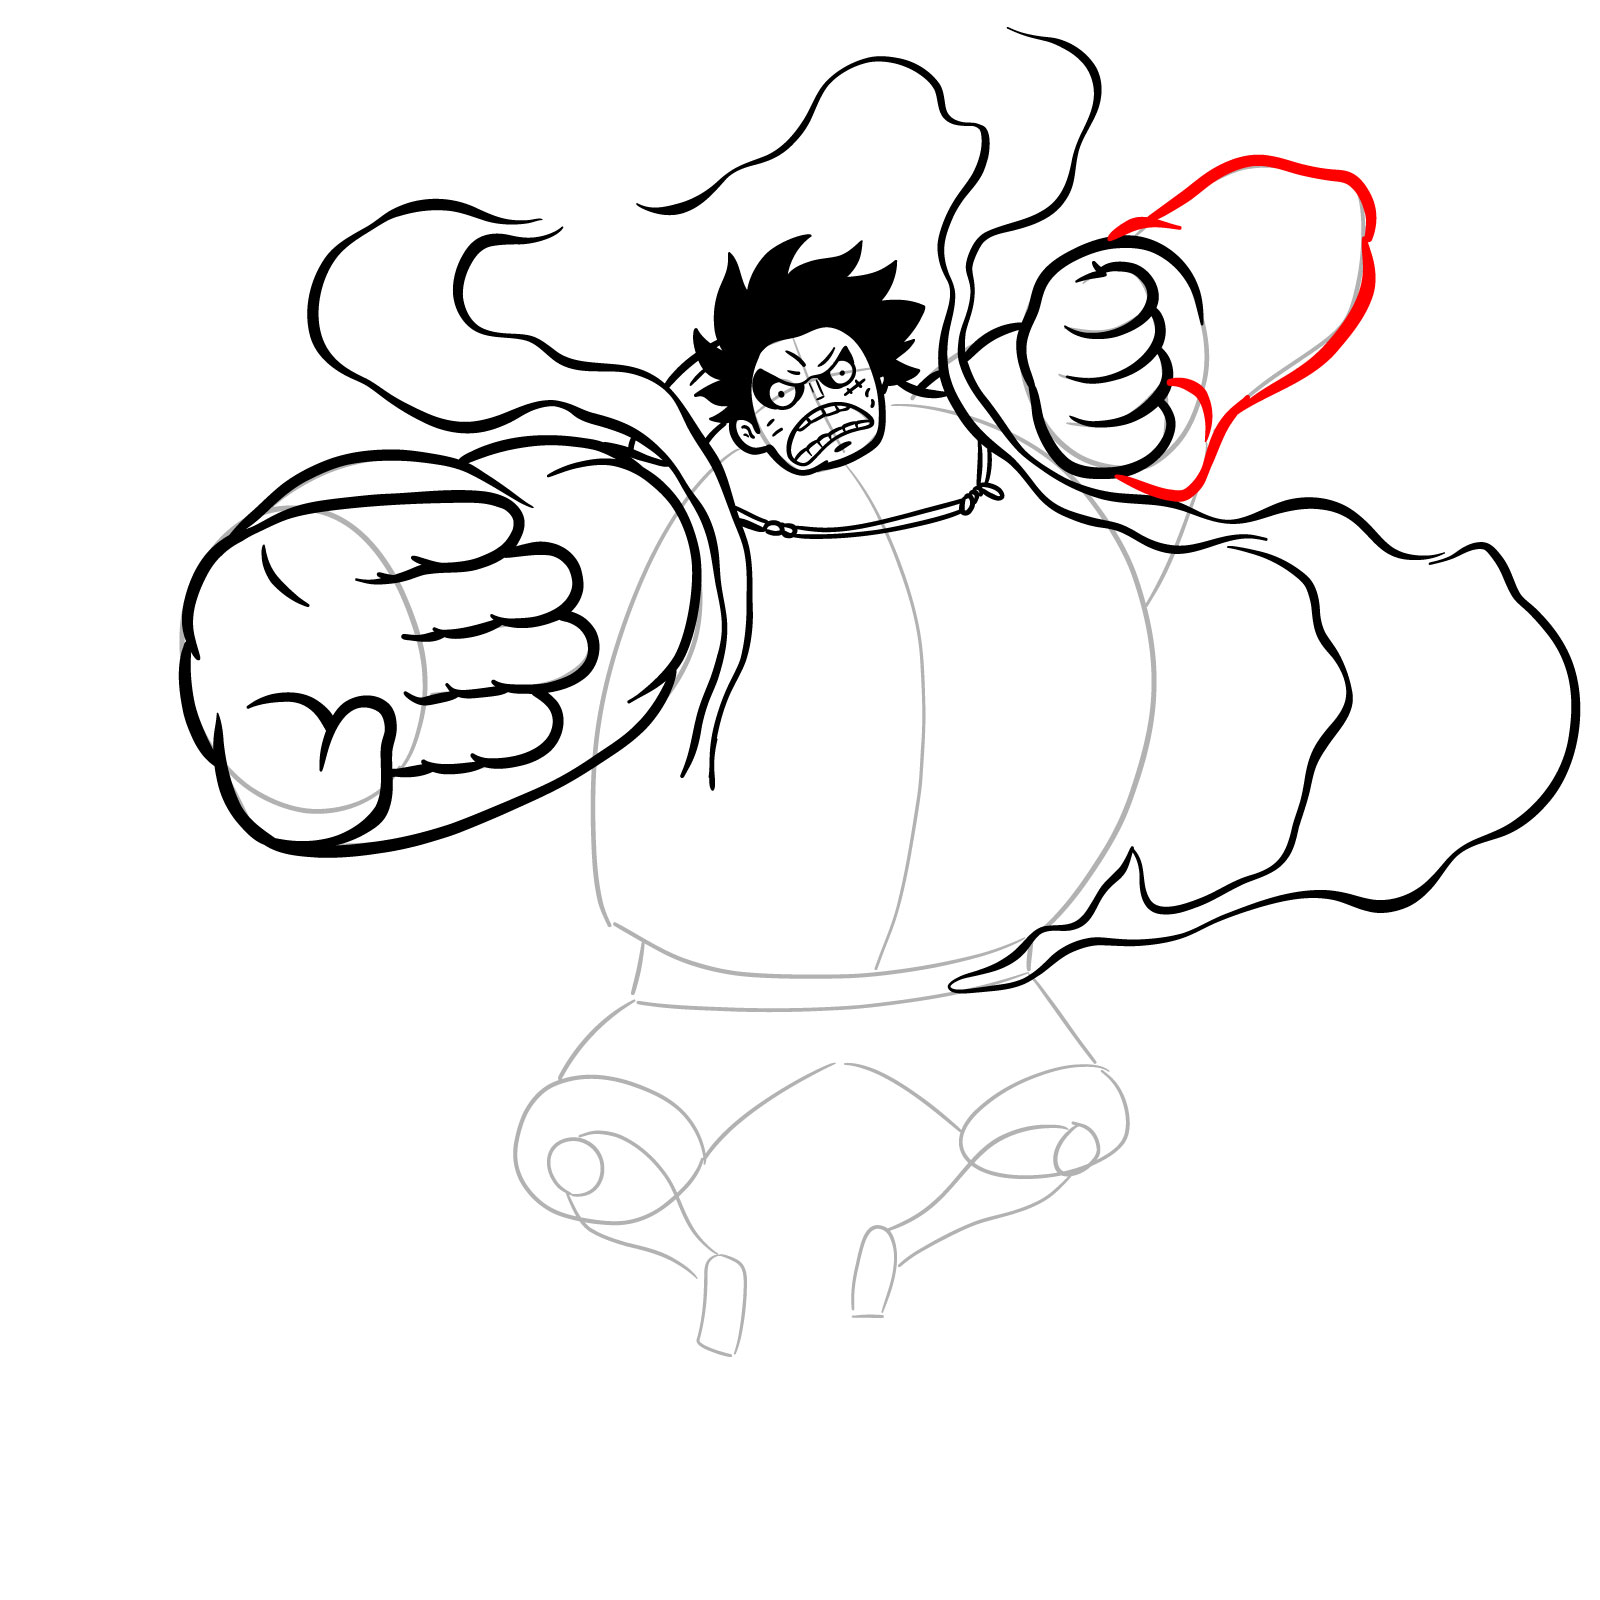
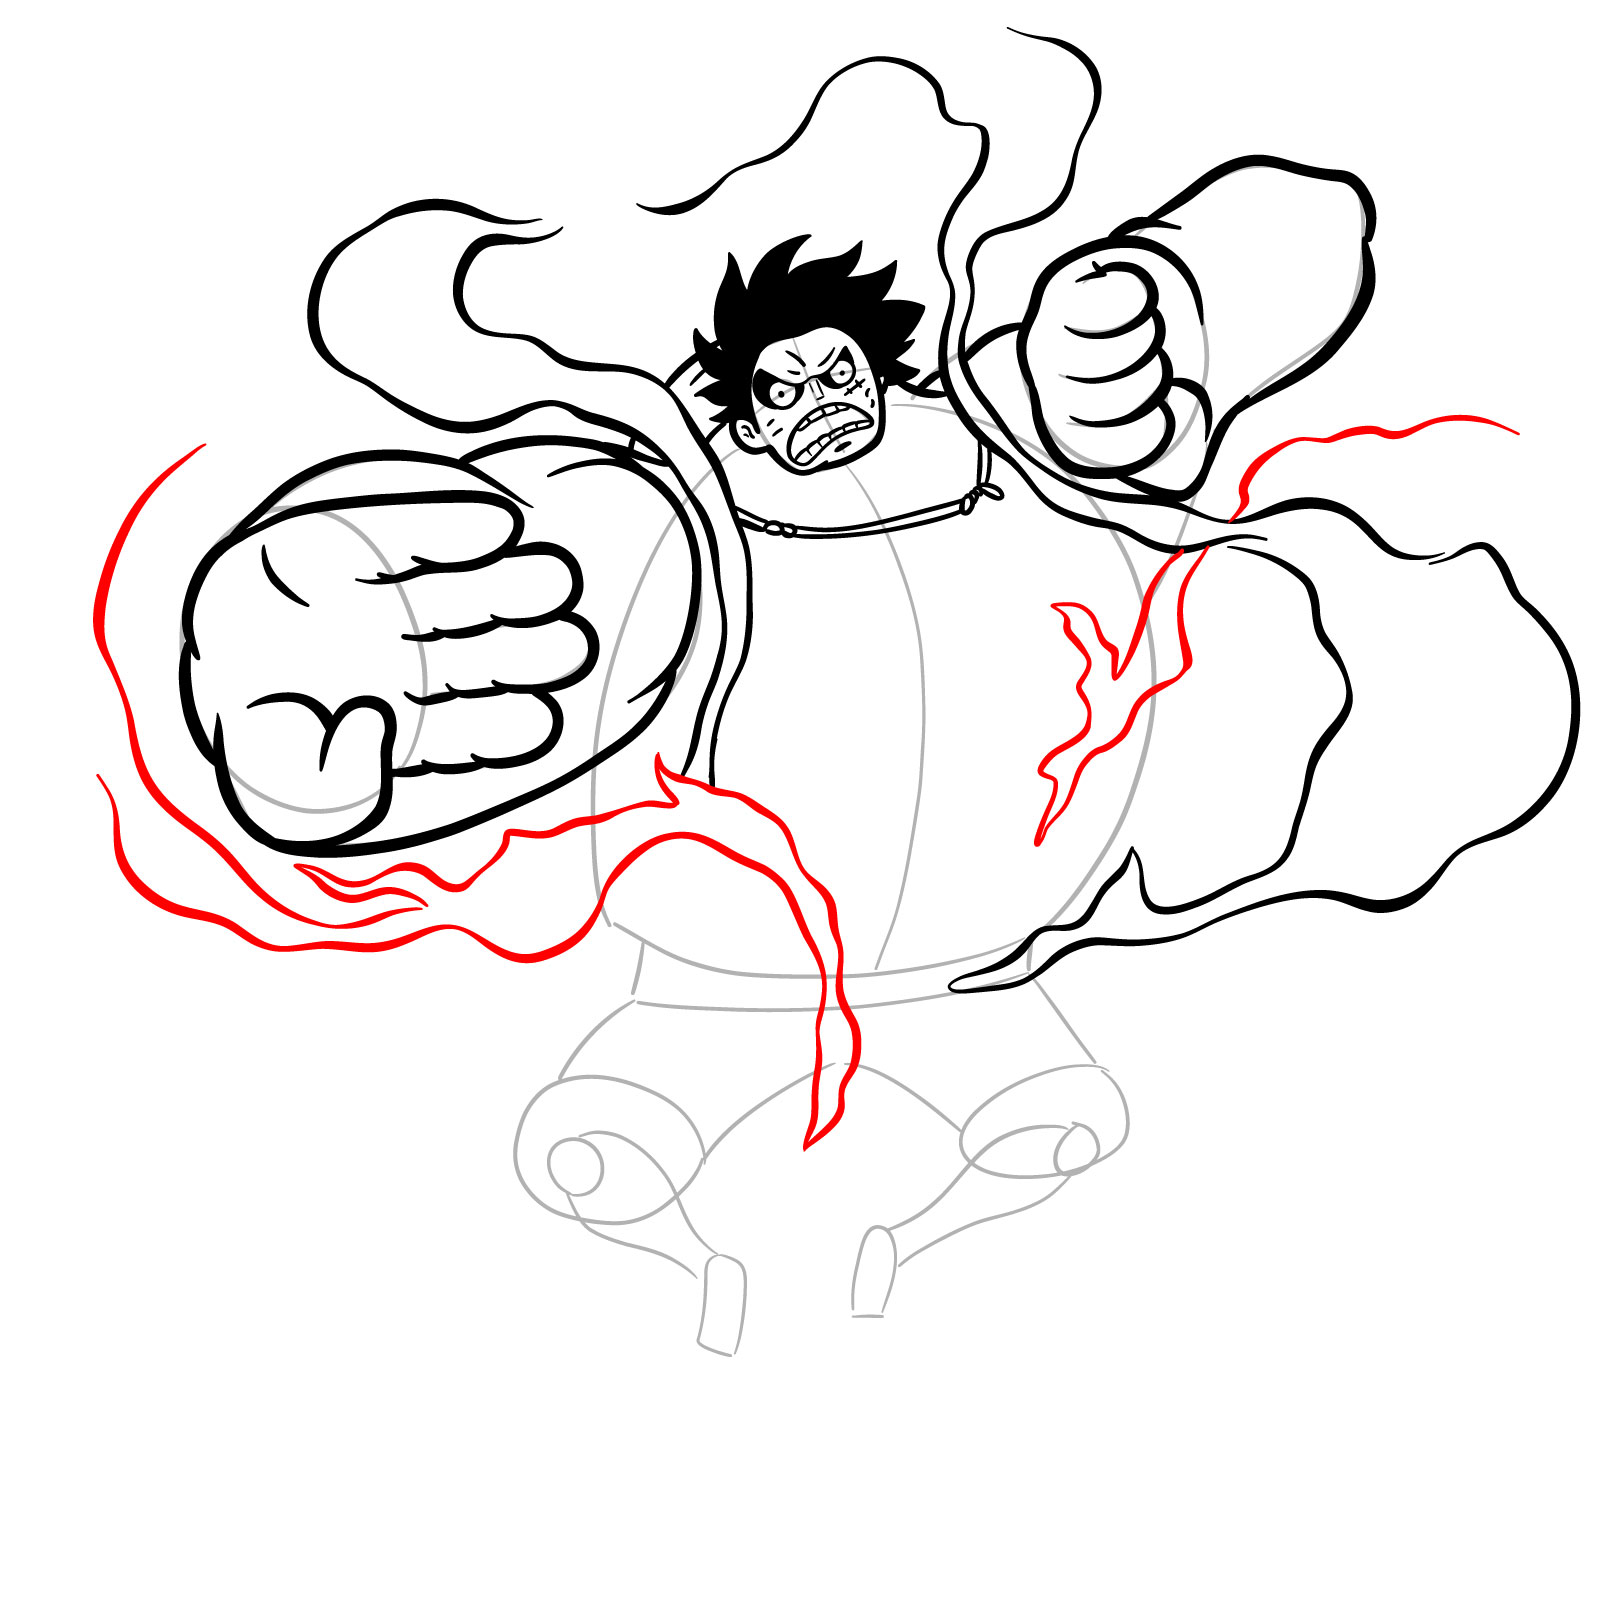
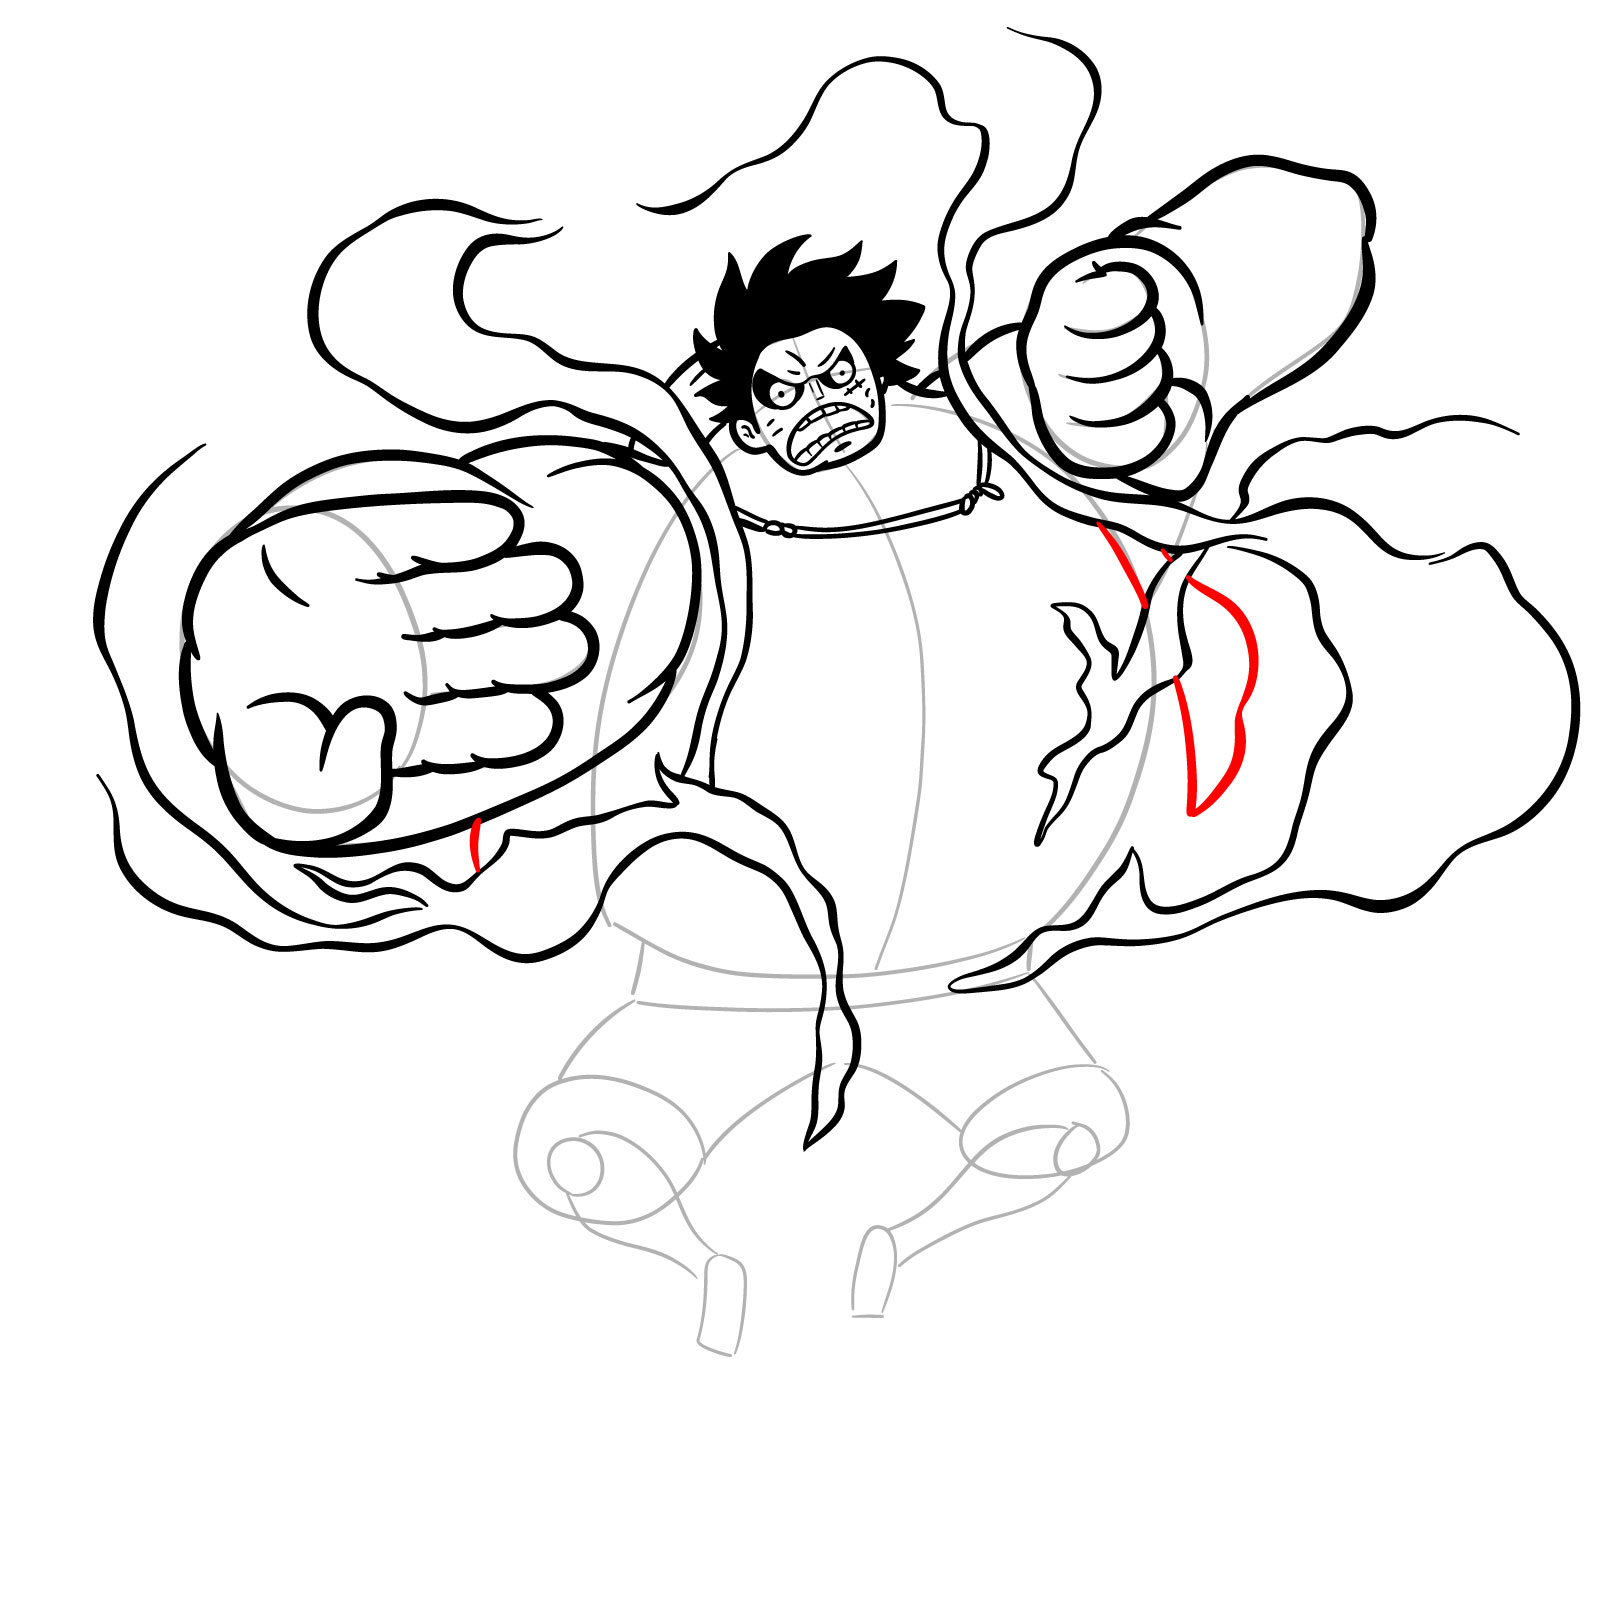
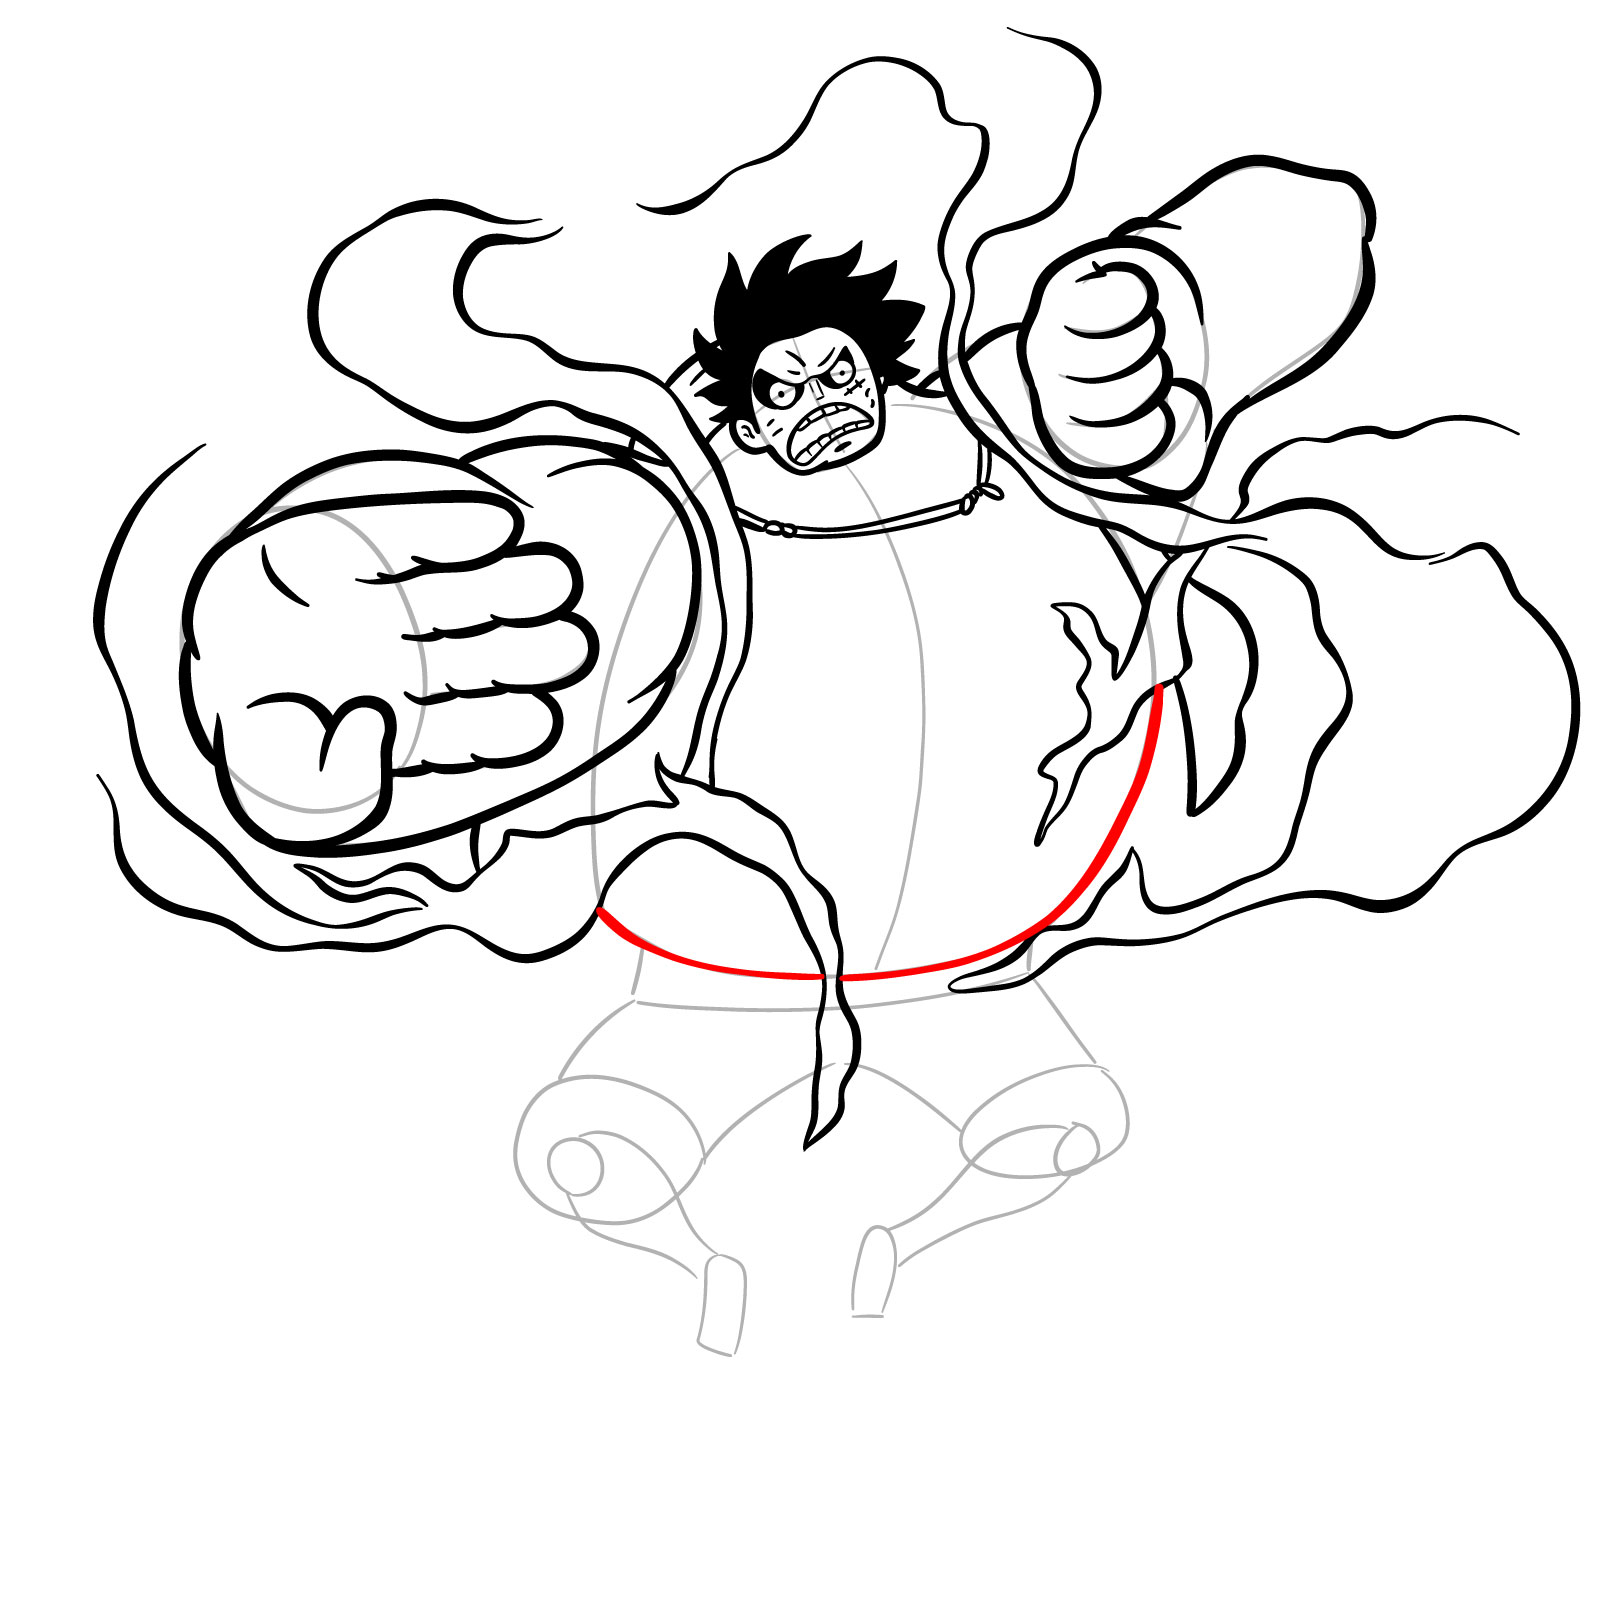
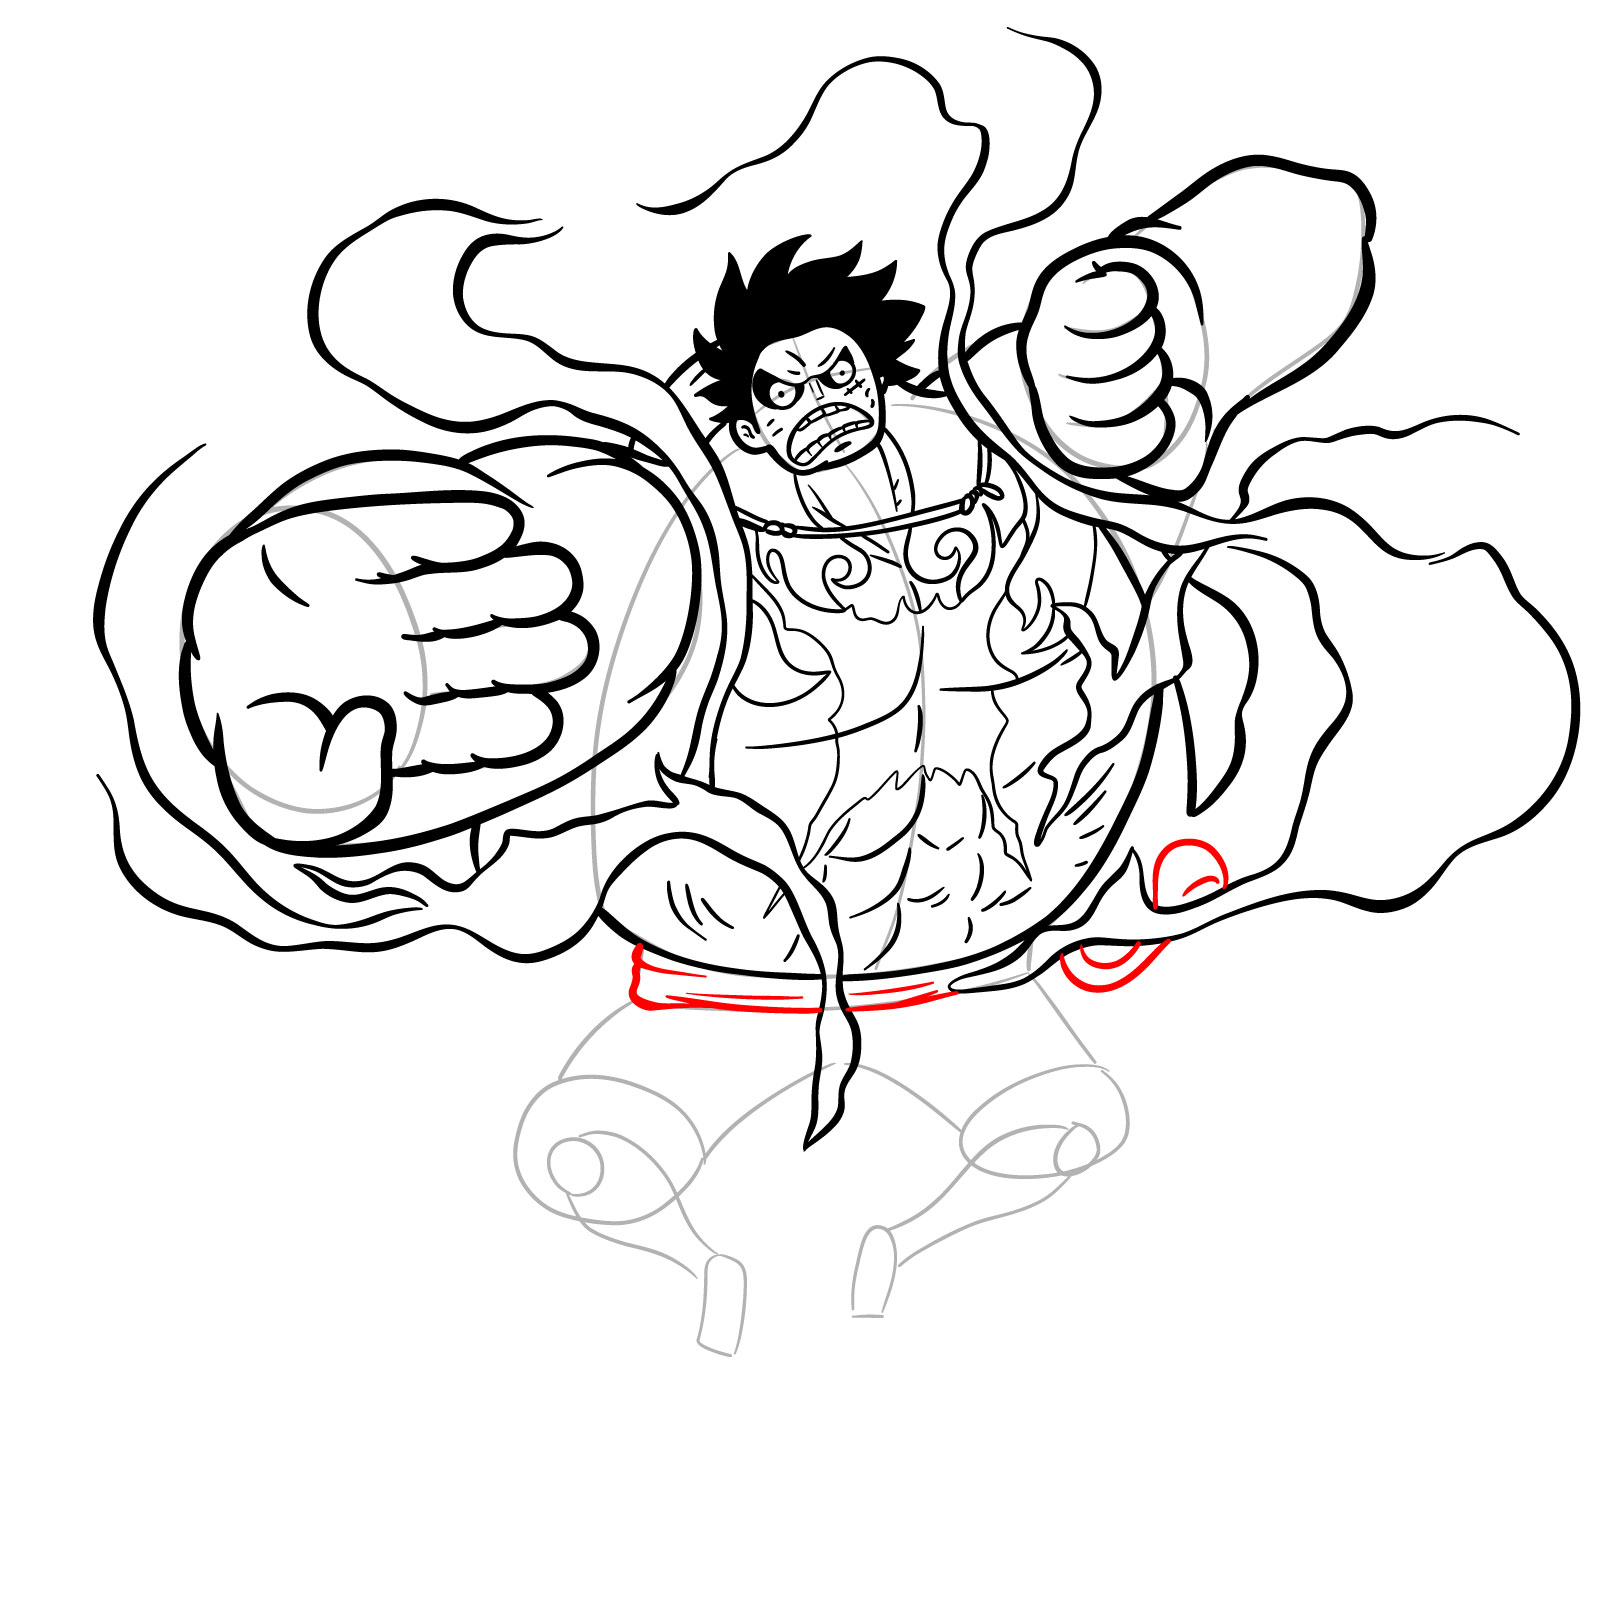
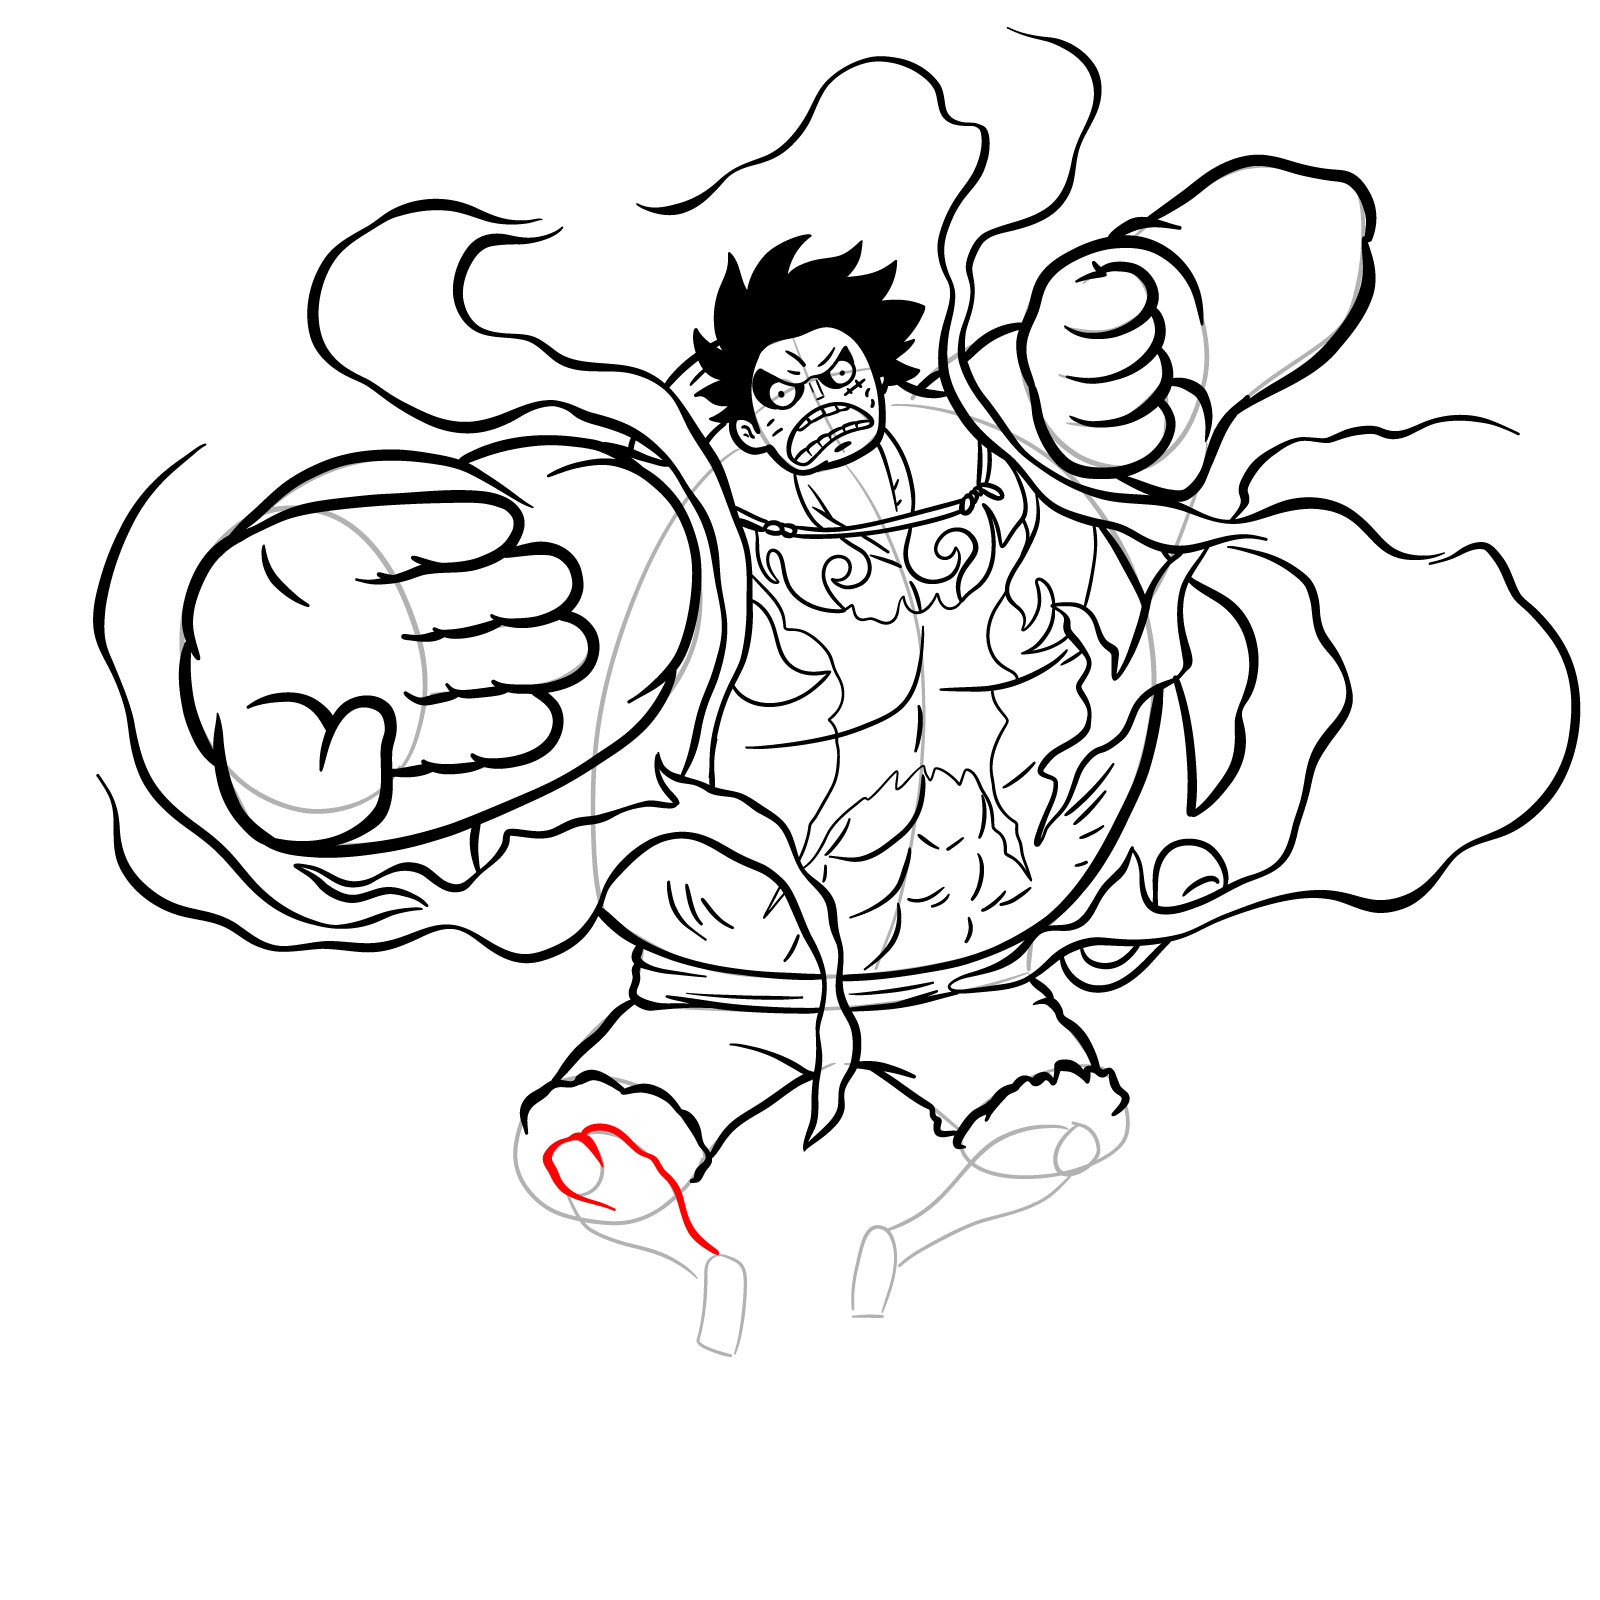
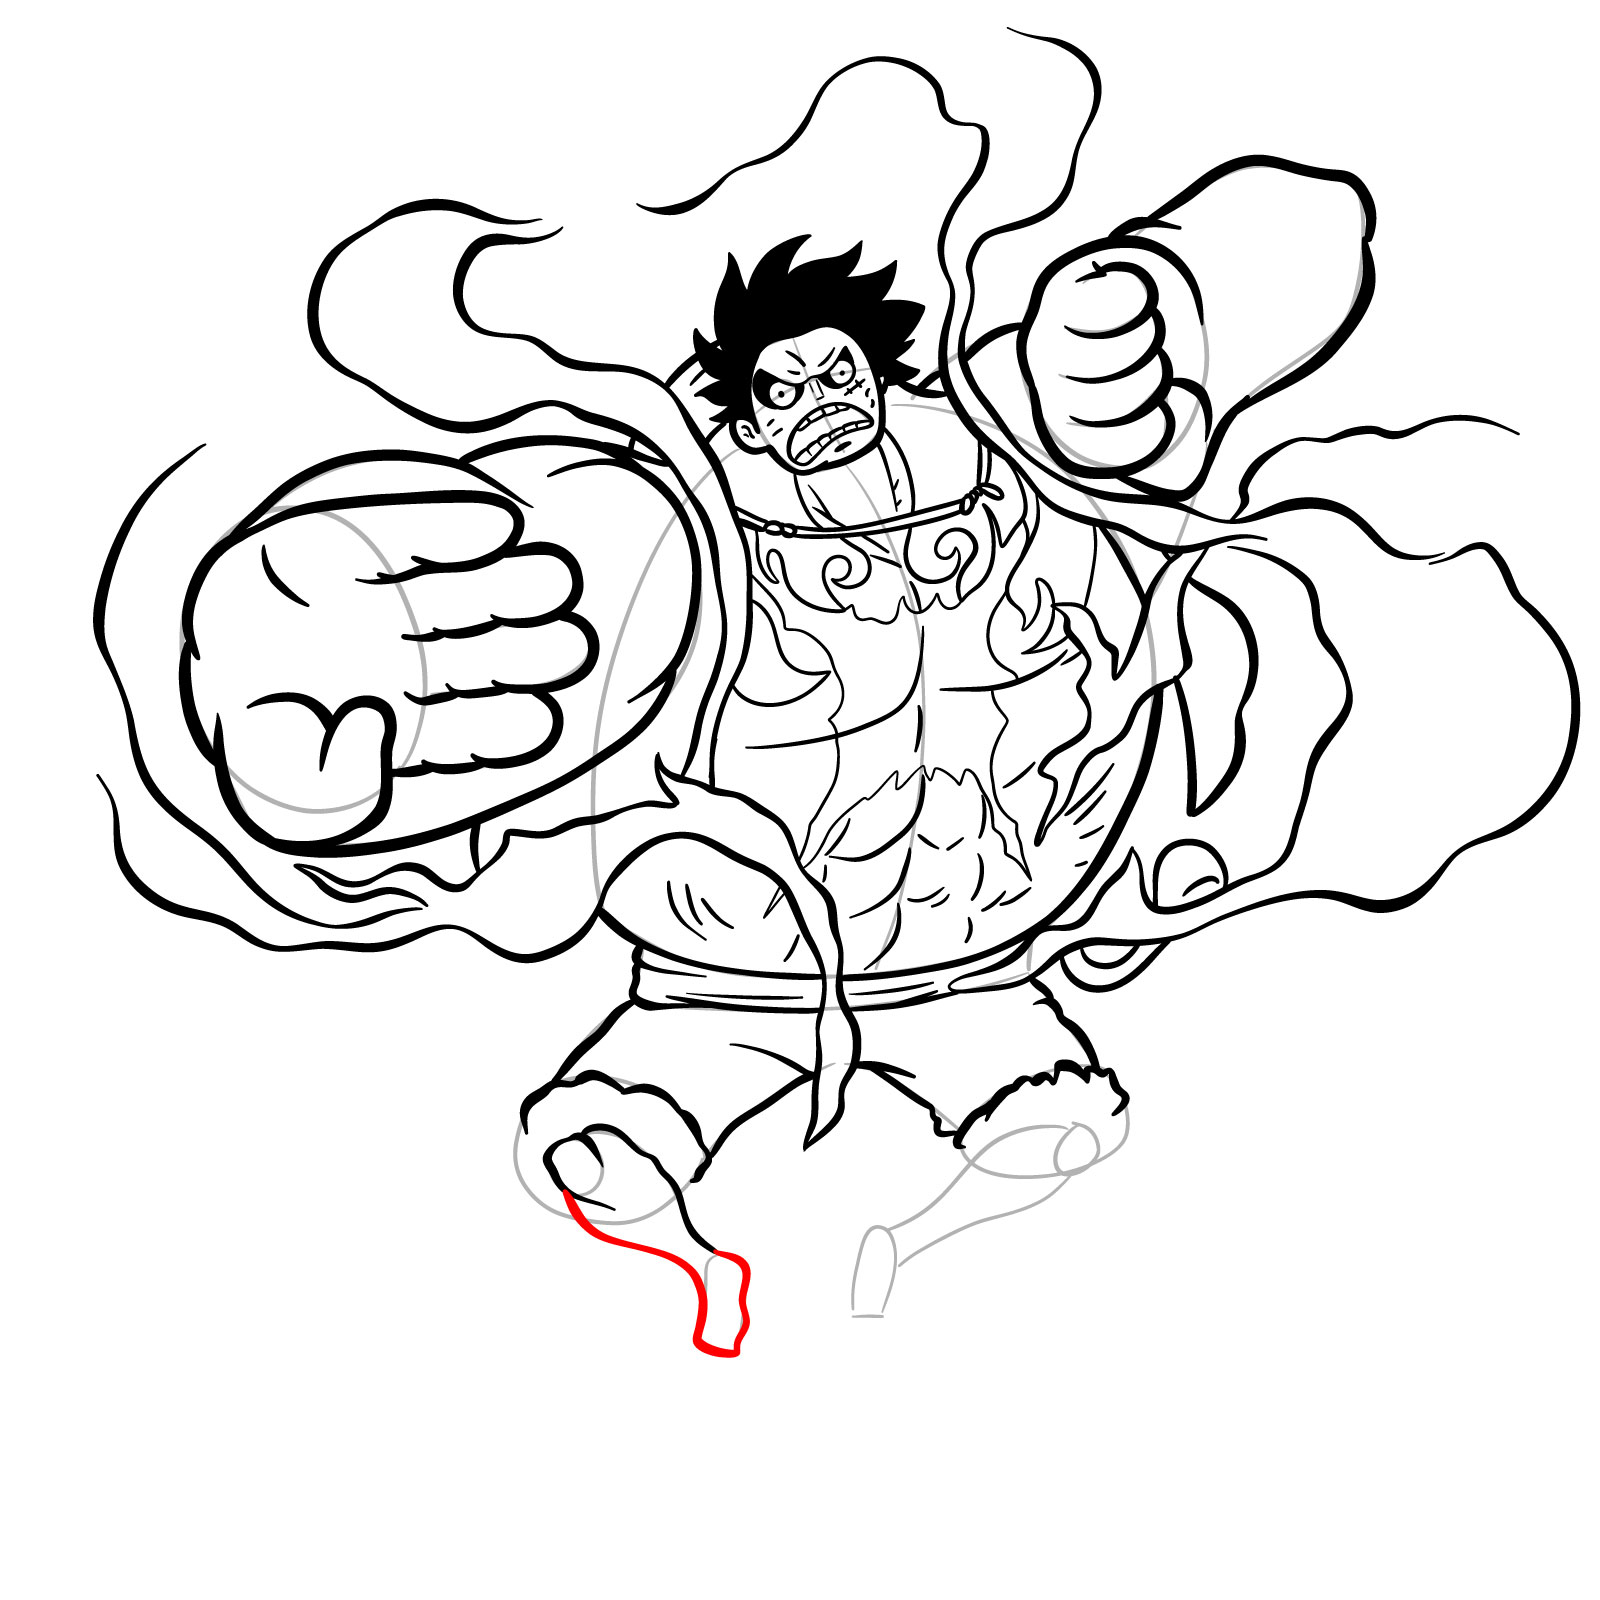
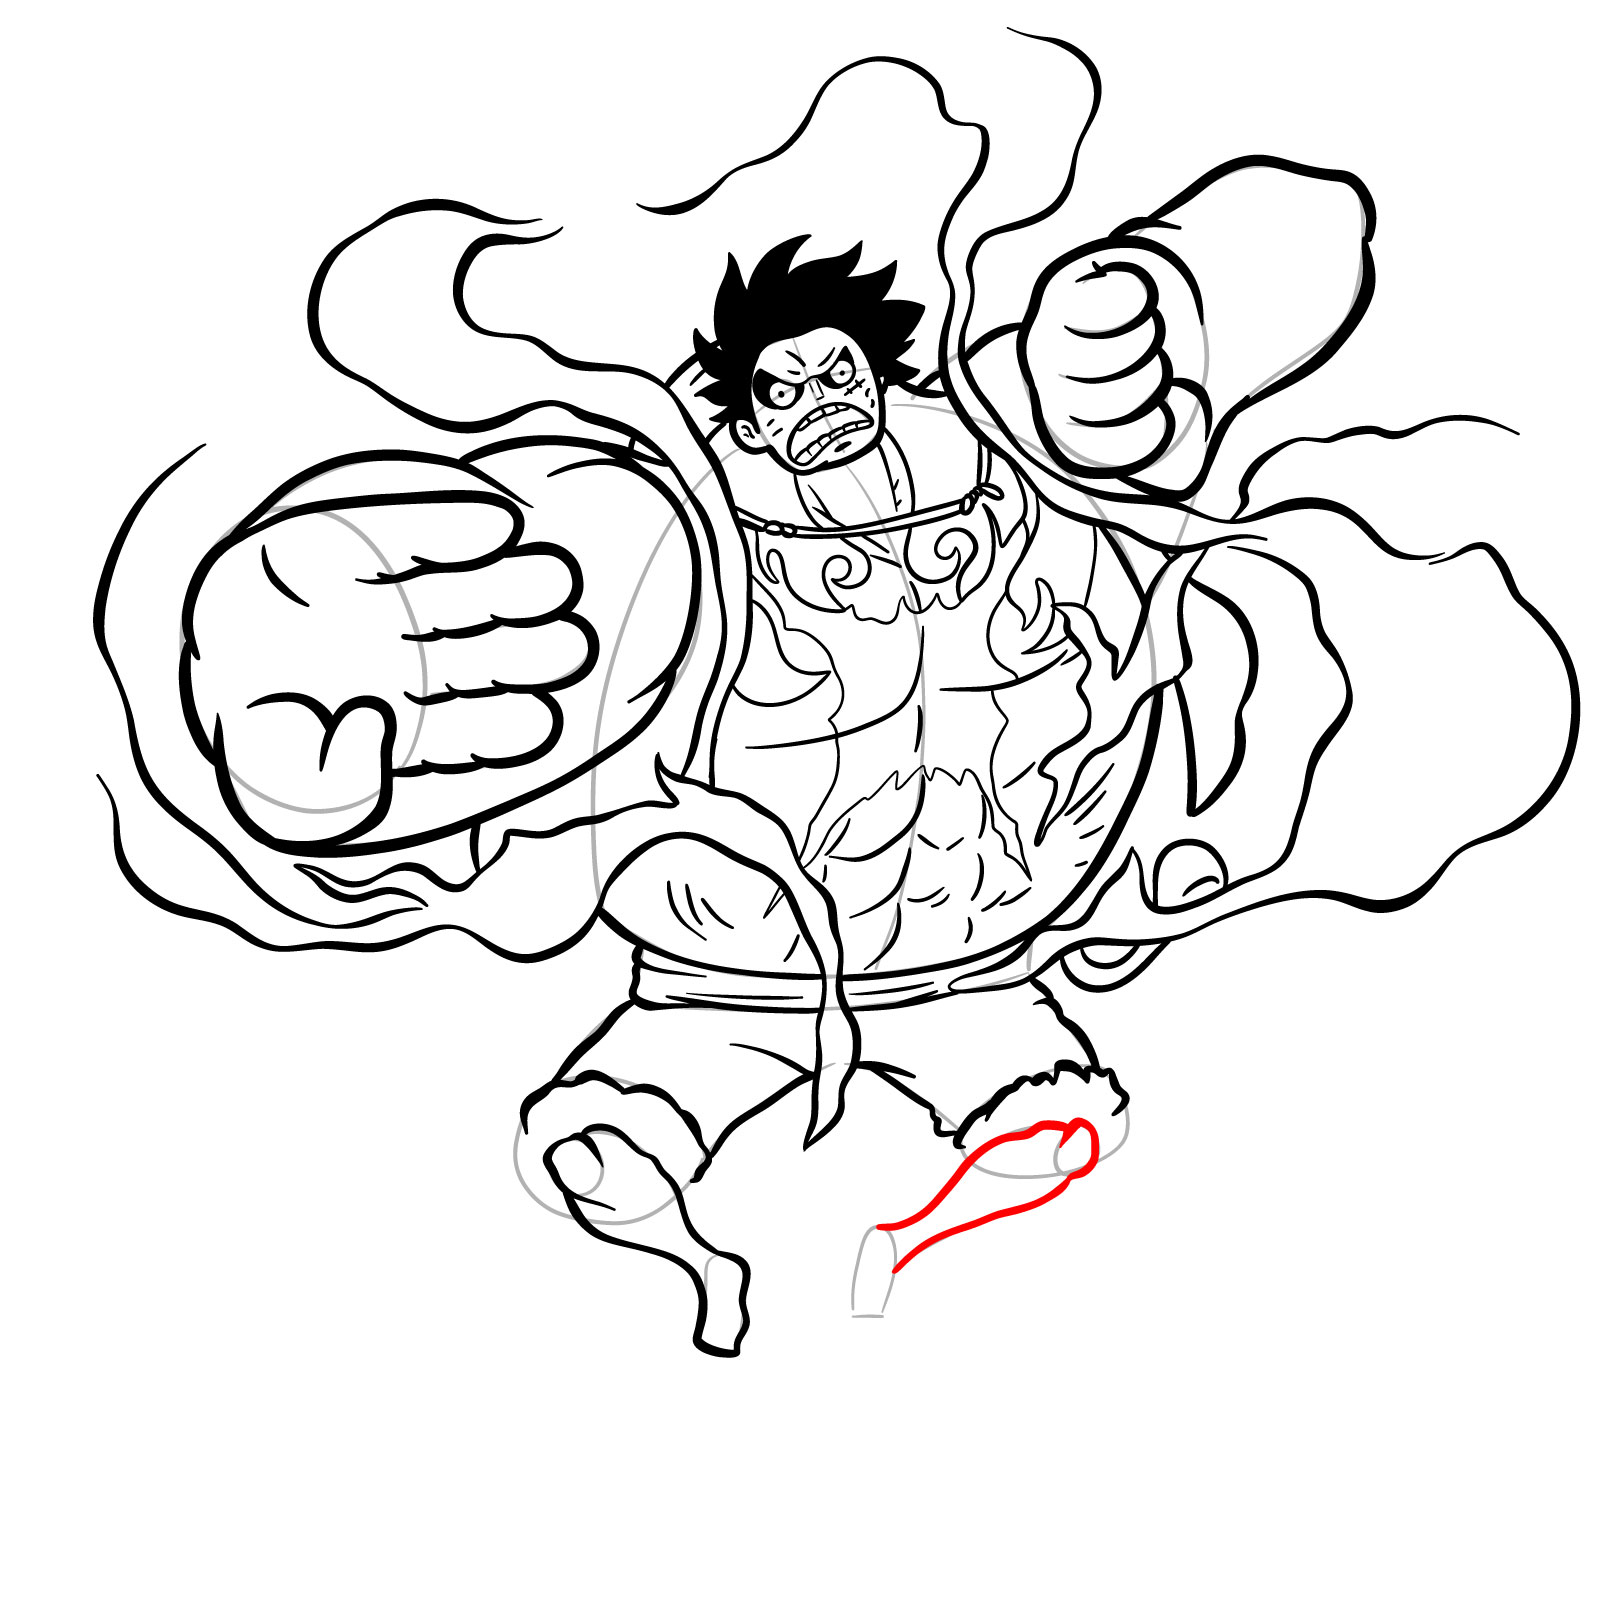
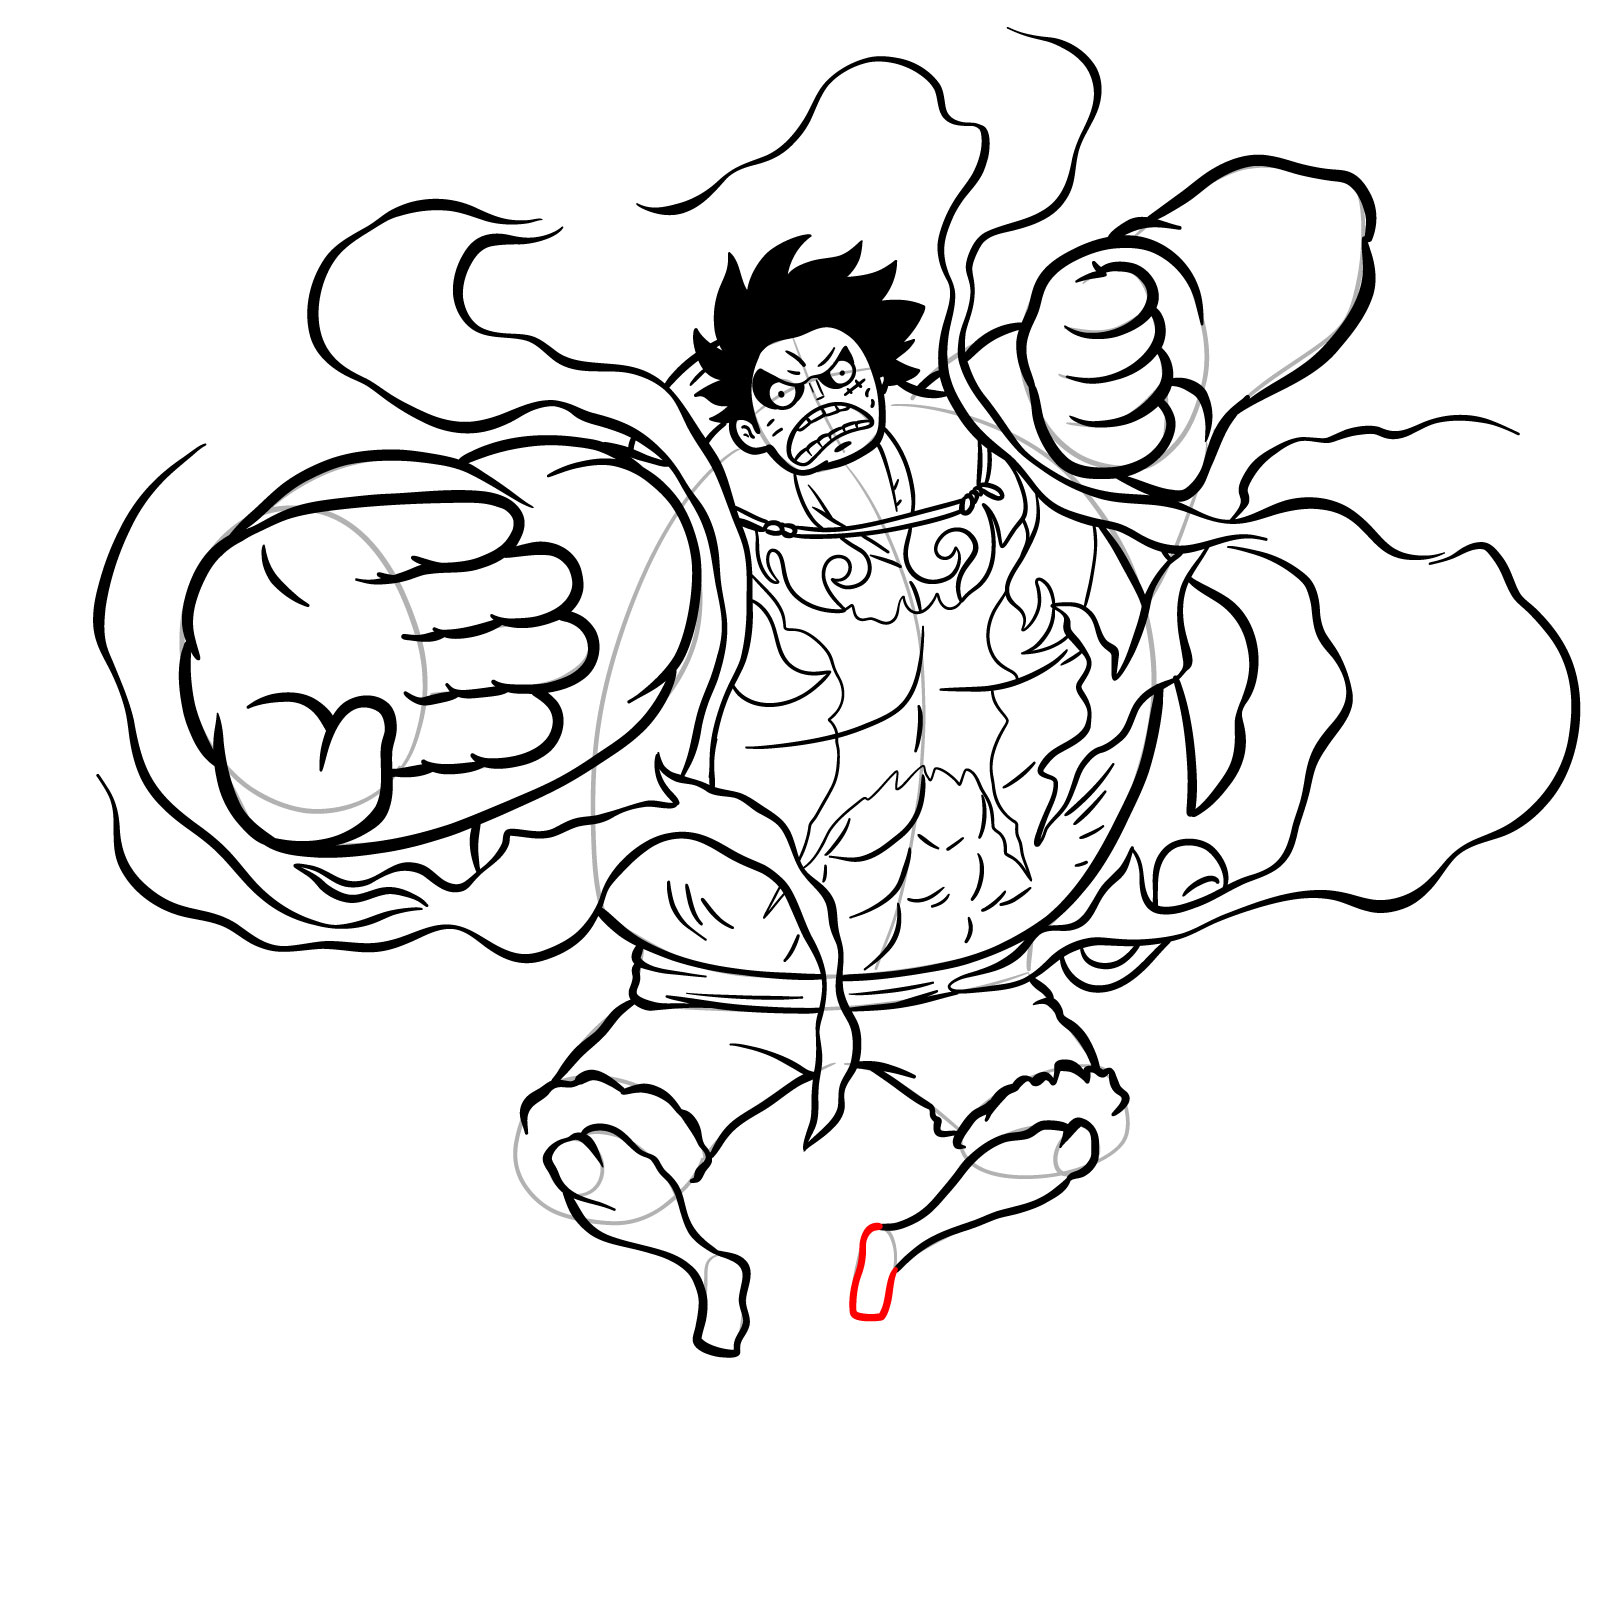
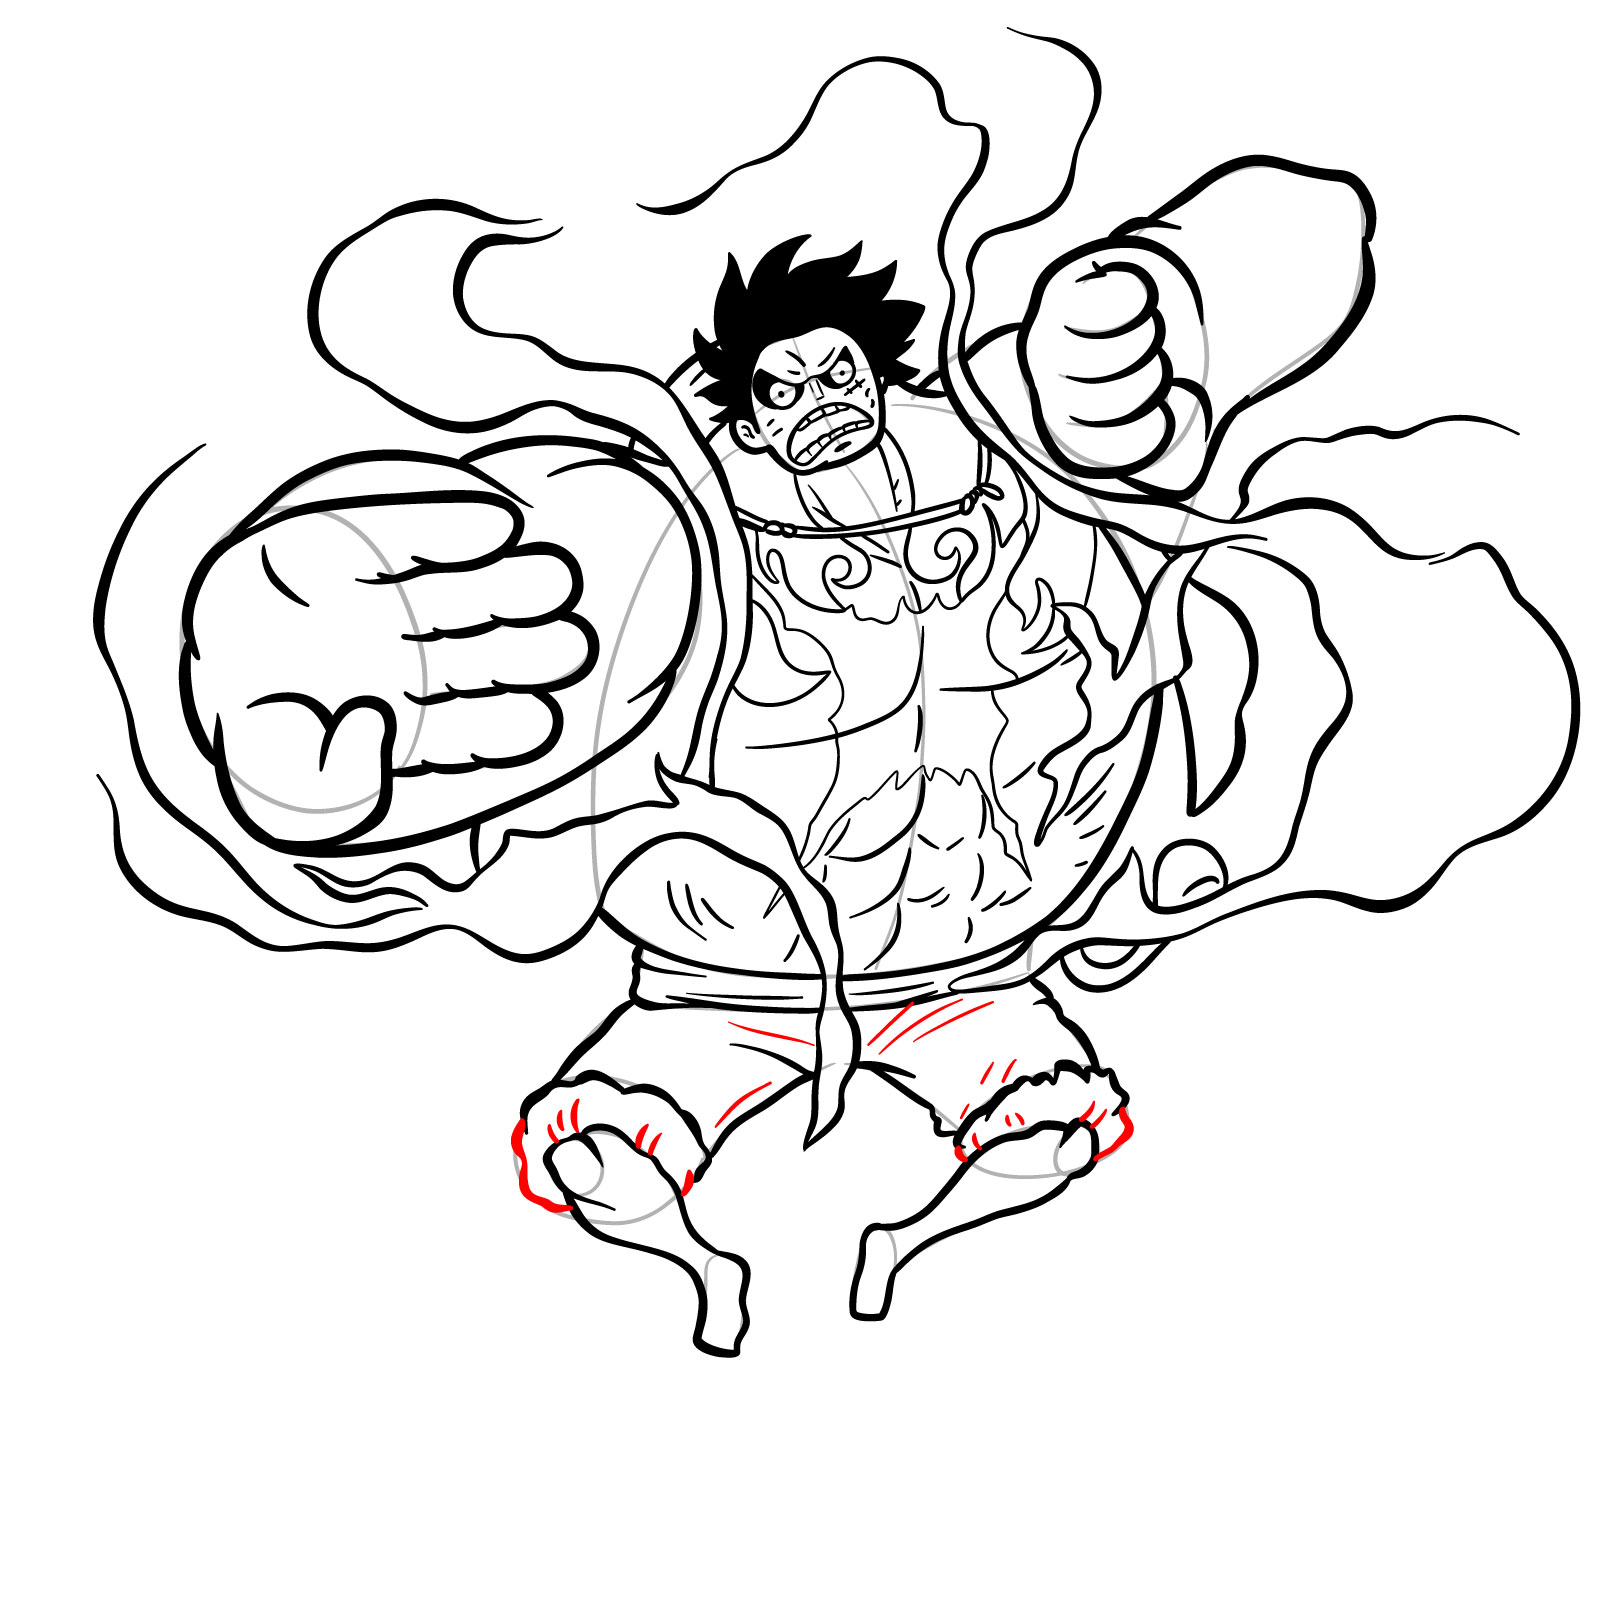
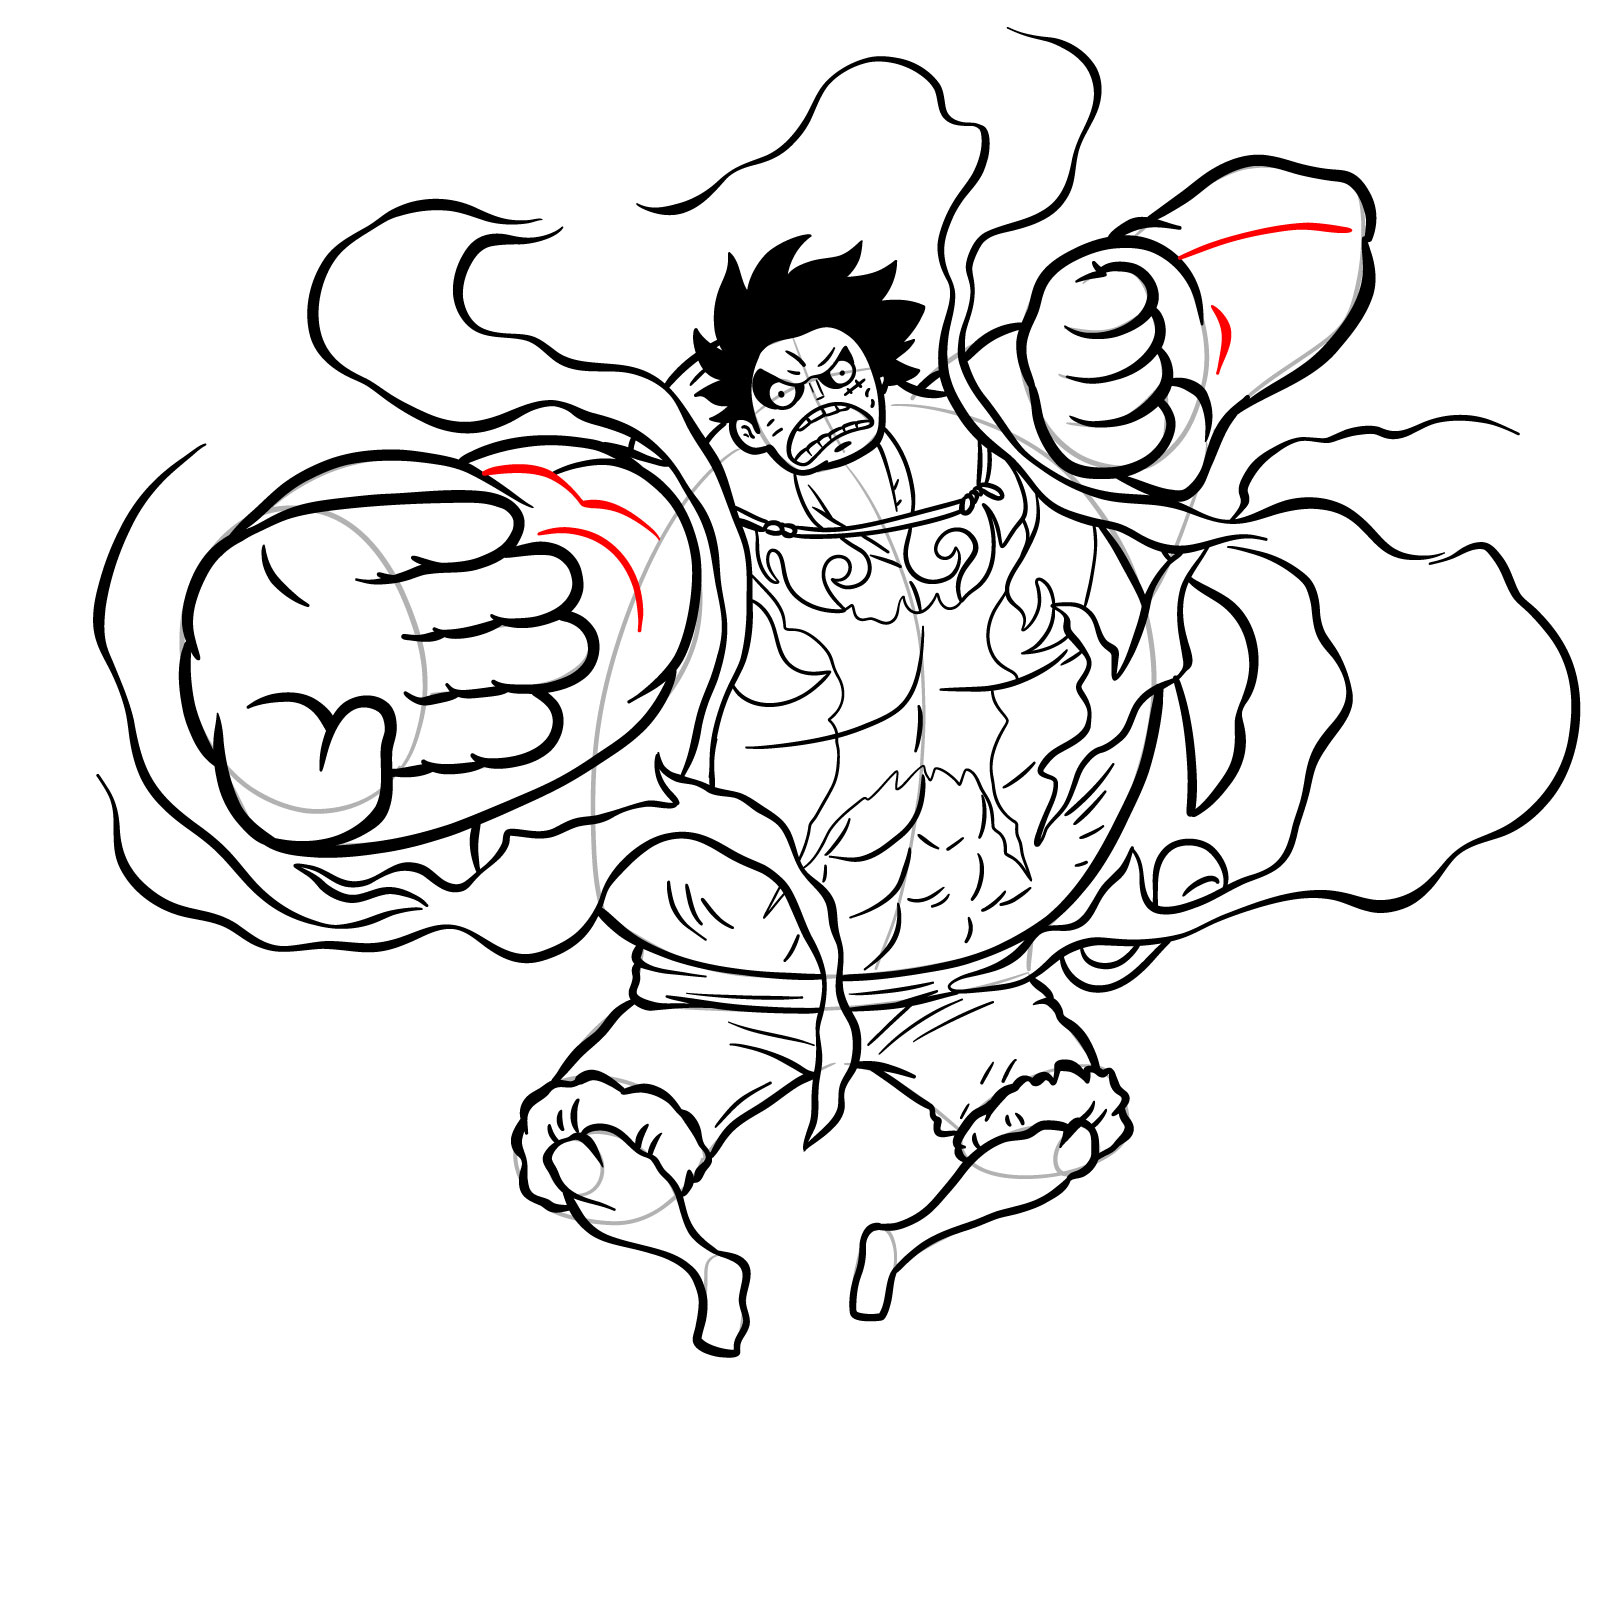
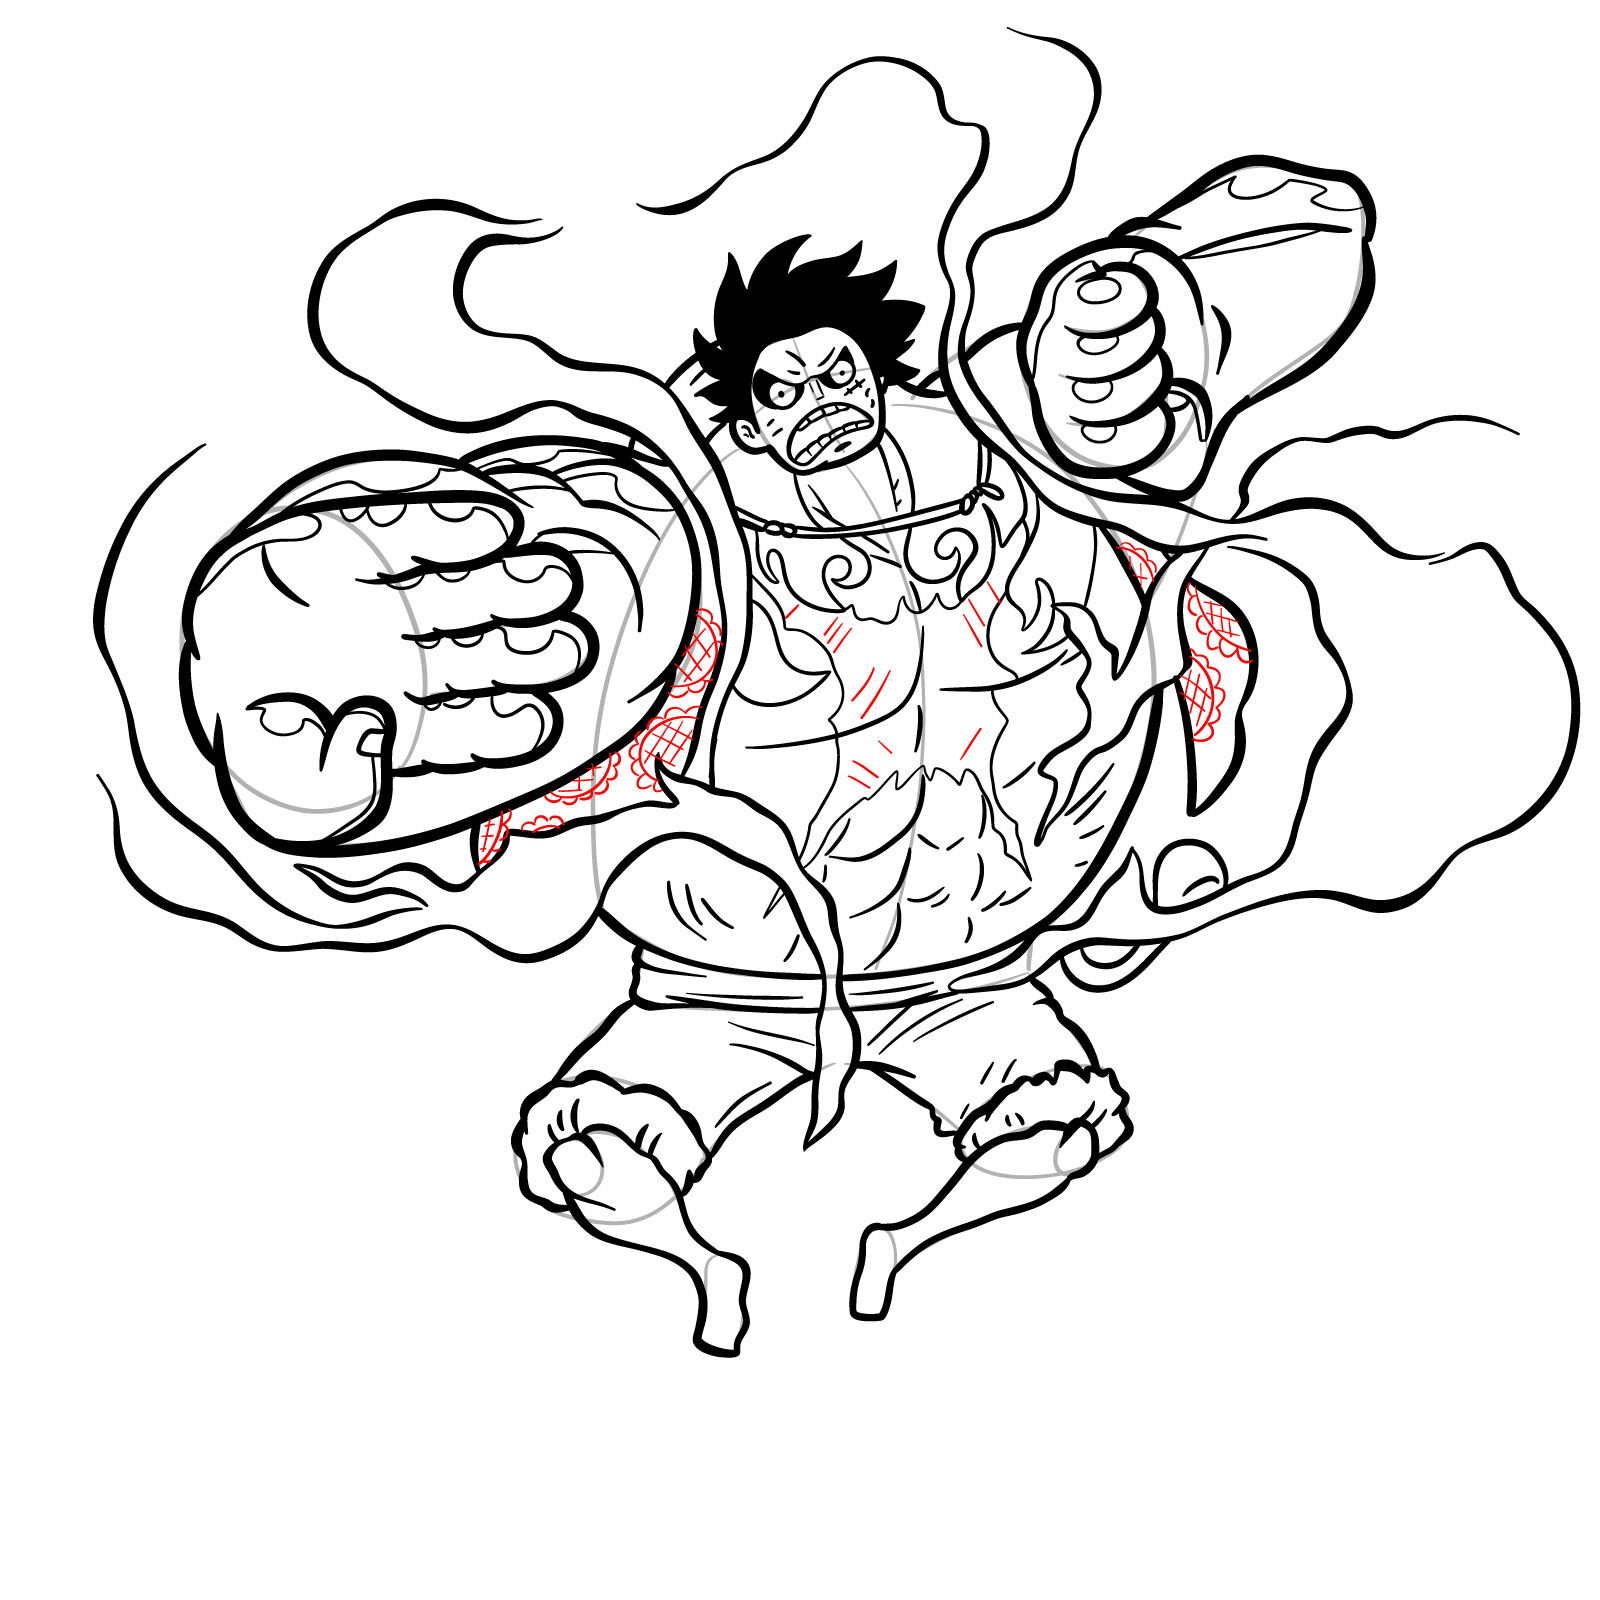
  • Red Color: Represents the current step in your drawing journey.
  • Black Color: Highlights the previously drawn lines that you should have in place.
  • Grey Color: Denotes the basic sketch, giving you a roadmap to understand proportions and placements.

This guide contains 37 comprehensive steps. The initial phase will help you sketch the basic structure using light strokes. Once the basic structure is in place, you can then proceed to add details, refine the sketch, and bring Luffy to life. To top it all off, the last stage allows artists to ink their sketches. Once inked, make sure to wait for it to dry completely before erasing the pencil marks to give your drawing a crisp, finished look.
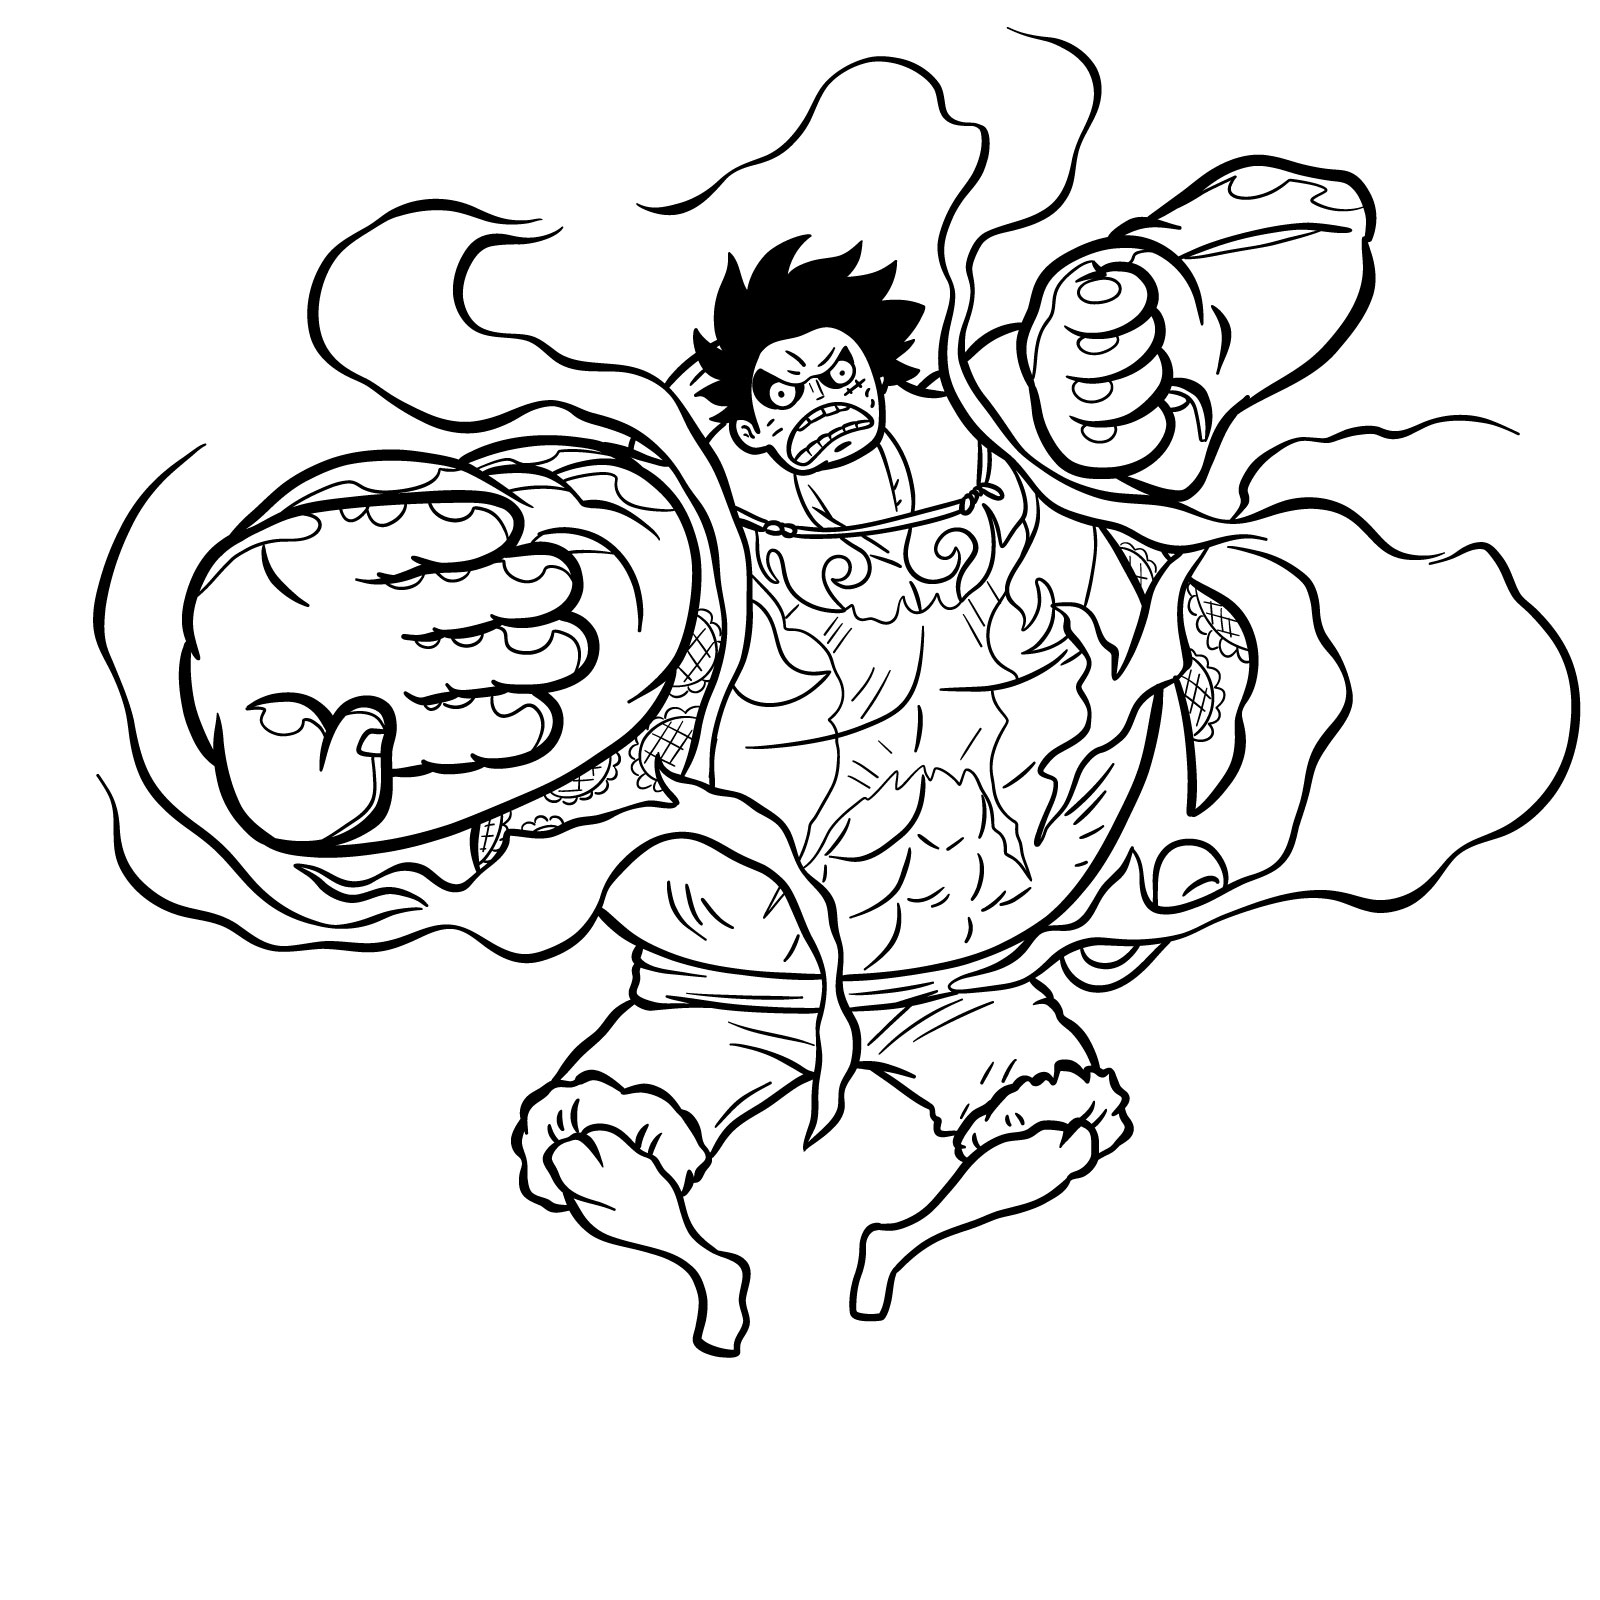
Step 01

How to Draw Luffy in Gear 4 Bounceman - step 01Pin

Step 02

How to Draw Luffy in Gear 4 Bounceman - step 02Pin

Step 03

How to Draw Luffy in Gear 4 Bounceman - step 03Pin

Step 04

How to Draw Luffy in Gear 4 Bounceman - step 04Pin

Step 05

How to Draw Luffy in Gear 4 Bounceman - step 05Pin

Step 06

How to Draw Luffy in Gear 4 Bounceman - step 06Pin

Step 07

How to Draw Luffy in Gear 4 Bounceman - step 07Pin

Step 08

How to Draw Luffy in Gear 4 Bounceman - step 08Pin

Step 09

How to Draw Luffy in Gear 4 Bounceman - step 09Pin

Step 10

How to Draw Luffy in Gear 4 Bounceman - step 10Pin

Step 11

How to Draw Luffy in Gear 4 Bounceman - step 11Pin

Step 12

How to Draw Luffy in Gear 4 Bounceman - step 12Pin

Step 13

How to Draw Luffy in Gear 4 Bounceman - step 13Pin

Step 14

How to Draw Luffy in Gear 4 Bounceman - step 14Pin

Step 15

How to Draw Luffy in Gear 4 Bounceman - step 15Pin

Step 16

How to Draw Luffy in Gear 4 Bounceman - step 16Pin

Step 17

How to Draw Luffy in Gear 4 Bounceman - step 17Pin

Step 18

How to Draw Luffy in Gear 4 Bounceman - step 18Pin

Step 19

How to Draw Luffy in Gear 4 Bounceman - step 19Pin

Step 20

How to Draw Luffy in Gear 4 Bounceman - step 20Pin

Step 21

How to Draw Luffy in Gear 4 Bounceman - step 21Pin

Step 22

How to Draw Luffy in Gear 4 Bounceman - step 22Pin

Step 23

How to Draw Luffy in Gear 4 Bounceman - step 23Pin

Step 24

How to Draw Luffy in Gear 4 Bounceman - step 24Pin

Step 25

How to Draw Luffy in Gear 4 Bounceman - step 25Pin

Step 26

How to Draw Luffy in Gear 4 Bounceman - step 26Pin

Step 27

How to Draw Luffy in Gear 4 Bounceman - step 27Pin

Step 28

How to Draw Luffy in Gear 4 Bounceman - step 28Pin

Step 29

How to Draw Luffy in Gear 4 Bounceman - step 29Pin

Step 30

How to Draw Luffy in Gear 4 Bounceman - step 30Pin

Step 31

How to Draw Luffy in Gear 4 Bounceman - step 31Pin

Step 32

How to Draw Luffy in Gear 4 Bounceman - step 32Pin

Step 33

How to Draw Luffy in Gear 4 Bounceman - step 33Pin

Step 34

How to Draw Luffy in Gear 4 Bounceman - step 34Pin

Step 35

How to Draw Luffy in Gear 4 Bounceman - step 35Pin

Step 36

How to Draw Luffy in Gear 4 Bounceman - step 36Pin

Step 37

How to Draw Luffy in Gear 4 Bounceman - final stepPin

Frequently Asked Questions

What’s the best technique to sketch Luffy’s powerful techniques like Kong Gun?

The essence of the Kong Gun technique lies in Luffy’s enlarged forearm and the cannon-like representation. Begin with the forearm, focusing on its exaggerated proportions. Add the nuances like the compressed fist and follow it up with the detailing that emphasizes its immense power.

How can I capture Luffy’s intense expression in the Gear 4 Bounceman form?

Expressions play a crucial role in capturing the essence of Luffy’s Gear 4 form. Pay close attention to the eyes; they should reflect determination and intensity. The eyebrows, frowning, add to the drama. The tension in his facial muscles, especially around the mouth, further accentuates his focused demeanor.

How should I approach the detailing in Gear 4’s unique techniques?

Each technique, like the Rhino Schneider or King Kong Gun, has unique elements. Break the technique down into primary shapes and forms, then gradually build upon these basics. Always keep the source of power and direction of movement in mind, adding lines and shades that emphasize this.

Congratulations on reaching the end of this guide on how to draw Luffy in Gear 4 Bounceman! Your journey to mastering the pencil and bringing iconic characters to life is a testament to your passion and dedication. If you enjoyed this tutorial and want to support SketchOk further, you can donate here. Your donations not only help sustain these tutorials but also allow you to suggest topics for future guides, which will be prioritized. Your contribution is a step towards ensuring fellow artists get access to quality resources.

Did you like the tutorial?

You can support the author of this website and also suggest your own ideas for new drawings by making a small donation here:

Leave a Comment

168