Home » Anime » One Piece » How to Draw Luffy Gear 5 side view

How to Draw Luffy Gear 5 side view

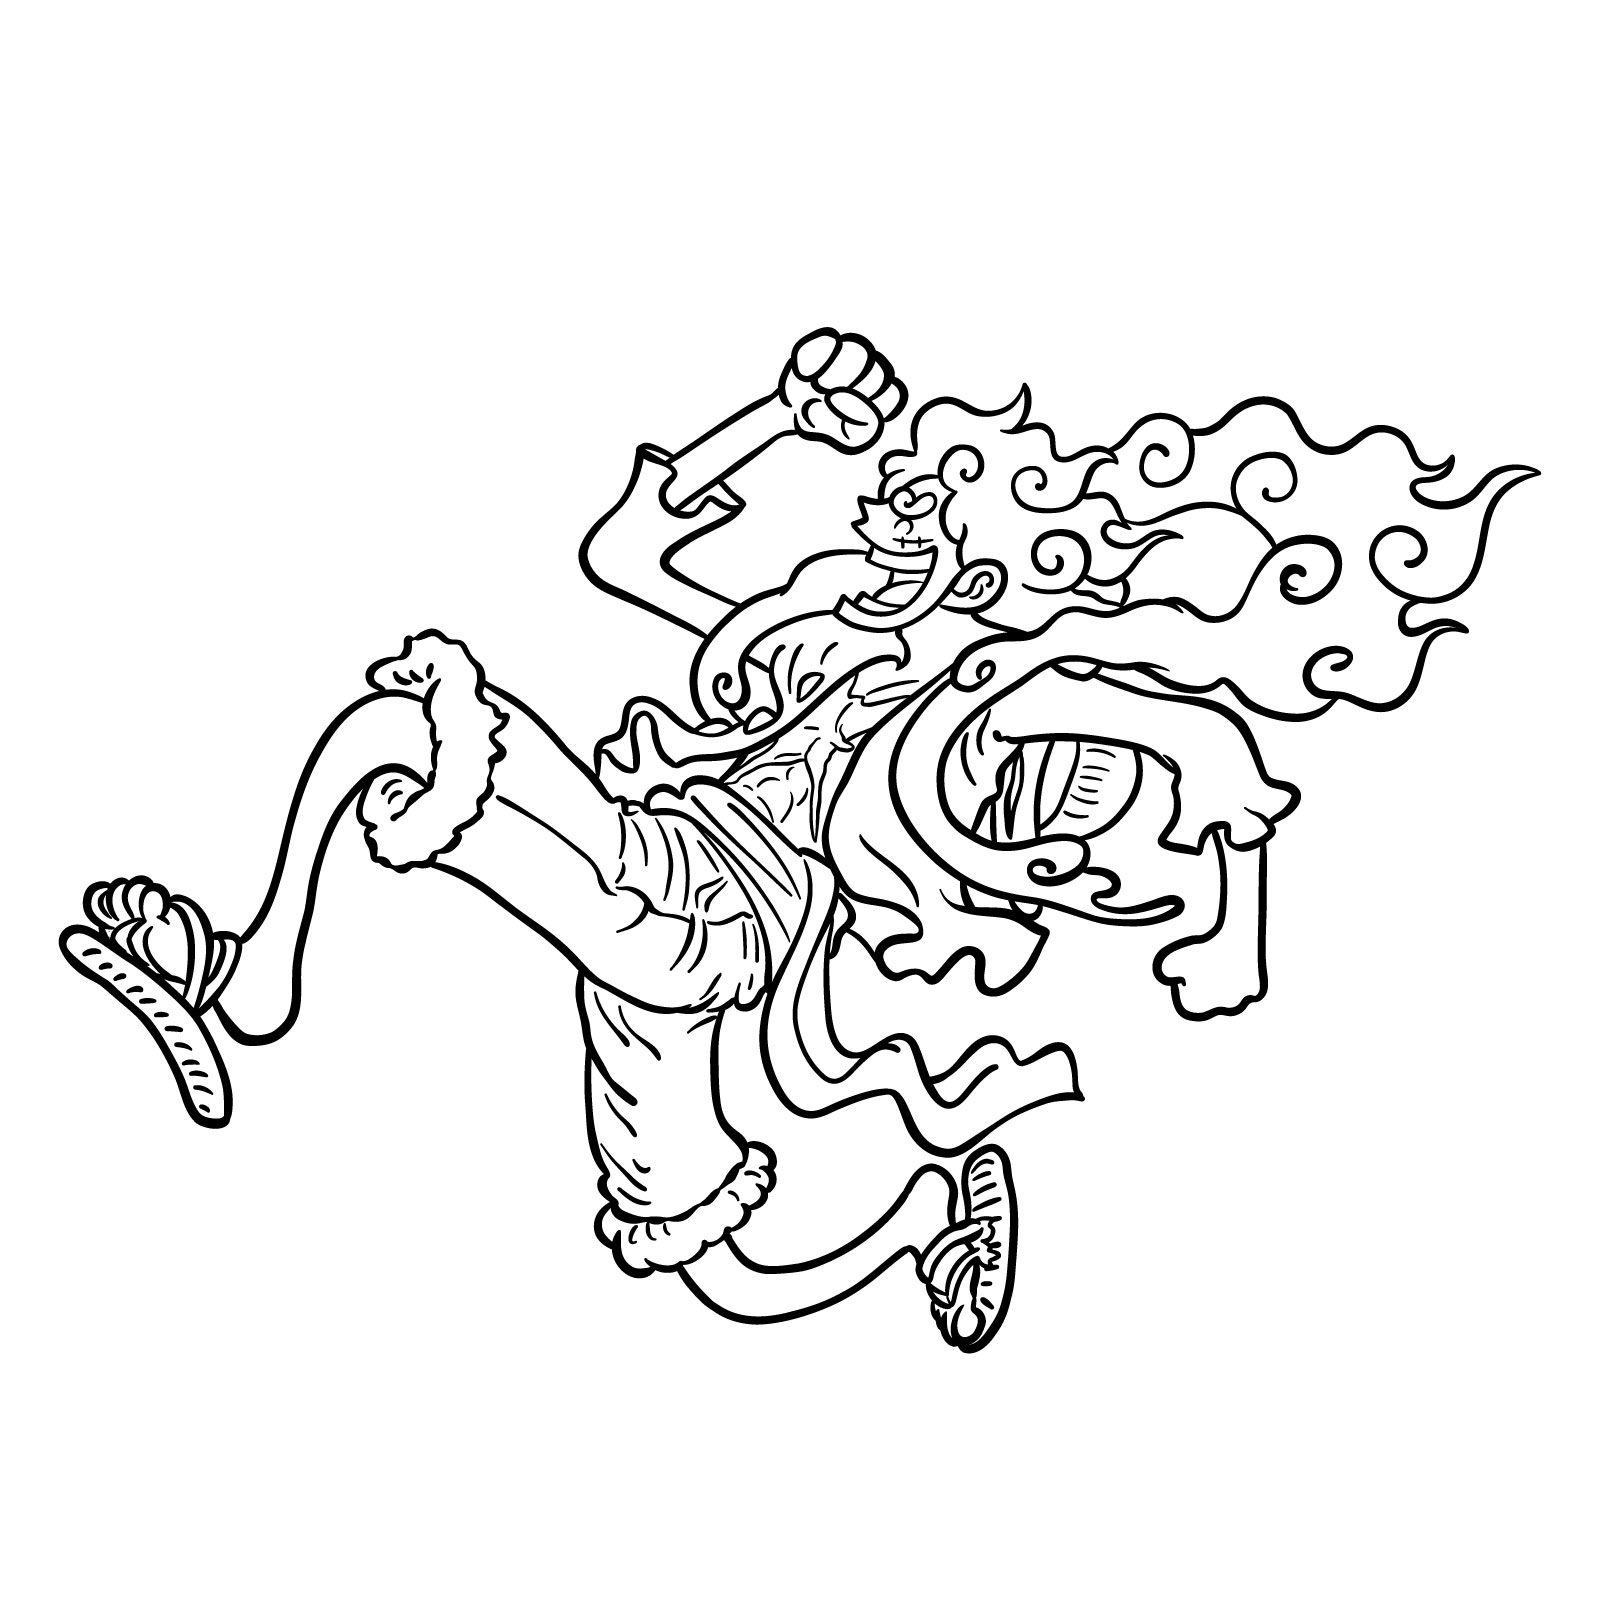
There’s an enigmatic power encapsulated in Luffy’s Gear 5, a transformation that has stunned both friends and foes alike. As Luffy’s heartbeat syncs with the “Drums of Liberation,” he undergoes an evolution that goes beyond mere physical change. A manifestation of the Gomu Gomu no Mi’s awakening, this form radiates immense strength, offering Luffy unparalleled freedom in combat. What’s more intriguing? Similar characters such as Rob Lucci’s awakened Zoan form or even Kaidou in his emperor state come to mind. The challenge? Capturing this majestic form on paper. Let’s explore how to draw Luffy Gear 5 from a side view.

Key Features of Gear 5

  • Drums of Liberation: Luffy’s heartbeat transforms into a captivating musical rhythm.
  • Appearance Shift: Except for his iconic straw hat, belt, and sandals, his attire morphs into white, while clouds of steam encircle him, reminiscent of Gear 4 Bounceman.
  • Physical Prowess: Beyond the physical transformation, Gear 5 offers Luffy staggering strength, speed, and resilience. His feats, from igniting fire due to rapid leg spins to tunneling like a drill, are nothing short of remarkable.
  • Environmental Influence: Luffy’s rubbery abilities can now influence his surroundings, allowing him to turn the terrain itself into a bouncy cushion or even a lethal weapon.

If you are eager to expand the collection of Luffy’s transformations in your sketchbook, consider drawing Snakeman, Nightmare form, as well as Gear Second and Third

About the Drawing Guide

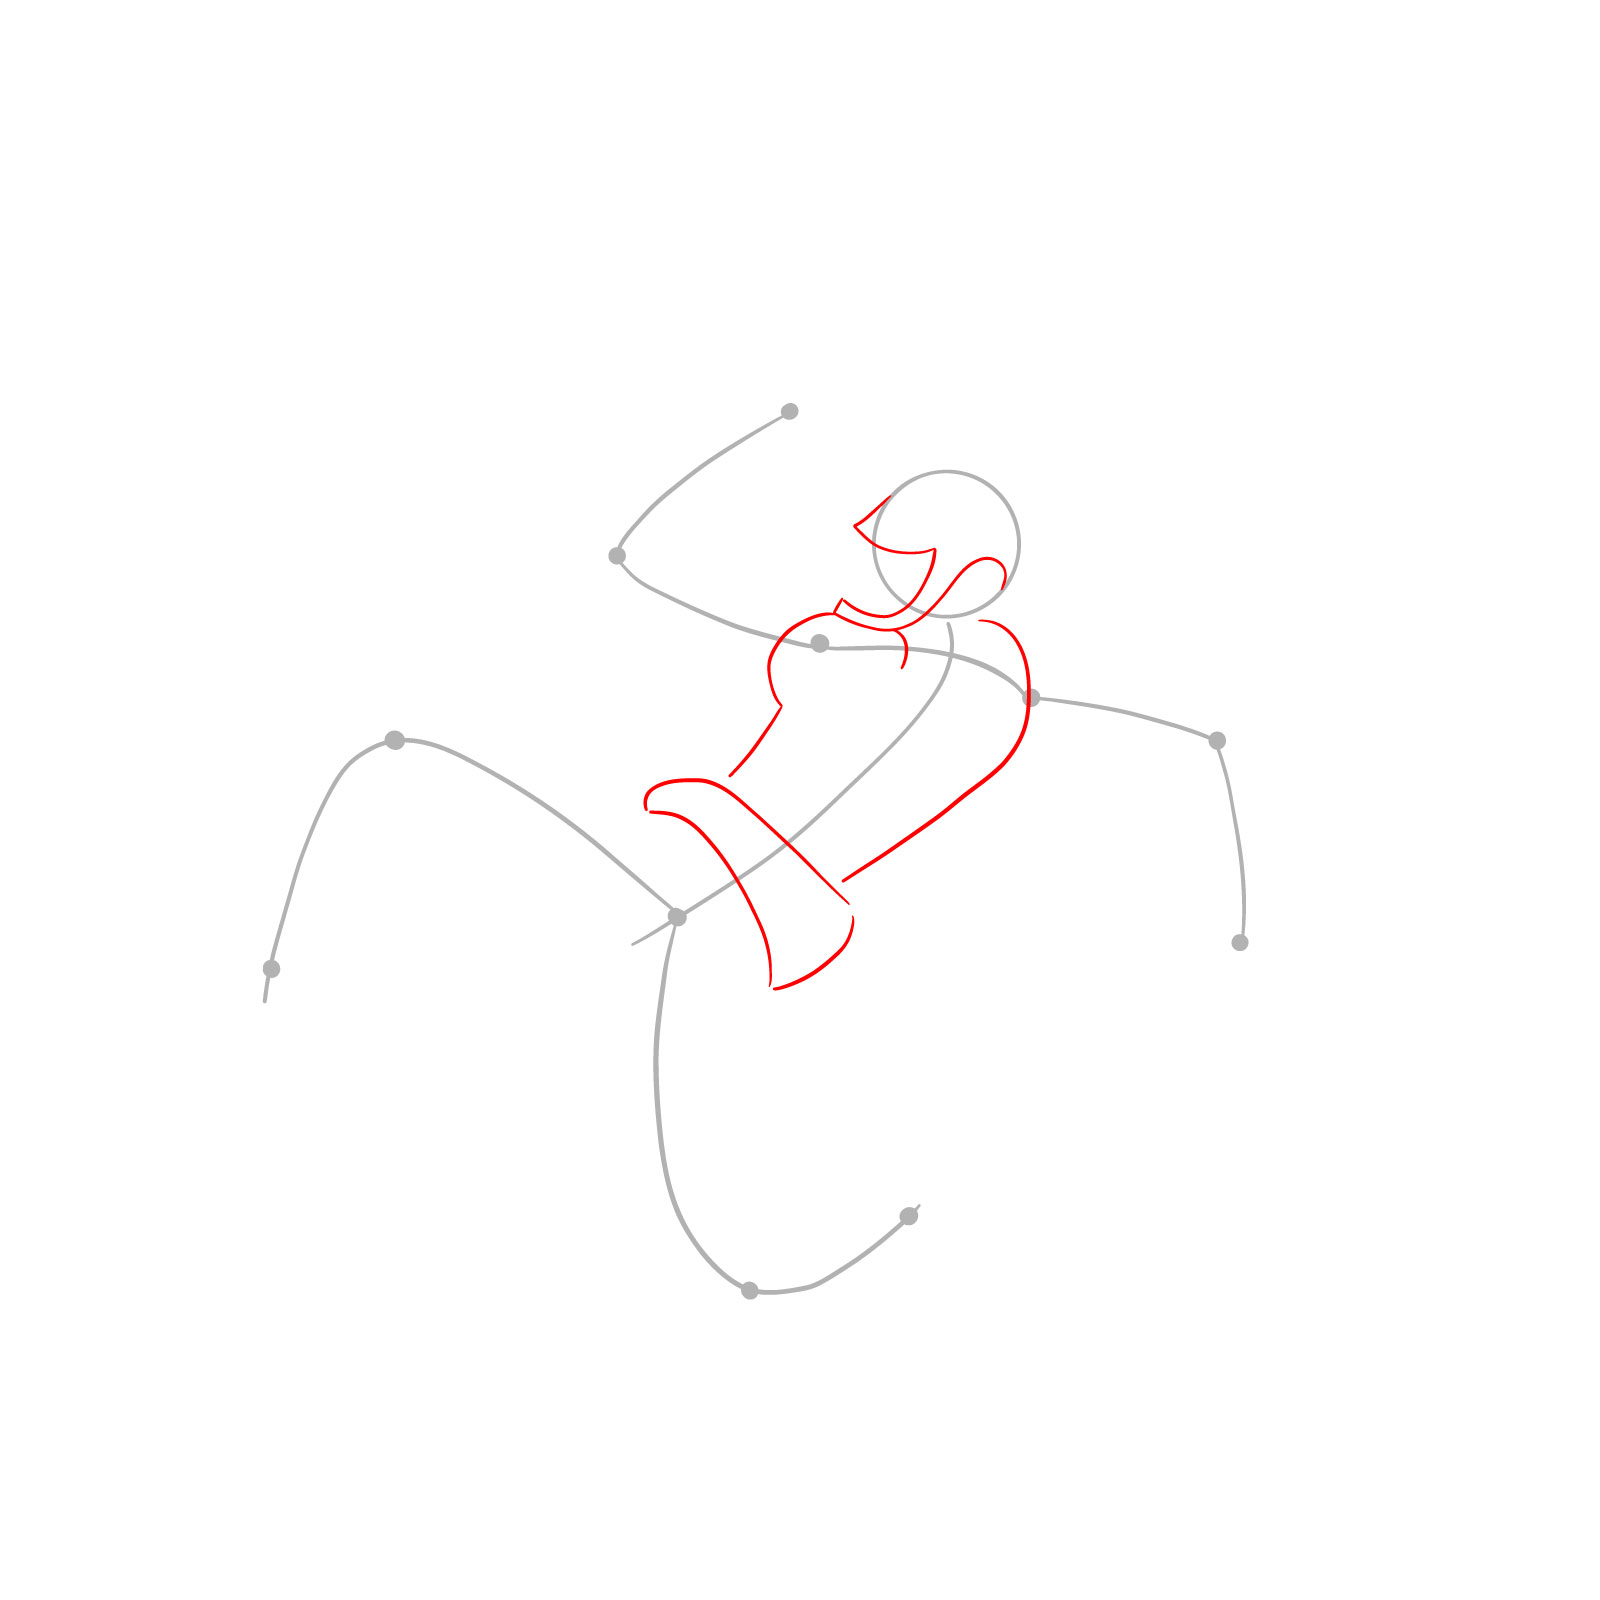
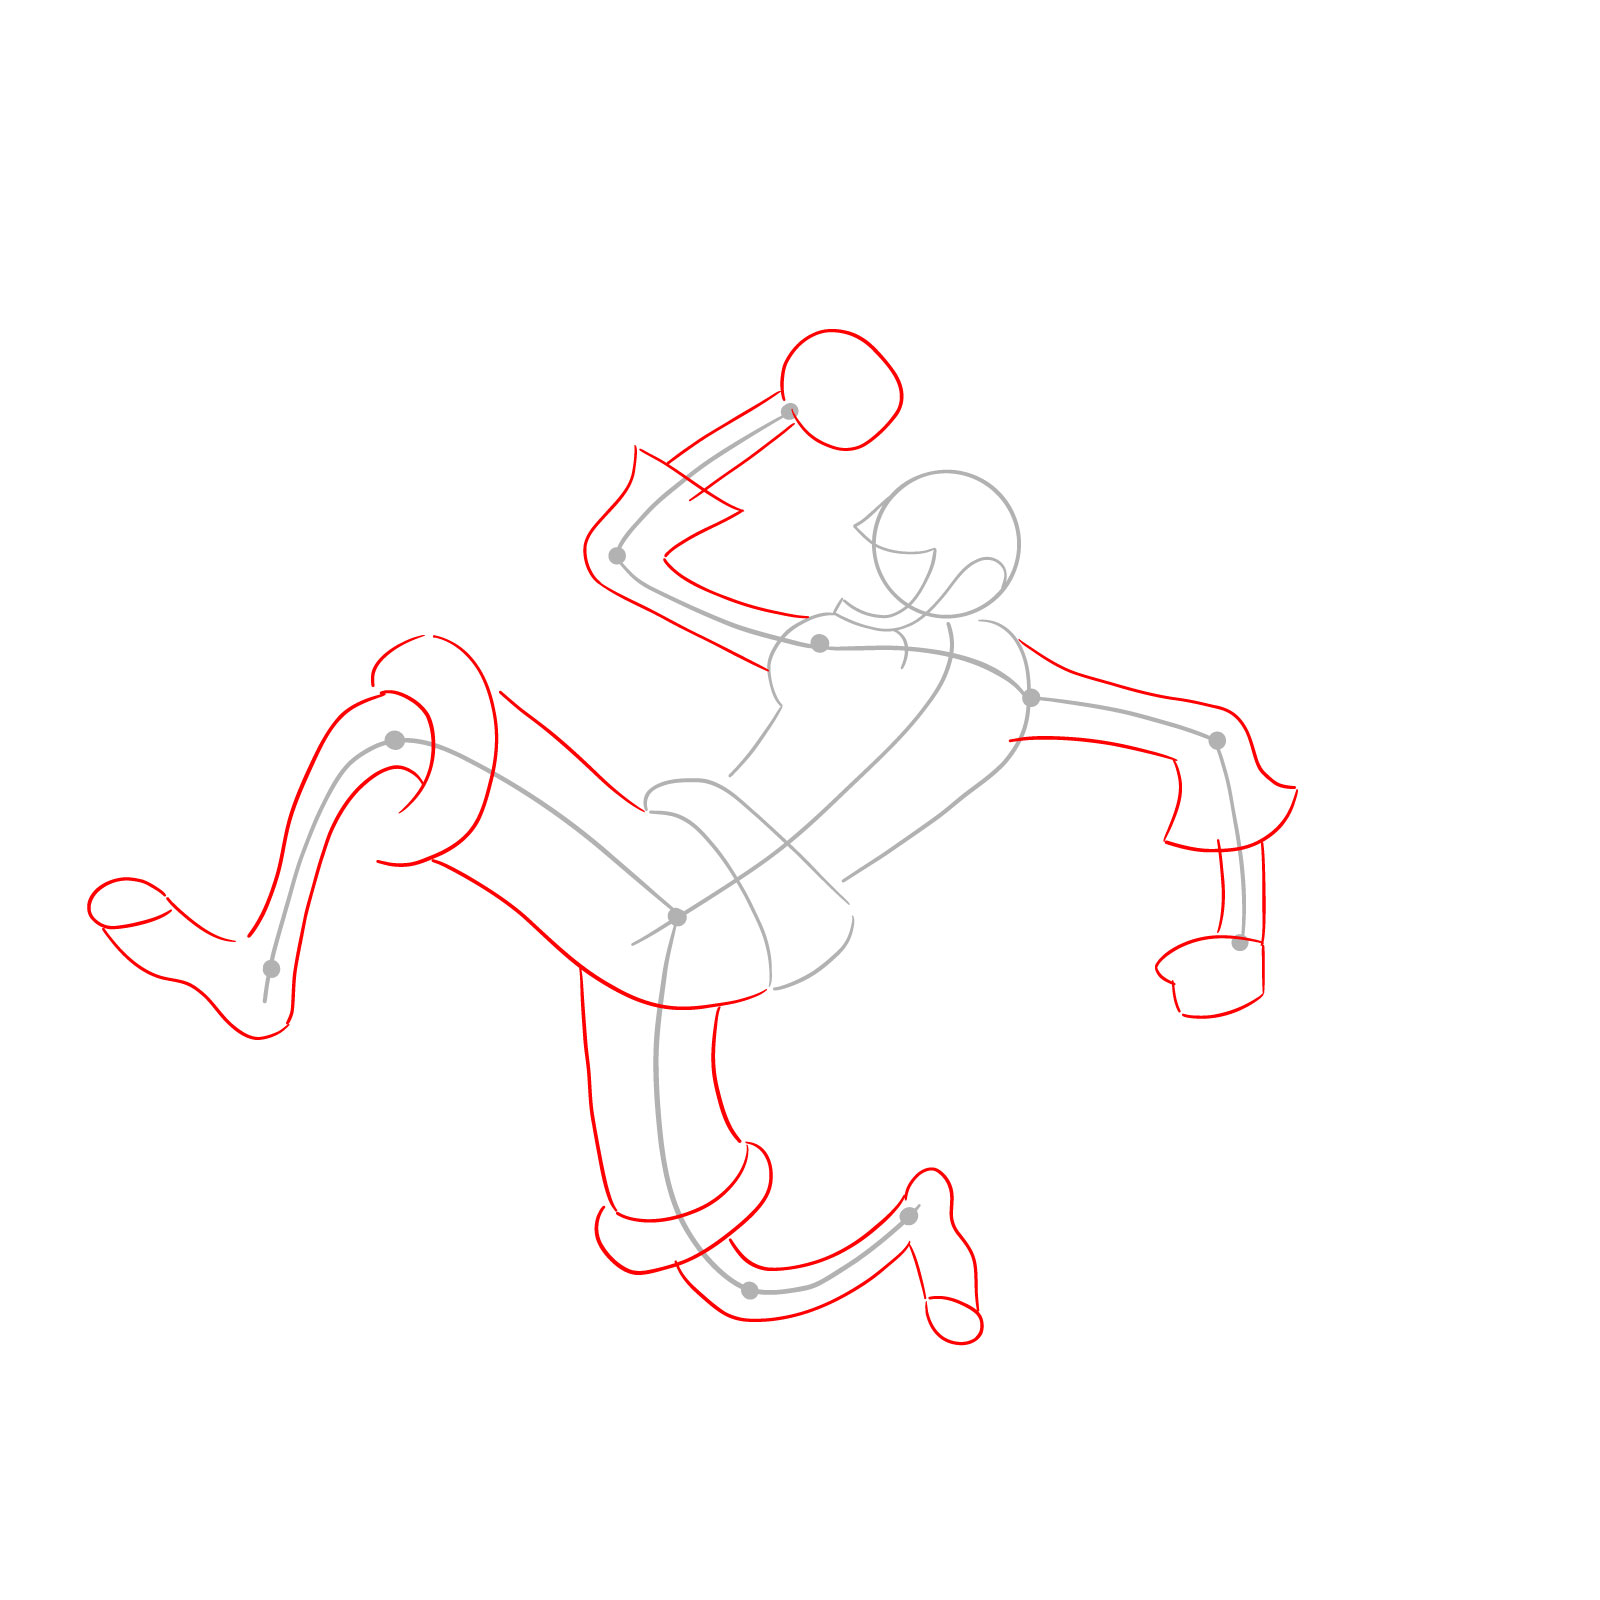
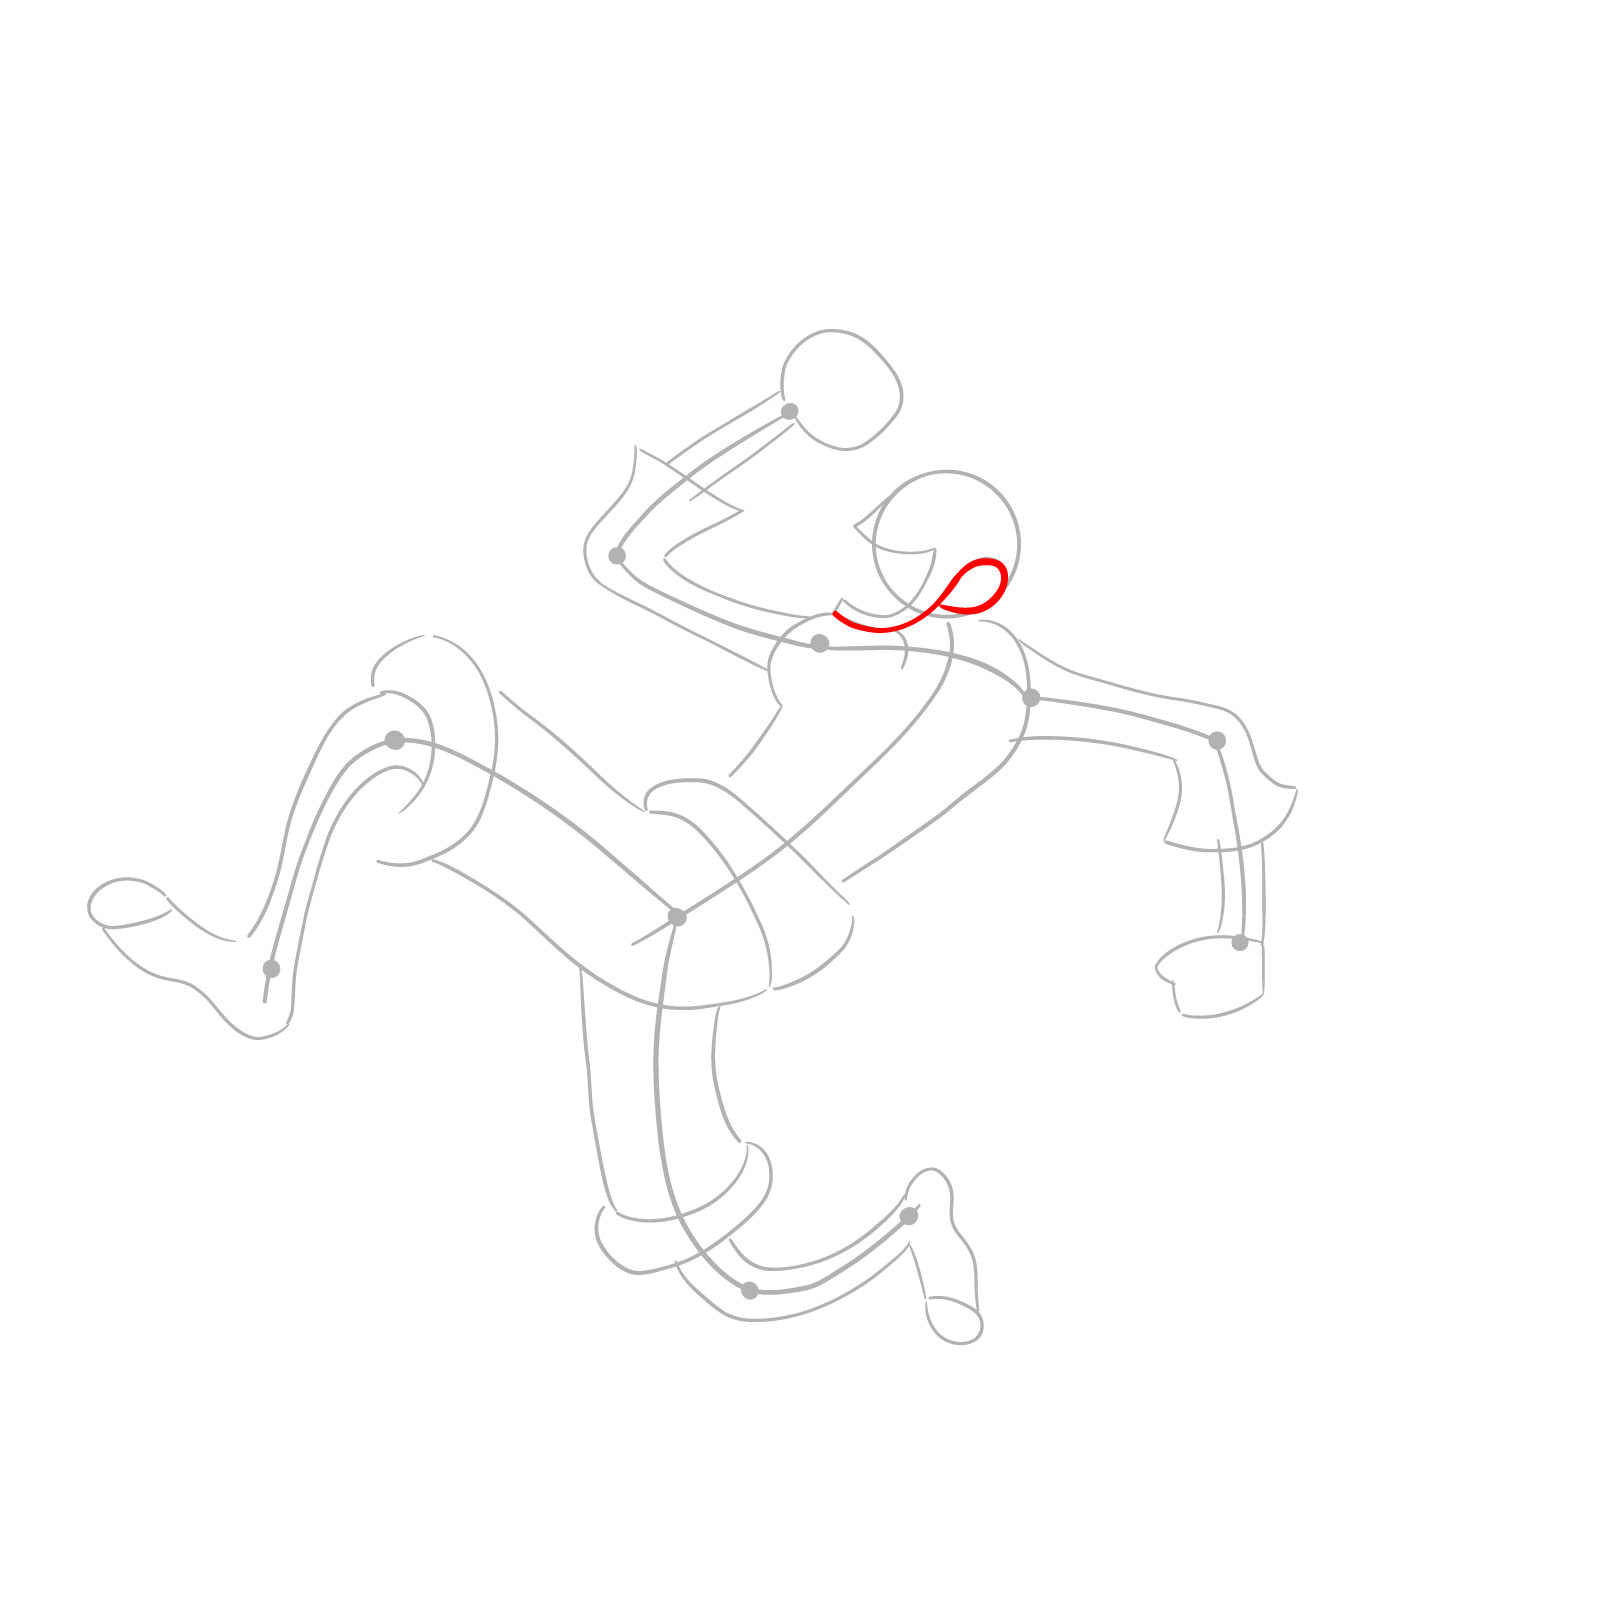
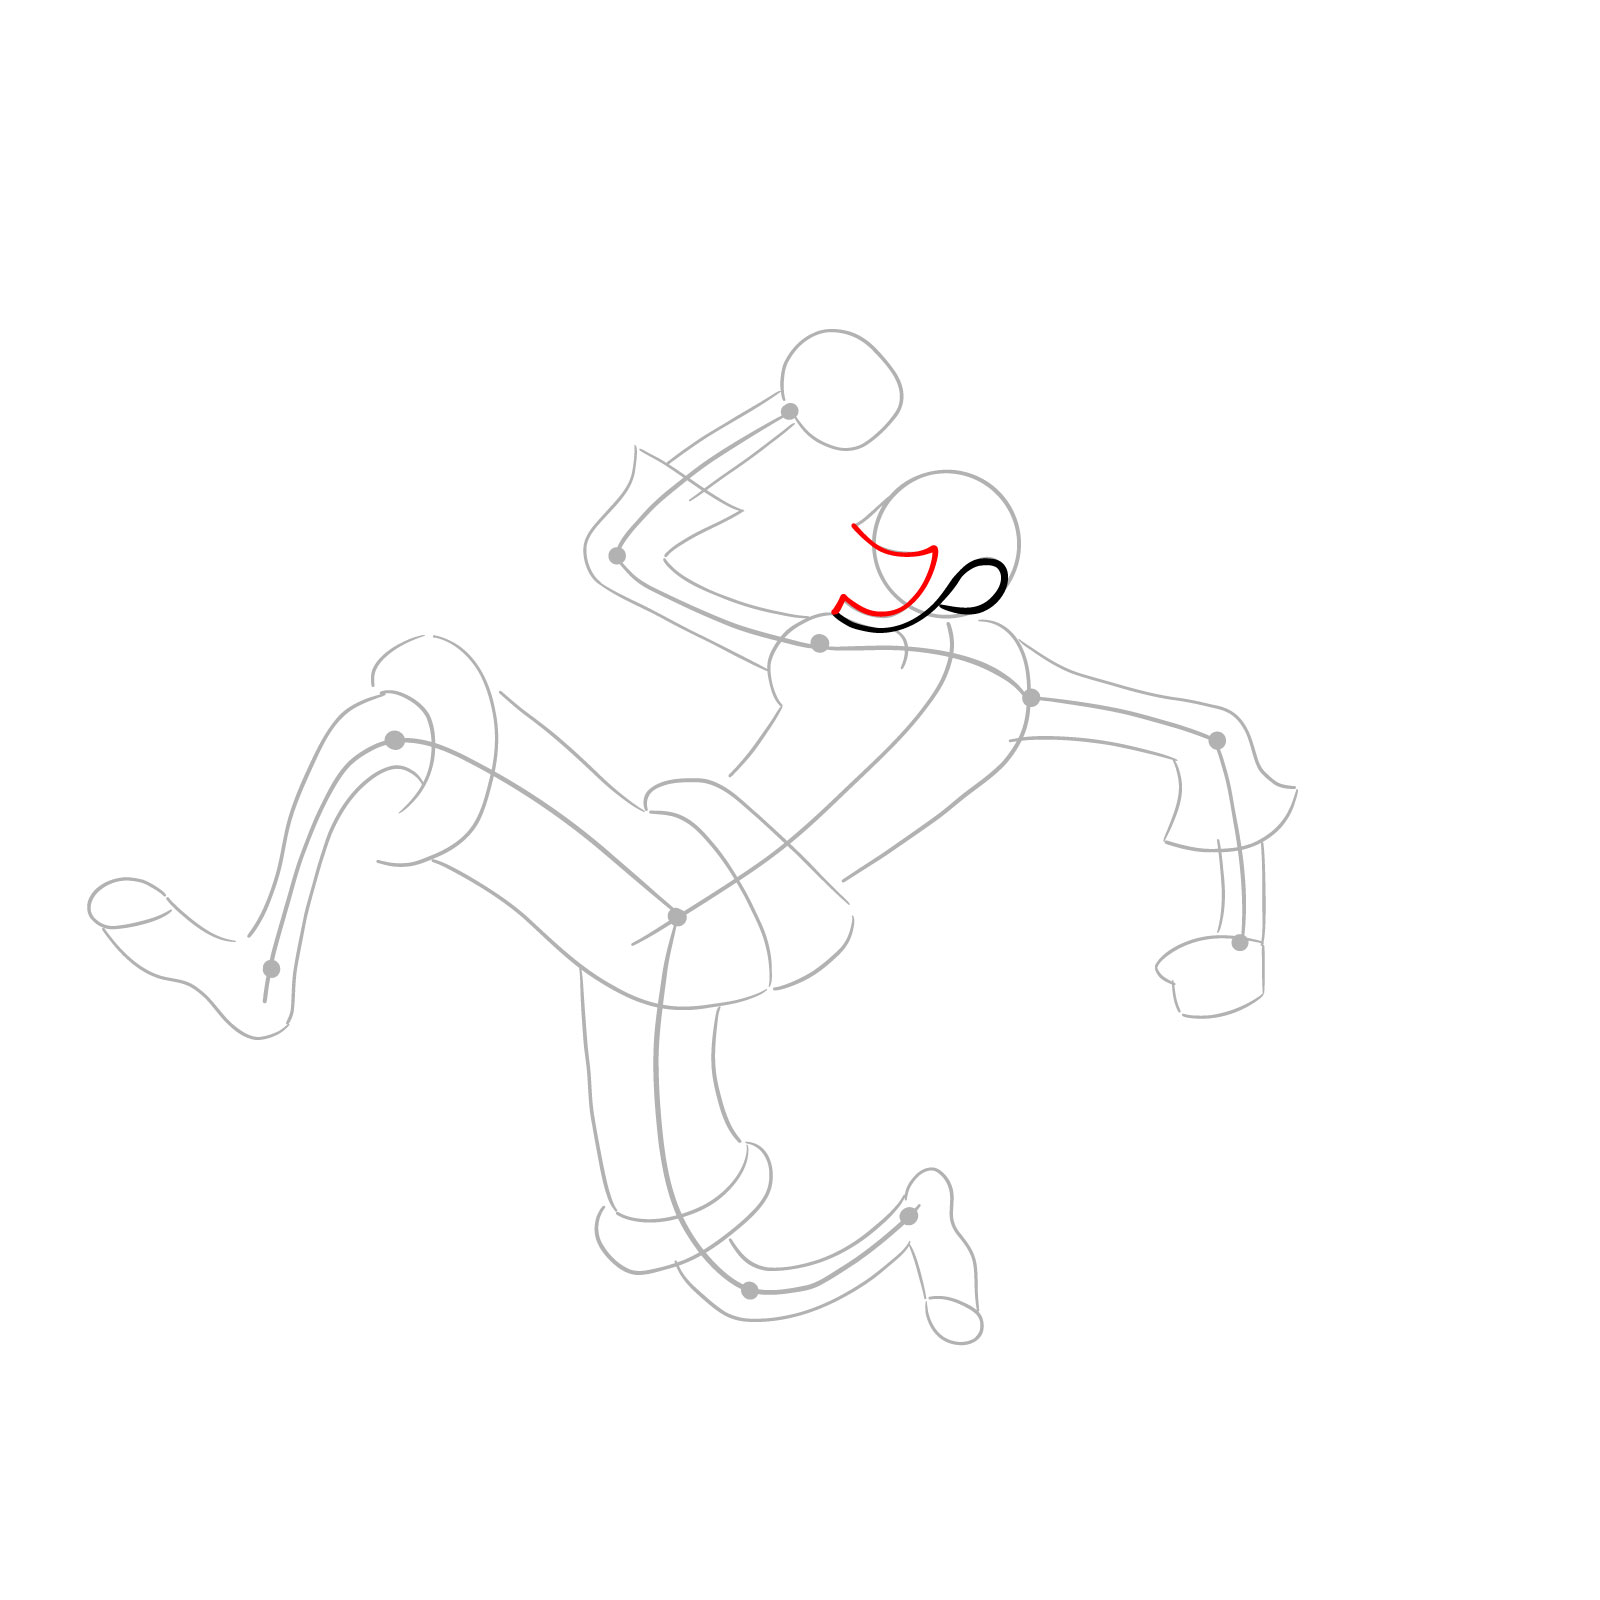
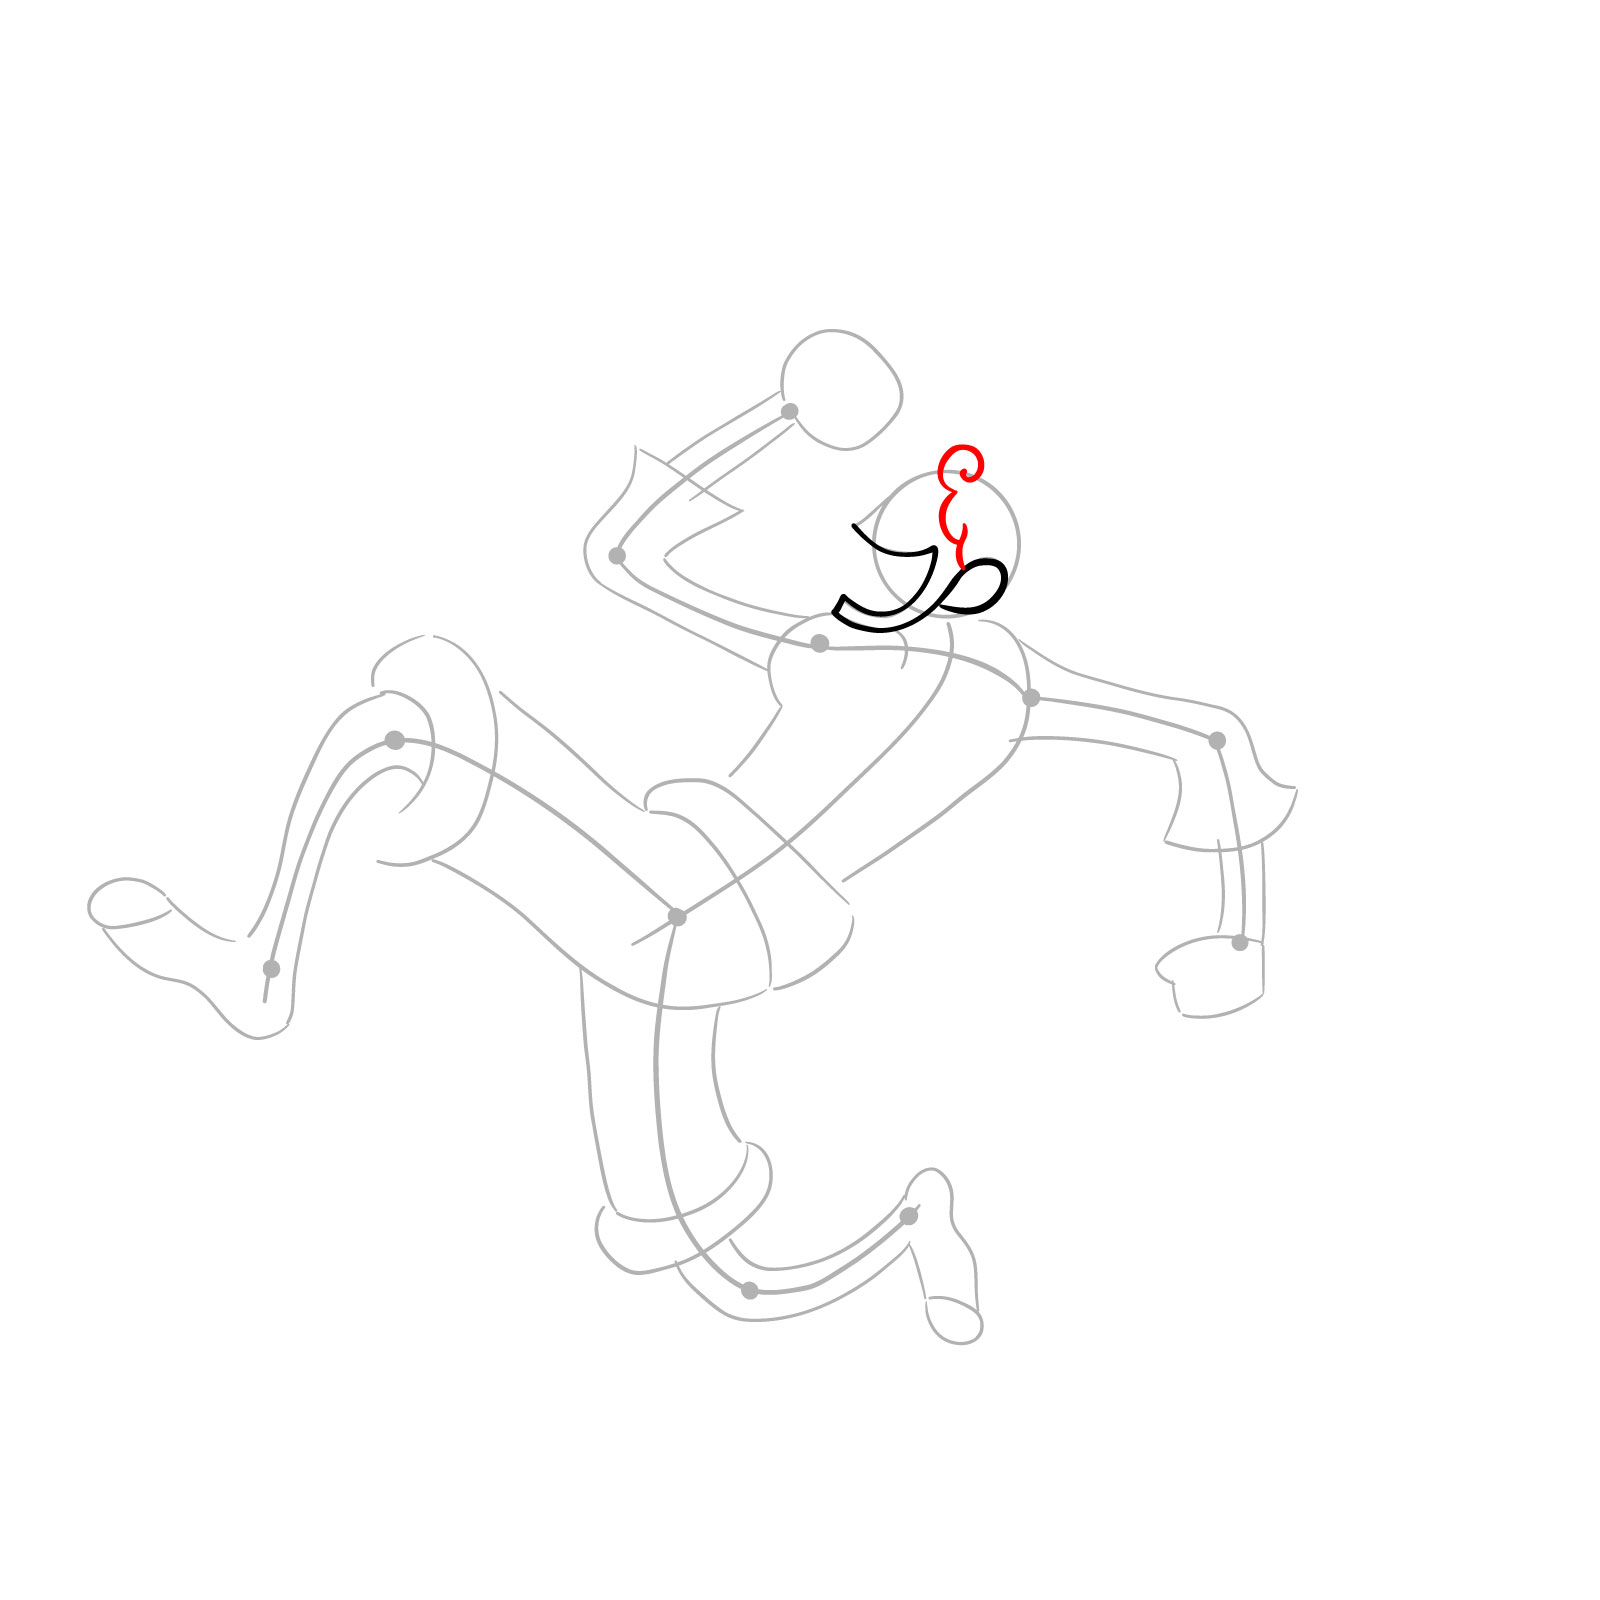
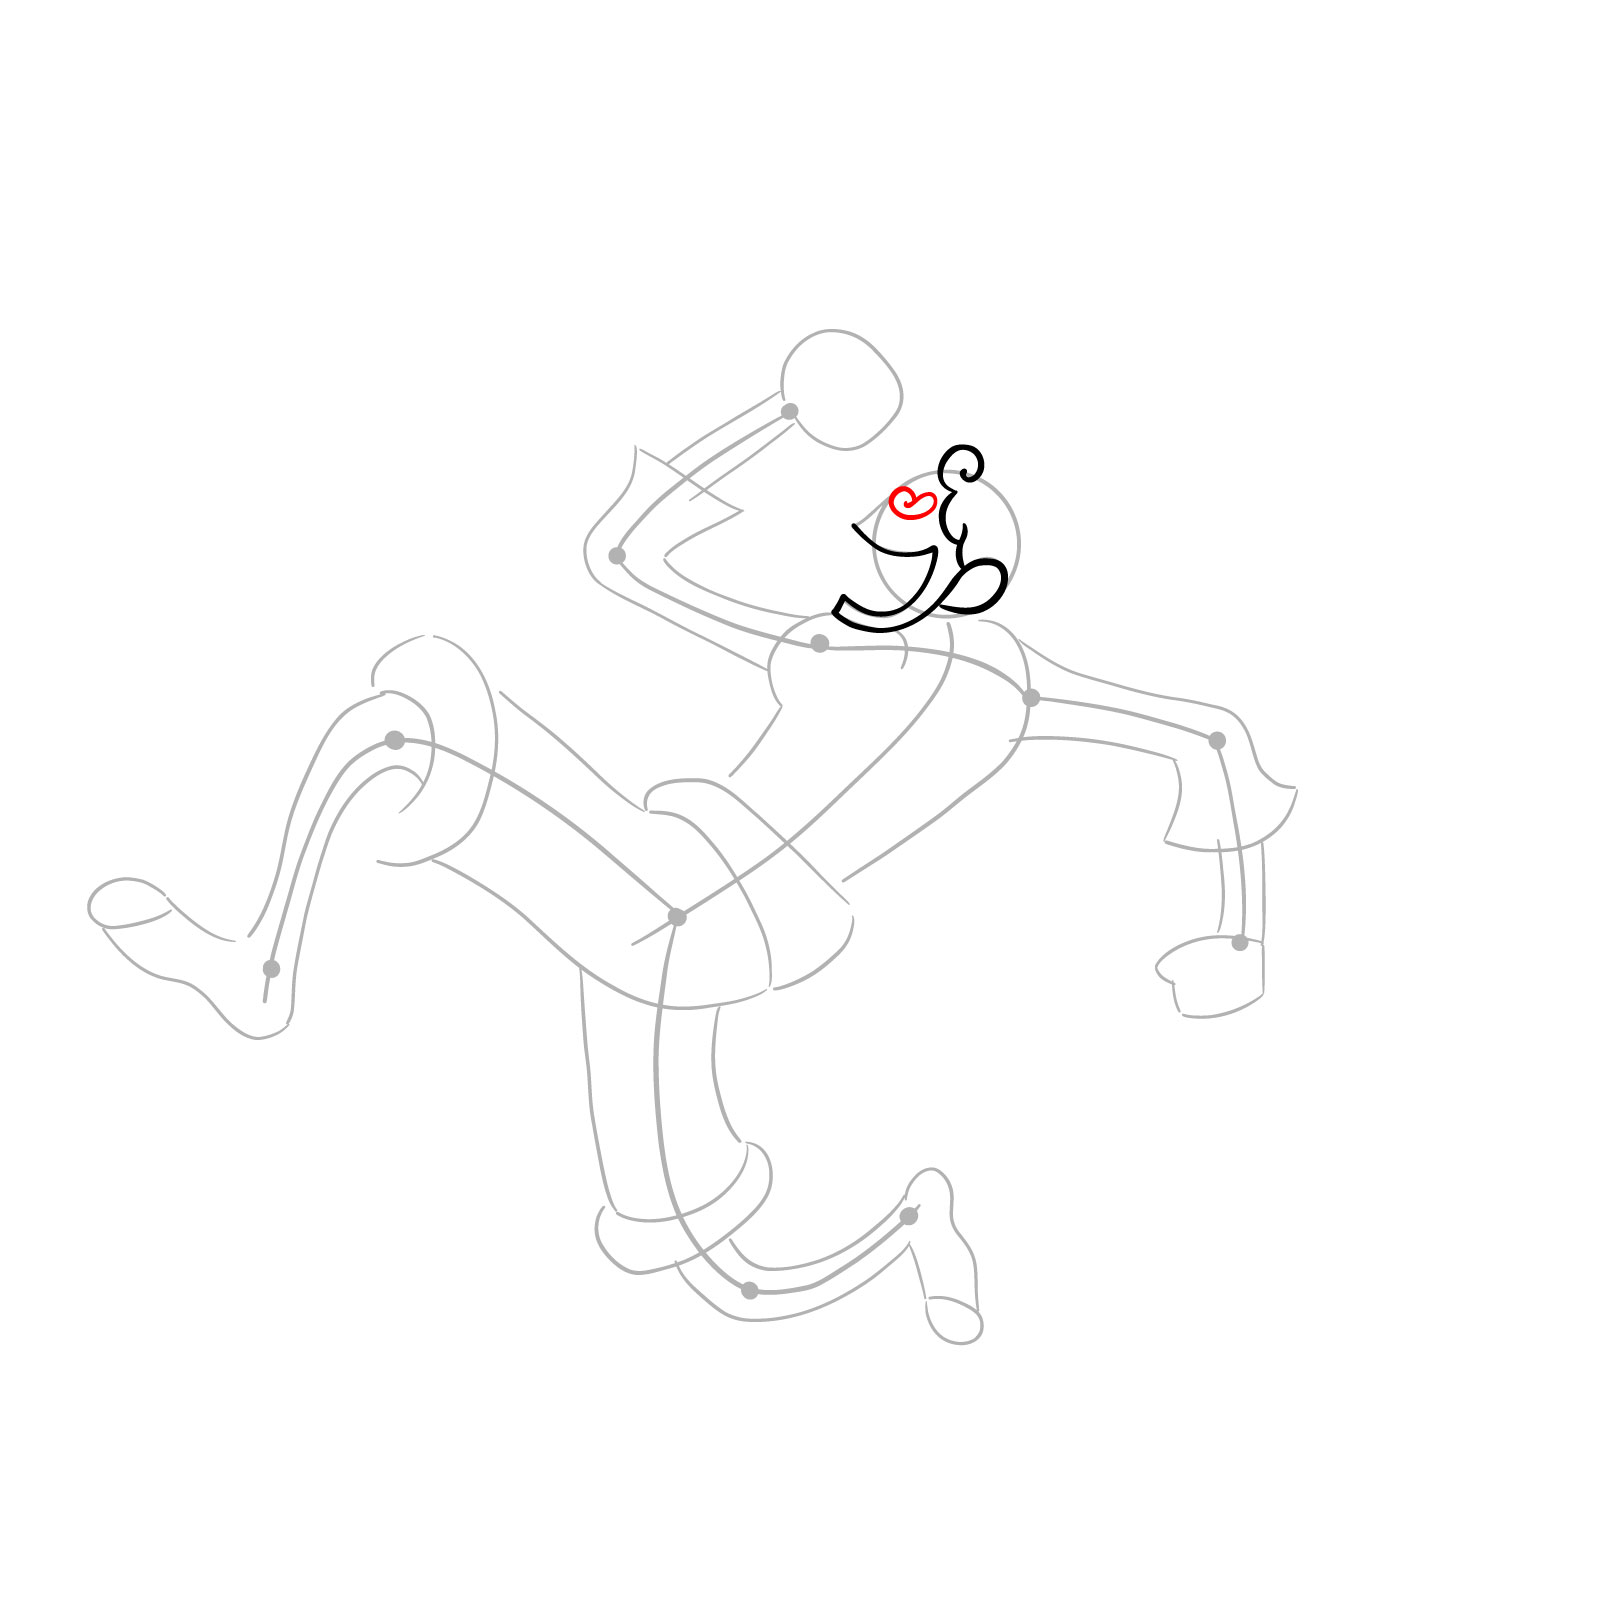
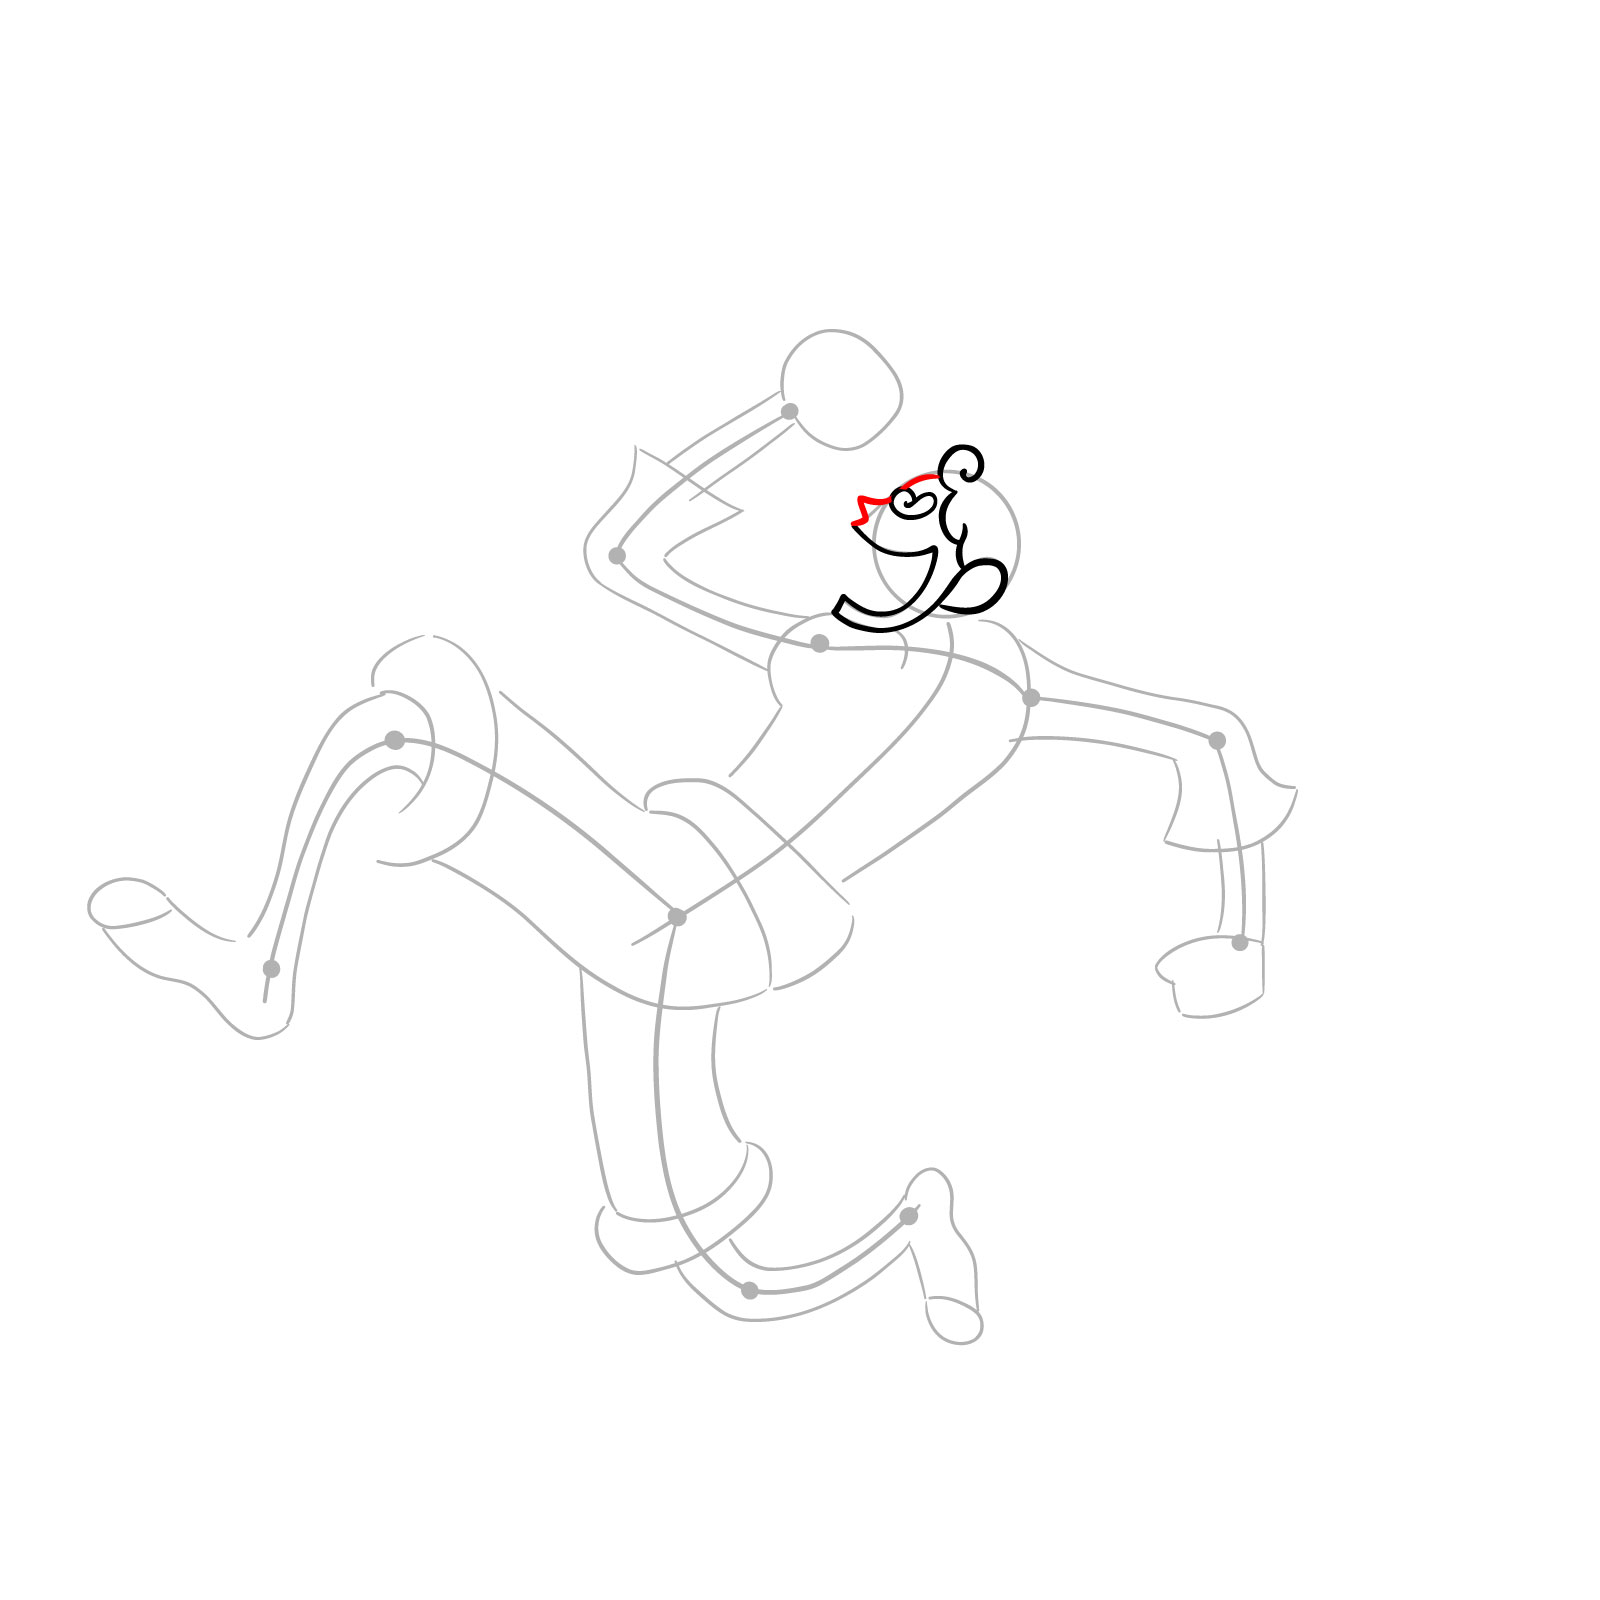
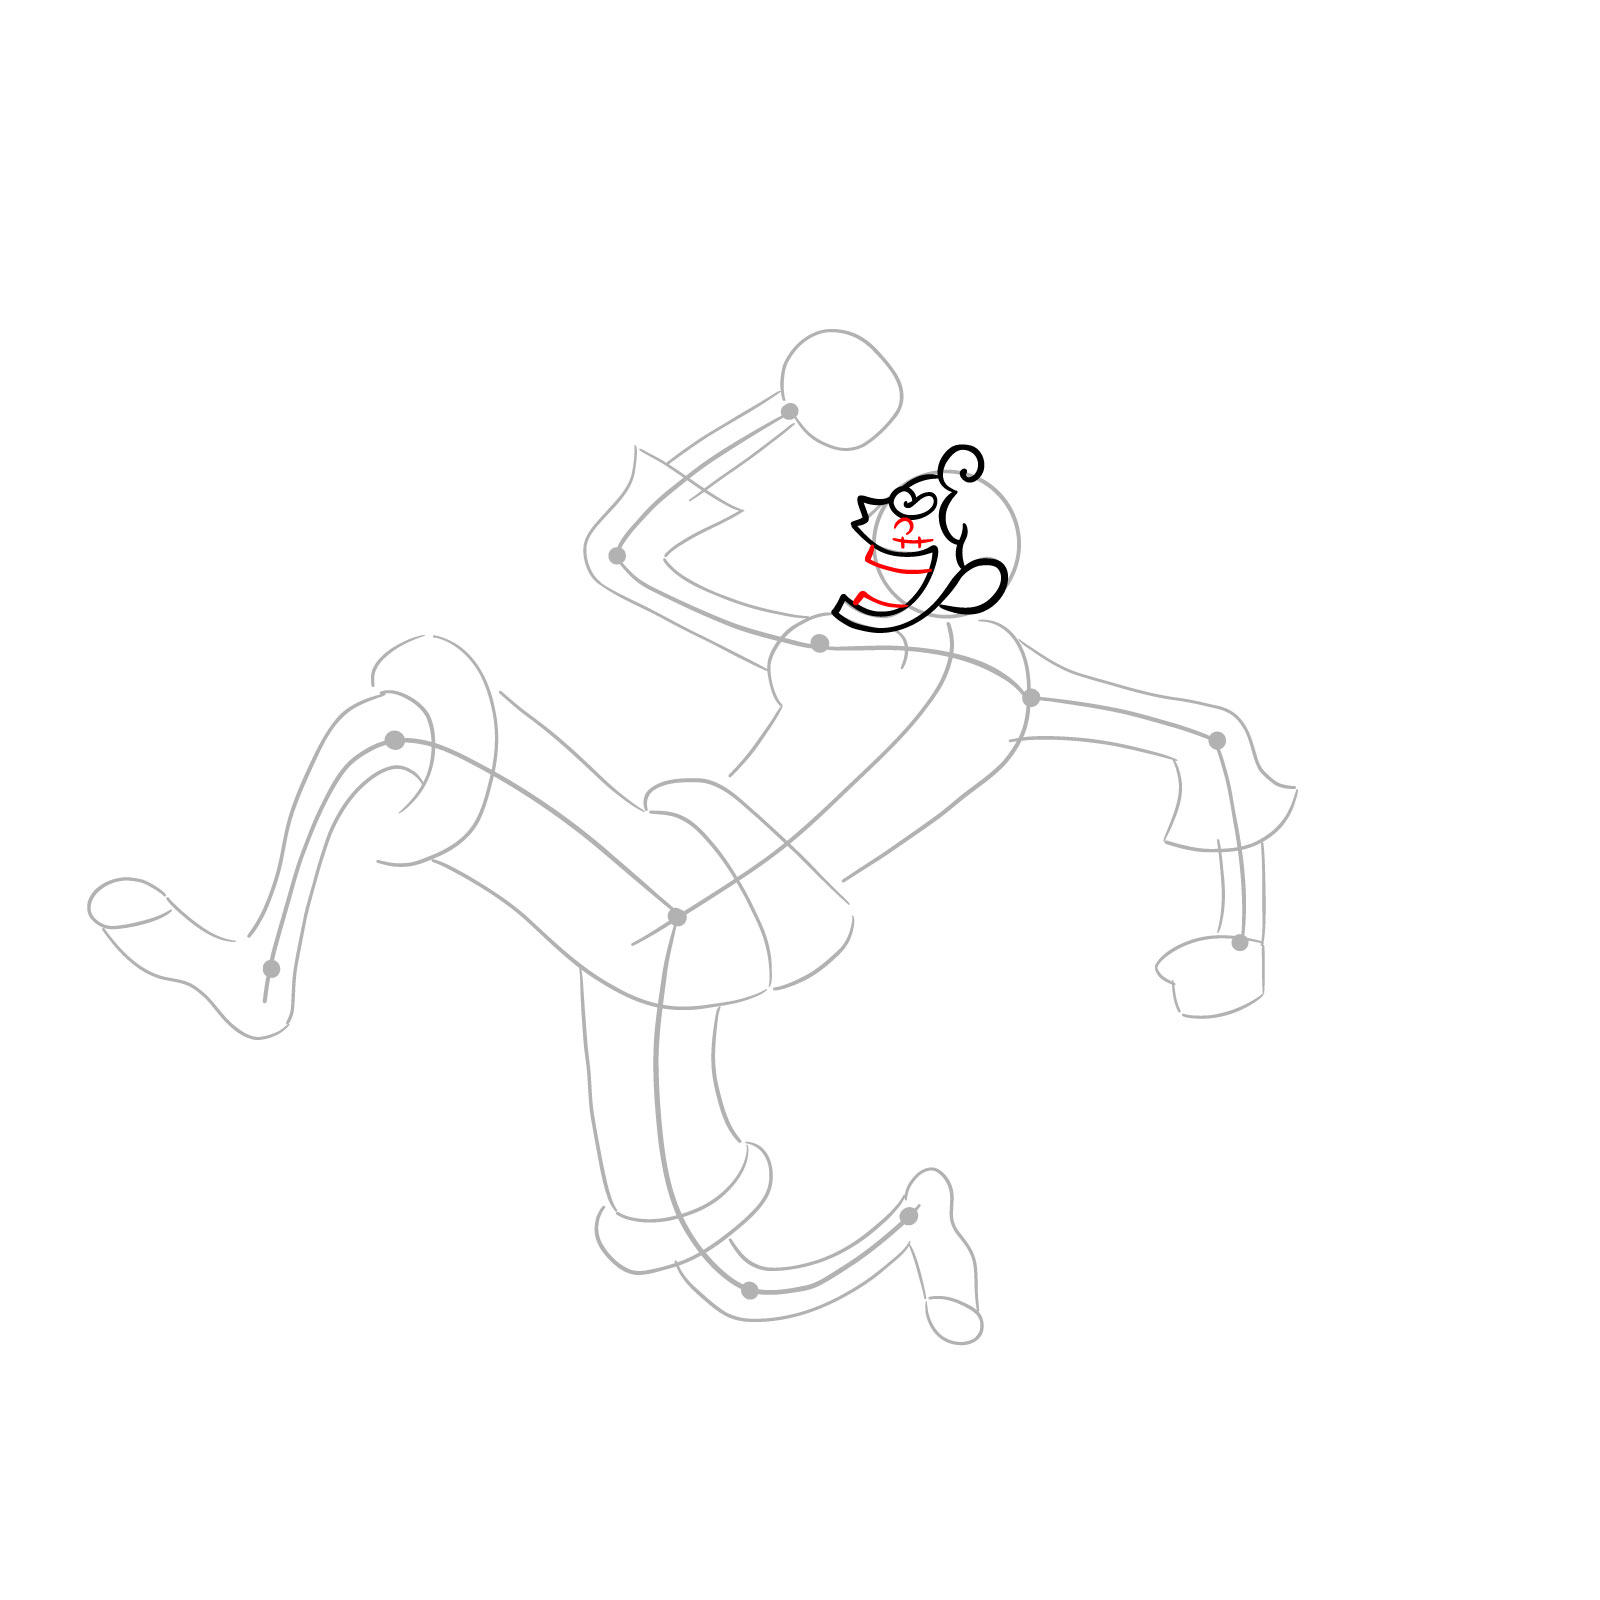
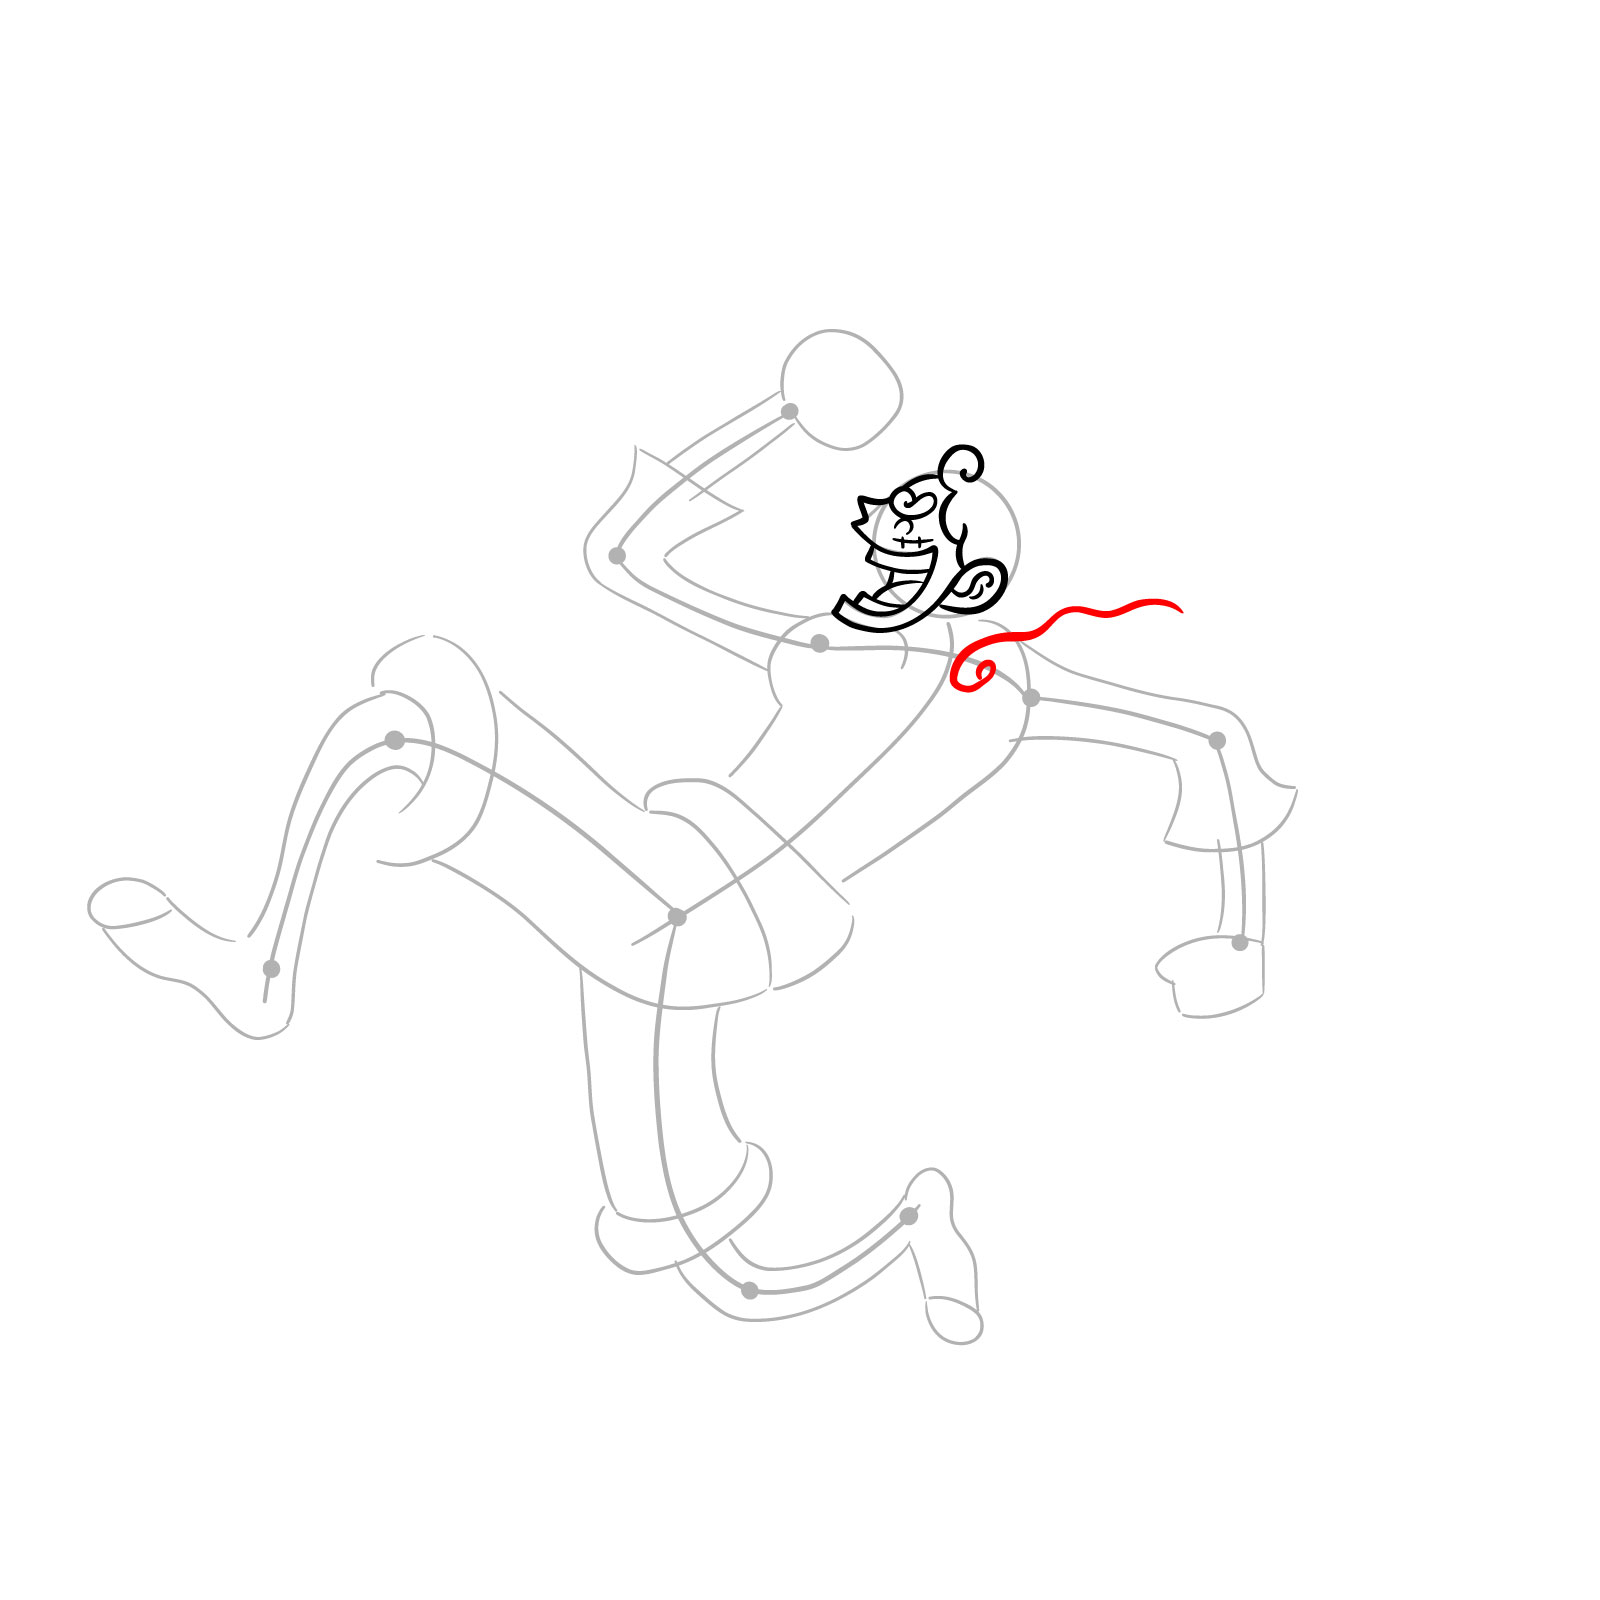
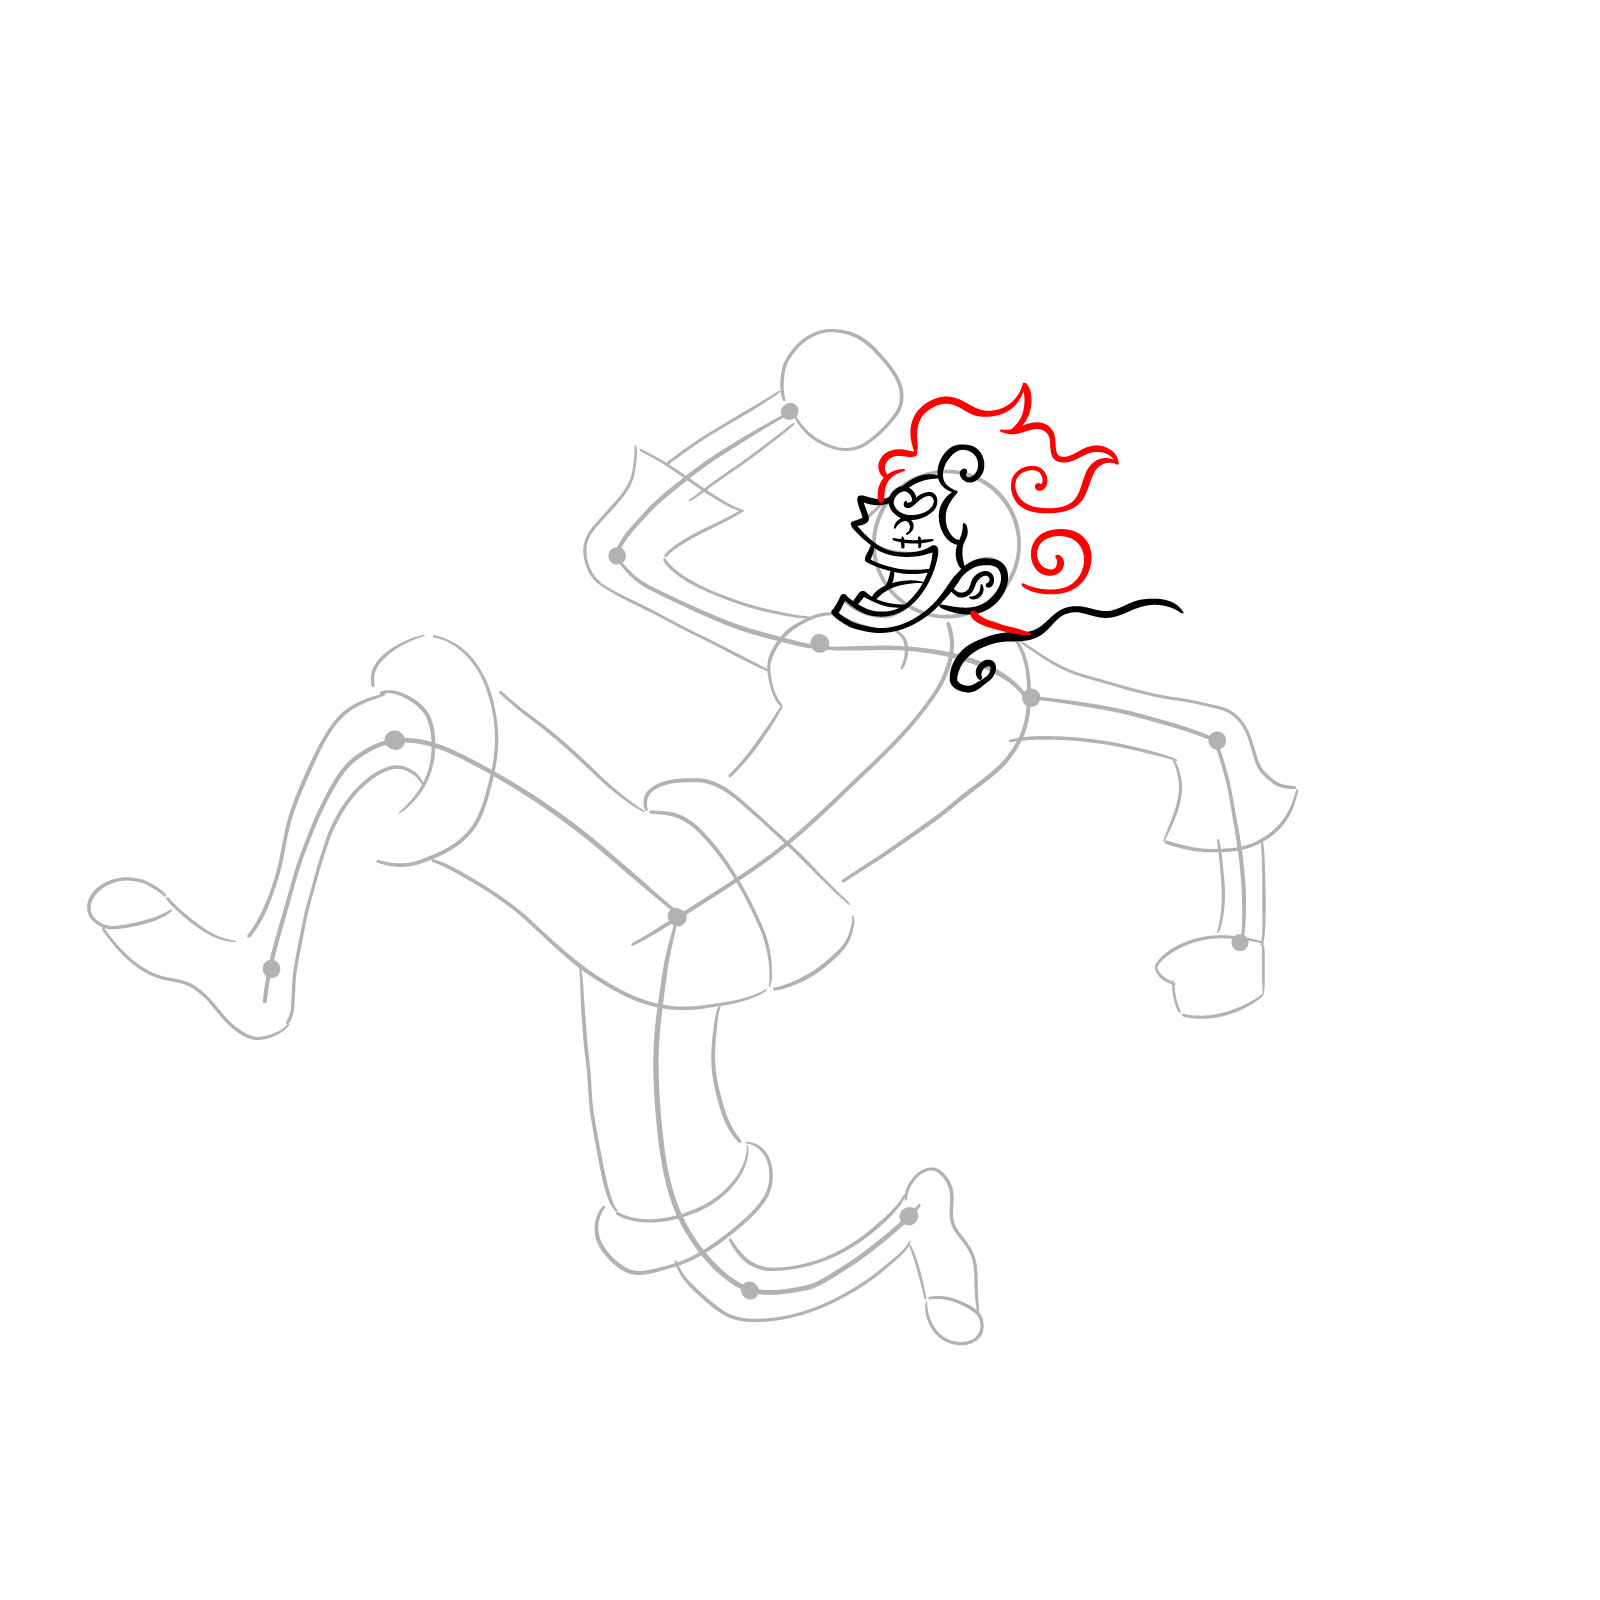
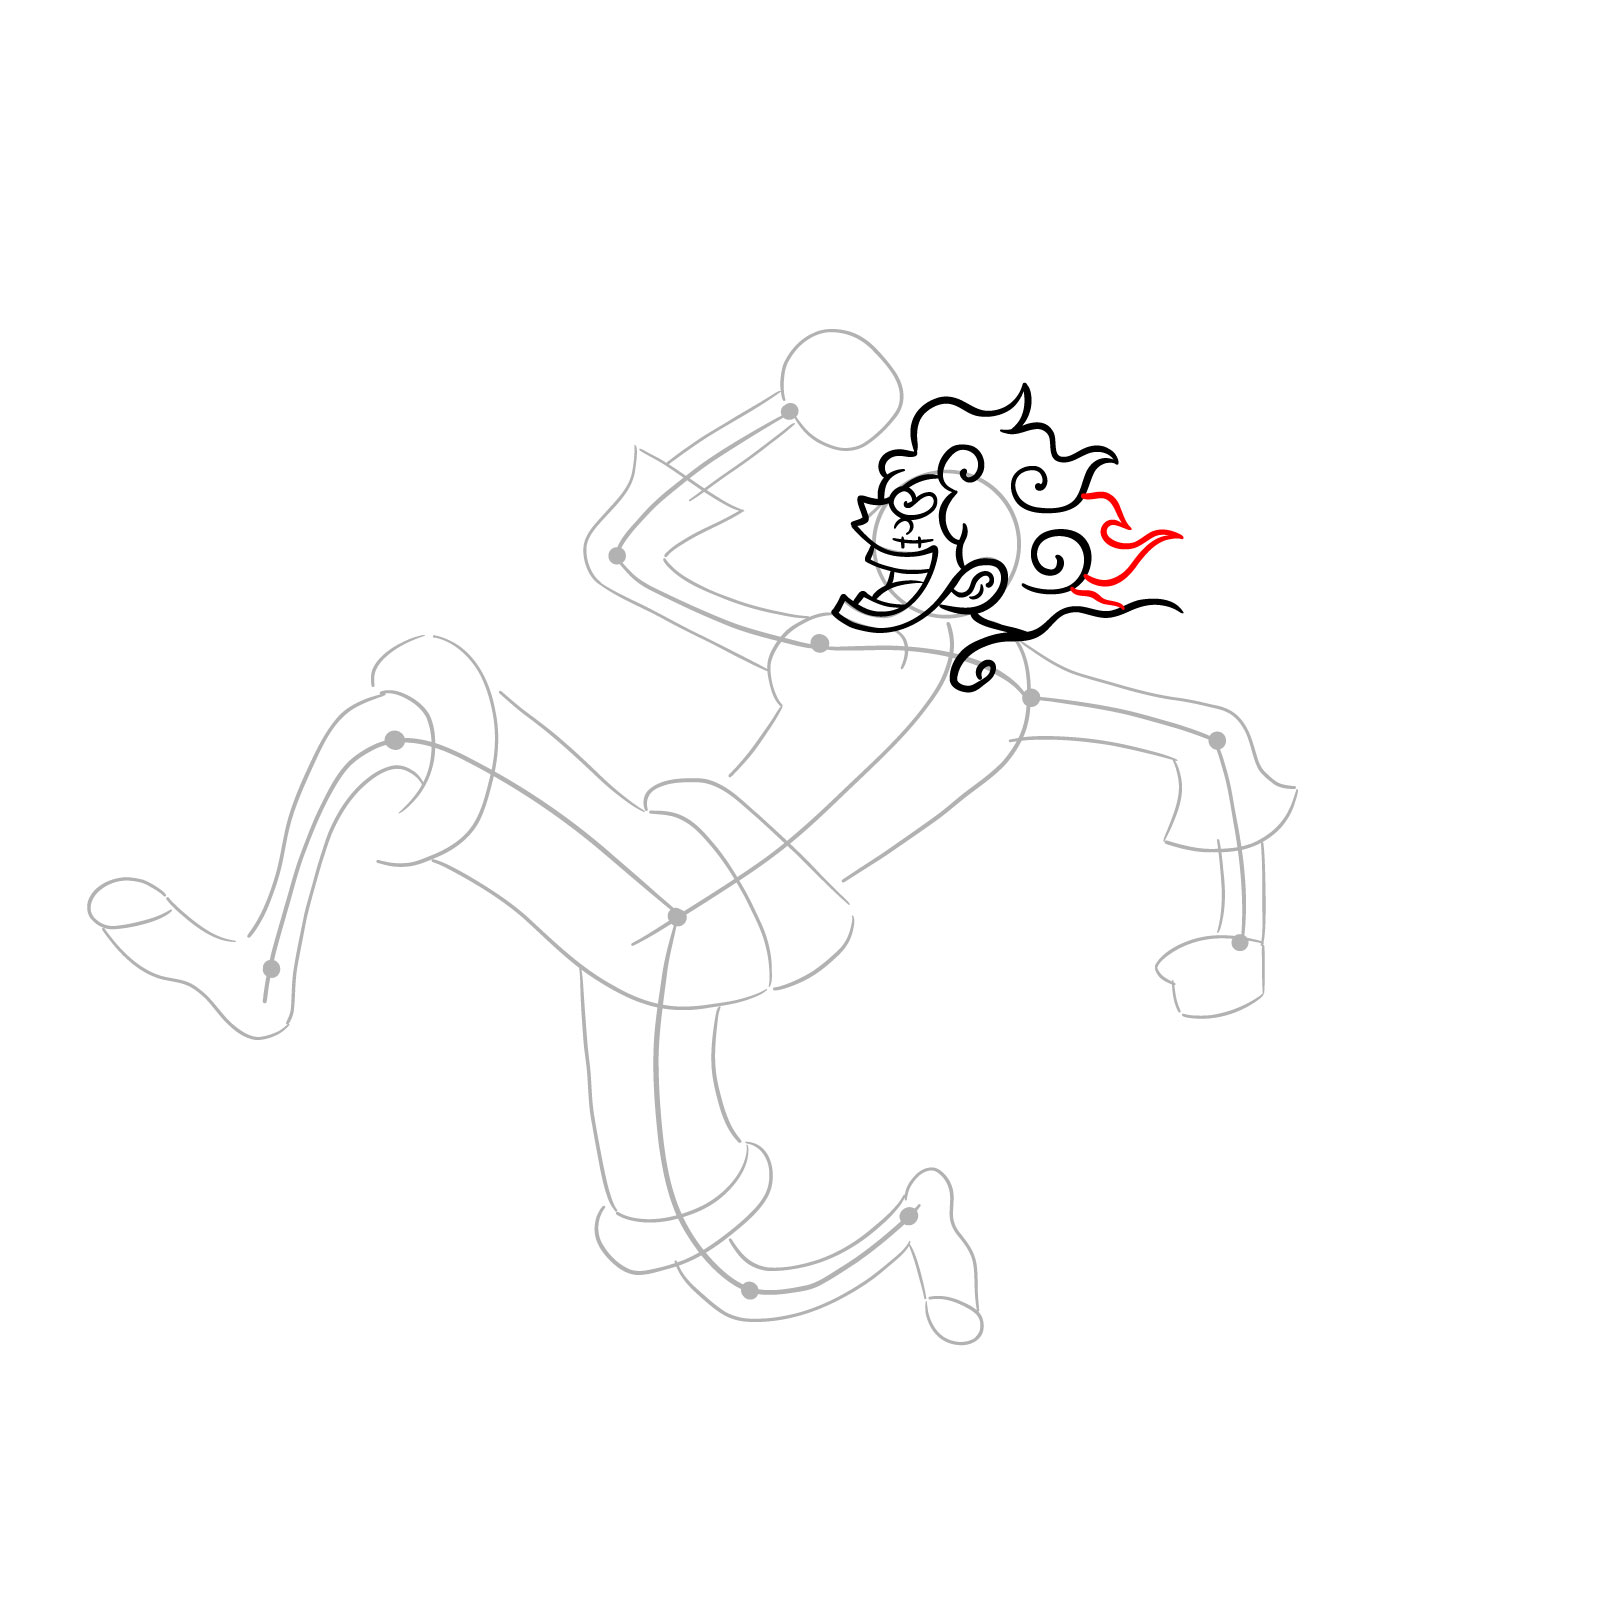
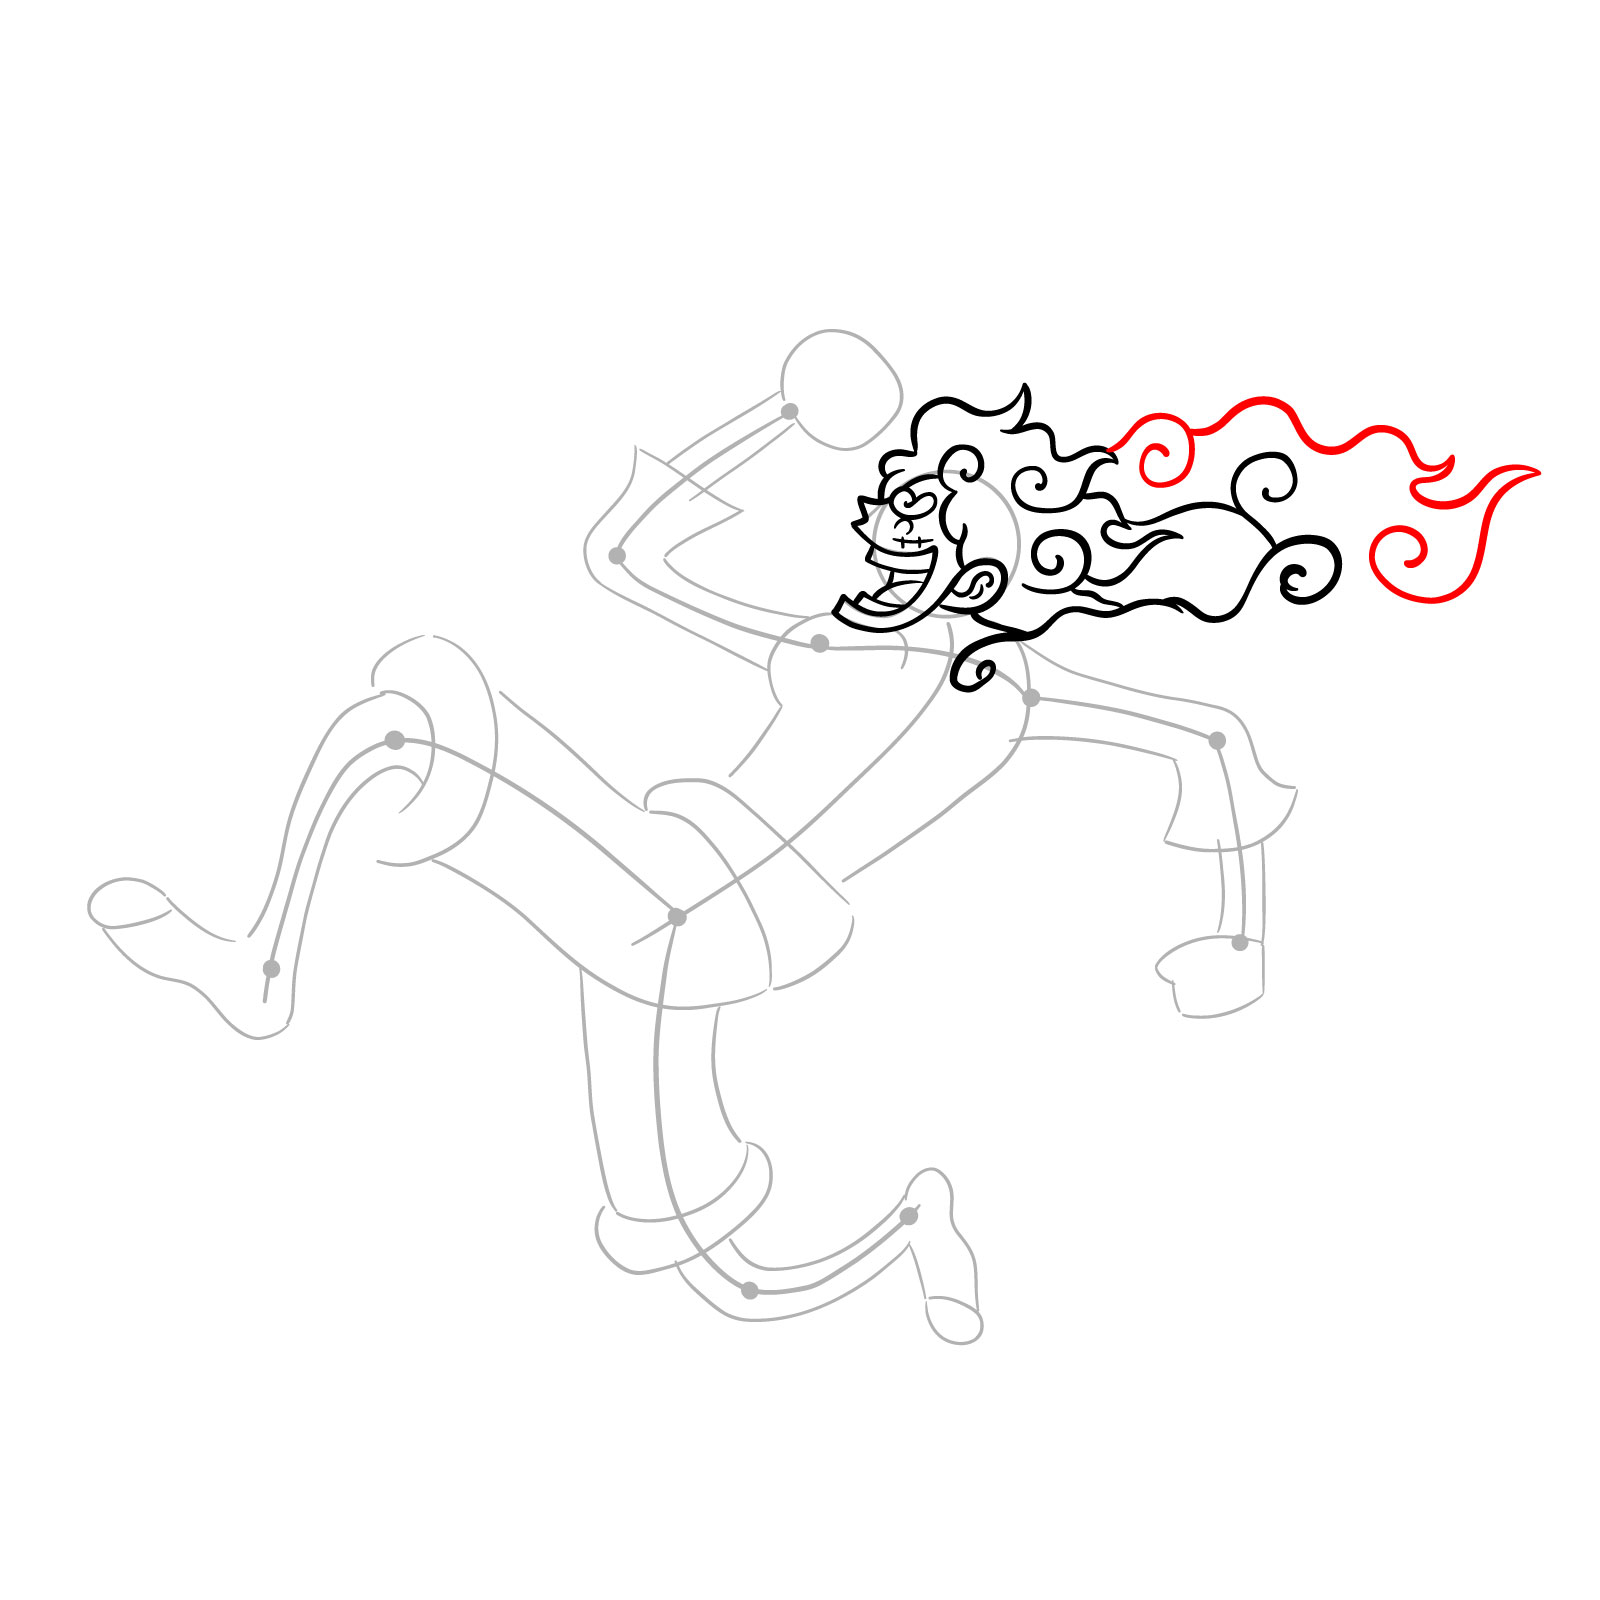
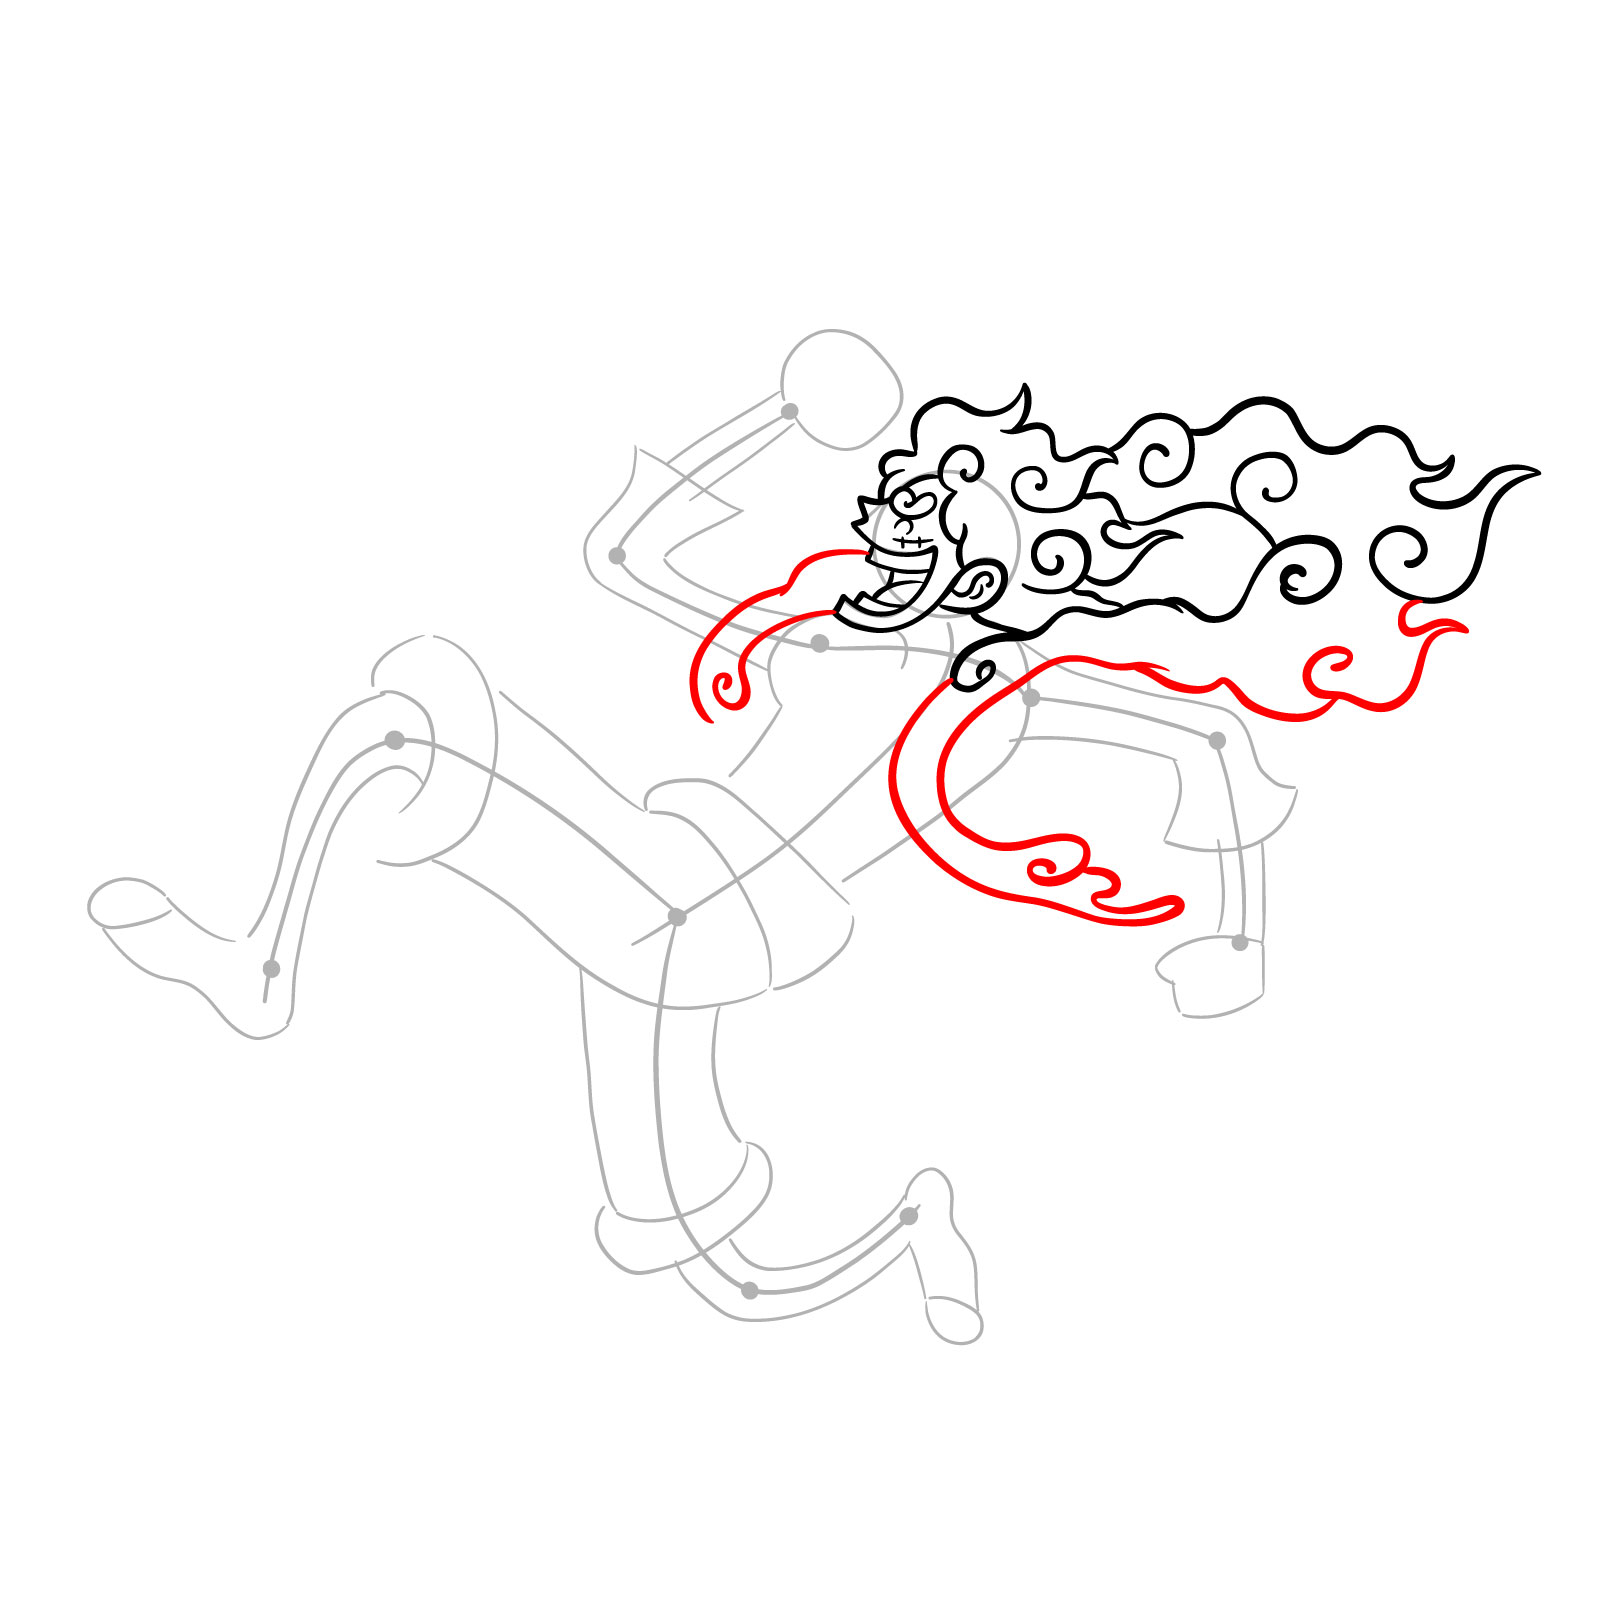
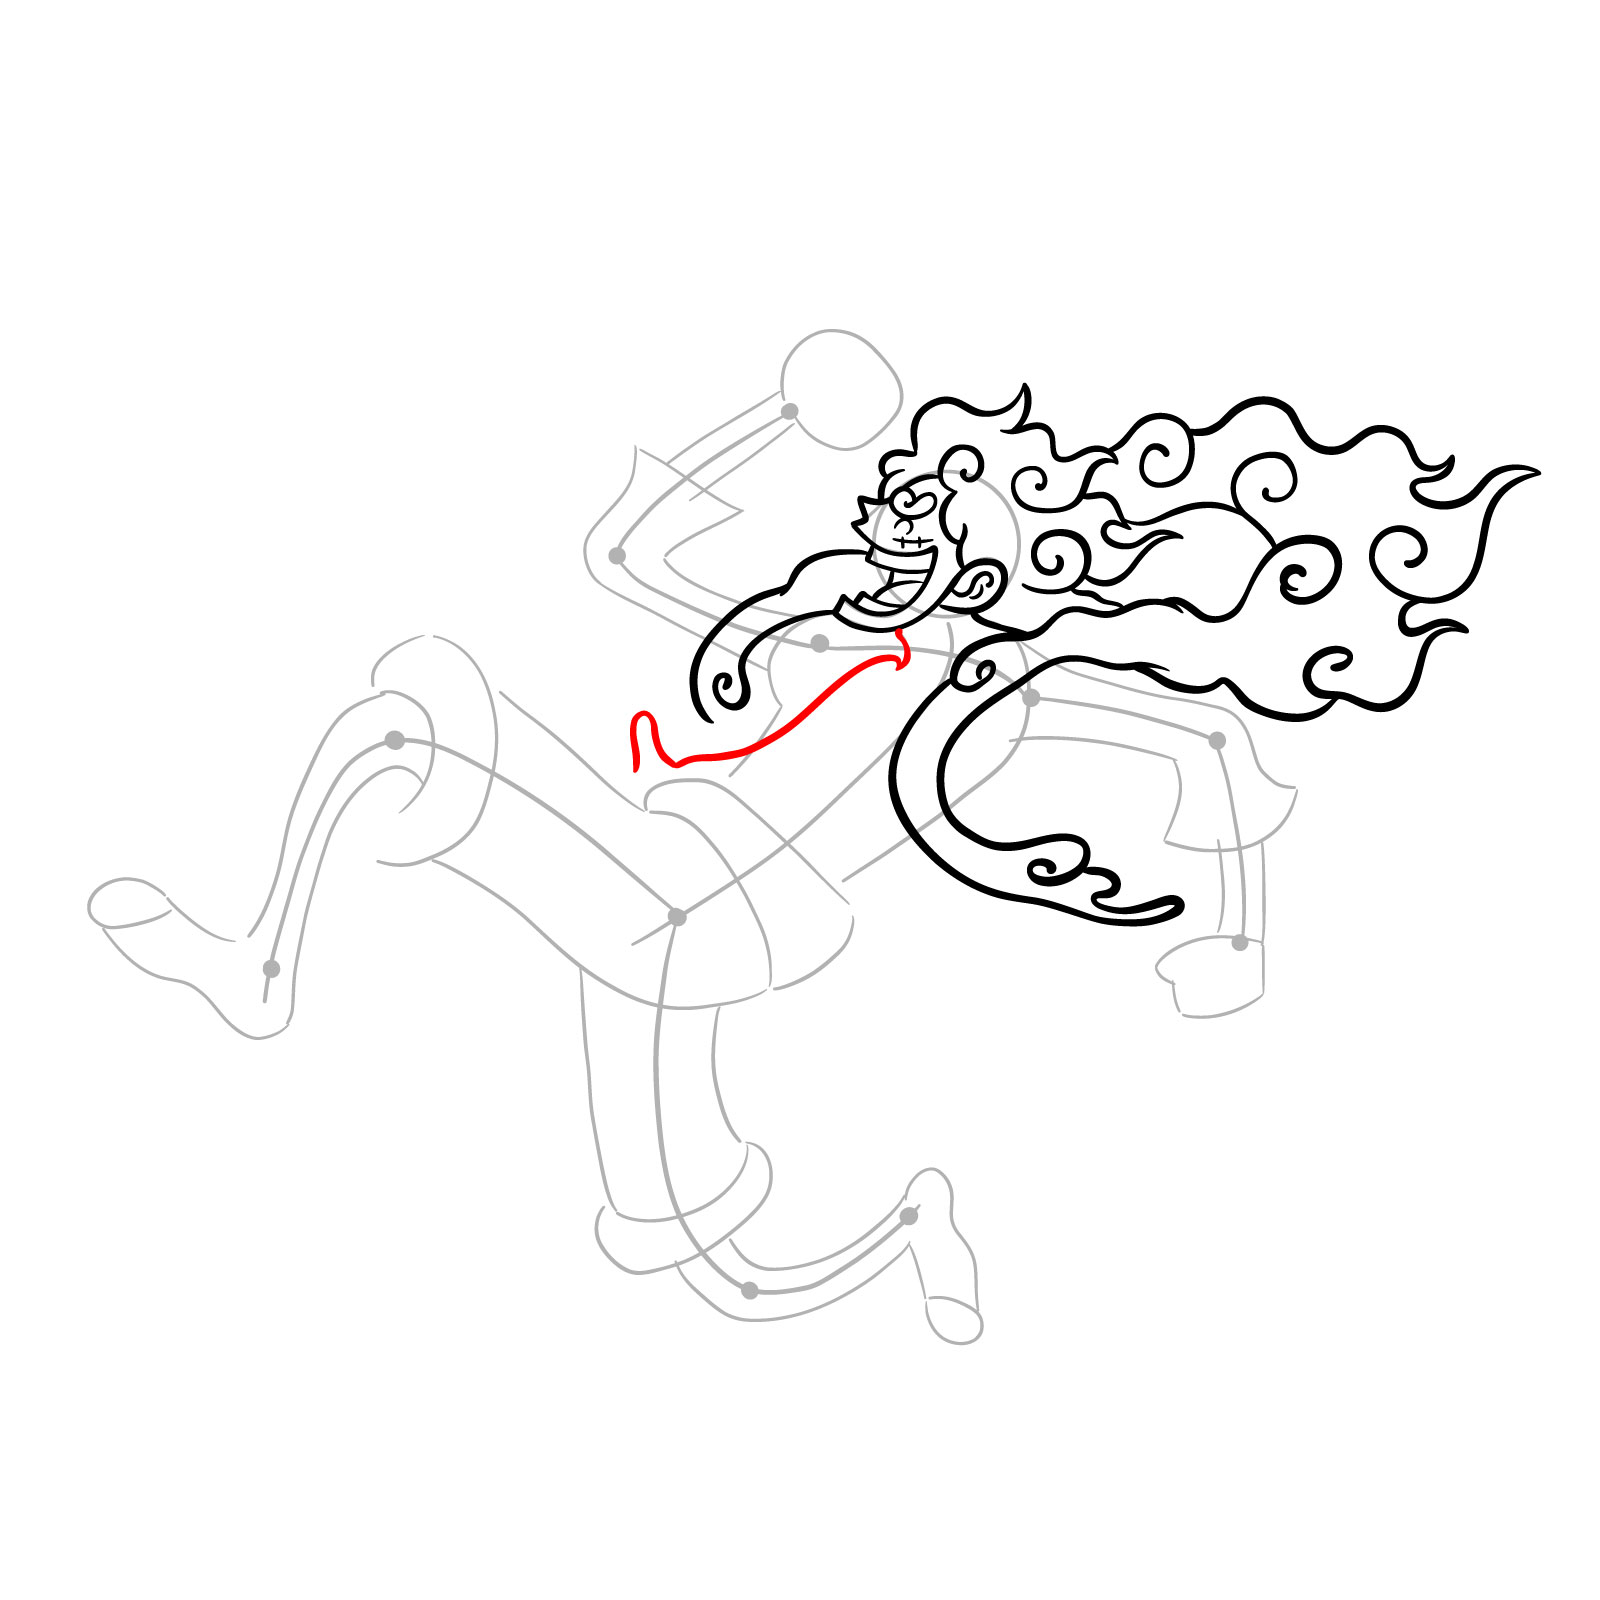
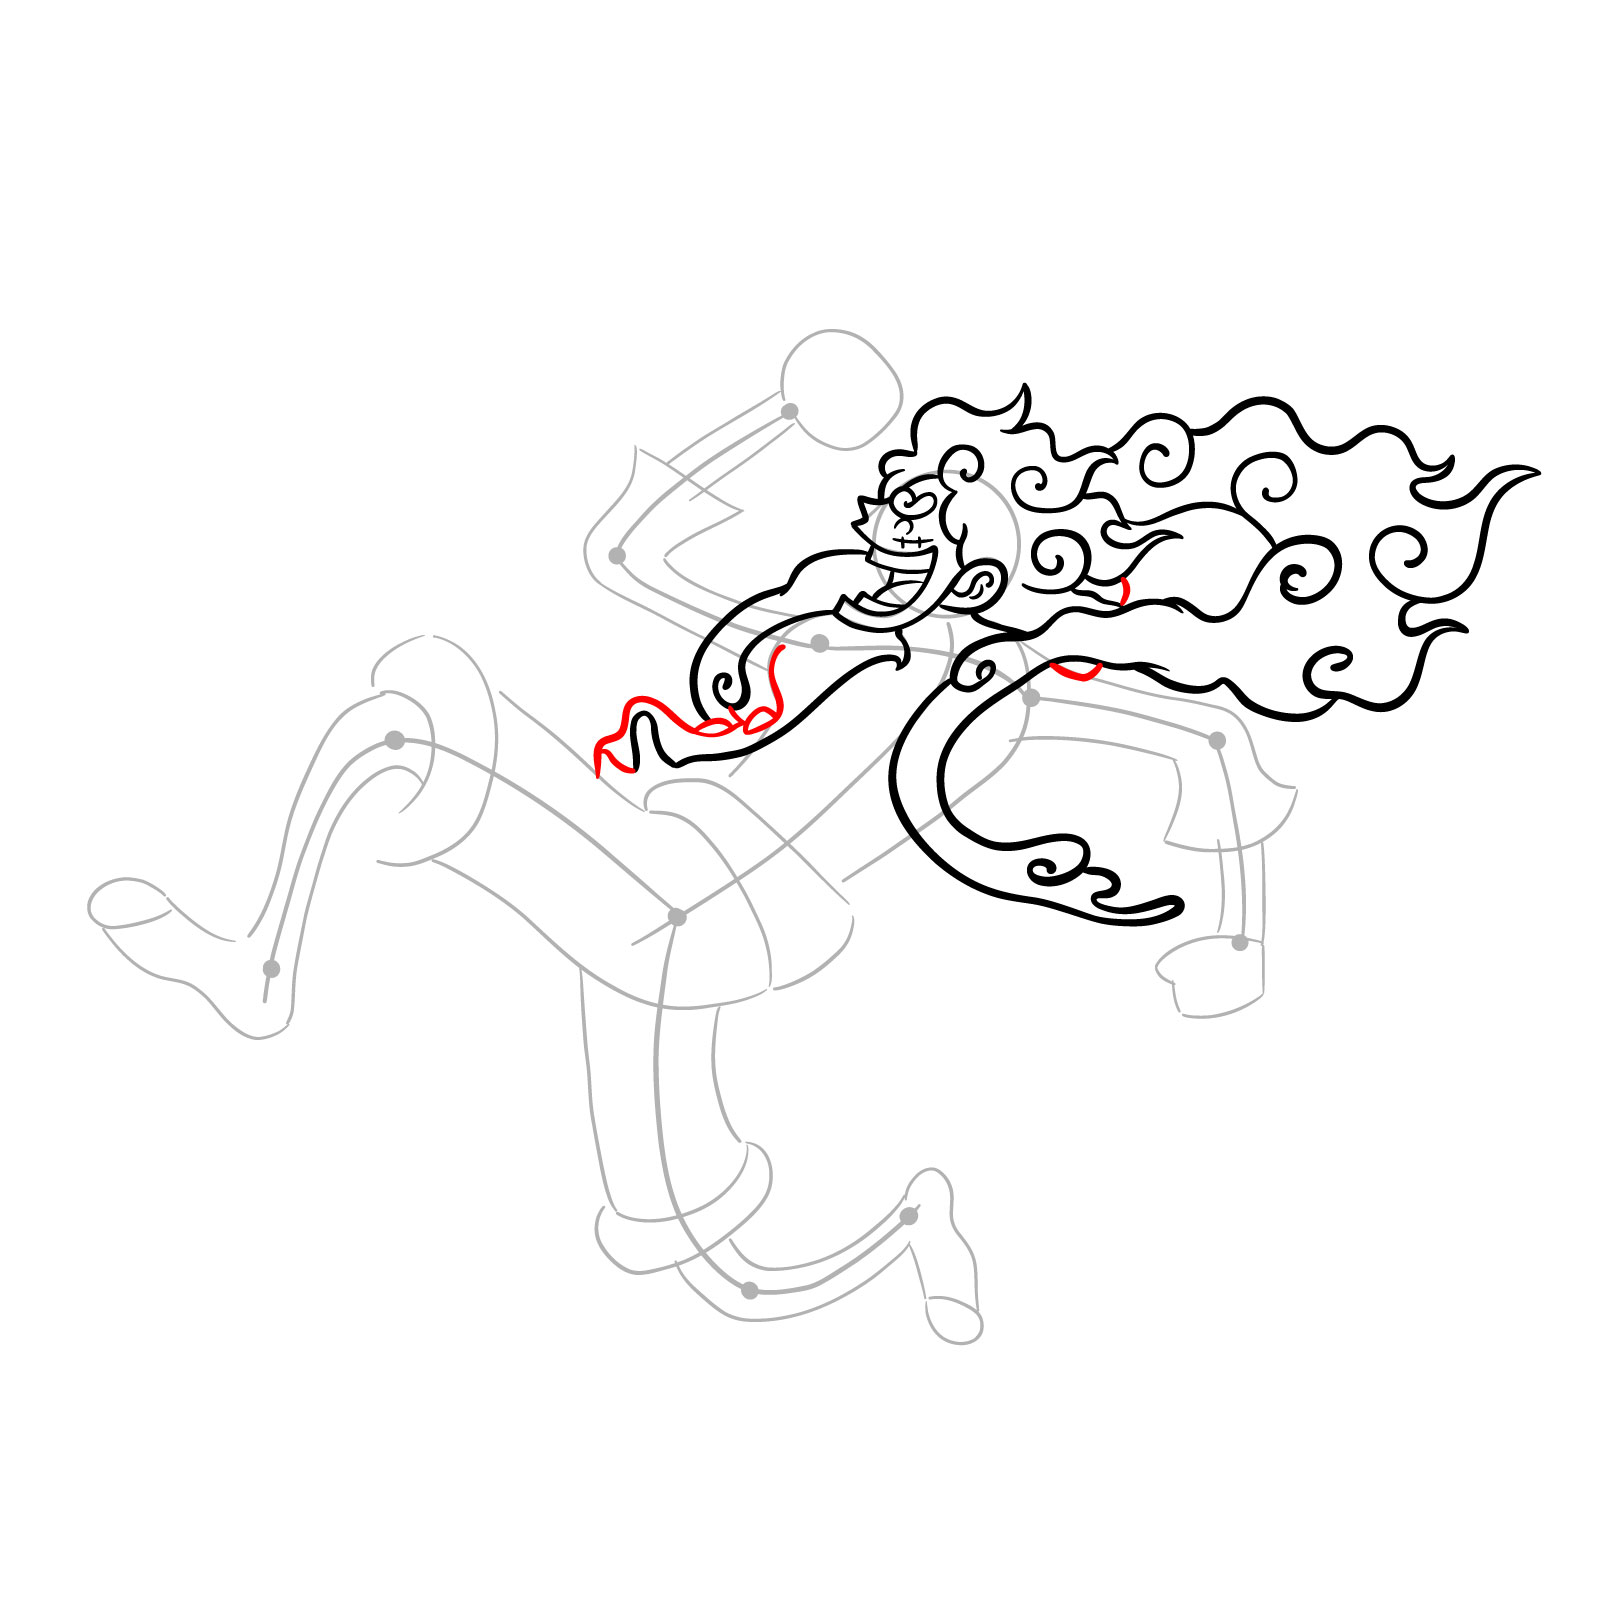
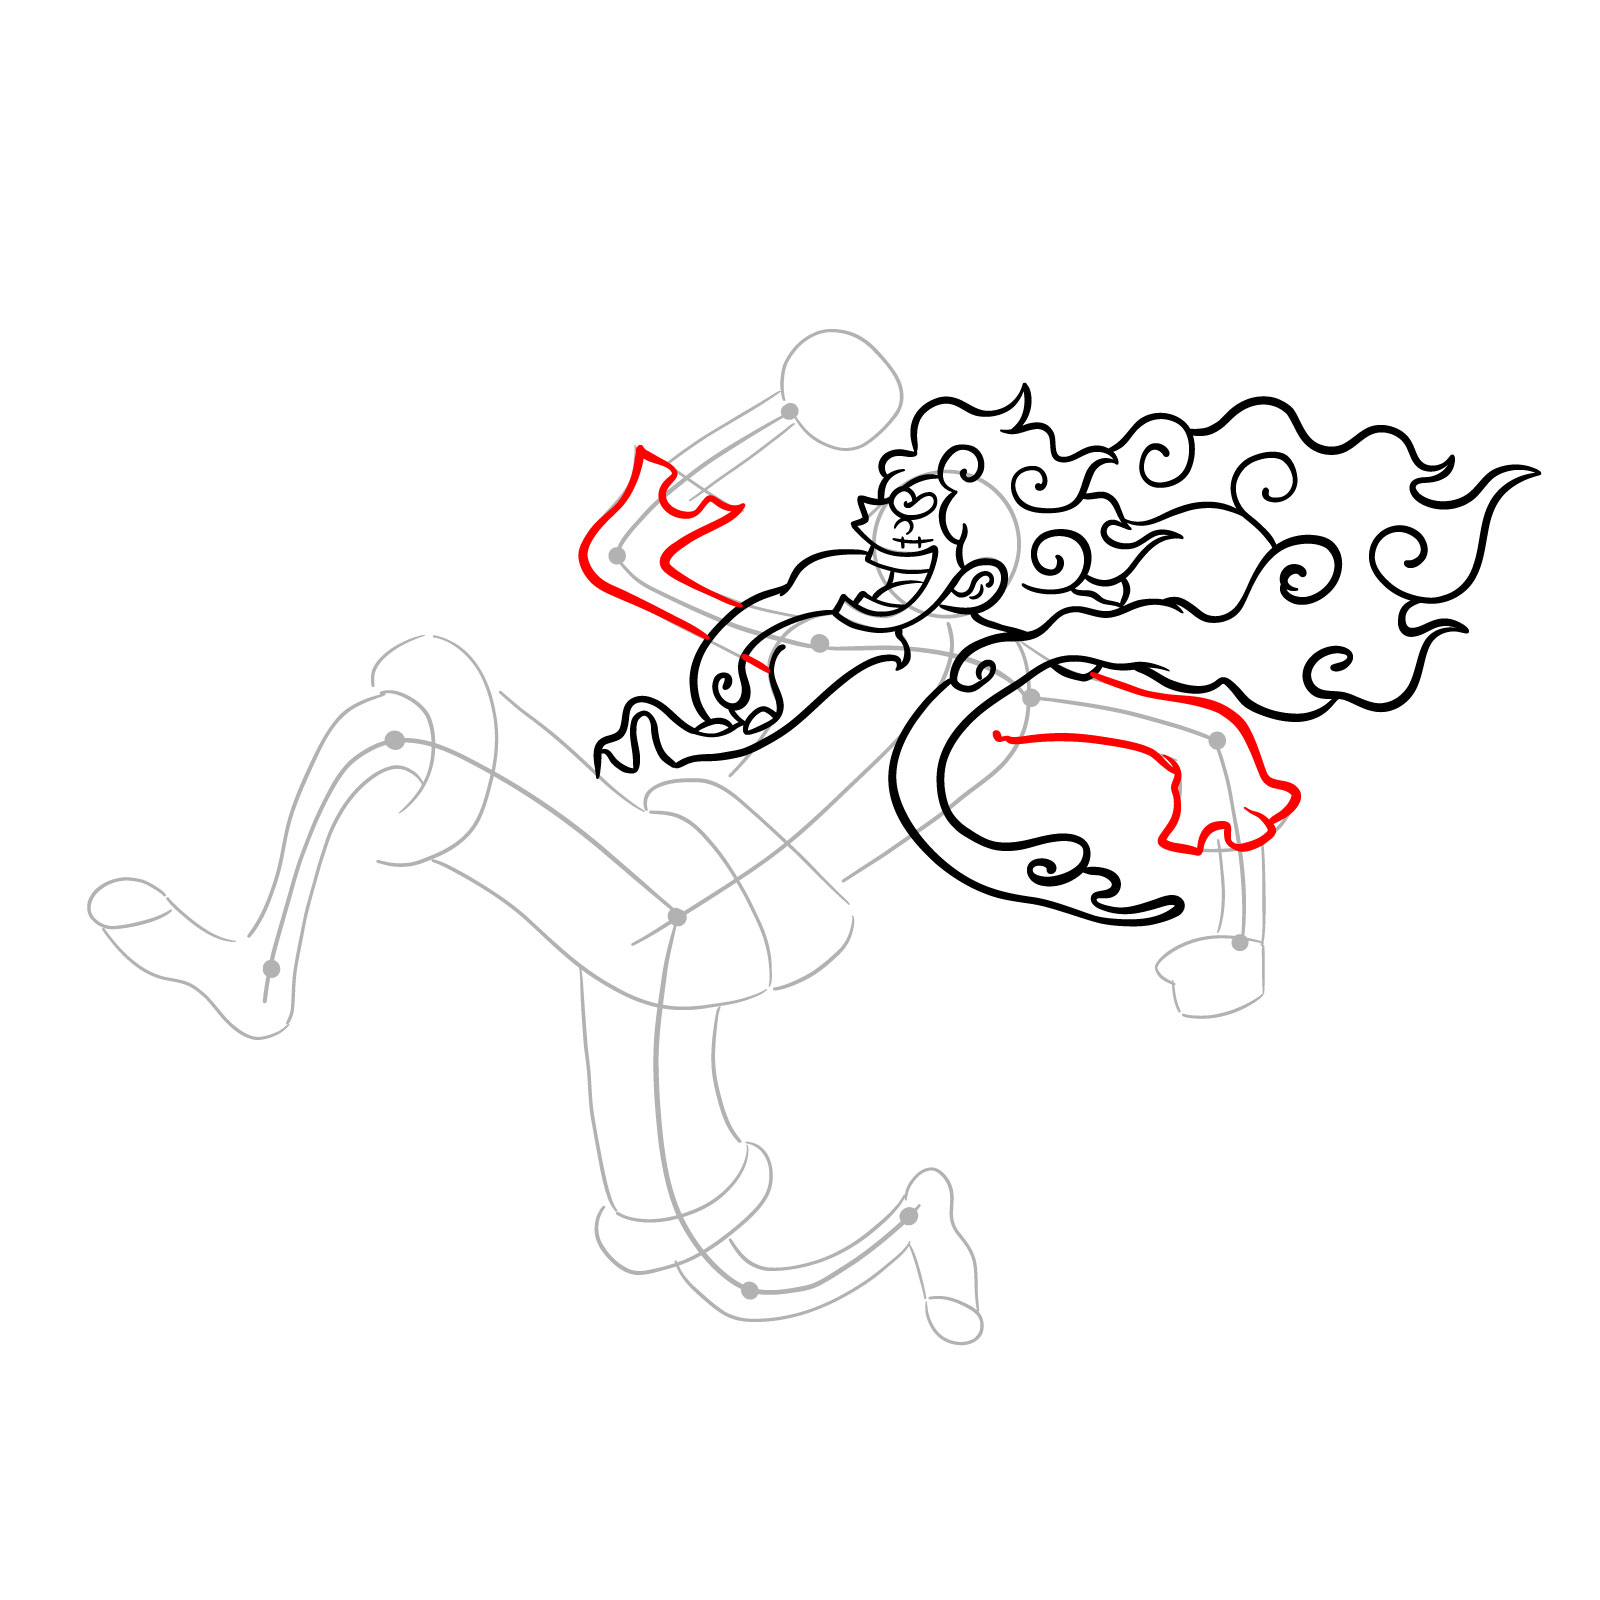
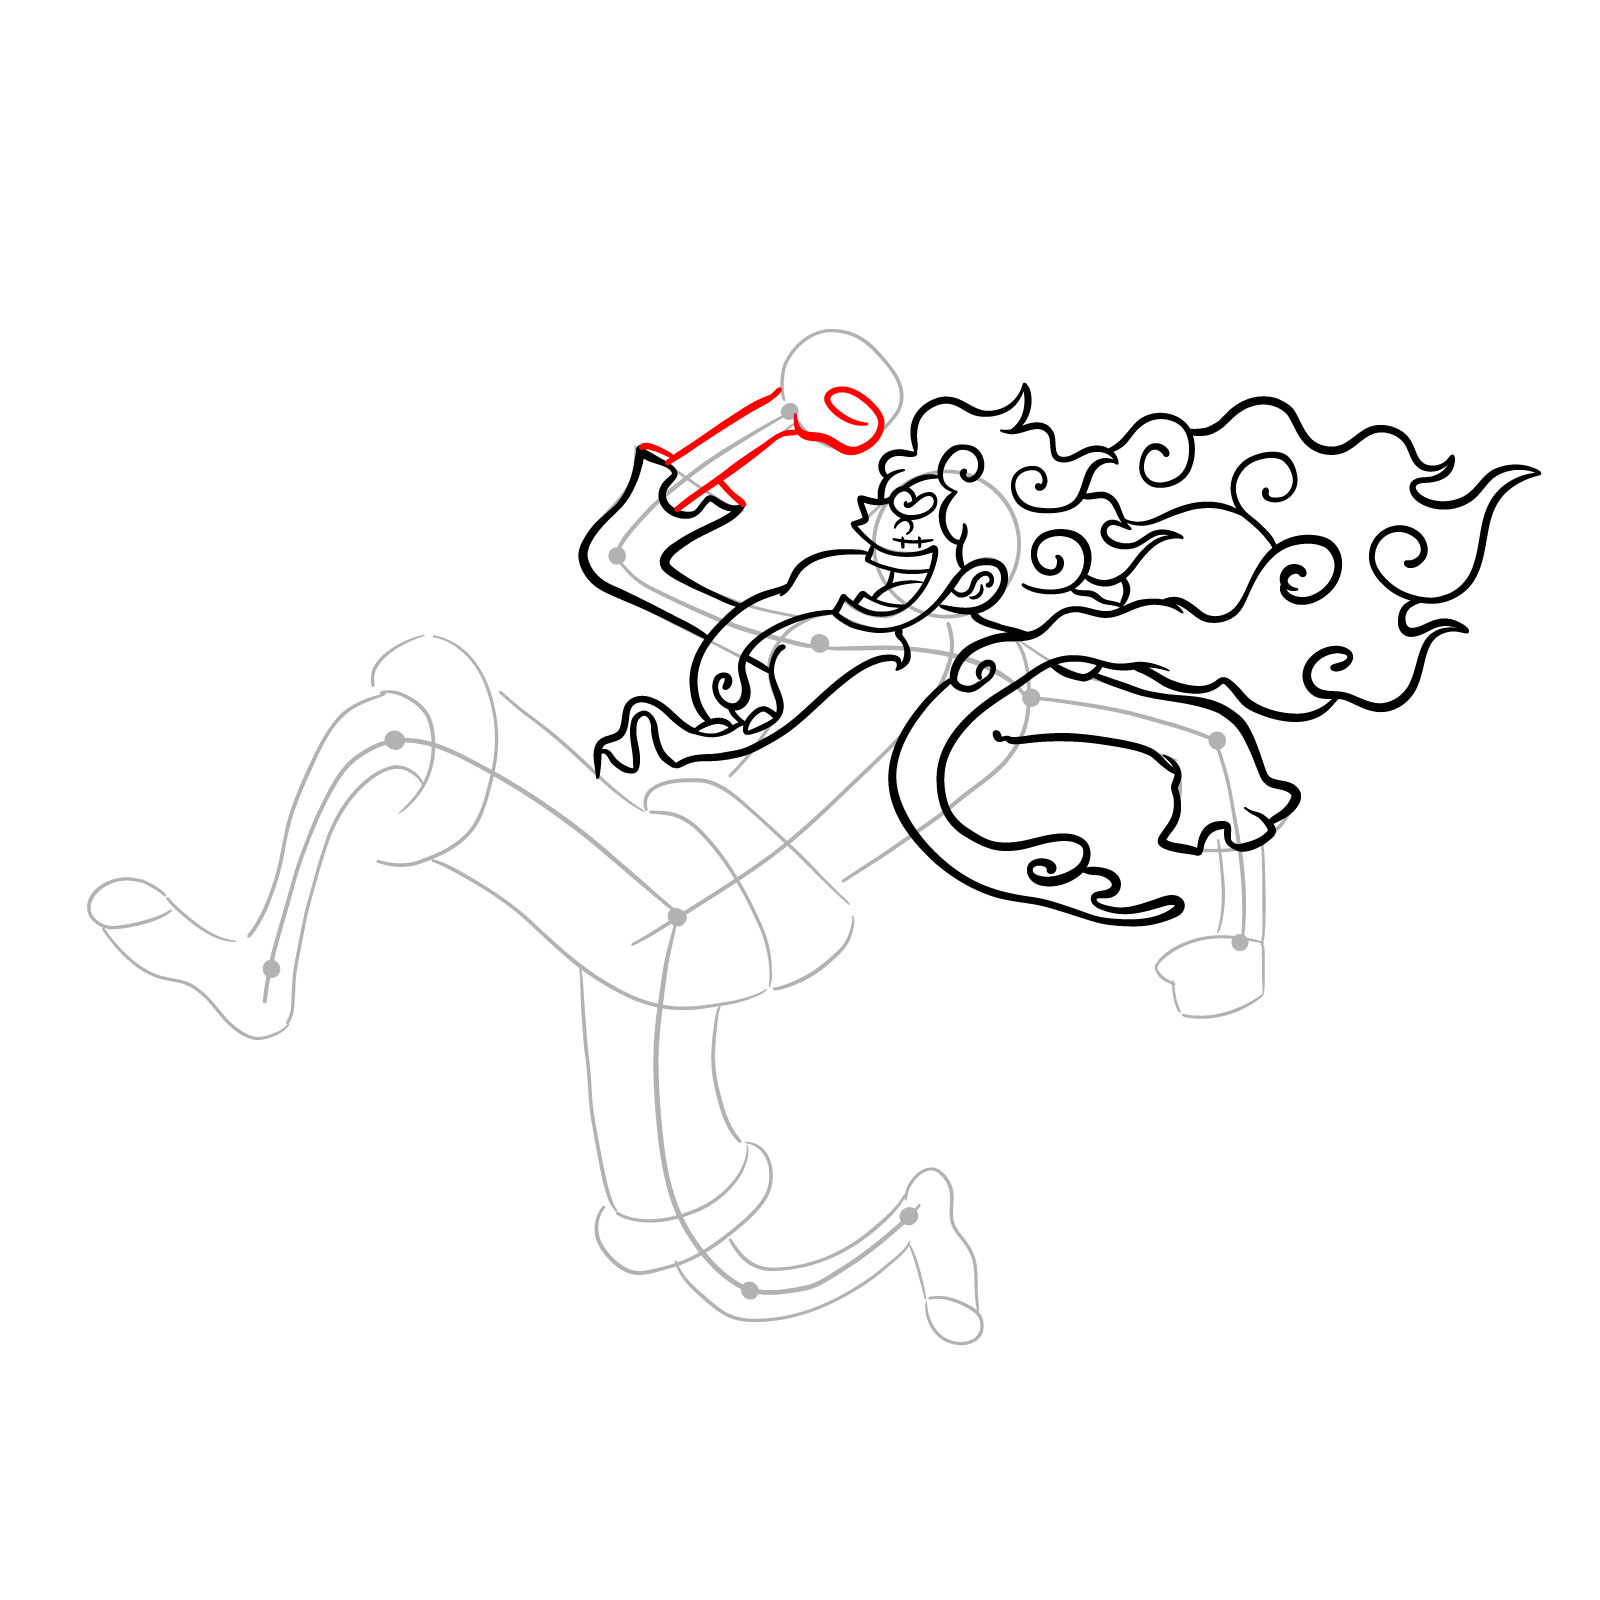
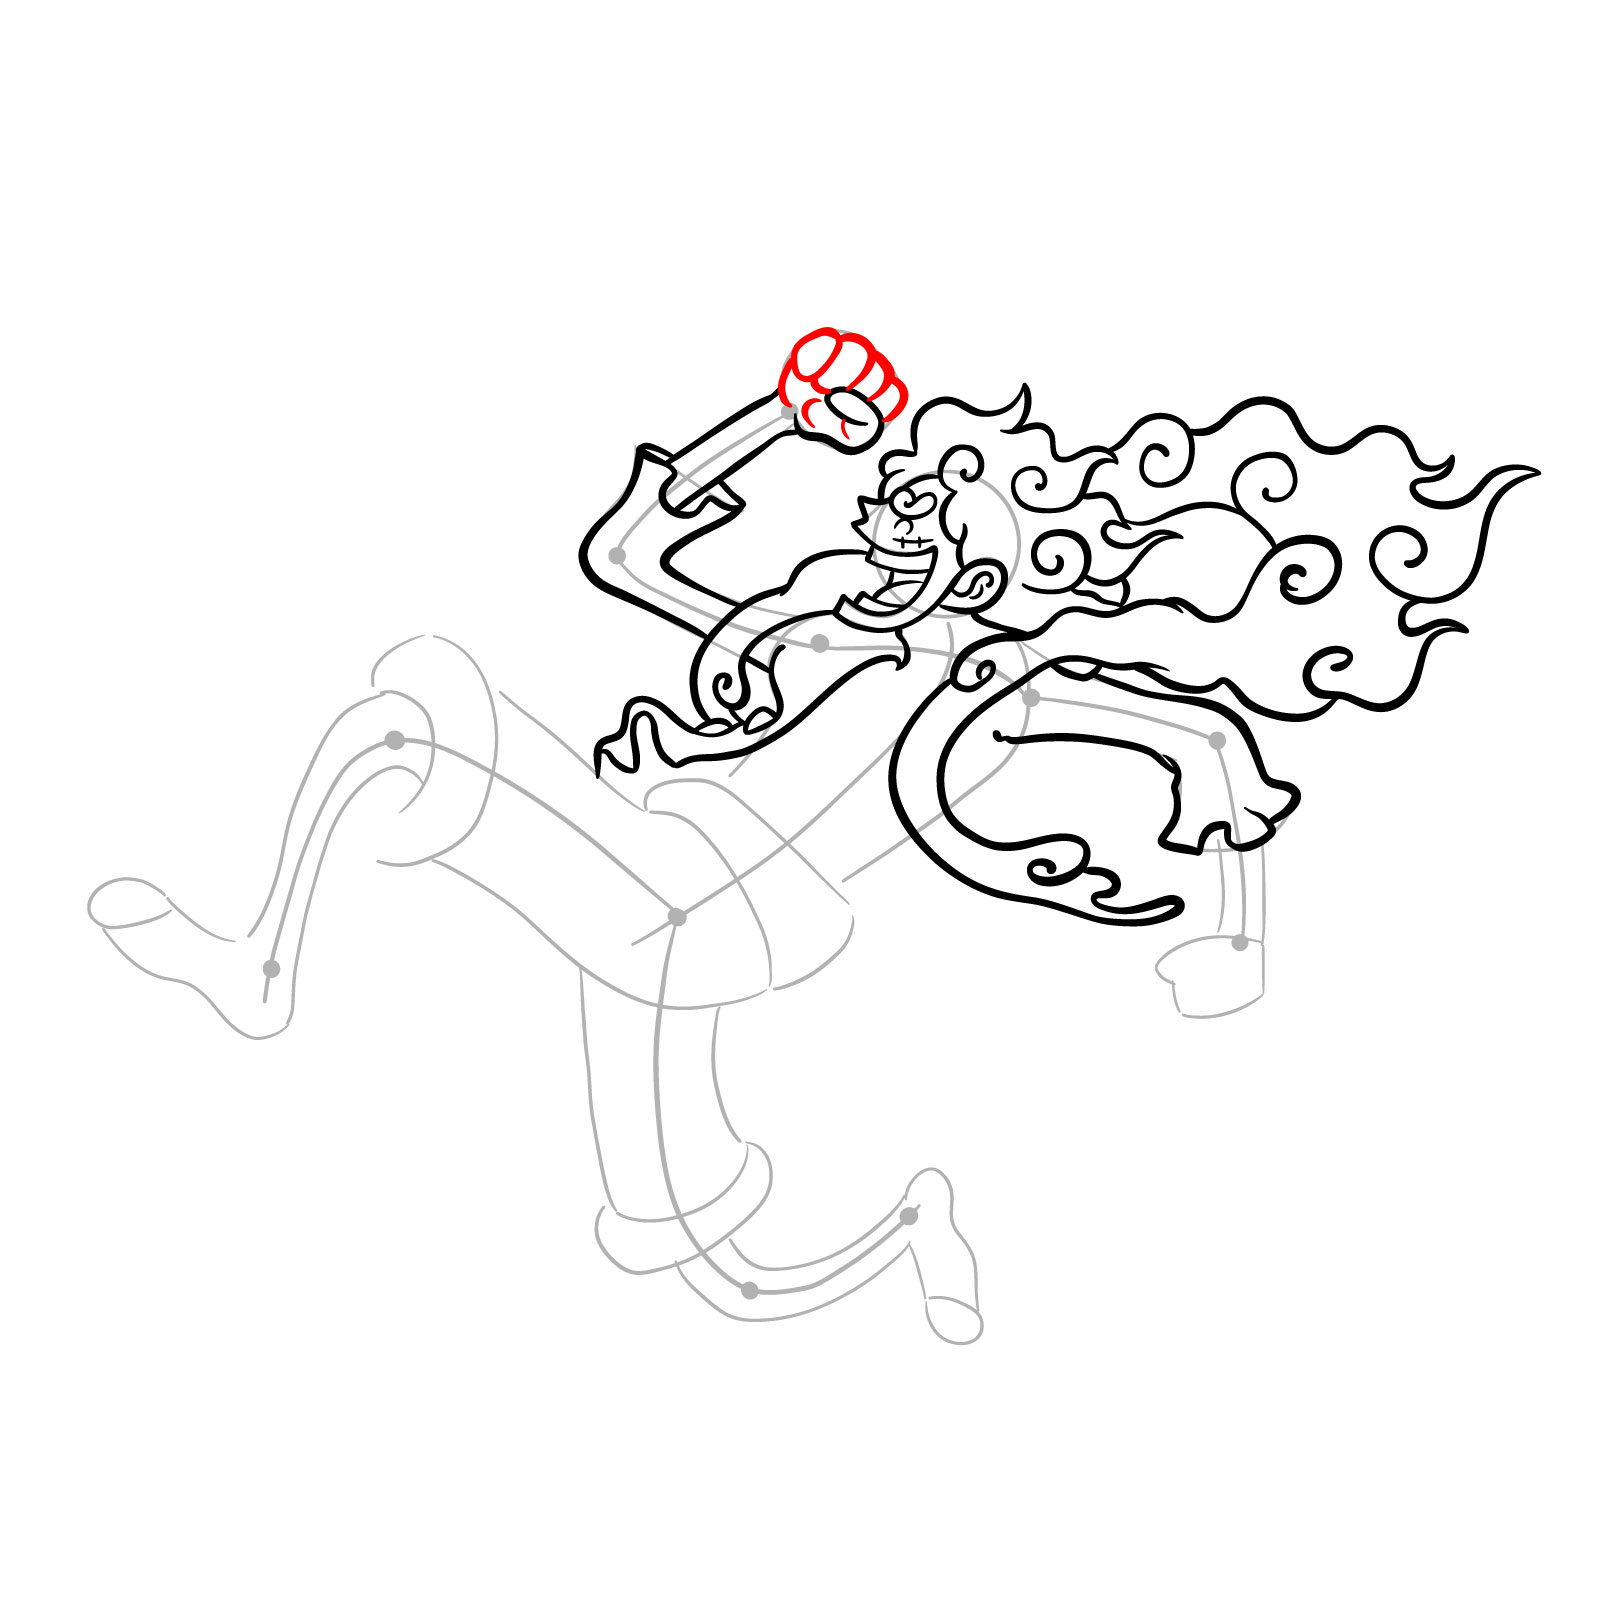
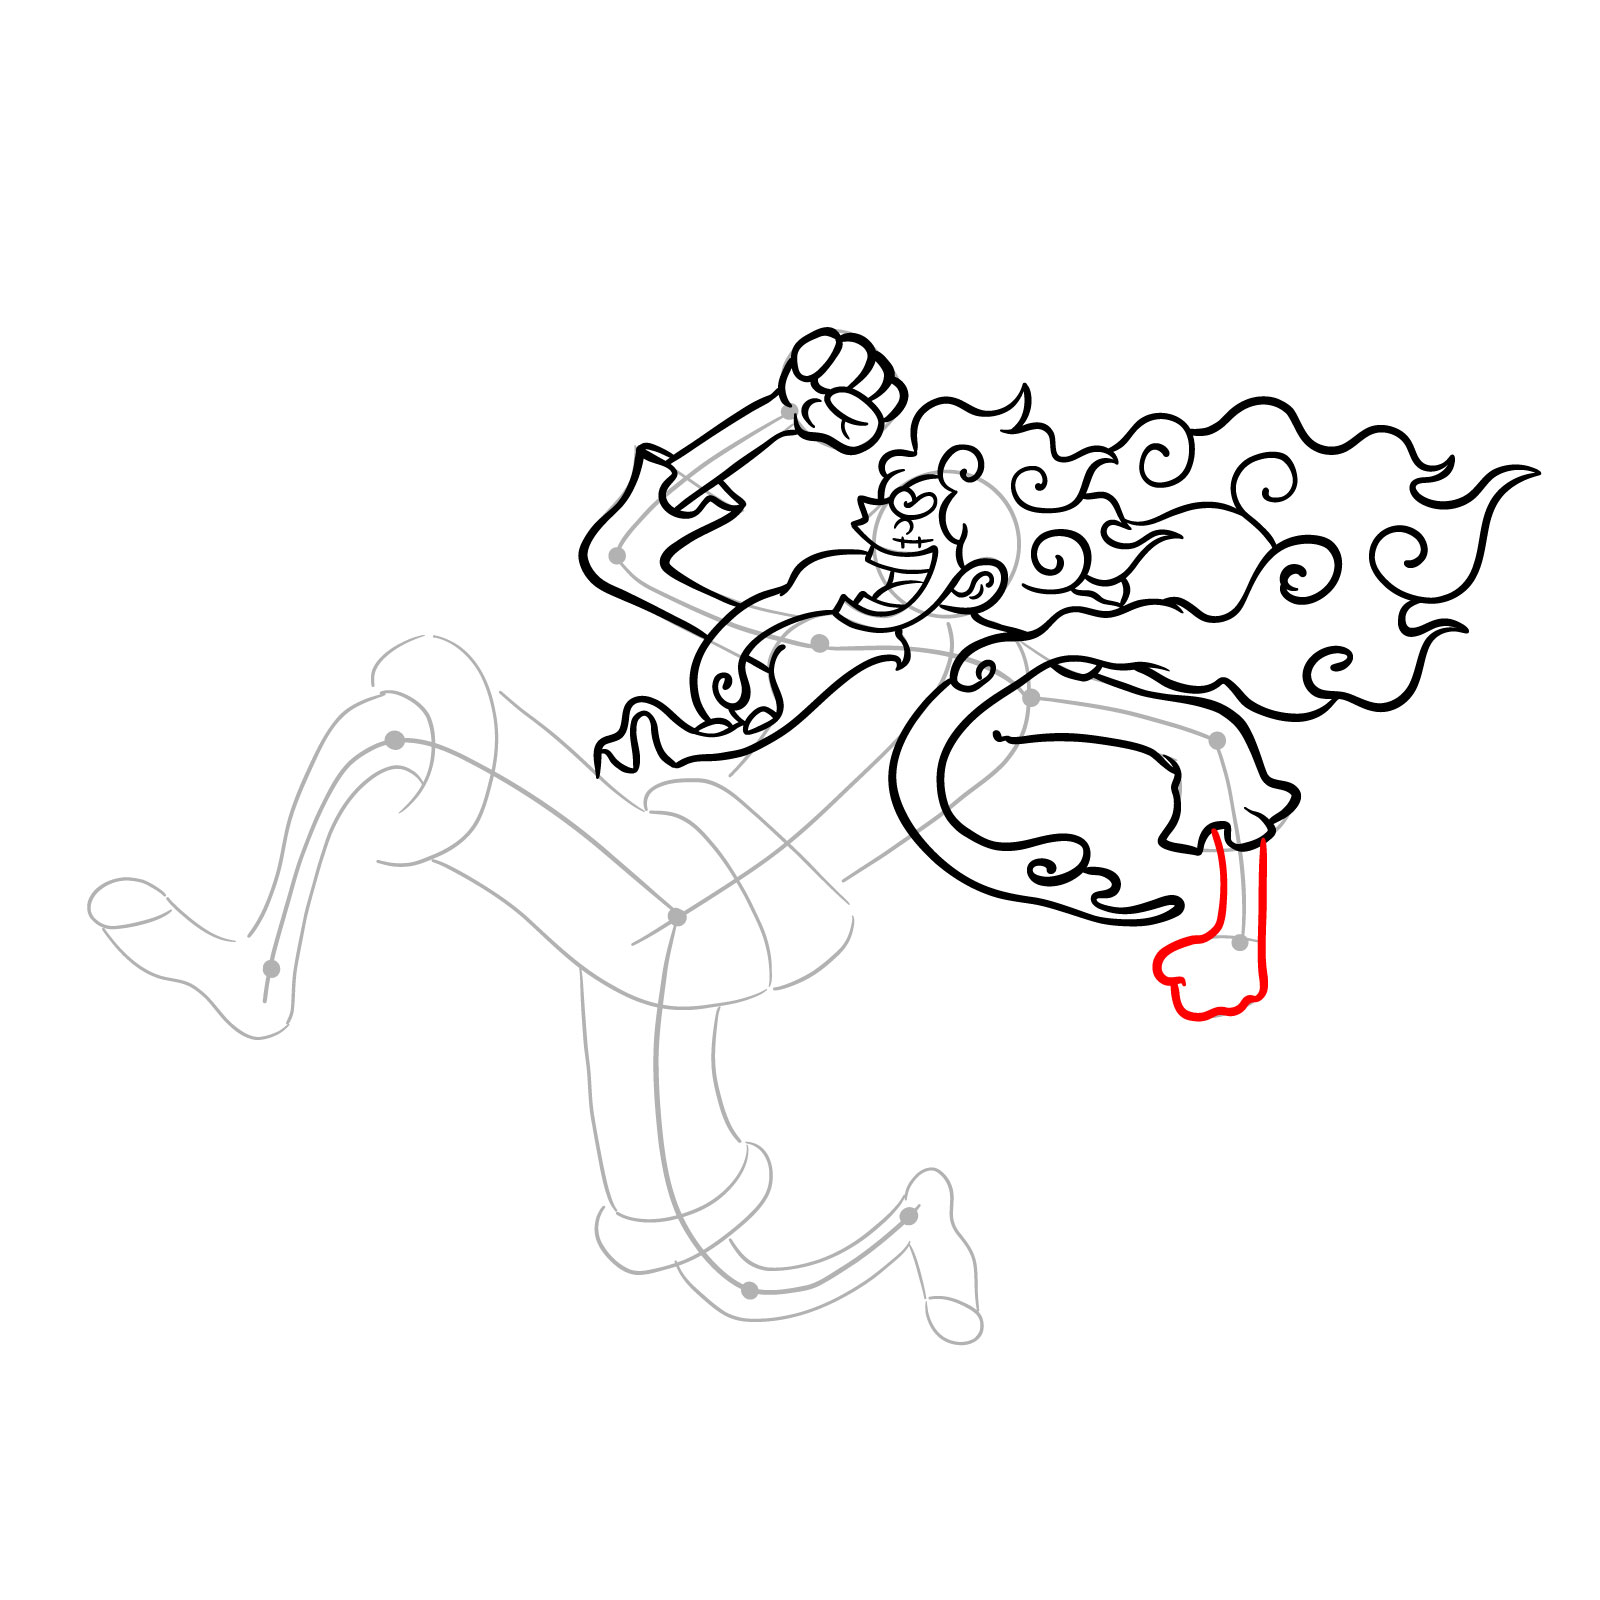
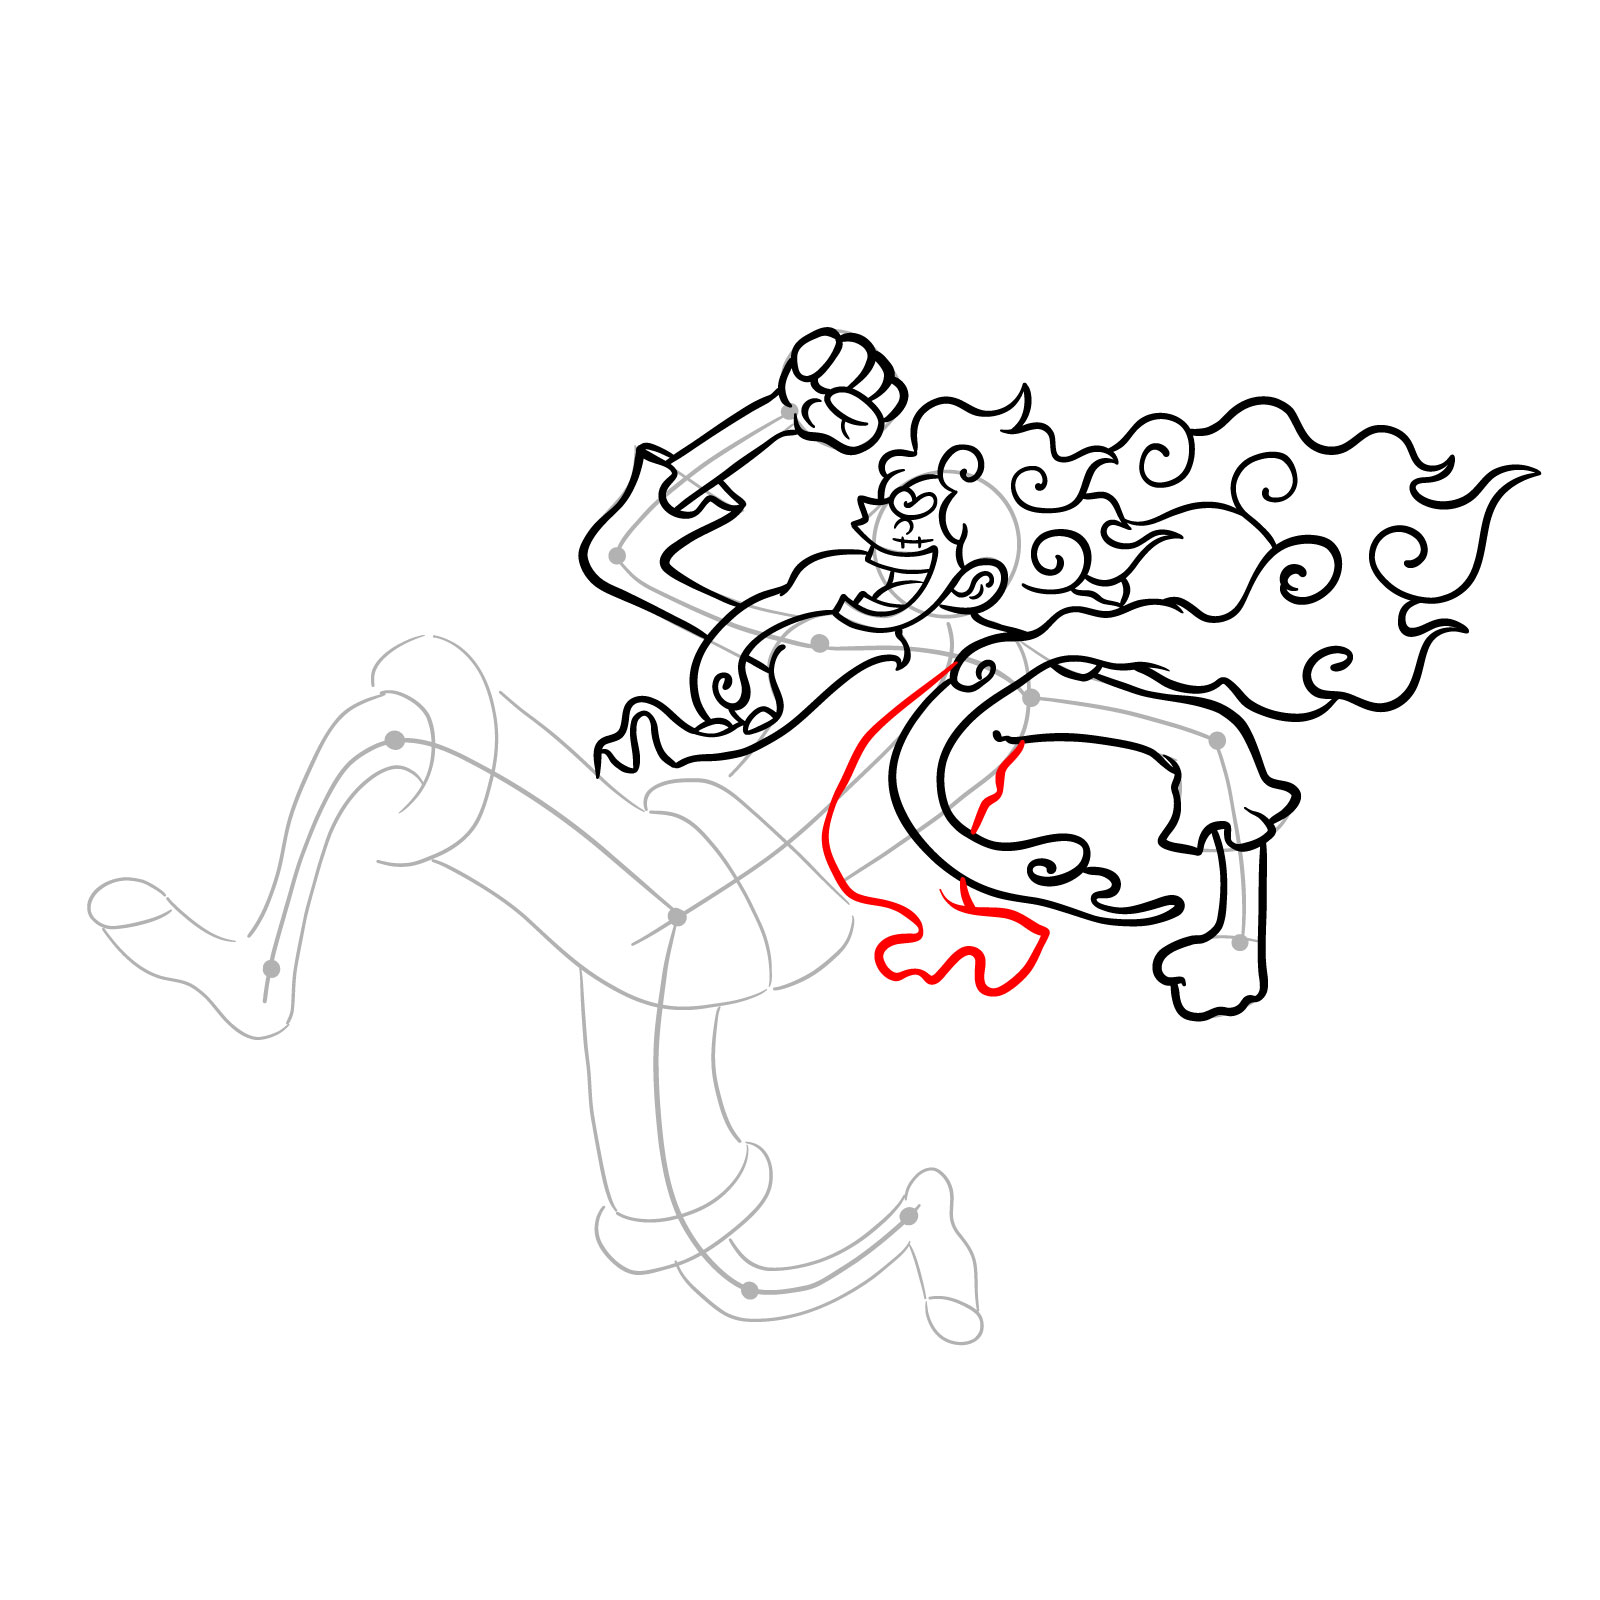
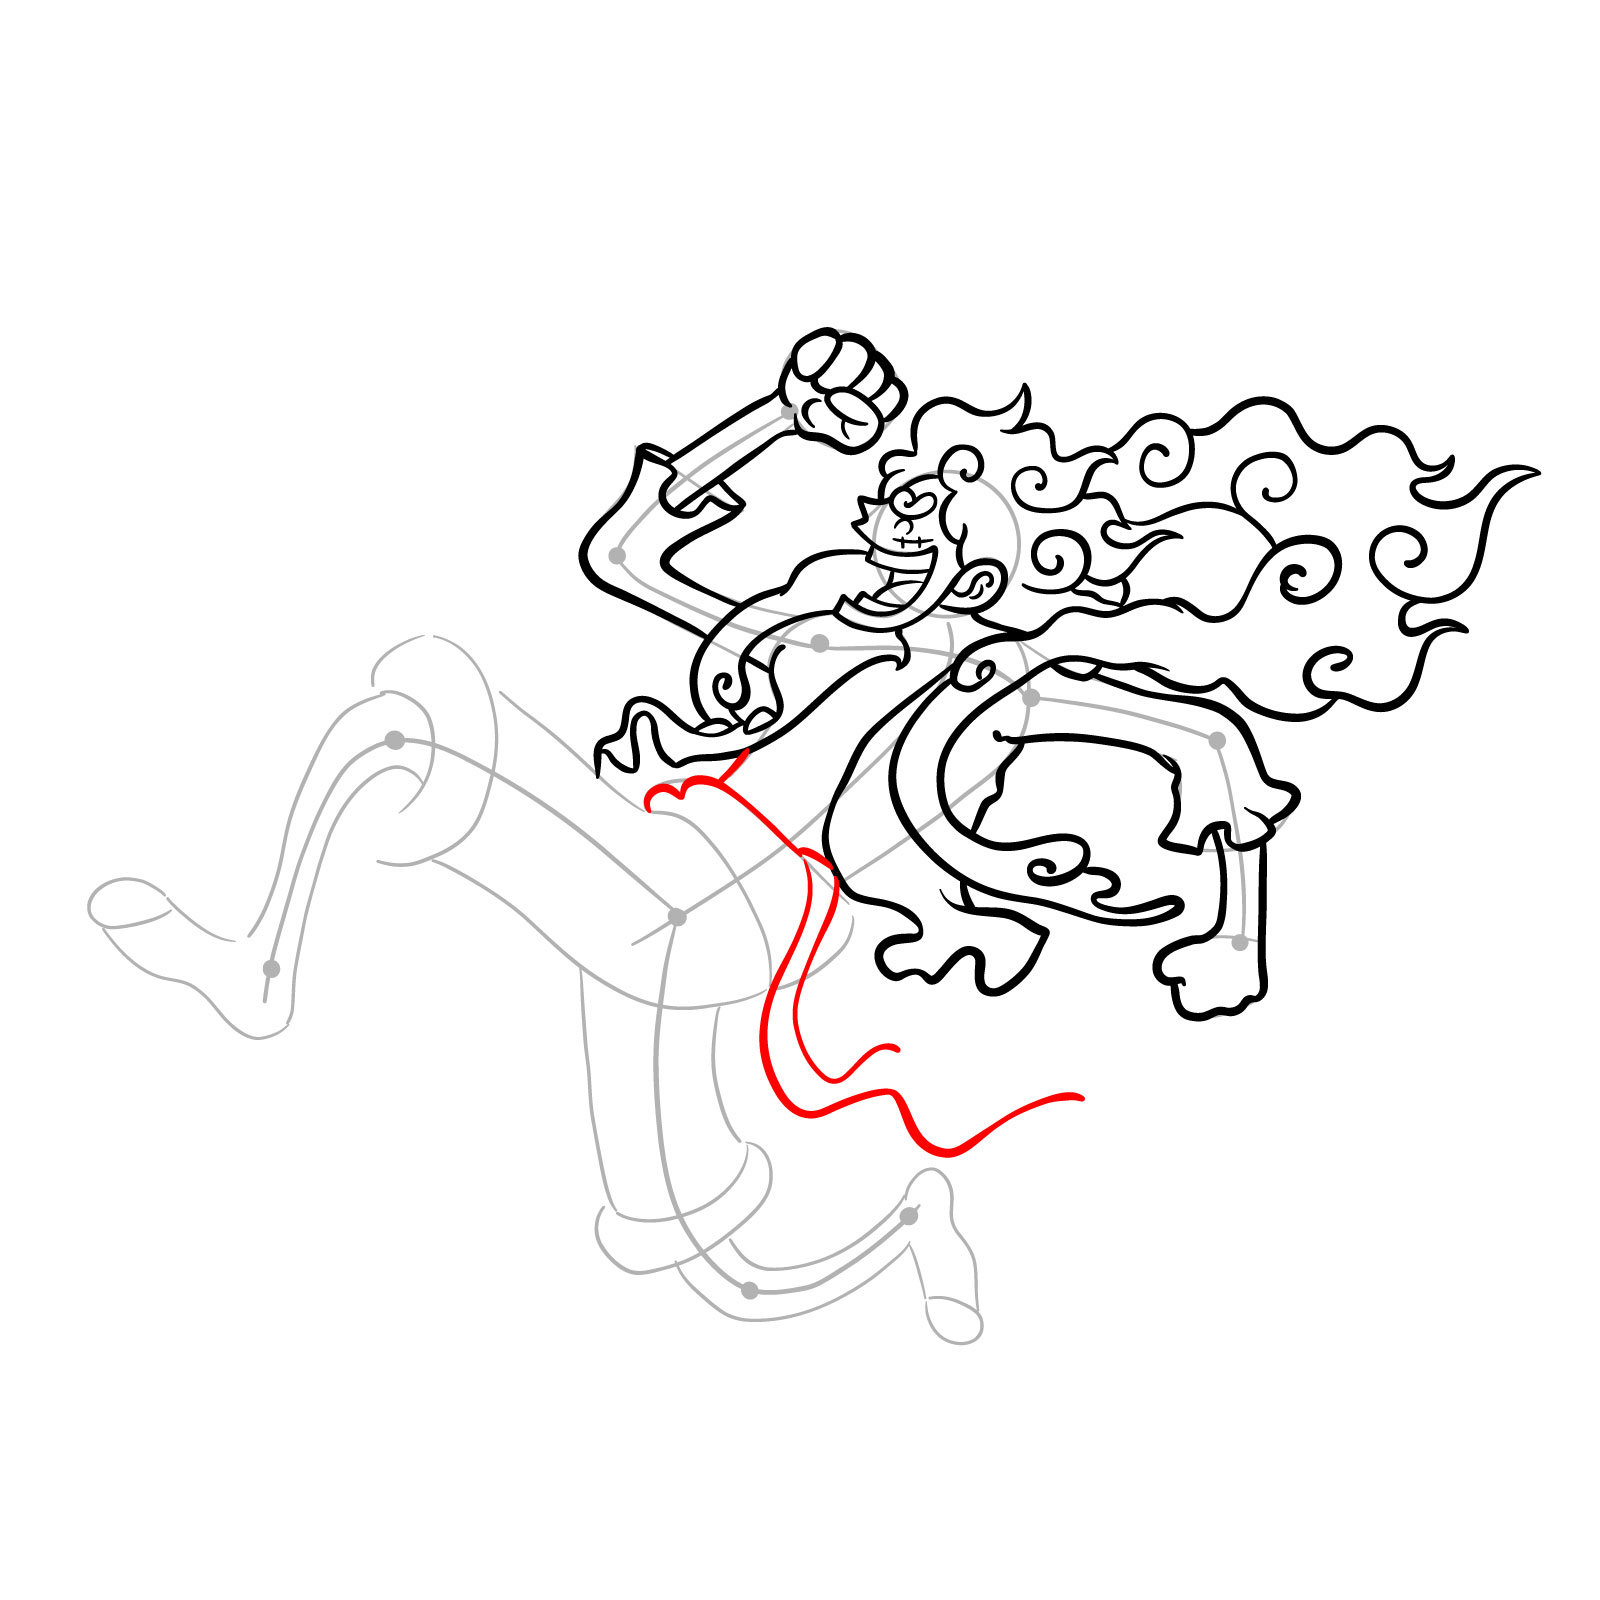
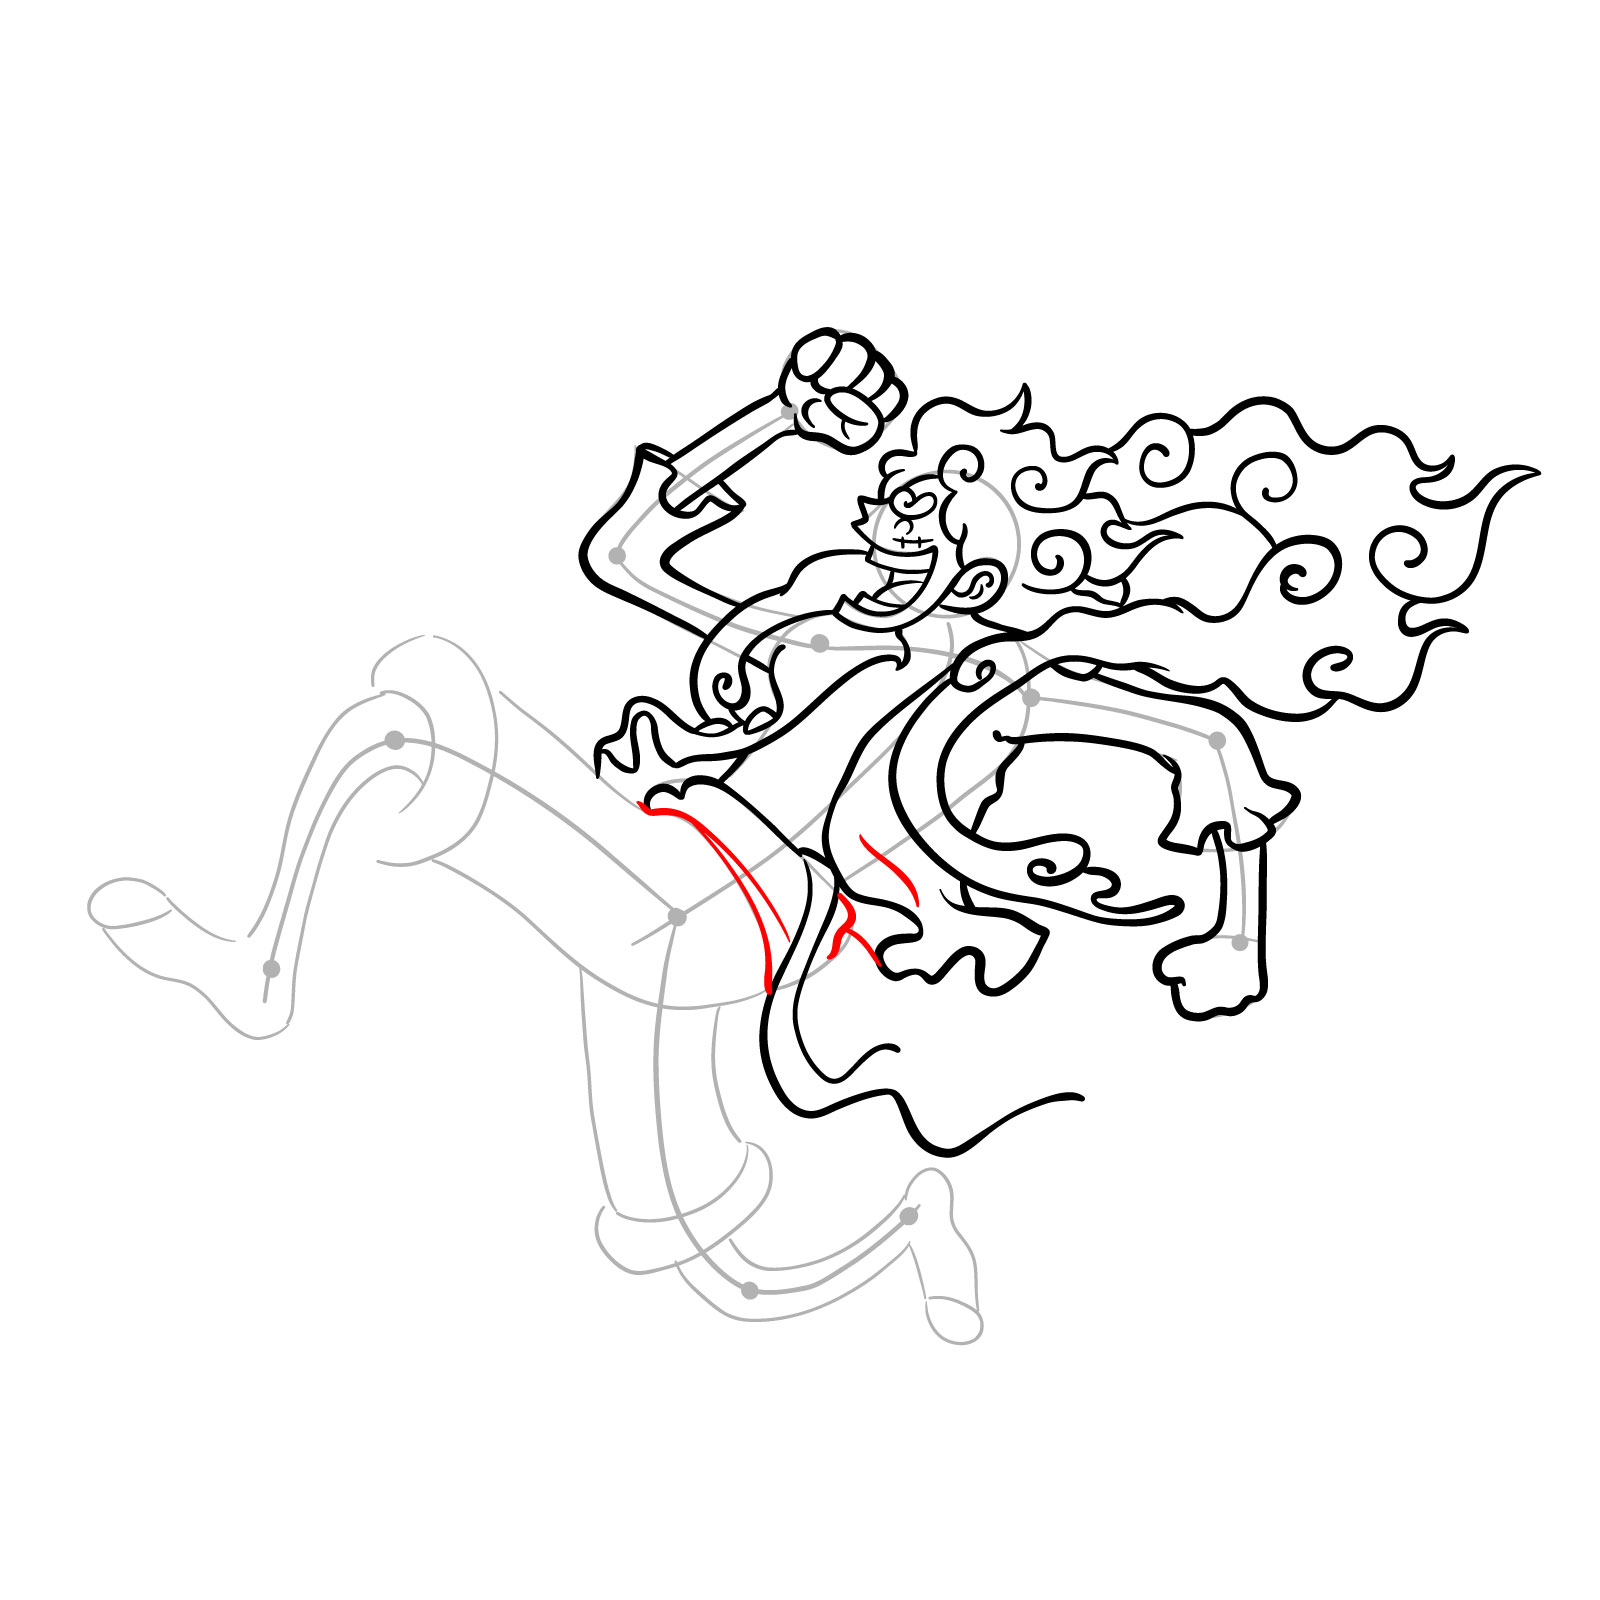
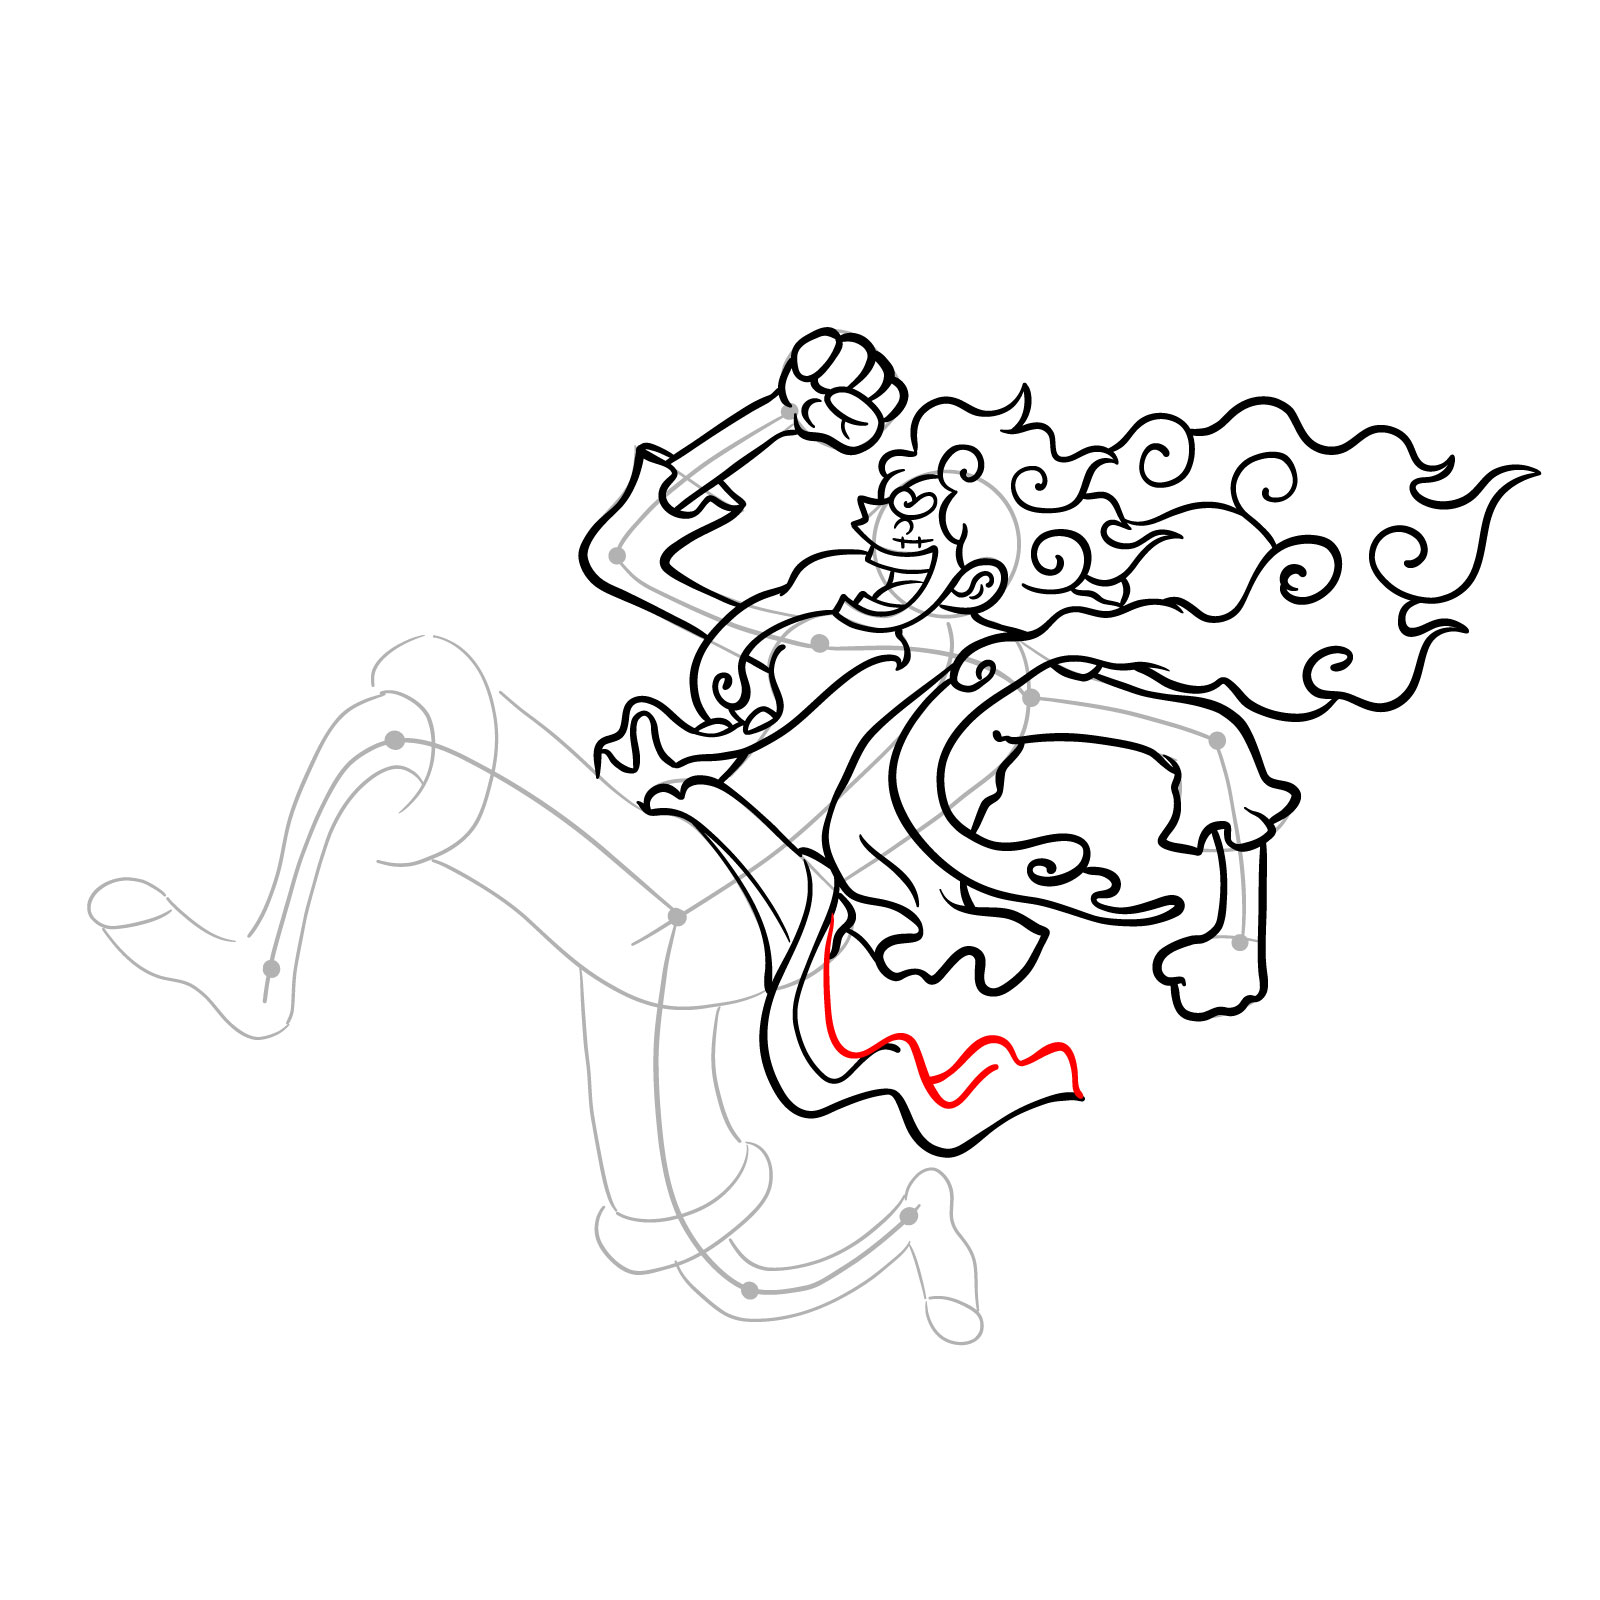
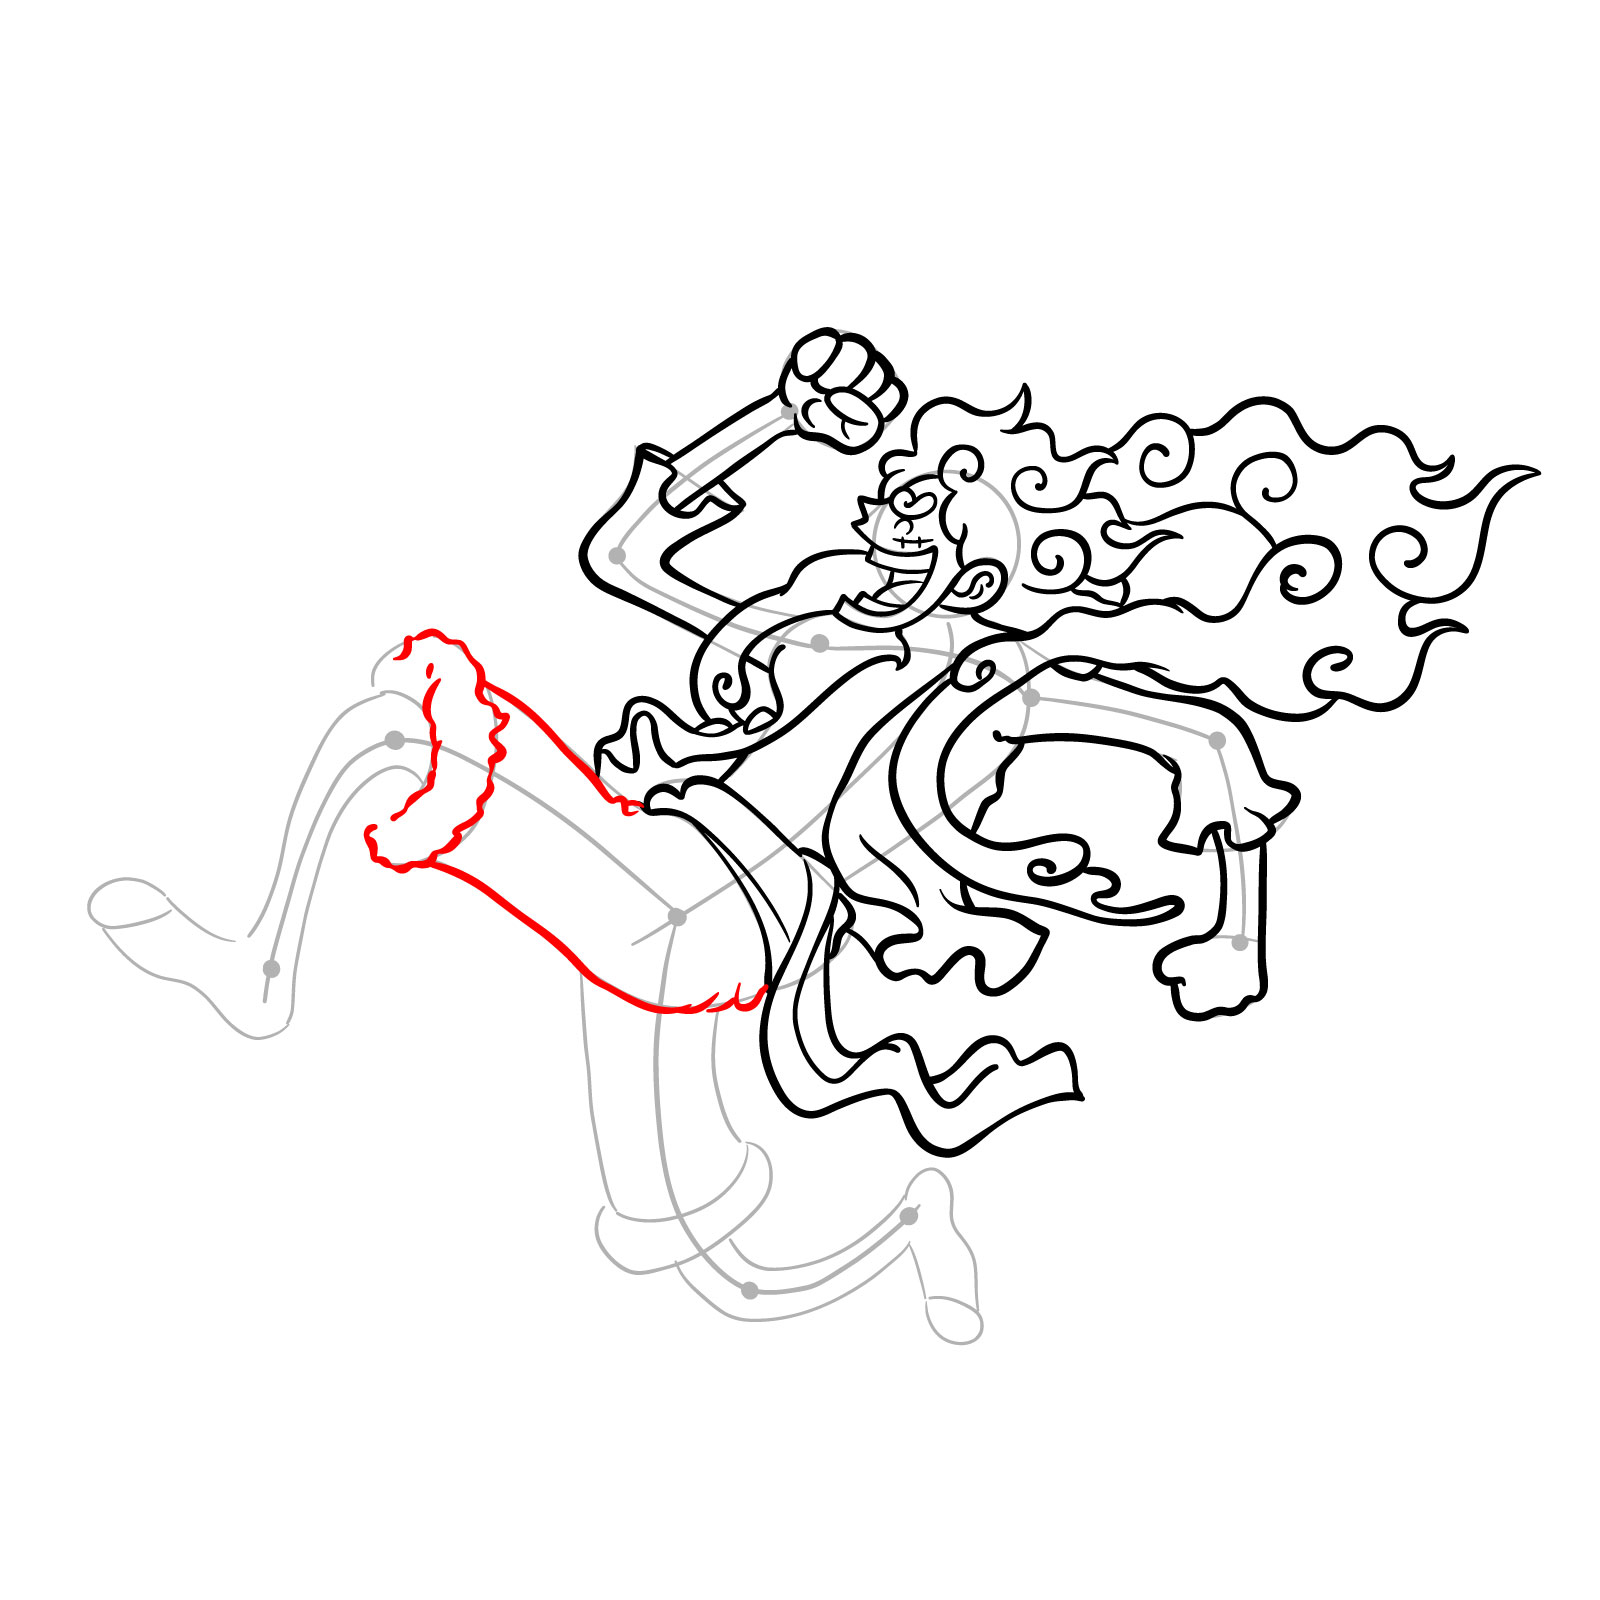
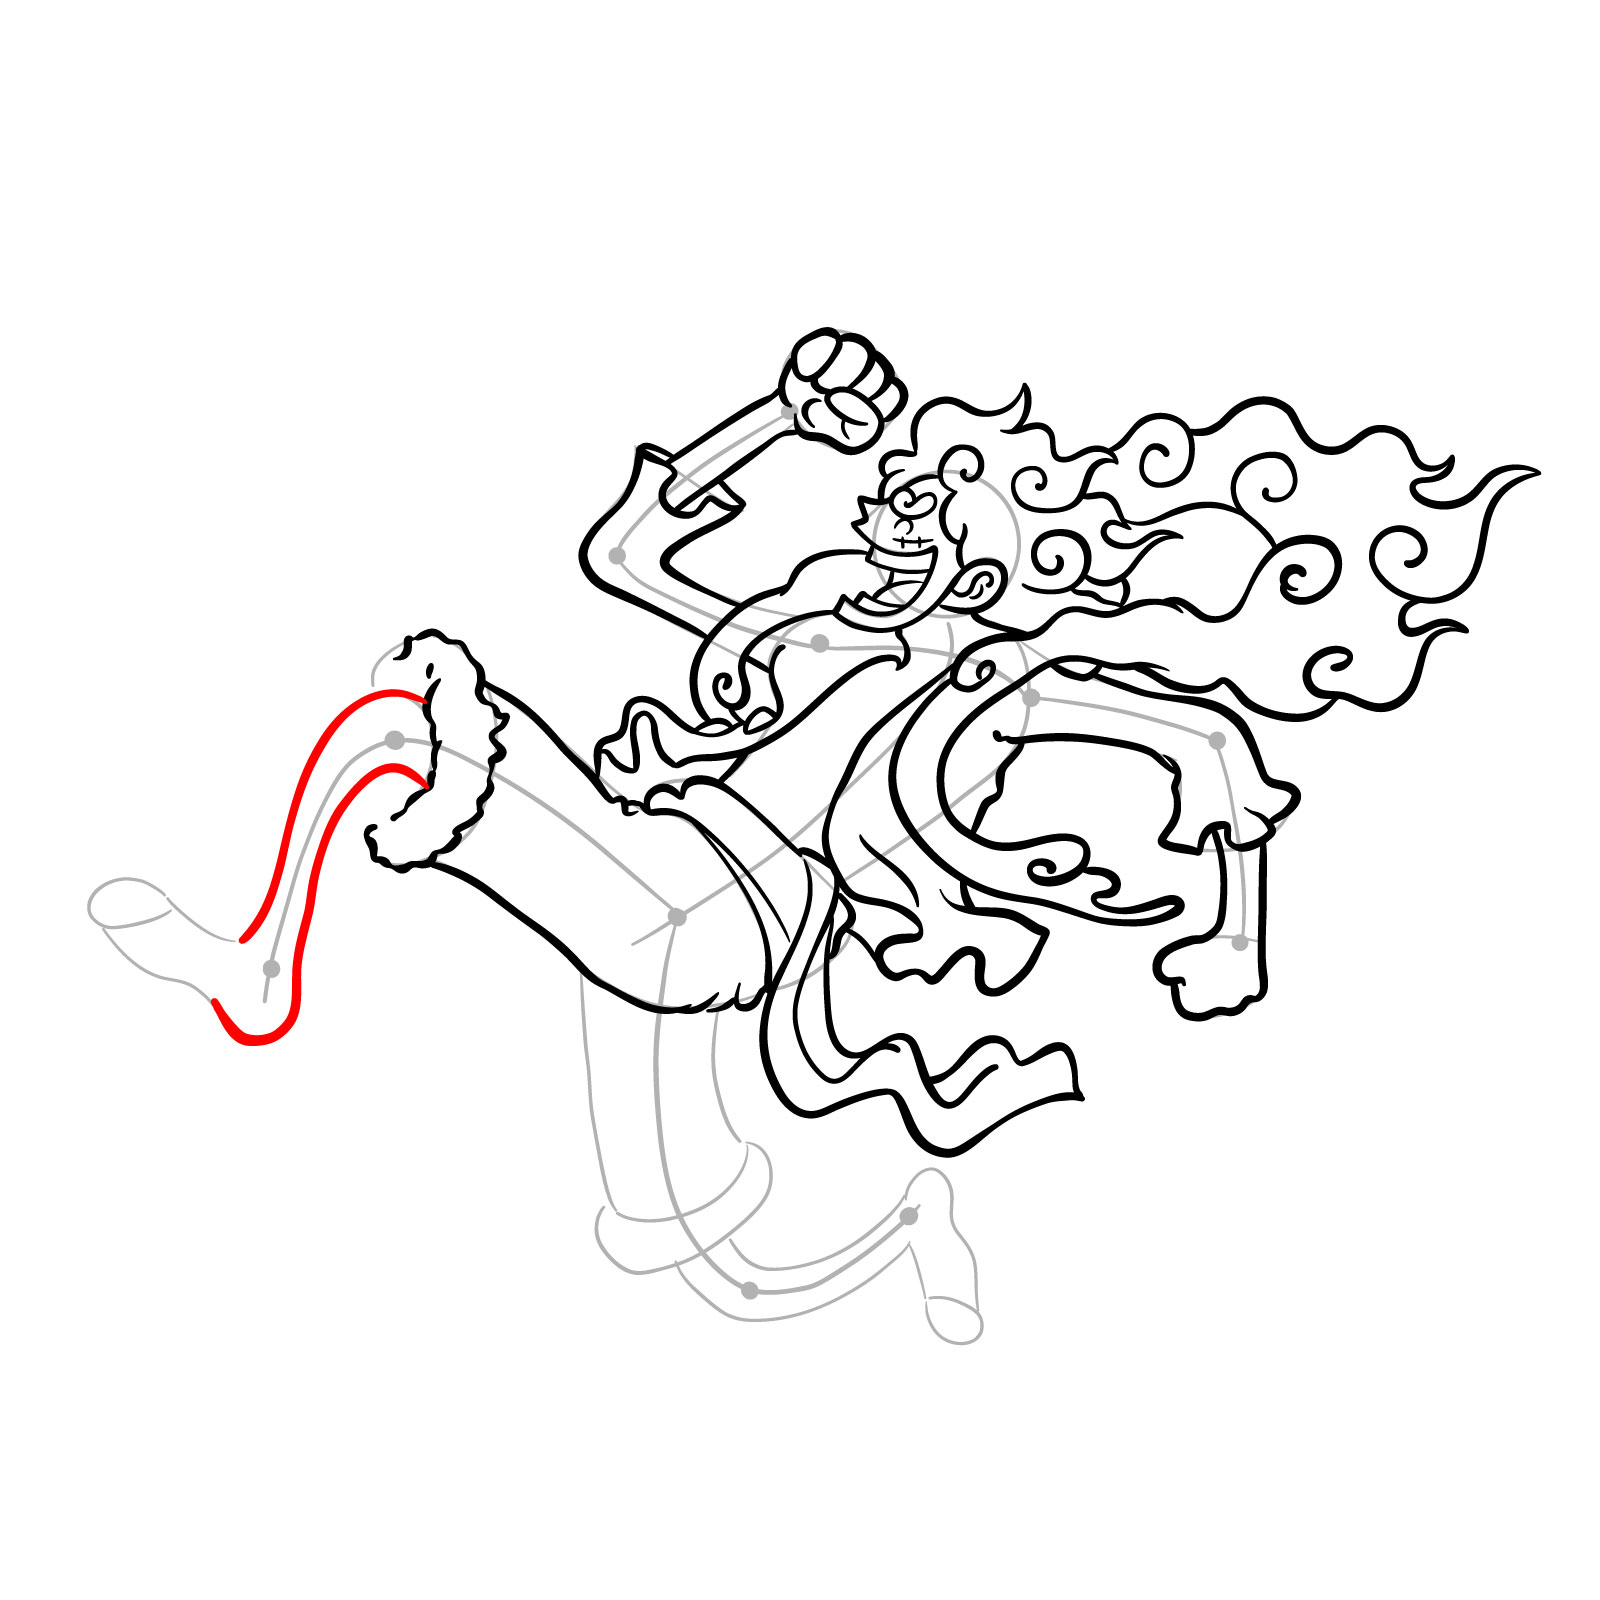
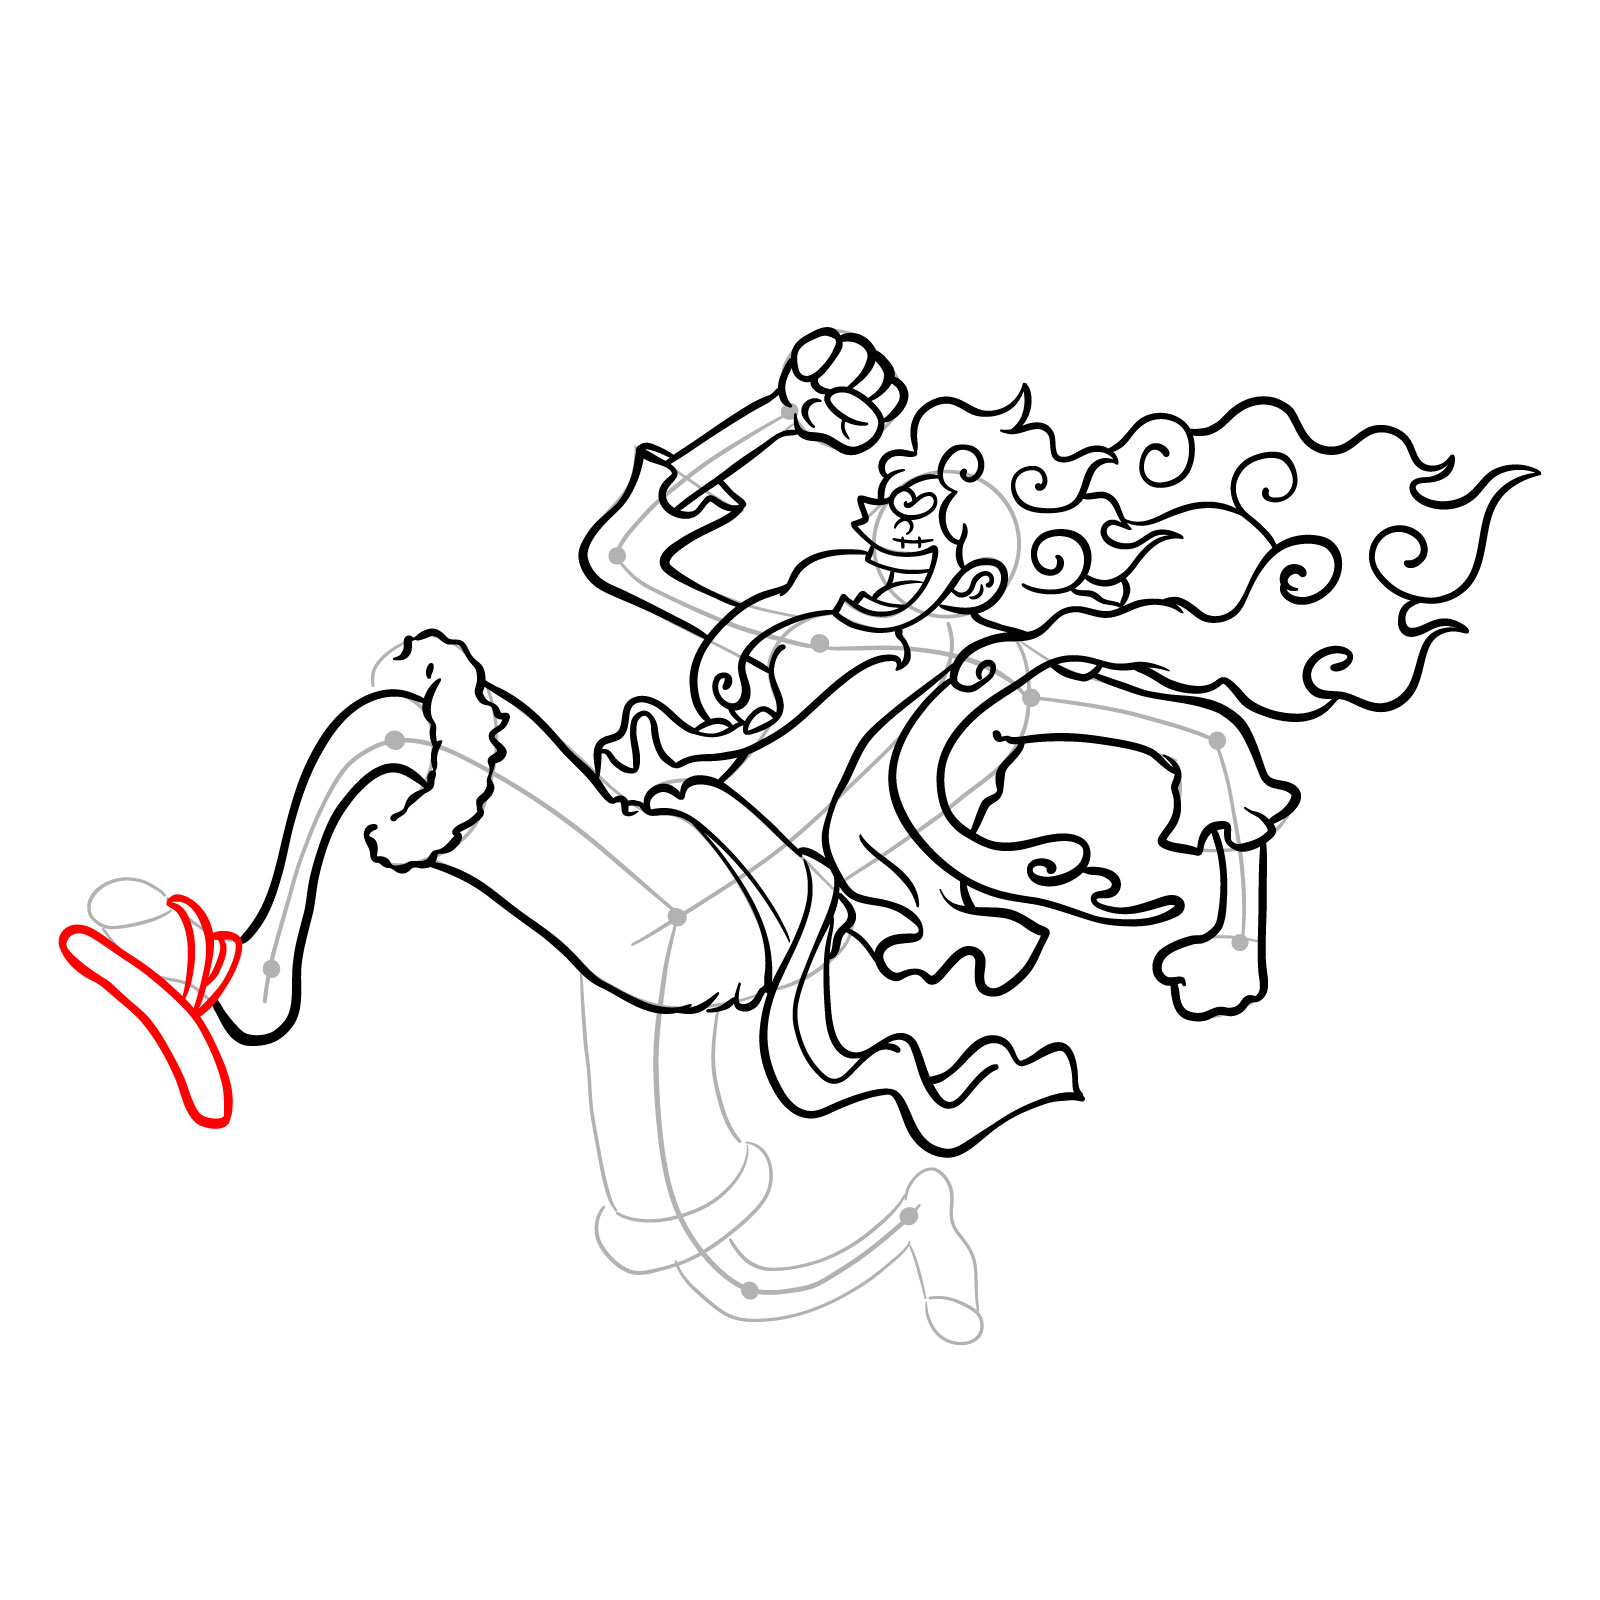
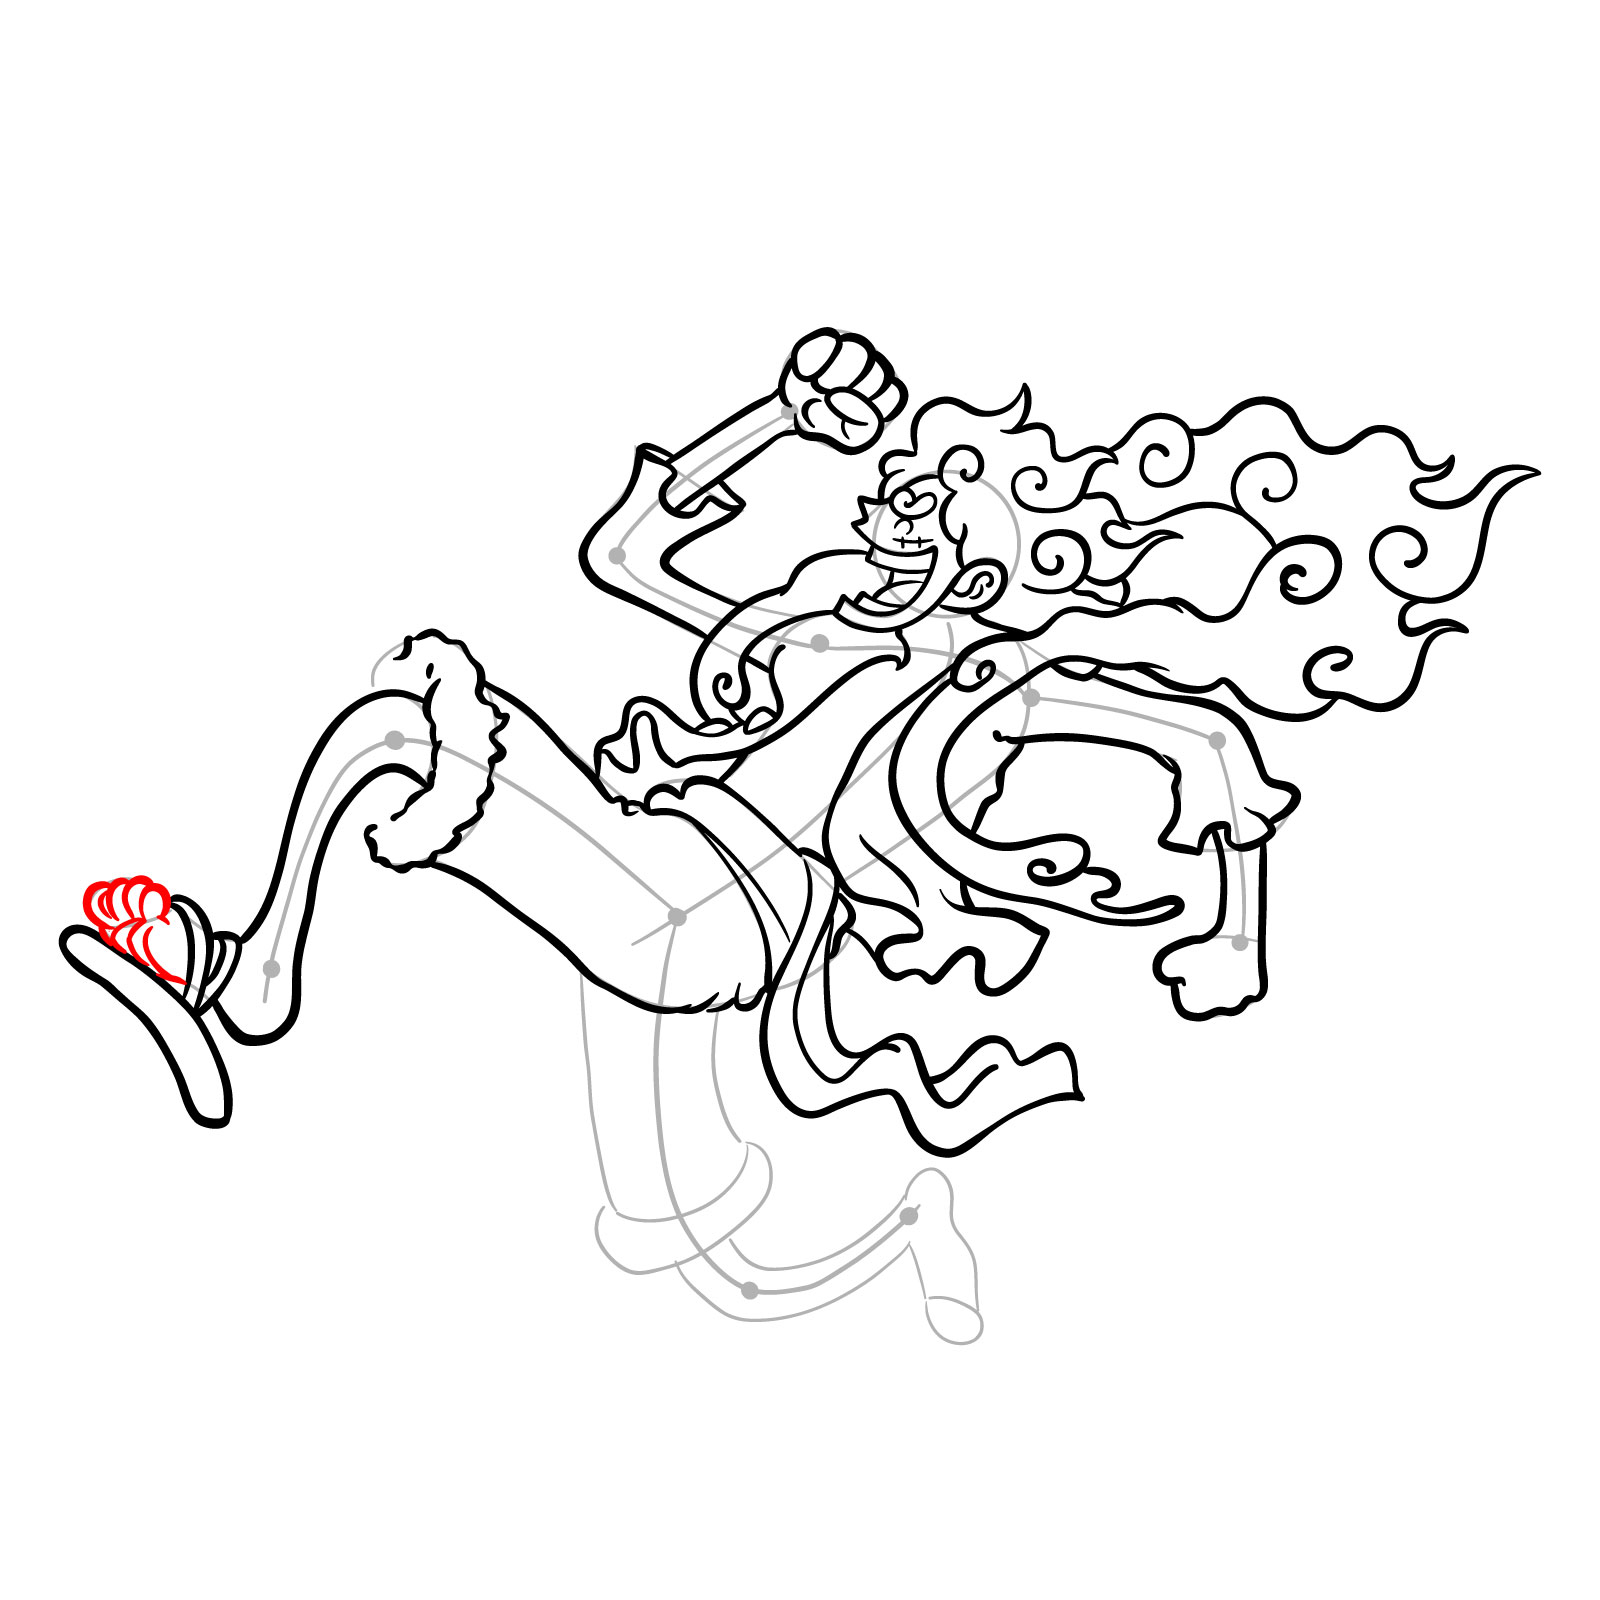
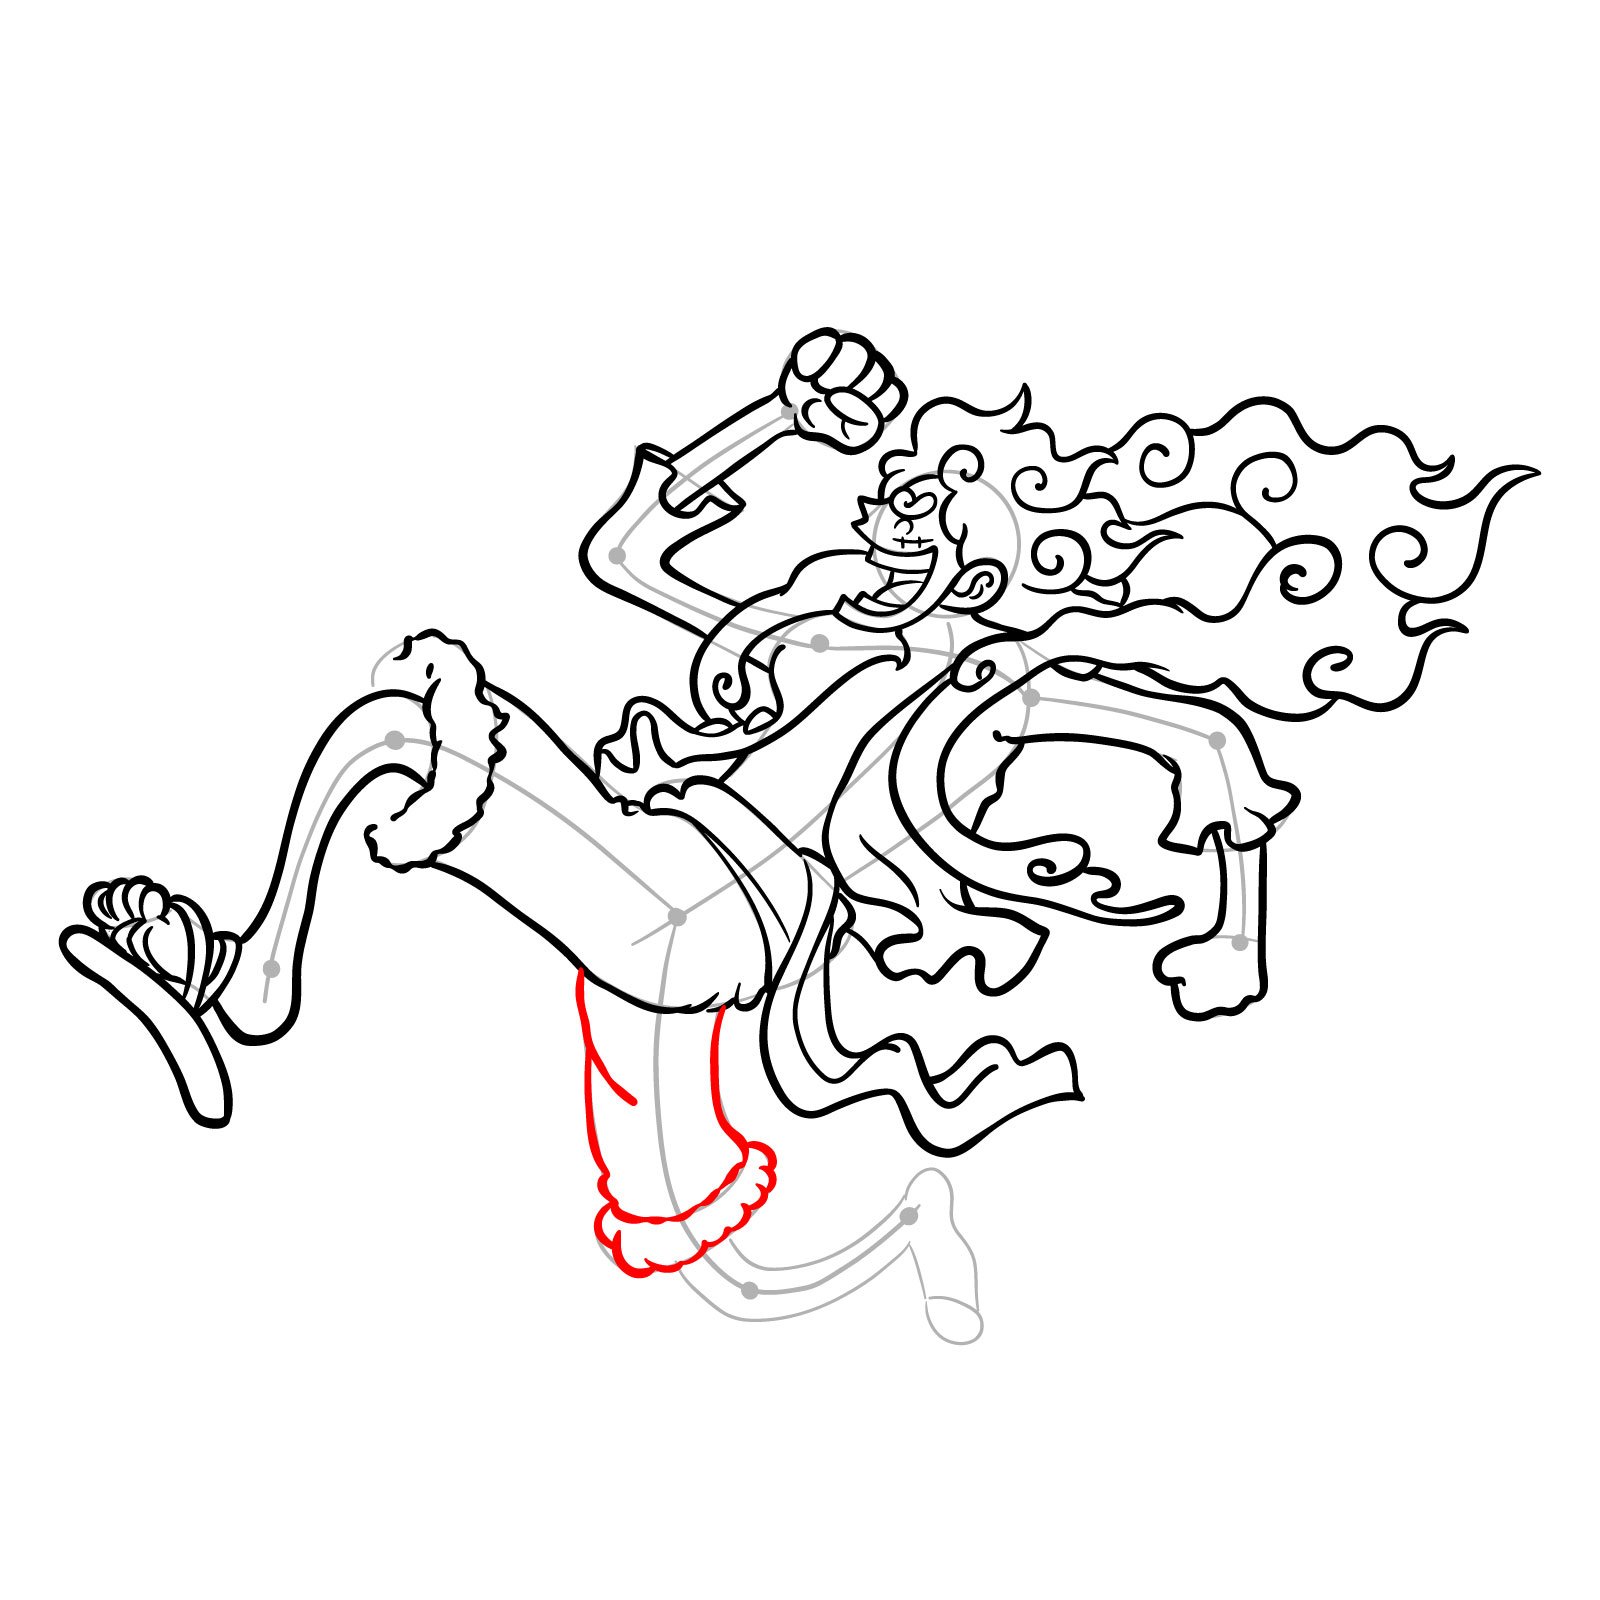
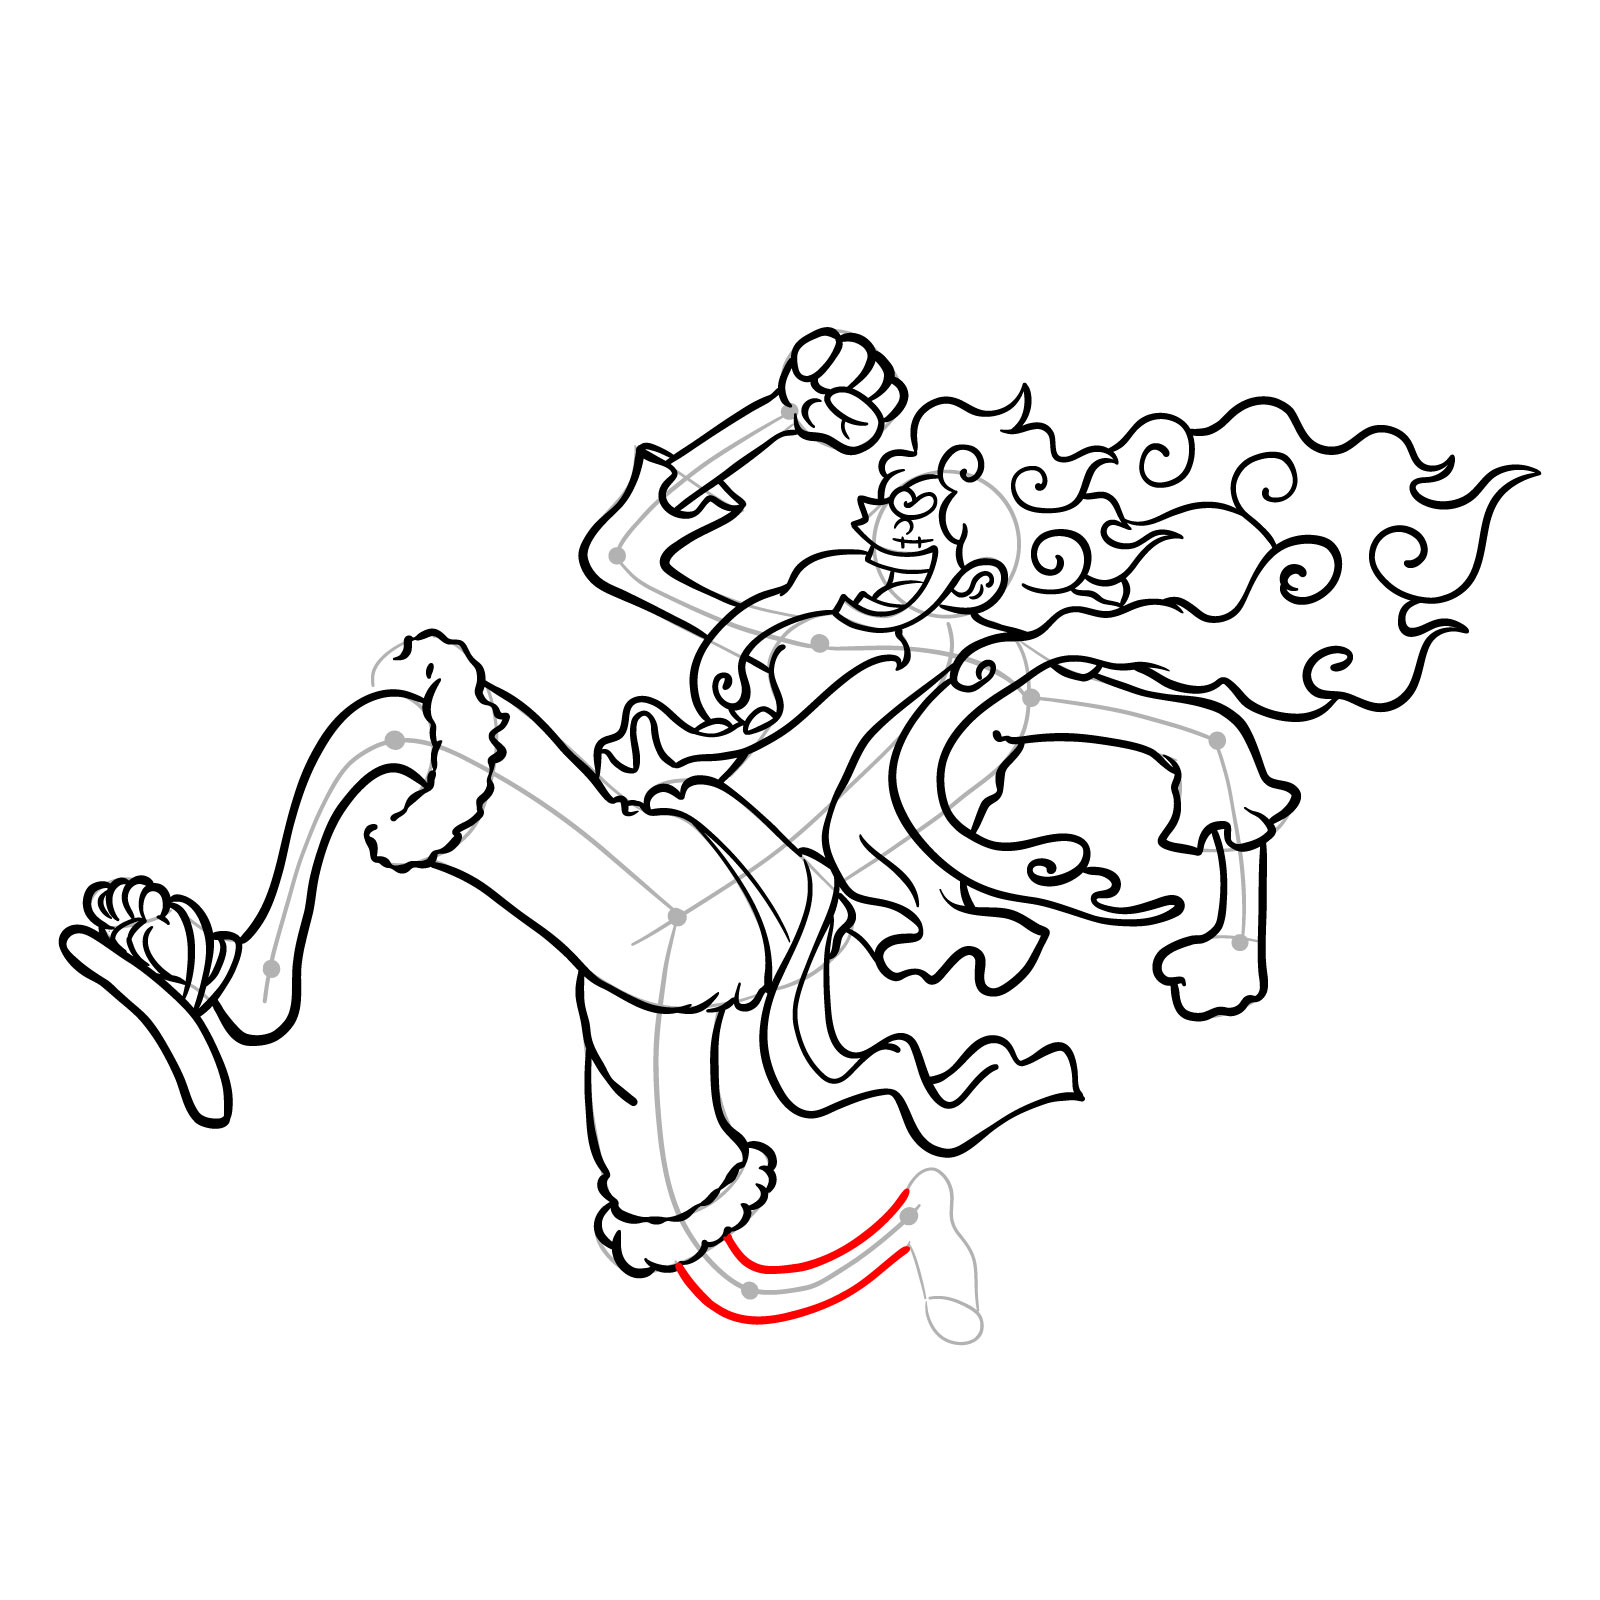
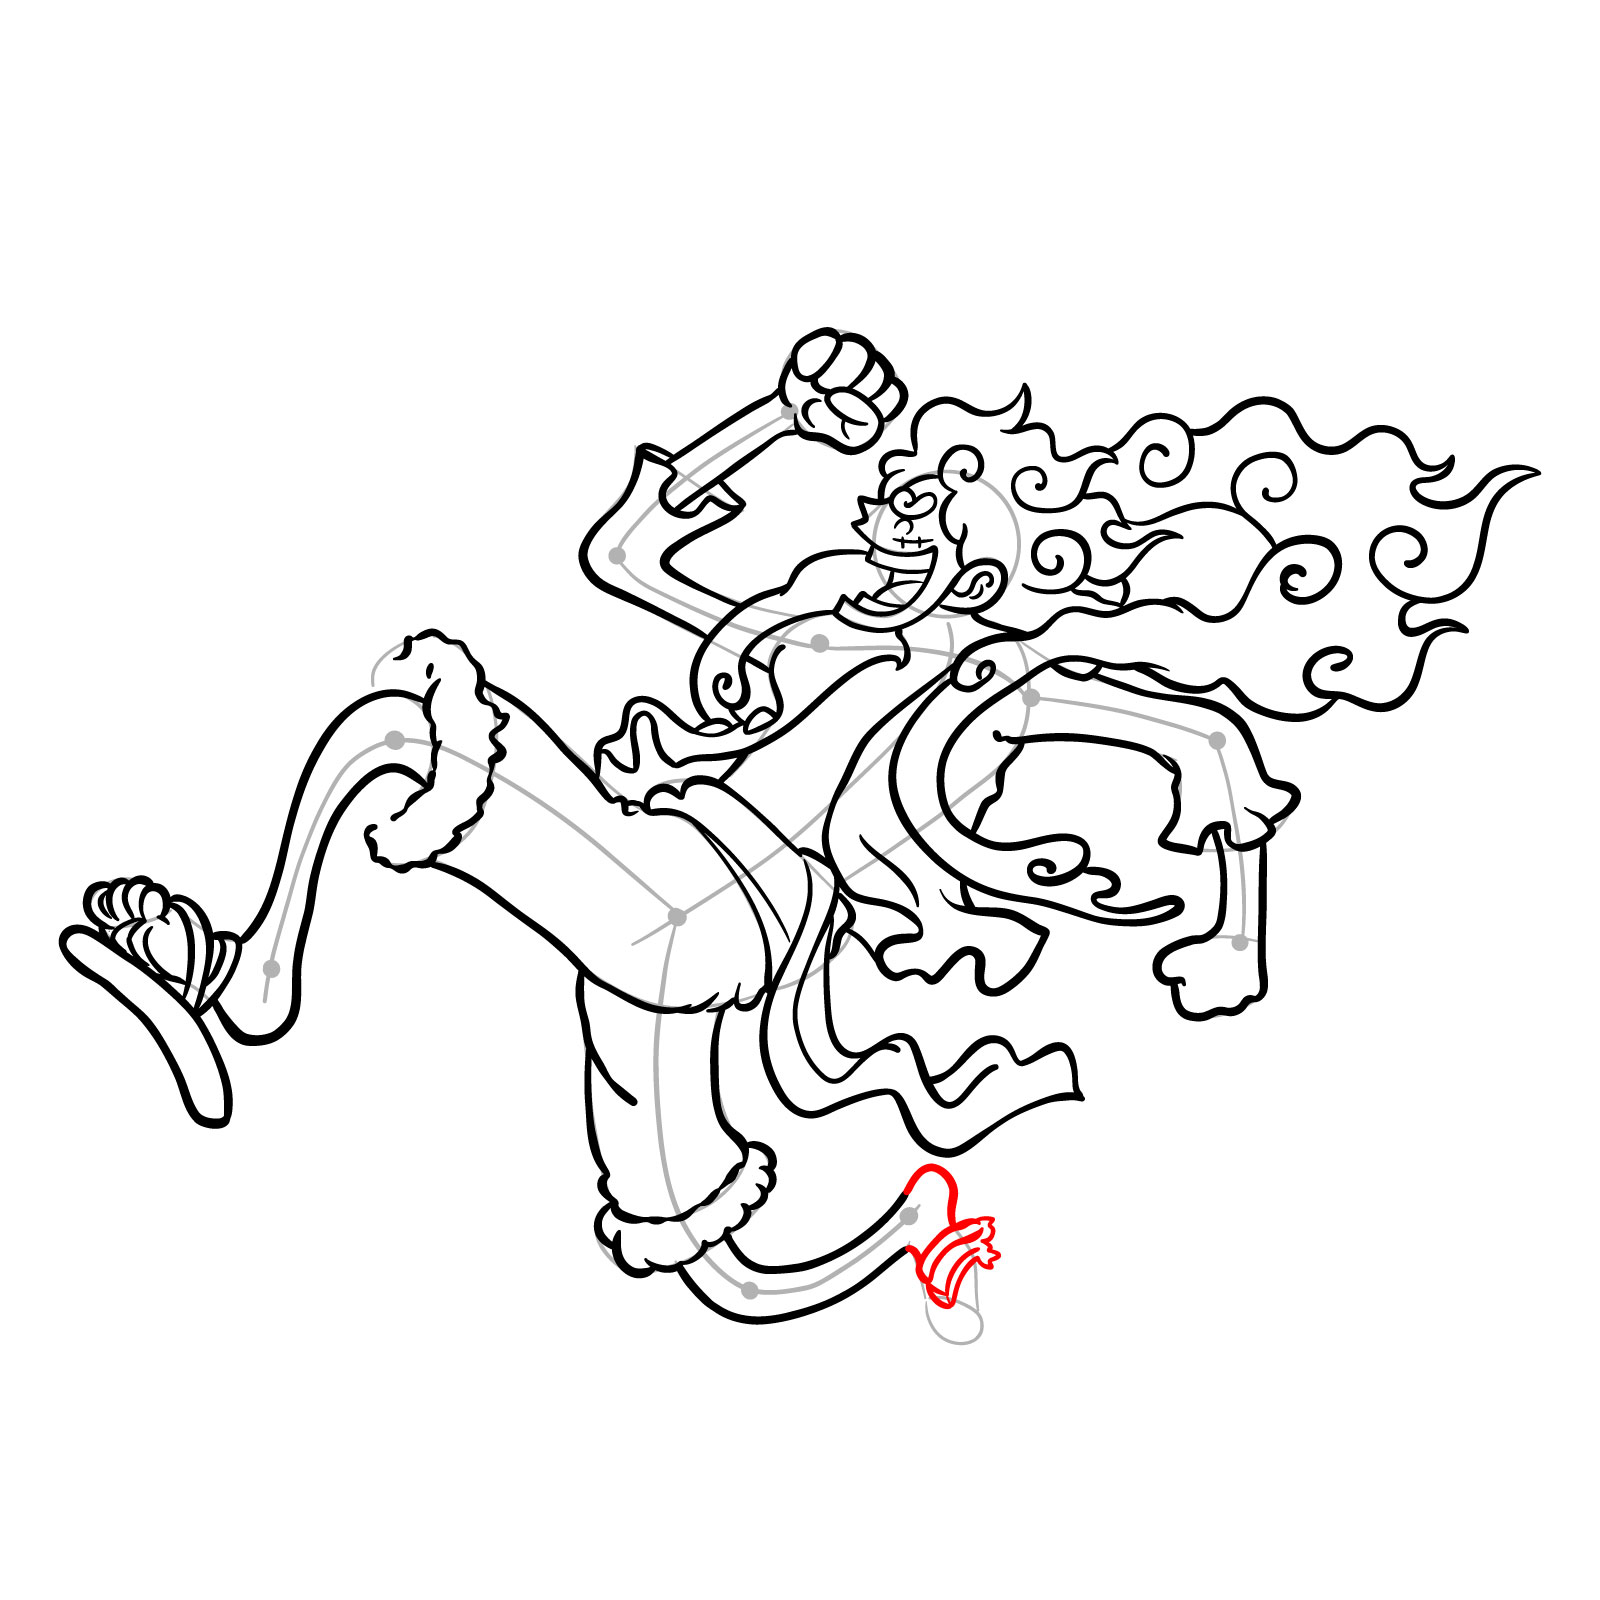
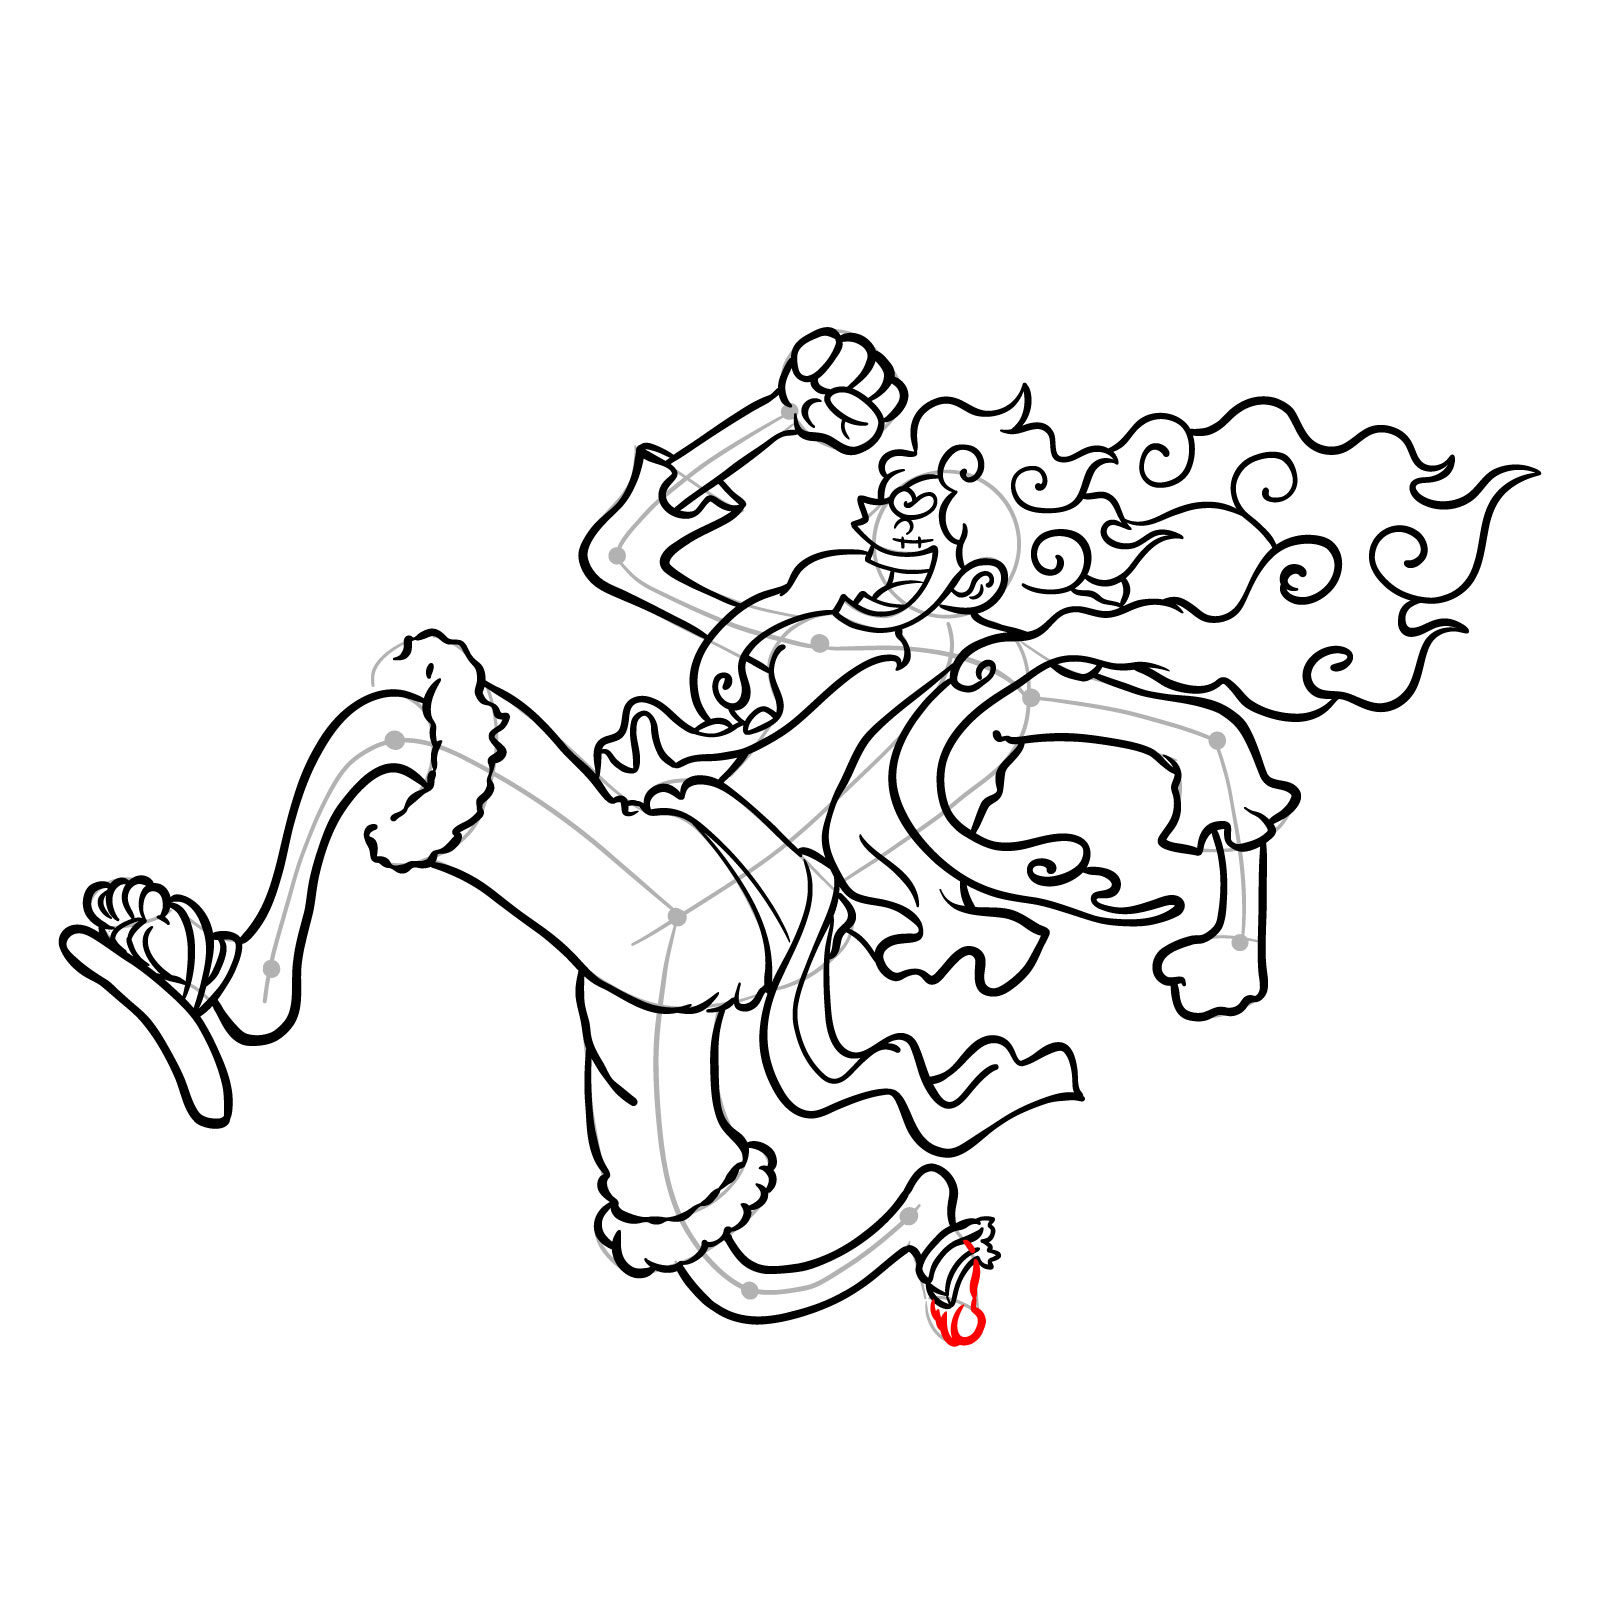
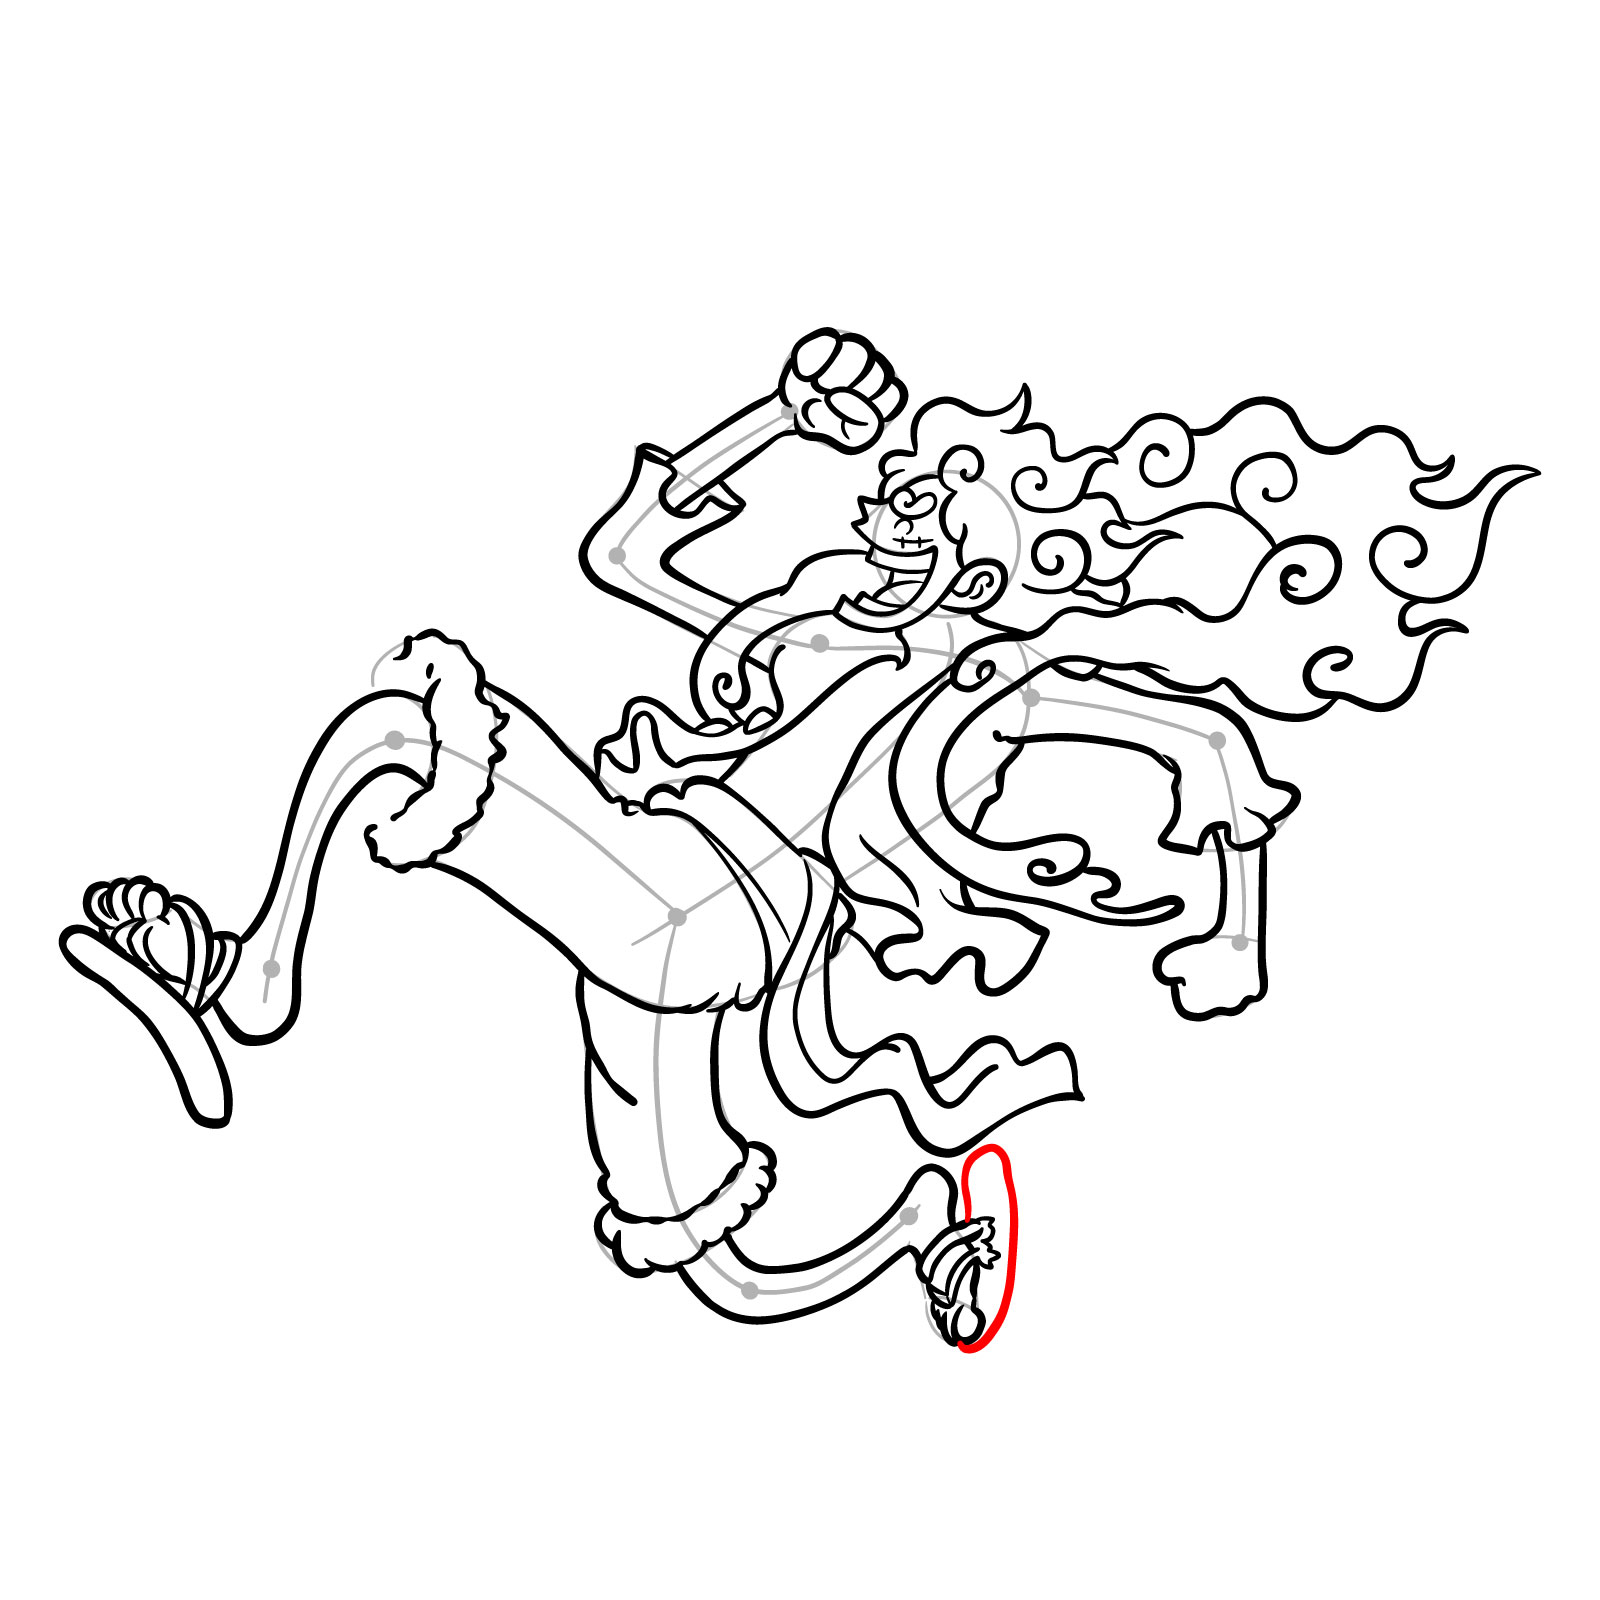
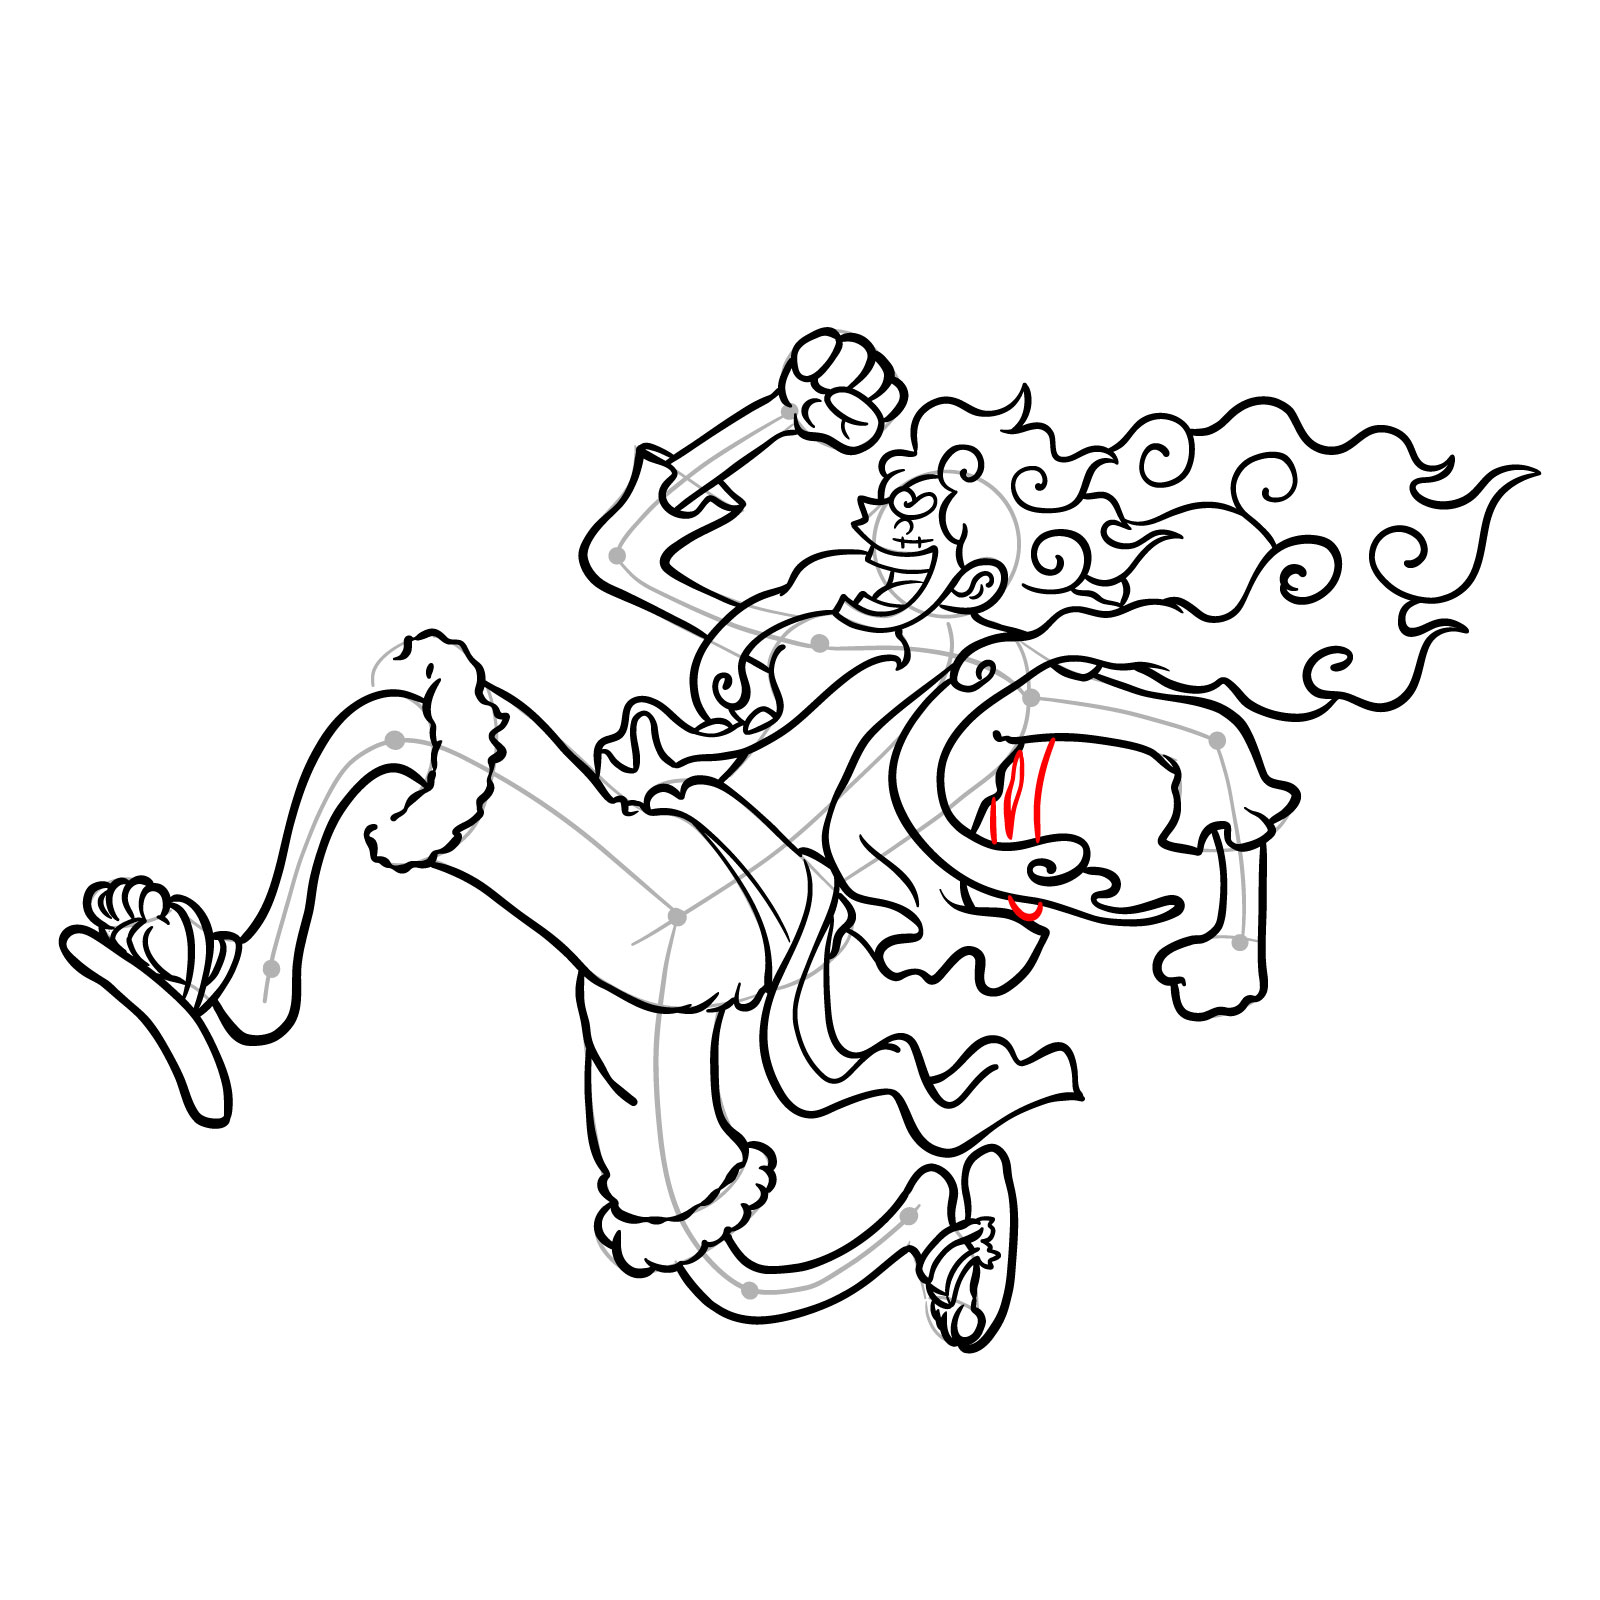
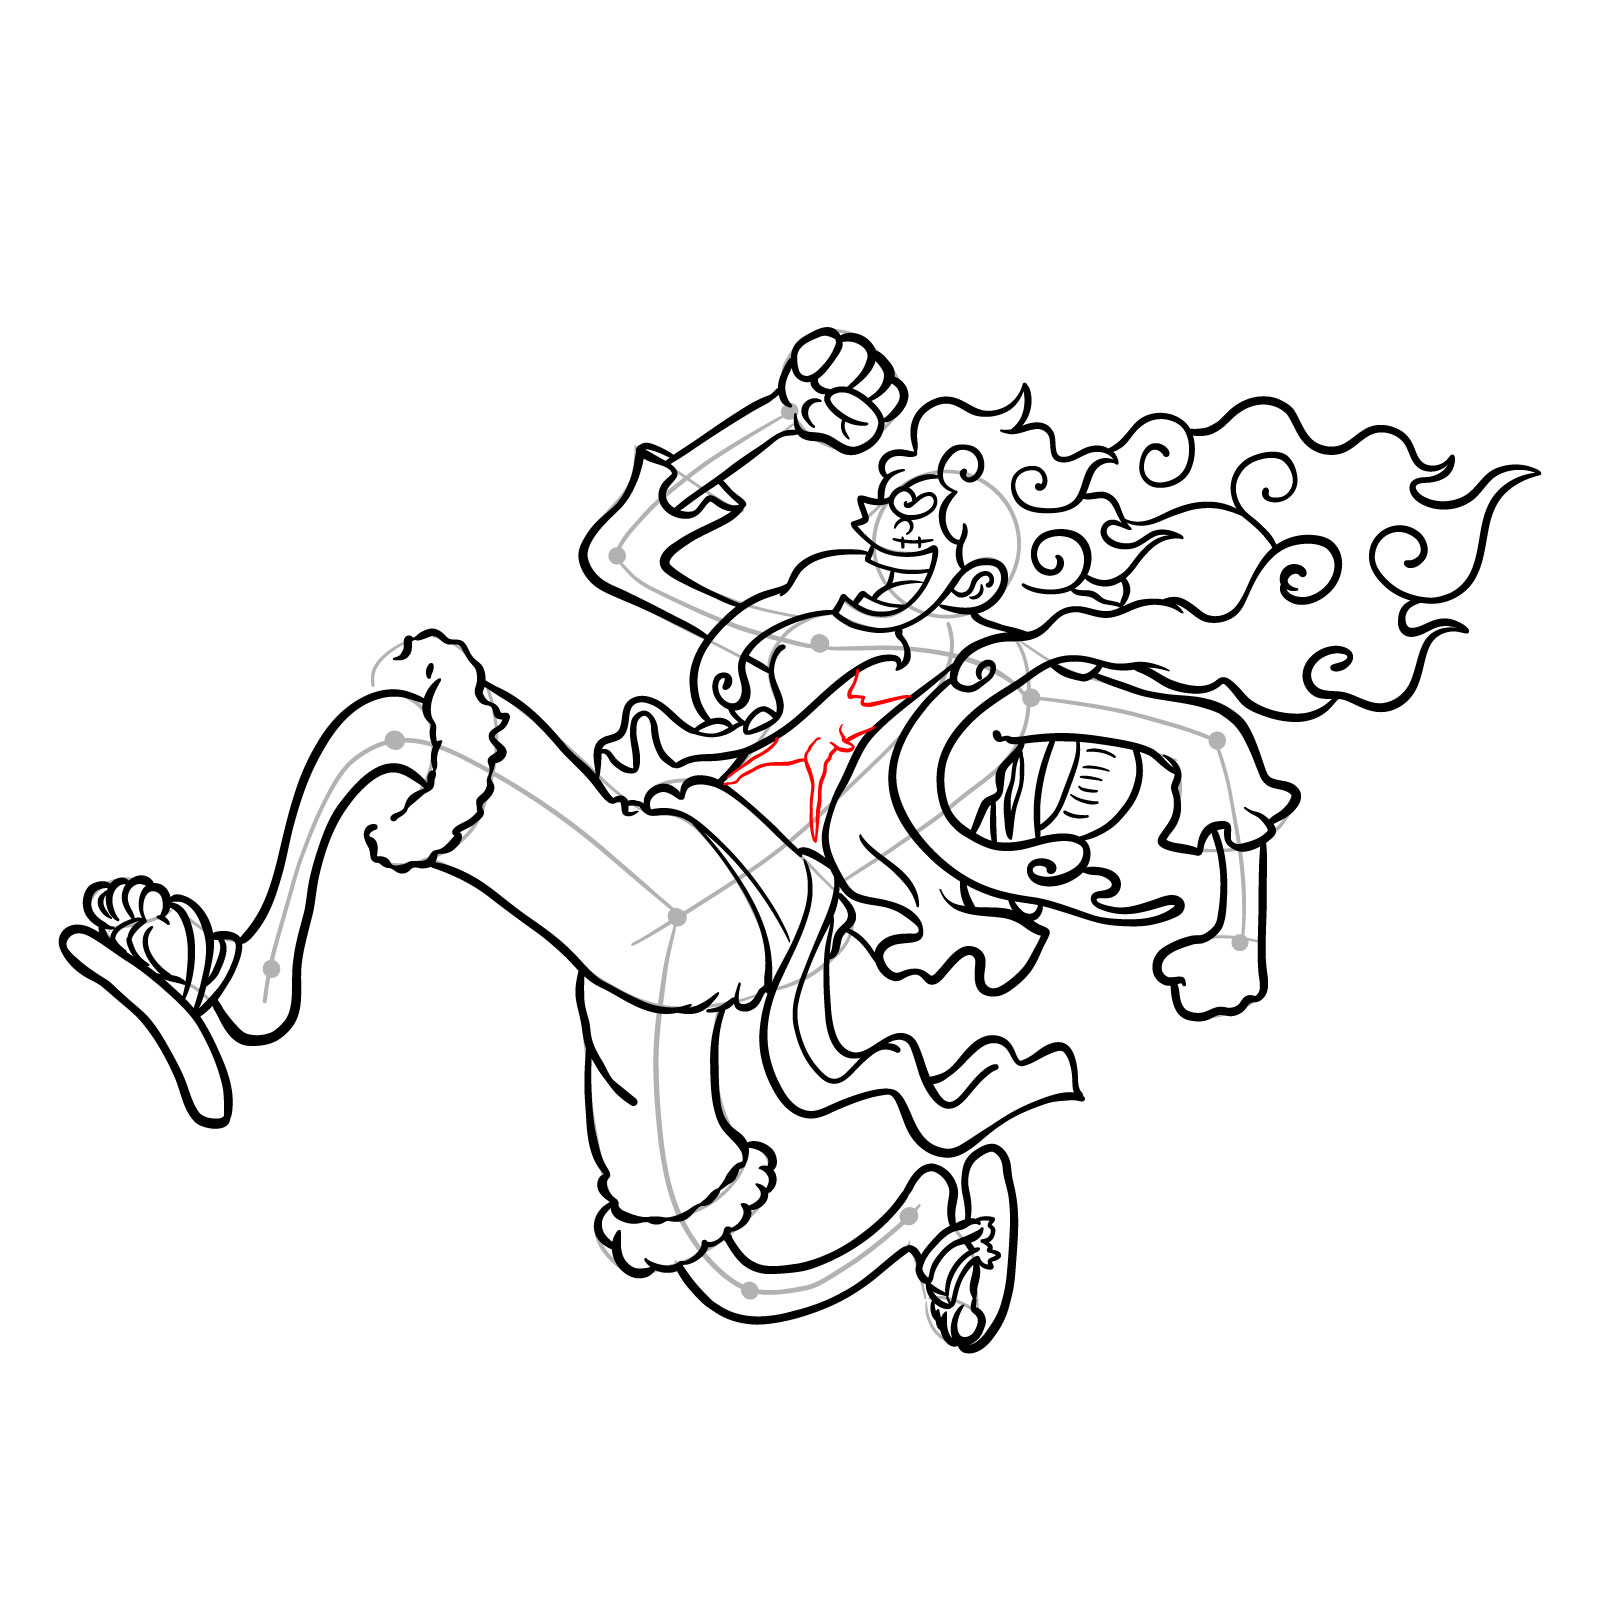
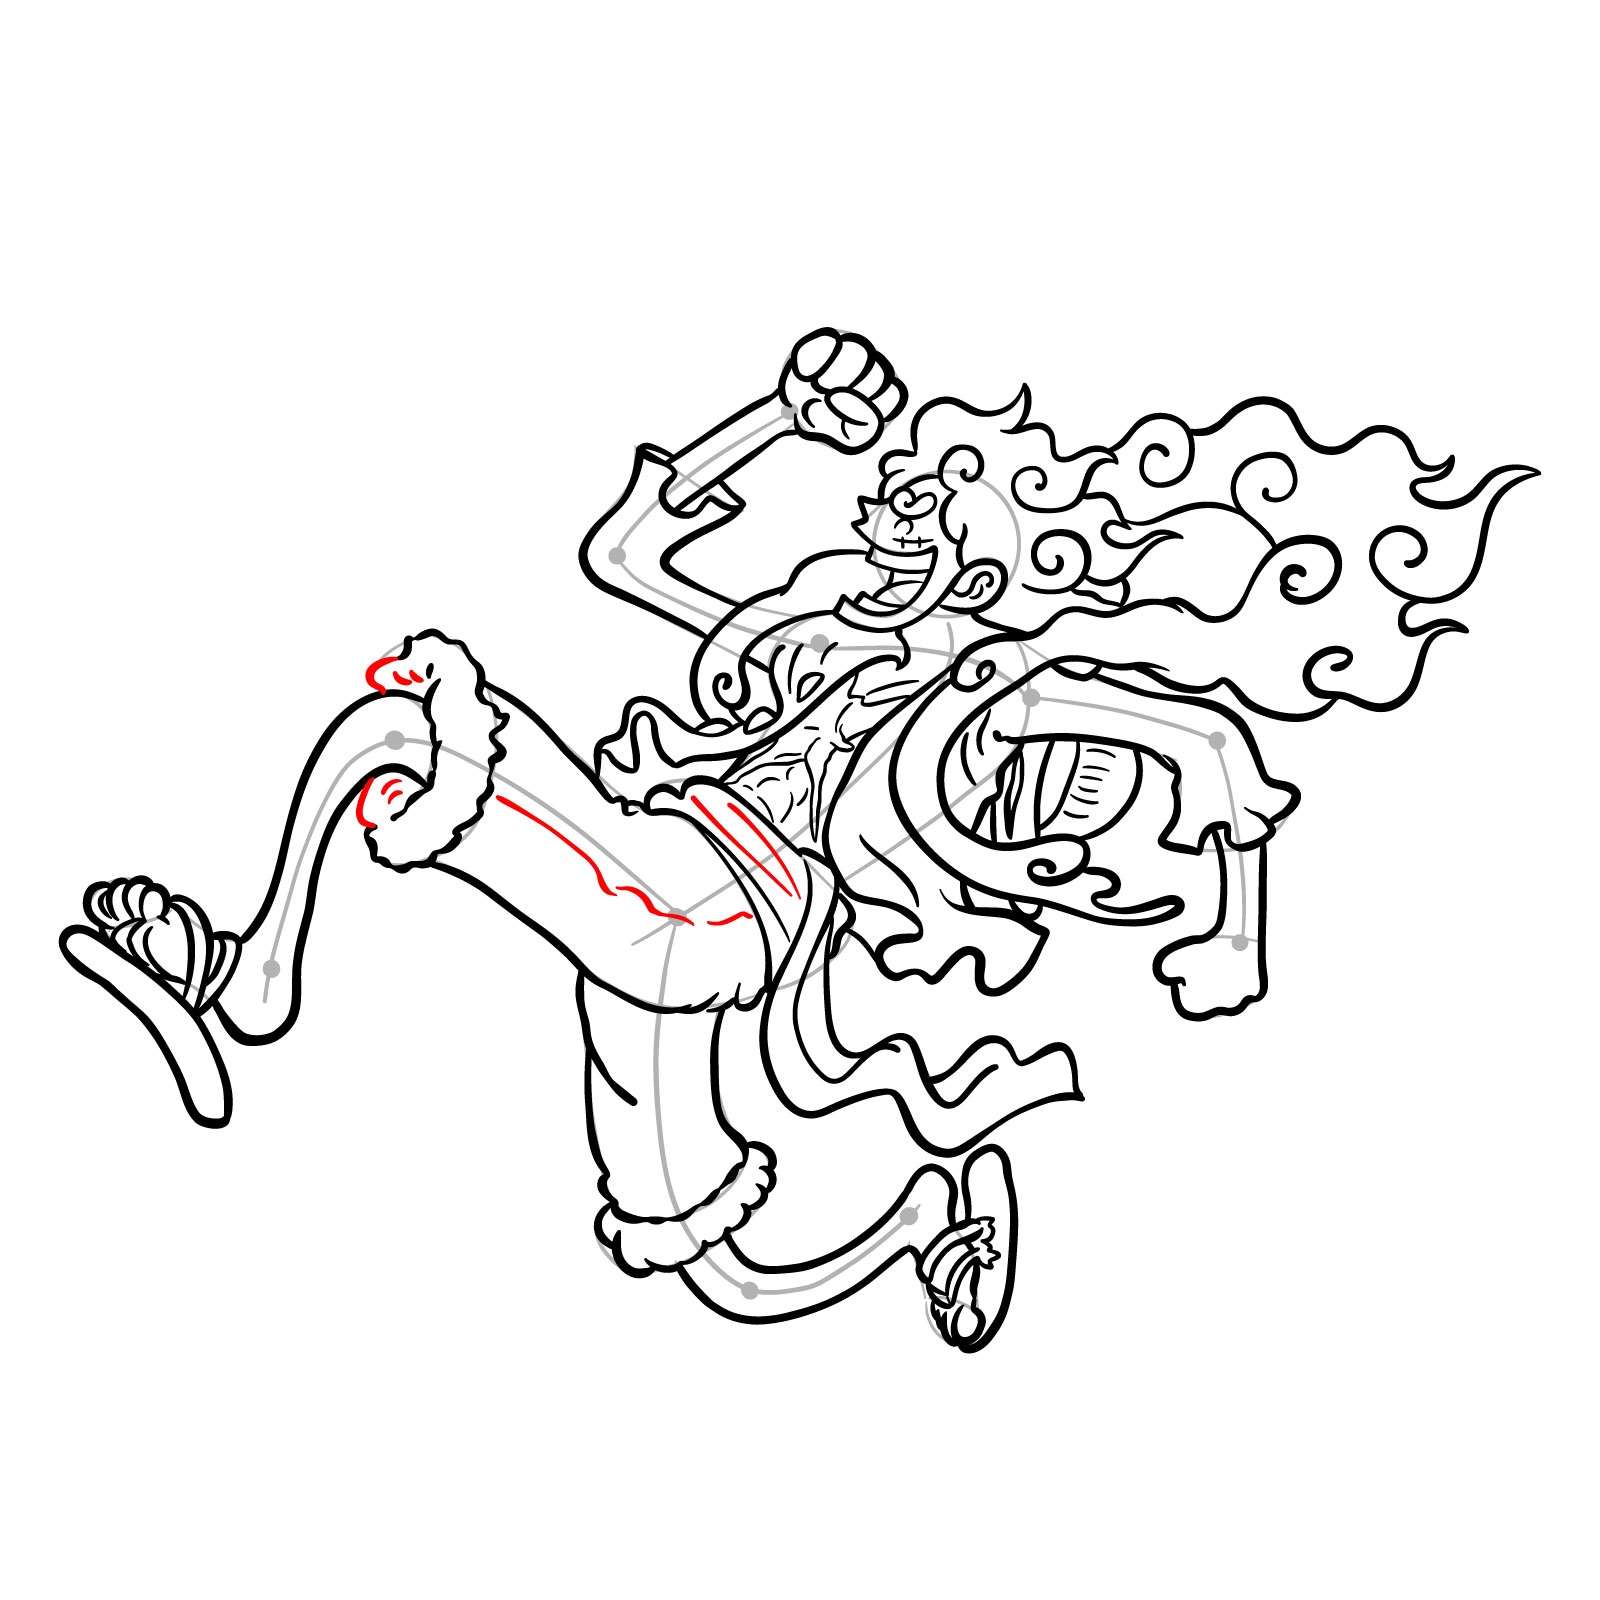
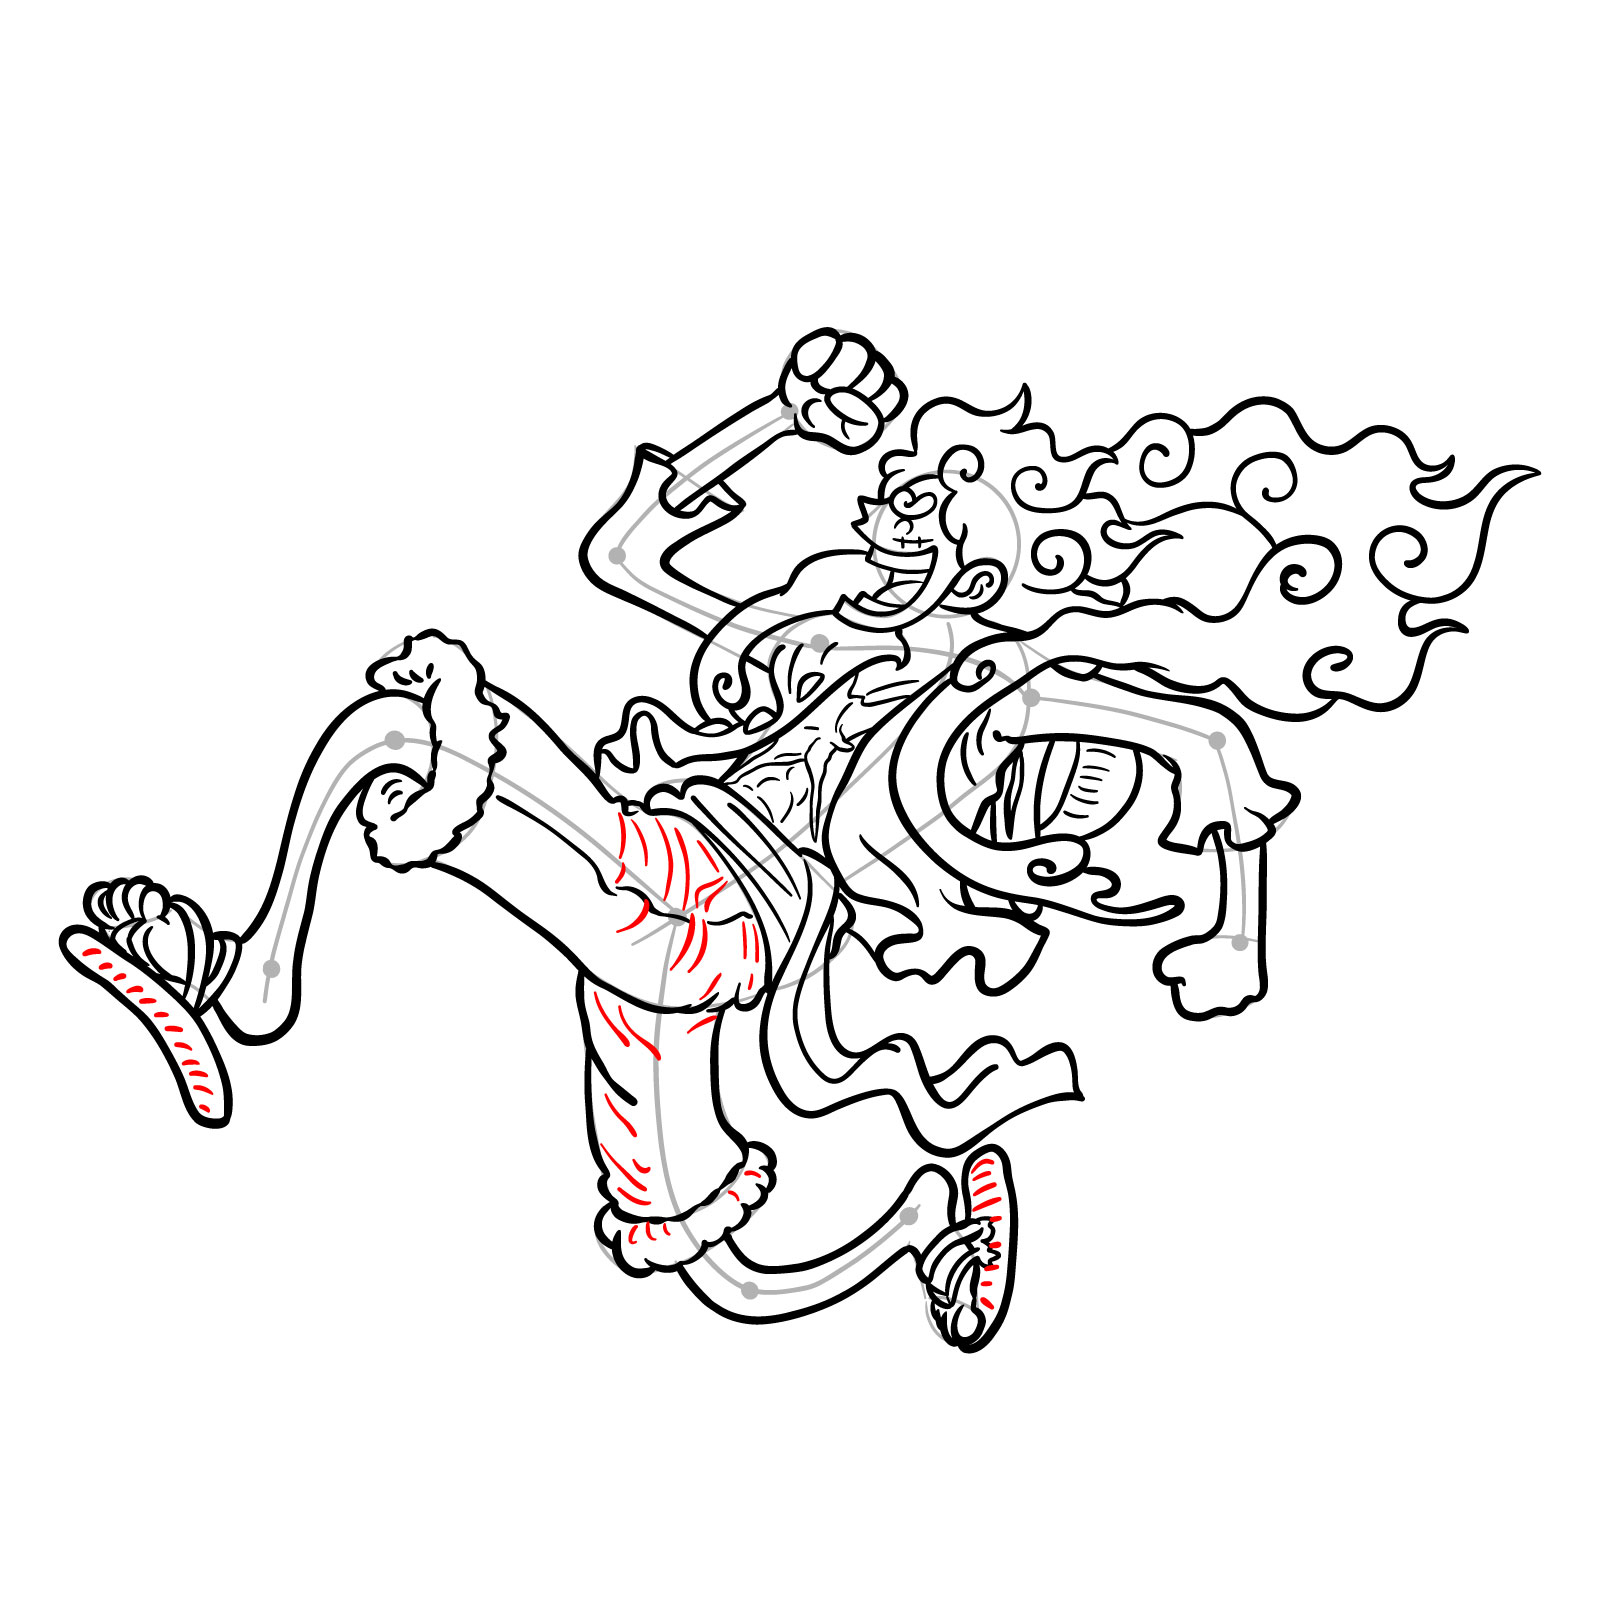
Our step-by-step guide on how to draw Luffy Gear 5 side view comprises of 42 detailed steps. Here’s how it works:

  • Red Color: Indicates the current drawing step.
  • Grey Color: Represents the basic sketch or the proportions guide. Use light pencil strokes for this phase.
  • Black Color: Highlights the lines from previous steps.

The initial stages are dedicated to sketching the foundational structure. This is crucial for maintaining correct proportions throughout your drawing. Once the guide is completed, you have the option to ink your sketch. Ensure that the ink has thoroughly dried before gently erasing any pencil marks. This ensures a clean, professional finish to your artwork.

Step 01

How to Draw Luffy Gear 5 side view - step 01

Step 02

How to Draw Luffy Gear 5 side view - step 02

Step 03

How to Draw Luffy Gear 5 side view - step 03

Step 04

How to Draw Luffy Gear 5 side view - step 04

Step 05

How to Draw Luffy Gear 5 side view - step 05

Step 06

How to Draw Luffy Gear 5 side view - step 06

Step 07

How to Draw Luffy Gear 5 side view - step 07

Step 08

How to Draw Luffy Gear 5 side view - step 08

Step 09

How to Draw Luffy Gear 5 side view - step 09

Step 10

How to Draw Luffy Gear 5 side view - step 10

Step 11

How to Draw Luffy Gear 5 side view - step 11

Step 12

How to Draw Luffy Gear 5 side view - step 12

Step 13

How to Draw Luffy Gear 5 side view - step 13

Step 14

How to Draw Luffy Gear 5 side view - step 14

Step 15

How to Draw Luffy Gear 5 side view - step 15

Step 16

How to Draw Luffy Gear 5 side view - step 16

Step 17

How to Draw Luffy Gear 5 side view - step 17

Step 18

How to Draw Luffy Gear 5 side view - step 18

Step 19

How to Draw Luffy Gear 5 side view - step 19

Step 20

How to Draw Luffy Gear 5 side view - step 20

Step 21

How to Draw Luffy Gear 5 side view - step 21

Step 22

How to Draw Luffy Gear 5 side view - step 22

Step 23

How to Draw Luffy Gear 5 side view - step 23

Step 24

How to Draw Luffy Gear 5 side view - step 24

Step 25

How to Draw Luffy Gear 5 side view - step 25

Step 26

How to Draw Luffy Gear 5 side view - step 26

Step 27

How to Draw Luffy Gear 5 side view - step 27

Step 28

How to Draw Luffy Gear 5 side view - step 28

Step 29

How to Draw Luffy Gear 5 side view - step 29

Step 30

How to Draw Luffy Gear 5 side view - step 30

Step 31

How to Draw Luffy Gear 5 side view - step 31

Step 32

How to Draw Luffy Gear 5 side view - step 32

Step 33

How to Draw Luffy Gear 5 side view - step 33

Step 34

How to Draw Luffy Gear 5 side view - step 34

Step 35

How to Draw Luffy Gear 5 side view - step 35

Step 36

How to Draw Luffy Gear 5 side view - step 36

Step 37

How to Draw Luffy Gear 5 side view - step 37

Step 38

How to Draw Luffy Gear 5 side view - step 38

Step 39

How to Draw Luffy Gear 5 side view - step 39

Step 40

How to Draw Luffy Gear 5 side view - step 40

Step 41

How to Draw Luffy Gear 5 side view - step 41

Step 42

How to Draw Luffy Gear 5 side view - final step

Frequently Asked Questions

How can I best illustrate the elasticity and malleability of Luffy’s Gear 5 form?

Focus on the exaggerated bends, stretches, and curves in Luffy’s form. Remember, his body in this state is cartoonishly flexible. Using wavy lines or even showing the impact of an external force can accentuate this.

How can I emphasize the transformation in Luffy’s attire and the steam clouds in my drawing?

Use contrasting shading techniques. For the steam clouds, keep it light and wispy, while for his attire, implement deeper shadows and highlights to emphasize the material’s texture and form.

Did this guide on how to draw Luffy Gear 5 side view spark your artistic inspiration? Consider sharing the link with fellow One Piece enthusiasts and artists. Your support helps me craft more of these tutorials, and I genuinely appreciate every bit of encouragement. If you’re feeling generous and want to see more content or even suggest a drawing topic, consider supporting SketchOk by making a donation here. Every contribution ensures that your preferred topics get priority and are crafted faster. Don’t forget to follow SketchOk on Facebook, Instagram, and Pinterest for more updates. Let’s keep the art flowing!

Did you like the tutorial?

You can support the author of this website and also suggest your own ideas for new drawings by making a small donation here:

Leave a Comment

1.7k