
Last Updated on May 13, 2026
Ahoy there, aspiring artists! Are you ready to embark on a thrilling artistic journey and bring the epic power of Monkey D. Luffy to life by learning how to draw Luffy’s Third Gear with Armament Haki? Look no further! In this step-by-step drawing guide, we will unravel the secrets of capturing the essence of this incredible technique. So, grab your pencil, unleash your creativity, and let’s dive into the world of One Piece!
Embodying the Colossal Power: Luffy’s Appearance
Luffy’s Third Gear with Armament Haki is a sight to behold. Imagine his arm swelling in size, resembling that of a giant, while maintaining the hardened properties of Haki. In this form, Luffy’s arm becomes a fearsome weapon, ready to deliver devastating blows to his opponents. The enlarged arm, combined with Luffy’s distinct straw hat and determined expression, creates a visual spectacle that truly captures the spirit of this incredible technique.
The Artist’s Challenge: Capturing the Dynamic Proportions
As an artist, capturing the dynamic proportions of Luffy’s Third Gear presents an exciting challenge. The key lies in conveying the immense power and mass of his enlarged arm while maintaining a sense of balance and fluidity in the overall composition. Achieving the right proportions requires careful observation, attention to detail, and a firm grasp of anatomy. But fear not! By following the steps in this guide, you’ll be able to bring Luffy’s colossal power to life on your canvas.
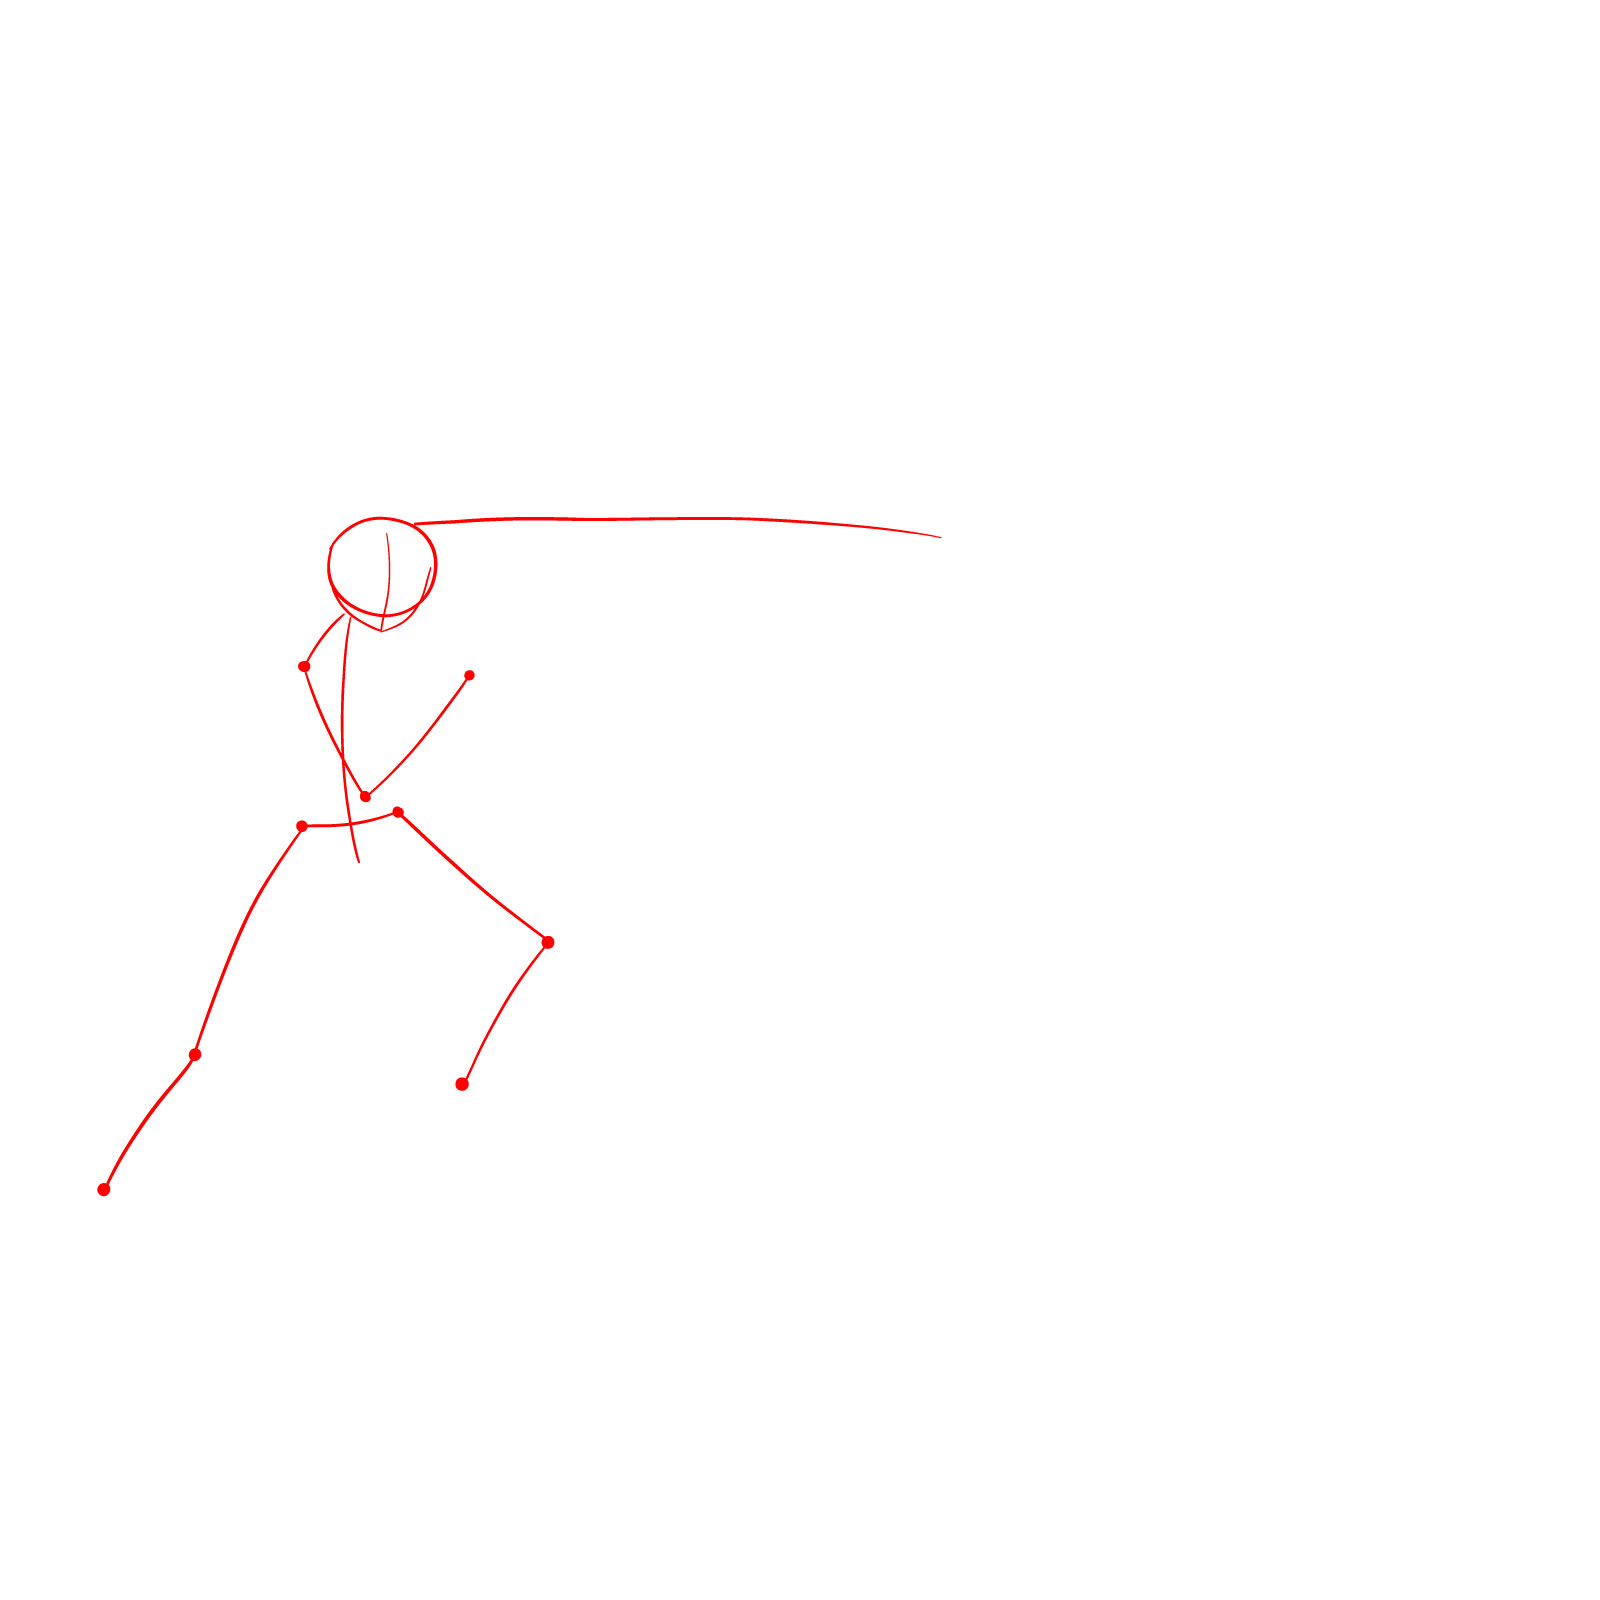
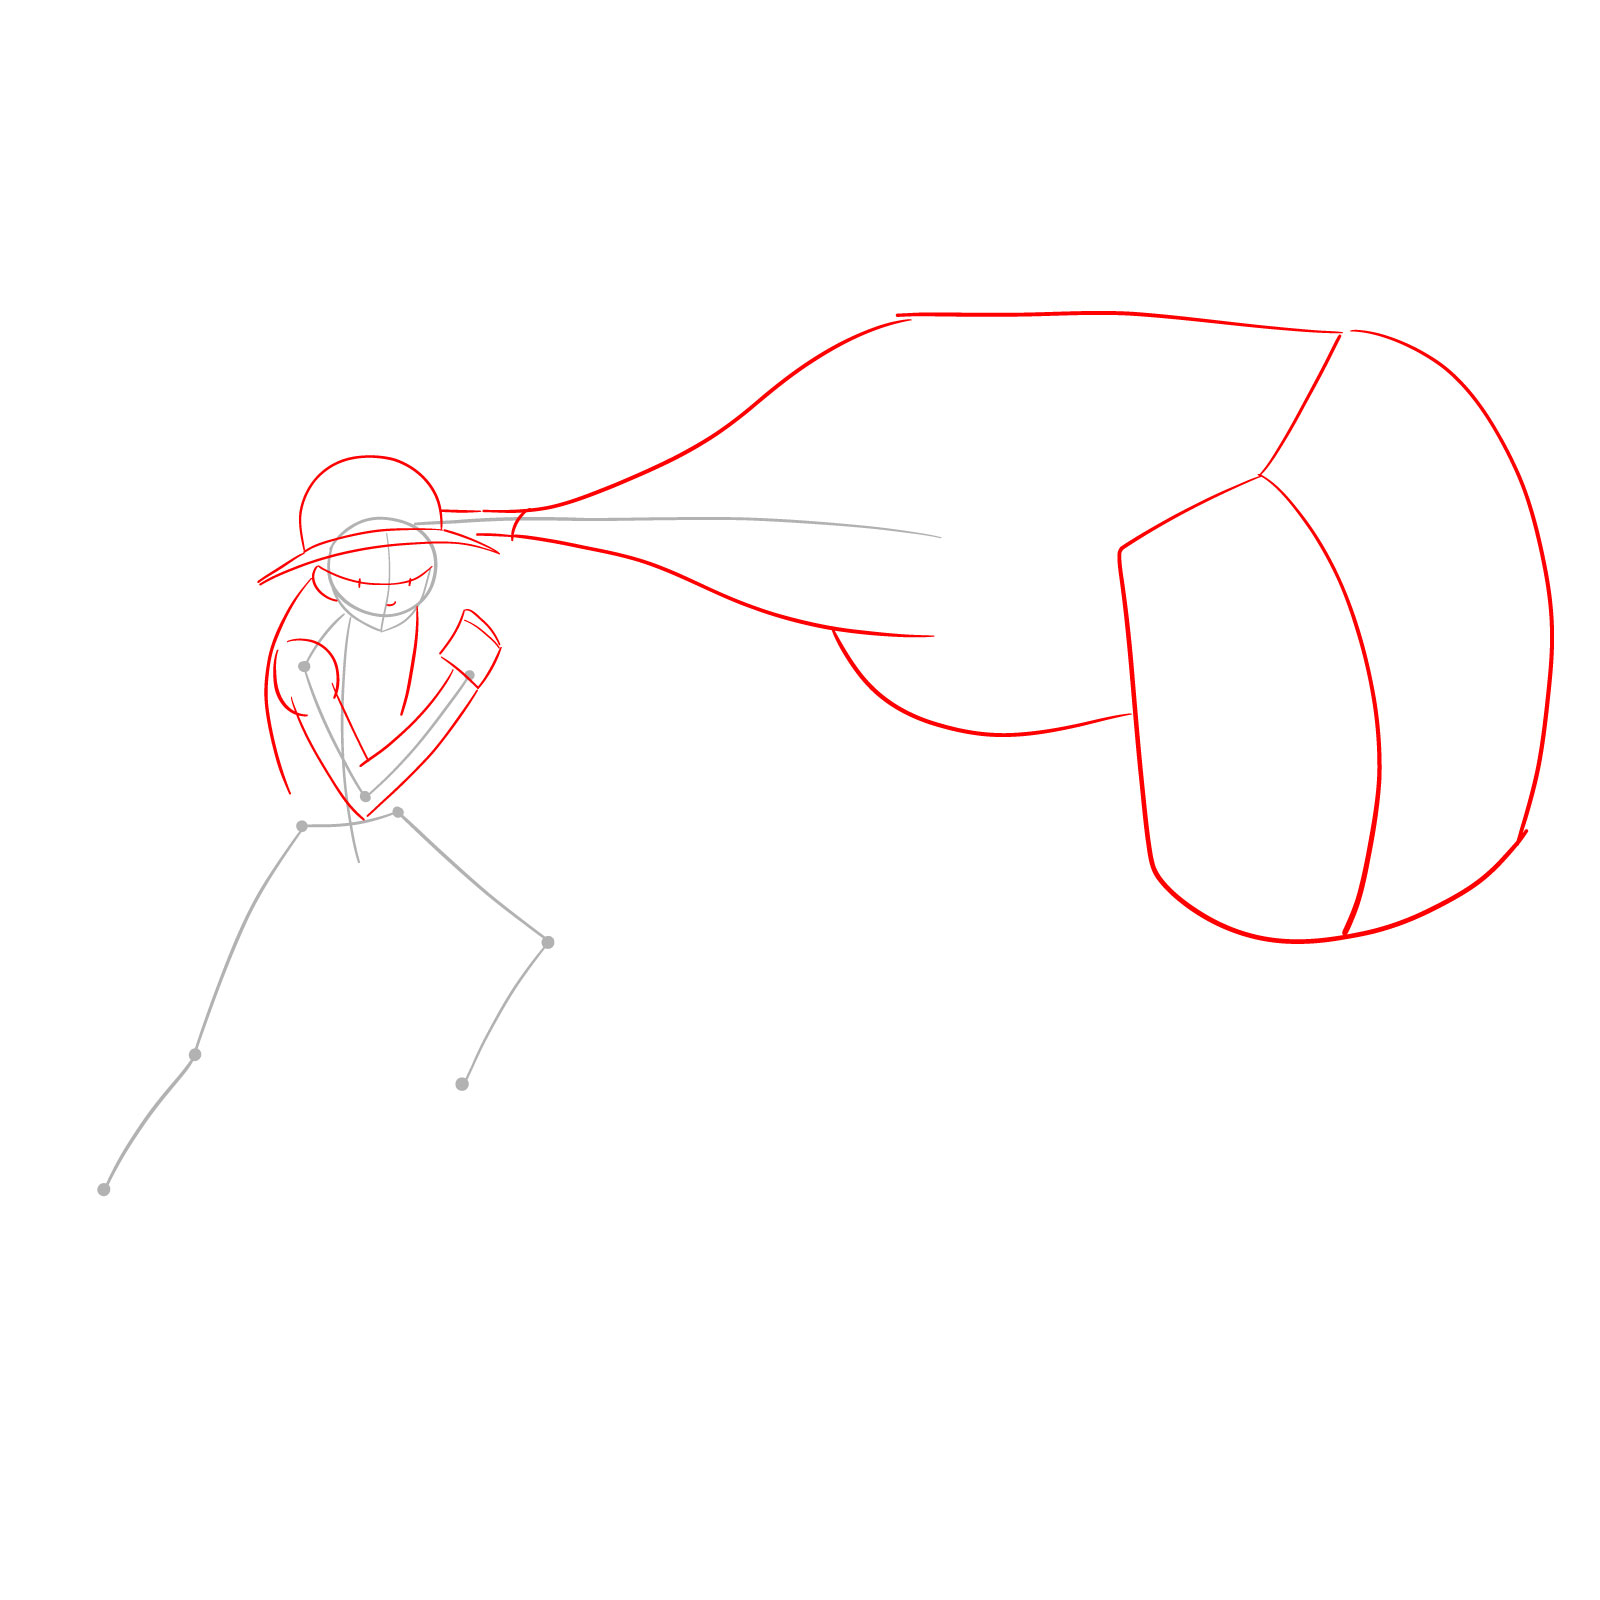
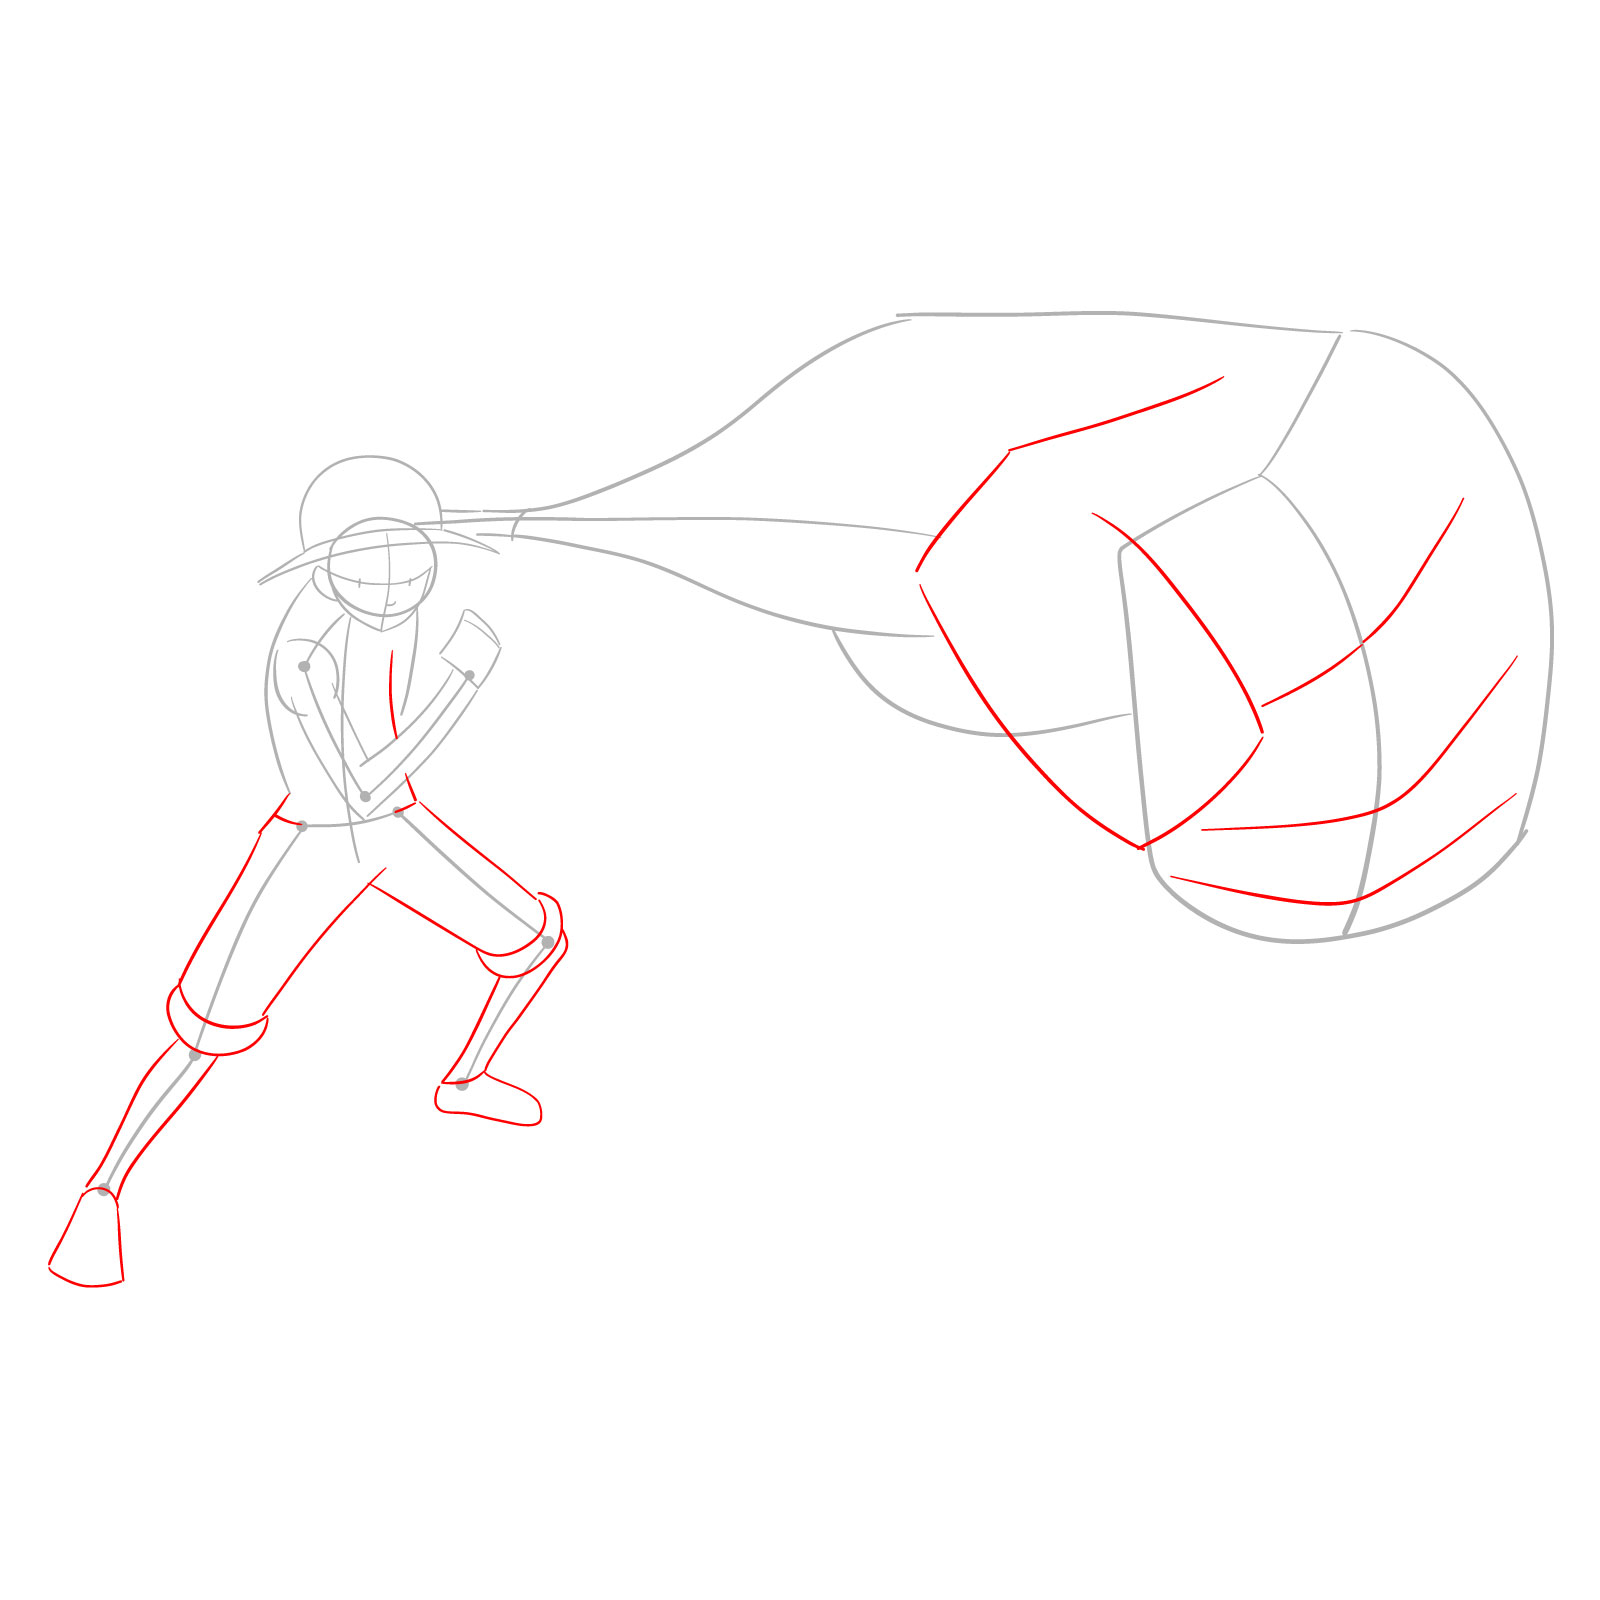
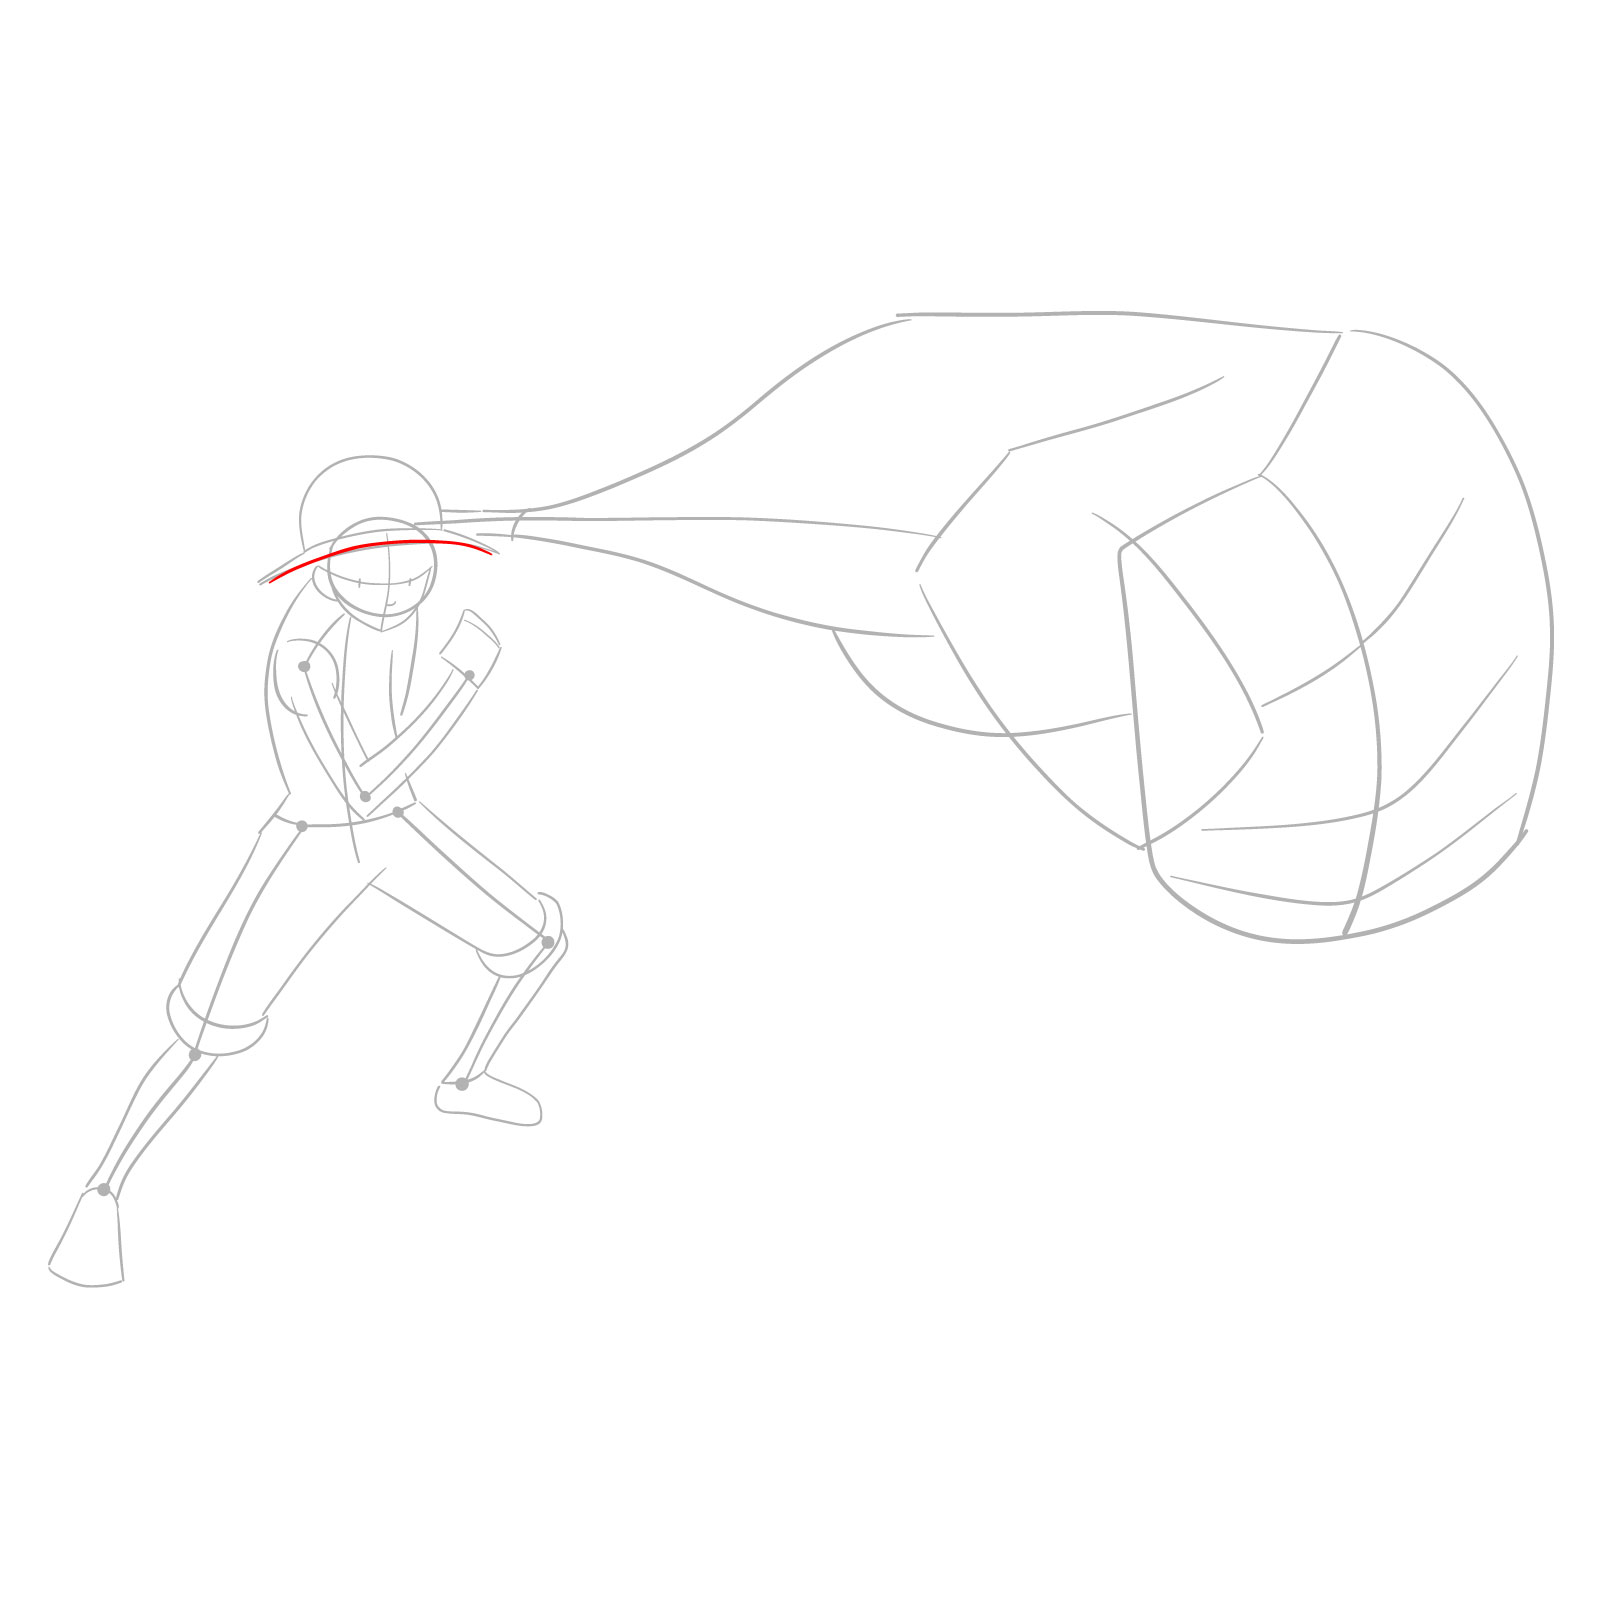
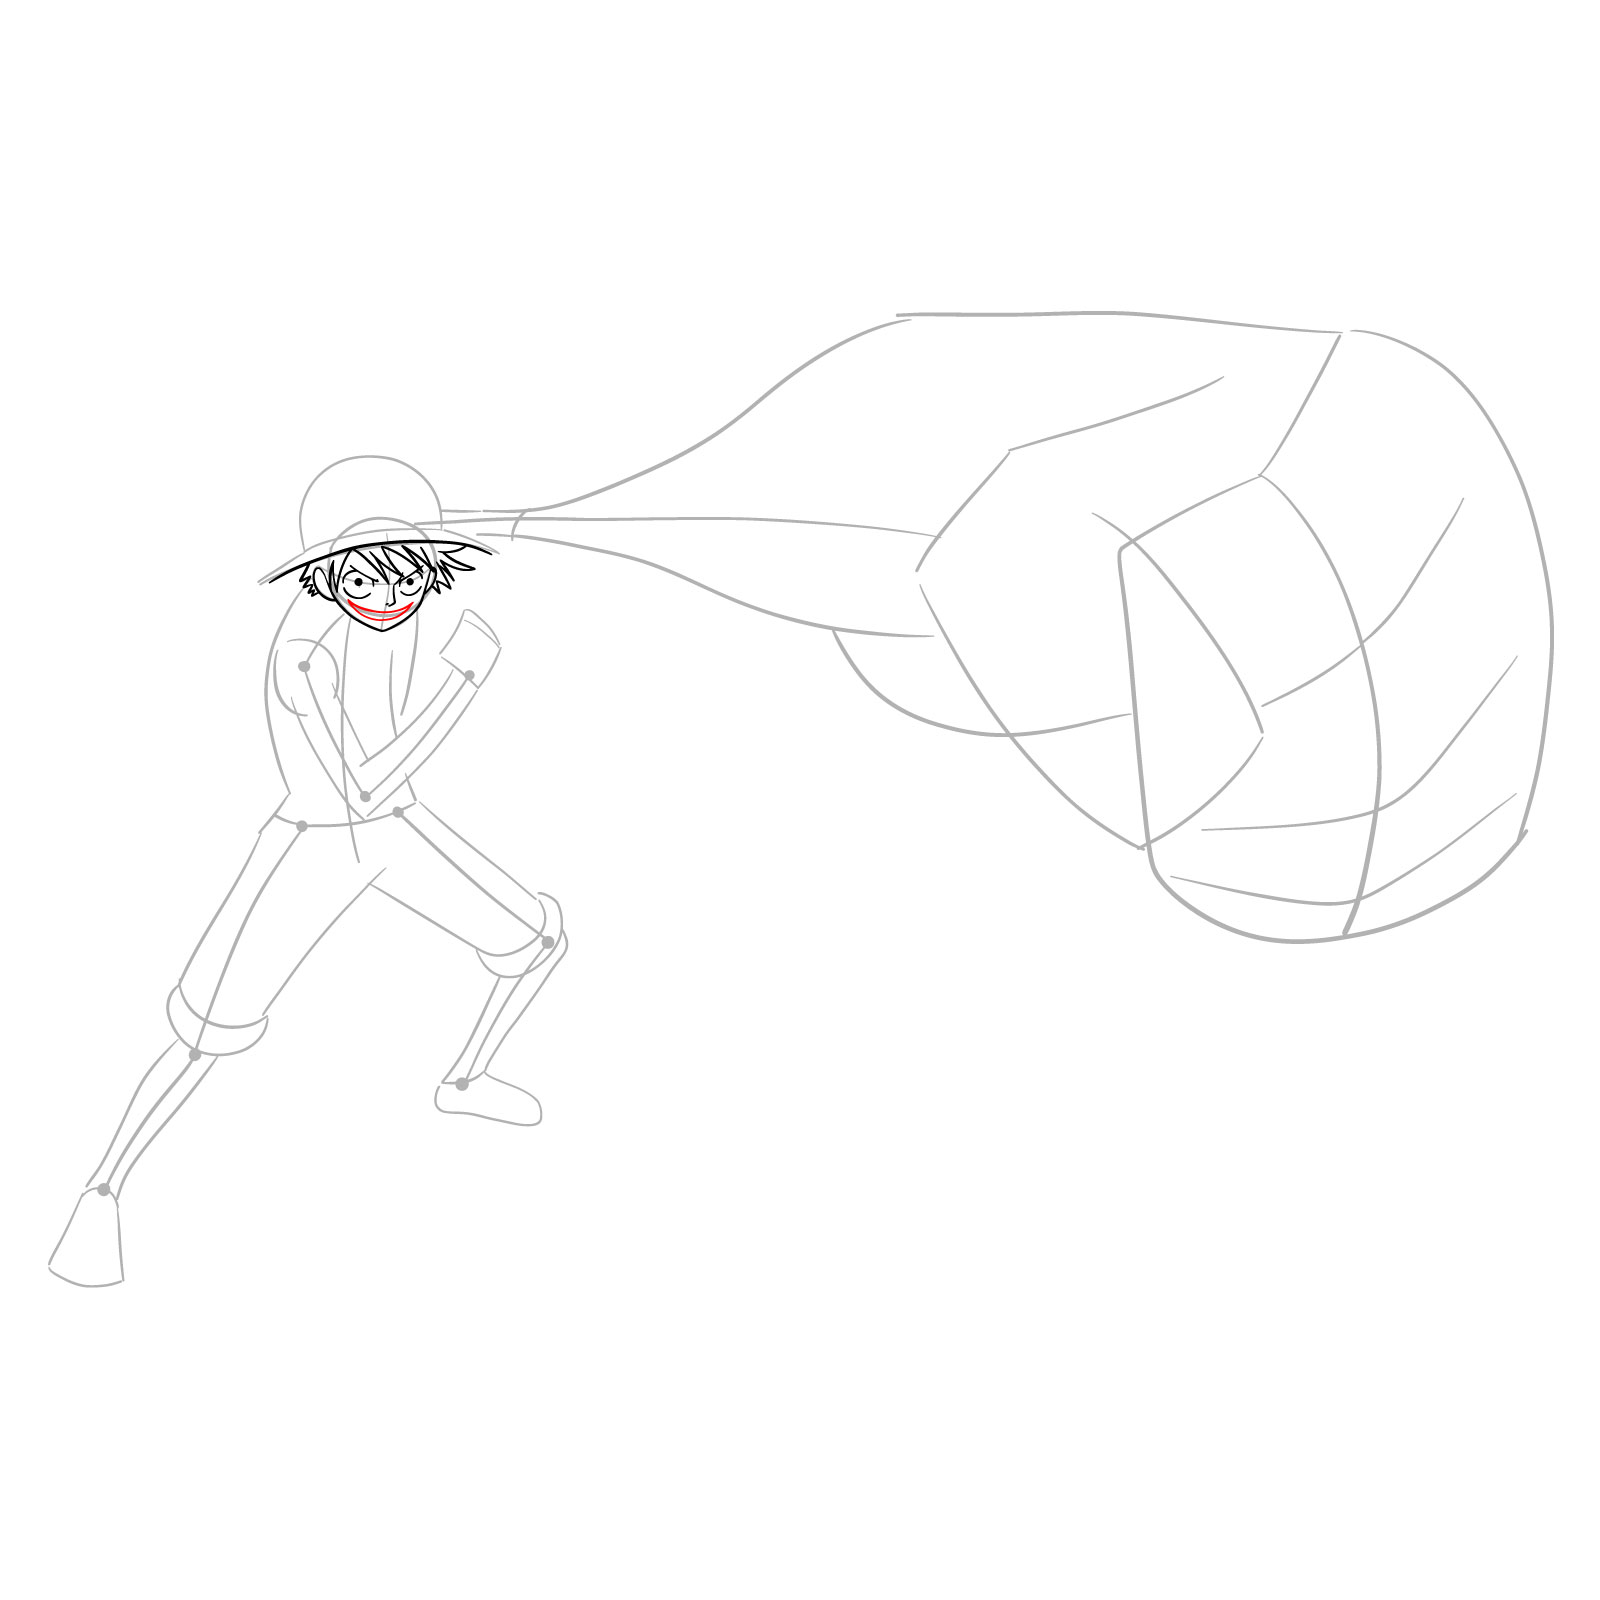
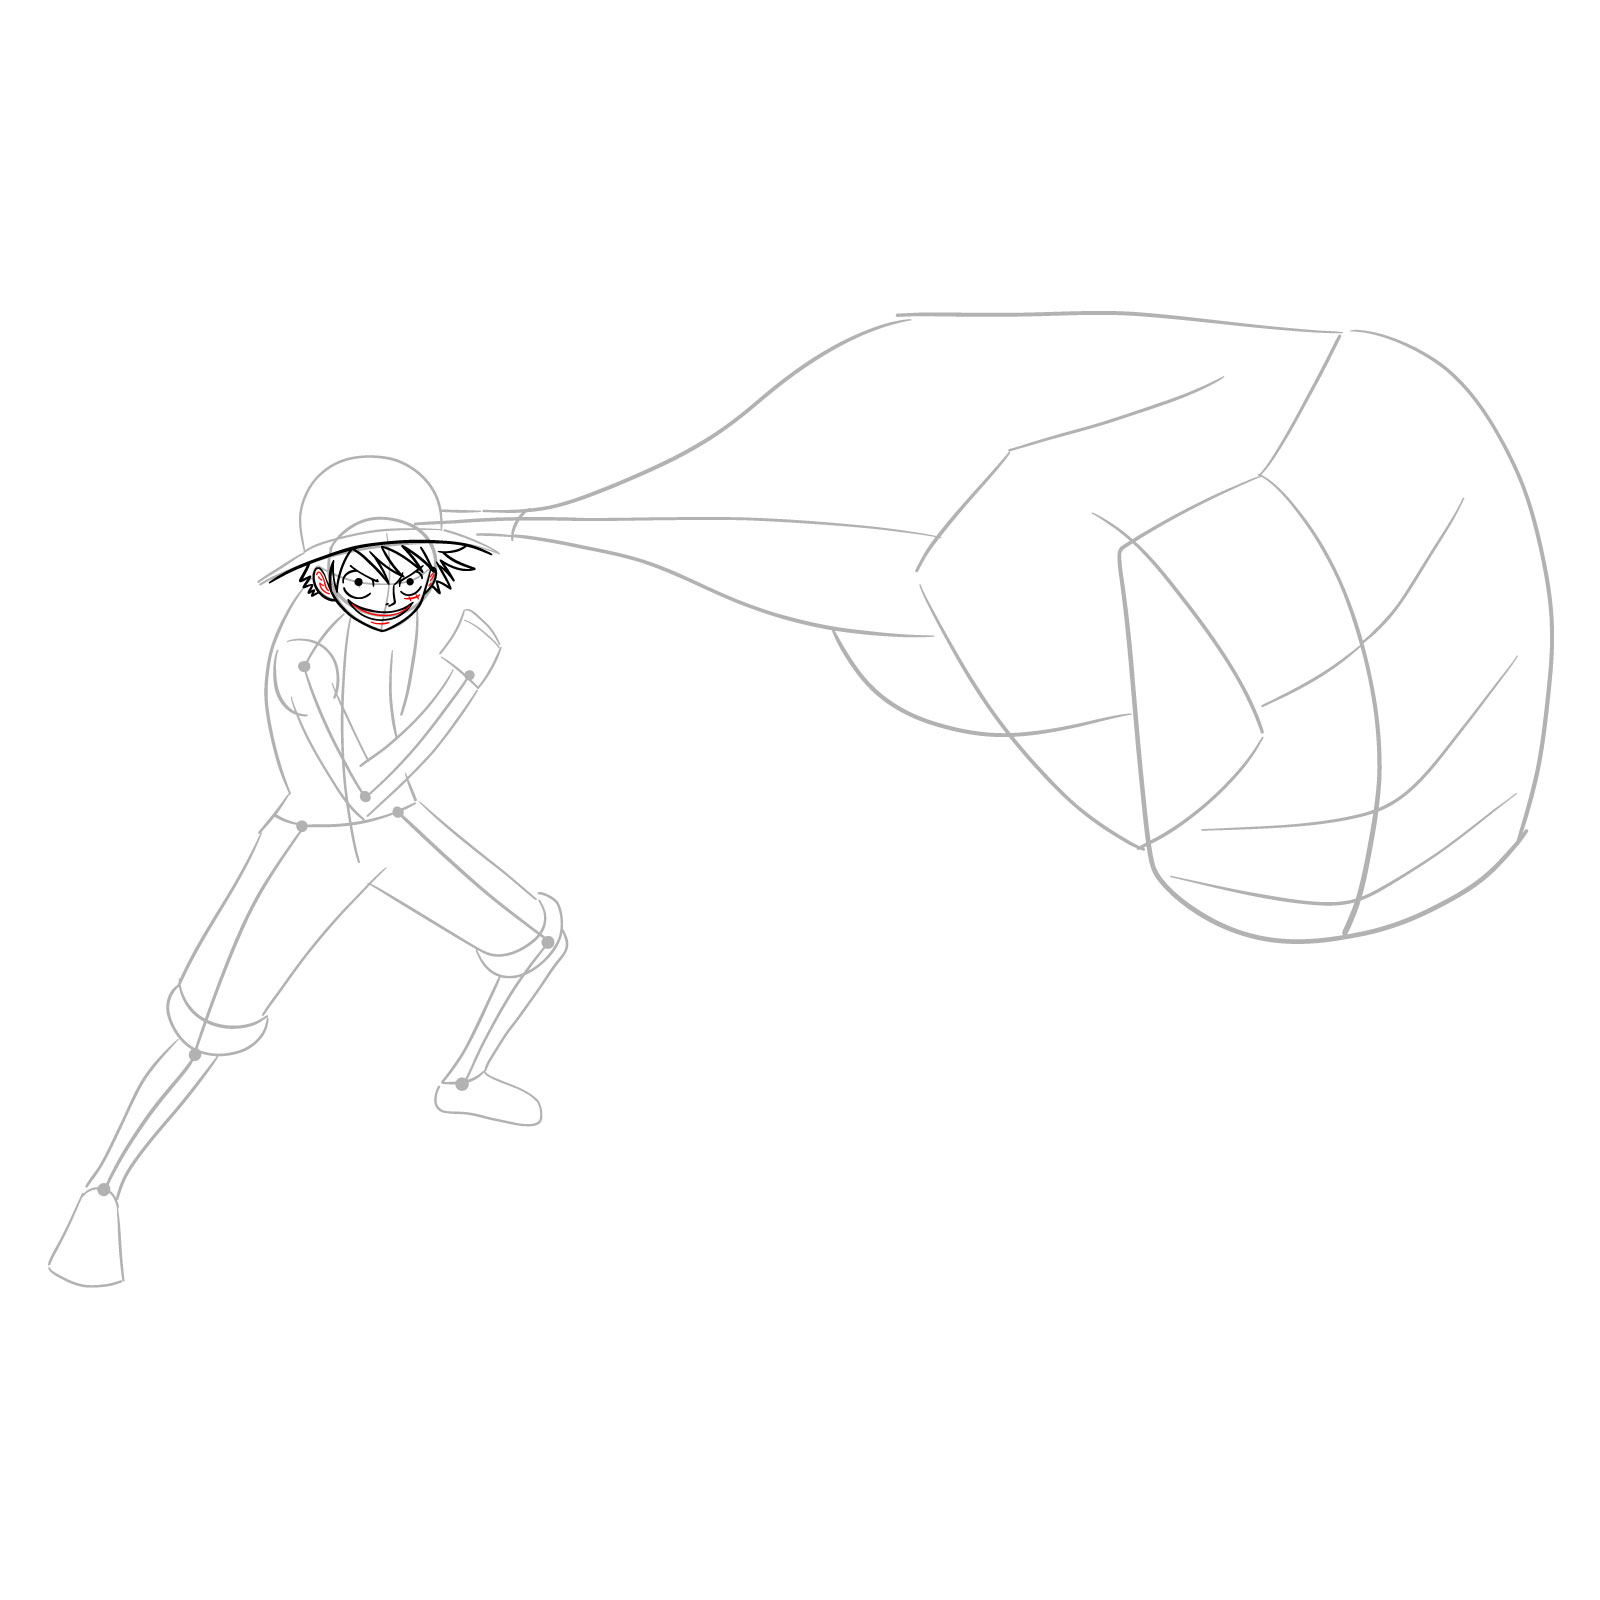
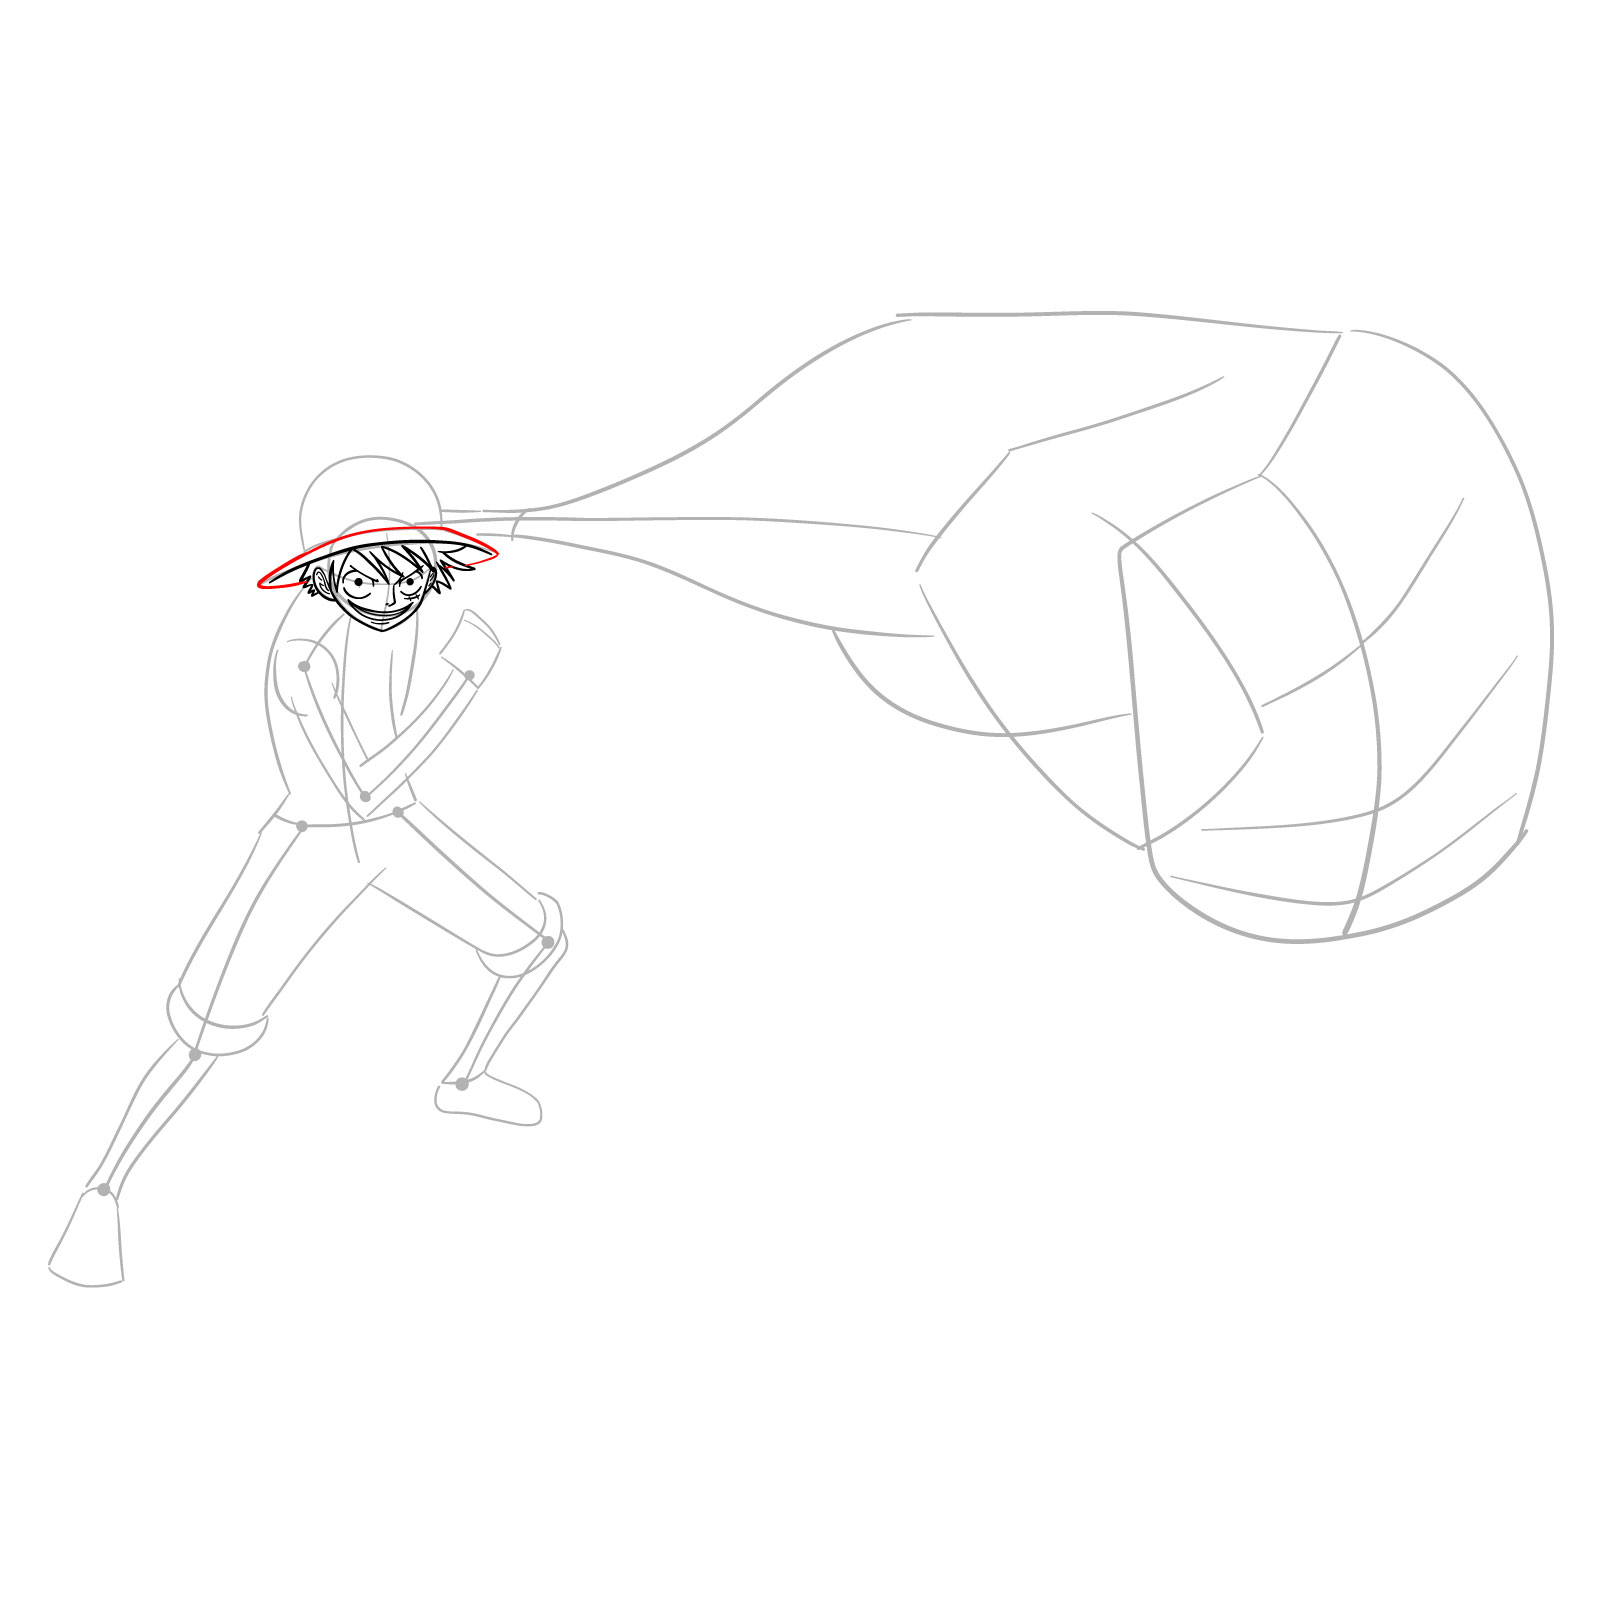
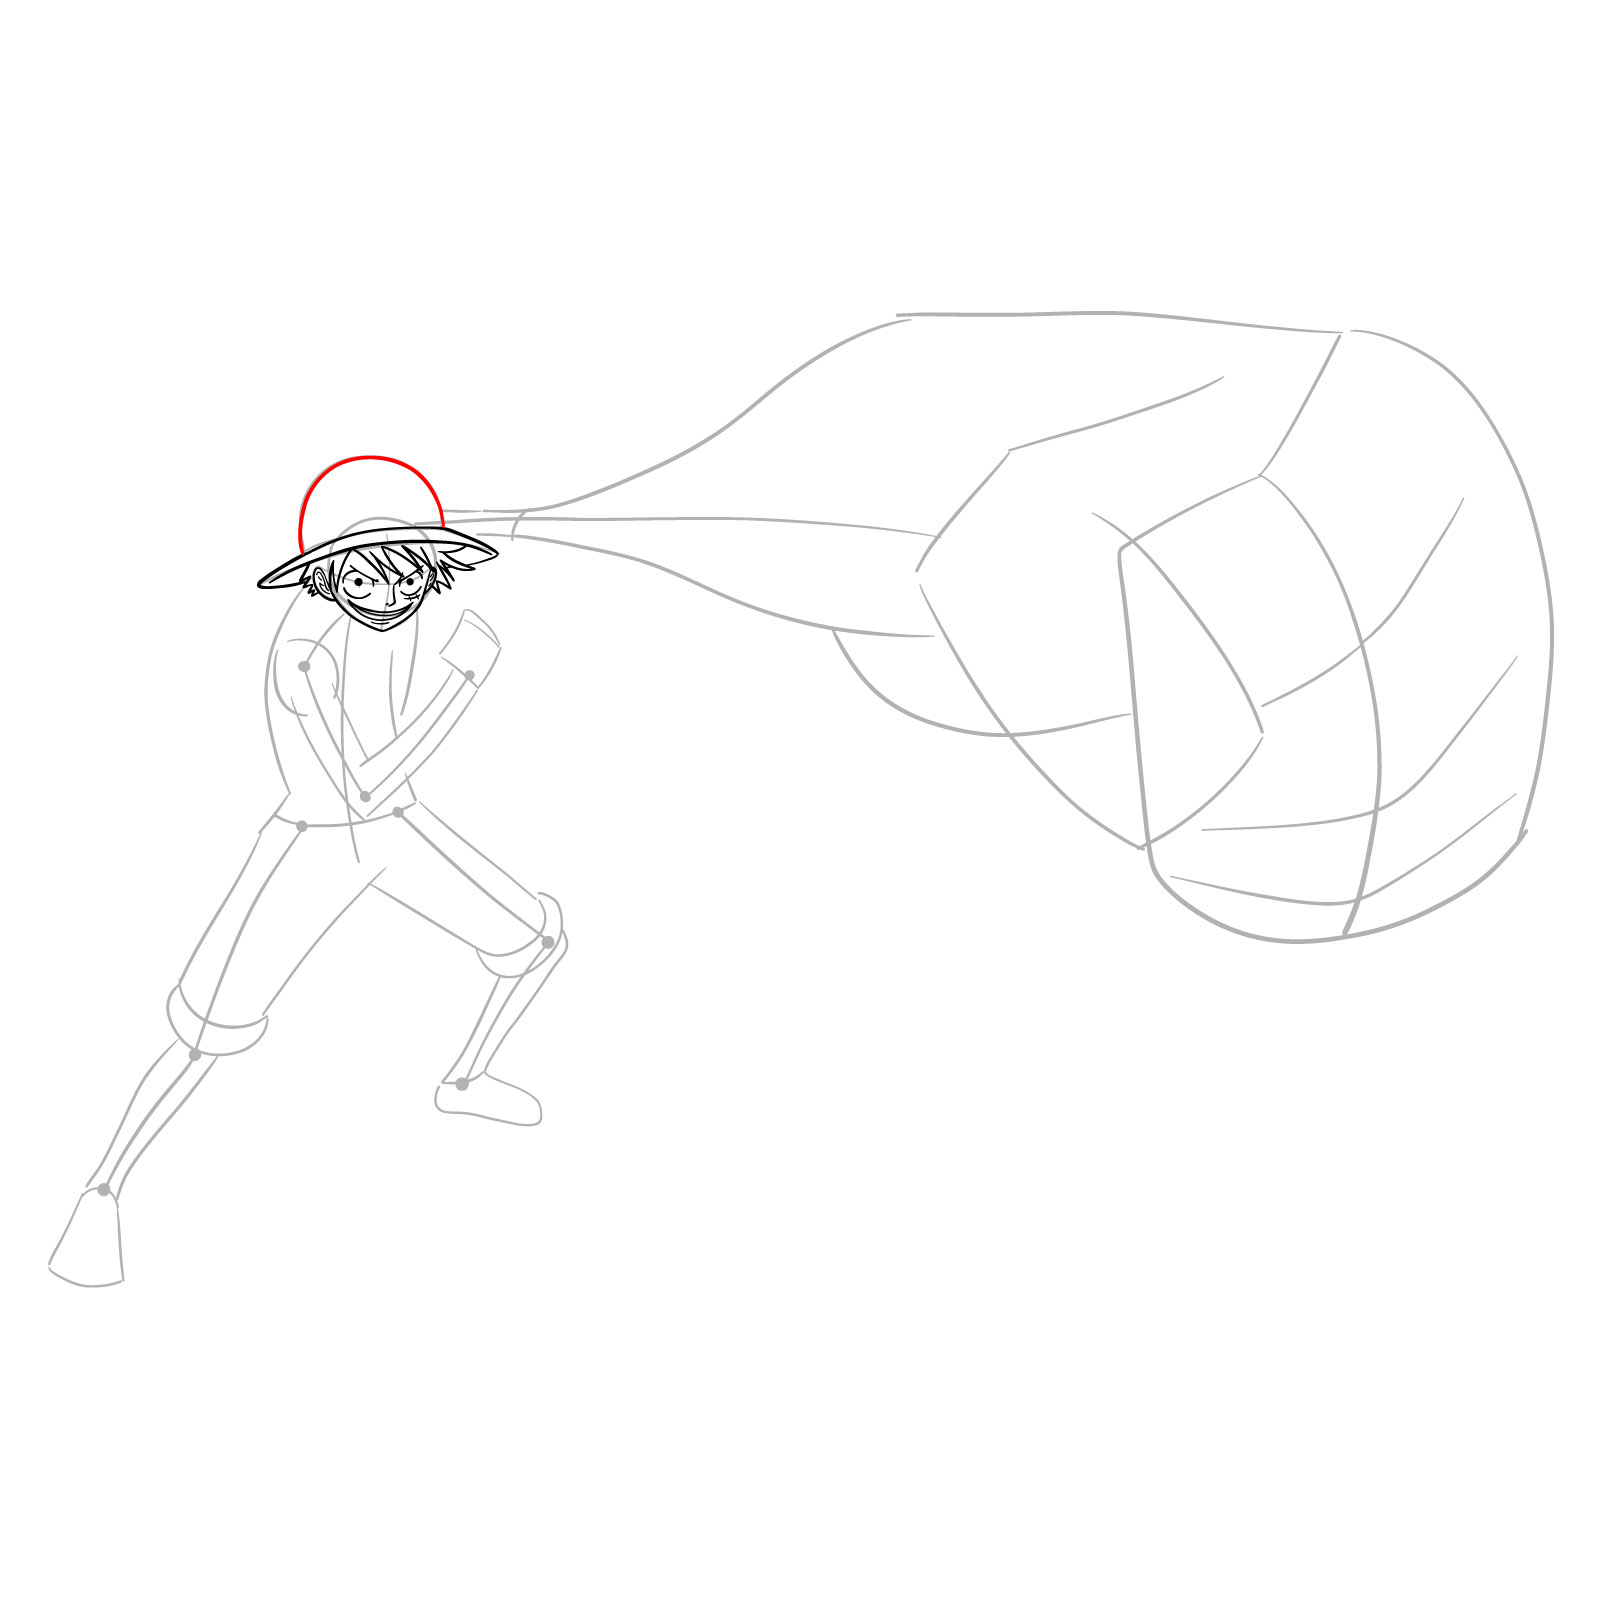
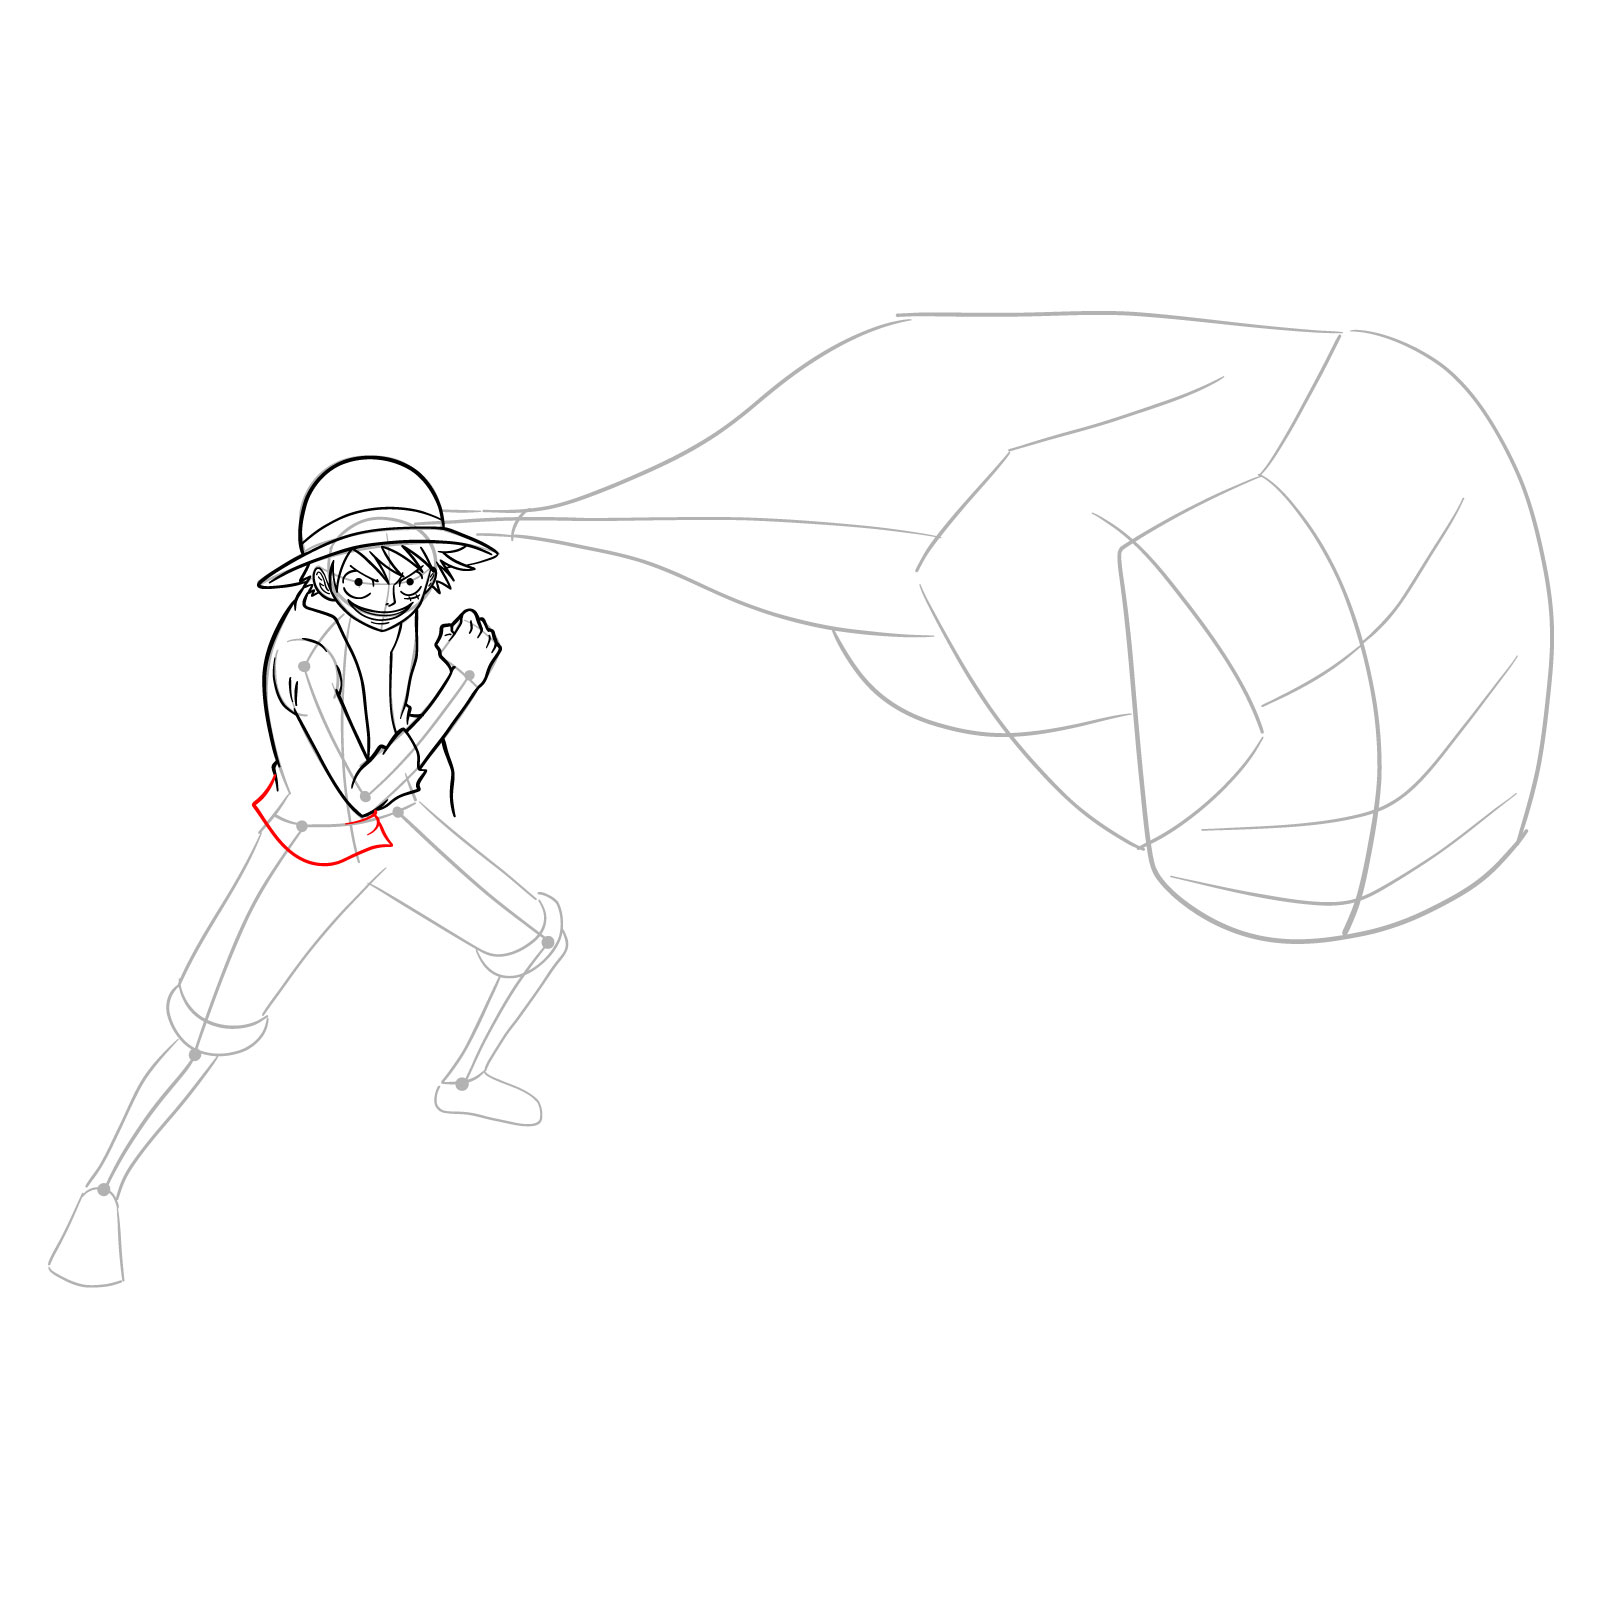
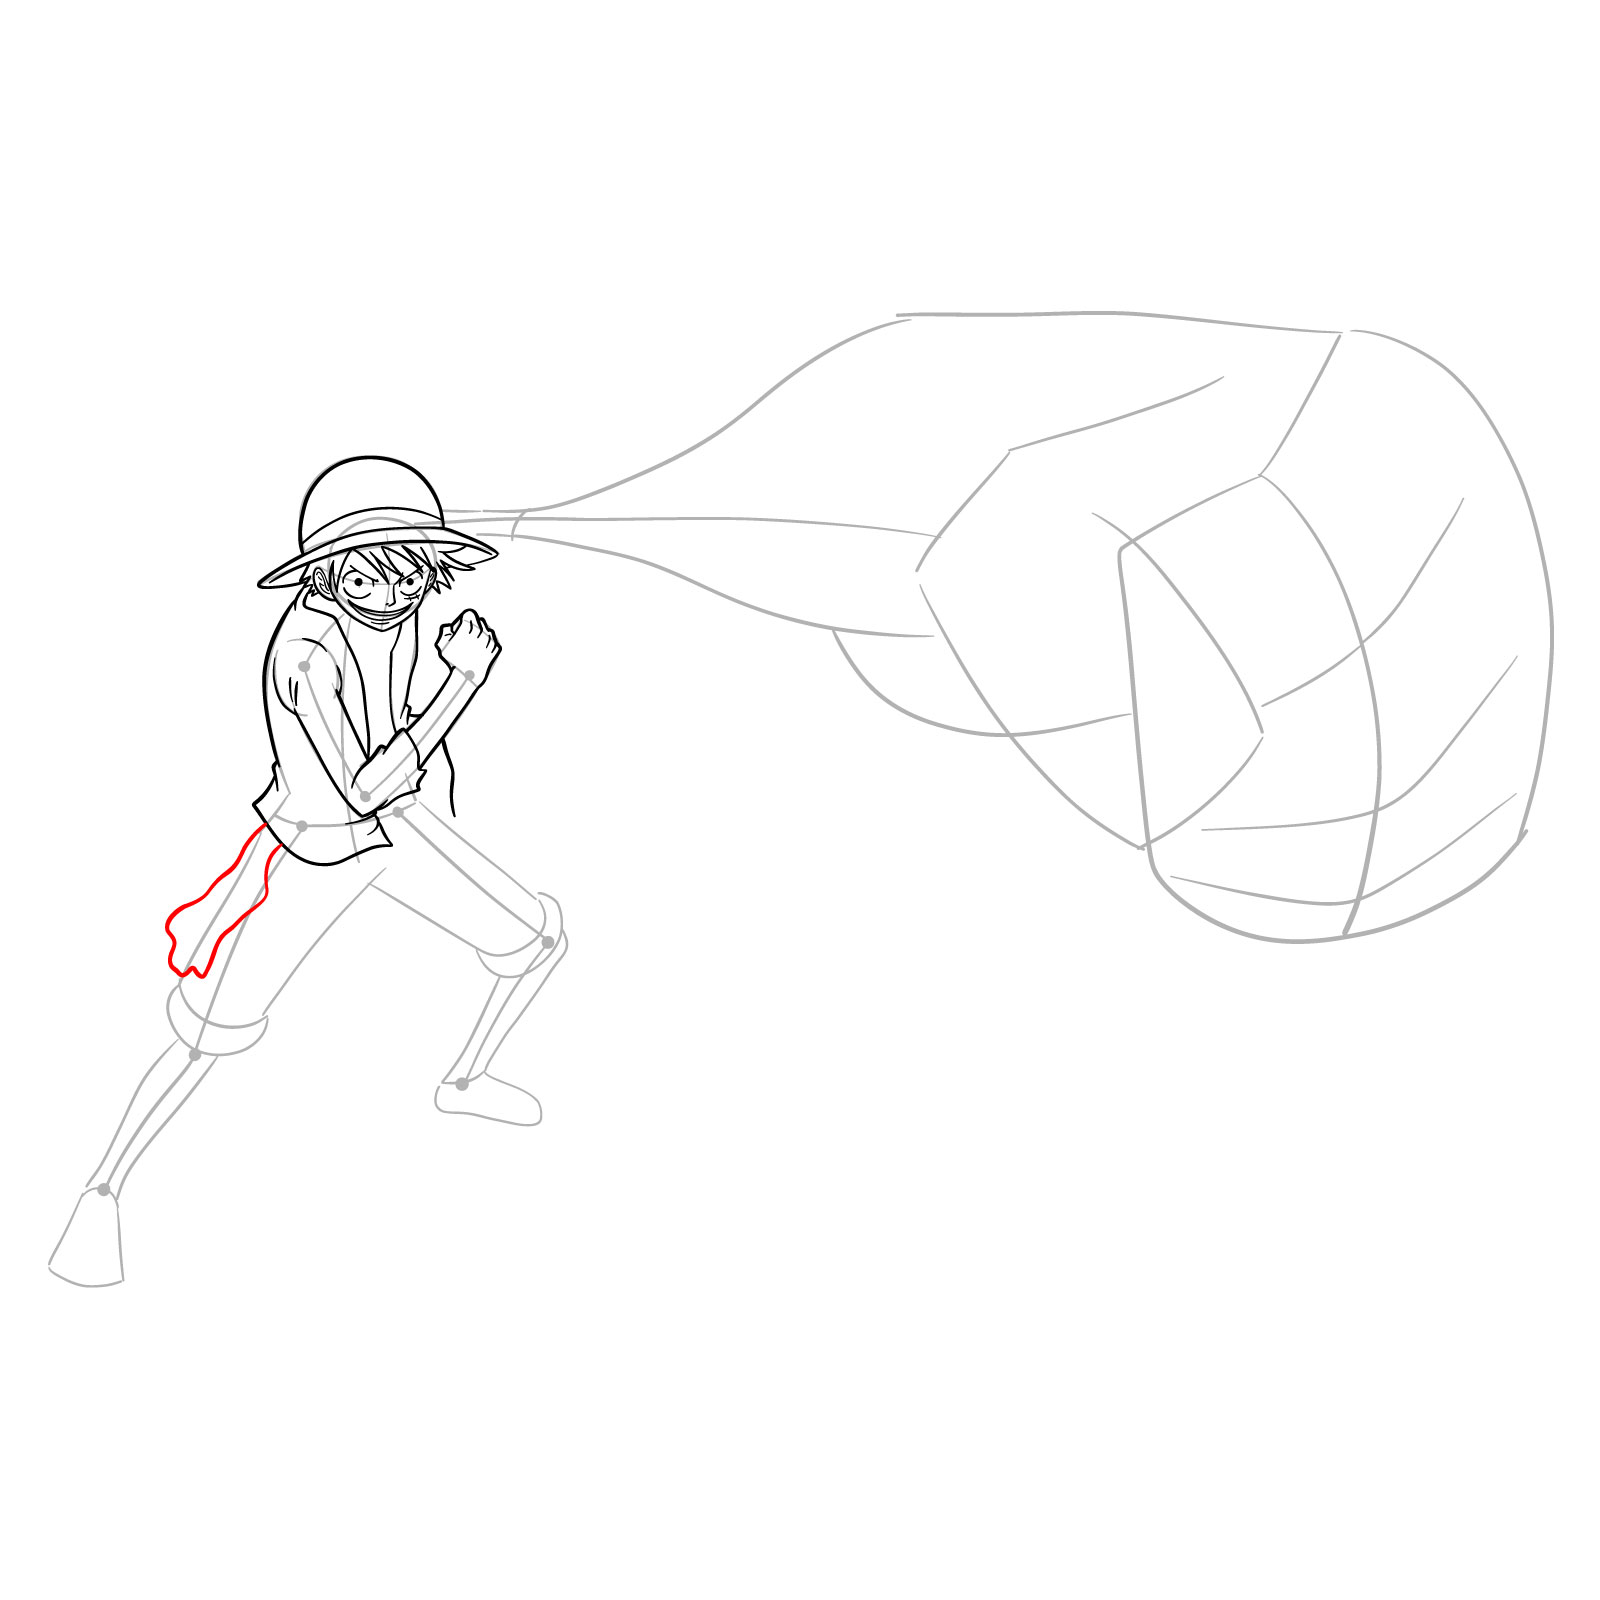
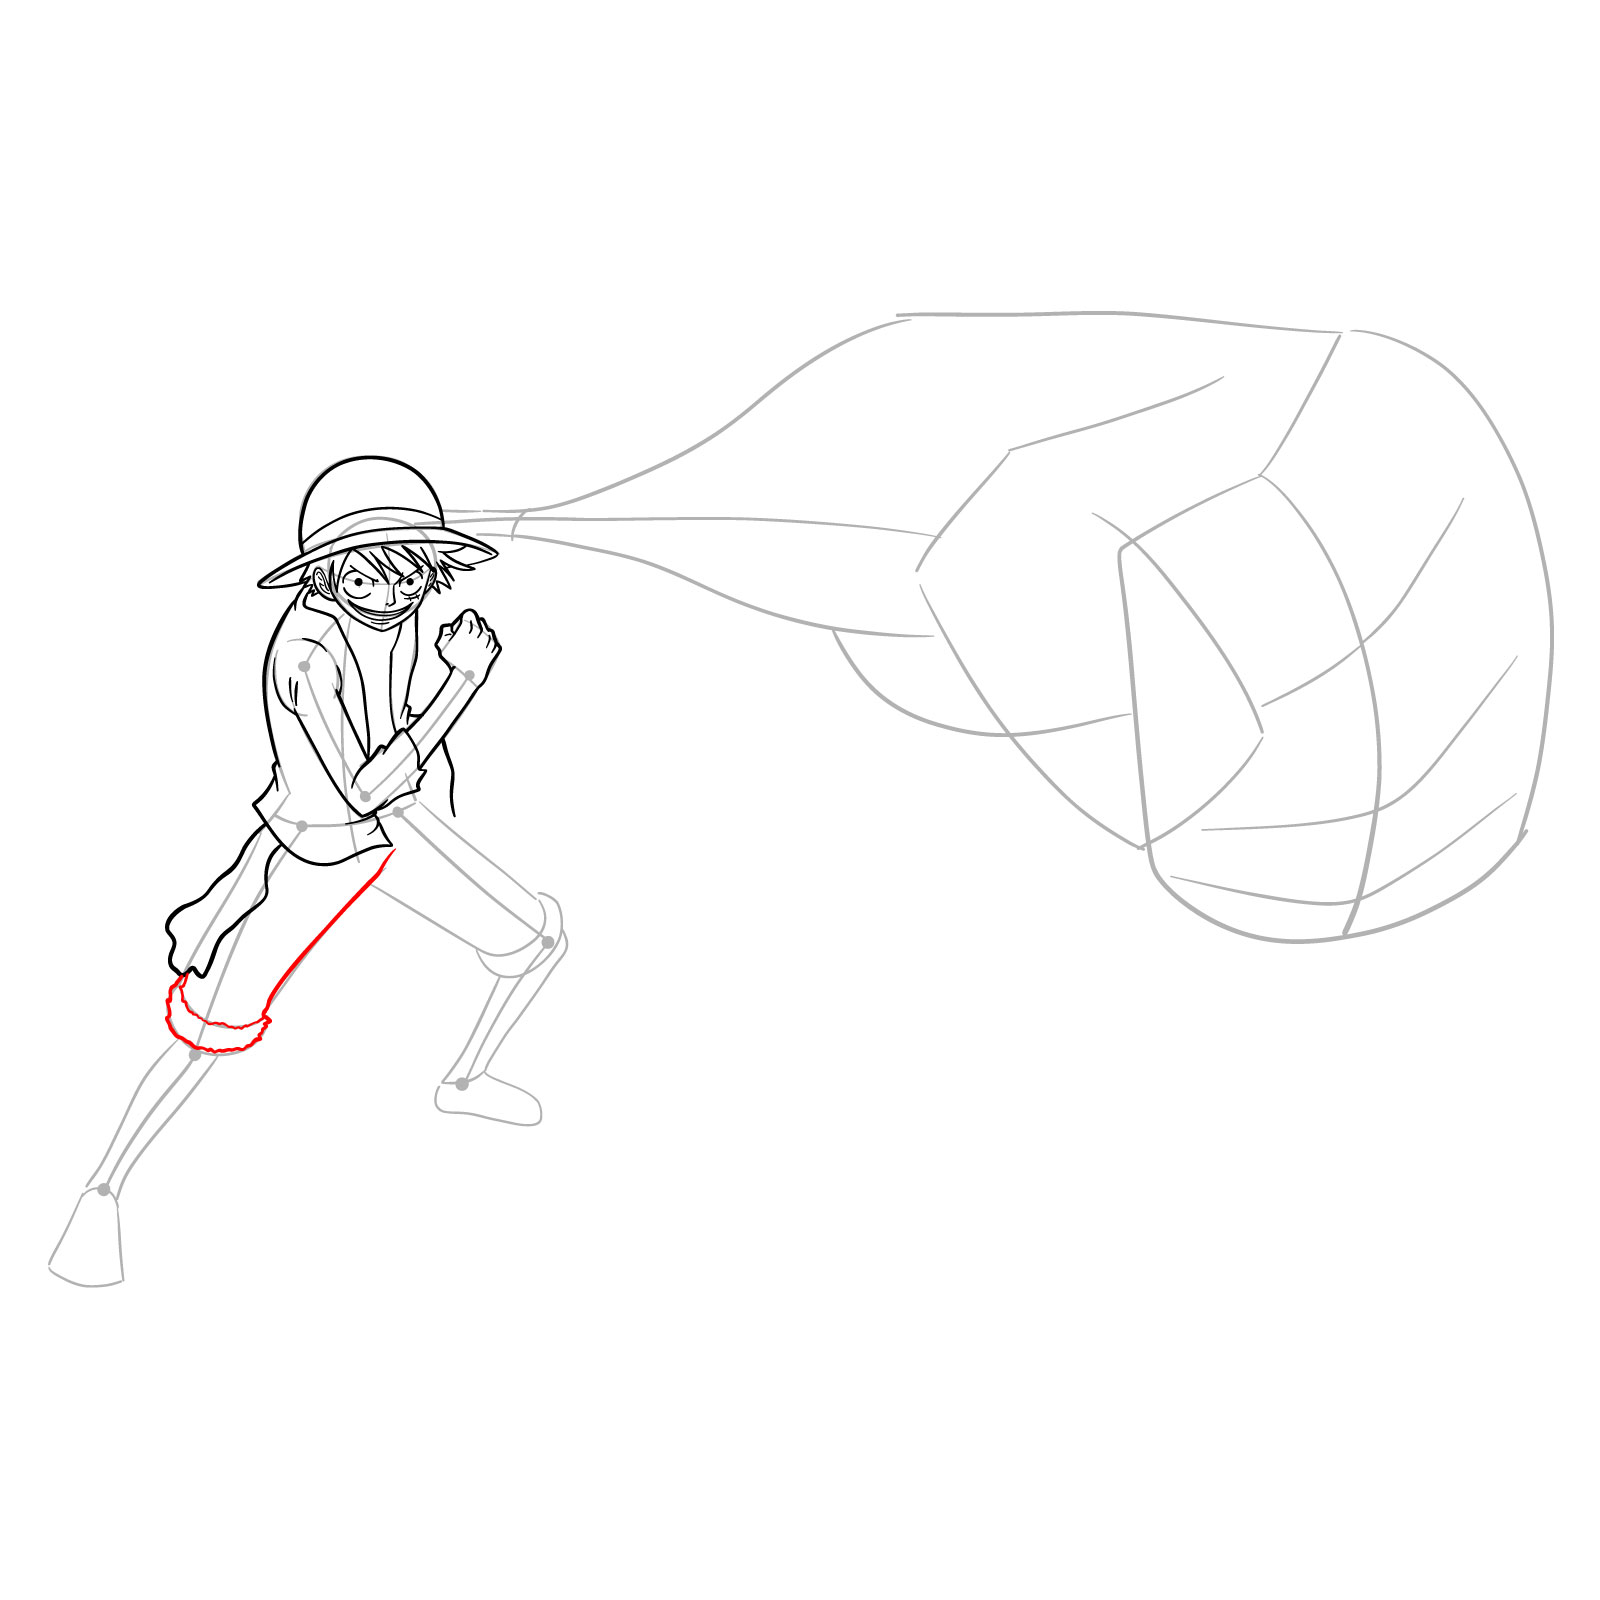
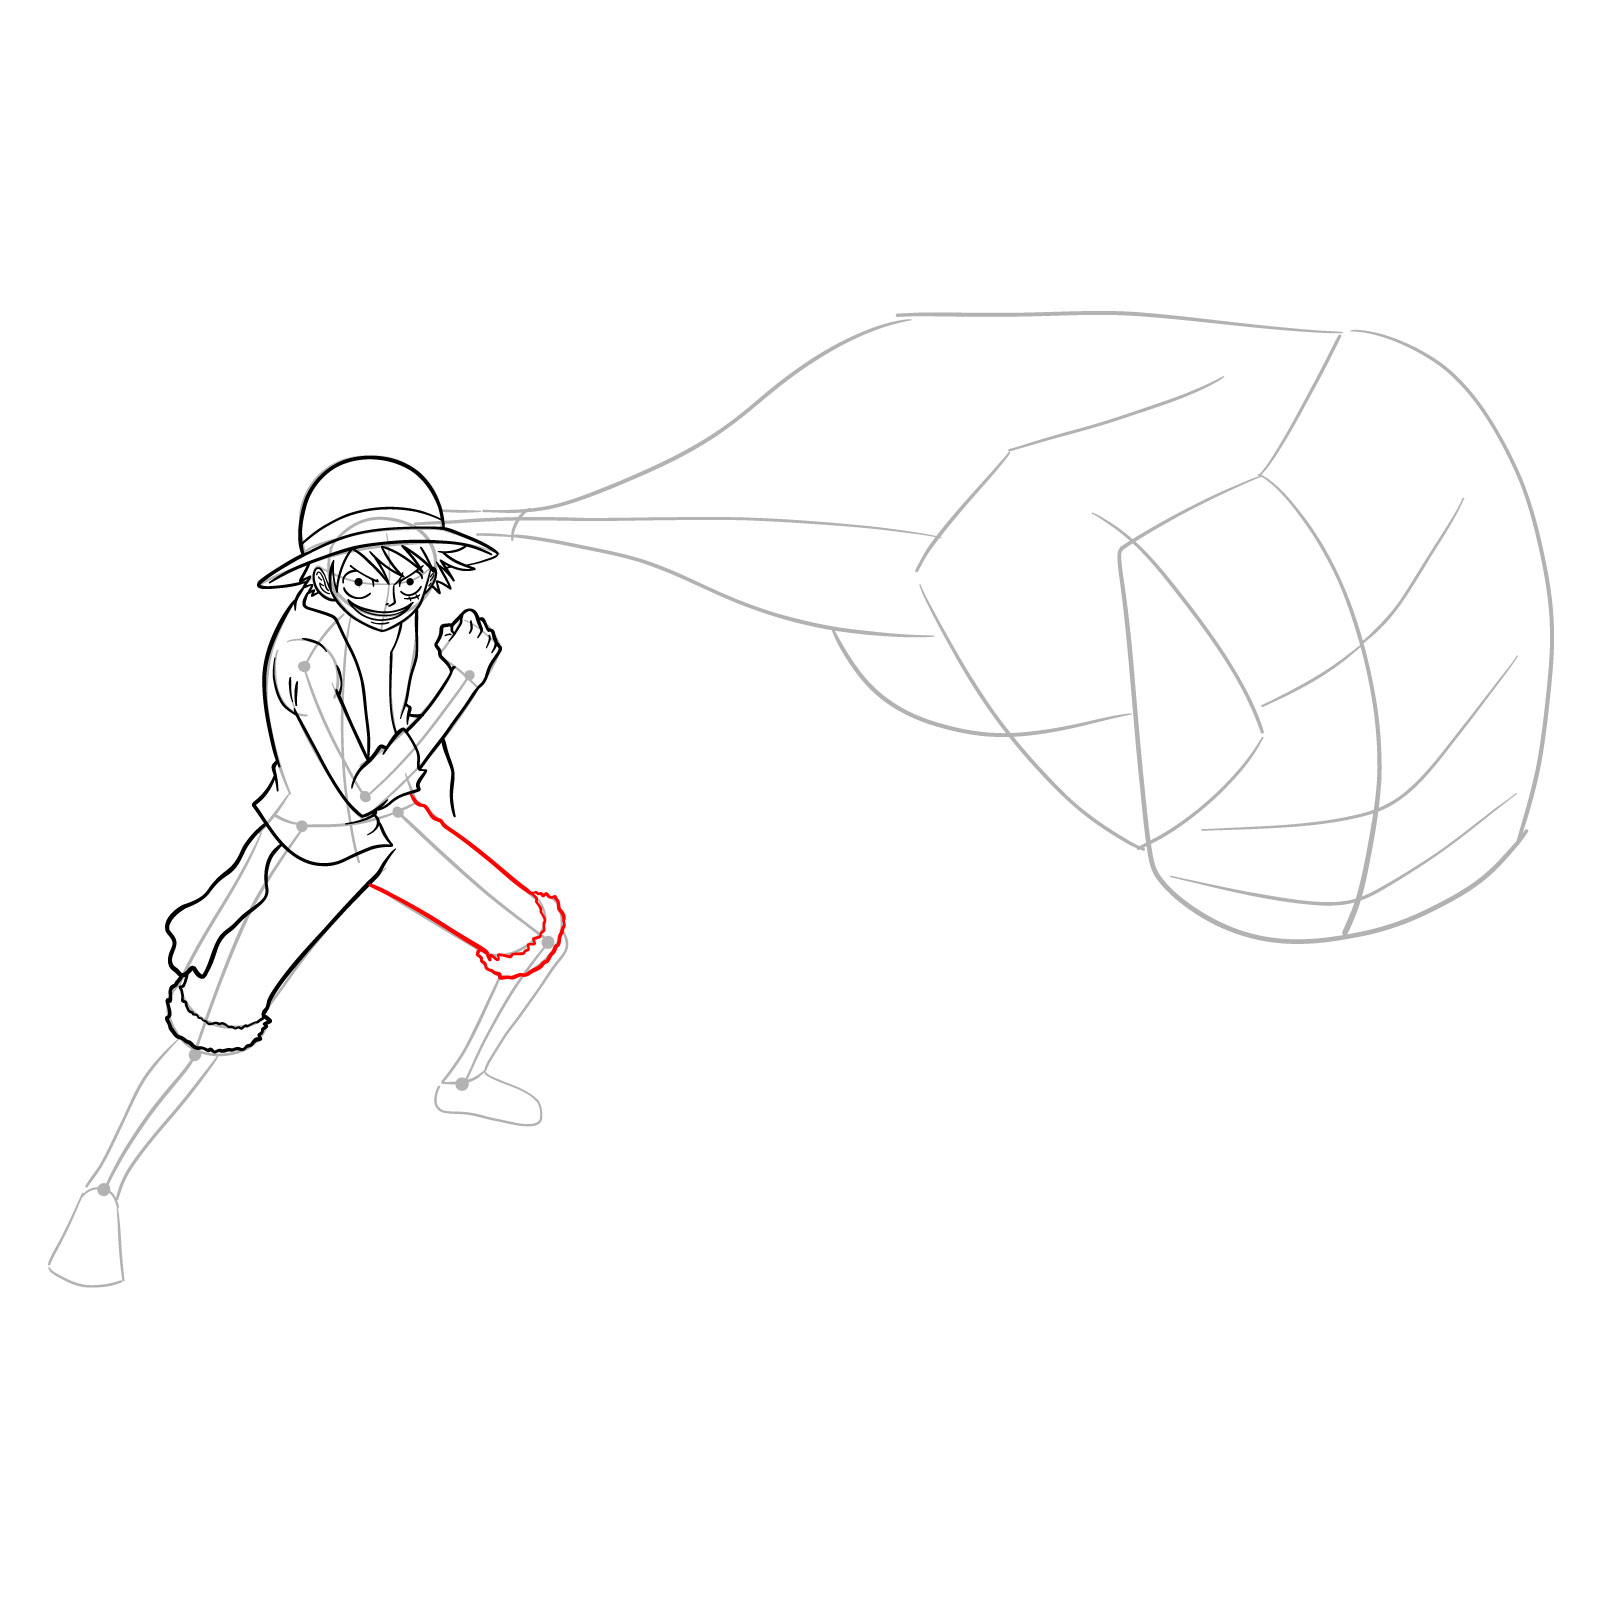
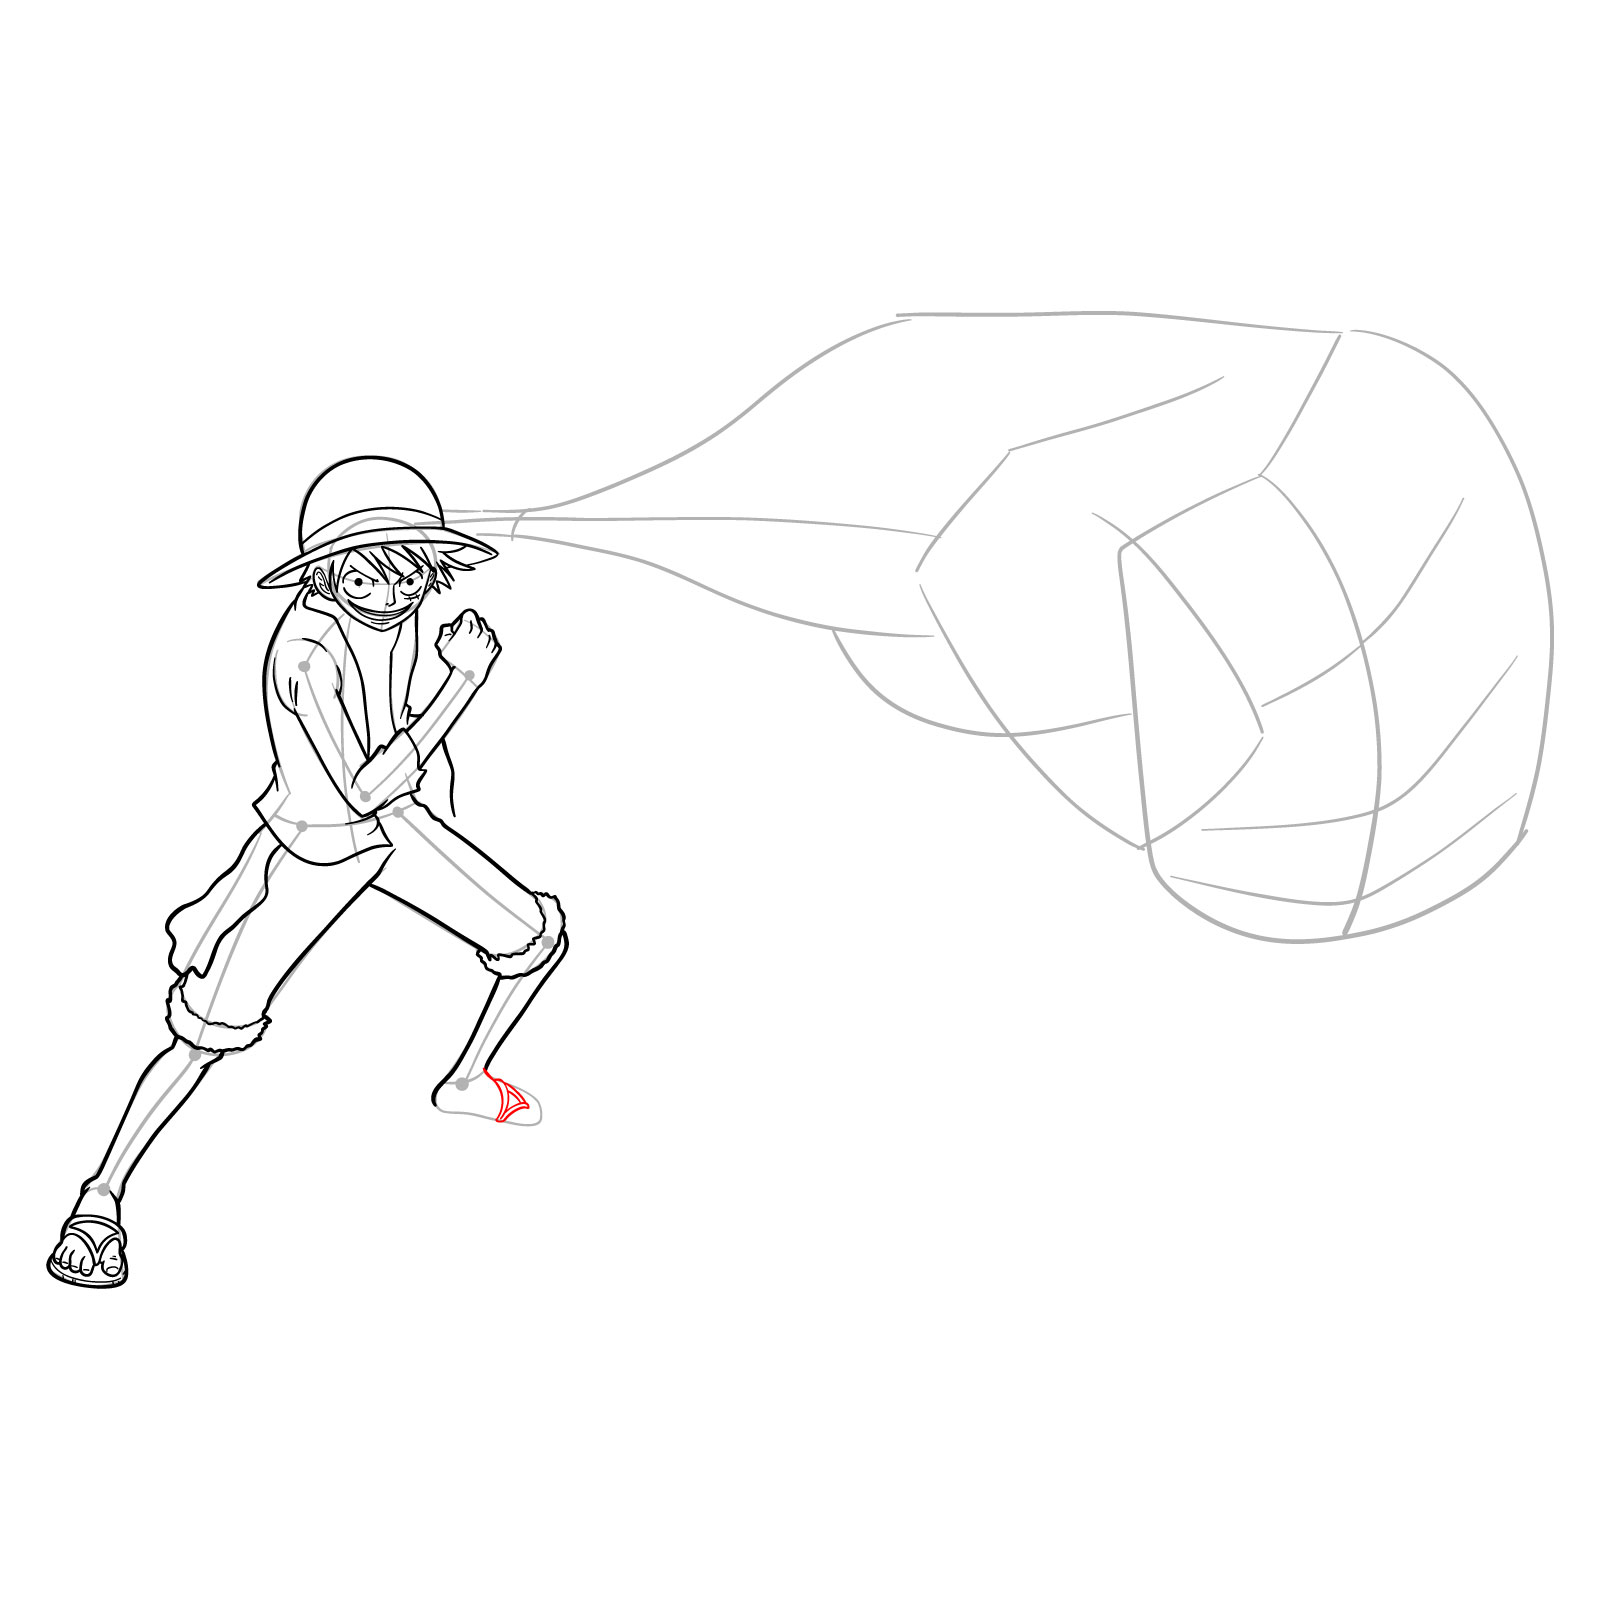
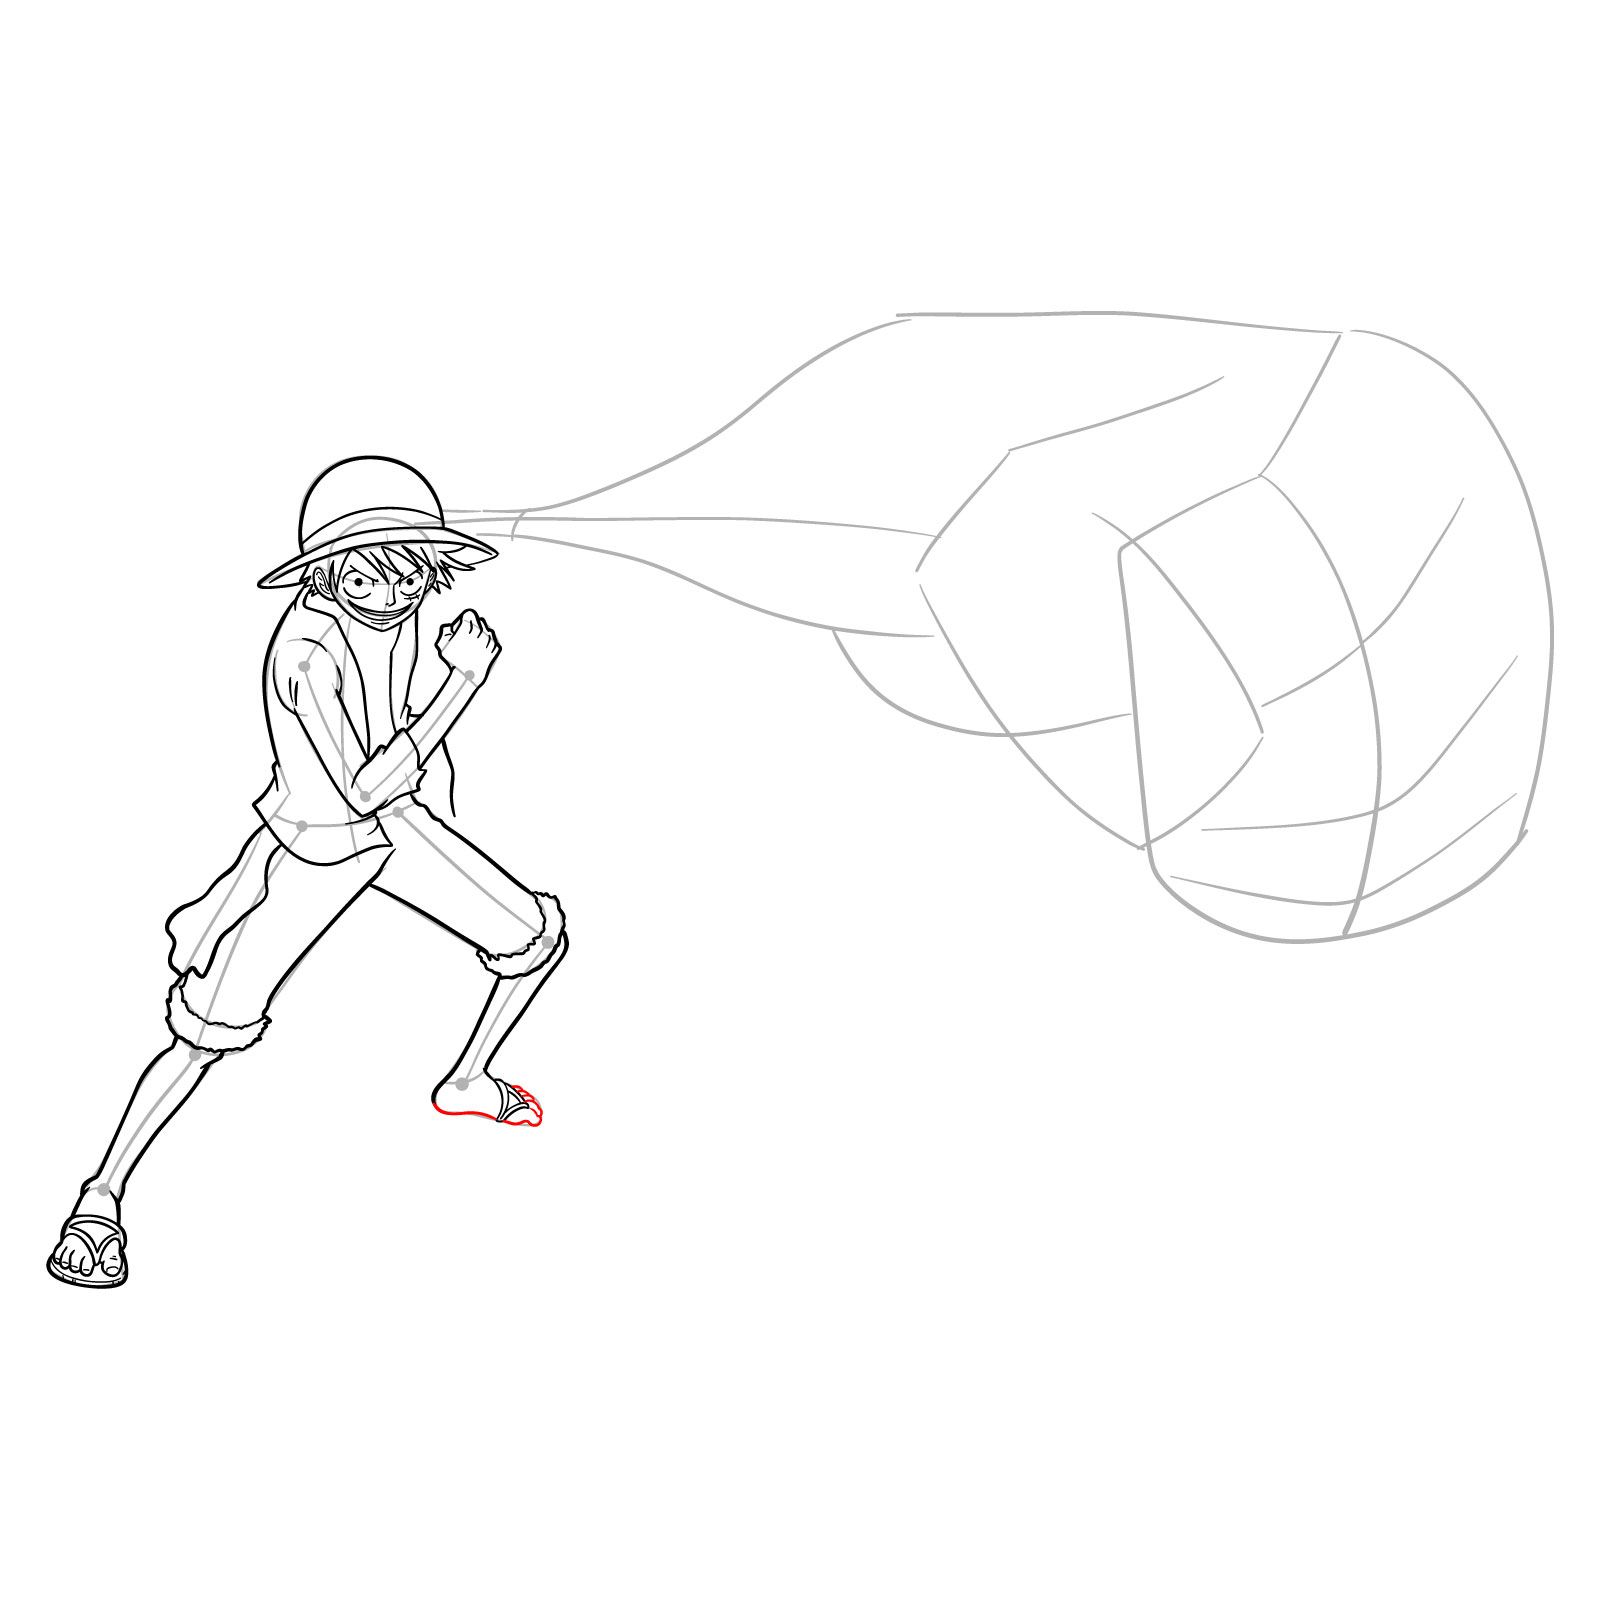
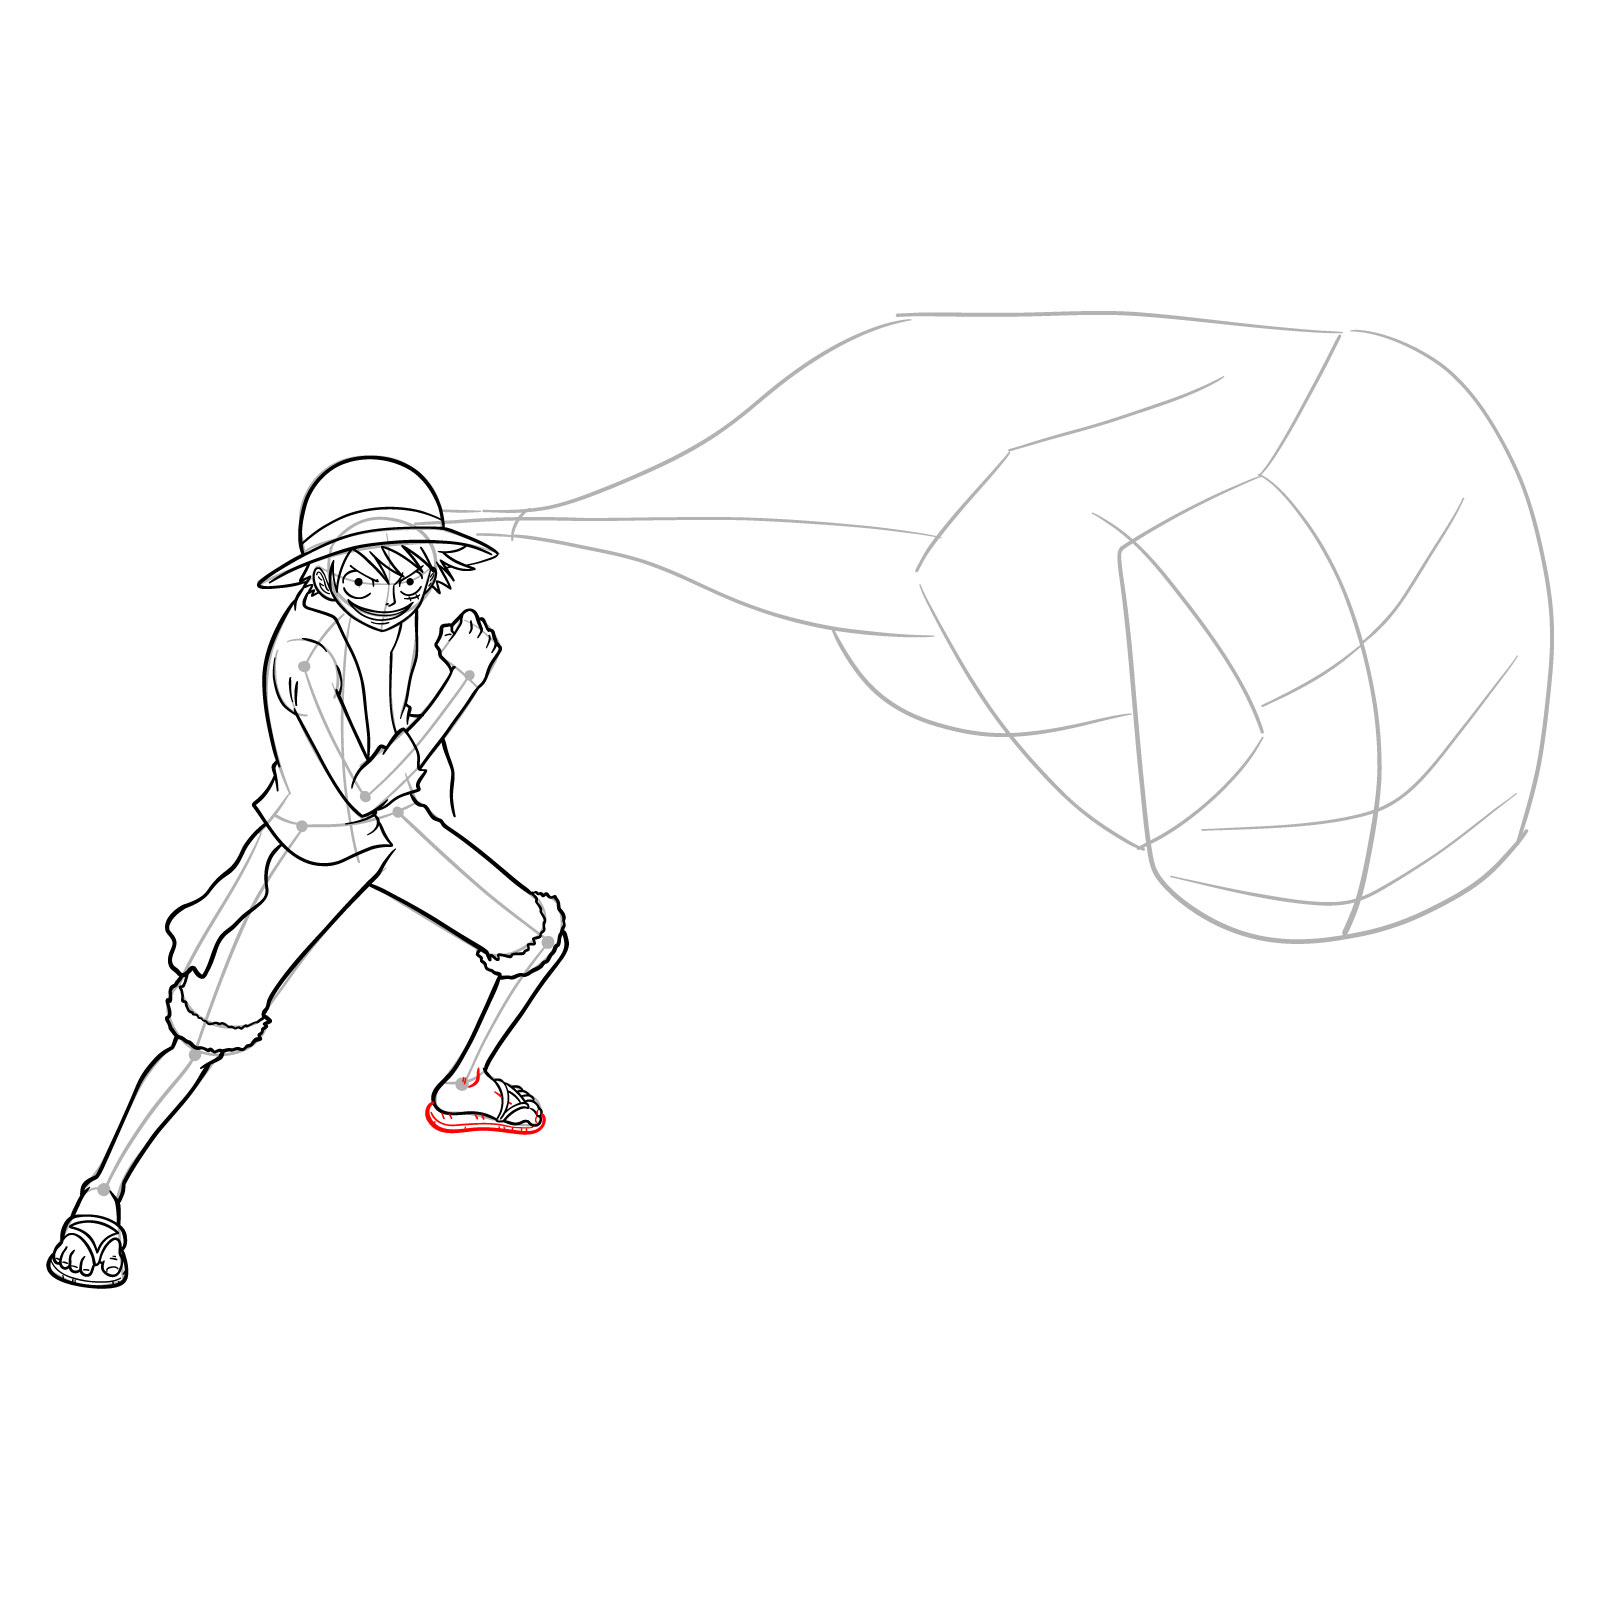
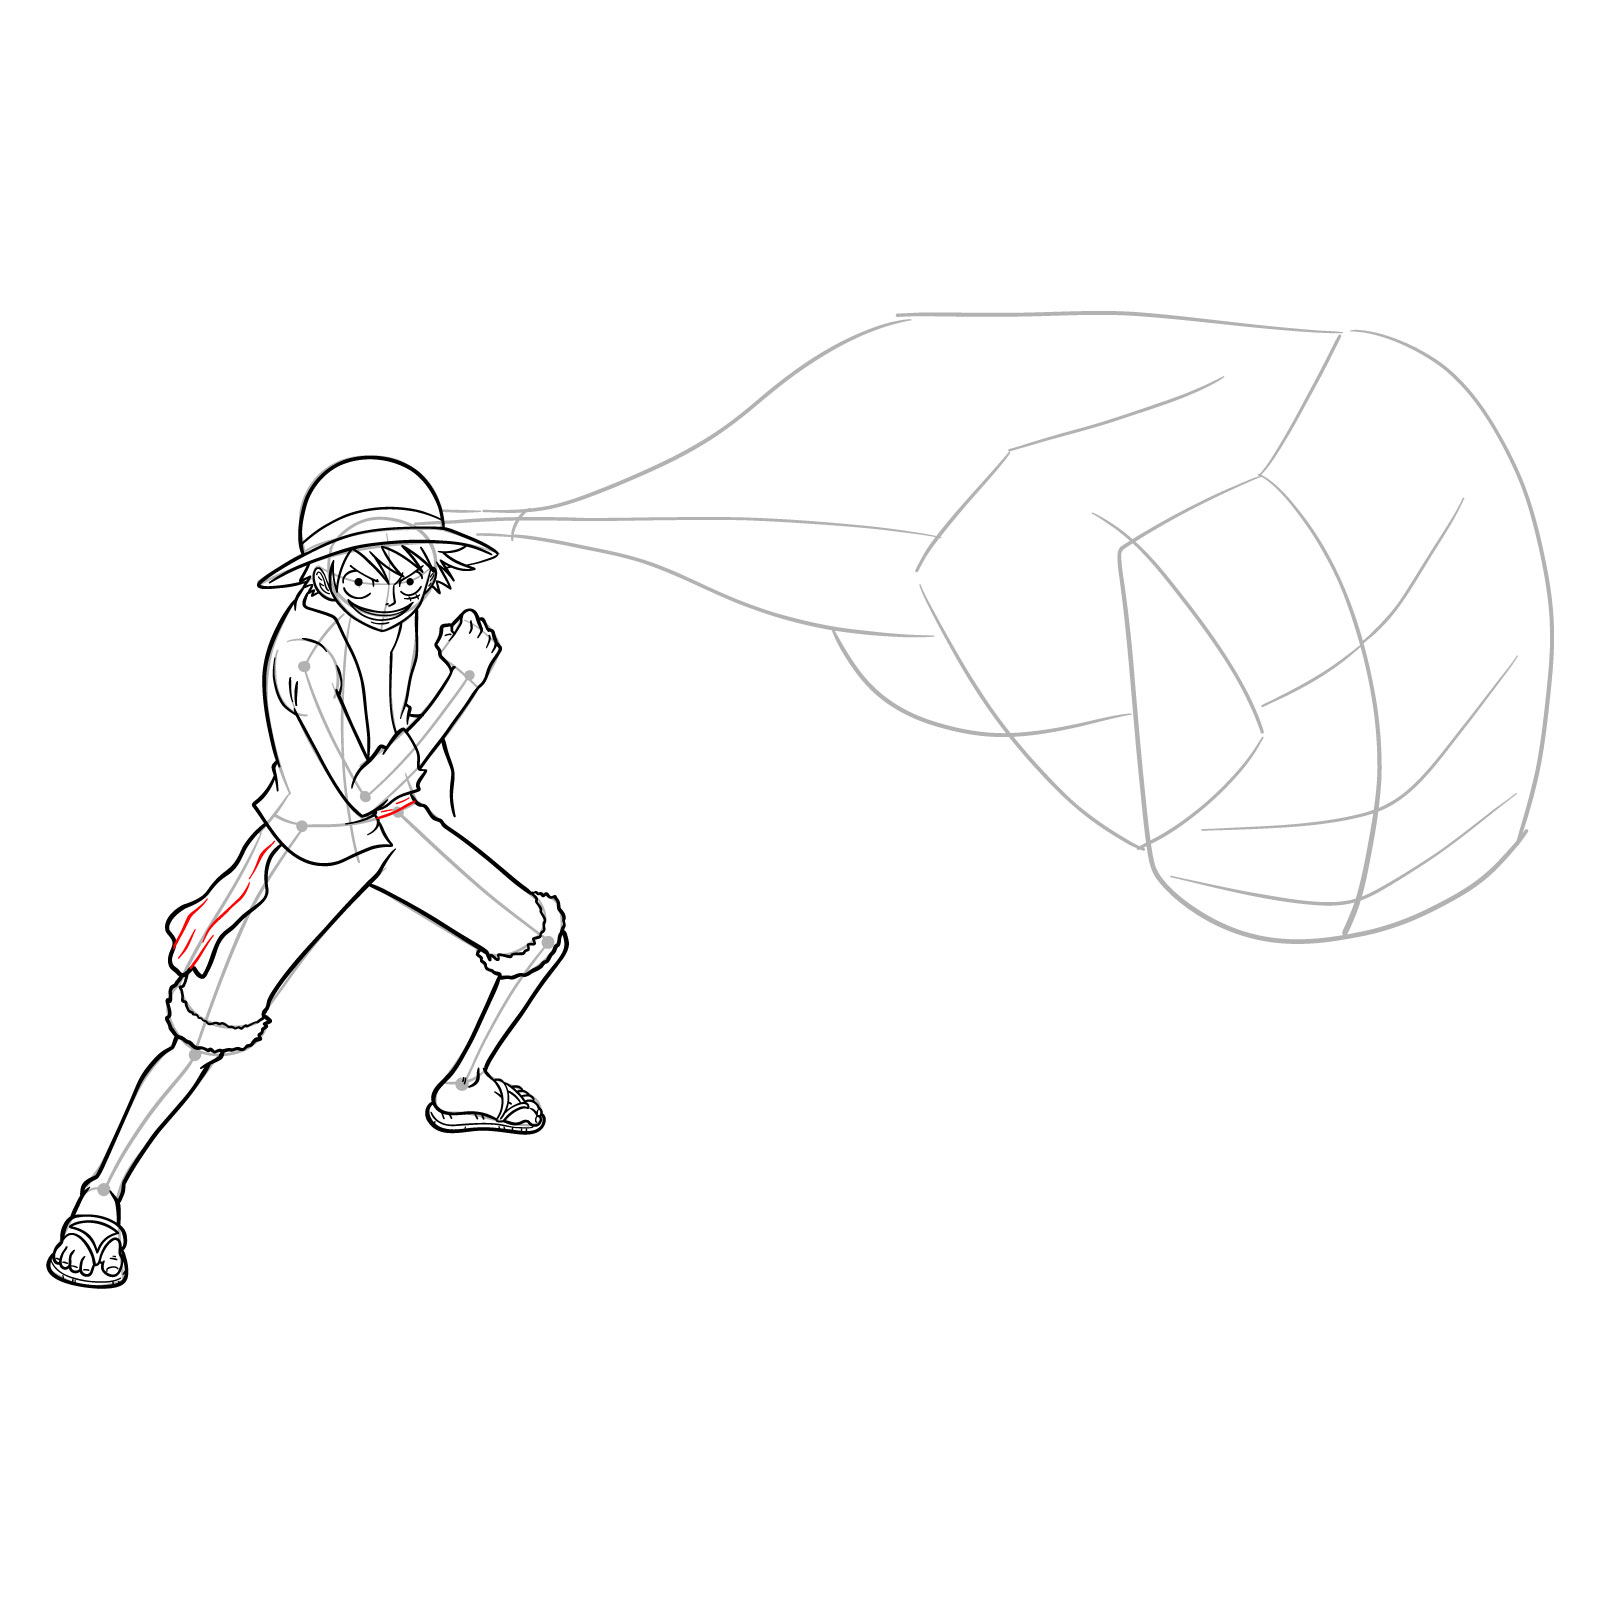
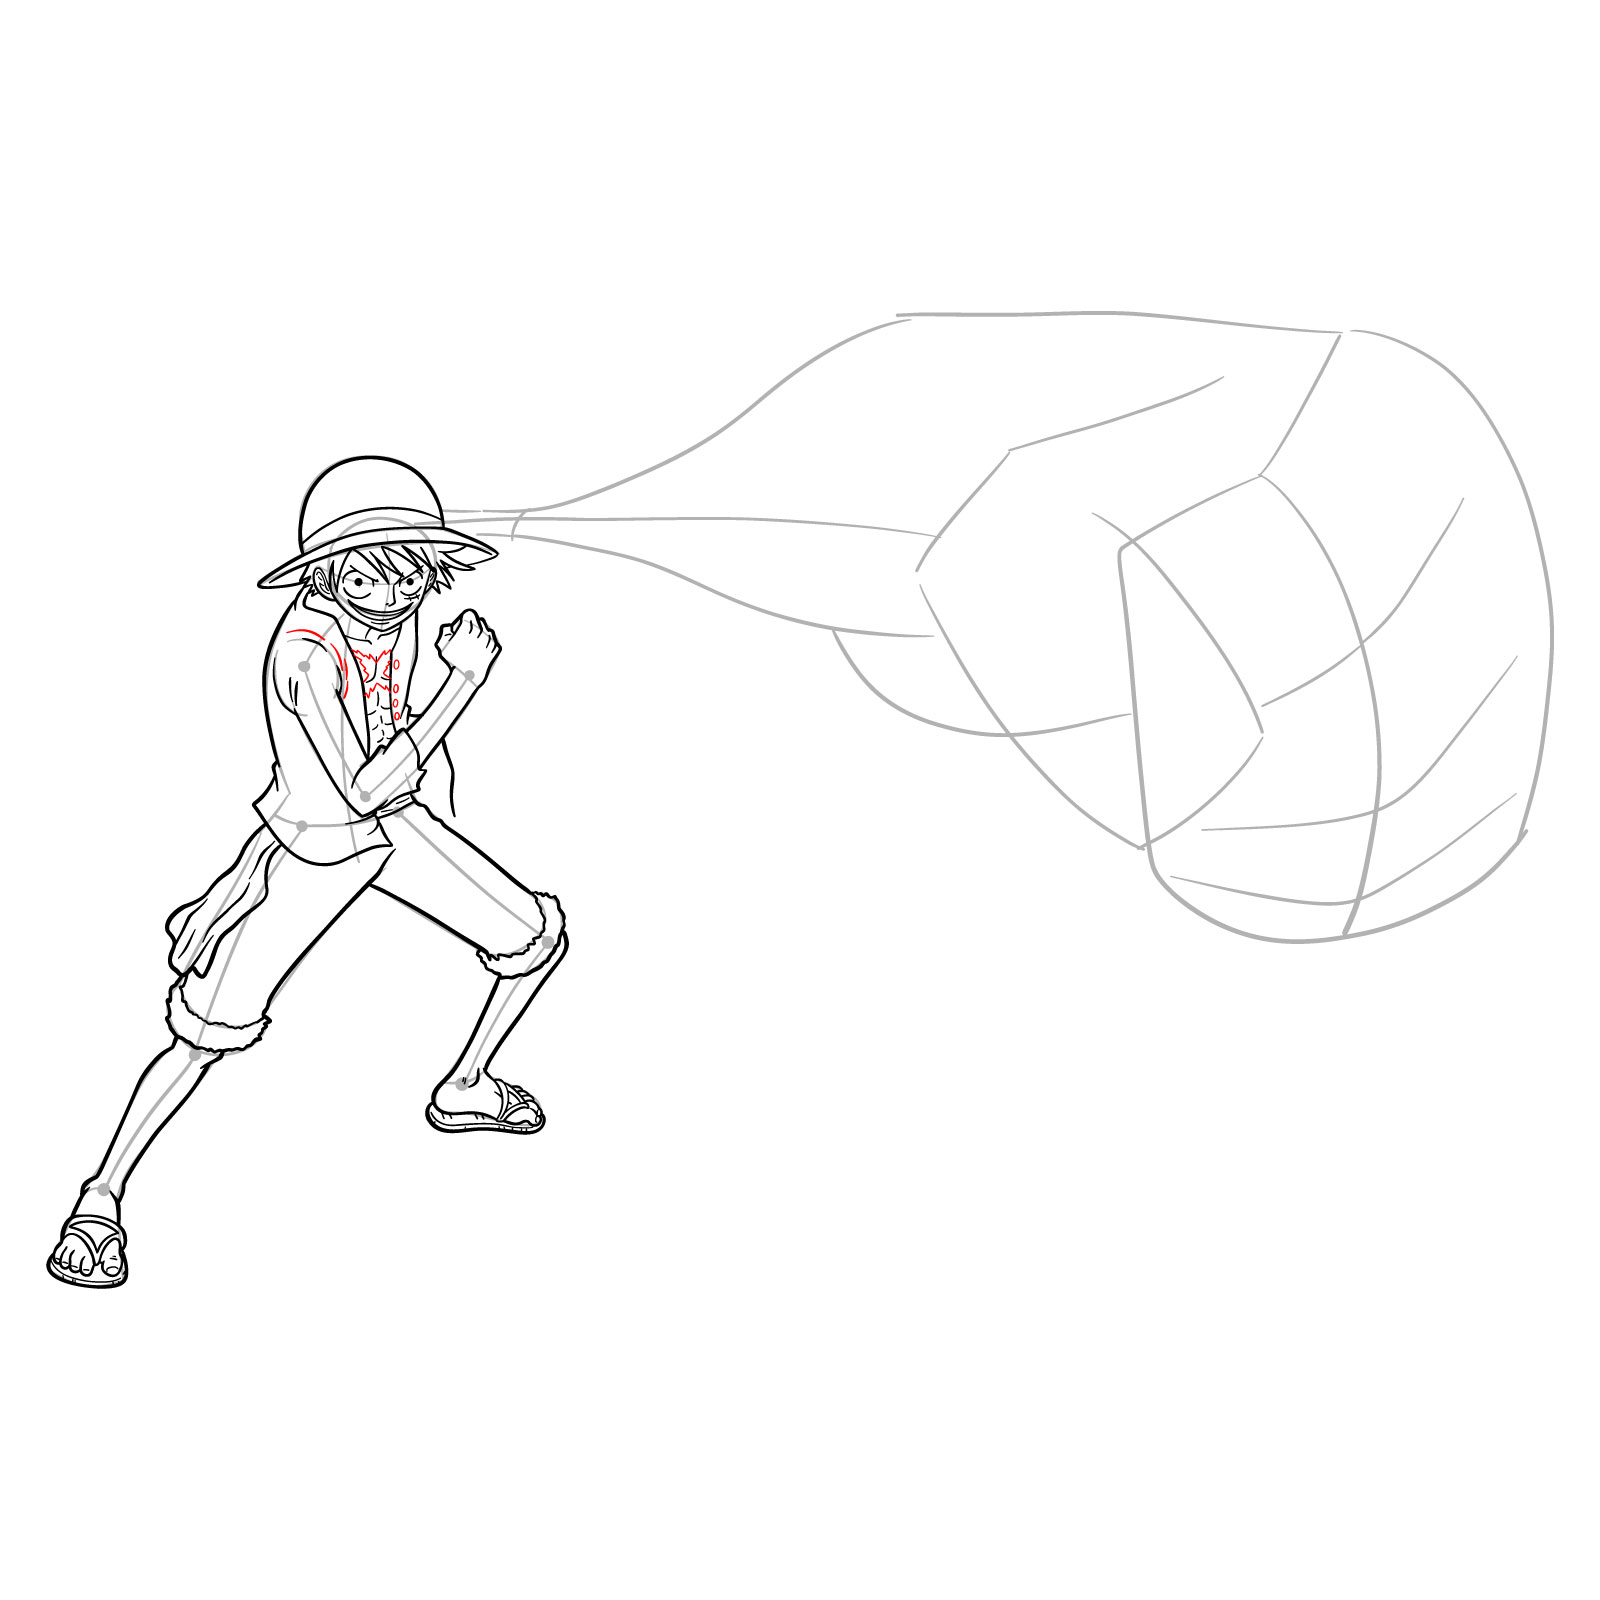
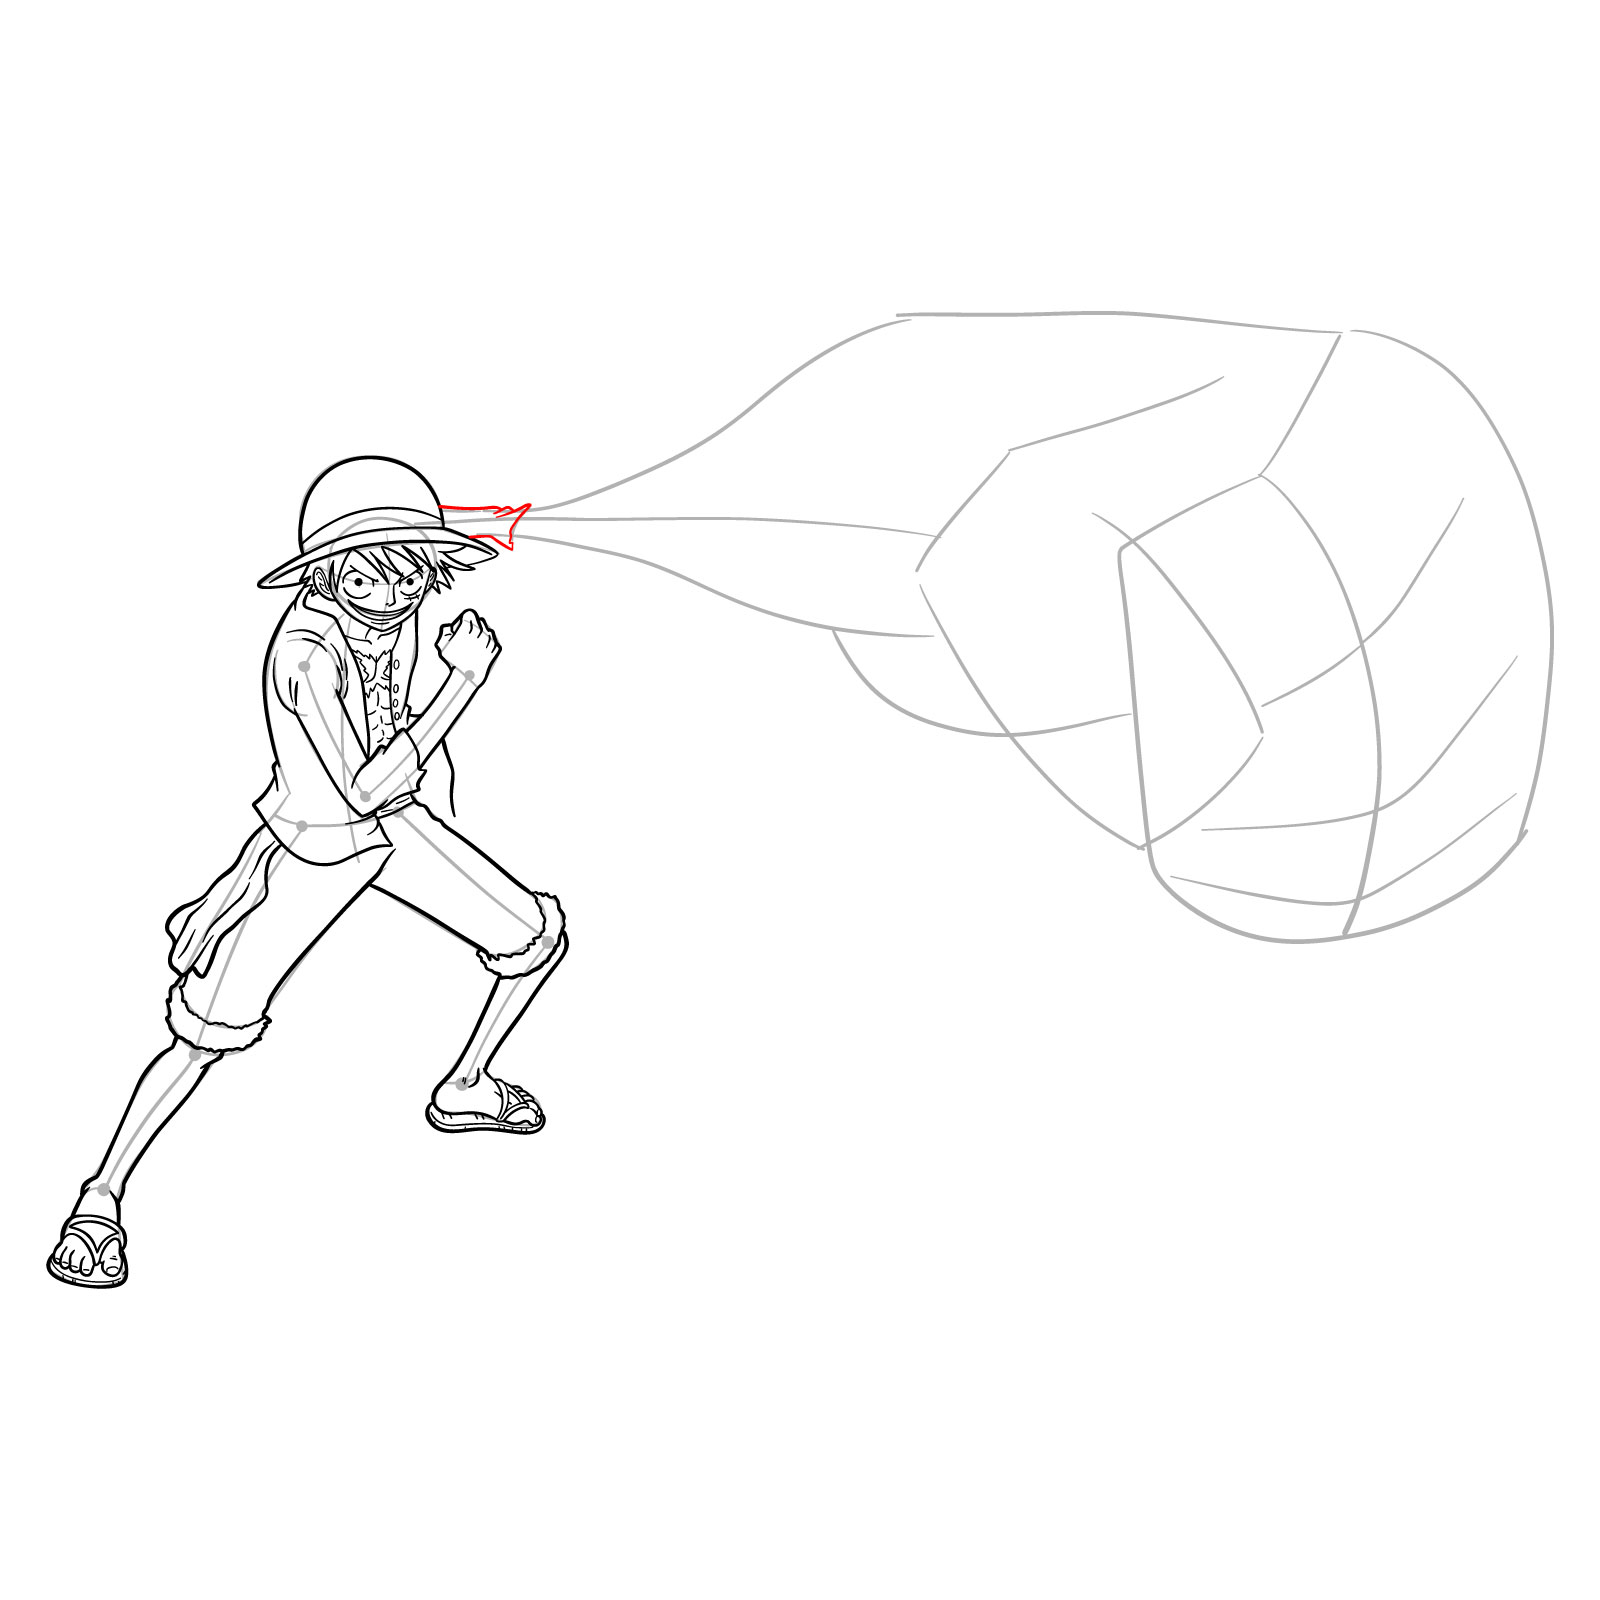
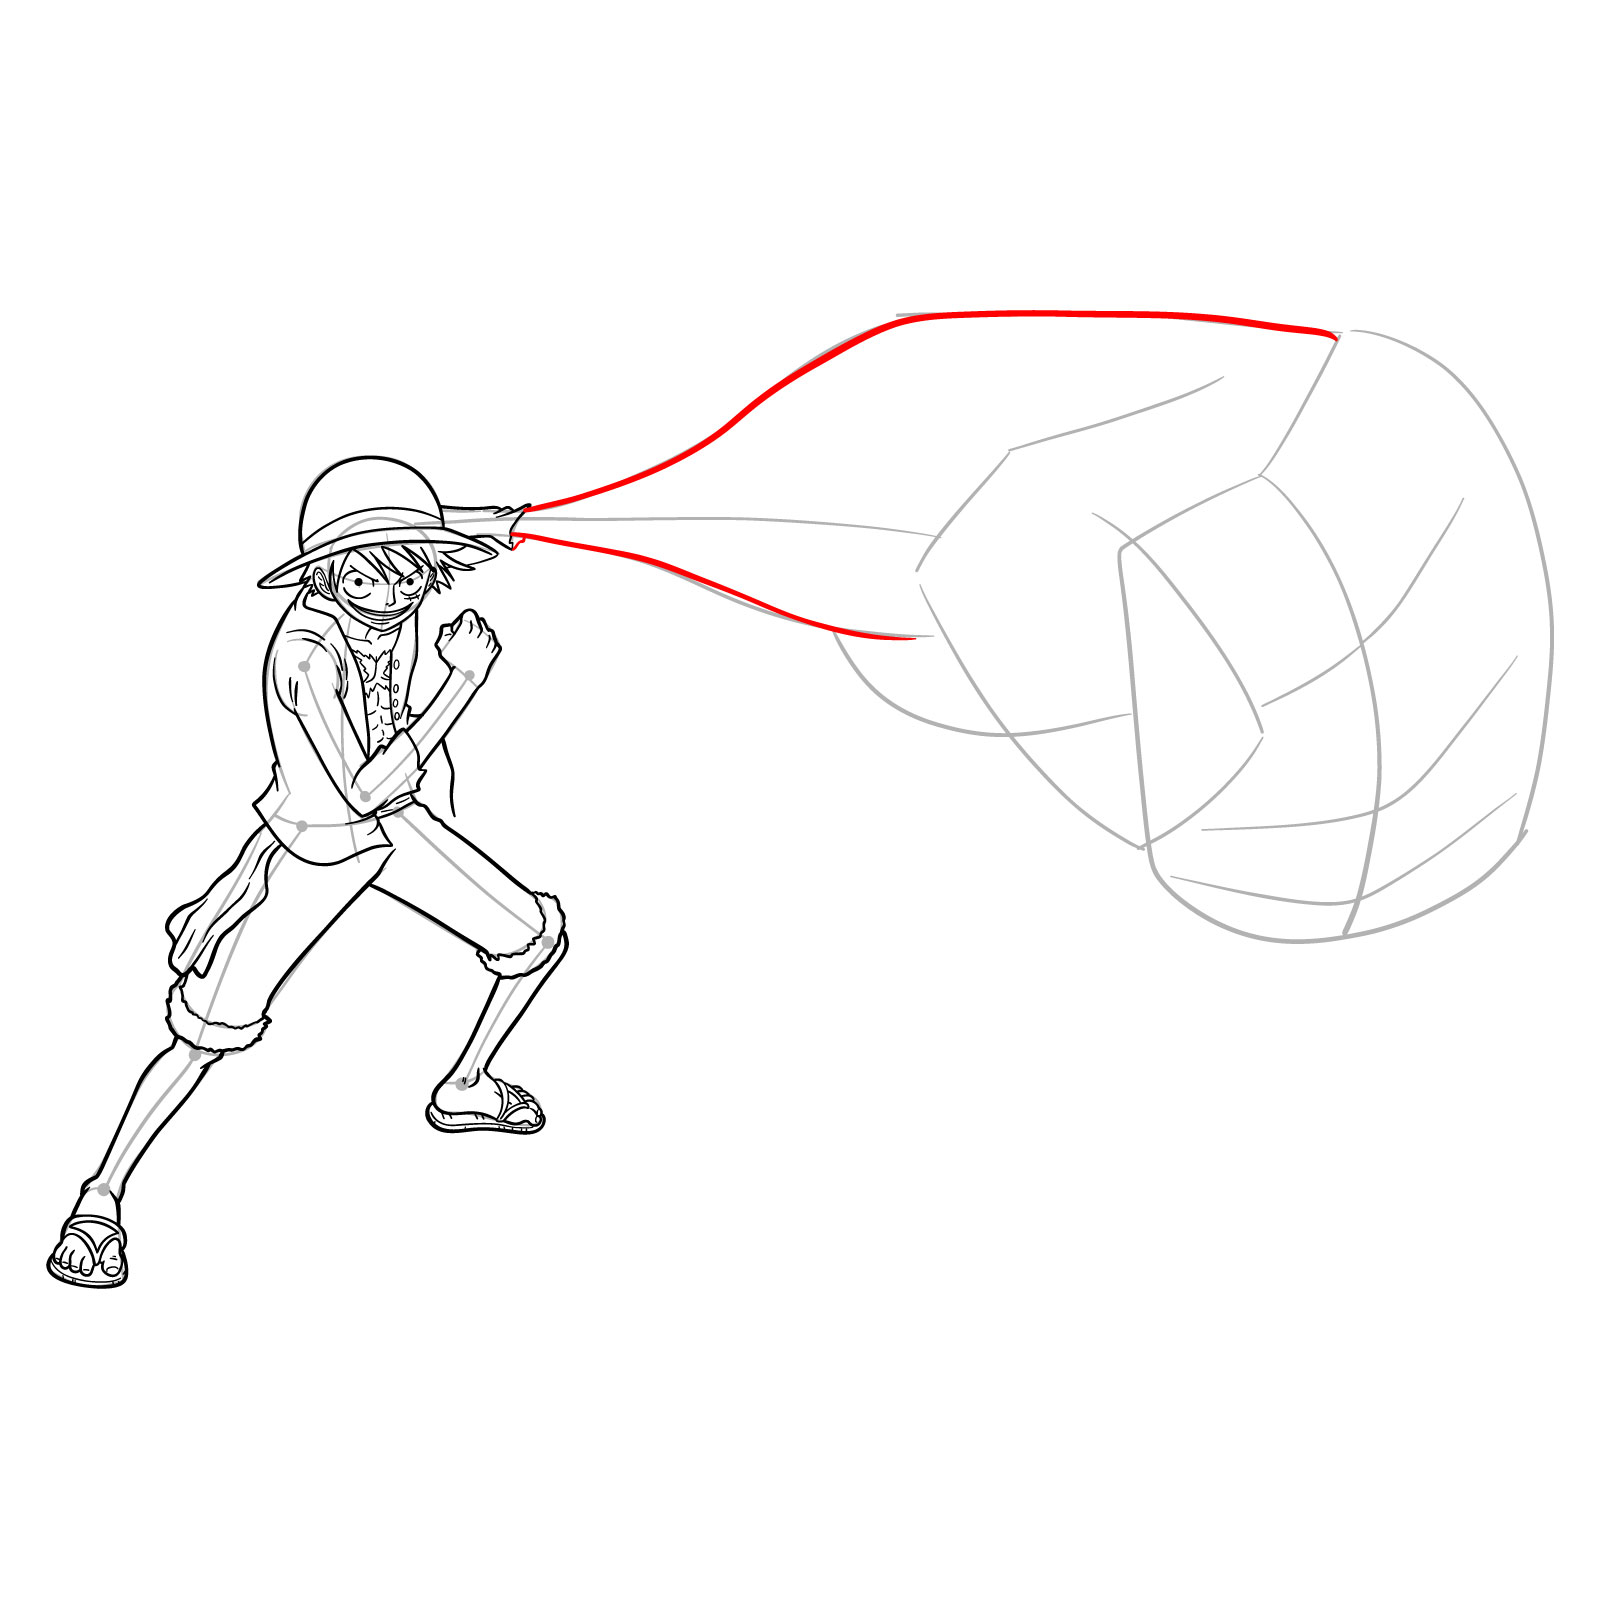
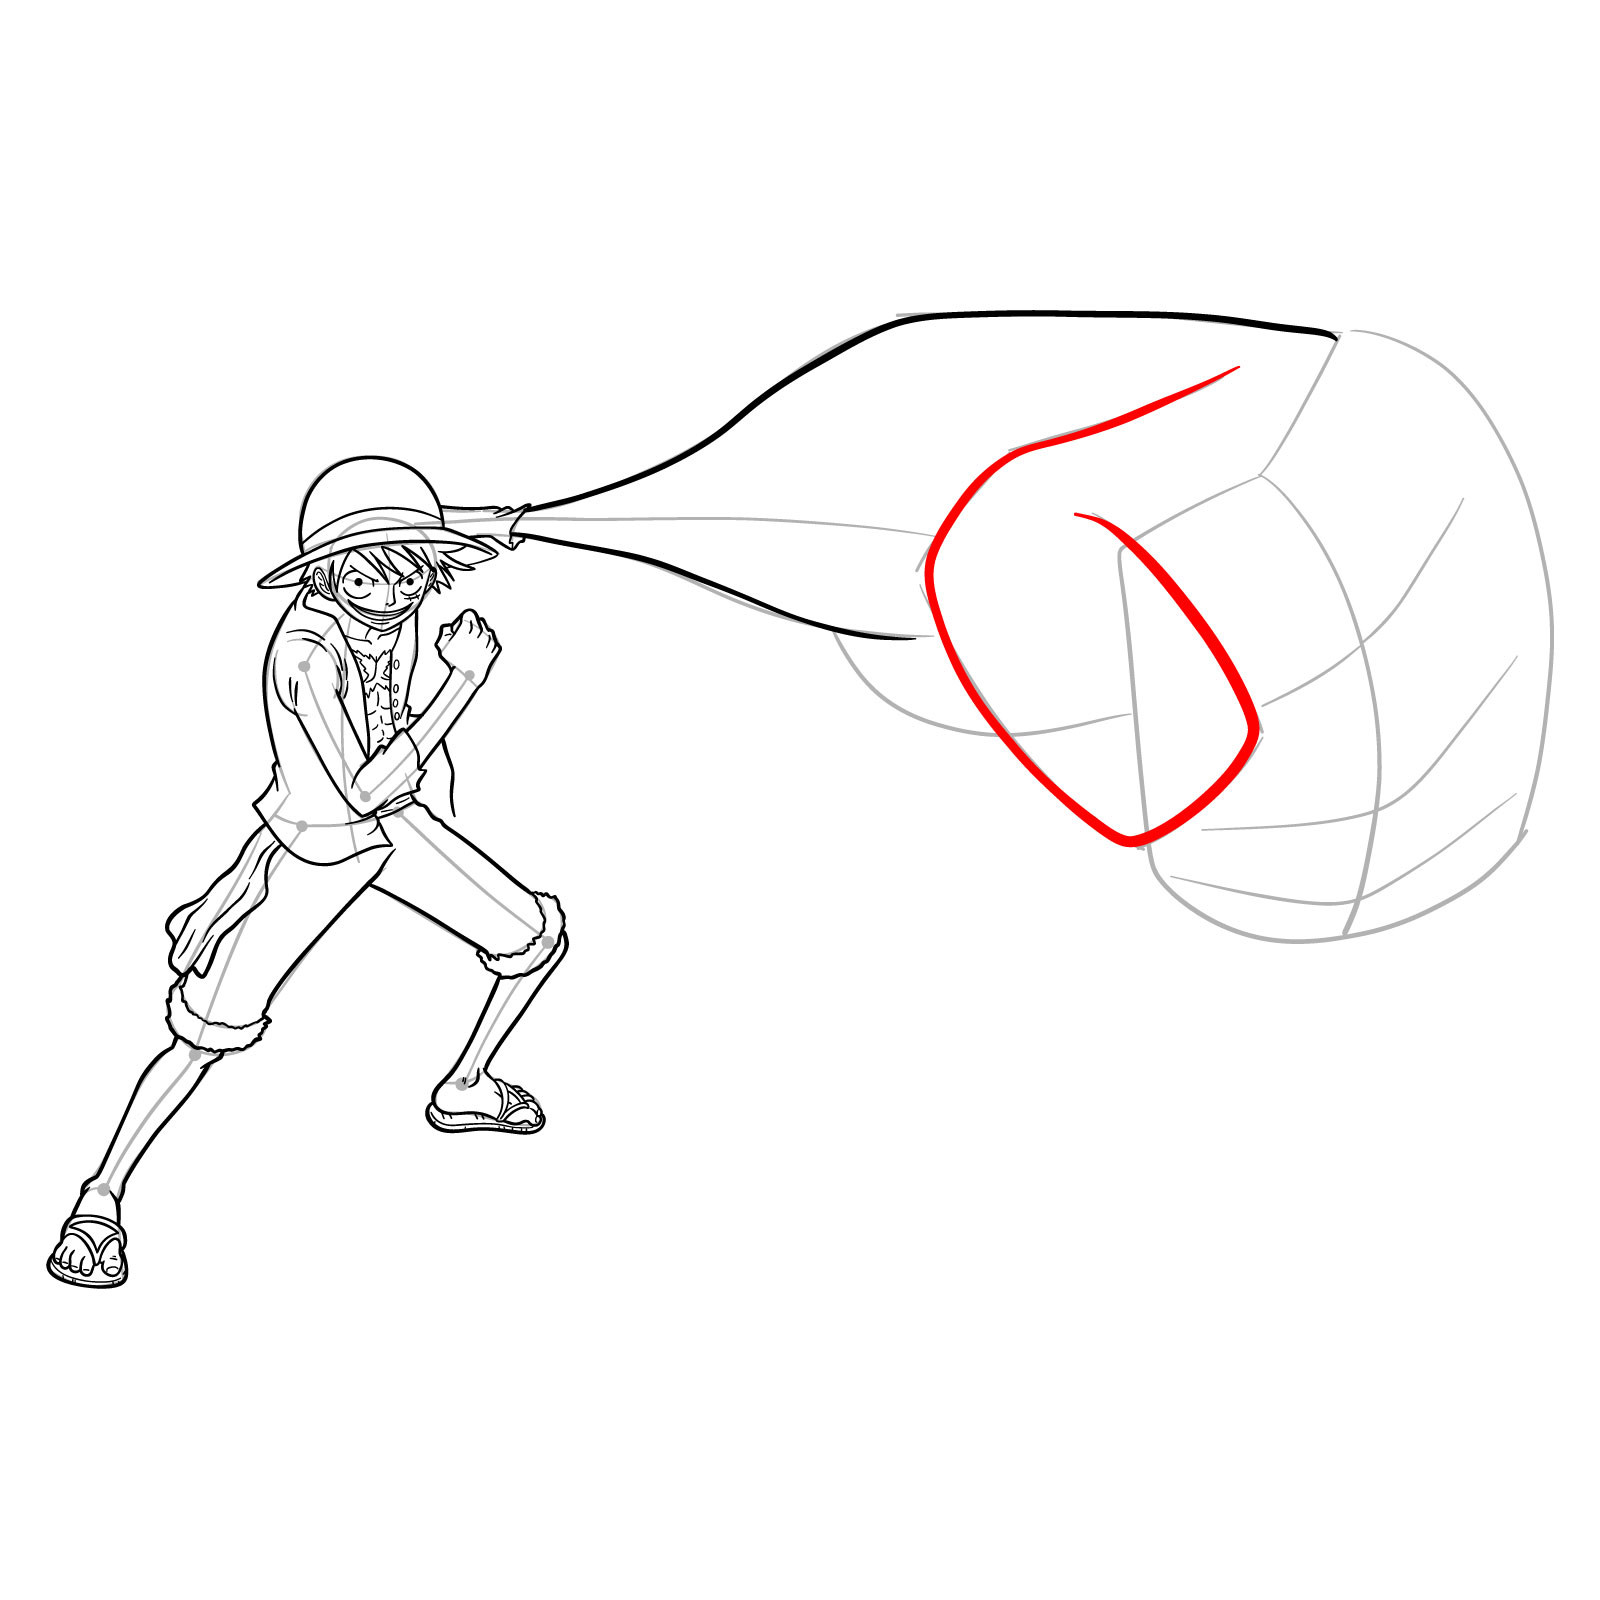
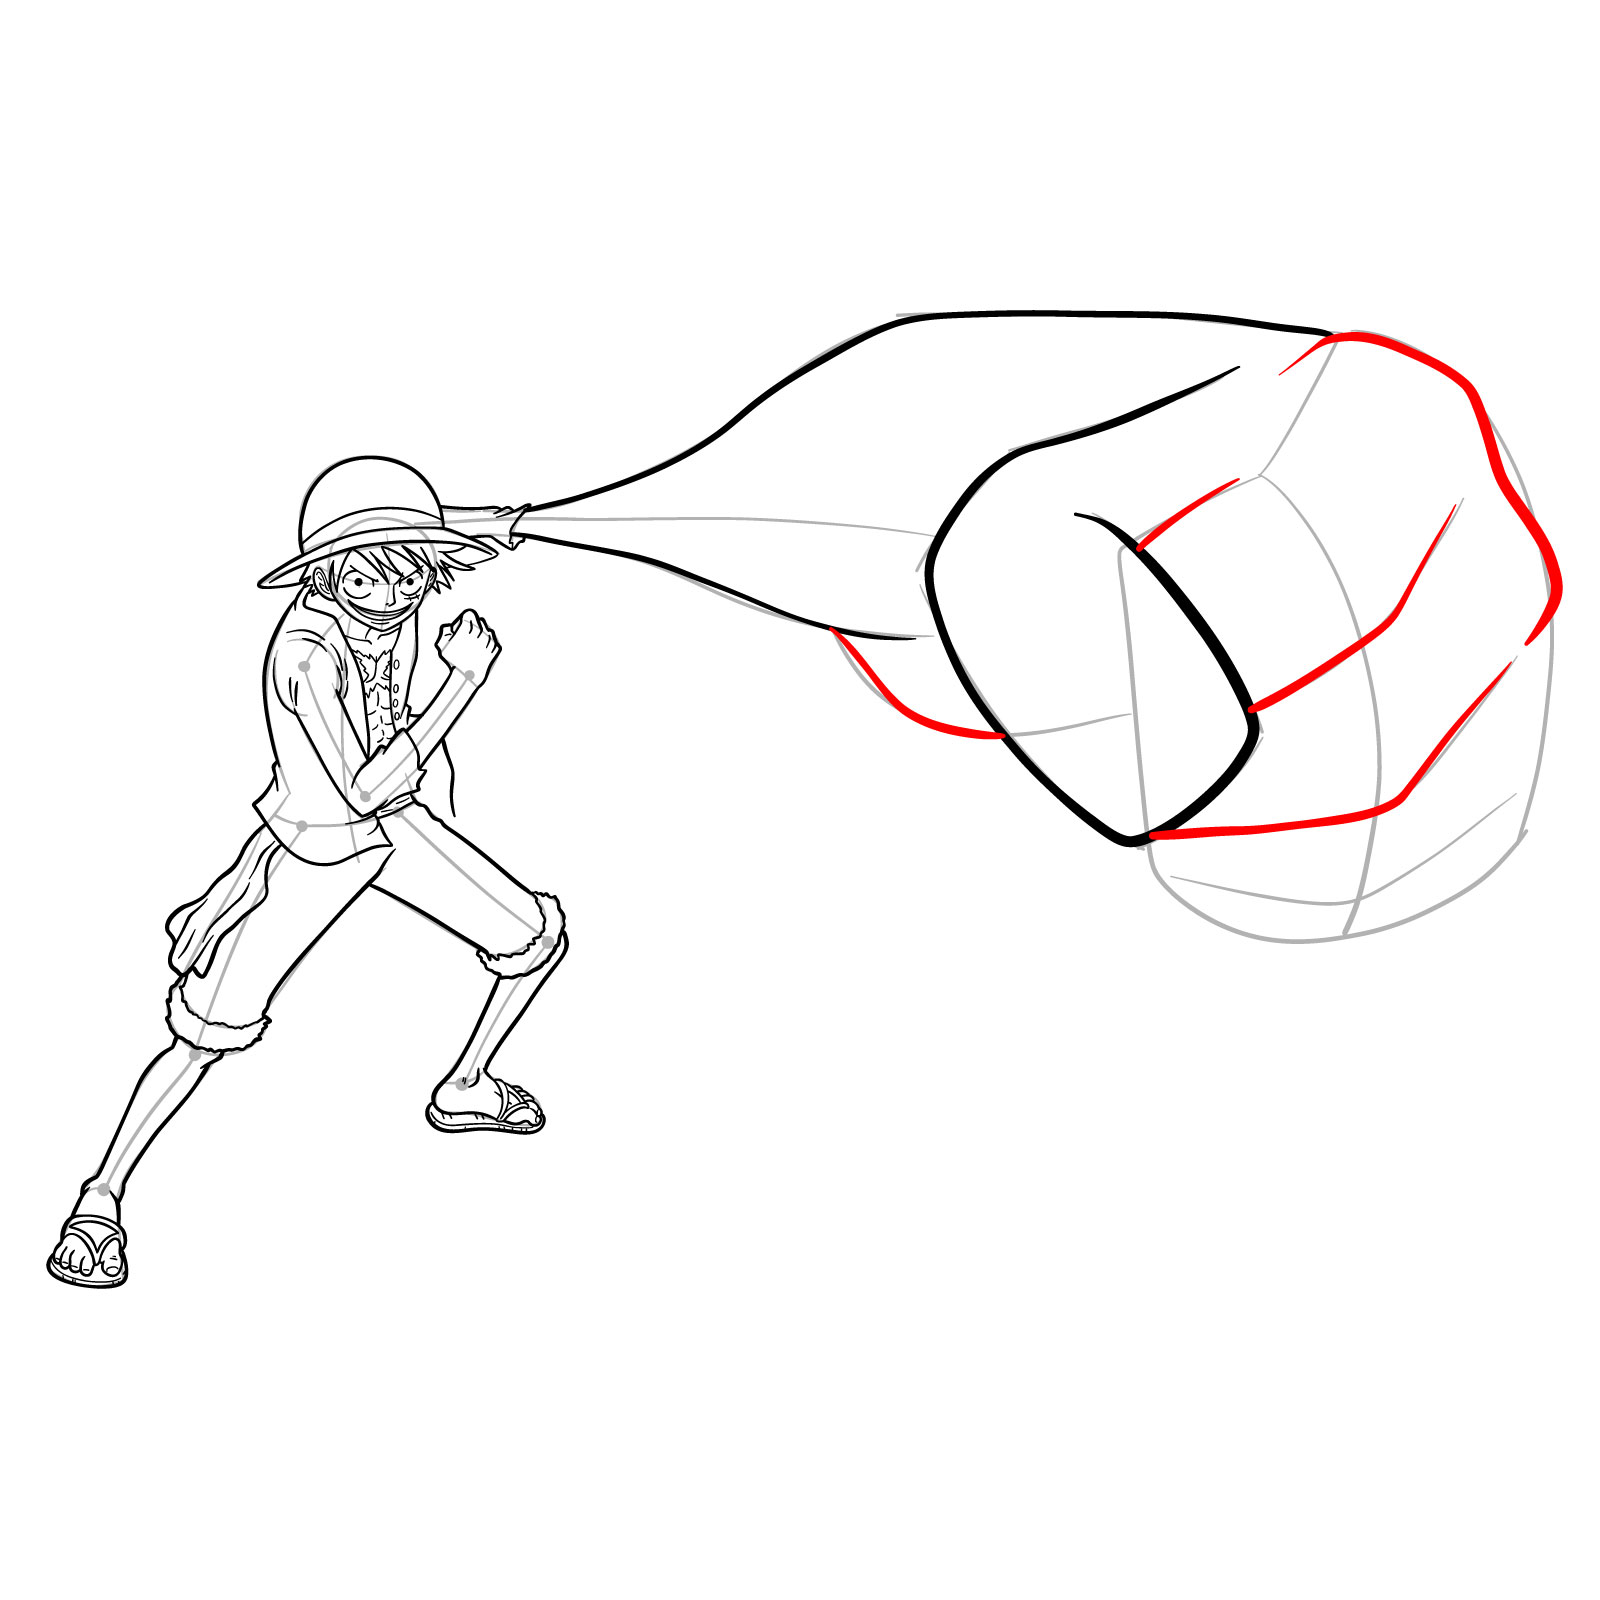
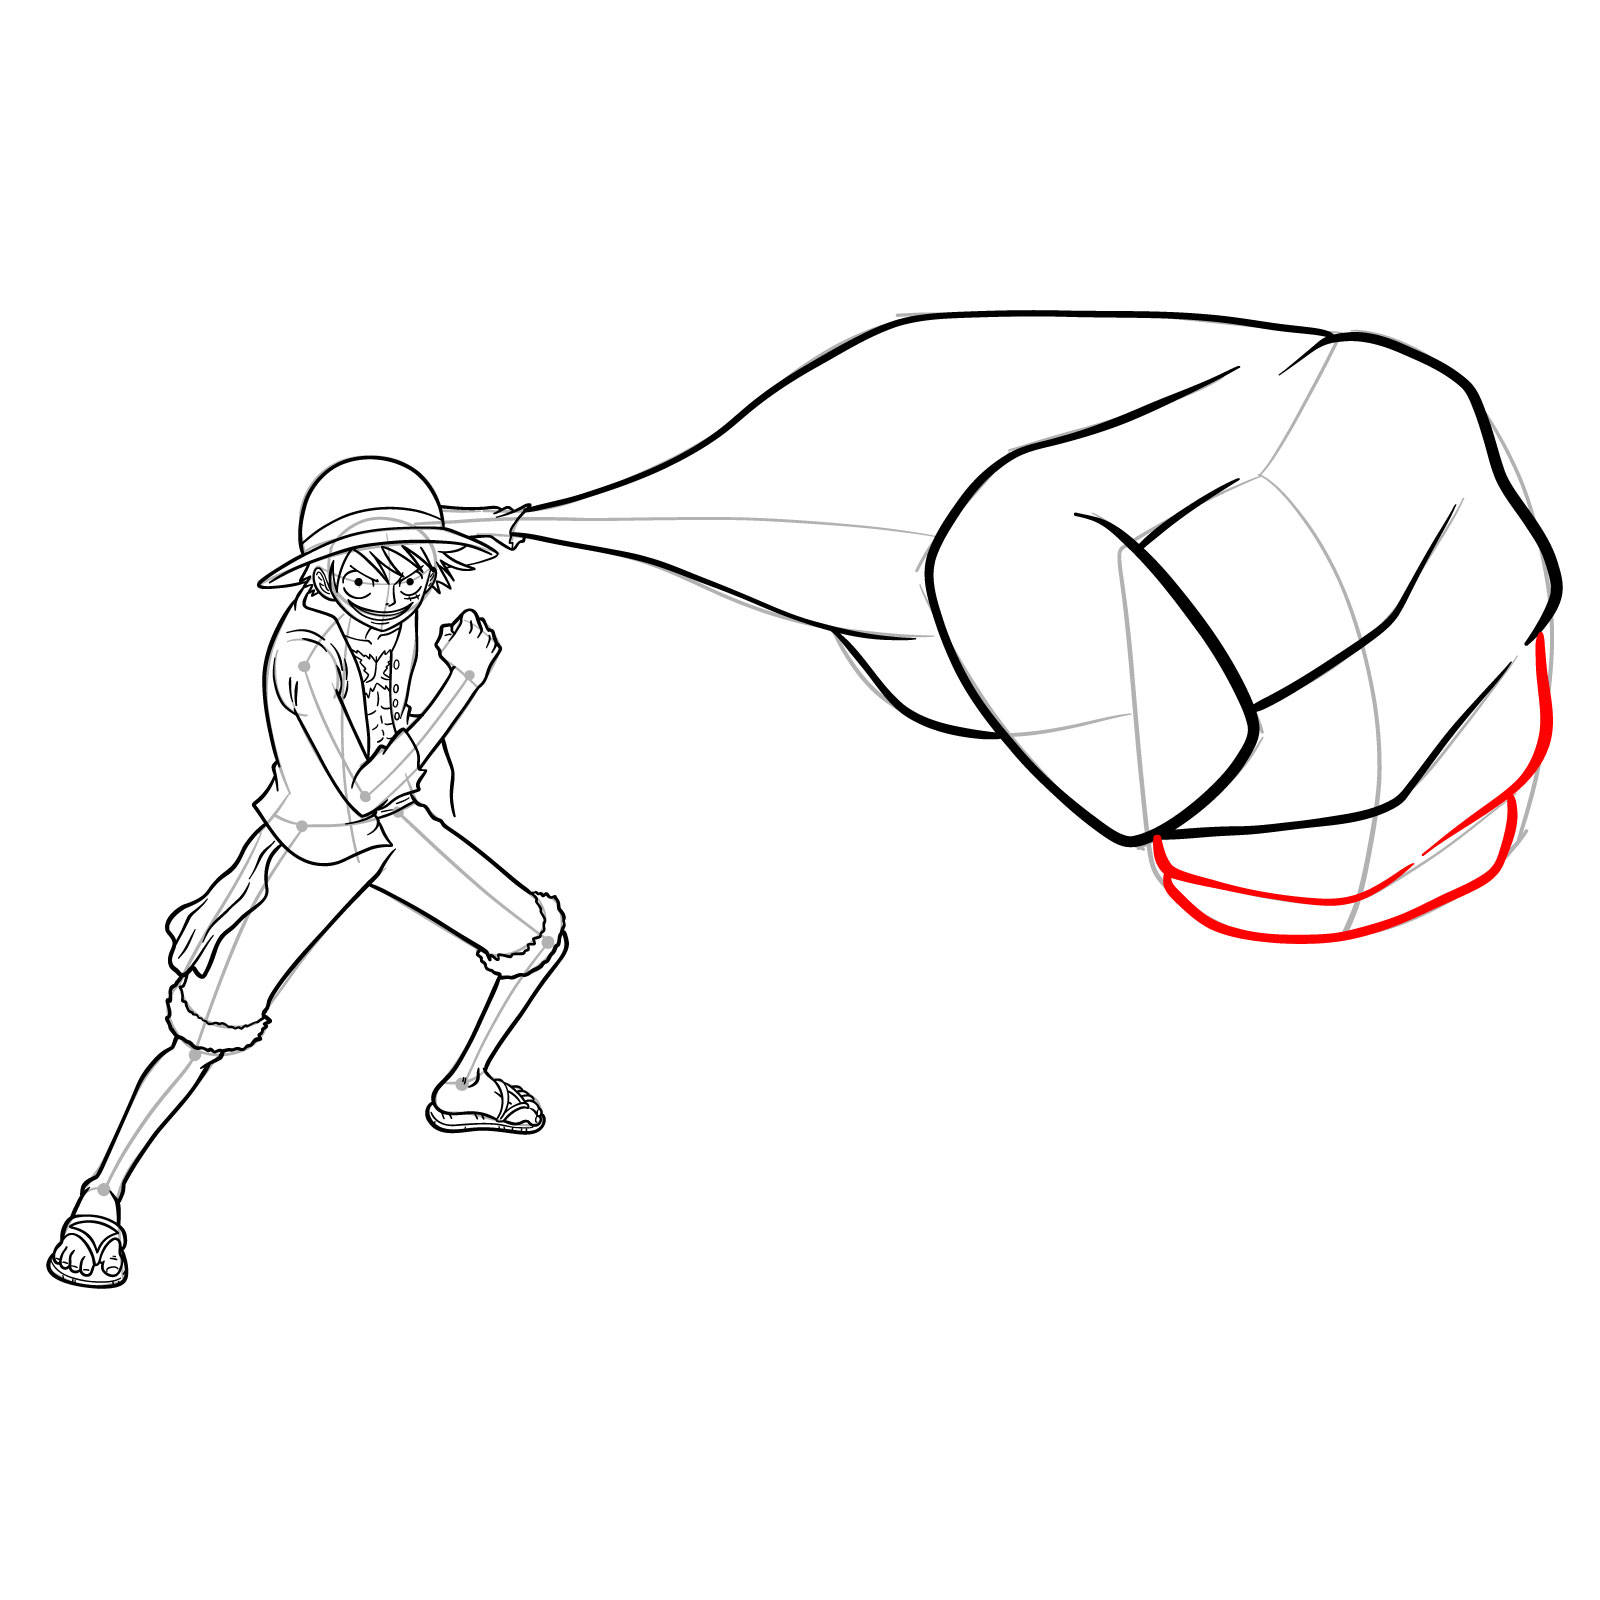
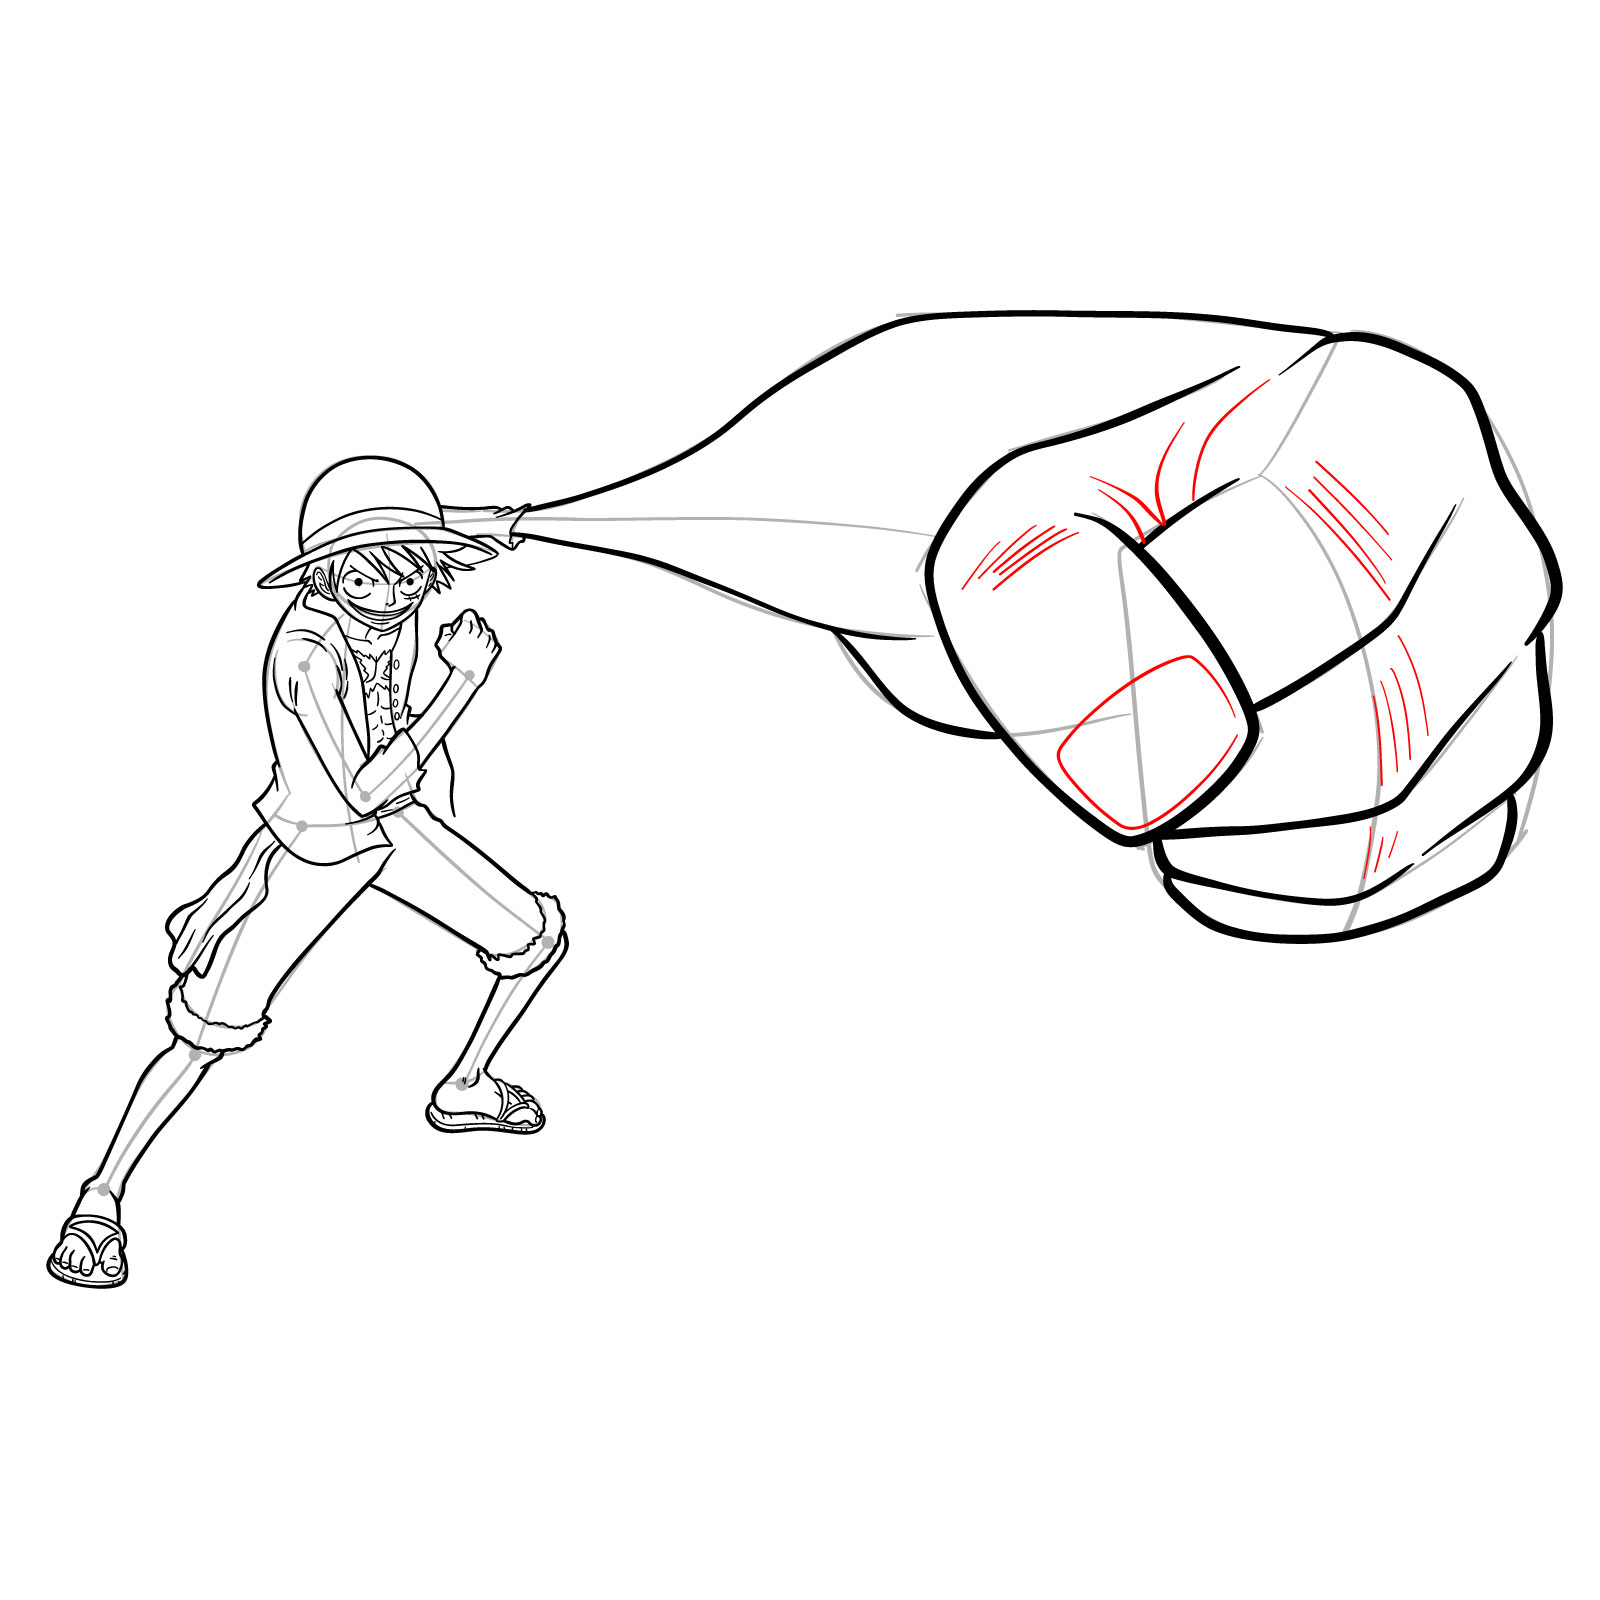
Step-by-Step Drawing Guide: Luffy’s Third Gear with Armament Haki
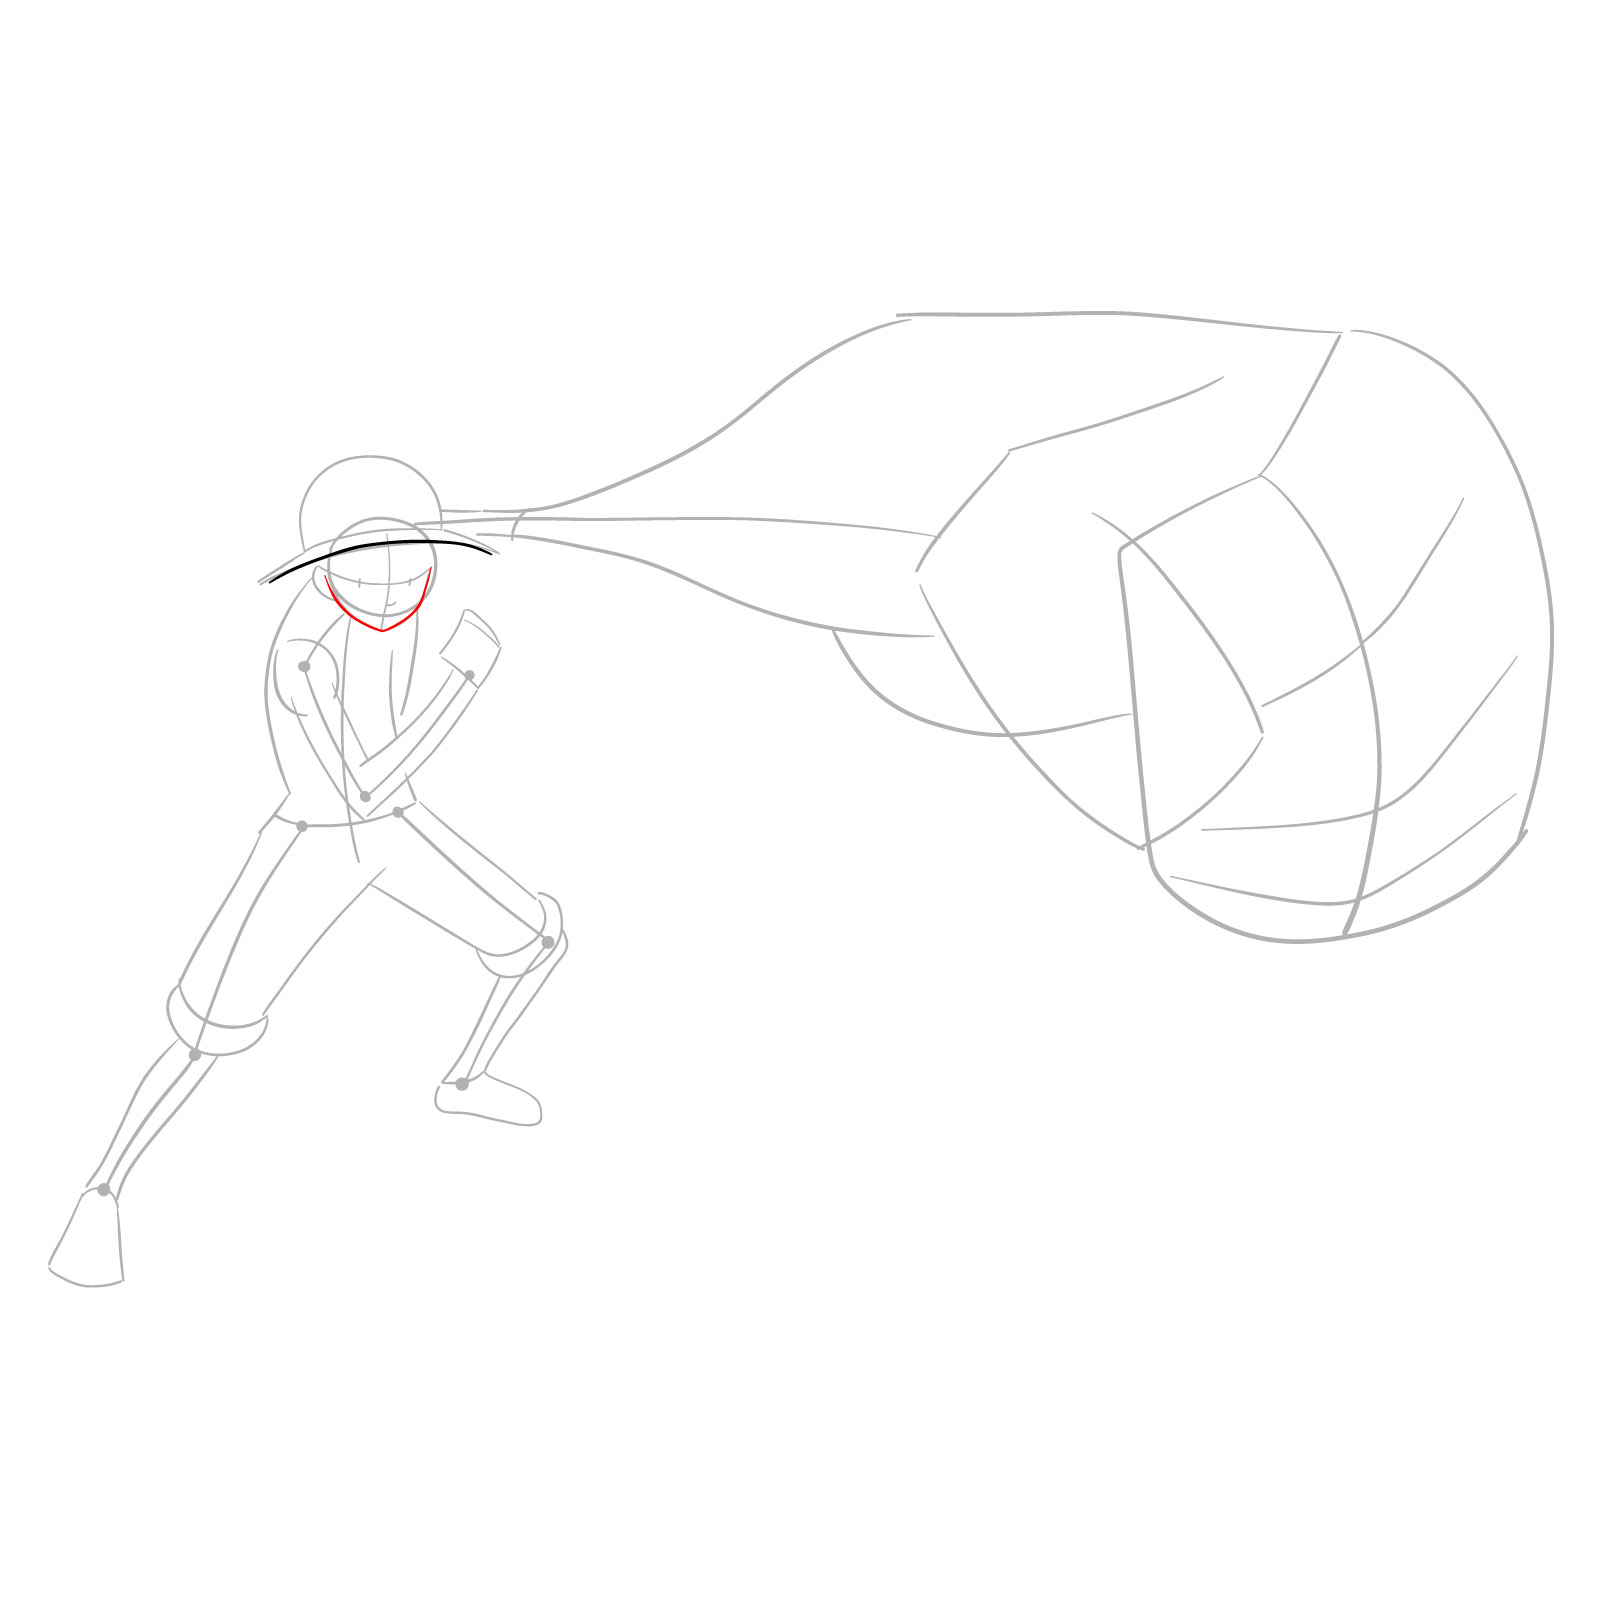
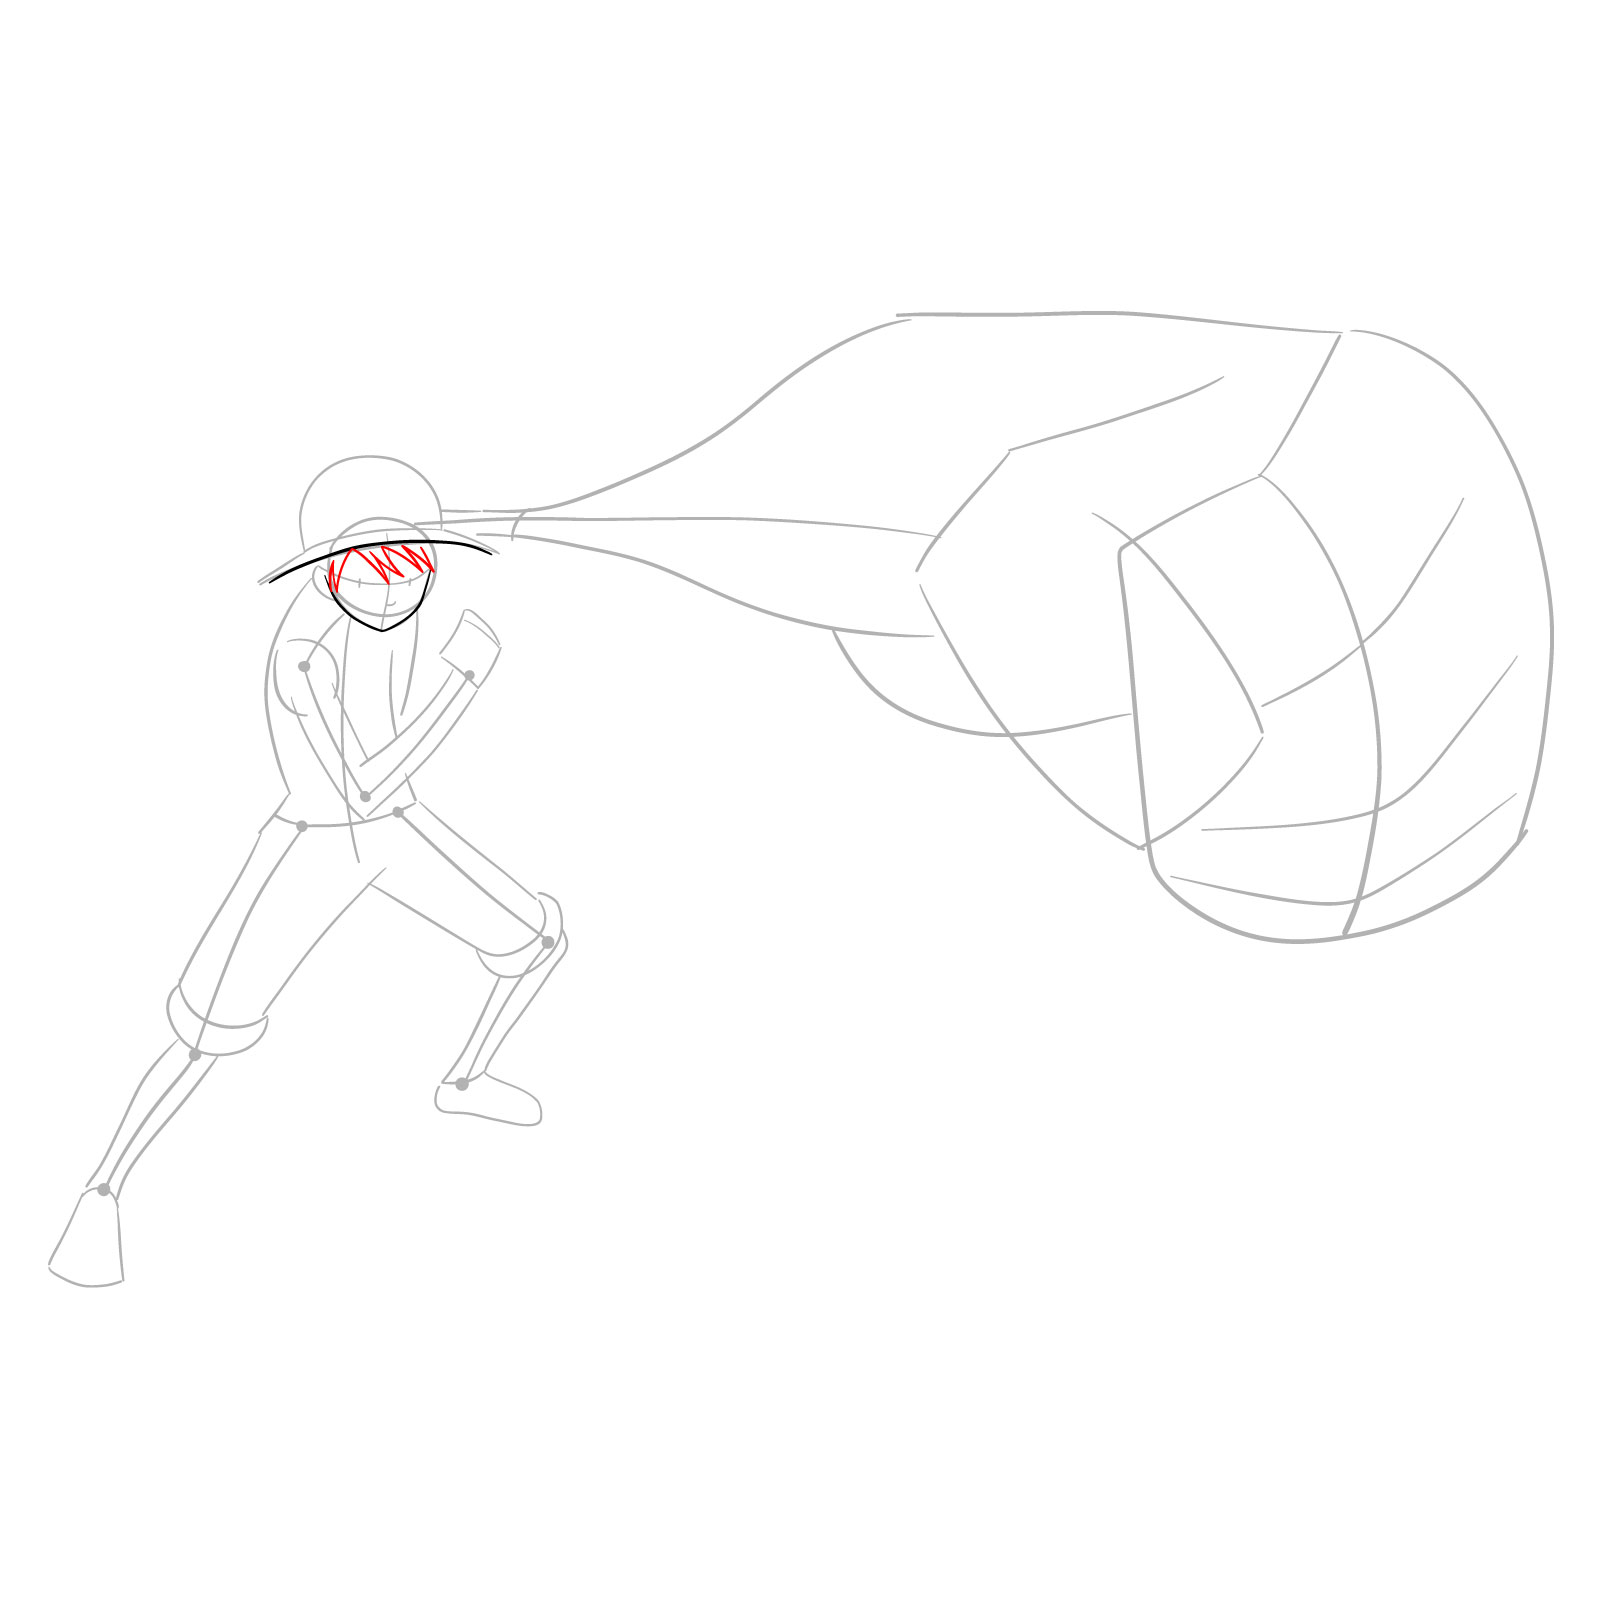
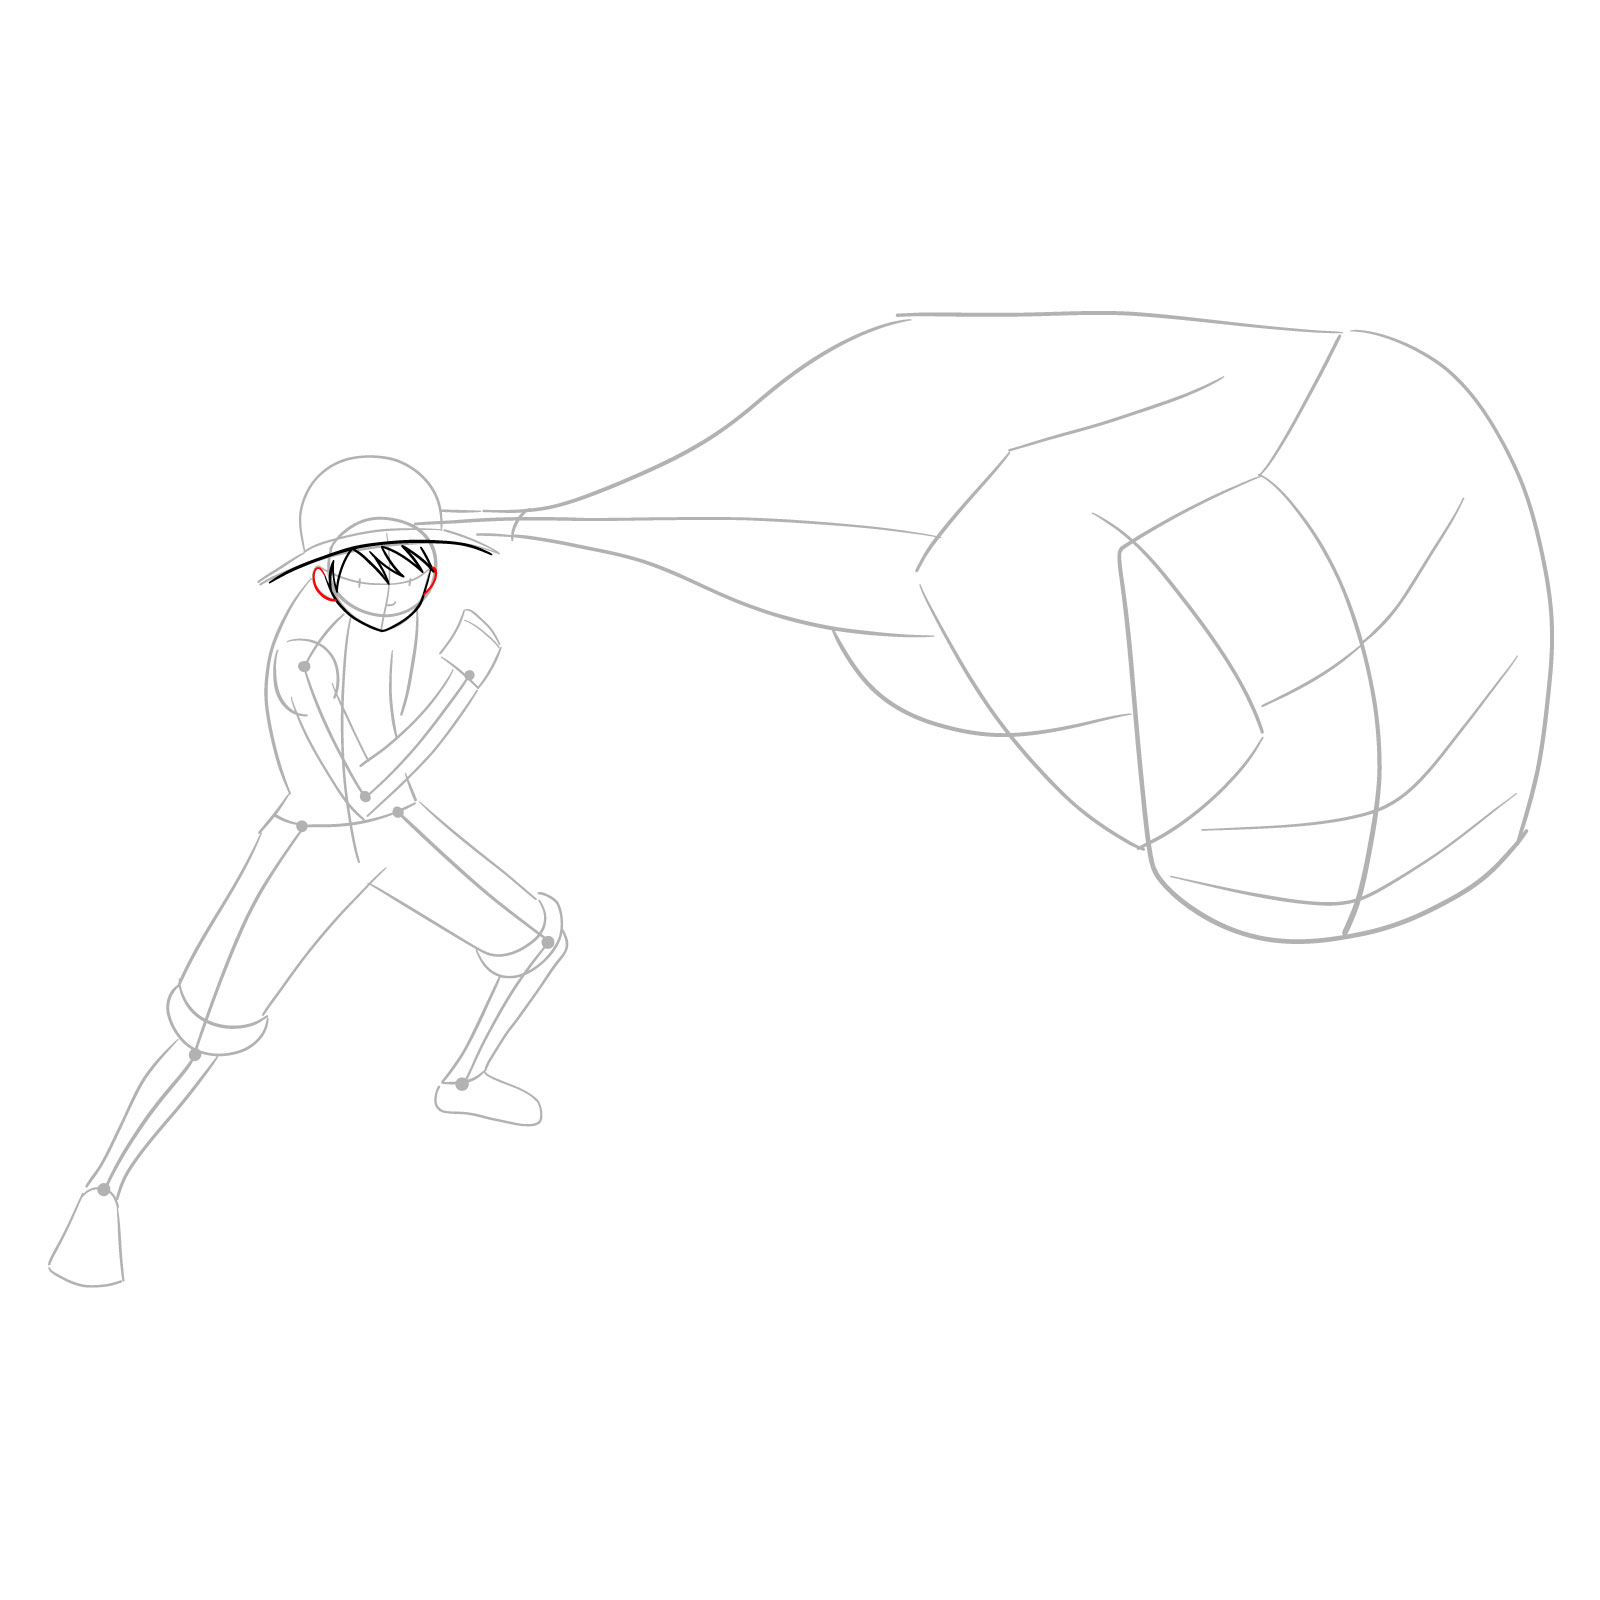
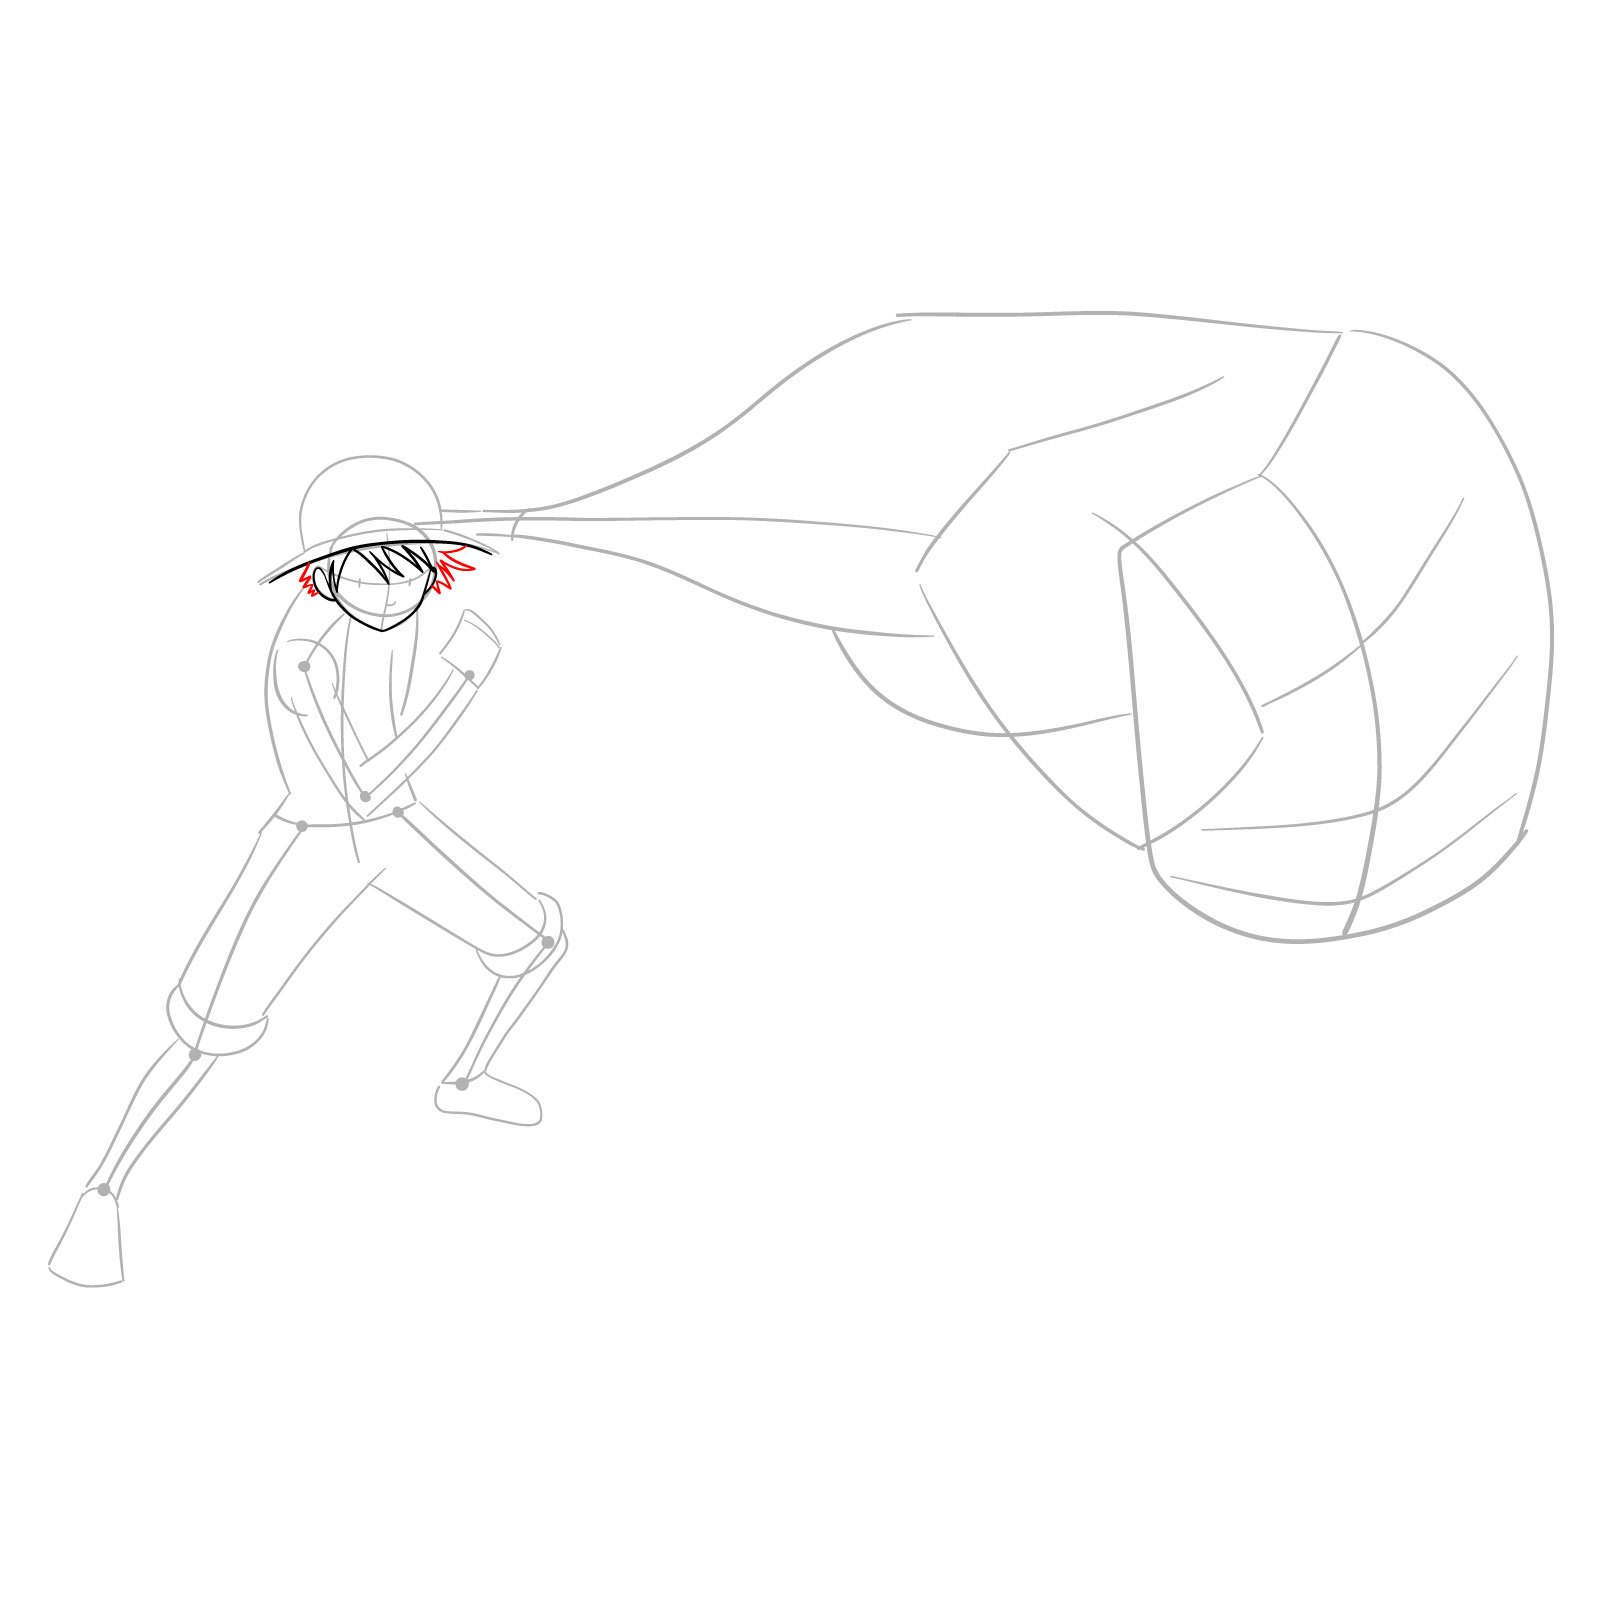
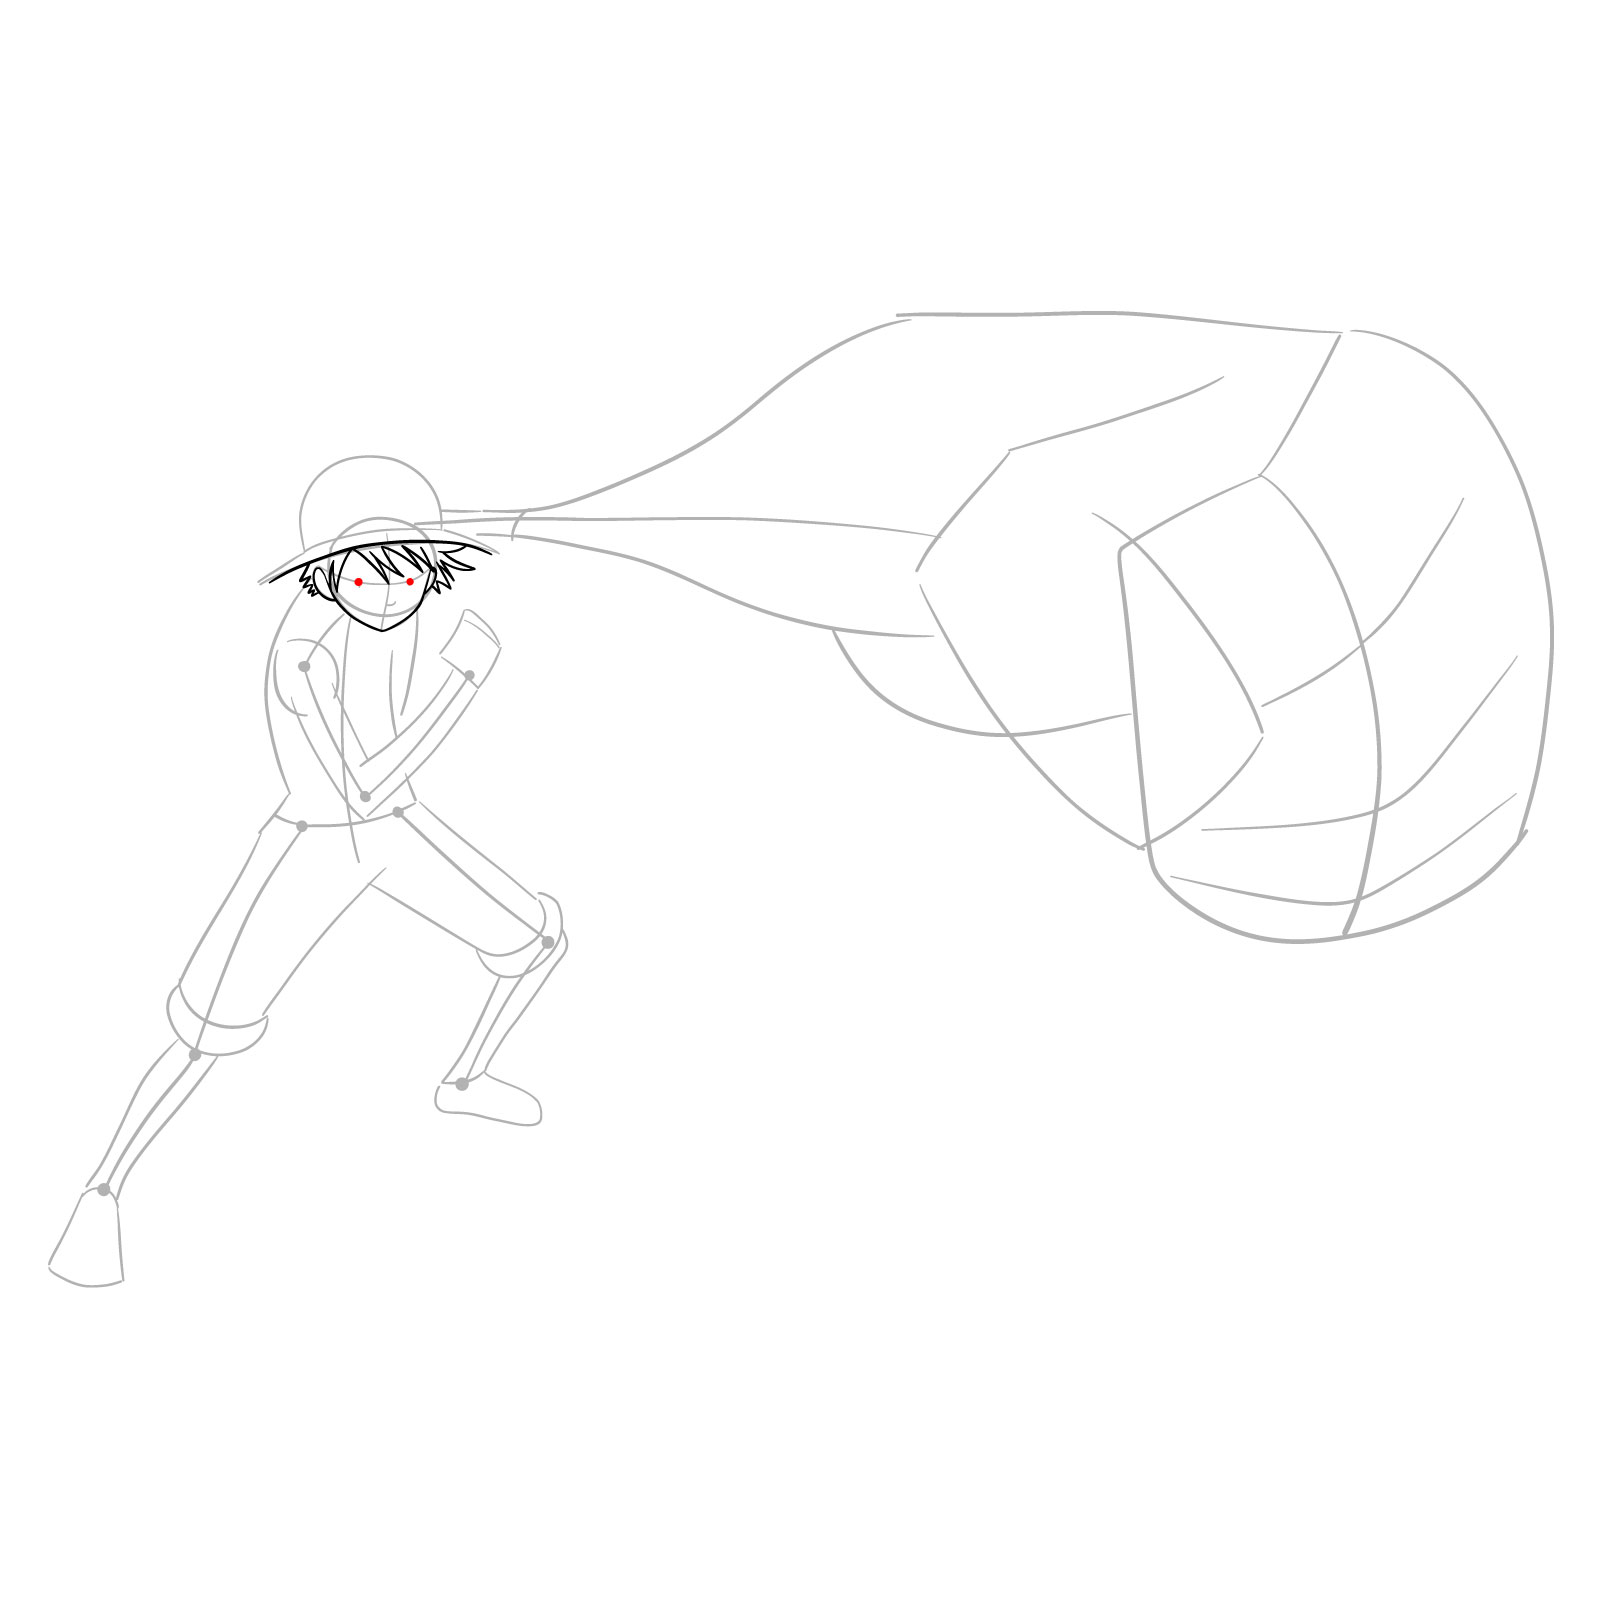
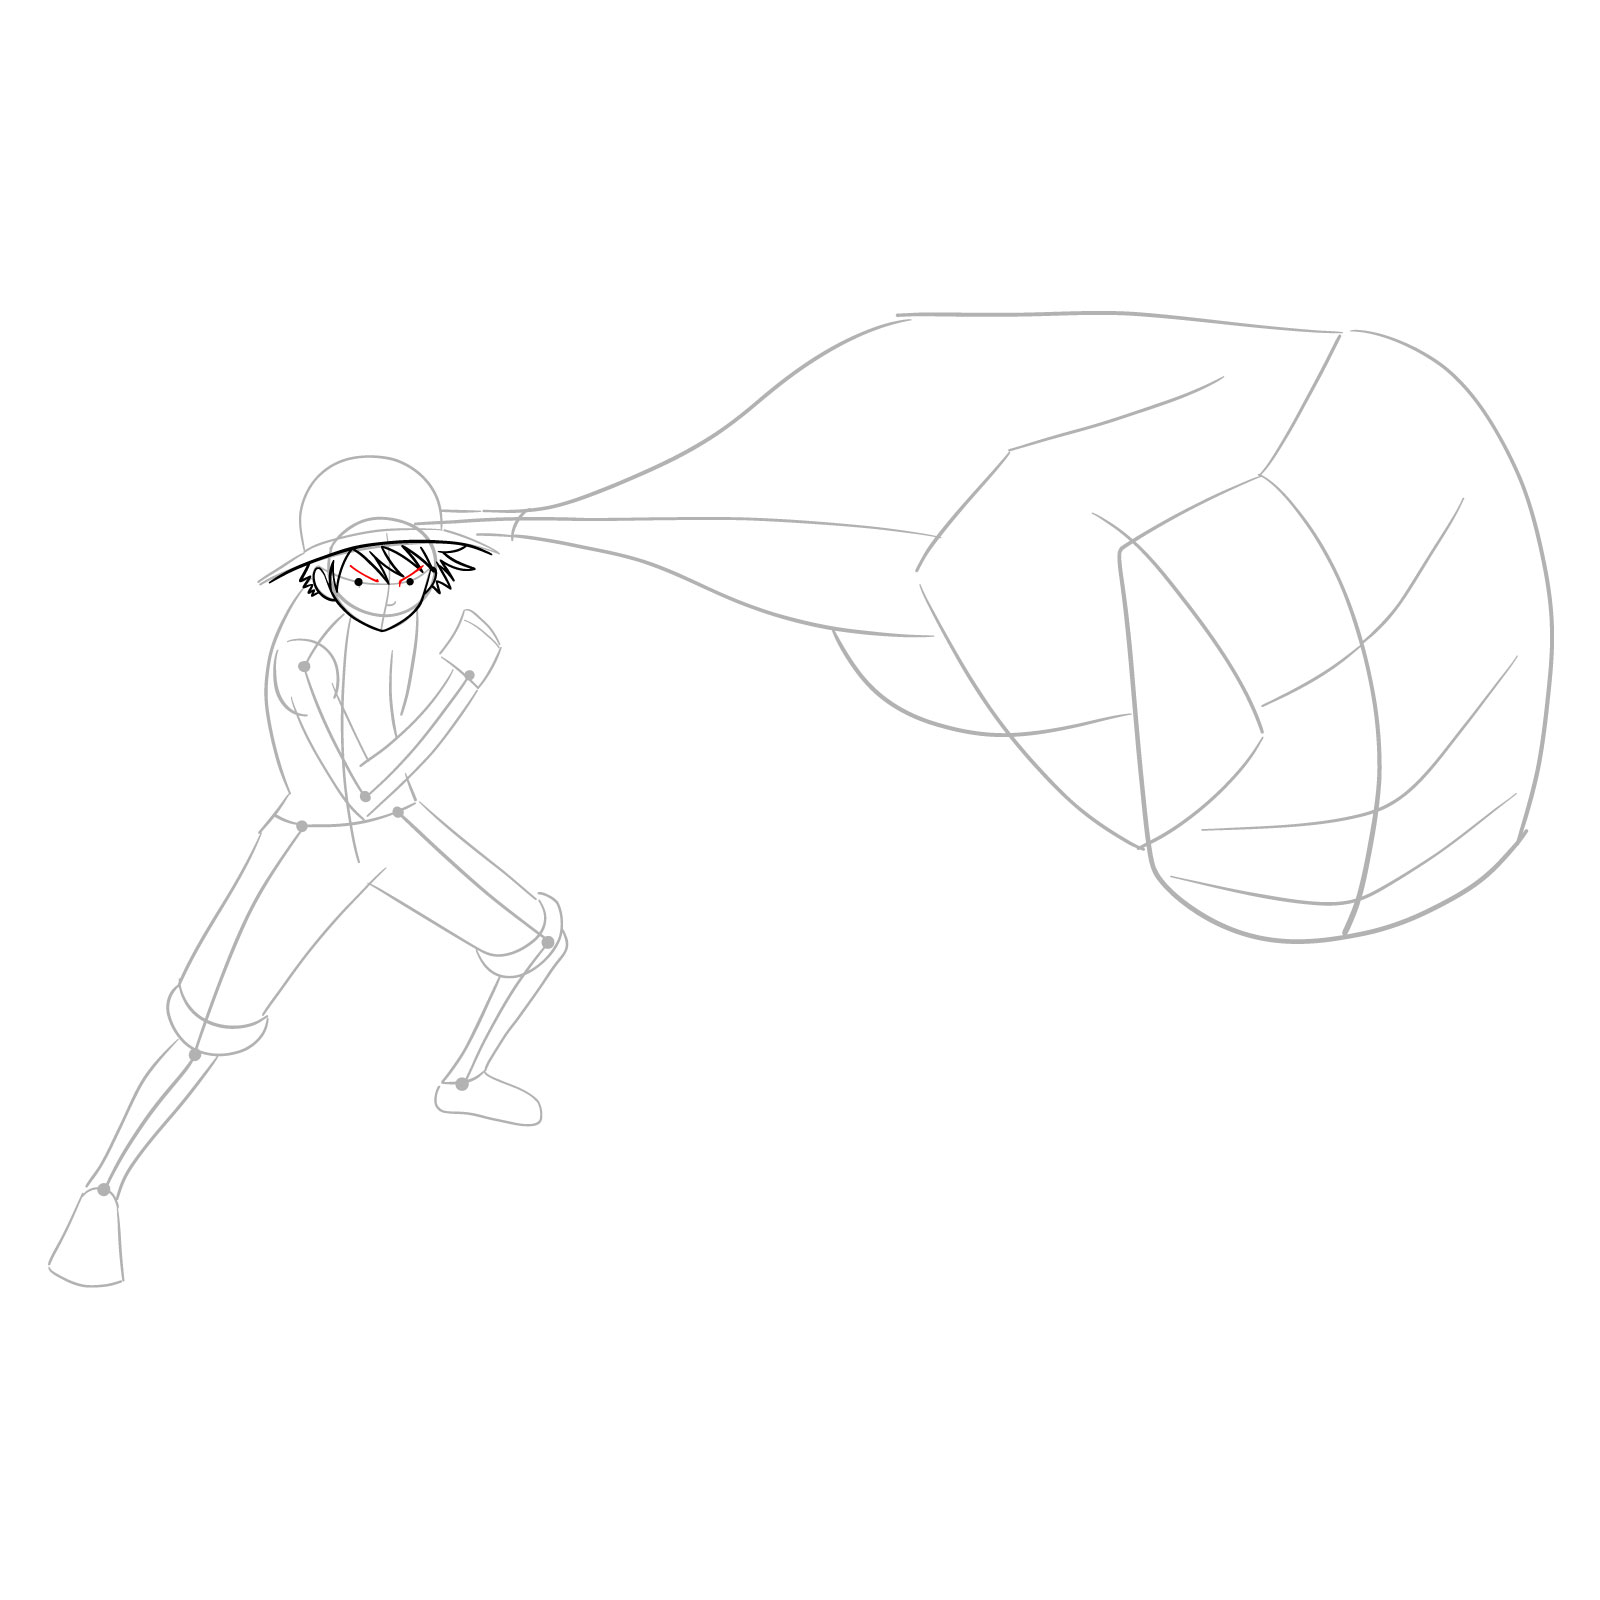
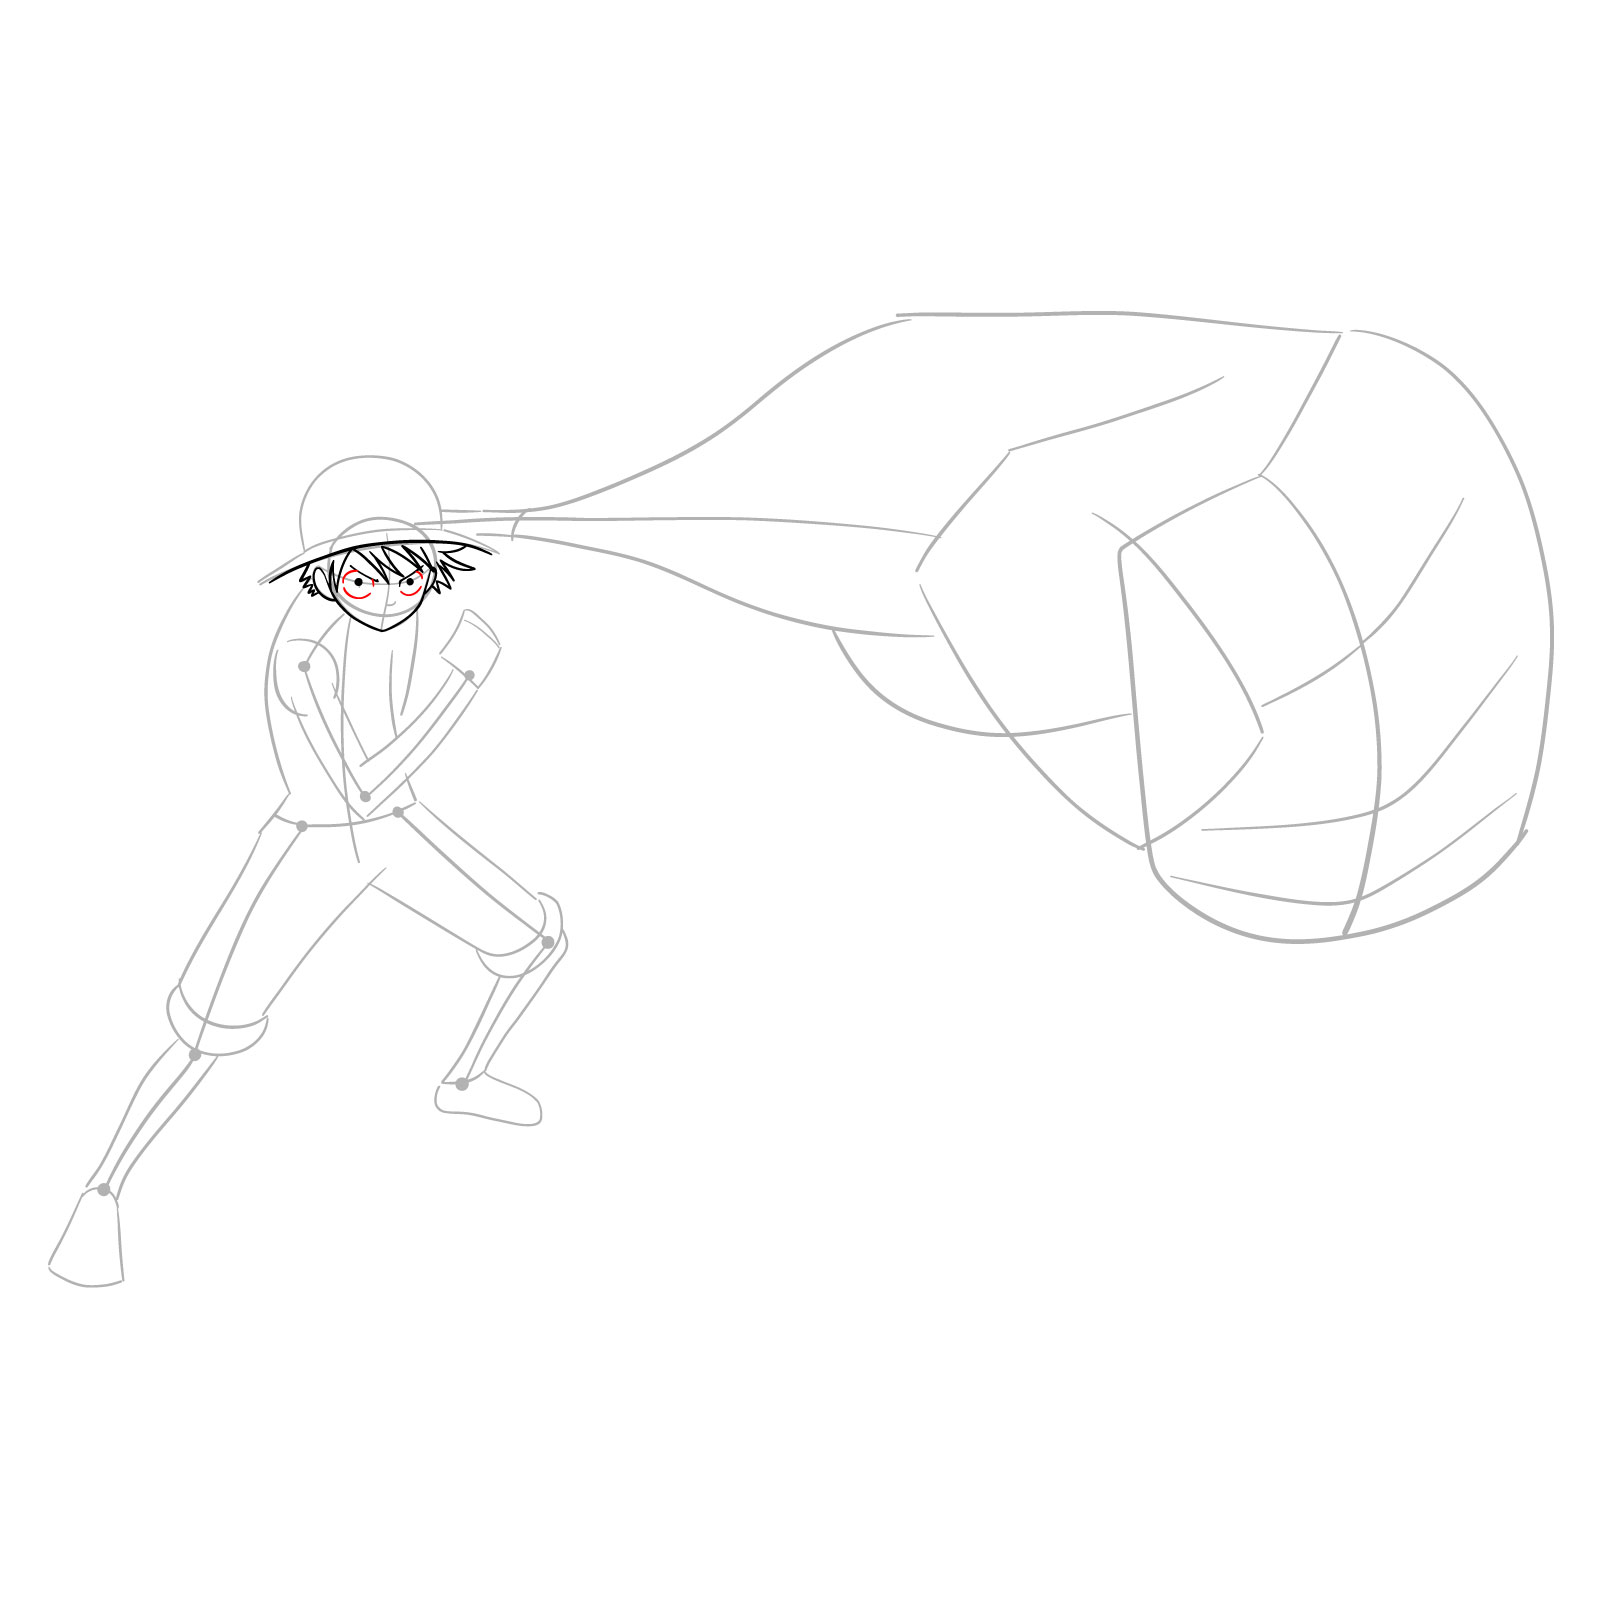
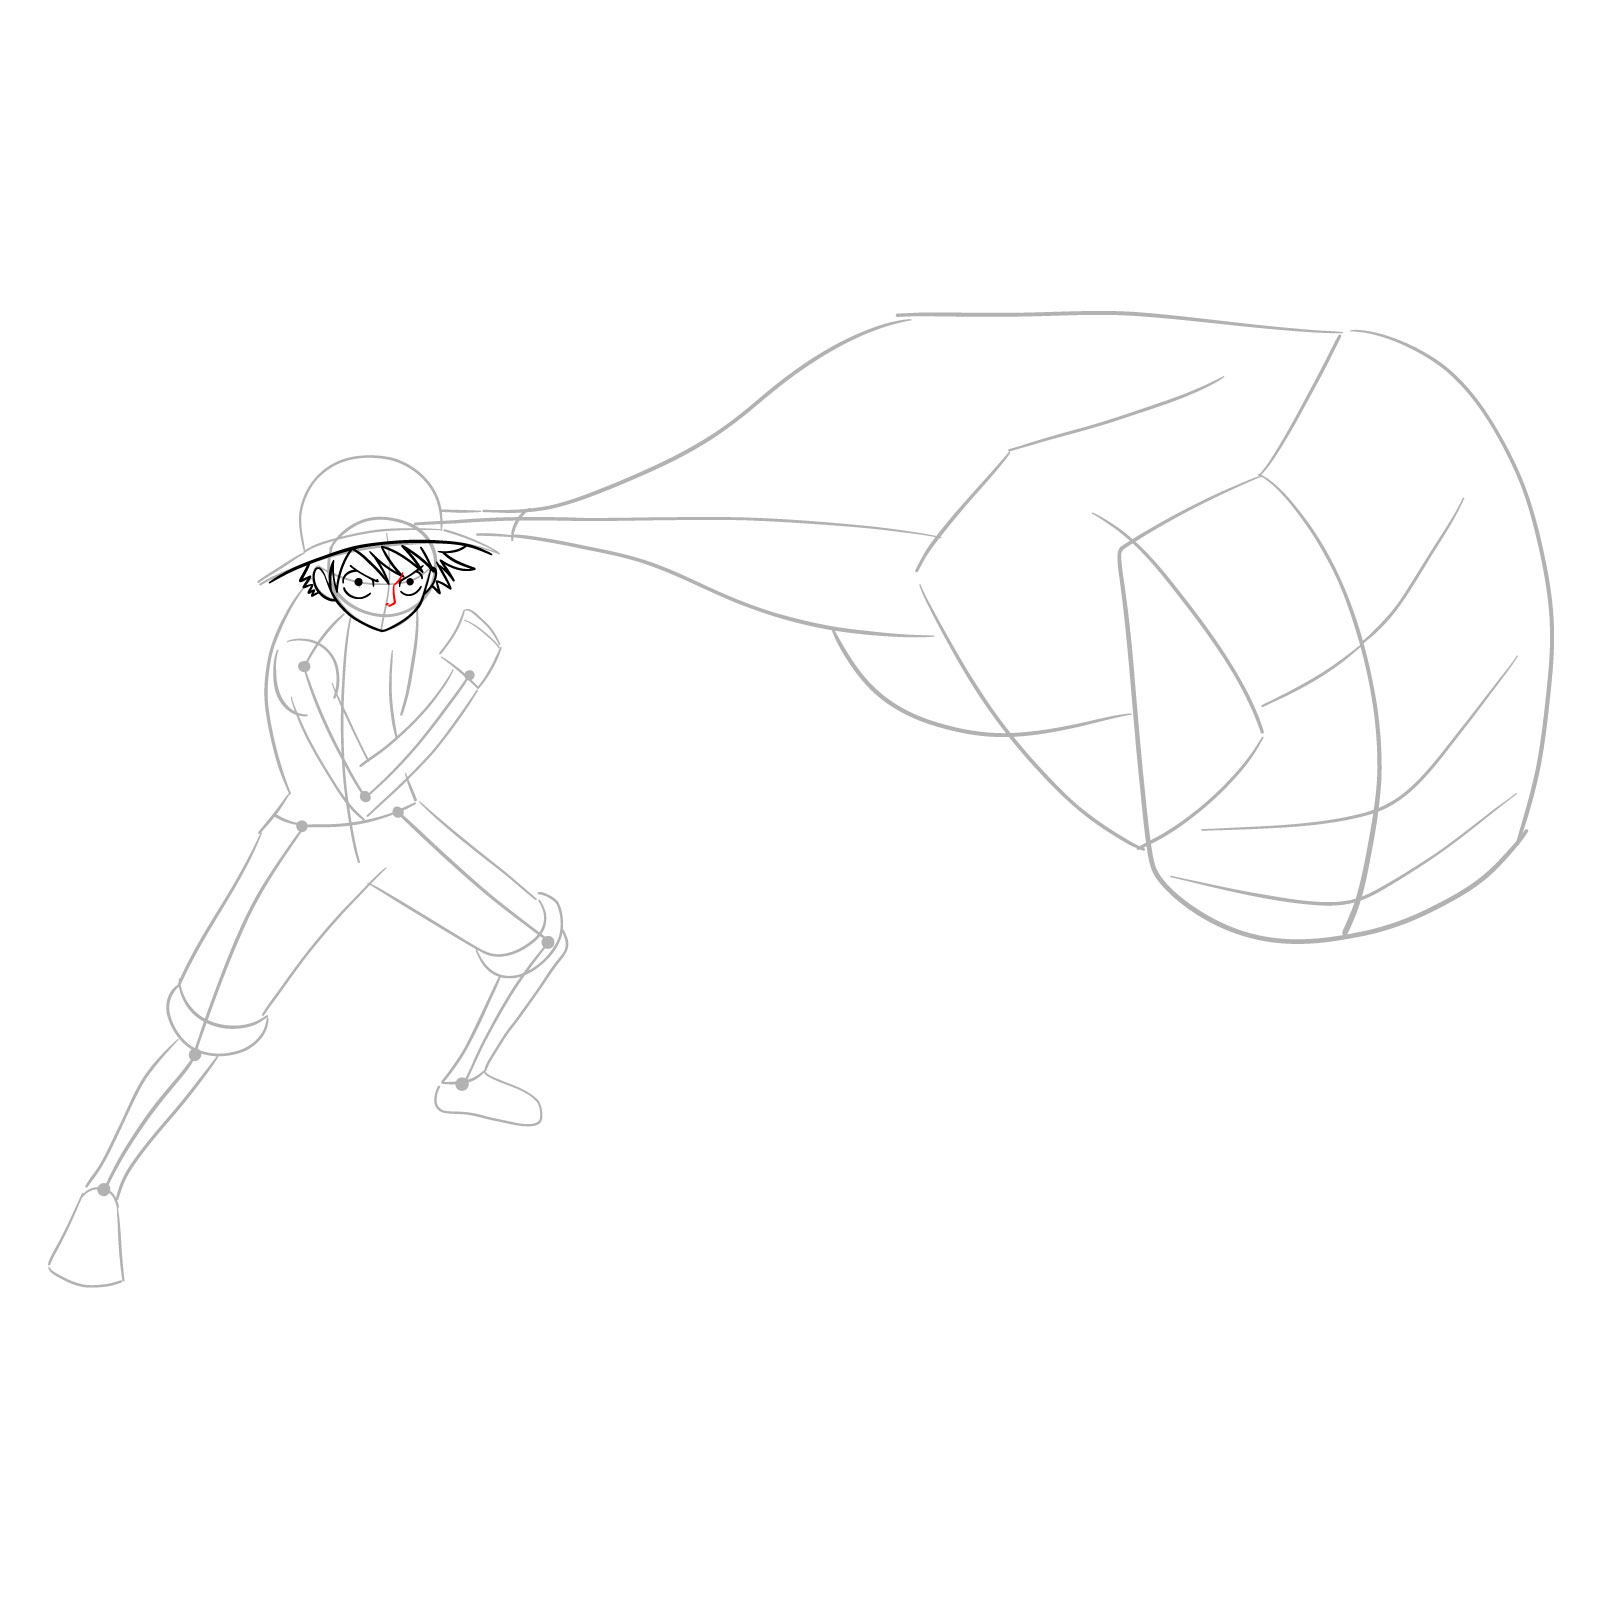
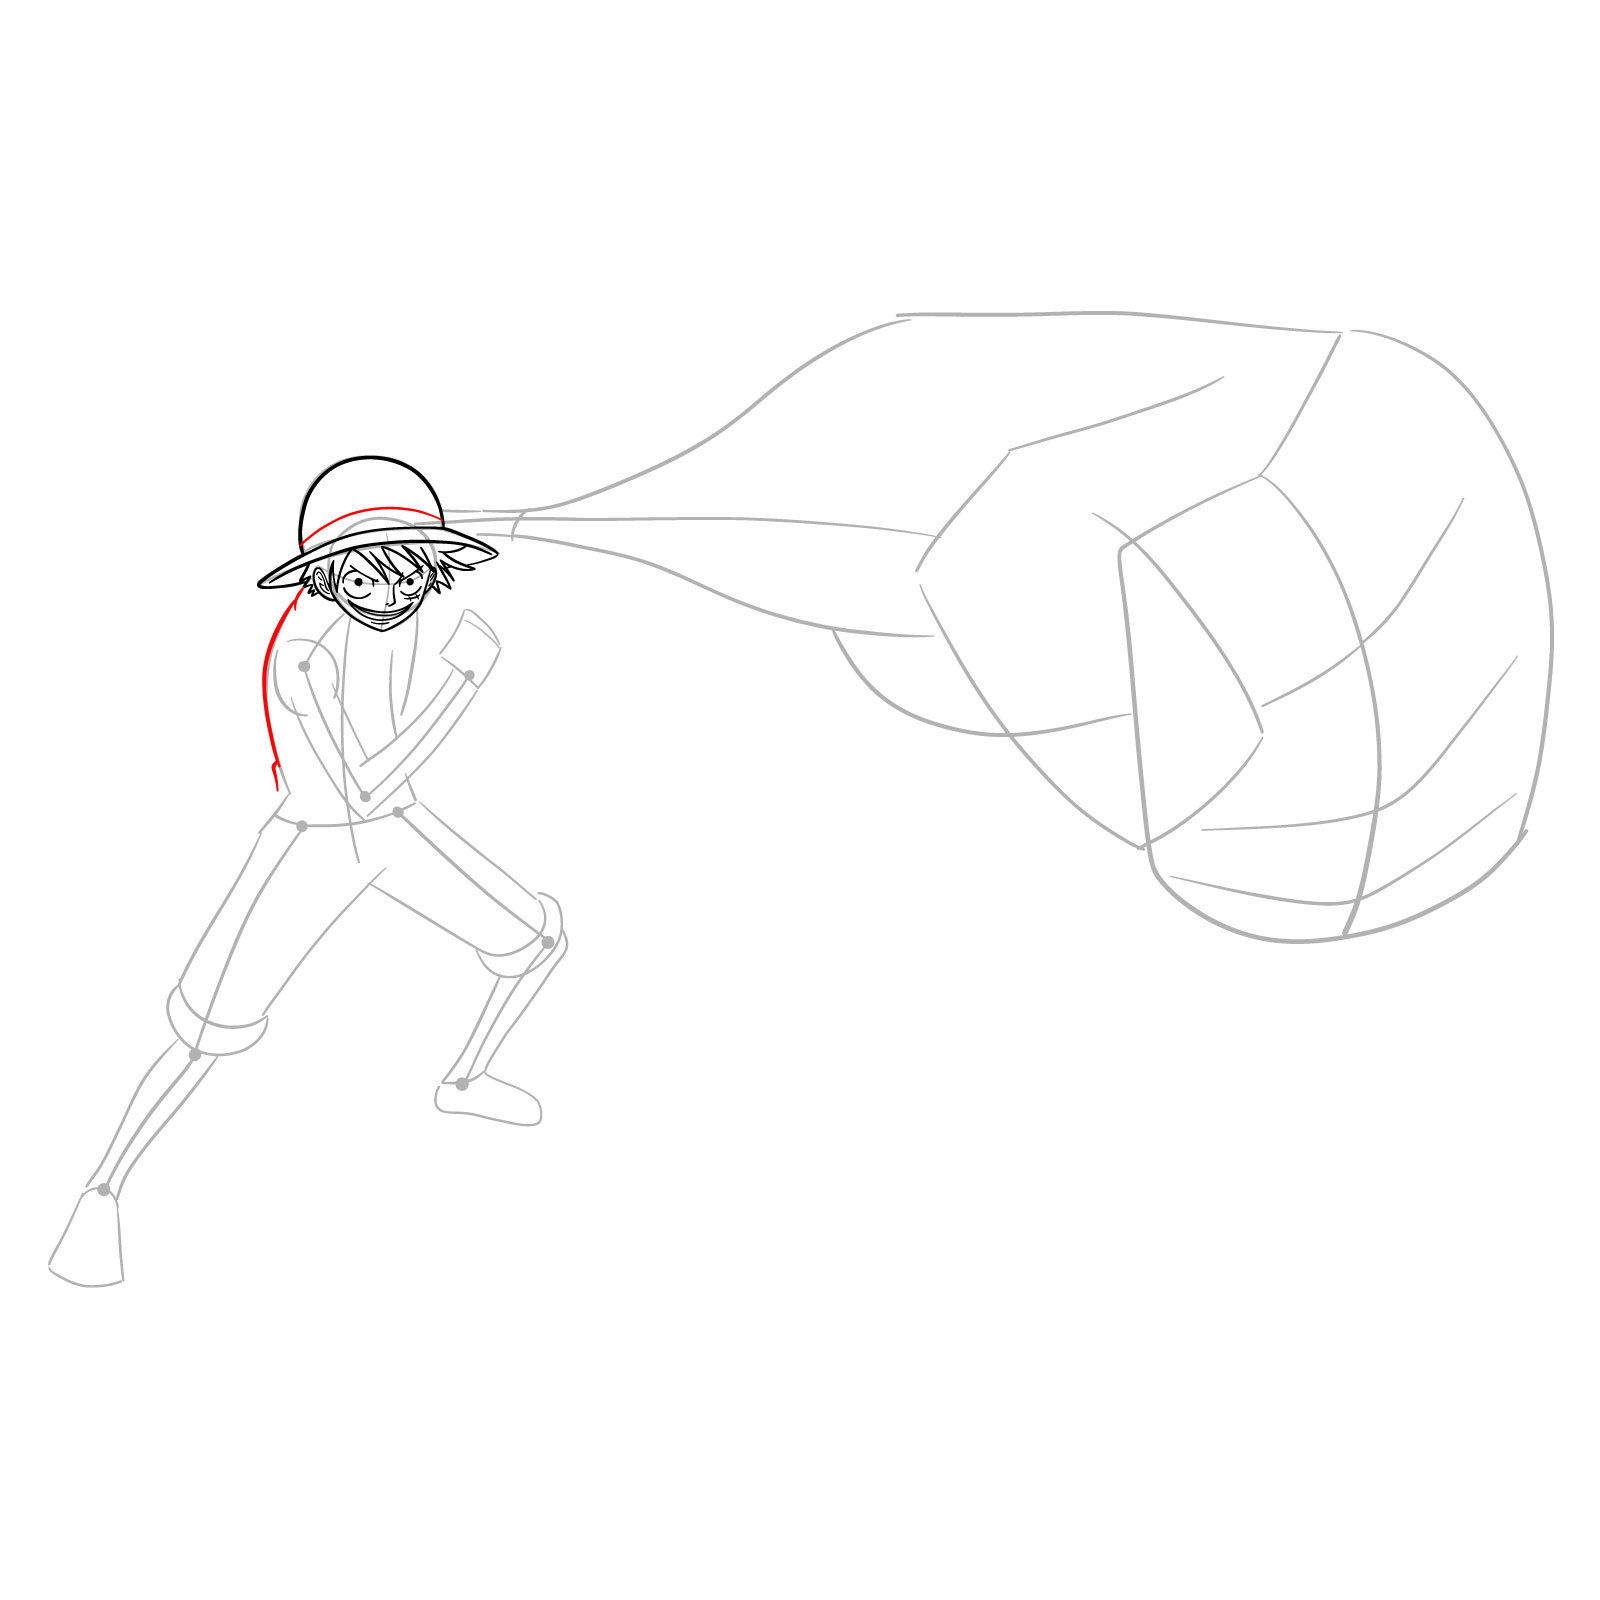
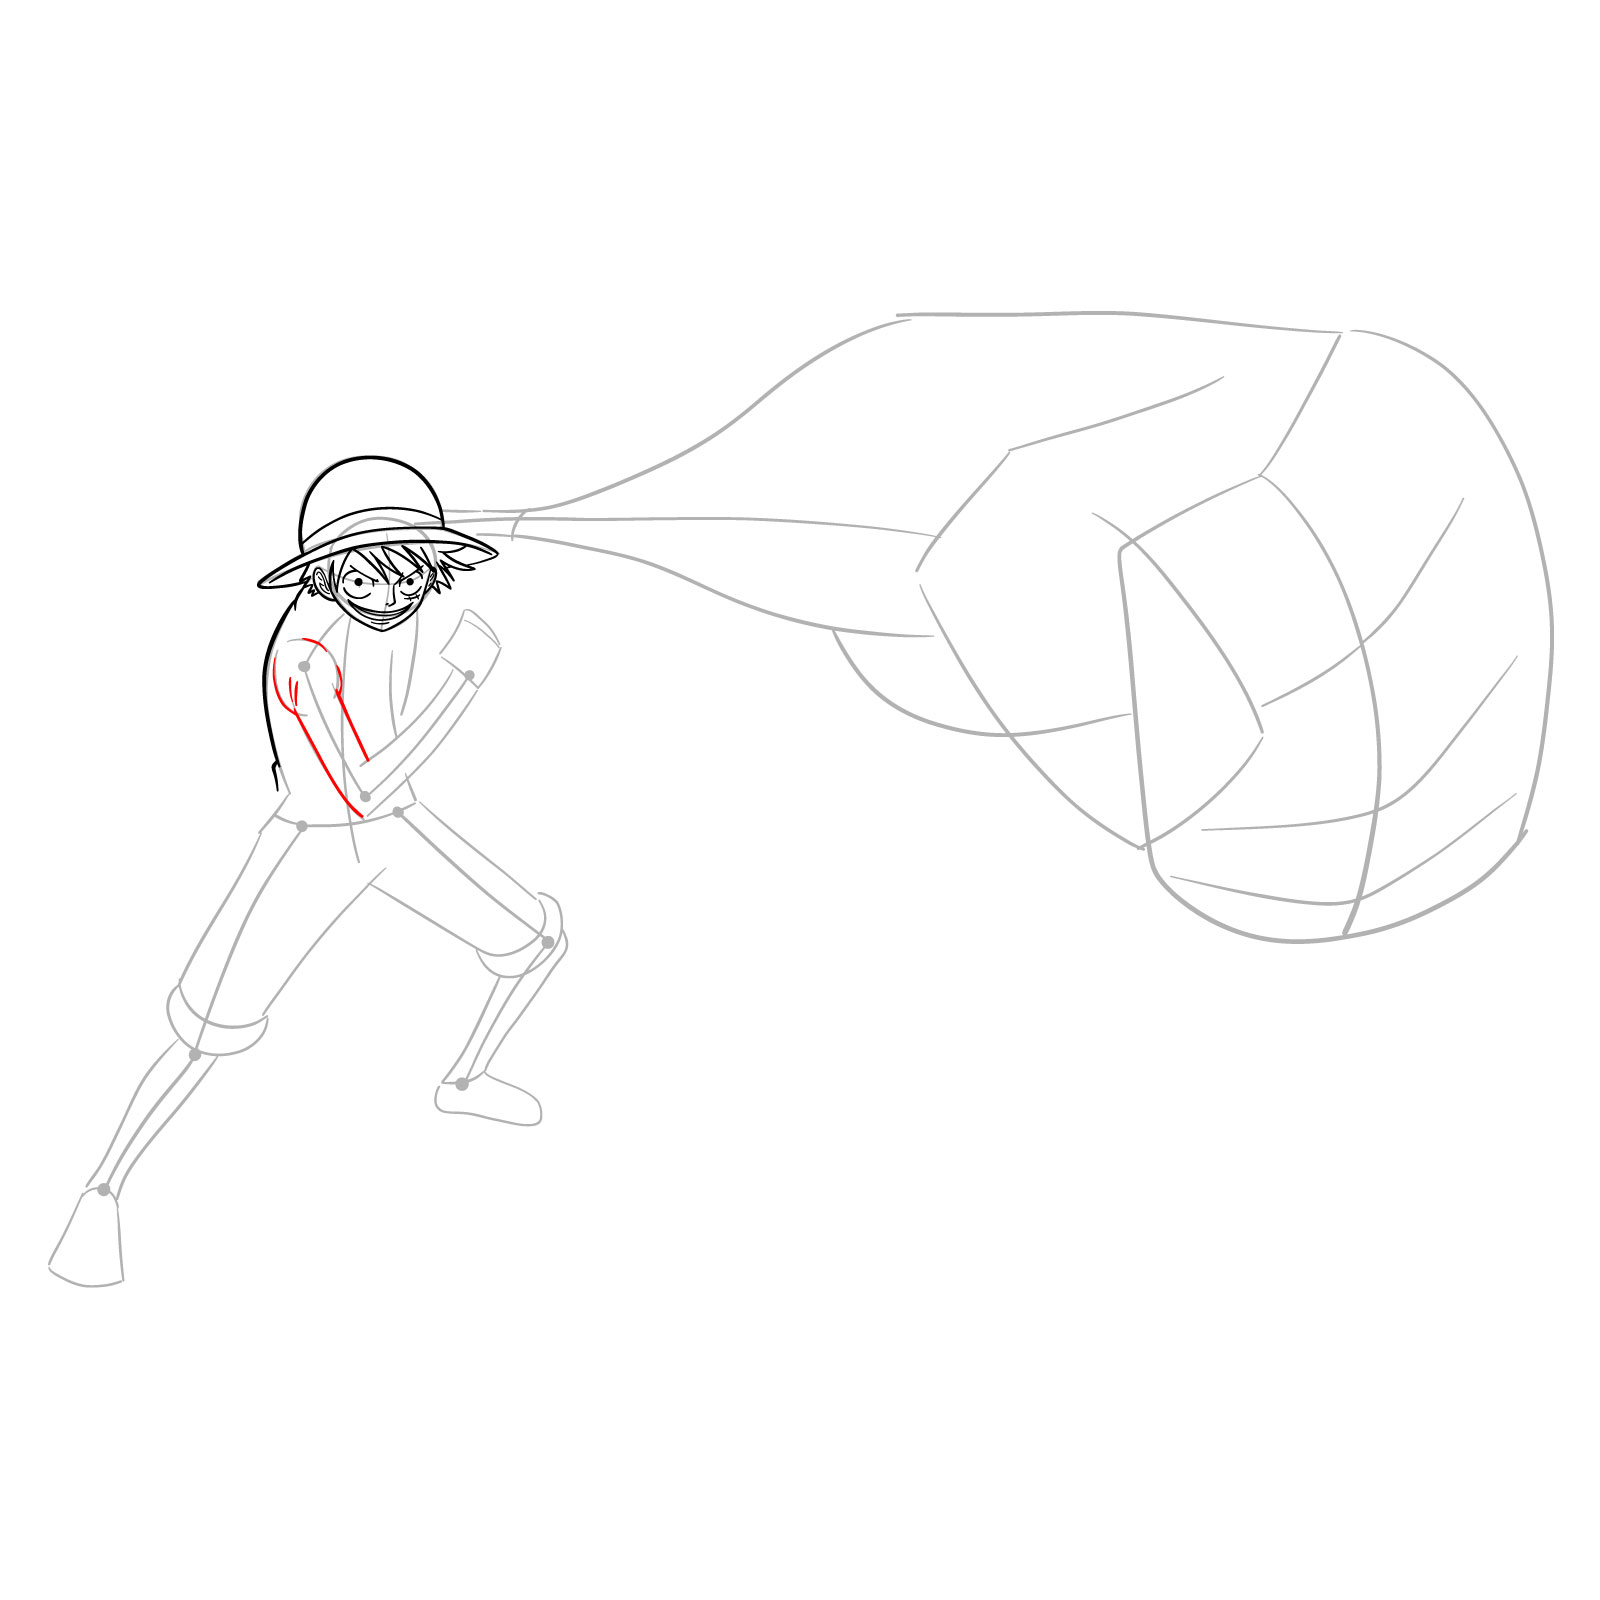
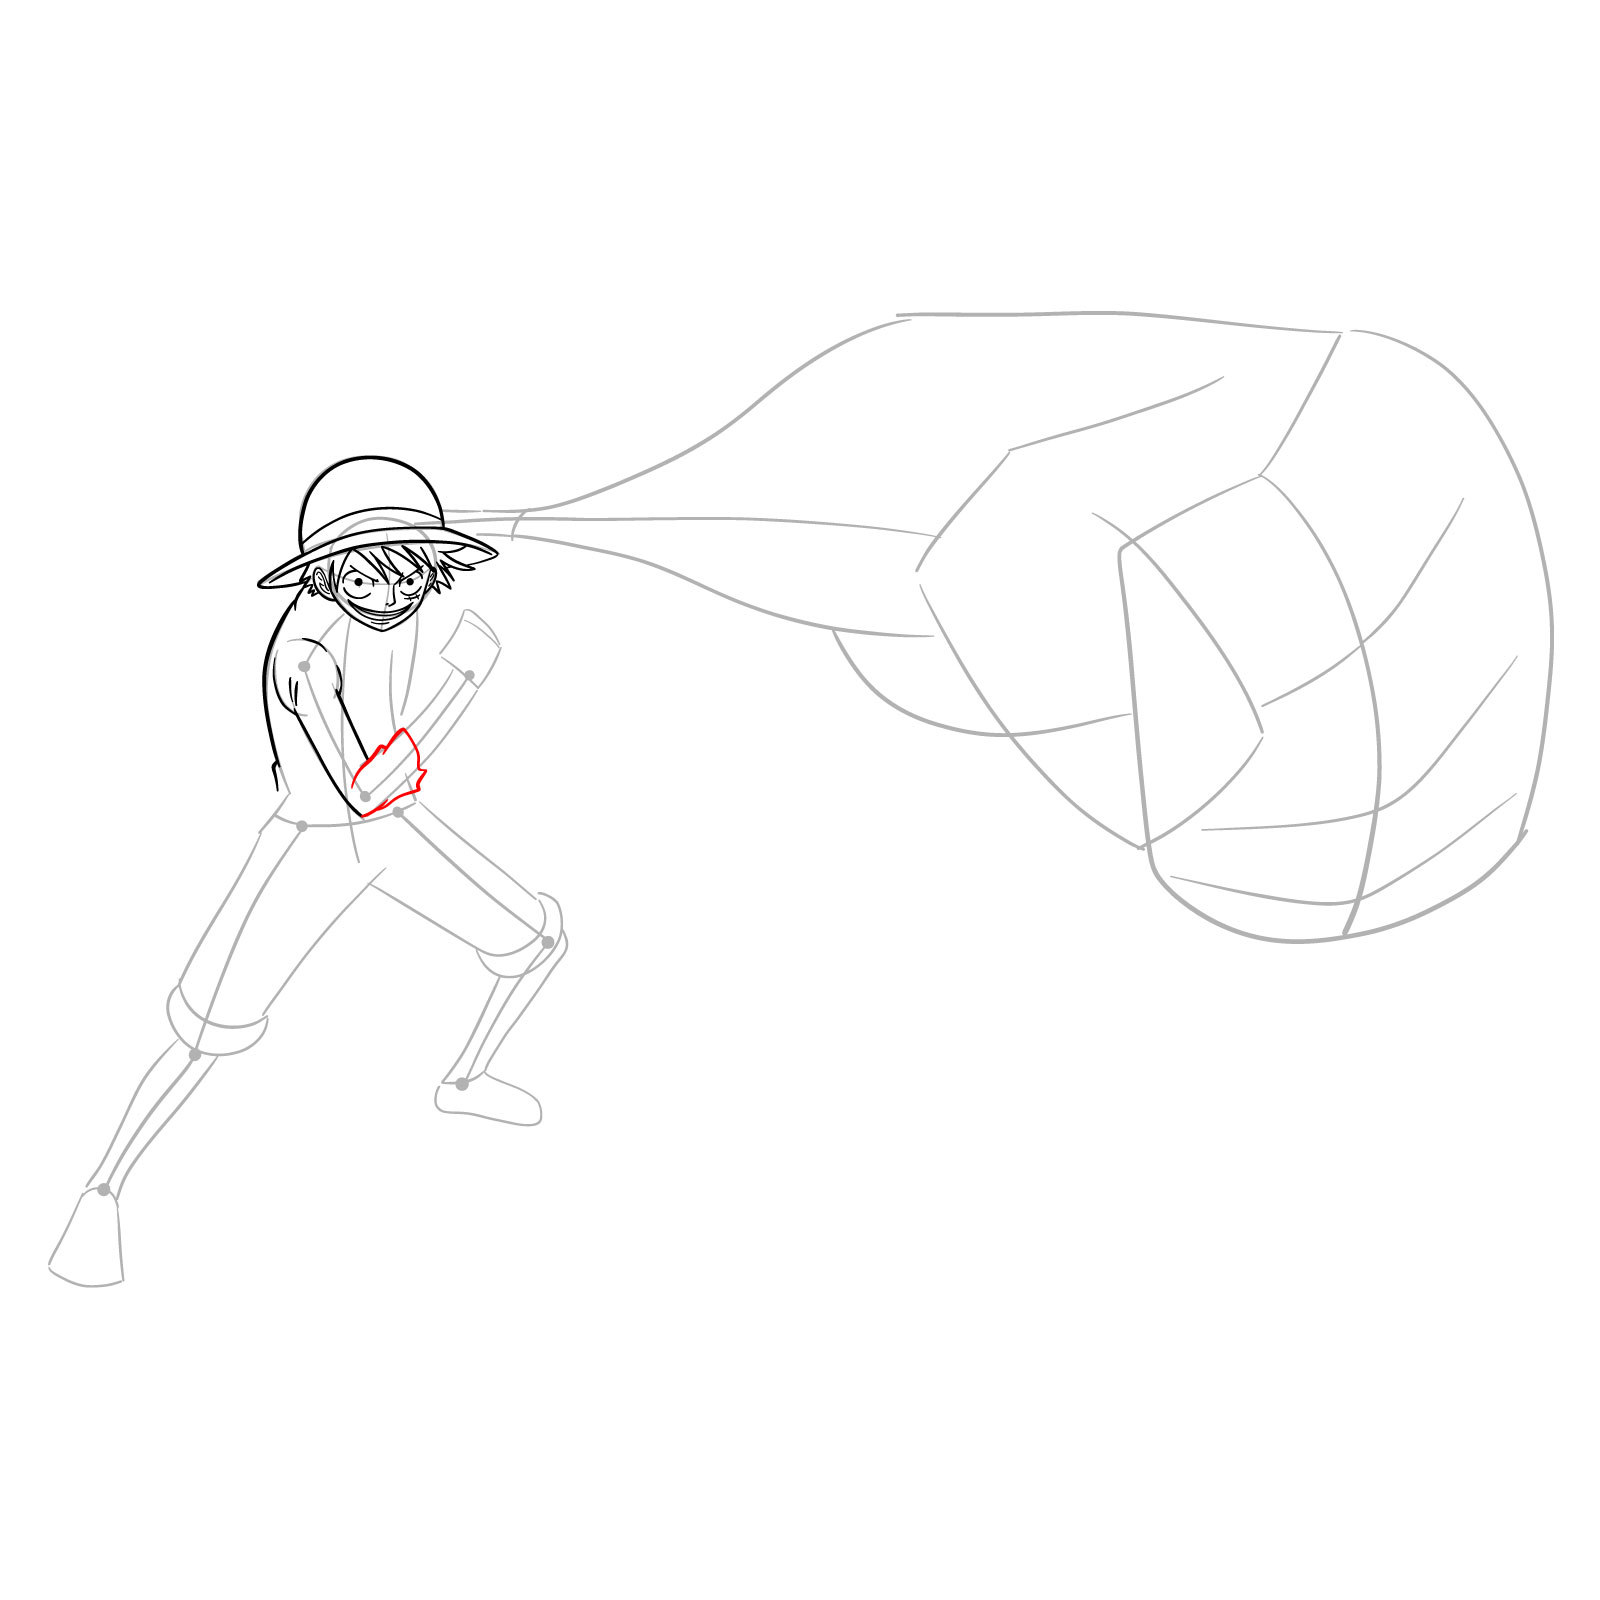
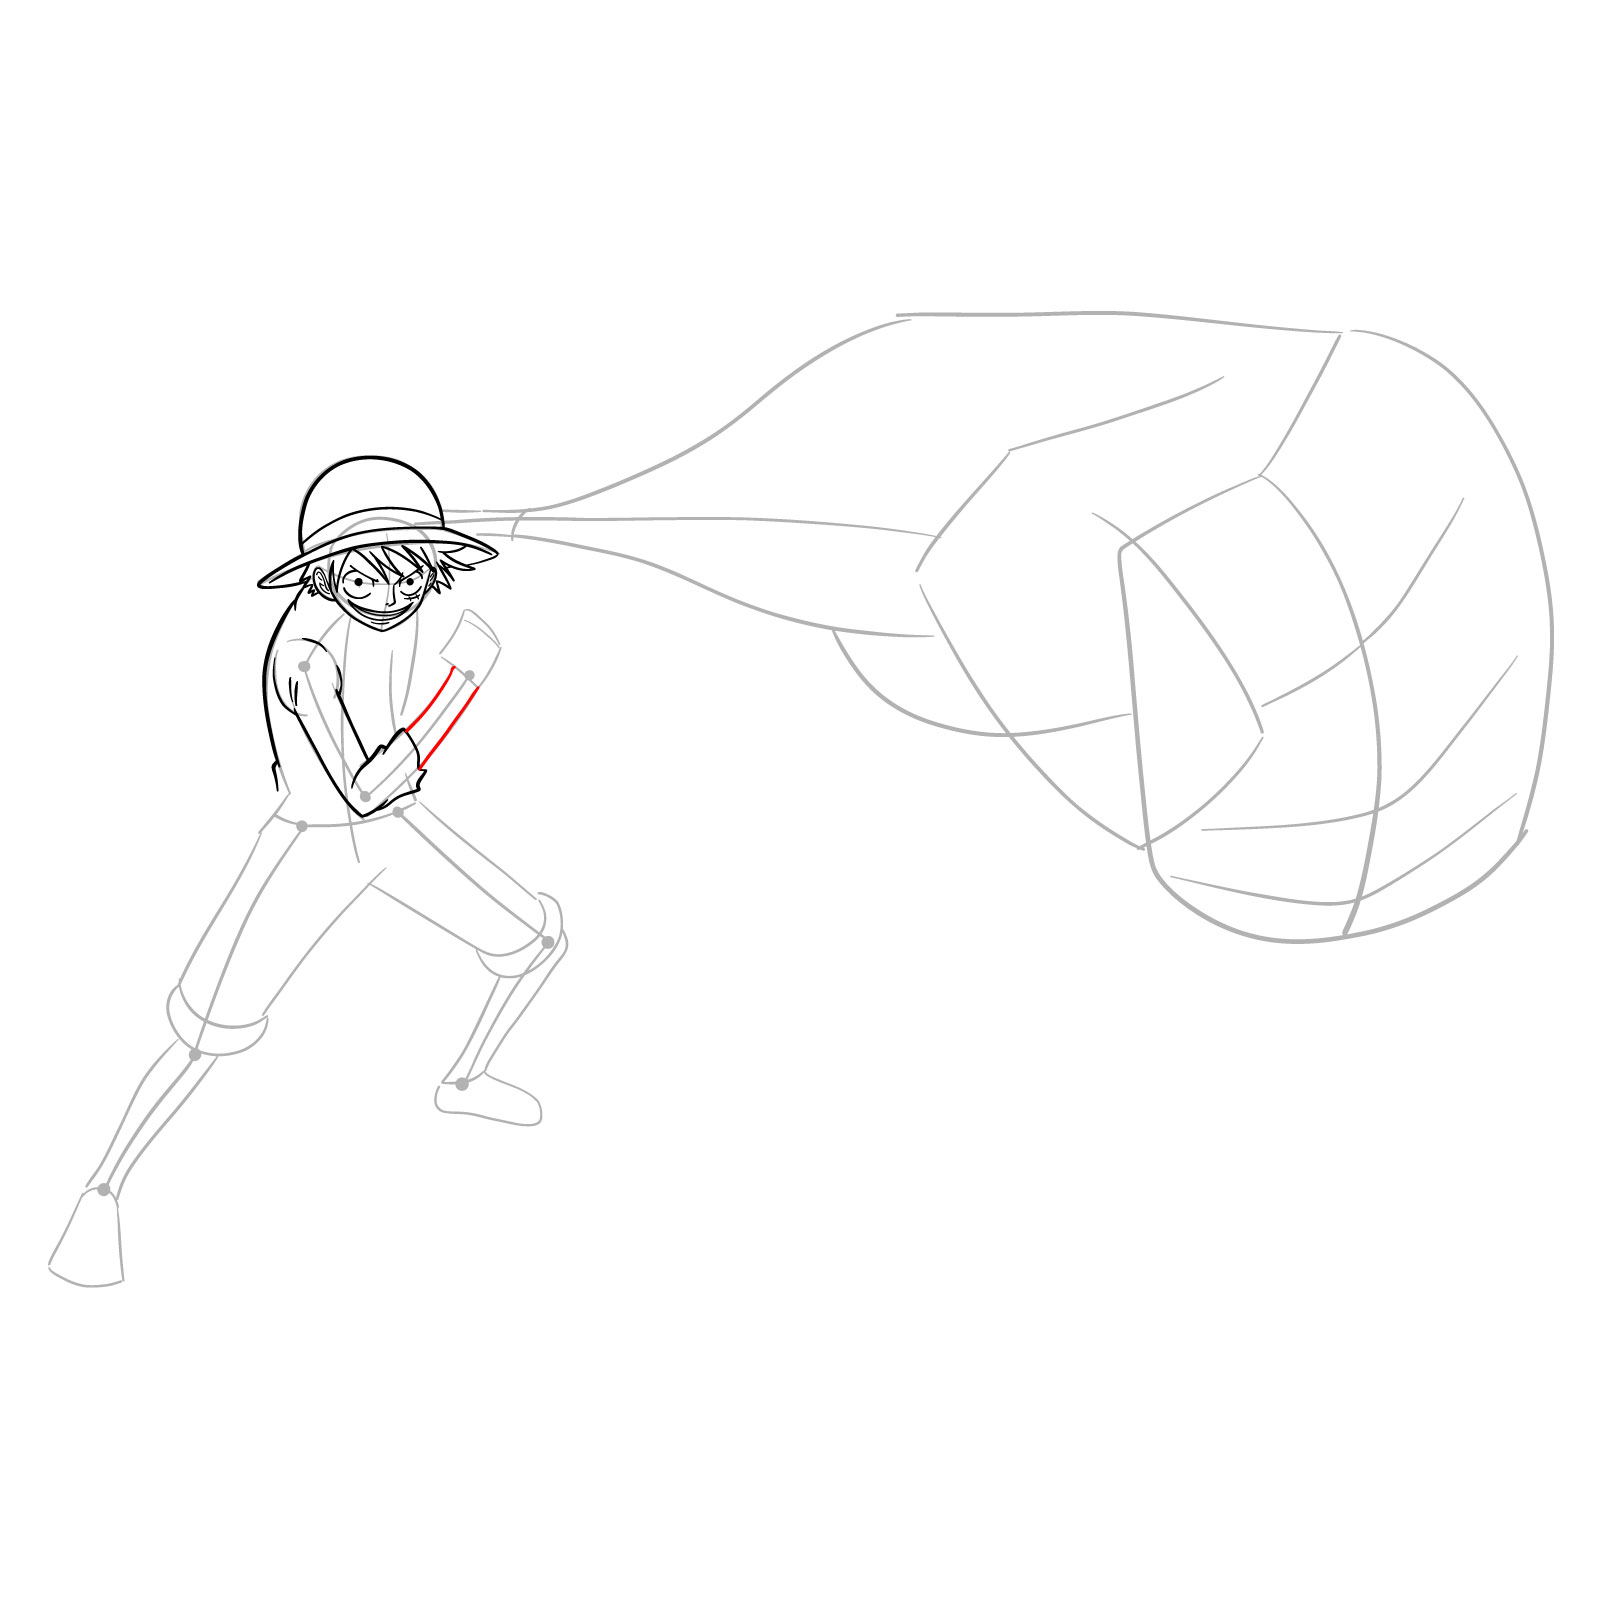
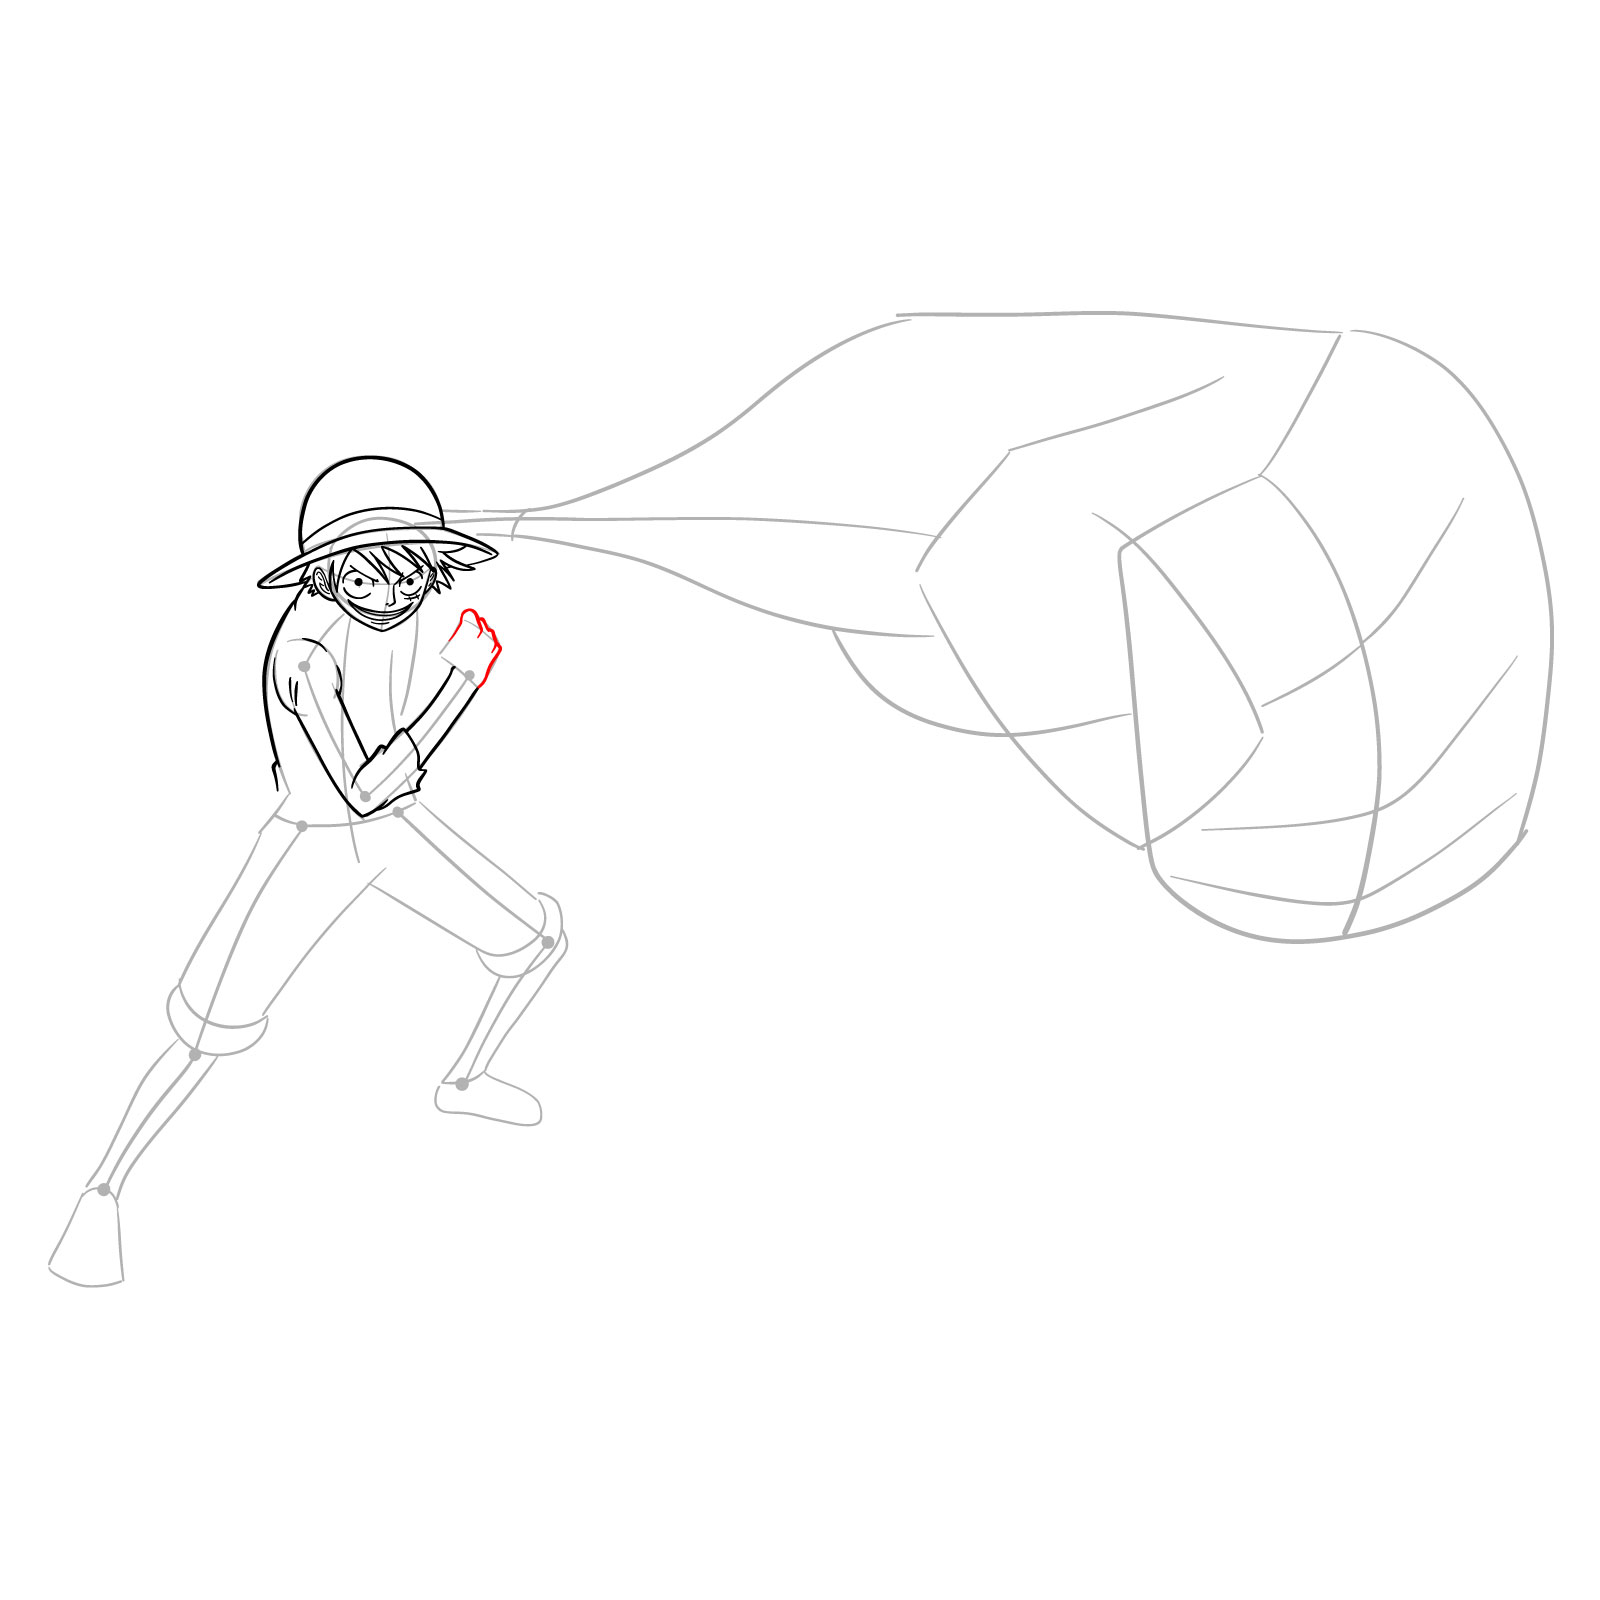
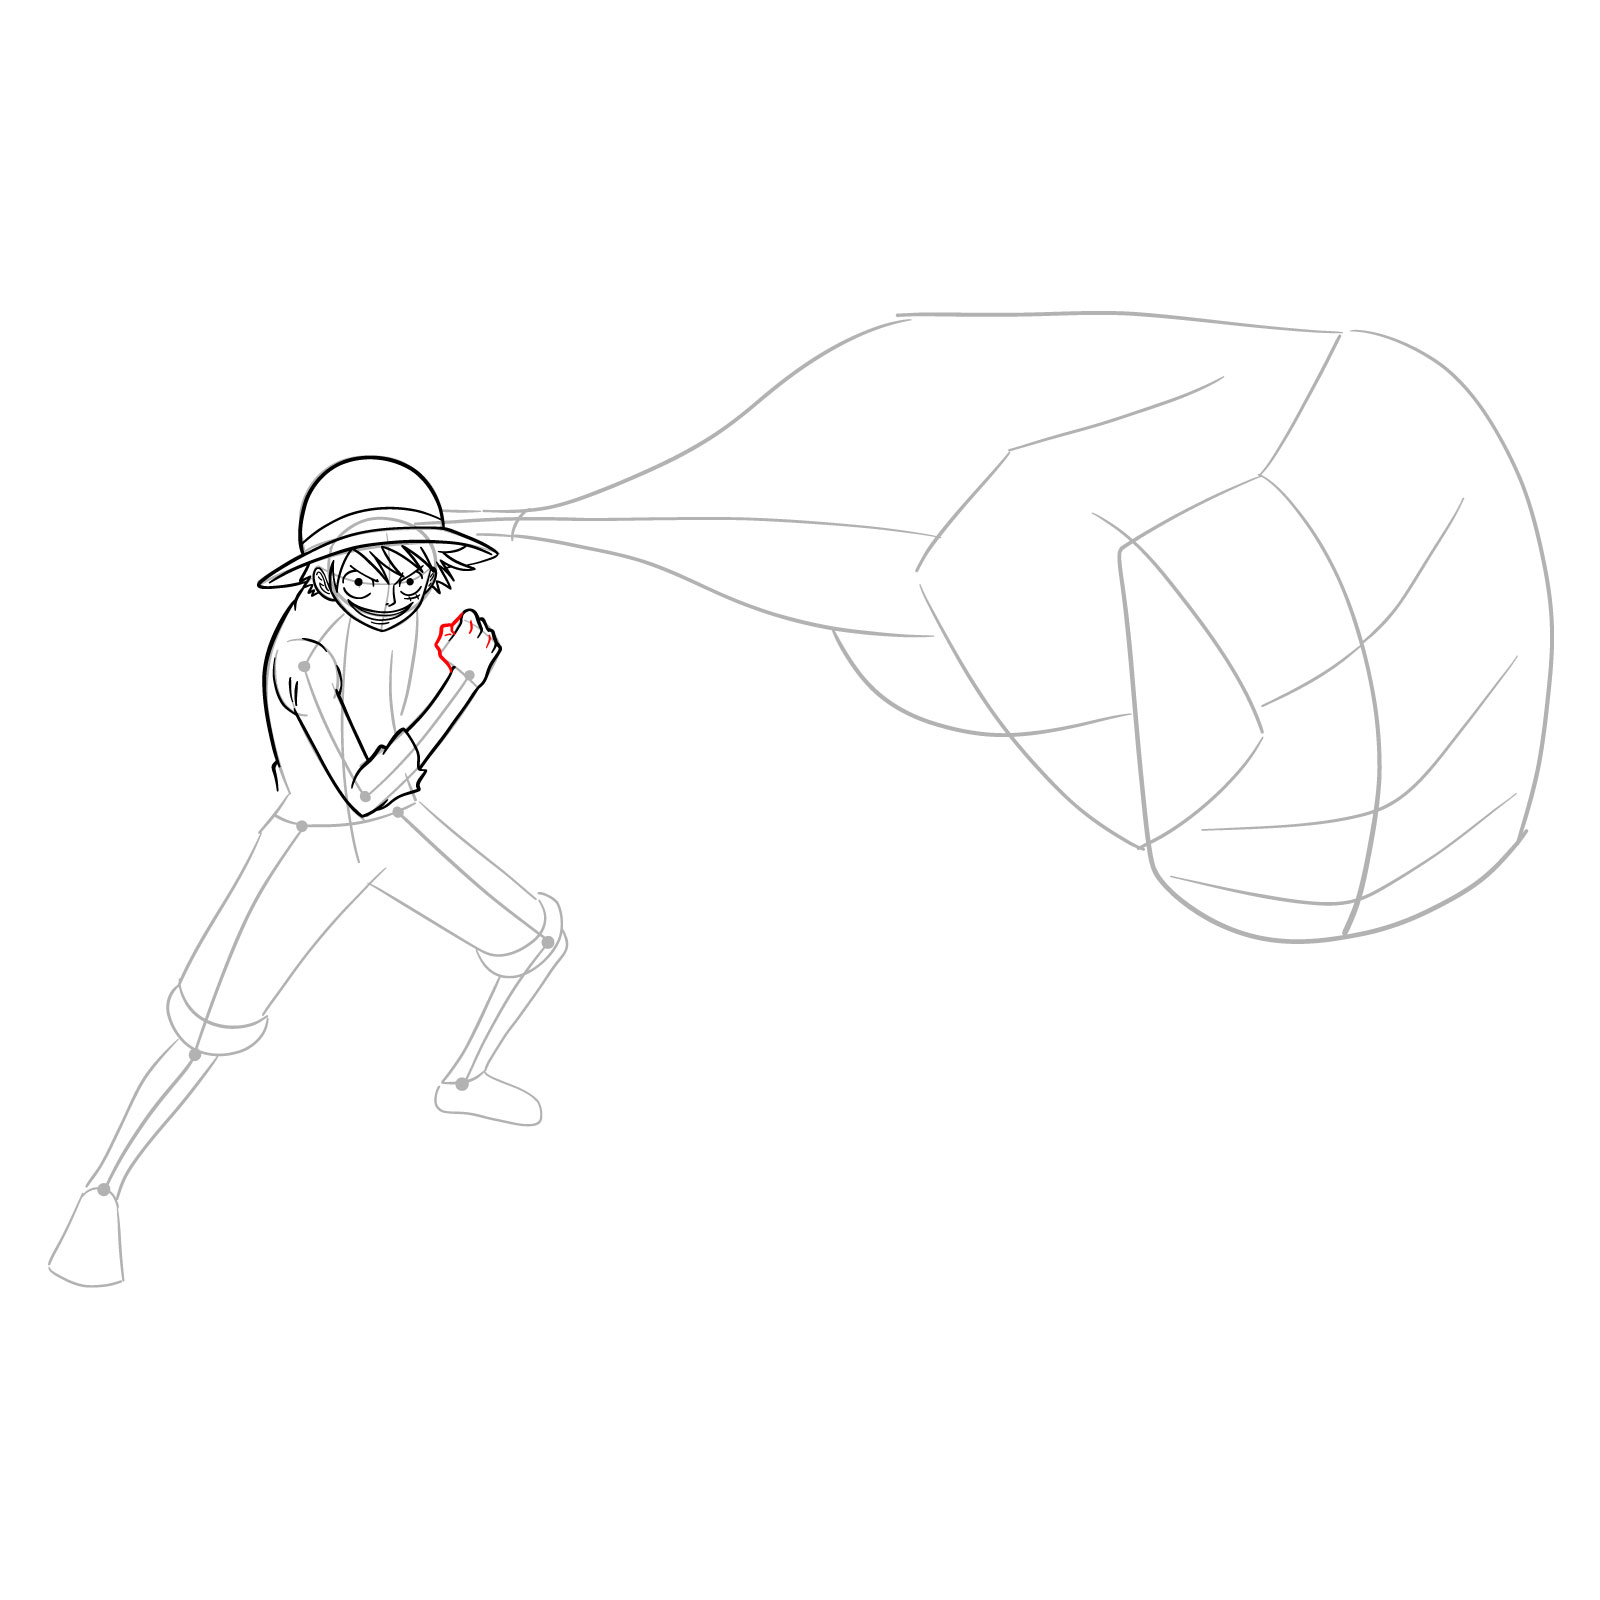
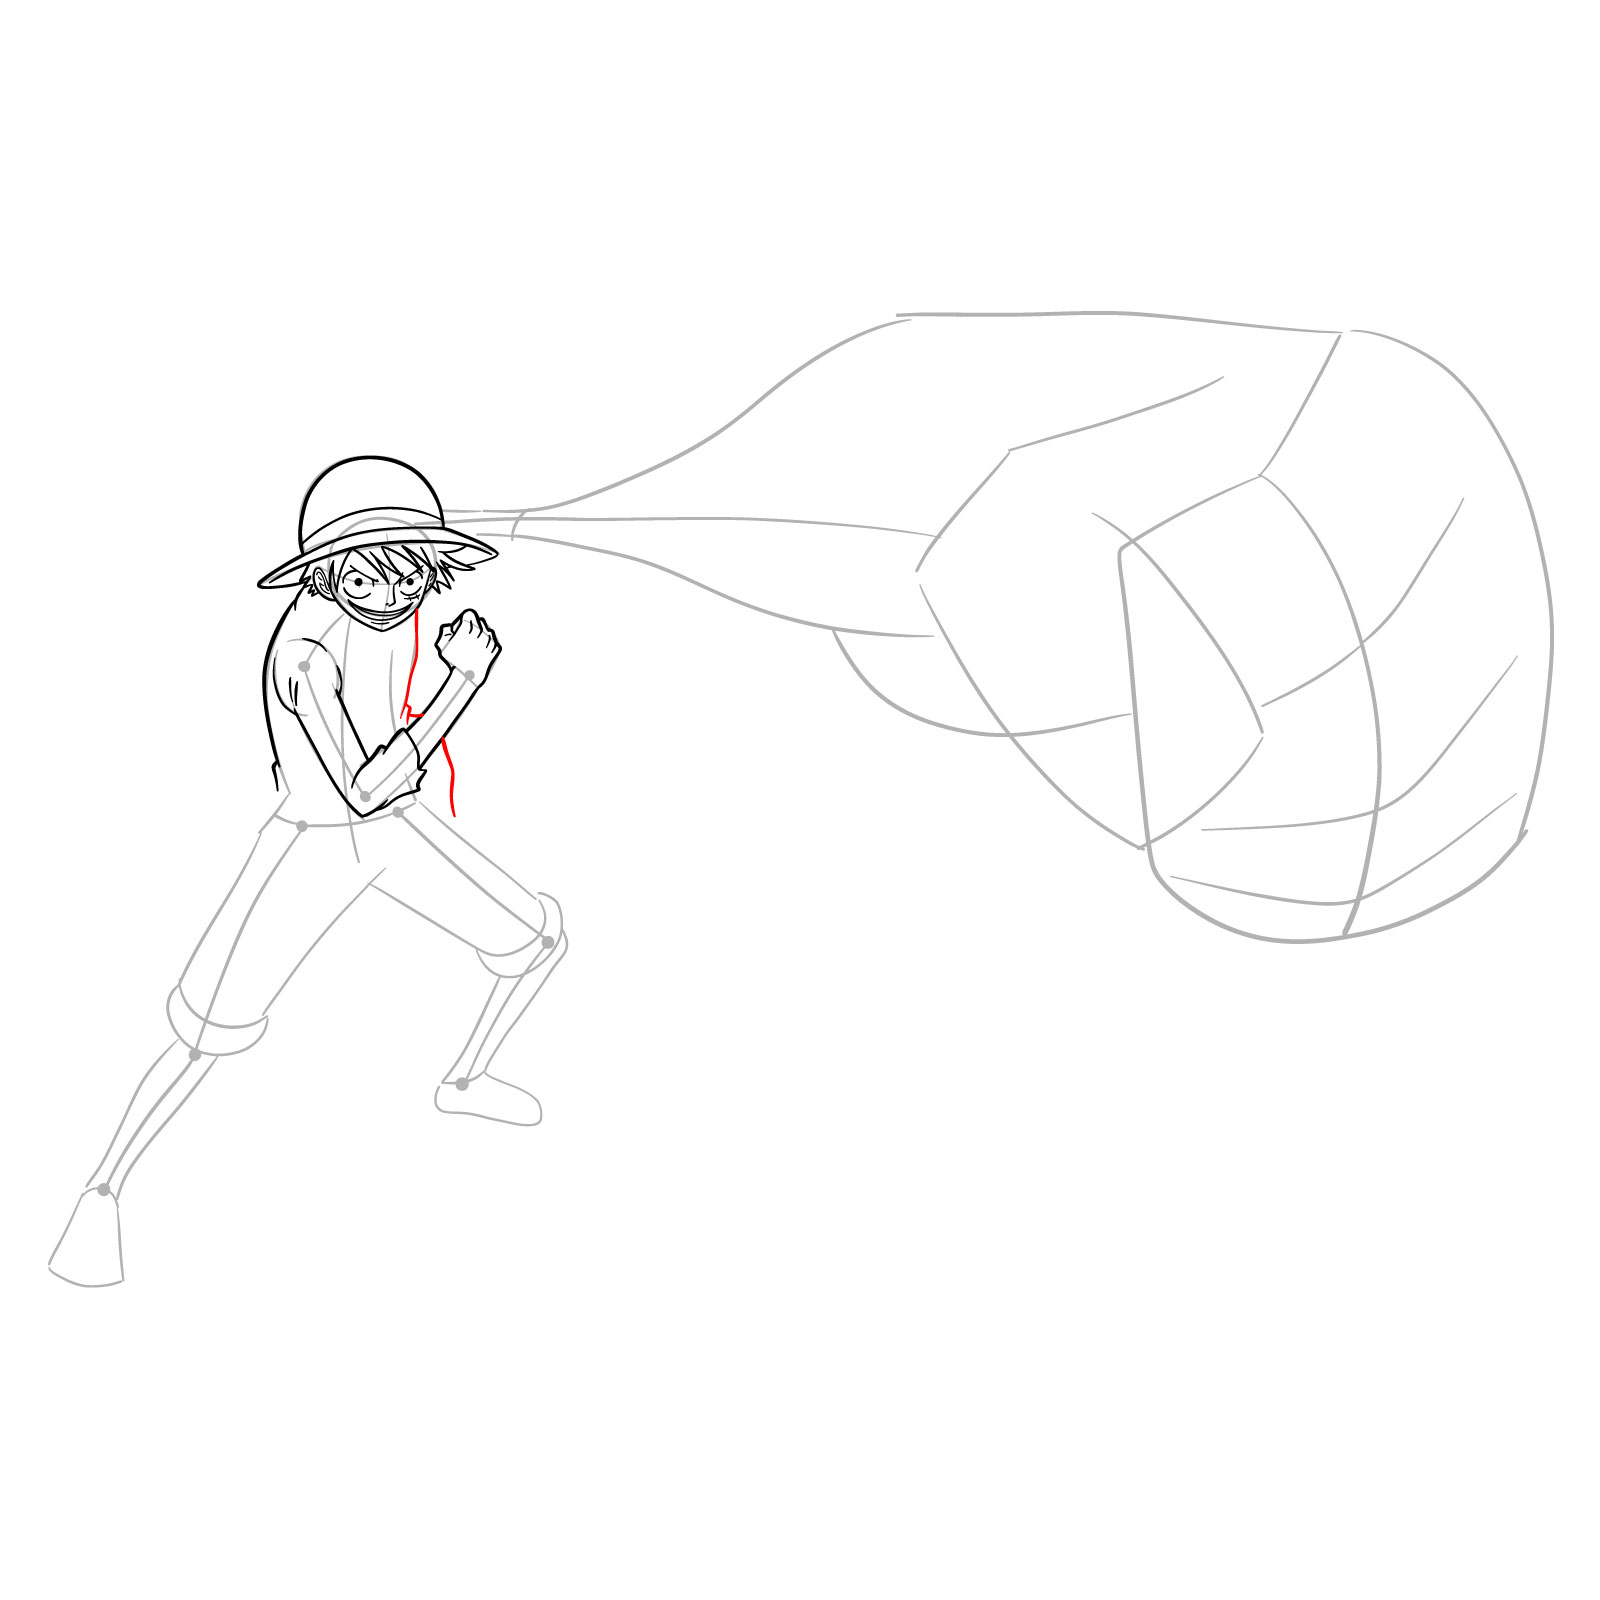
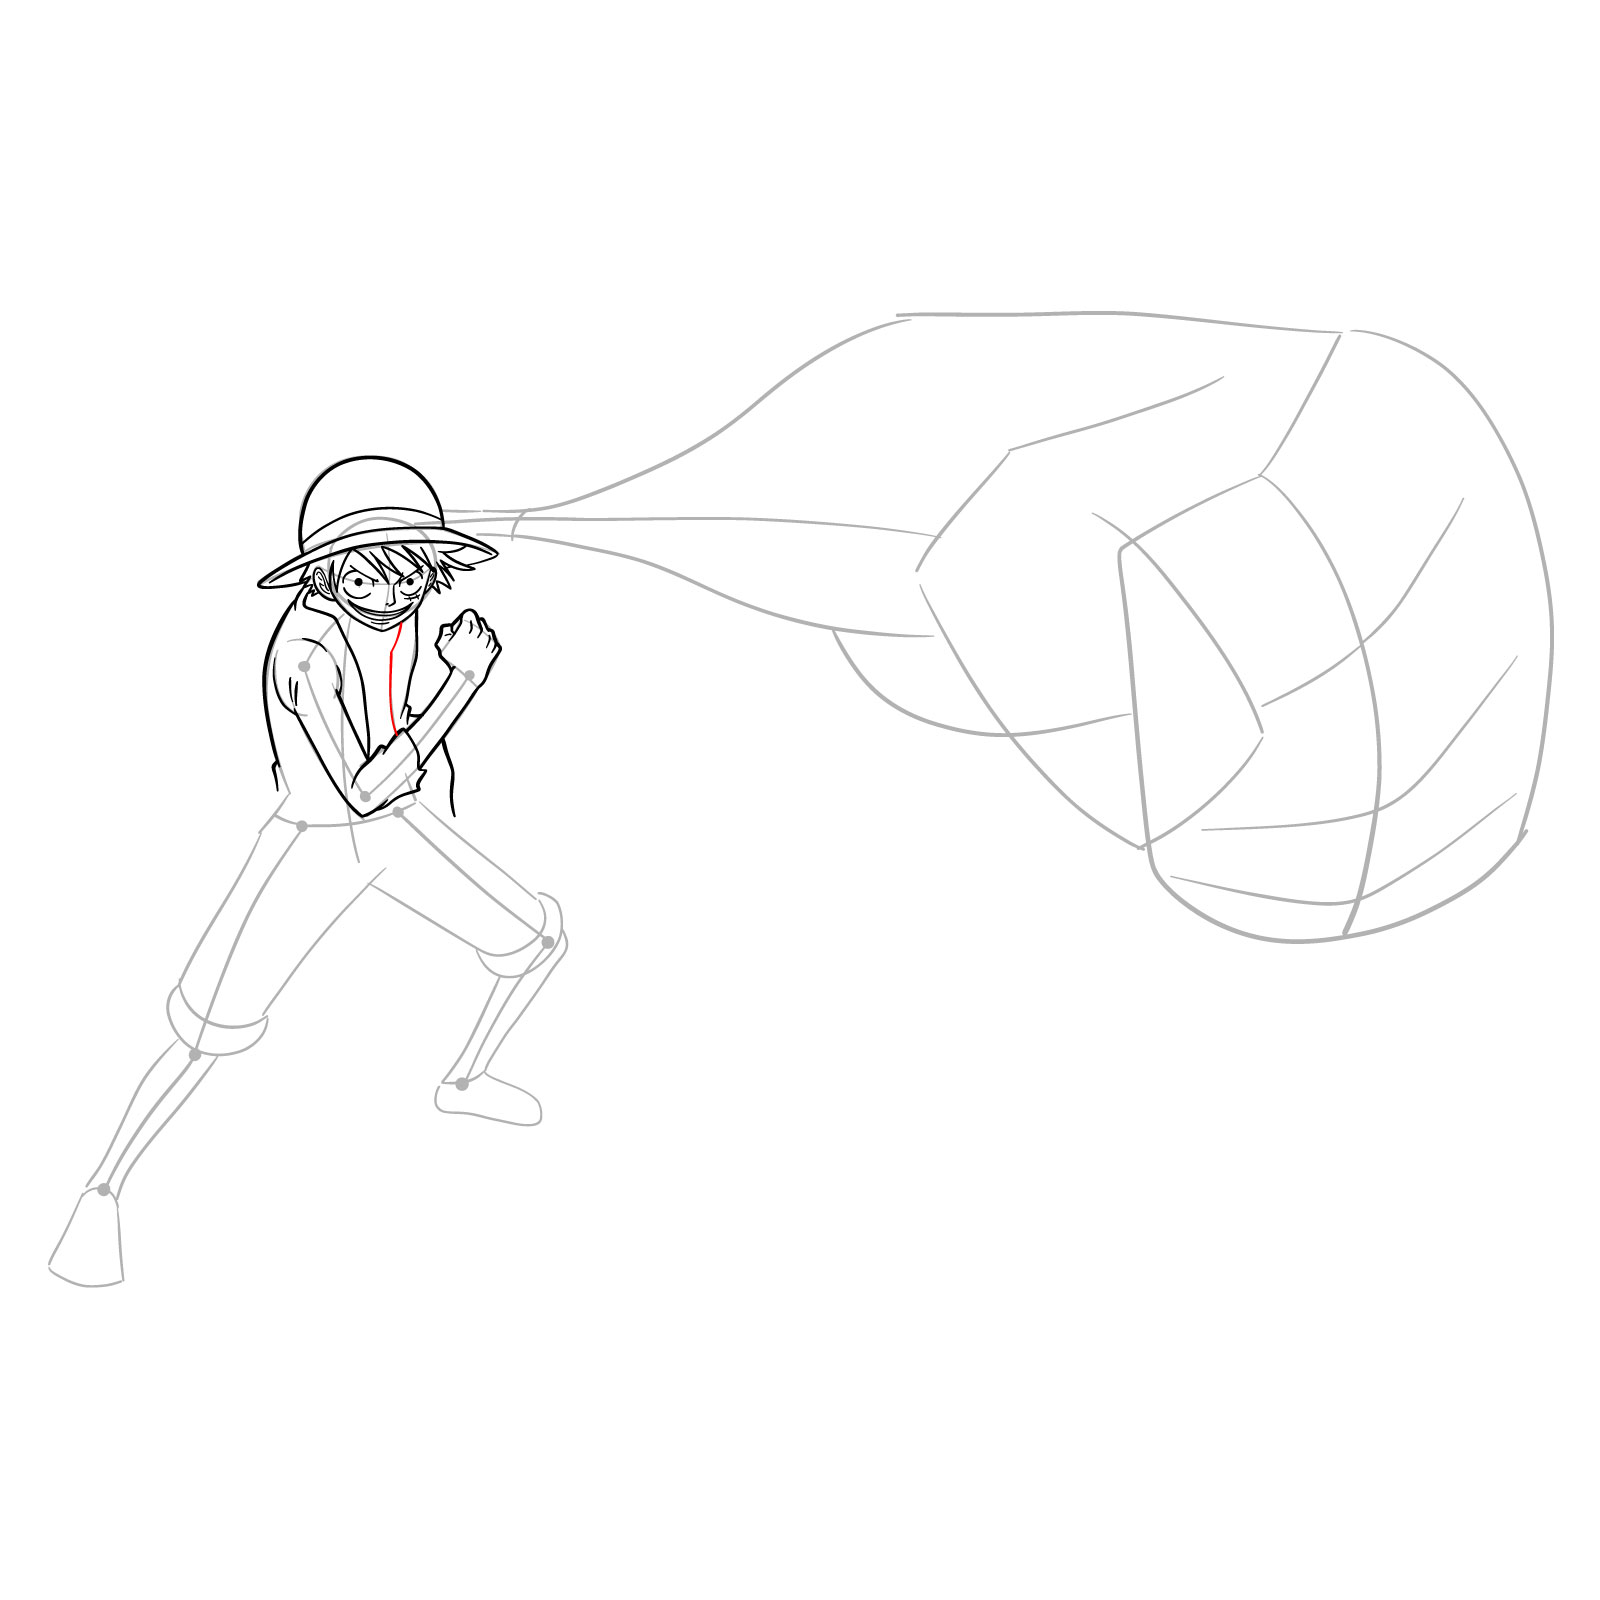
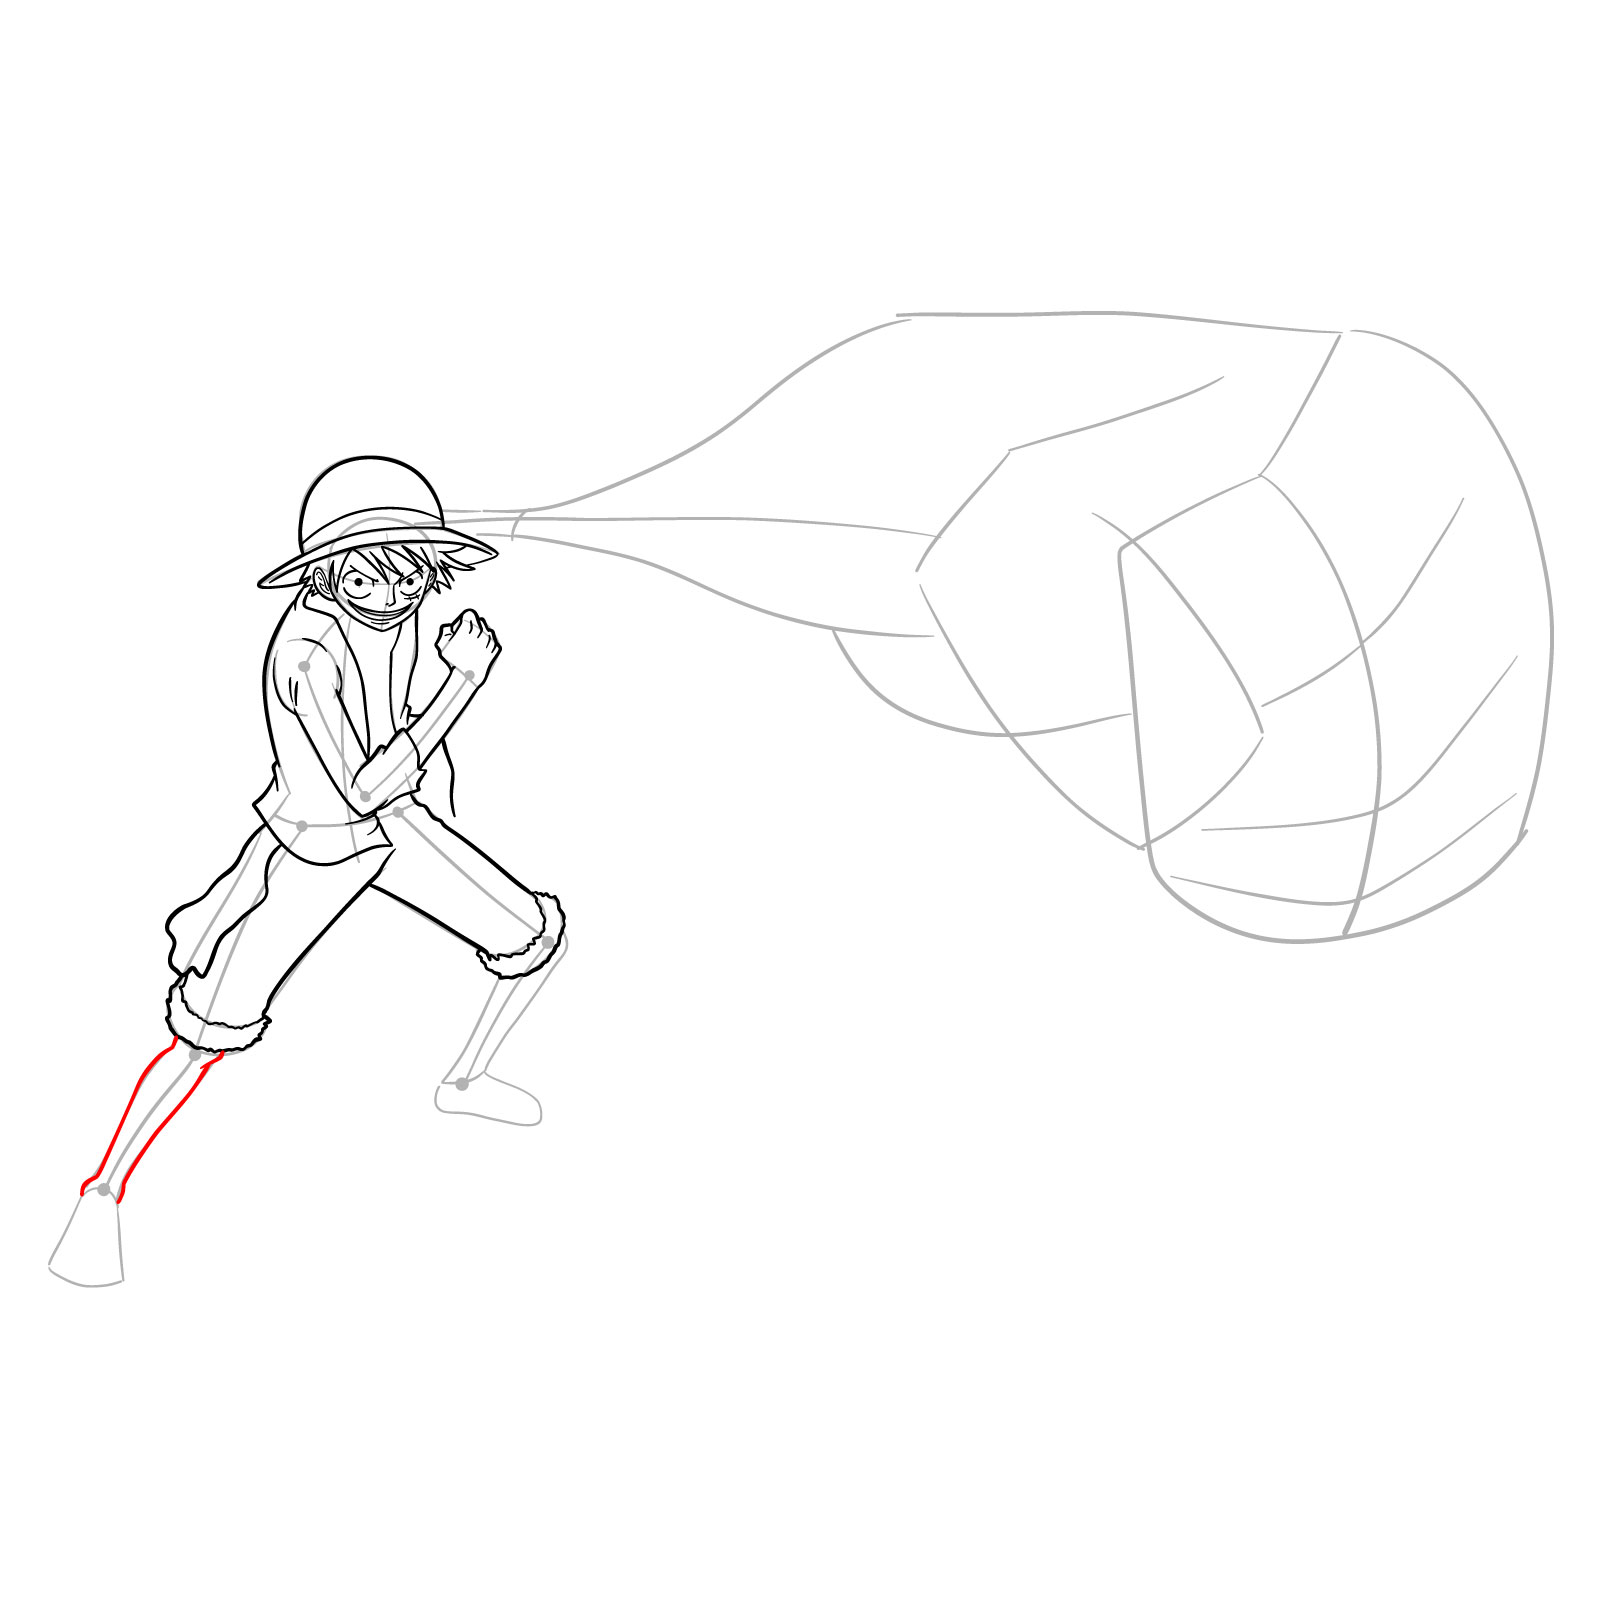
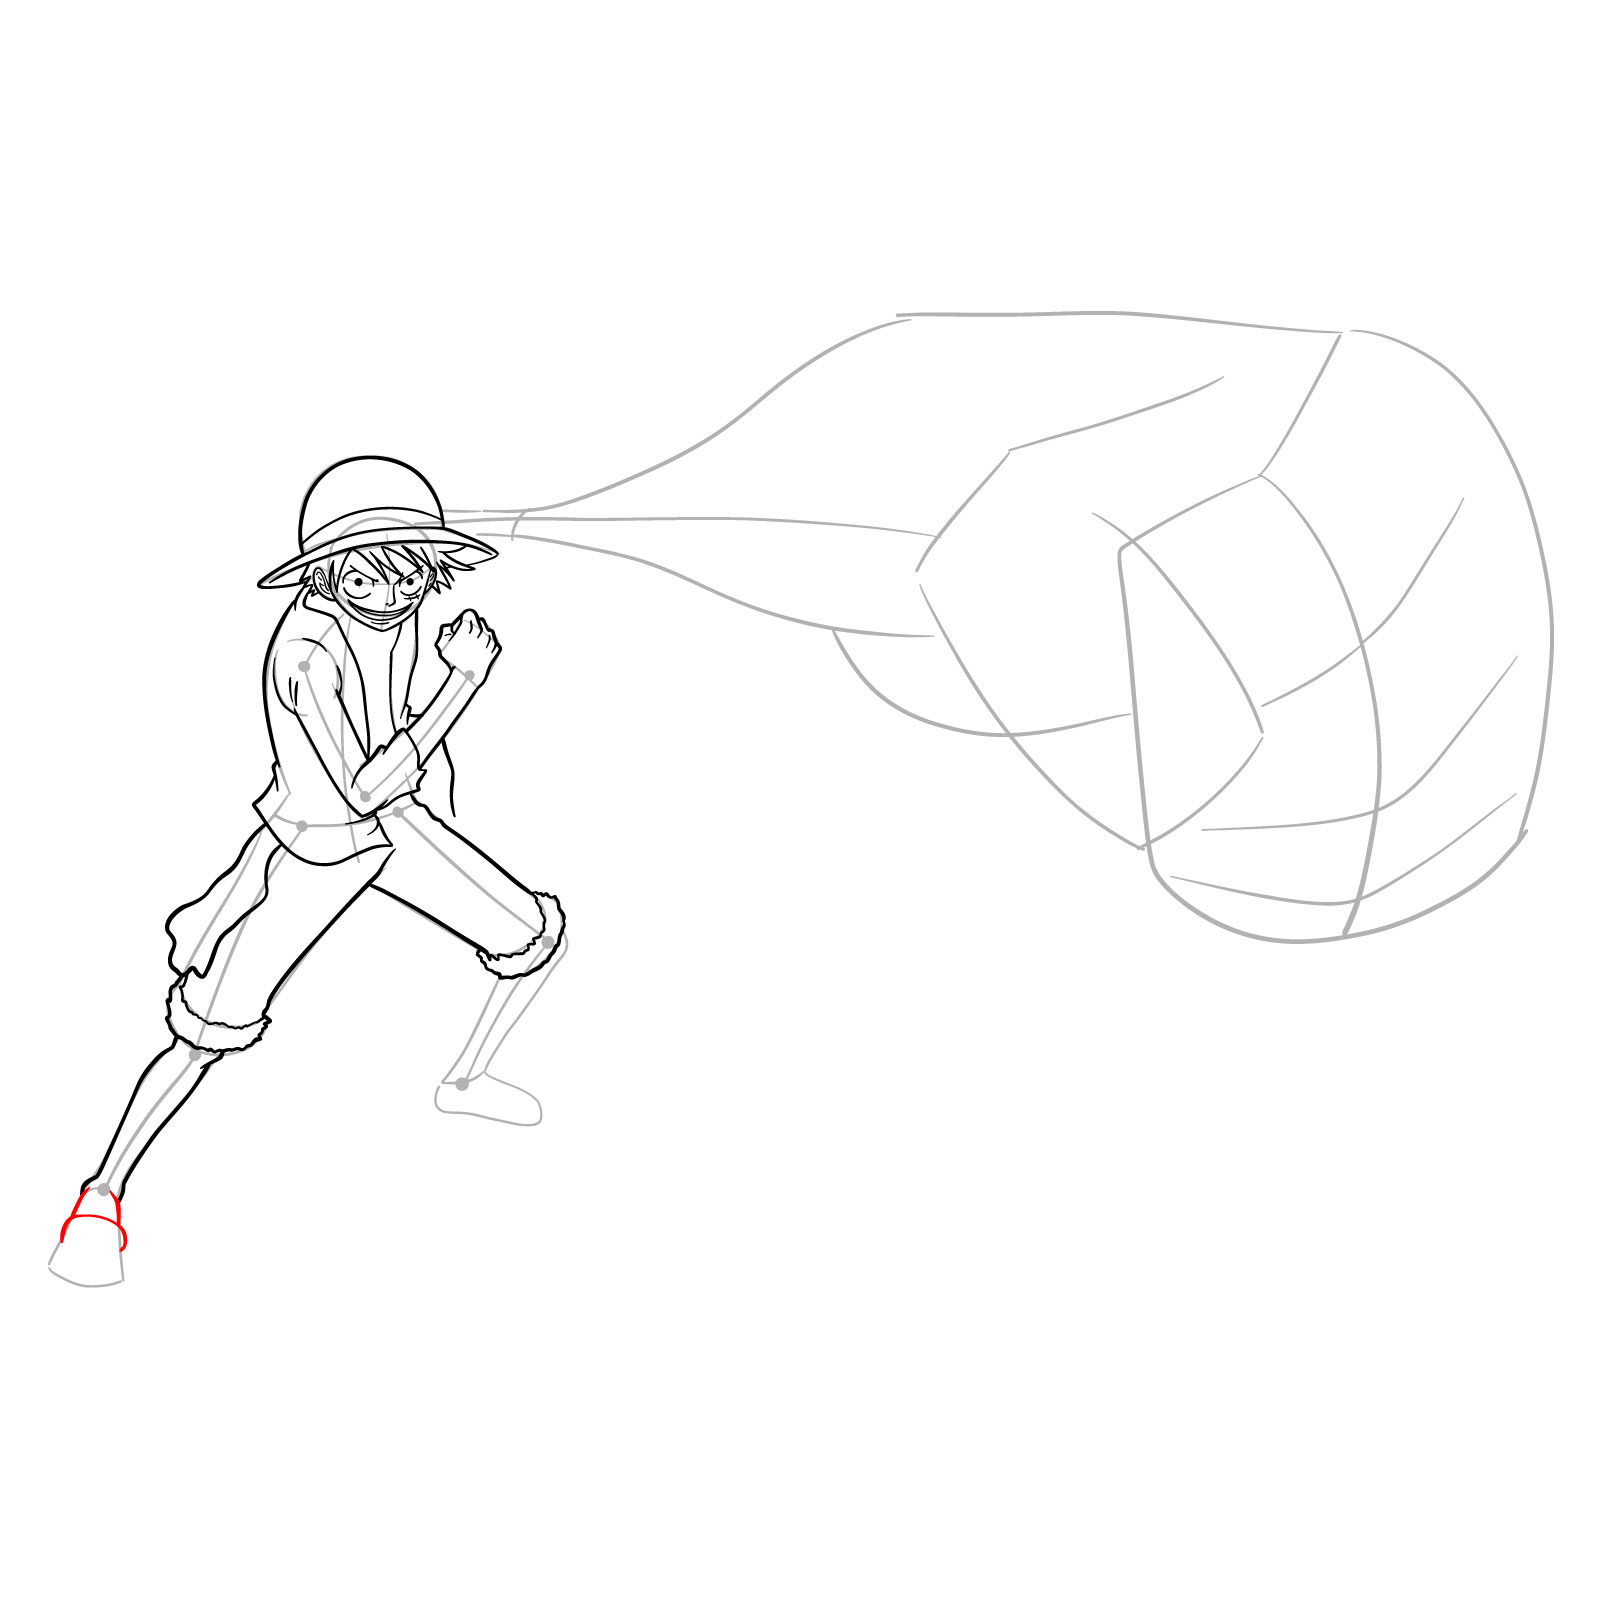
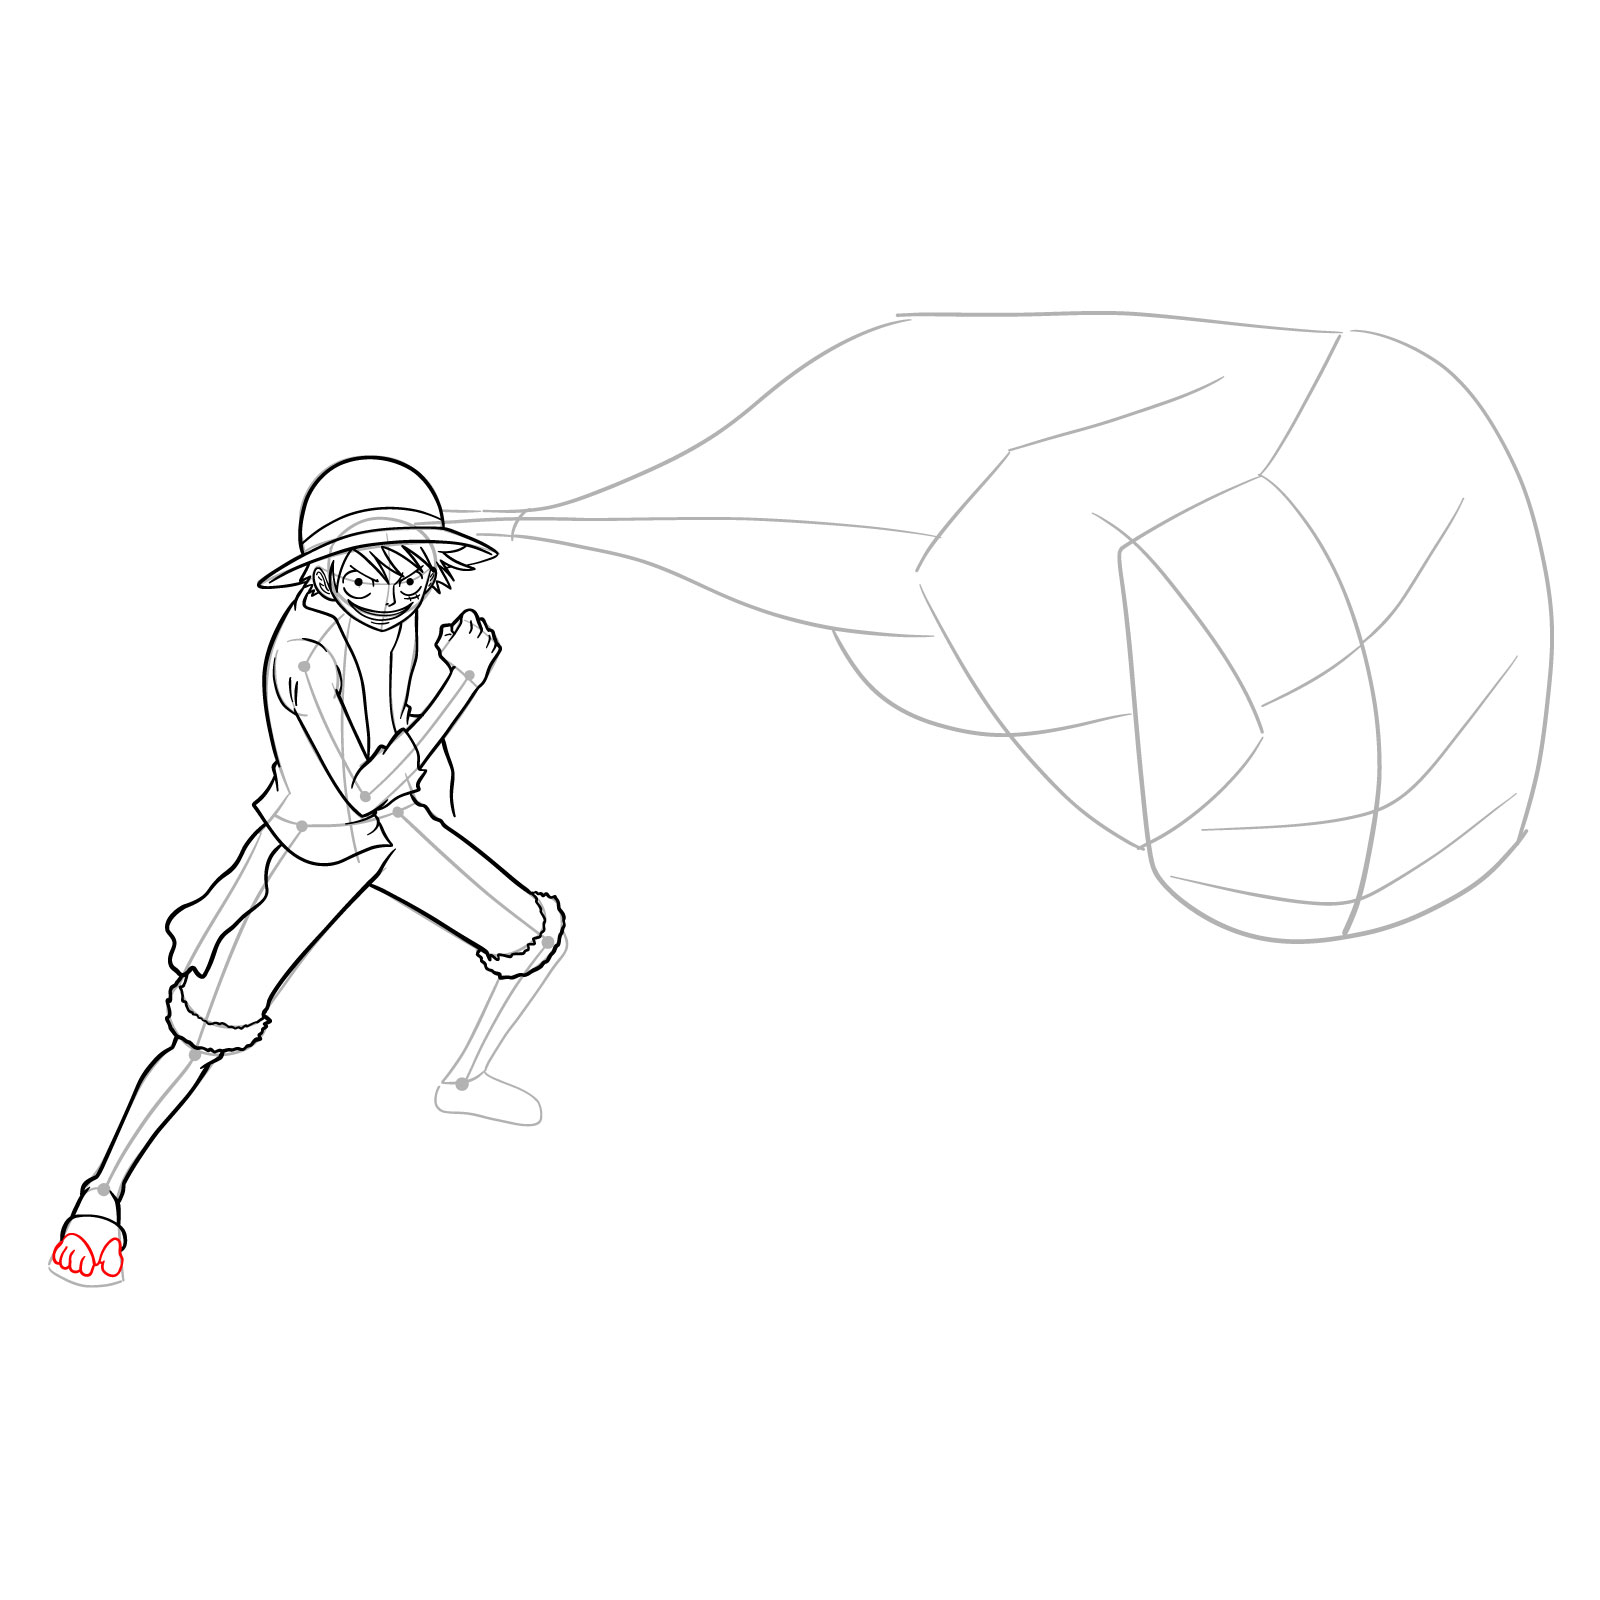
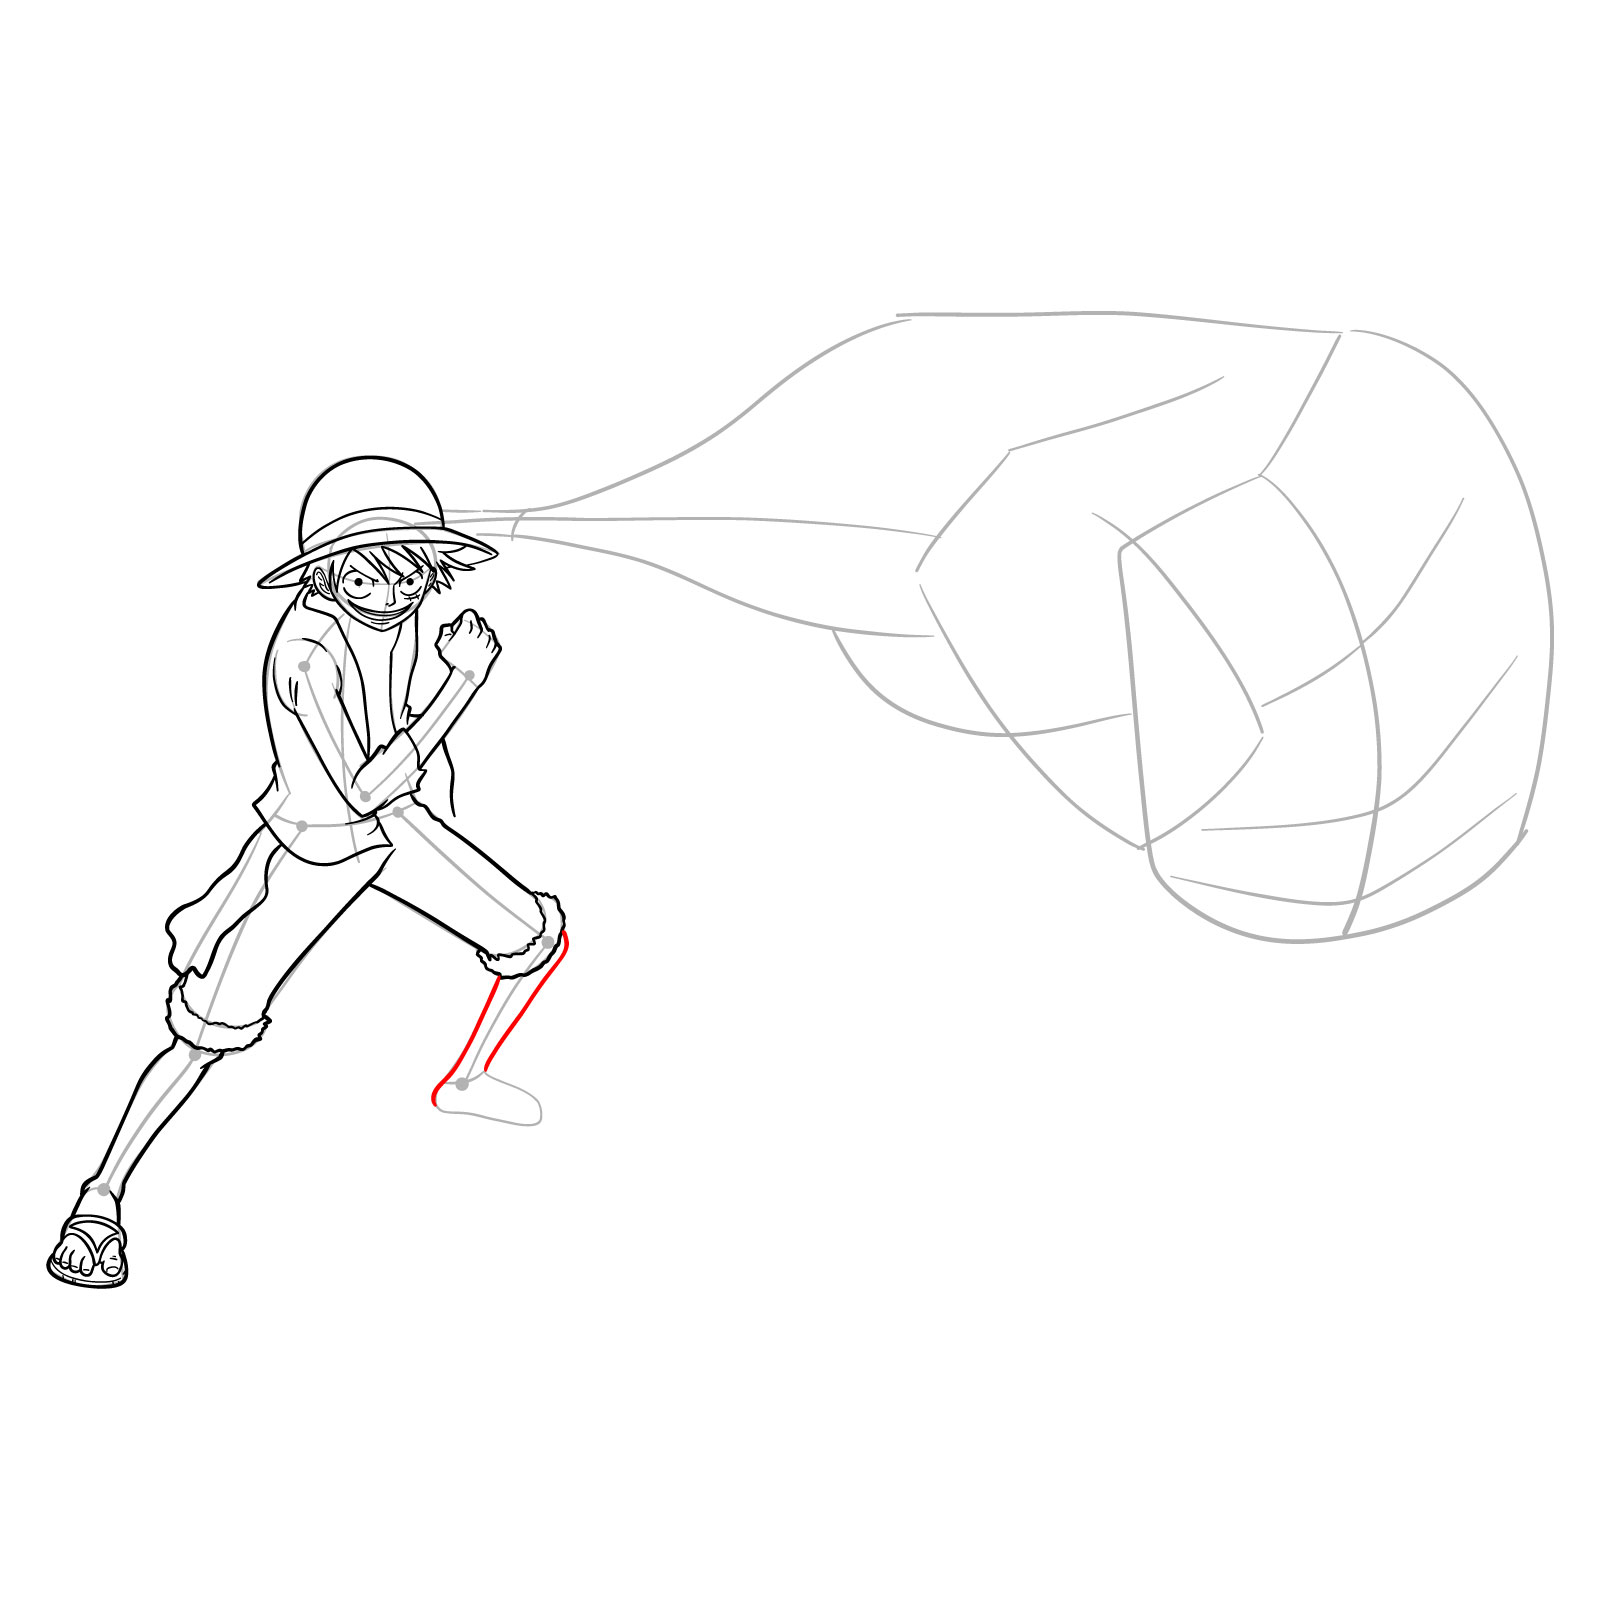
Get ready to dive into the process of drawing Luffy’s Third Gear with Armament Haki! This drawing guide will take you through 47 steps, unlocking the secrets behind capturing the immense power of this technique. Let’s begin our artistic adventure!
Color Guidelines: Bringing Your Drawing to Life
In this drawing guide, color plays the main role in visualizing the progression of your artwork. Here’s how the color scheme is used:
- Red: Indicates the current step you should focus on. Follow the instructions carefully to bring your drawing to the next level.
- Black: Represents the completed steps. As you finish each step, it will be marked in black in the next image to track your progress.
- Grey: Depicts the basic proportional sketch. This initial framework serves as a guide to ensure accuracy in your drawing.
By following these color guidelines, you’ll have a visual roadmap to guide you through the intricate process of learning how to draw Luffy’s Third Gear with Armament Haki. So, grab your pencils and let’s get started!


Now that you’ve worked through how to draw Luffy’s Third Gear with Armament Haki, you’ve got one of the most powerful and visually intense forms in One Piece under your belt. If you prefer watching someone draw rather than reading steps, the SketchOk YouTube channel regularly uploads drawing videos that might help you refine your technique. And when you’re happy with how Luffy turned out, drop your result in the comments of the pinned Pinterest post for this tutorial, it’s a great spot to see what other fans are drawing too.