Home » Cartoon Characters » Various » How to Draw the face of Stitch

How to Draw the face of Stitch

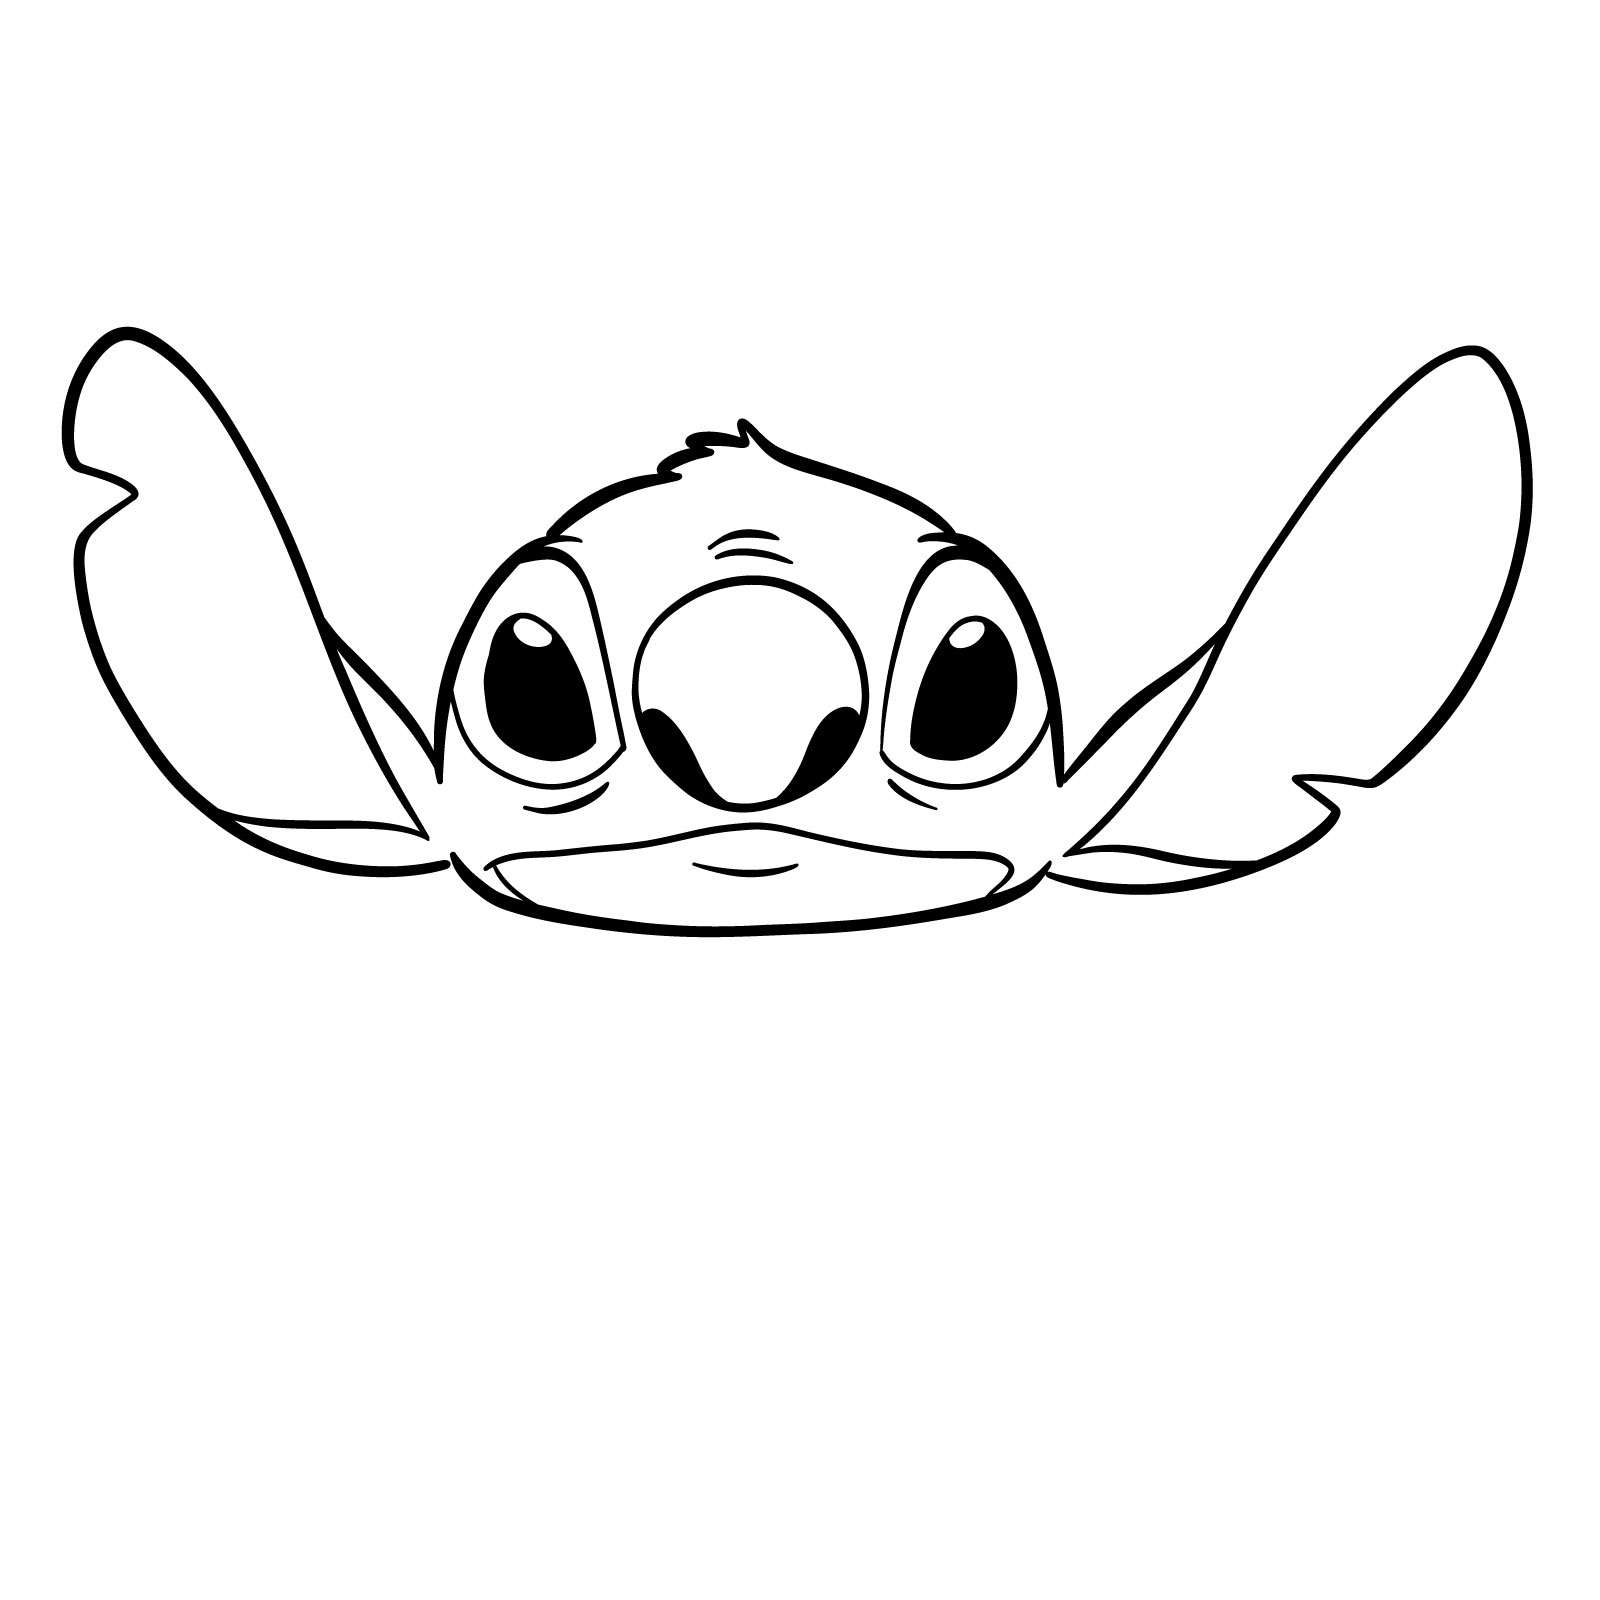
Aloha to all aspiring artists! Ever been mesmerized by the endearing and iconic face of Stitch? His captivating visage is a blend of whimsical features and expressive emotions. But here’s some exciting news: Stitch is back with a little fix! In this revamped guide, we will be focusing on drawing his face with distinct ear notches – one on the top of his right ear and another on the bottom of his left. This subtle detail sets apart this sketching session from our previous one.

The Distinctive Features of Stitch

  • A blue-furred, koala-inspired appearance with aqua countershading surrounding his eyes and flowing from his chin to his stomach.
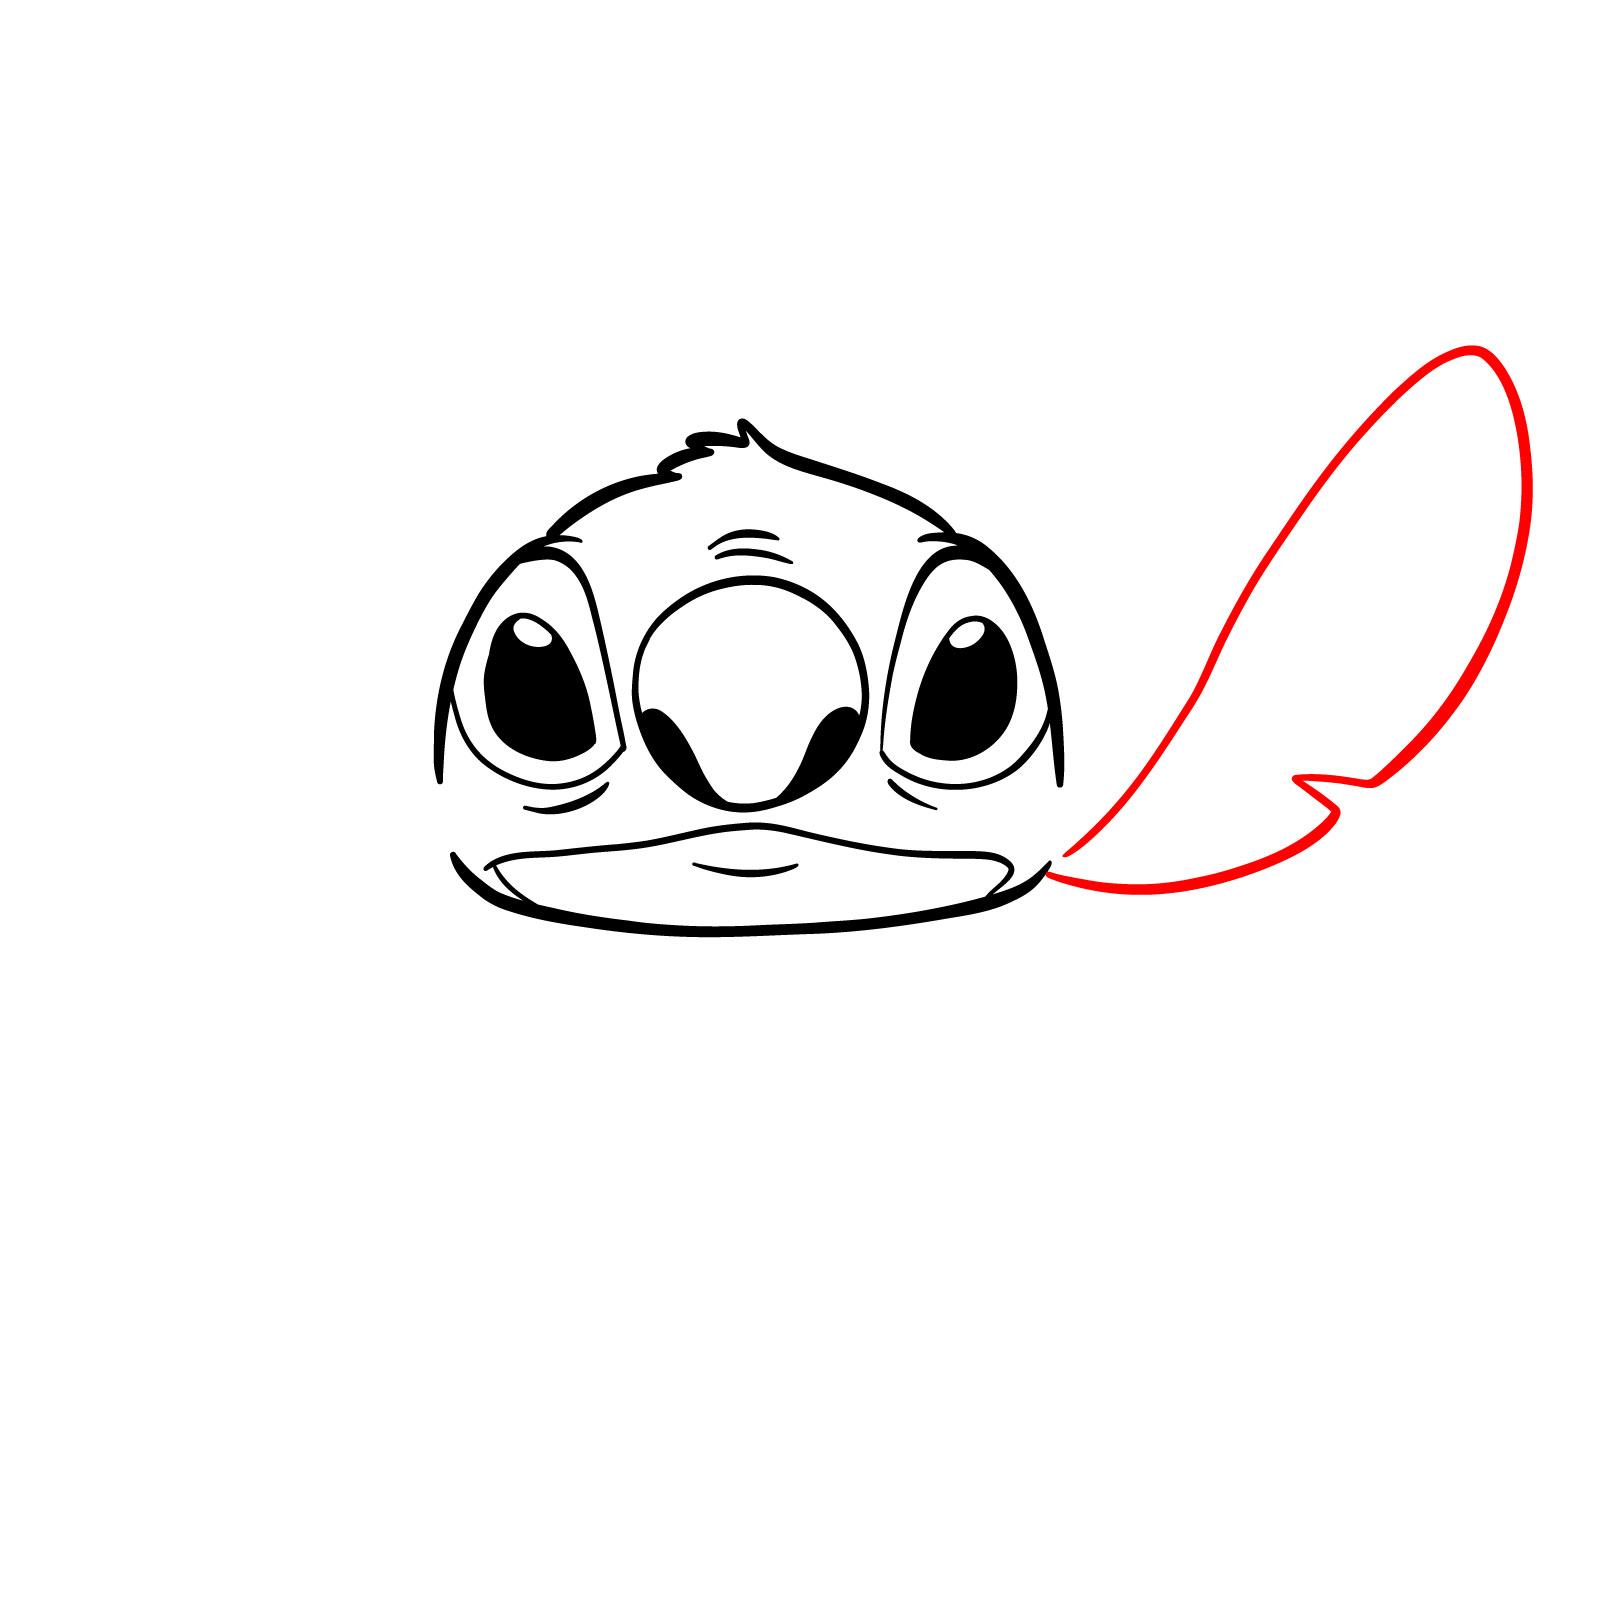
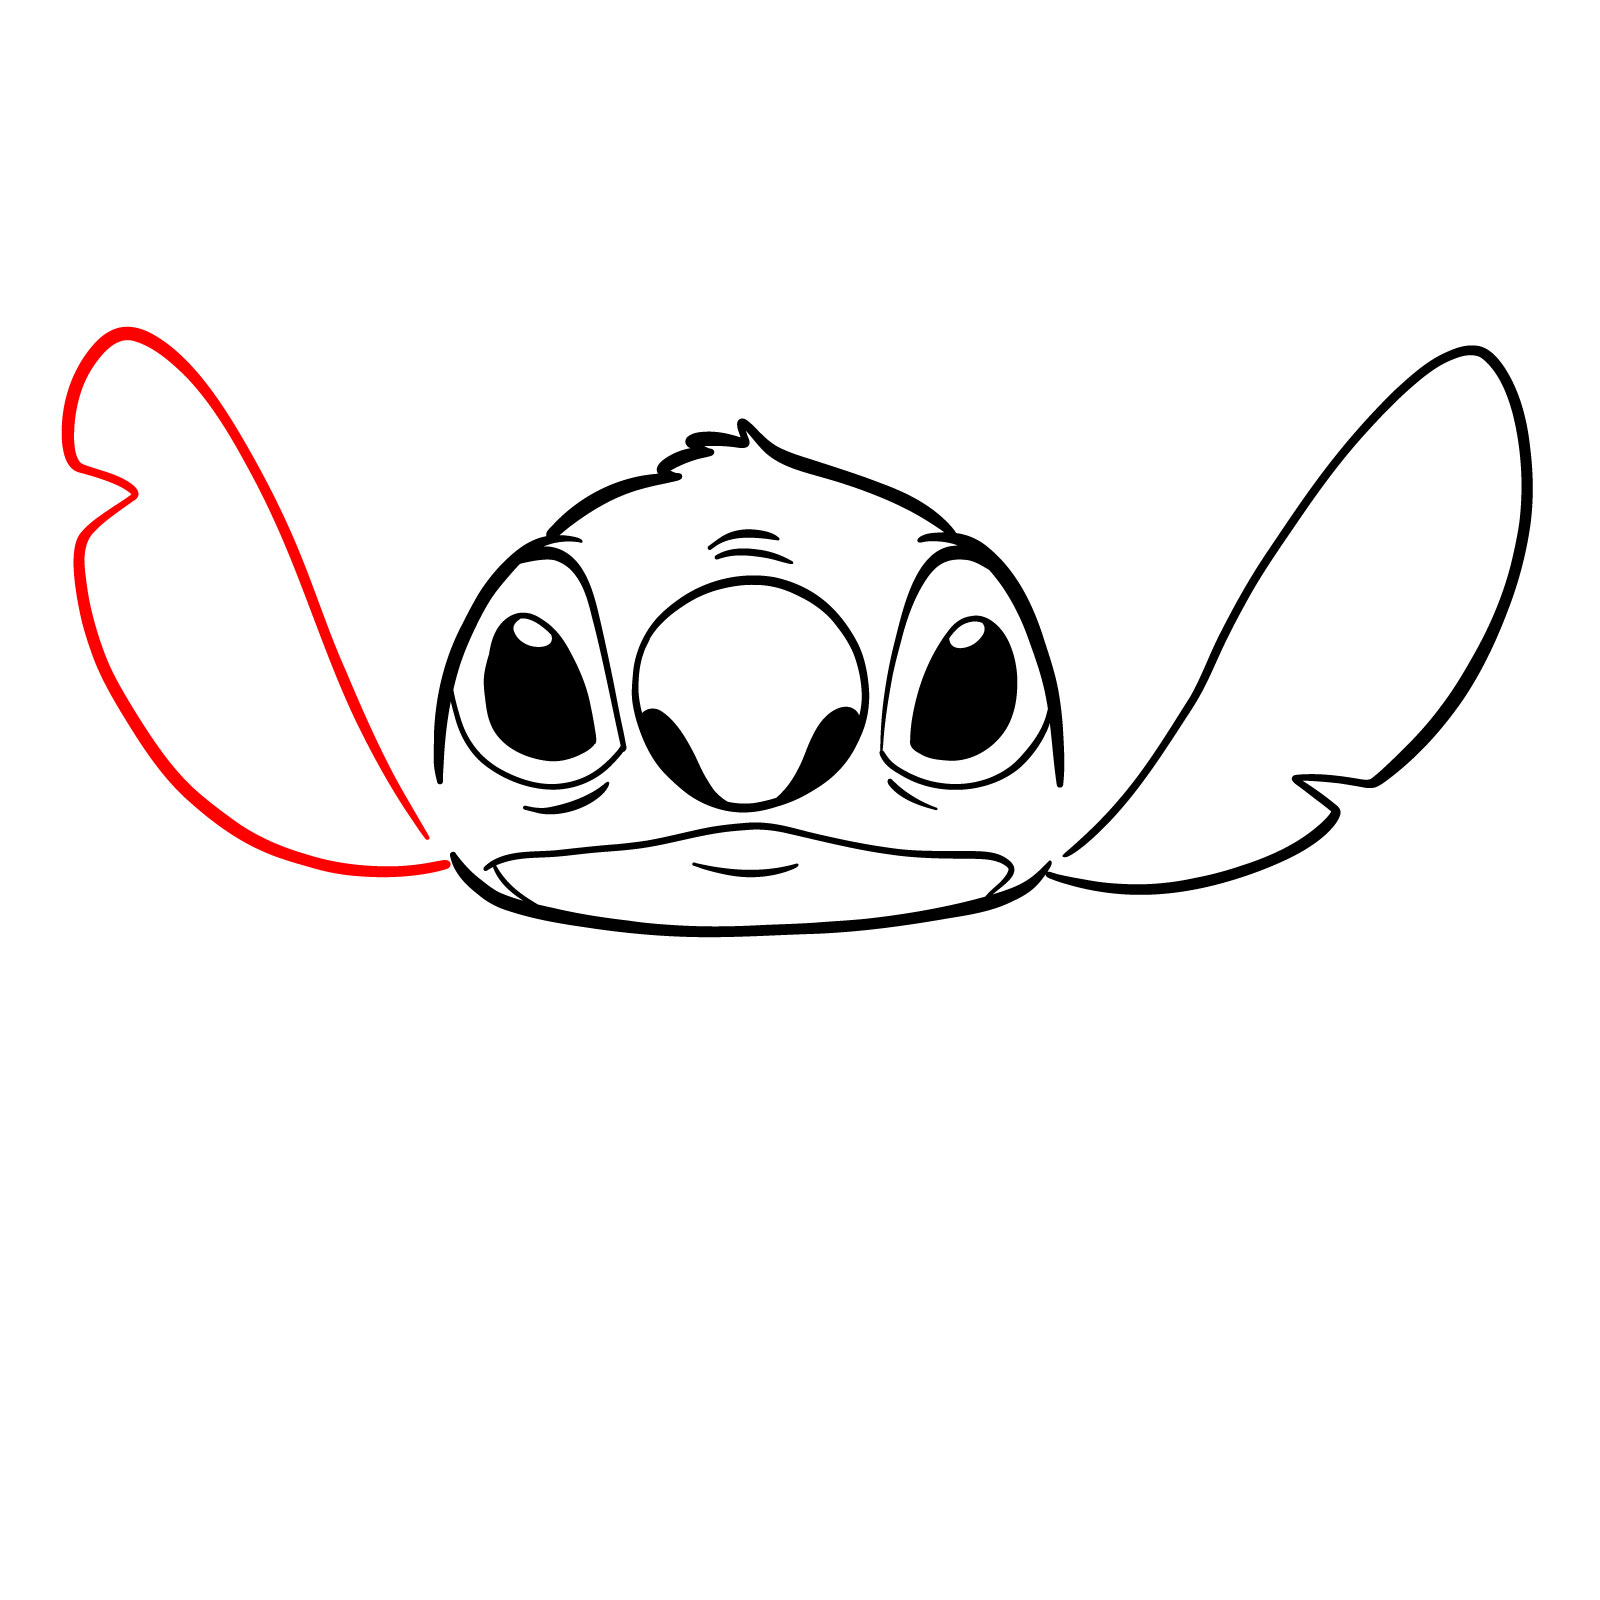
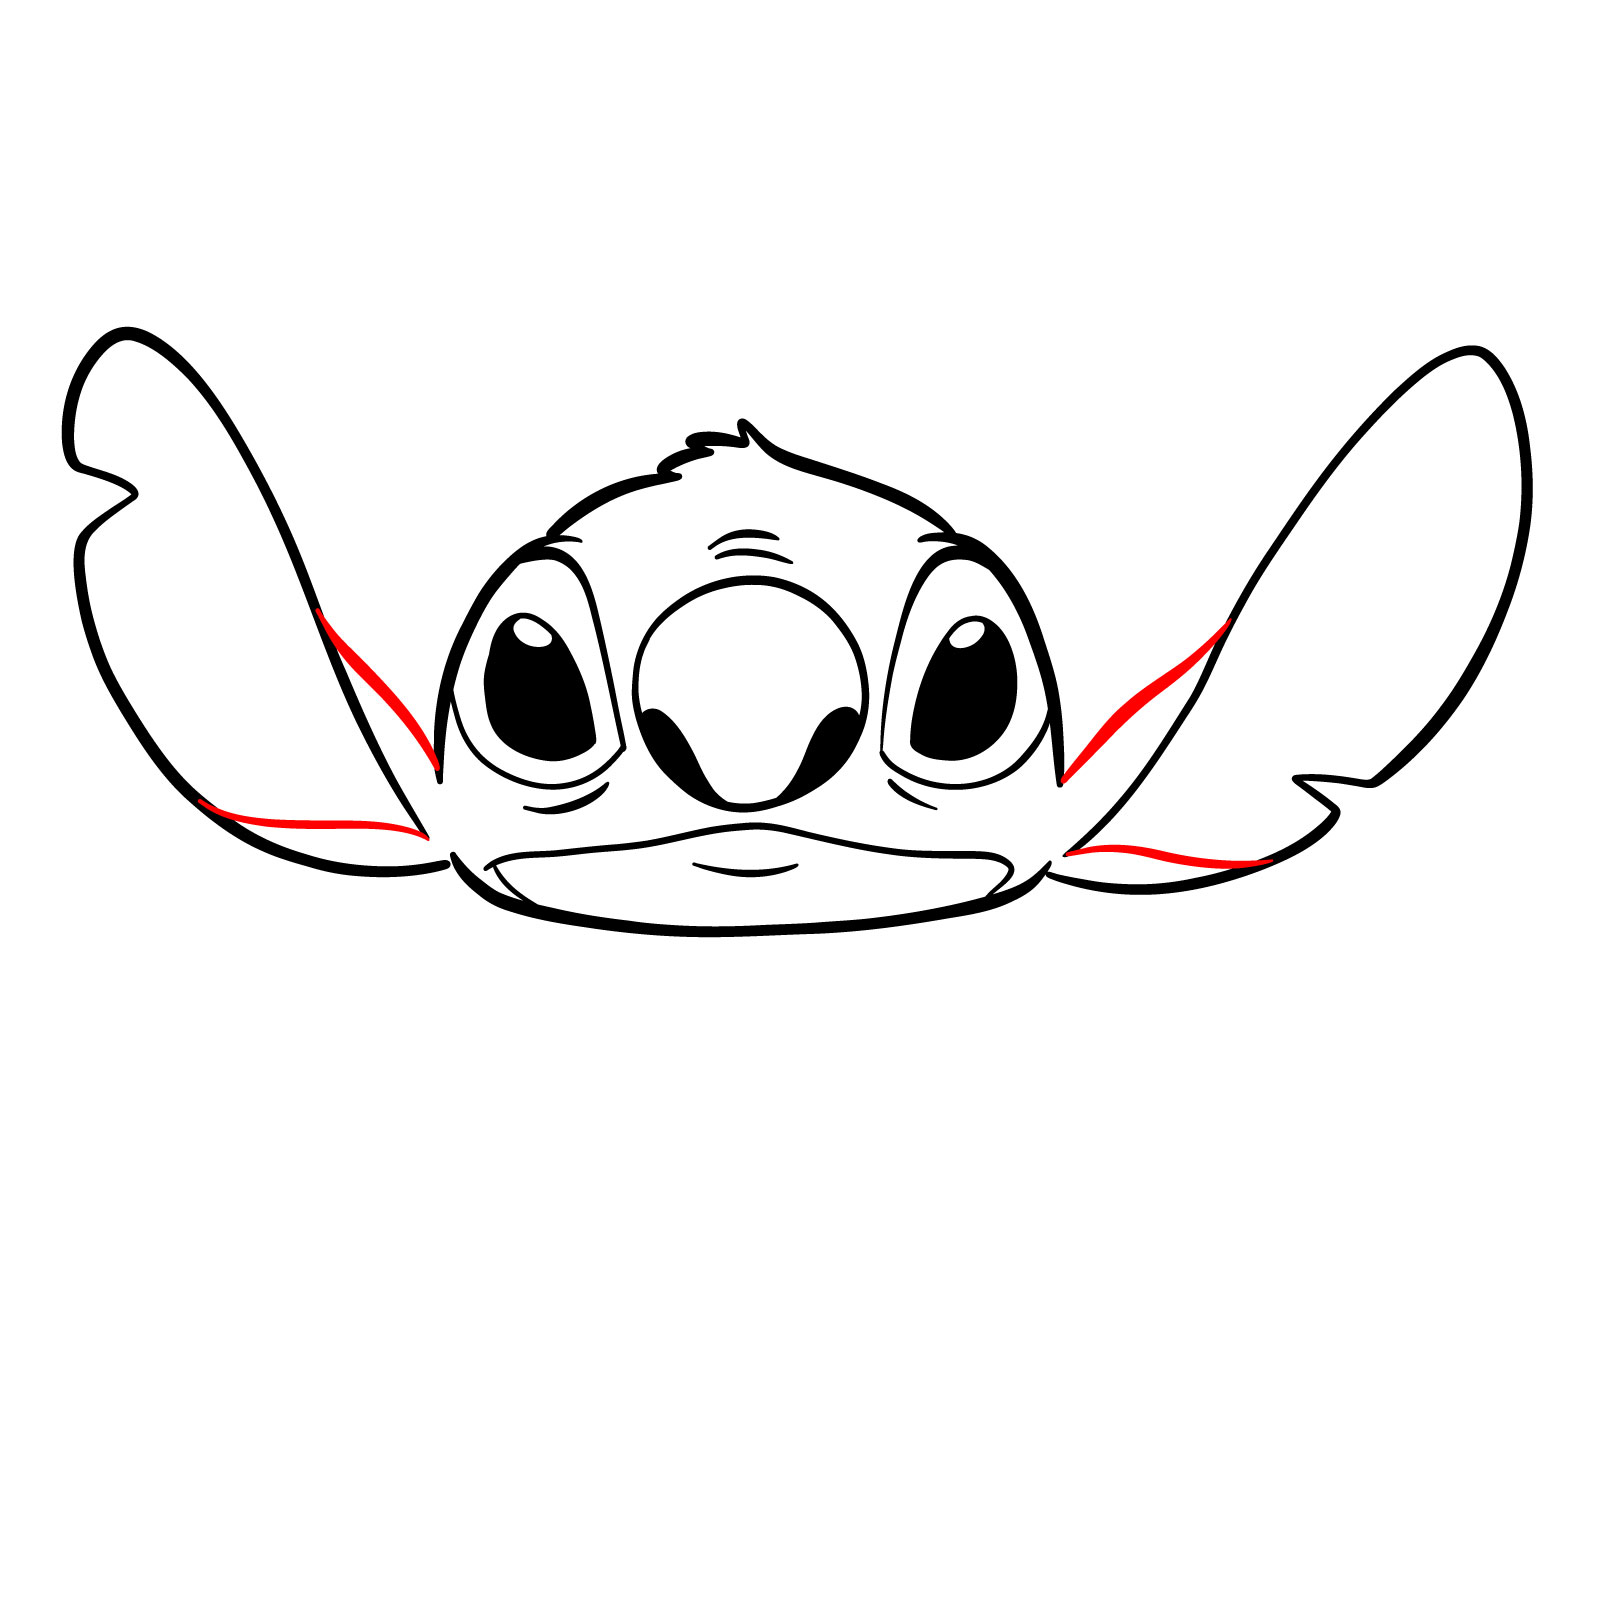
  • Large rabbit-like ears with distinct notches, each holding its unique place, which adds to his unique appearance.
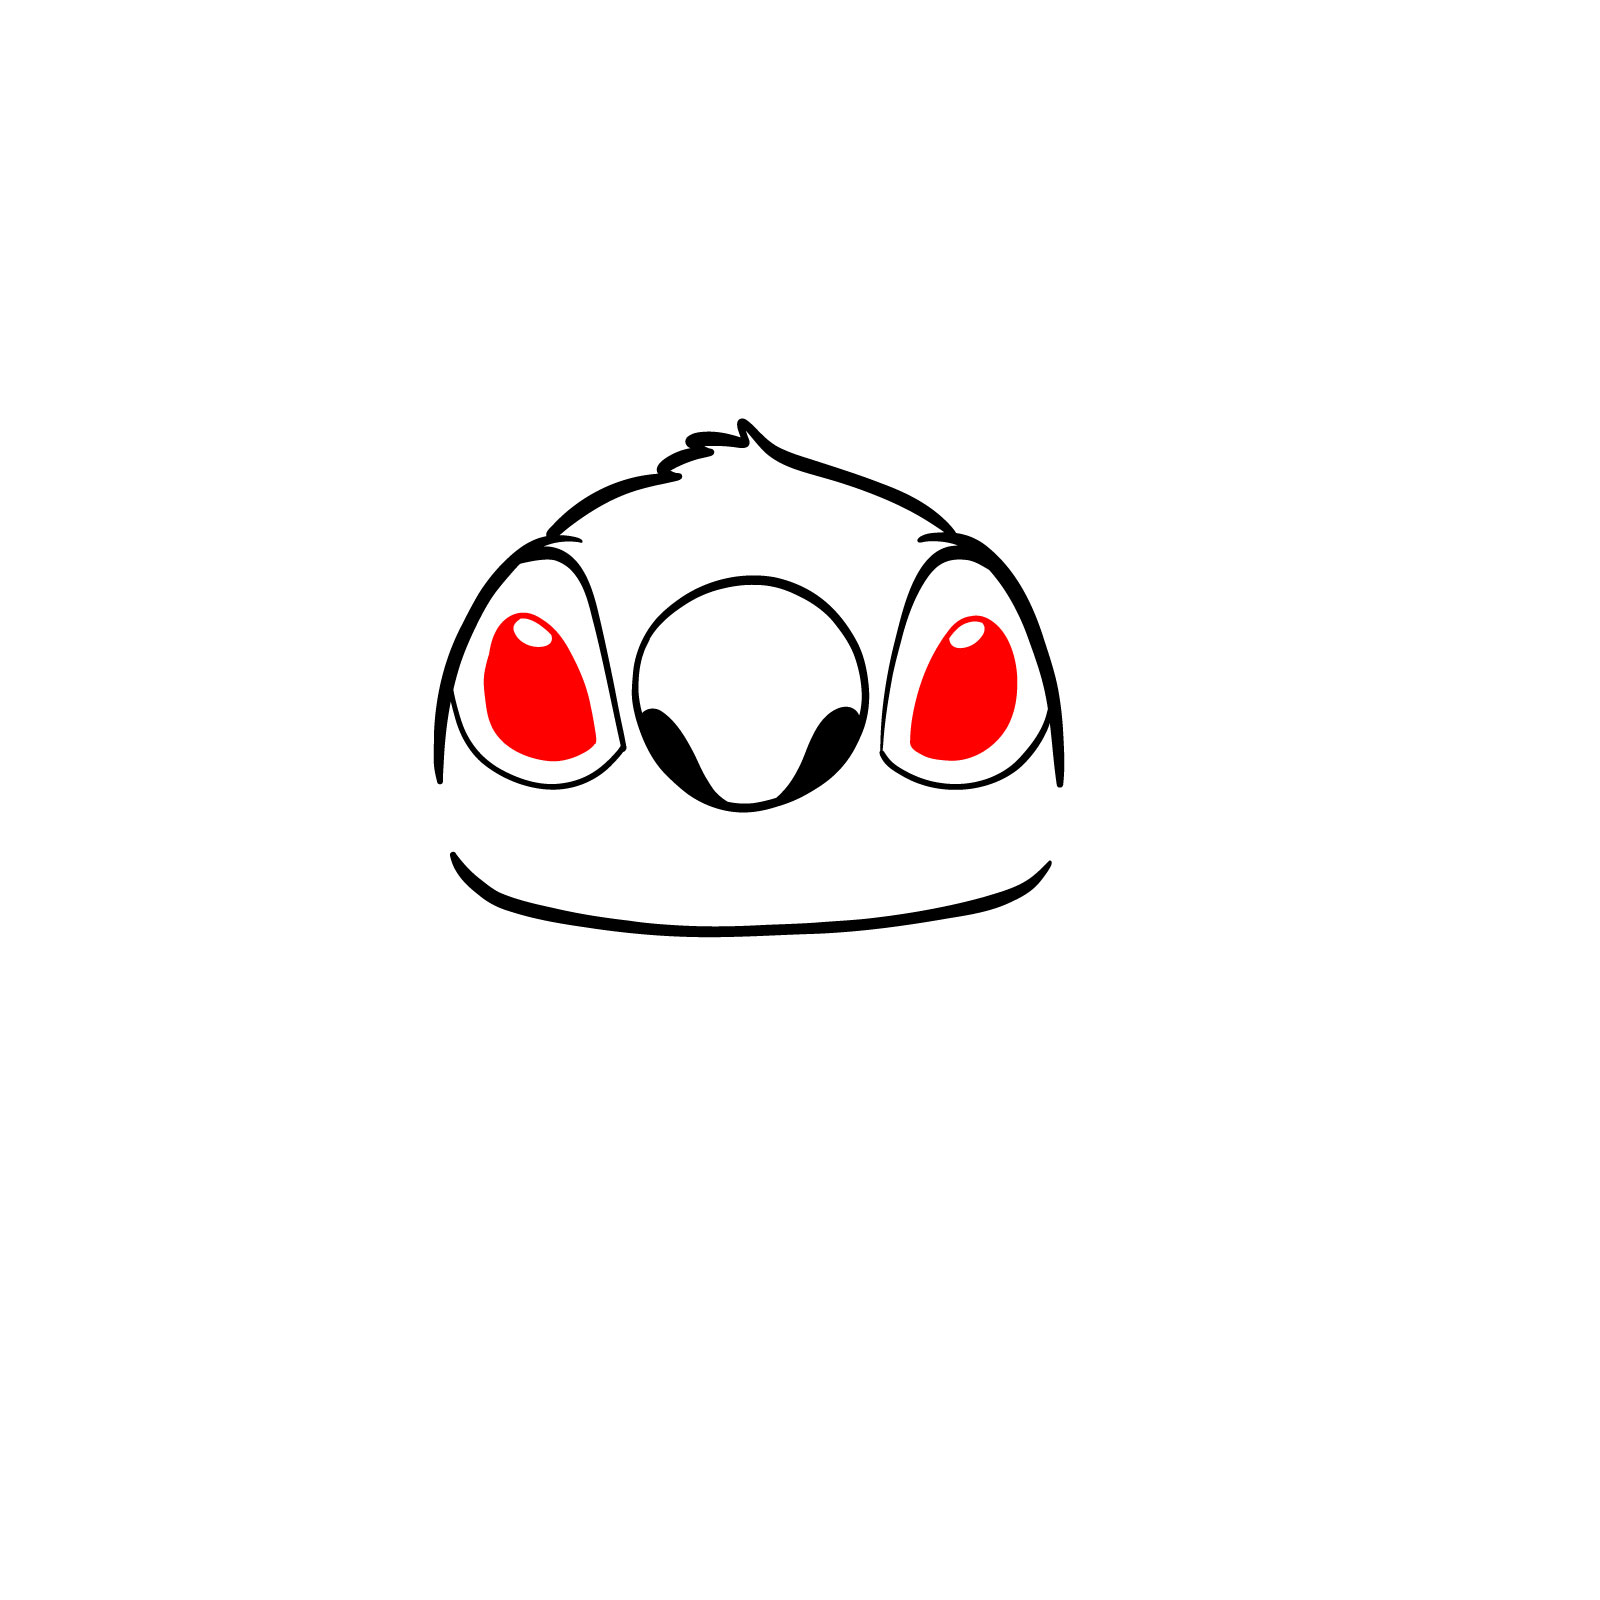
  • His expressive black eyes that can shift colors according to his vision modes, whether it’s night, infrared, x-ray, ultraviolet, or binocular vision.
  • Though he generally doesn’t adorn any attire, there have been instances in promotional materials where he sports a red flea collar with a gold name tag.
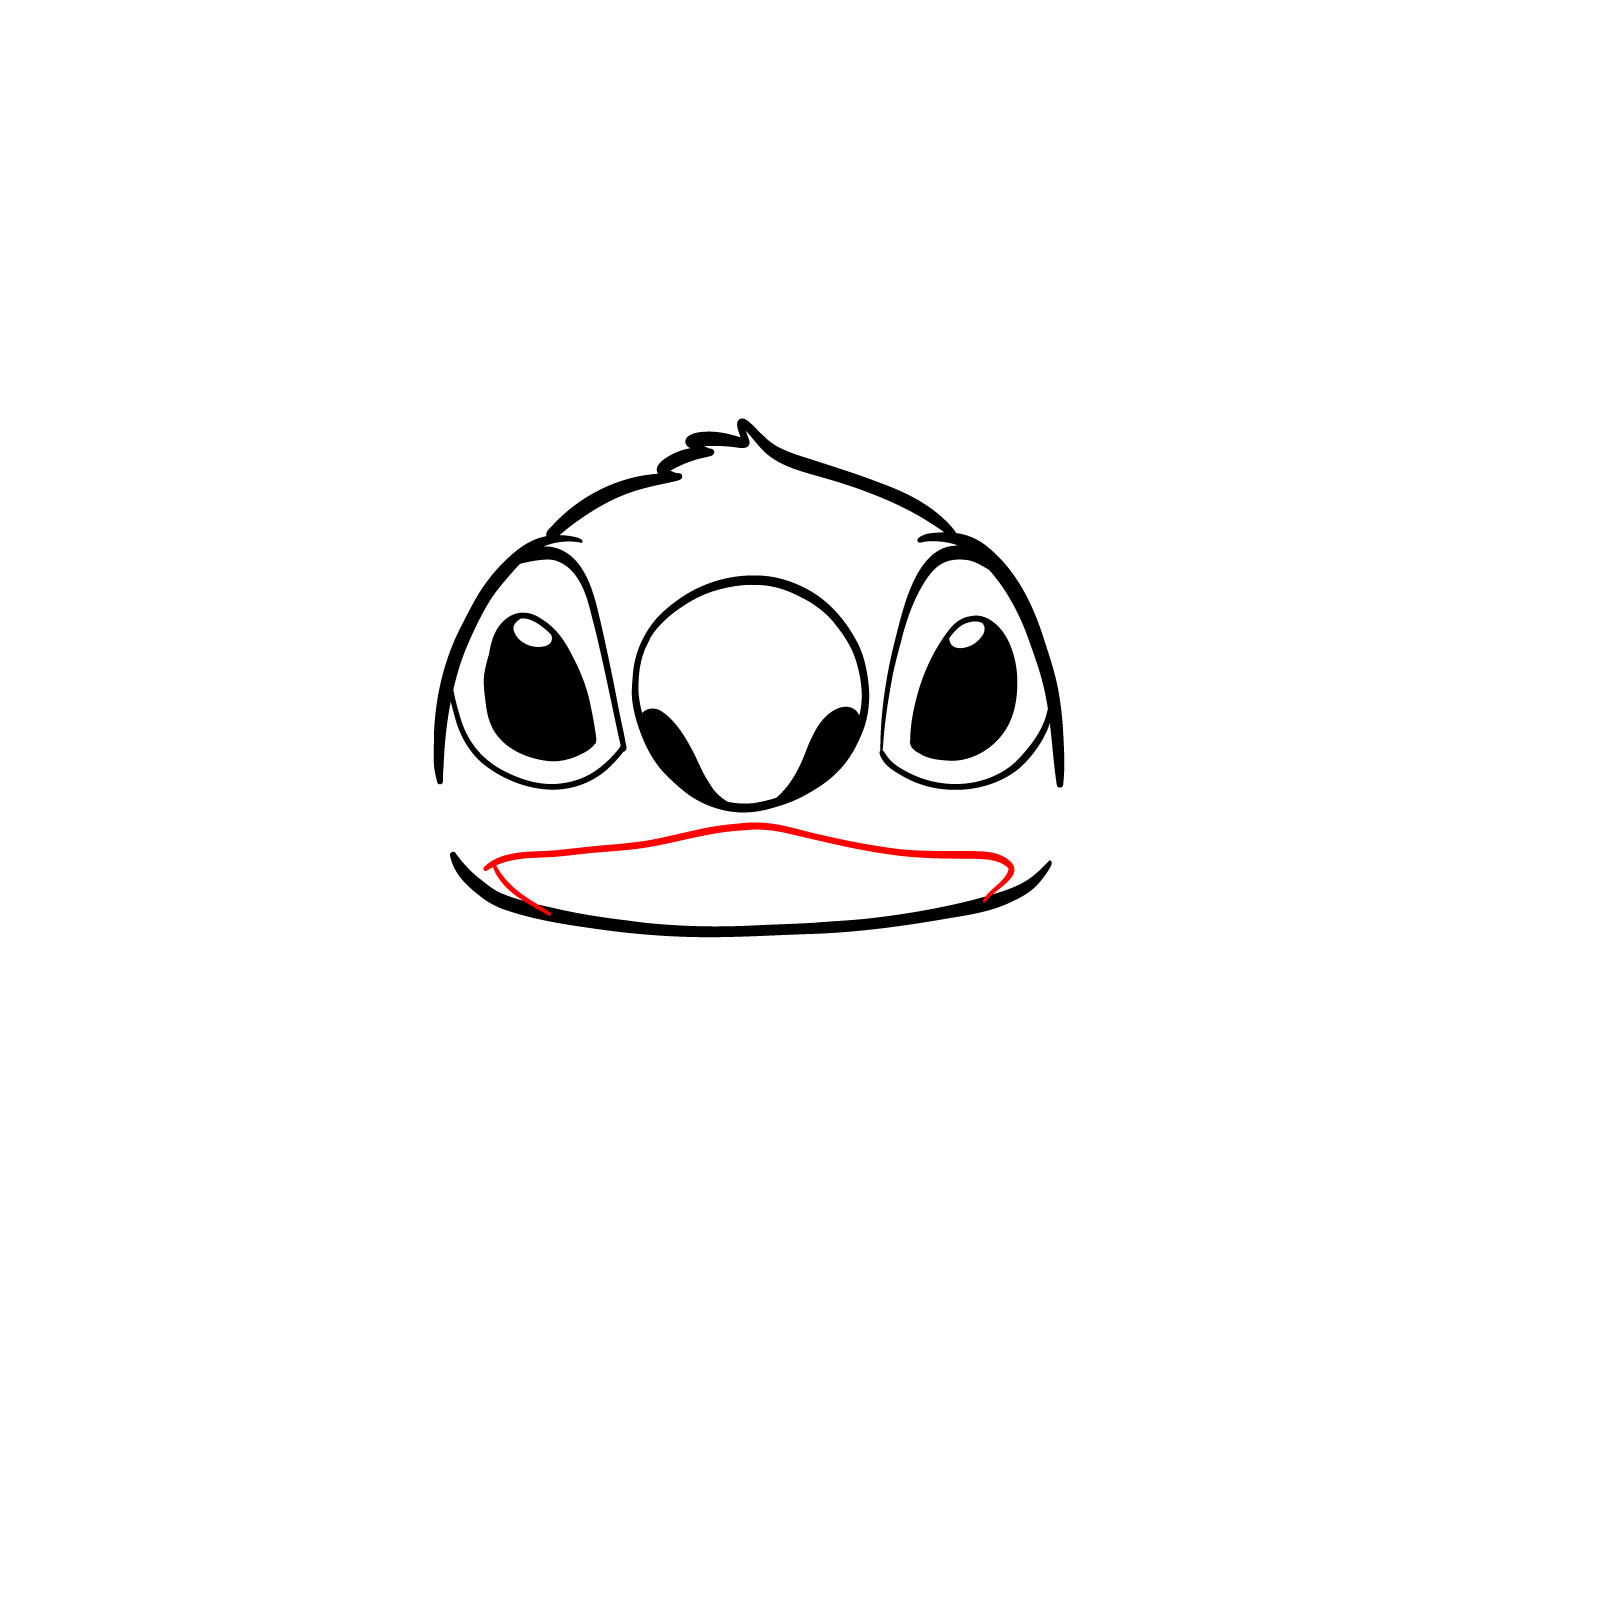
  • And of course, his infectious smile lined with sharp teeth, which may come off as intimidating to many.

If you want to expand your portfolio with other Stitch drawings, why not sketching him in full growth or adding Lilo to the illustration?

About this Step-by-Step Guide

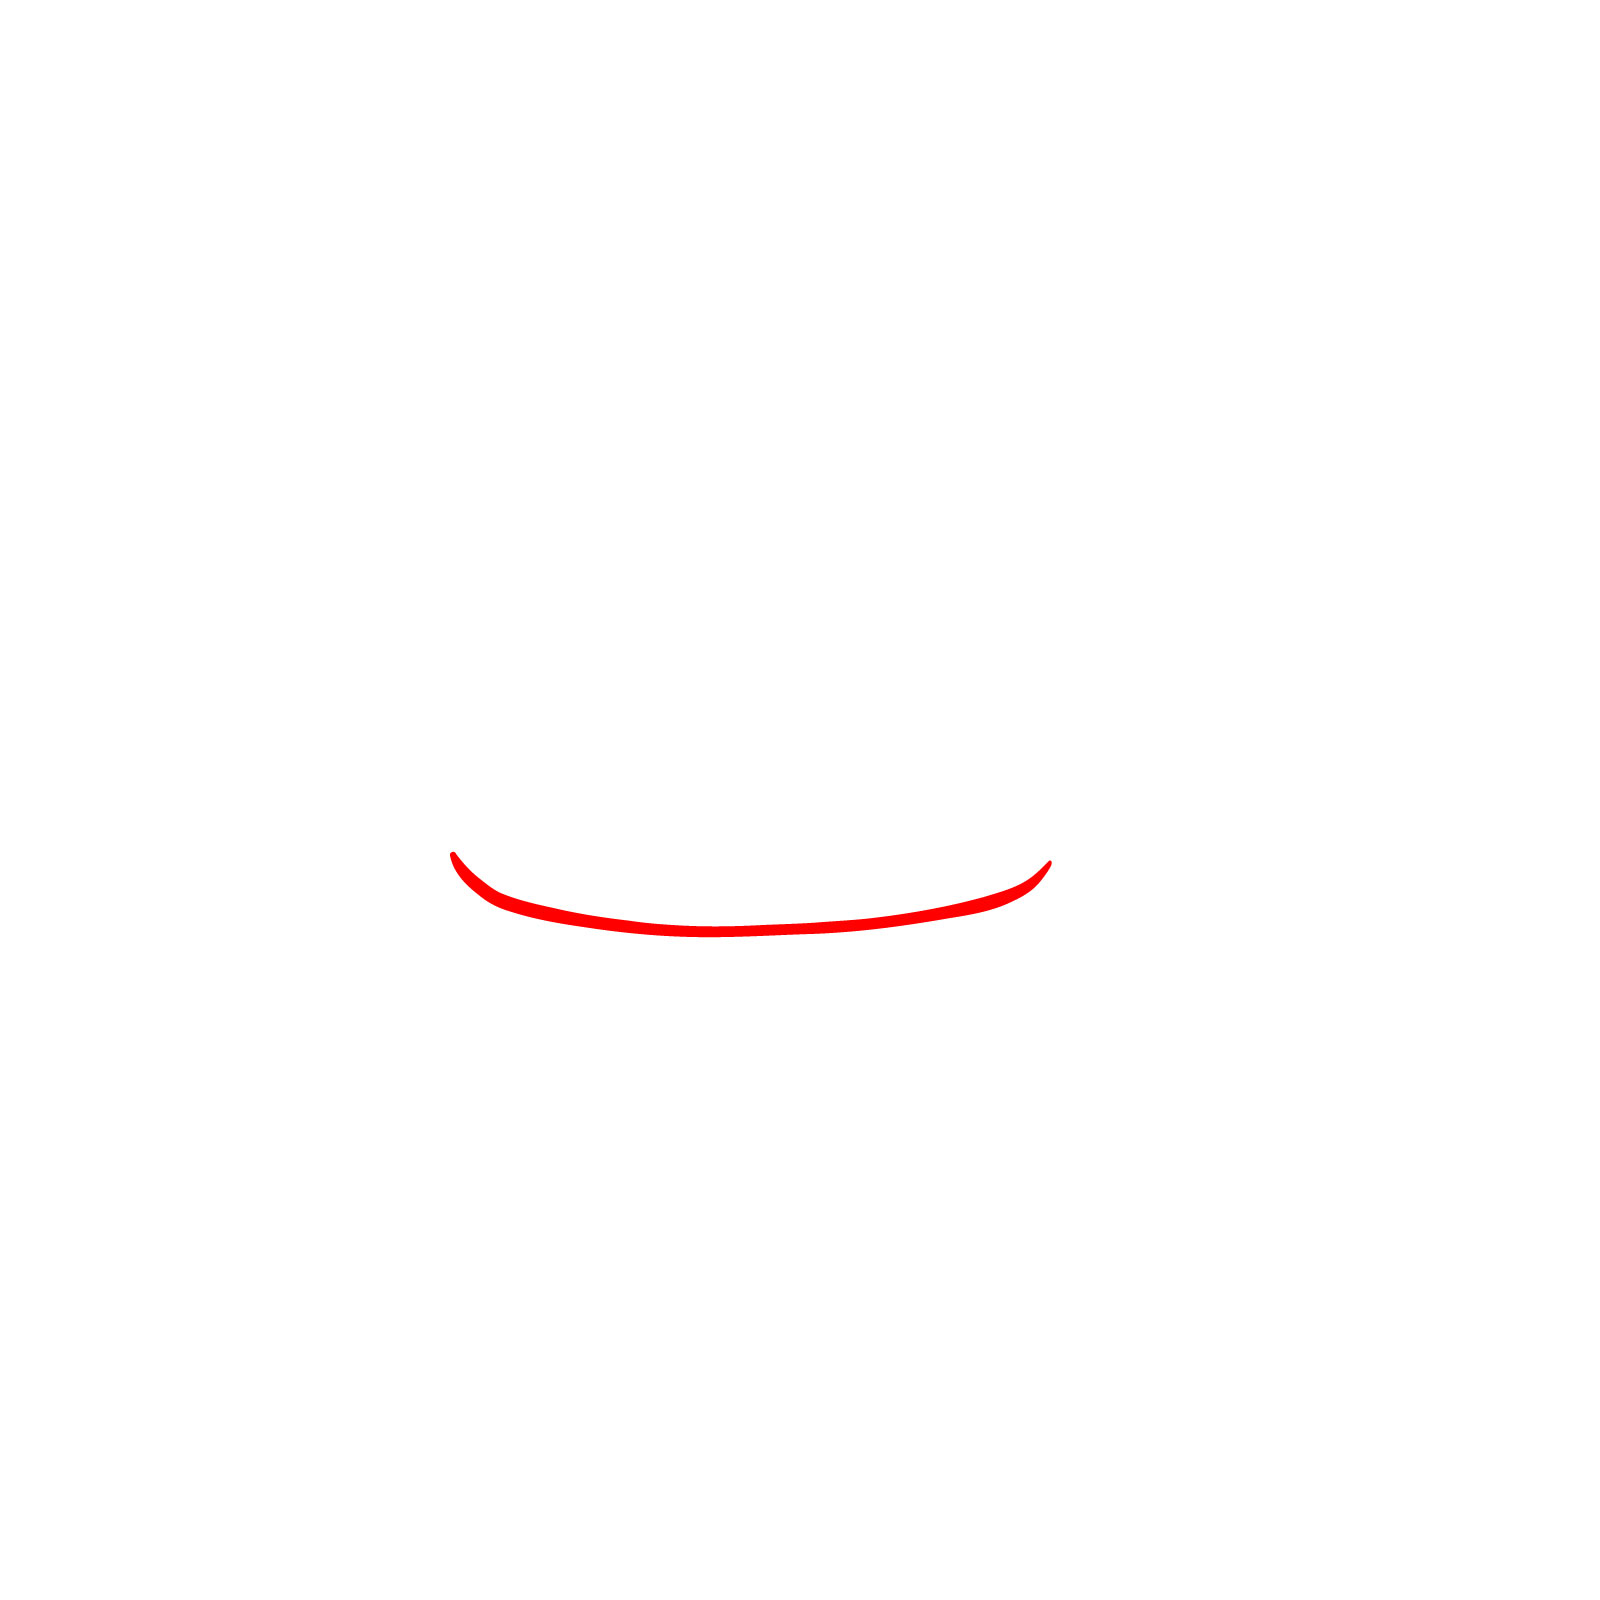
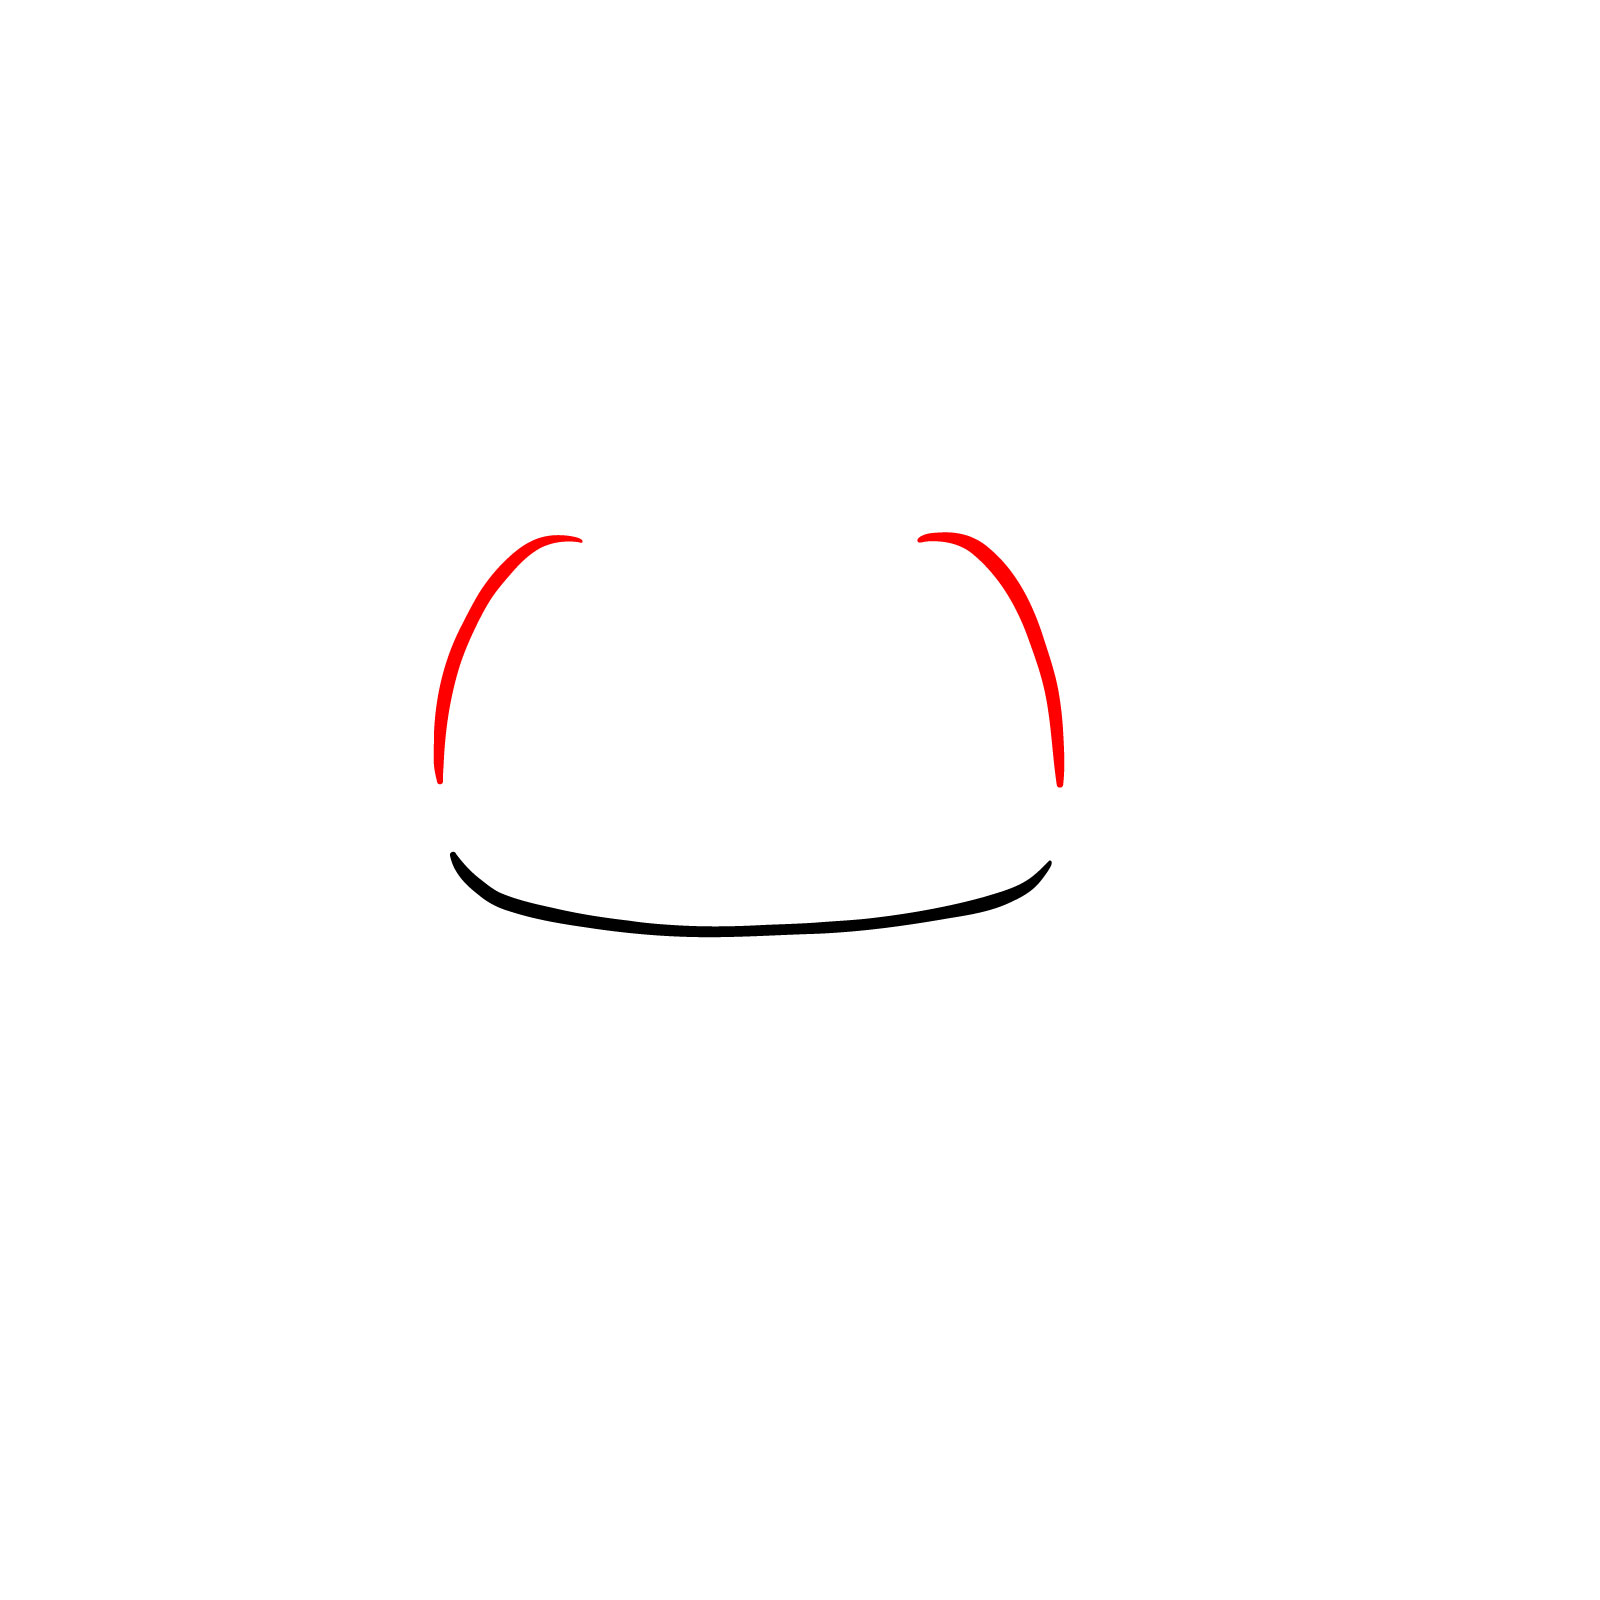
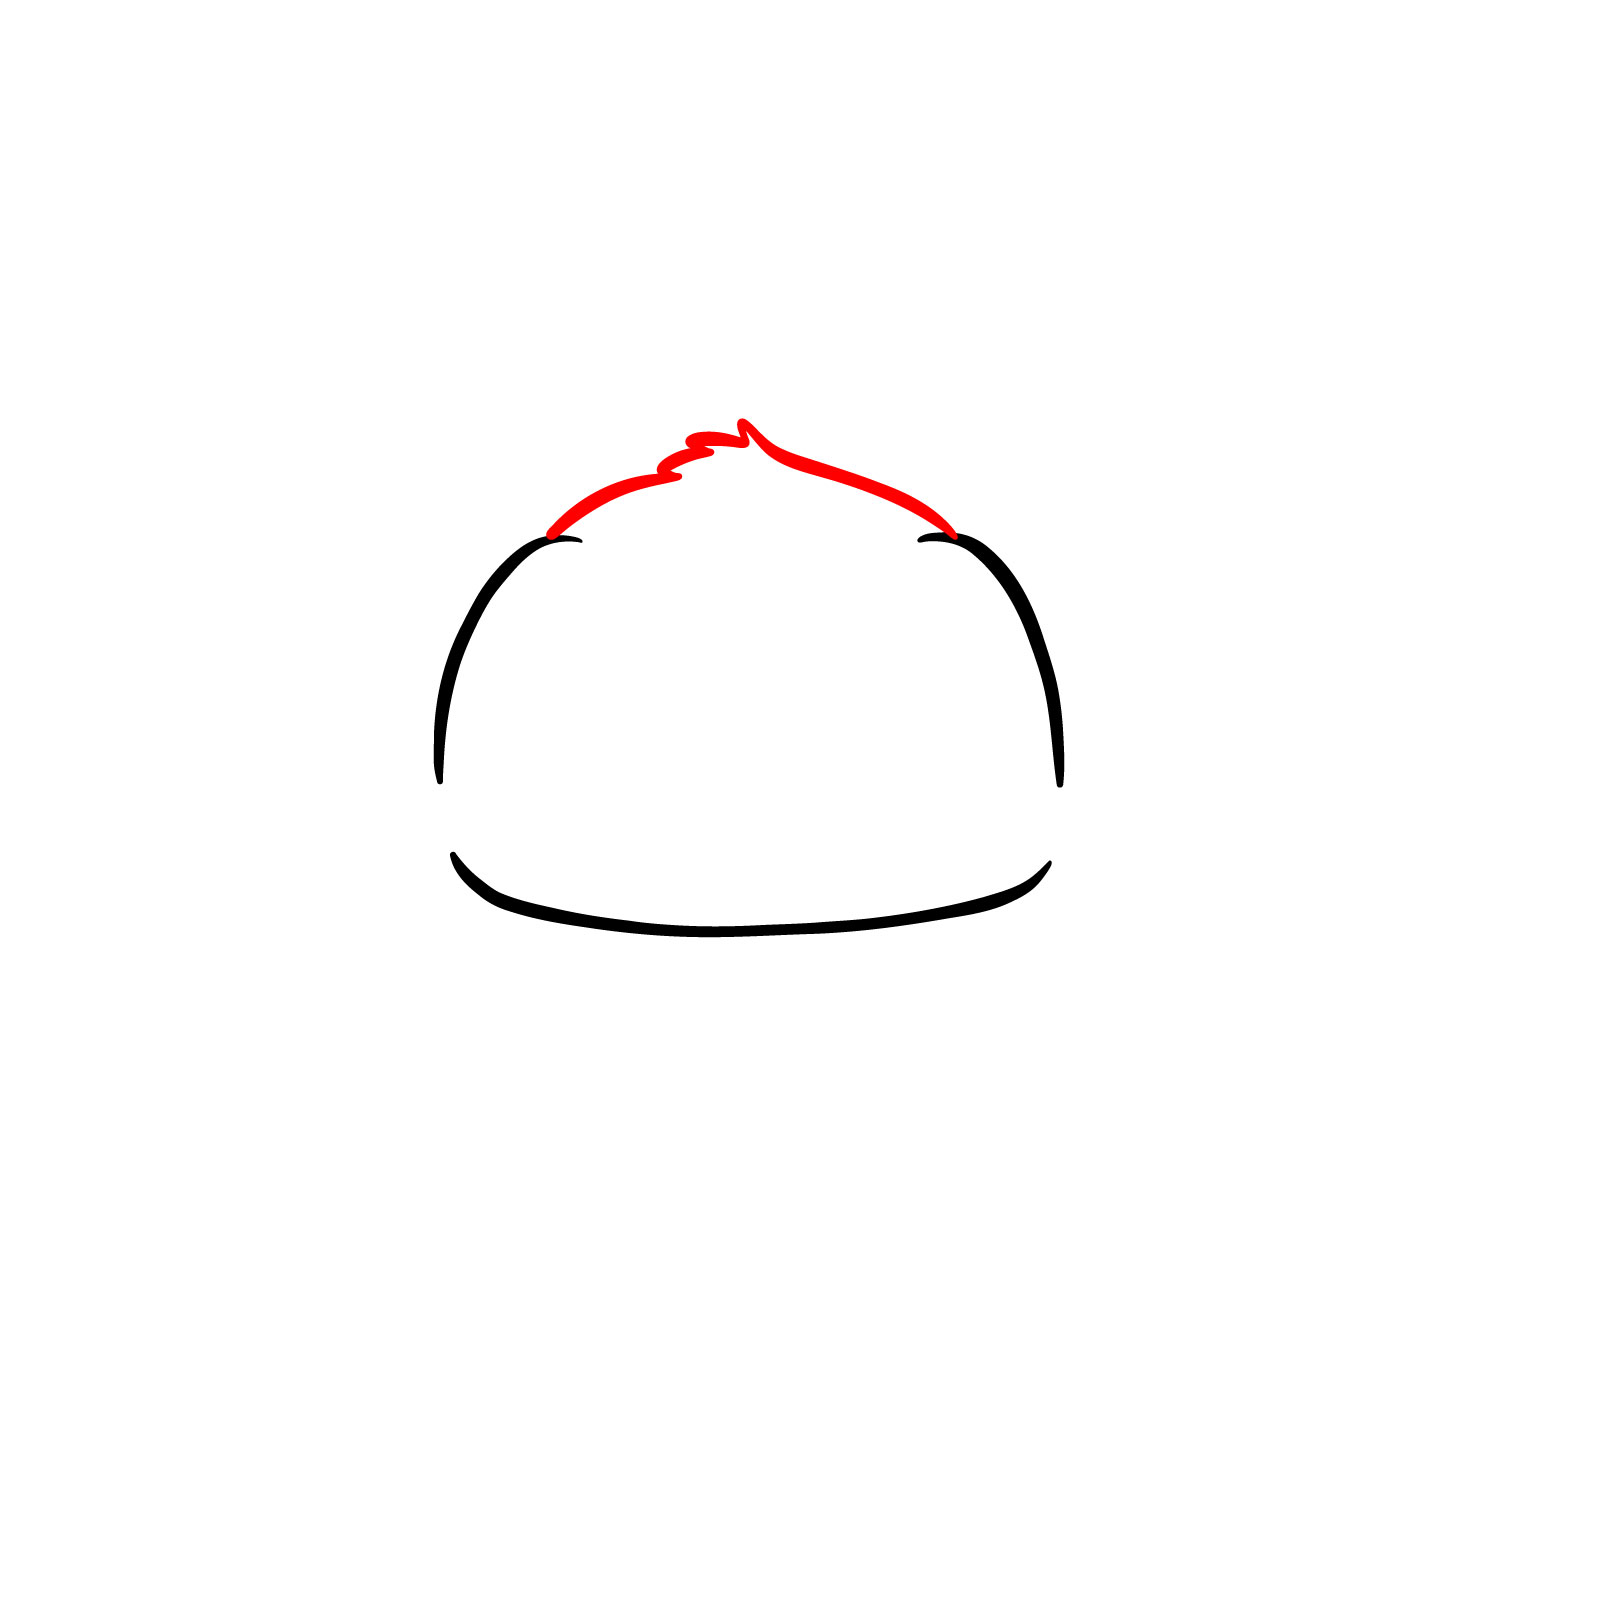
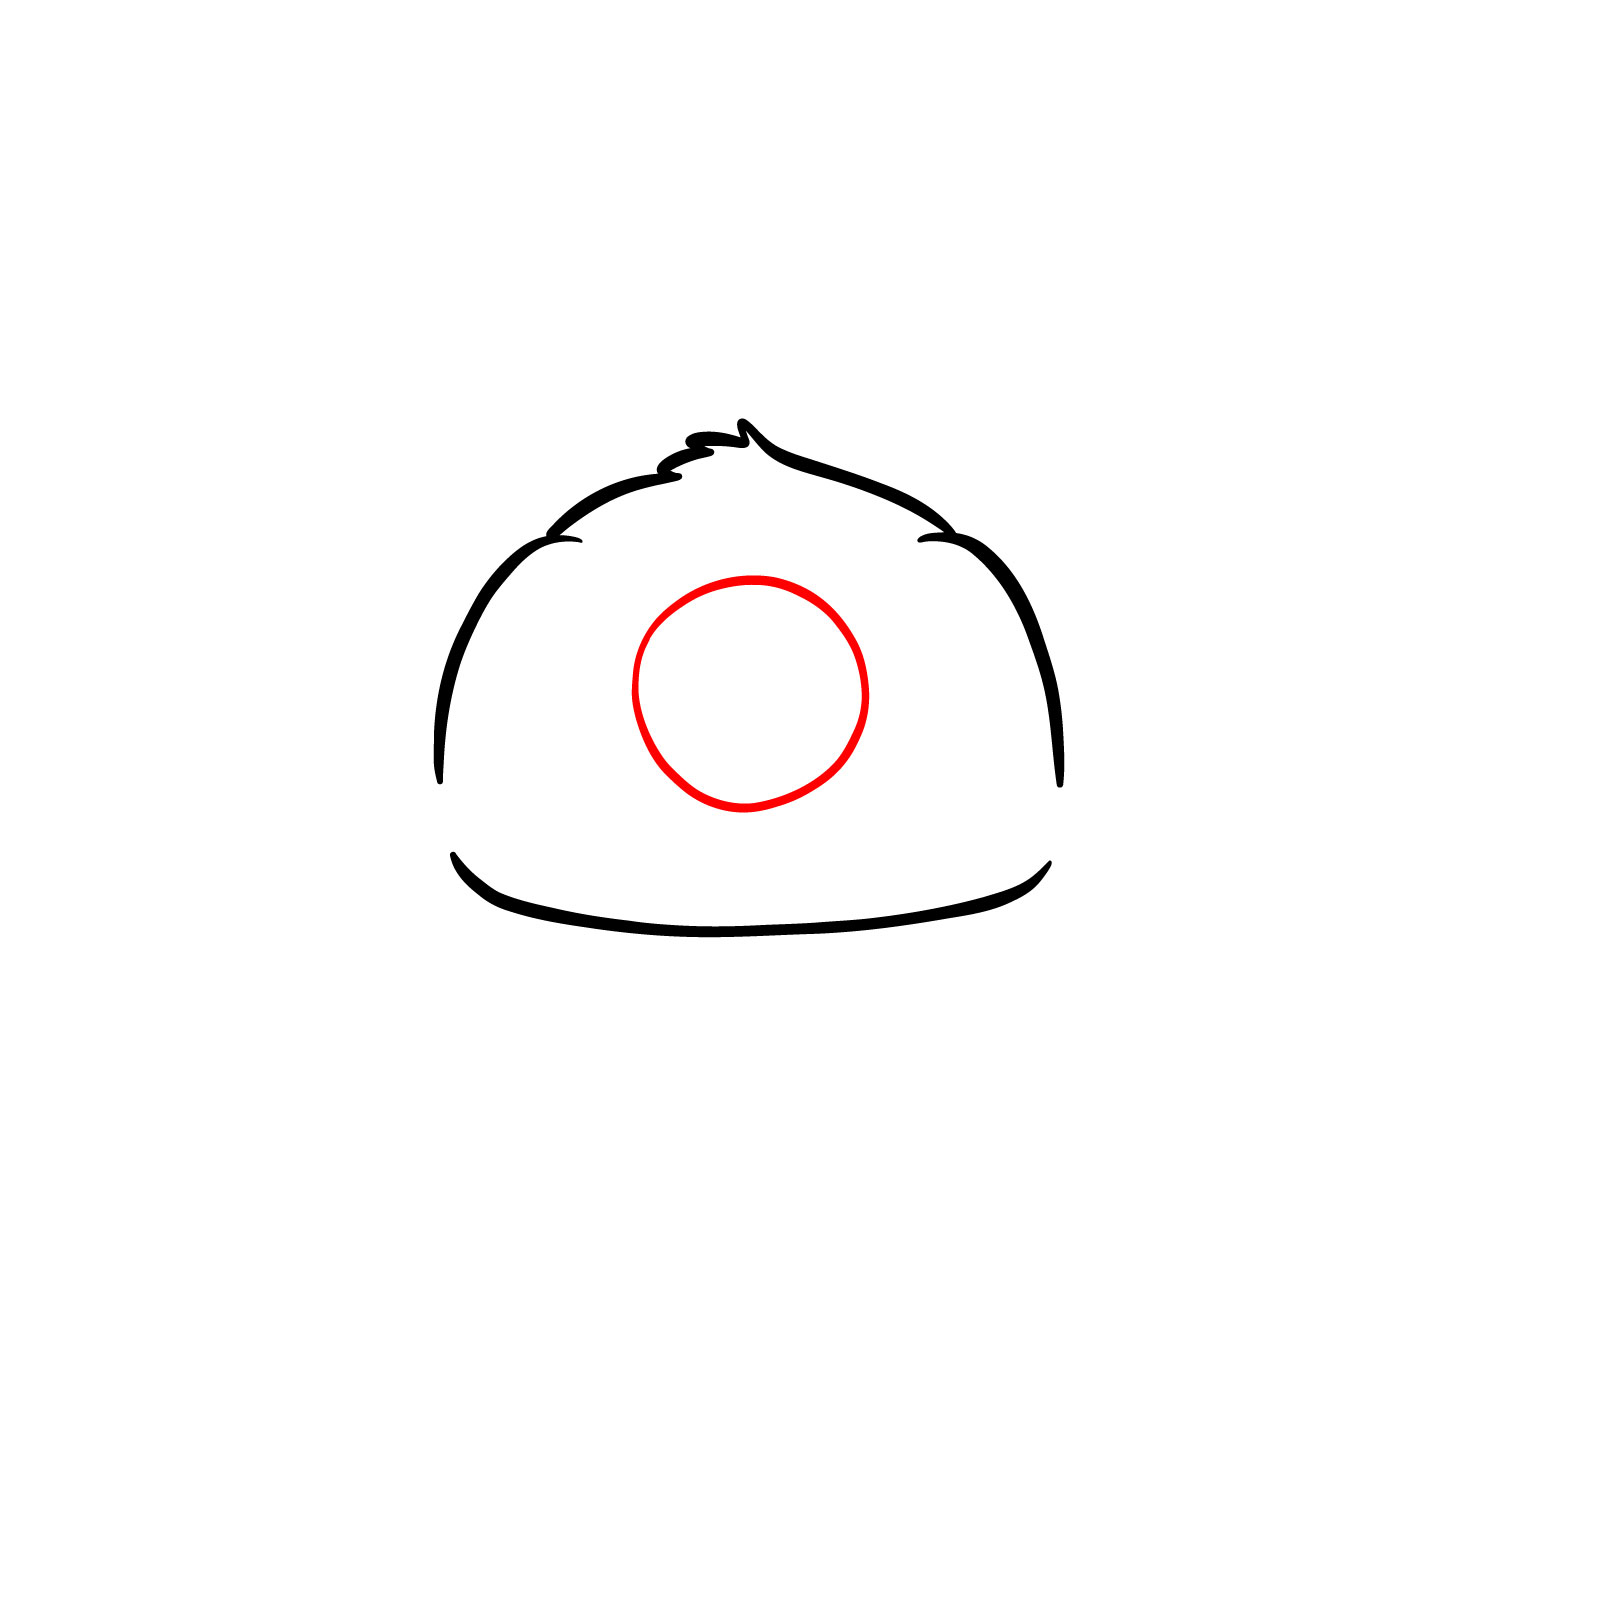
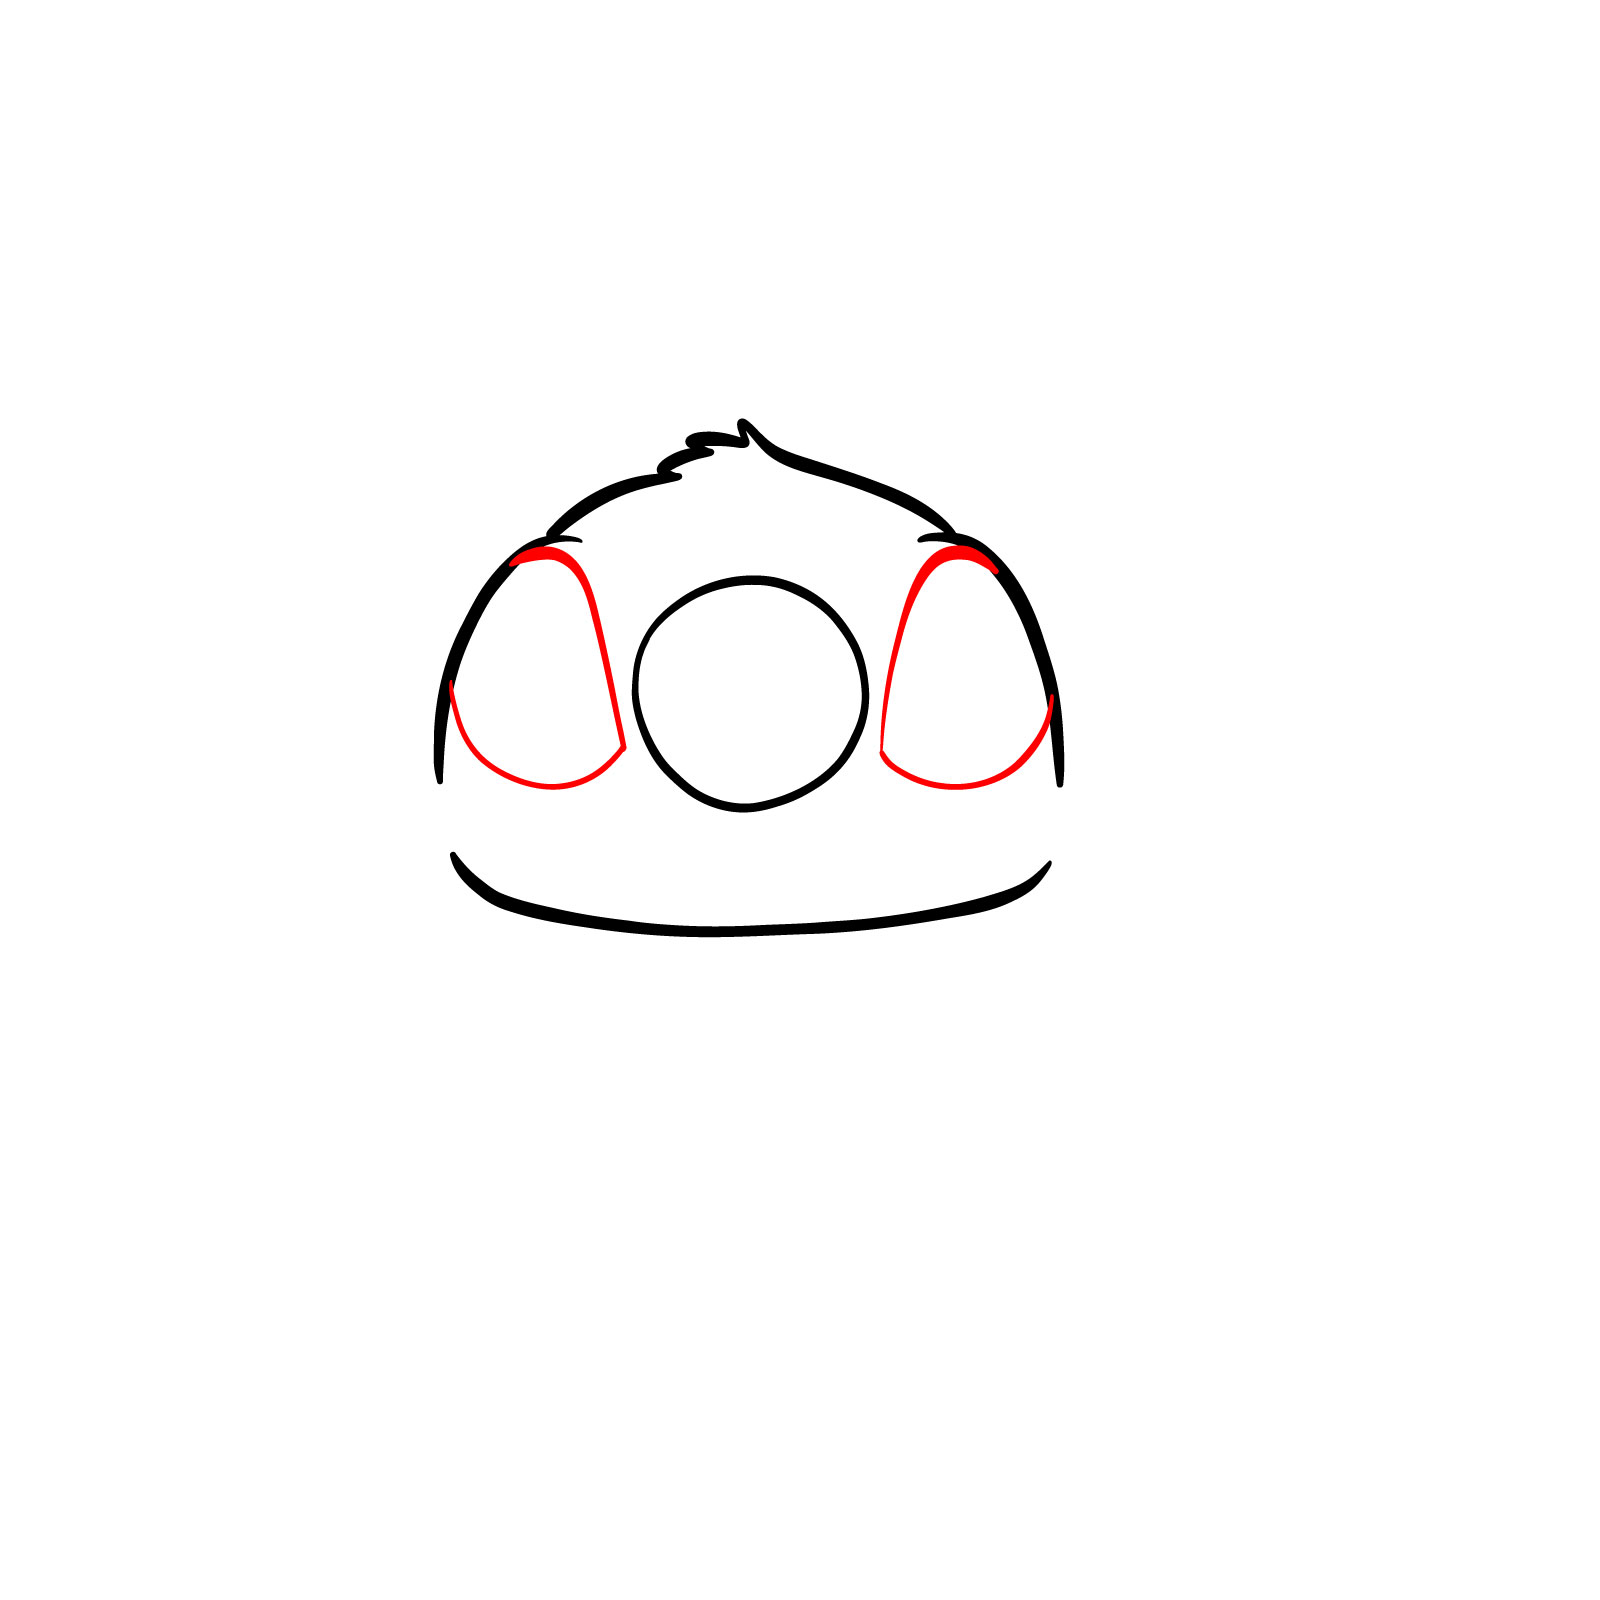
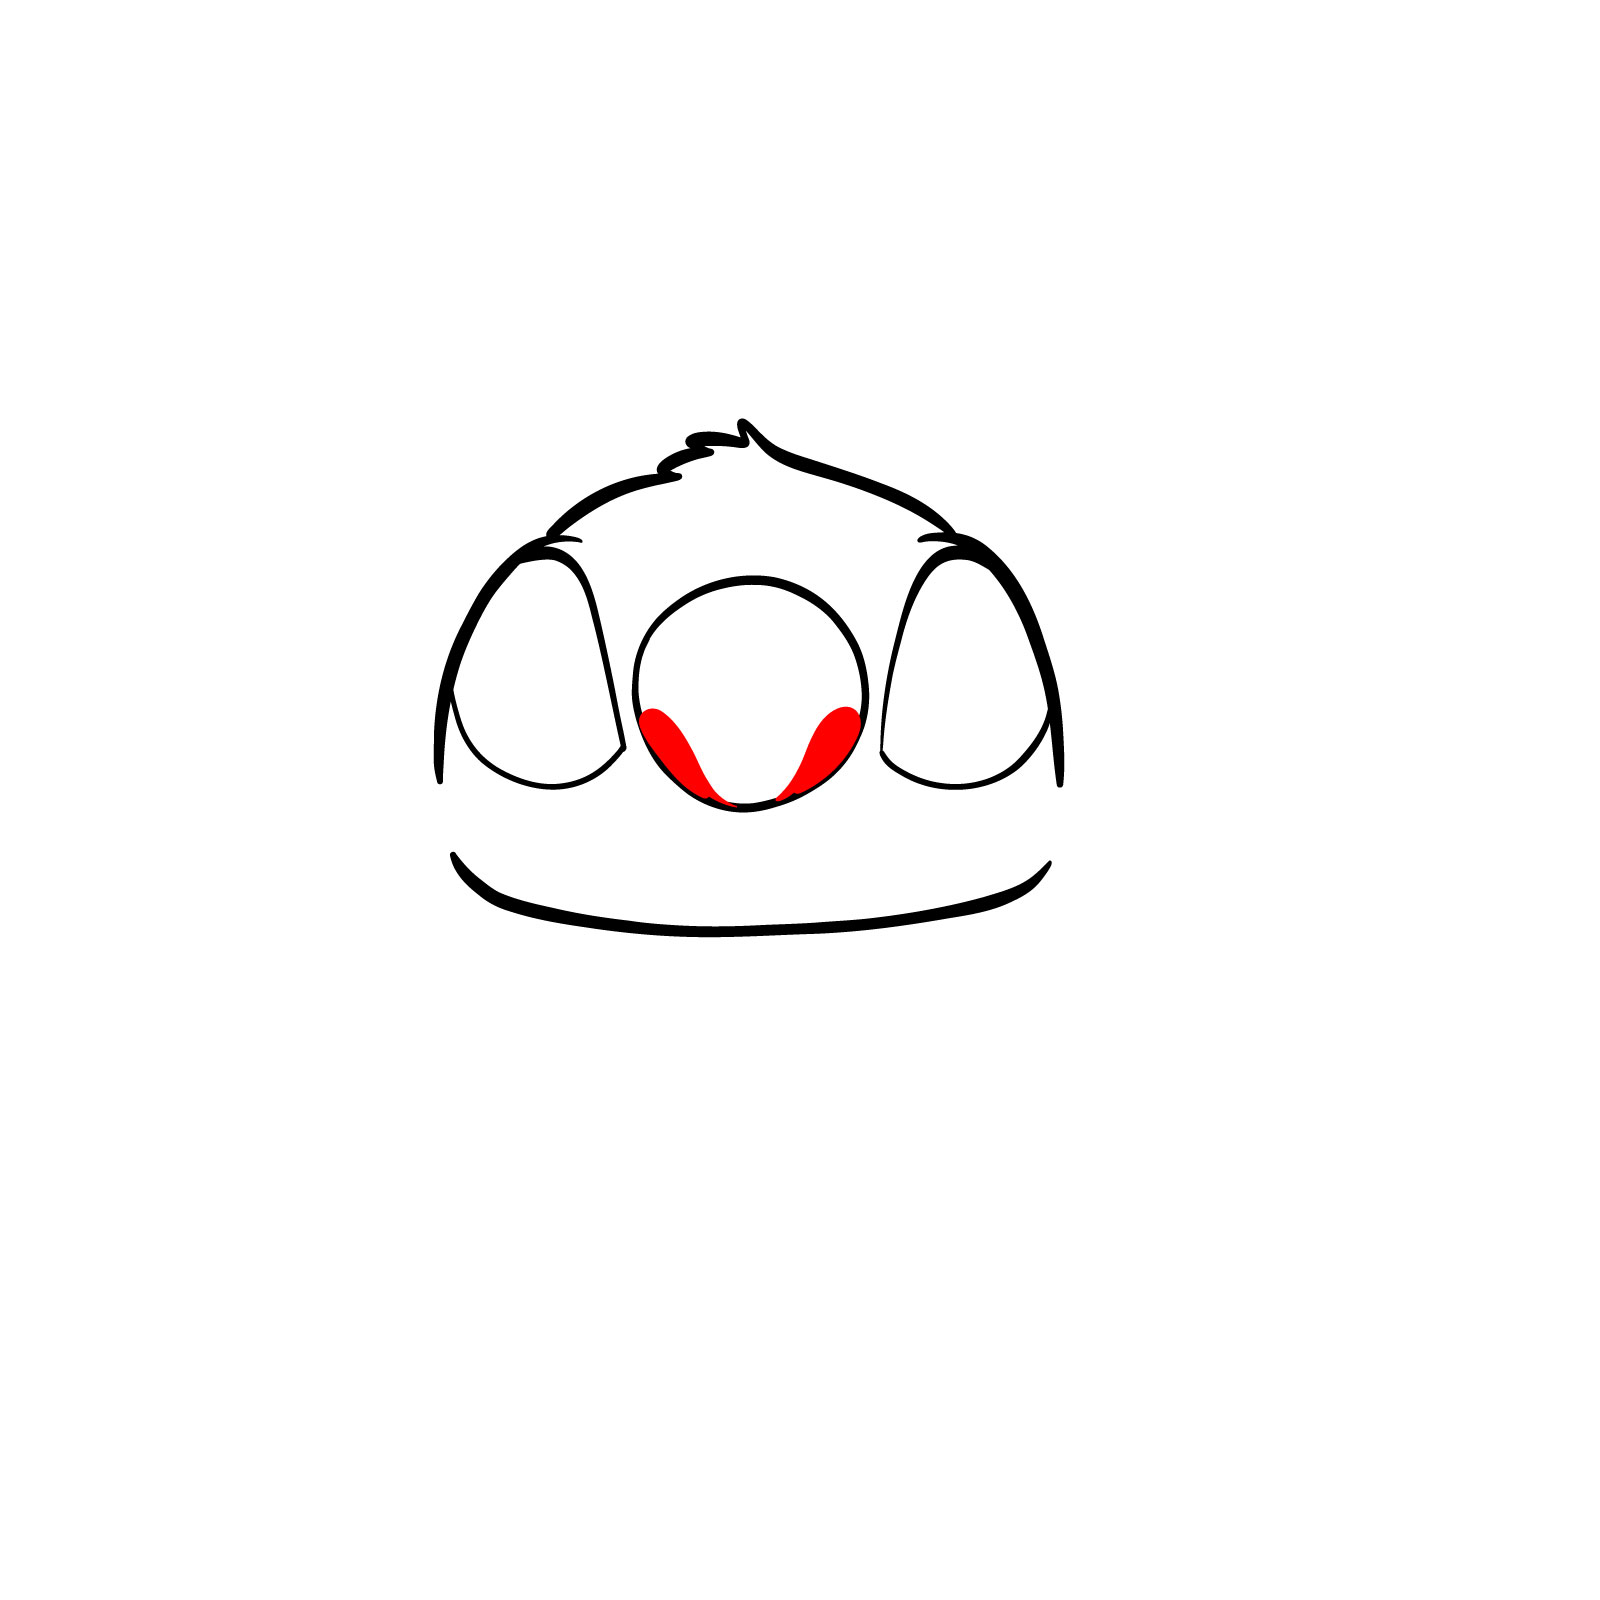
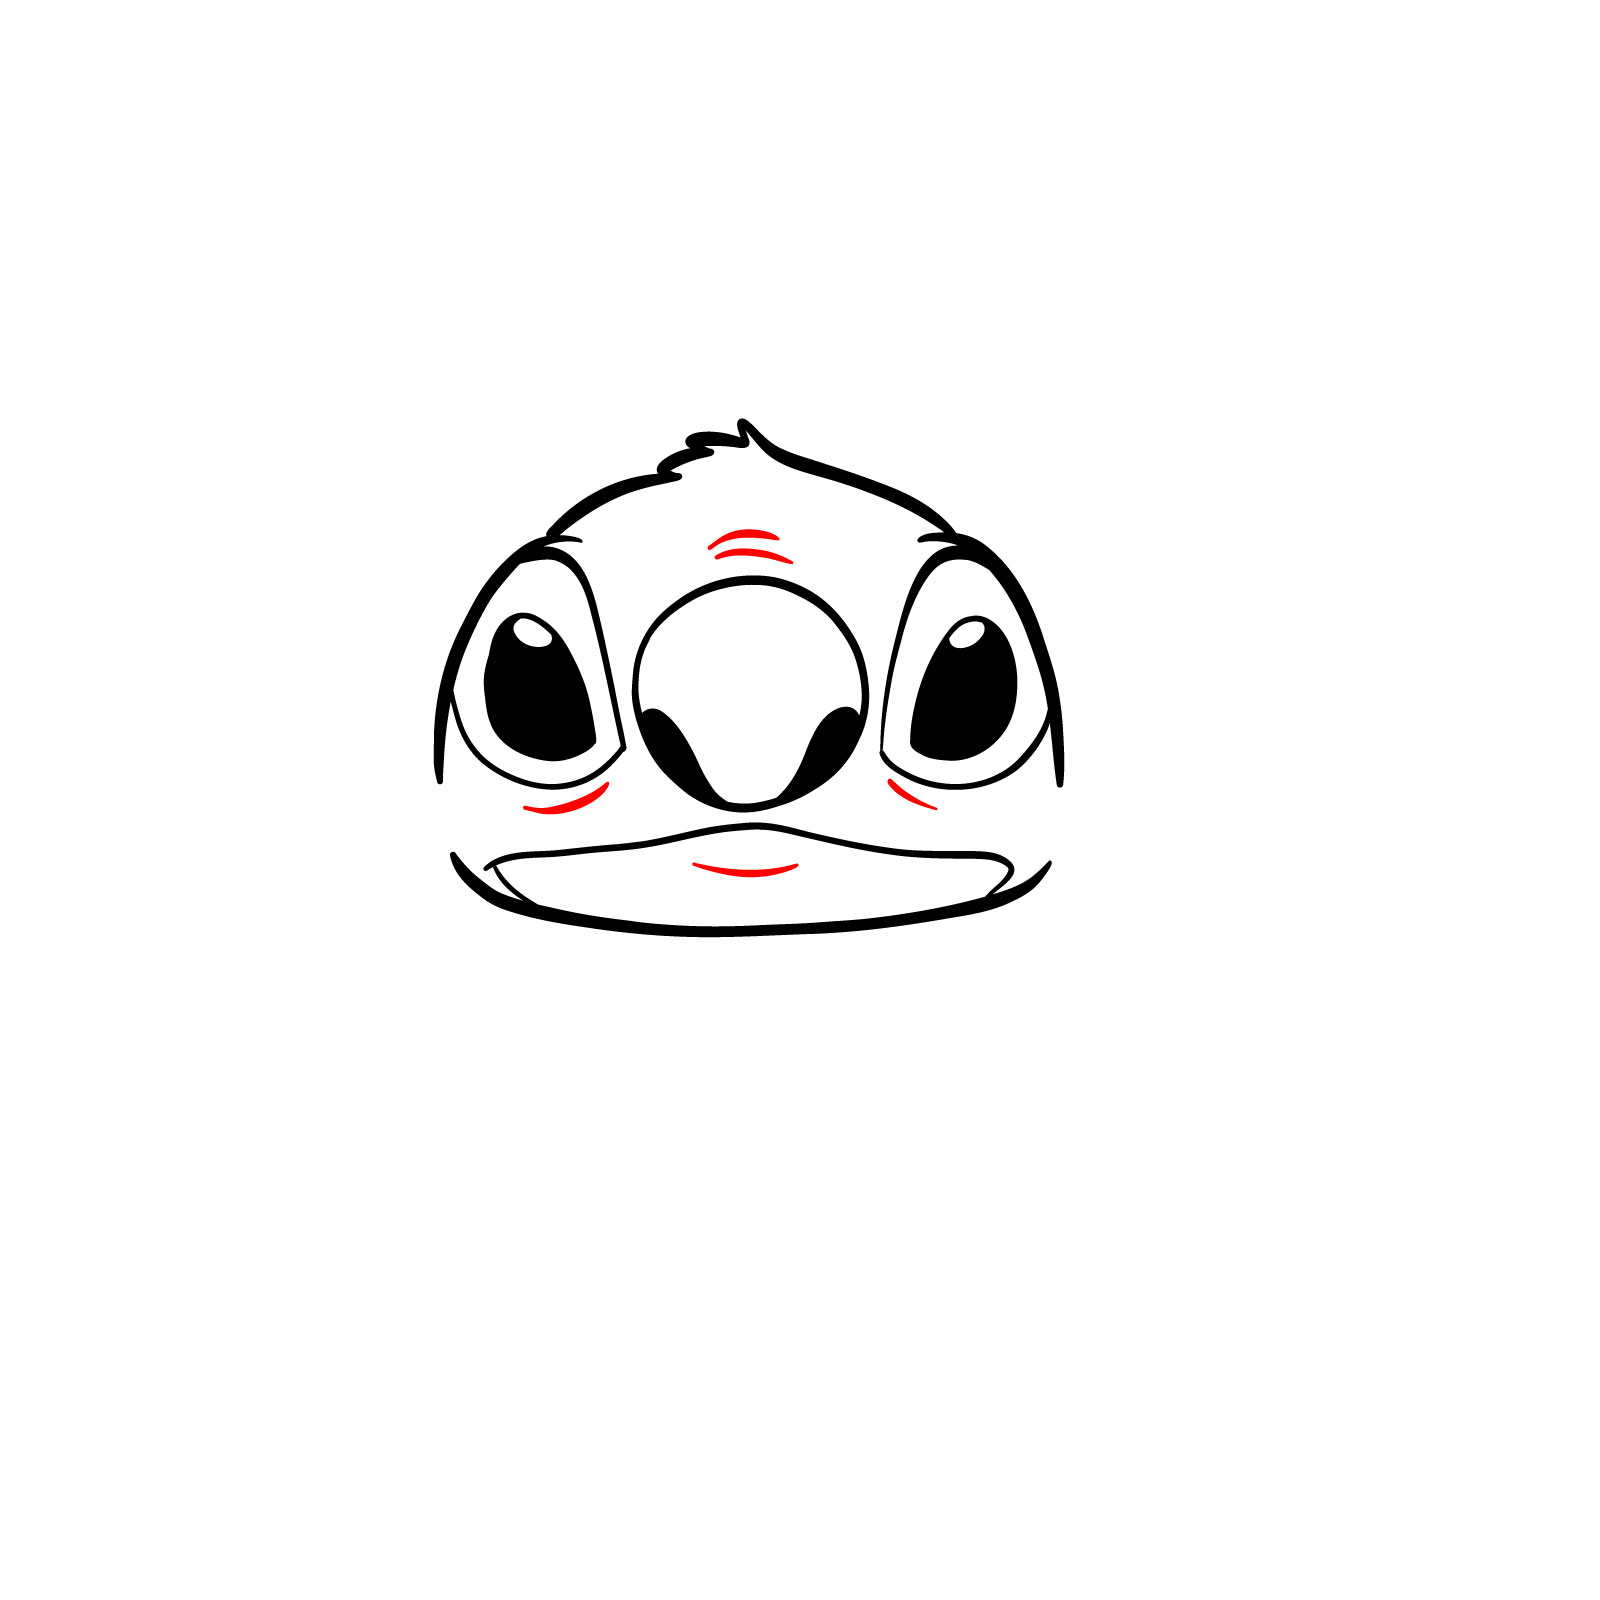
With 13 comprehensive steps, this guide is tailored to make your sketching experience seamless. Let’s understand the color-coding system:

  • Red Color: Represents the current step of your drawing.
  • Black Color: Showcases the lines you’ve drawn in the previous steps.

When you reach the final stage, you have the option to ink your sketch. Remember, always give your ink sufficient time to dry before erasing the pencil marks. This ensures clarity and avoids any smudges.

Step 01

How to Draw the face of Stitch - step 01Pin

Step 02

How to Draw the face of Stitch - step 02Pin

Step 03

How to Draw the face of Stitch - step 03Pin

Step 04

How to Draw the face of Stitch - step 04Pin

Step 05

How to Draw the face of Stitch - step 05Pin

Step 06

How to Draw the face of Stitch - step 06Pin

Step 07

How to Draw the face of Stitch - step 07Pin

Step 08

How to Draw the face of Stitch - step 08Pin

Step 09

How to Draw the face of Stitch - step 09Pin

Step 10

How to Draw the face of Stitch - step 10Pin

Step 11

How to Draw the face of Stitch - step 11Pin

Step 12

How to Draw the face of Stitch - step 12Pin

Step 13

How to Draw the face of Stitch - final stepPin

Drawing FAQs

What’s the best approach for capturing Stitch’s unique ear notches?

The distinct notches in Stitch’s ears add a unique flair to his character. Begin by sketching the overall shape of the ears. Once that’s done, focus on the finer details like the notches. The key is observing and paying attention to the difference in positioning for each ear.

How can I perfect the different shades in Stitch’s eyes?

Stitch’s eyes are dynamic and can change colors based on his vision mode. While this guide focuses on sketching, you can use shading techniques with your pencil to differentiate the tones. Use lighter strokes for a green hue and heavier strokes for the darker shades like red or purple.

How to draw the intricate fur detailing on Stitch’s face?

Achieving the texture of Stitch’s fur requires patience. Use short, swift strokes to mimic the fur’s texture. The length and direction of the strokes can vary, giving the fur a more realistic and layered look.

Sketching the face of Stitch, with all its quirks and nuances, is a rewarding experience. By following this guide, you’ll not only learn how to draw the face of Stitch, but you’ll also hone your artistic skills. If you found this guide helpful and wish to support my endeavors at SketchOk further, consider making a donation. When you donate, you also get the opportunity to suggest topics for future tutorials. Your suggestions are invaluable, and I prioritize them, ensuring that the content you desire gets crafted sooner. Share this guide with your fellow art enthusiasts and join our community on Facebook, Instagram, and Pinterest. Let’s keep the spirit of art alive and thriving!

Click here to donate and help support SketchOk’s artistic journey!

Did you like the tutorial?

You can support the author of this website and also suggest your own ideas for new drawings by making a small donation here:

Leave a Comment

2