Last Updated on May 14, 2026
Welcome fellow artists! Today, we delve into the artful world of toon drawing by sketching the ultimate toon fantasy, Jessica Rabbit. As the sultry, red-haired starlet from ‘Who Censored Roger Rabbit?’ and its film adaptation ‘Who Framed Roger Rabbit,’ Jessica Rabbit has been a timeless symbol of allure and charisma in the animated world. With her glamorous attire, her flowing red hair, and her iconic line “I’m not bad, I’m just drawn that way,” Jessica stands out in the crowd.
The Allure of Jessica Rabbit
Drawing Jessica Rabbit might seem like a daunting task due to her unique features. Here are some key characteristics to pay attention to:
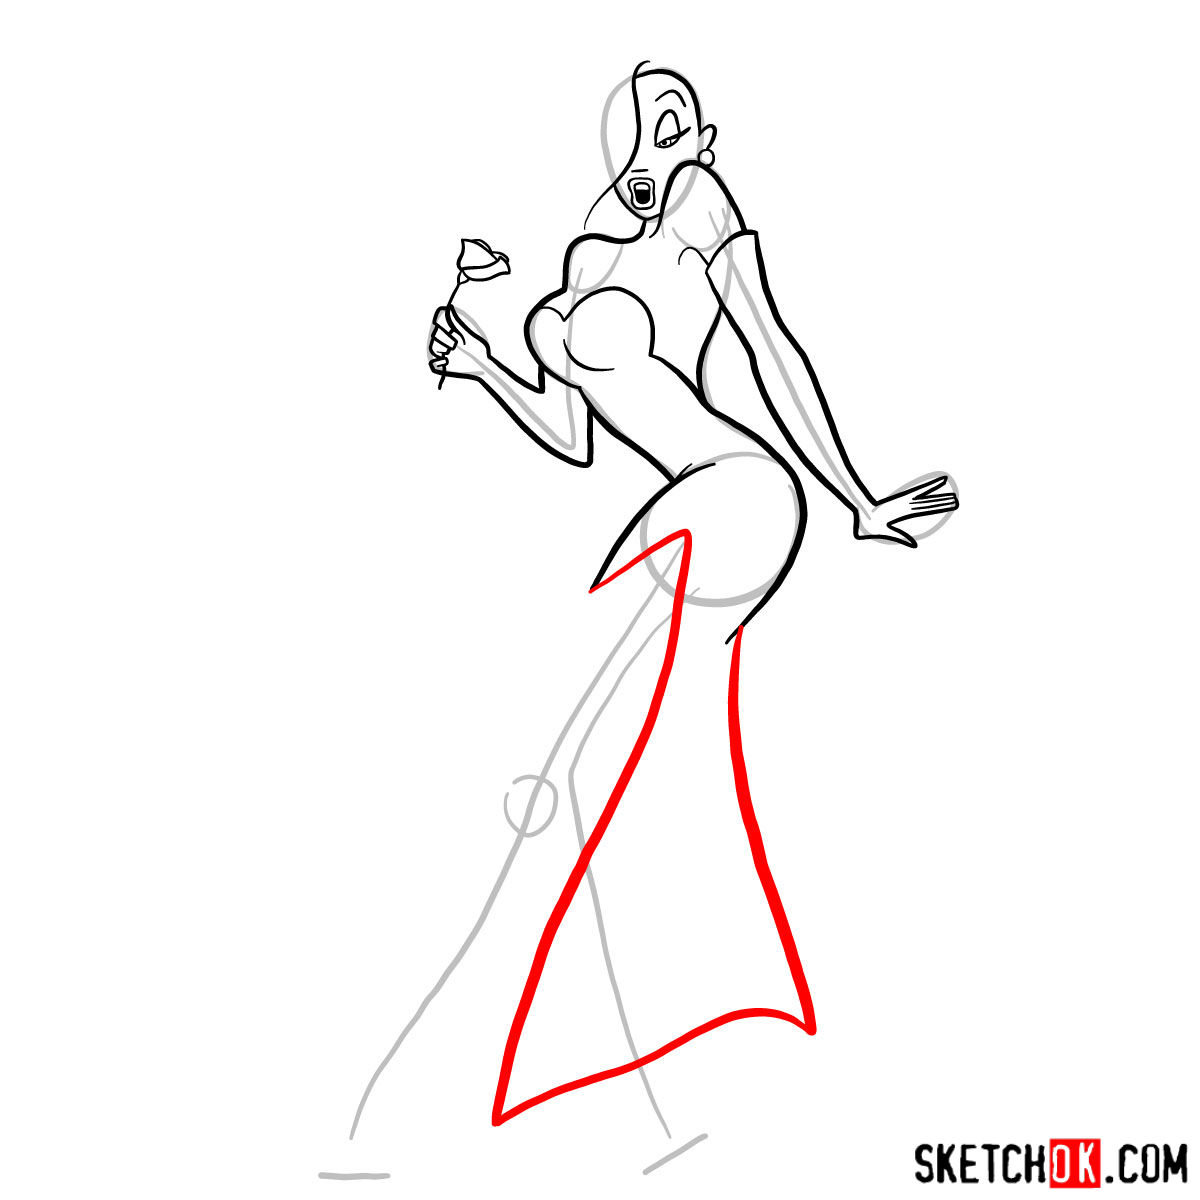
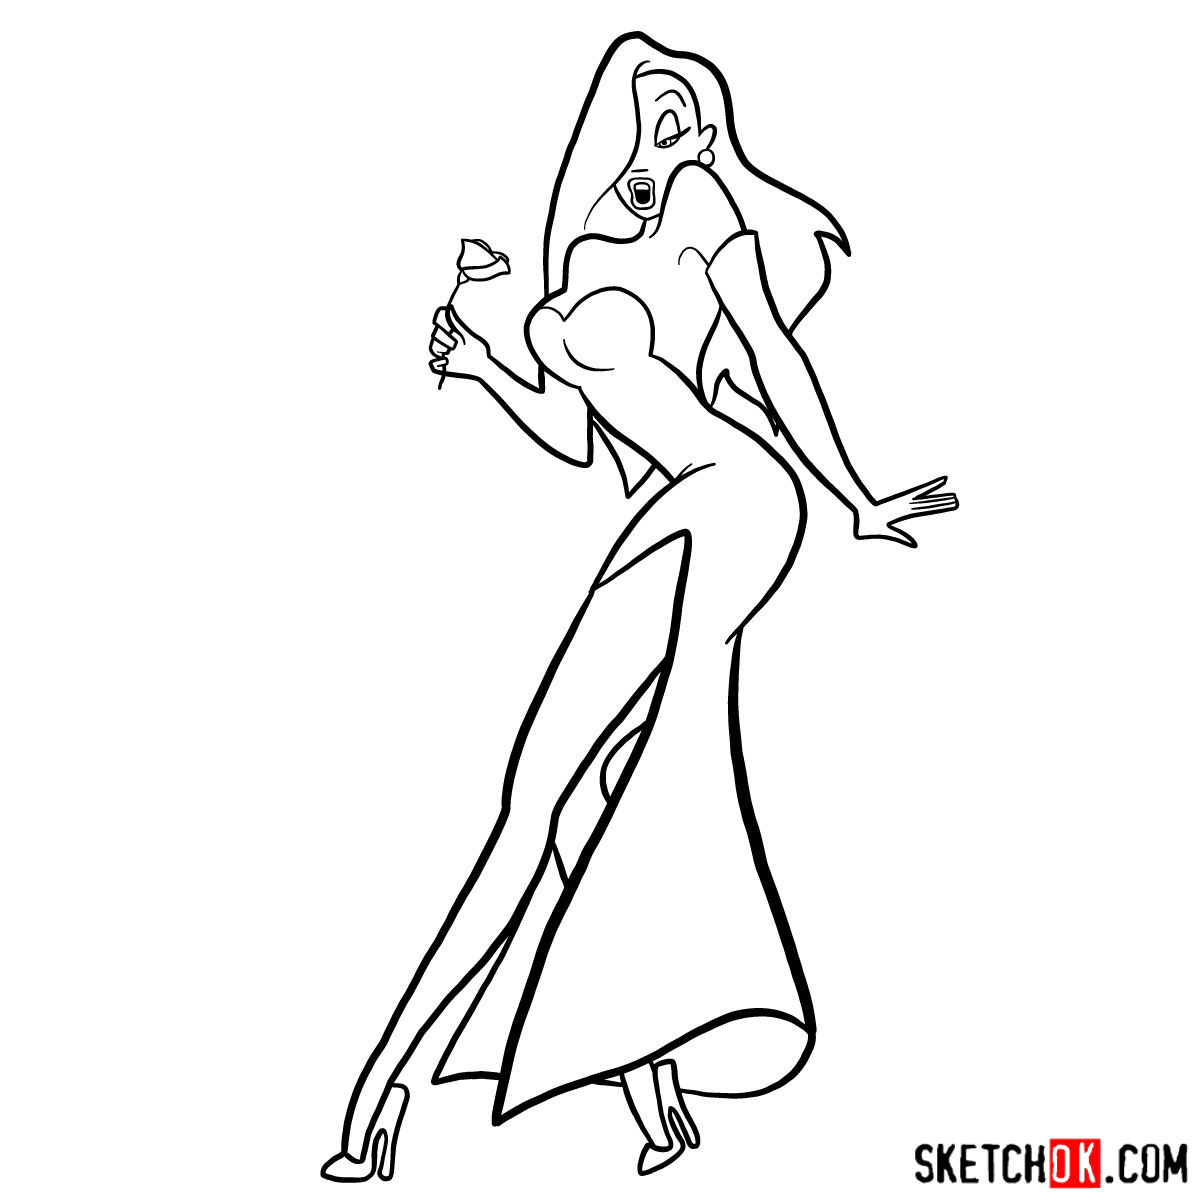
- Glamorous Attire: Jessica is renowned for her sparkly red dress with a daring slit. The way her dress hugs her body accentuates her hourglass figure.
- Flowing Red Hair: Her long, wavy, fiery-red hair is a striking feature. It beautifully frames her face and falls elegantly over her shoulders.
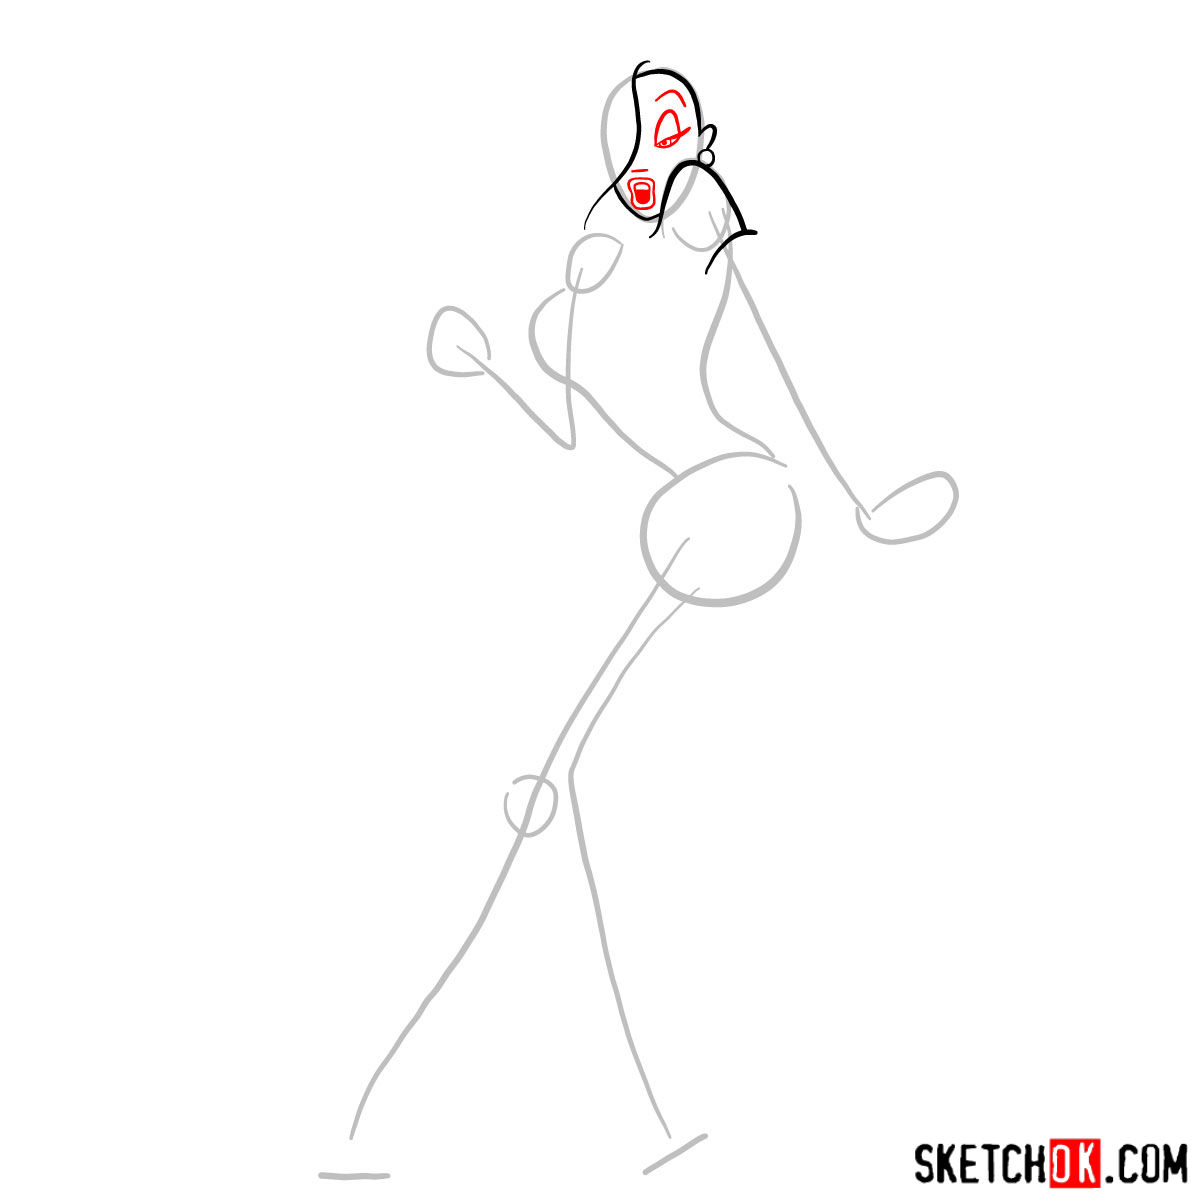
- Distinct Facial Features: Jessica’s features are a blend of sweetness and sophistication. She has high arched eyebrows, expressive eyes, and full lips.
Similar characters that you might consider adding to your artwork are Roger Rabbit, Jessica’s loving husband, or even characters from the same era like Betty Boop or Minnie Mouse.
About the Guide
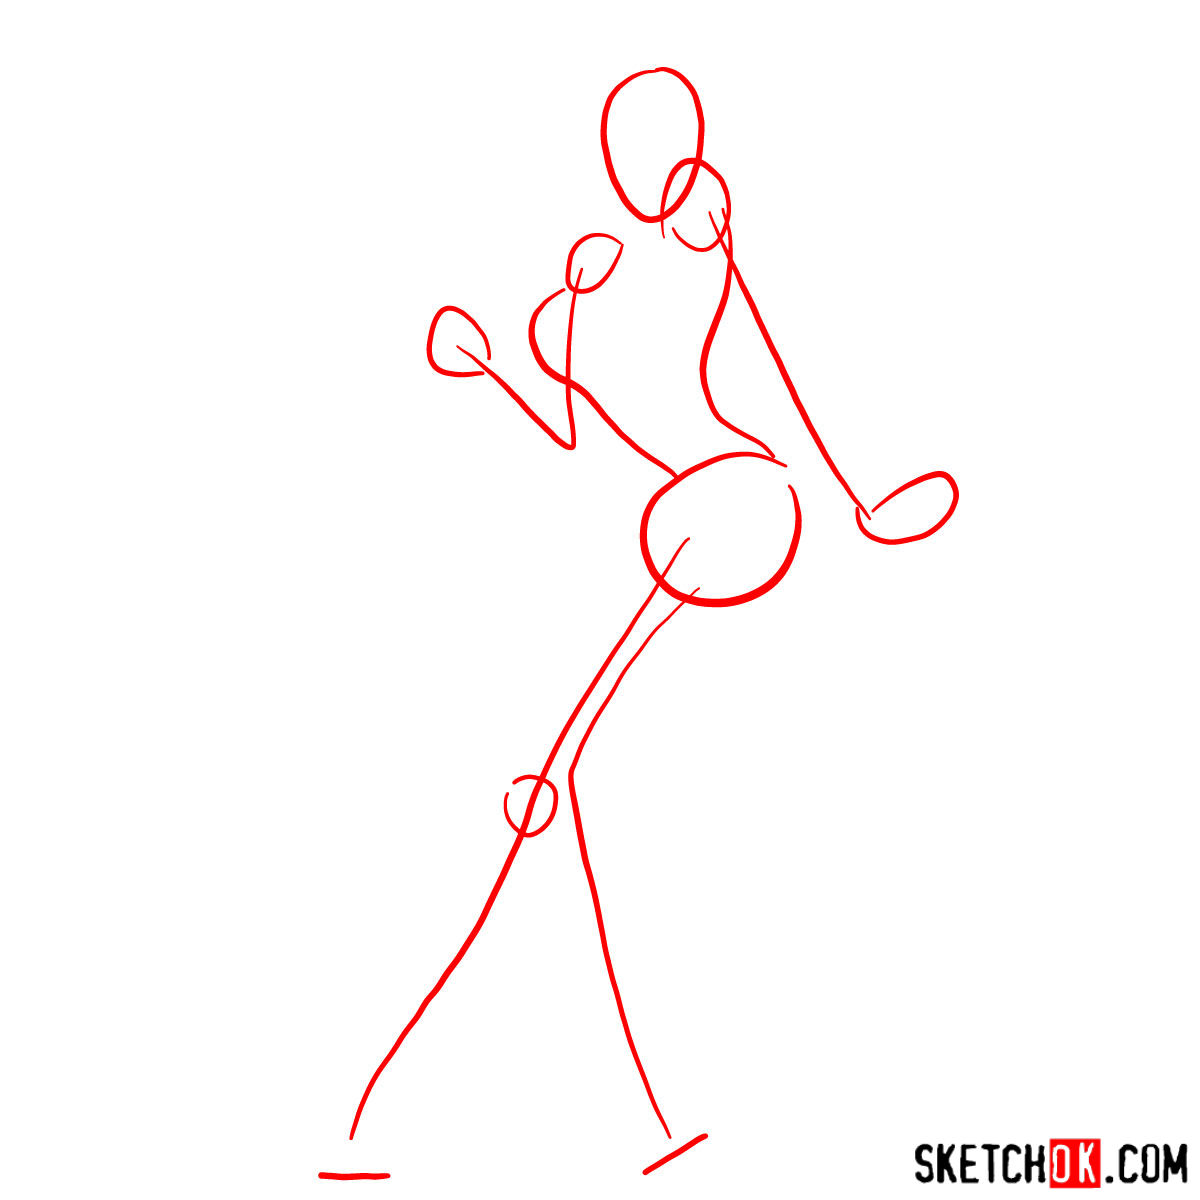
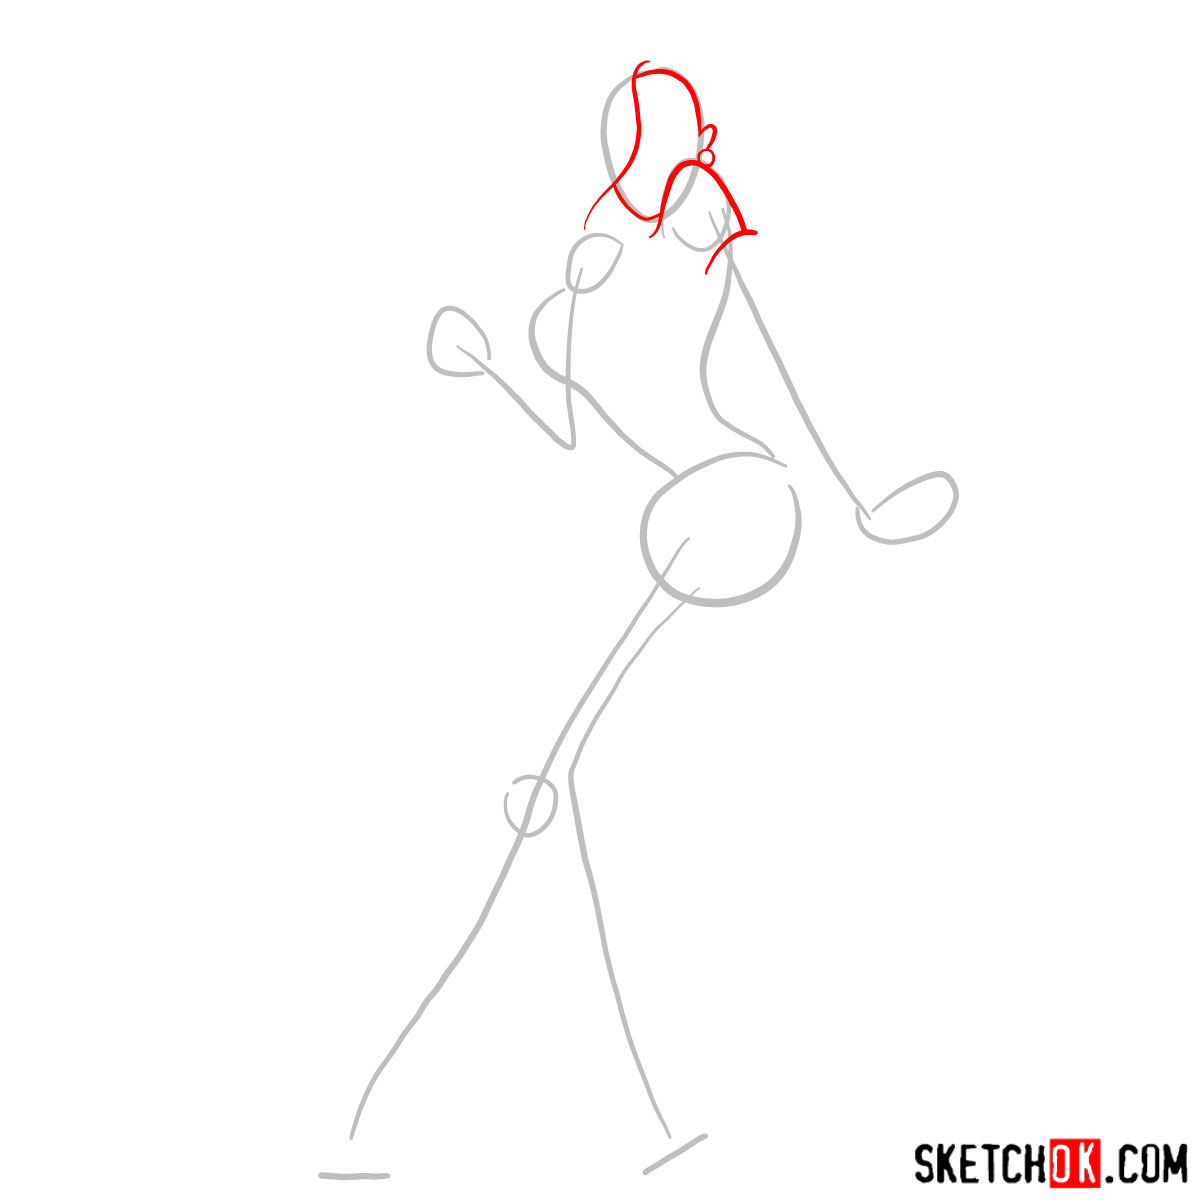
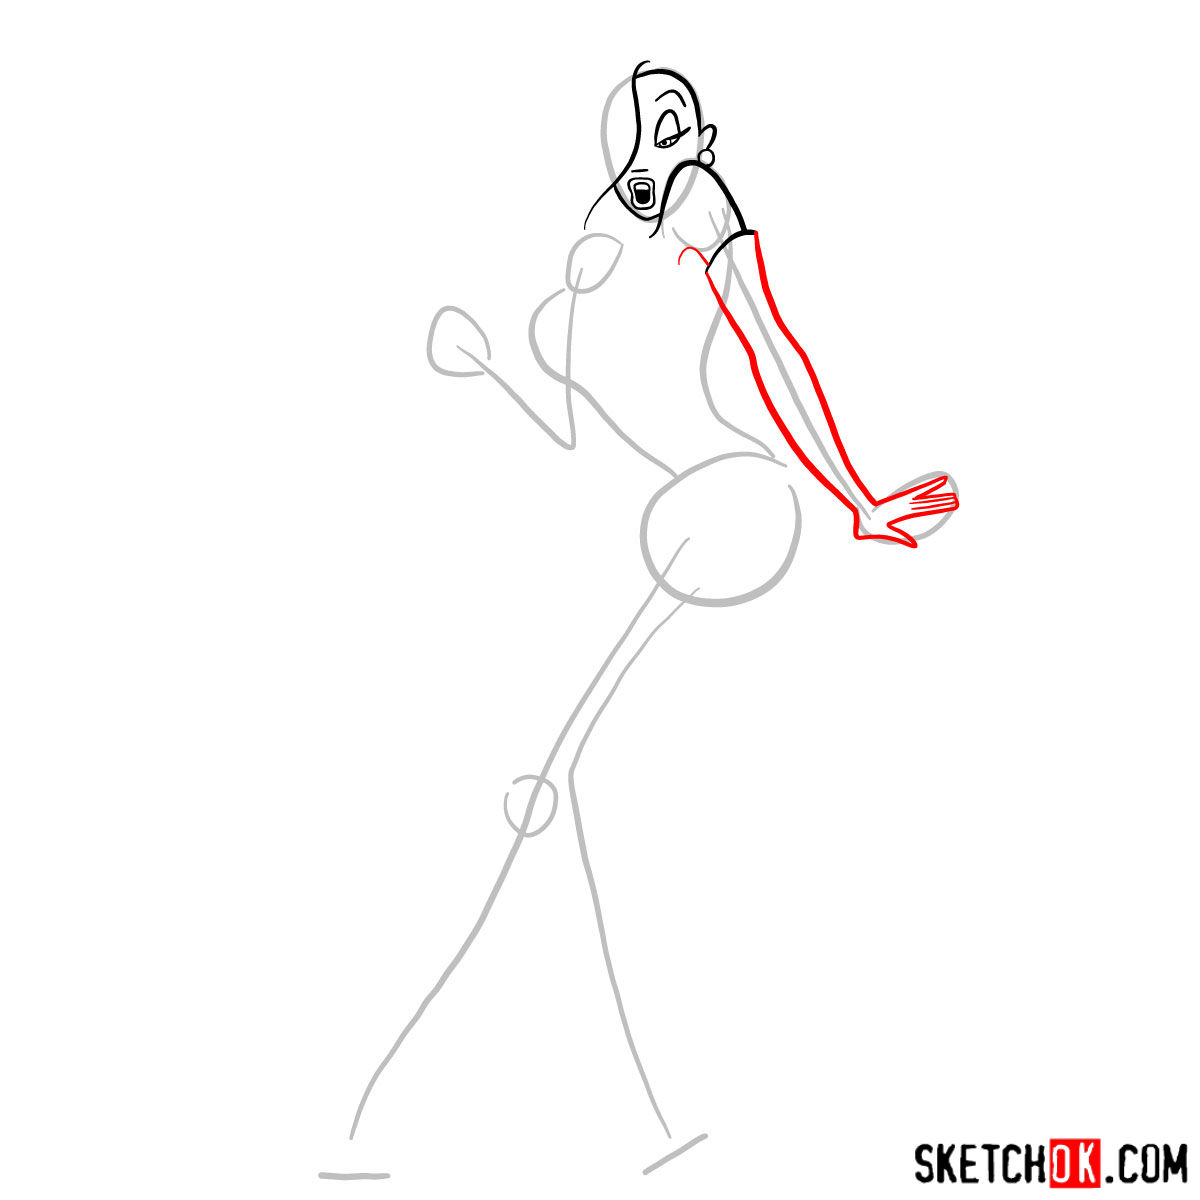
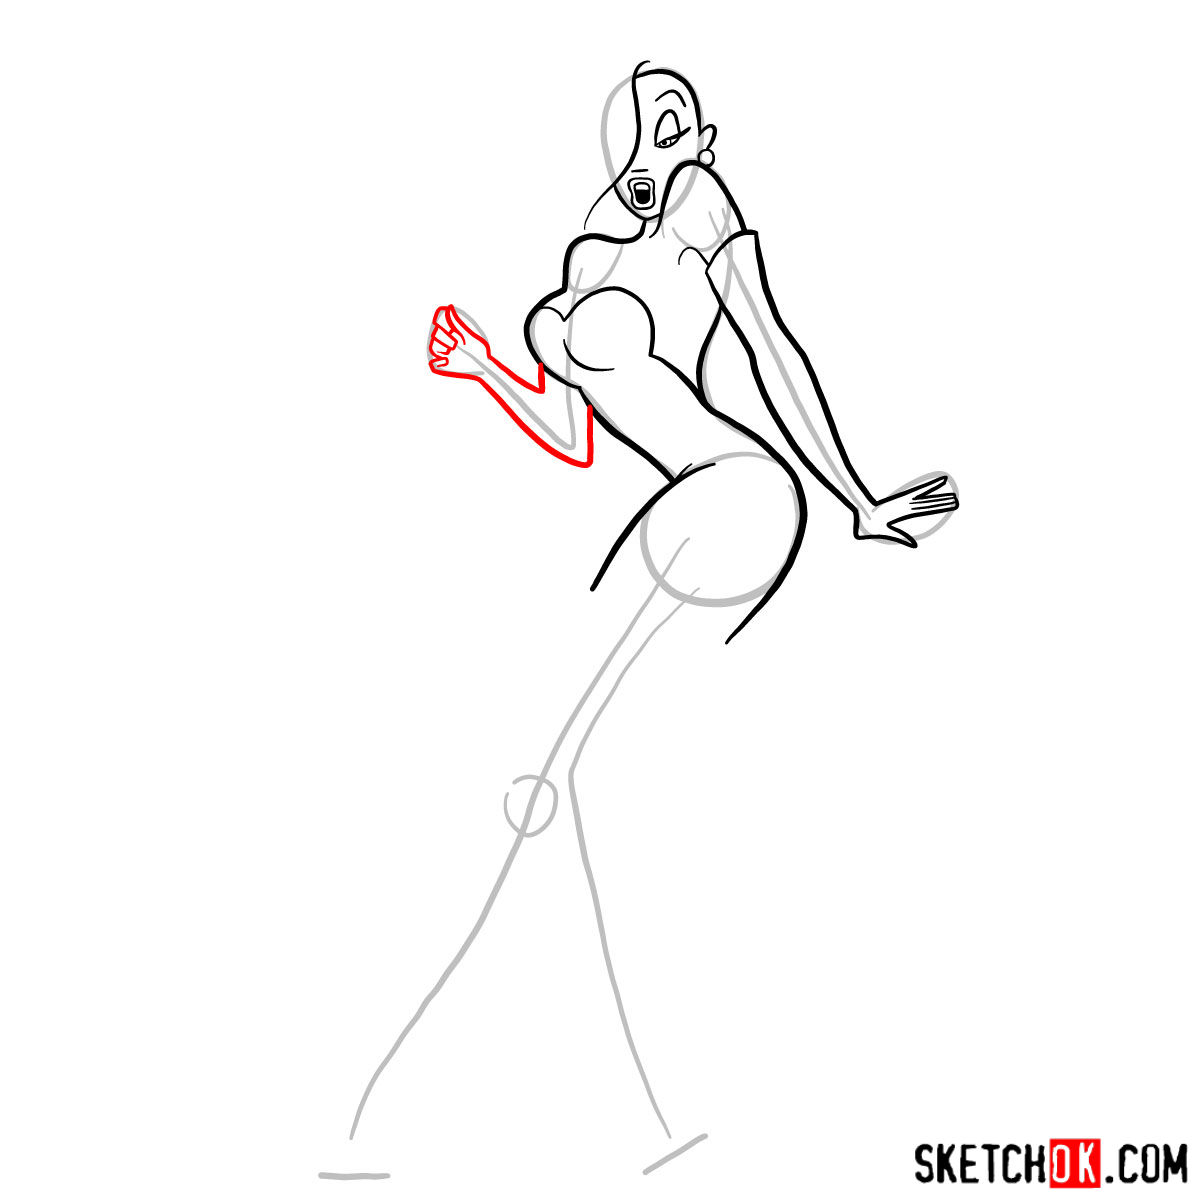
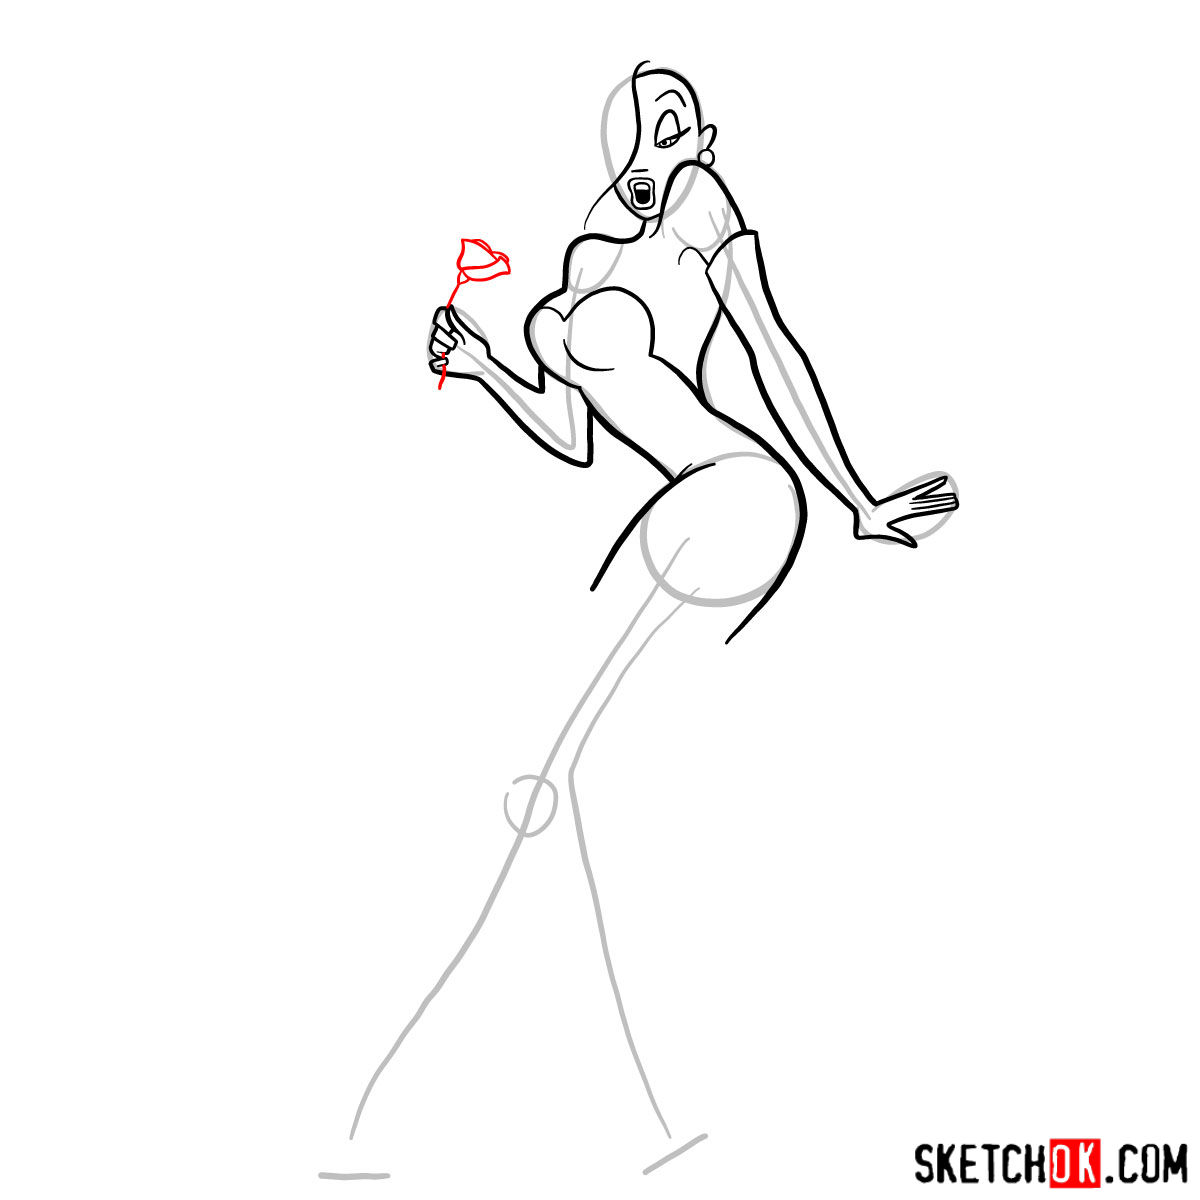
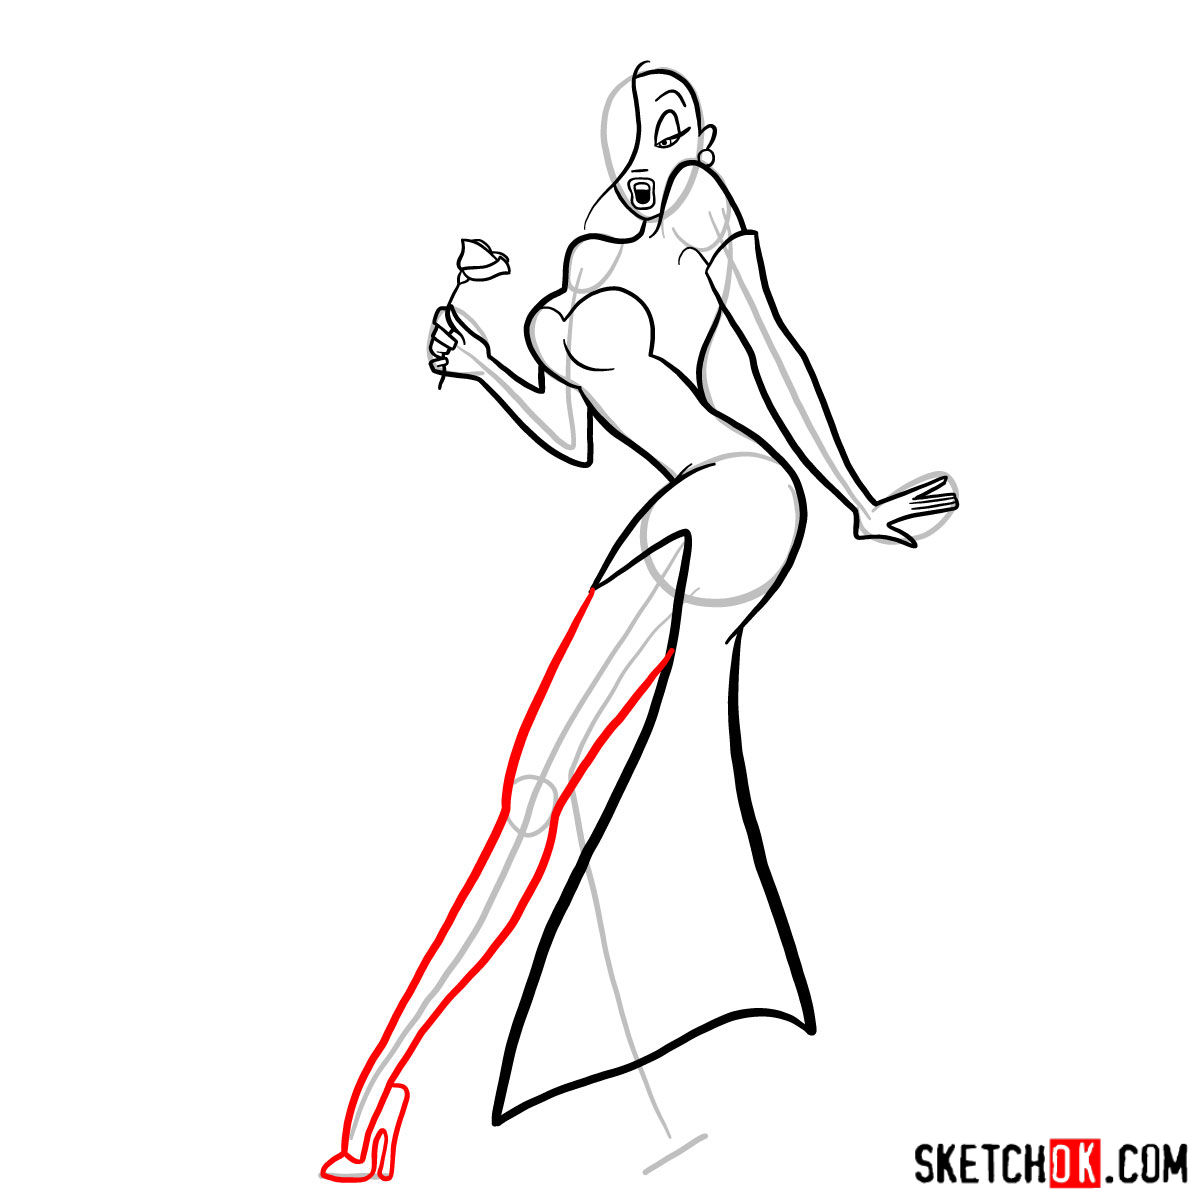
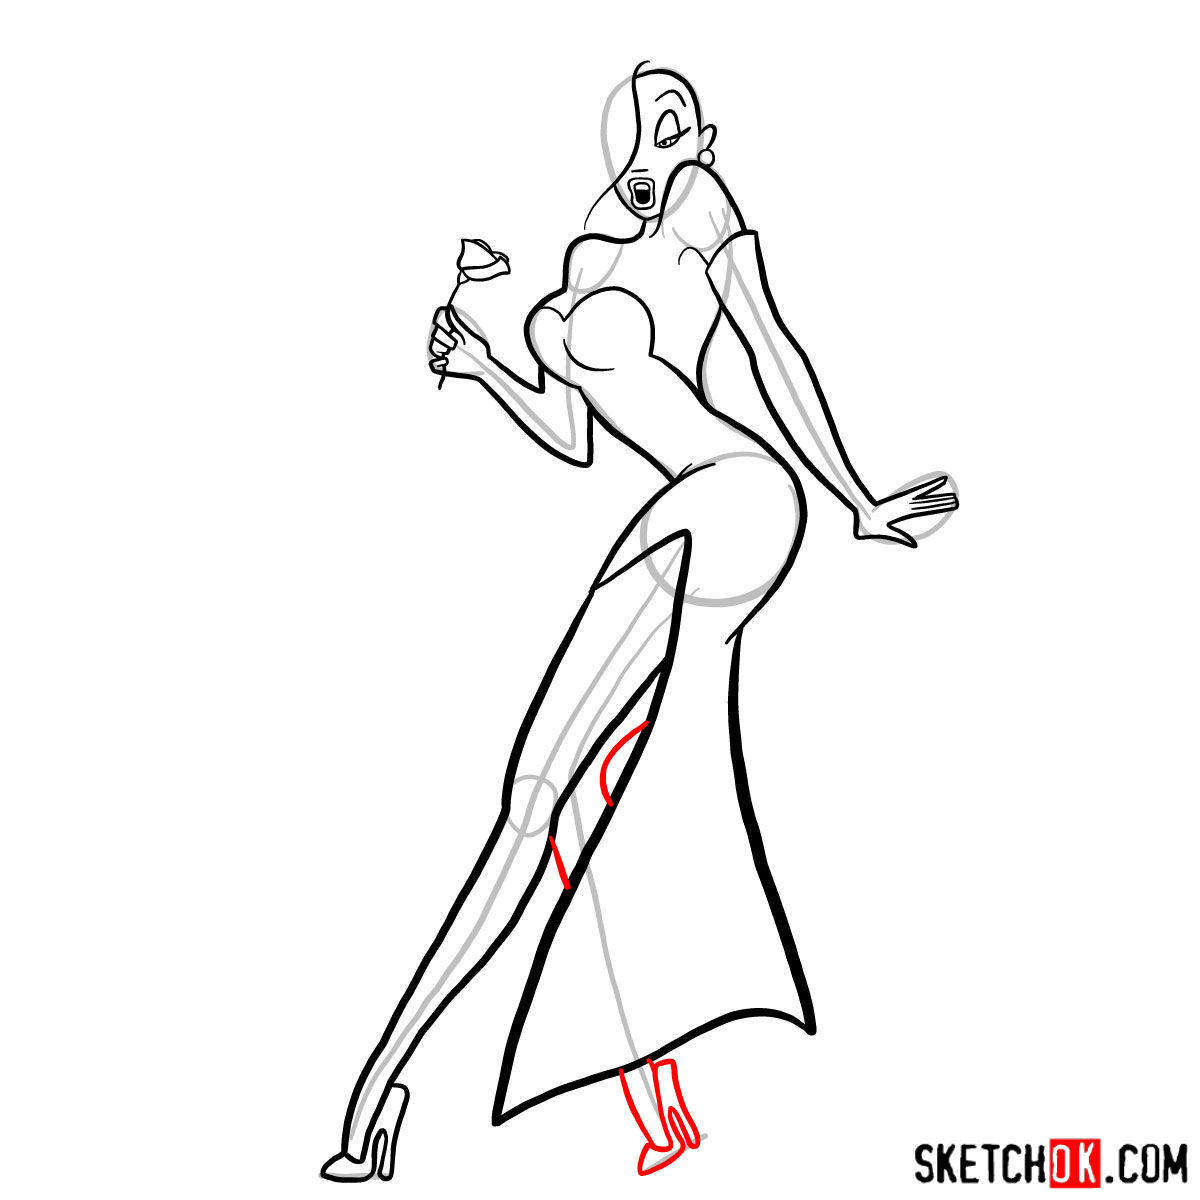
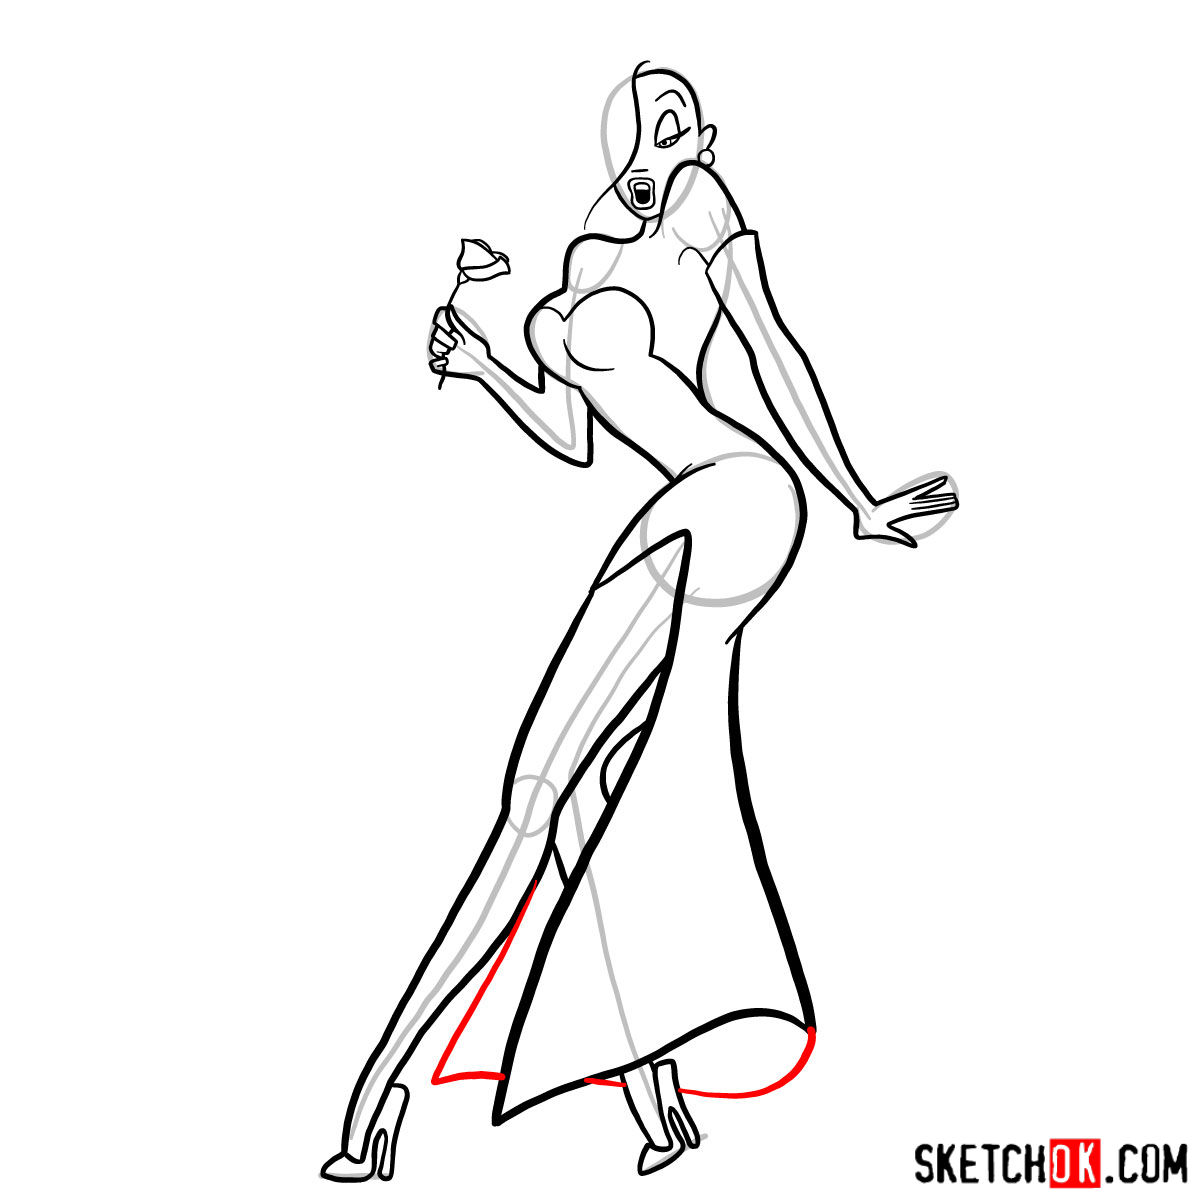
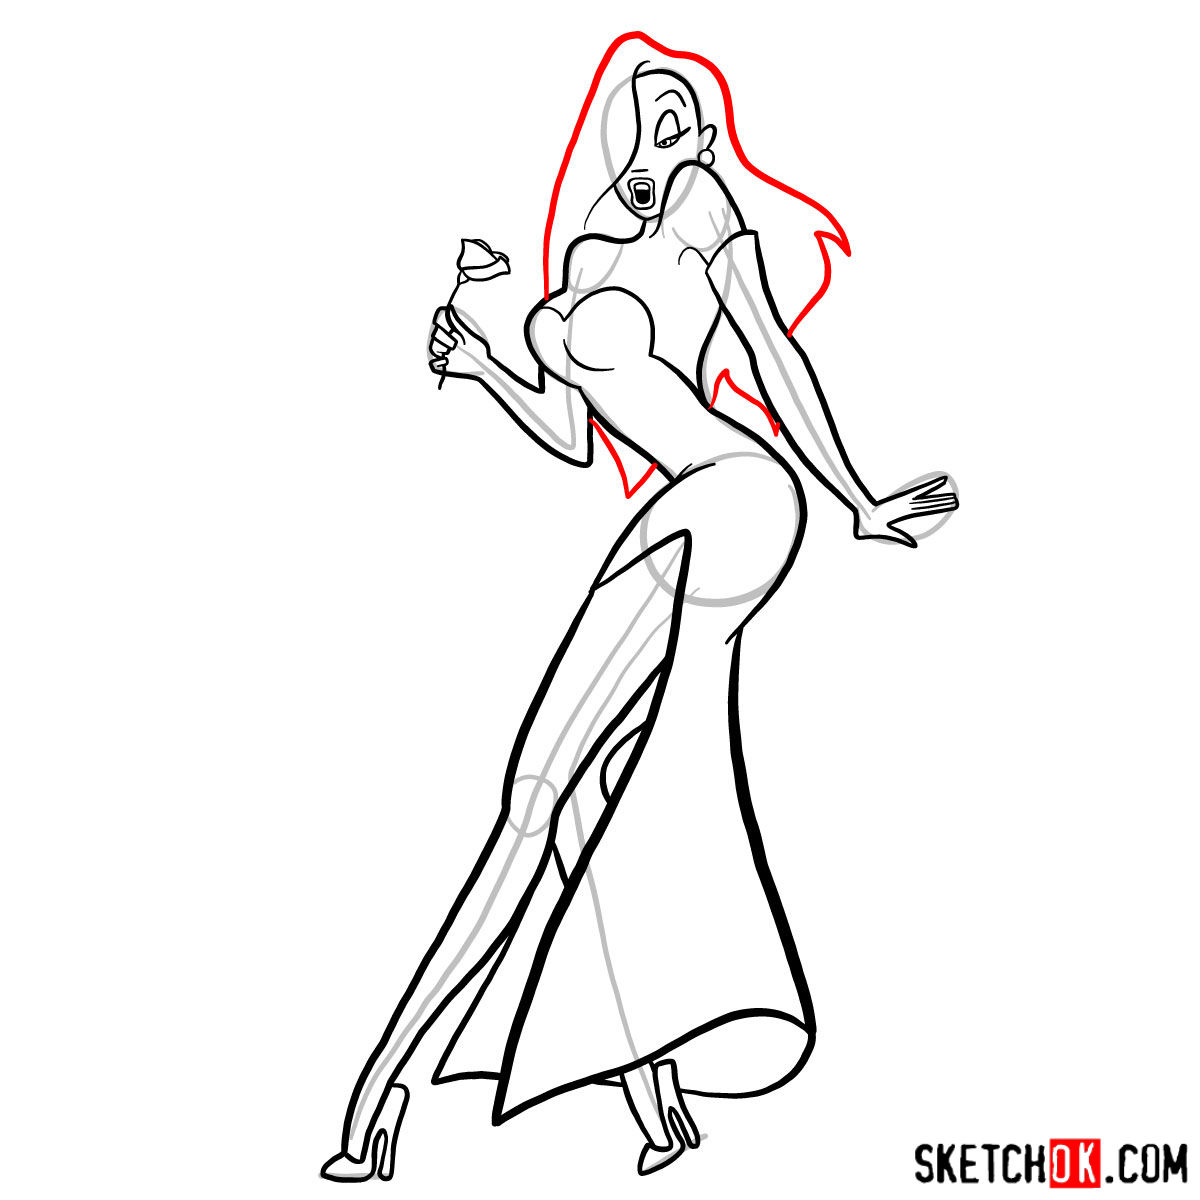
This guide is designed to help you navigate through the process of drawing Jessica Rabbit, using a set of 15 images. To make your task easier, we have color-coded the steps as follows:
- Red Color: Represents the current step you should be focusing on.
- Black Color: Showcases the lines you have previously drawn.
- Grey Color: Indicates the basic proportions sketch. This should be done lightly with your pencil.
As you go through the steps, the initial stages will involve creating a basic structure for the sketch, where you would draw lightly for proportions. Once you’ve completed the sketching process, you can choose to ink your sketch. Remember, patience is key. Allow the ink to dry fully to prevent smudging, then gently erase the pencil sketch. The last image of this guide can serve as a color reference if you decide to add colors to your masterpiece.


Now that you know how to draw Jessica Rabbit, you might be glad to hear that more glamorous and classic cartoon characters are on the way to SketchOk. There are plenty of other retro and animated icons worth picking up a pencil for, so keep an eye out for those. Sign up for the weekly digest using the form at the top of the page, or follow along on Pinterest and Facebook so you do not miss a thing.
I wanna report you filthy as for stealing and tracing other’s artworks!!
Hello, there’s a disclaimer that all the original artworks or photos that were used as references in creating these drawing guides belong to their respective owners. I’m not the author/owner of many of the original artworks. If you are the author or know whose work was used as a reference, let me know. I will be happy to credit the author.
I loved it, because it was fun
😊 Thank you for the kind feedback!
CAN WE DO MORE CHARACTERS TOMORROW MORNING?