Home » Cartoon Characters » Various » How to draw dancing Minnie Mouse

How to draw dancing Minnie Mouse

Let’s embark on a joyous journey of creating magic with a pencil. Our adventure for today involves drawing everyone’s beloved Disney character, Minnie Mouse, in a delightful dancing pose. This step-by-step guide, designed for artists of all ages and skill levels, aims to simplify the process of drawing and bring the charm of this famous character to your canvas.

Minnie Mouse – The Graceful Dancer: Focus Points for Drawing

As we gear up to draw Minnie in her dancing glory, let’s remind ourselves of her distinctive features:

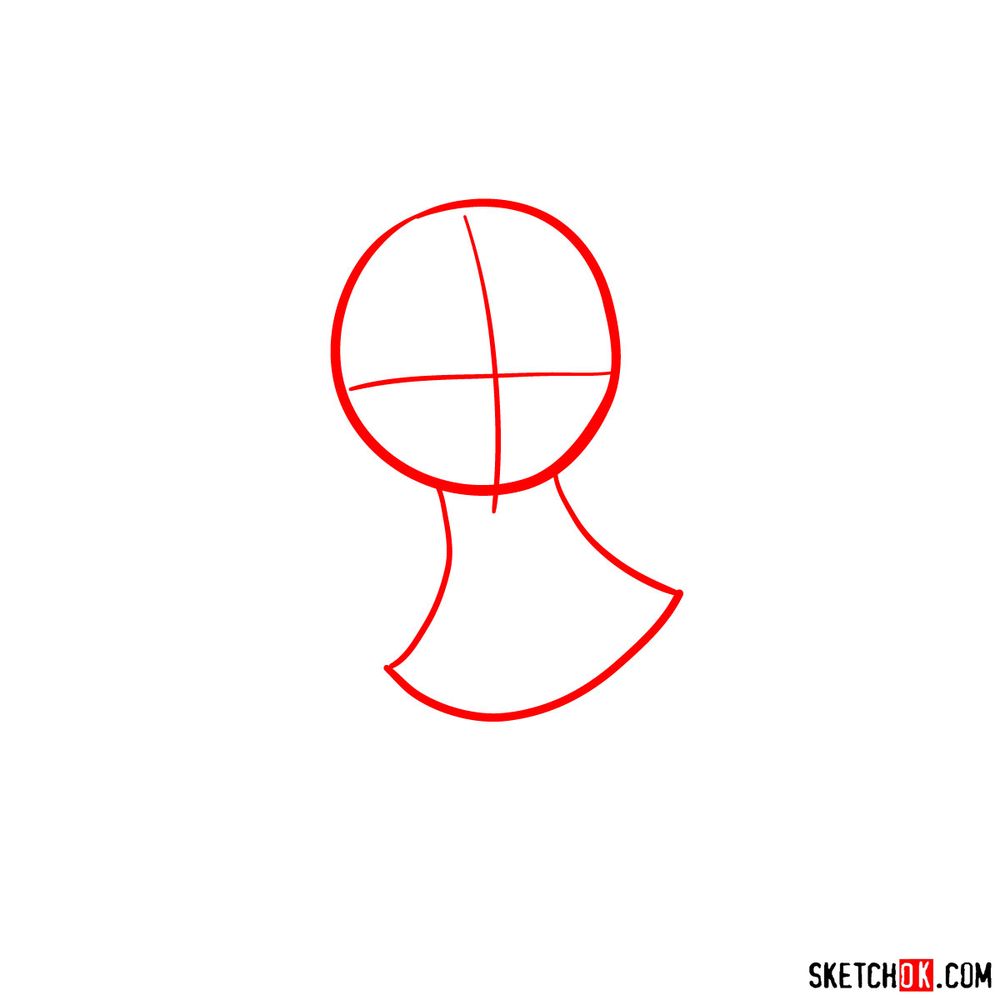
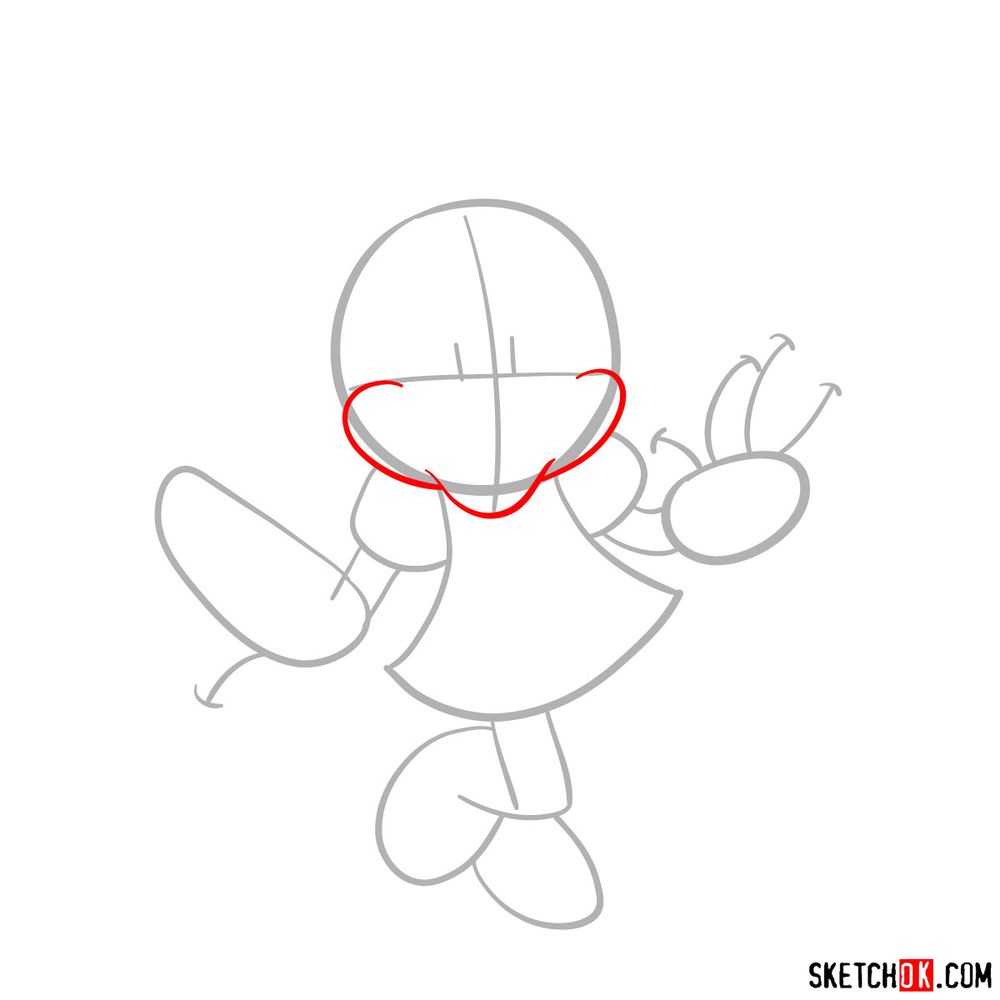
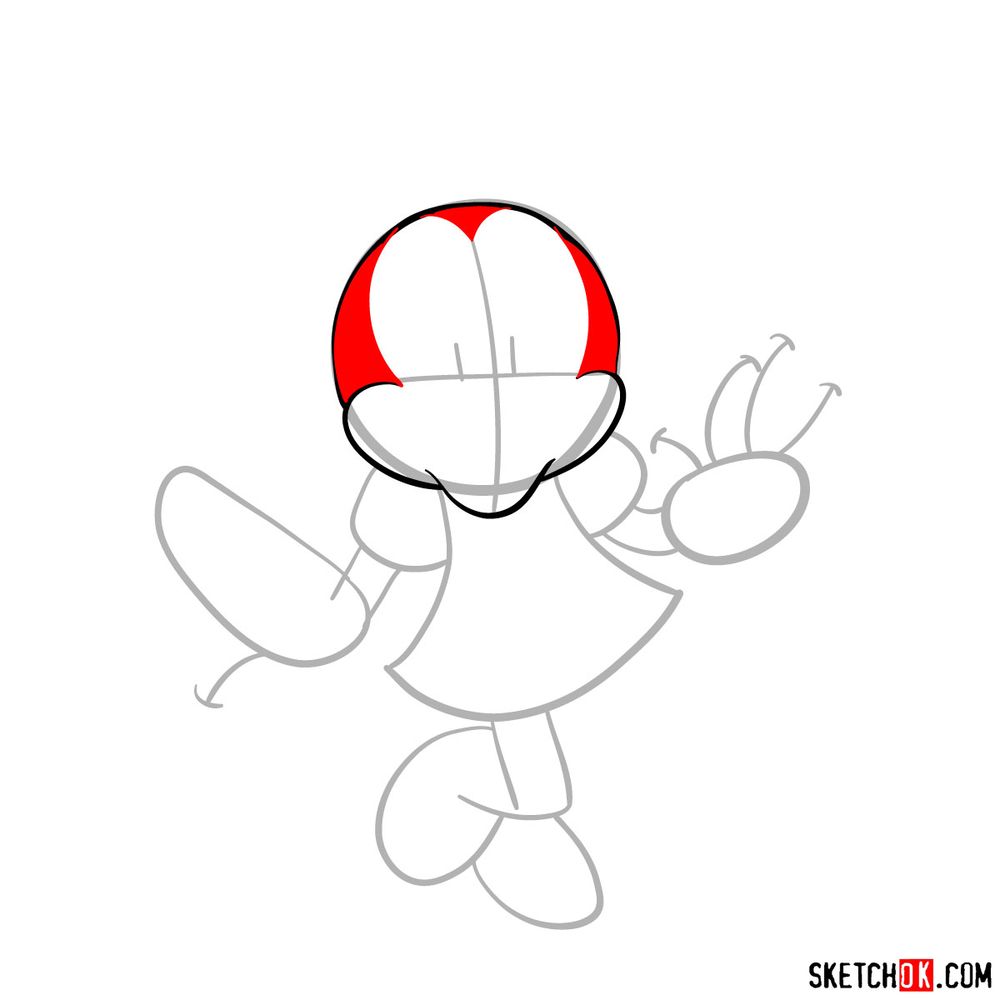
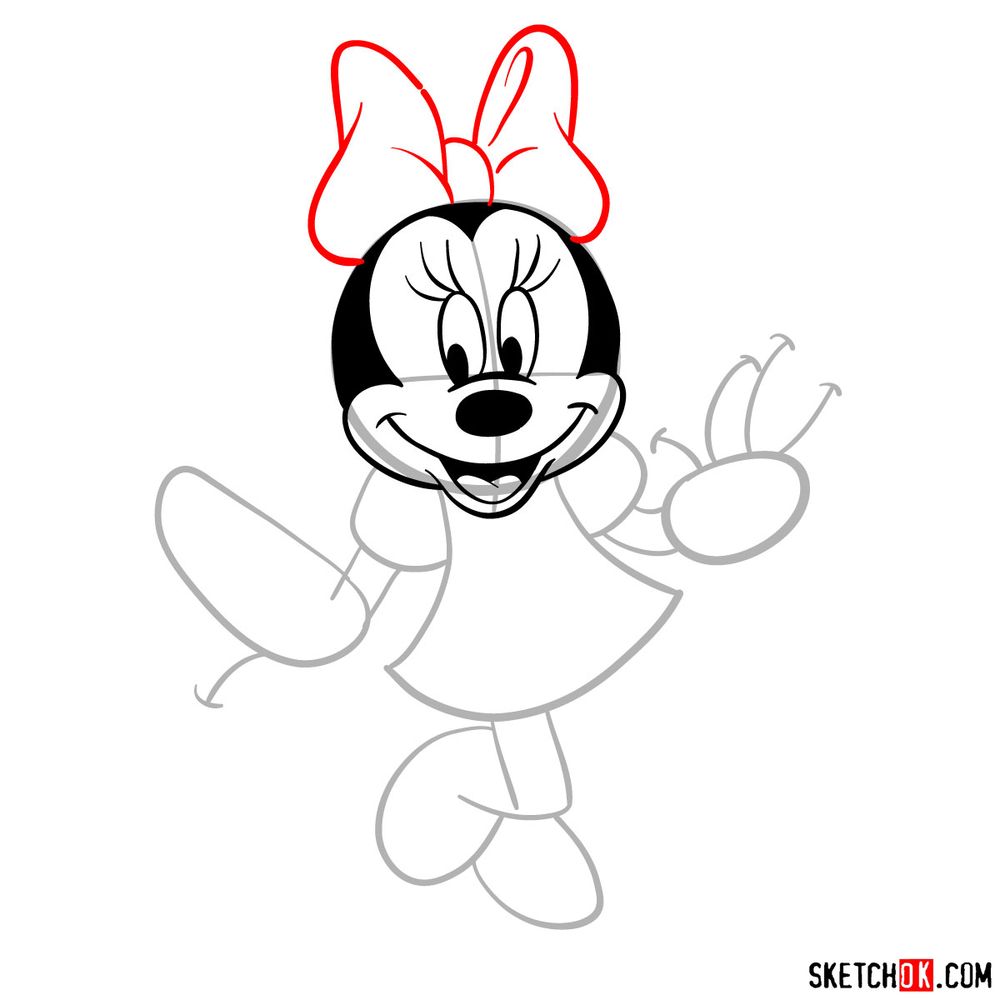
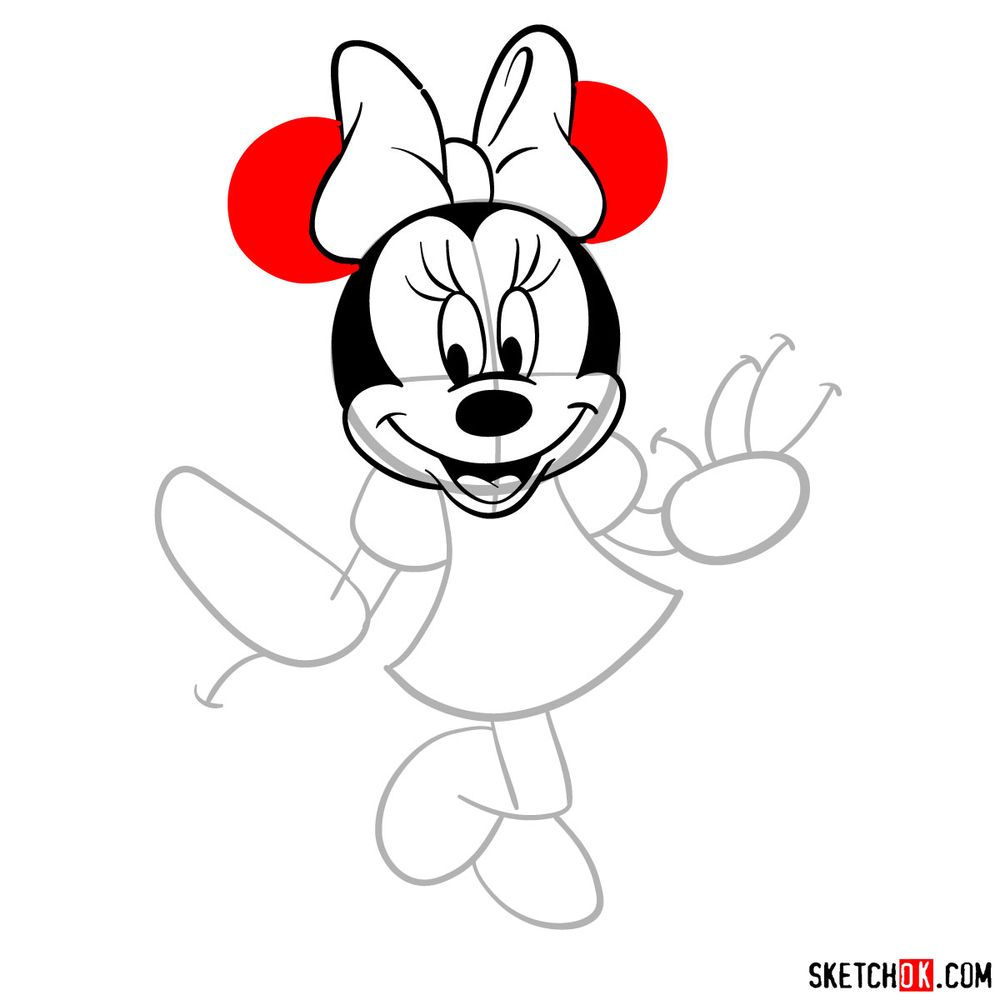
  • Her large, round head paired with a bow on the top.
  • The iconic large, round ears that sit symmetrically on her head.
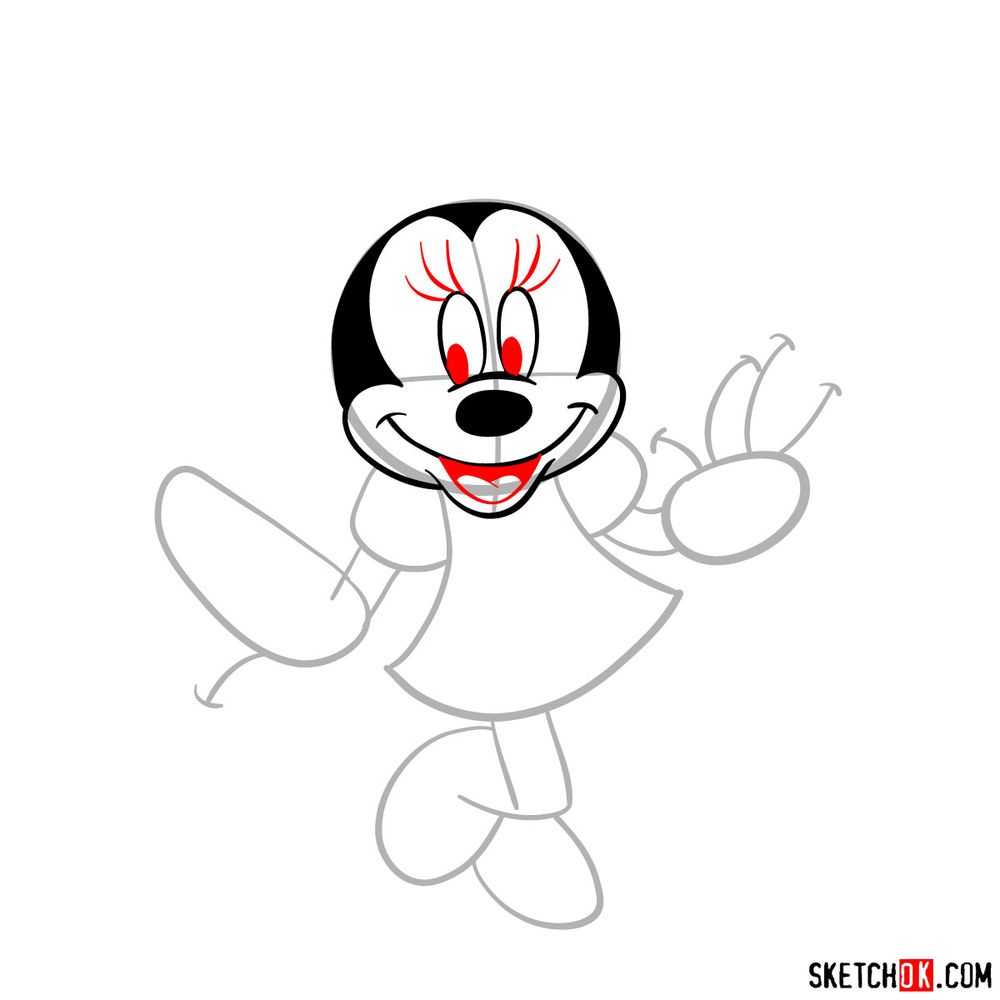
  • The long eyelashes that give her a feminine touch.
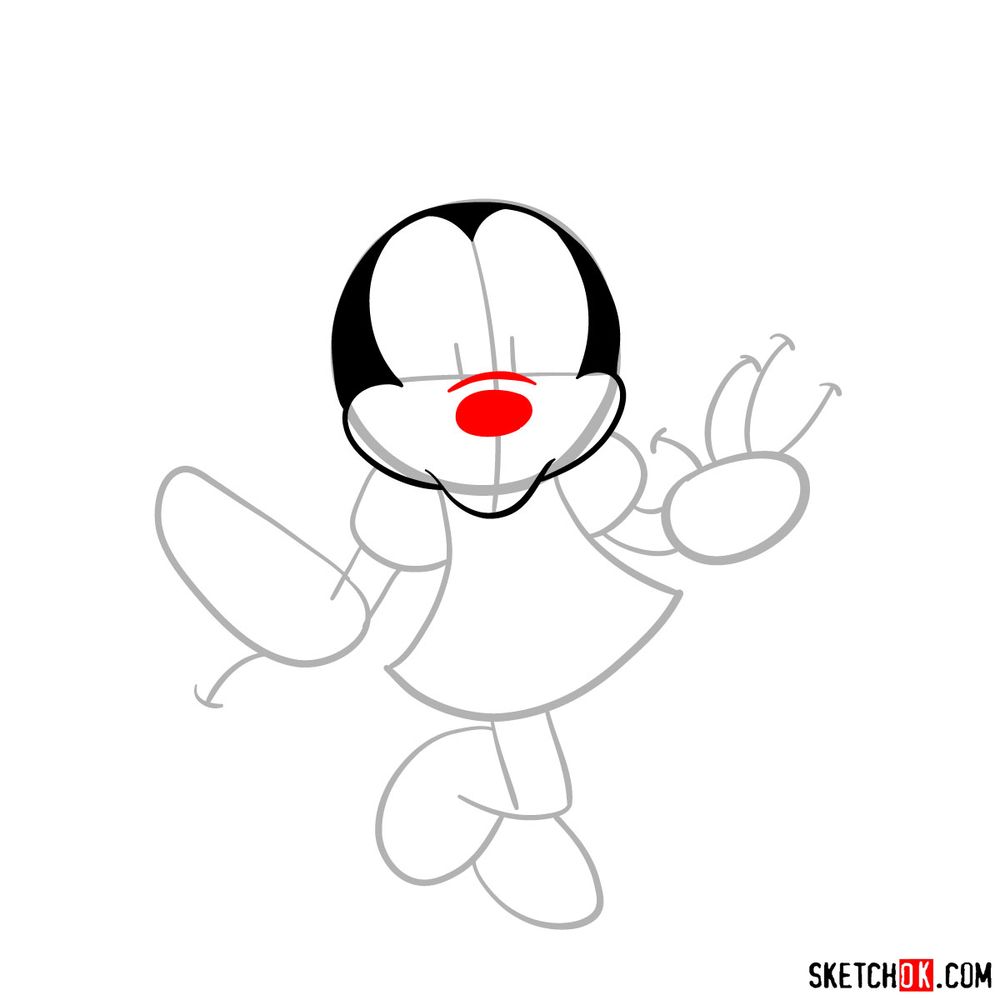
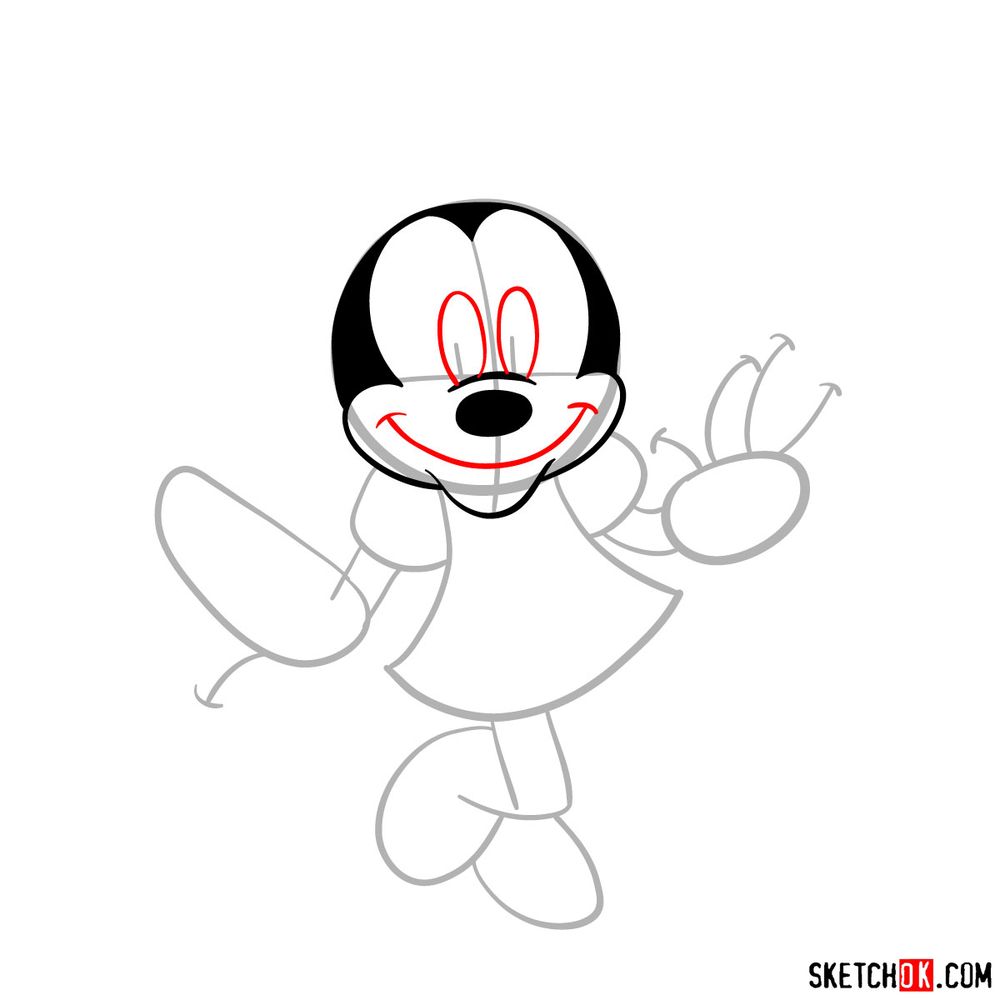
  • A small, round nose situated in the middle of her face.
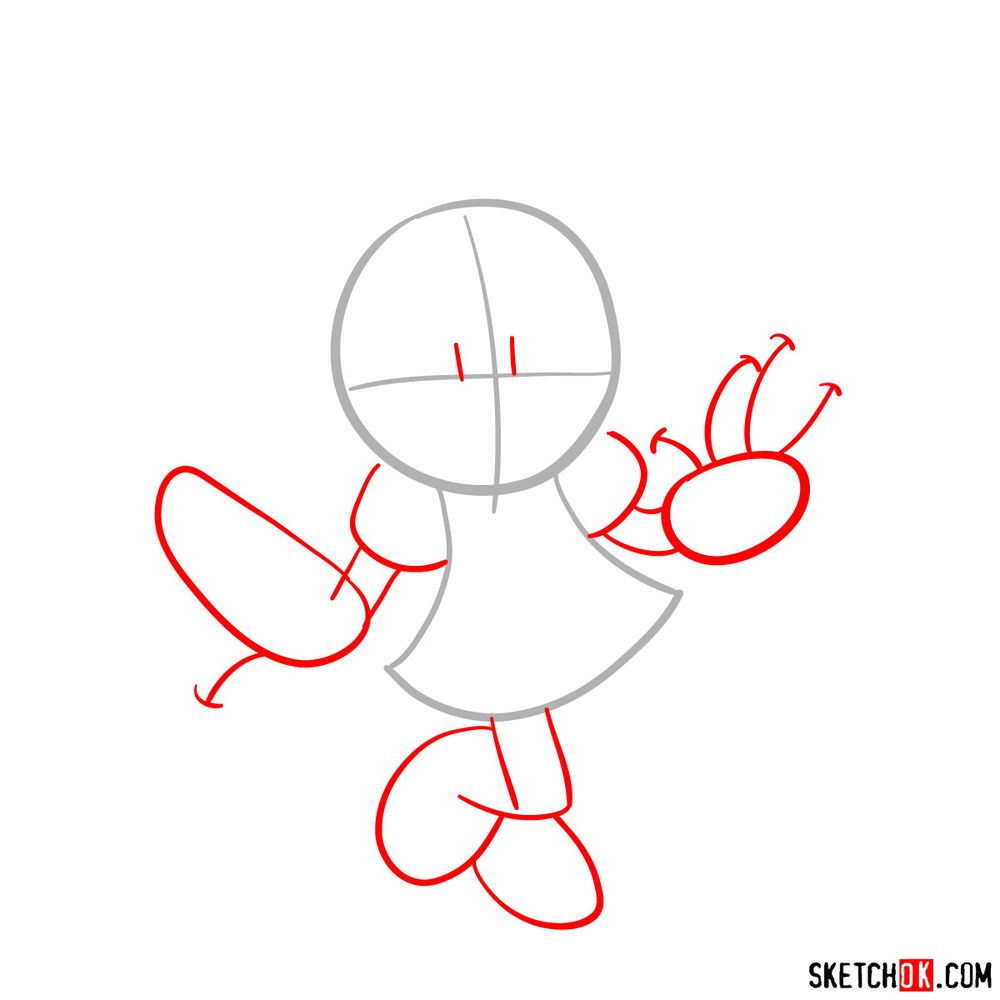
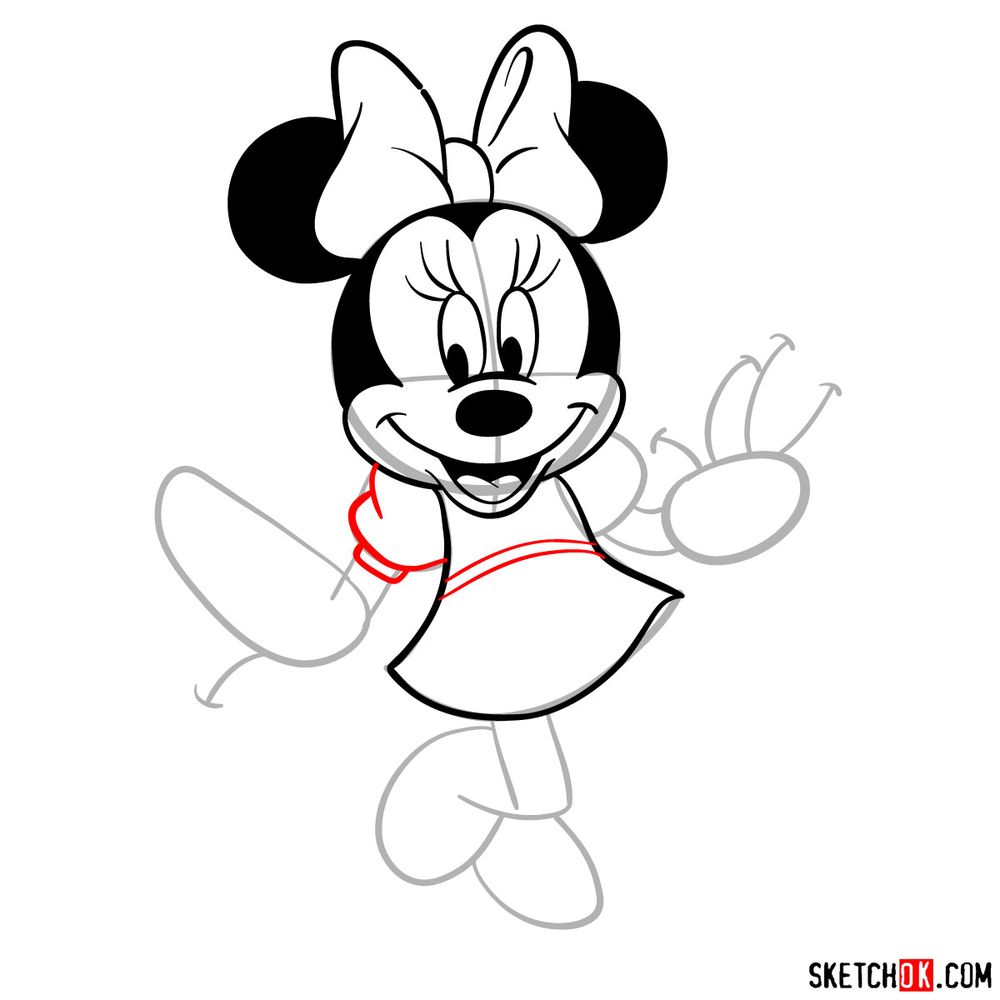
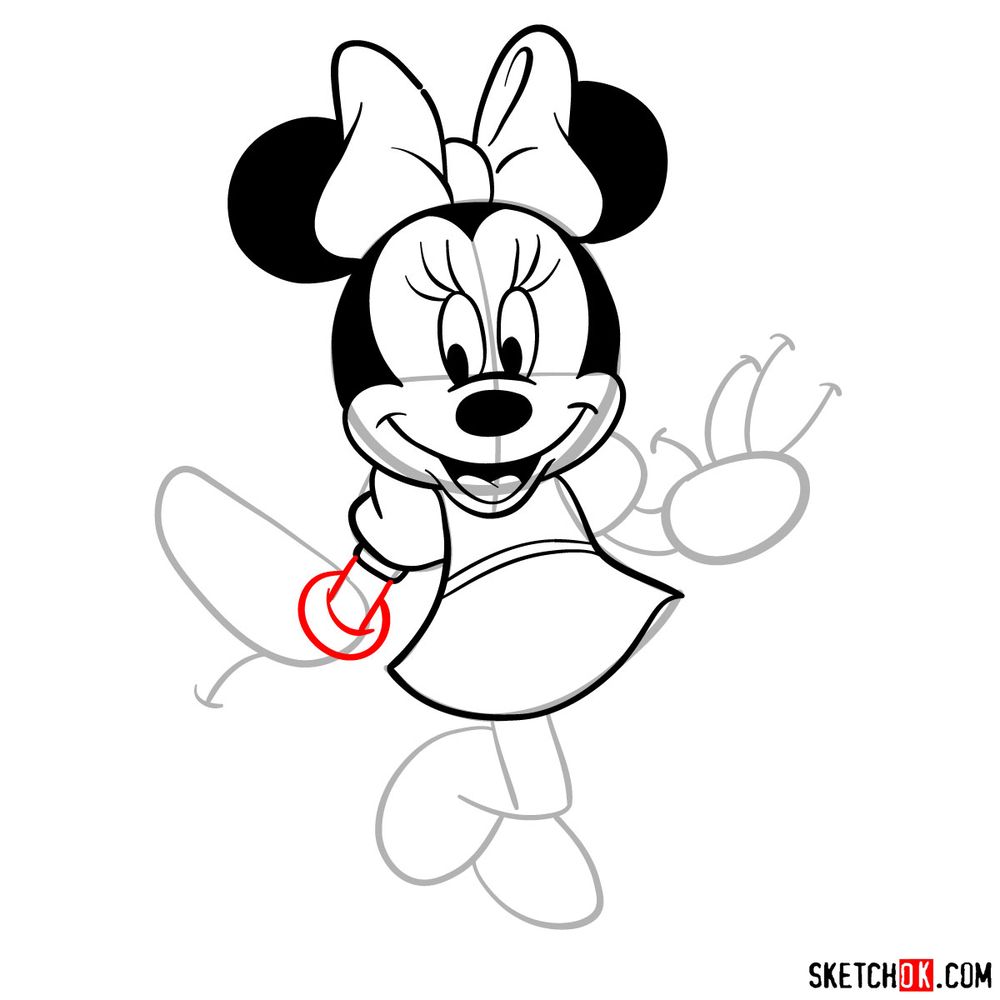
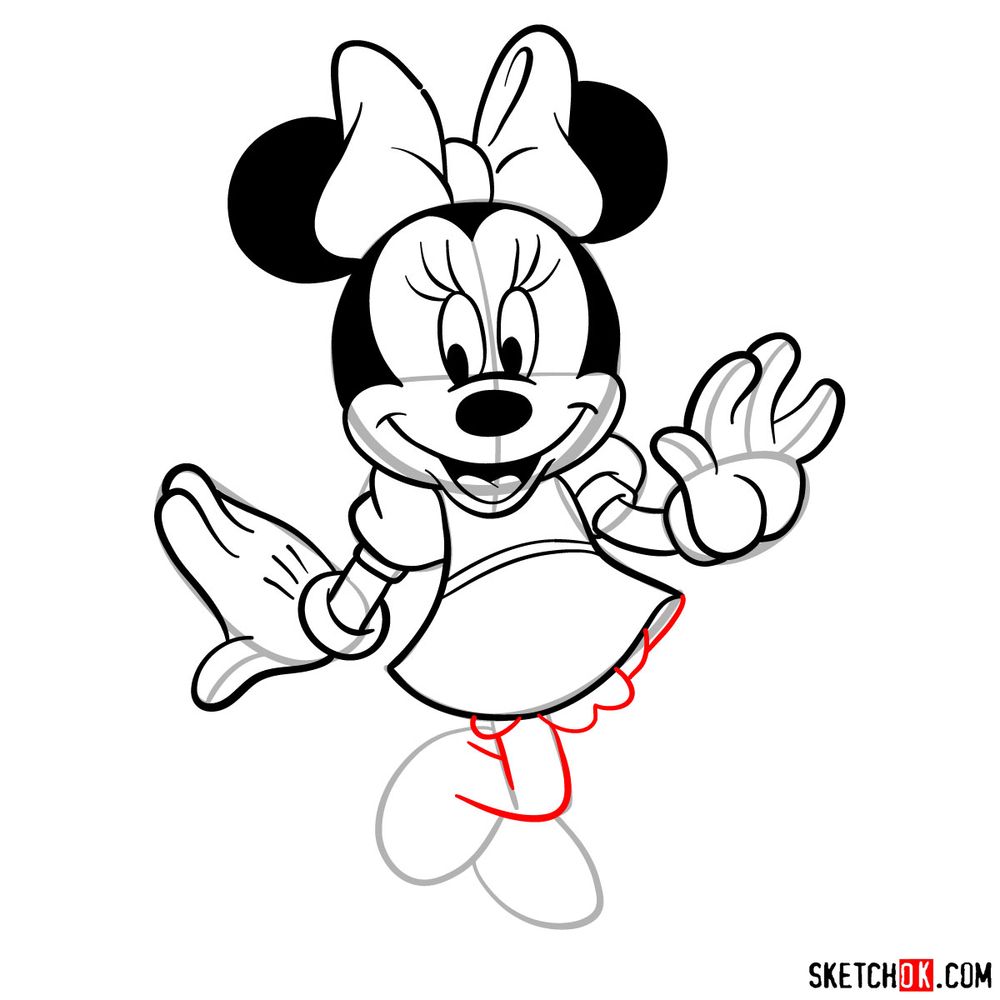
  • Her slender arms and legs, which are key in depicting her dancing pose.
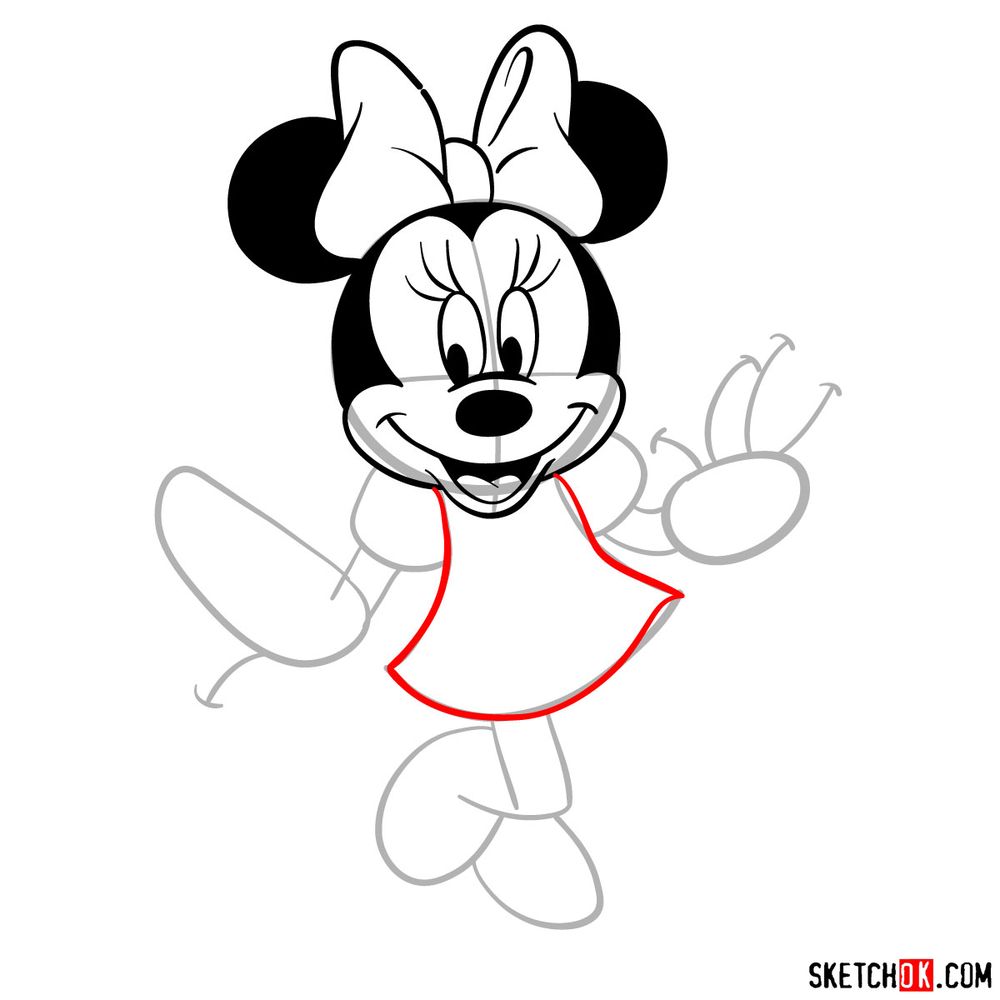
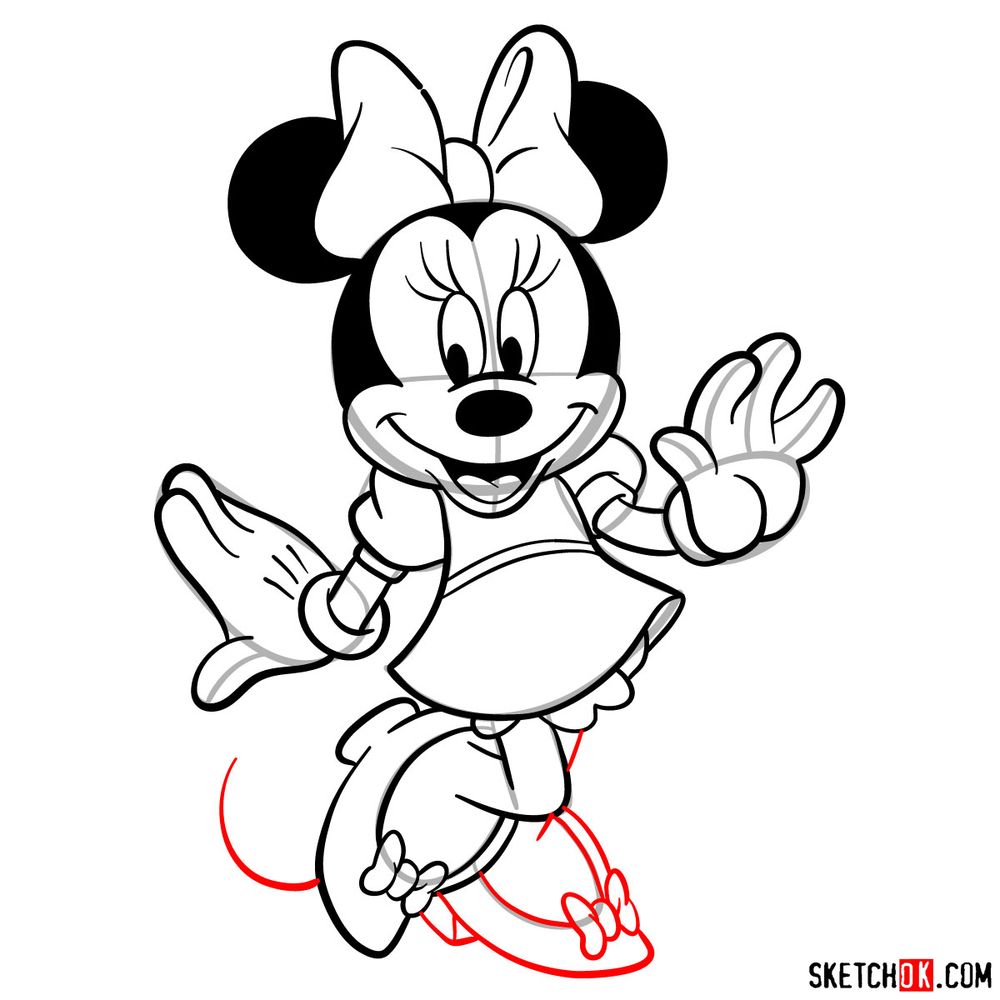
  • The distinctive dress and oversize shoes.

Once you’ve mastered the art of drawing Minnie Mouse, why not try sketching her lifelong partner, Mickey Mouse? Adding him to your drawing would make a charming scene of the two beloved characters dancing together.

Your Artistic Guide: The Steps and Color Coding

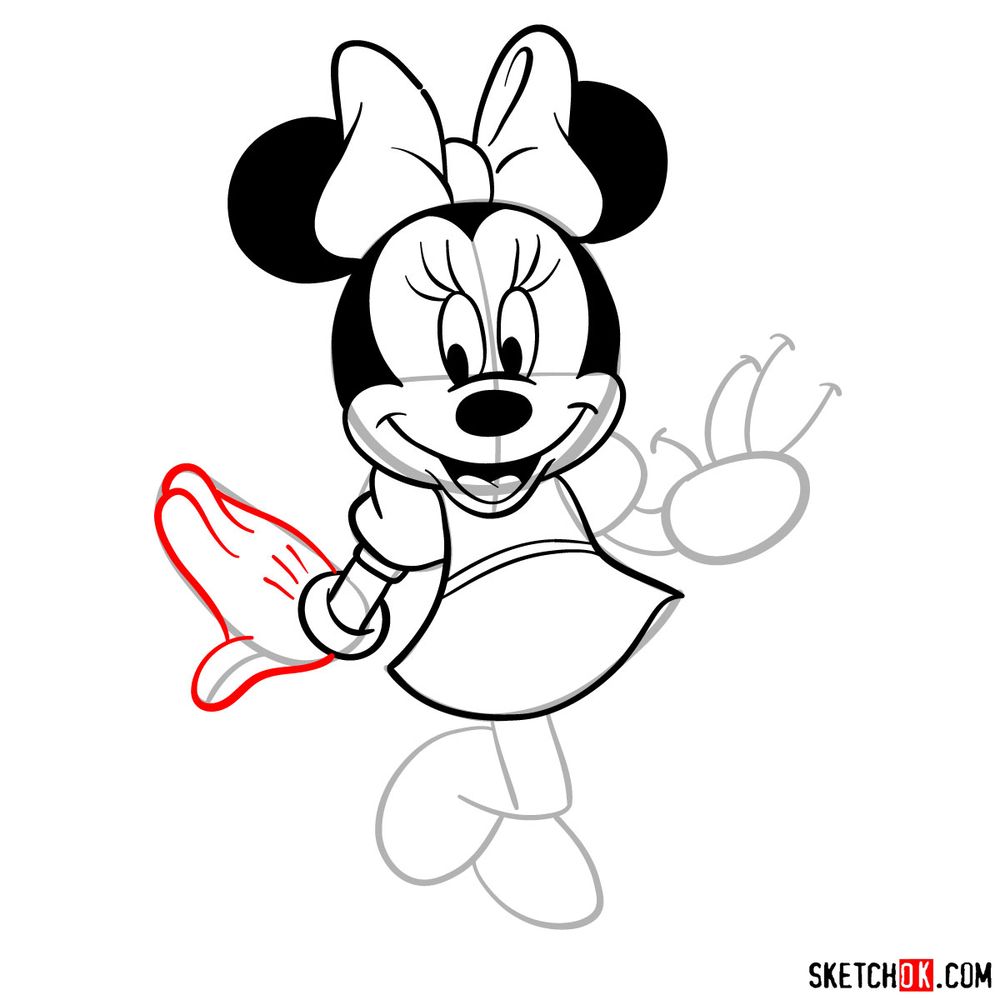
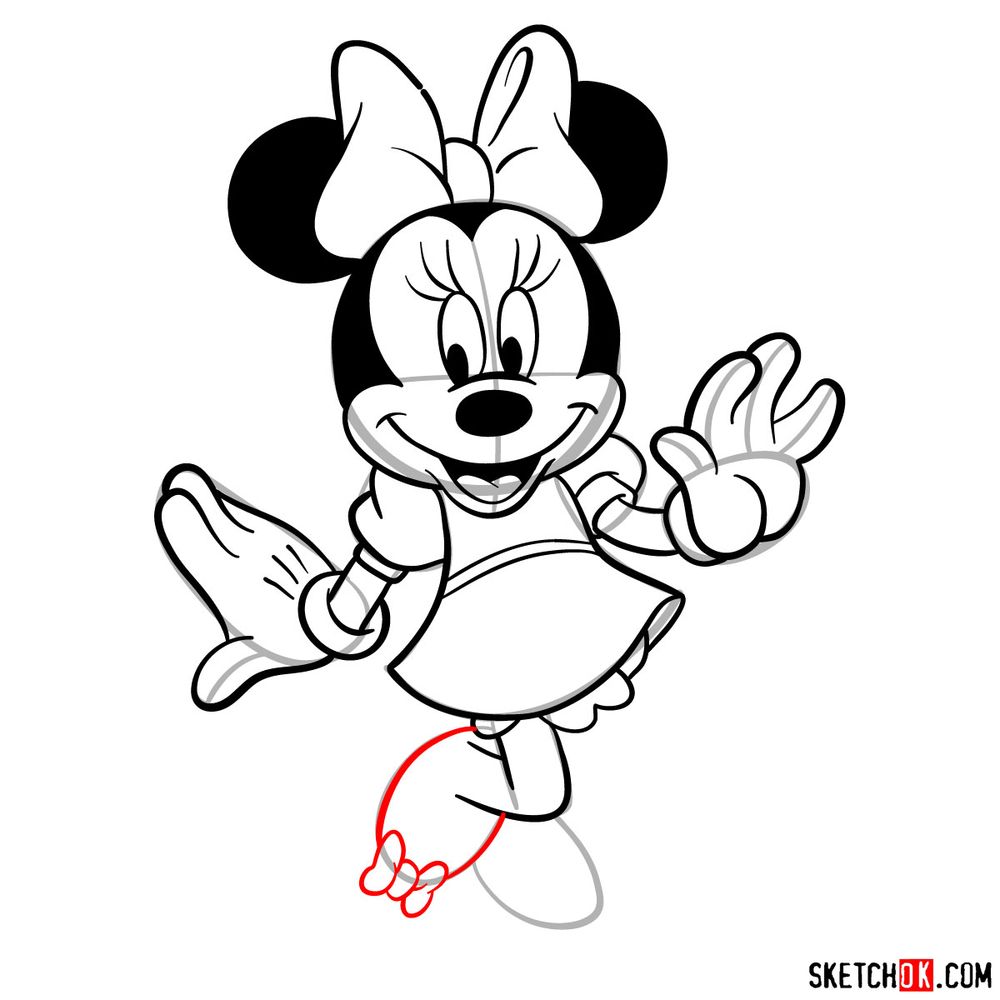
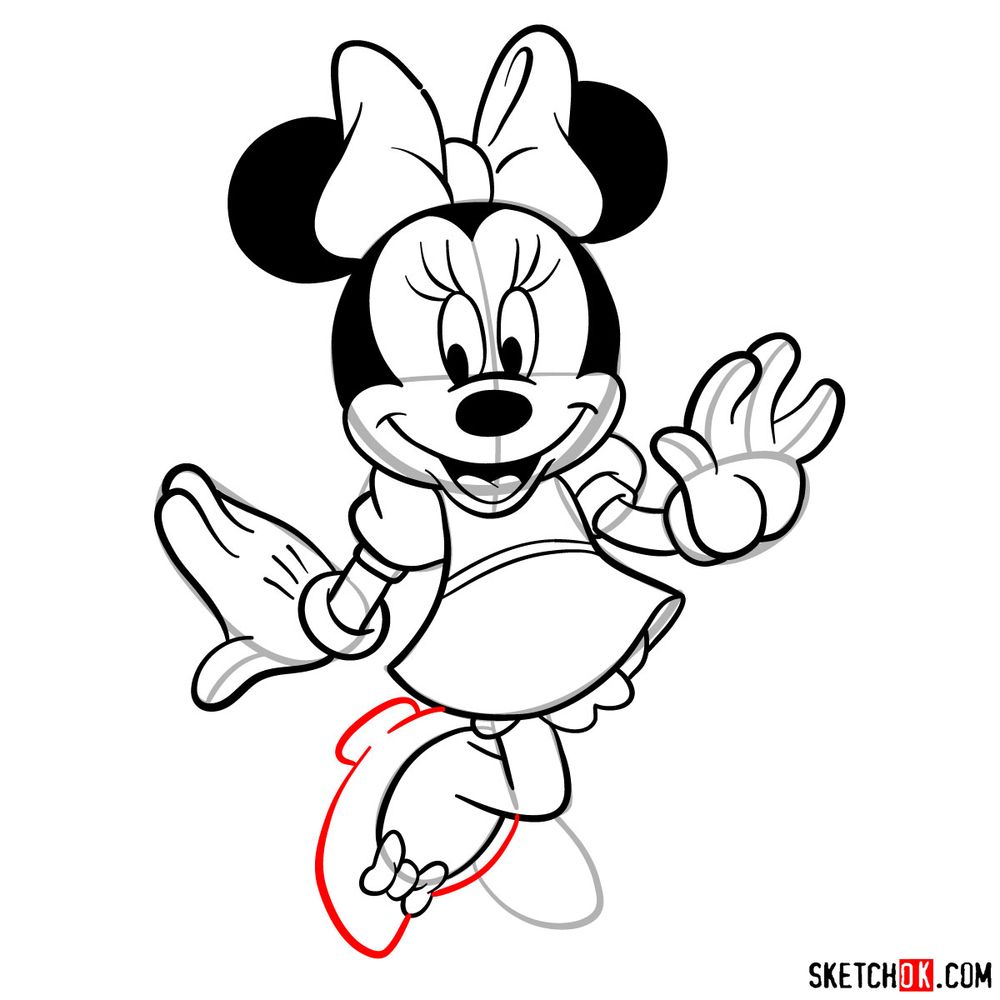
Our guide comprises 21 easy-to-follow steps, with the initial 2 steps dedicated to crafting a basic sketch using light pencil strokes. Here’s an easy color code to guide you:

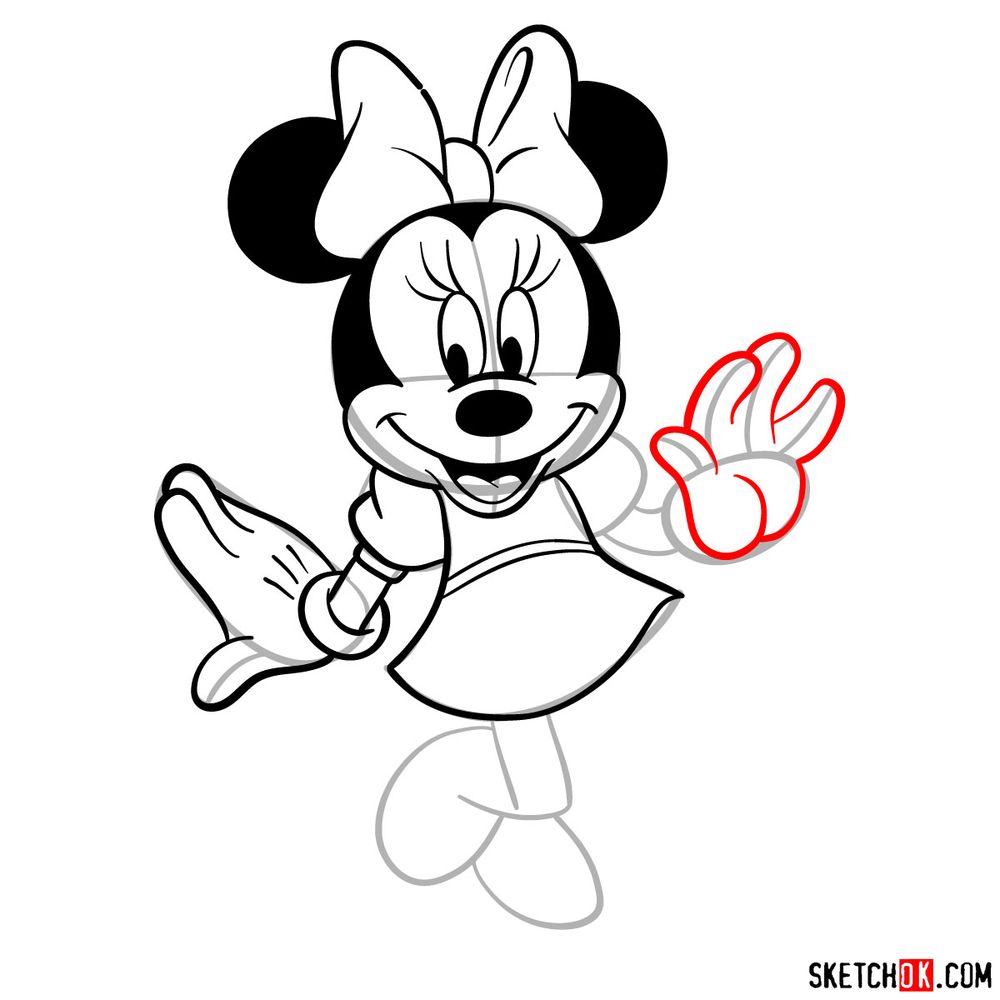
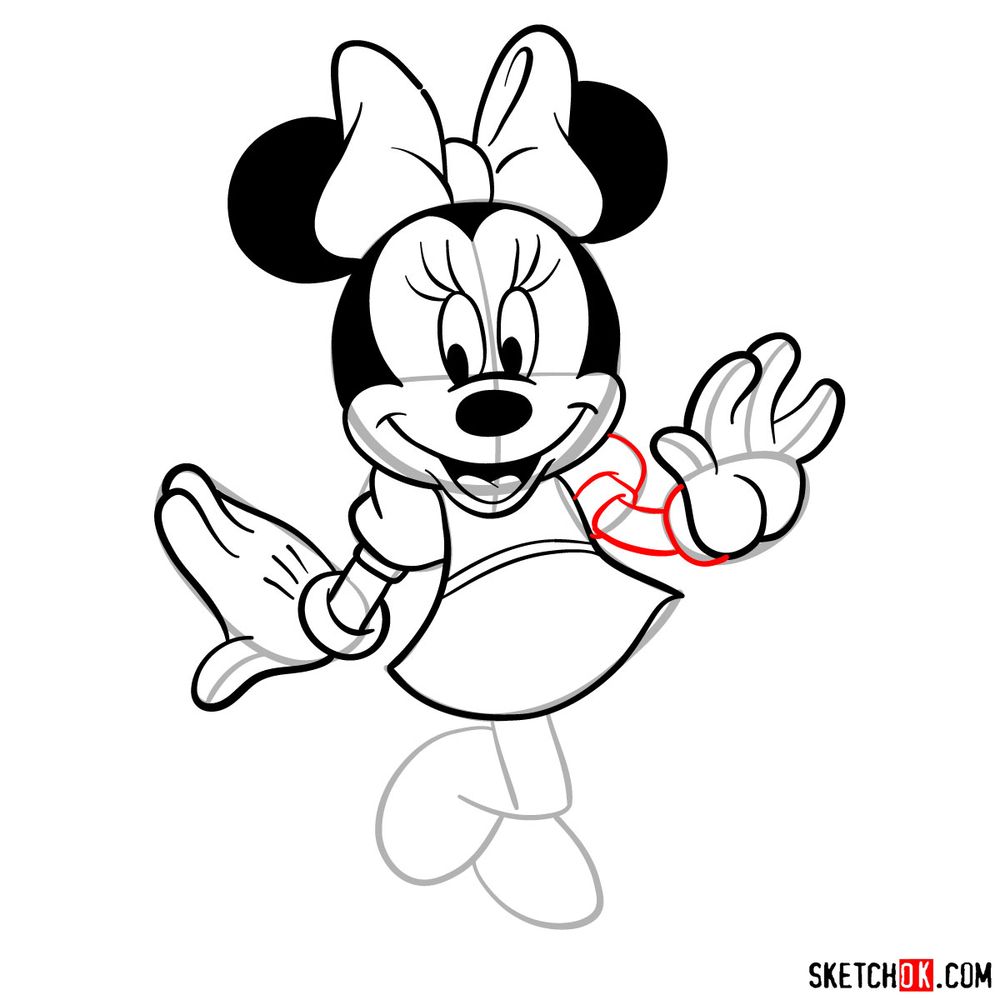
  • Red Color: Represents the current step you need to focus on.
  • Black Color: Depicts the lines drawn in previous steps.
  • Grey Color: Illustrates the basic proportions sketch.

Upon completing all the steps and achieving satisfaction with your sketch, you may choose to ink it. Remember to patiently let the ink dry before gently erasing the pencil sketch to prevent smudging.

Step 01

How to draw dancing Minnie Mouse - step 01Pin

Step 02

How to draw dancing Minnie Mouse - step 02Pin

Step 03

How to draw dancing Minnie Mouse - step 03Pin

Step 04

How to draw dancing Minnie Mouse - step 04Pin

Step 05

How to draw dancing Minnie Mouse - step 05Pin

Step 06

How to draw dancing Minnie Mouse - step 06Pin

Step 07

How to draw dancing Minnie Mouse - step 07Pin

Step 08

How to draw dancing Minnie Mouse - step 08Pin

Step 09

How to draw dancing Minnie Mouse - step 09Pin

Step 10

How to draw dancing Minnie Mouse - step 10Pin

Step 11

How to draw dancing Minnie Mouse - step 11Pin

Step 12

How to draw dancing Minnie Mouse - step 12Pin

Step 13

How to draw dancing Minnie Mouse - step 13Pin

Step 14

How to draw dancing Minnie Mouse - step 14Pin

Step 15

How to draw dancing Minnie Mouse - step 15Pin

Step 16

How to draw dancing Minnie Mouse - step 16Pin

Step 17

How to draw dancing Minnie Mouse - step 17Pin

Step 18

How to draw dancing Minnie Mouse - step 18Pin

Step 19

How to draw dancing Minnie Mouse - step 19Pin

Step 20

How to draw dancing Minnie Mouse - step 20Pin

Step 21

How to draw dancing Minnie MousePin

FAQs: Drawing Minnie Mouse in a Dancing Pose

What is the best technique to draw Minnie’s bow?

Drawing Minnie’s bow starts with a central knot, which is essentially a small rectangle. From this knot, draw two symmetrical loops like wide, rounded triangles. Complete the bow with two small lines underneath the knot to depict the ends of the ribbon.

How do I sketch Minnie Mouse’s dancing pose?

To capture Minnie’s dancing pose, you’ll need to portray movement. Draw her legs and arms in dynamic positions rather than straight down. One arm could be raised, while the other is extended outward, and her legs should be positioned as if she’s mid-twirl.

Wrapping Up

As we draw the curtains on our tutorial on how to draw Minnie Mouse in a dancing pose, I encourage you to share your journey and spread the joy of sketching with others. Sharing our guide can ignite artistic passion in others and help them discover a rewarding pastime.

If you found our tutorial helpful, please consider making a donation. Your contribution will help us create more free drawing guides and give you a say in future tutorial ideas. Stay in touch with us on Facebook, Instagram, and Pinterest.

I hope this guide has opened a new door for you in the world of sketching. Keep practicing, keep sharing, and keep creating art. Thank you for joining us in this artistic journey. Until next time, happy sketching!

Did you like the tutorial?

You can support the author of this website and also suggest your own ideas for new drawings by making a small donation here:

Leave a Comment

35