For fans of The Little Mermaid II: Return to the Sea, Melody stands out as an iconic character with a mix of aquatic allure and human vulnerability. If you’ve ever wanted to know how to draw Melody in her mesmerizing mermaid form, you’re in for a treat. In this guide, we delve into her character and provide a step-by-step approach to bring her to life on your sketchpad.
Melody’s Mermaid Majesty
- Background: Princess Melody is the intriguing blend of Ariel and Prince Eric, with her mother’s oceanic allure and her father’s human resilience. Her adventurous spirit sets her apart, leading her on a quest to discover her true identity.
- Personality Traits: Sassy, socially anxious, but also well-mannered, Melody inherits Ariel’s curiosity and Eric’s determination. She has a keen affinity for the sea, collecting marine treasures, and daydreaming about a life under the waves.
- Appearance Highlights: With jet black hair, aqua blue eyes, and a melodic voice, Melody’s design is an aesthetic delight. Her distinctive mermaid tail, in particular, is a blend of fantasy and realism, making it a focal point when sketching.
- Similar Characters: If you’re looking to expand your collection, consider drawing other characters like King Triton, or perhaps the iconic Ariel in her original mermaid form.
Guide Overview
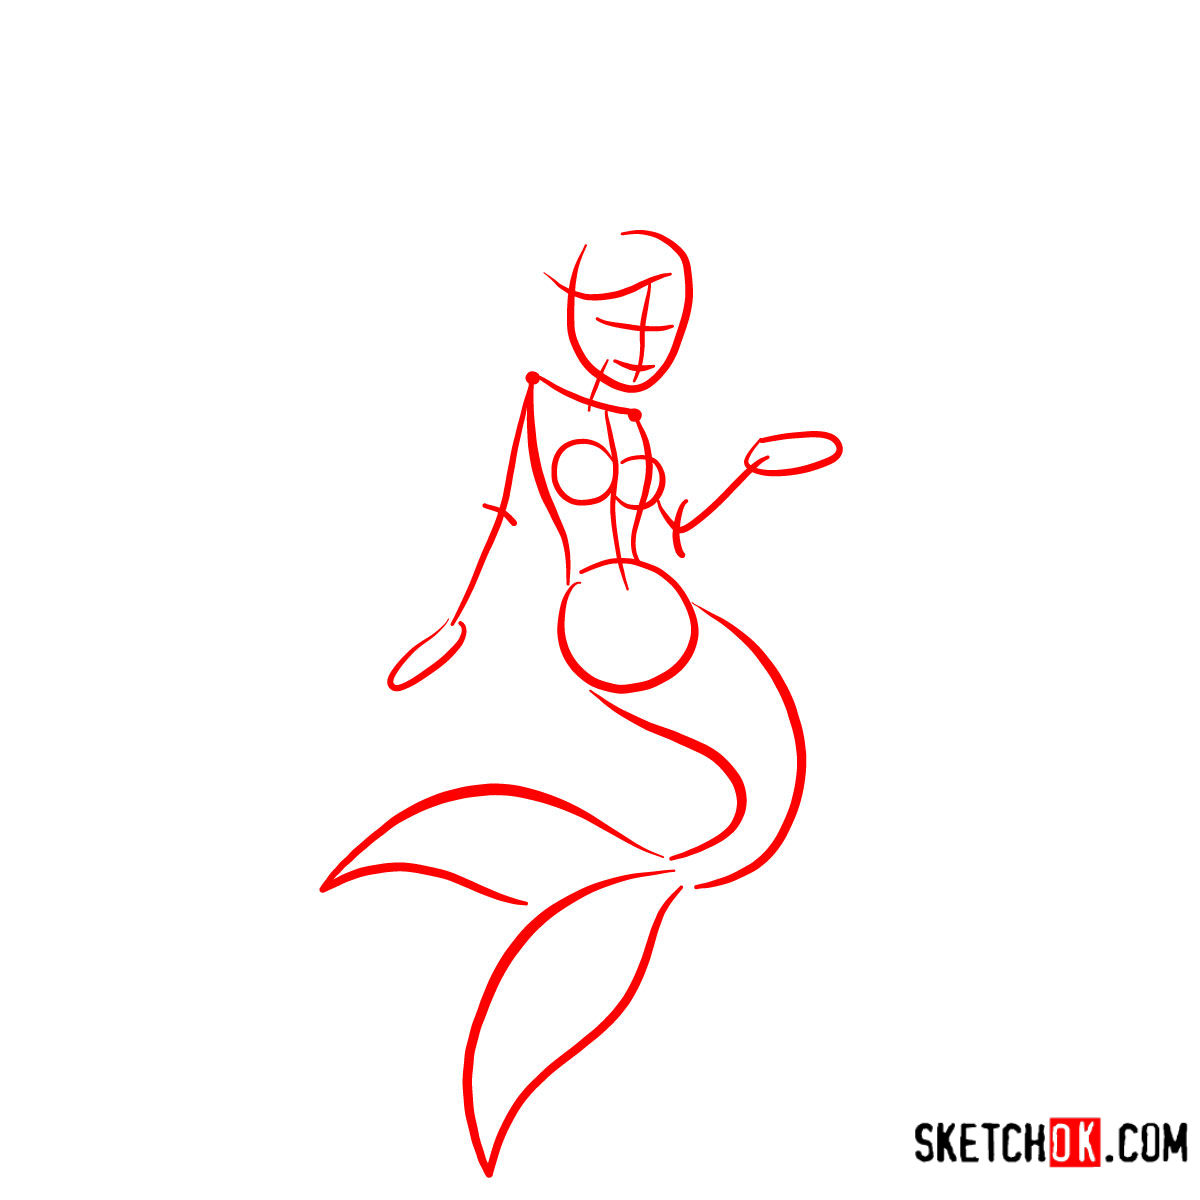
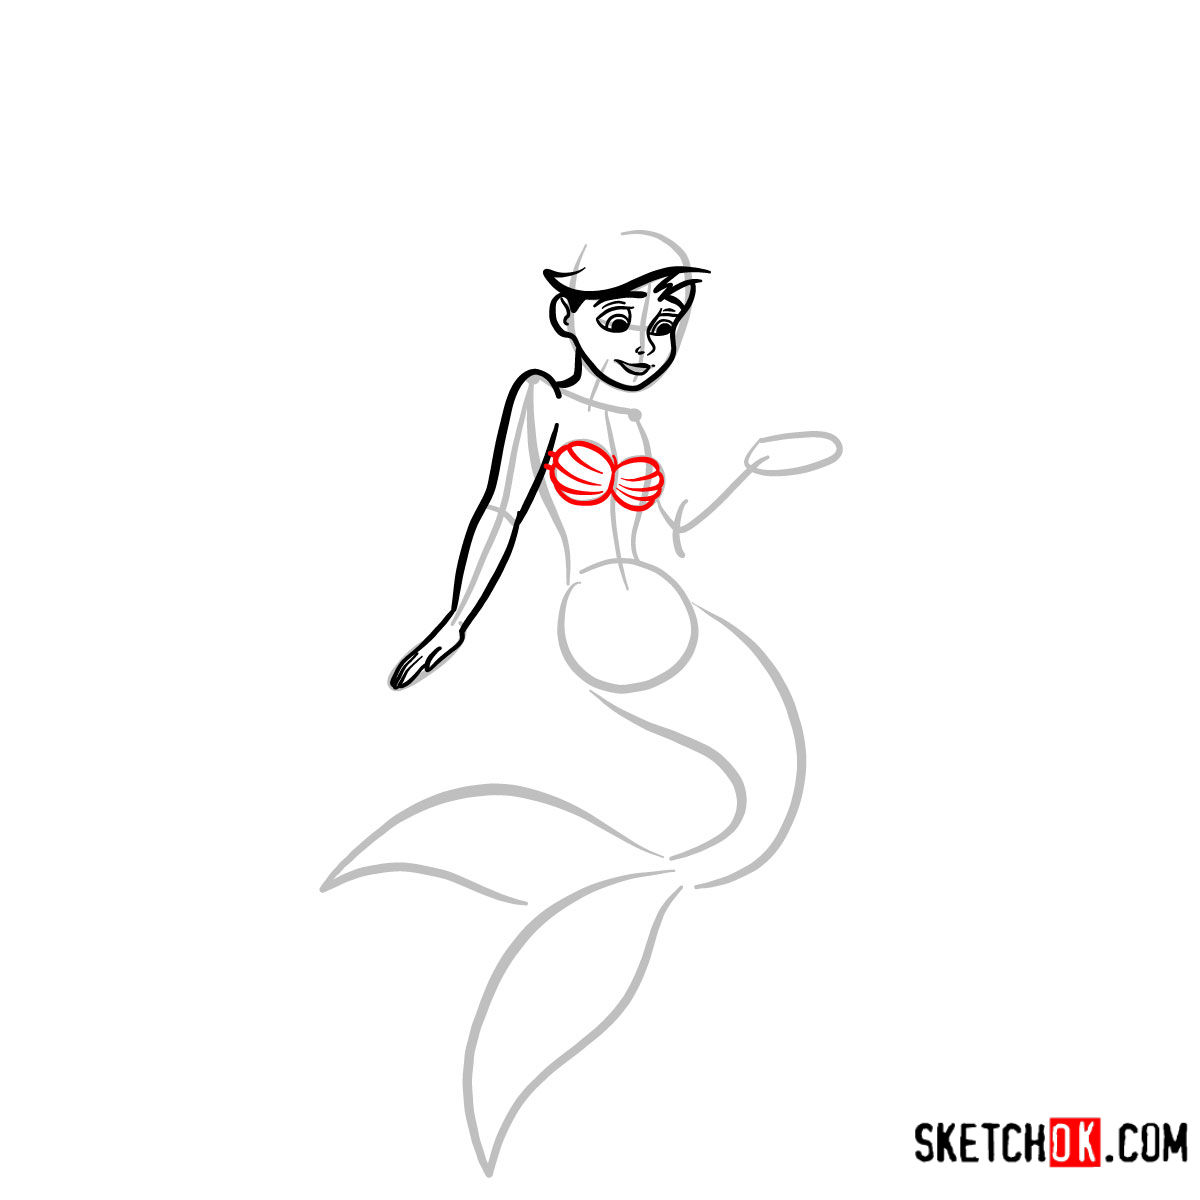
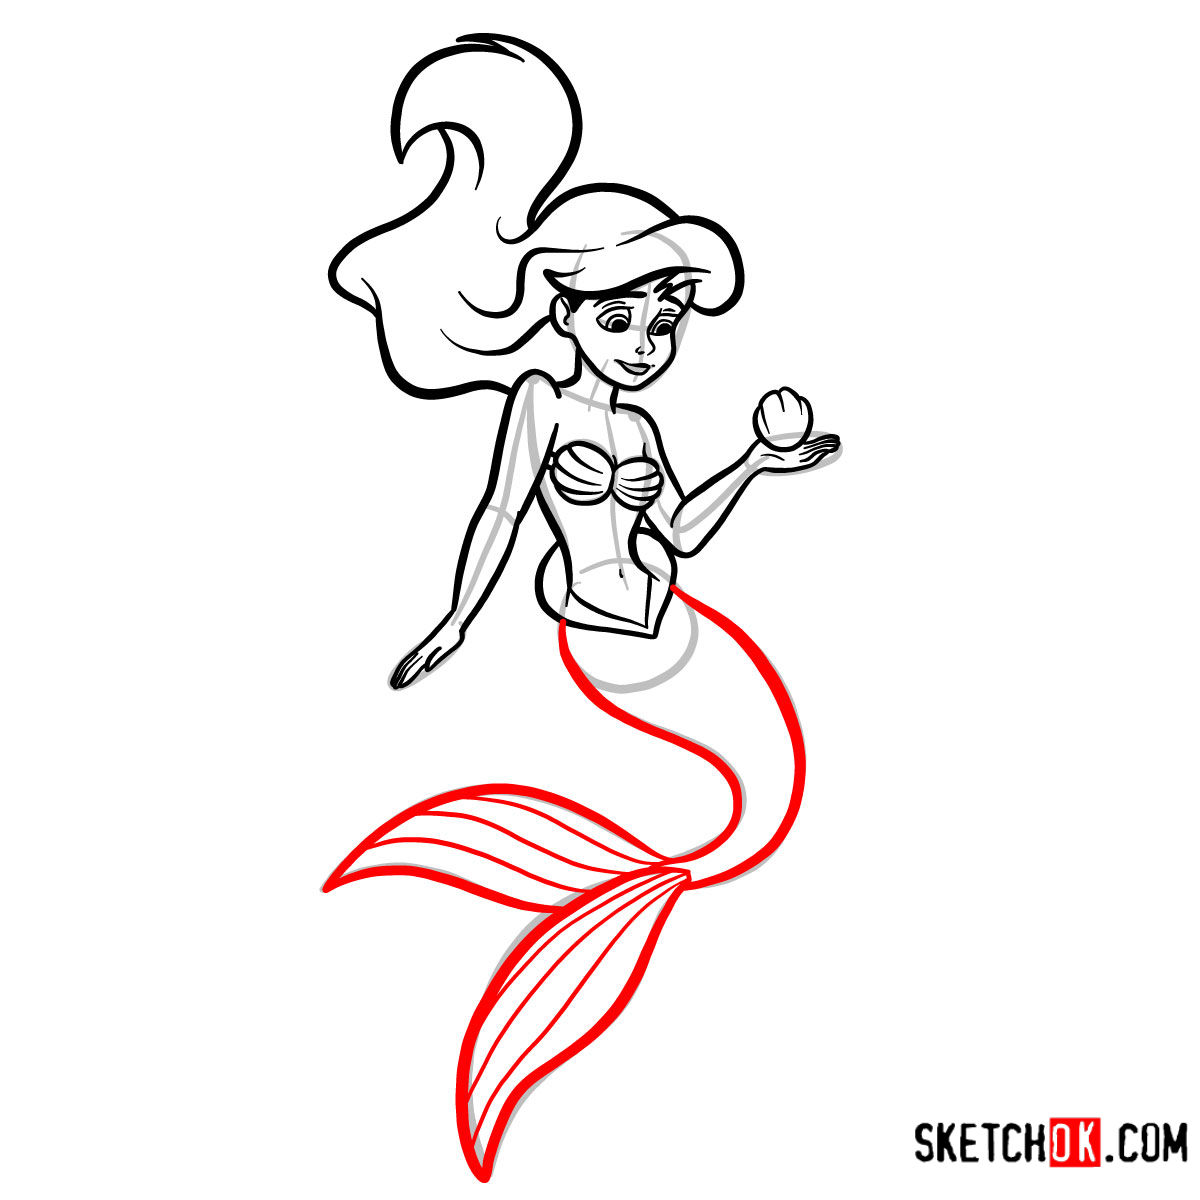
Our tutorial is a systematic breakdown into 10 steps, carefully designed to ensure that even beginners can grasp the nuances of Melody’s design. Before delving into the drawing process, here are some pointers to be aware of:
- Red Color: Represents the current step you should be focusing on.
- Black Color: Showcases the lines you’ve already drawn in previous steps.
- Grey Color: This is for the basic sketch to get the proportions right. Ensure you use light strokes for this preliminary stage.
Starting with a foundational sketch, you can layer on details until Melody emerges in her full splendor. The final stage invites artists to ink the sketch. It’s essential to wait for the ink to dry thoroughly before erasing any pencil markings, ensuring a clean and crisp final image.

Frequently Asked Questions
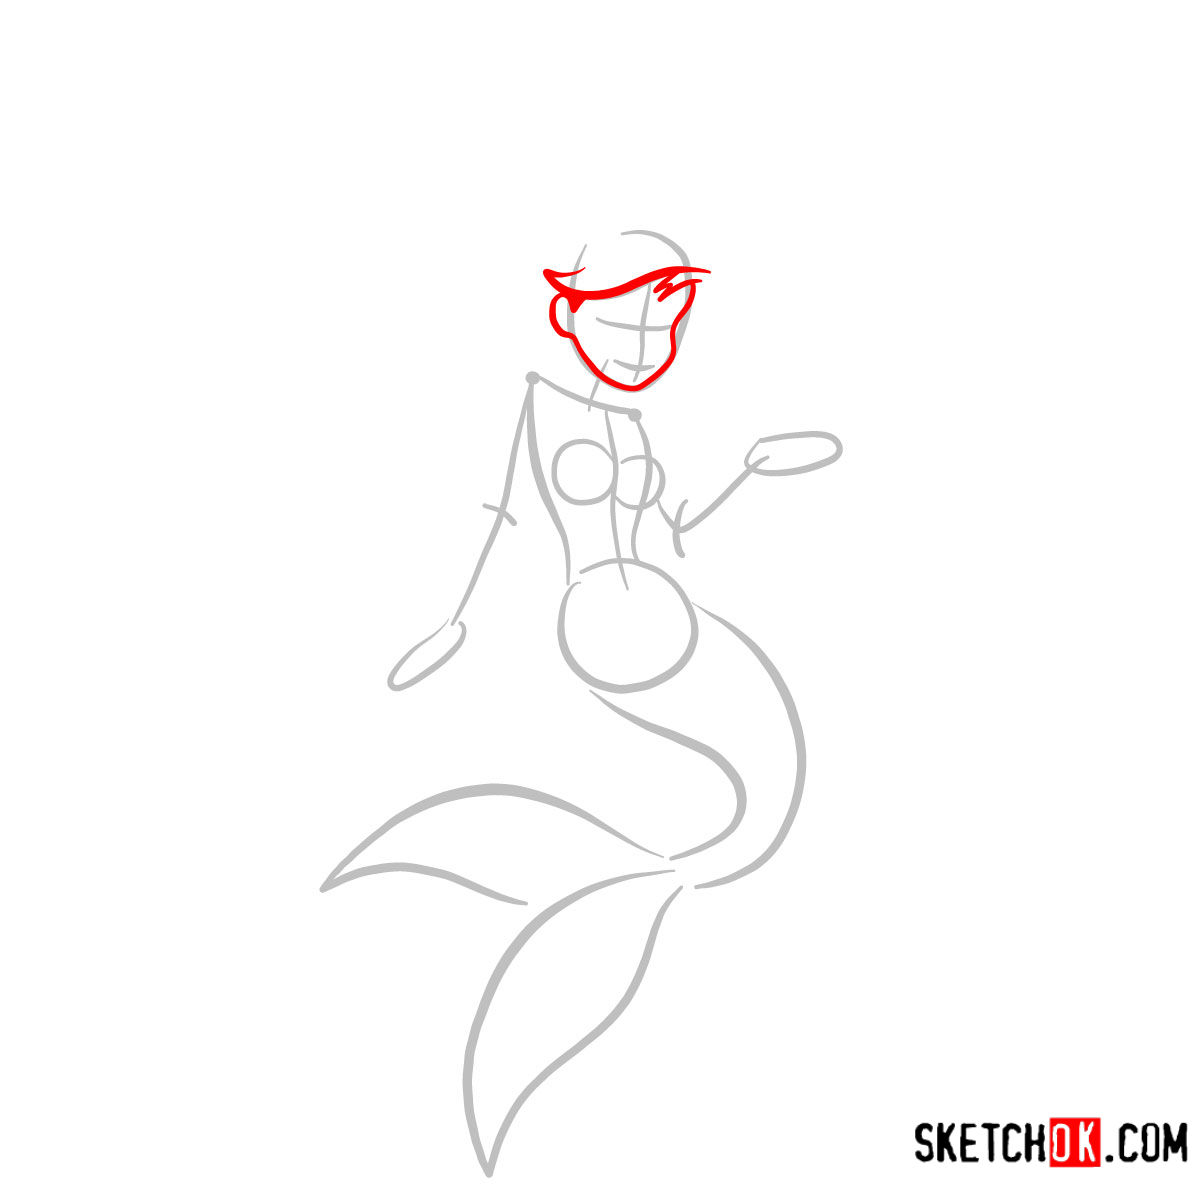
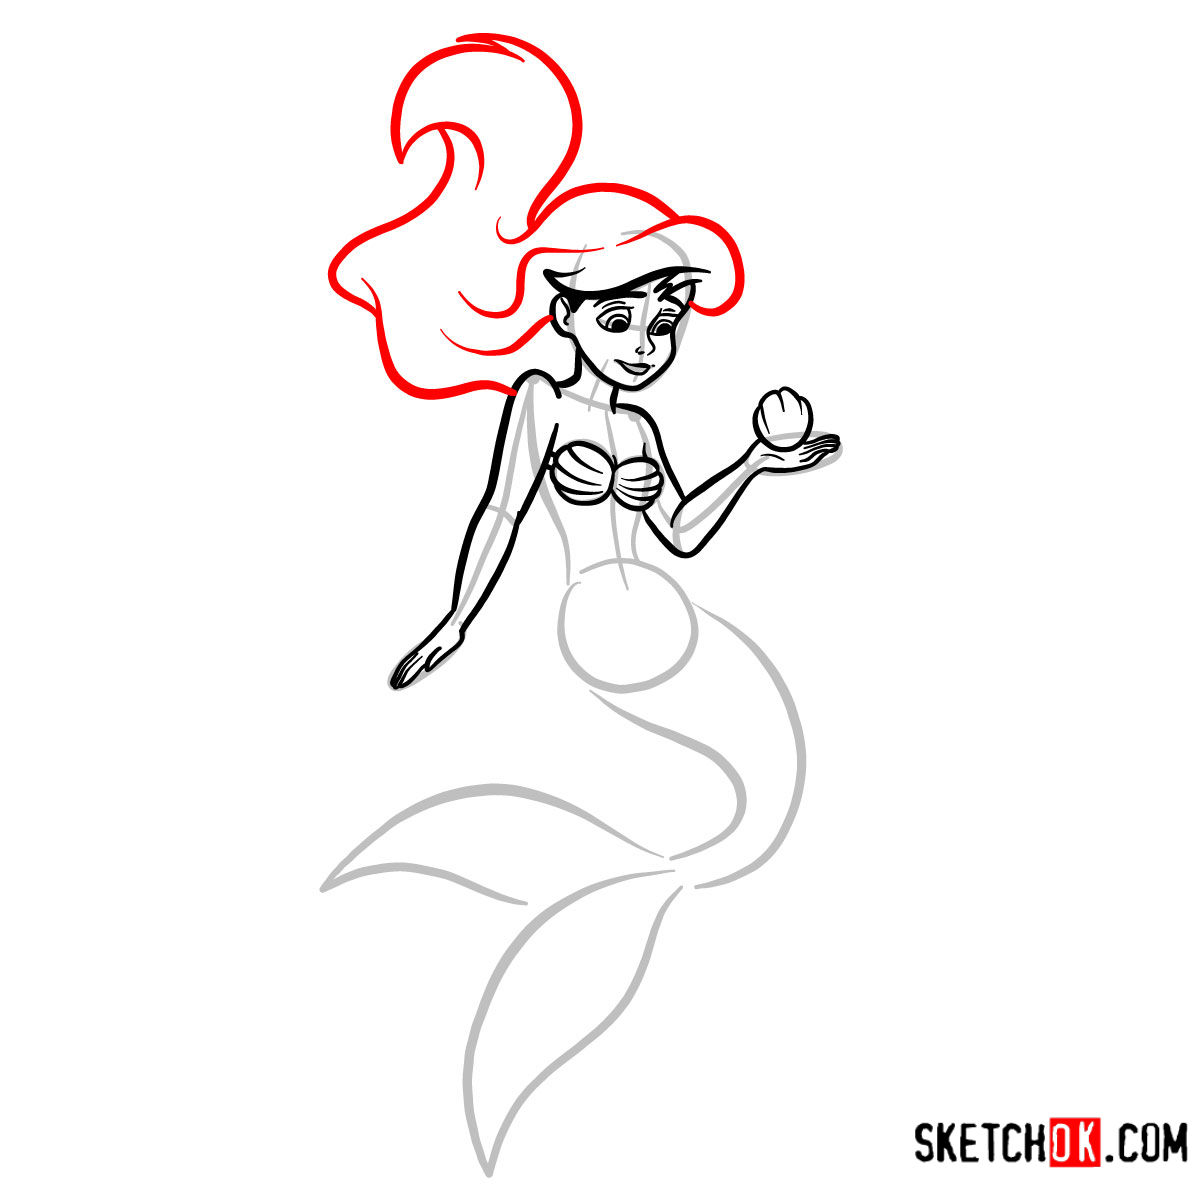
What technique works best for sketching Melody’s flowing hair?
Melody’s hair is a cascade of straight, jet-black strands but wavy under water. Start with light strokes to outline the flow and volume. Gradually add detail using wavier lines, keeping in mind the direction and source of light to add depth and movement.
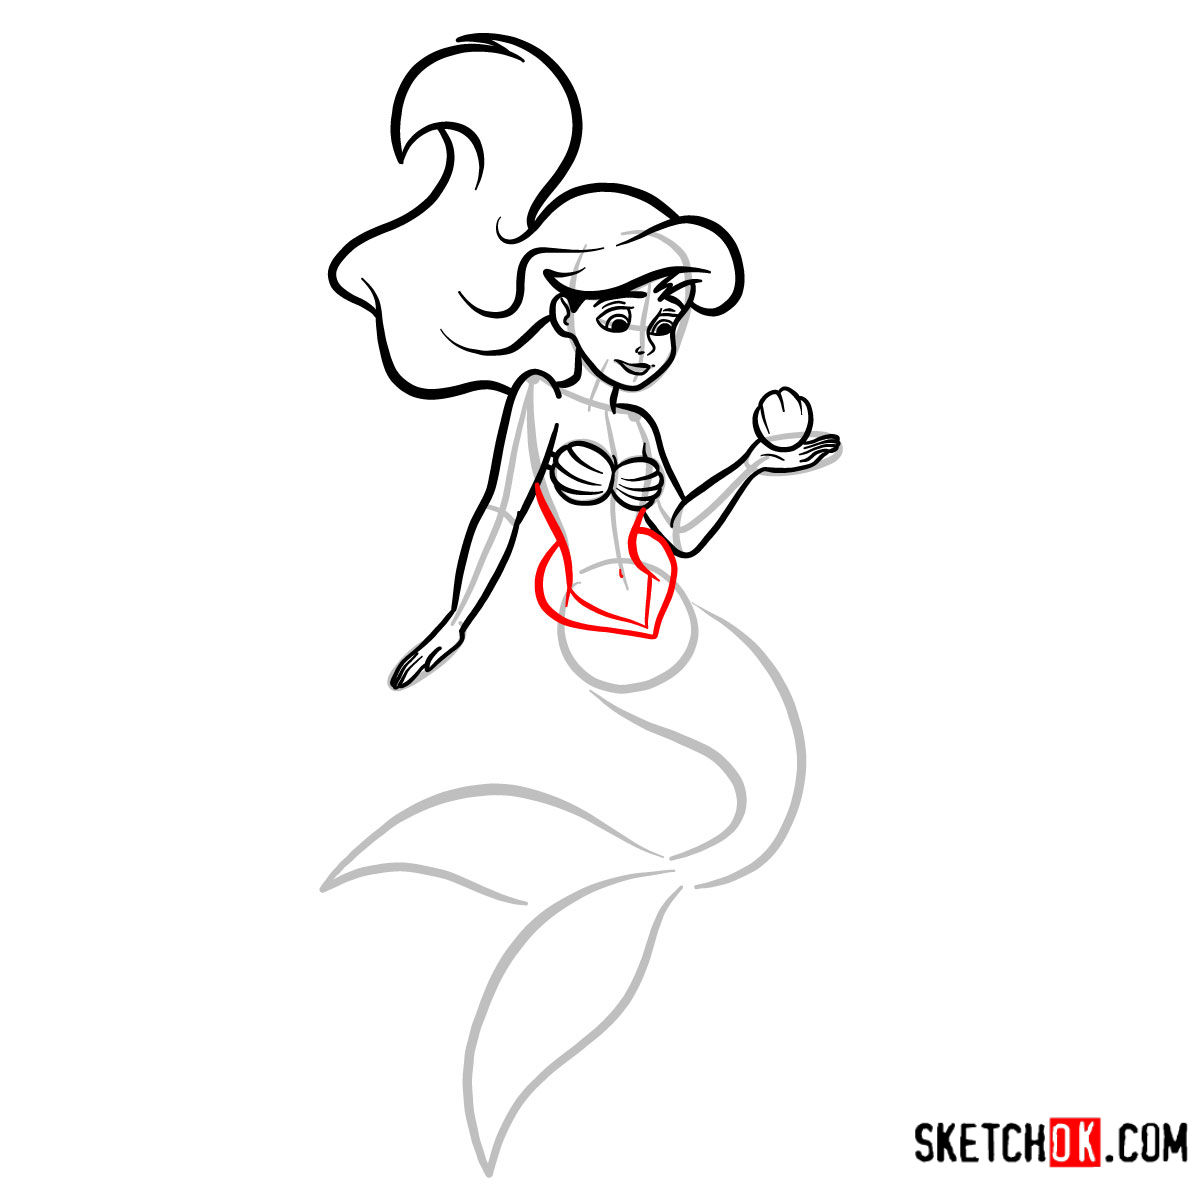
How can I capture Melody’s unique mermaid tail design?
Melody’s tail is a central element of her design. Begin with the basic shape, taking note of its curvature. Then, overlay the scales, ensuring a uniform pattern but allowing for some variation to mimic the organic nature of a mermaid’s tail.
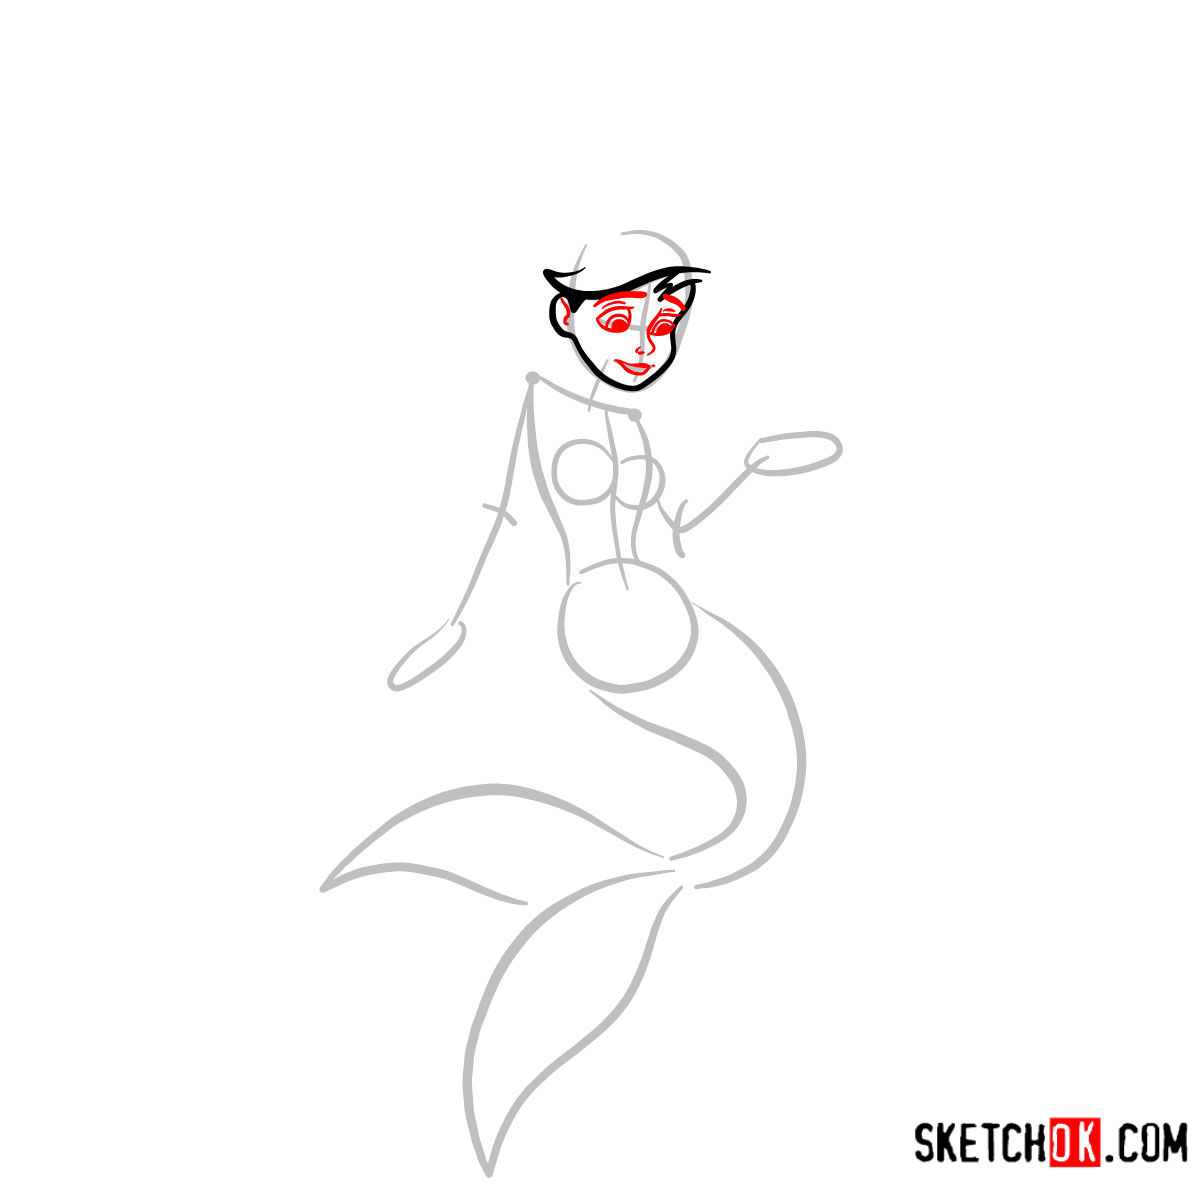
Are there specific challenges when sketching Melody’s facial expressions?
Melody’s facial expressions capture her range of emotions. Use soft curves for her eyes to showcase her innocence, while subtle changes in her eyebrow angles can communicate different moods. Practice various emotions to get a feel for her expressive nature.
Learning how to draw Melody in her mermaid form is a rewarding experience that blends fantasy with artistry. If you’ve enjoyed this guide and found it helpful, please consider sharing it on your favorite social media platforms or donating to support our work. Your contributions allow us to create more in-depth tutorials and give you an opportunity to suggest ideas for future guides. Follow us on Facebook, Instagram, and Pinterest. Remember, every sketch starts with a single line, and with practice, you can master the art of drawing!