If you’re captivated by the playful antics of Tala from Shimmer and Shine, then you’re in for a treat. Our step-by-step guide on how to draw Tala ensures you capture every ounce of her mischief and charm. By the end of this tutorial, her gleaming eyes and playful posture will come alive on your paper.
The Mischievous Monkey: Tala’s Distinguishing Features
Tala, Shimmer’s gibbon monkey, is more than just a sidekick. She’s a burst of vibrant energy with a hint of vanity. While she’s often seen admiring her reflection or chasing shiny objects, her curiosity often lands her in a spot of unintentional trouble. Similar to Roya and other characters, the art of drawing Tala involves paying attention to specific characteristics:
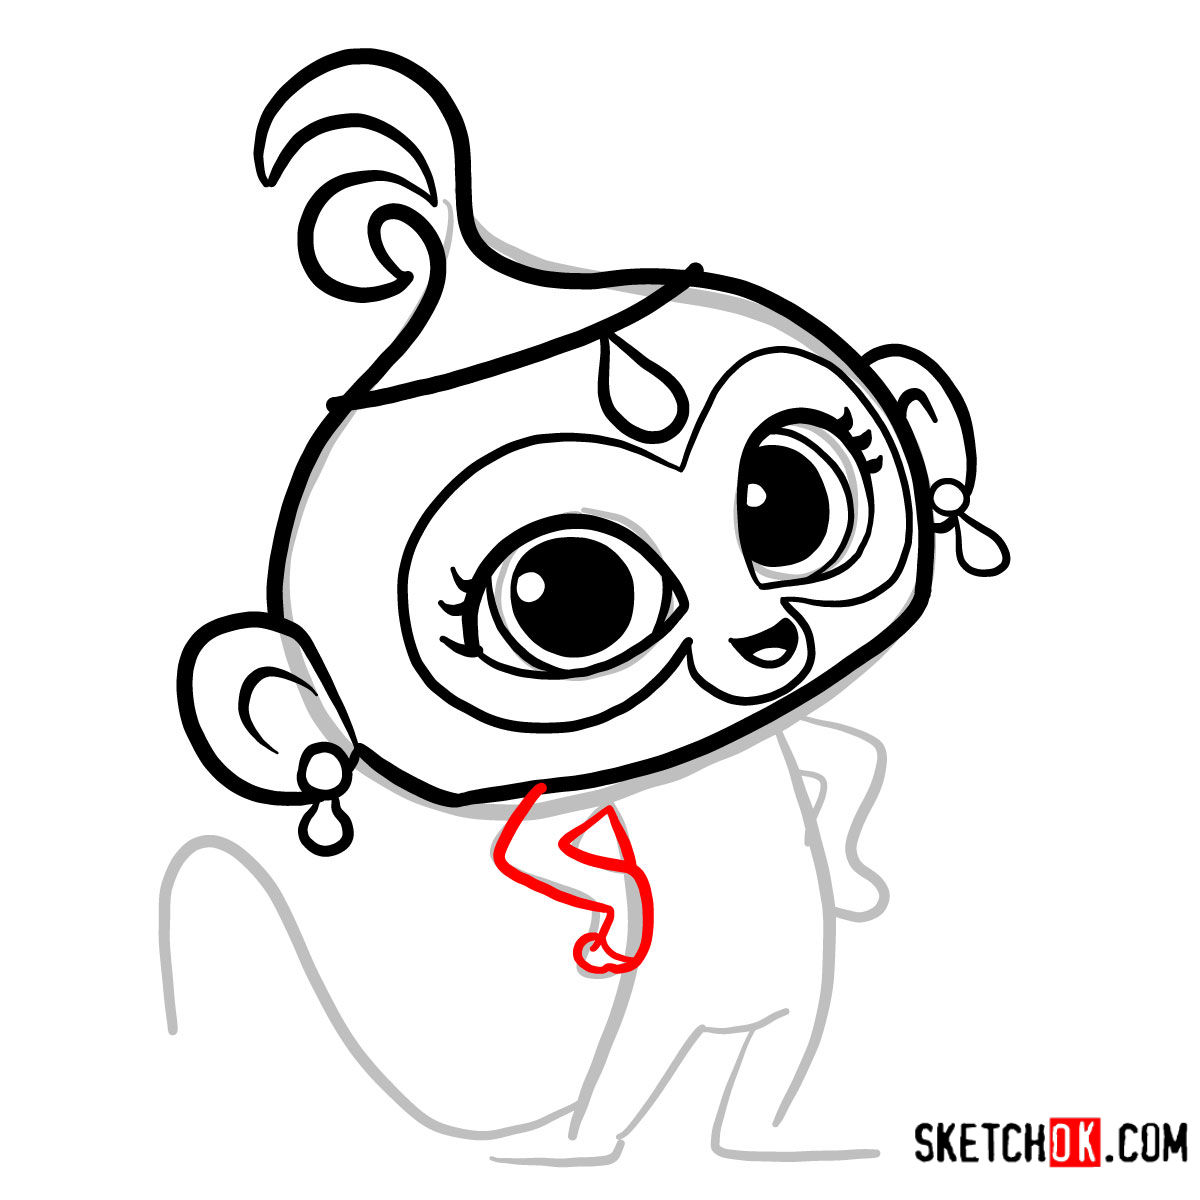
- Her radiant green eyes that often shimmer with mischief.
- Soft yellow fur that stands out, complementing her light purple skin.
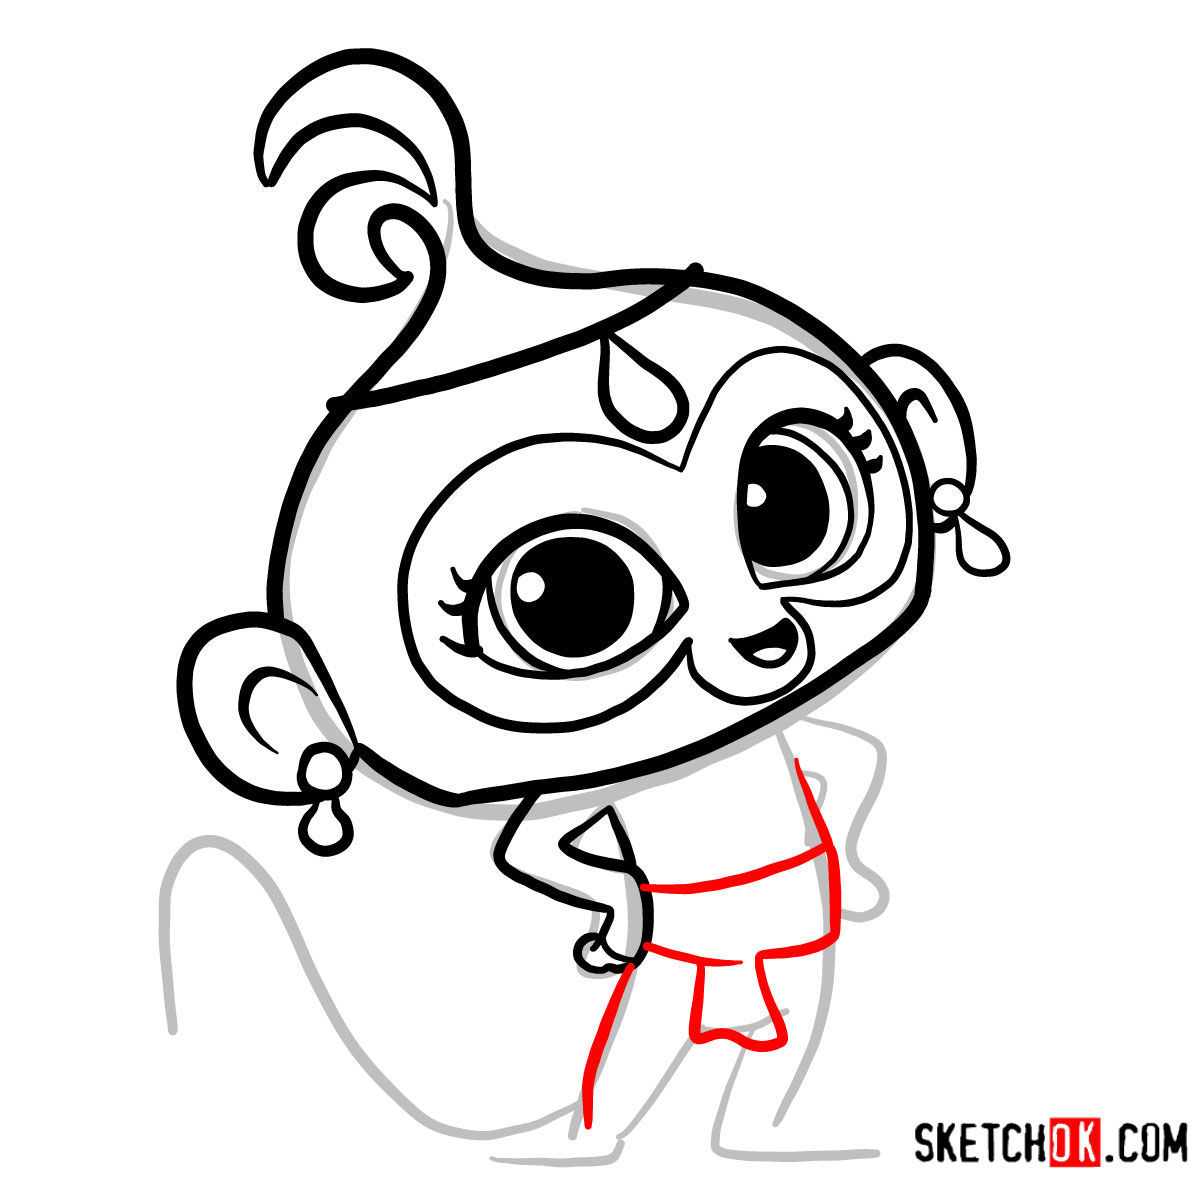
- The distinguishing green and yellow jewelry and a bright red belt that adds a touch of elegance to her playful nature.
Considering drawing a scene? Why not add Nazboo or Parisa next to Tala, capturing the playful dynamics of the Shimmer and Shine universe?
Understanding the Drawing Guide
Before you dive pencil-first into drawing, understanding the guide’s structure will help ensure your drawing success:
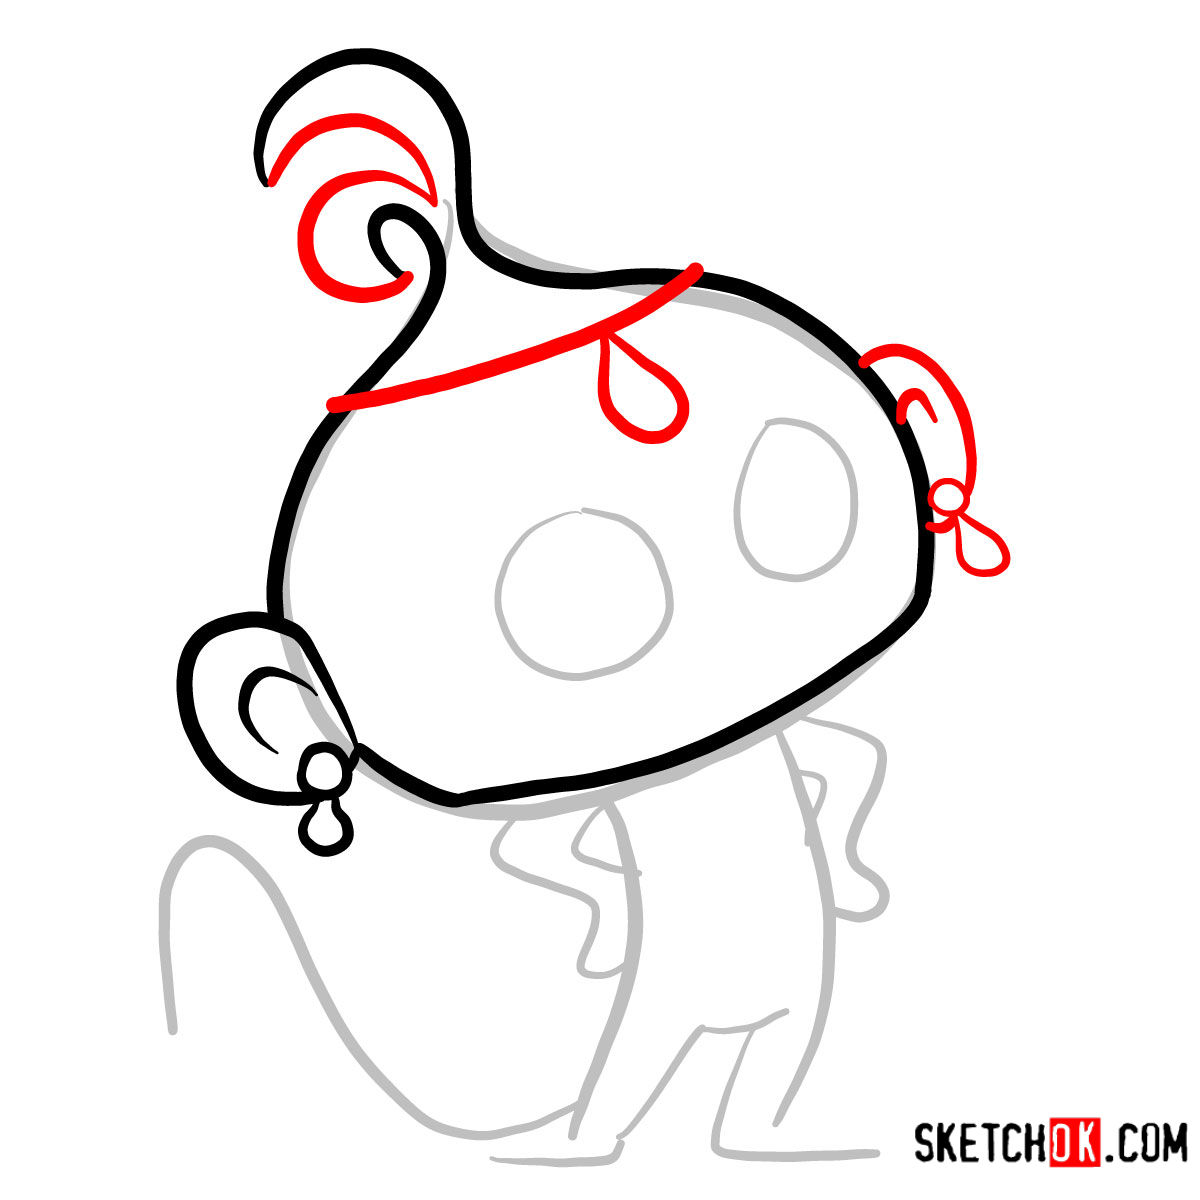
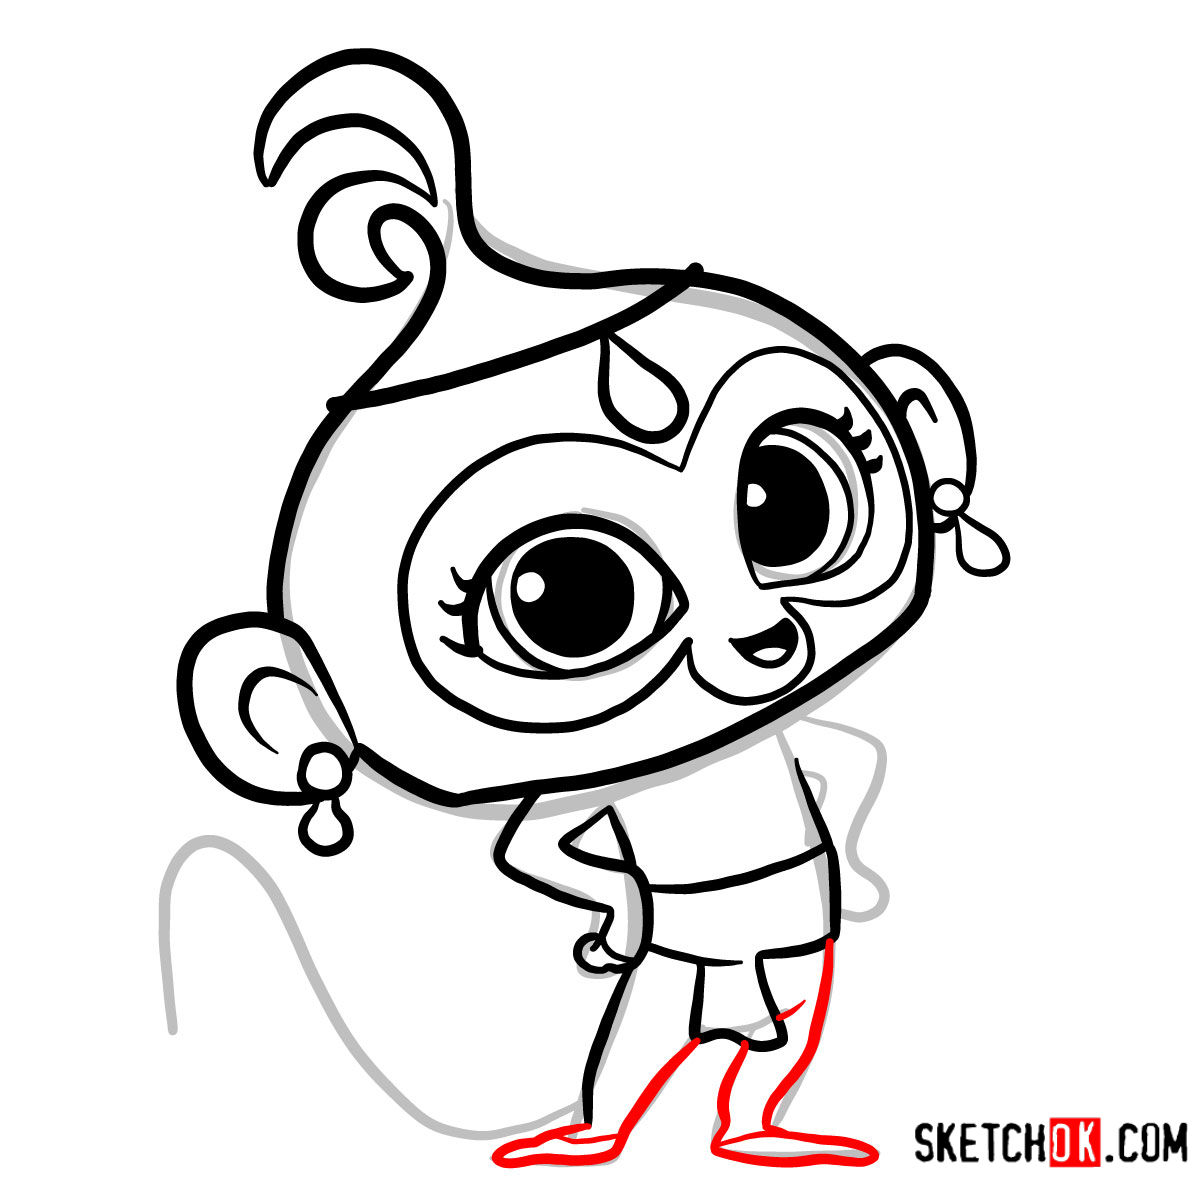
- Red Color: Focus on this! It represents the current drawing step.
- Black Color: These lines showcase what you’ve drawn in the previous steps.
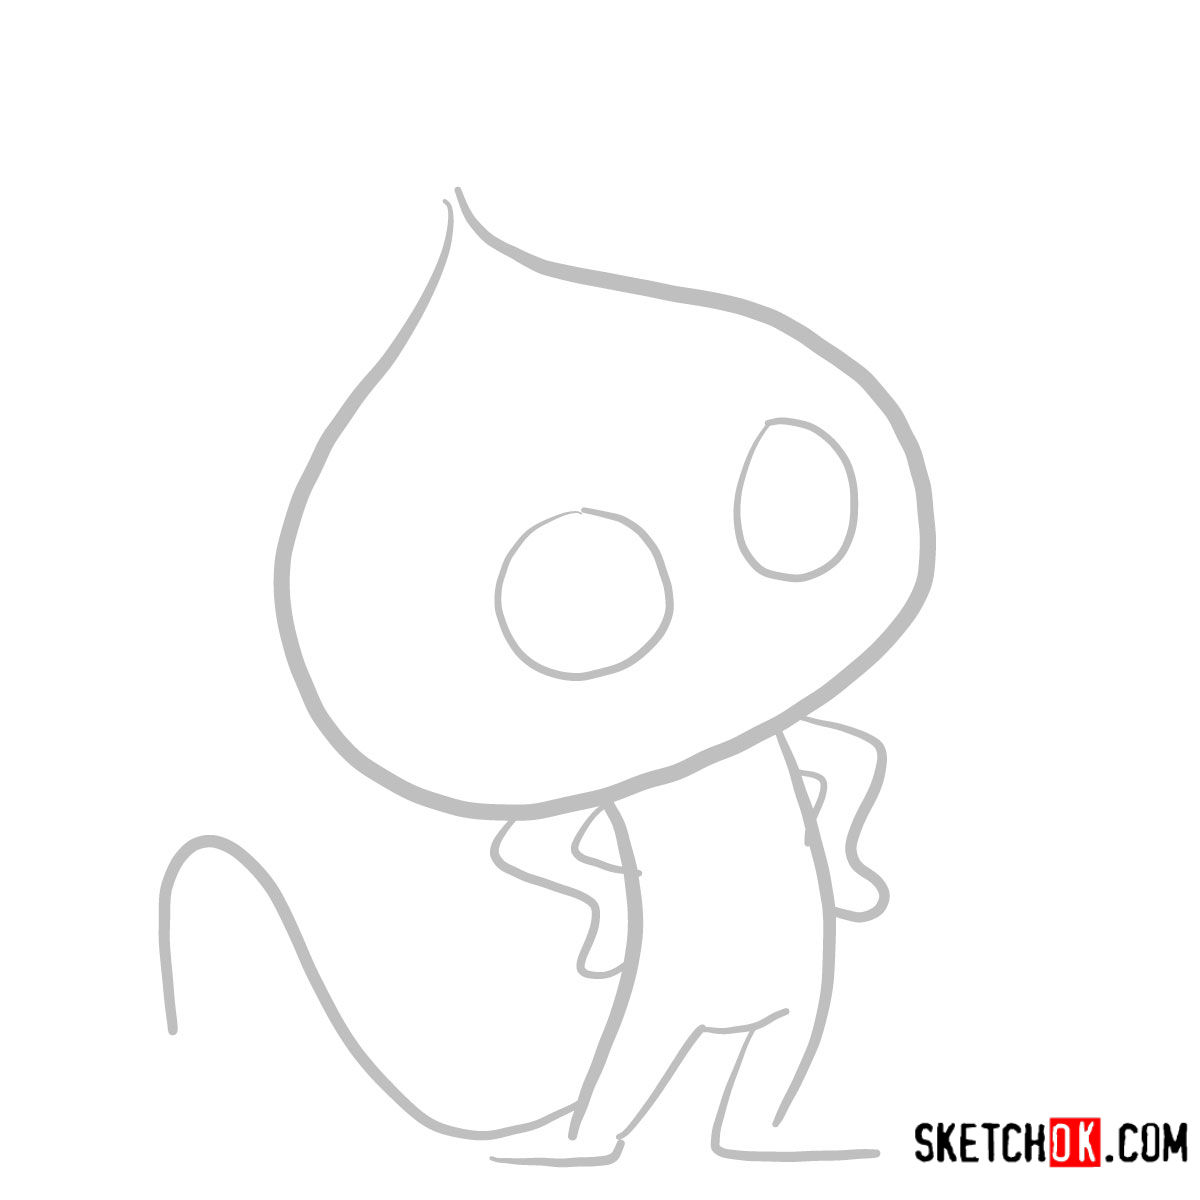
- Grey Color: The foundational sketch. It provides the basic proportions, so ensure these are drawn with light pencil strokes.
This guide breaks down the drawing process into 10 detailed steps, starting with the basic sketch. Once you’ve traced Tala’s whimsical contours, the artist in you can choose to ink the sketch. Ensure you let the ink dry before erasing the pencil marks to avoid smudges and retain the crispness of your drawing.


Your first attempt at how to draw Tala might not look exactly the way you pictured, and that’s completely fine, most people need a few tries to get her features feeling right. Keep that first sketch around as a reference point so you can see how much you improve the next time around. New guides drop regularly, so follow SketchOk on Pinterest or Facebook to stay updated, and video versions of some guides are also available on the YouTube channel if you prefer watching along.