
Drawing has always been a way for artists to depict characters and immortalize their essence on paper. One such intriguing character that has captured the hearts of many is Prince Zuko from the renowned series, Avatar: The Last Airbender. In this guide, we will lead you on a journey on how to draw Zuko’s face (Book 3: Fire), highlighting his intense expressions and intricate facial features.
Understanding Zuko’s Visage and Features
Zuko’s face in Book 3 undergoes subtle changes, reflecting his internal struggles and the evolving storyline. When you set out to draw, consider these focus points:
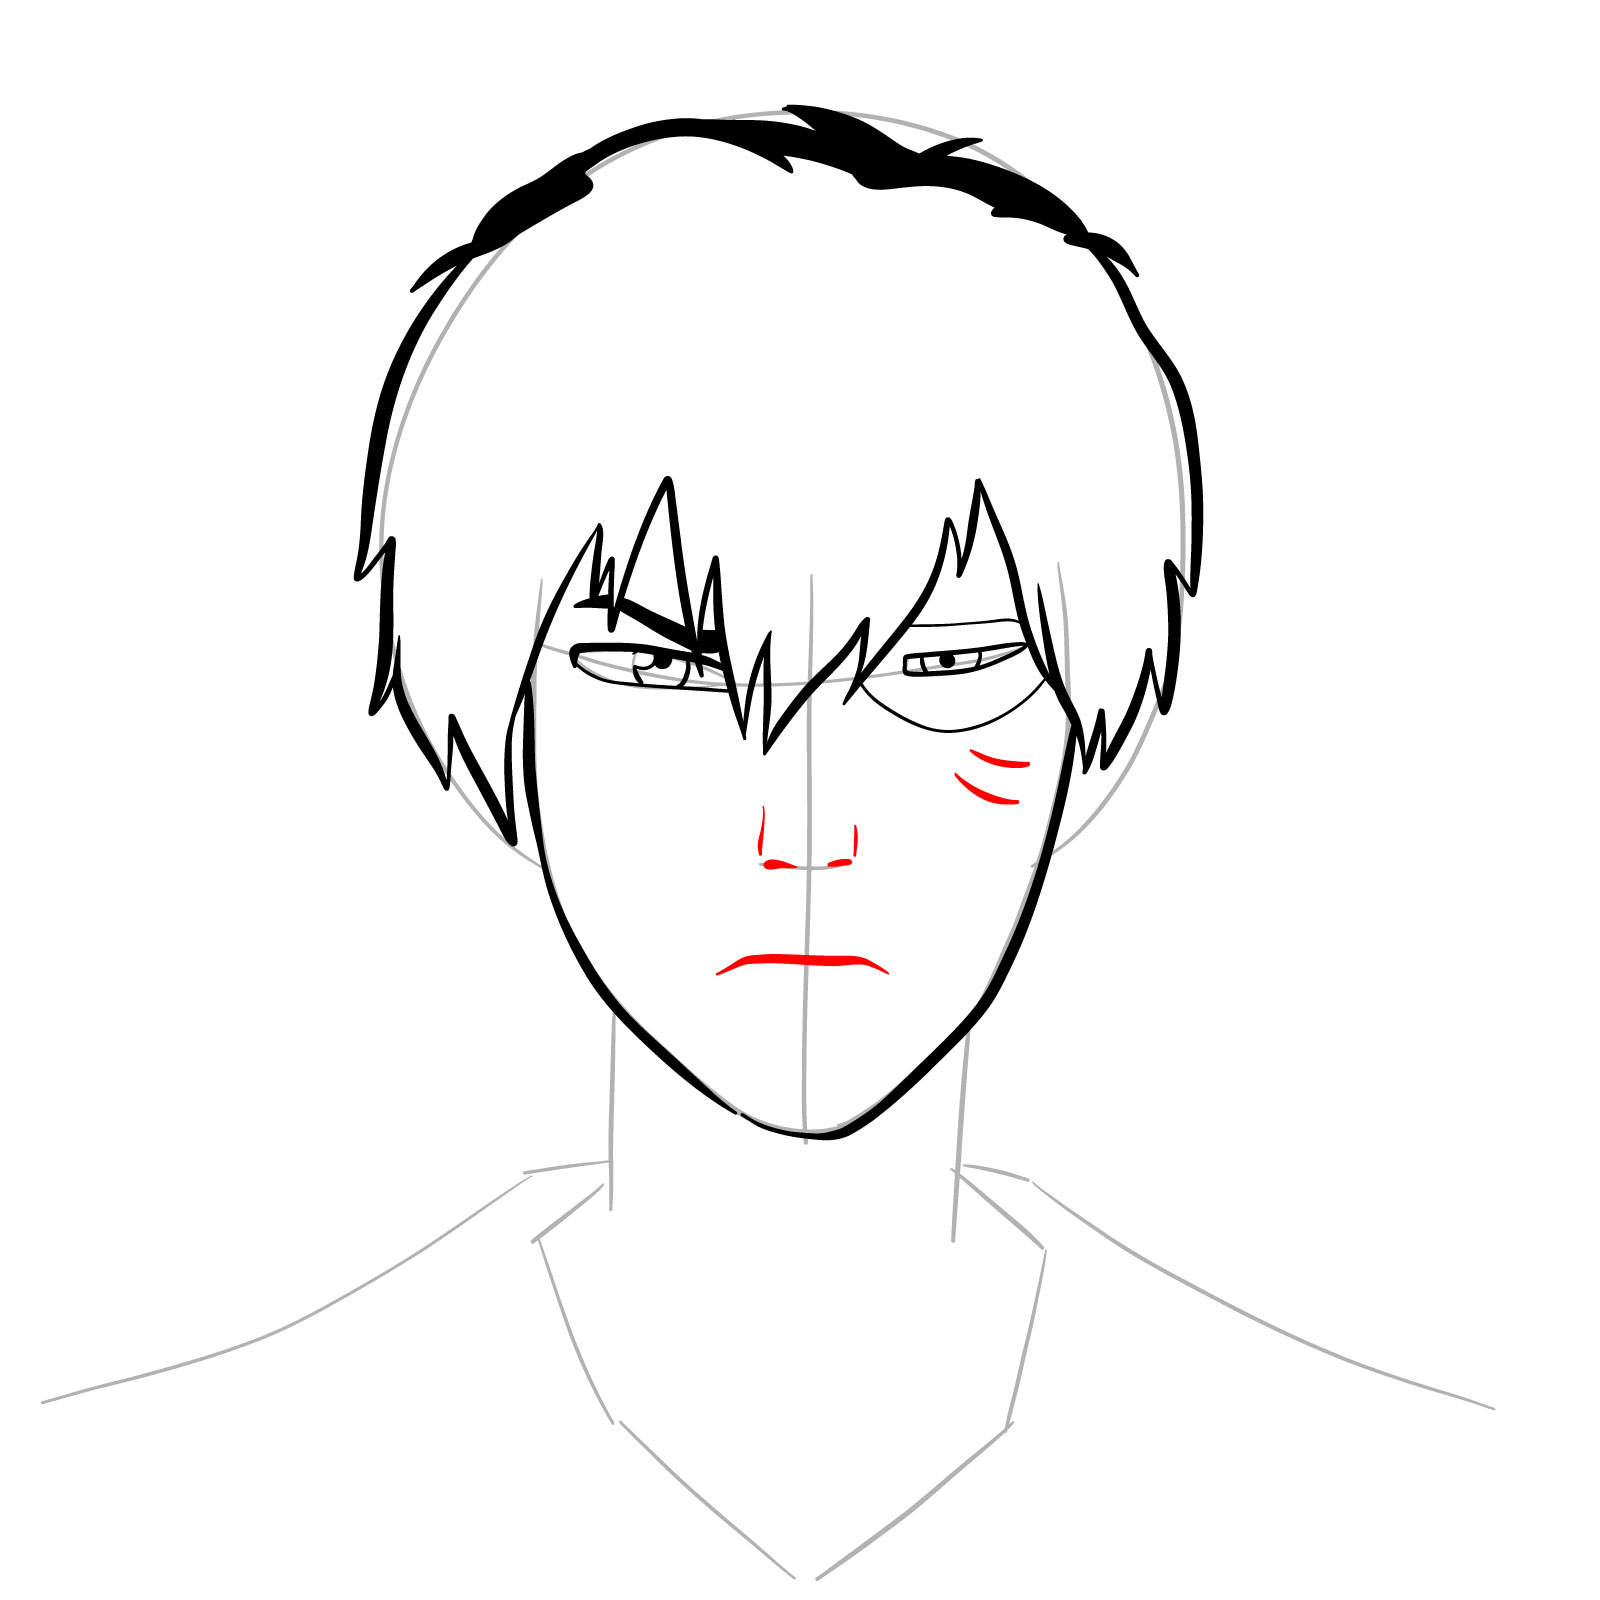
- Scarred Eye: Zuko’s left eye has a distinctive burn scar, a token from his tumultuous past, making it an essential feature to capture.
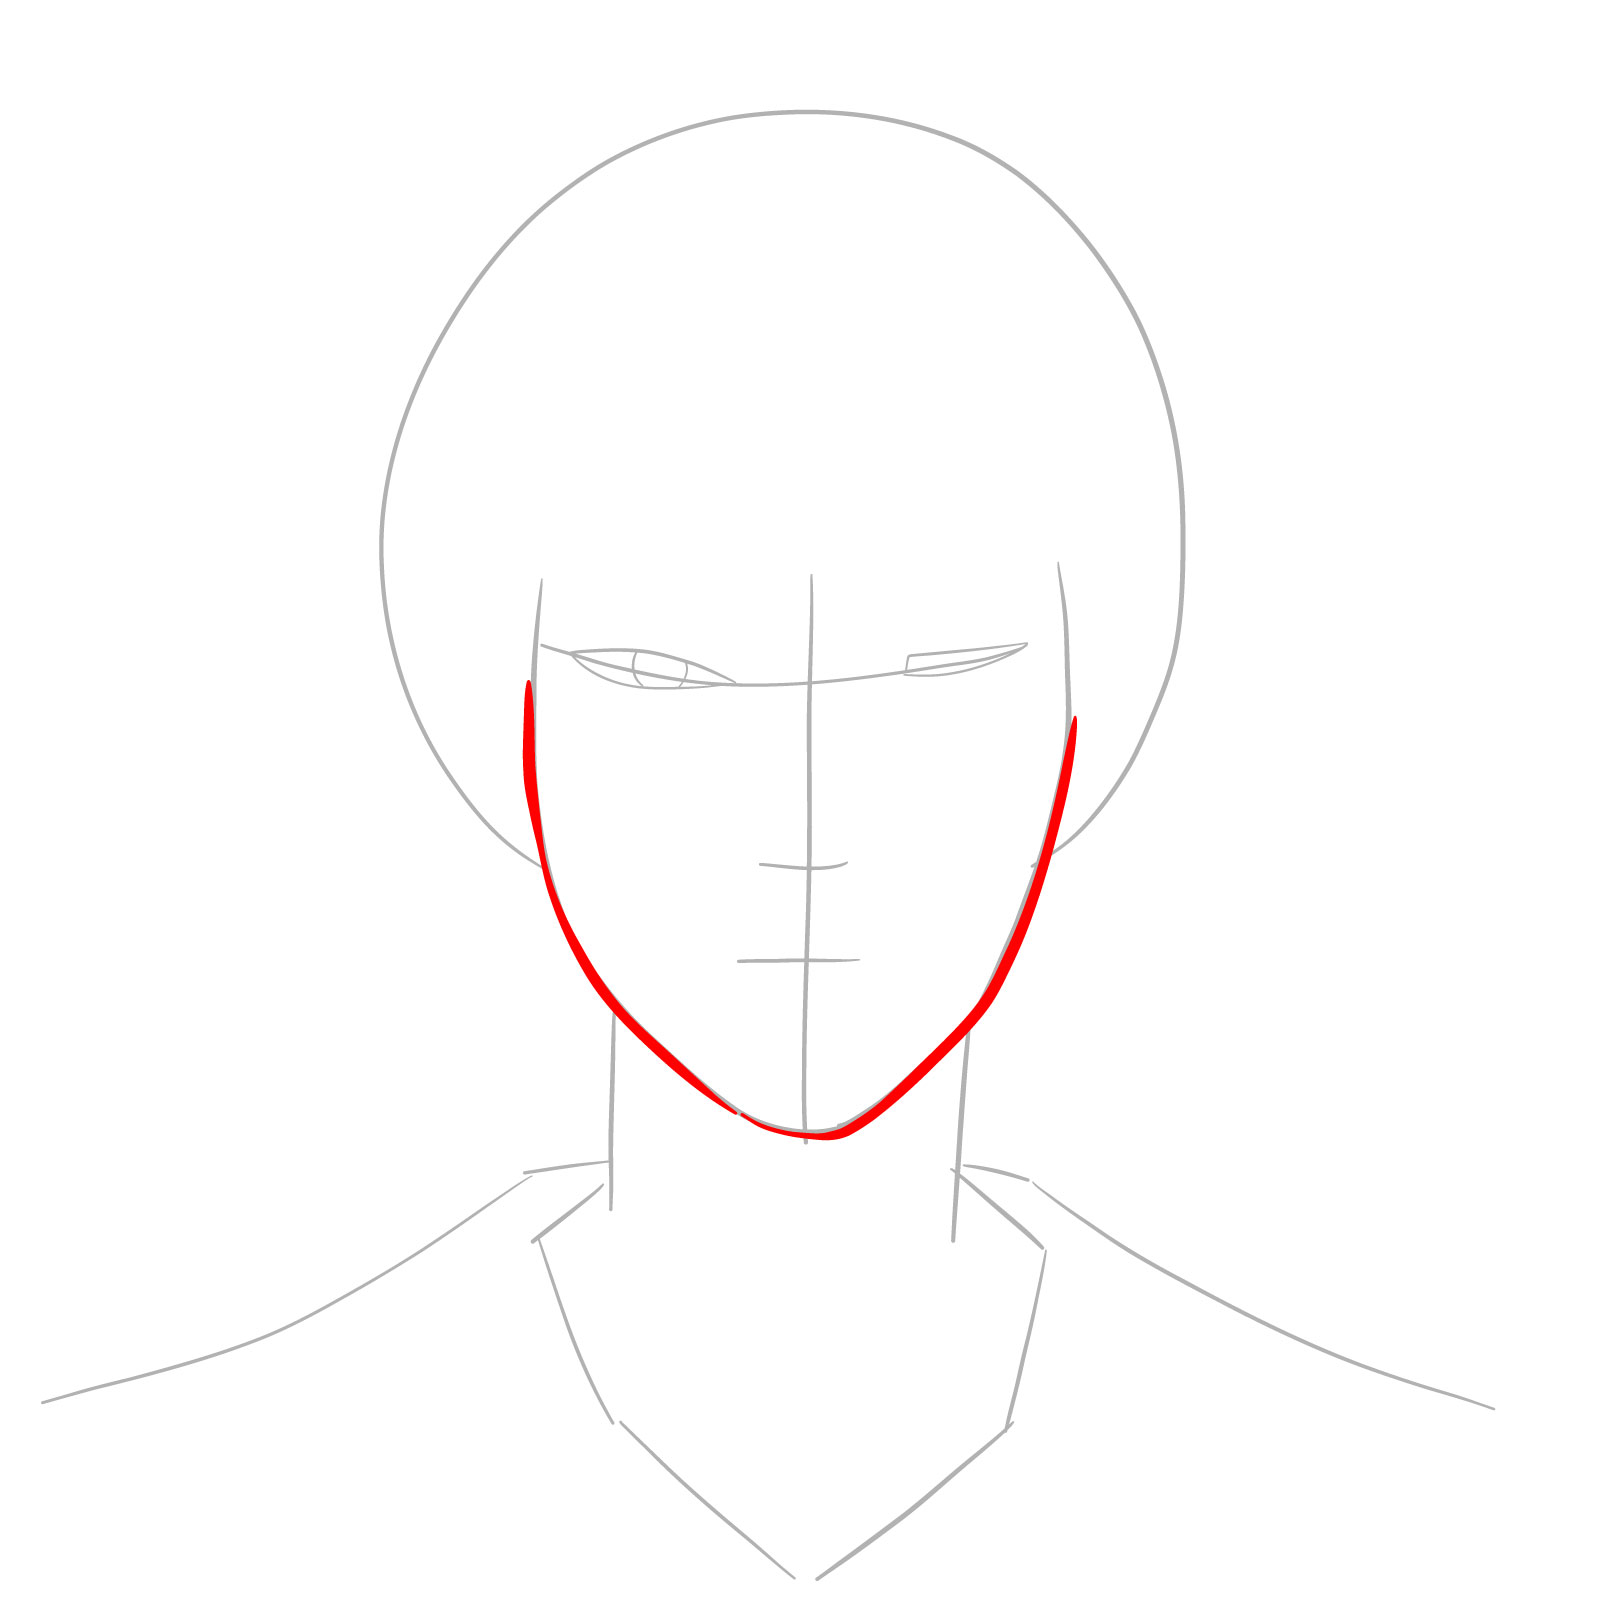
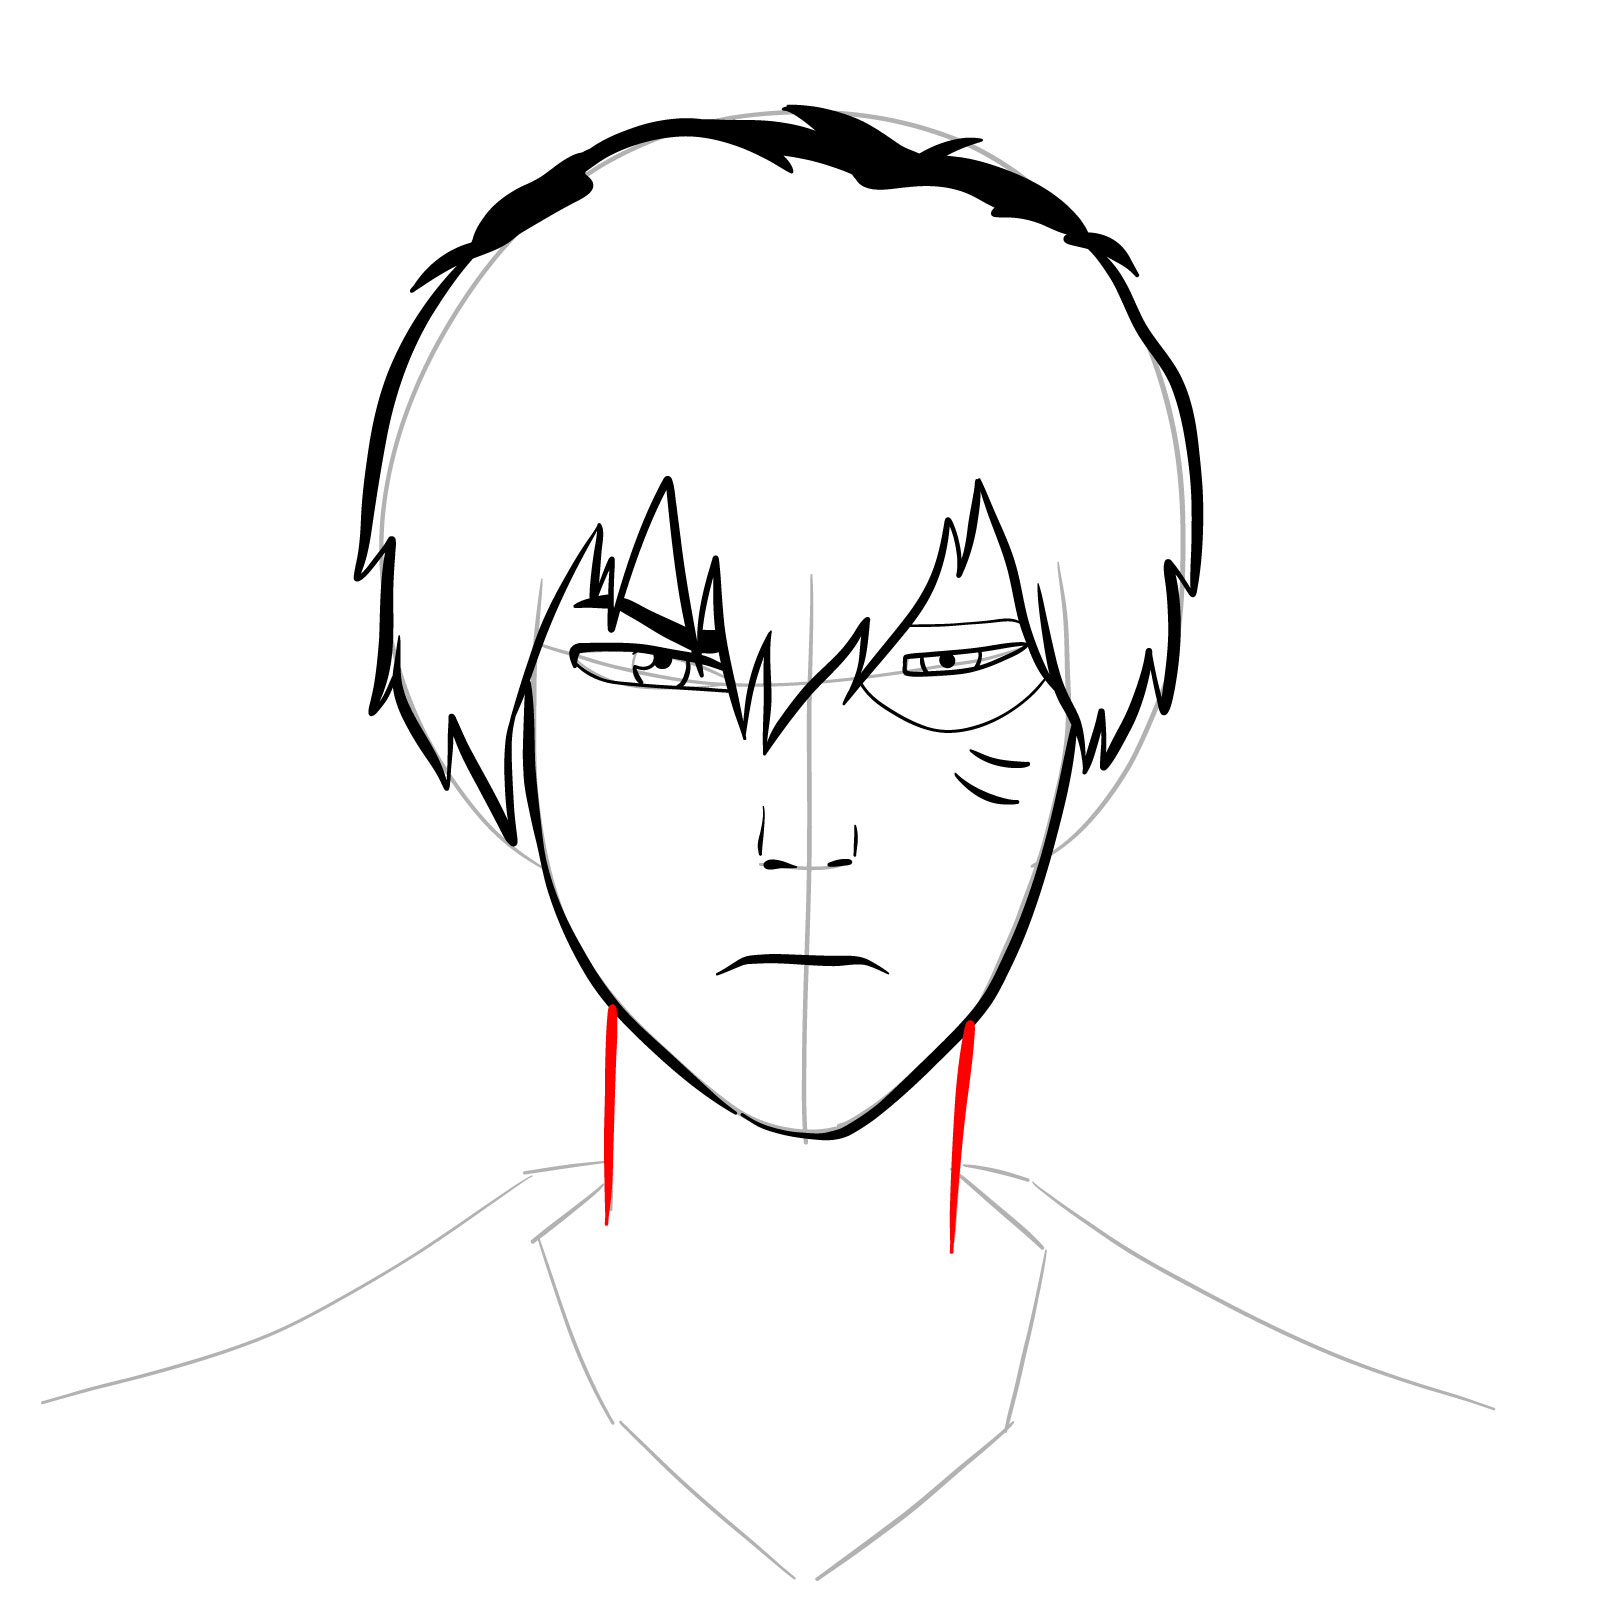
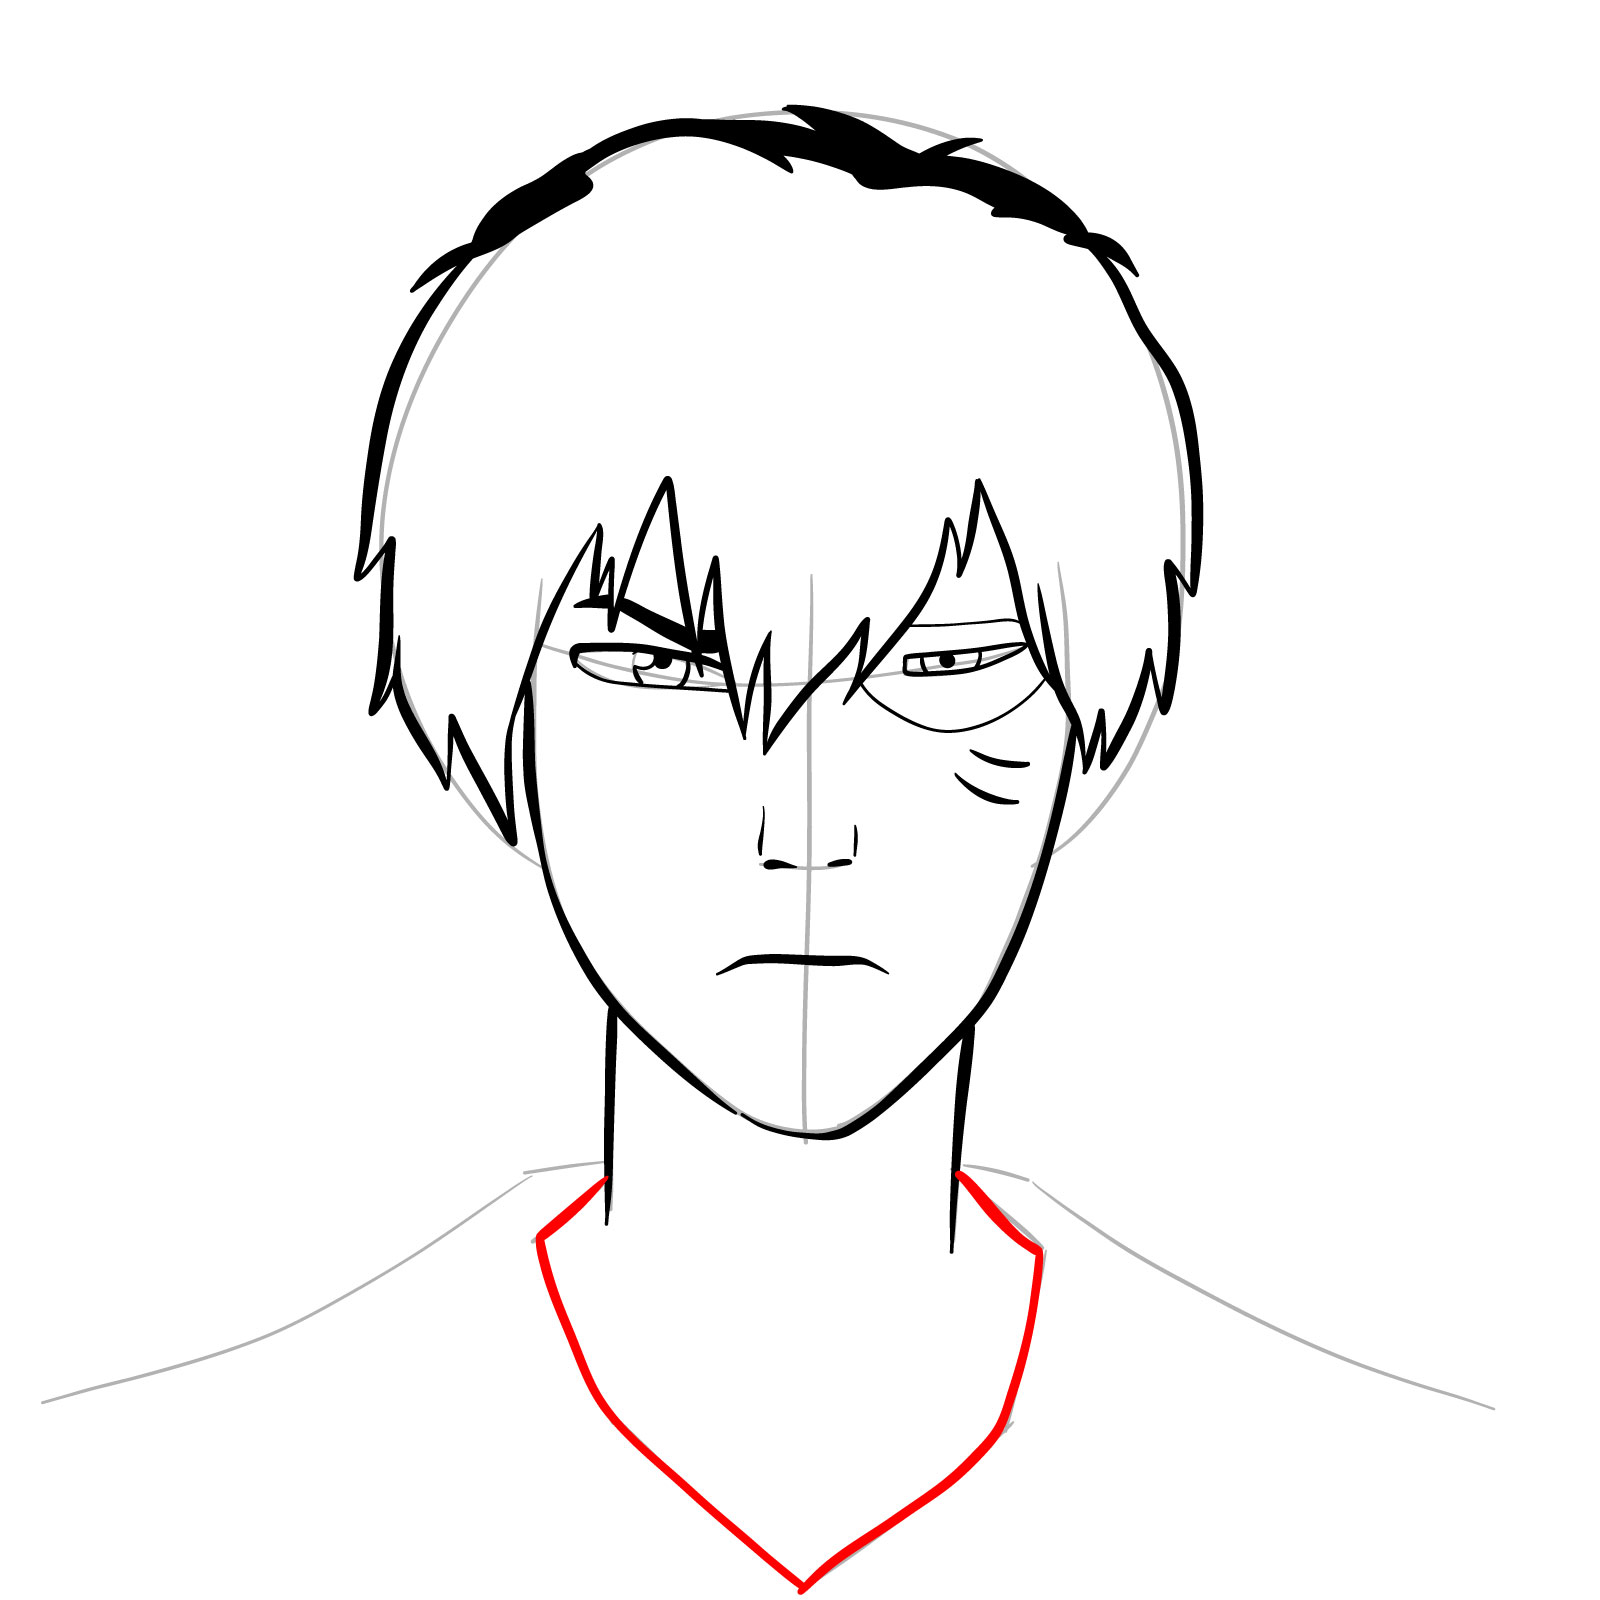
- Sharp Jawline: His face bears sharp and angular features. This complements his fierce determination and royal demeanor.
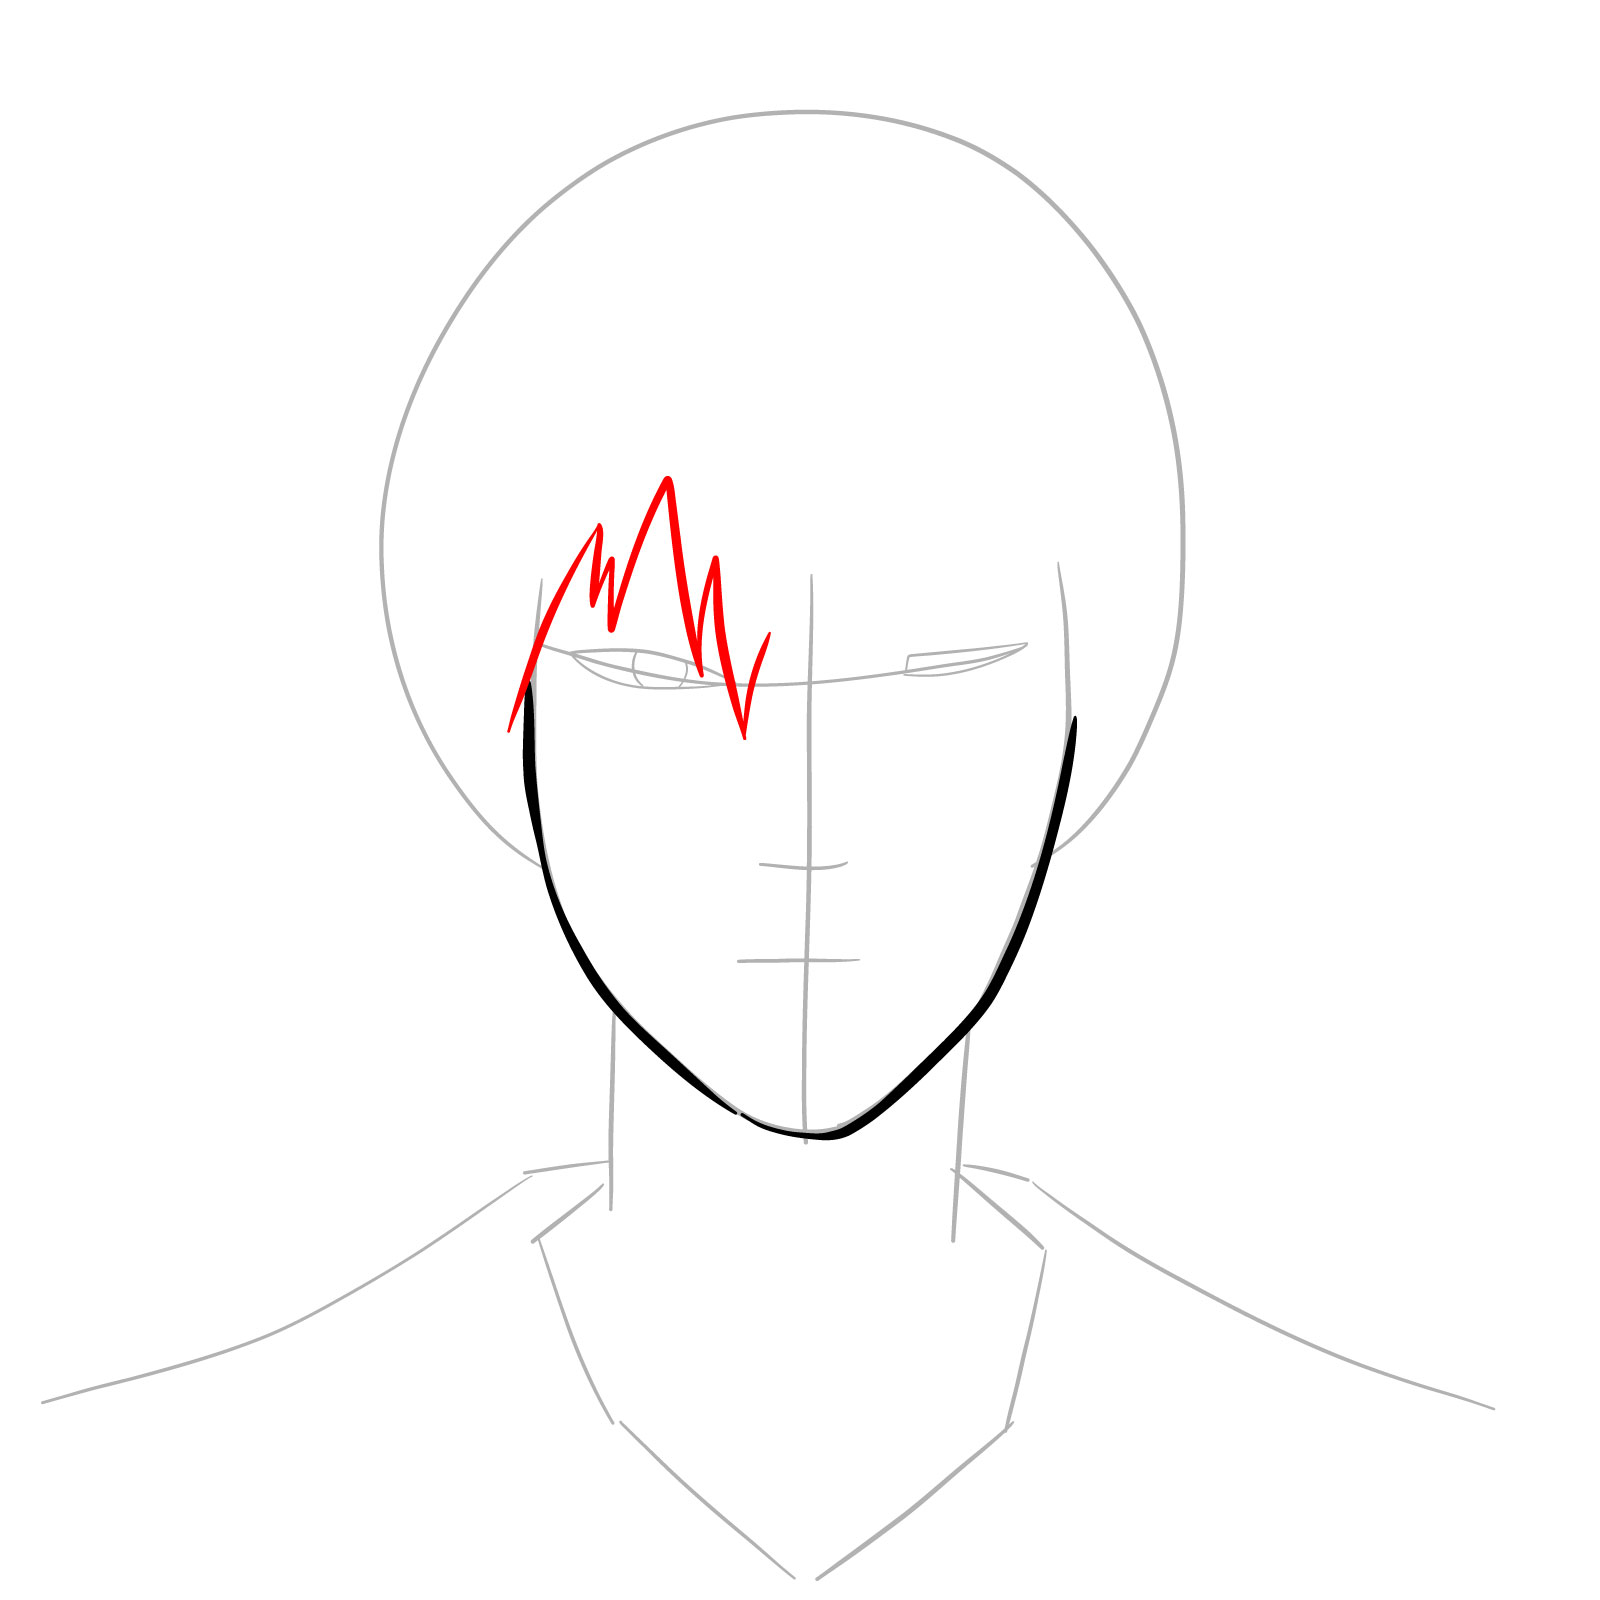
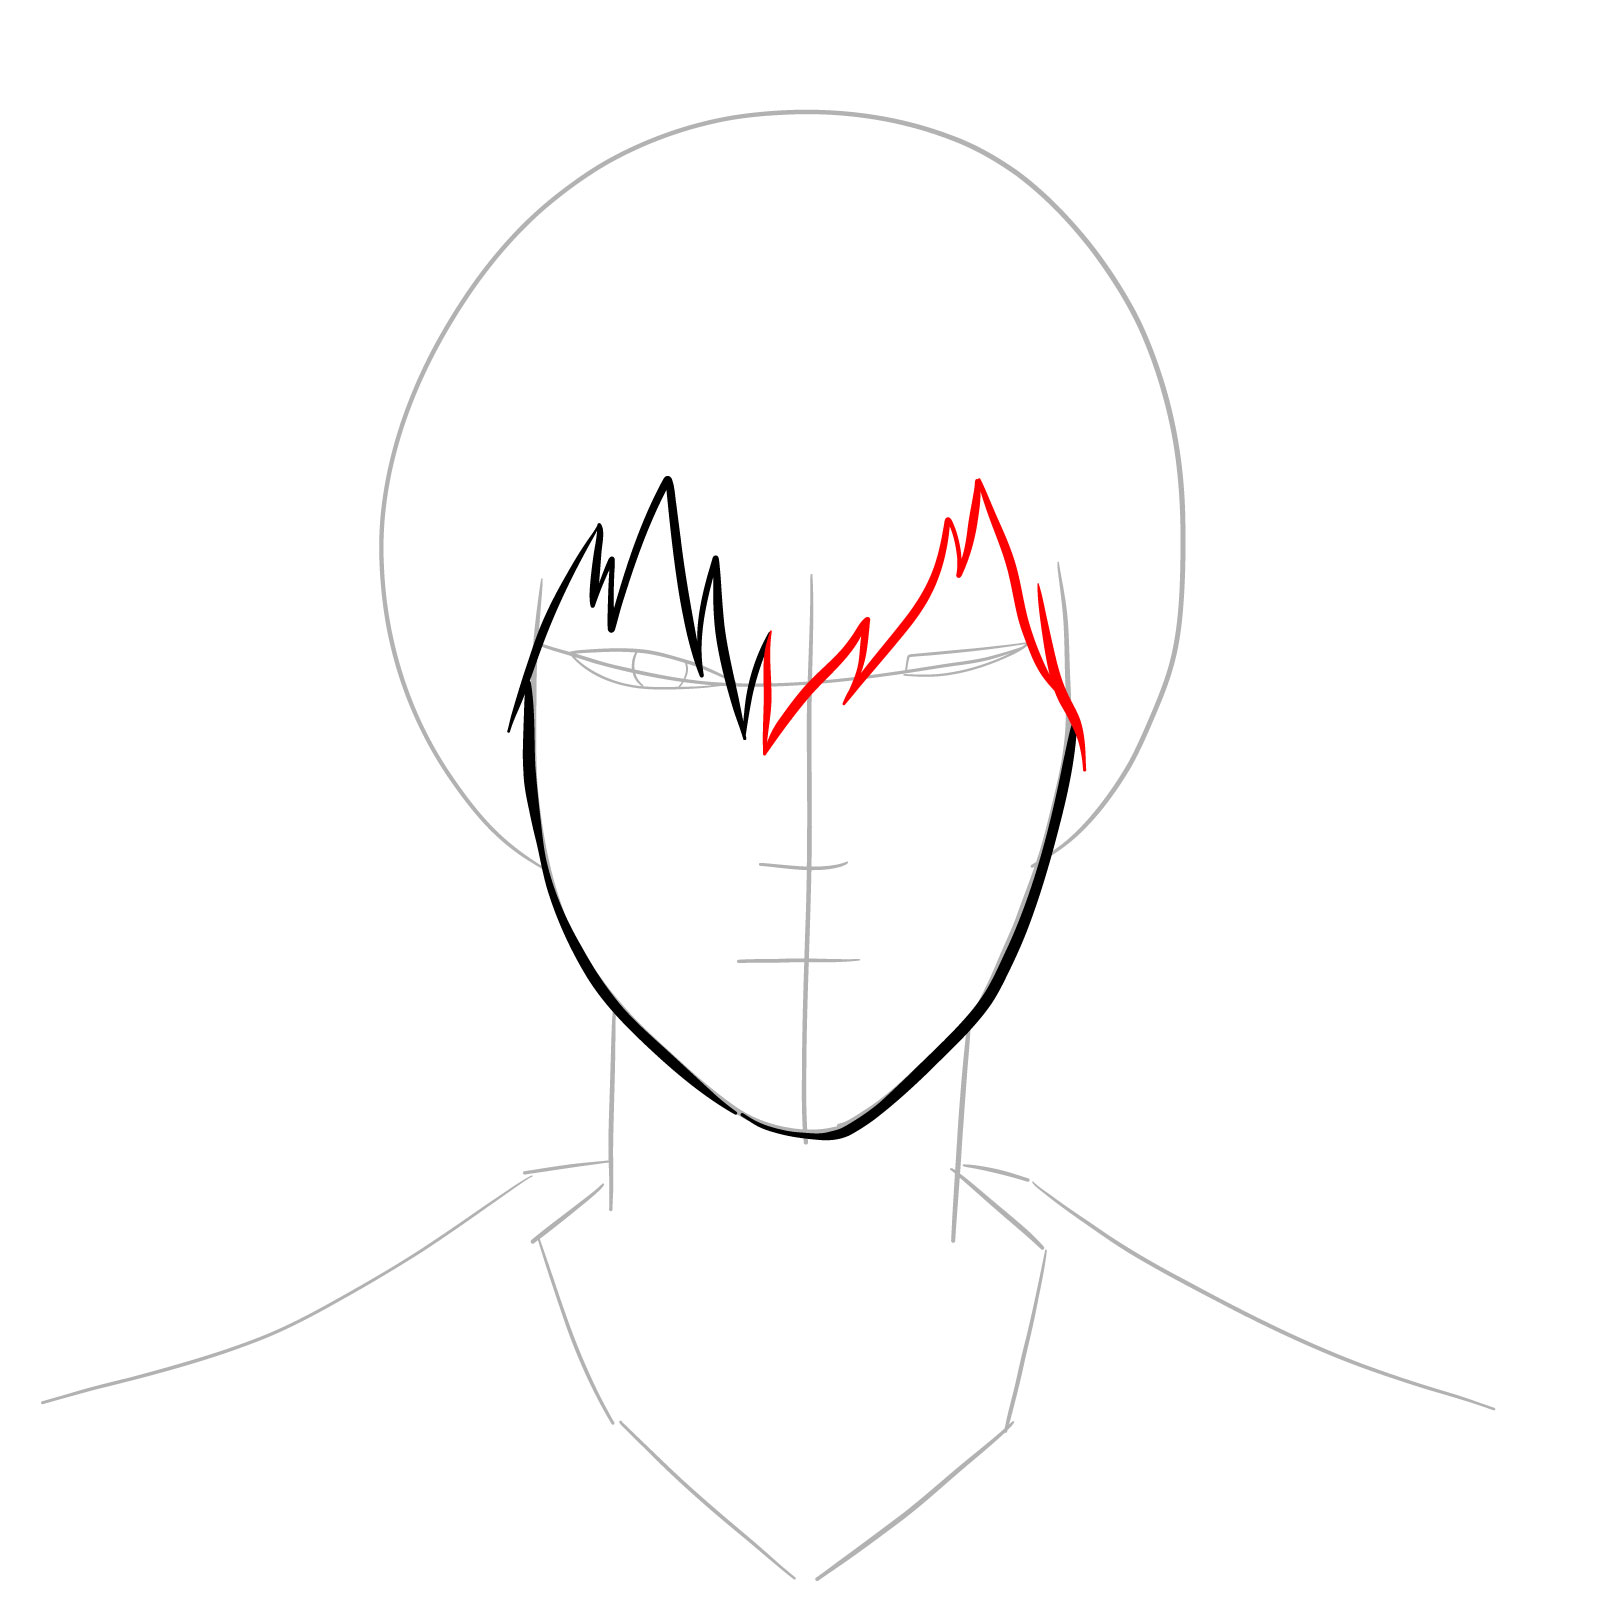
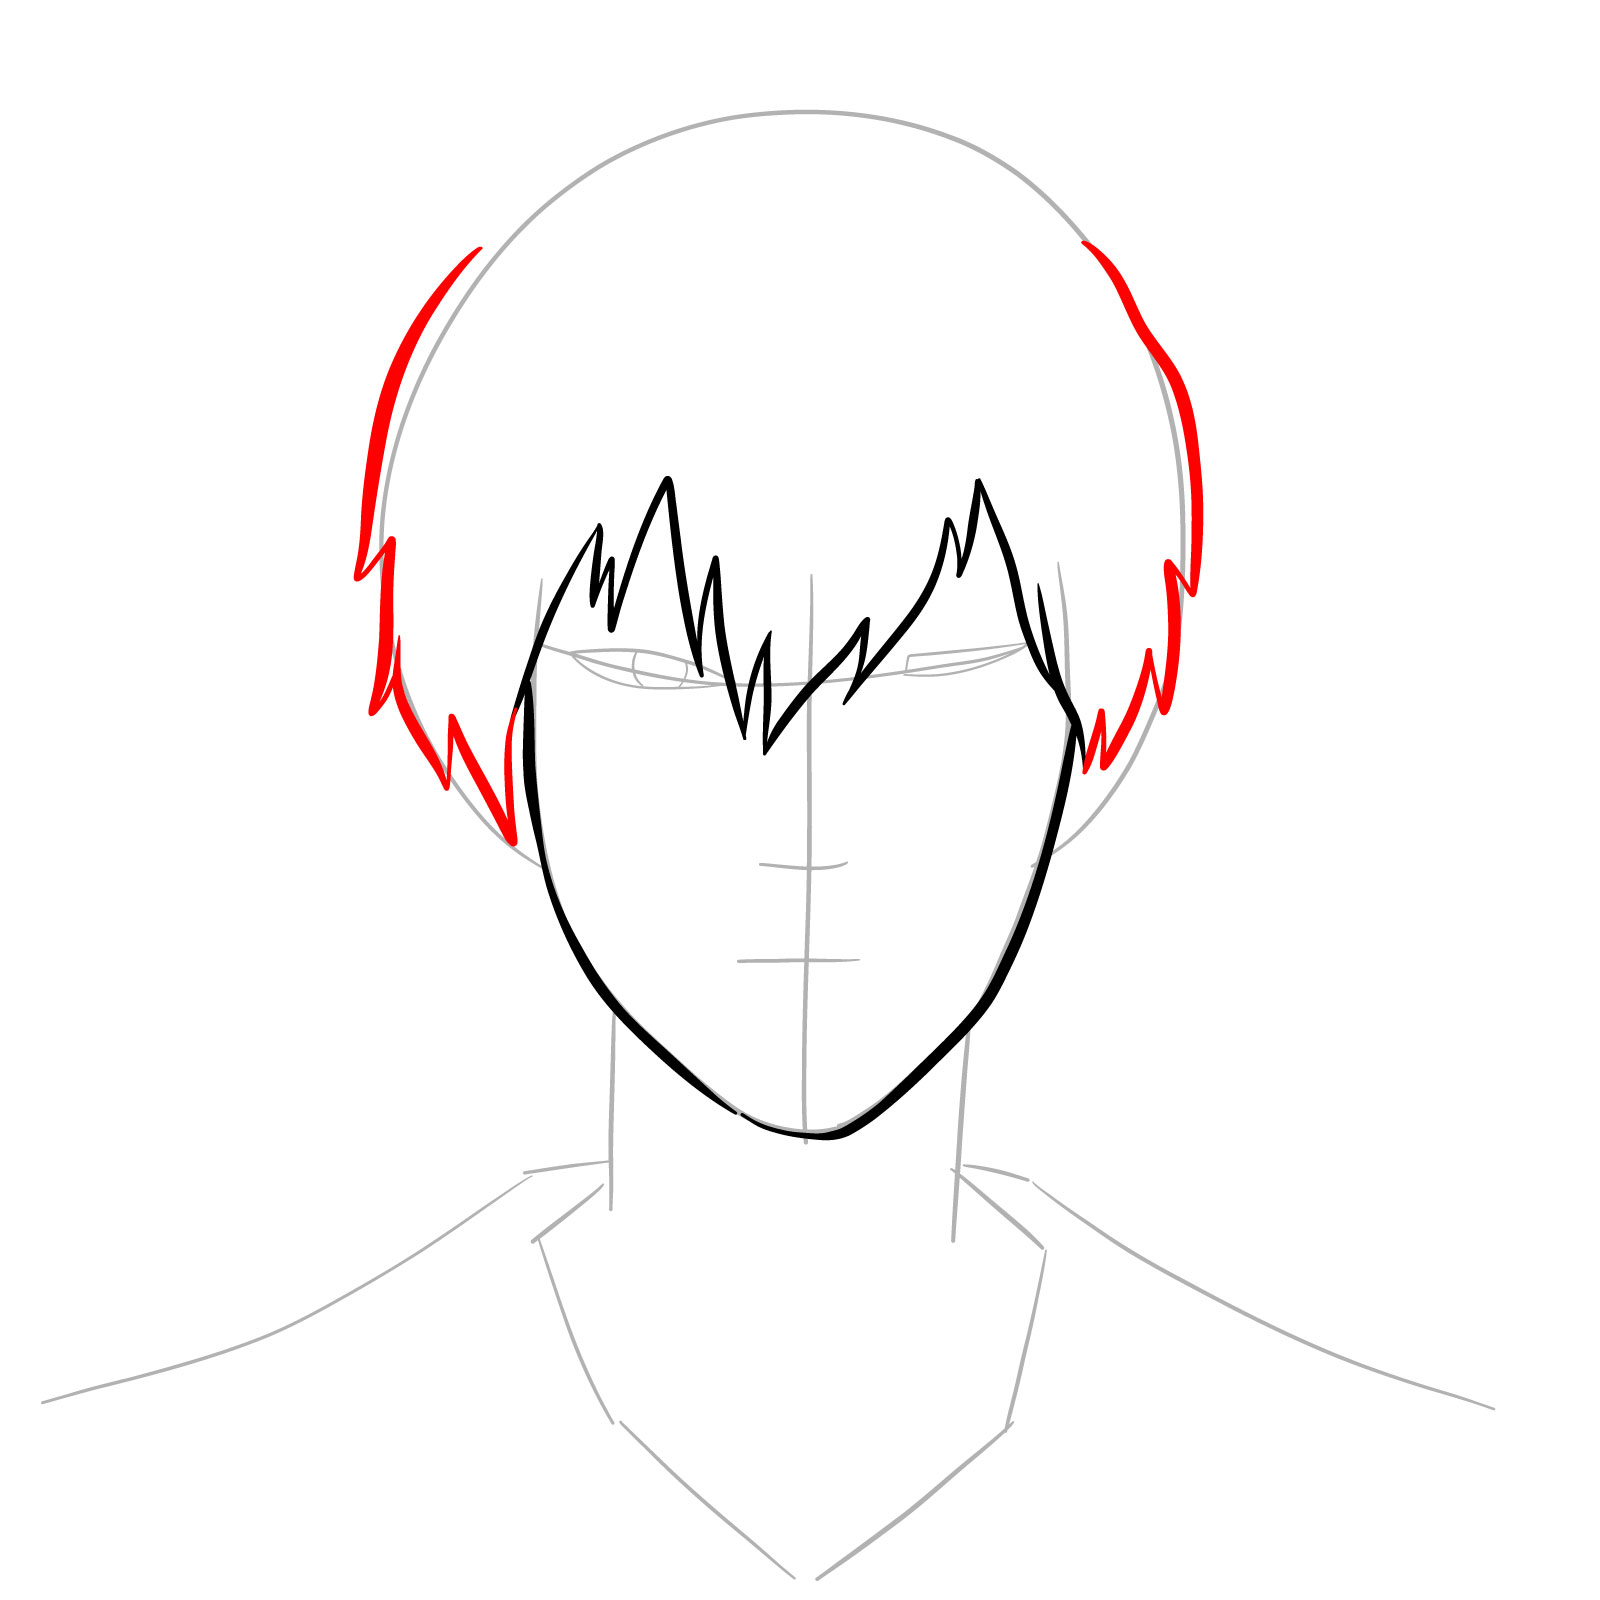
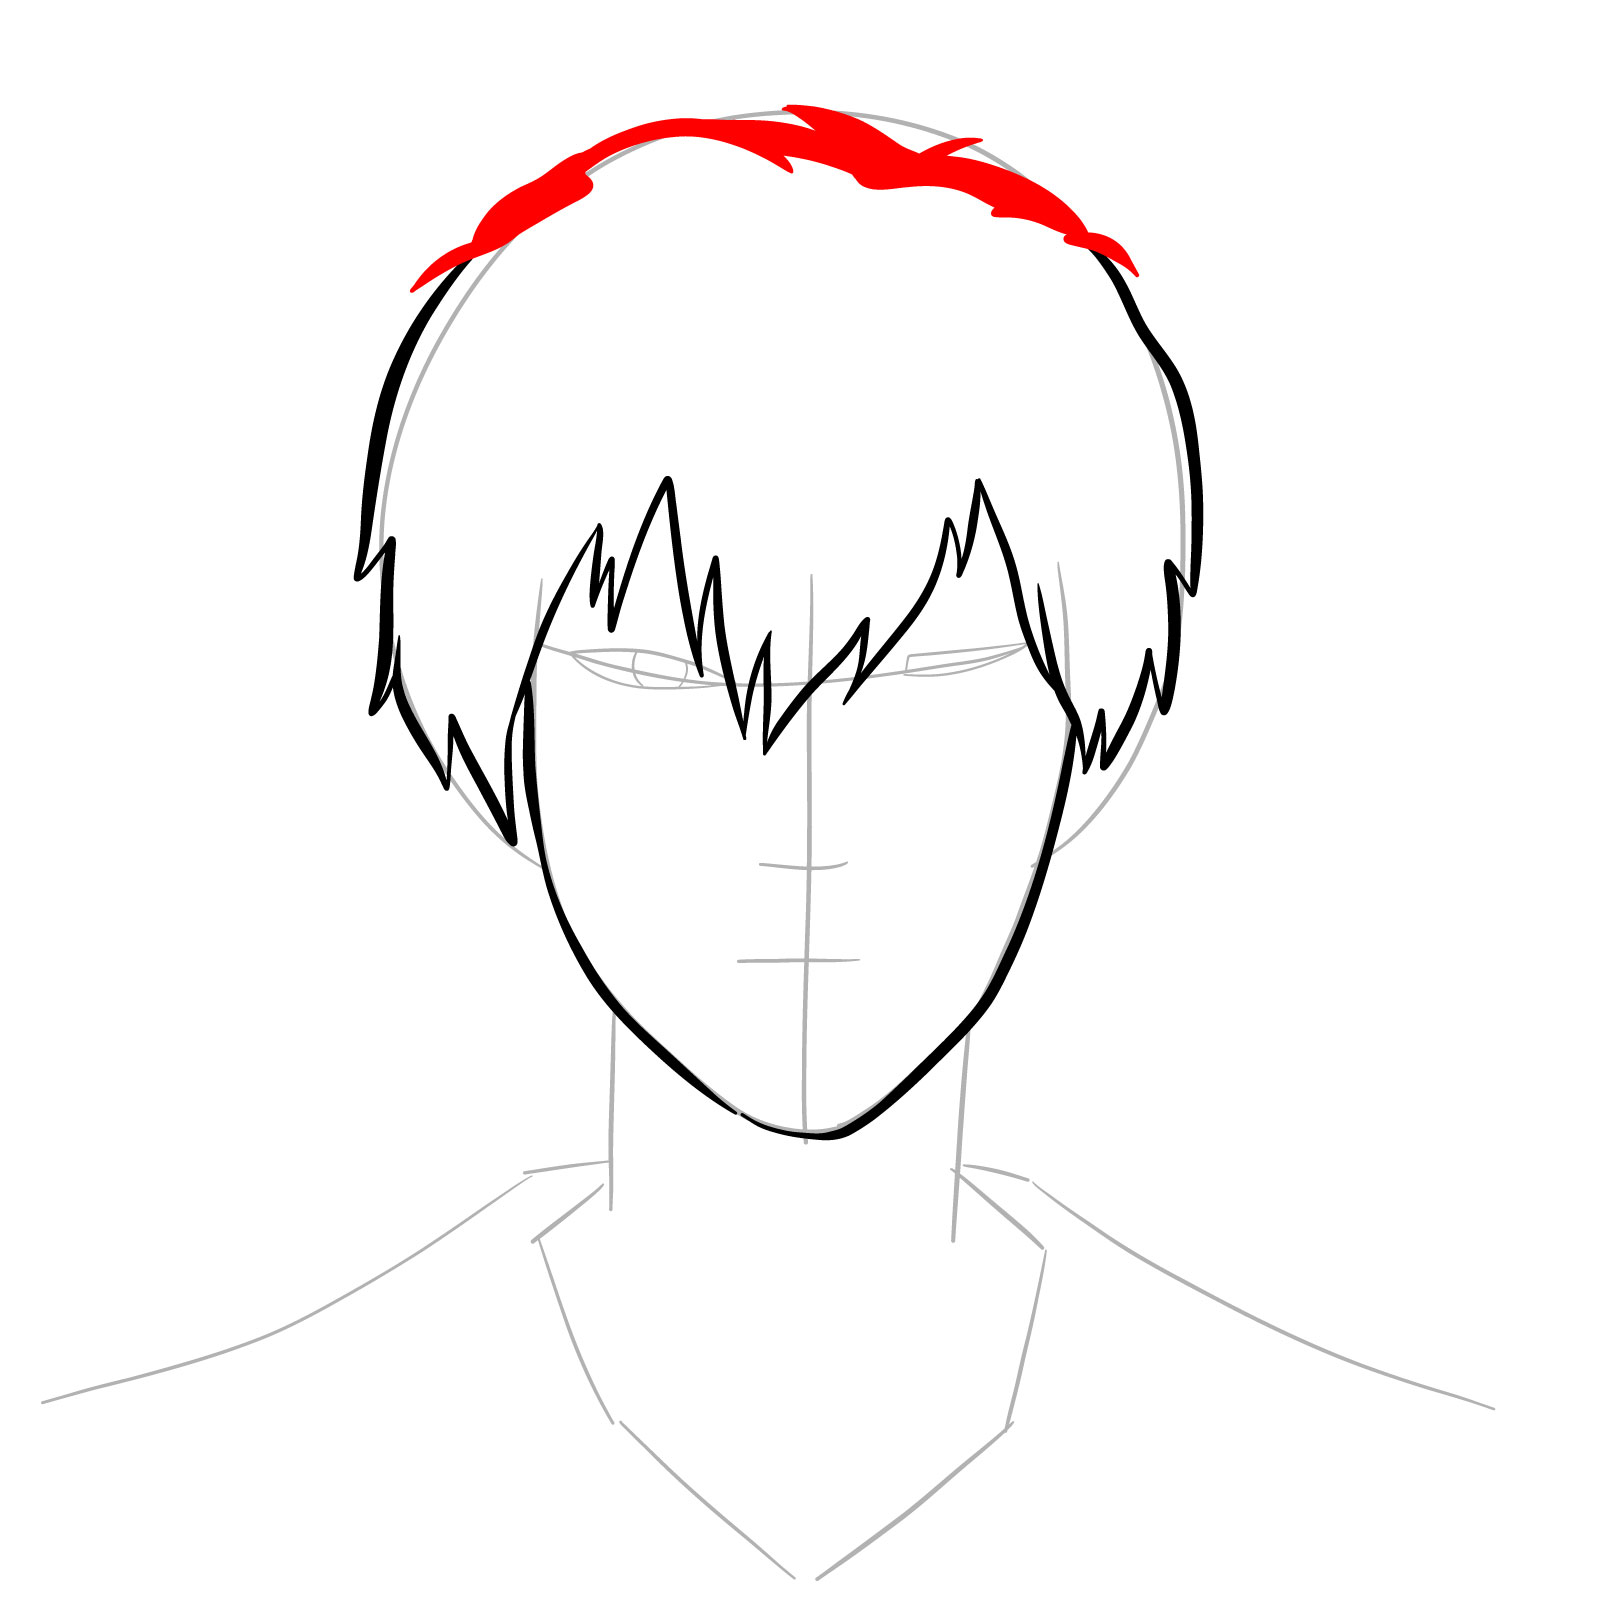
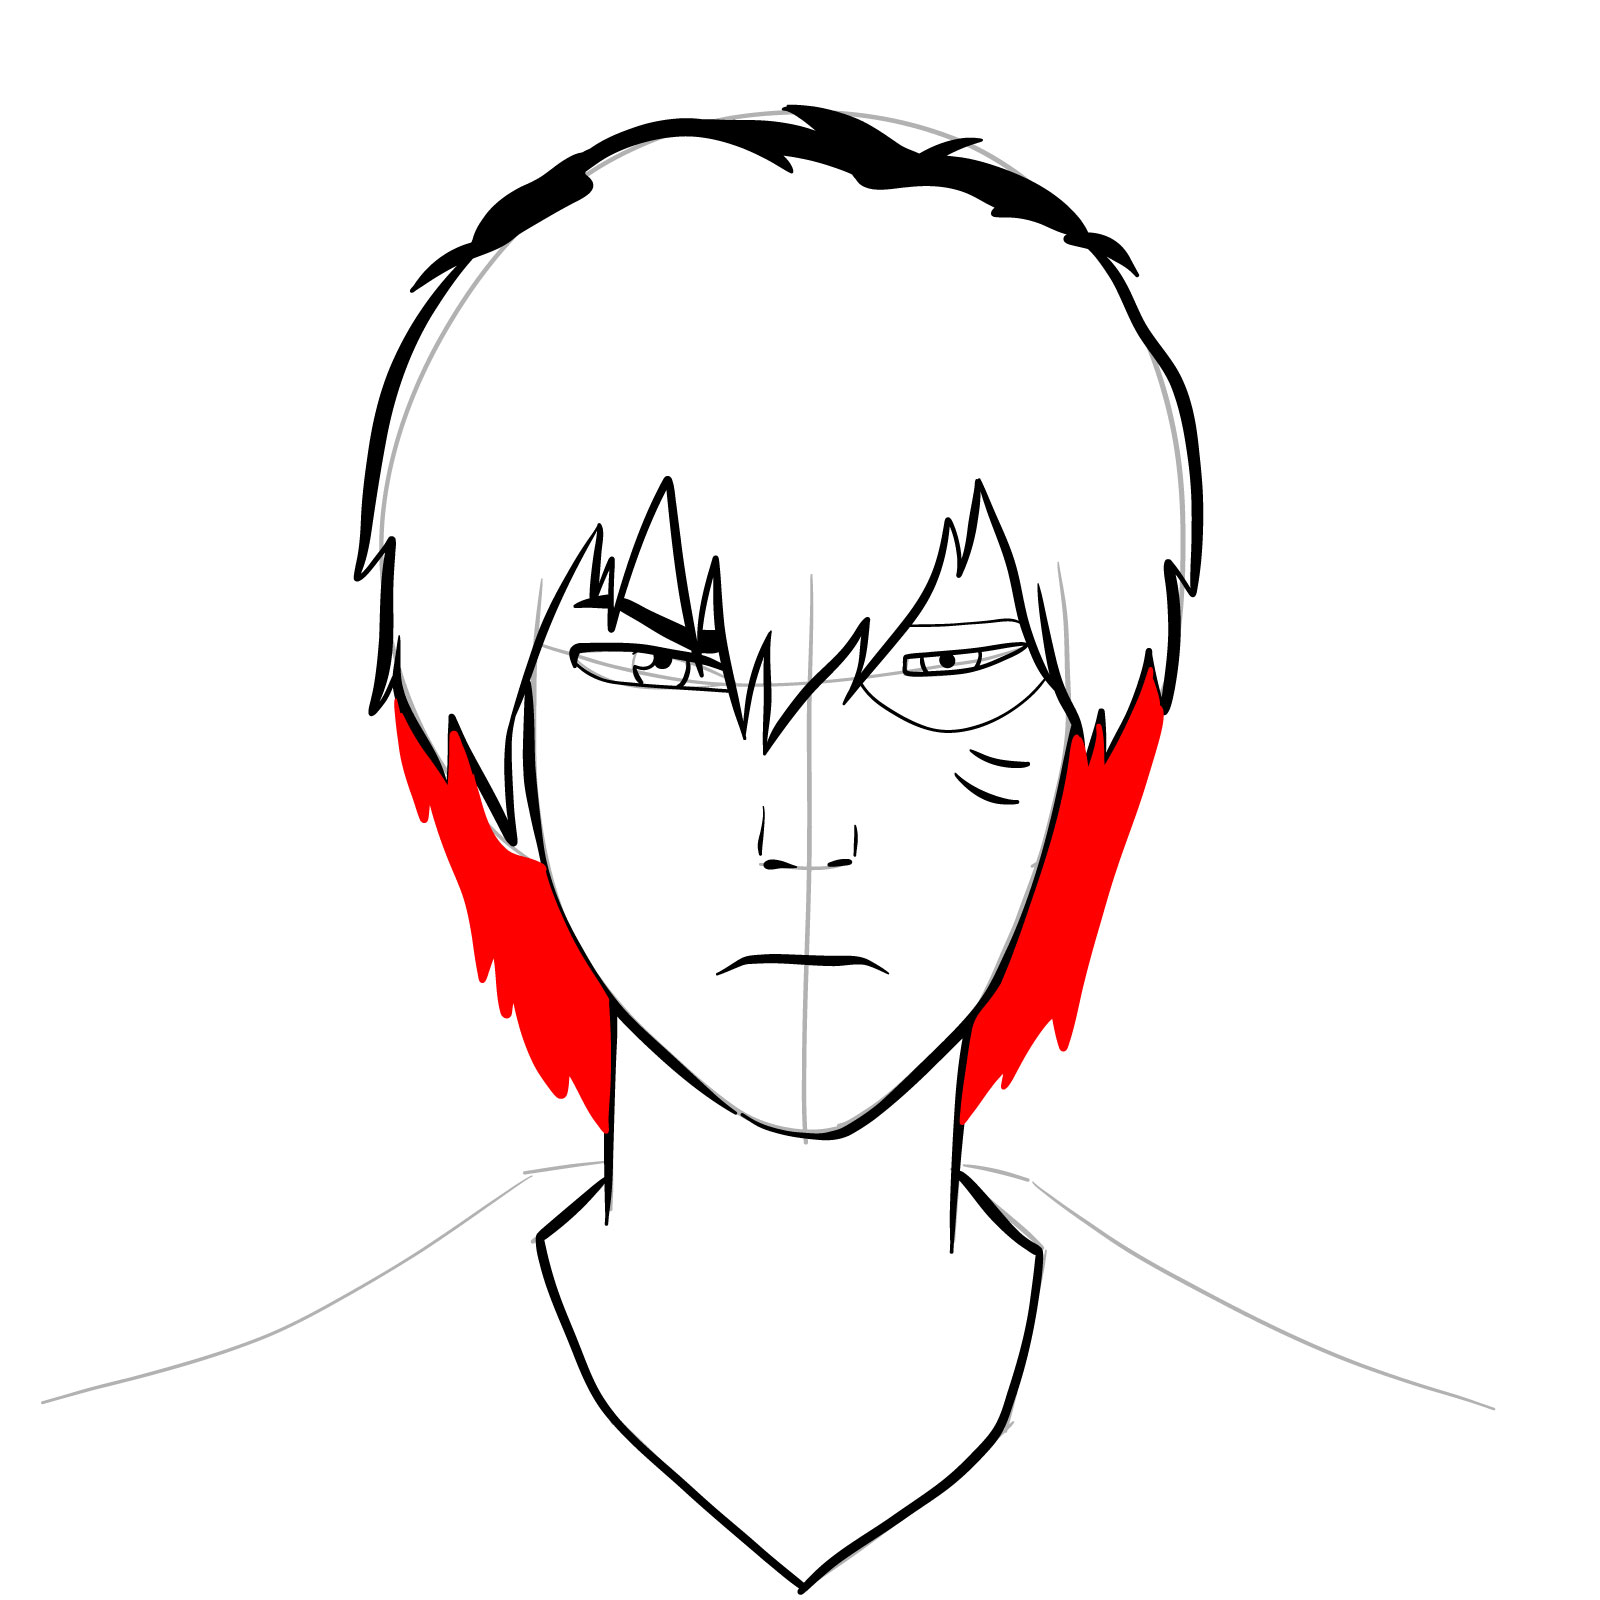
- Flowing Hair: By Book 3, Zuko sports longer, flowing hair, a departure from his earlier buzzed look.
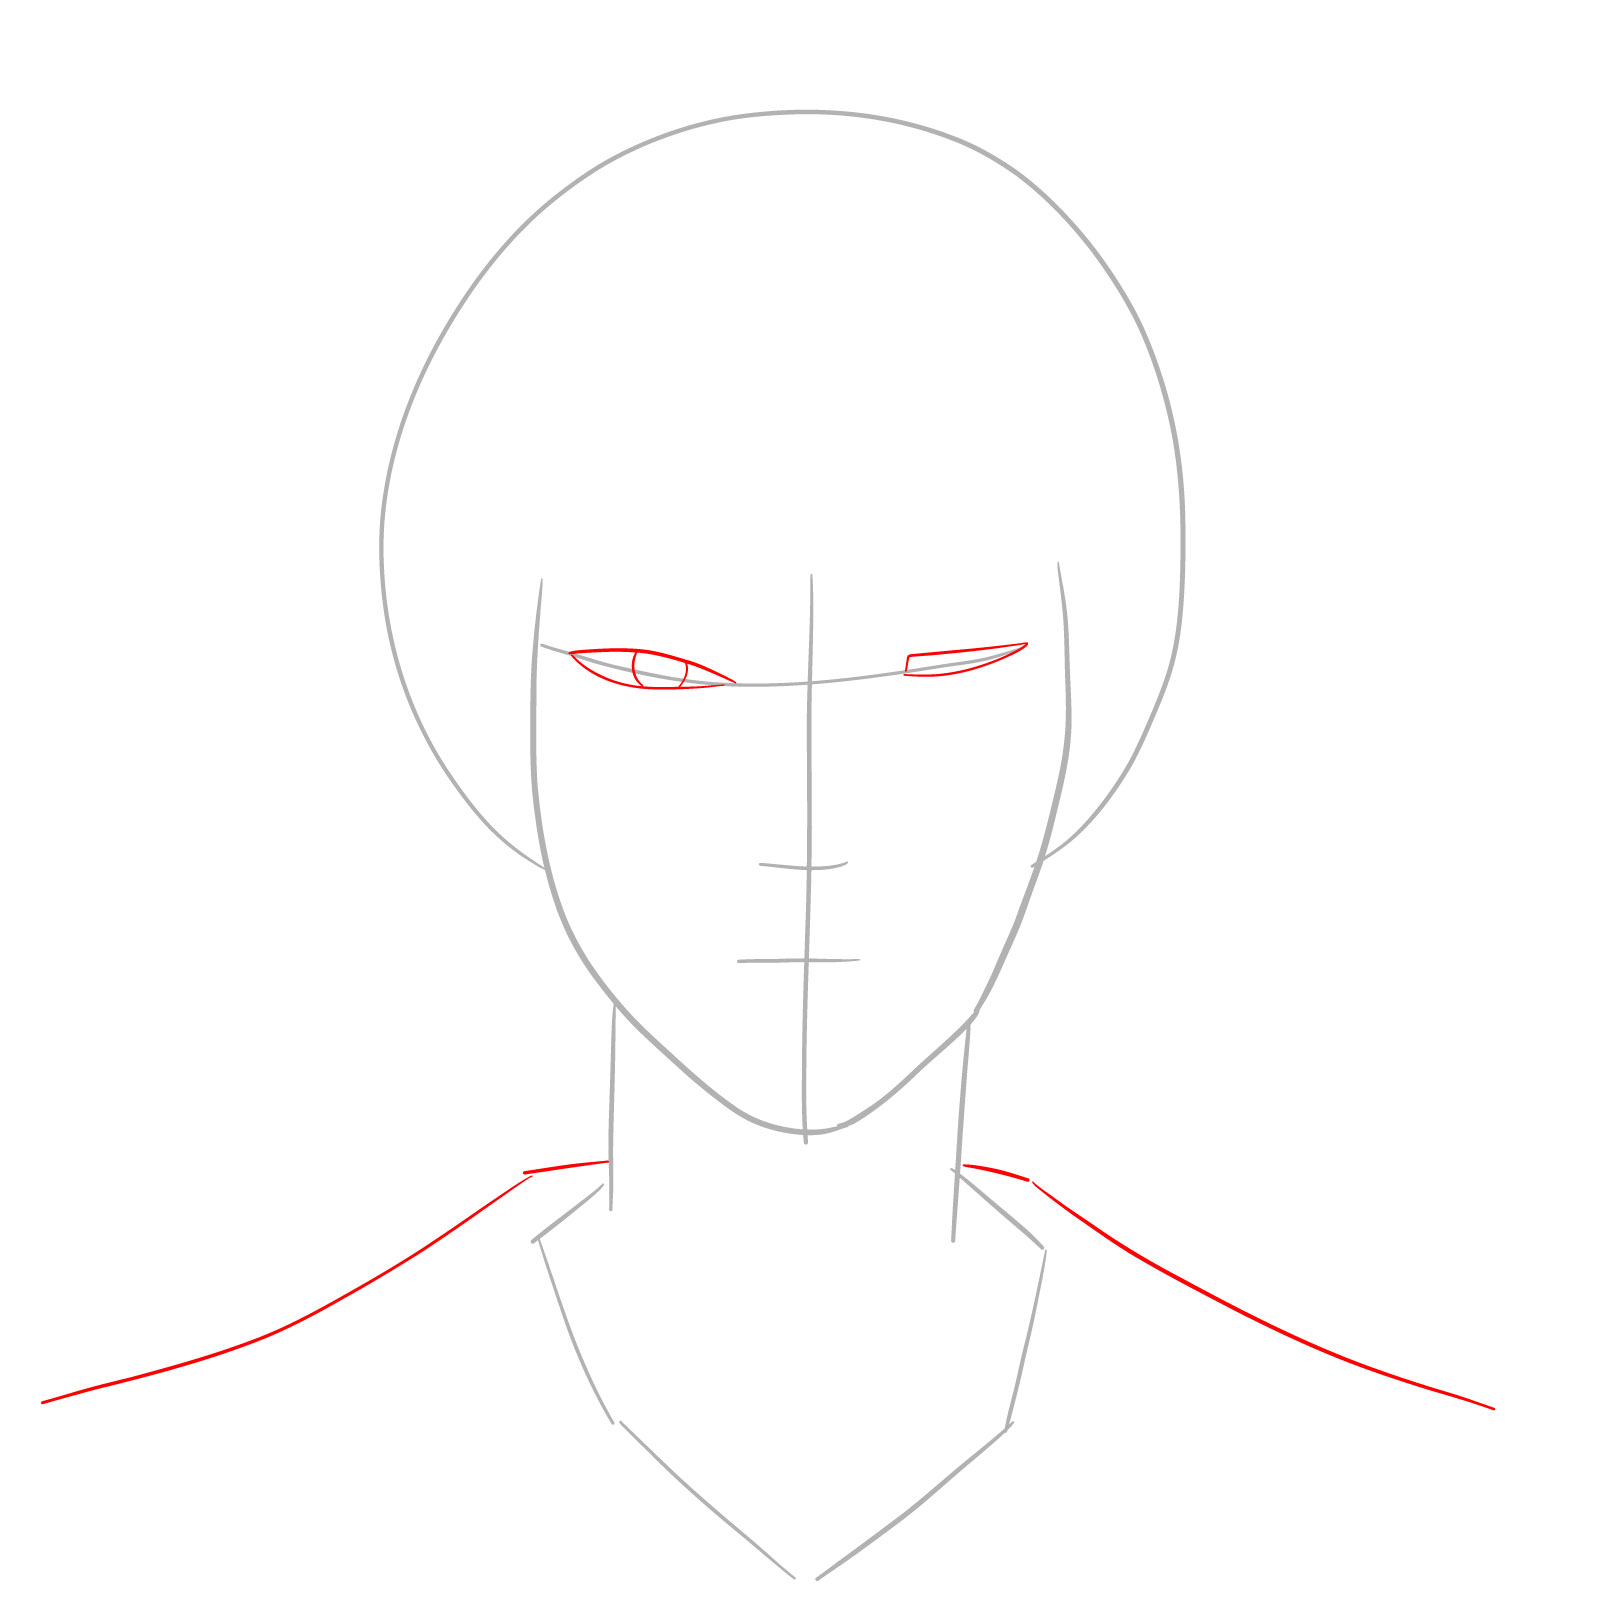
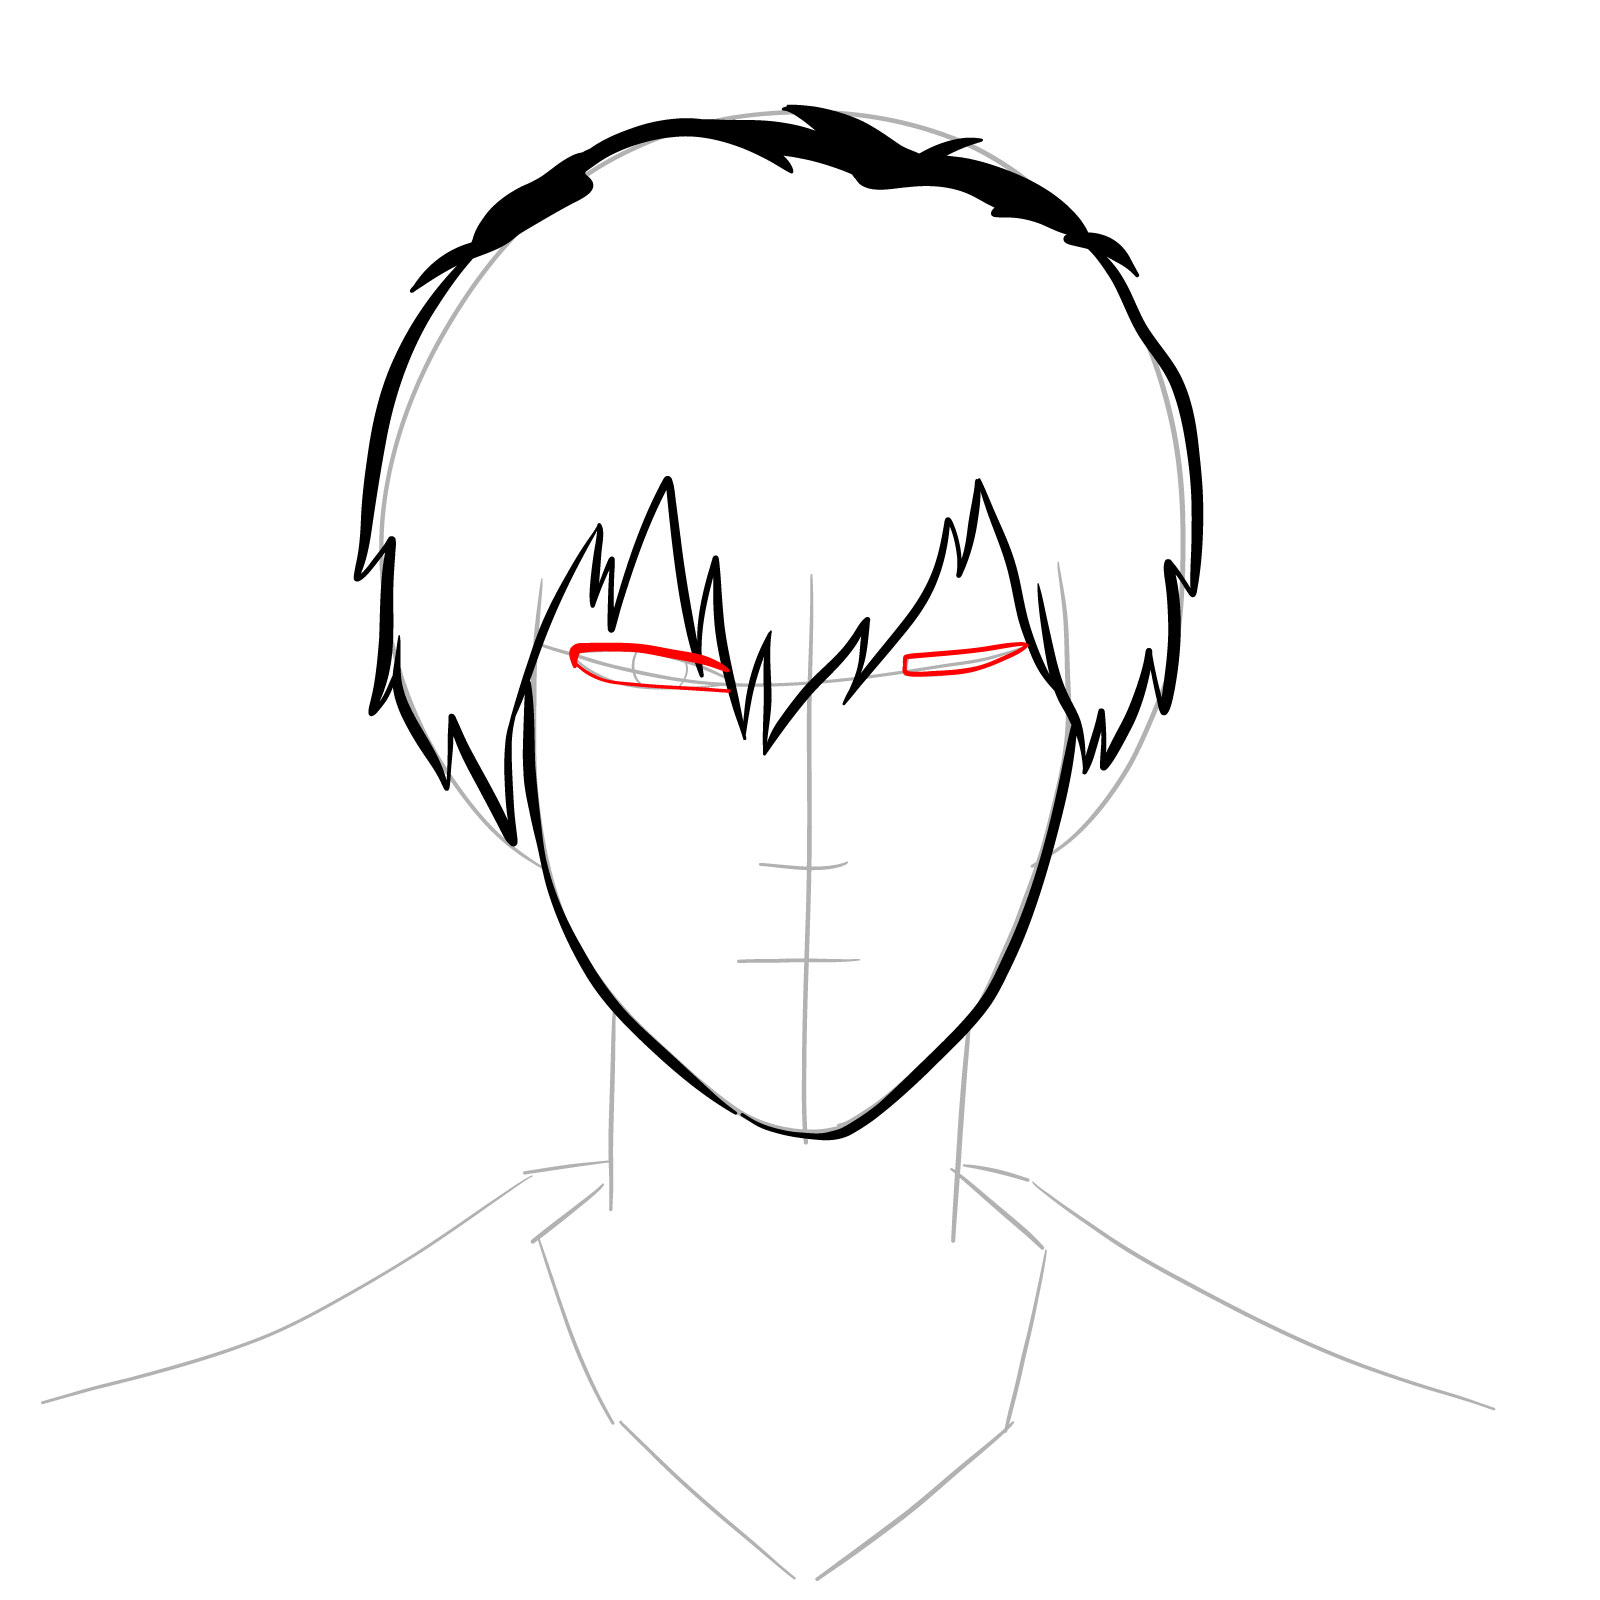
- Intense Gaze: Zuko’s eyes have always been a window to his soul, reflecting his emotions and intentions. Drawing them requires special attention to detail.
Drawing Zuko can be complemented by adding other characters from the series. Consider sketching Aang, with his serene expressions, or Princess Azula, with her confident and intimidating look, to bring more depth and interaction to your artwork.
Following the Guide
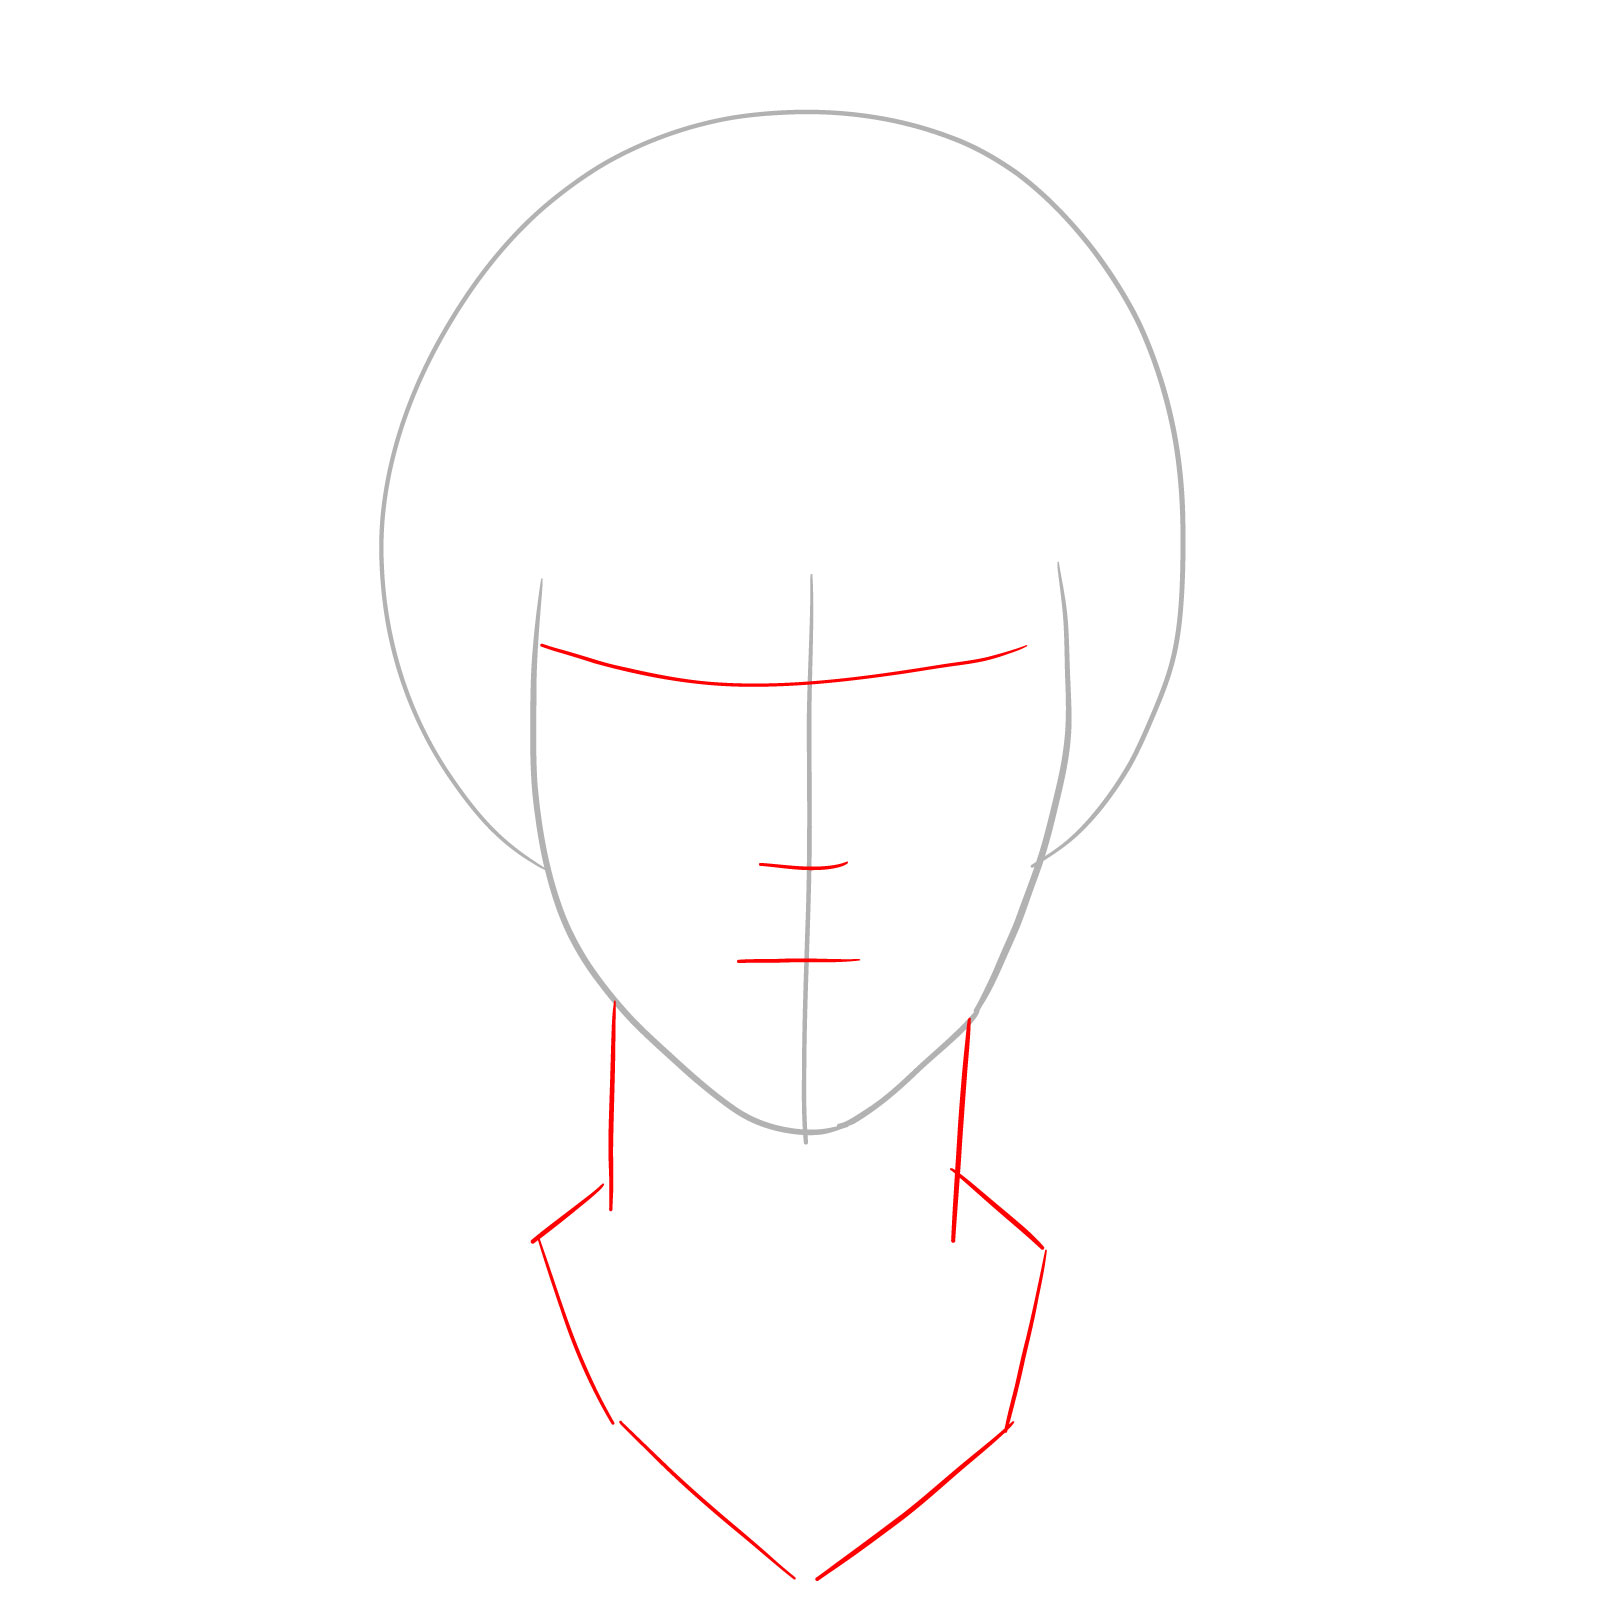
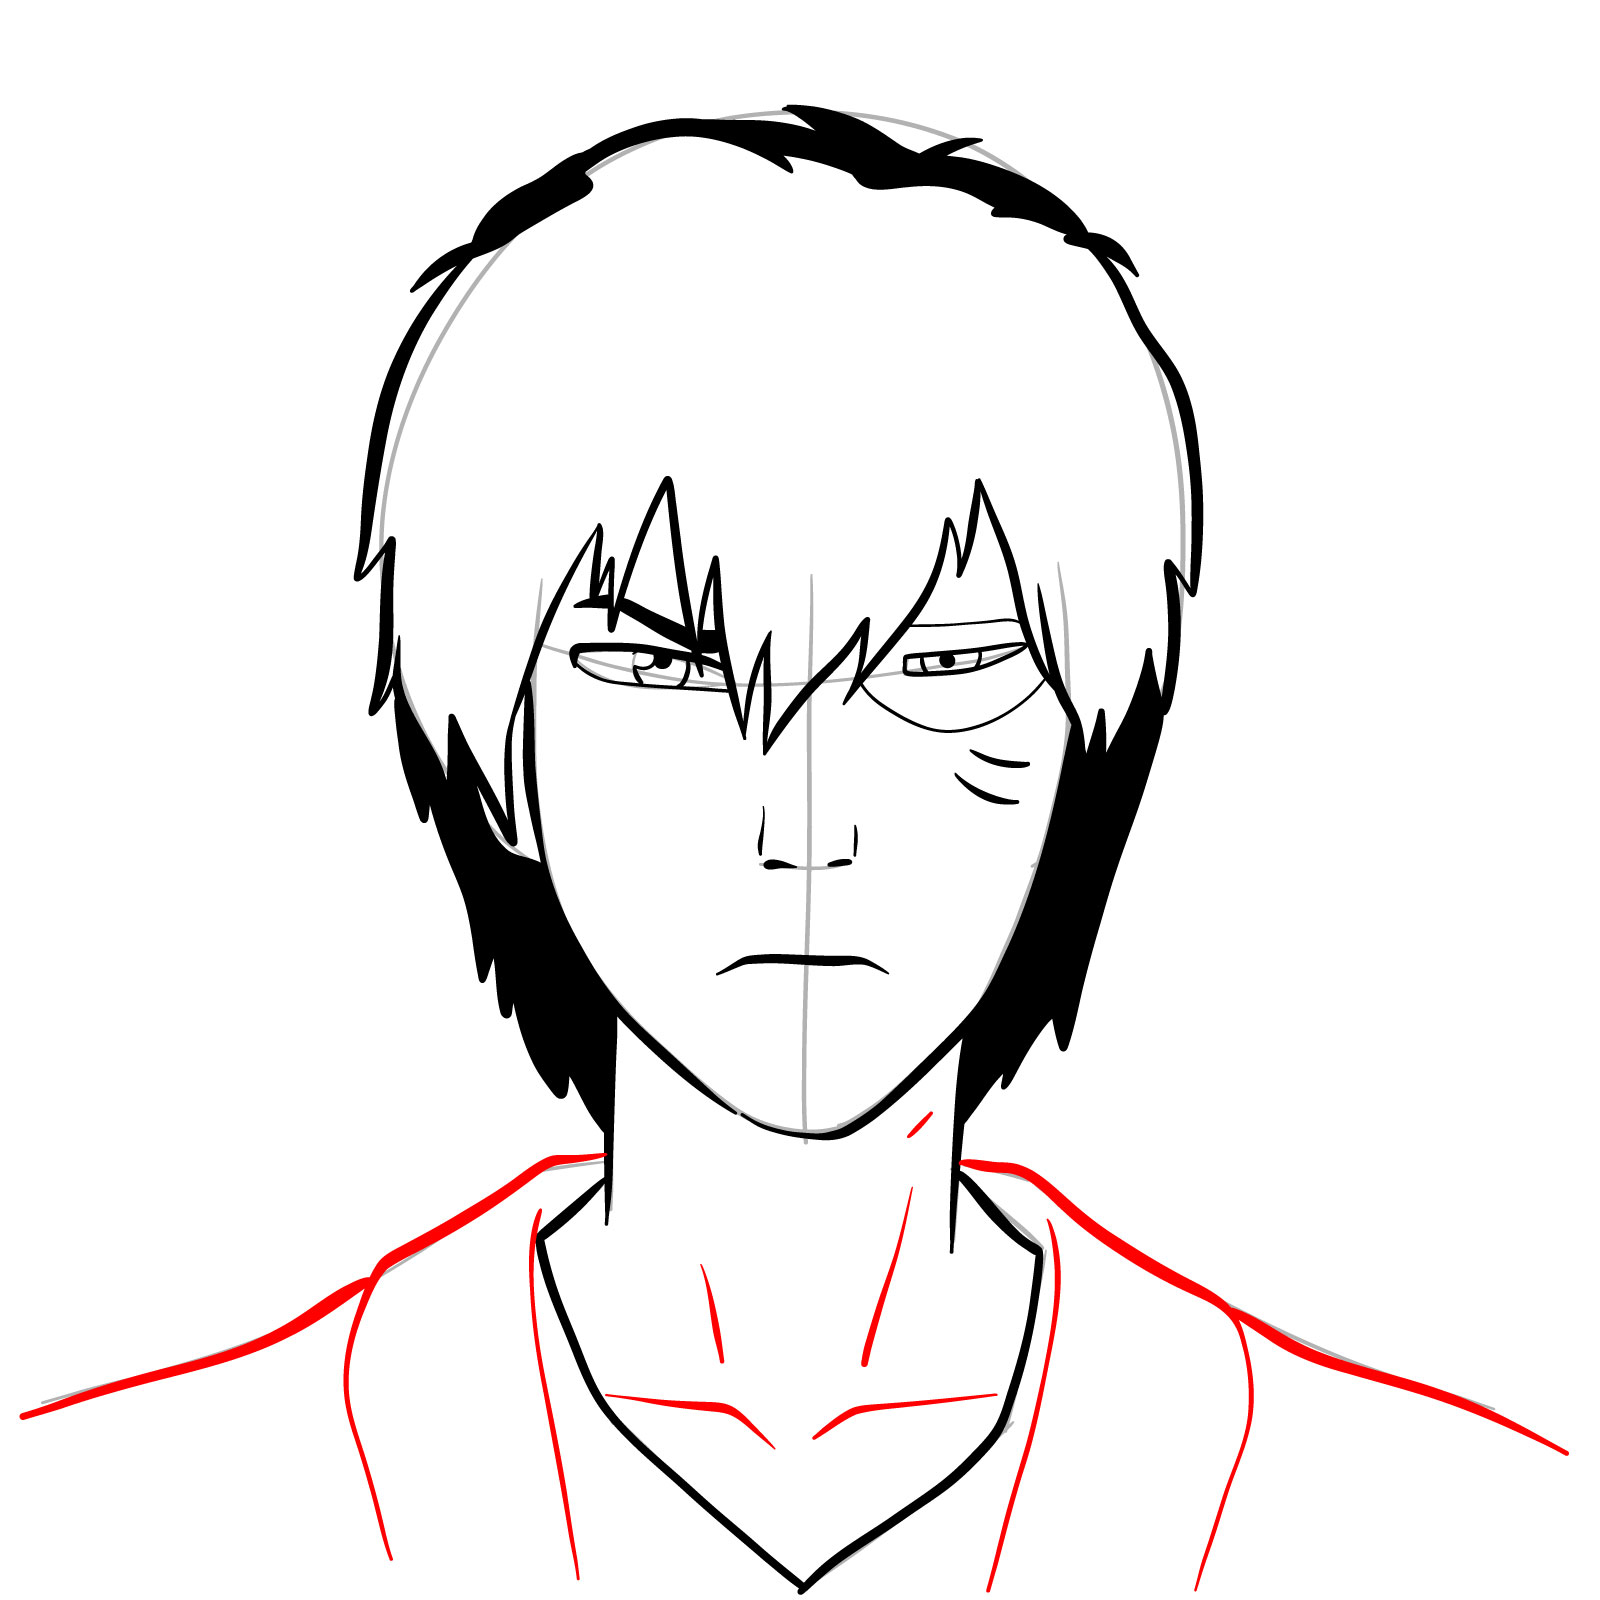
Our guide uses a simple color-coded system to simplify your drawing journey:
- Red Color: Indicates the current step you’re working on.
- Black Color: Represents the lines you’ve previously drawn.
- Grey Color: Shows the basic structure and proportions of the sketch.
The tutorial spans 17 steps. Start with a light sketch, laying out the basic proportions. Once satisfied, you can opt to ink your sketch. It’s paramount to let the ink dry before erasing the pencil marks to avoid smudging.


That covers how to draw Zuko’s face from Book 3, scar and all. If you want to keep up with new guides as they drop, the email signup at the top of the page sends a weekly digest, and you can also find SketchOk on Pinterest where people share their finished drawings in the comments of each post.