Last Updated on May 14, 2026
Drawing is an art that requires dedication, attention to detail, and a deep understanding of the subject. Today, we’ll delve into the world of “Avatar: The Last Airbender” to learn how to draw Aang’s face. The legendary Air Nomad has a distinctive look that, with practice, you too can capture.
The Legacy of Aang
Aang wasn’t just any Air Nomad; he was the Avatar, mastering all four elements and playing a pivotal role during the Hundred Year War. The last of his kind, Aang’s journey from being trapped in an iceberg to ending the war makes him a character rich in depth and complexity. Notably, Aang’s facial features reflect his heritage and his inherent kindness, even in the face of adversity. Drawing Aang is not just about sketching a character, but capturing the spirit of a legend.
Interestingly, Aang’s character design originated from a simple sketch by Bryan Konietzko. This eventually evolved into the character millions have come to love, shaped by stories of exploration, Eastern philosophies, and intricate martial arts. When you draw Aang, consider also sketching his close companions like Katara or Tenzin for a complete picture.
Key Focus Points in Aang’s Appearance
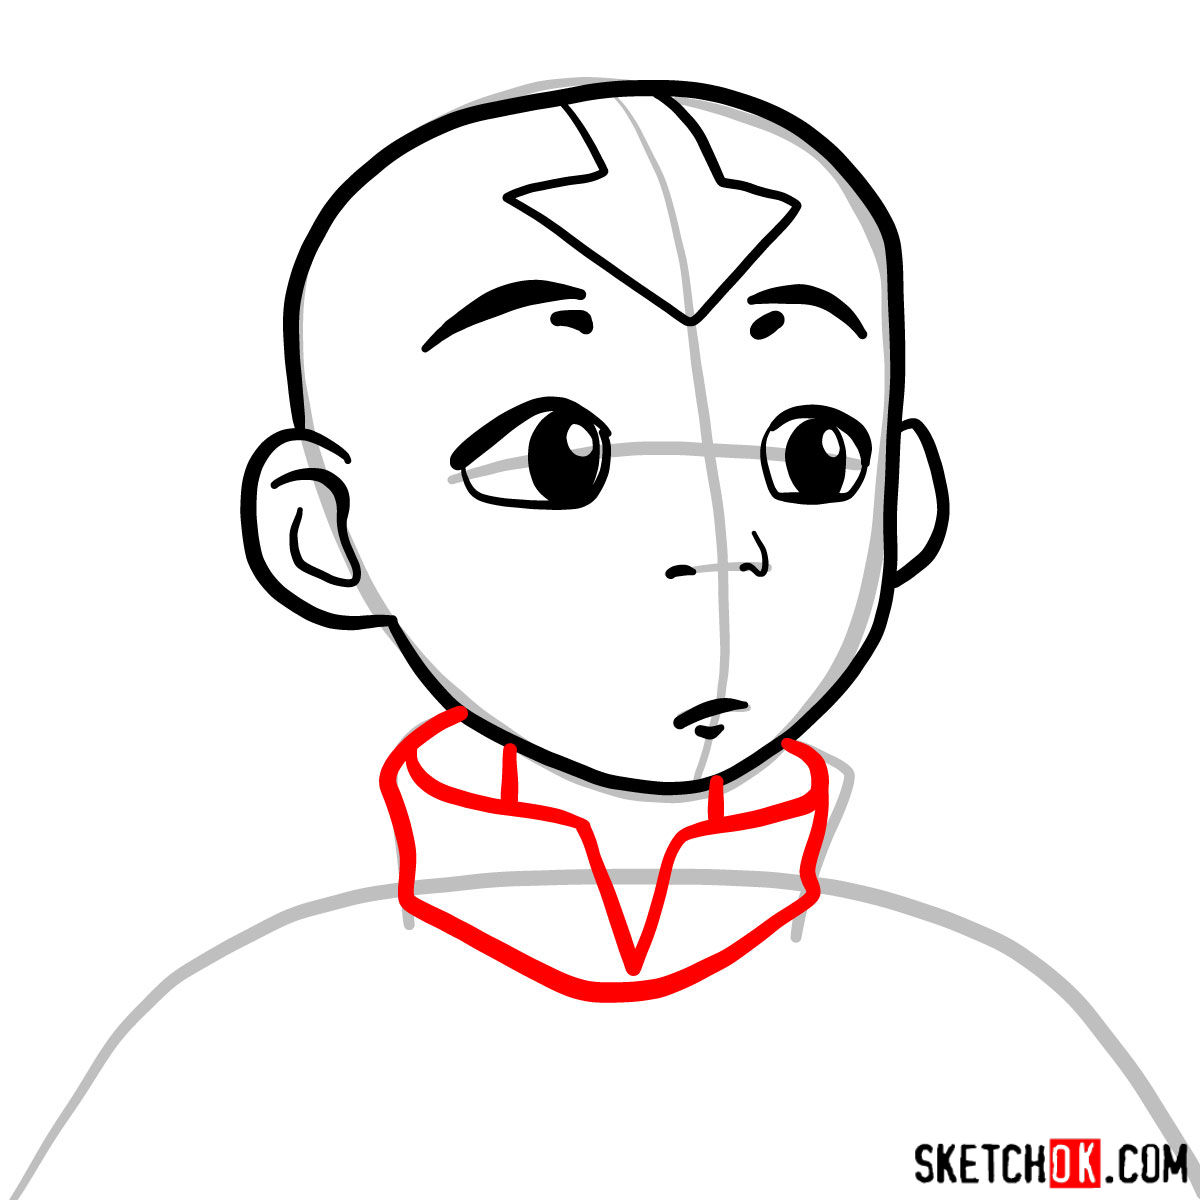
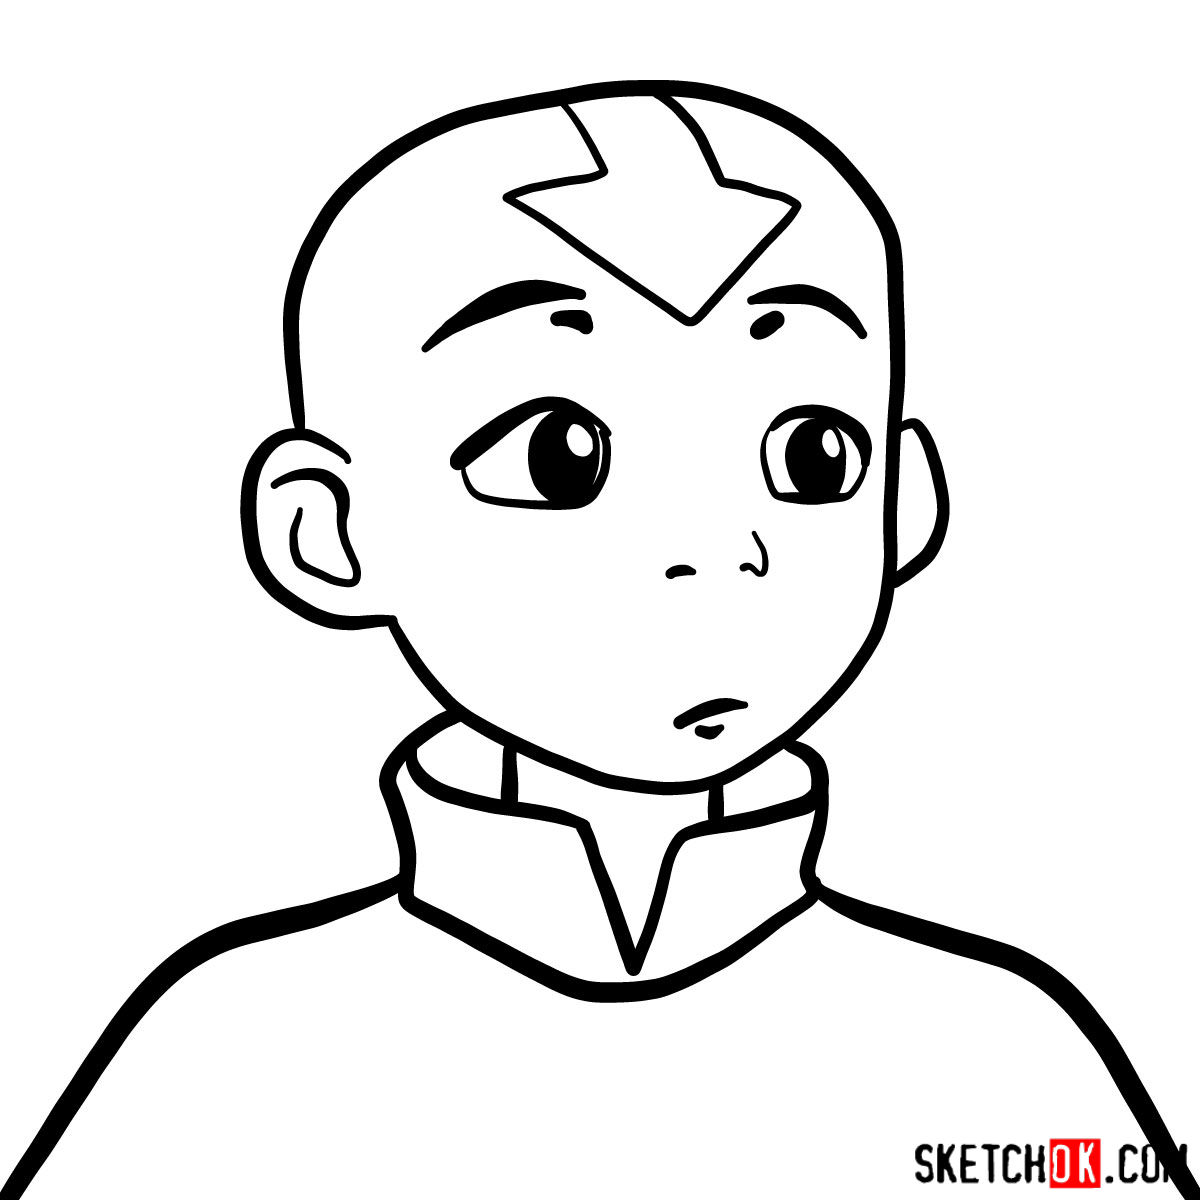
- Facial Arrow Tattoo: A trademark of Aang’s appearance, this arrow symbolizes his airbending prowess.
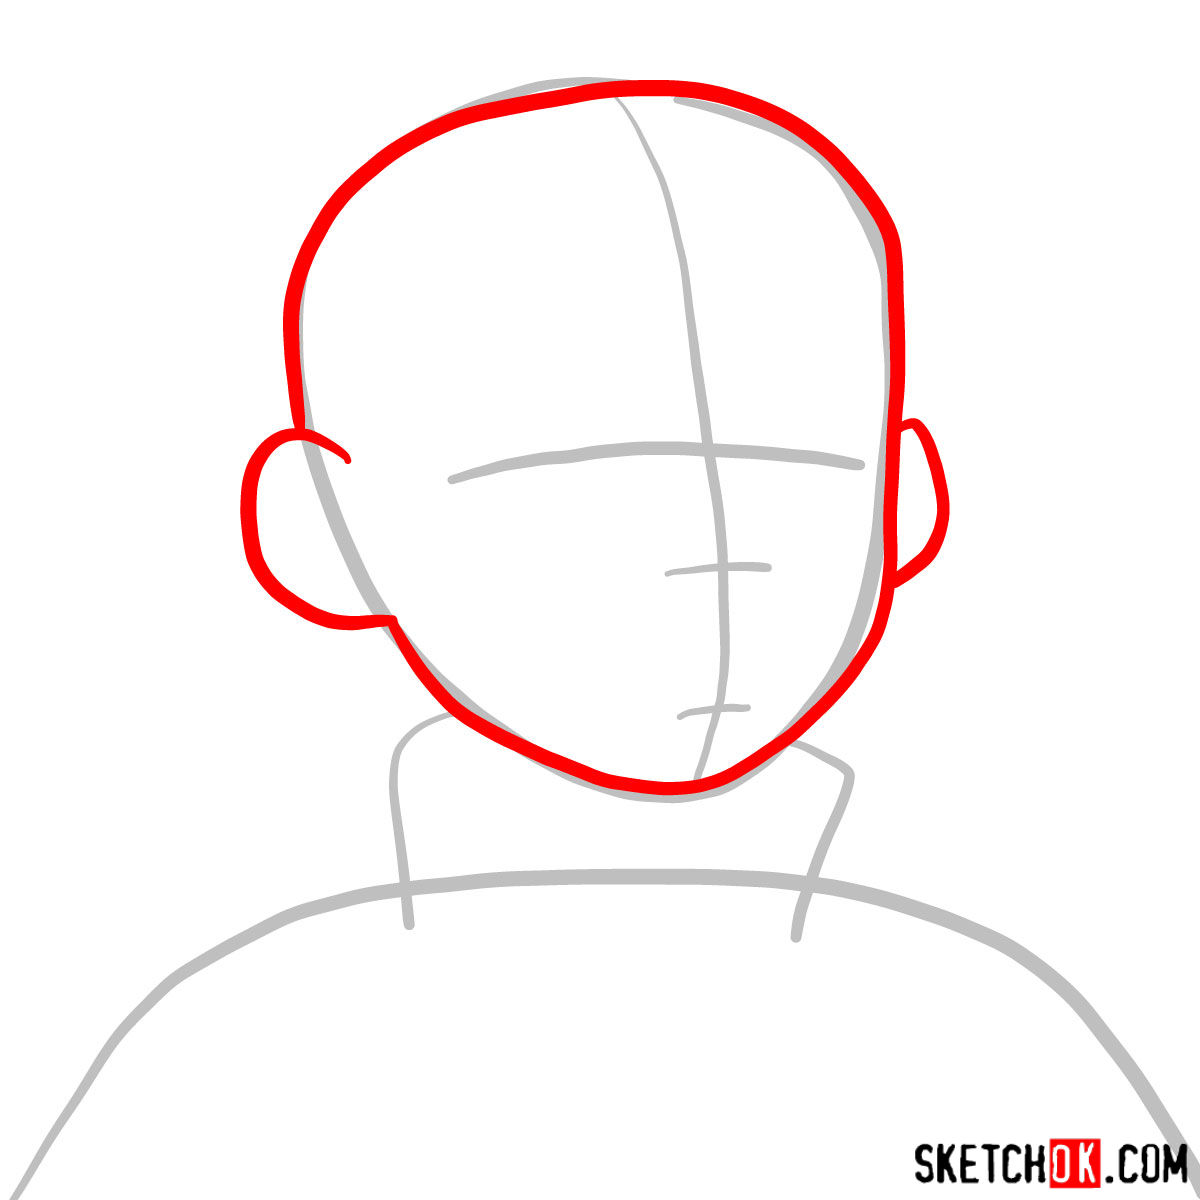
- Bald Head: A representation of the Air Nomad’s monk heritage.
- Expressive Eyes: Aang’s eyes often reflect his emotions, ranging from playful to deeply introspective.
- Young Facial Structure: Even after a century, Aang maintains a youthful appearance, indicative of his biological age.
About Our Drawing Guide
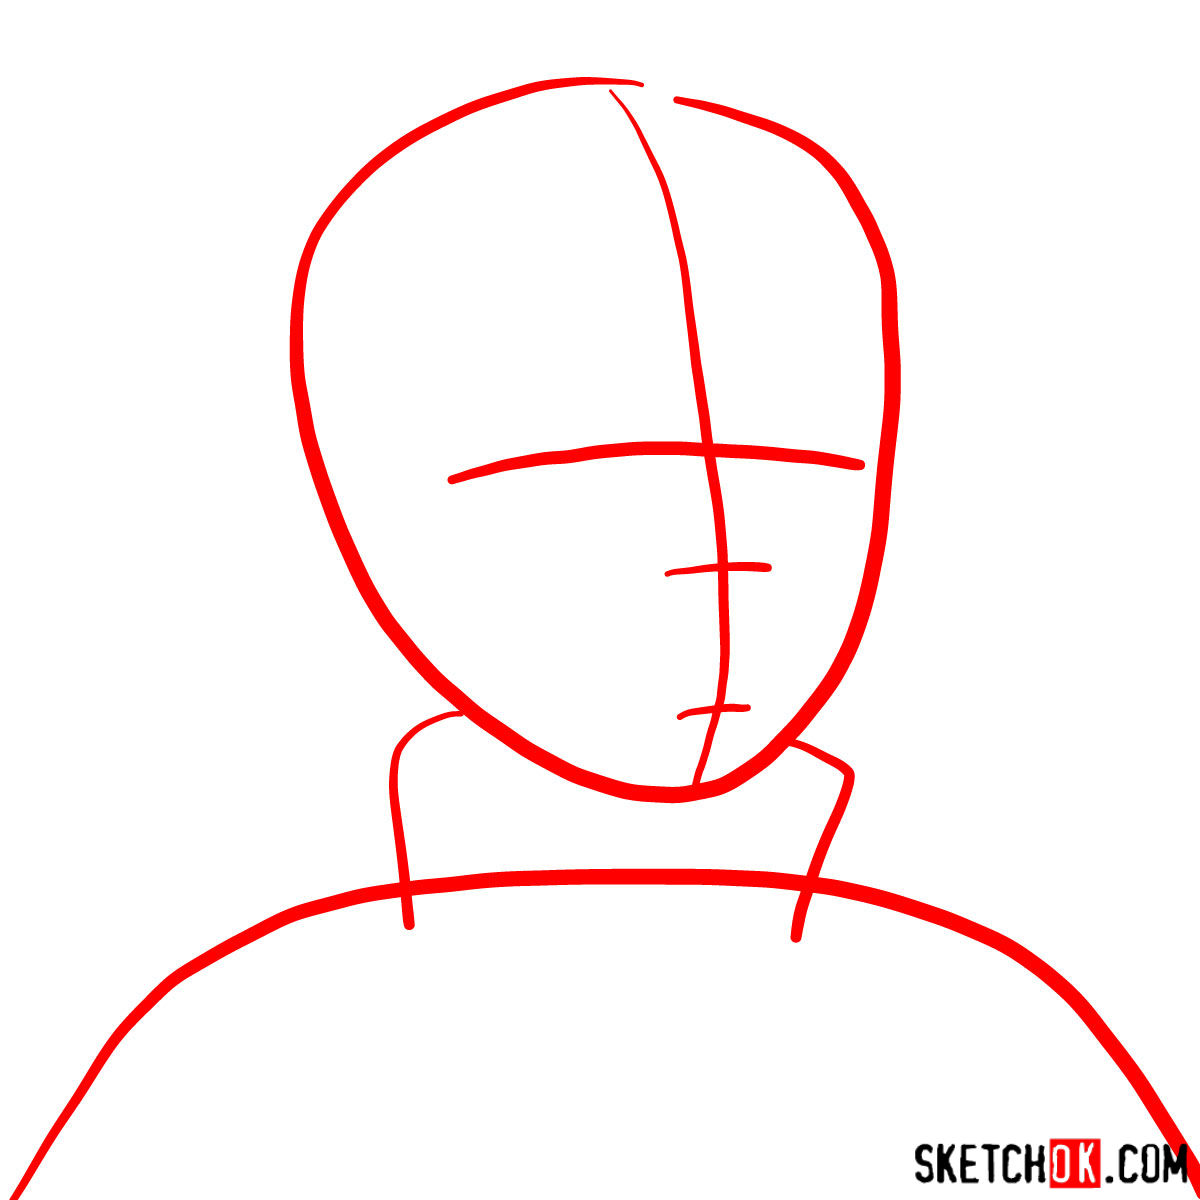
To ensure you get the best results, our guide is structured in 7 steps. Each step is color-coded for clarity:
- Red Color: Highlights the current drawing step.
- Black Color: Displays the lines drawn in previous steps.
- Grey Color: Illustrates the basic proportions sketch.
Starting with a light pencil sketch helps in laying the foundation. Upon reaching the final step, you have the option to ink your drawing. Remember to patiently wait for the ink to dry before erasing the underlying pencil lines. This ensures a clean and professional finish. For those keen on coloring, our last image serves as an impeccable color reference.

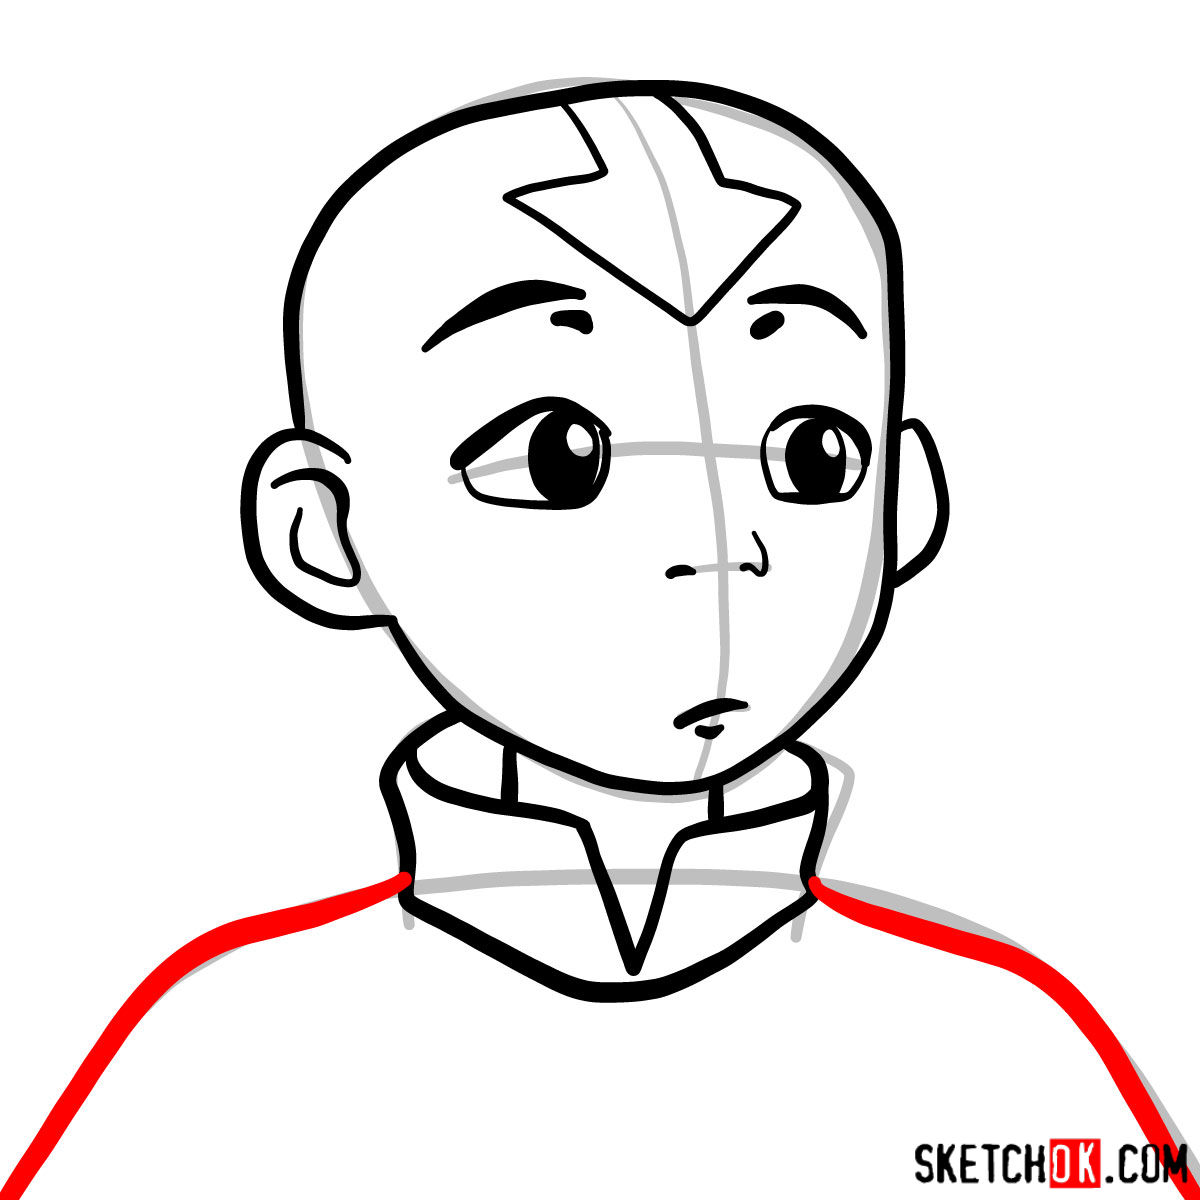

Working through the proportions and expressions that make up Aang’s face can feel tricky at first, but a lot of those shapes tend to click much better on a second pass. Now that you know how to draw Aang’s face, going back over the process with fresh eyes usually makes the whole thing come together more naturally. If you want a steady stream of new guides like this one, there’s an email signup at the top of the page where you’ll get a weekly batch of fresh tutorials from SketchOk.