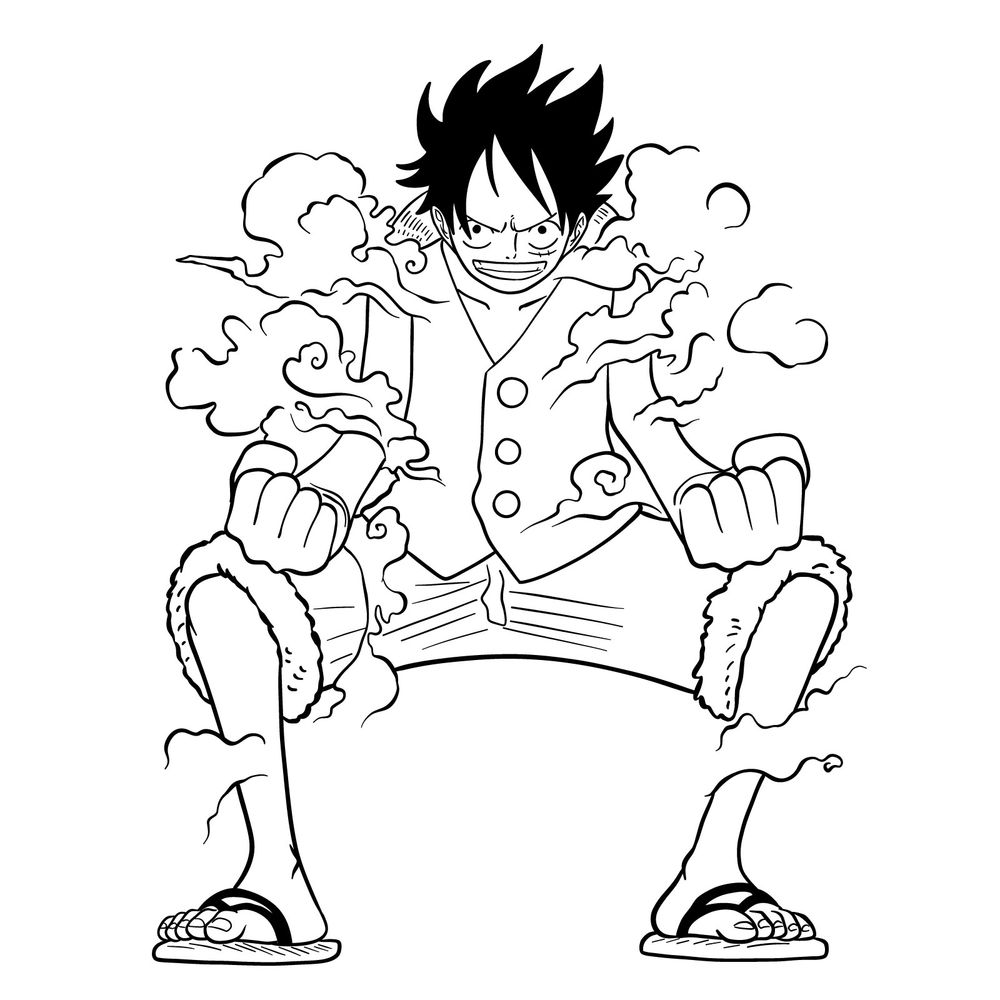
Welcome to the world of creative expression! Drawing doesn’t have to be complicated, especially when you have the right guide. If you’re a One Piece enthusiast or an art lover who wants to draw Luffy in Gear Second, you’ve come to the right place. In this step-by-step tutorial, we’ll help you draw your favorite character with ease.
Dive into the Character: Understanding Luffy’s Gear Second Form
The iconic character, Luffy, introduces a spectacular transformation known as Gear Second, enhancing his speed, mobility, and overall strength. Understanding this transformation is key to capturing the essence of the character. When you’re sketching, here are a few aspects to focus on:
- Physiology: In Gear Second, Luffy’s body is enveloped by steam, his muscles are more defined, and veins more prominent.
- Expression: Luffy’s determination and fierce spirit are etched on his face. Capturing these expressions will bring your drawing to life.
- Movement: Luffy’s enhanced speed and agility are significant parts of his Gear Second form, which can be depicted through dynamic poses.
Understanding Luffy’s Gear Second form will also provide a great base for drawing other character’s forms Nightmare Luffy, Gear Third and Snakeman, or Luffy’s crew members like Zoro and Sanji.
About the Tutorial: Navigating Through the Drawing Guide
This tutorial is designed to make your drawing process as seamless as possible. Our color-coded system allows you to follow along easily with the 26 steps:
- Red Color: Indicates the current step in the drawing process. This is where you should be focusing your pencil.
- Black Color: These lines are from previous steps, forming the base of your drawing.
- Grey Color: Shows the basic sketch that outlines the proportions of the character.
The first three steps focus on establishing the basic sketch. Towards the end, you can opt to ink your sketch, which will make the drawing more defined. Once the ink dries, gently erase the pencil lines to clean up your drawing.


FAQ: Navigating Common Queries in the Drawing Process
- How do I capture Luffy’s unique expressions in Gear Second?
- Understanding Luffy’s character is key to capturing his expressions. In Gear Second, he is fierce and determined. Paying attention to his eyes, eyebrows, and the shape of his mouth will help portray these emotions.
- Why should I ink my sketch?
- Inking your sketch enhances the definition and gives your drawing a polished look. It’s also a crucial step if you plan on coloring your sketch, as it provides clear lines to follow.
Wrap-Up
I hope you found this guide on how to draw Luffy in Gear Second helpful! Remember, the essence of art lies in practice and perseverance. Sharing the link to this guide with others or anywhere on the web not only helps spread the word but also supports the artistic community. Also, consider subscribing to our Facebook, Instagram, or Pinterest to stay updated on new tutorials.
Your generous donations fuel our passion to provide free drawing guides, allowing us to support aspiring artists like yourself. Every donation, big or small, helps keep the SketchOk project alive and thriving. Thank you for your support and happy drawing!

Hello ilnur, could u plz do a tutorial of megaman.exe again plz
This time from megaman x DiVE
https://static.wikia.nocookie.net/megaman/images/a/aa/Mega_Man_X_DiVE_Hunter_Program_MegaMan.EXE.png/revision/latest?cb=20201125181854 here is the image
Oh yea and of him in Hub Style
https://static.wikia.nocookie.net/megaman/images/1/11/Mega_Man_X_DiVE_Hunter_Program_MegaMan.EXE_Hub_Style.png/revision/latest?cb=20211125025205 here is the image from the artwork of Mega Man X DiVE ok
Hi Evan, Sorry for being late with an answer. I added these to list. Thank you!