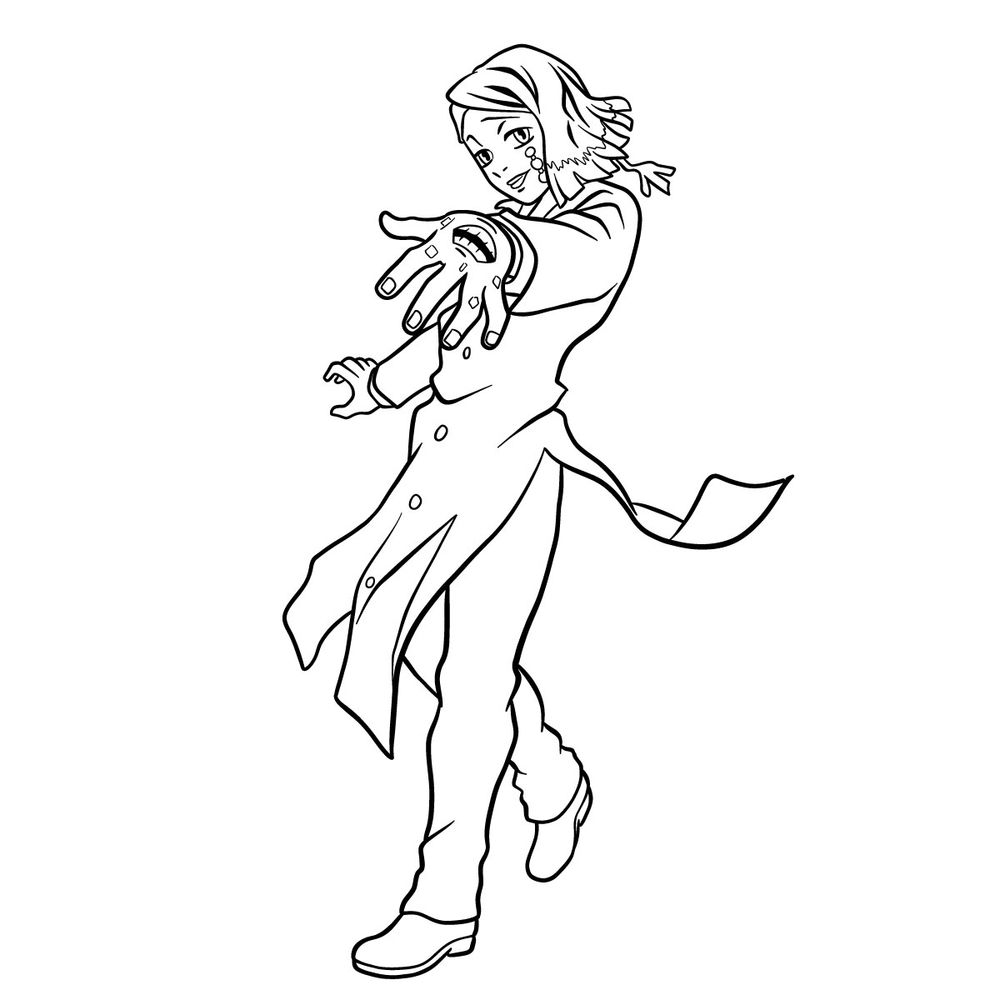
Greetings, fellow artists! In this drawing tutorial, I will guide you through the process of learning how to draw Enmu, the captivating antagonist from the Mugen Train Arc of Demon Slayer: Kimetsu no Yaiba. Join me as we delve into the intricate details of capturing Enmu’s unique appearance on paper.
Analyzing Enmu’s Distinctive Features
Enmu possesses a slender and youthful appearance that is essential to portray accurately. Focus on capturing the following key features when drawing Enmu:
- Facial Structure: Enmu’s face is characterized by ringed blue eyes that tilt sharply downwards. Pay attention to the markings on his cheeks, which fade from green to yellow.
- Hair: Enmu’s hair is dark black and parted to the right side.
- Clothing: Enmu is typically wearing a long, black button-up coat with unique tail-like extensions. Additionally, he sports a white dress shirt, pinstriped pale gray pants, and plain slightly heeled shoes.
- Key Features: Also, note the unique feature of a mouth on the back of his left hand, accompanied by an eye and the kanji for “Dream” on his fingers.
Enhancing the Composition with Character Relationships
When creating your artwork, consider incorporating other characters from the Demon Slayer series to add depth and intrigue to the composition. Some characters that complement Enmu include:
- Shinobu Kocho: Shinobu’s venomous abilities and contrasting personality make her an intriguing addition to the artwork.
- Inosuke Hashibira: Inosuke’s wild and fierce nature can provide a striking contrast to Enmu’s calculated demeanor.
- Mitsuri Kanroji: Mitsuri’s distinctive appearance and strong presence can add a touch of elegance to the composition.
By incorporating these characters into your drawing, you can create a visually engaging artwork that showcases the complex relationships and diverse personalities within the Demon Slayer universe.
Now that we have examined Enmu’s appearance and explored the potential character relationships, let’s dive into the step-by-step drawing process to bring Enmu to life on your canvas.
The Guide: Step-by-Step Drawing Process
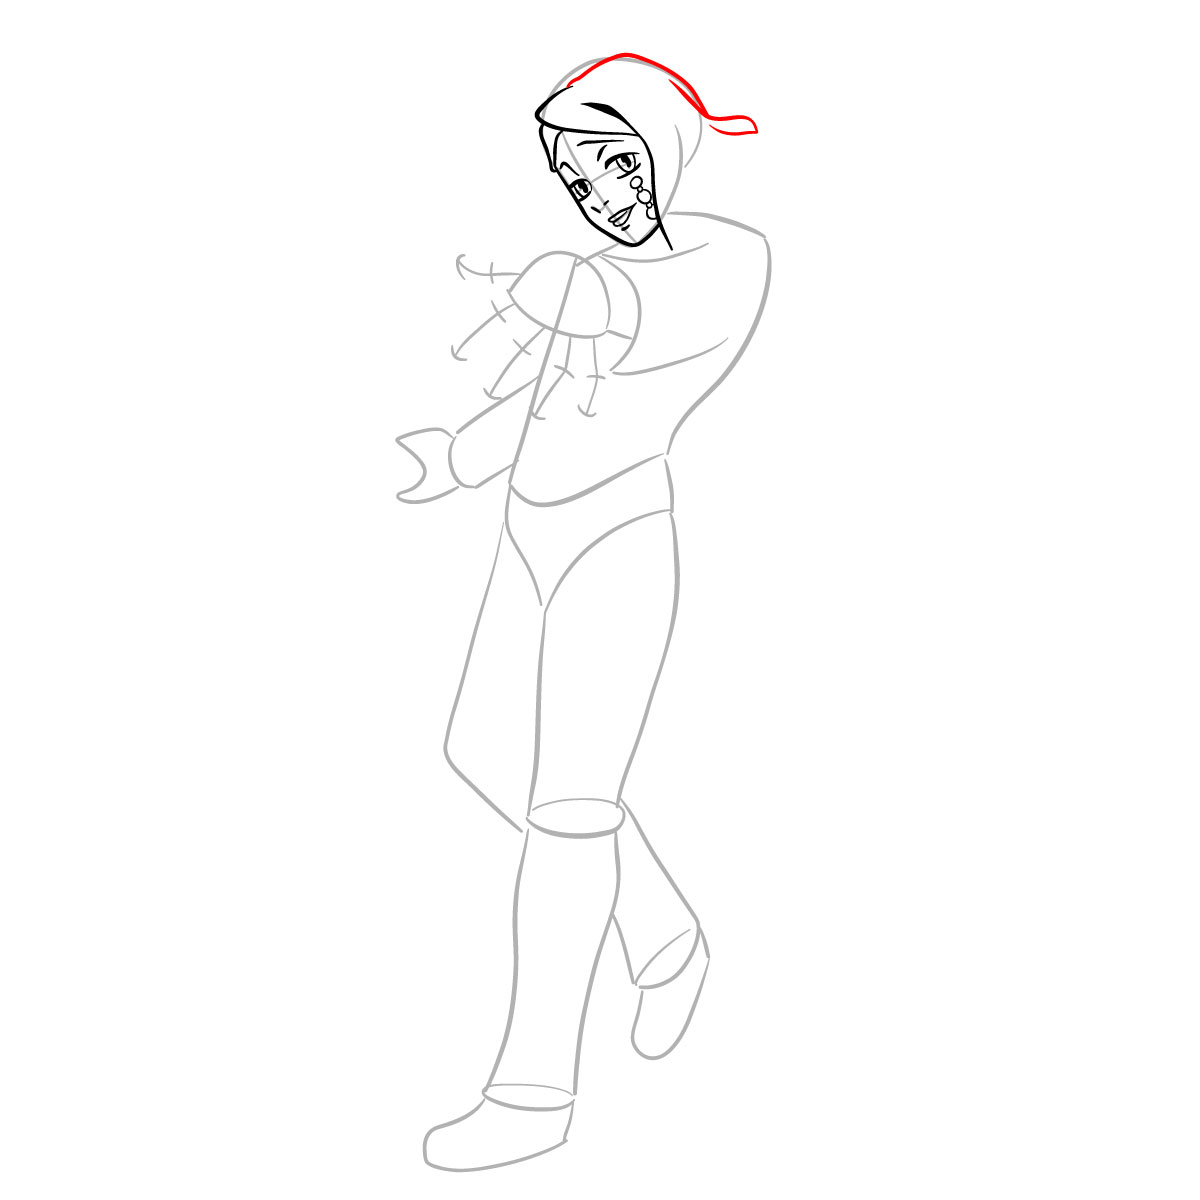
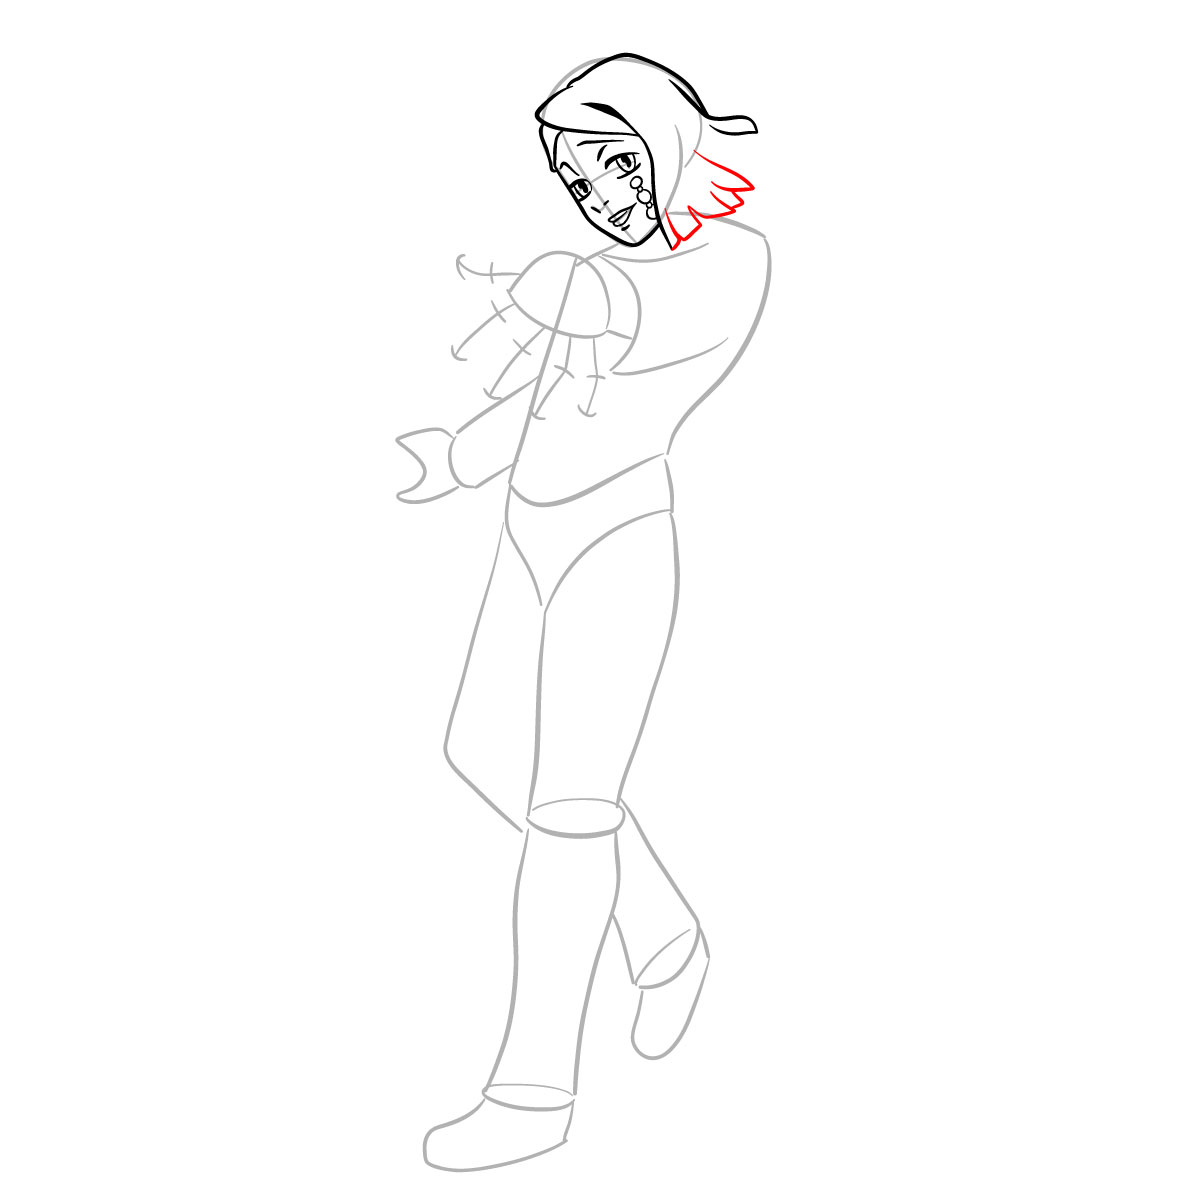
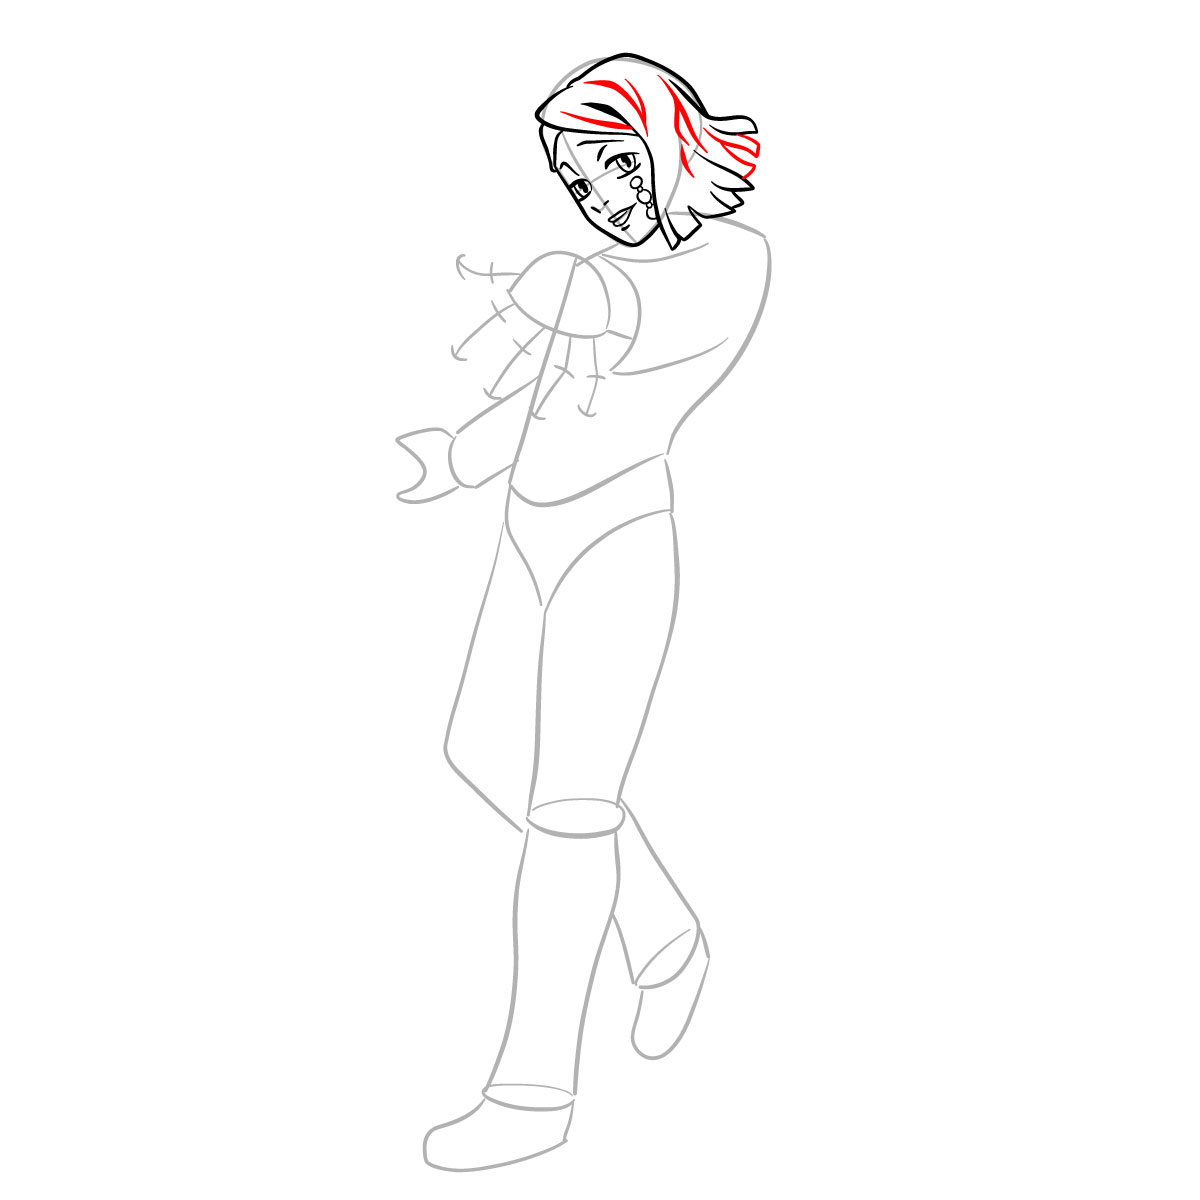
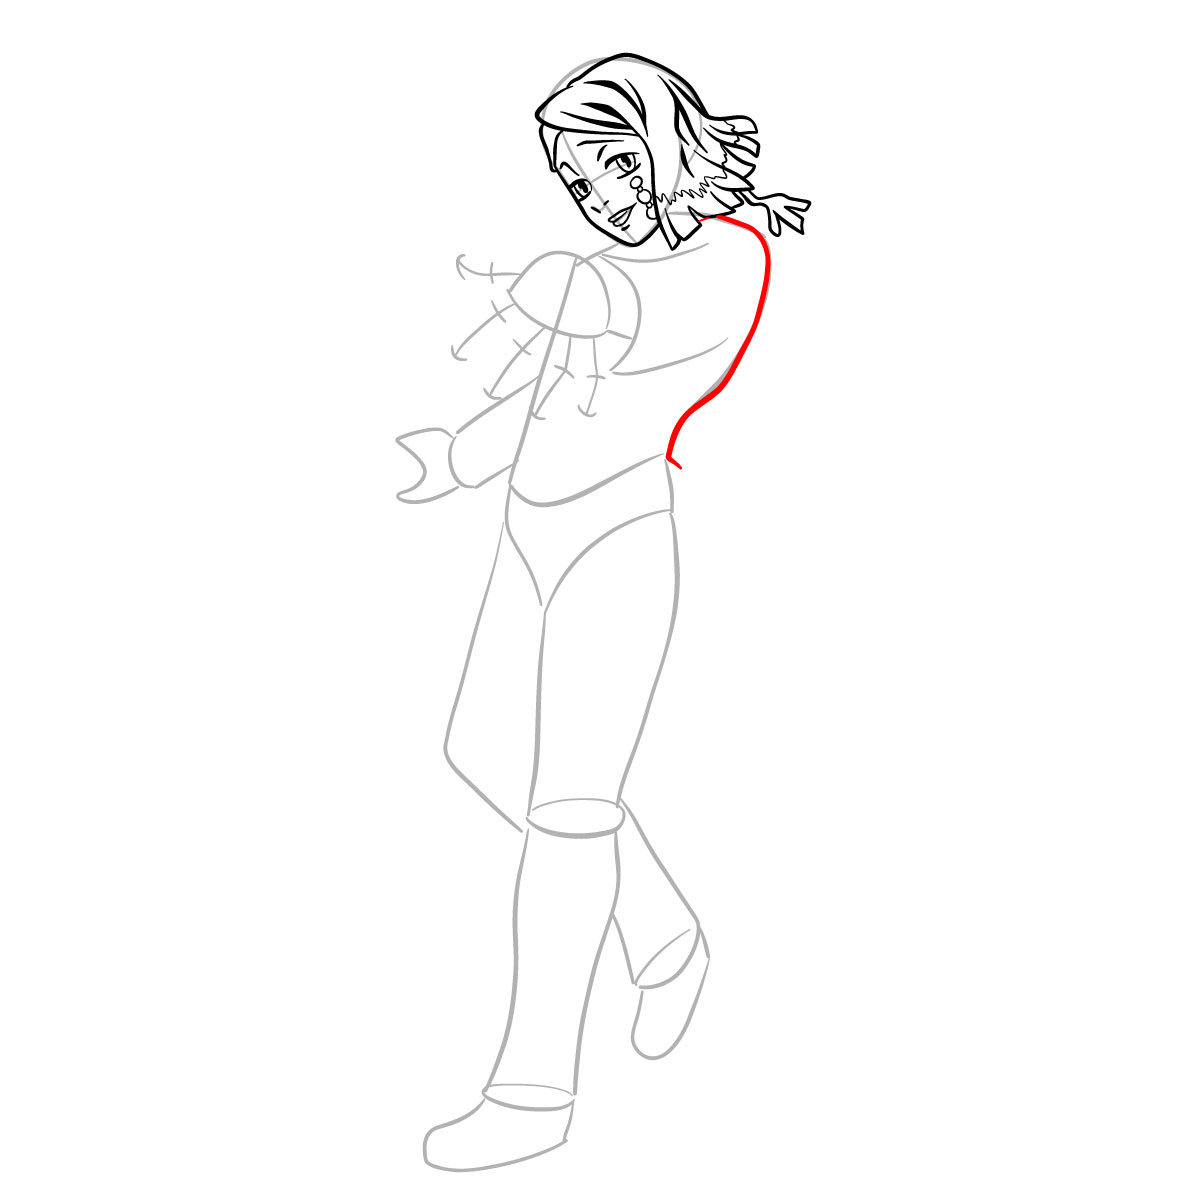
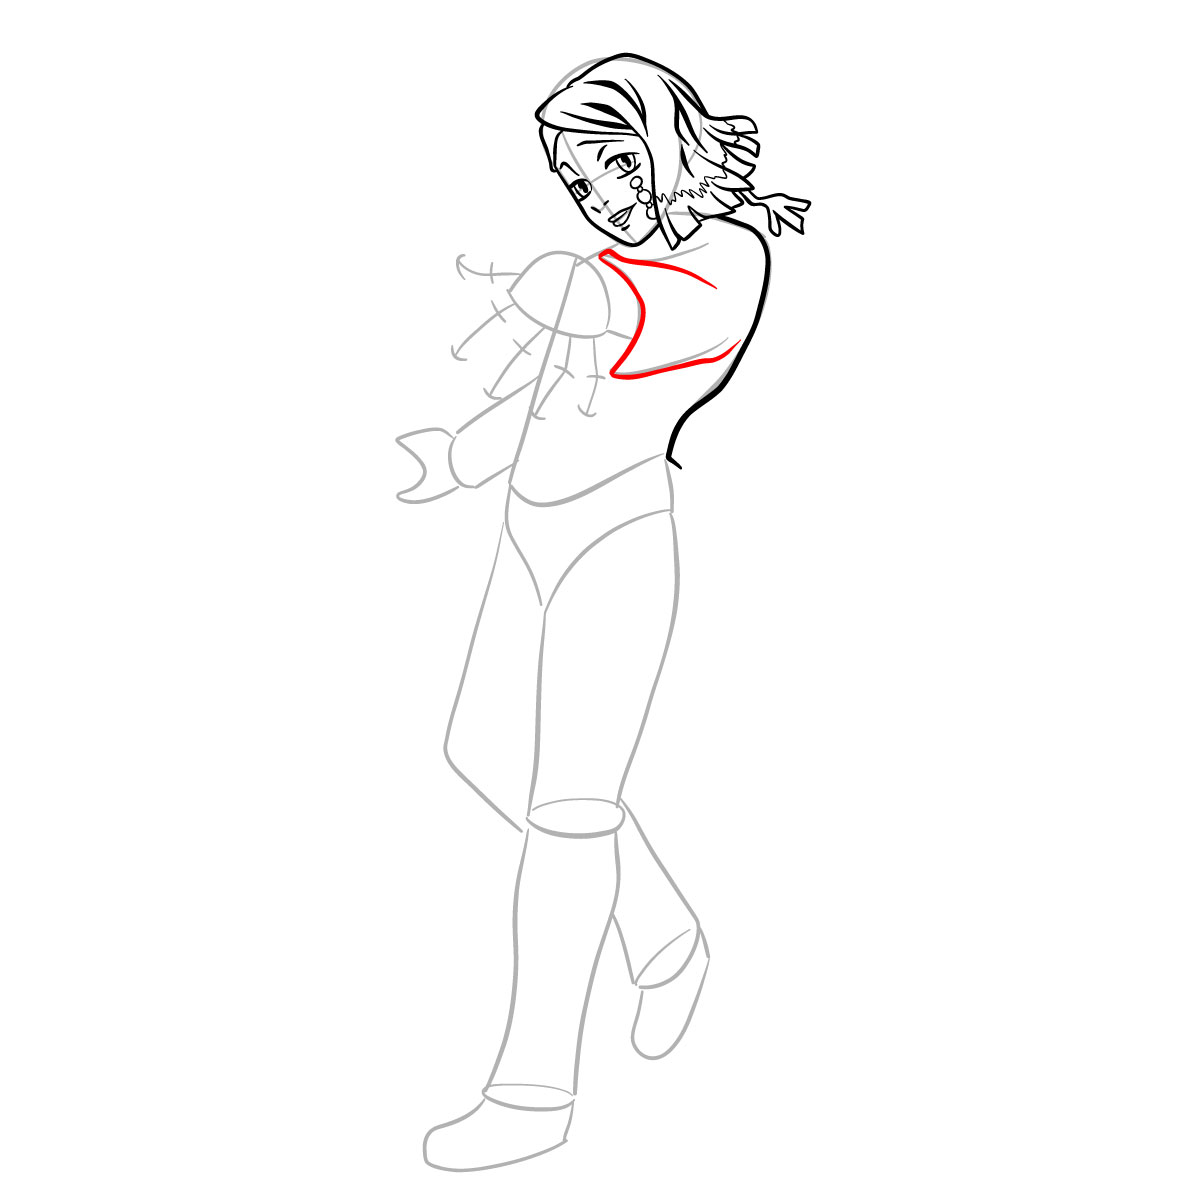
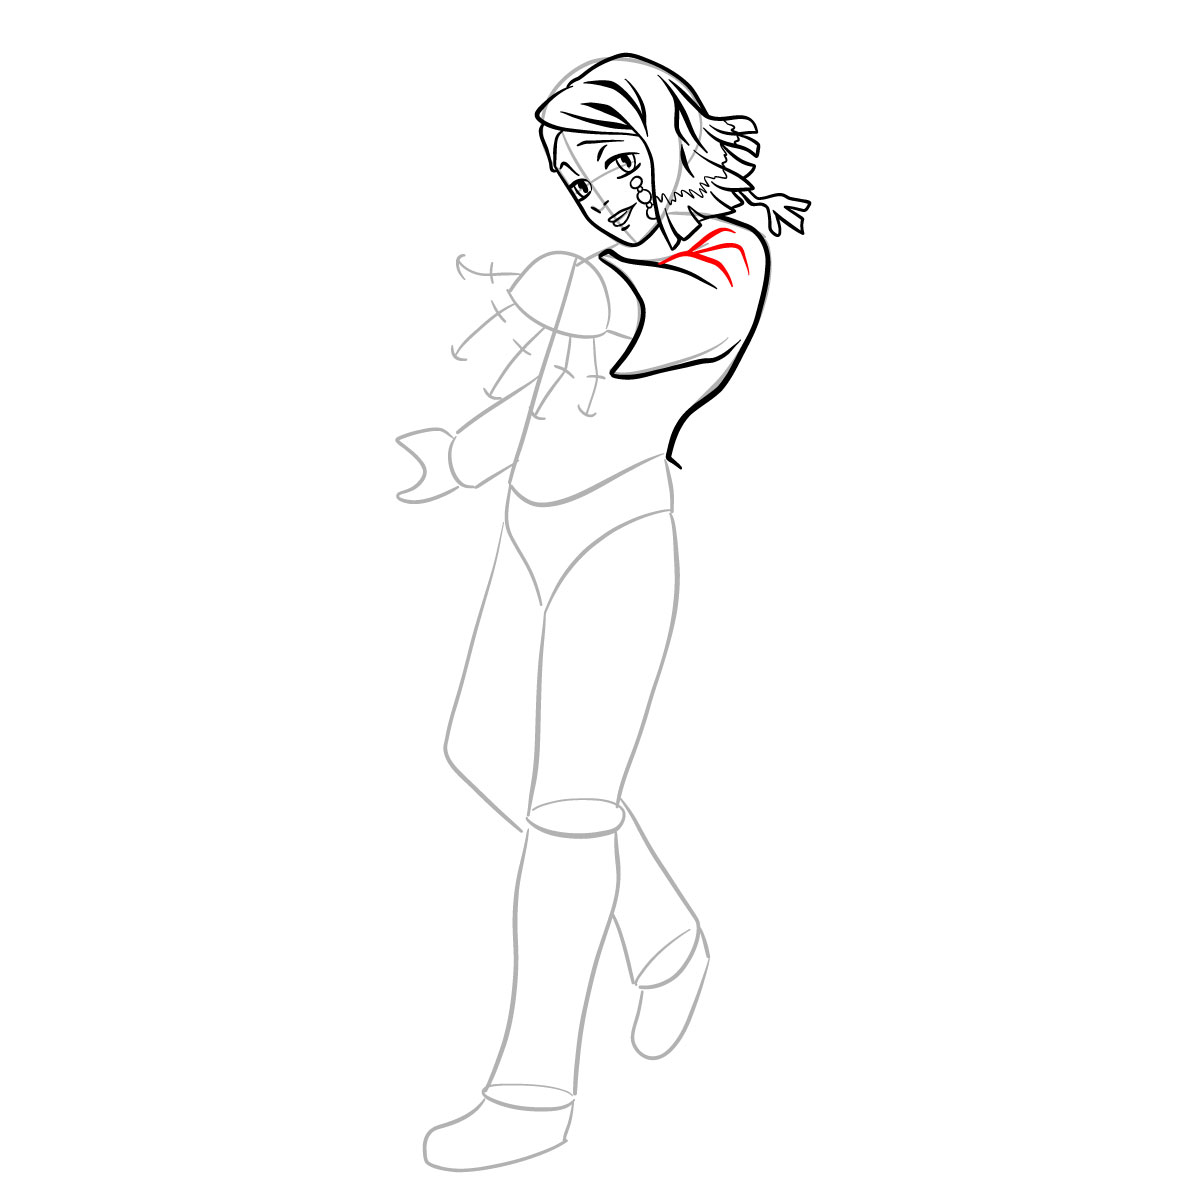
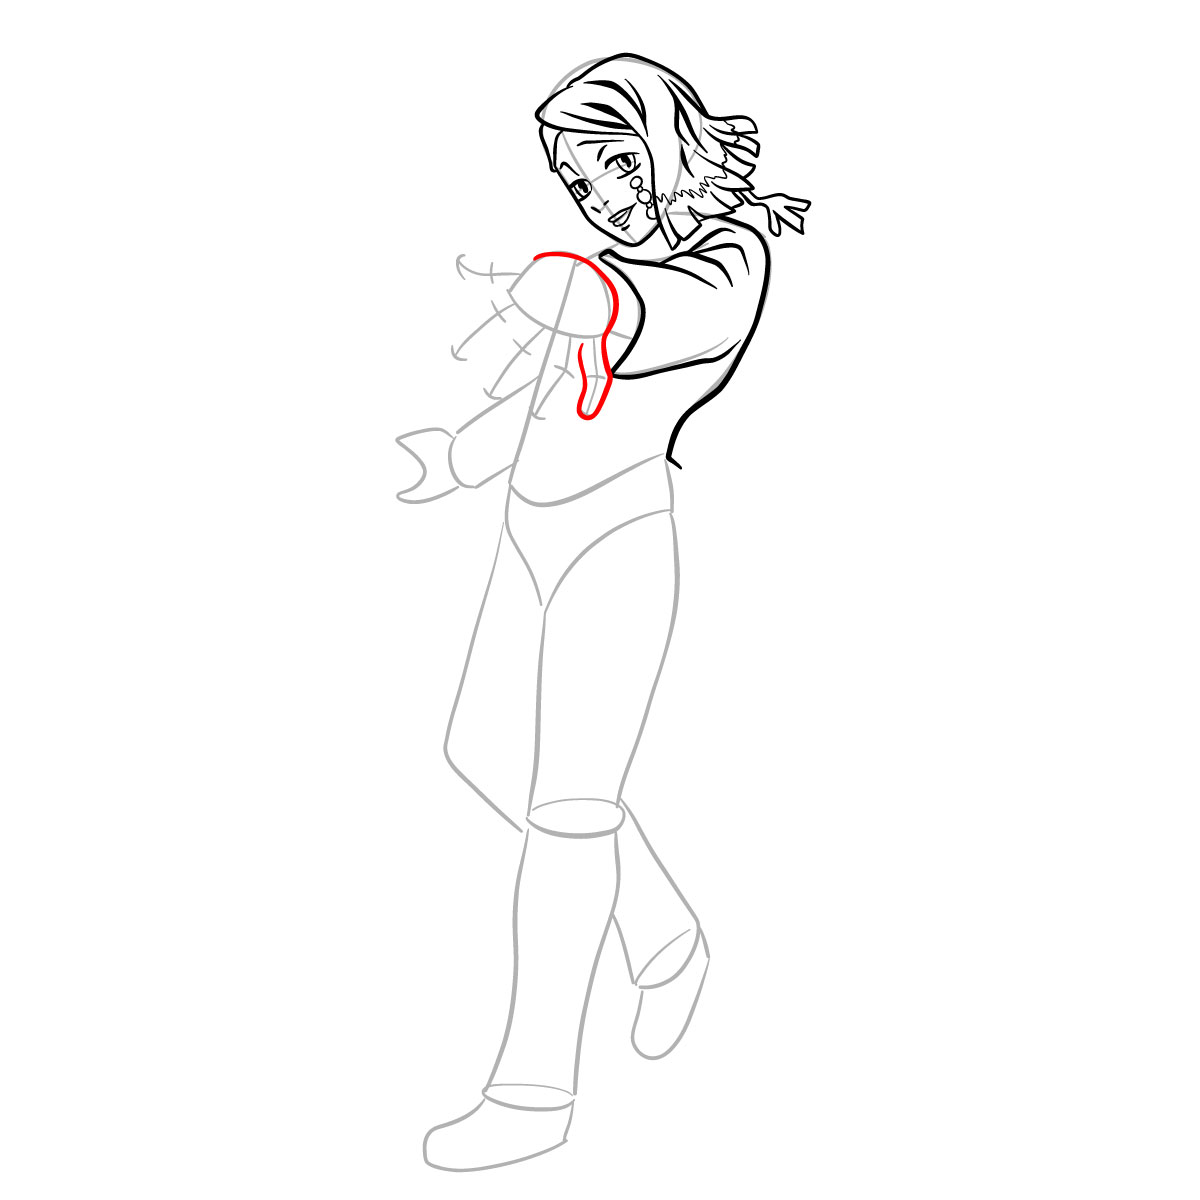
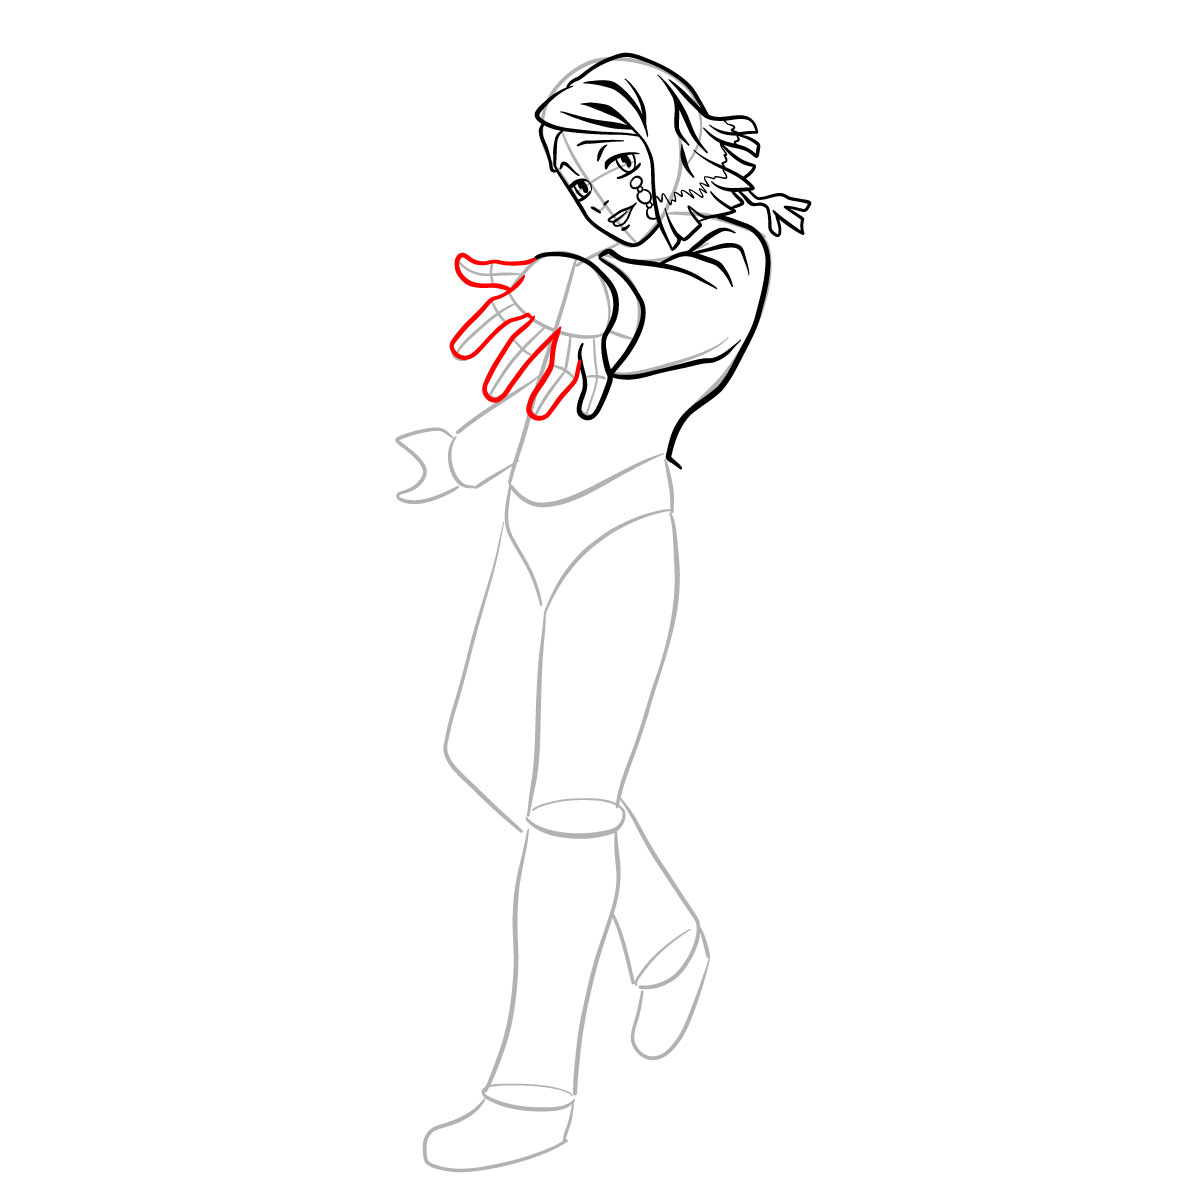
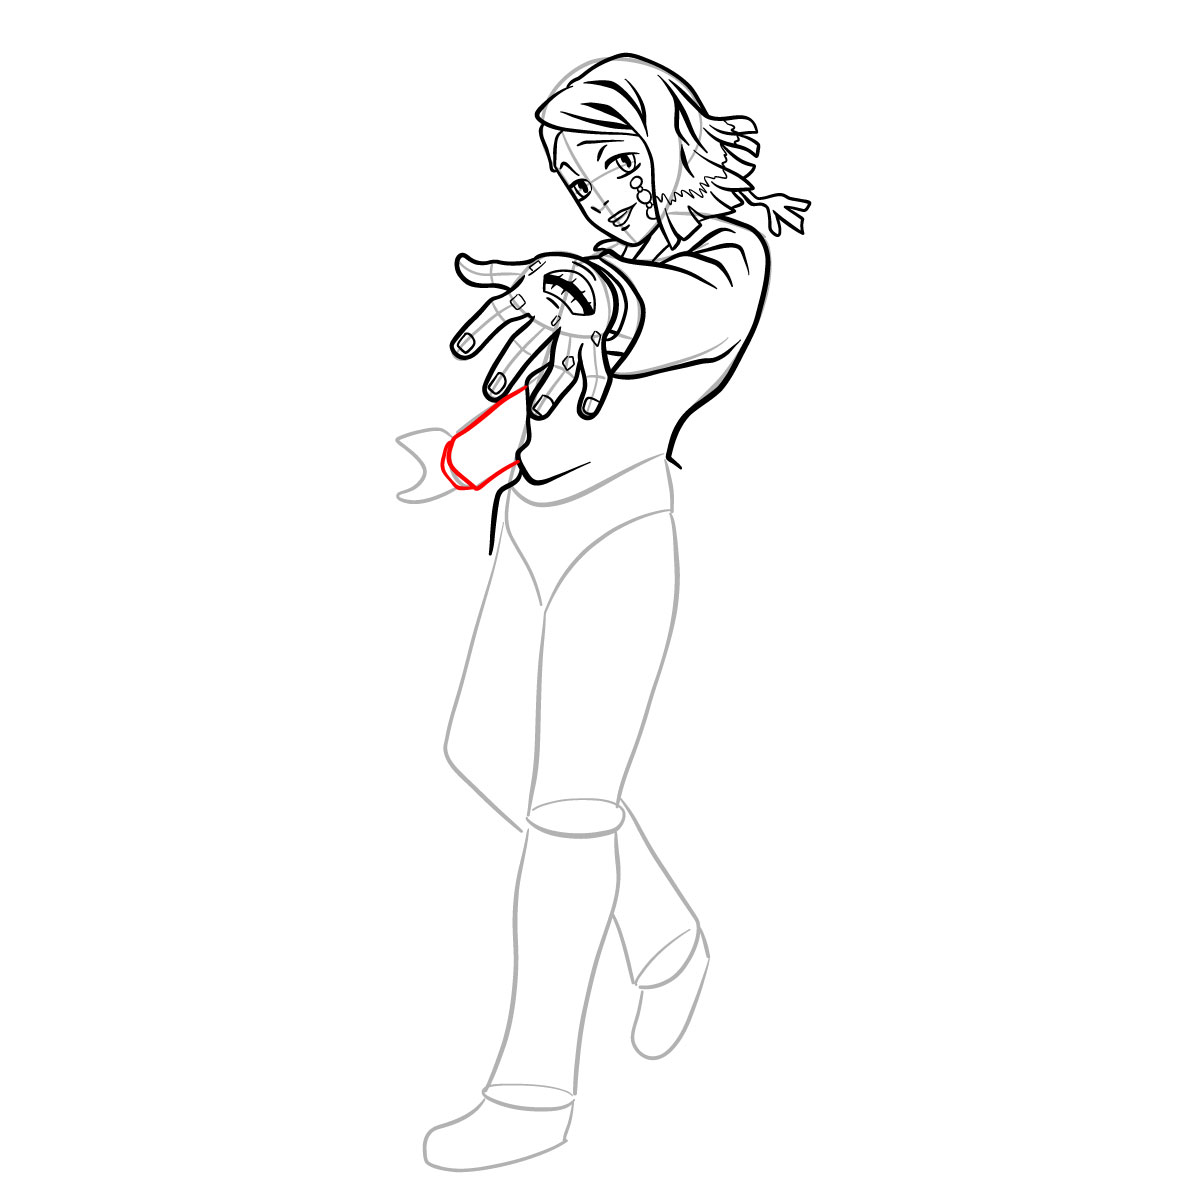
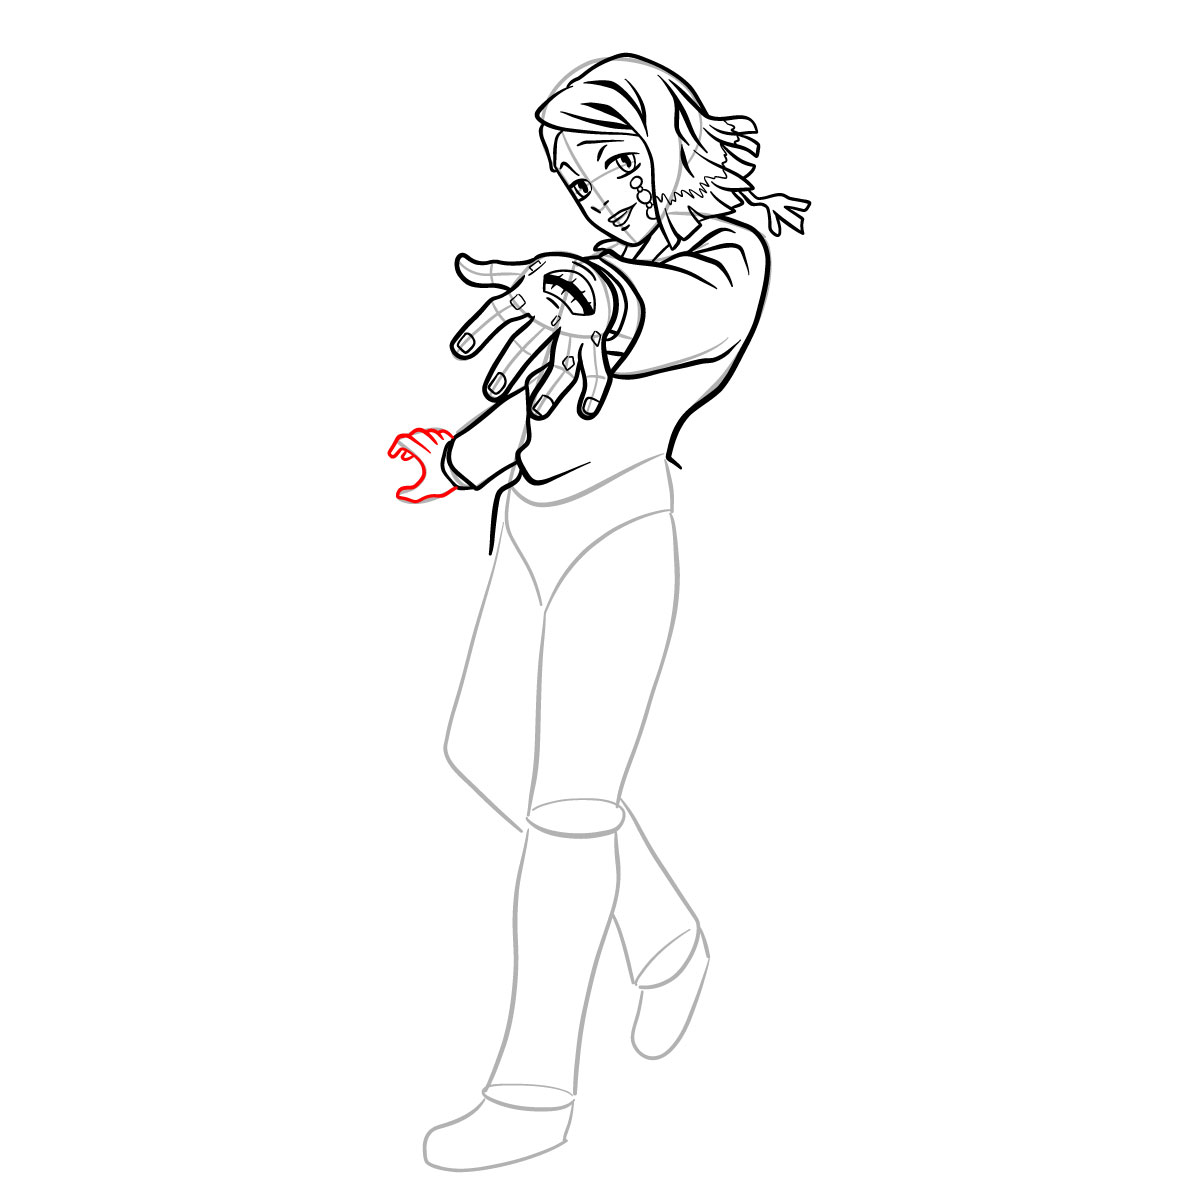
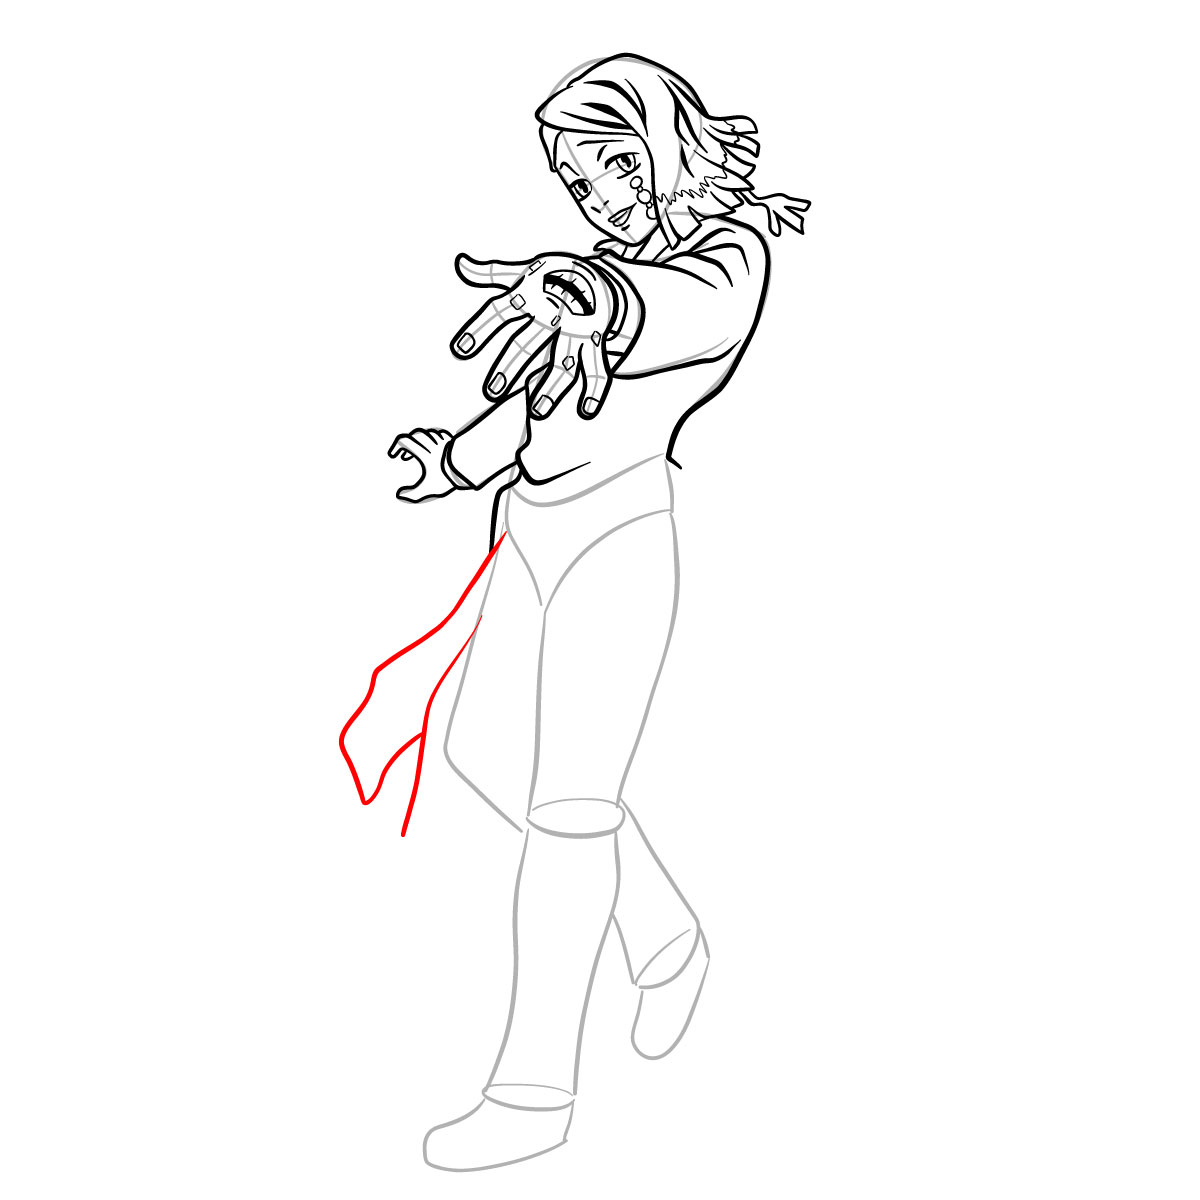
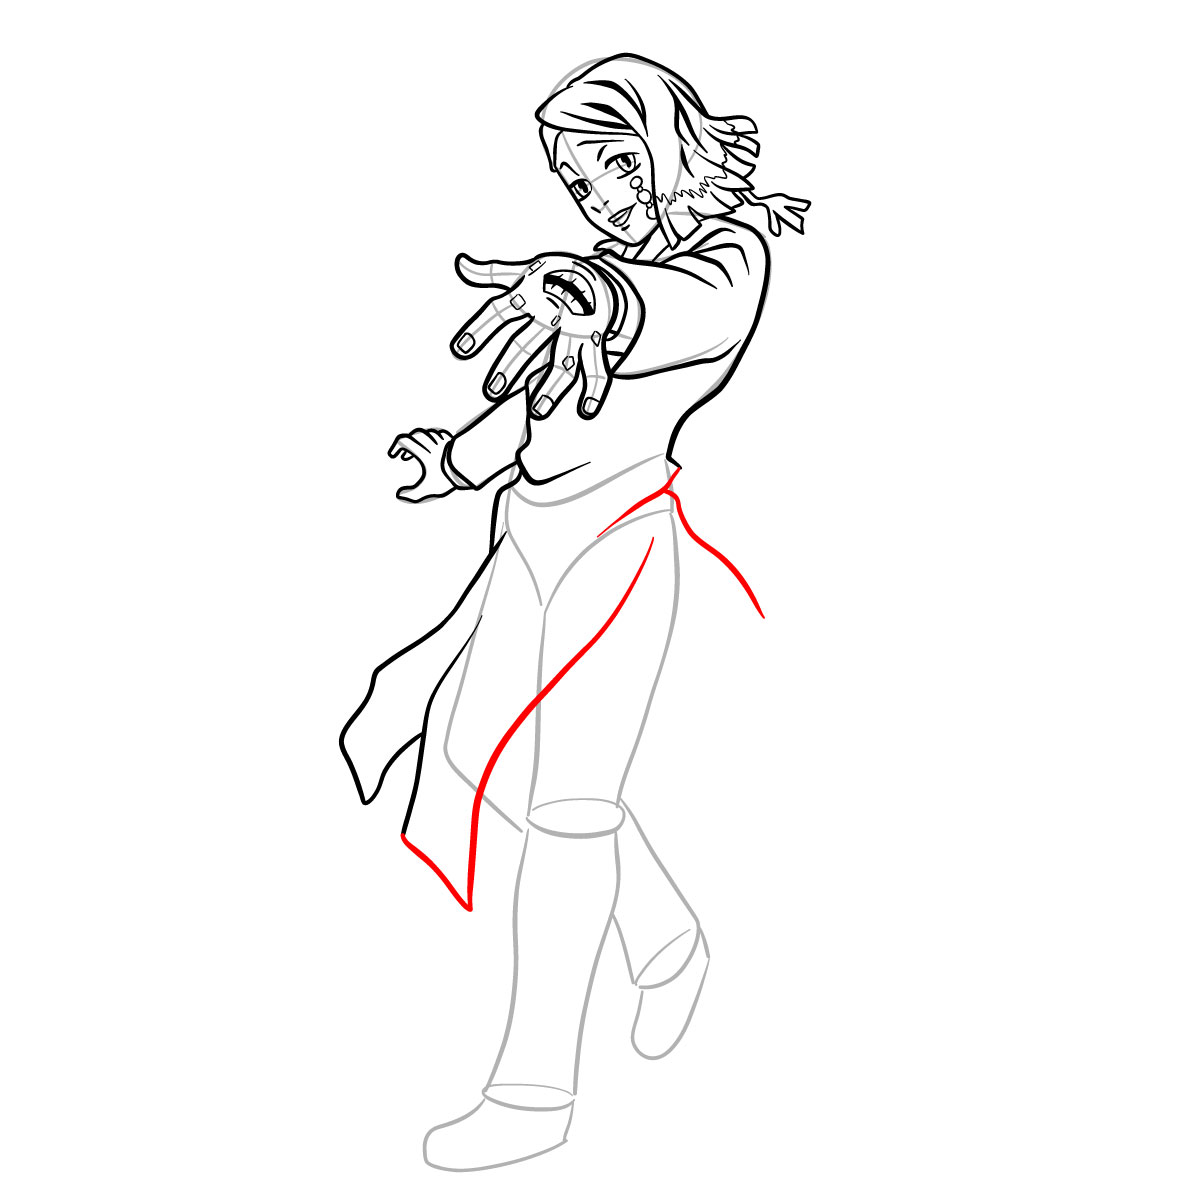
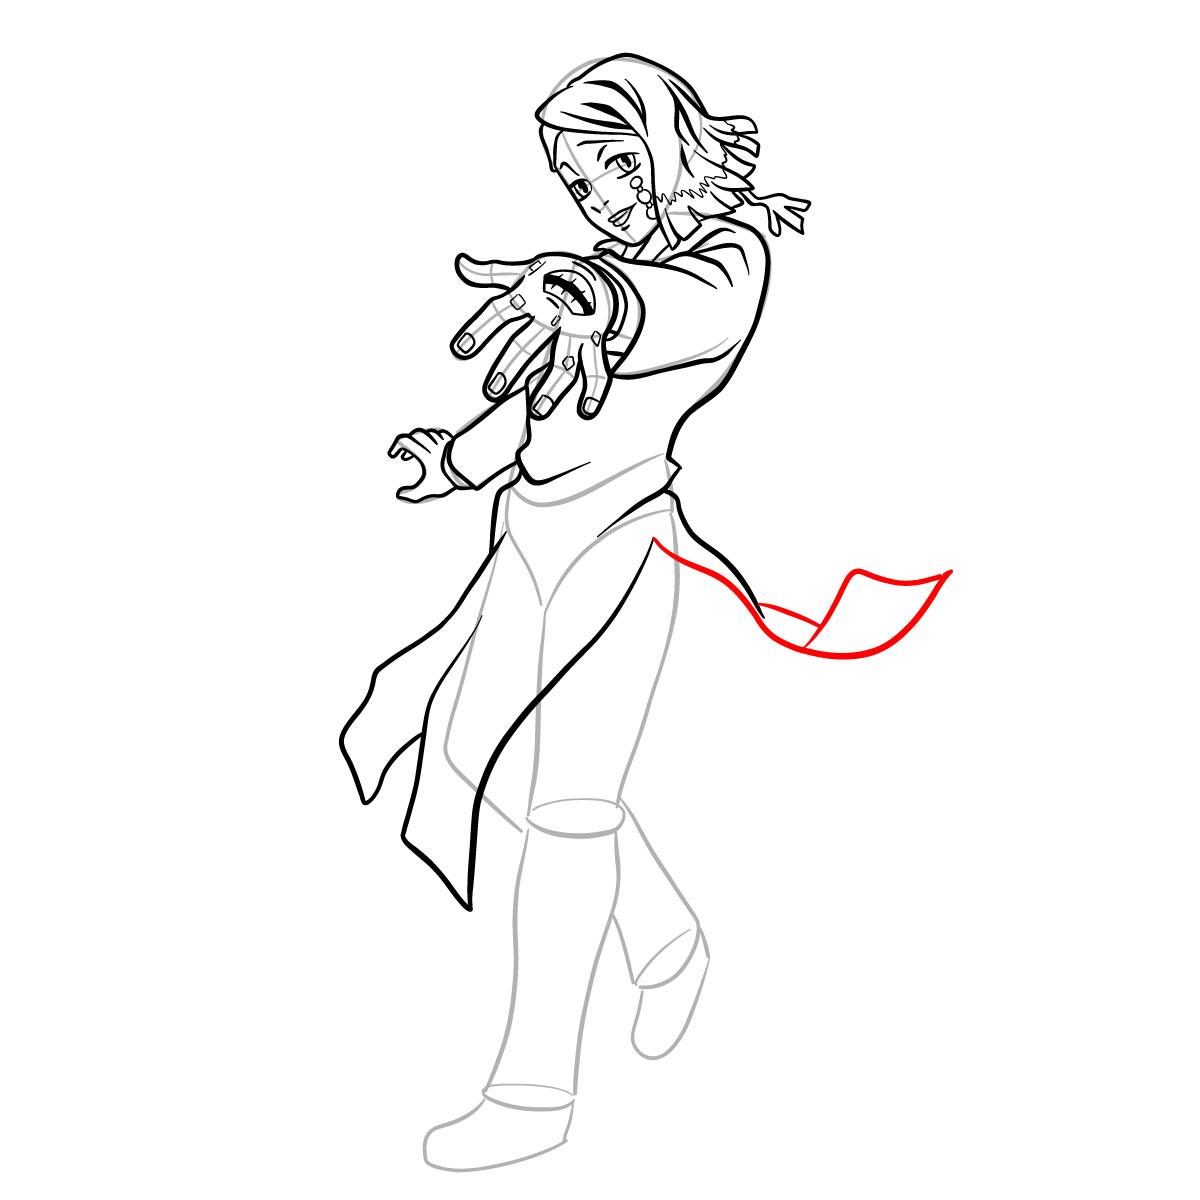
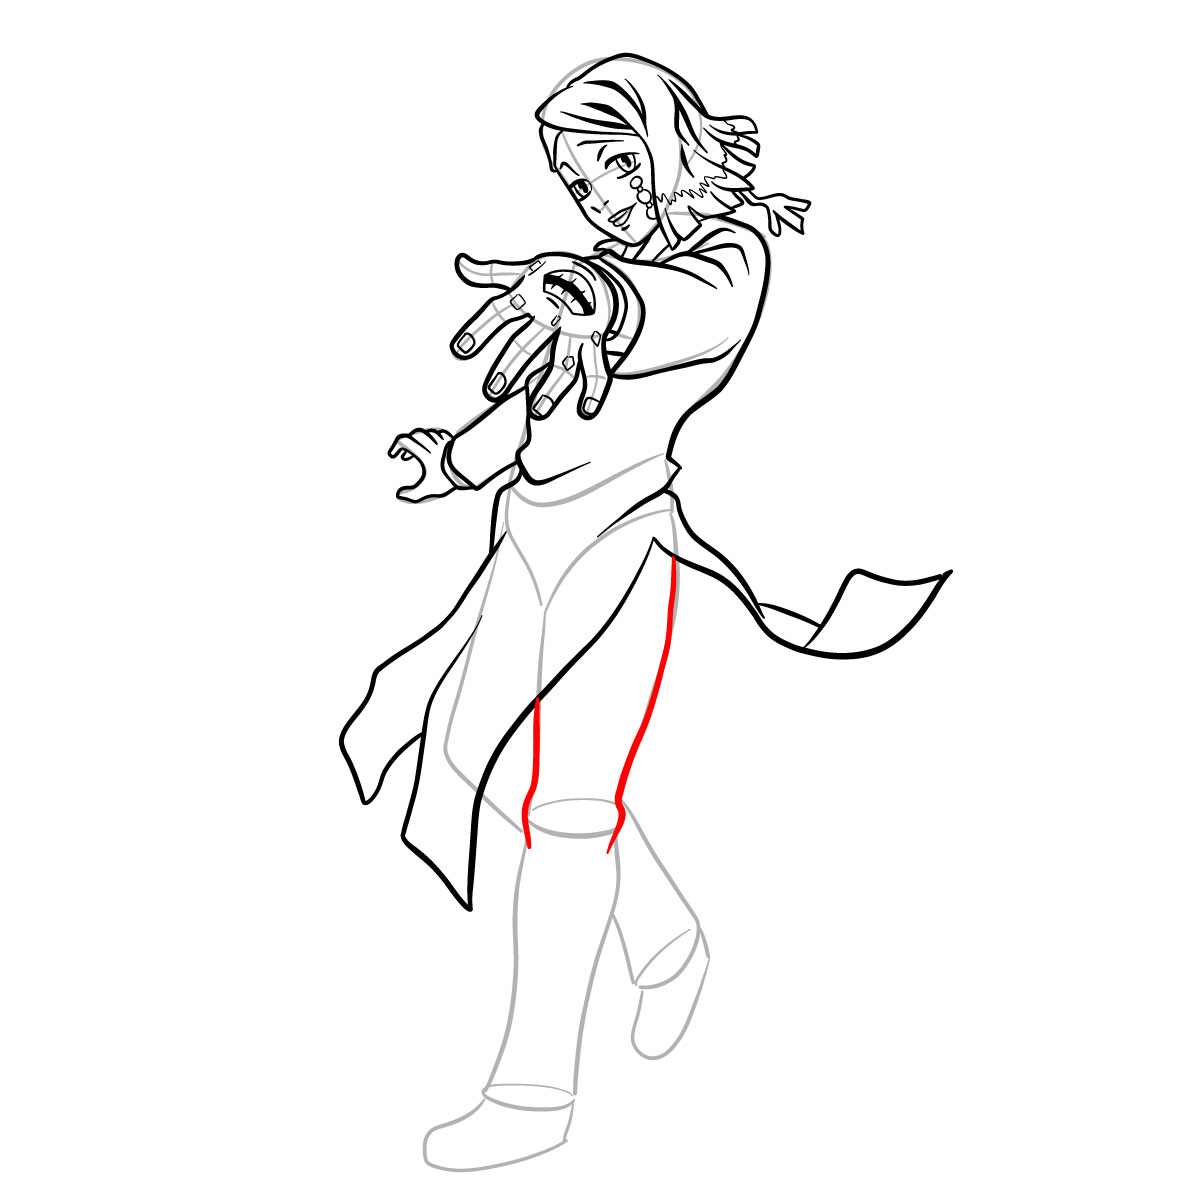
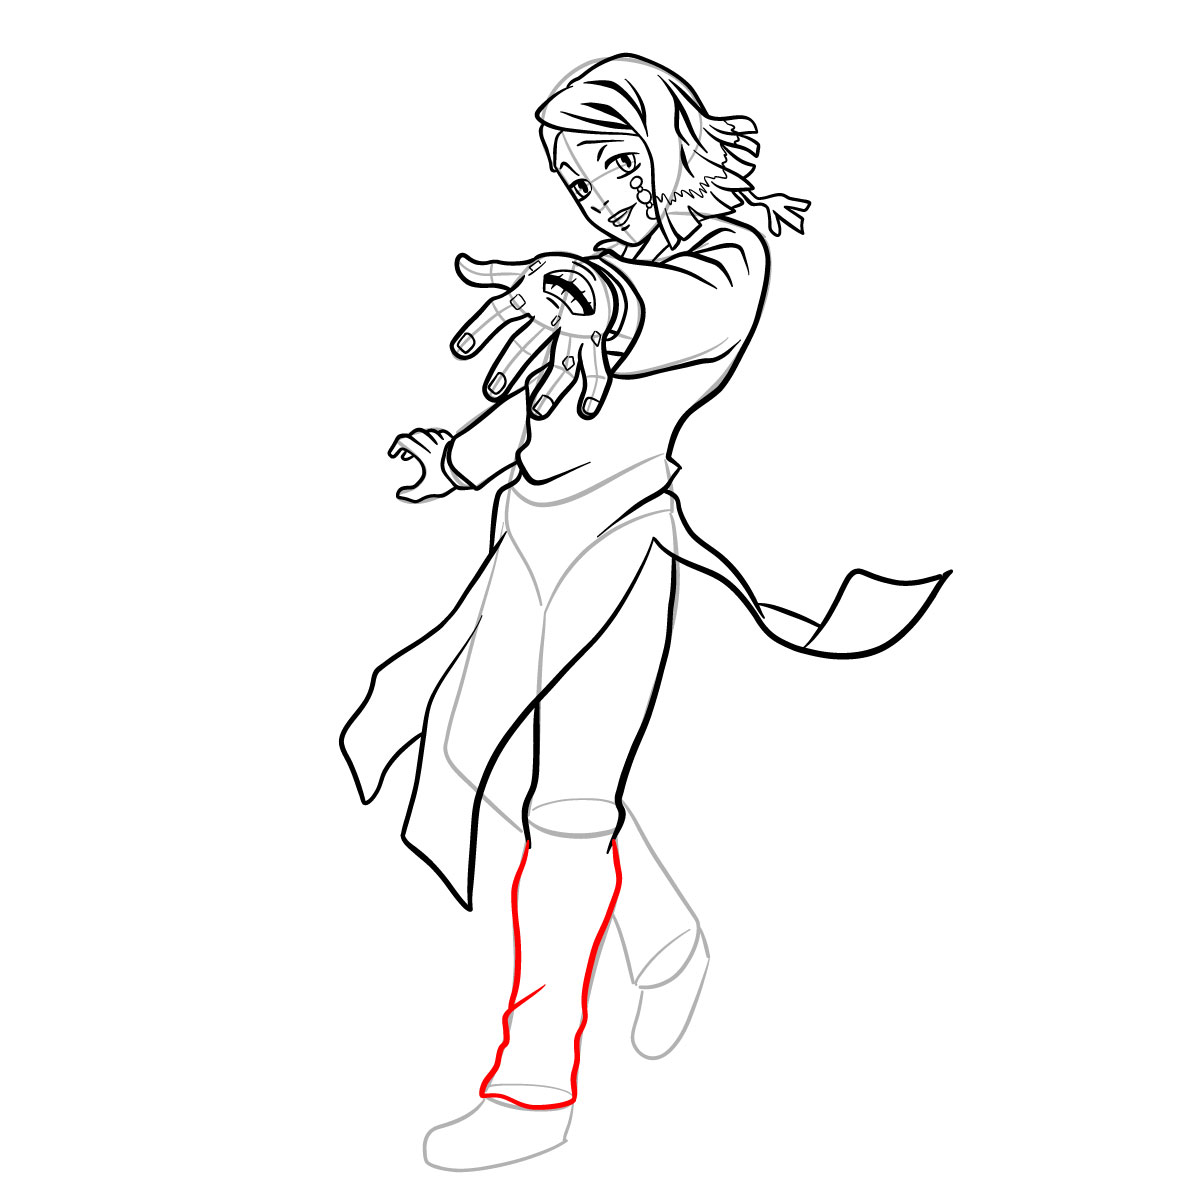
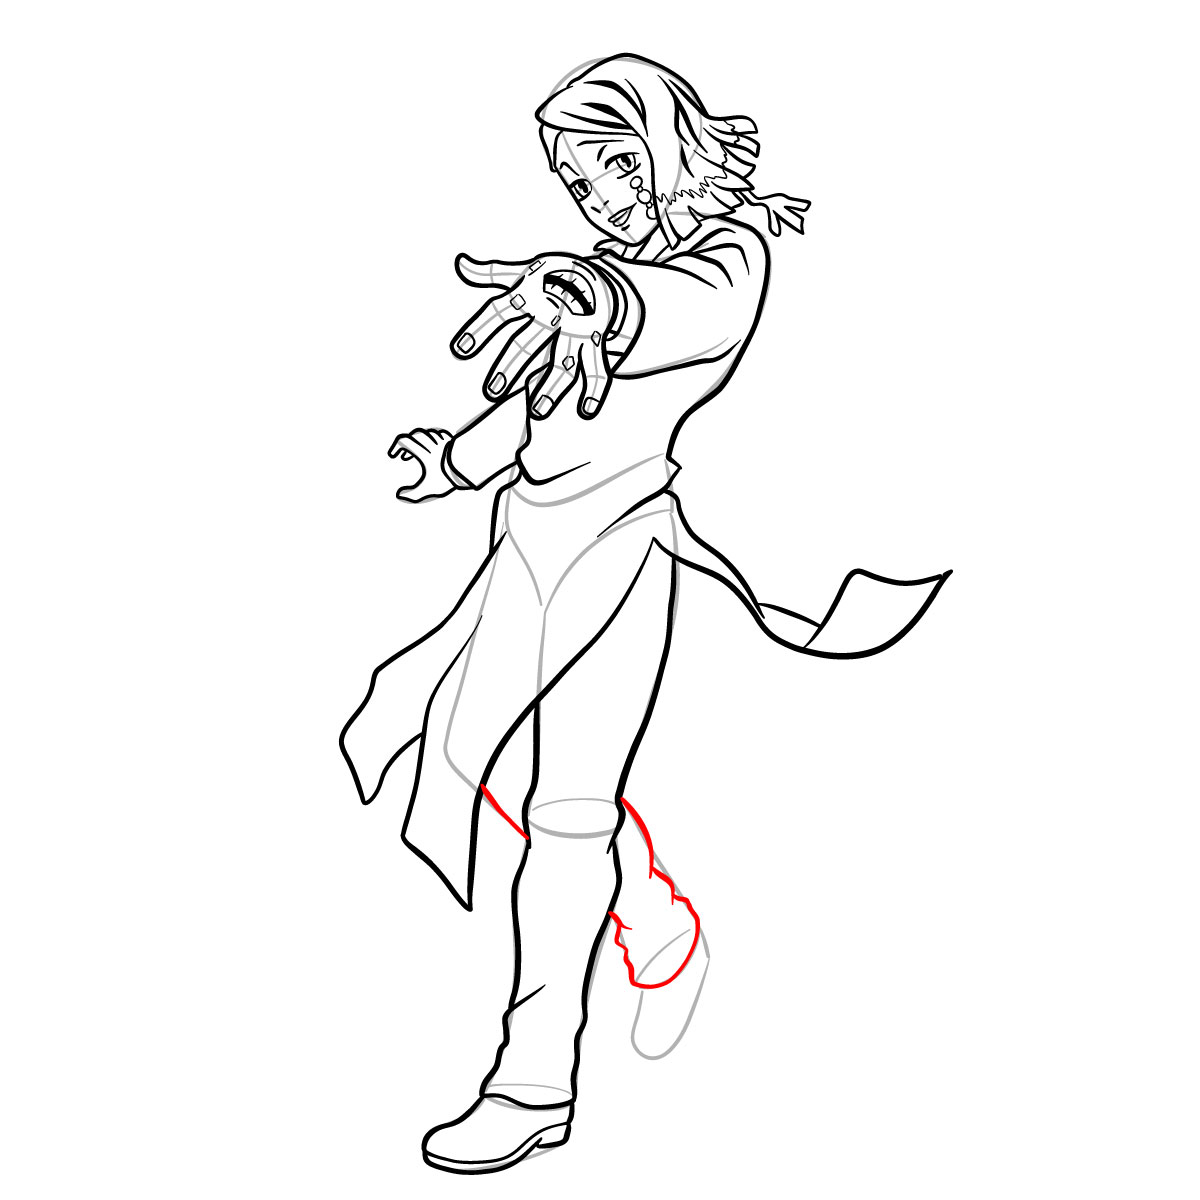
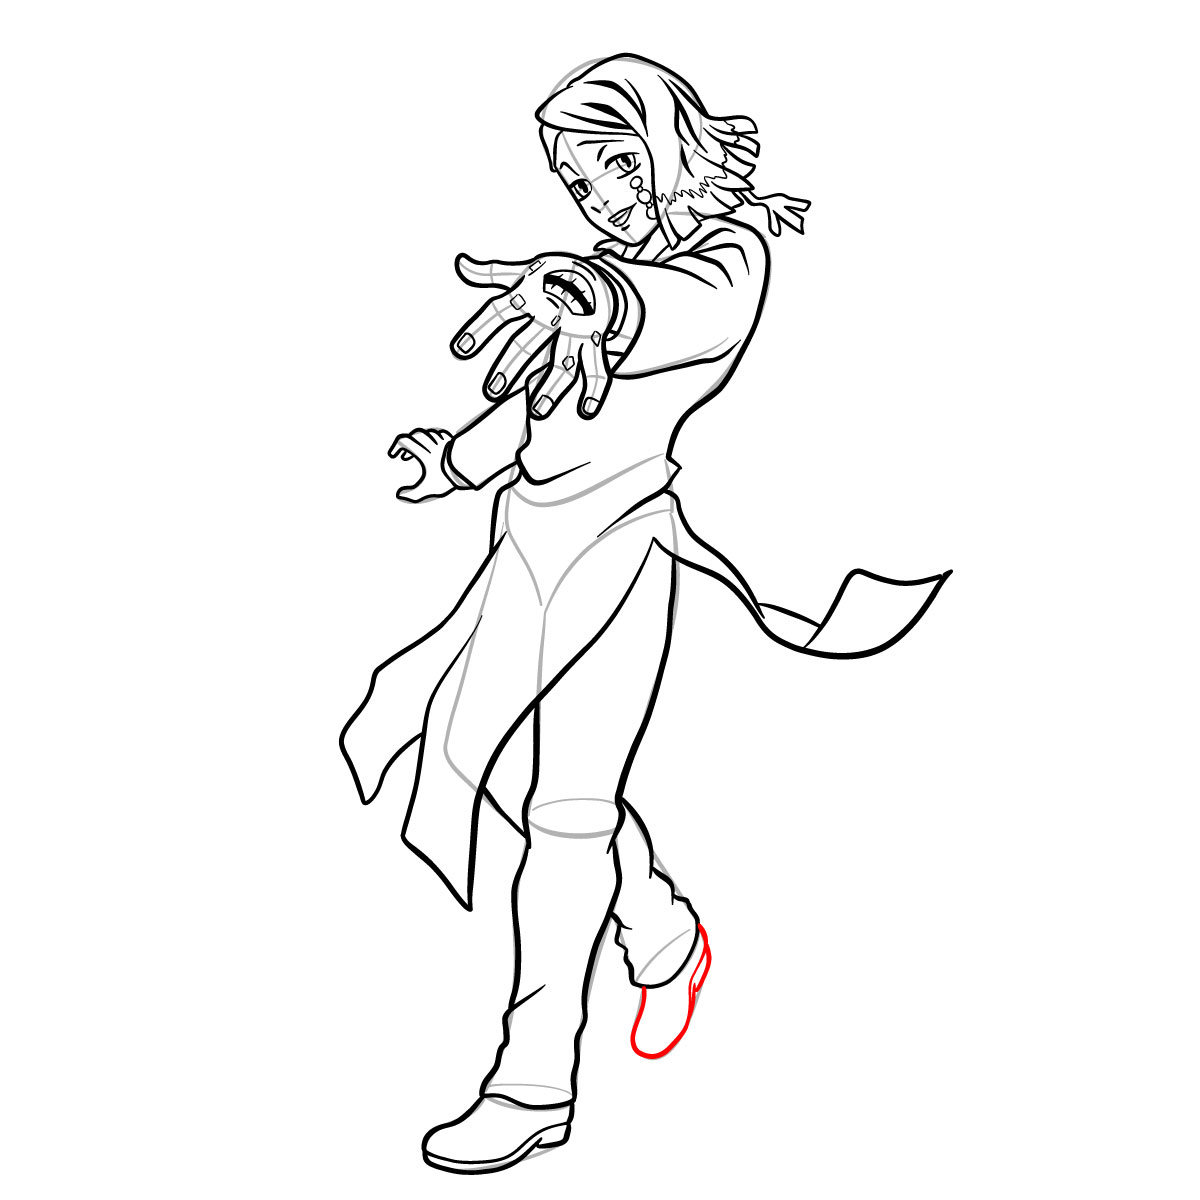
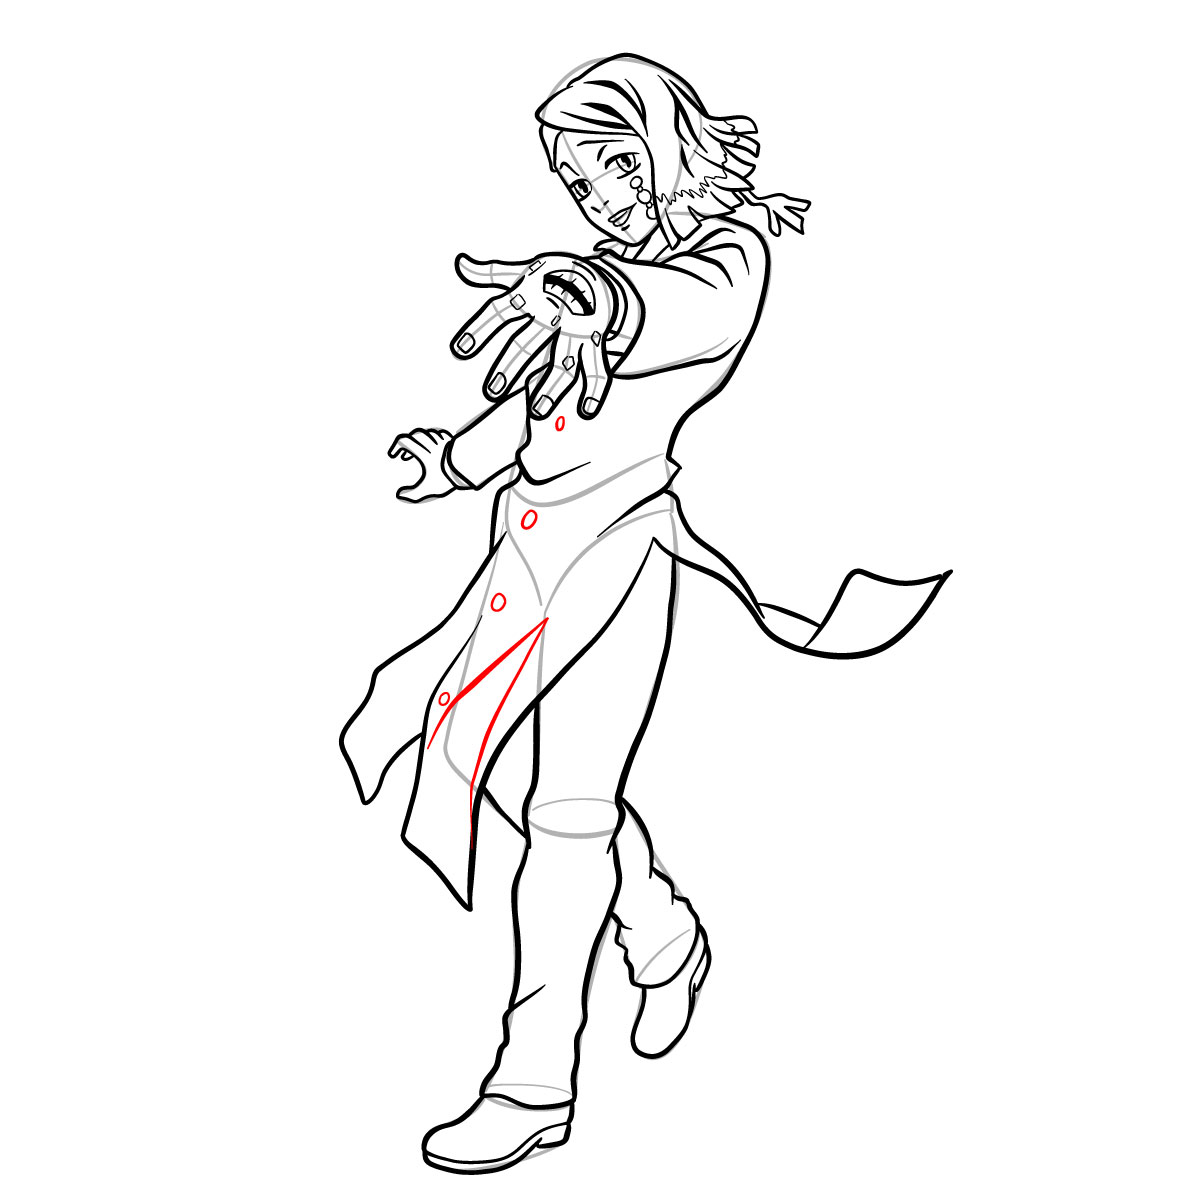
Embarking on the journey of drawing Enmu requires a systematic approach. Follow the color guidelines below to ensure a clear understanding of each step:
- Red: The red color represents the current step you should focus on. Pay close attention to the details and intricacies of that particular stage.
- Black: The black color showcases the lines you have previously drawn. These serve as a foundation for the subsequent steps.
- Grey: The grey color shows the basic sketch. It sets the initial framework of Enmu’s form and structure.
With these color guidelines in mind, let’s dive into the step-by-step process consisting of 36 steps.

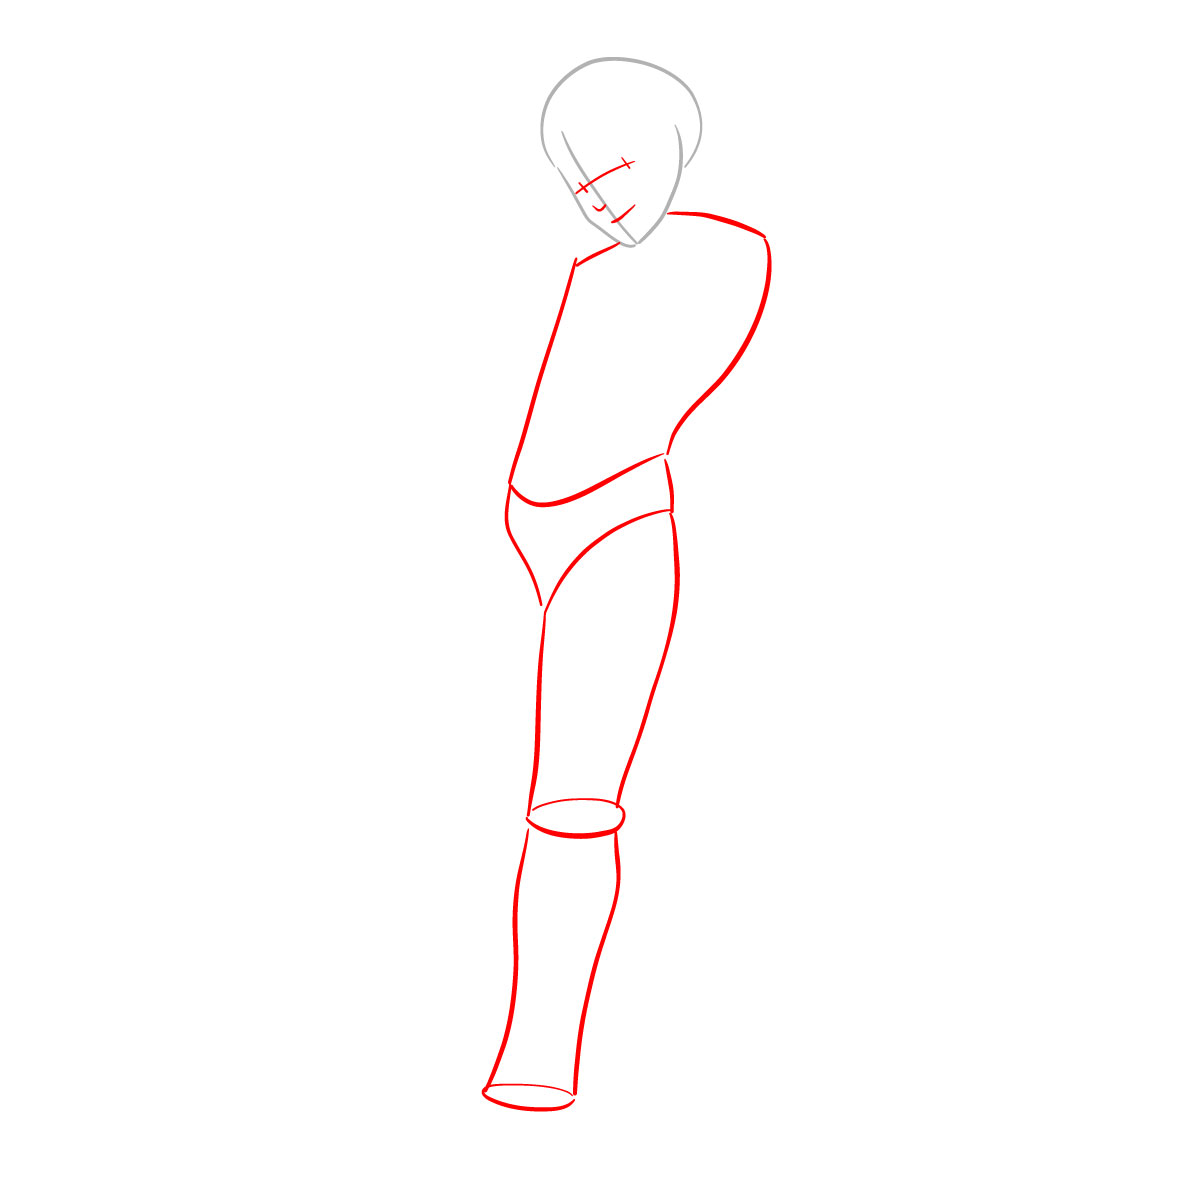
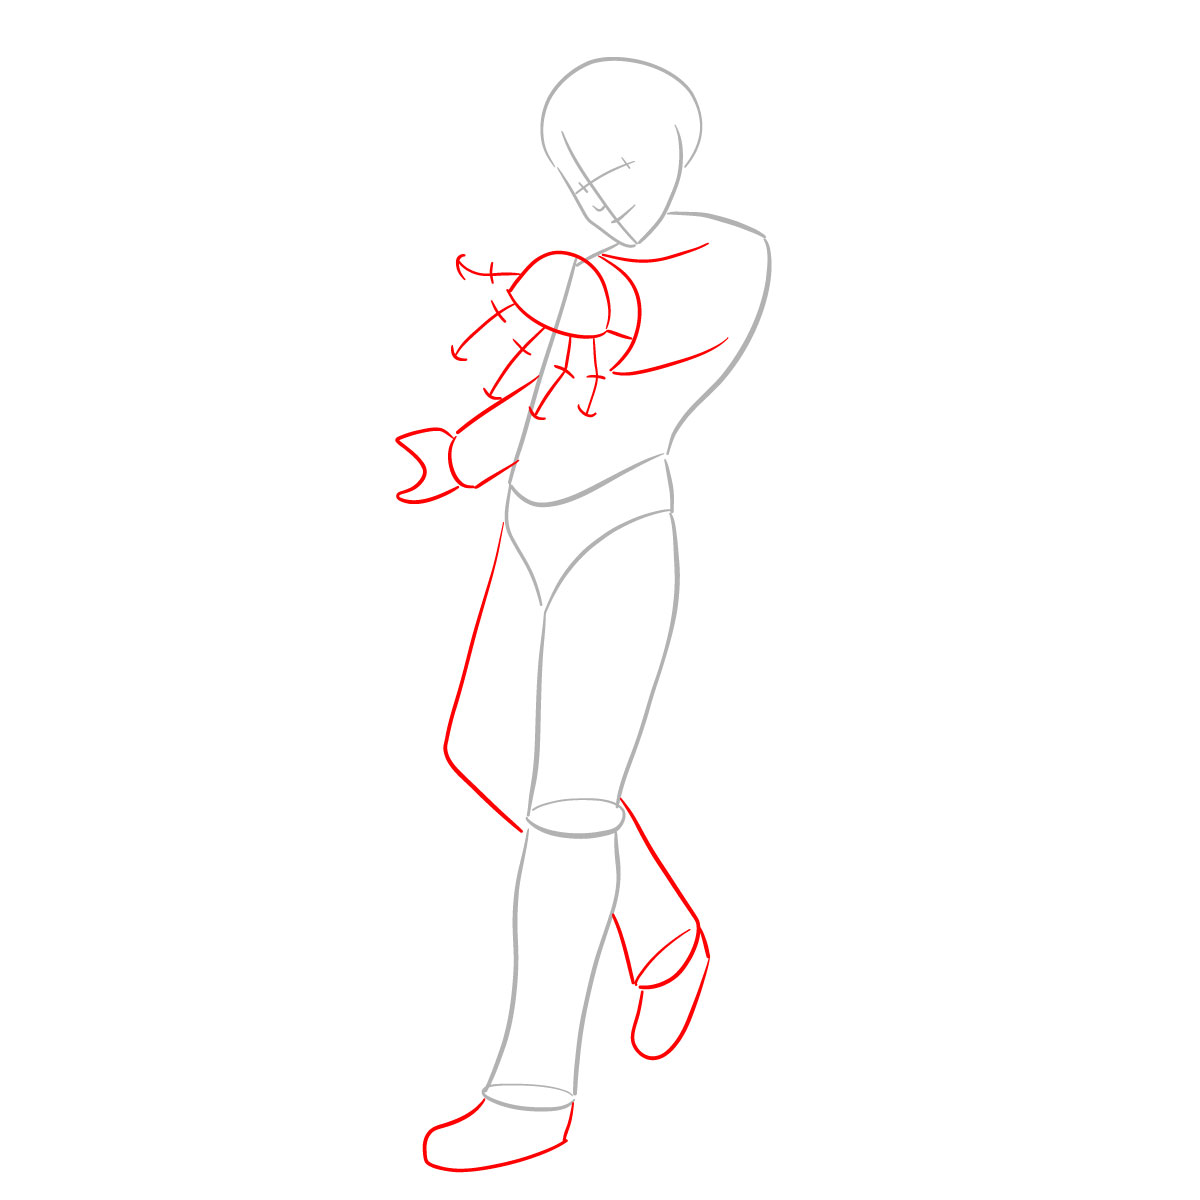

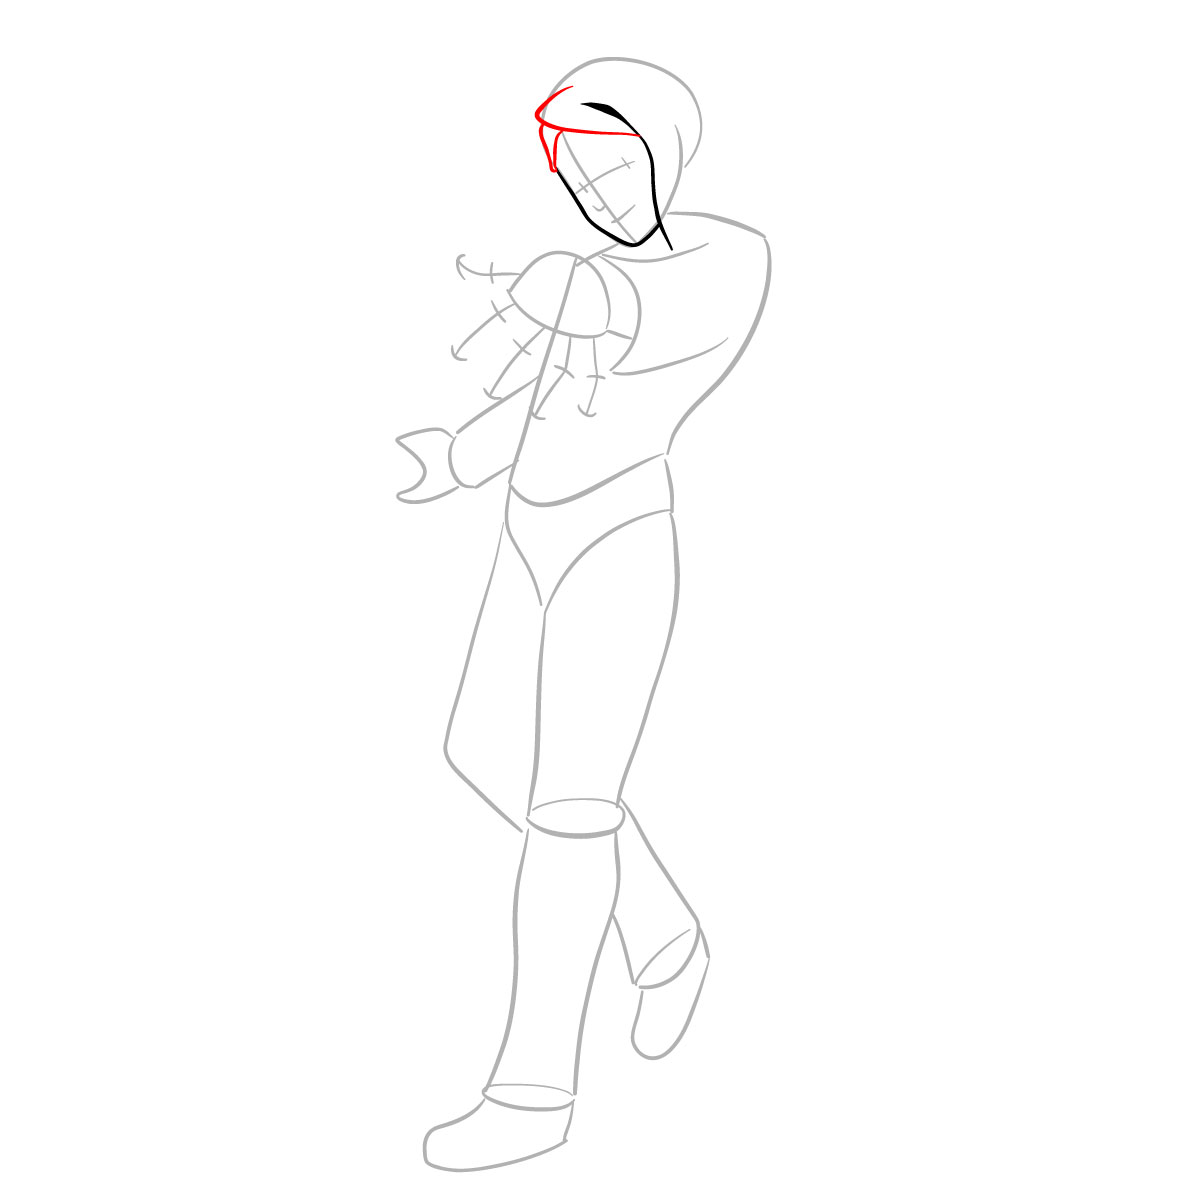
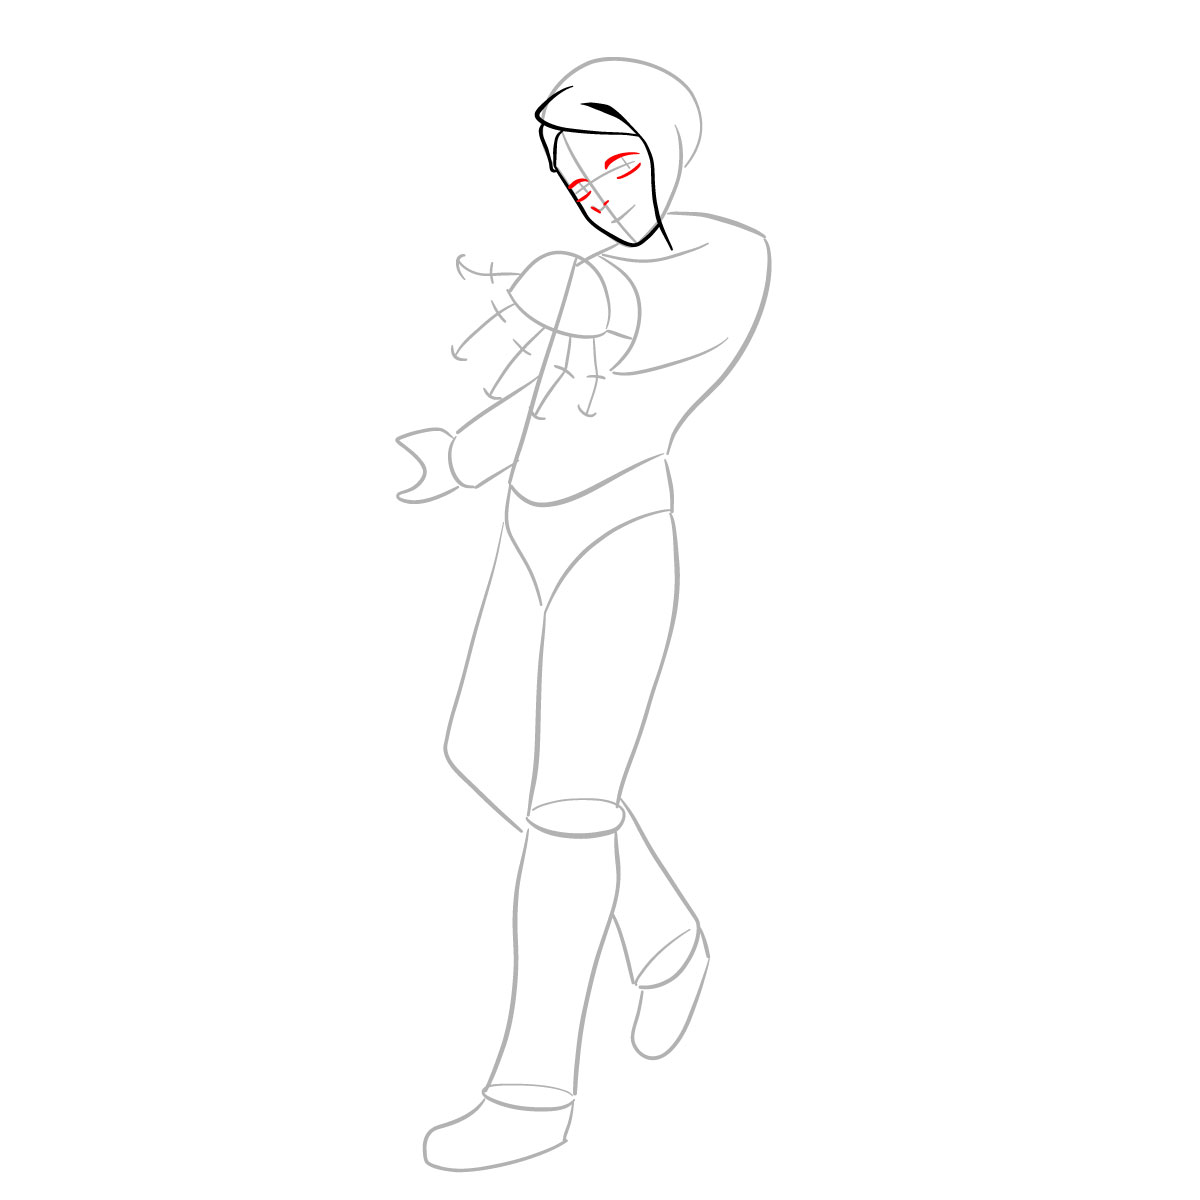
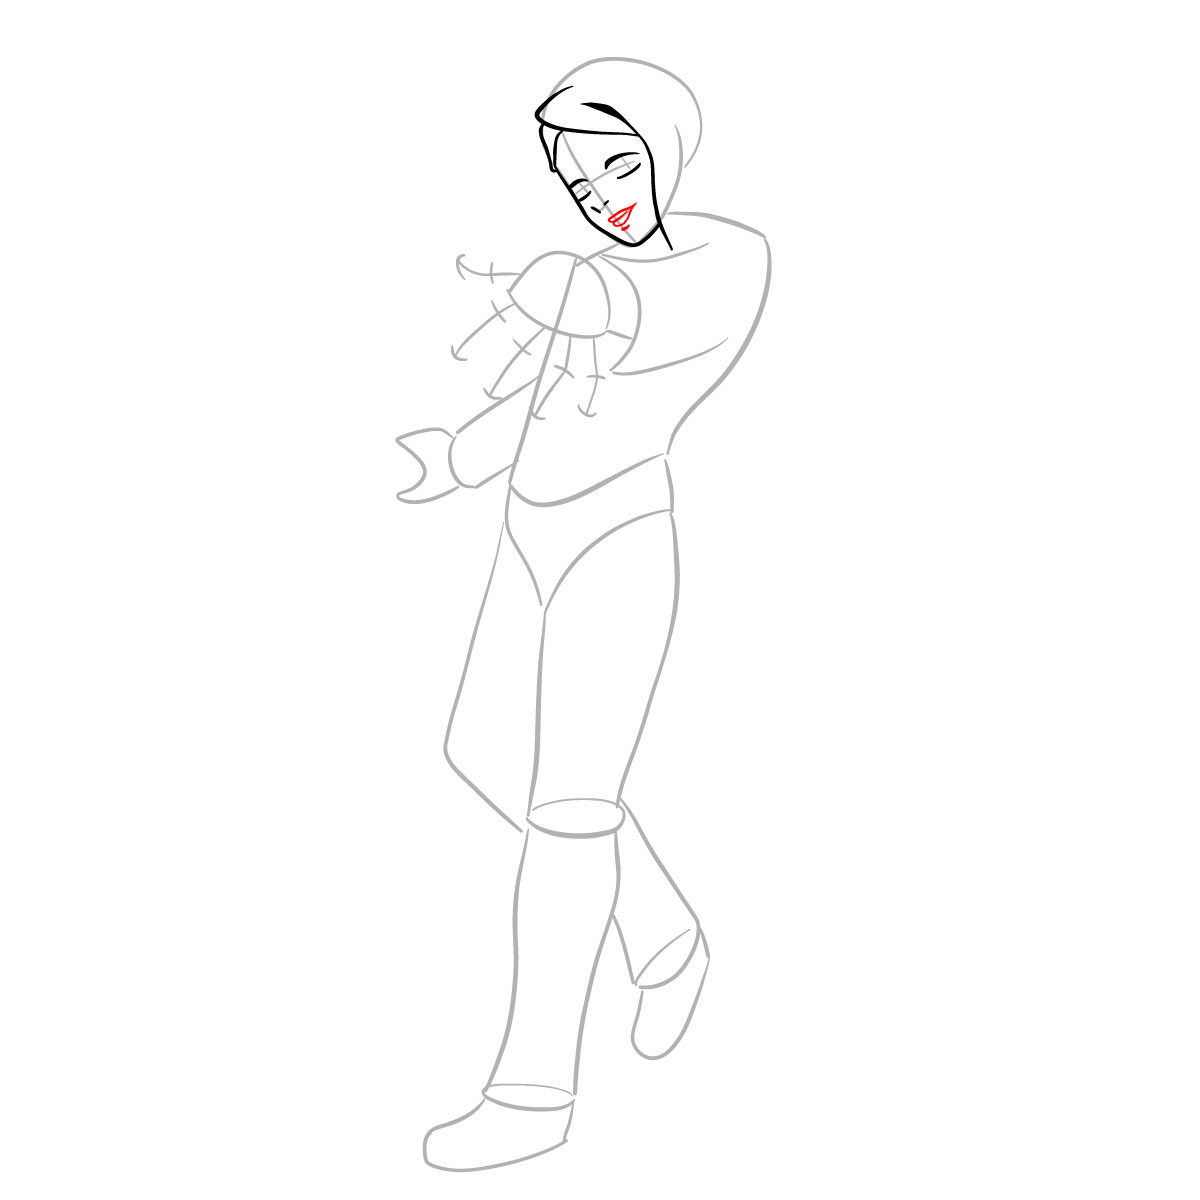
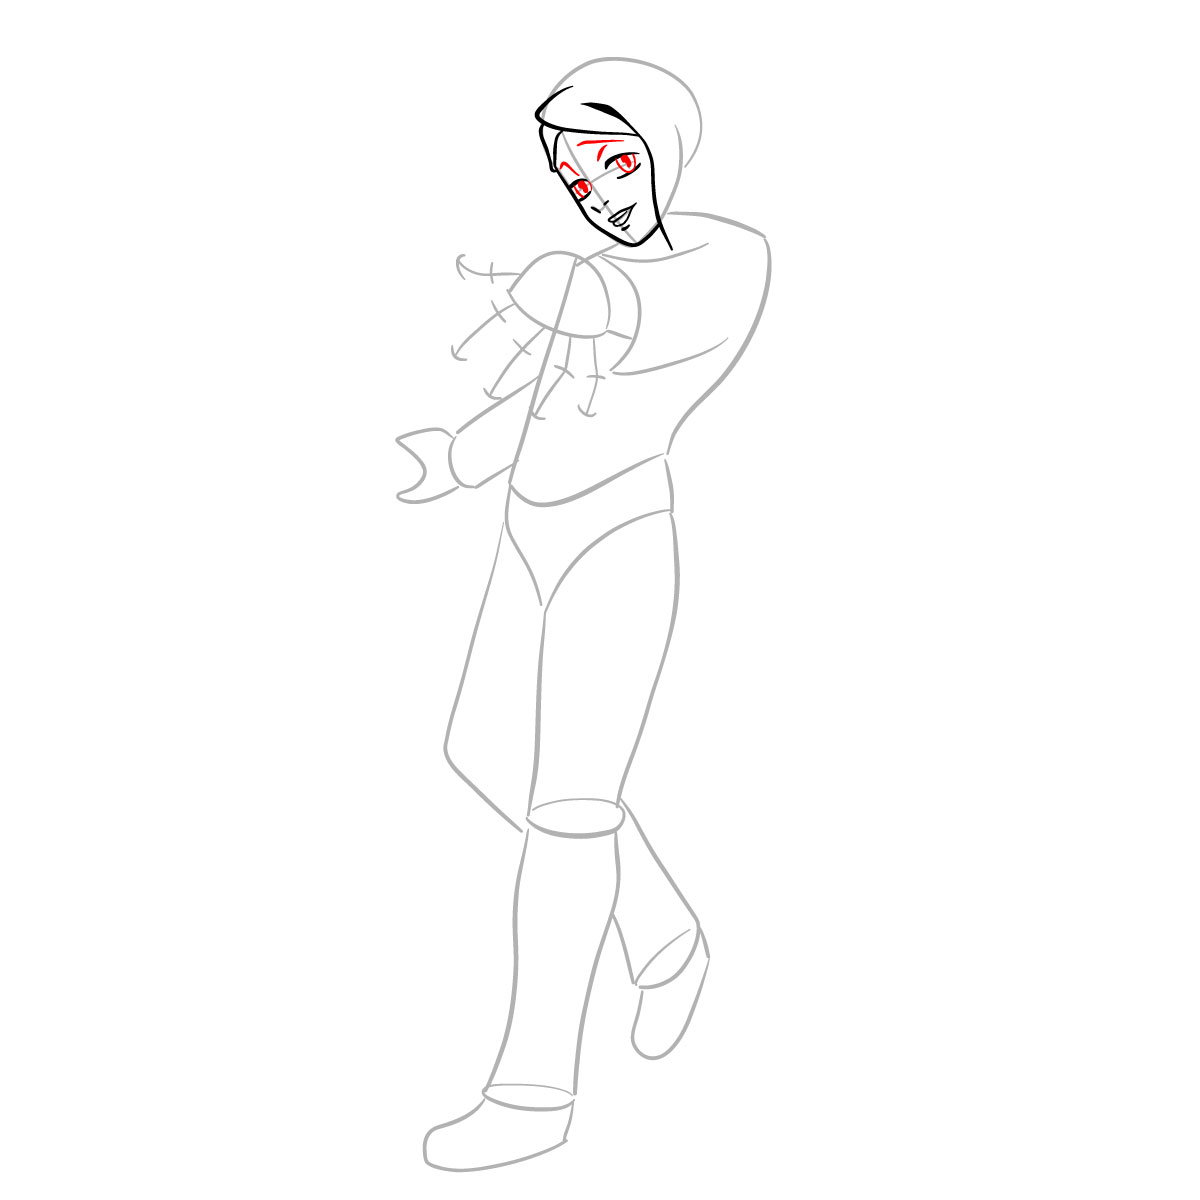
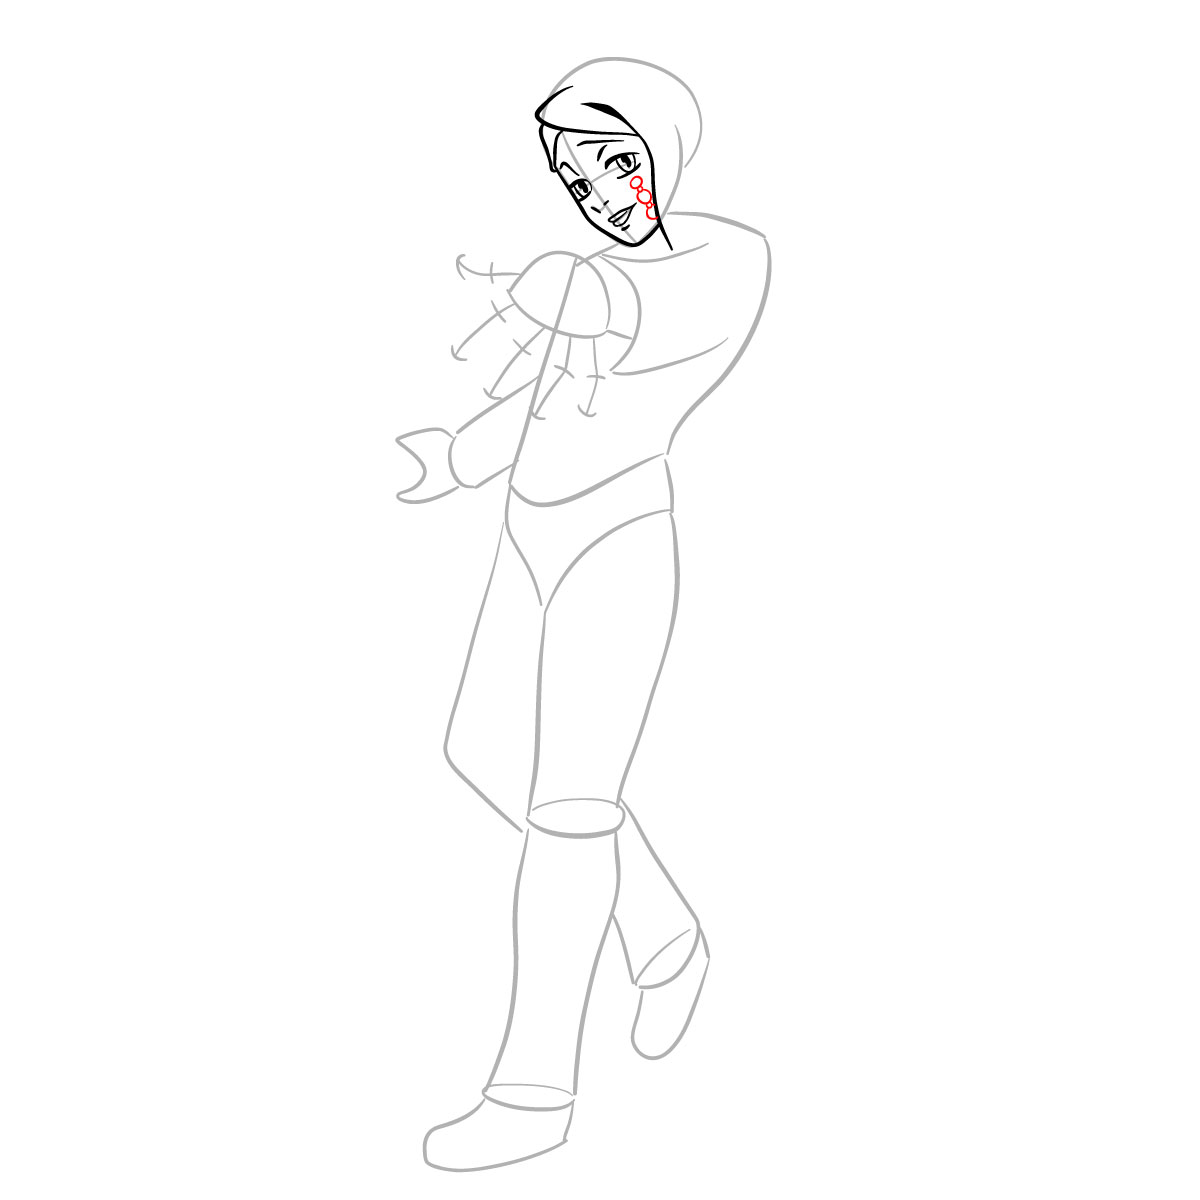


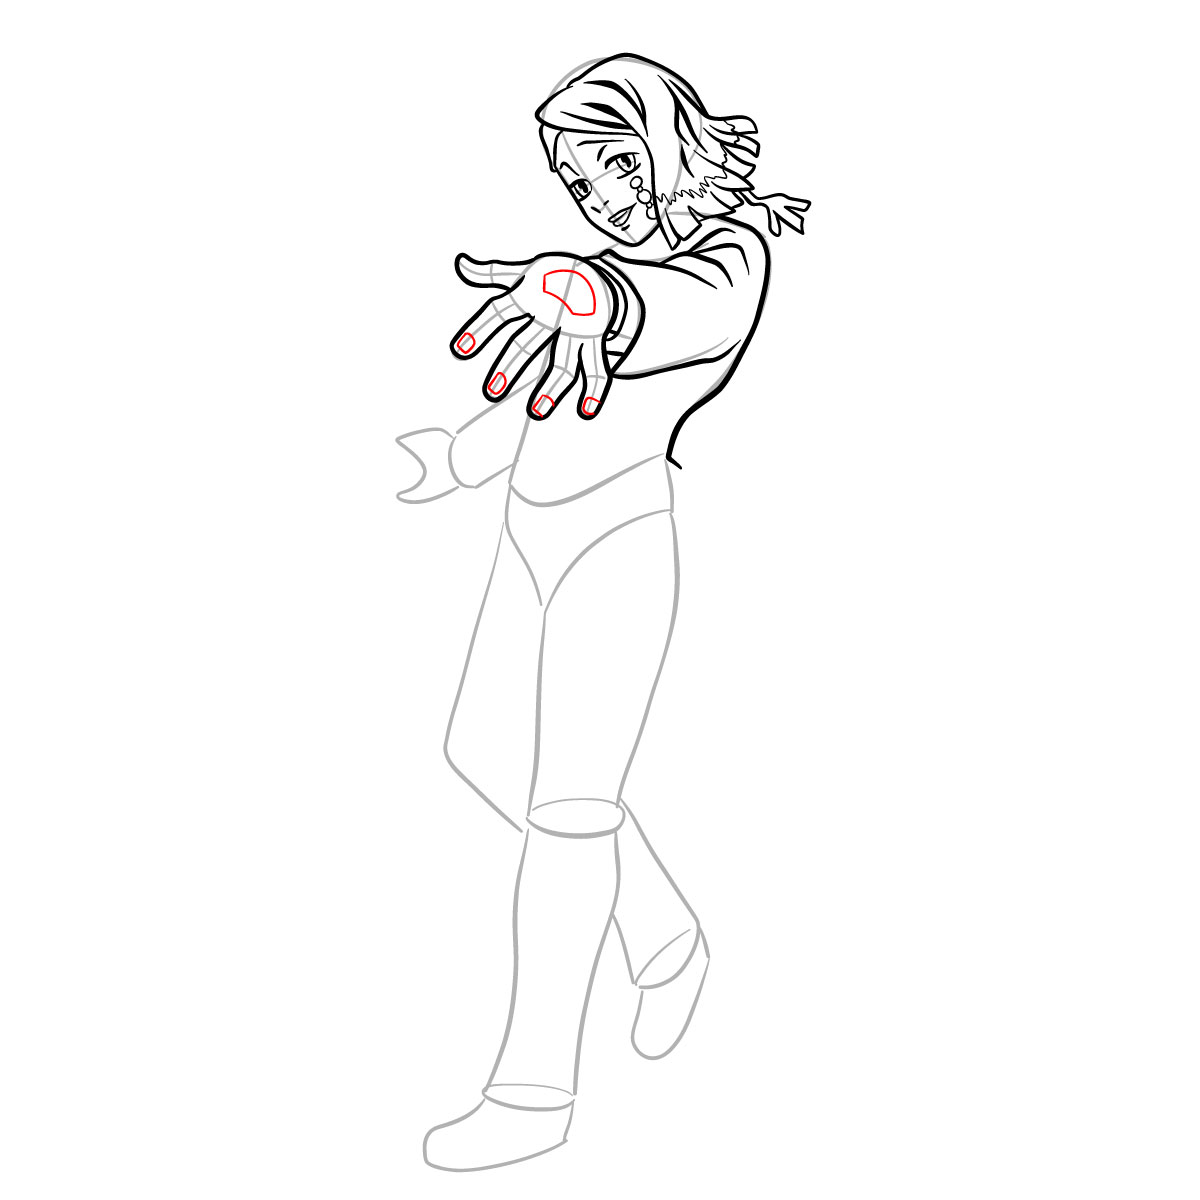
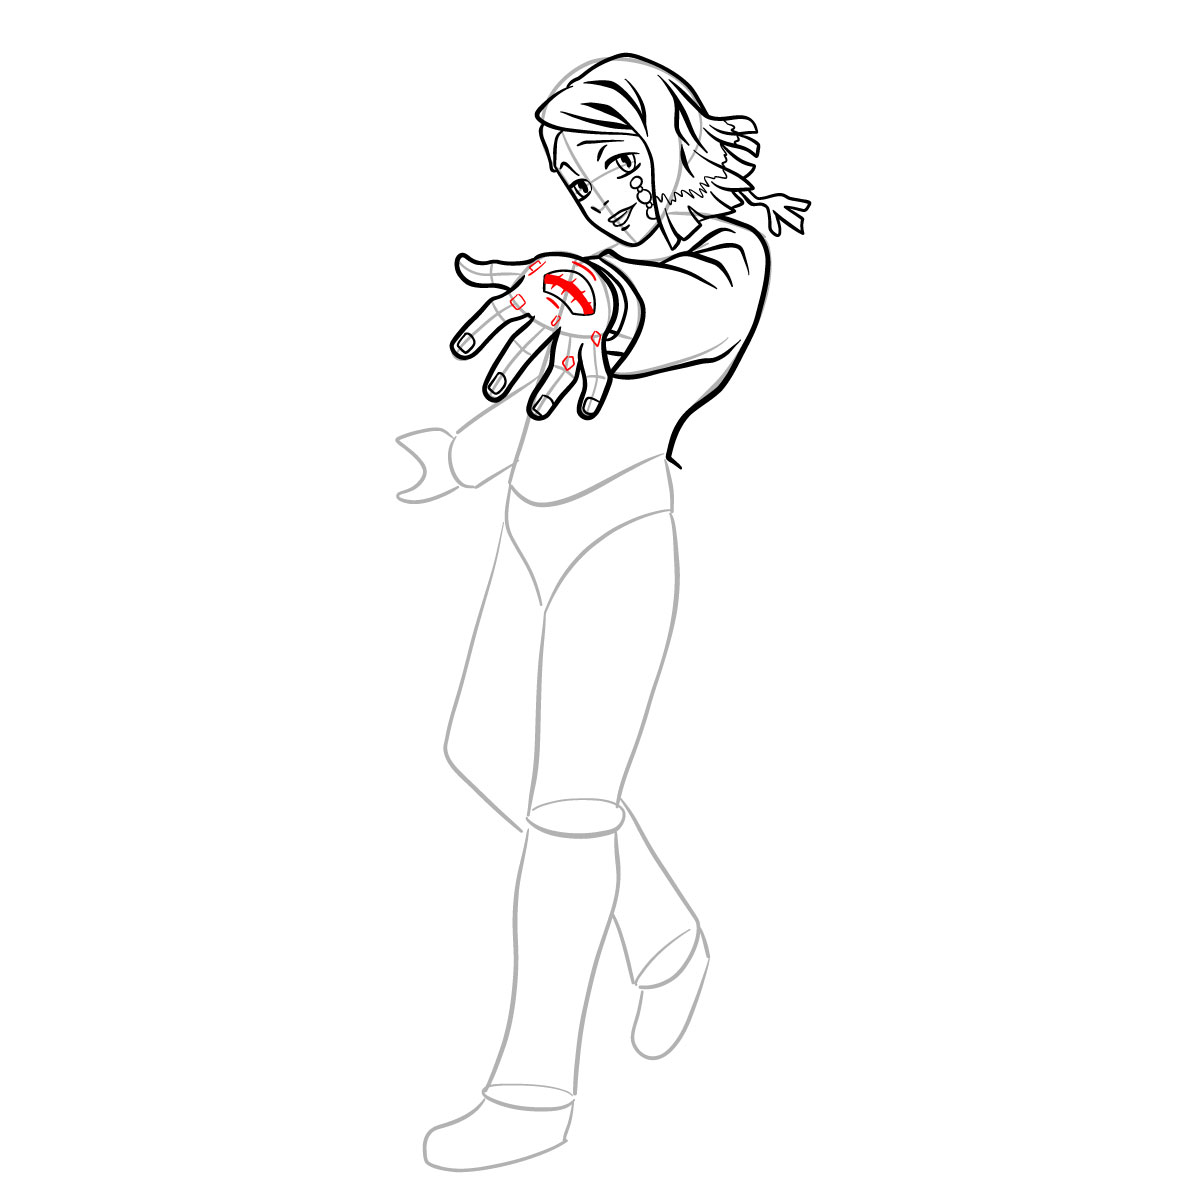
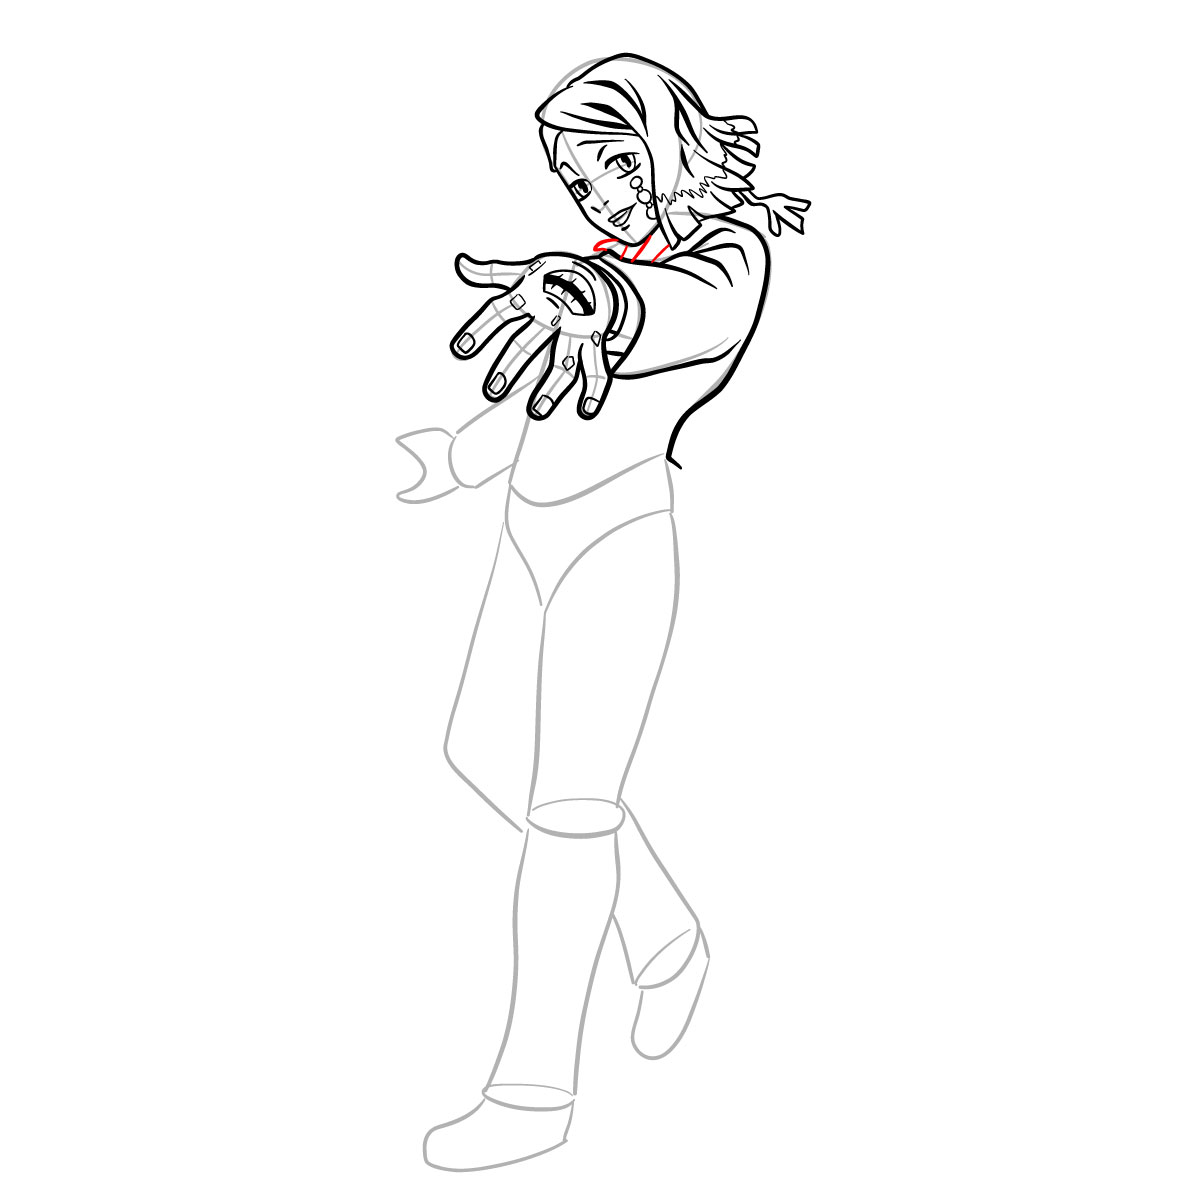
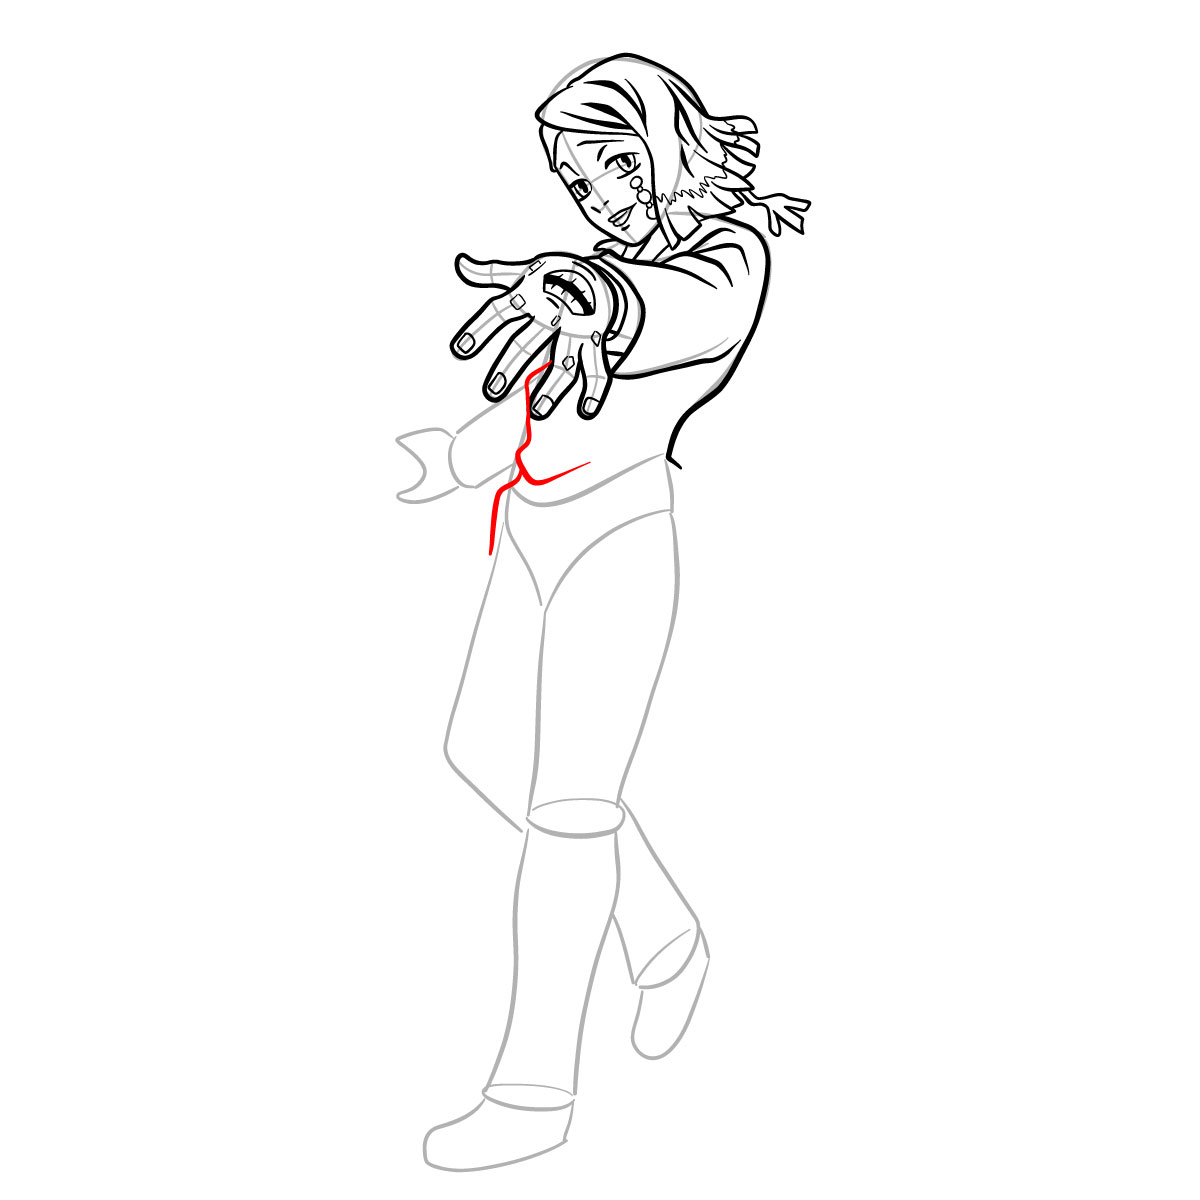


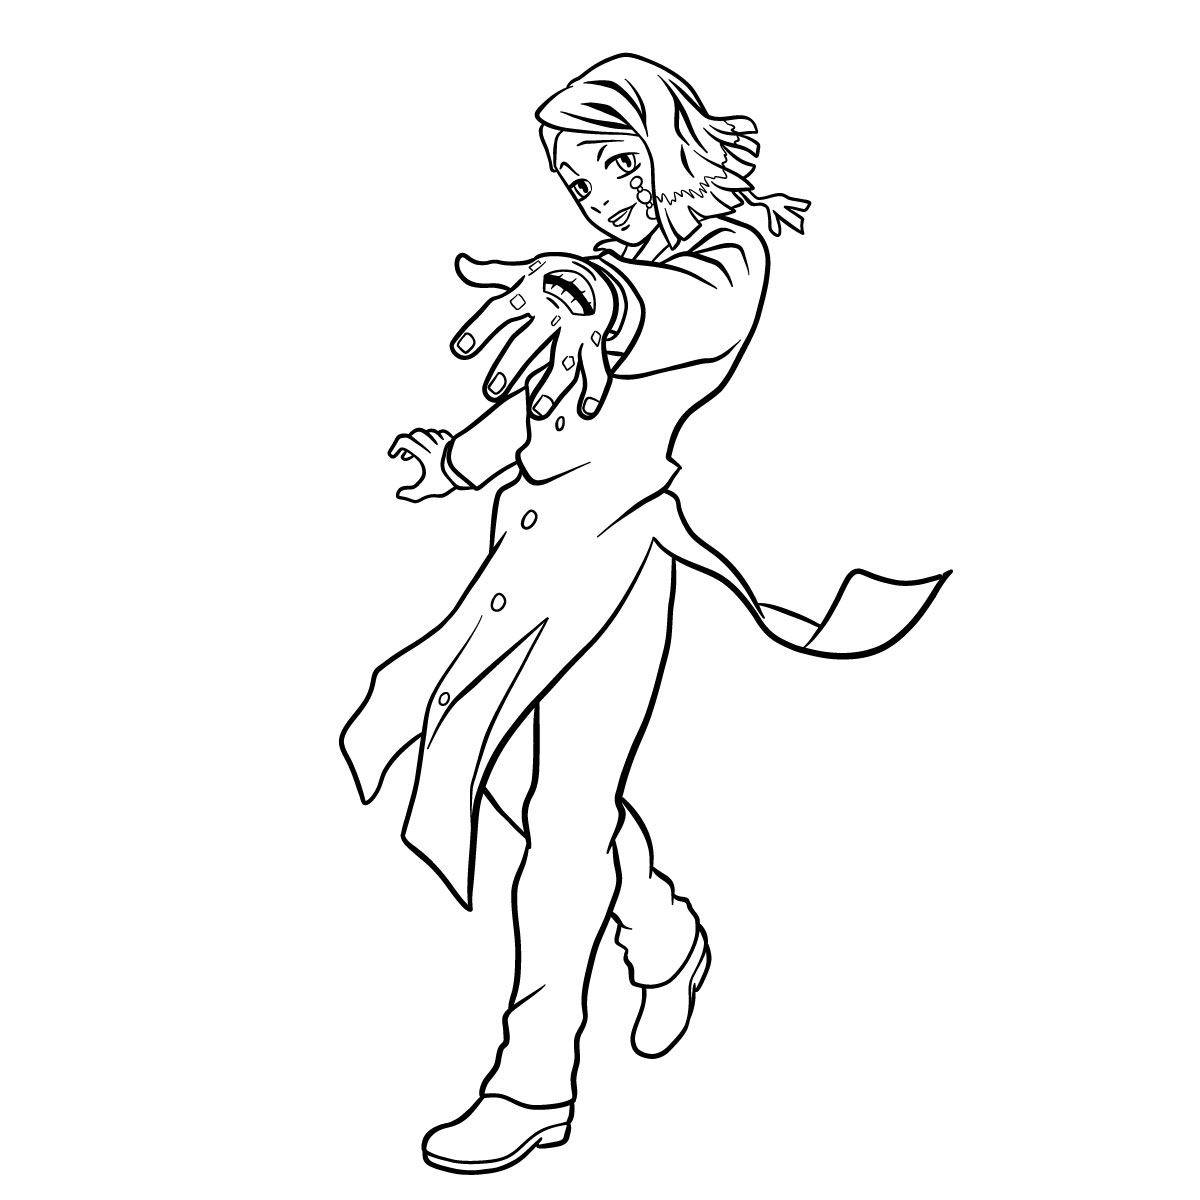
If your version of Enmu doesn’t match the final image perfectly, that’s completely fine, since getting every detail right on the first try isn’t really the goal here. Learning how to draw Enmu is about building familiarity with his unsettling features and odd proportions, and each attempt will feel a little more natural than the last. The pinned post for this tutorial on Pinterest is a good spot to drop your work-in-progress sketches if you want to see what others are drawing alongside you.