
Welcome to this comprehensive guide on how to draw Gyomei Himejima, the formidable Stone Hashira from Demon Slayer. Join me as we explore the process of capturing Gyomei’s essence through a meticulous drawing technique. In this tutorial, I will provide you with clear and concise steps to help you bring this powerful character to life on paper.
Understanding Gyomei’s Distinctive Appearance
Gyomei Himejima possesses unique characteristics that define his imposing presence. To accurately depict Gyomei, focus on the following aspects:
- Hulking Physique: Gyomei’s towering figure and muscular build set him apart from other characters. Pay attention to his proportions and emphasize the strength and power emanating from his robust physique.
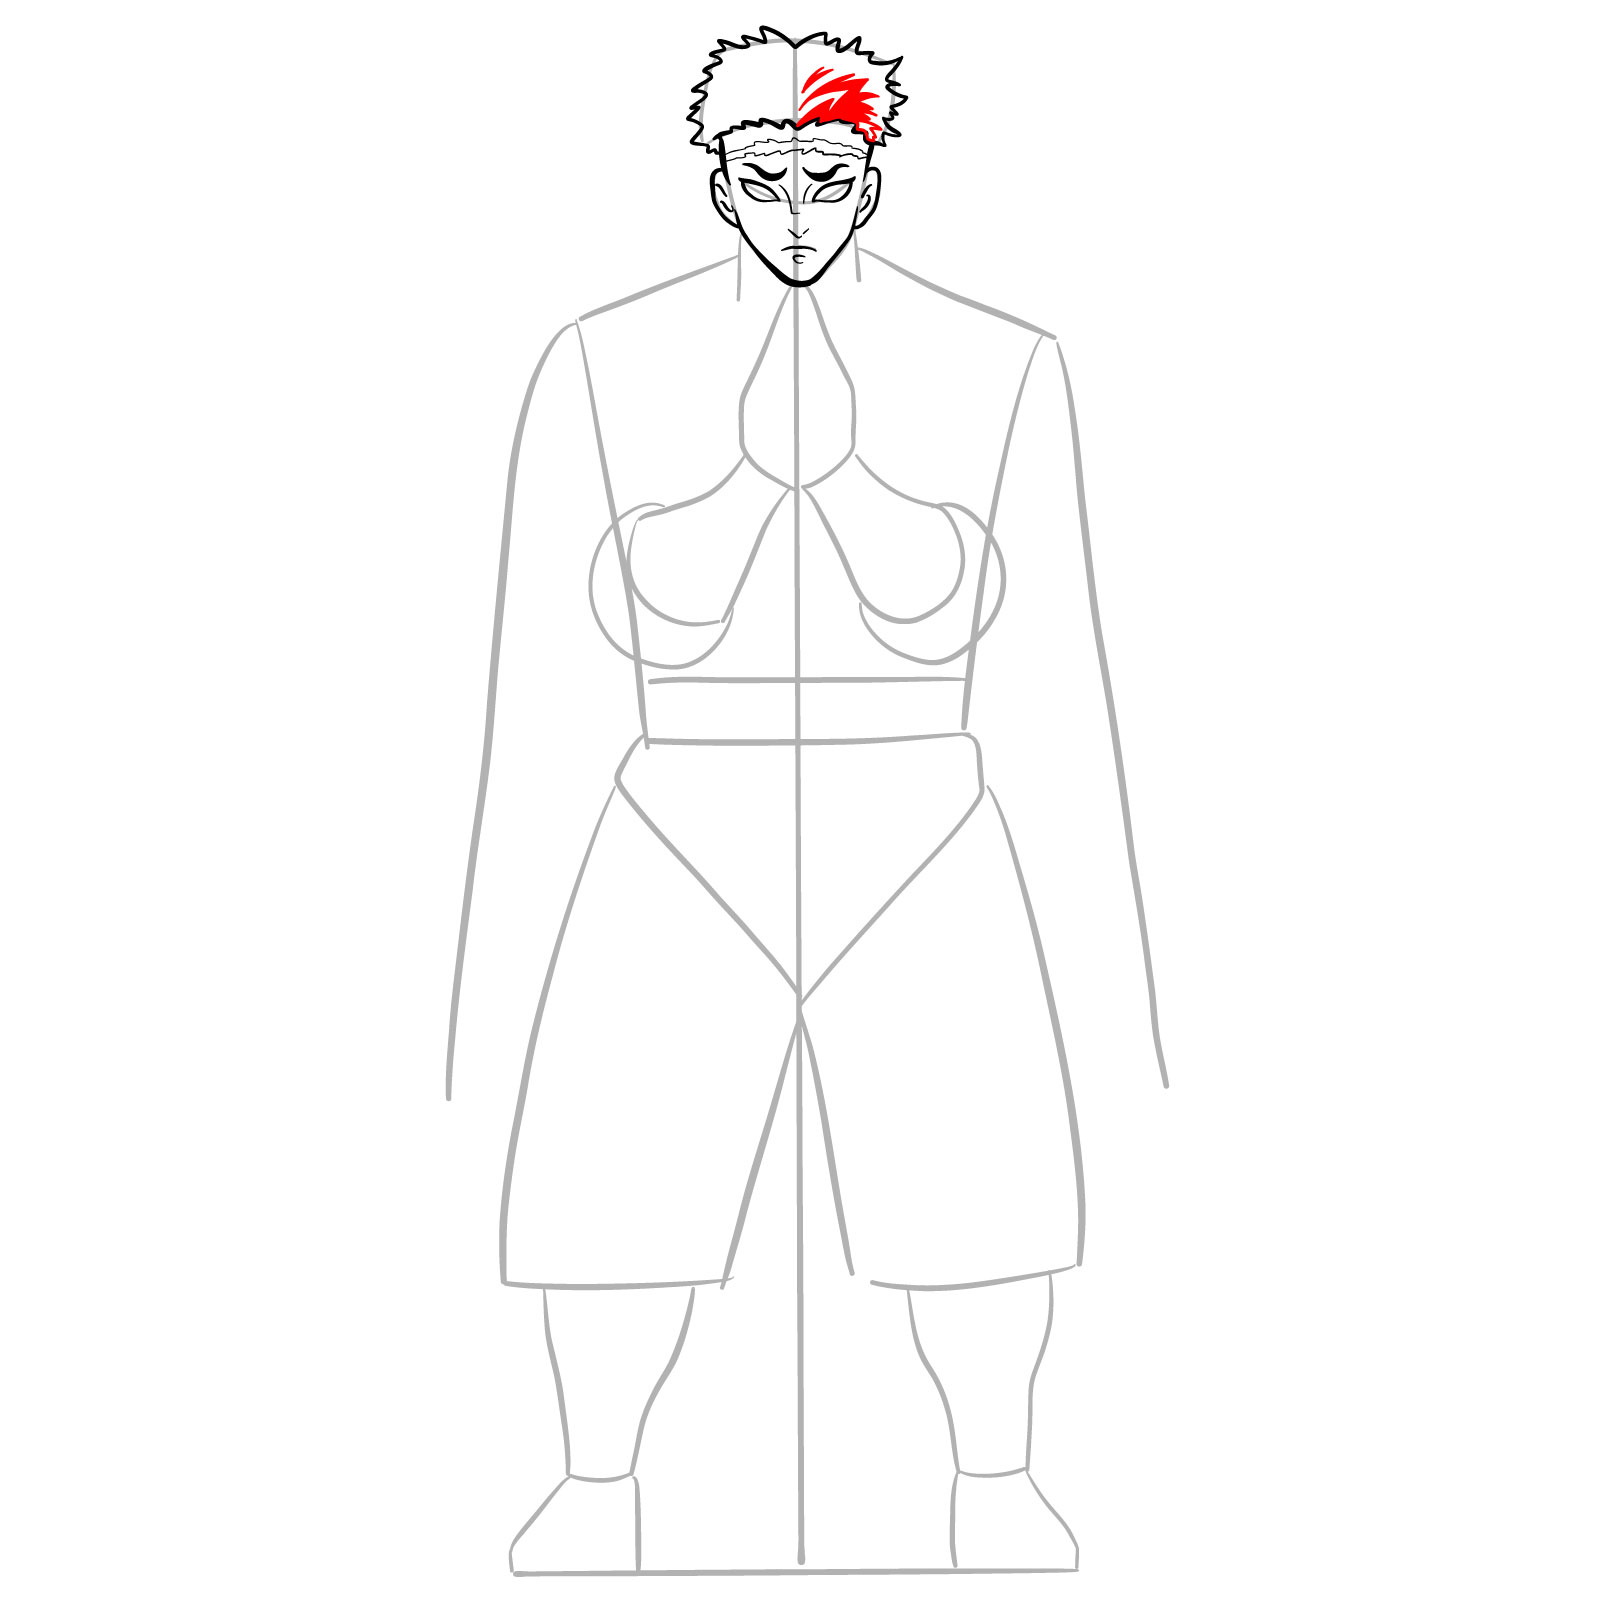
- Facial Features: Capture Gyomei’s notable facial details, including his spiky black hair, prominent scar on his forehead, and his distinctive white eyes devoid of irises or pupils. These elements contribute to his imposing presence.
- Signature Attire: Depict Gyomei wearing the traditional black and white Demon Slayer uniform, along with the bandages resembling kyahan on his shins. Include the olive green happi draped over his shoulders, bearing the sacred kanji symbols. These details add authenticity to your drawing.
Enhancing the Composition: Character Relationships and Additions
Incorporating other characters from the Demon Slayer series can enhance the overall composition and provide context to Gyomei’s role within the narrative. Consider adding characters such as:
- Genya Shinazugawa: As Gyomei’s mentee, Genya’s presence can emphasize the mentor-student relationship and add depth to the artwork.
- Tanjiro Kamado and Nezuko Kamado: Including these central characters can showcase the bond between the Demon Slayers and highlight Gyomei’s role in protecting them.
- Sanemi Shinazugawa: The relationship between Gyomei and Sanemi, both Hashira members, adds depth to their individual stories and the larger Demon Slayer Corps.
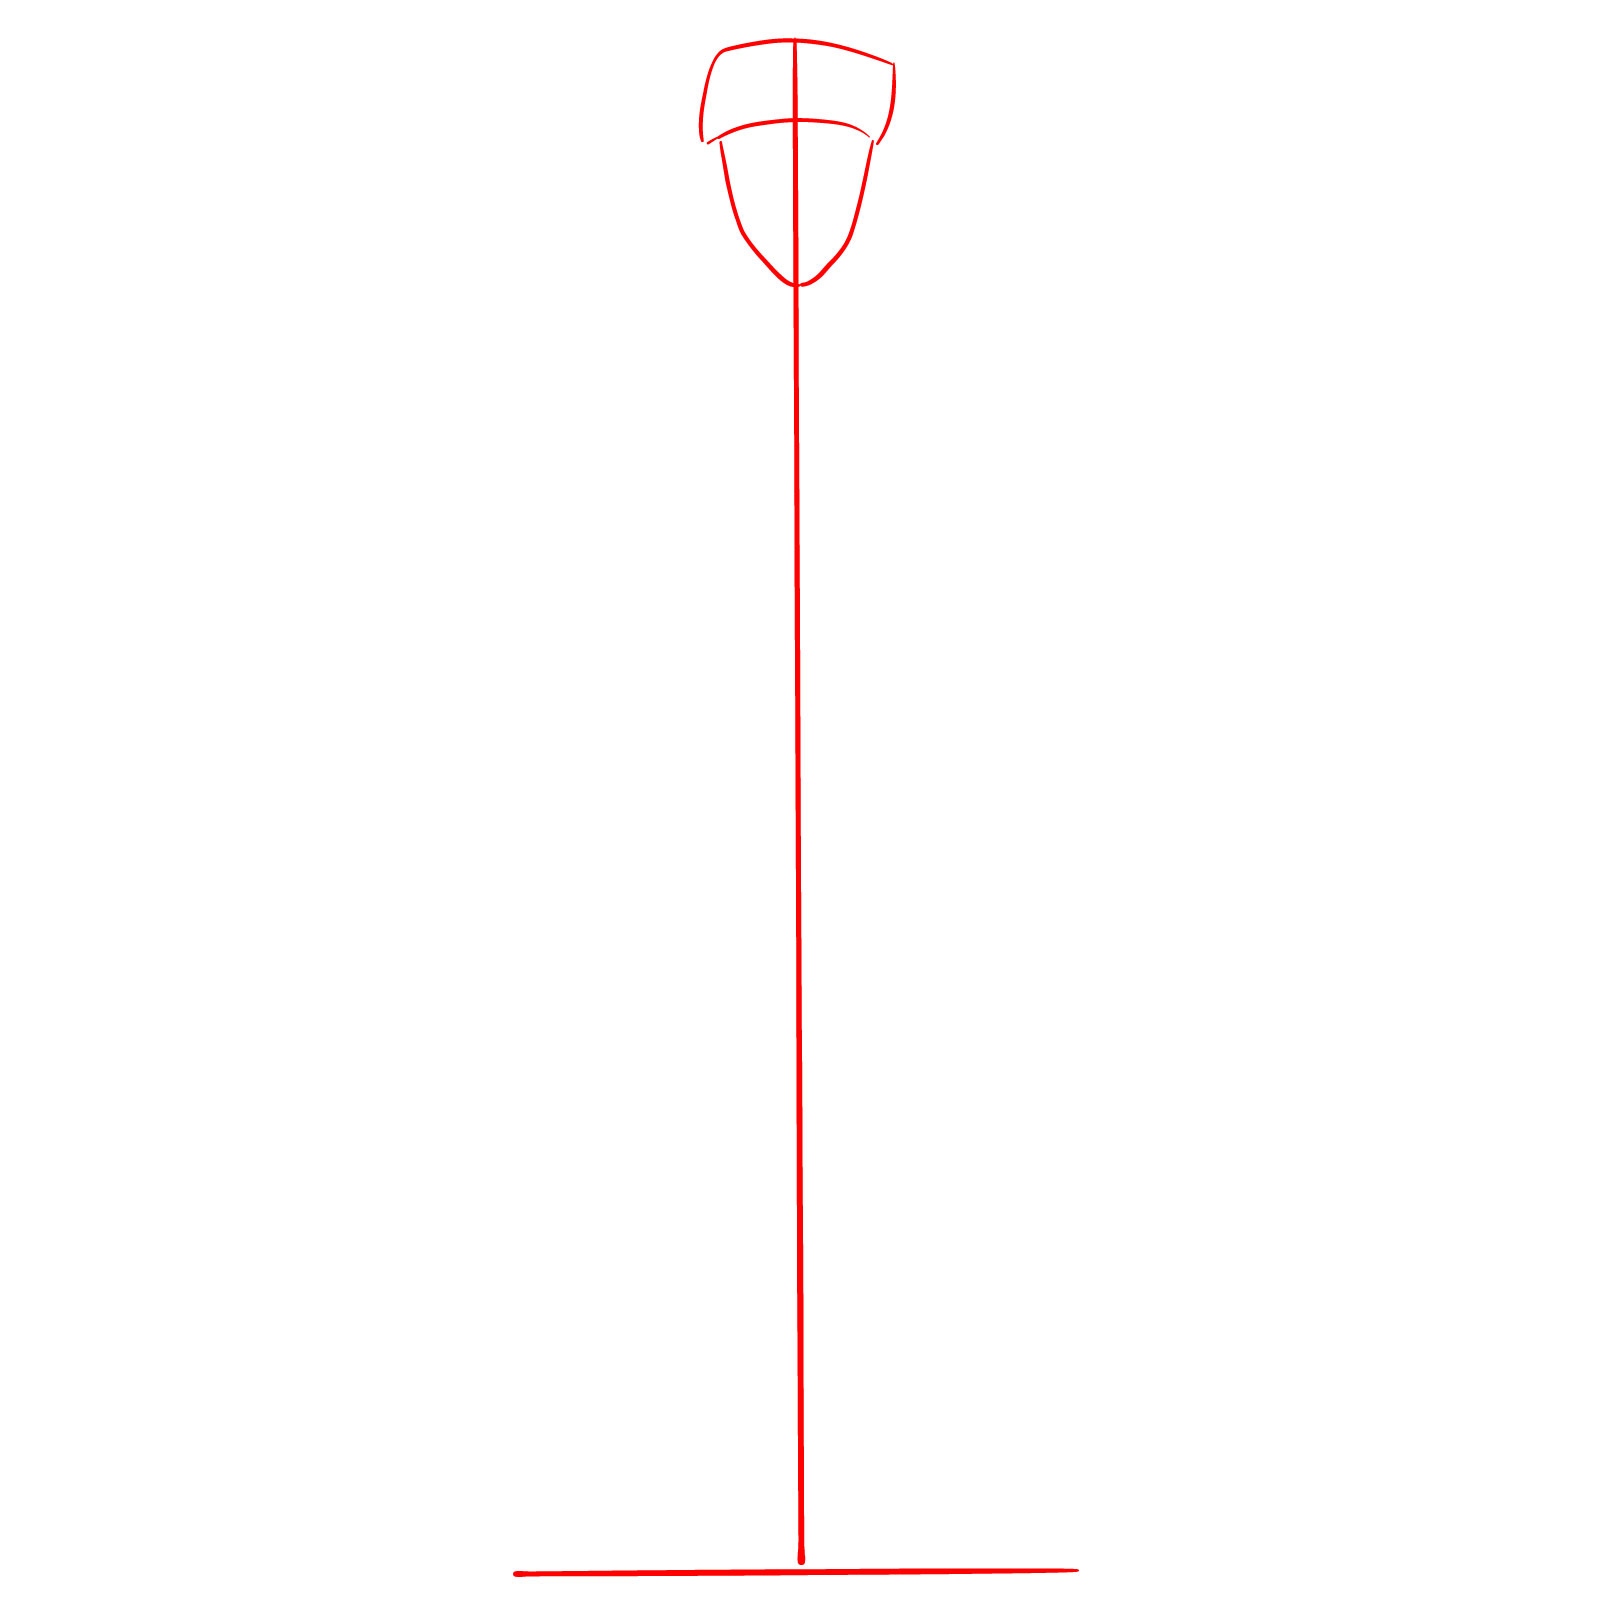
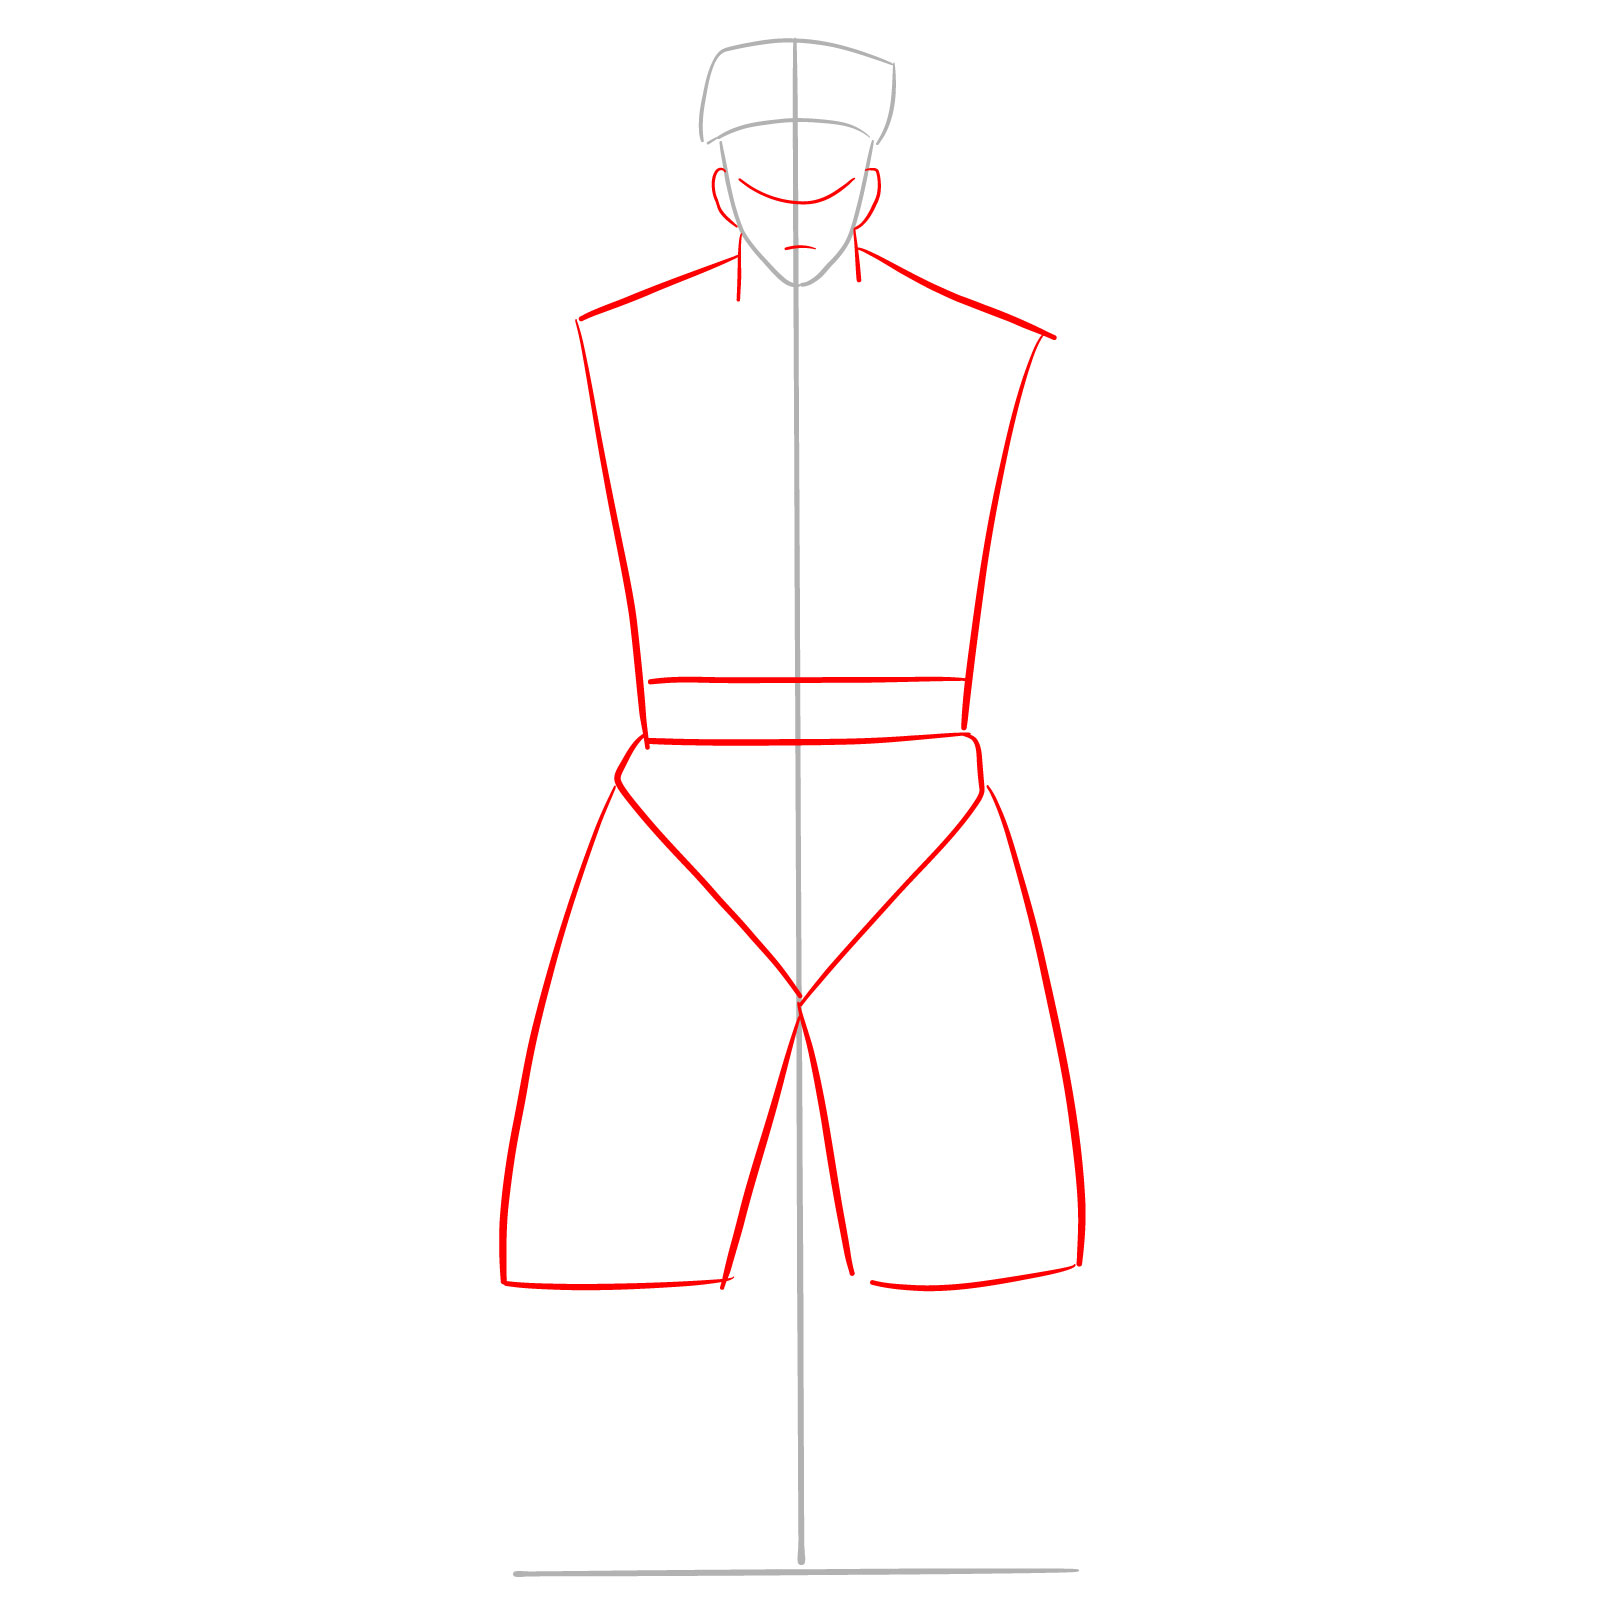
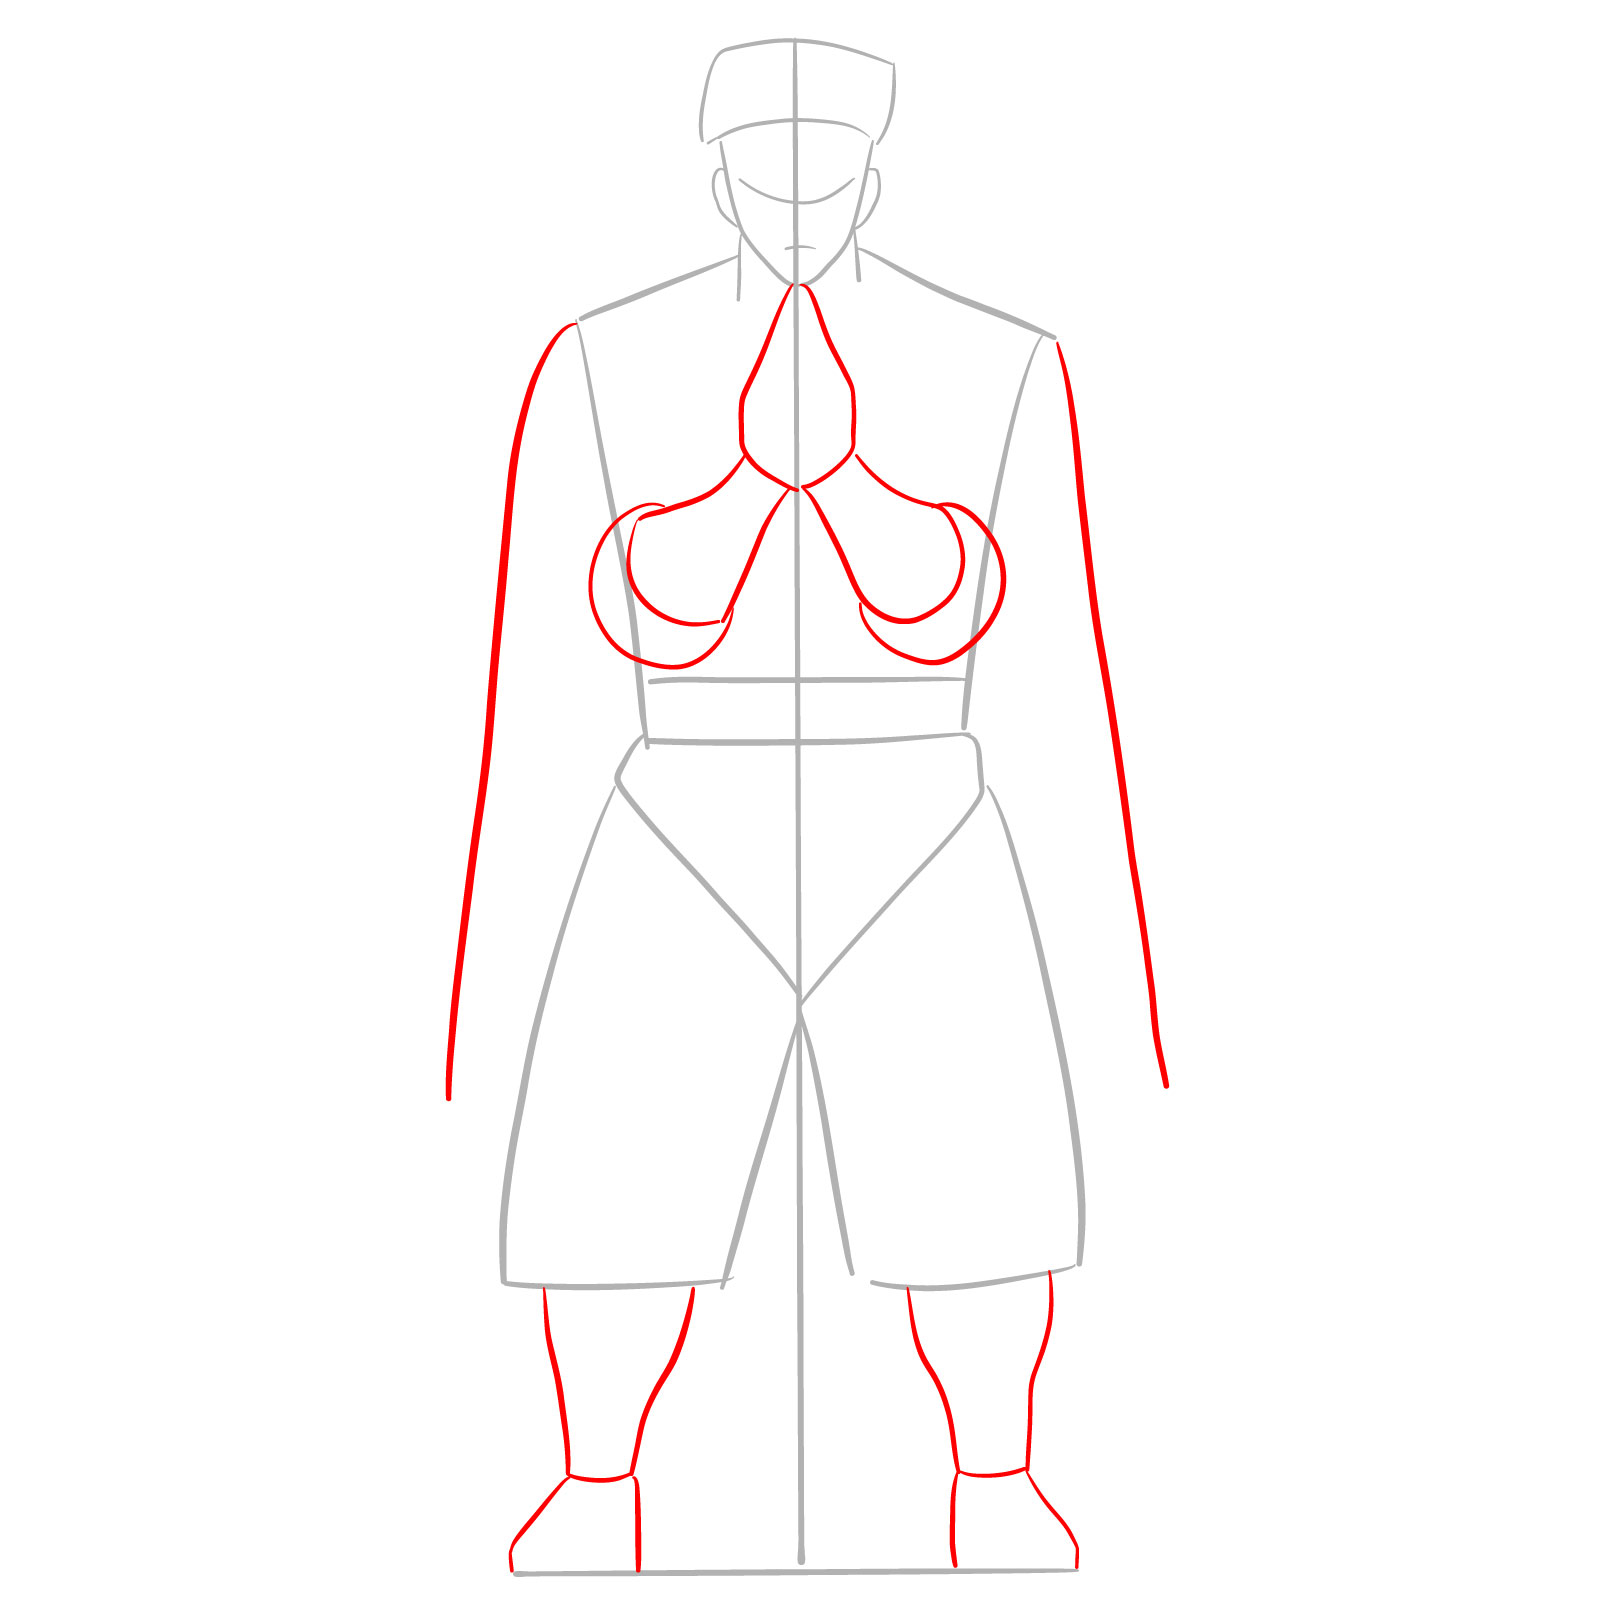
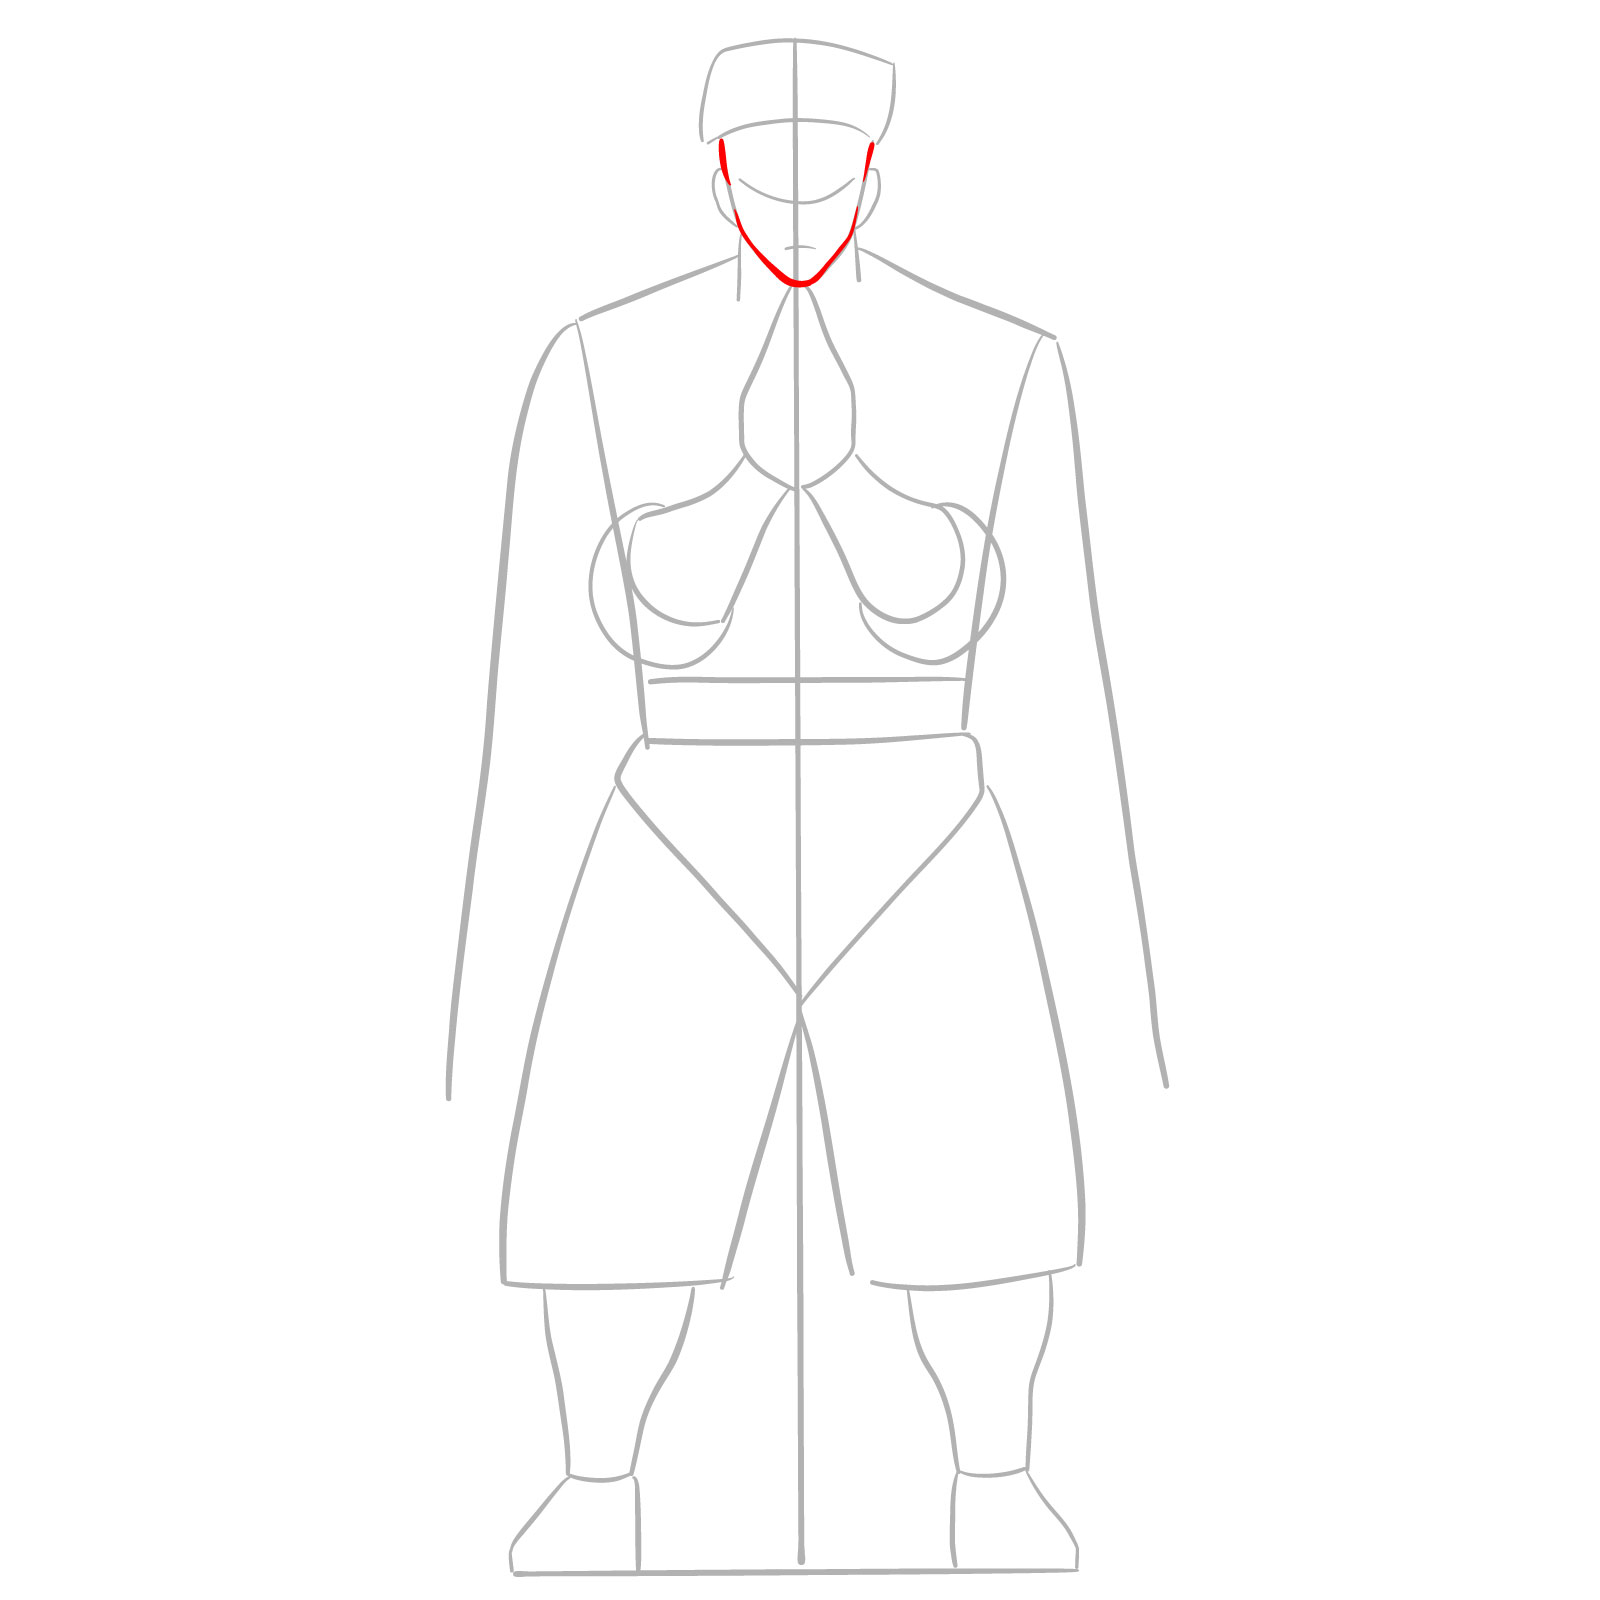
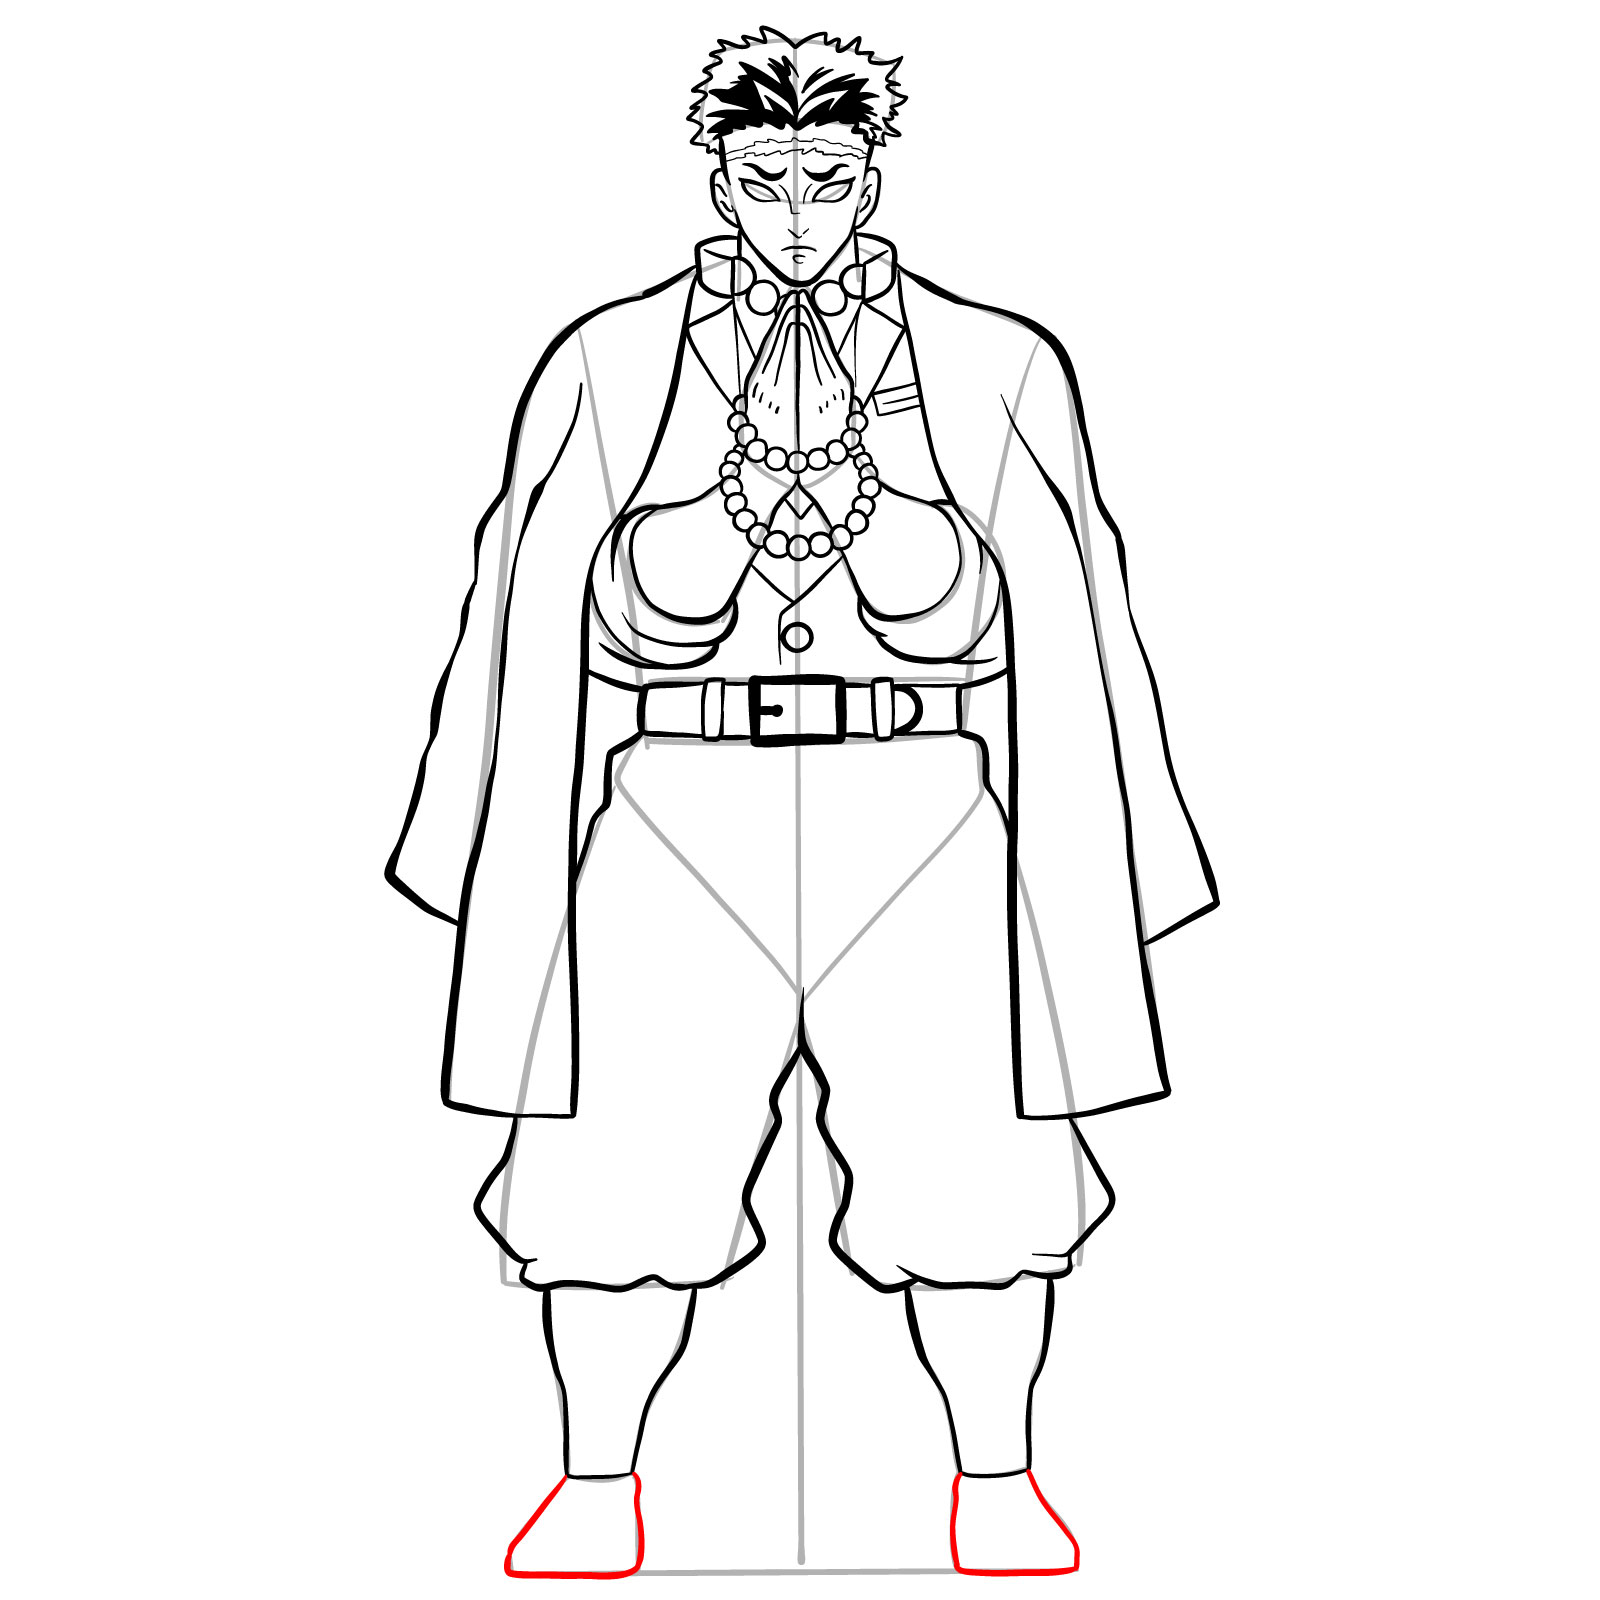
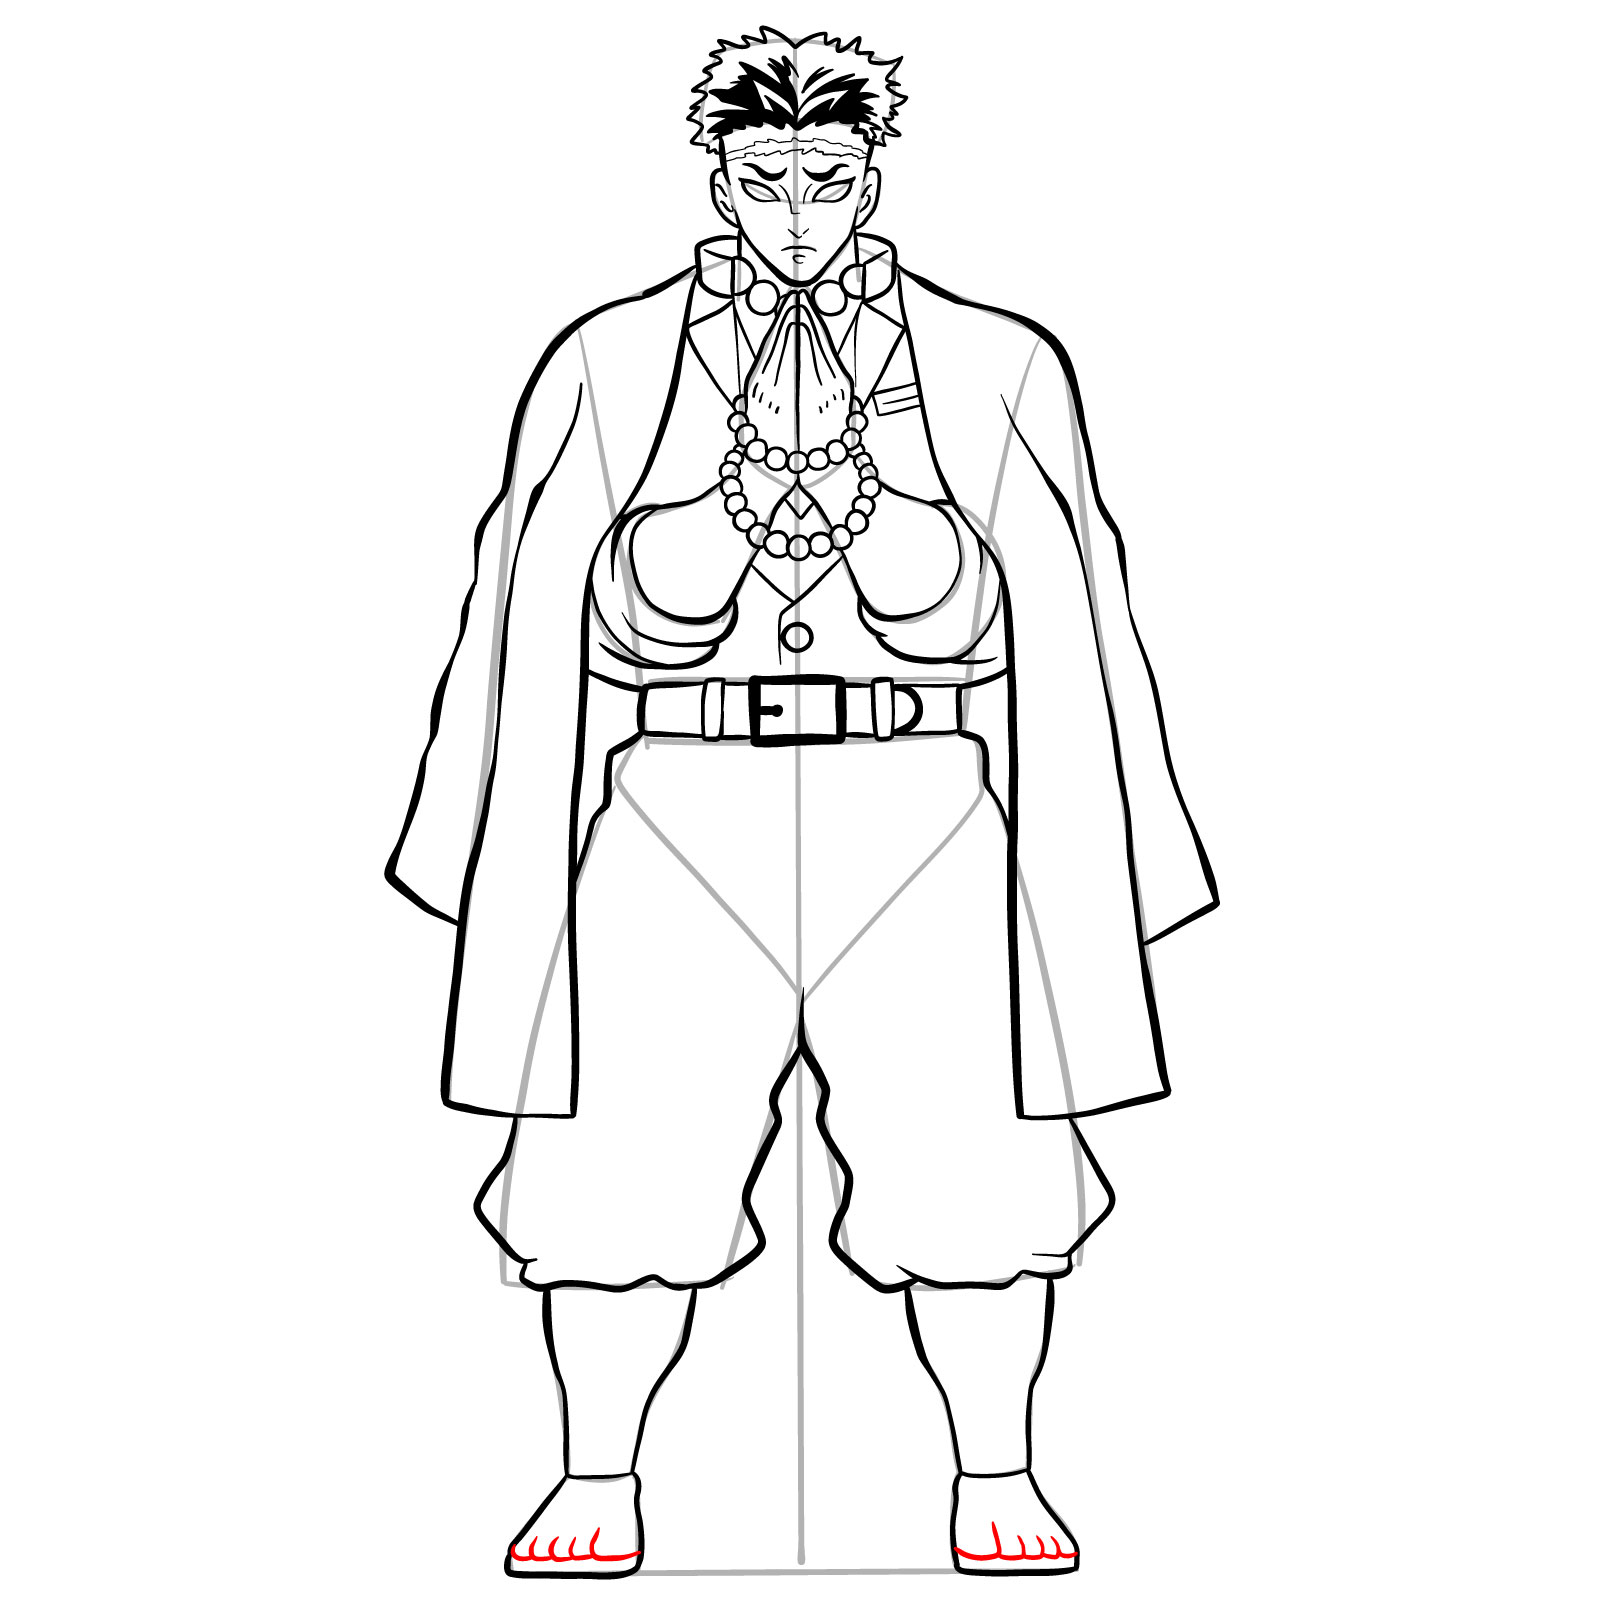
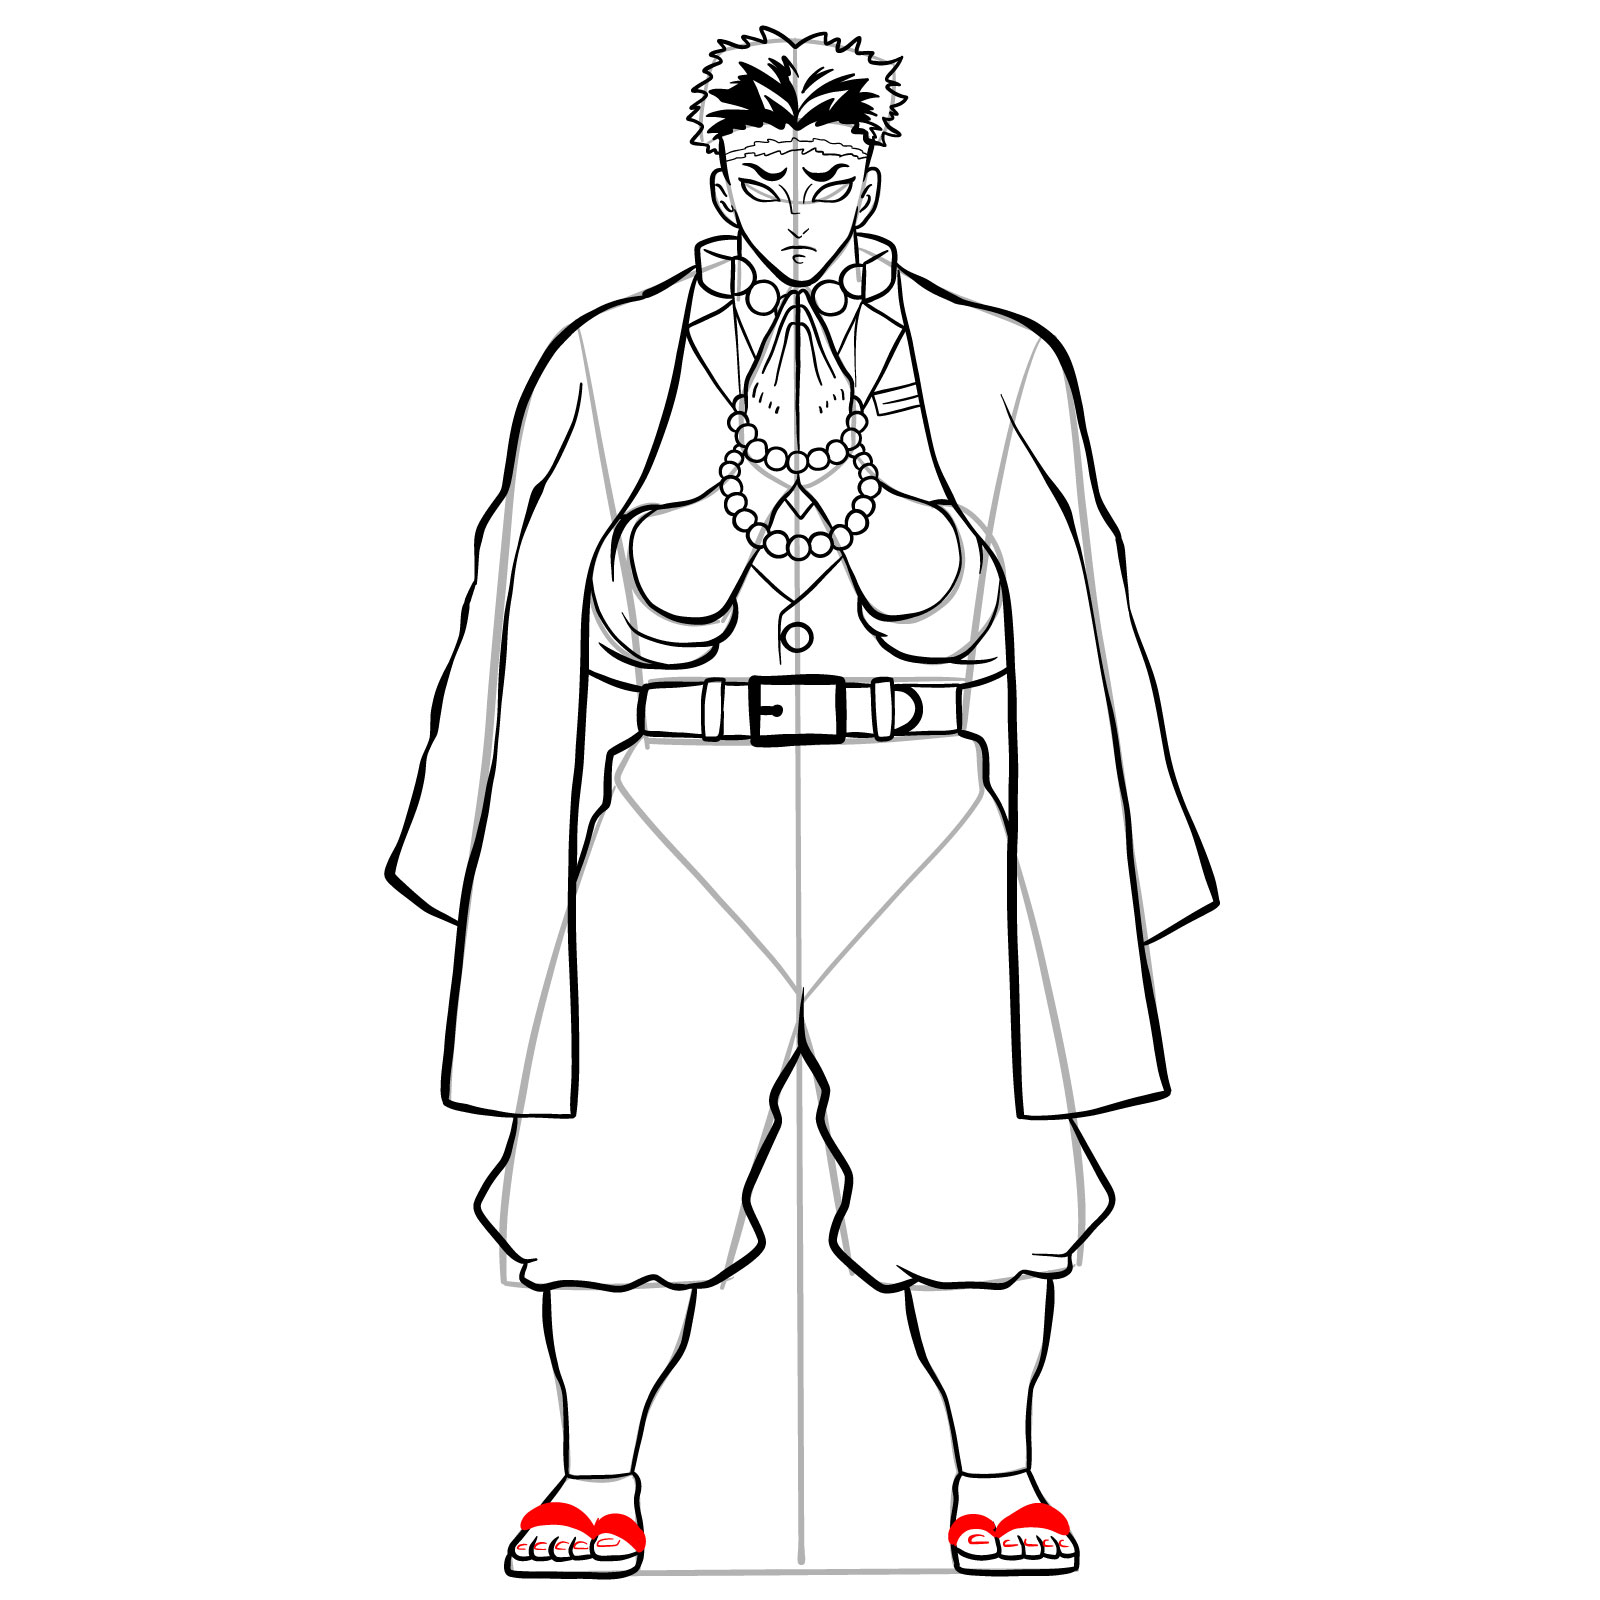
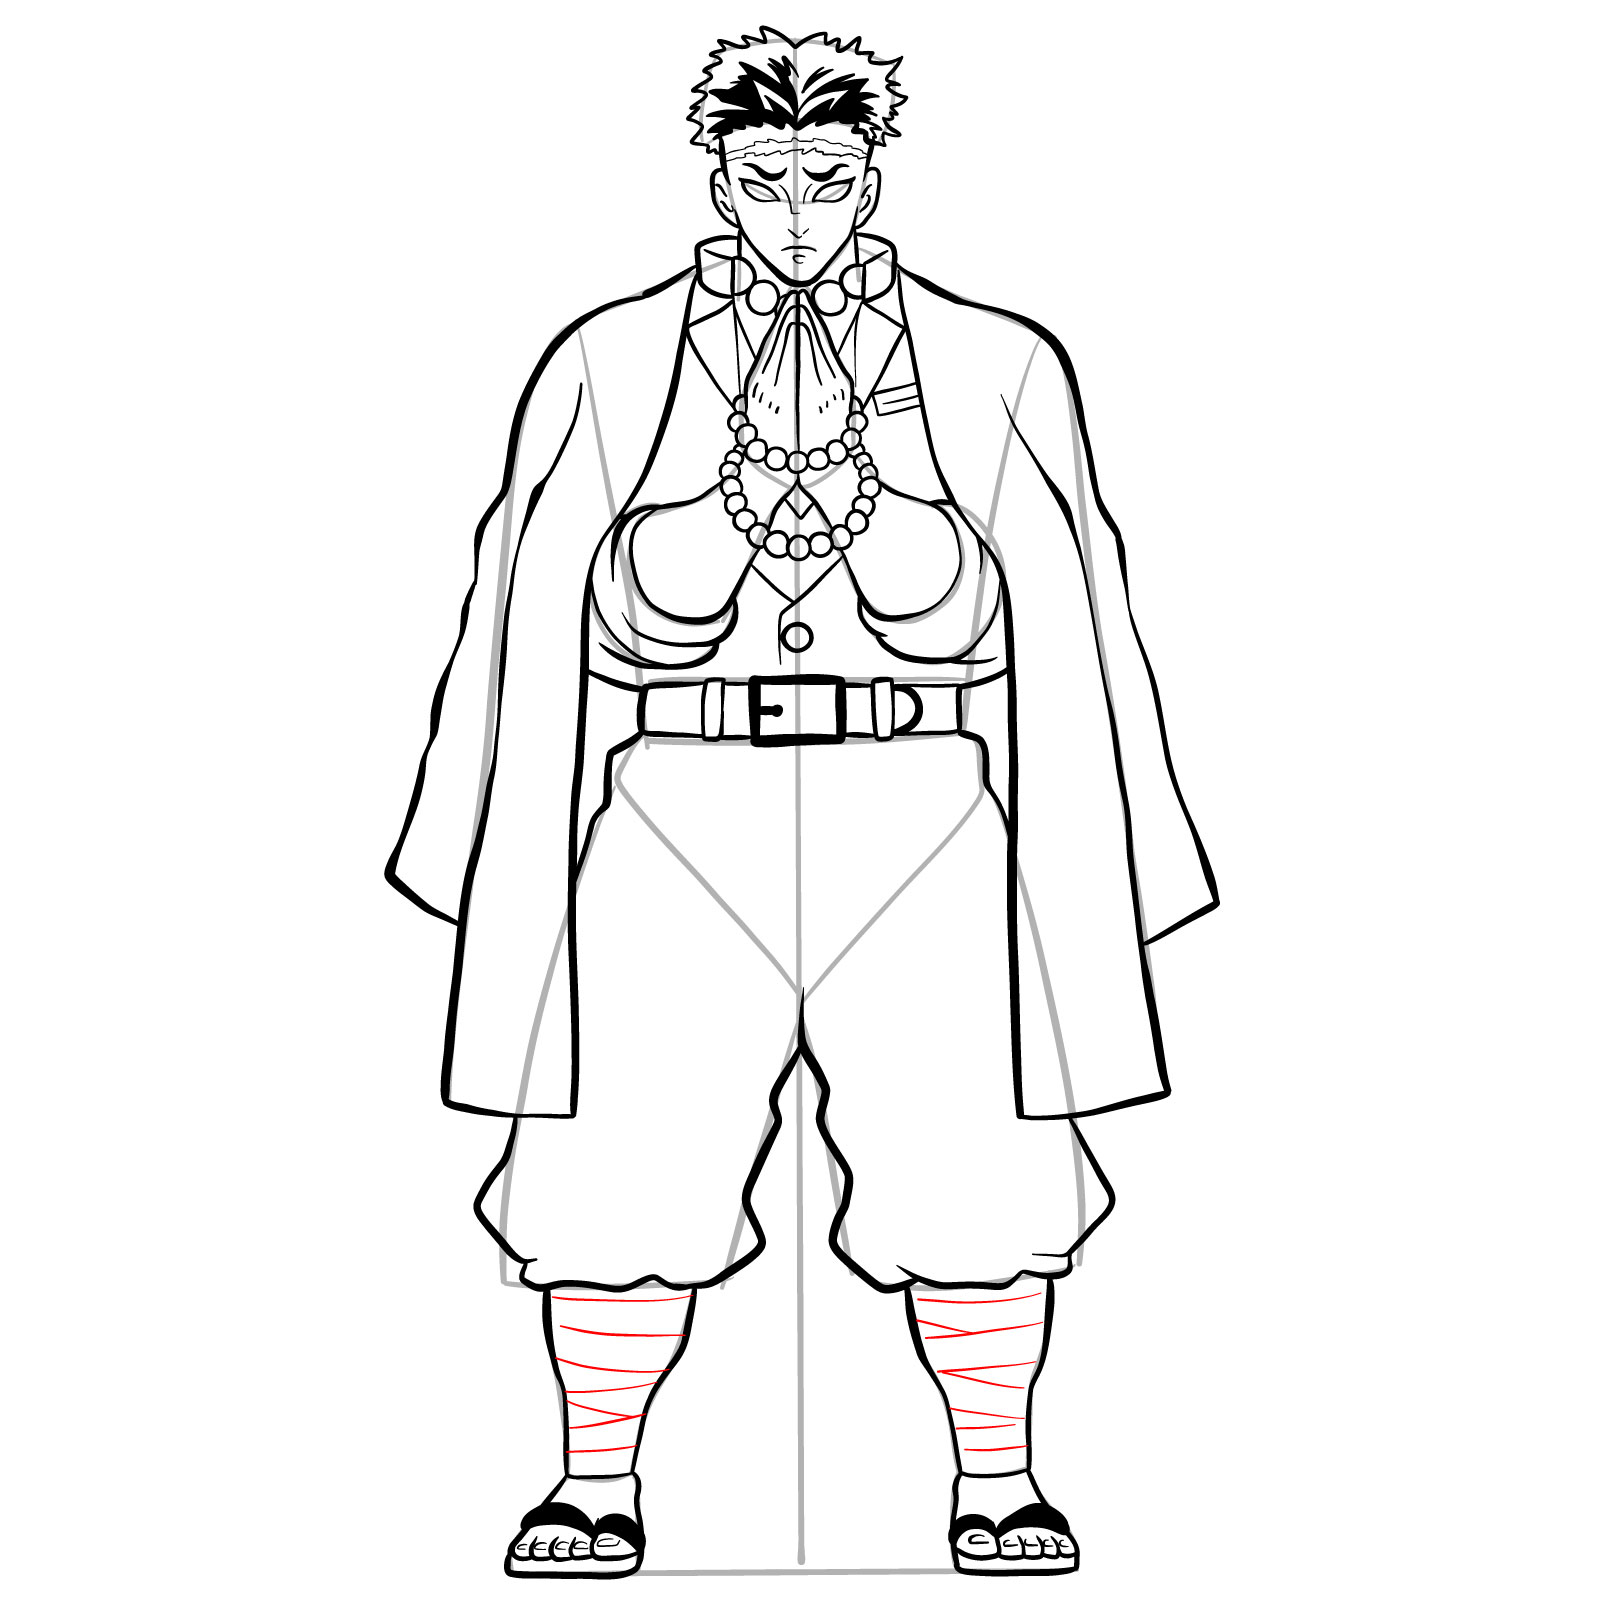
The Drawing Guide:
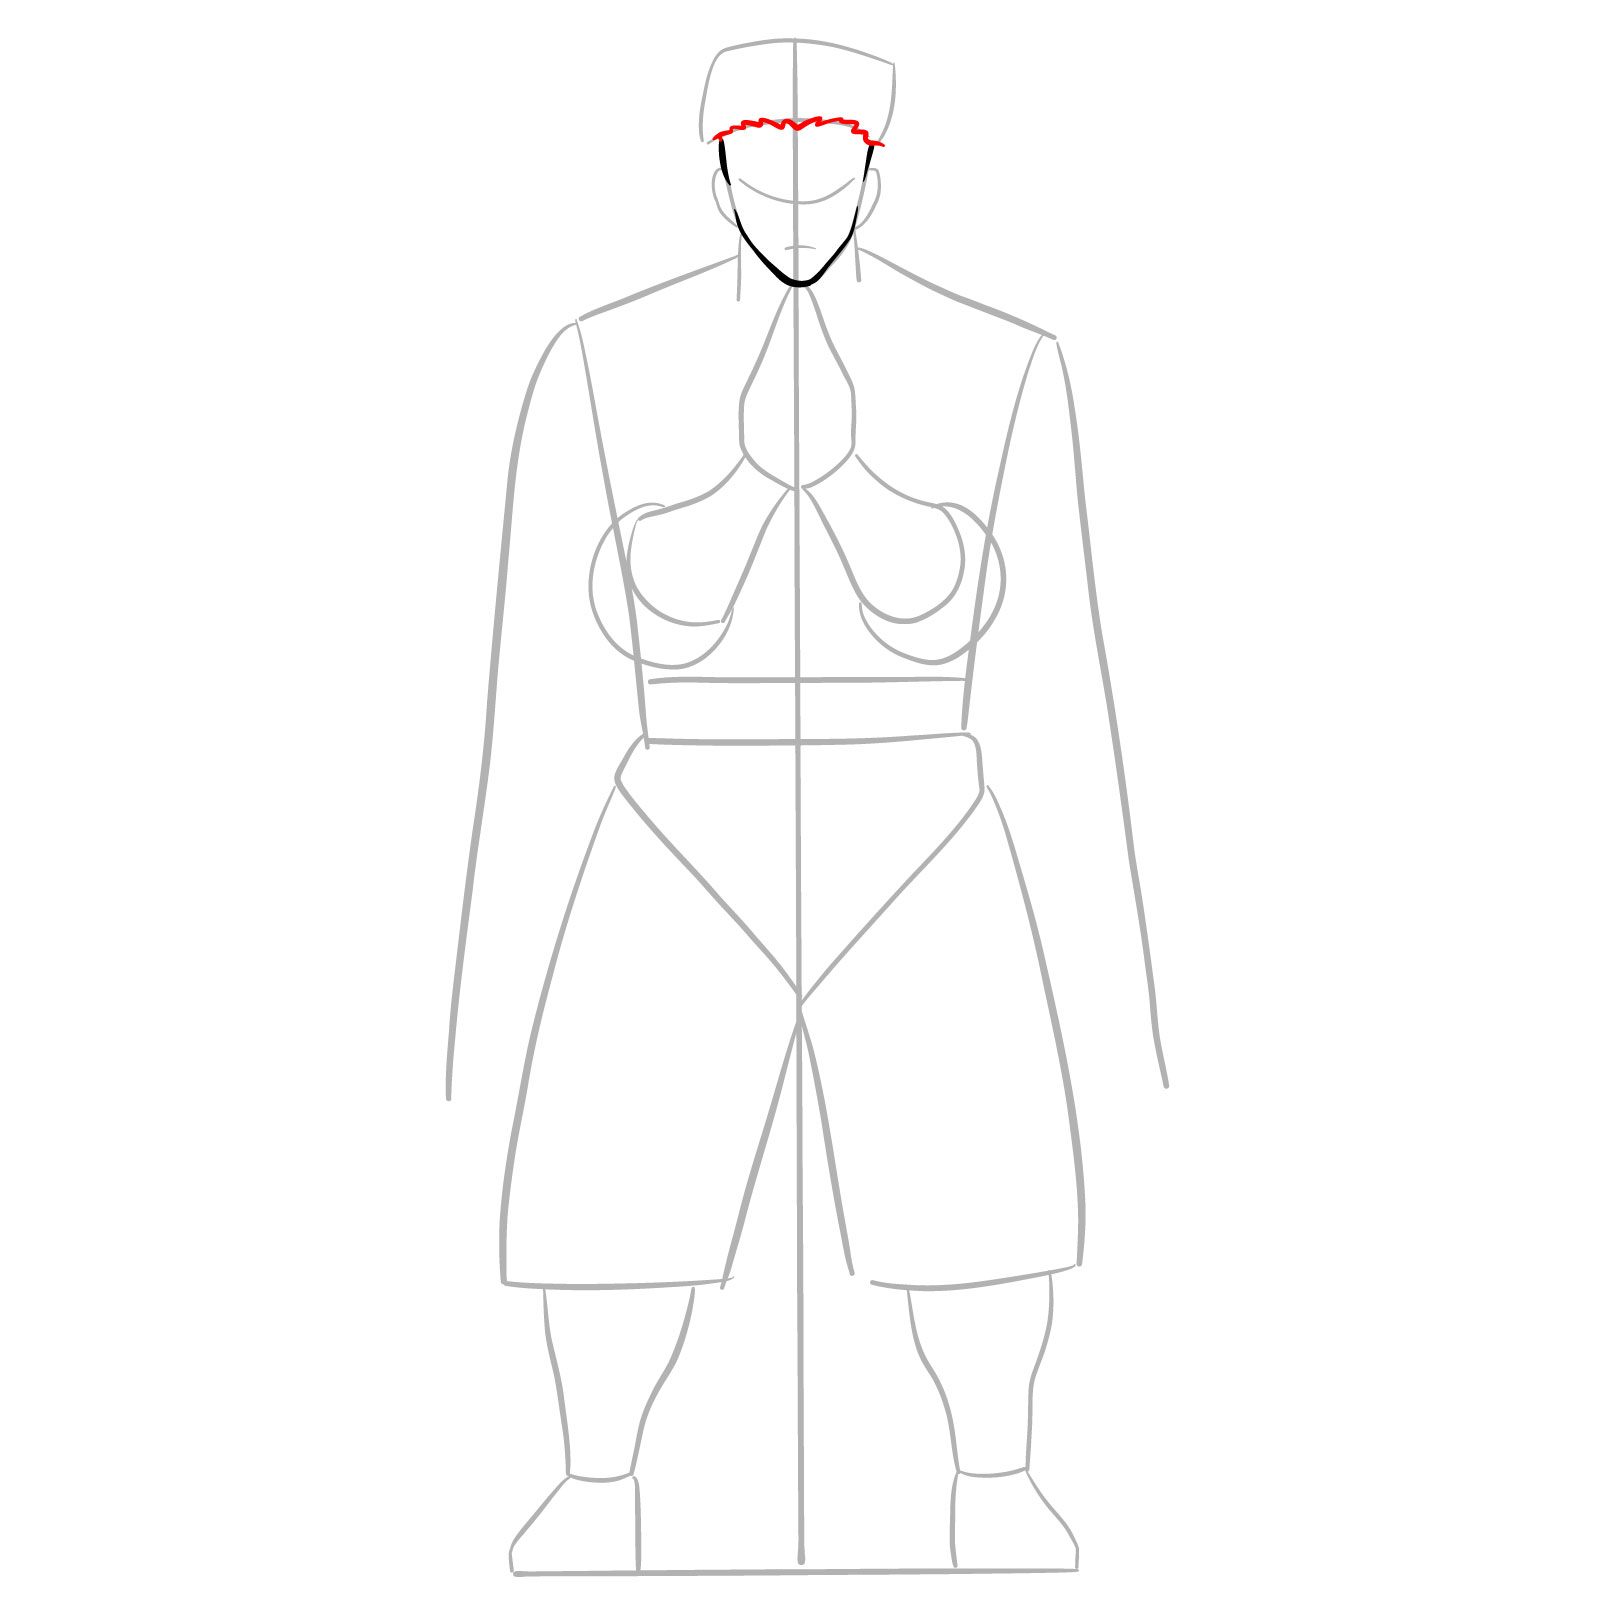
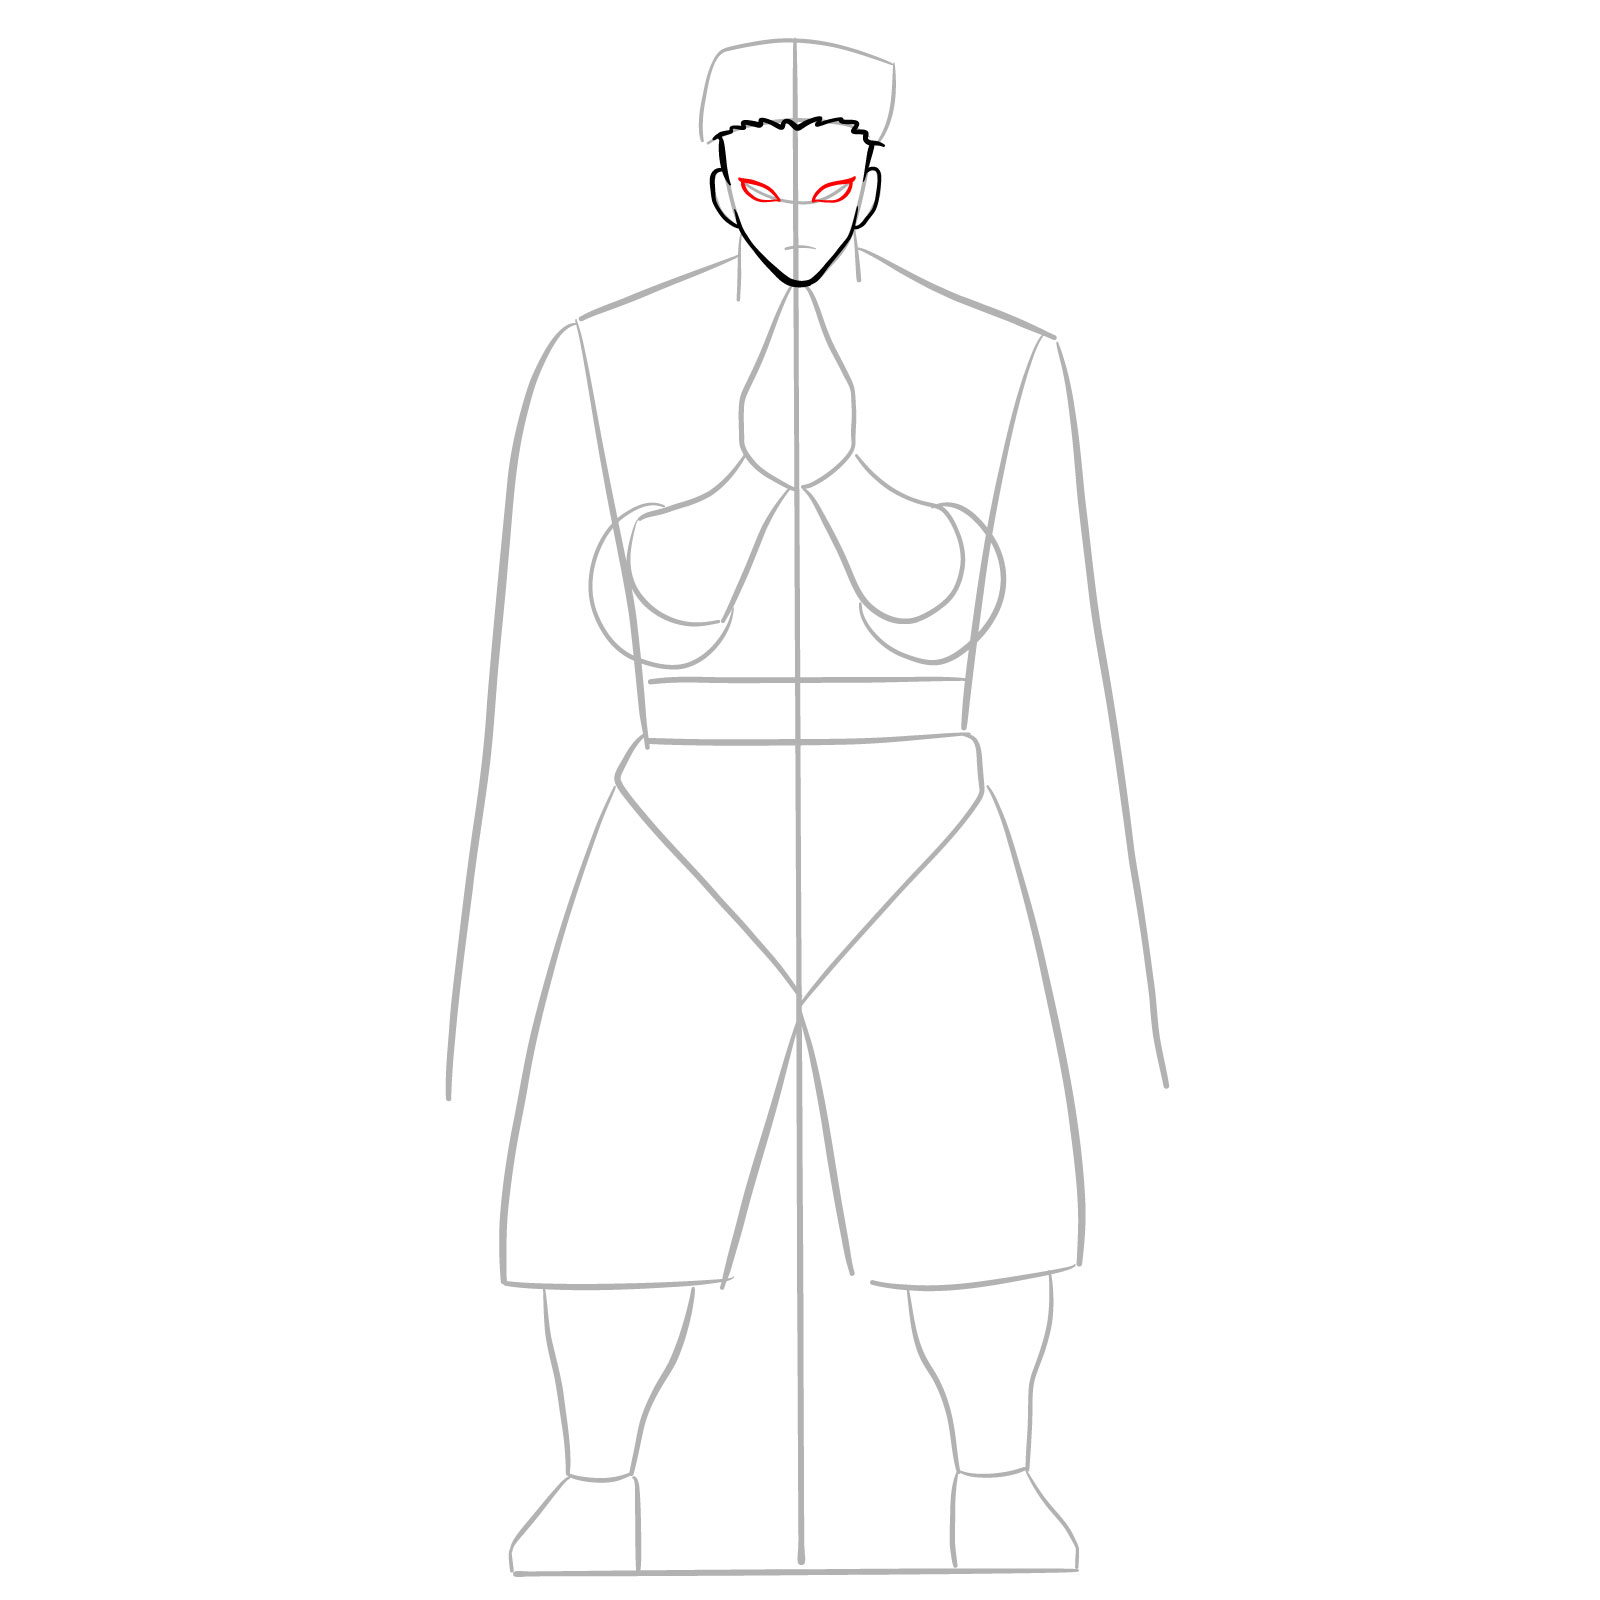
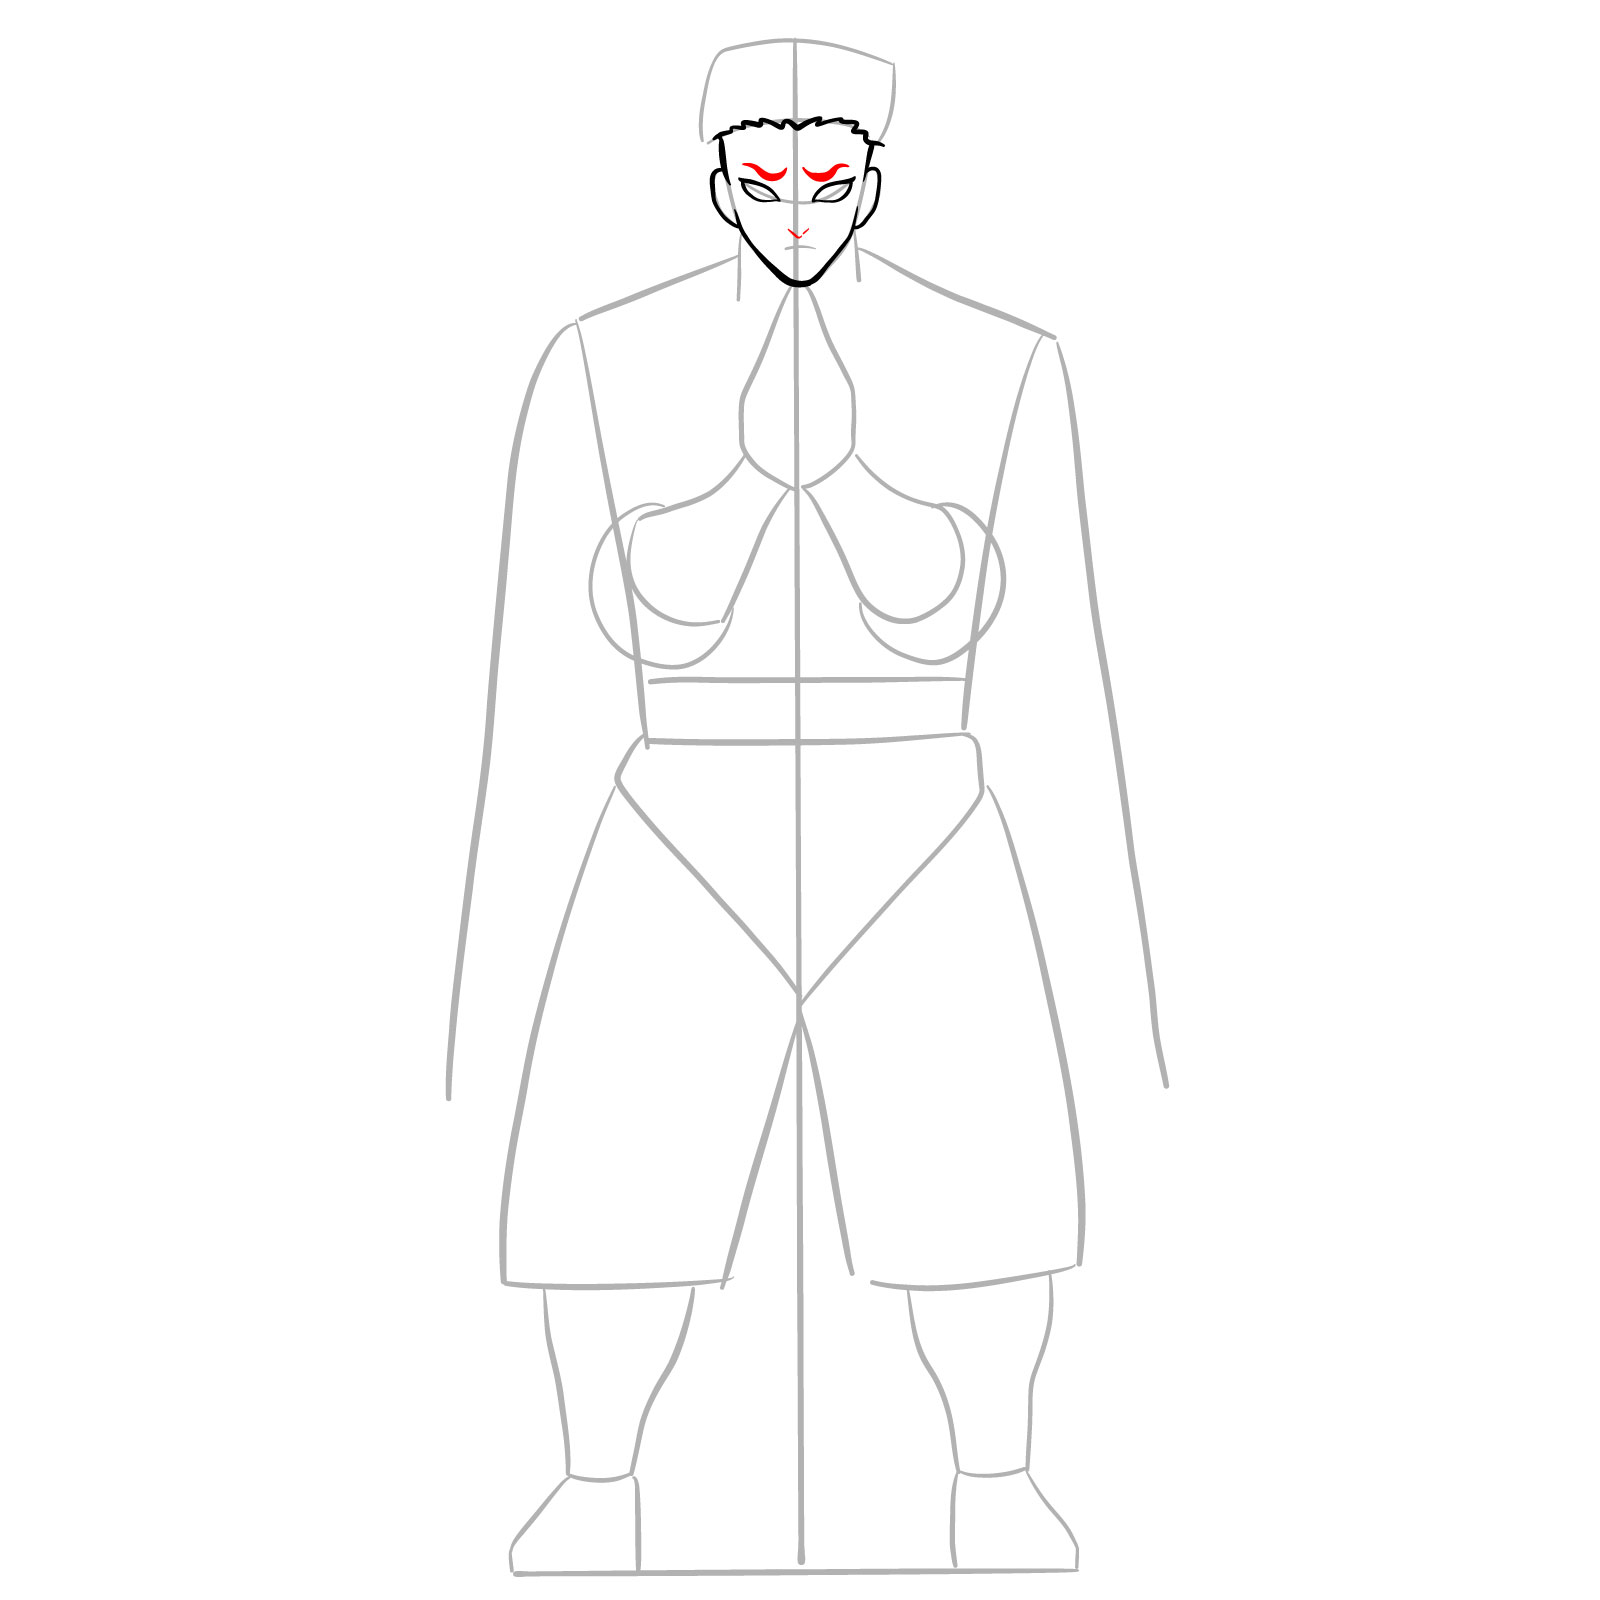
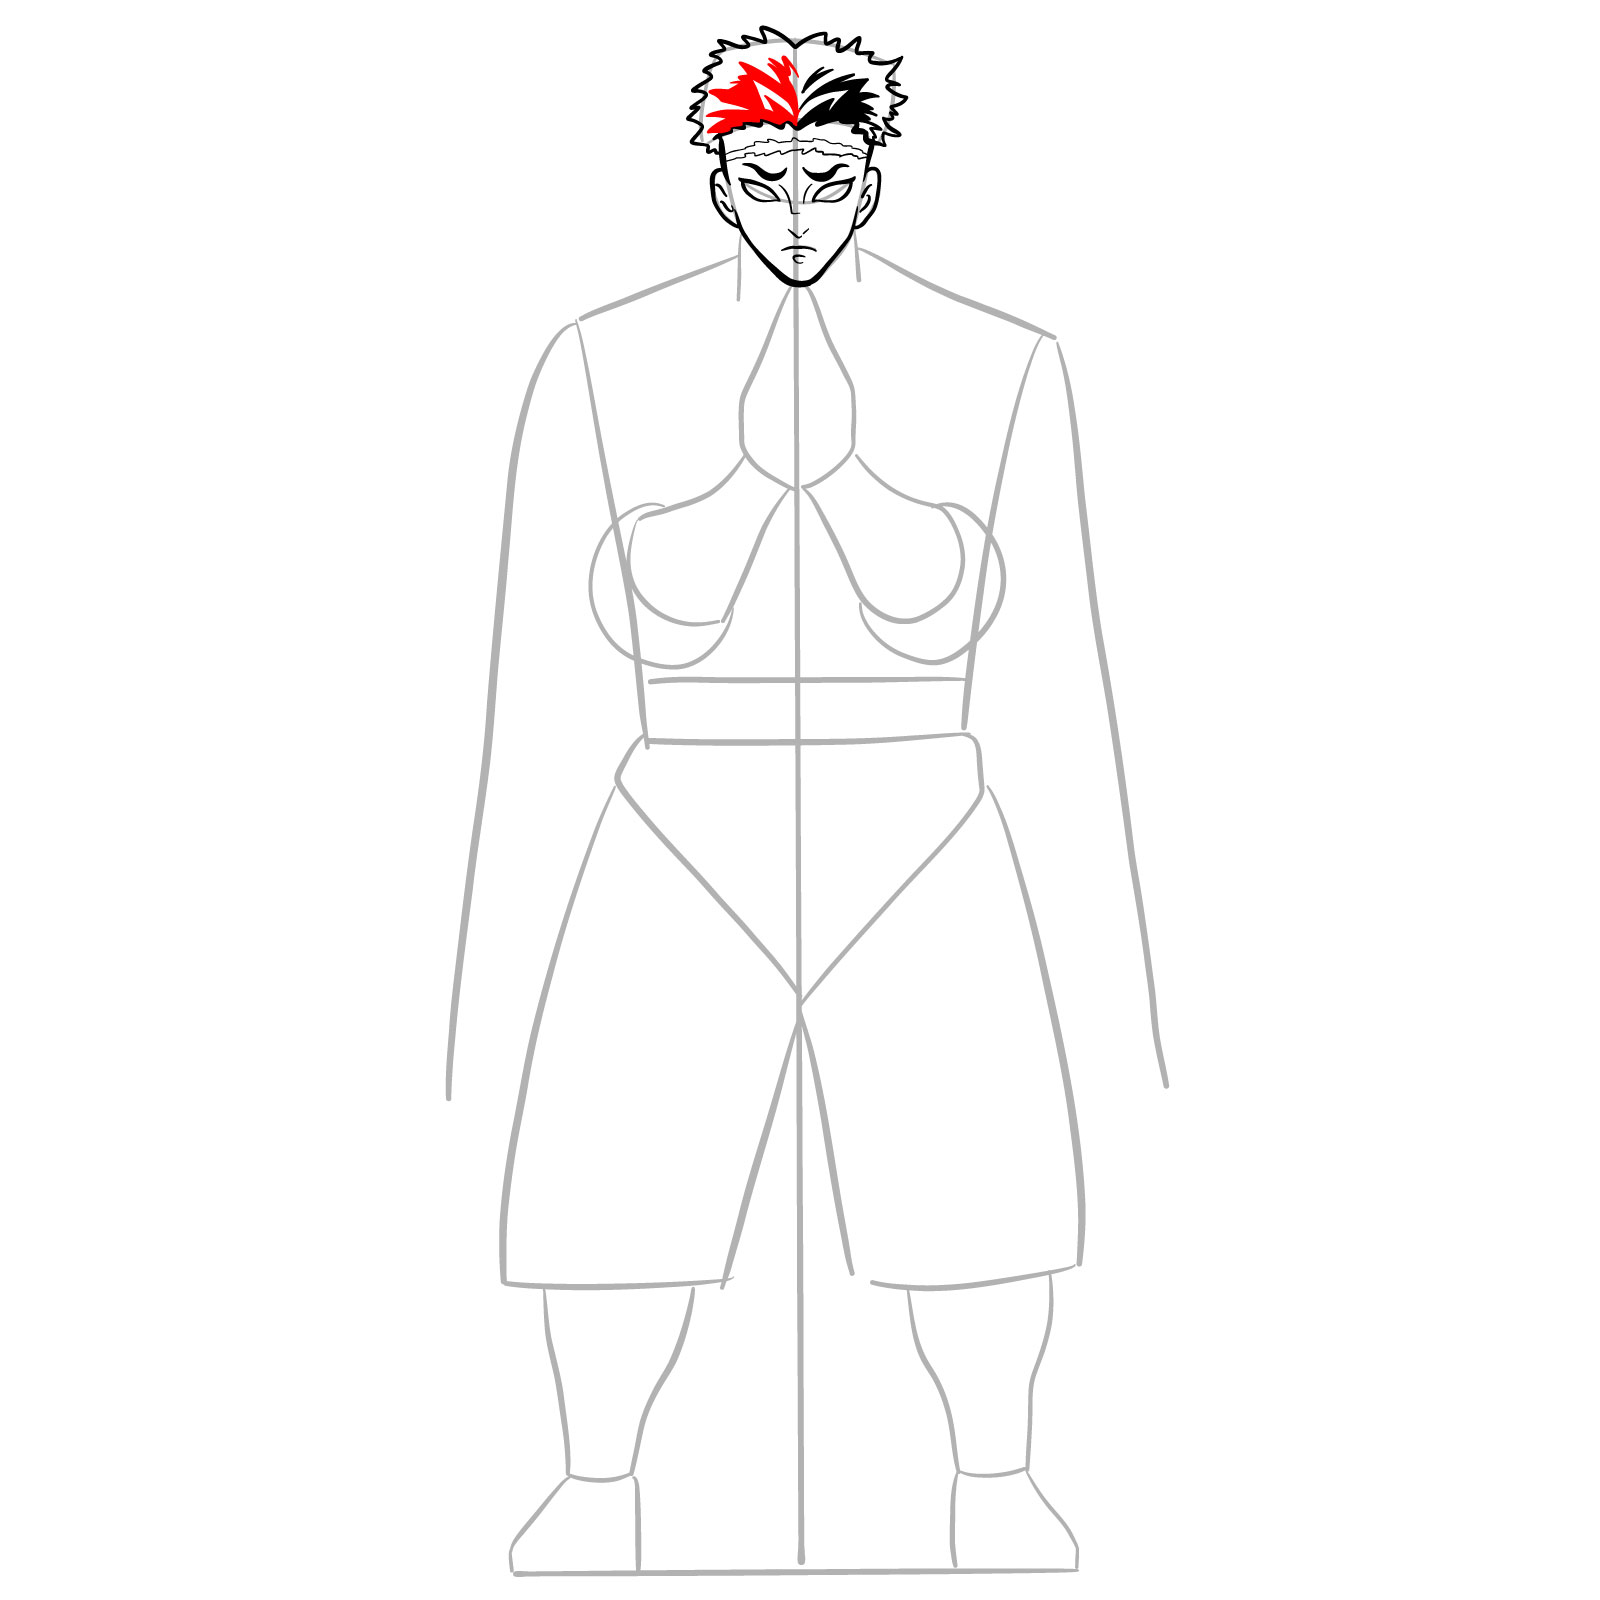
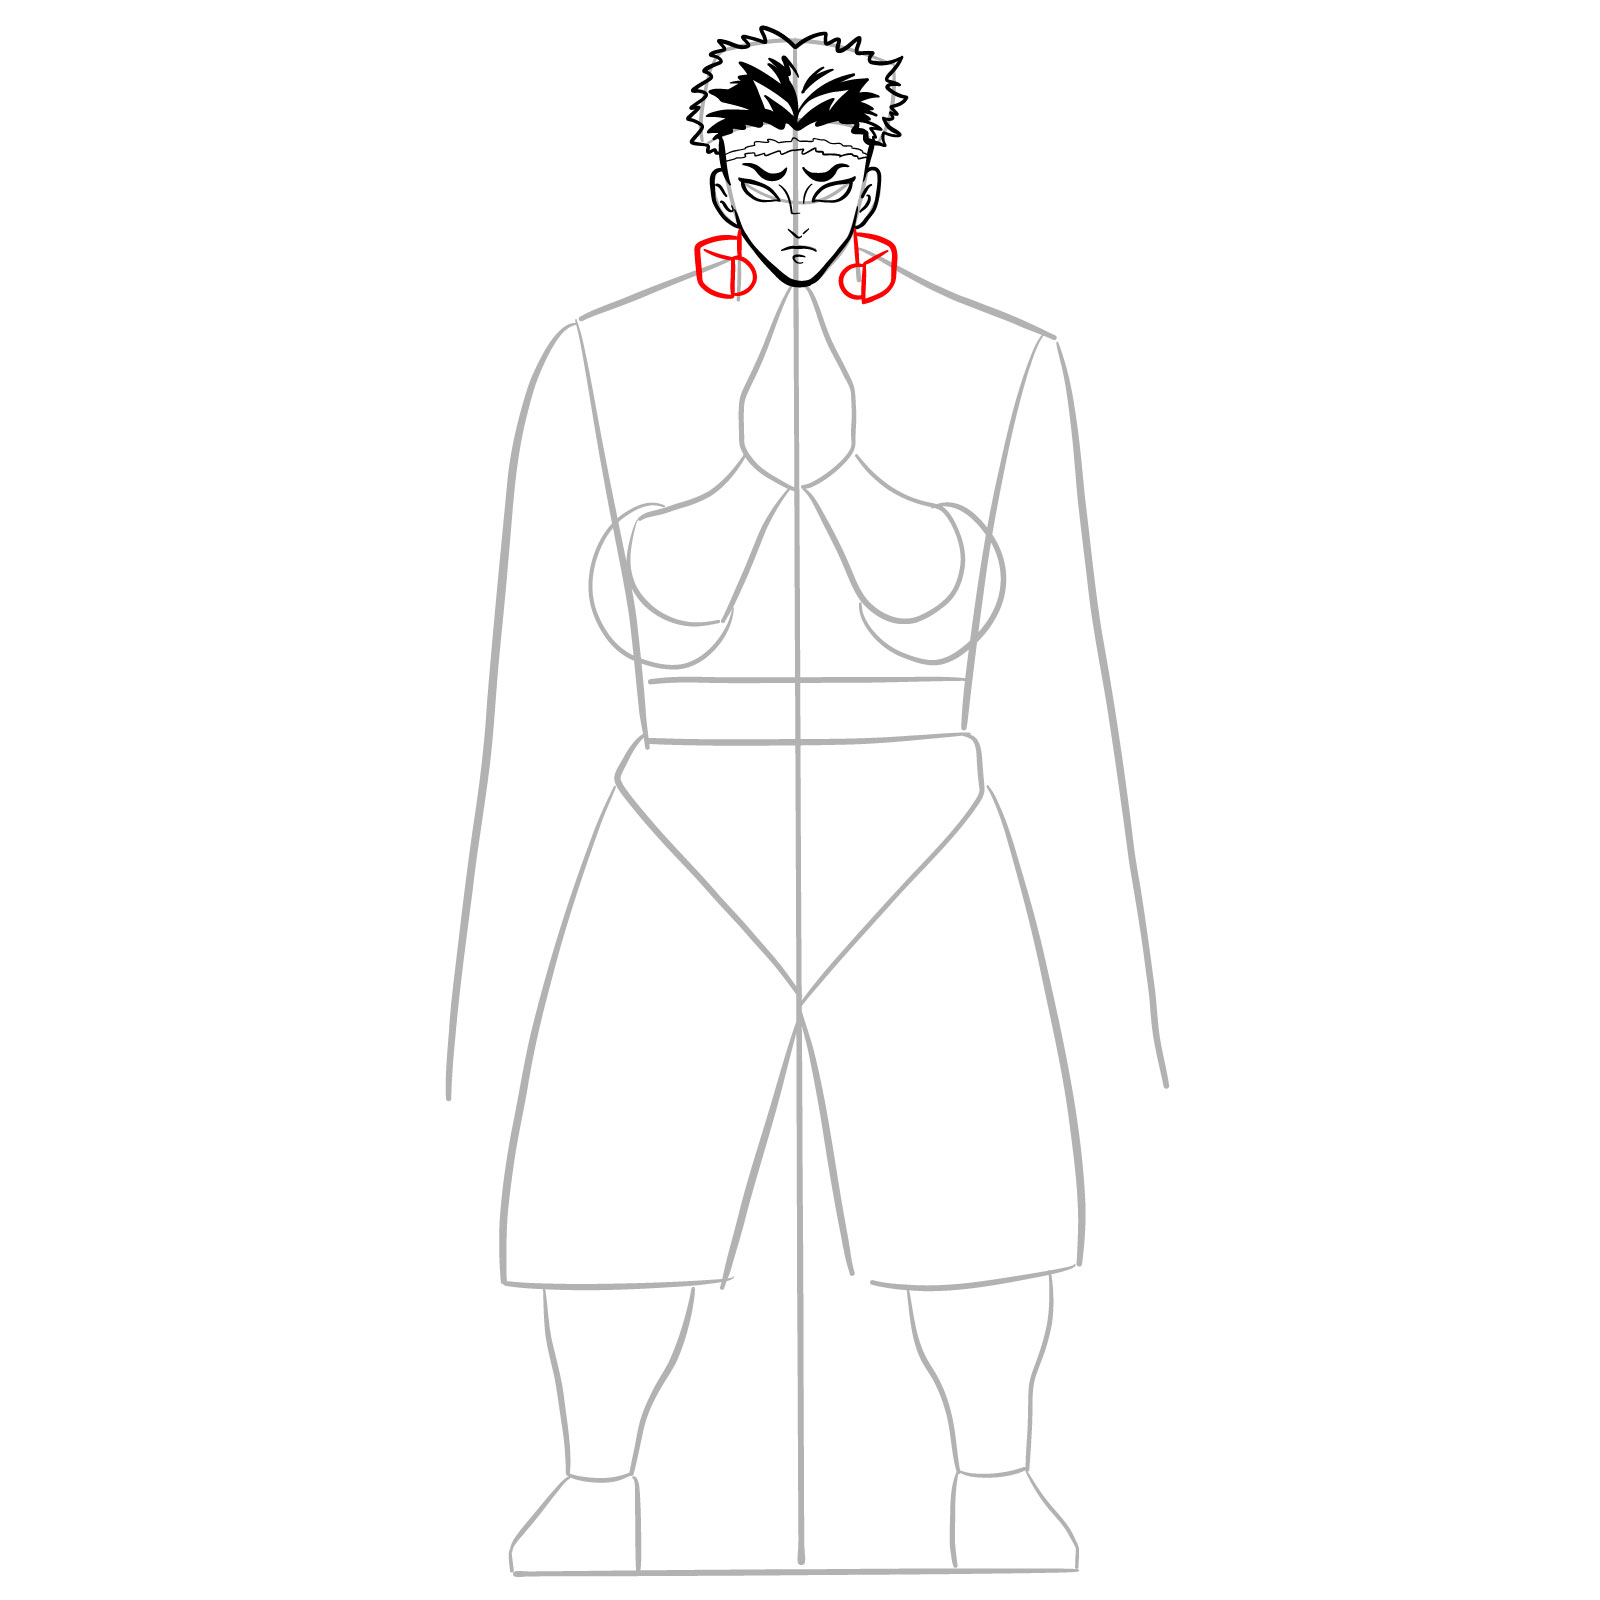
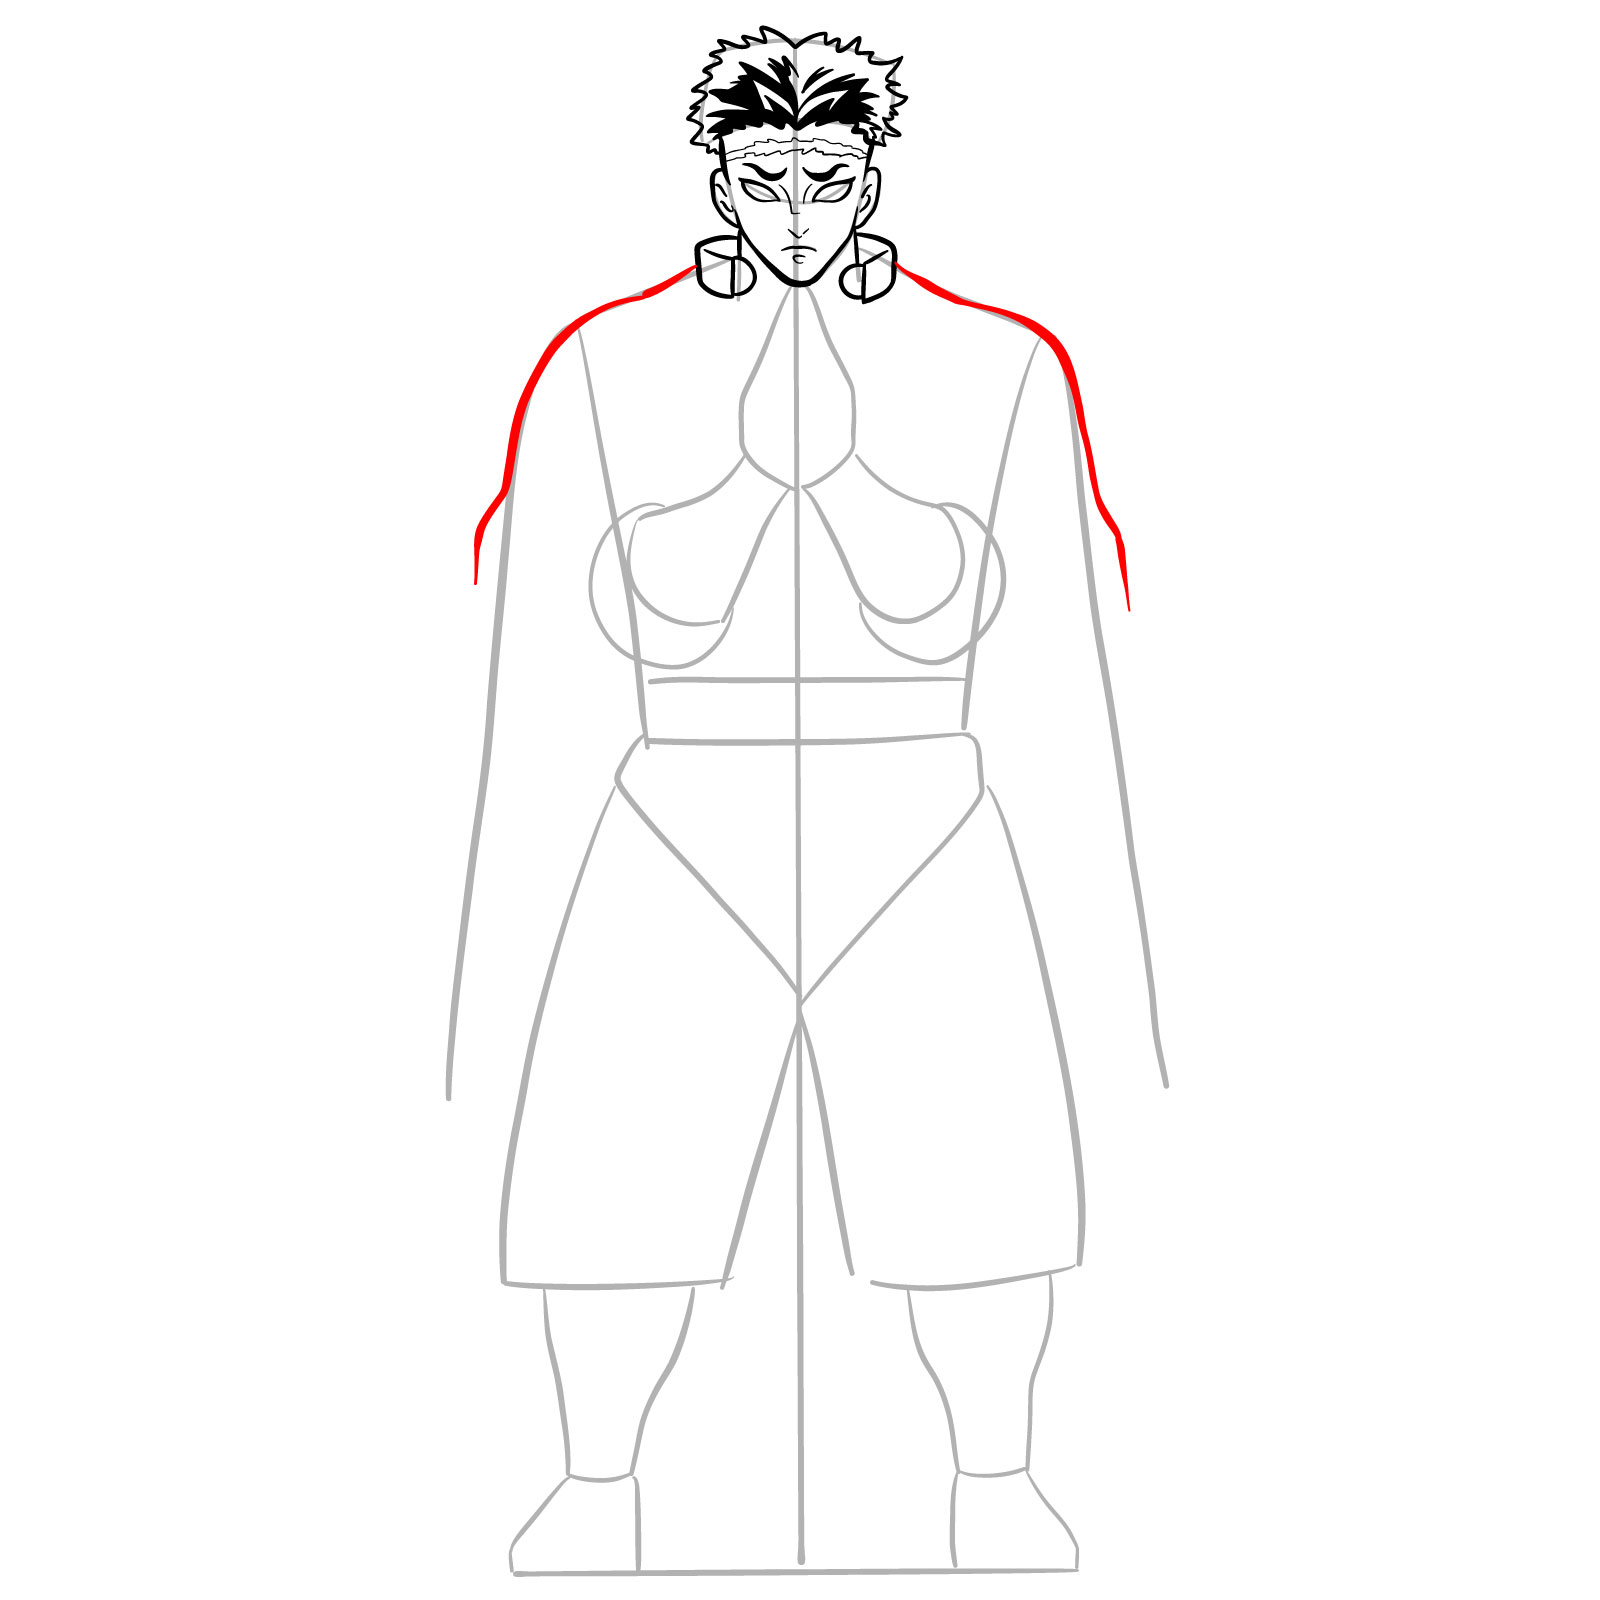
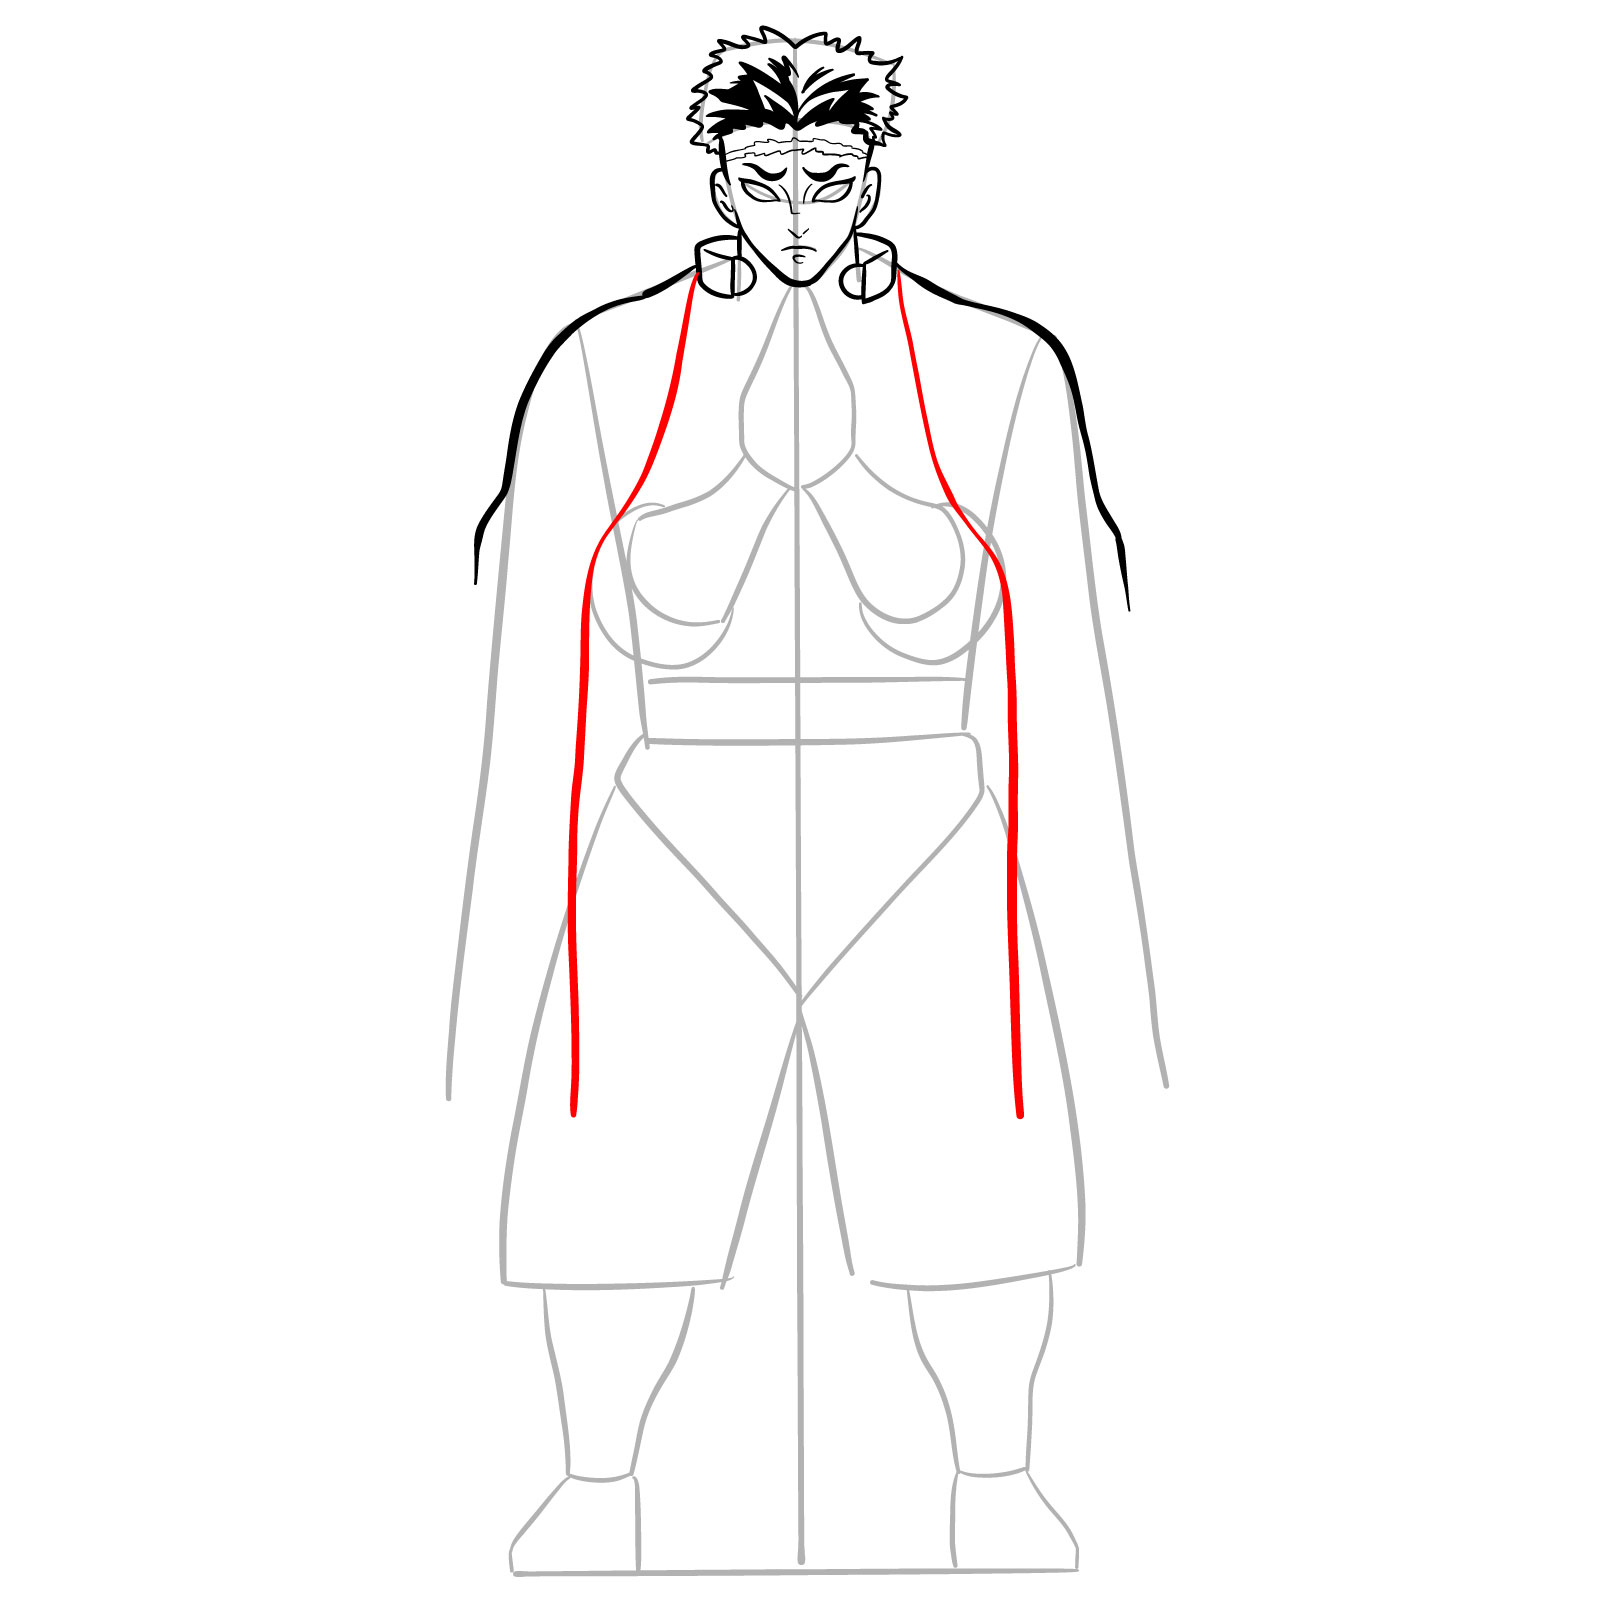
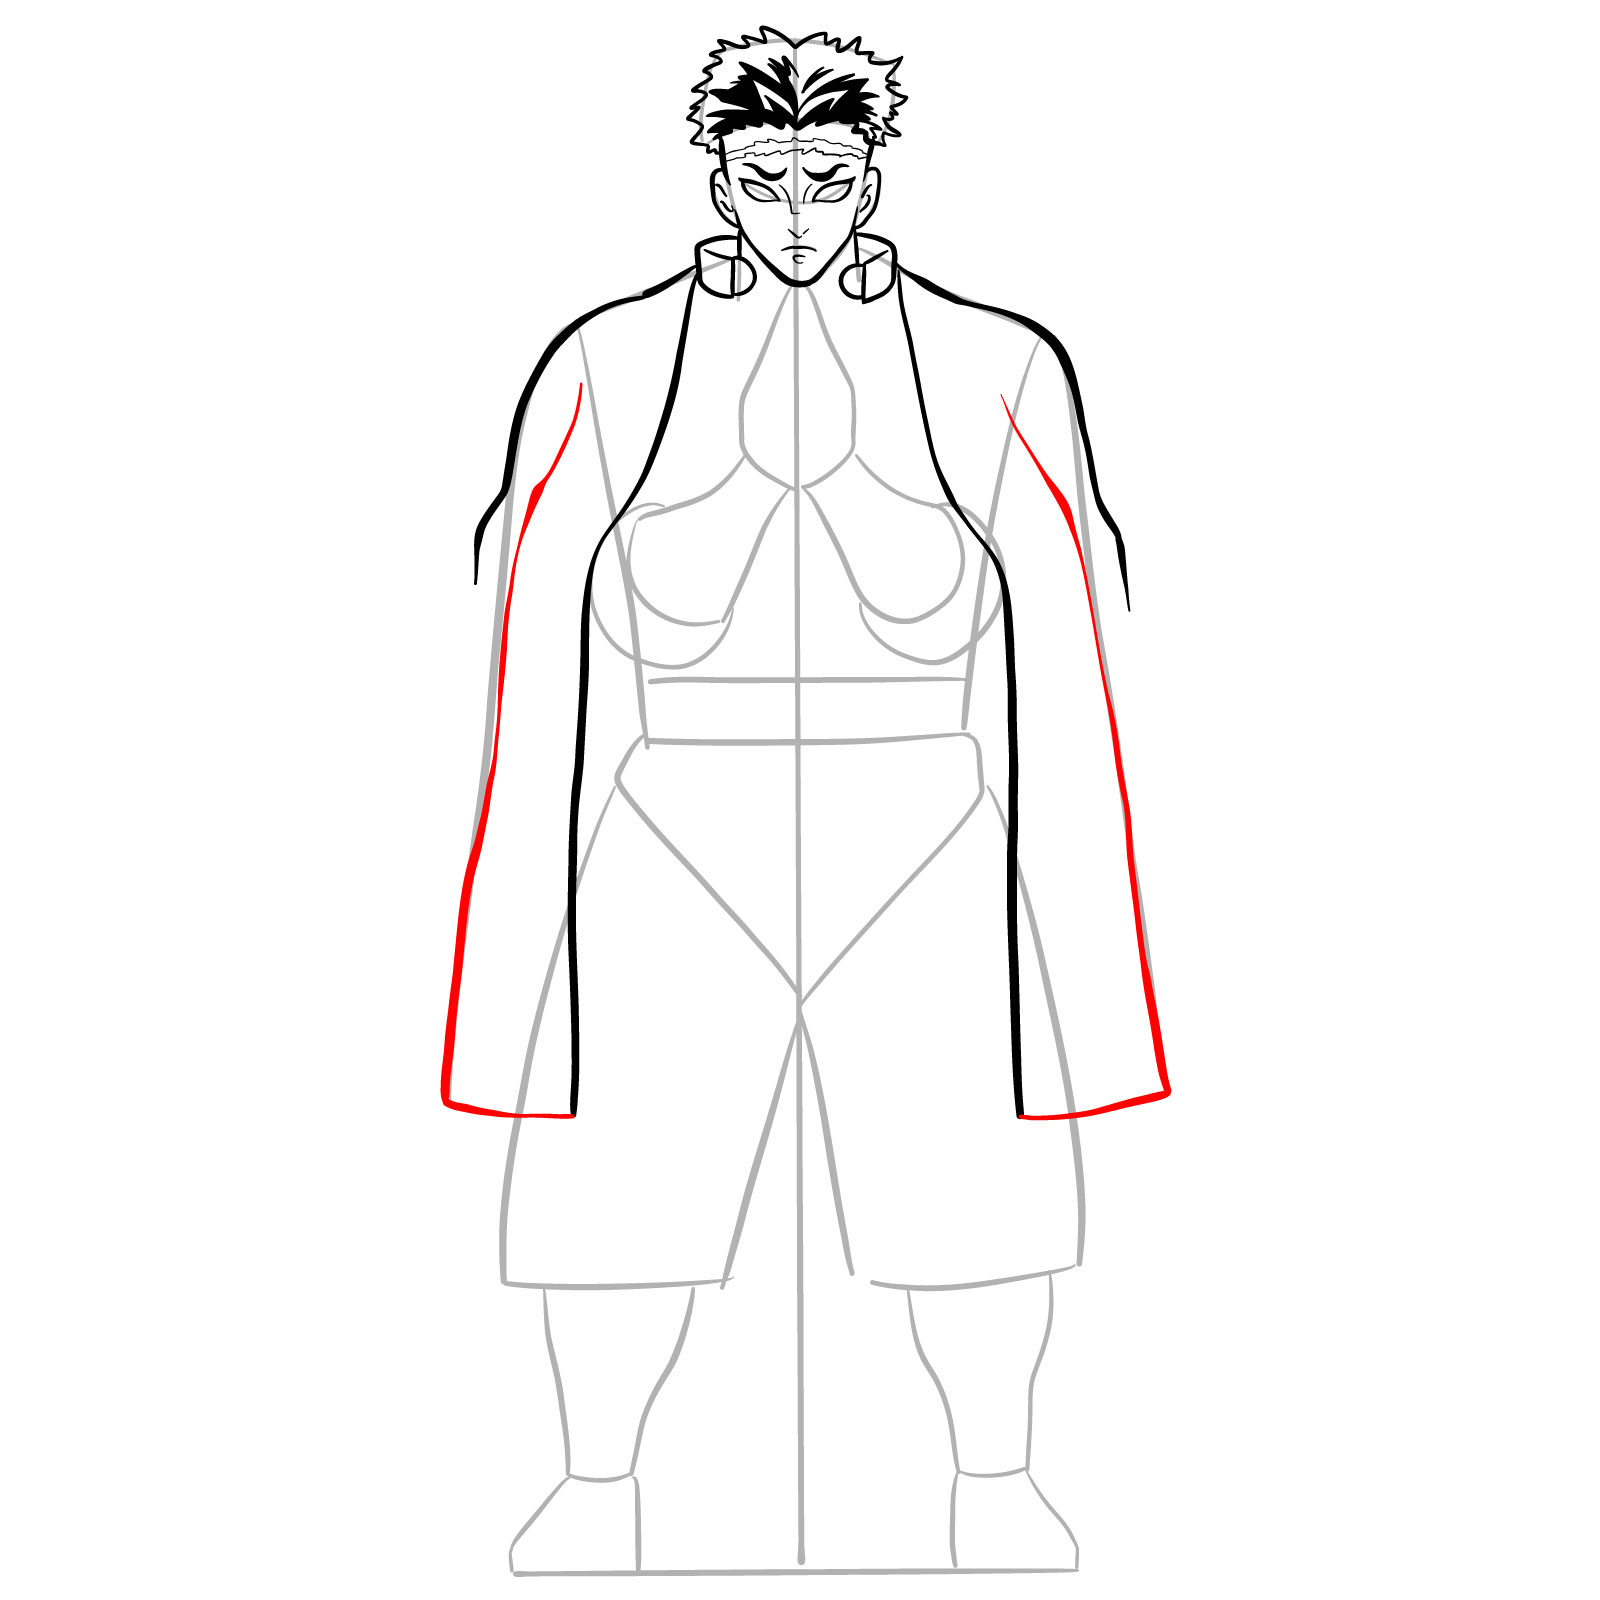
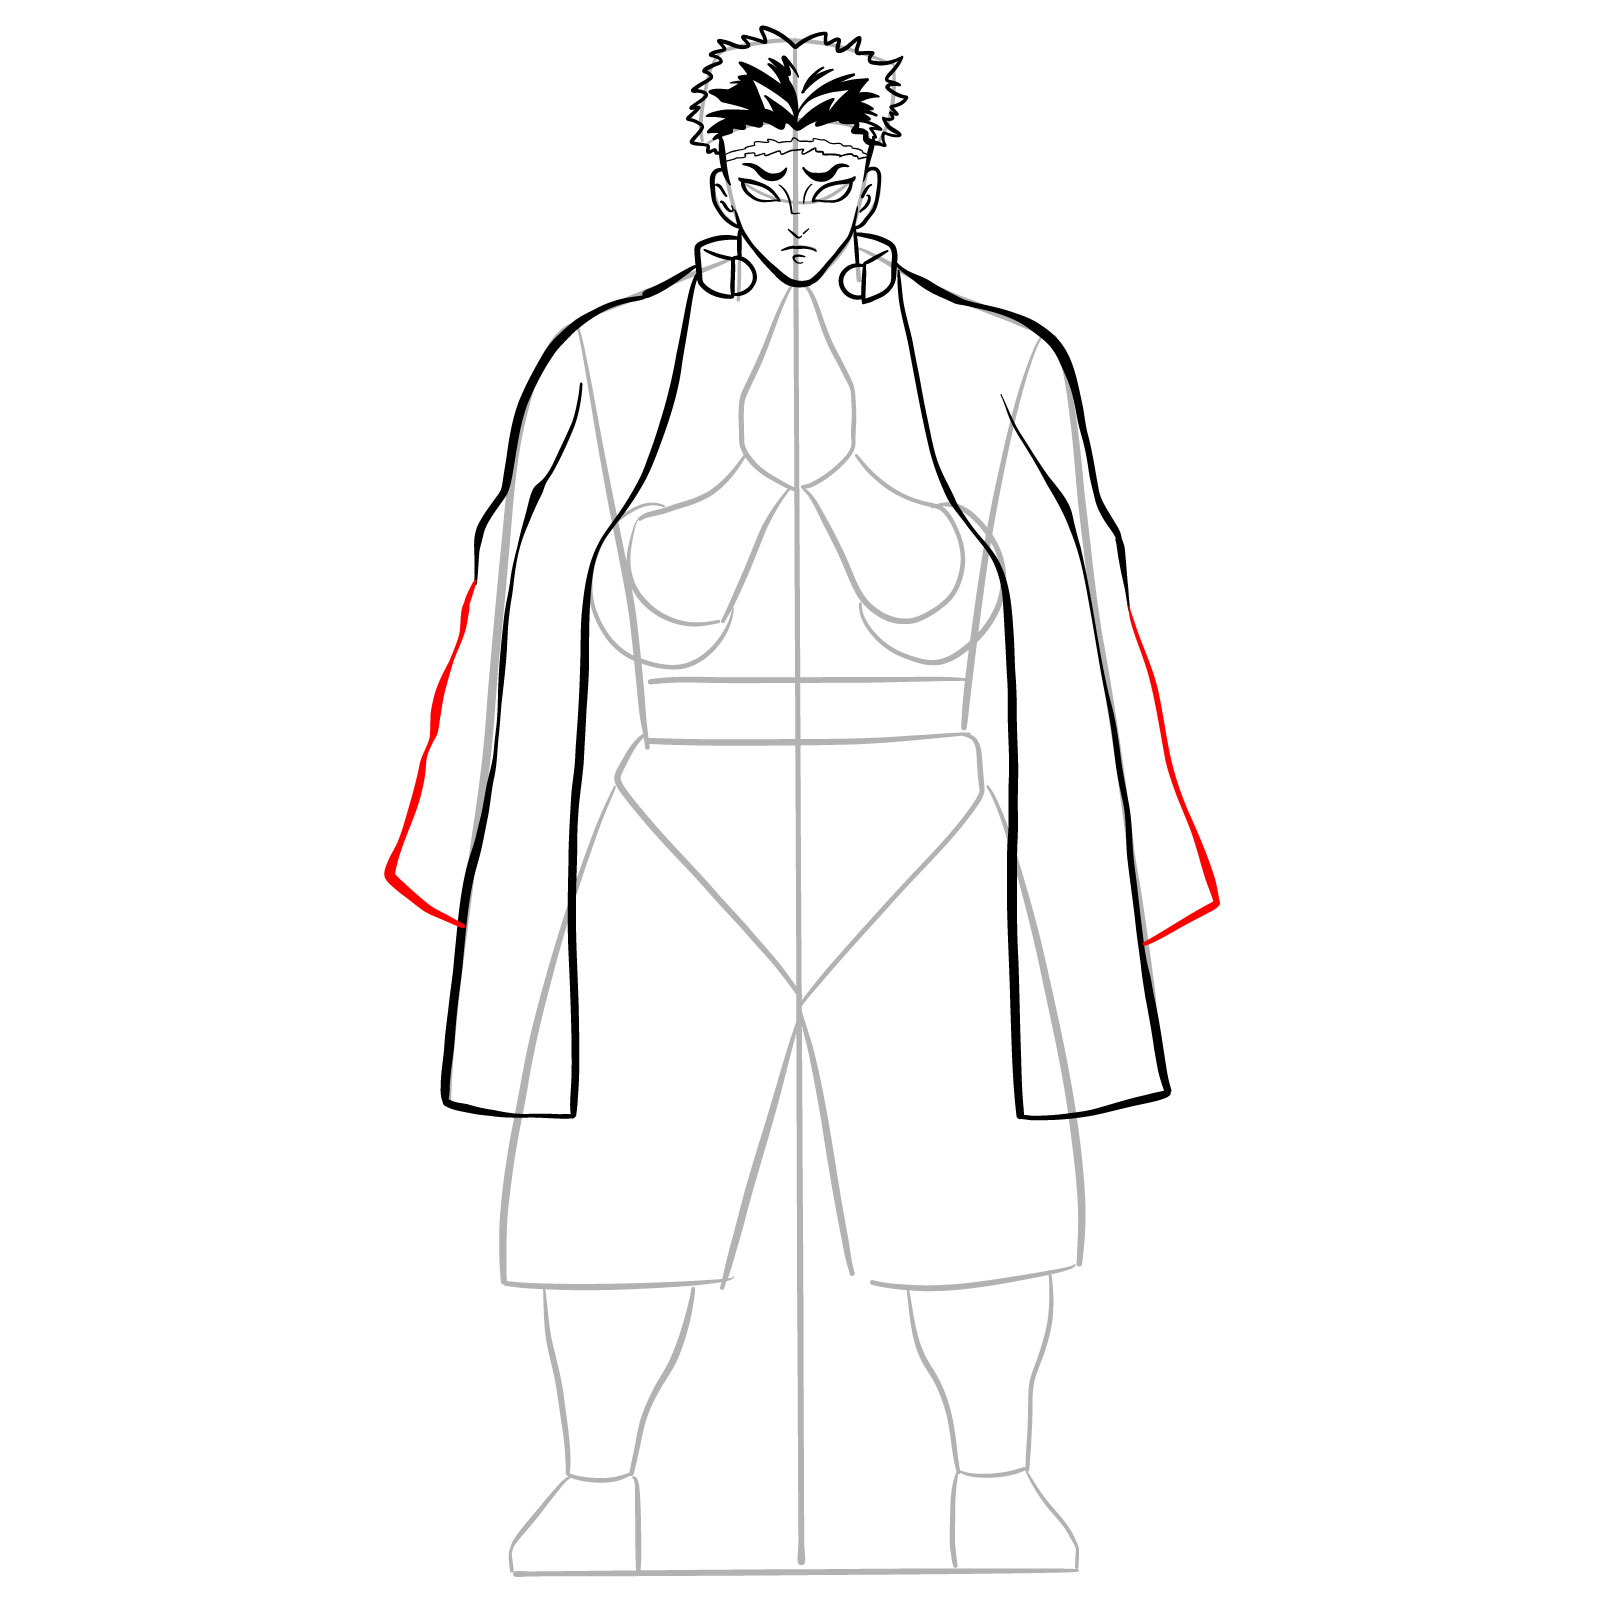
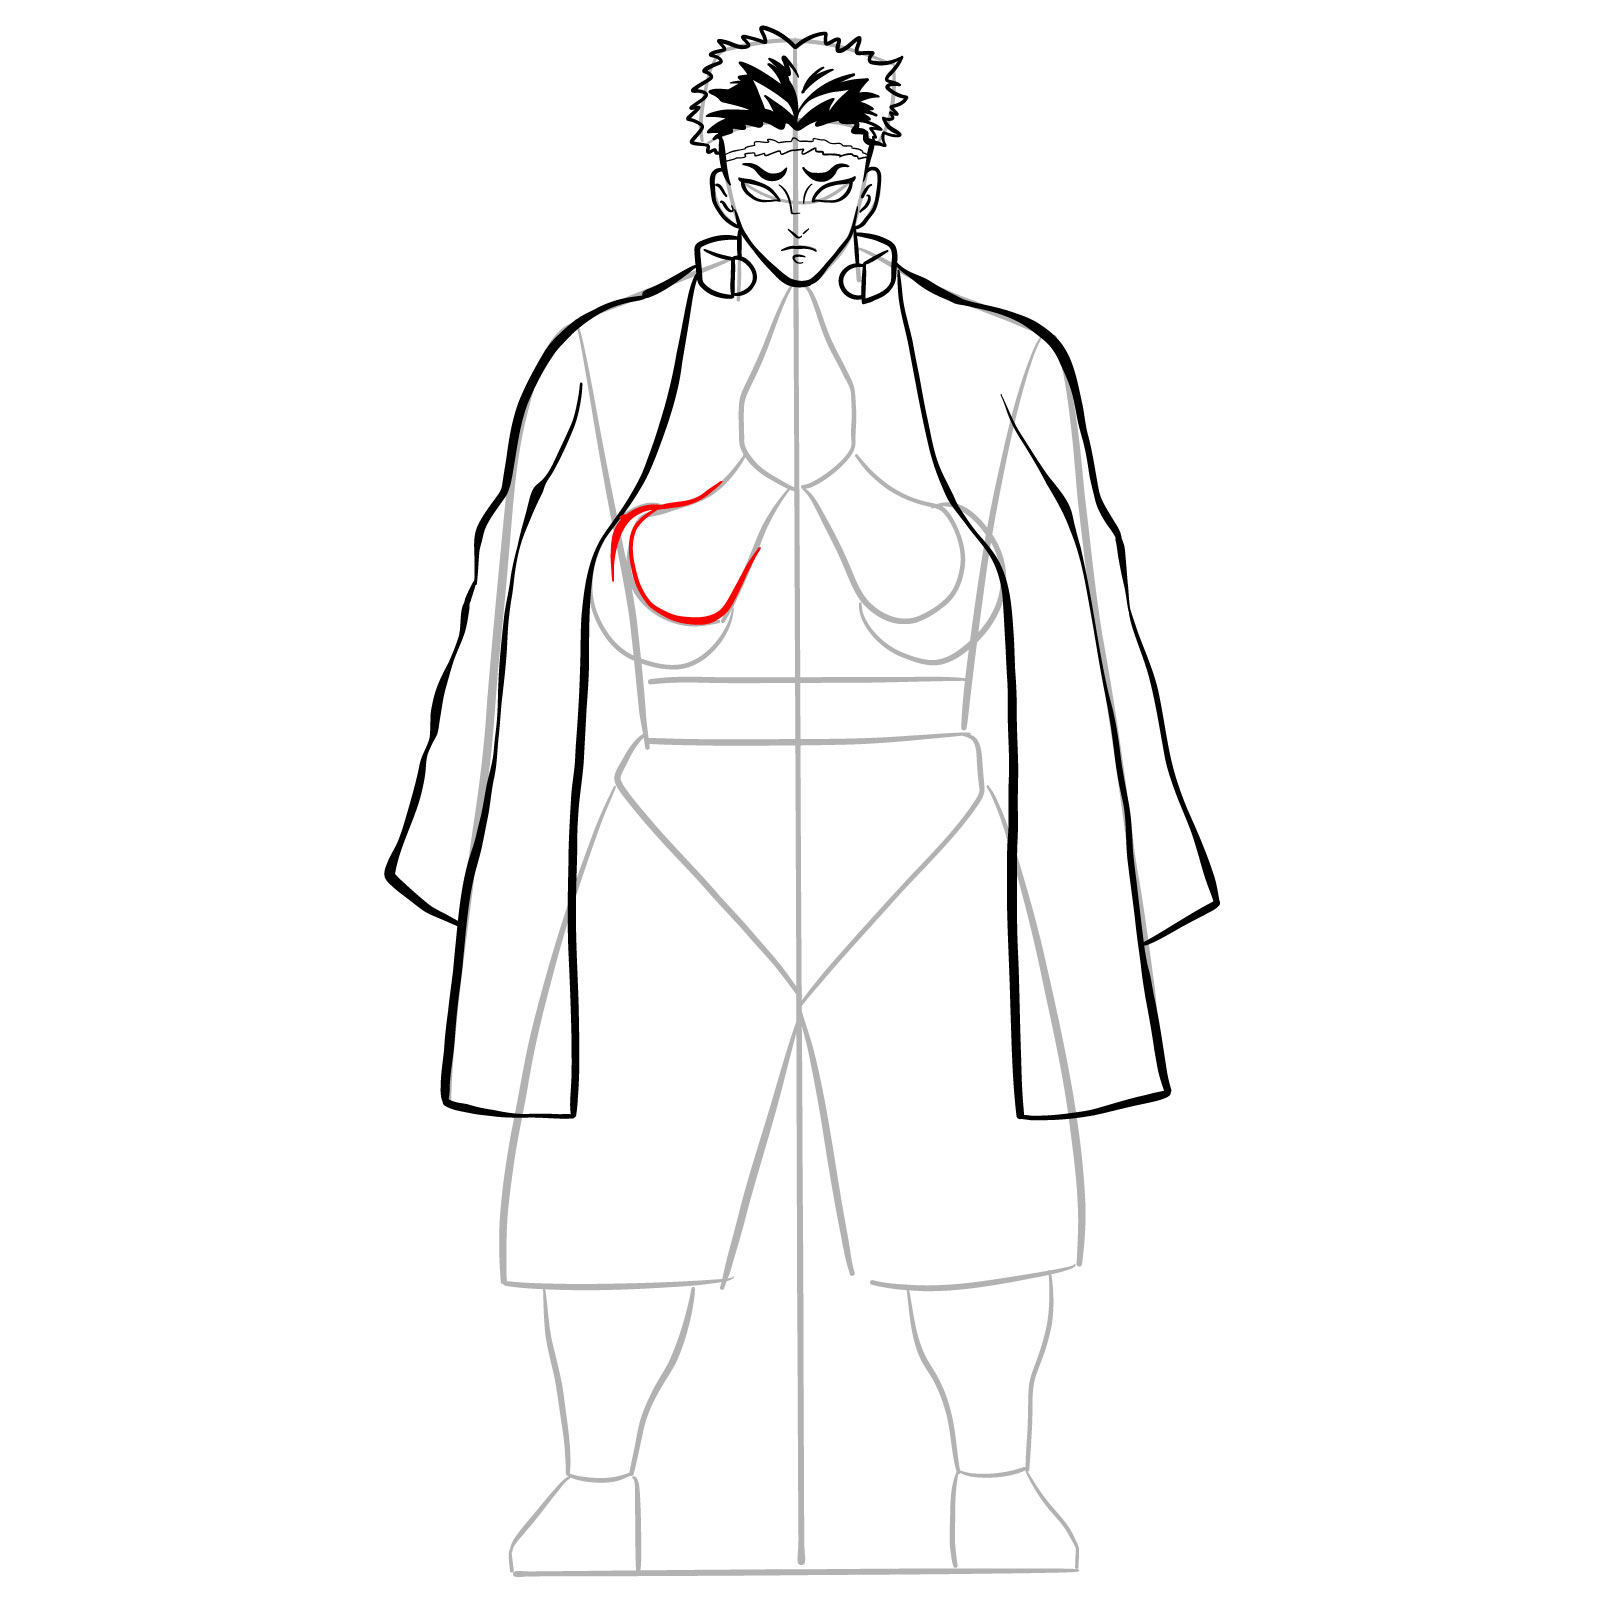
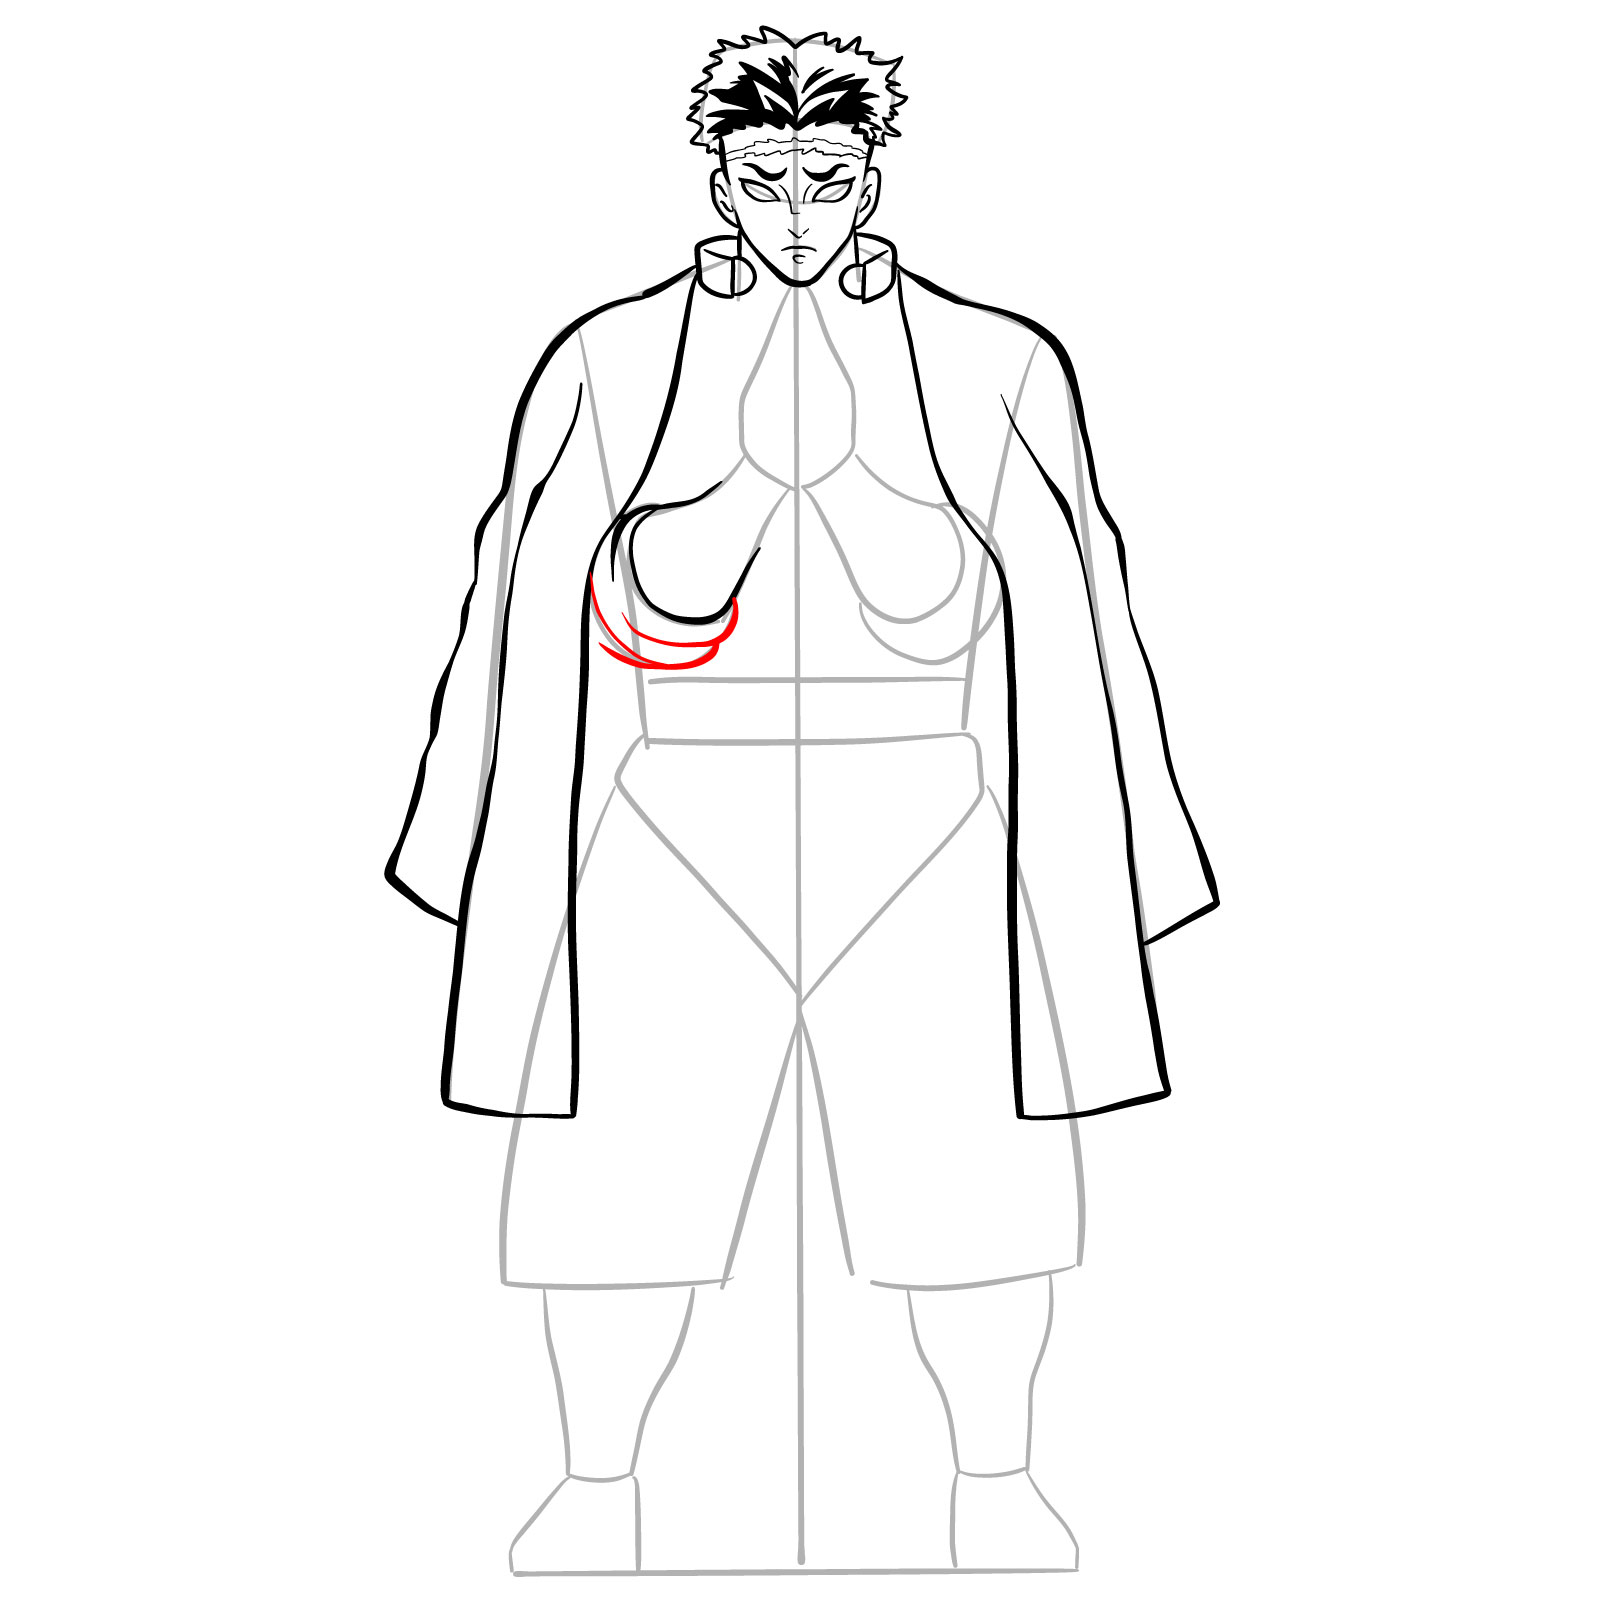
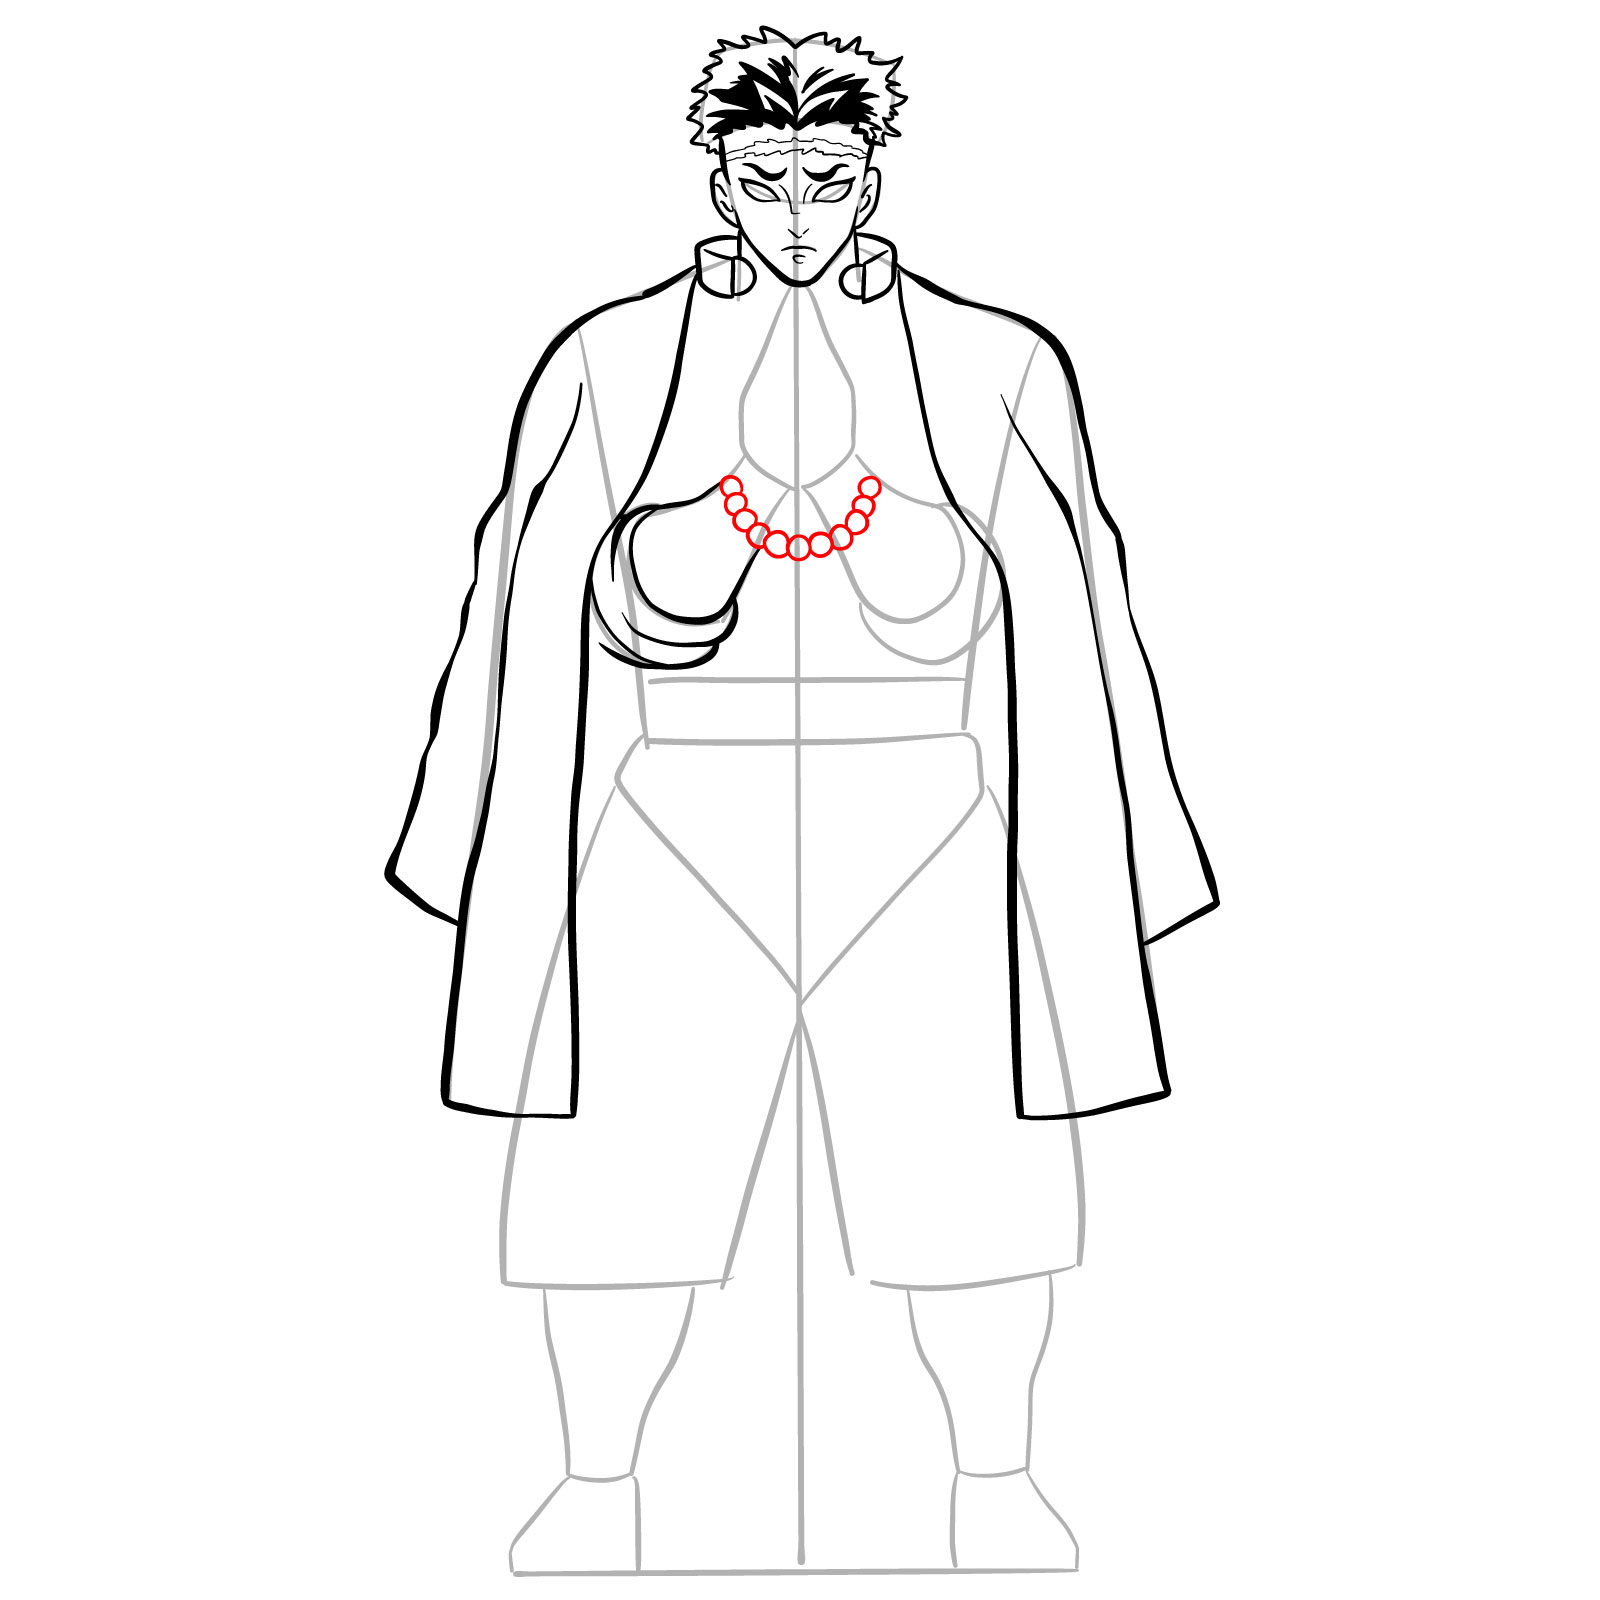
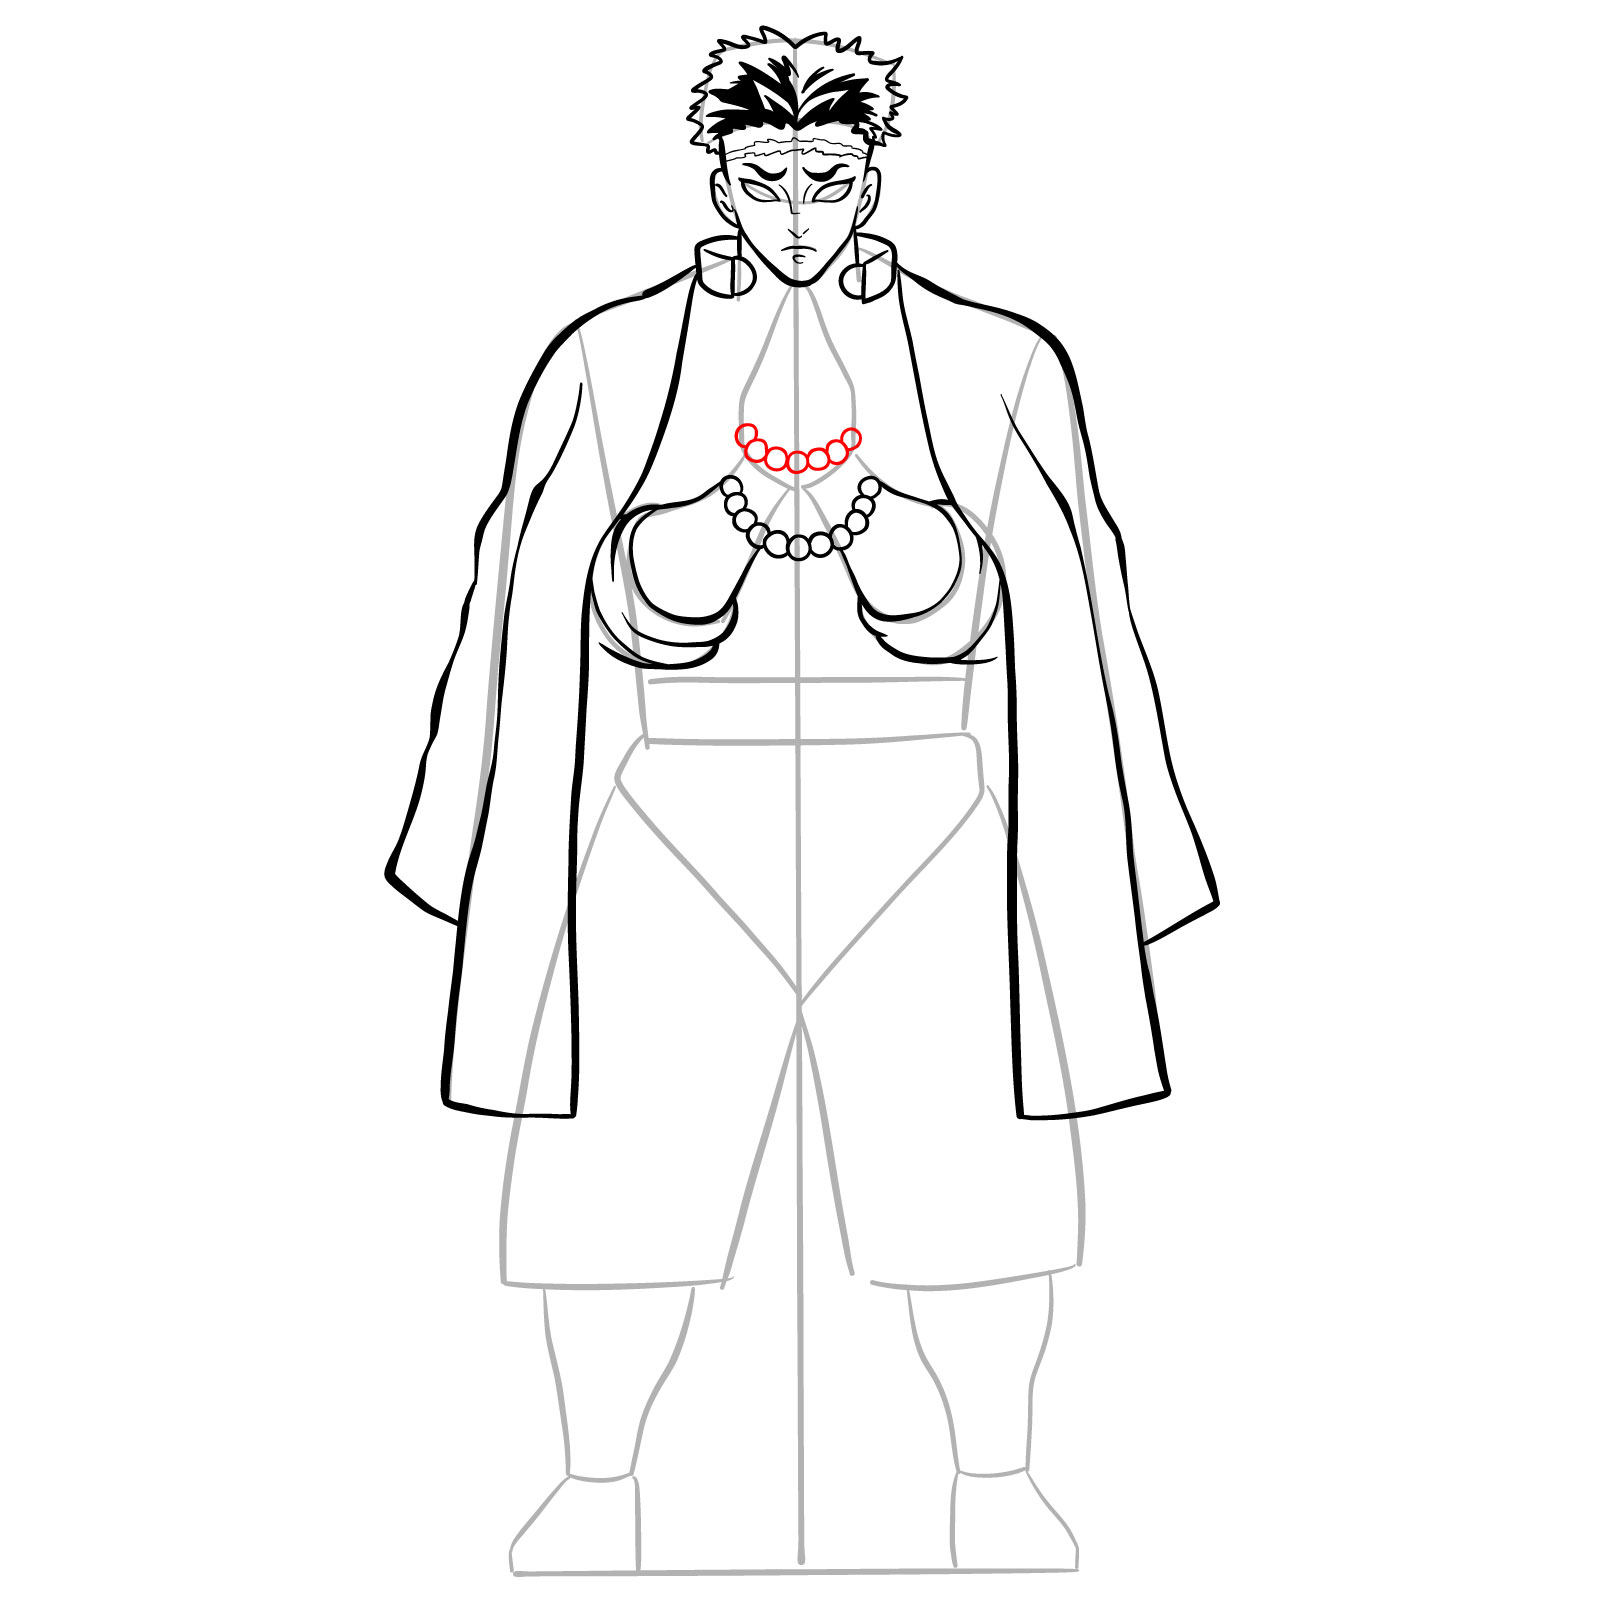
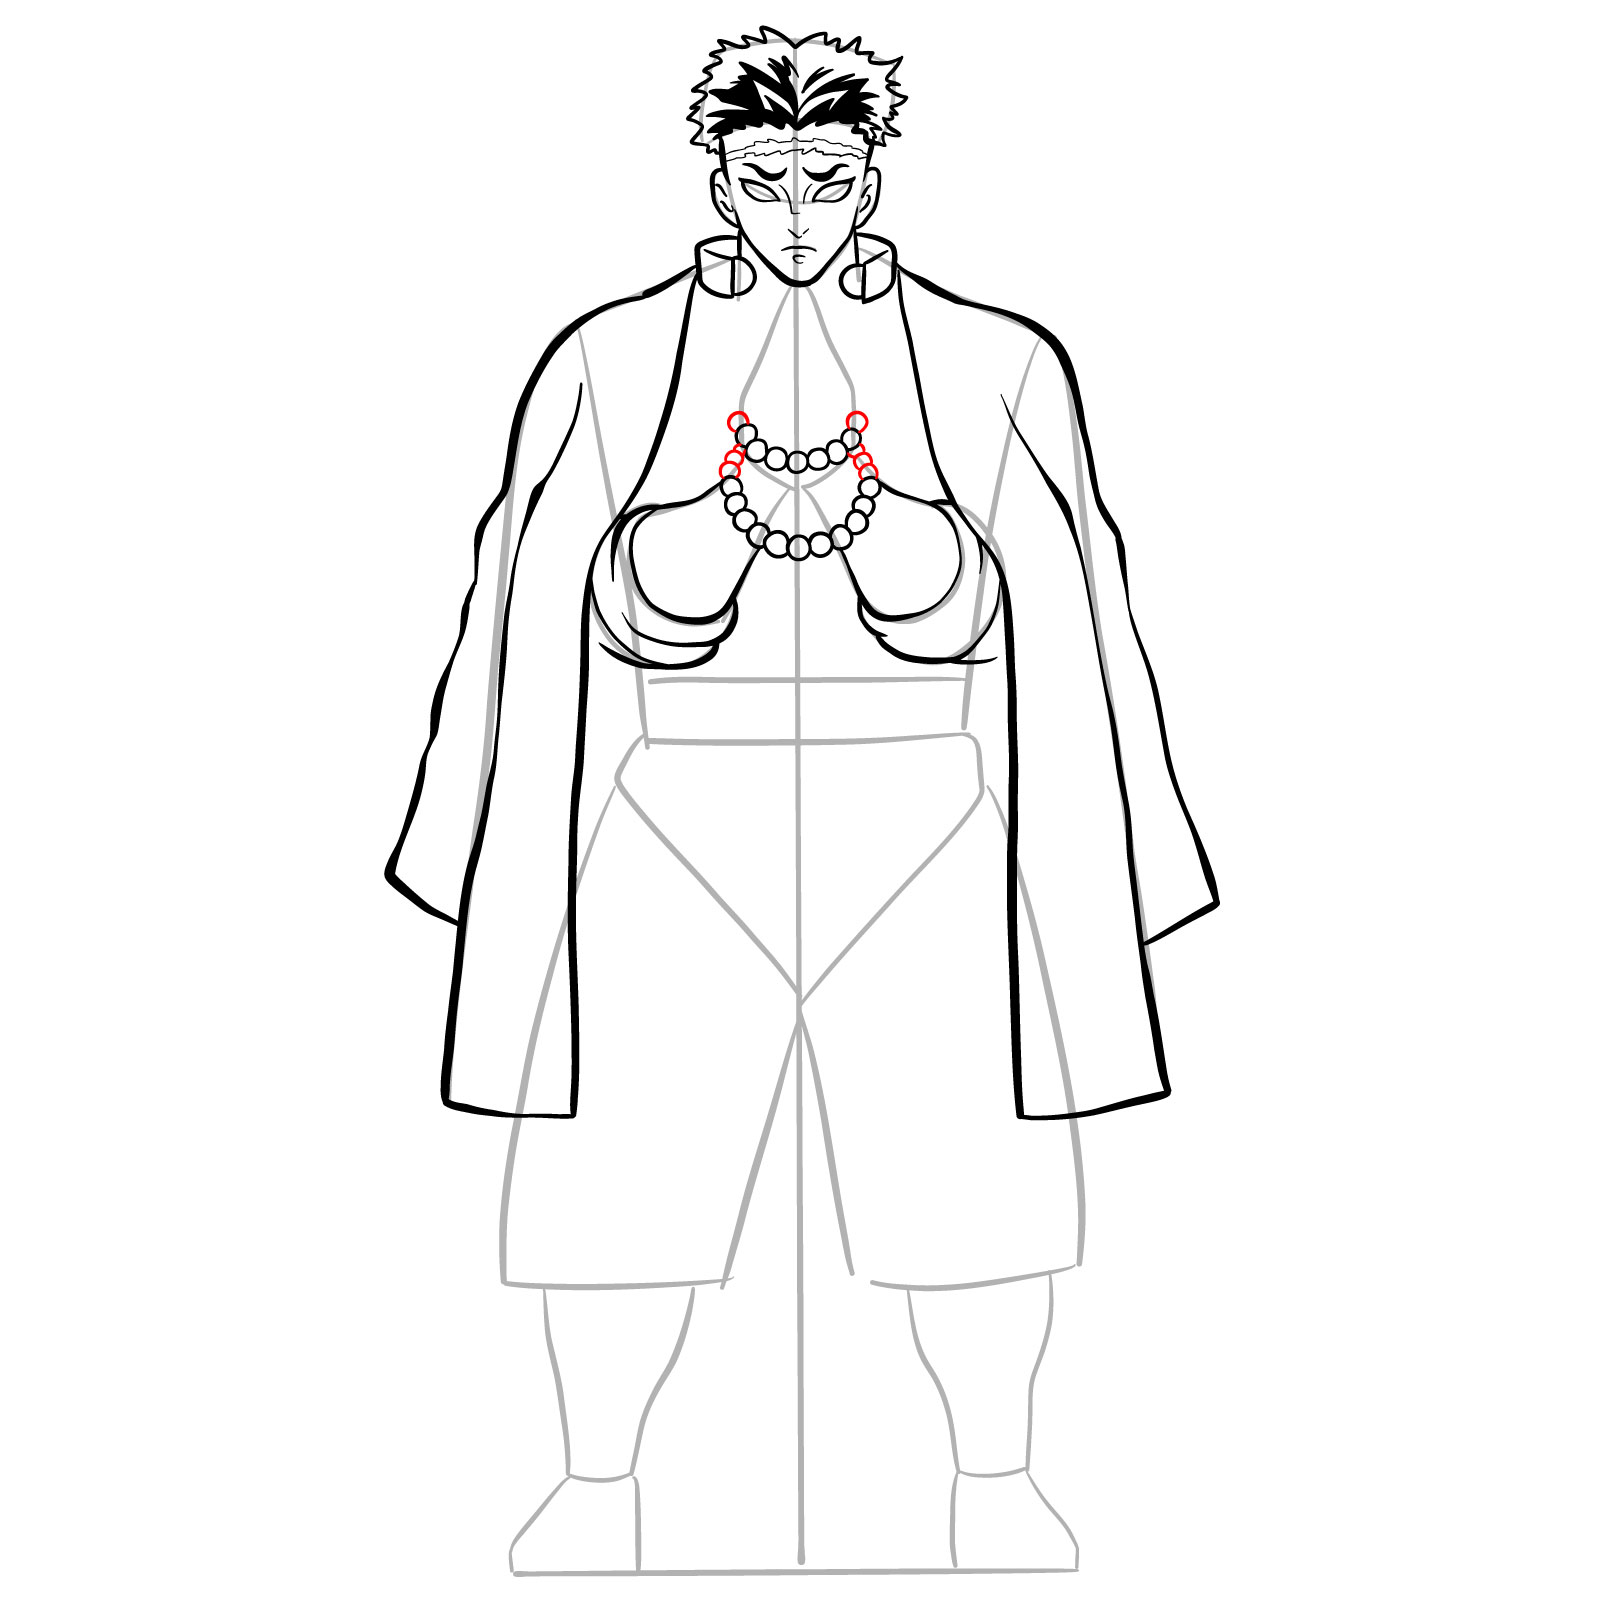
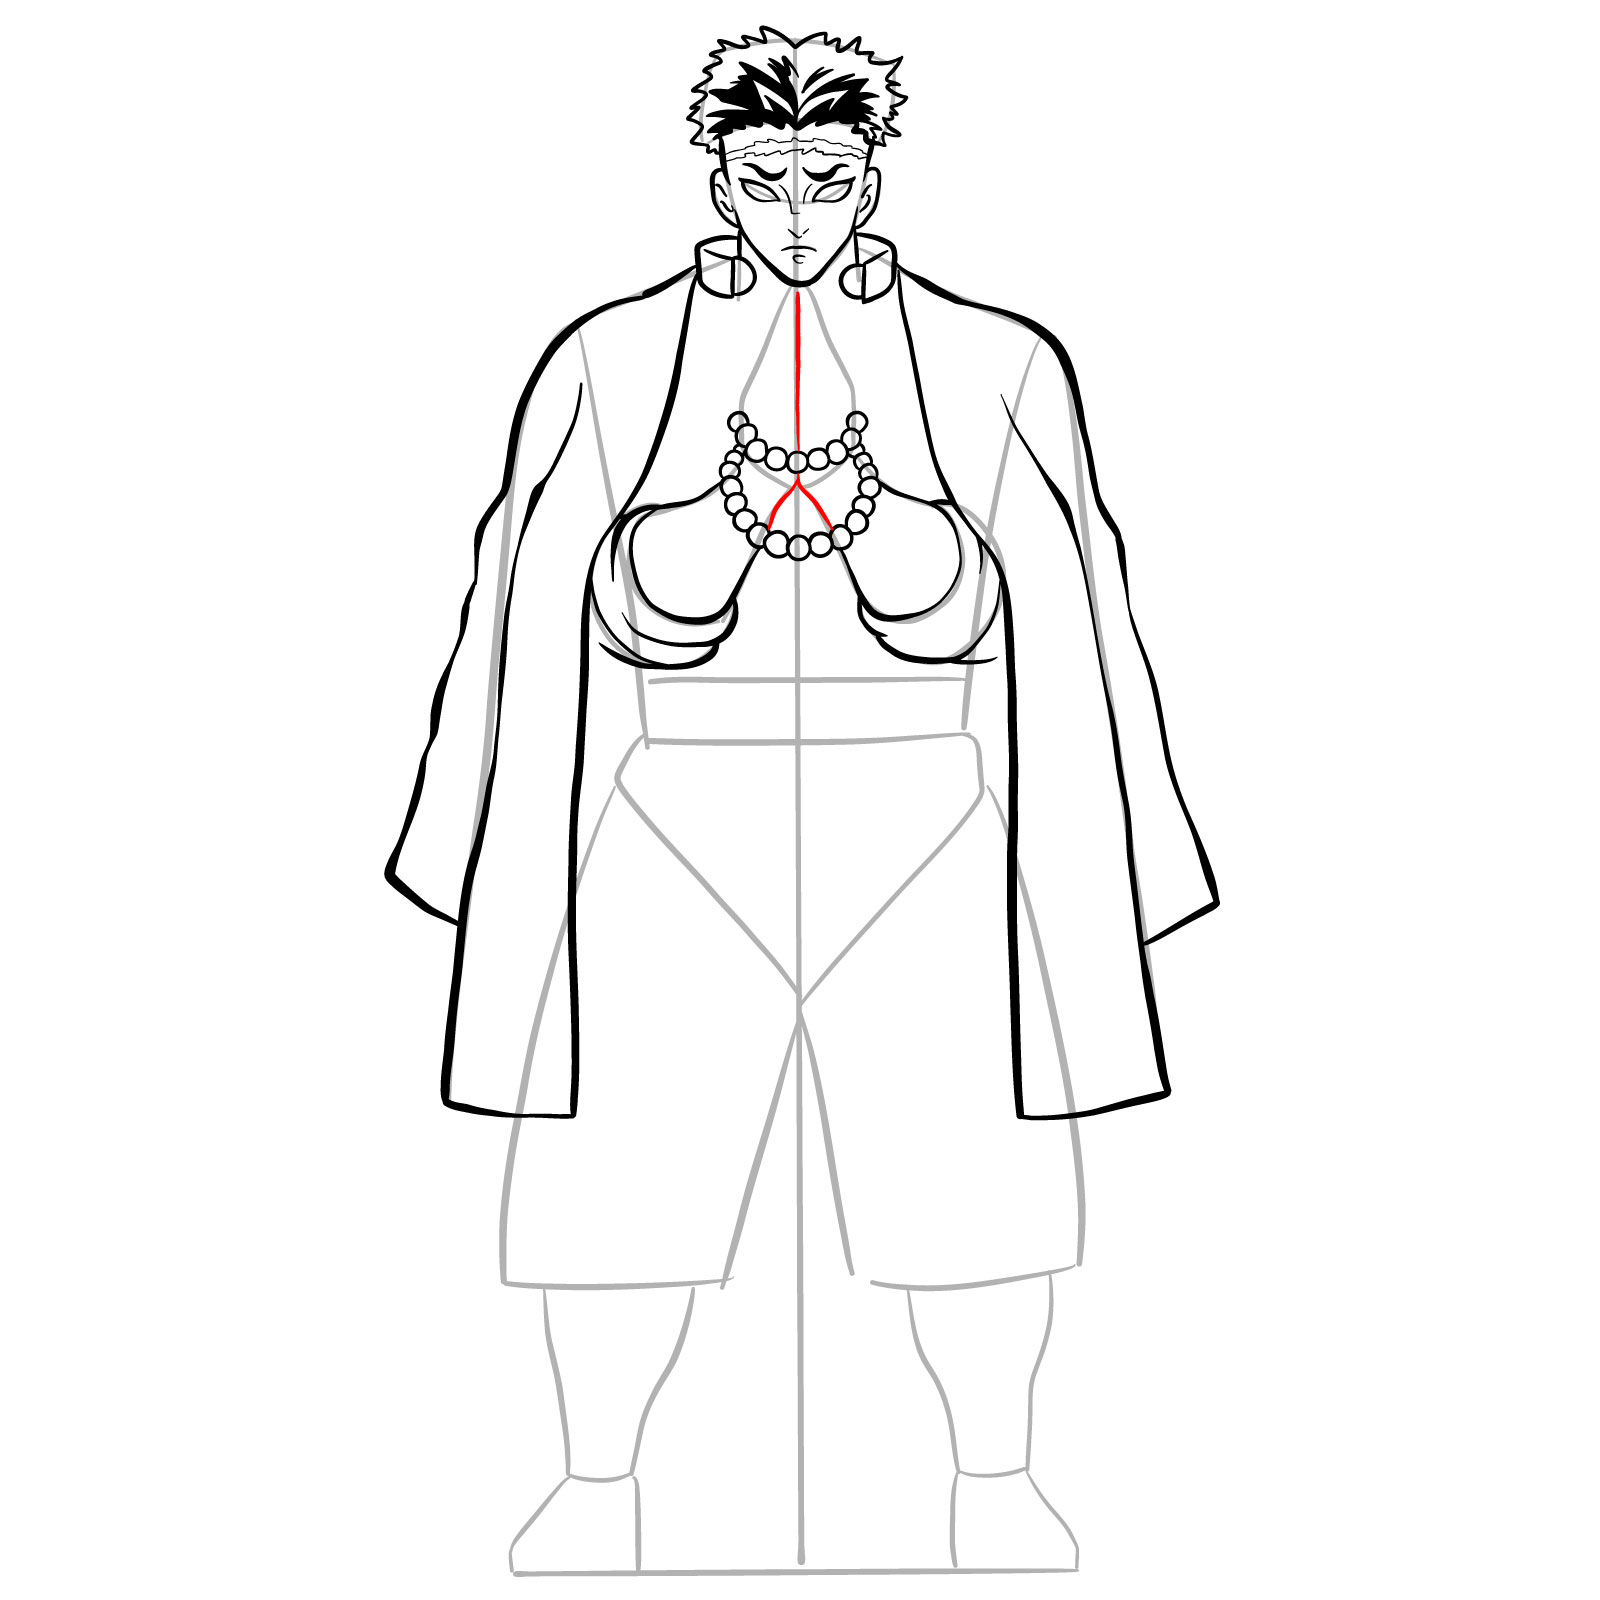
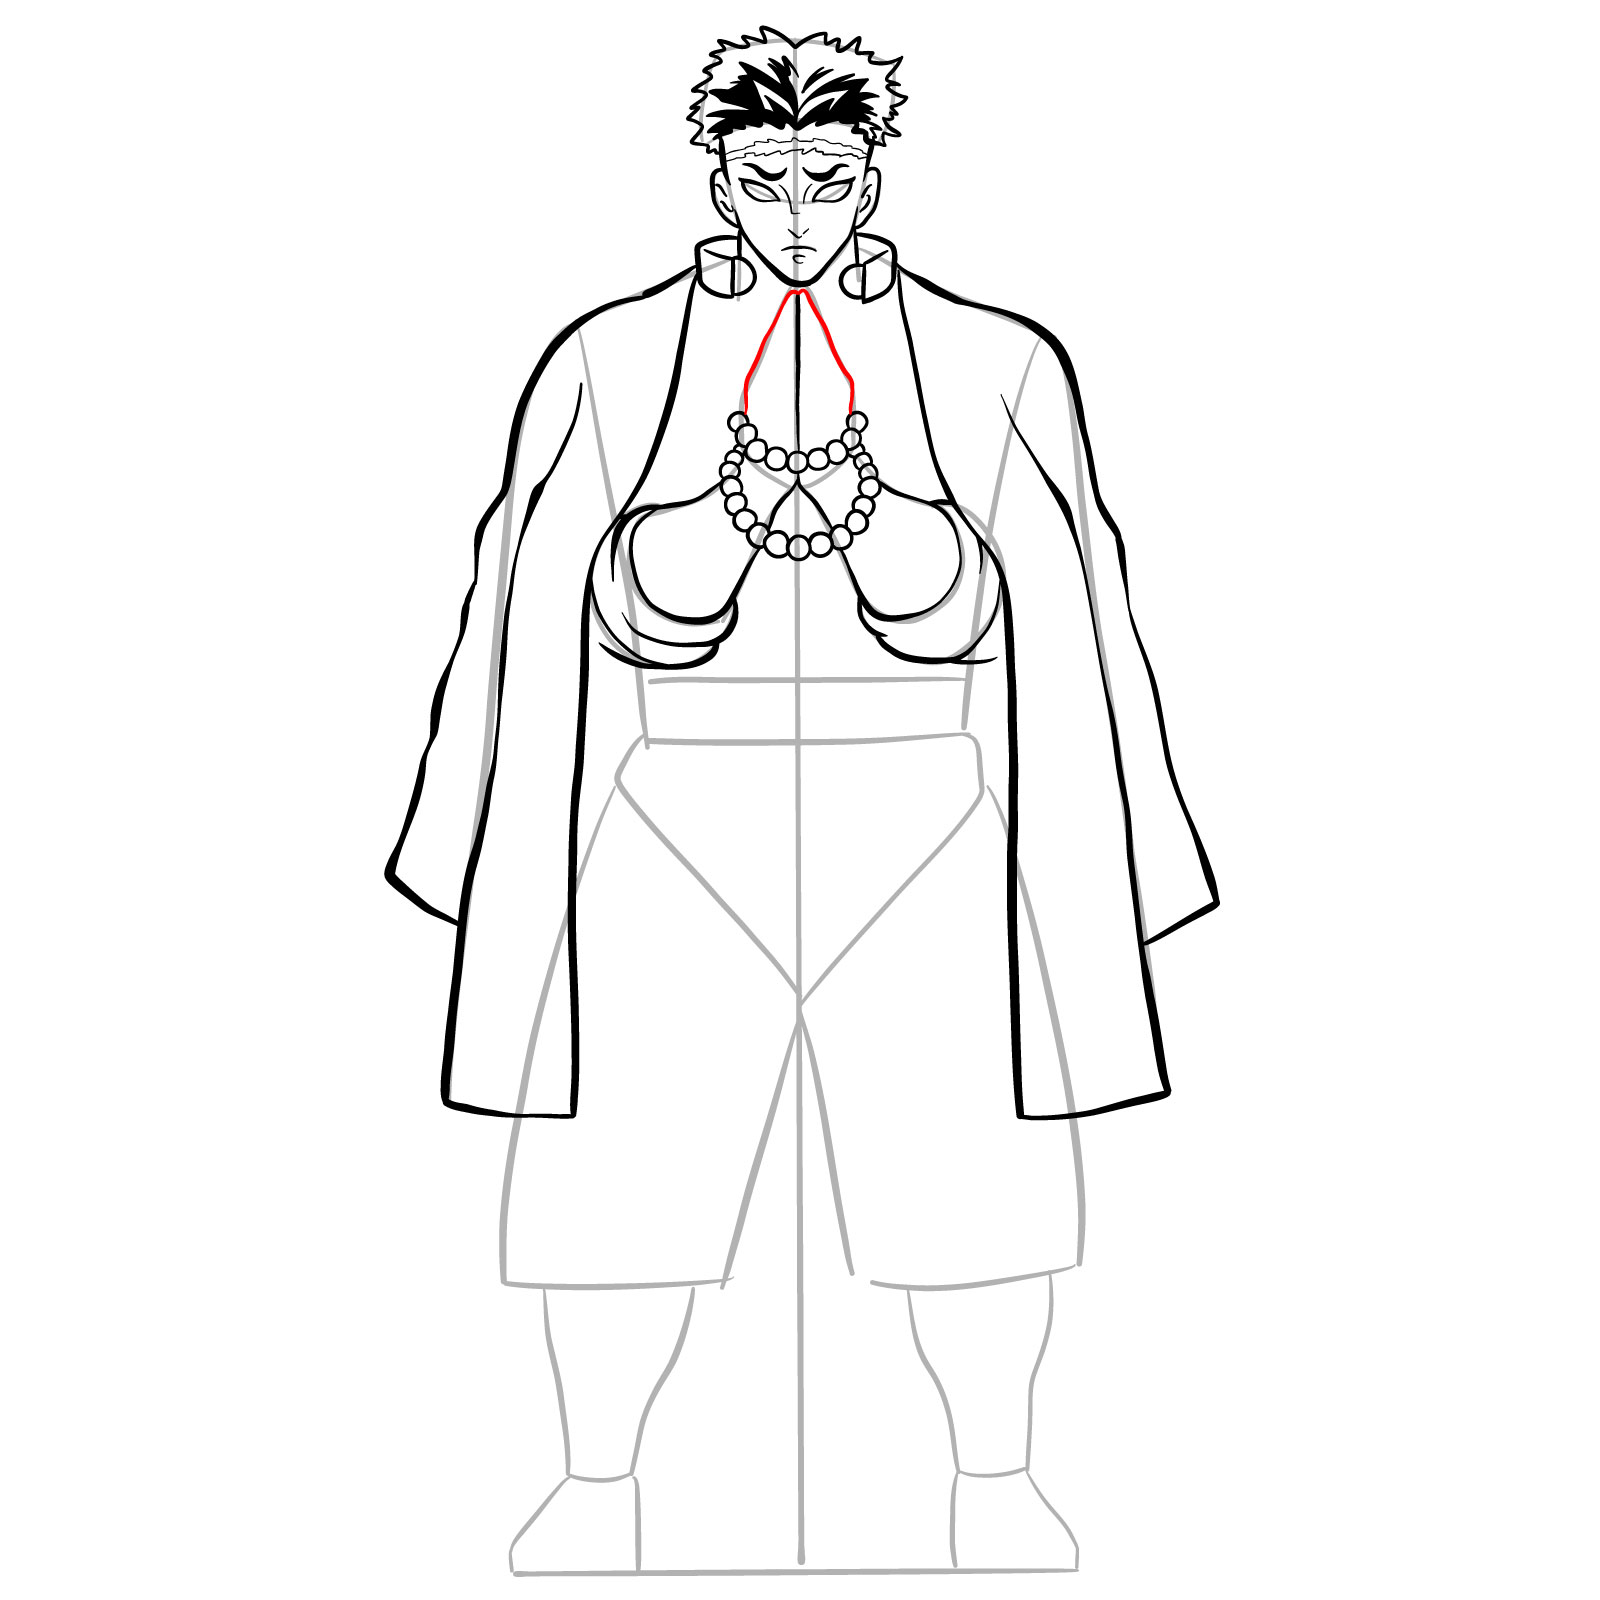
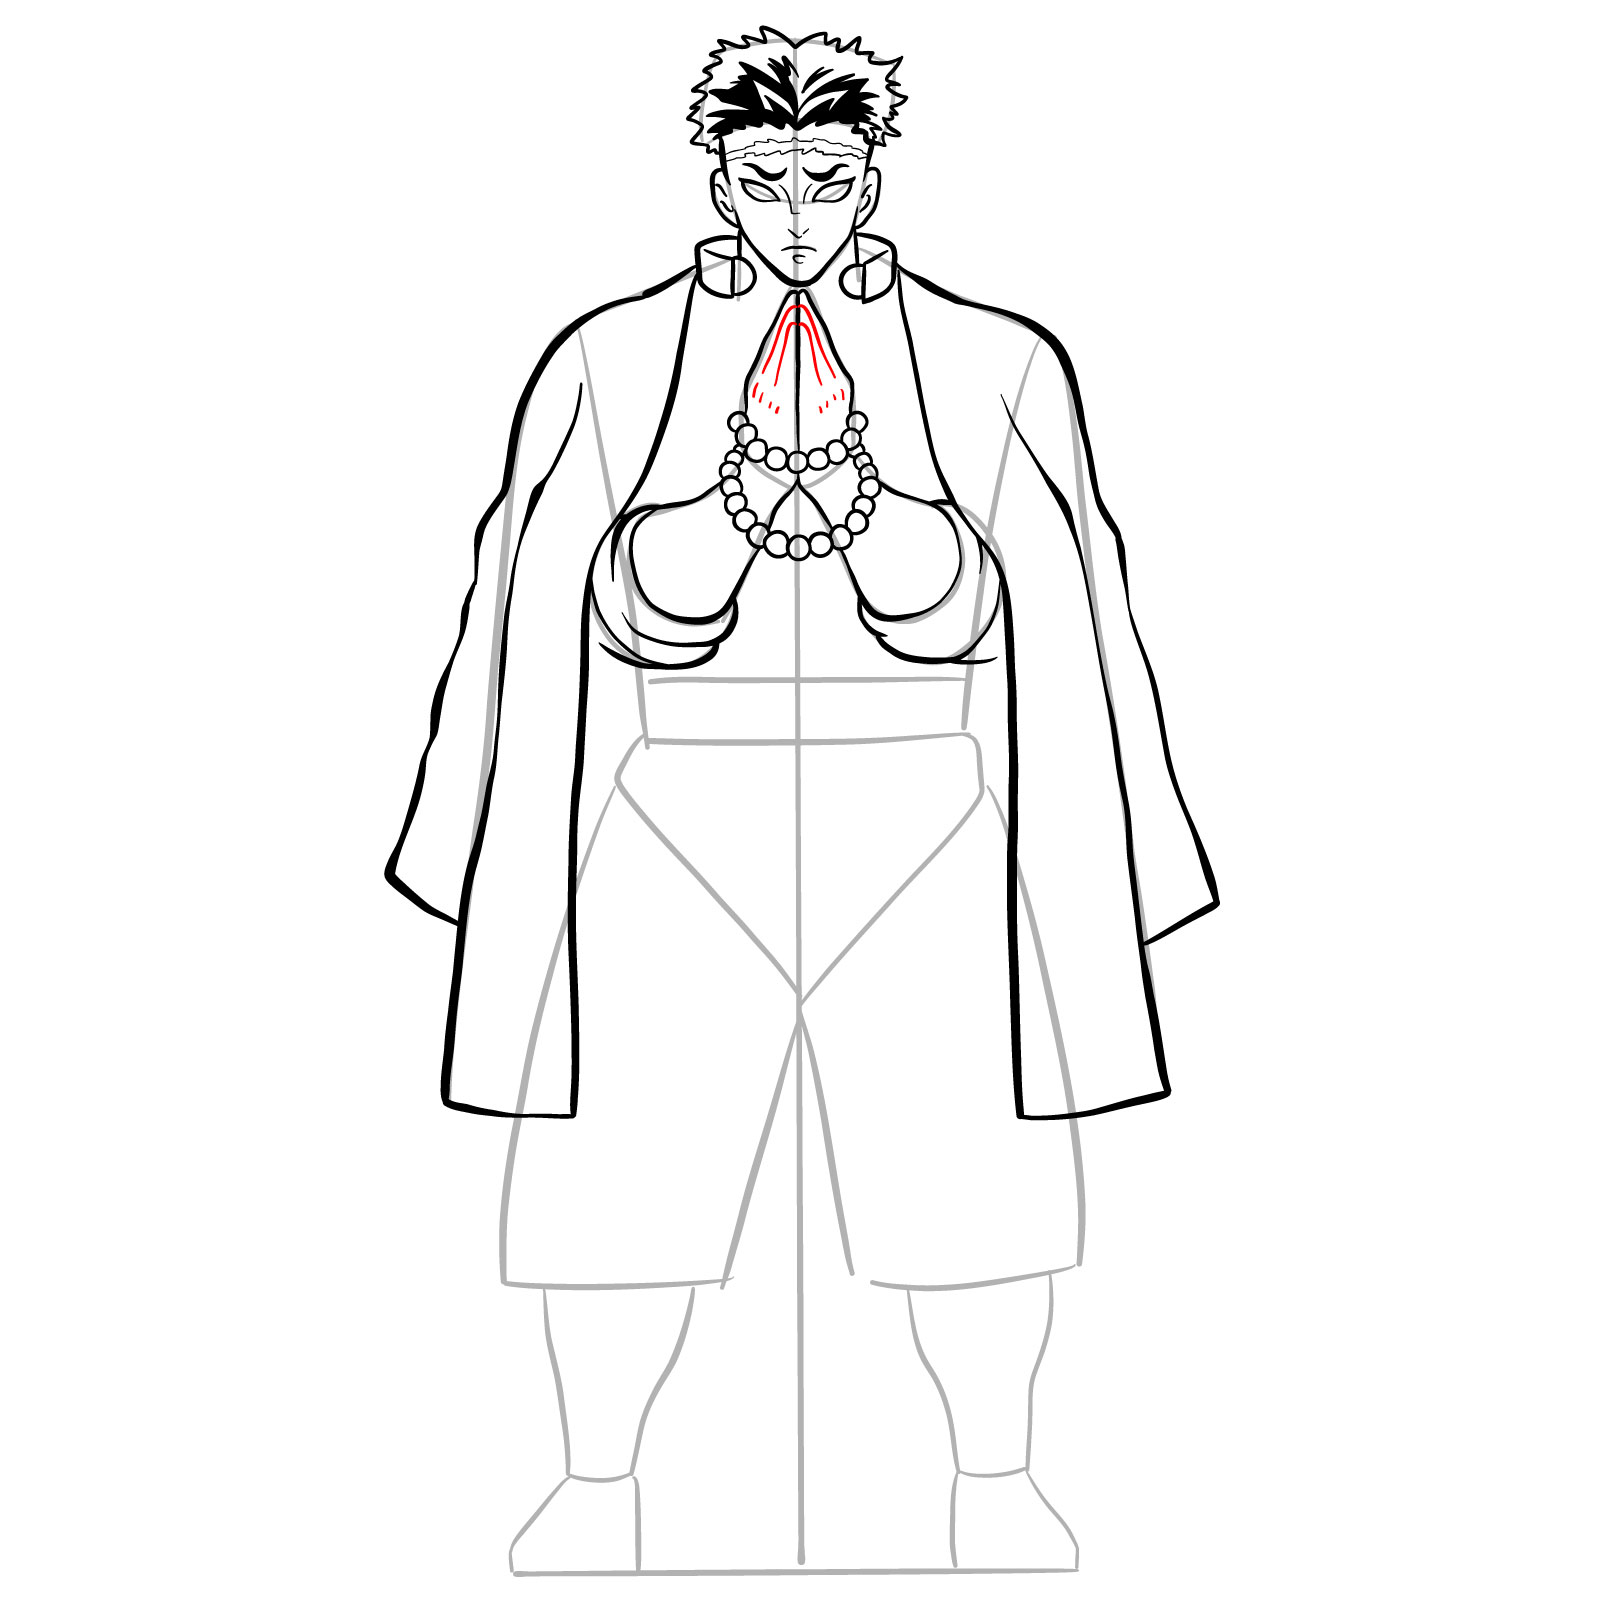
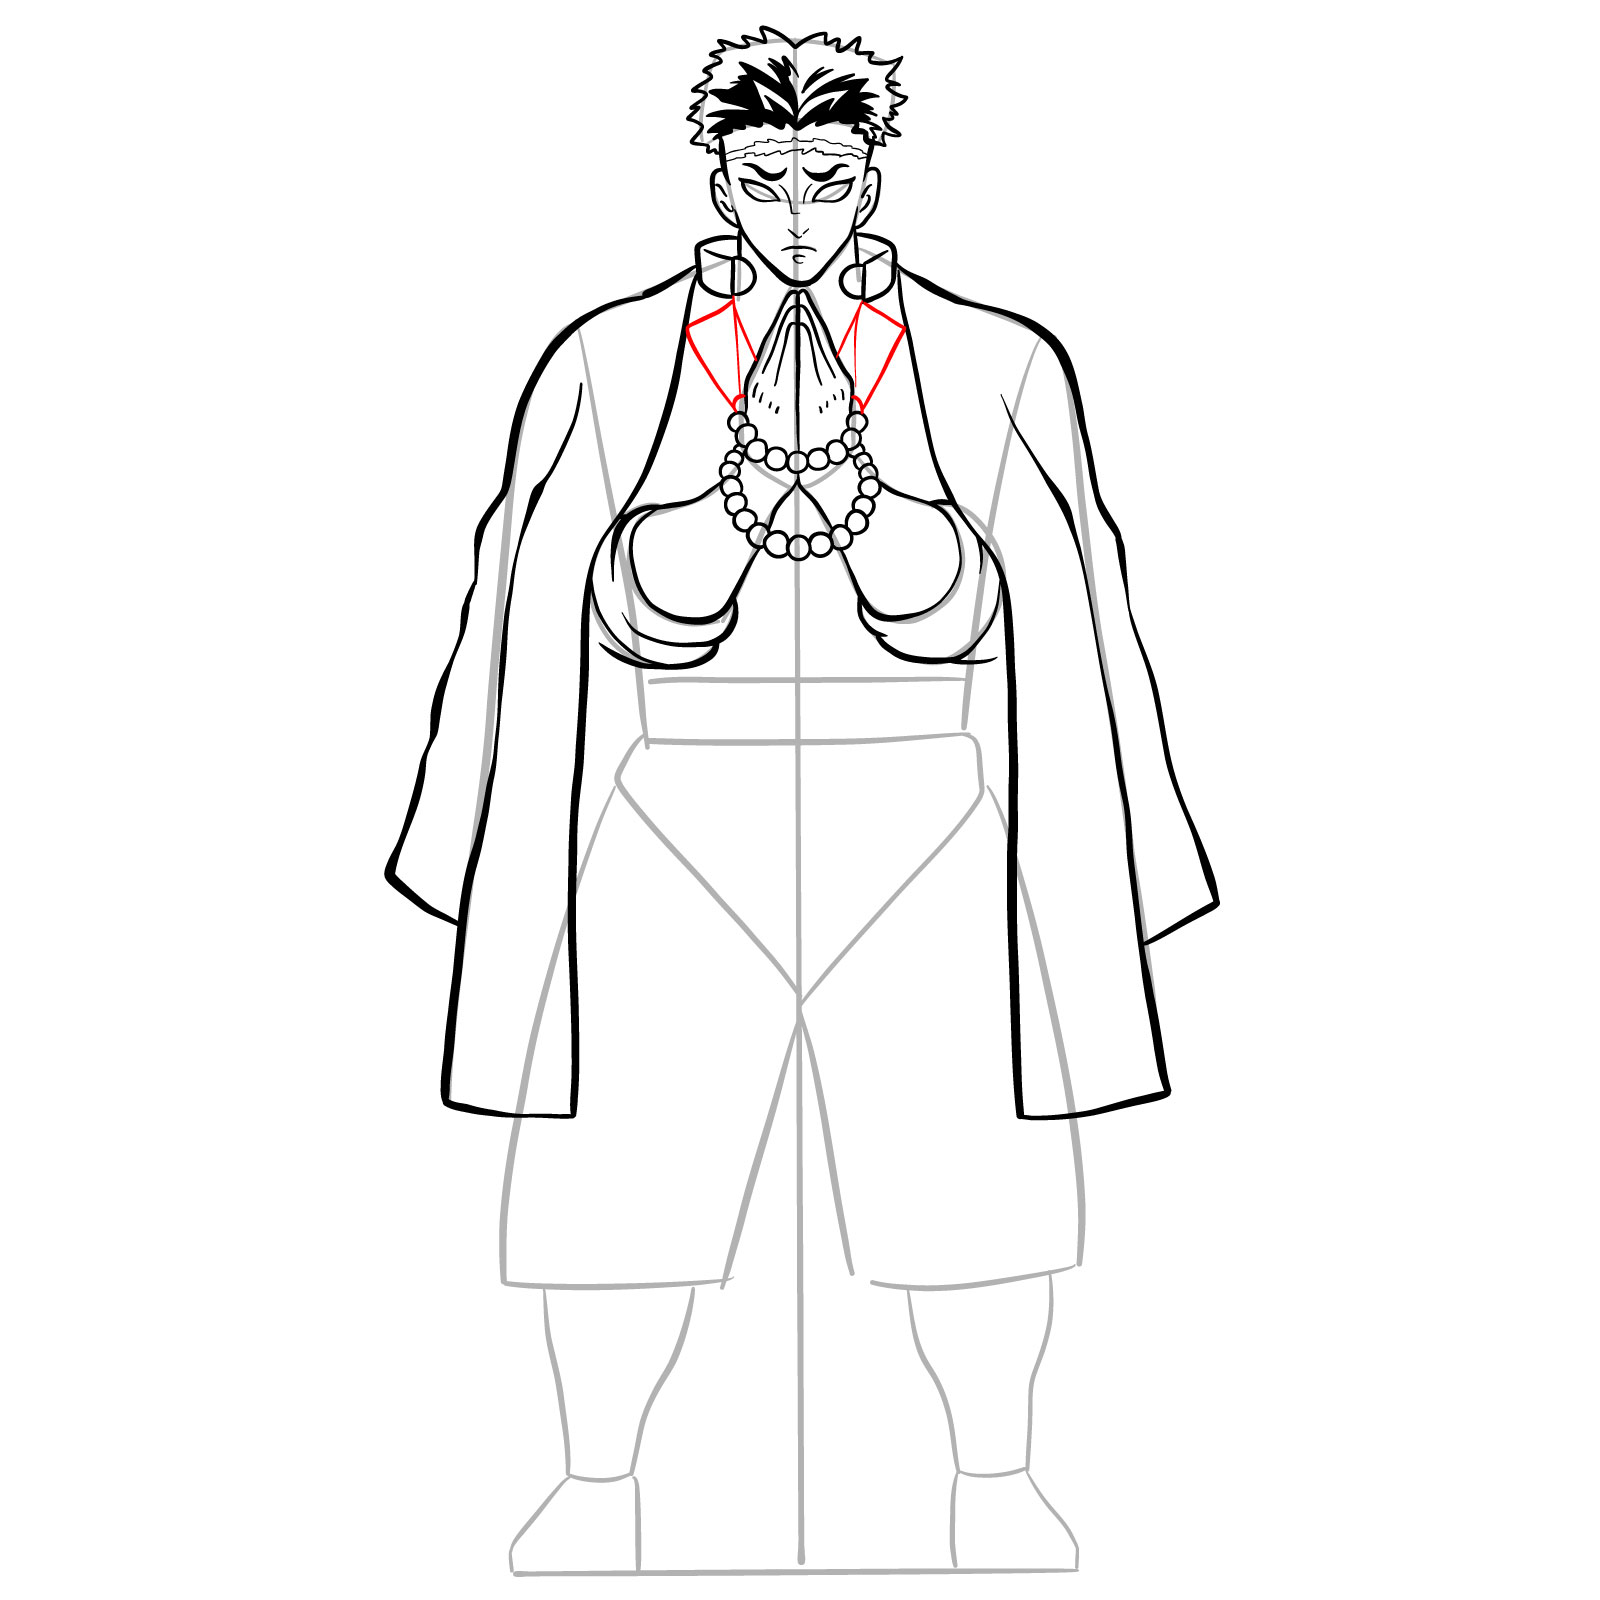
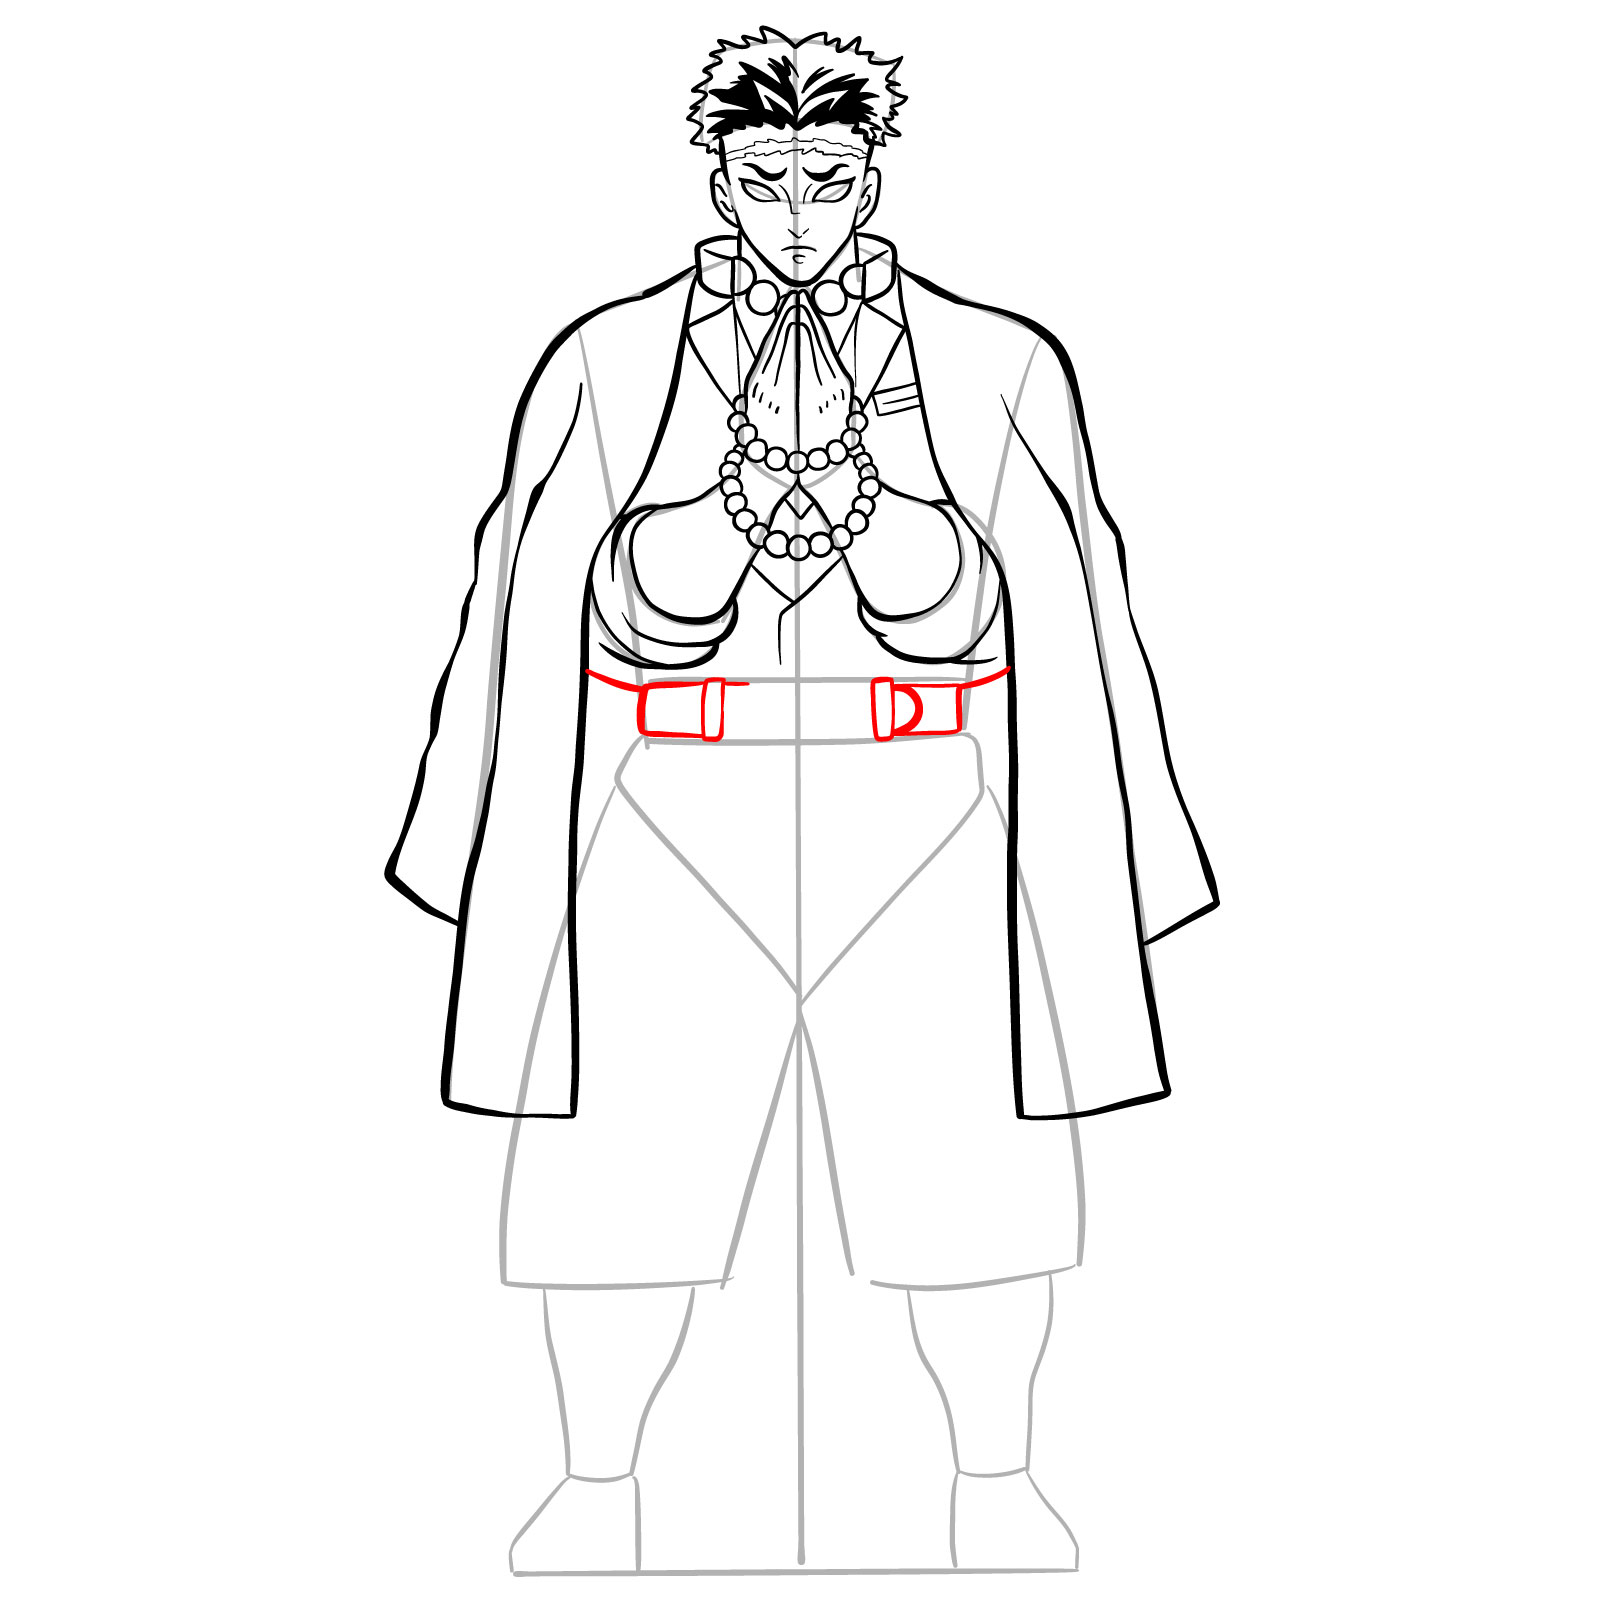
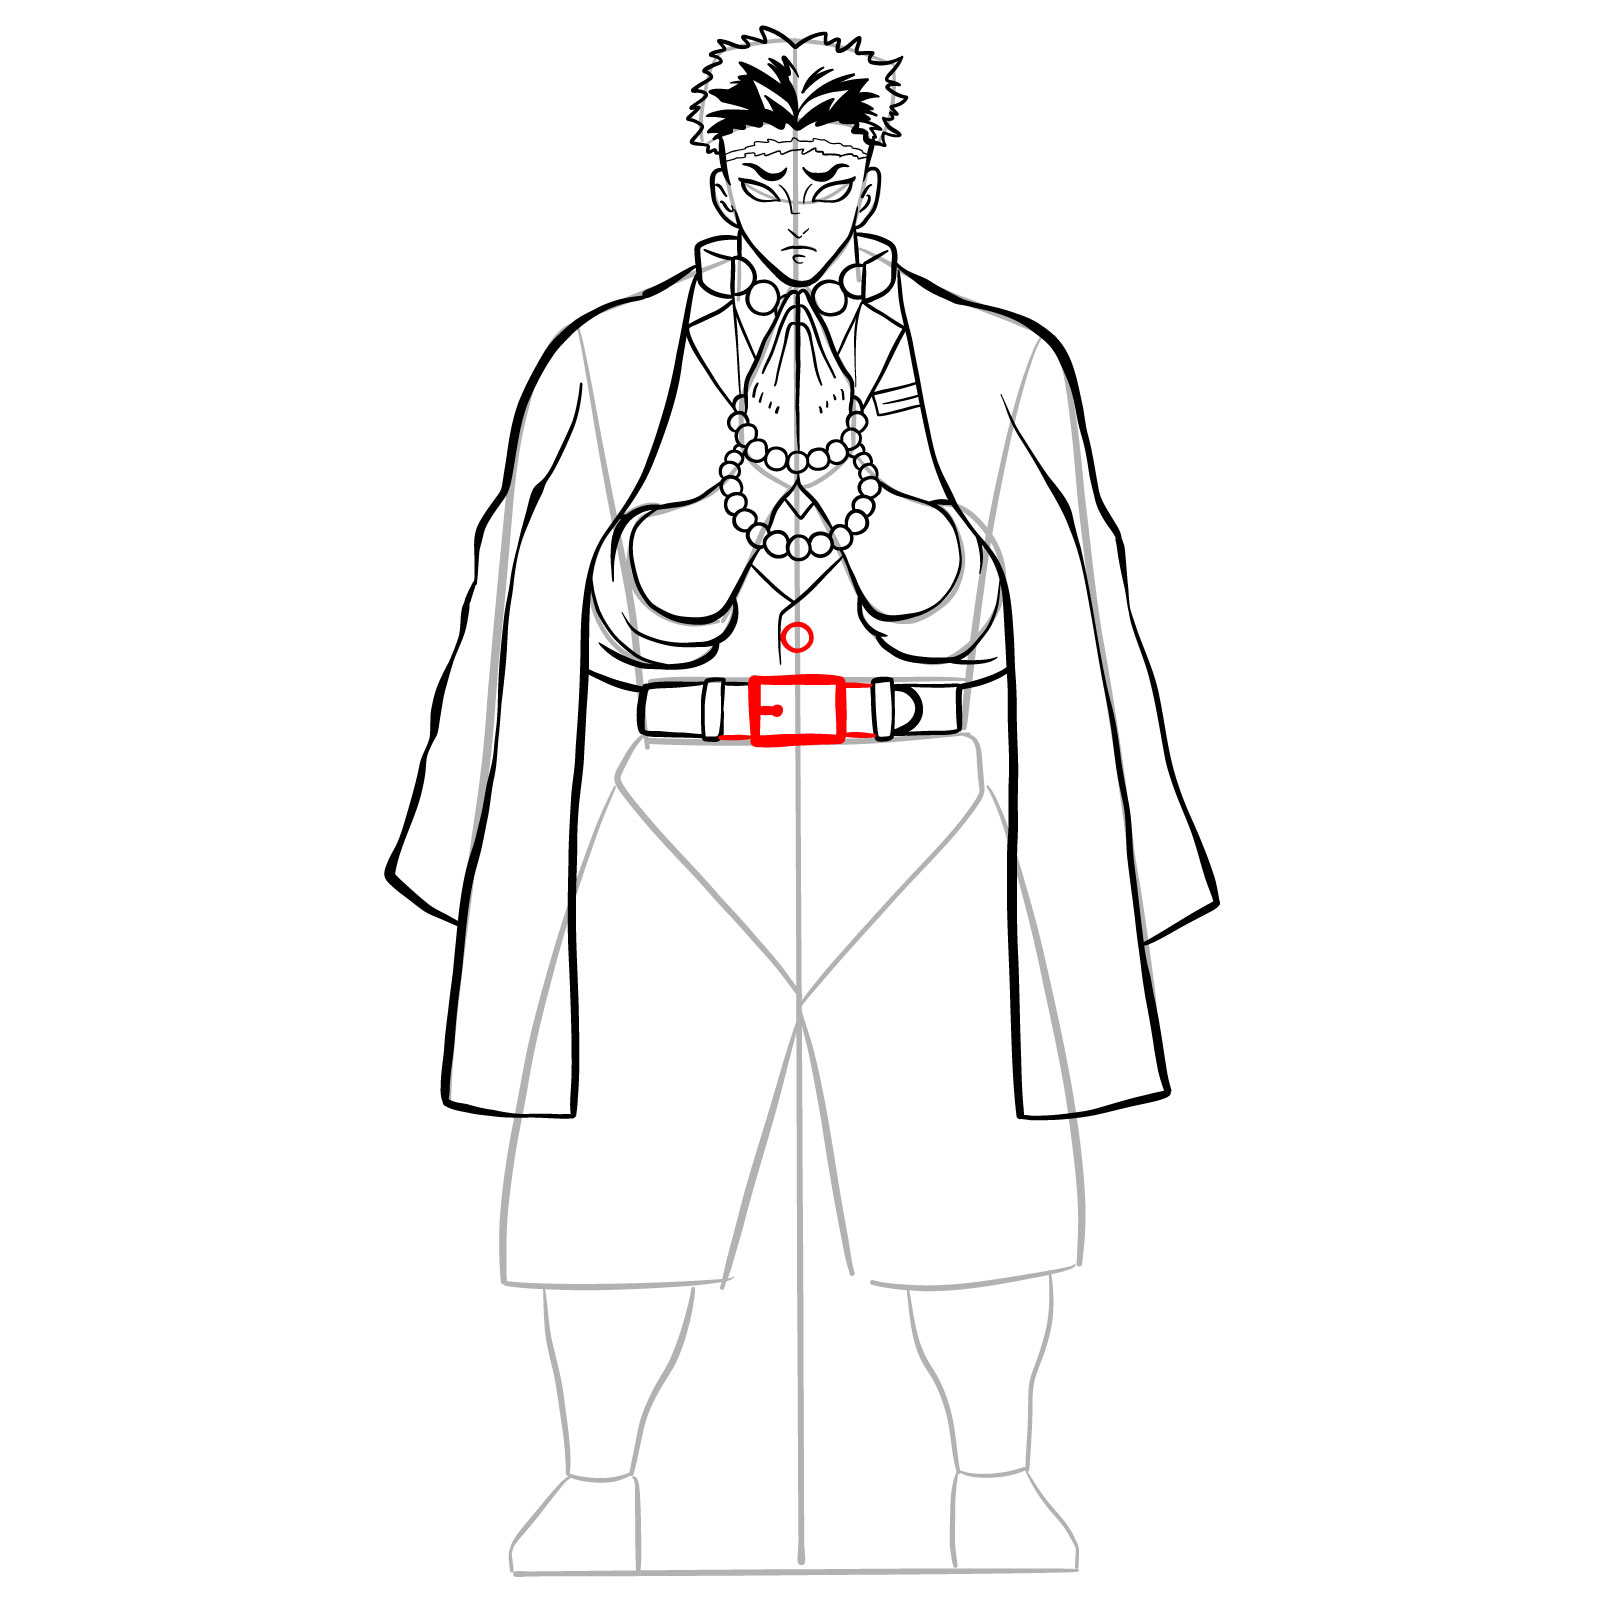
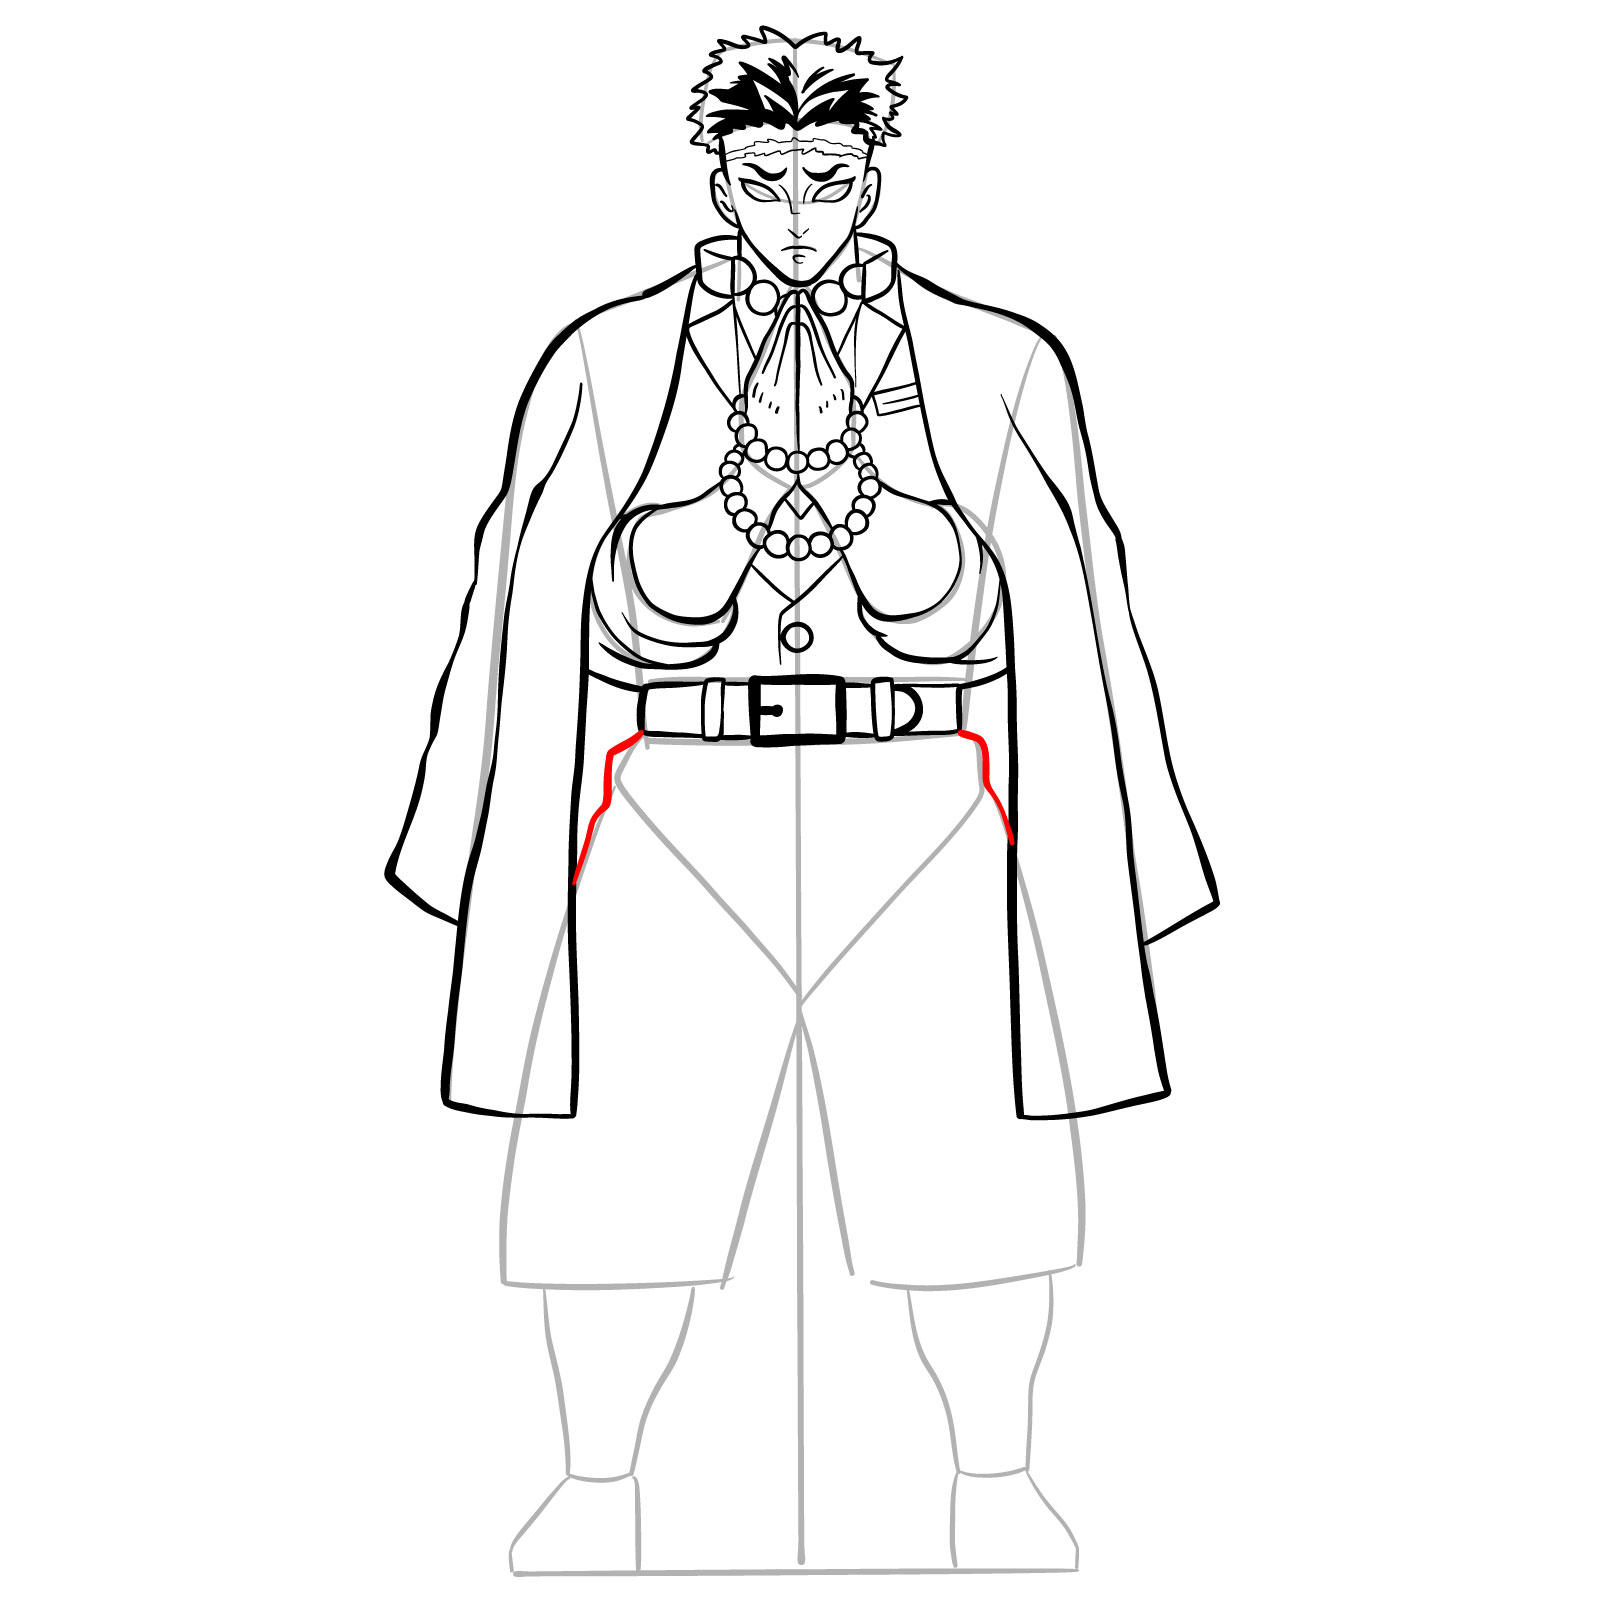
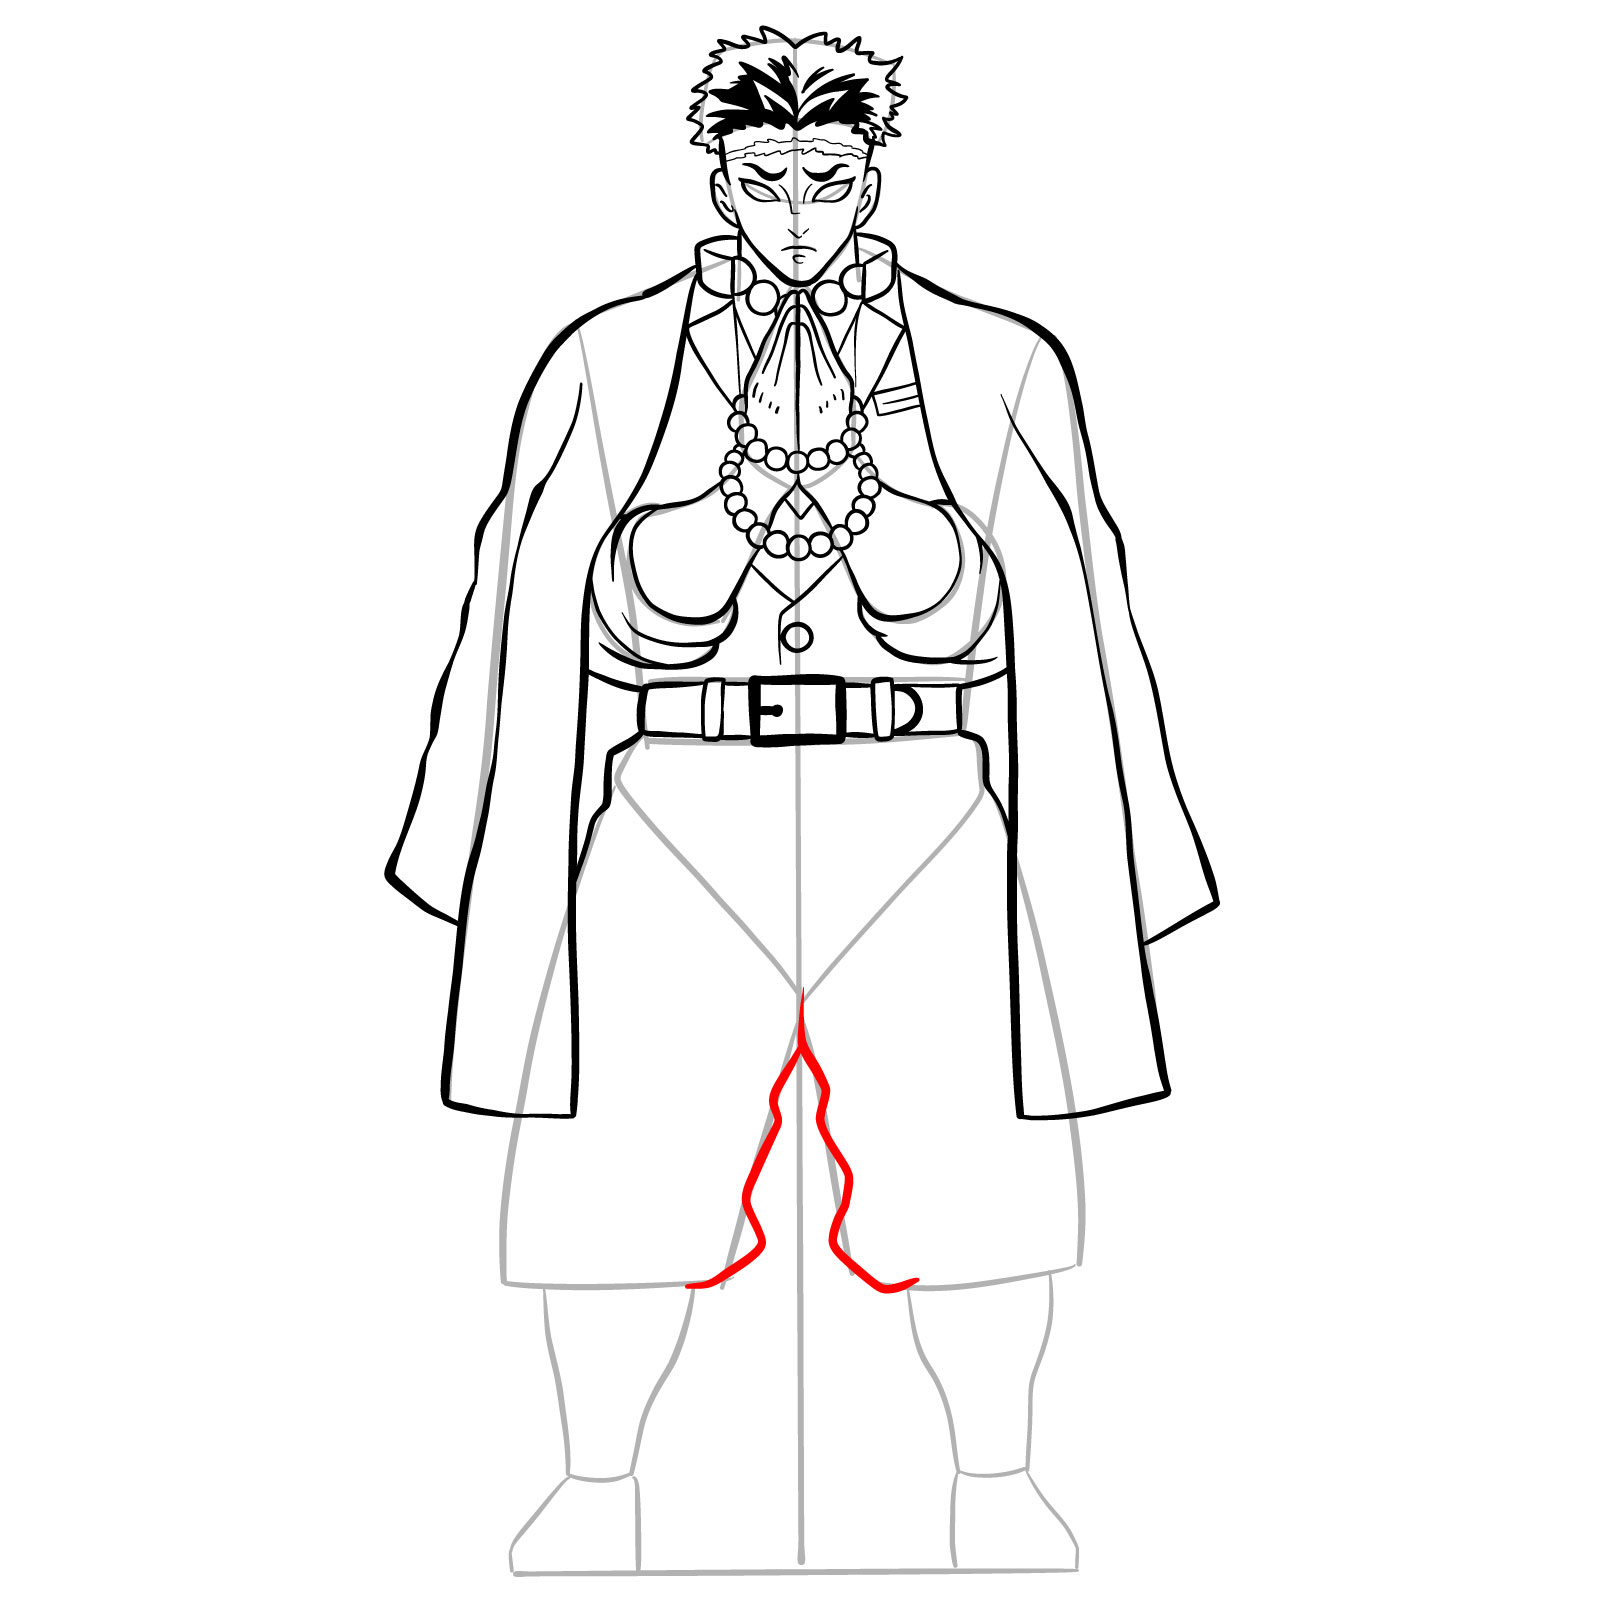
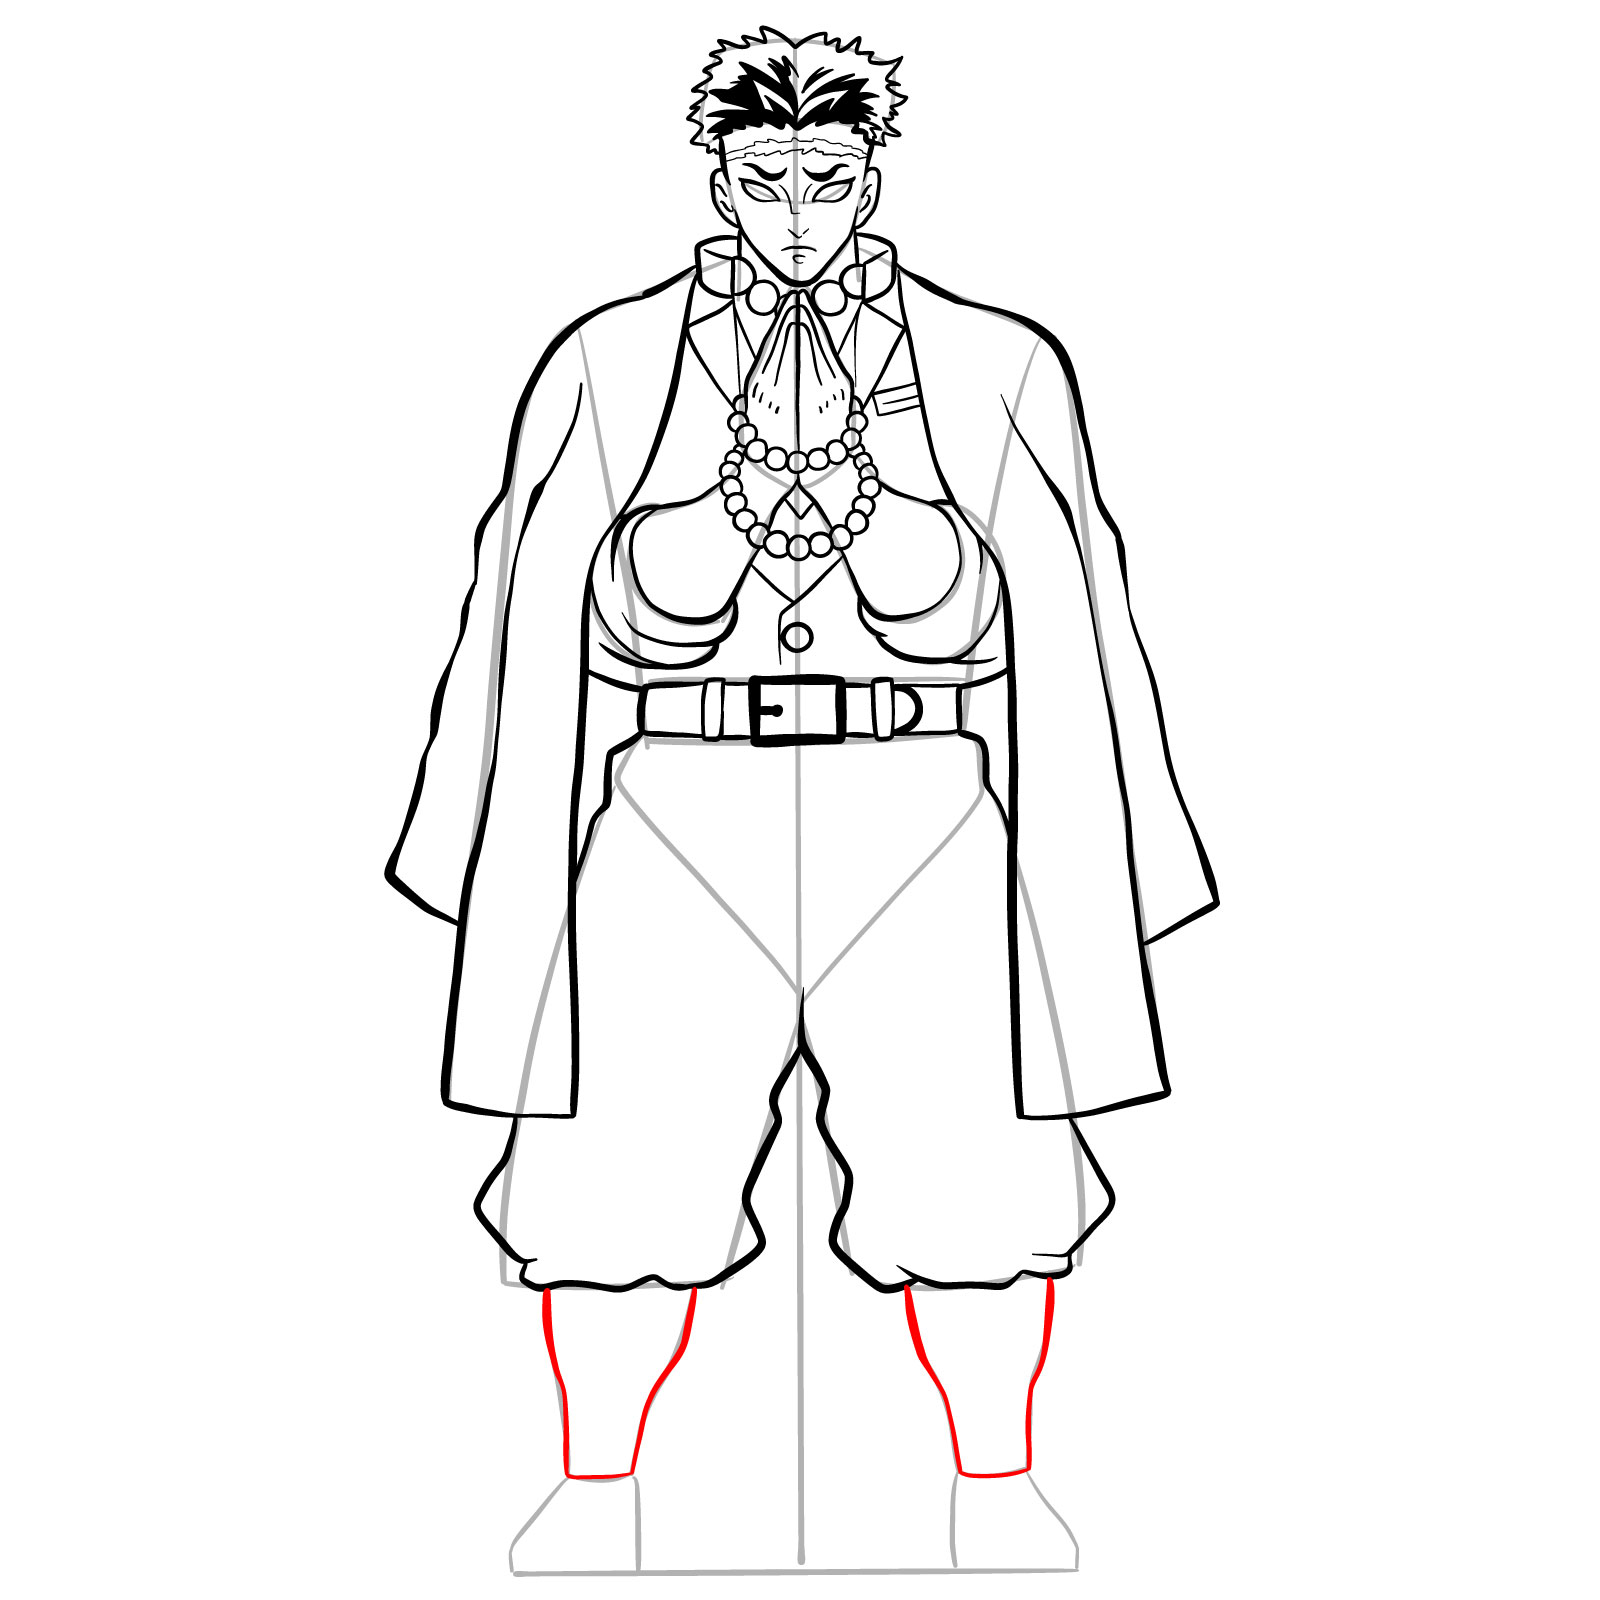
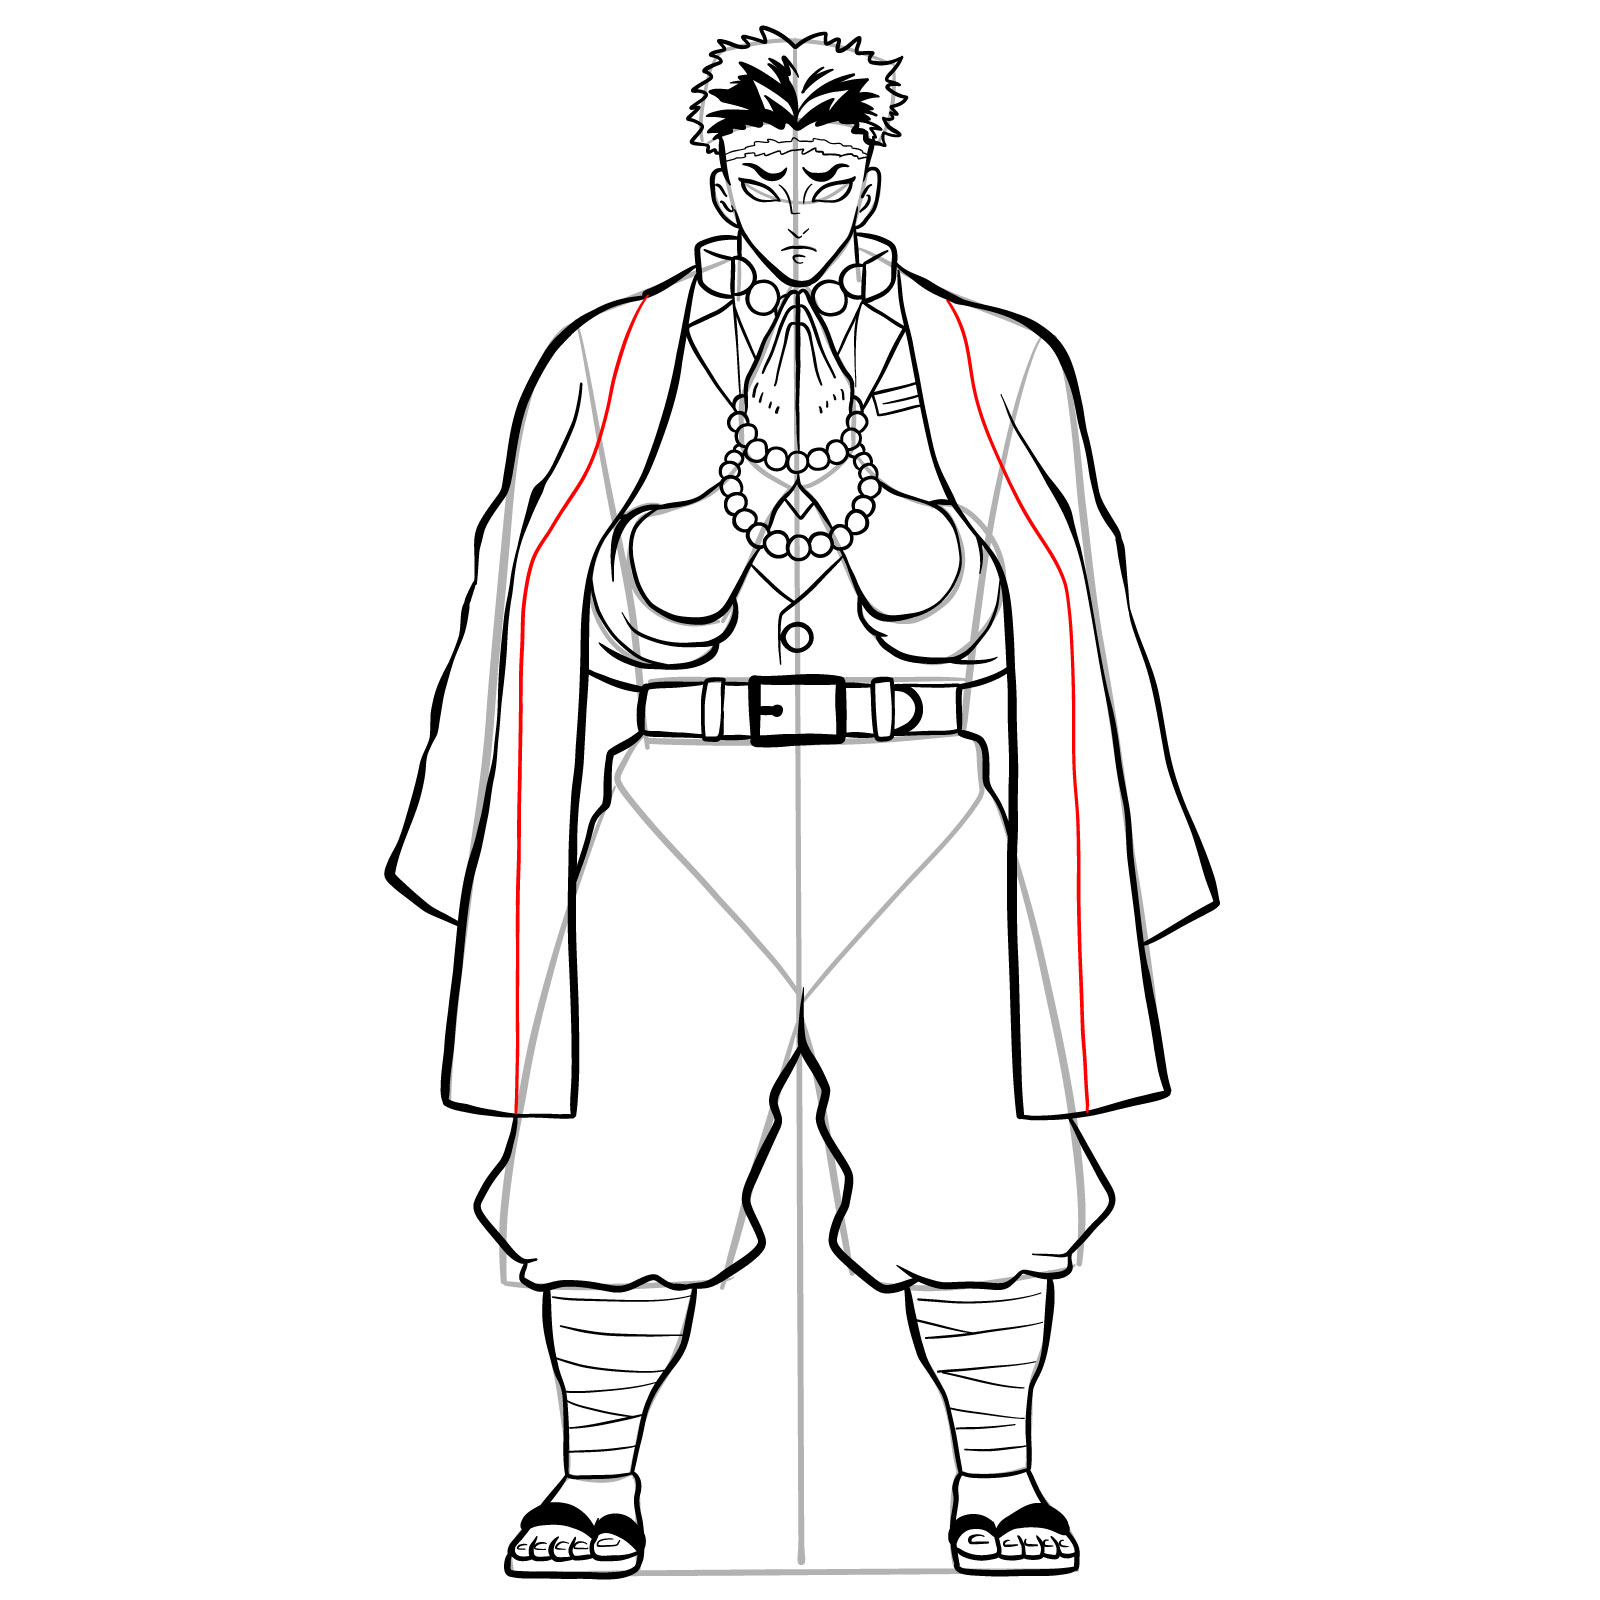
Let’s start drawing Gyomei Himejima. To assist you in navigating through the intricacies of the process, this guide provides clear color guidelines to aid your progression. Here’s what you need to know:
- Red Color: The red color highlights the current step you should focus on. Pay close attention to the details presented in red in each step as you proceed with your drawing.
- Black Color: The black color represents the lines you have previously drawn. These lines serve as the foundation and structure of your artwork.
- Grey Color: The grey color signifies the basic sketch. It lays the groundwork for the subsequent steps, establishing the proportions and overall composition of your drawing.
This guide consists of a total of 43 steps, each building upon the previous one. The initial three steps focus on creating the basic sketch, ensuring the proper foundation for your artwork. As you progress, follow the color guidelines to maintain clarity and organization throughout the drawing process.


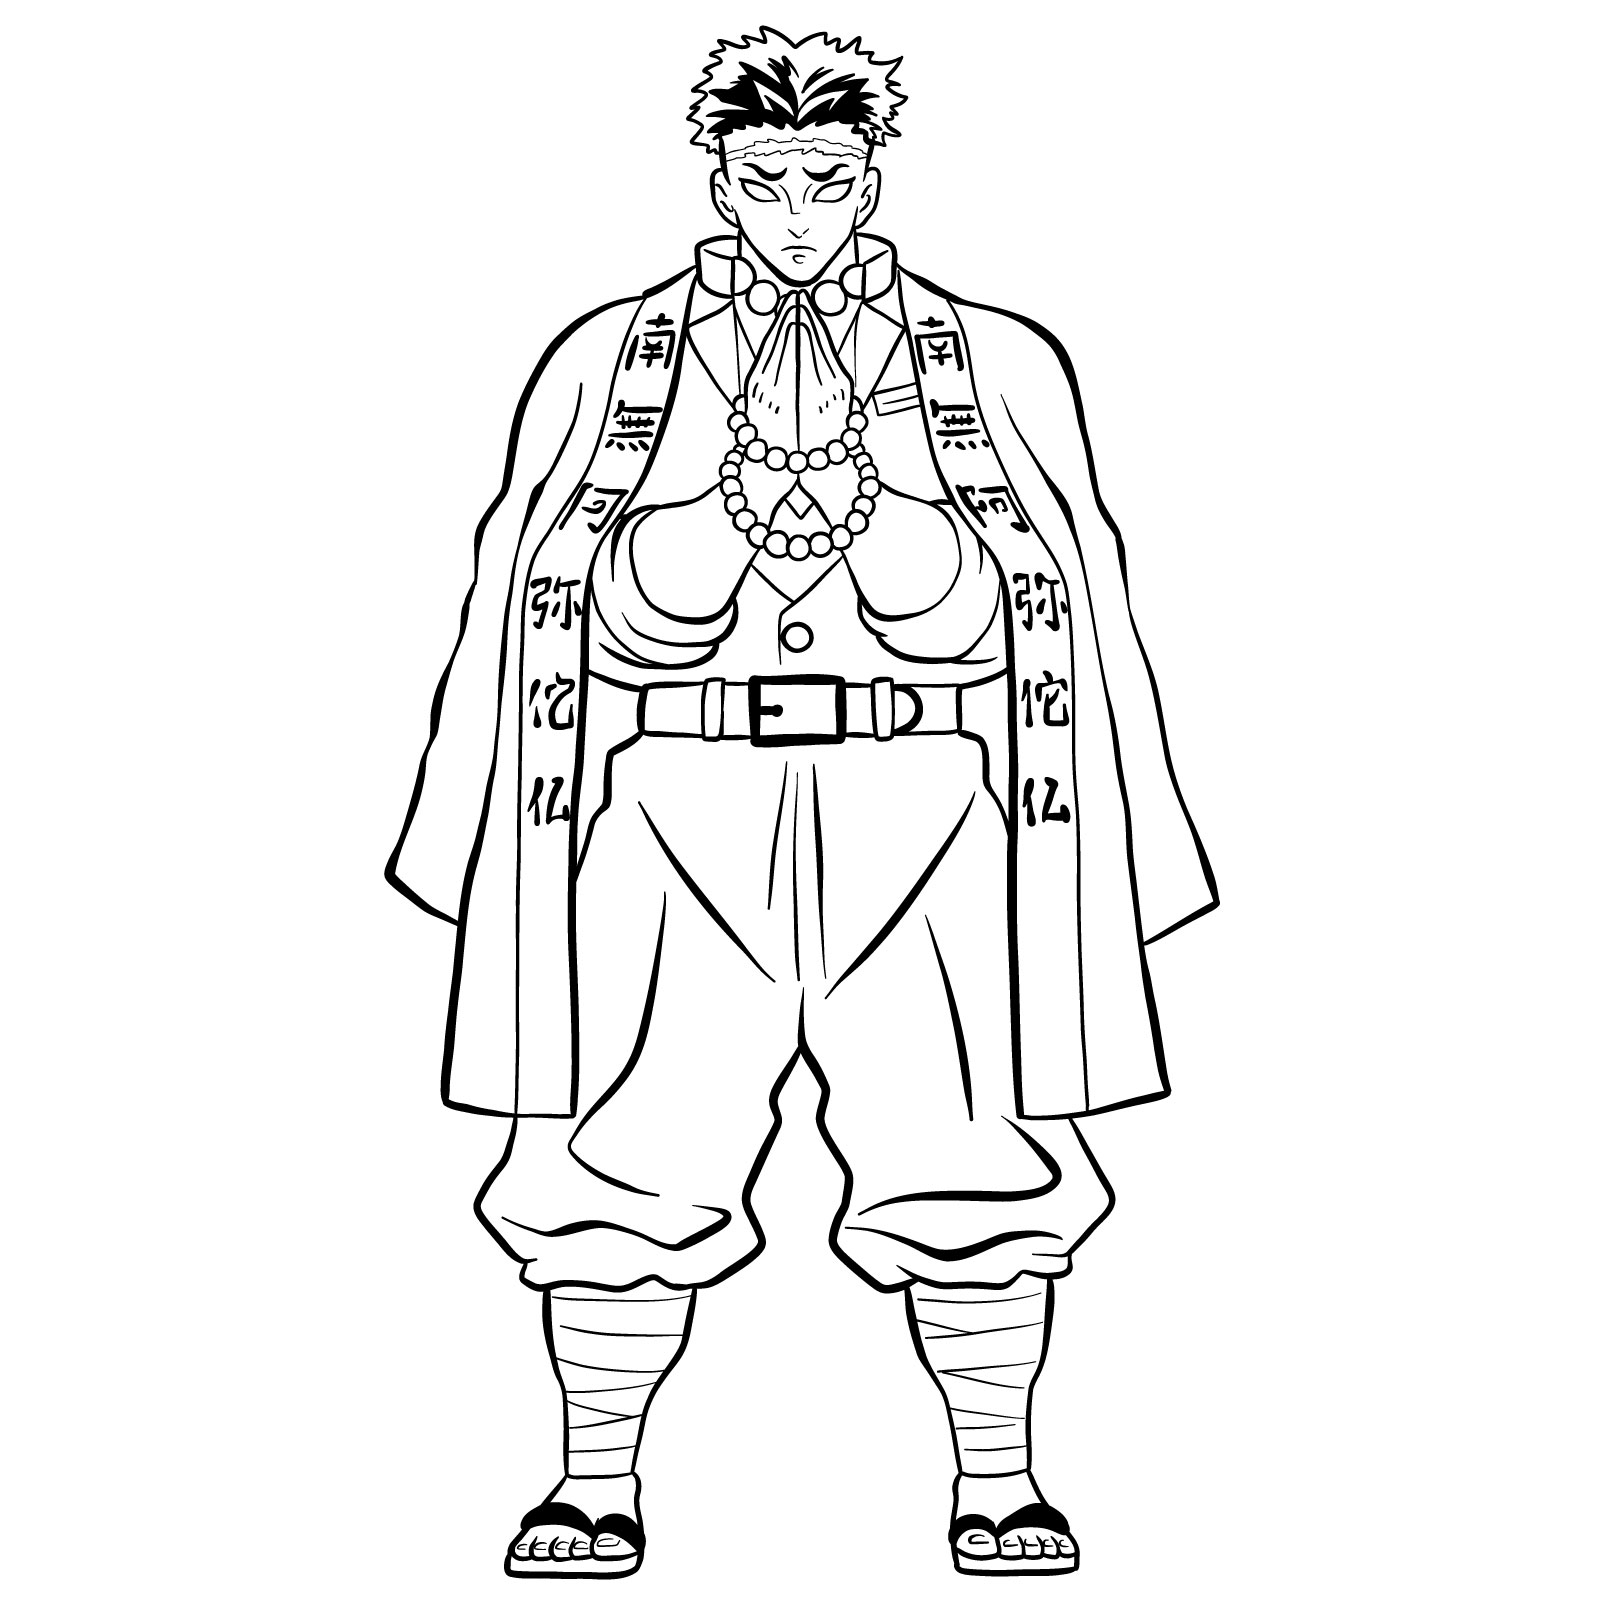
That covers how to draw Gyomei Himejima, from his massive frame down to those prayer beads and spiked flail. If any particular step felt unclear or rushed, drop a comment below and let me know which one, since that feedback genuinely helps when the guide gets updated. You can also find more tutorials like this over on the SketchOk Pinterest, where other readers post their finished drawings in the comments too.