Introduction: Unleashing Your Inner X-Men Artist
Are you ready to embark on a thrilling artistic adventure? In this tutorial, we will guide you step-by-step on how to draw Lucas Bishop, the time-traveling mutant and X-Men member. By following our expert tips and techniques, you will create a stunning Lucas Bishop drawing that would make any Marvel fan proud.
The Enigmatic Lucas Bishop: Power and Backstory
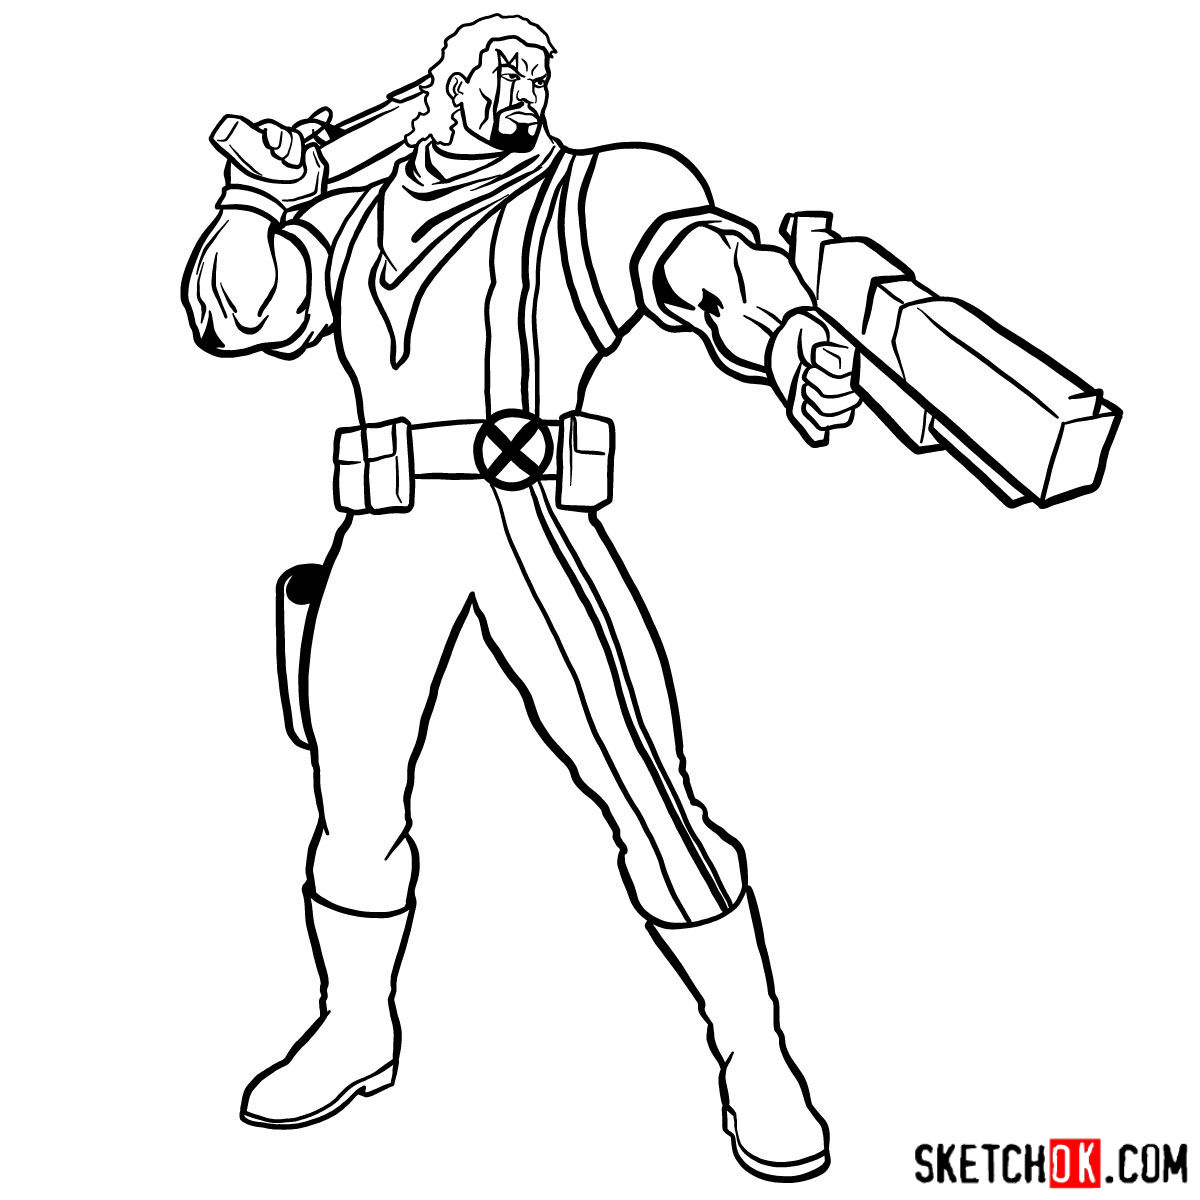
Lucas Bishop, created by Whilce Portacio and John Byrne, first appeared in The Uncanny X-Men #282. As a member of Xavier’s Security Enforcers (XSE) and the X-Men, Bishop has a rich and complex backstory. Born in a dystopian future, he traveled back in time to join the X-Men, struggling to adapt to the norms of the 20th century. Over the years, Bishop has starred in various comic series and even appeared in the 2014 film, X-Men: Days of Future Past, portrayed by Omar Sy.
Assemble Your Mutant Art Arsenal
To create a powerful Lucas Bishop drawing, you’ll need the right tools. While you can use any materials you prefer, we recommend the following:
- Pencil for sketching
- Eraser to clean up your work
- Inking pen or fine liner for outlining
- Coloring tools, such as colored pencils, markers, or watercolors
With your art arsenal assembled, you’re ready to begin your journey to create an incredible Lucas Bishop masterpiece.
Step-by-Step Guide to Drawing Lucas Bishop
This guide will help you create an amazing Lucas Bishop drawing through a series of steps. Keep in mind that the process involves creating a basic sketch, refining it, inking, and finally coloring and shading your artwork. So, let’s dive in!
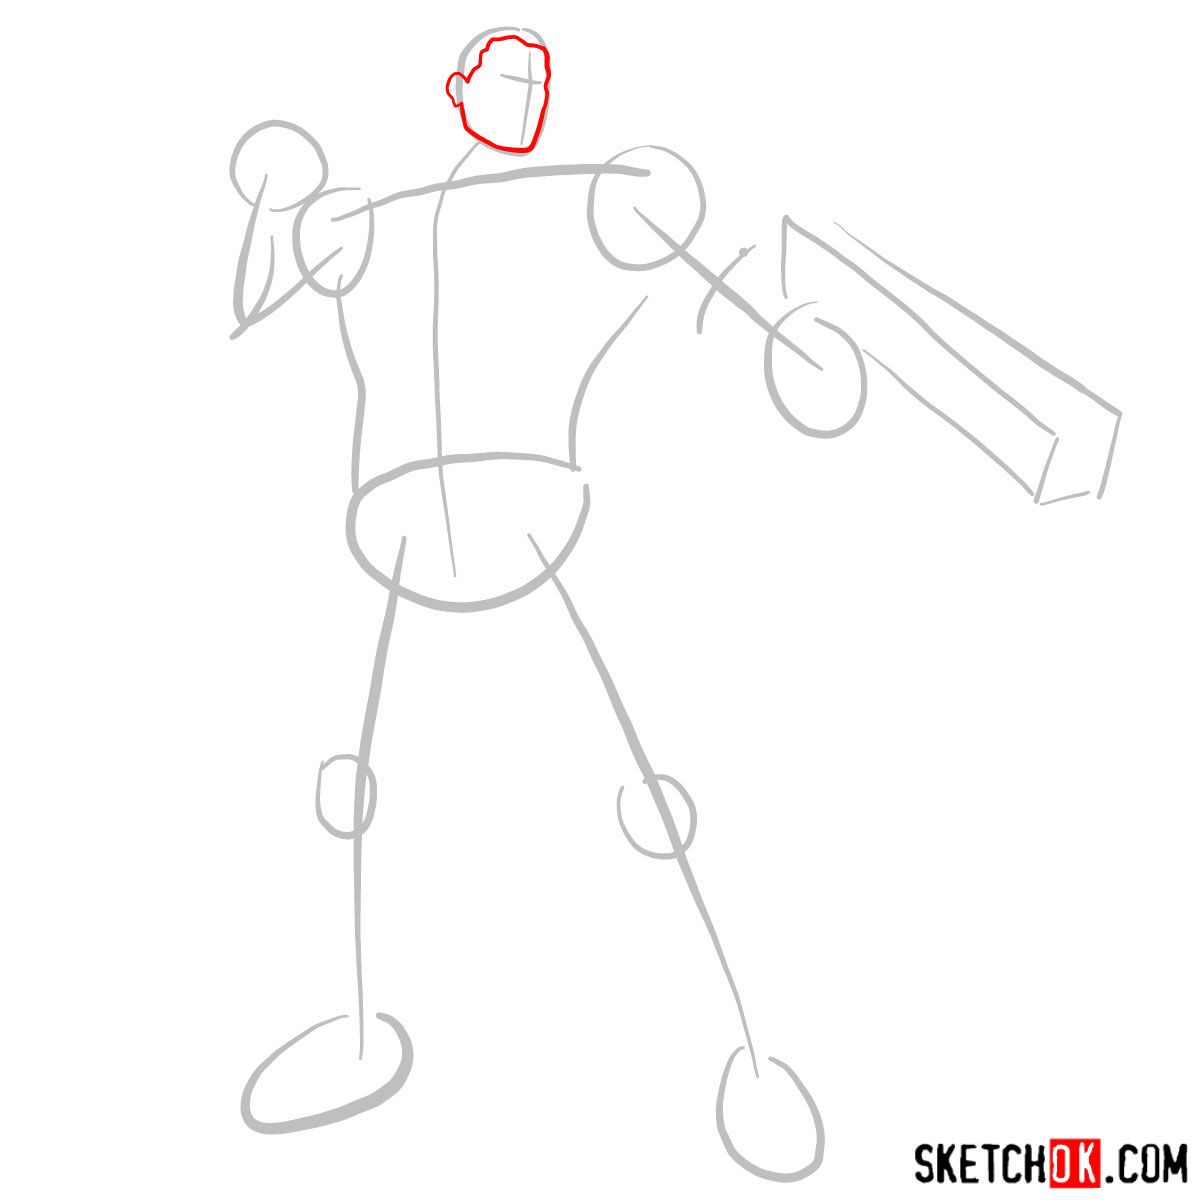
Part 1: Laying the Foundations
In the first step, focus on creating a basic structure for your Lucas Bishop drawing. Use light pencil strokes to sketch the character’s proportions and pose. This preliminary sketch will serve as the foundation for your final artwork, so take your time to get it right. Remember, practice makes perfect!

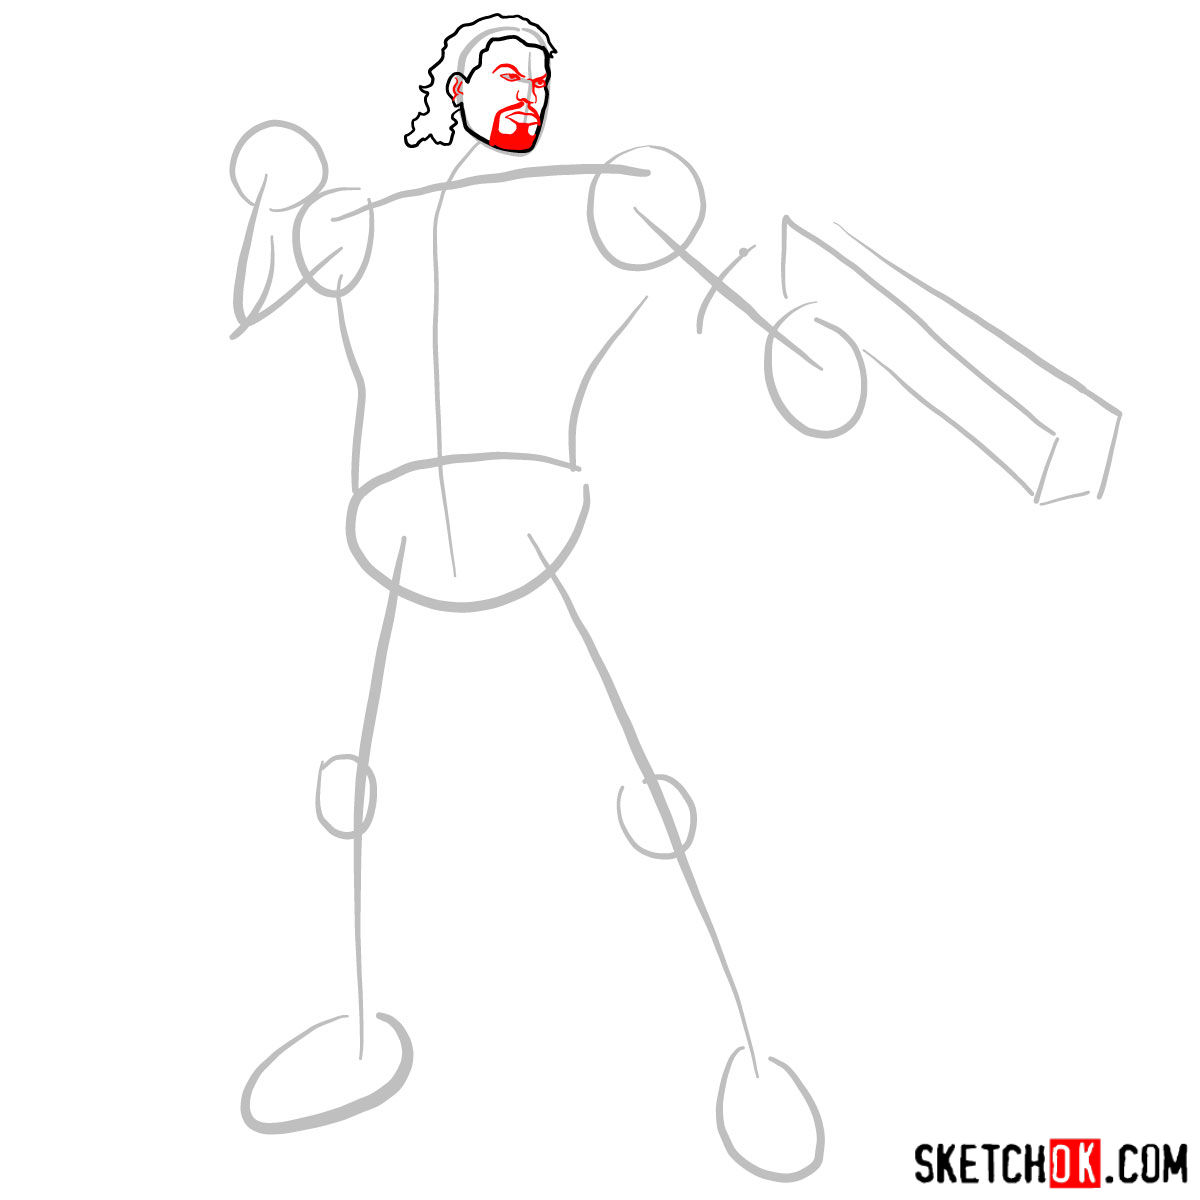
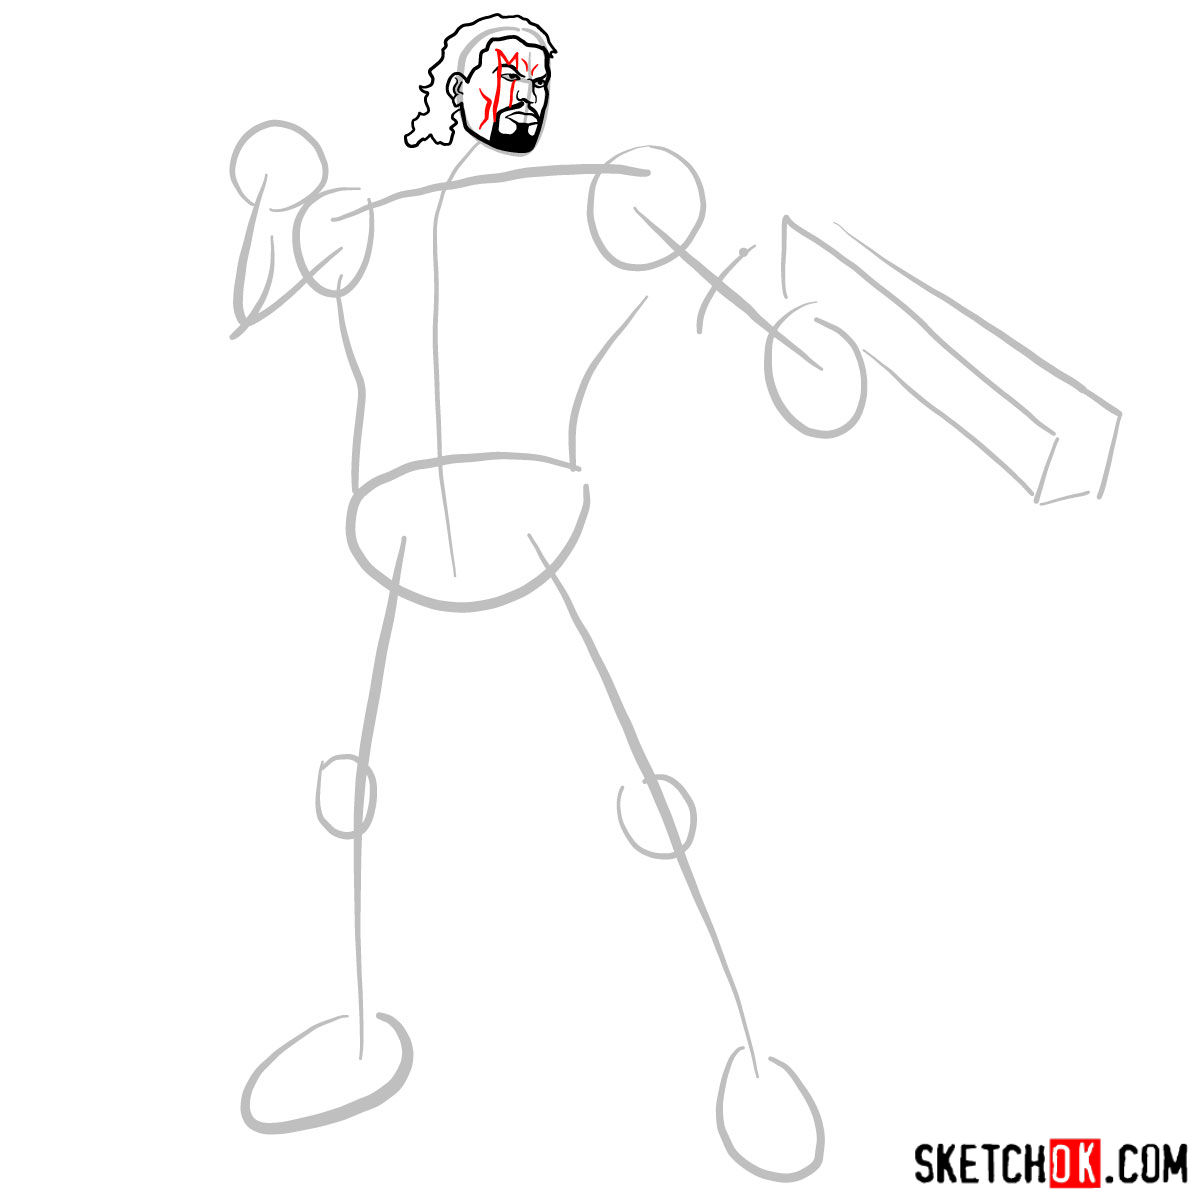
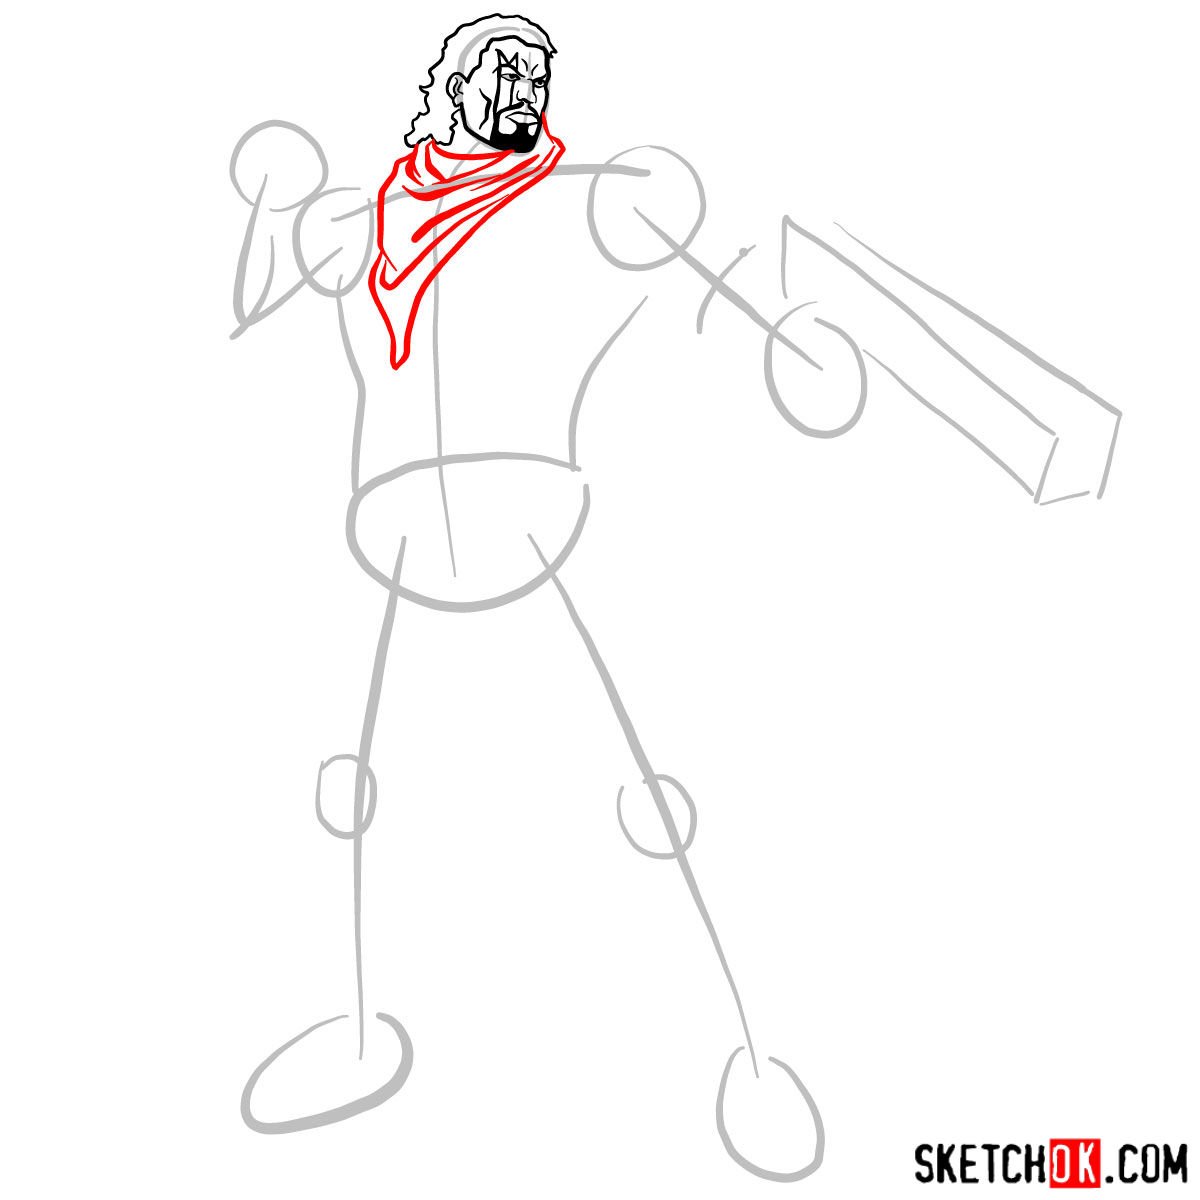
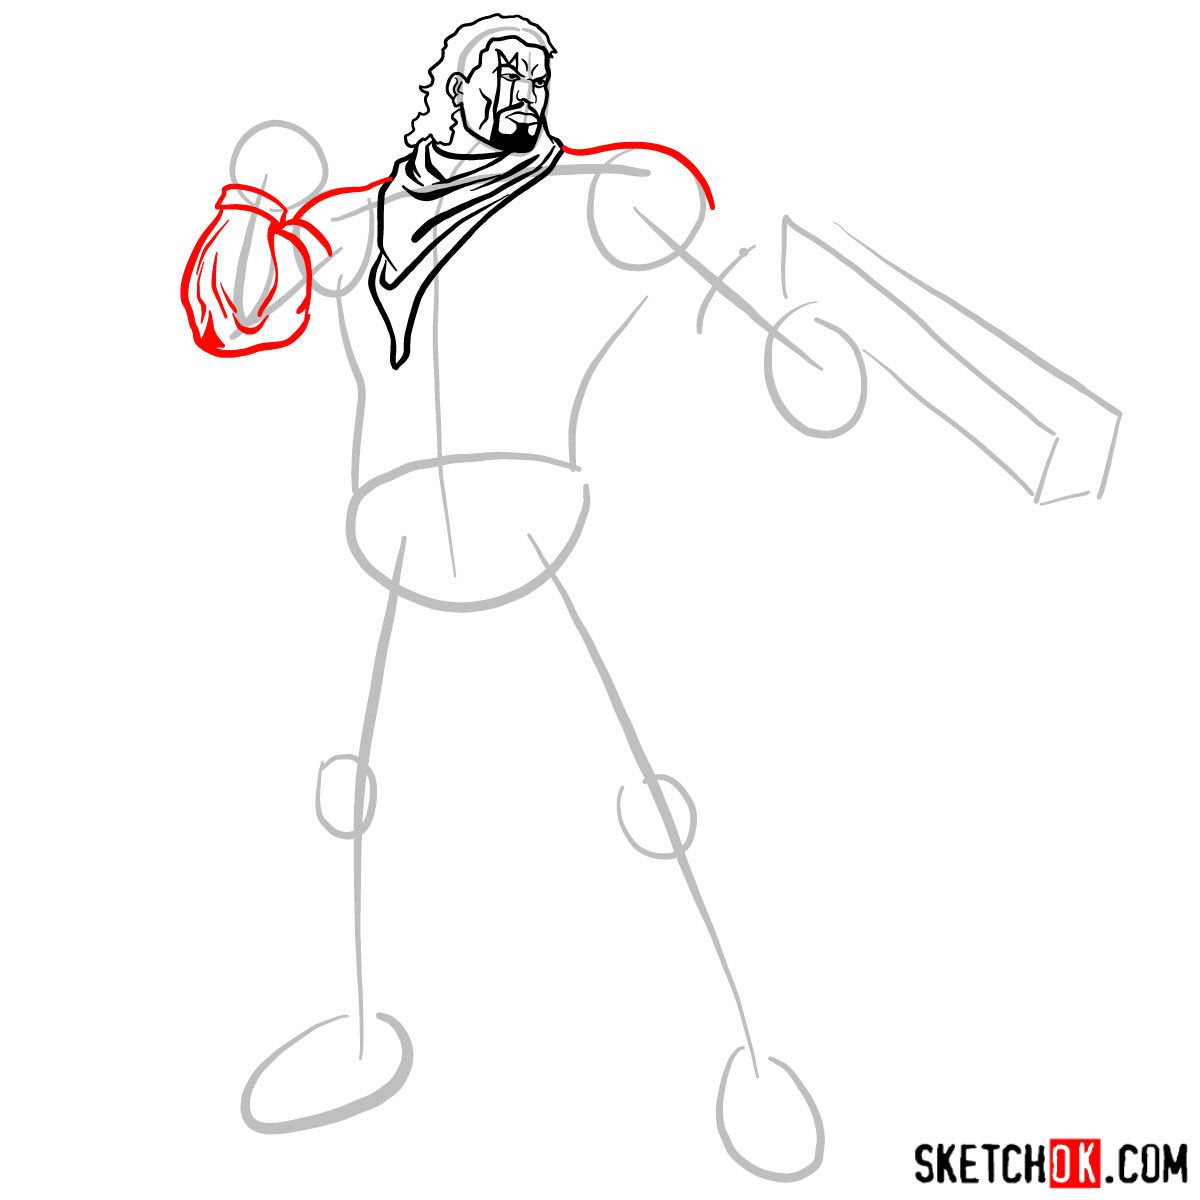
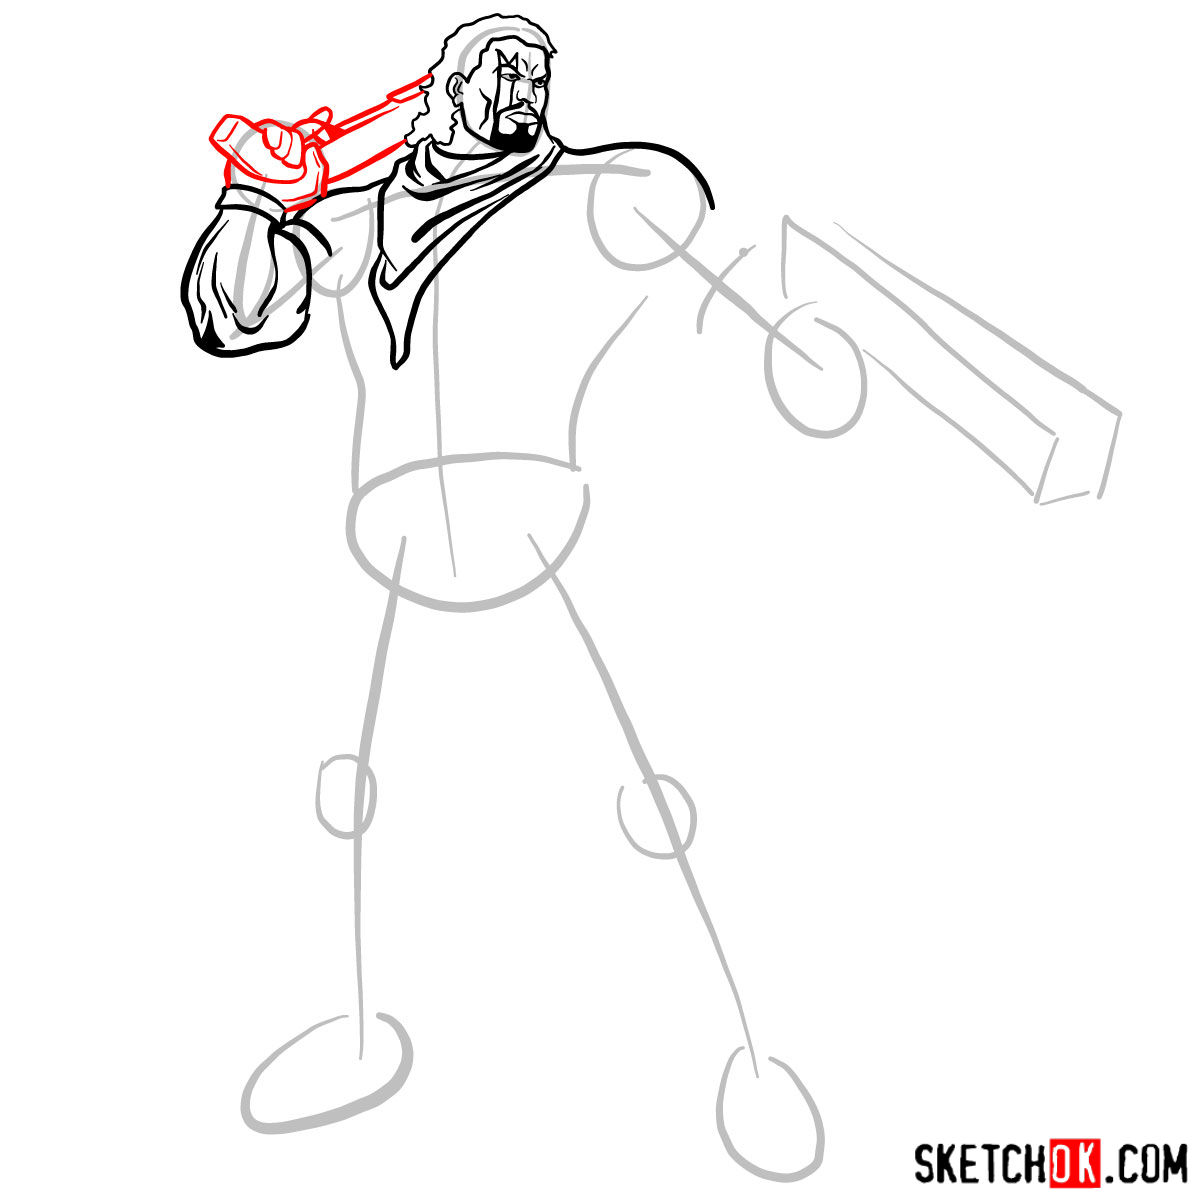
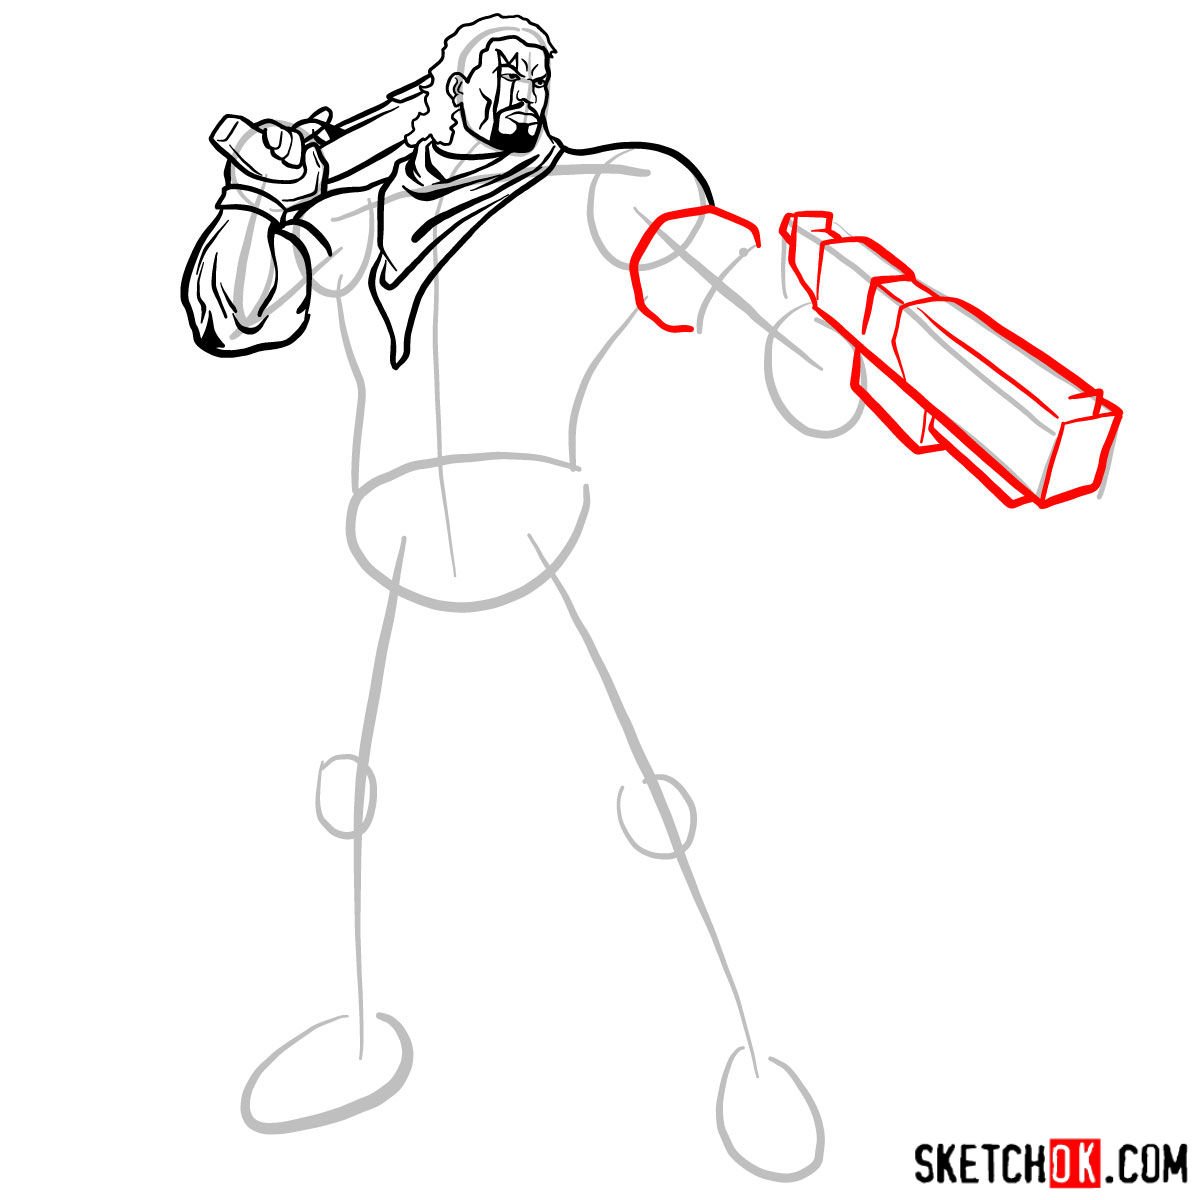
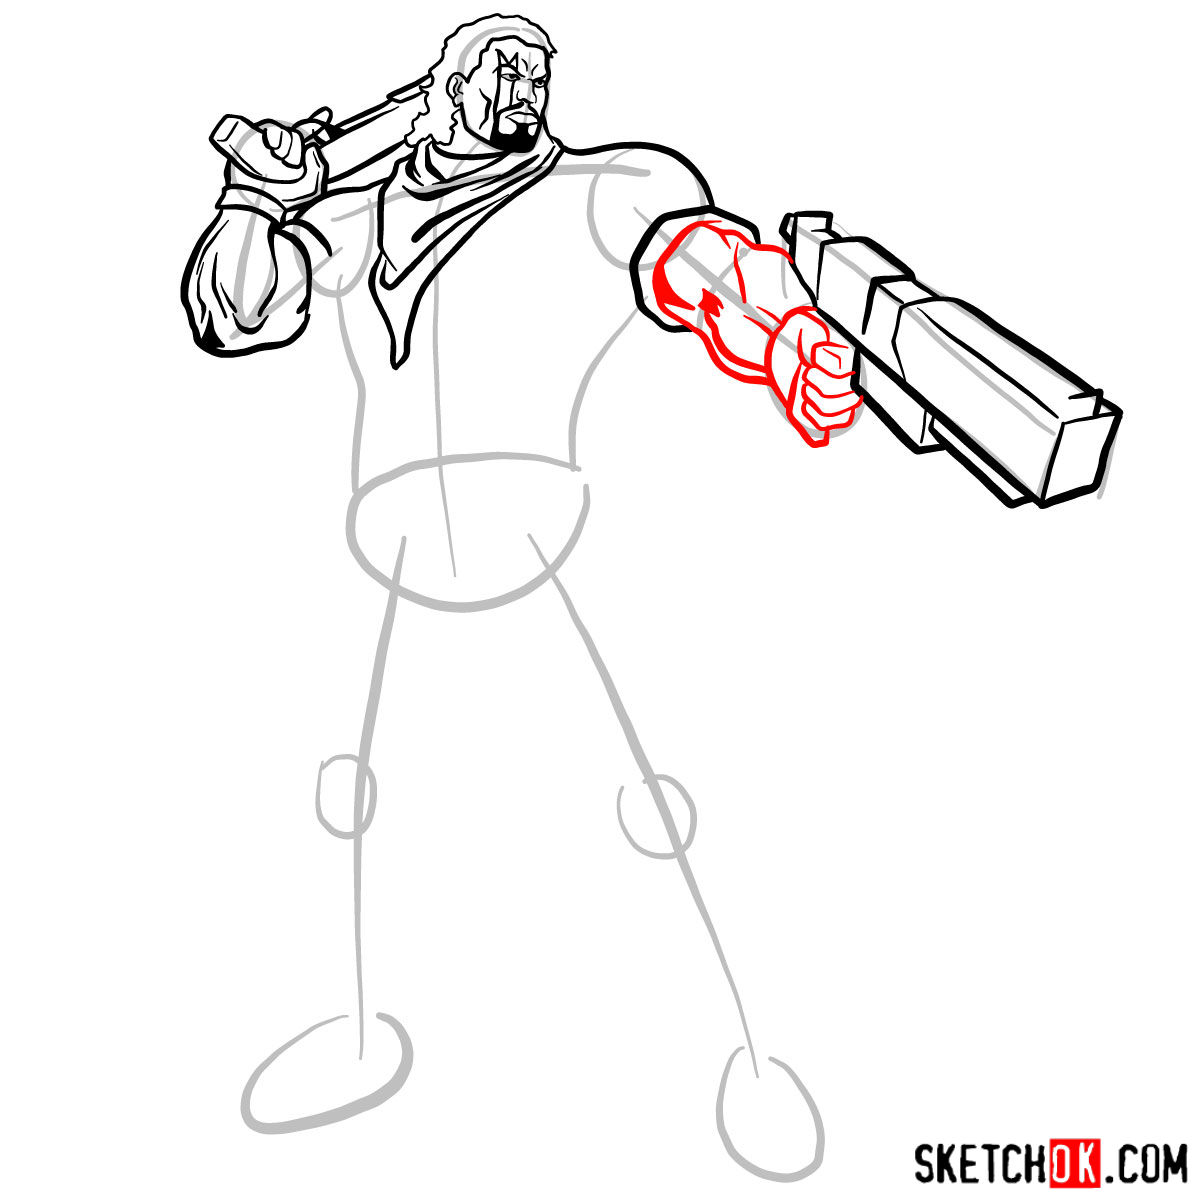
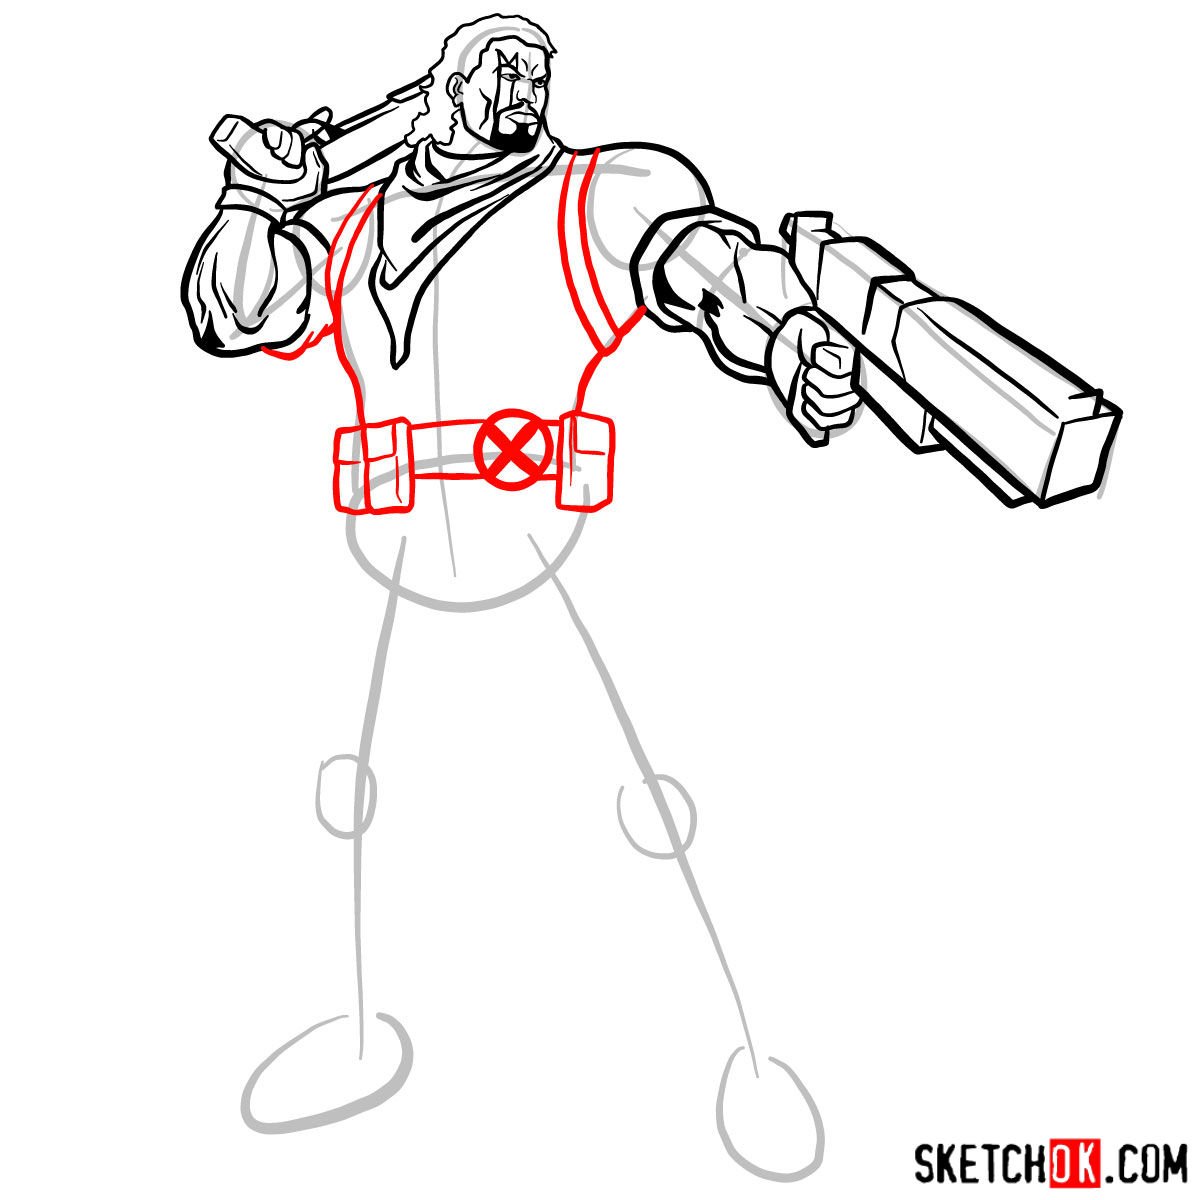
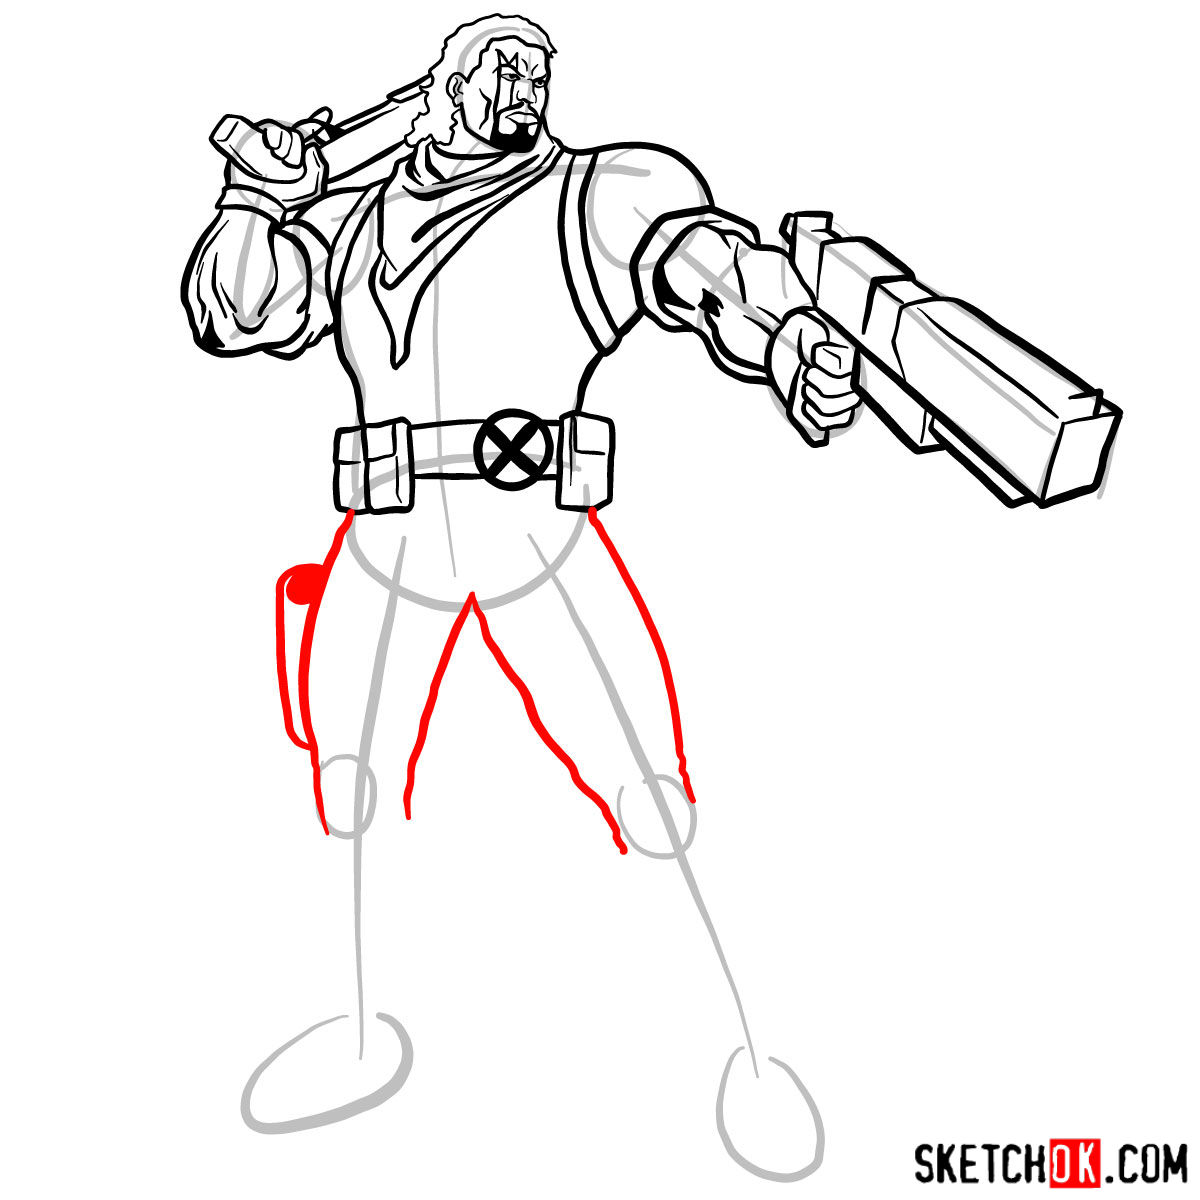
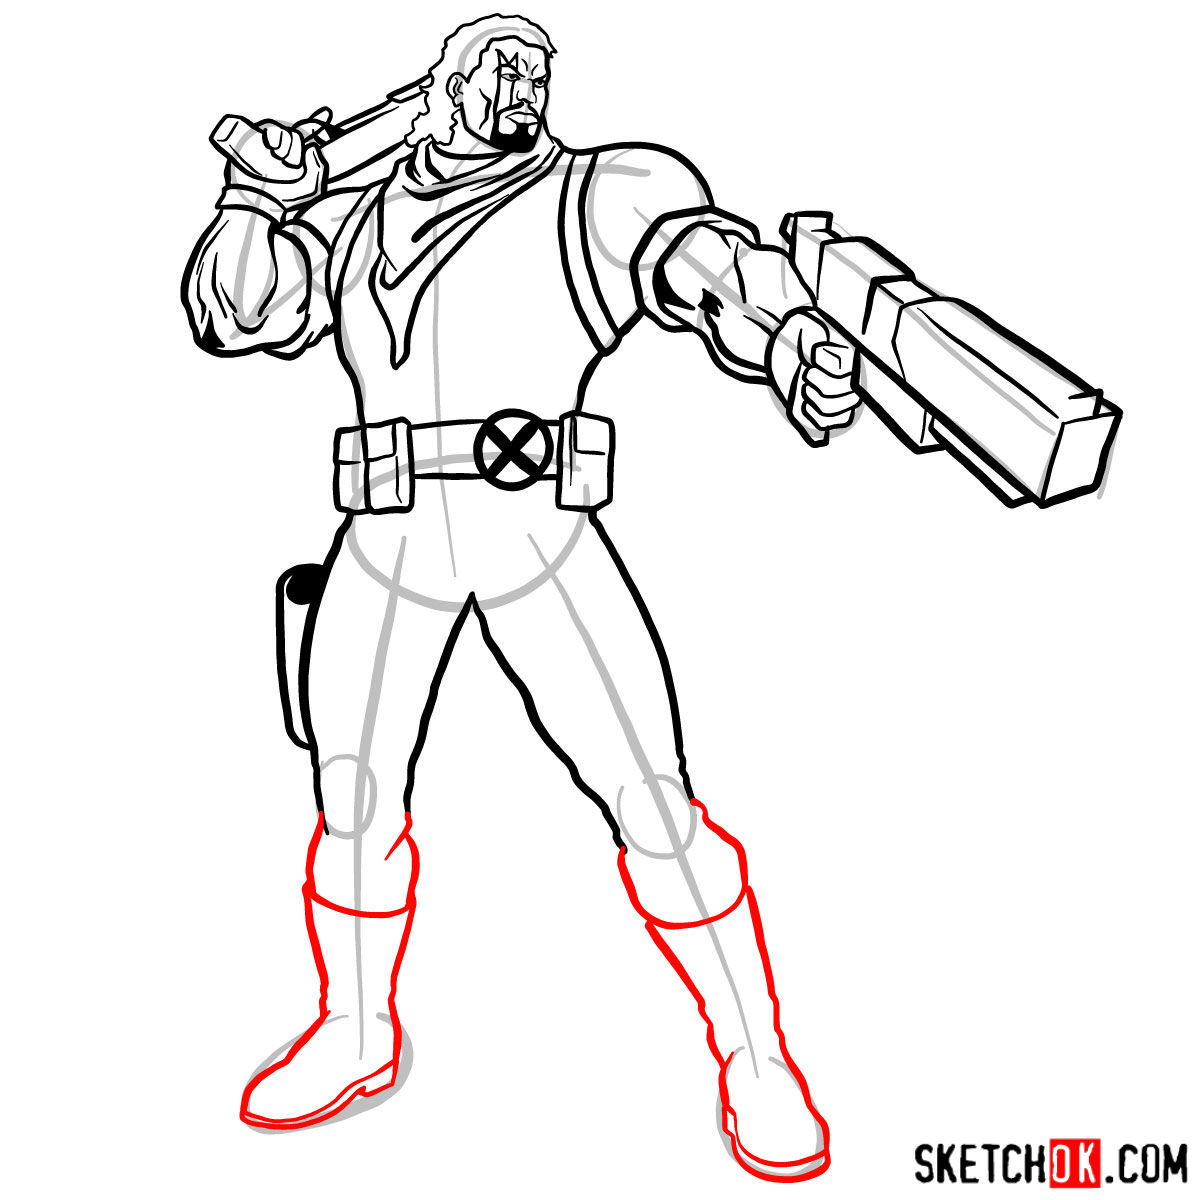
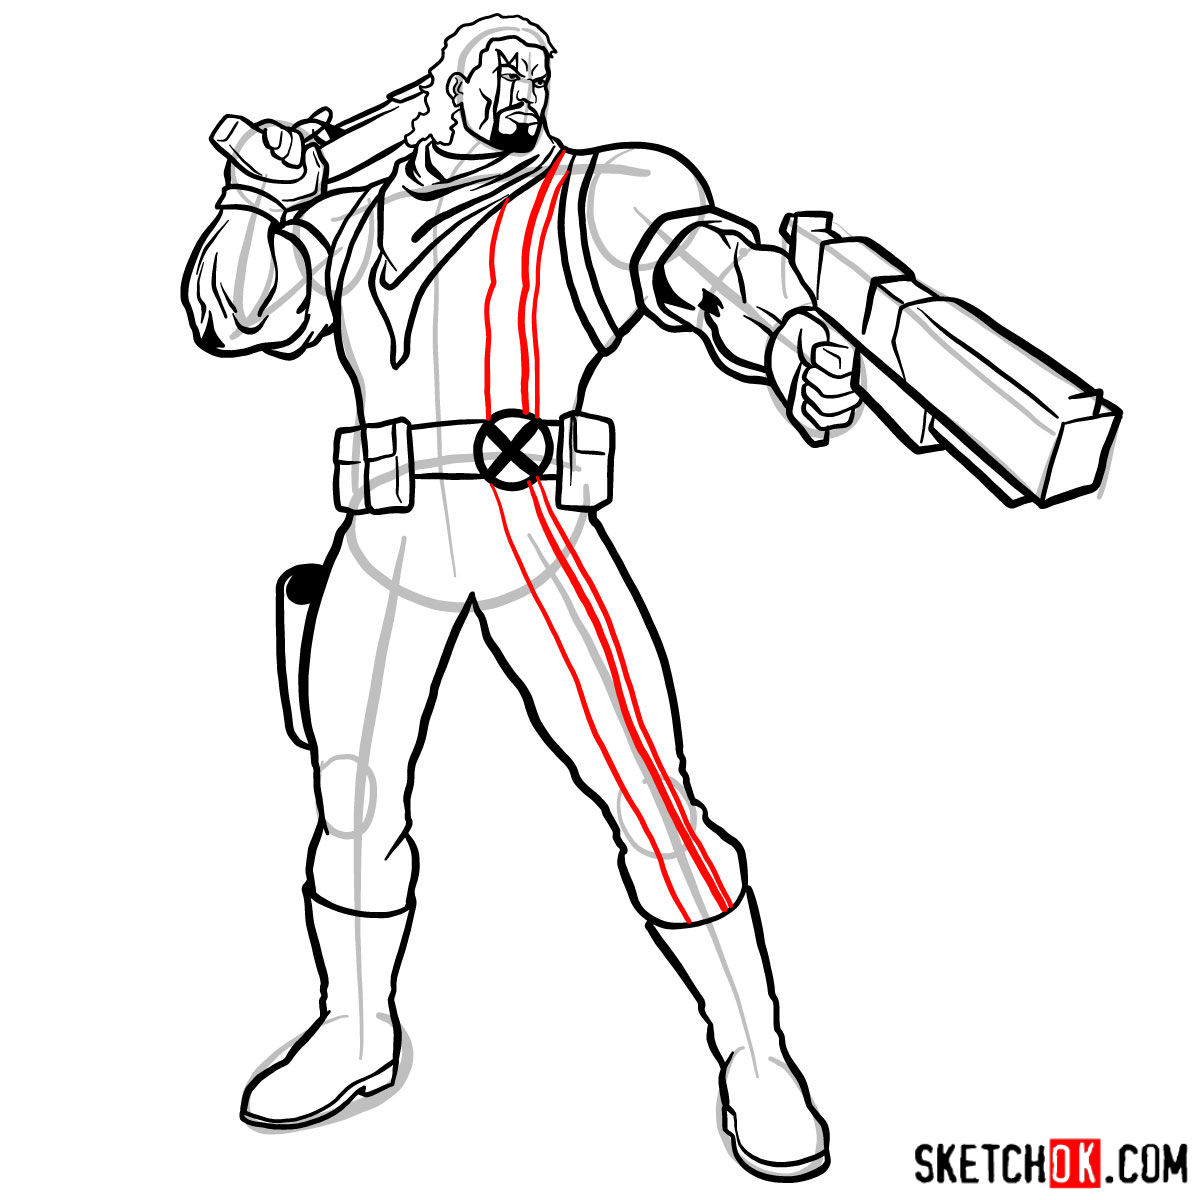
Part 2: Refining the Sketch
Once you have established the basic structure, it’s time to refine your sketch. Add details to Bishop’s facial features, muscular build, and distinctive costume. Pay close attention to the character’s unique elements, such as his signature M tattoo and futuristic weapons. As you refine your sketch, consider the proportions and balance between the various elements of your drawing. This attention to detail will bring your artwork to life!

Part 3: Inking Your Masterpiece
With your sketch refined, it’s time to ink your Lucas Bishop drawing. Carefully trace the outlines with a fine liner or inking pen. Vary your line weight to create a dynamic and engaging image. Thicker lines can convey shadows and bold areas, while thinner lines will give your drawing a more delicate appearance. After inking, gently erase any remaining pencil marks for a clean, polished look.
Part 4: Coloring and Shading Your X-Men Artwork
Now that your inking is complete, it’s time to bring your Lucas Bishop drawing to life with color and shading. Choose a color palette that reflects the character’s design in the comics or the movie adaptations. Apply the colors, paying attention to shadows and highlights, to create depth and realism in your artwork. You can use colored pencils, markers, or watercolors, depending on your personal preference and style. Remember to experiment with different shading techniques to enhance the overall impact of your Lucas Bishop drawing.

Now that you’ve worked through how to draw Lucas Bishop, feel free to share your finished artwork on the Pinterest post for this guide, where other fans drop their versions in the comments. If you learn better by watching than reading, the SketchOk YouTube channel puts out new drawing videos regularly, so it’s worth a follow for whenever video content shows up. You can also sign up for the weekly email digest using the form at the top of the page to catch new guides as they come out.