Introduction: Soar into the World of Superhero Art
Do you dream of creating your own stunning superhero artwork? Look no further! This step-by-step tutorial will teach you how to draw Supergirl in flight and guide you through the process of sketching her. By following our easy-to-understand instructions, you’ll soon be able to create your own flying masterpiece, featuring the iconic cousin of Superman. So, grab your art supplies, and let’s get started!
The High-Flying Tale of Supergirl
Before we begin our artistic journey, let’s take a moment to appreciate the captivating story of Supergirl. Kara Zor-El, also known as Supergirl, made her first appearance in Action Comics #252 back in 1959. As the biological cousin of Kal-El (better known as Superman), Kara shares a similar origin story and superpowers with her famous relative. Over the years, Supergirl’s character has been reimagined and revamped, with various actresses bringing her to life on the big and small screens.
Assemble Your Art Arsenal
Before we take off on our drawing adventure, let’s gather the necessary tools for the job. While you’re free to use any art supplies you prefer, we recommend the following:
- Pencils: HB, 2B, and 4B
- Eraser
- Pencil sharpener
- Ink pens or fine liners
- Colored pencils or markers
- Drawing paper
Unlock Your Inner Artist: The Step-by-Step Supergirl Drawing Guide
With our materials gathered, it’s time to dive into the drawing process. Follow these four essential steps to create your very own Supergirl in flight artwork.
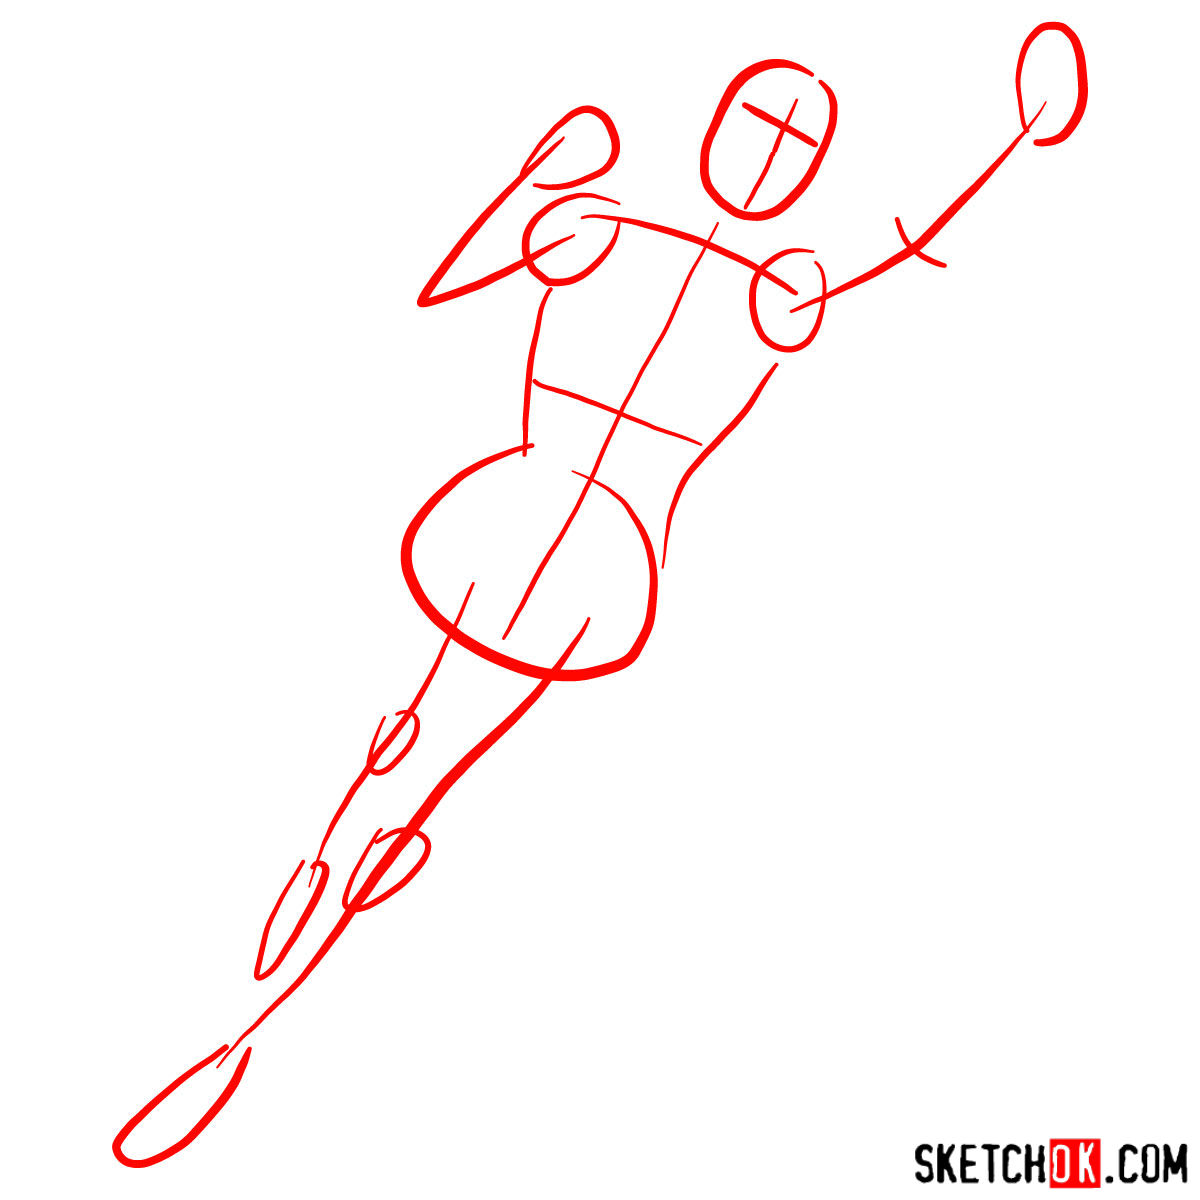
Part 1: Building the Basic Sketch
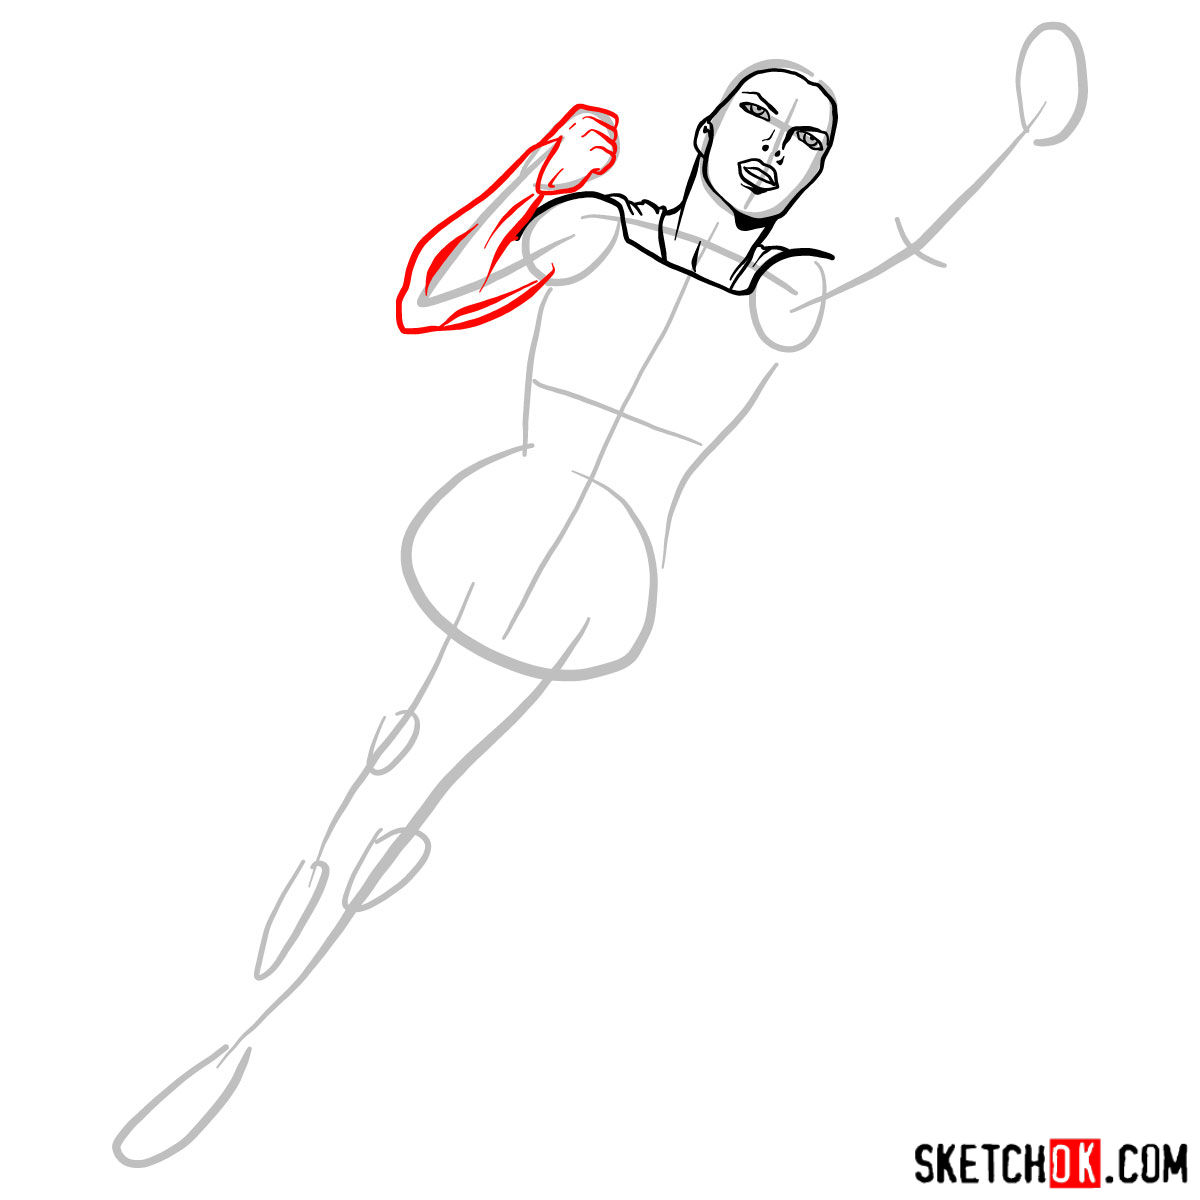
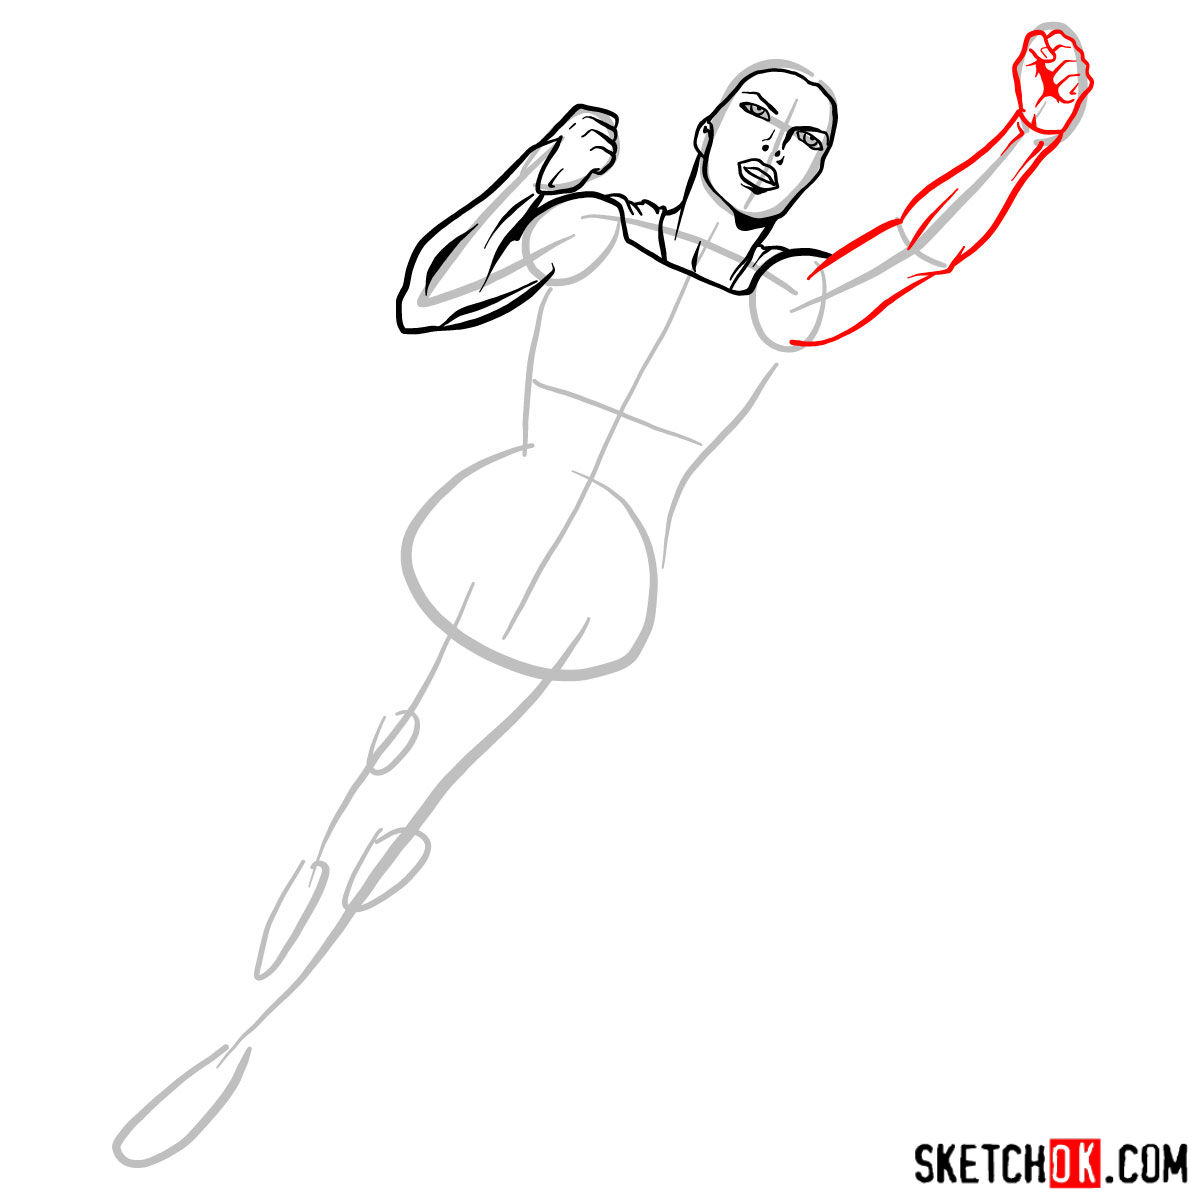
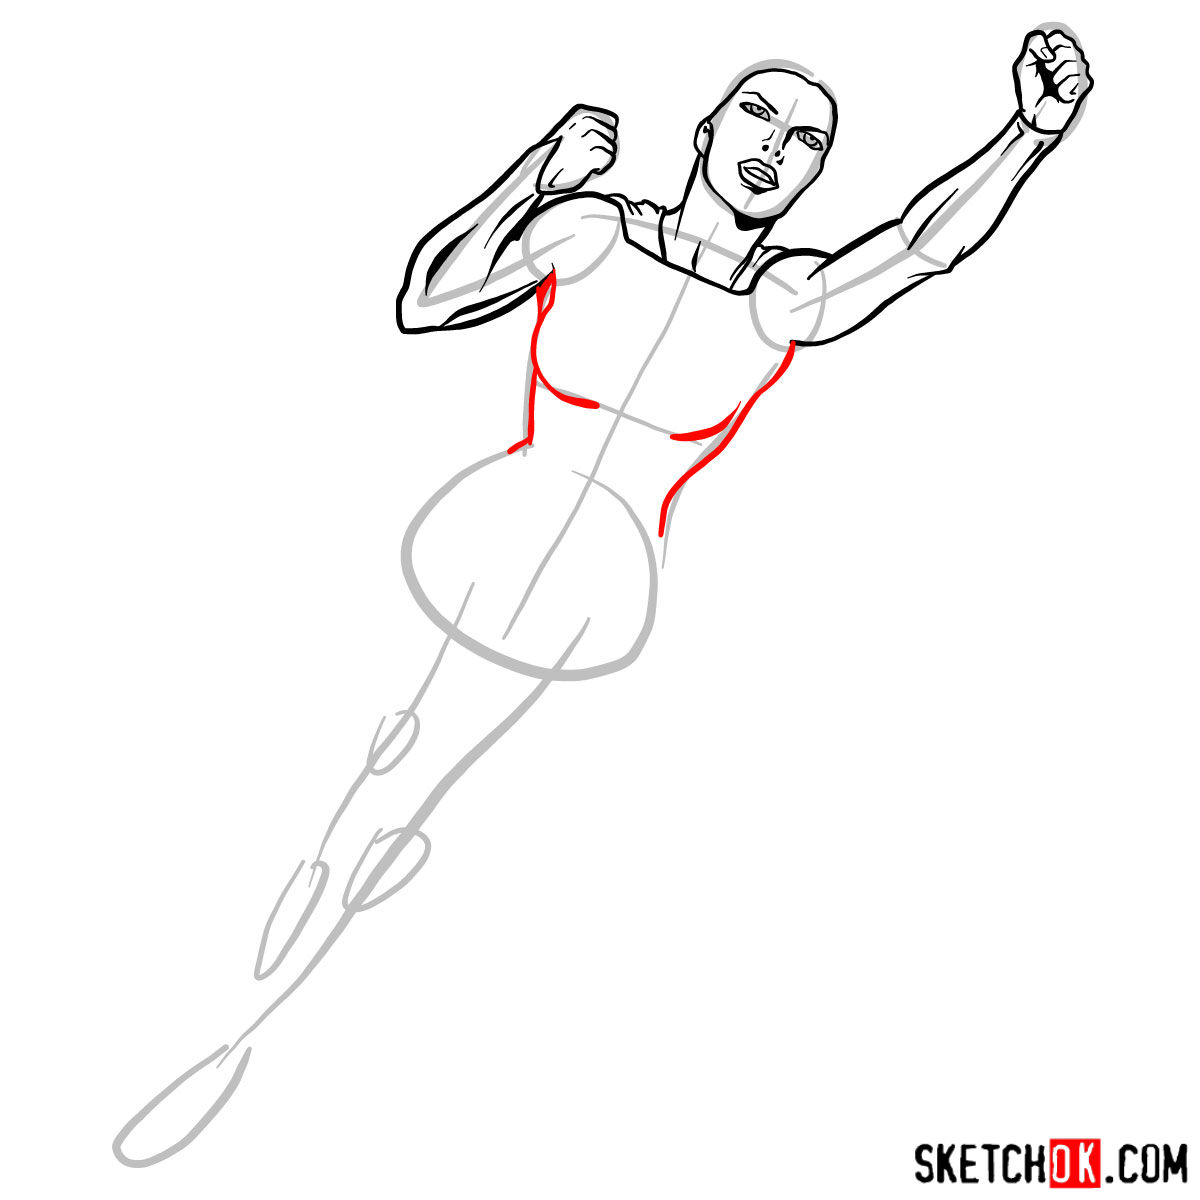
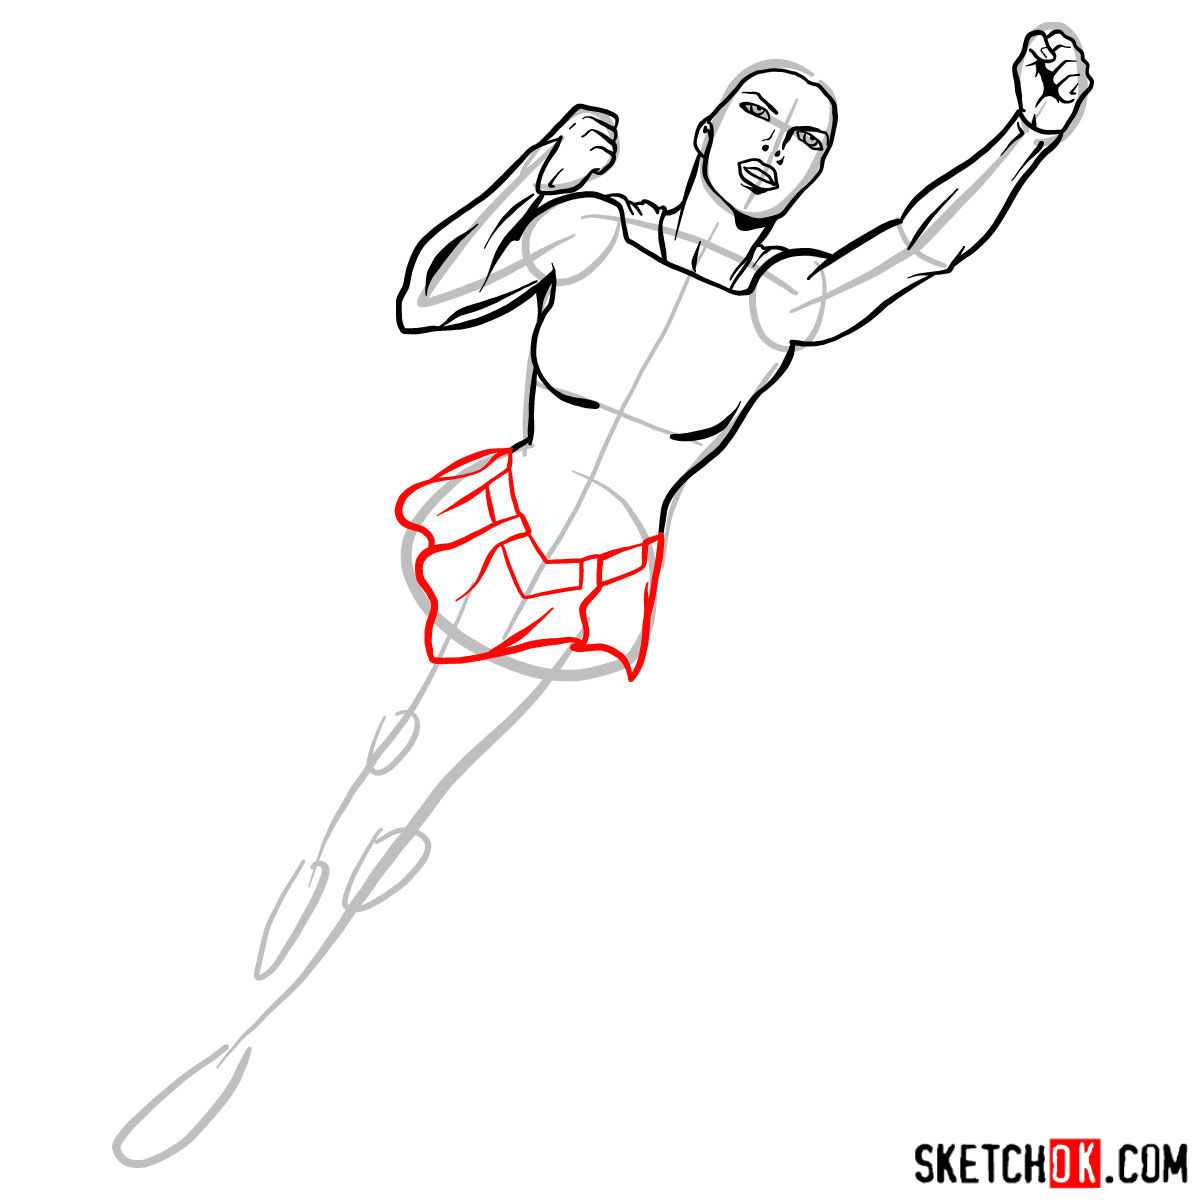
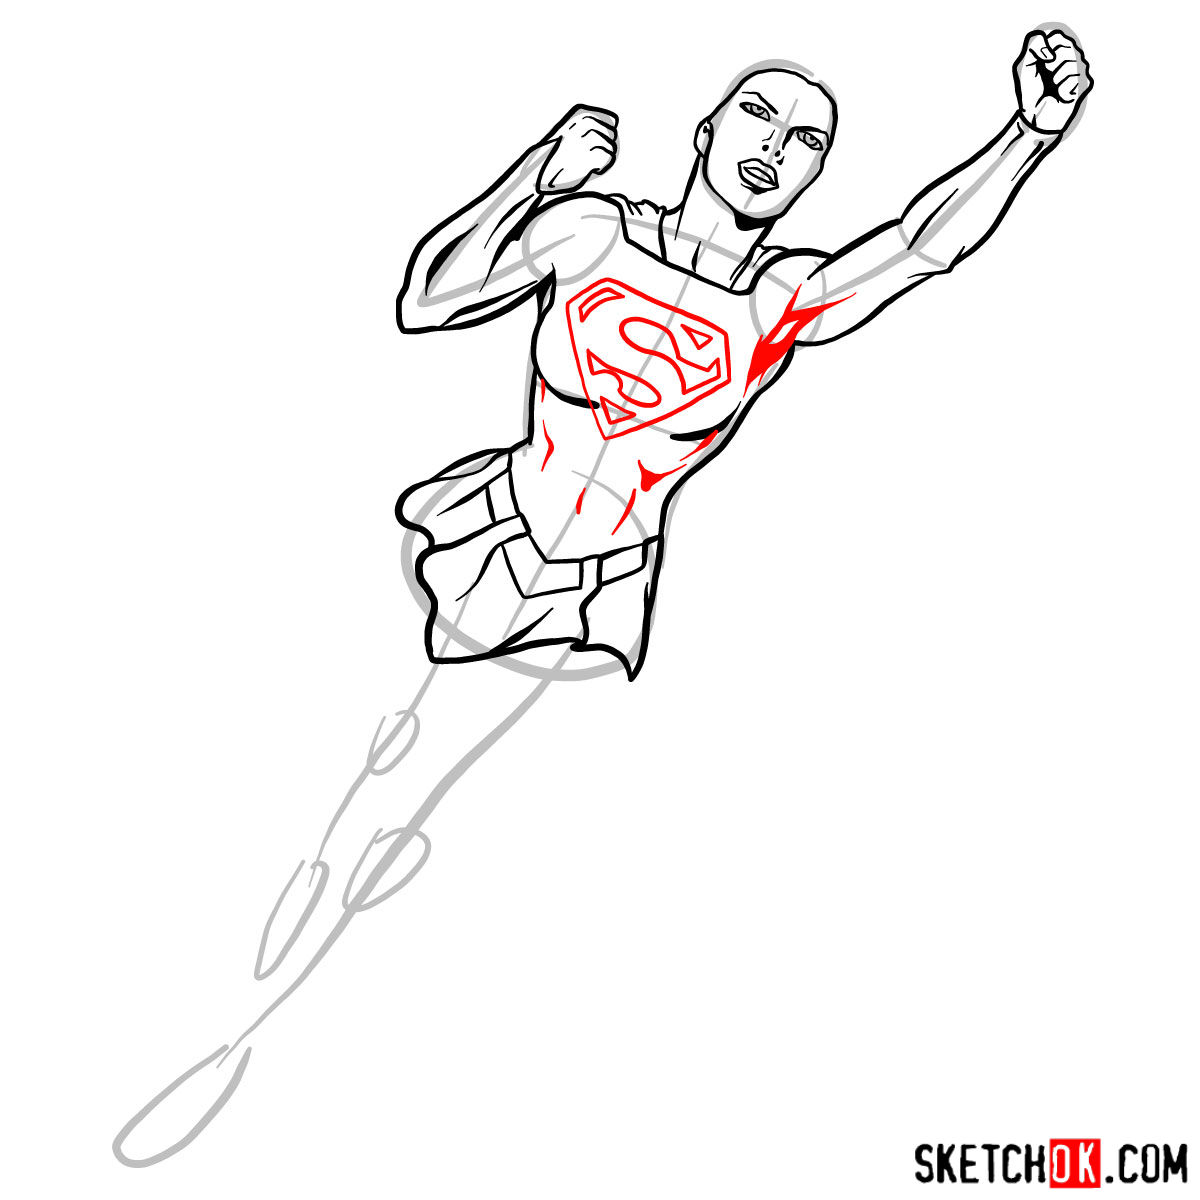
The first step in our drawing tutorial is to create a basic sketch of Supergirl’s proportions using light pencil strokes. This foundational structure will help you establish the correct placement of her body, limbs, and facial features. Don’t worry about getting every detail perfect at this stage; focus on capturing her overall form and pose.
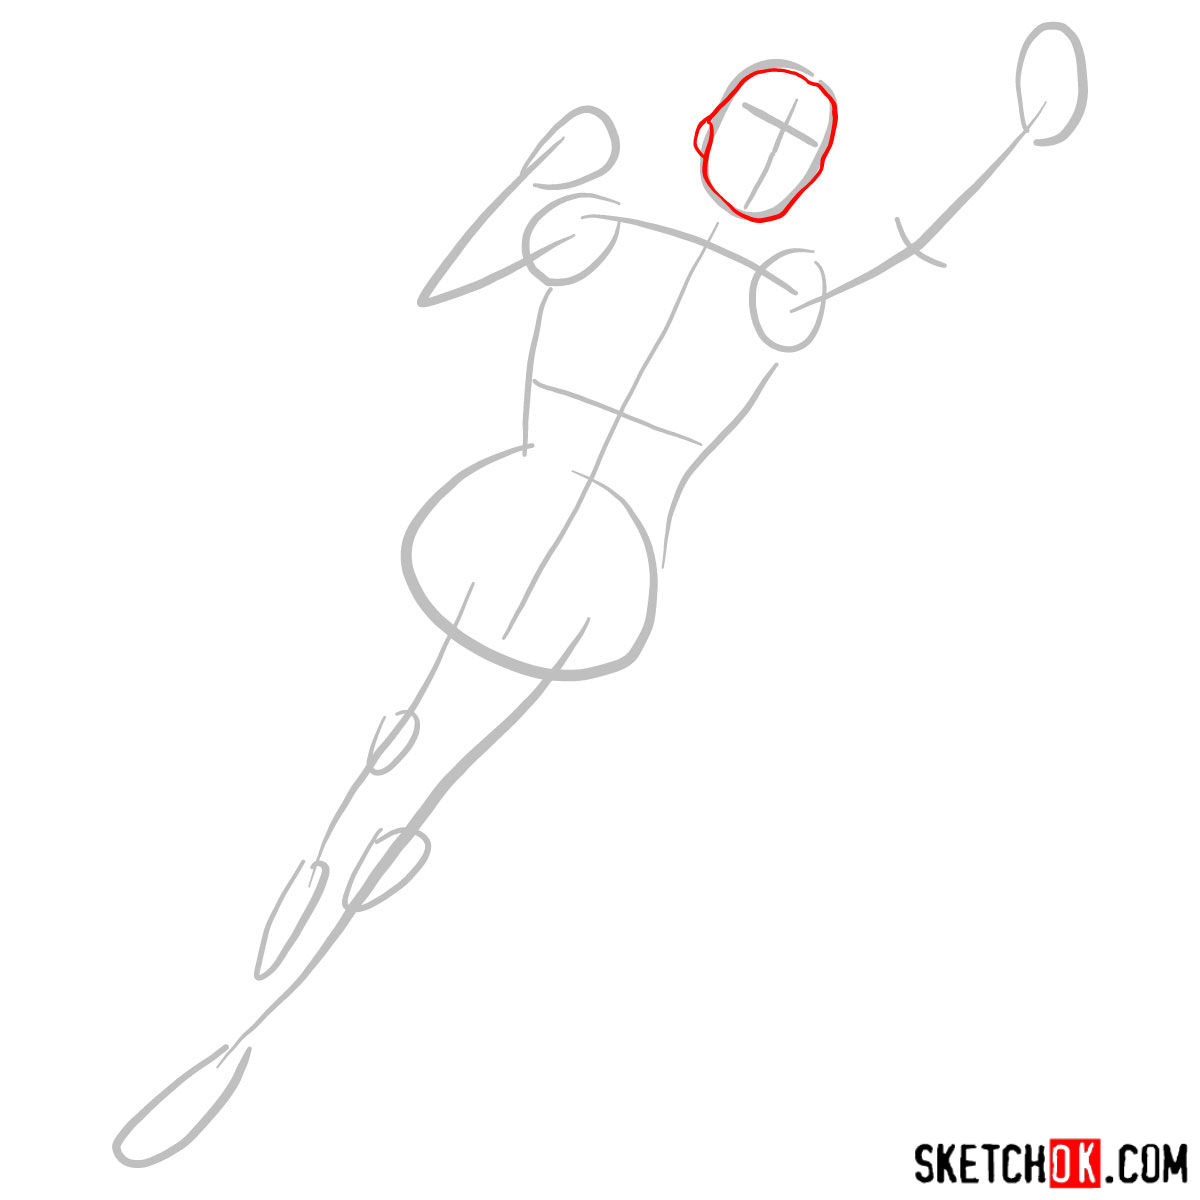
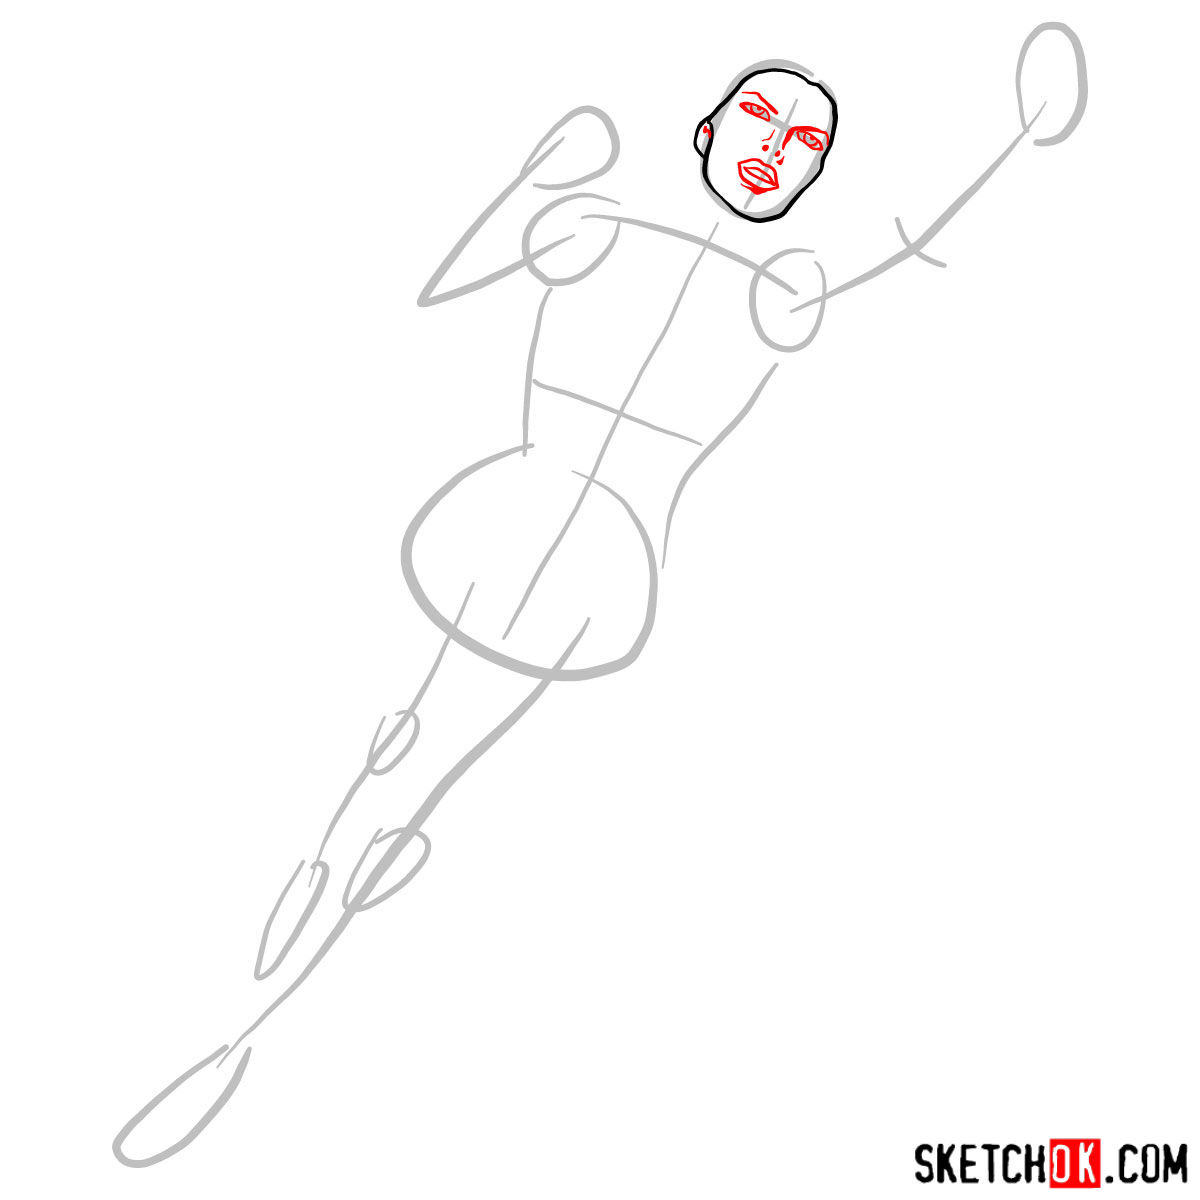
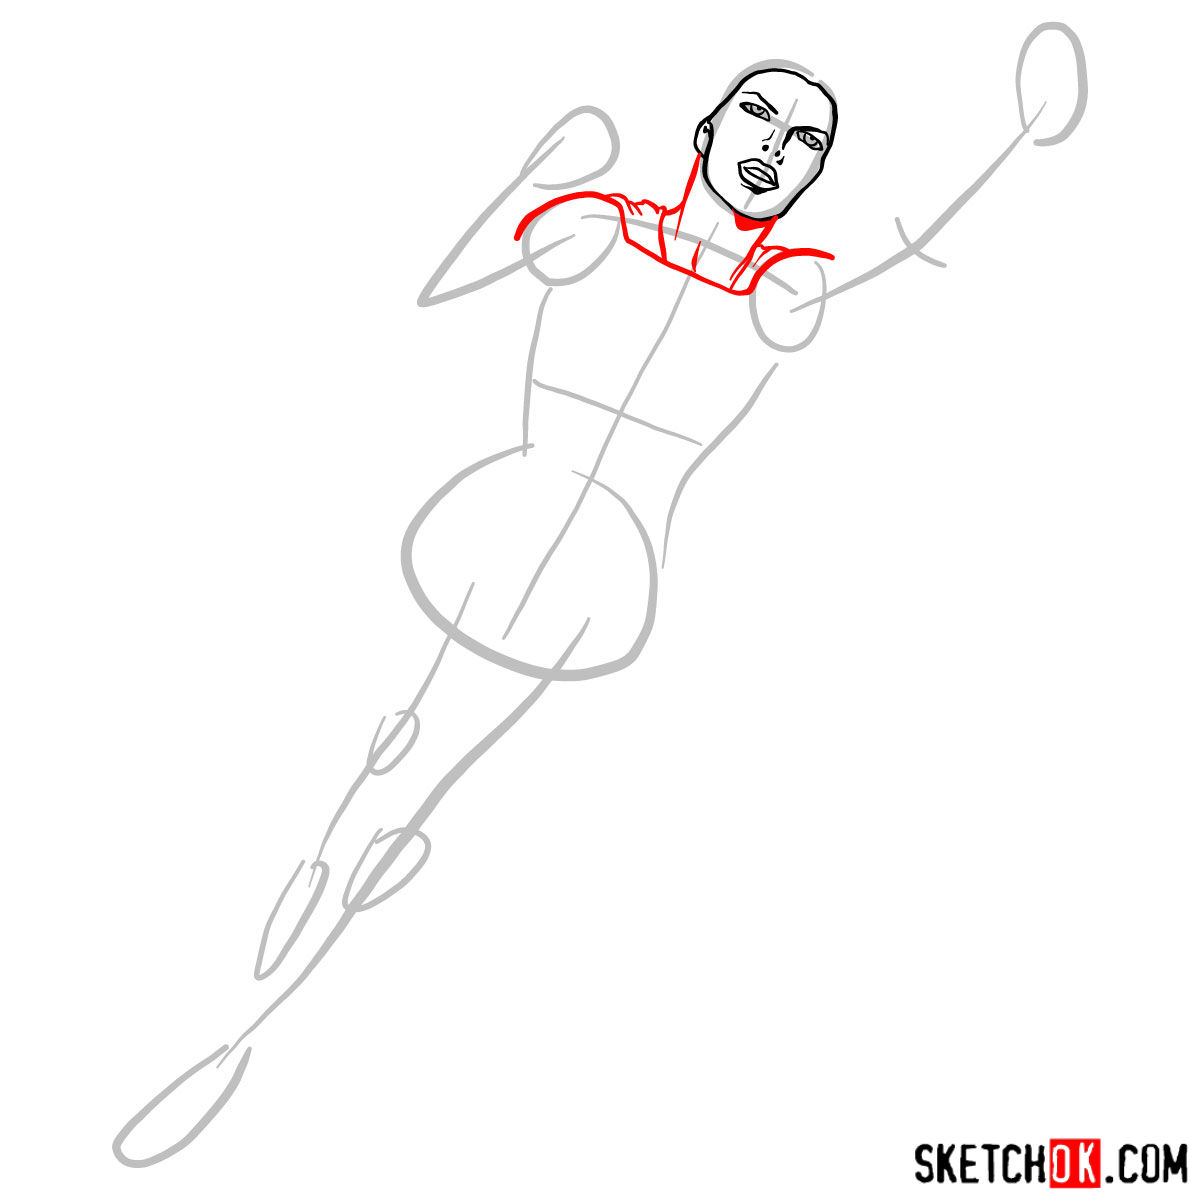
Part 2: Fine-Tuning the Sketch
Once you’ve established the basic structure of Supergirl, it’s time to refine the sketch. Carefully work on enhancing the details, such as her facial features, costume, and hair. As you make adjustments, remember to keep your pencil strokes light and maintain accurate proportions. This step sets the stage for the final inking and coloring process.


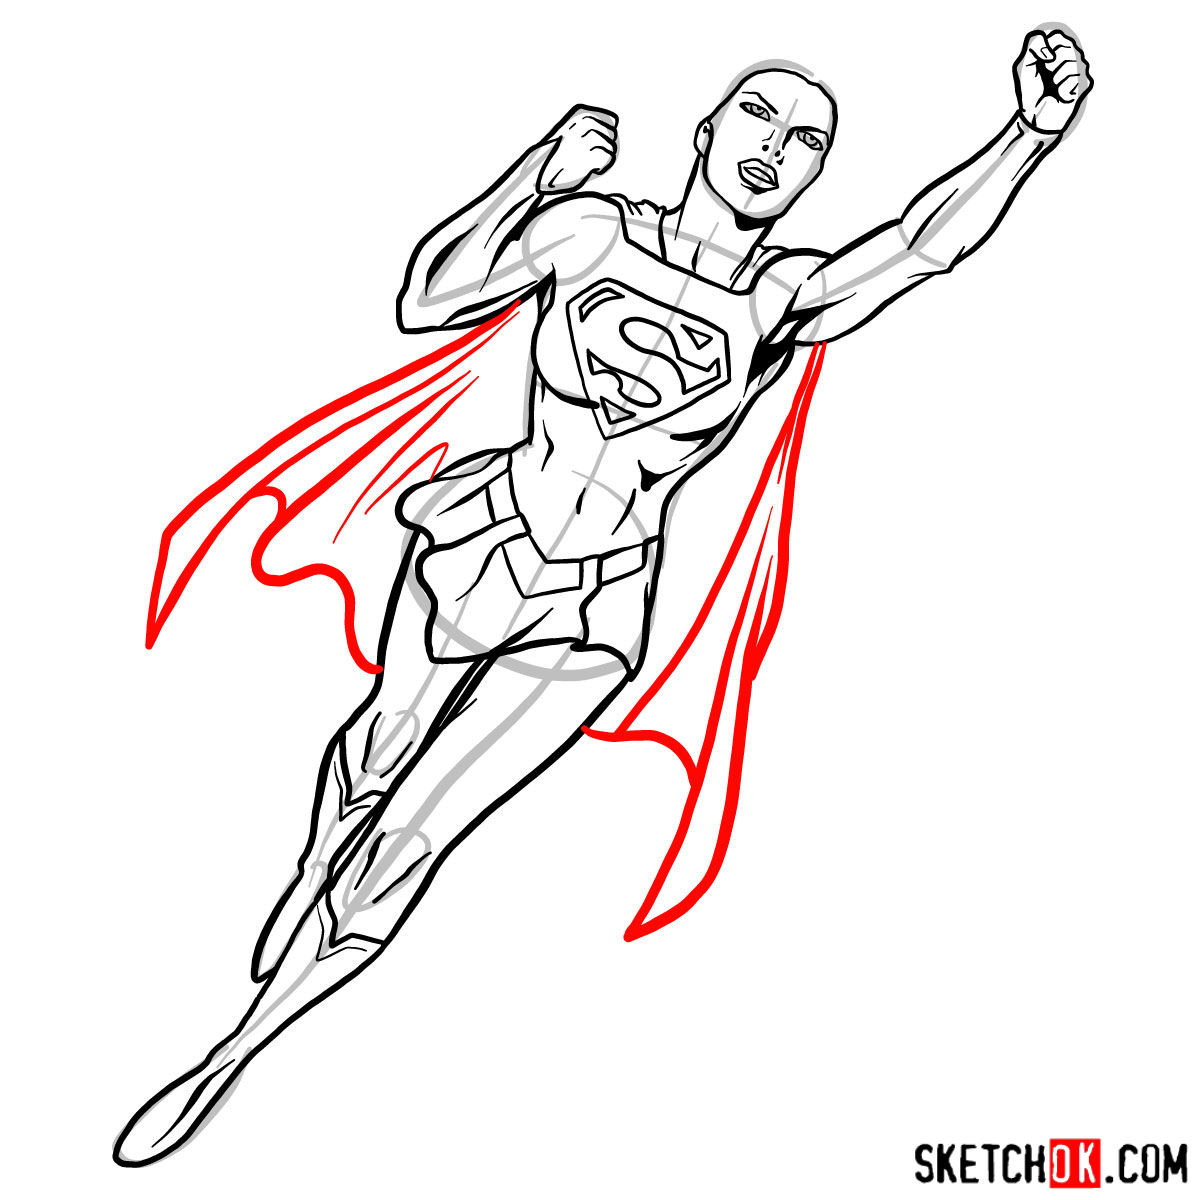
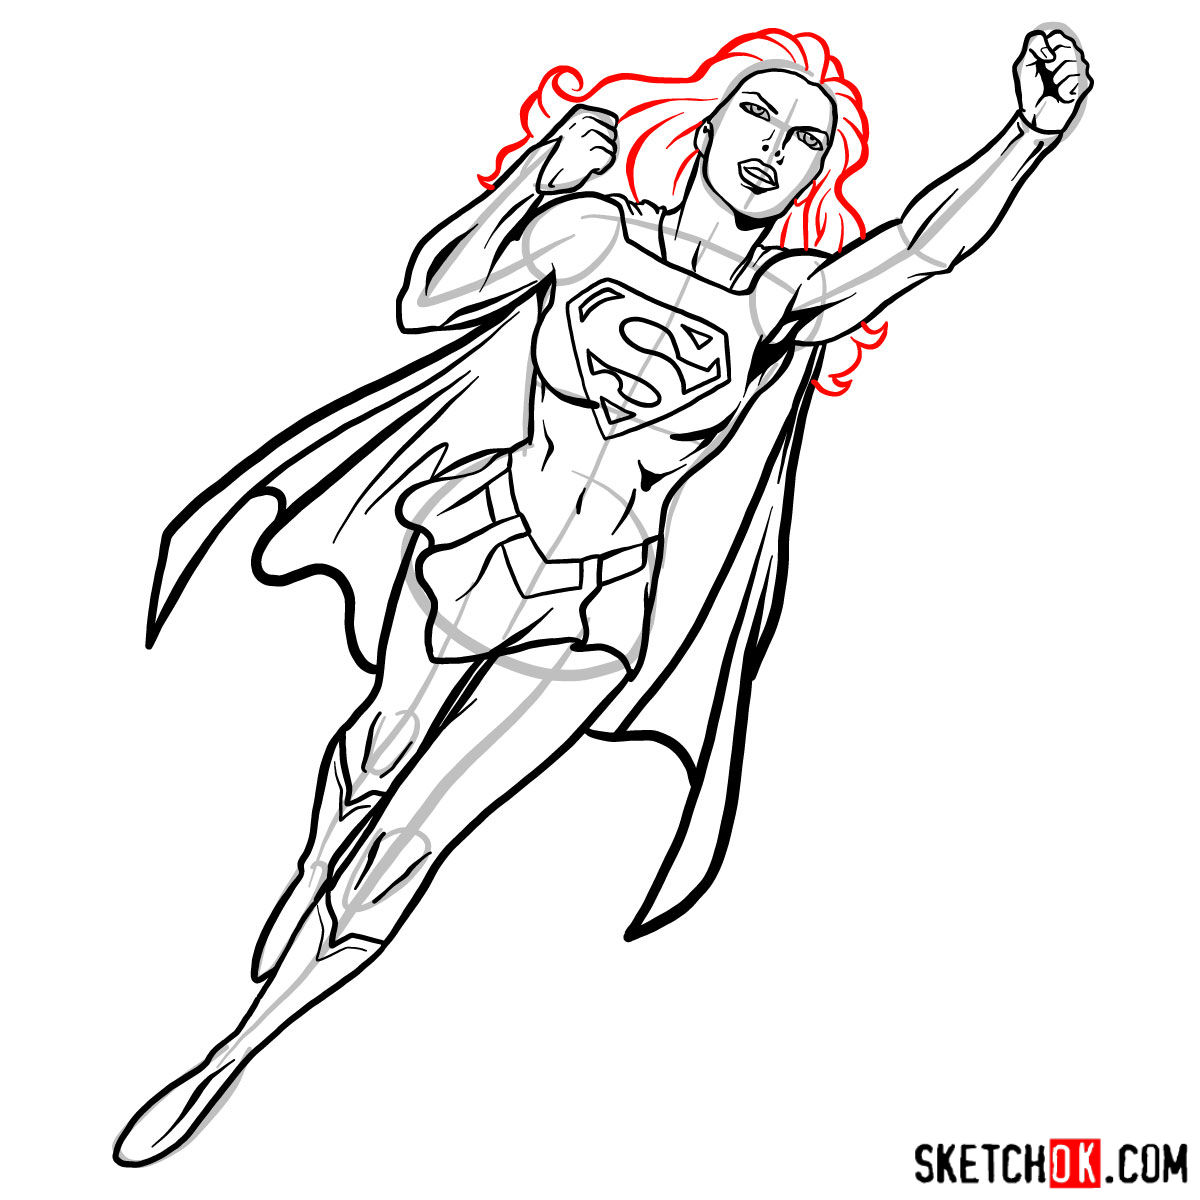
Part 3: Inking the Masterpiece
With the refined sketch complete, it’s time to bring your artwork to life with ink. Carefully outline your drawing using ink pens or fine liners, adding final touches to Supergirl’s costume, hair, and facial expressions. As you ink, take your time and avoid smudging your work to achieve a clean, professional finish.
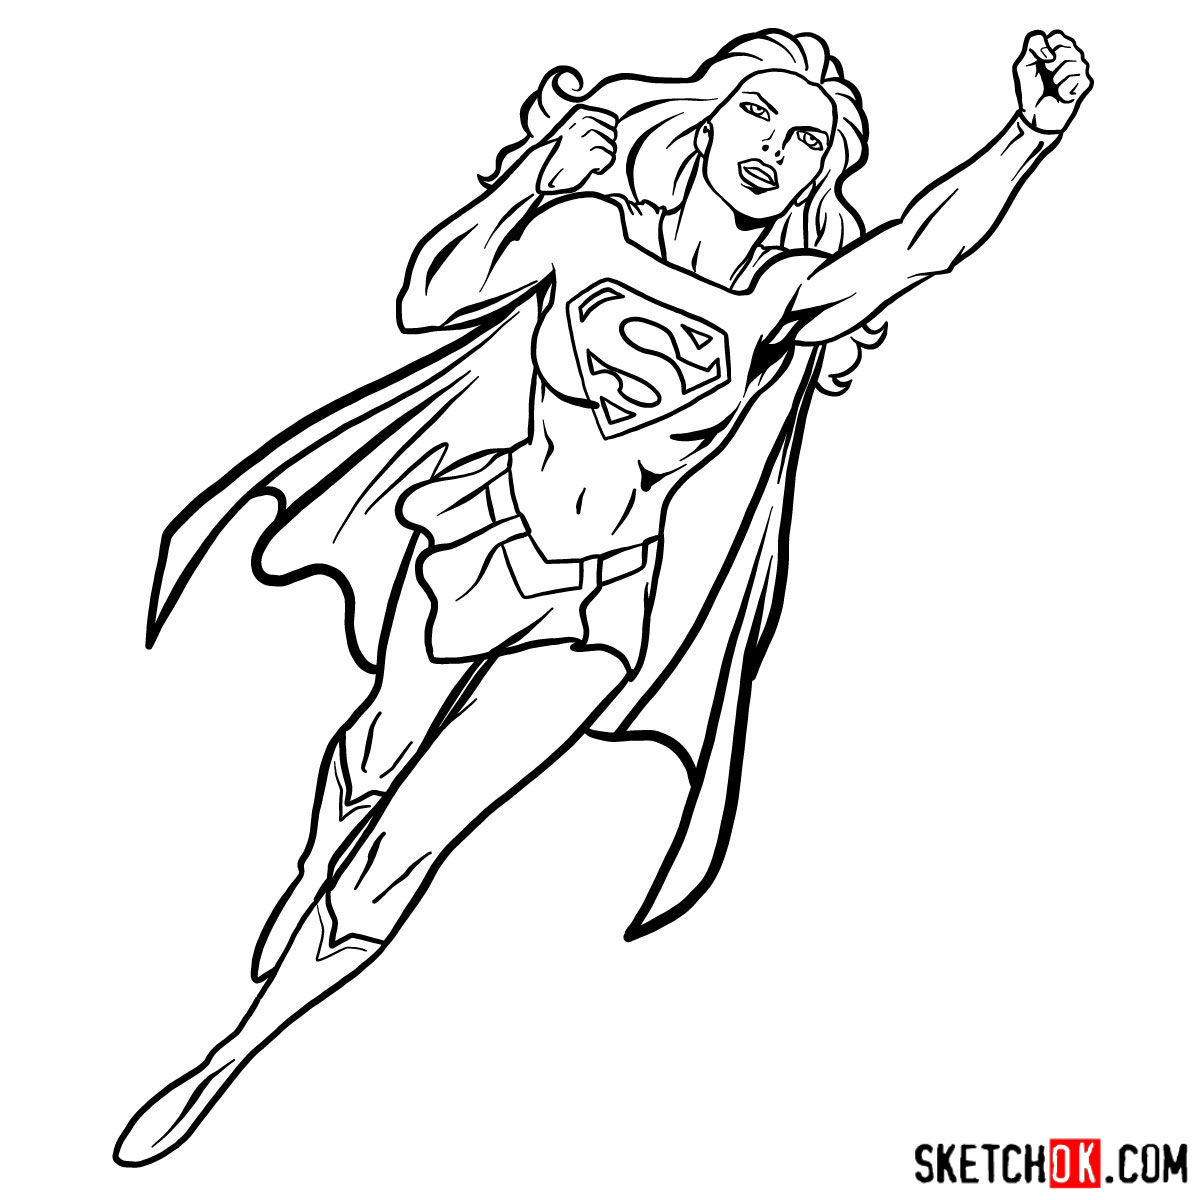
Part 4: Coloring and Shading
The final step in our Supergirl drawing tutorial is to add color, shading, and highlights. Choose your preferred coloring tools, such as colored pencils or markers, and bring Supergirl’s vibrant costume to life. Pay close attention to the direction of light and the folds in her cape and clothing to create a dynamic, three-dimensional effect. Experiment with different shading techniques to add depth and dimension to your artwork.

That covers how to draw Supergirl in flight, cape and all. If you want to show off your finished version, drop it in the comments on the pinned Pinterest post for this guide.