Home » Cartoon Characters » Various » Draw cute Minnie Mouse in 20 steps

Draw cute Minnie Mouse in 20 steps

There’s a certain magic to drawing a character as timeless as Minnie Mouse. With her trademark bow and dress, she’s a delightful subject to bring to life on paper. In this article, we will guide you through an intuitive 20-step process to capture the charm and essence of Minnie. But remember, as Walt Disney said, “It’s kind of fun to do the impossible.” So, let’s dive into the world of enchantment!

Characteristics of Our Adorable Diva: Minnie Mouse

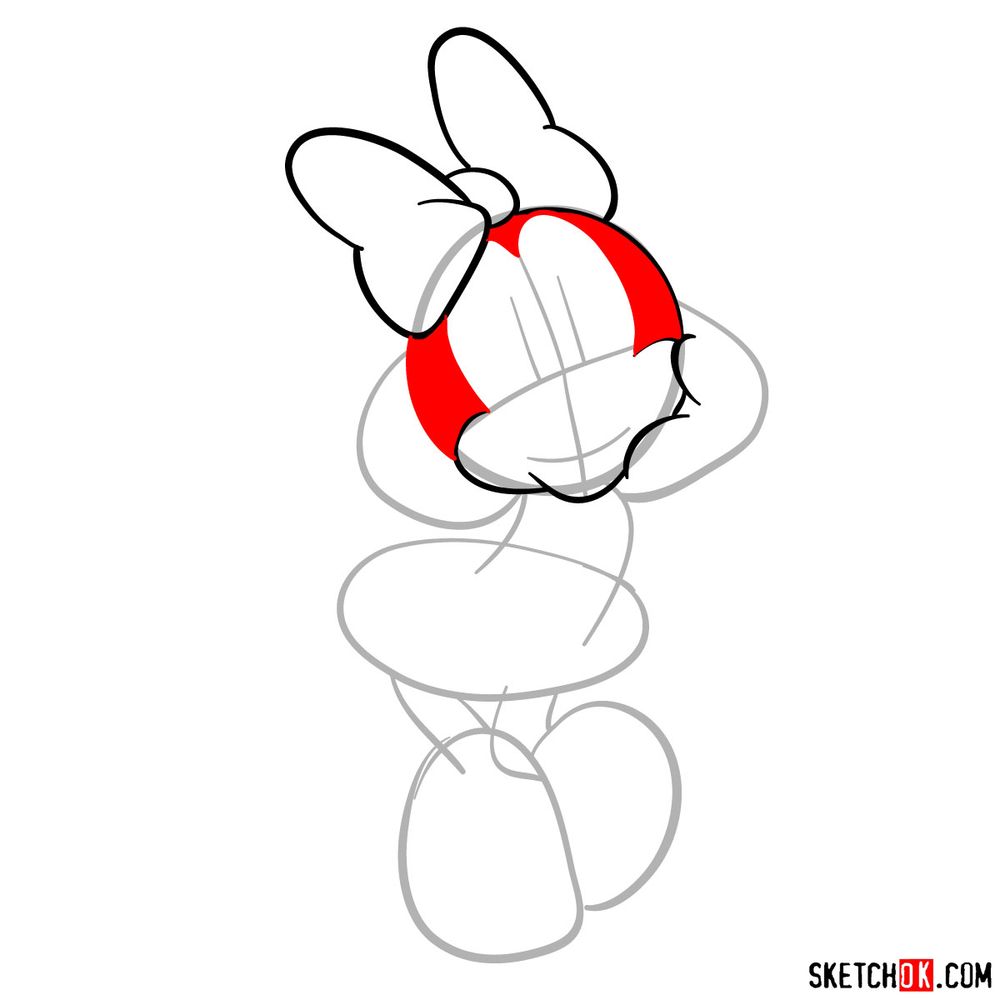
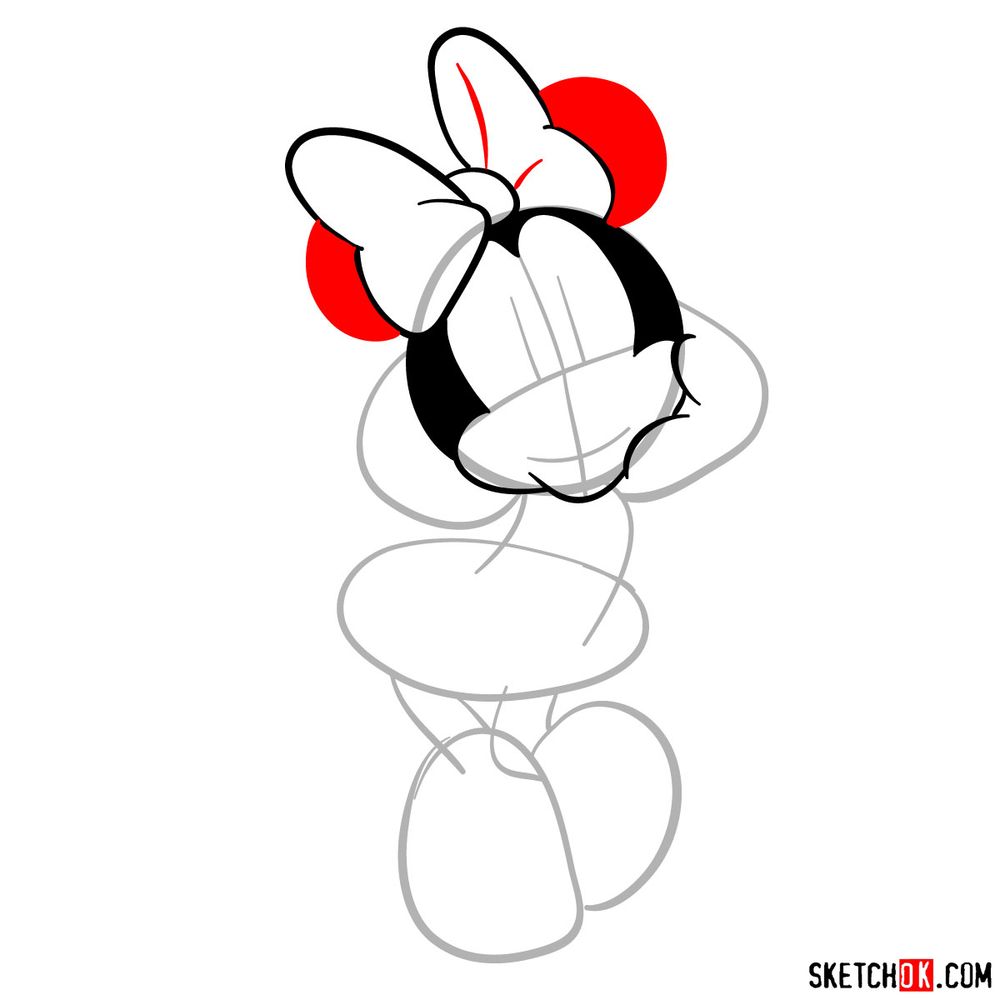
  • Iconic Bow: Minnie’s bow is one of her defining features, usually in a bright and cheerful red color.
  • Round Ears: Her round ears, perfectly symmetrical, are another trademark that sets her apart.
  • Dress: Minnie’s stylish dress, always in fashion, adds to her enduring charm.
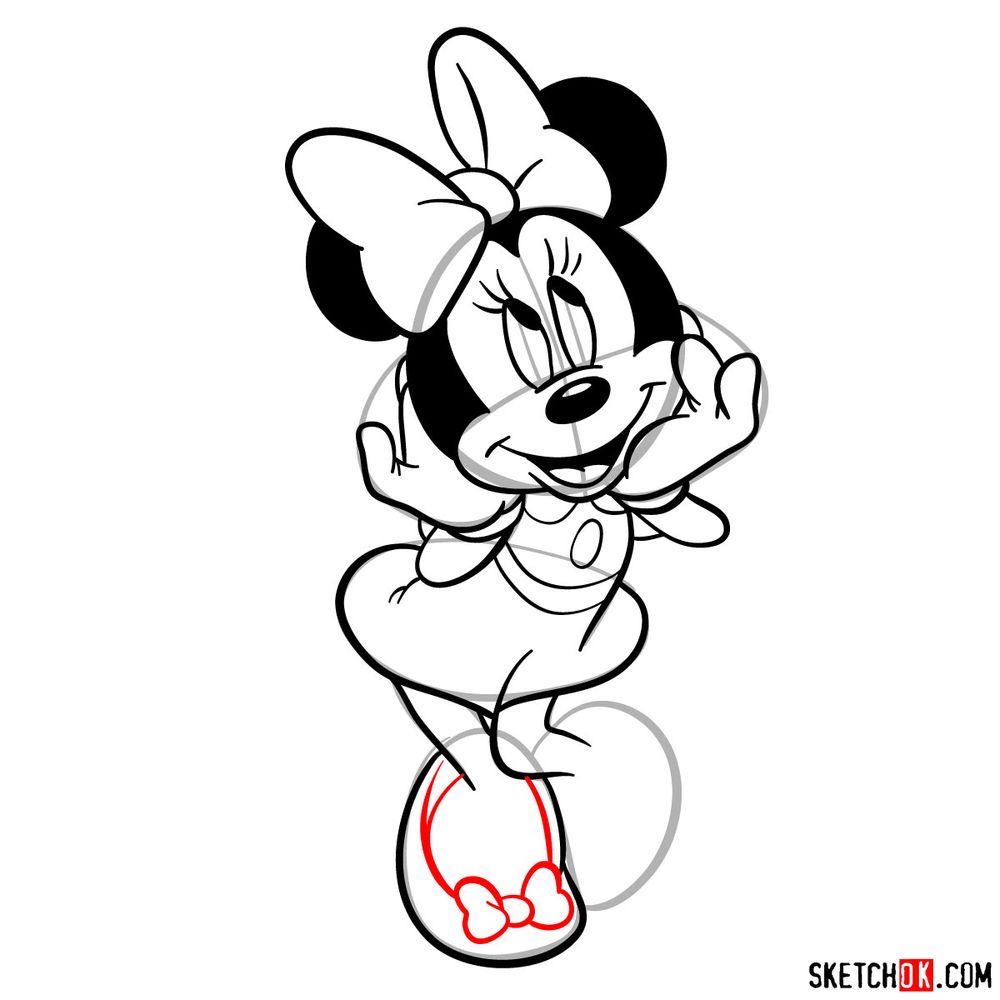
  • Sweet Shoes: The large, oversized shoes add a comical element that matches Mickey’s iconic look.

Notably, Minnie Mouse shares these distinctive features with her partner, Mickey Mouse. Once you master drawing Minnie, why not try sketching Mickey too? It could be an adorable addition to your artwork, as well as Goofy or Pluto.

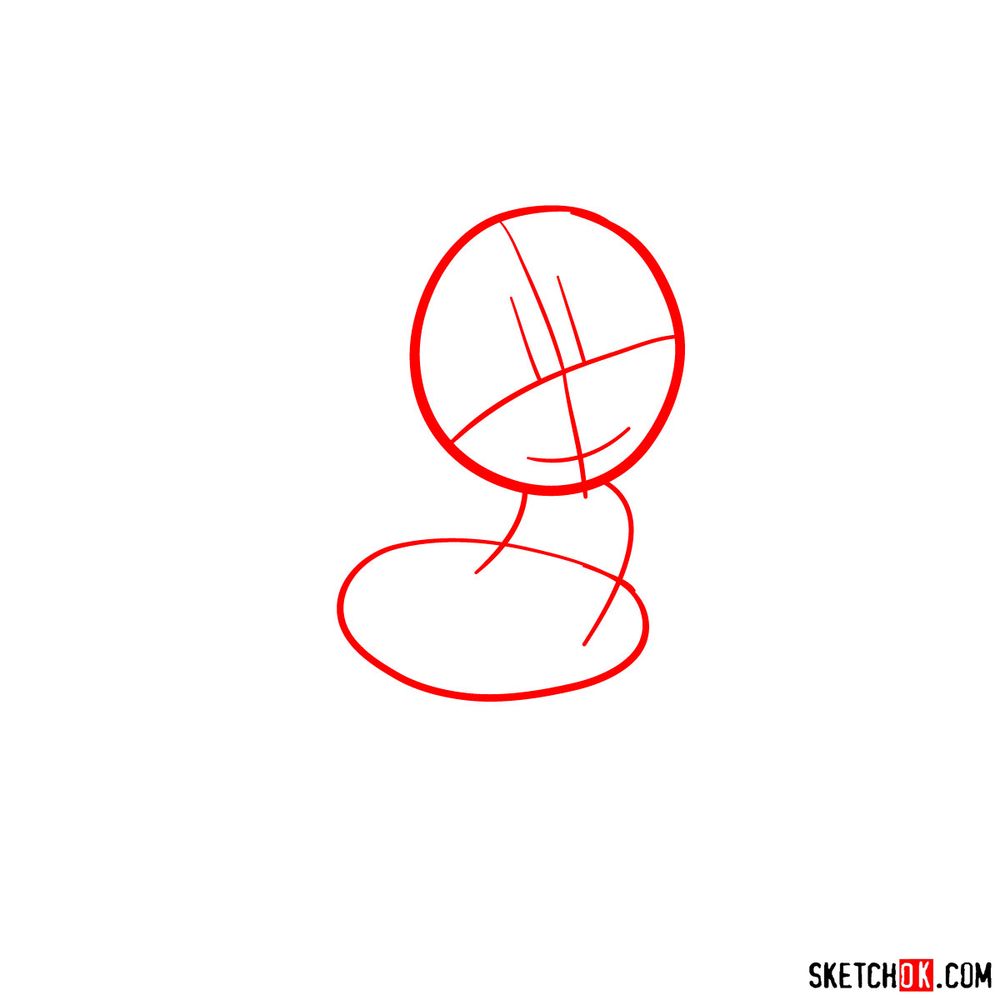
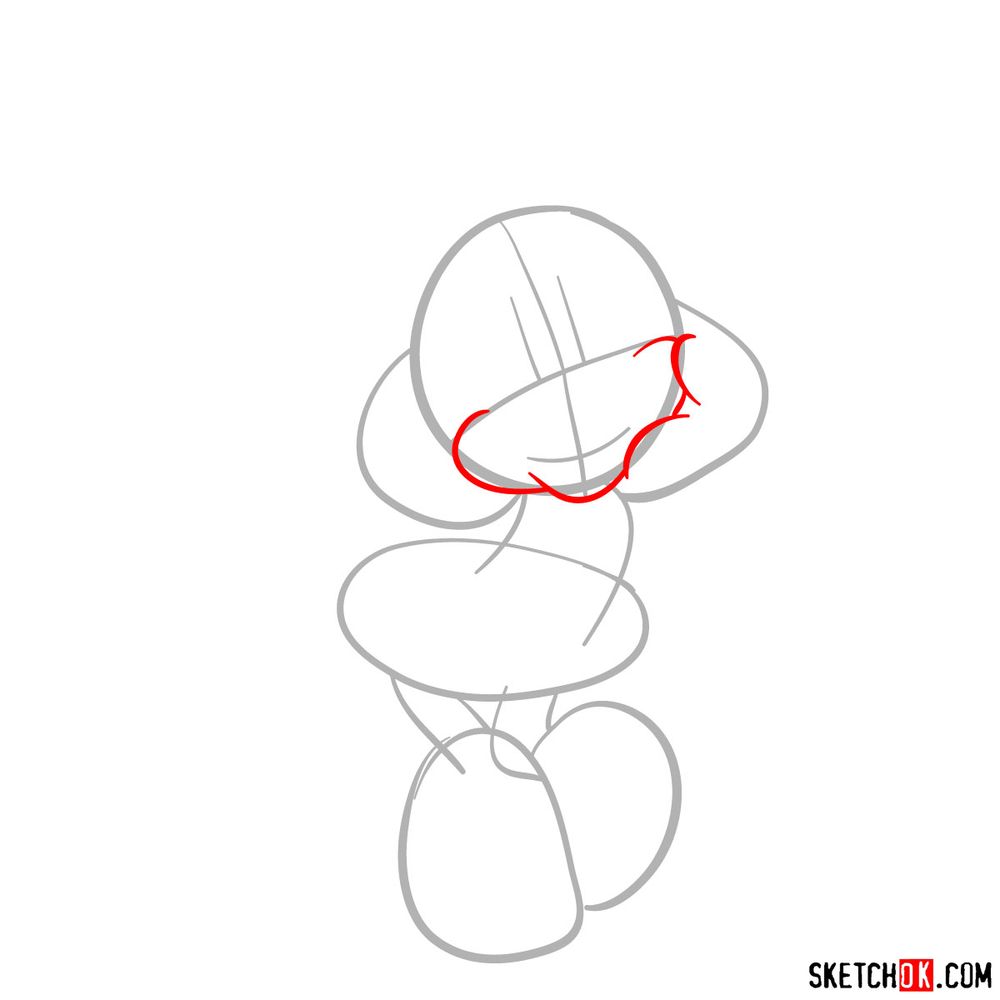
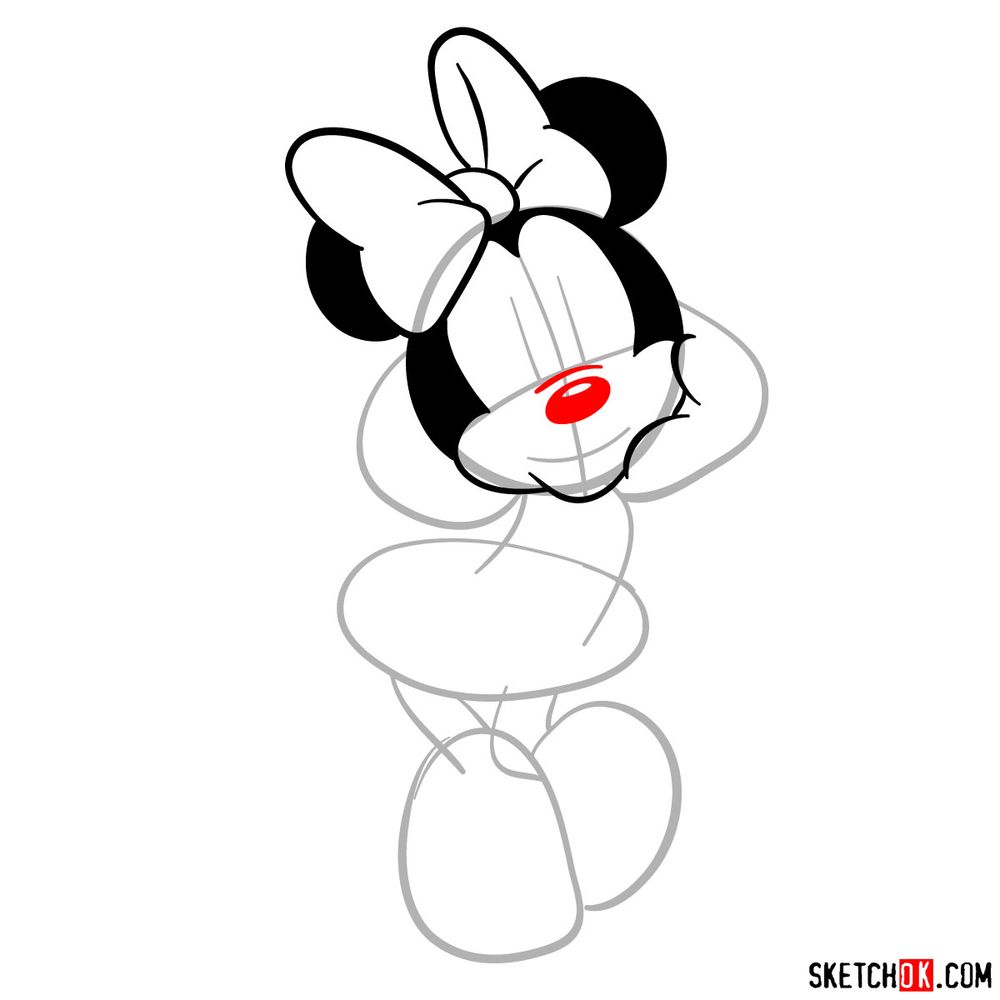
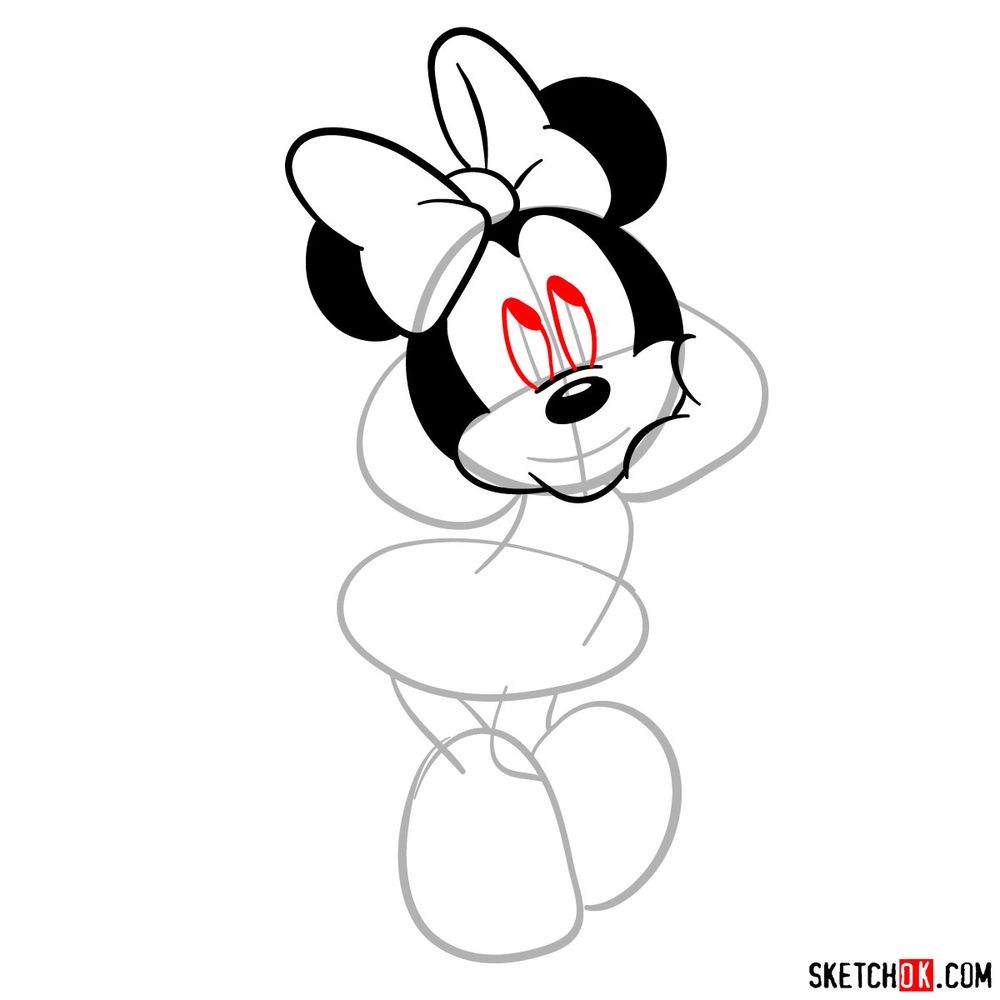
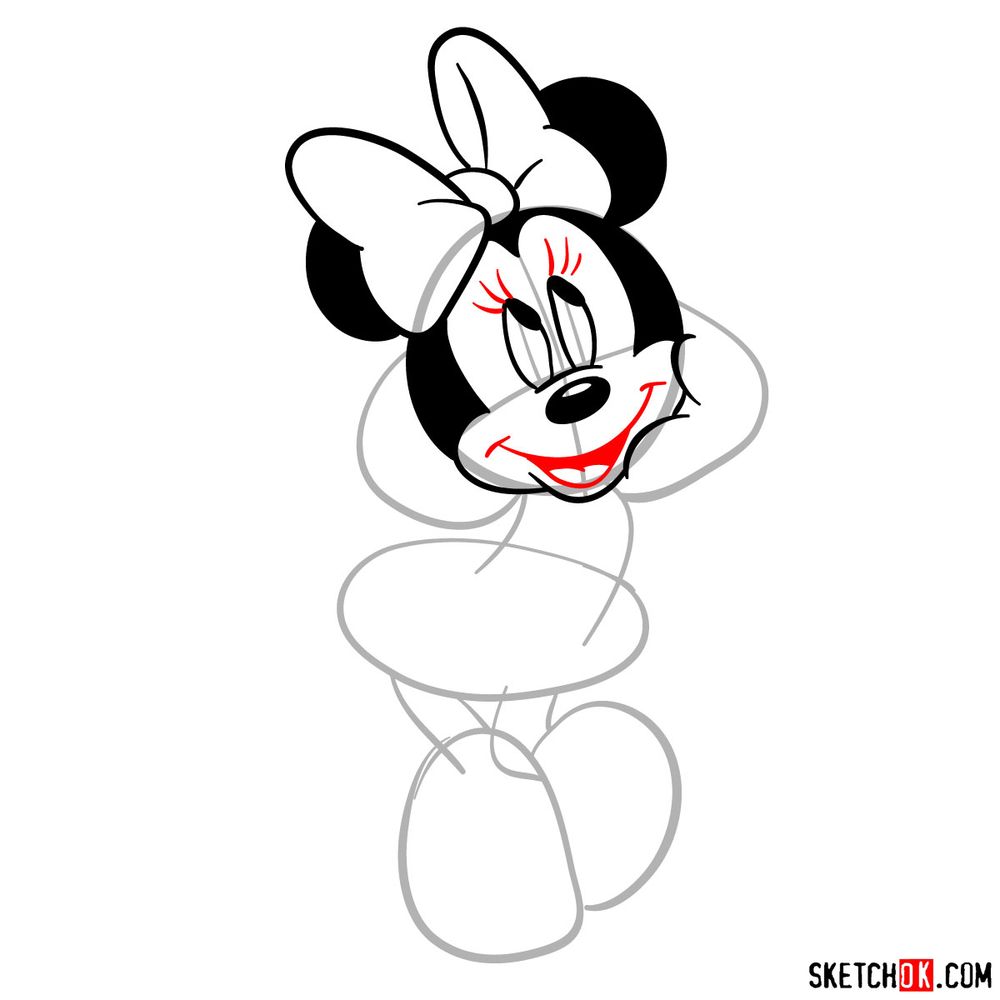
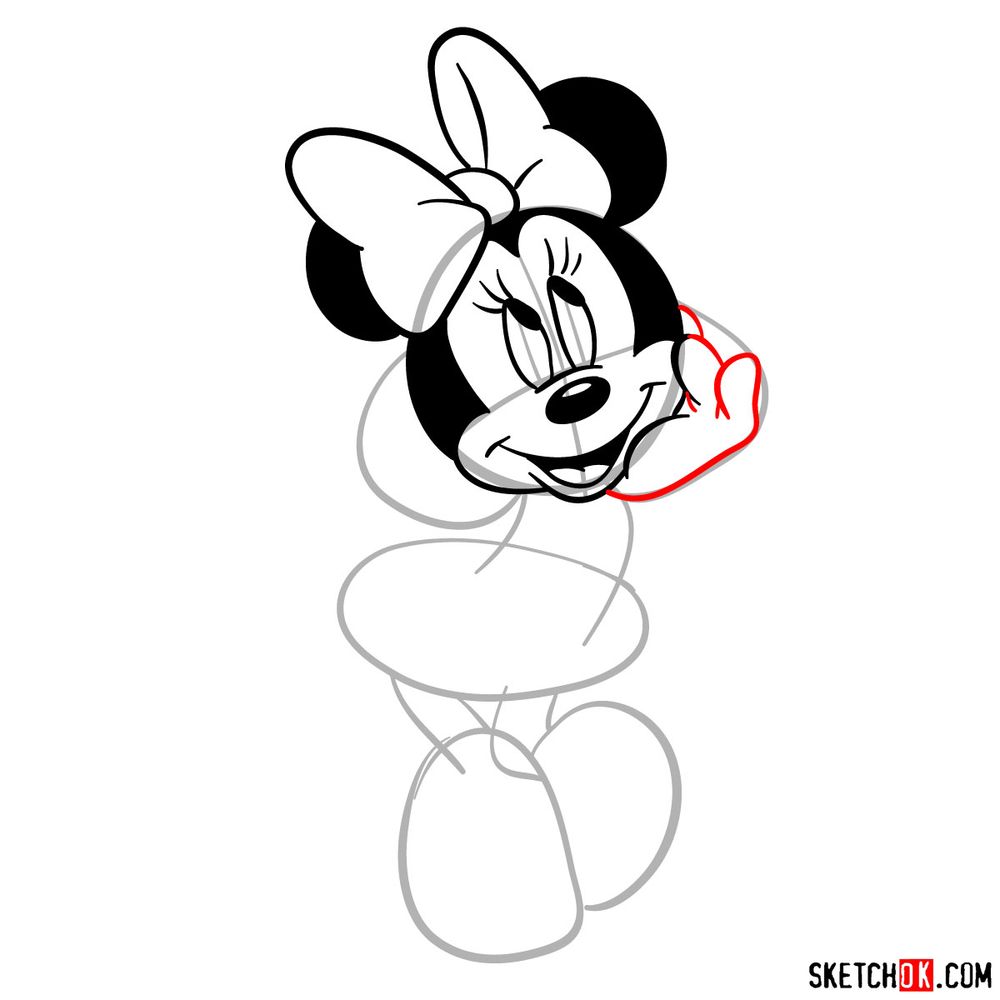
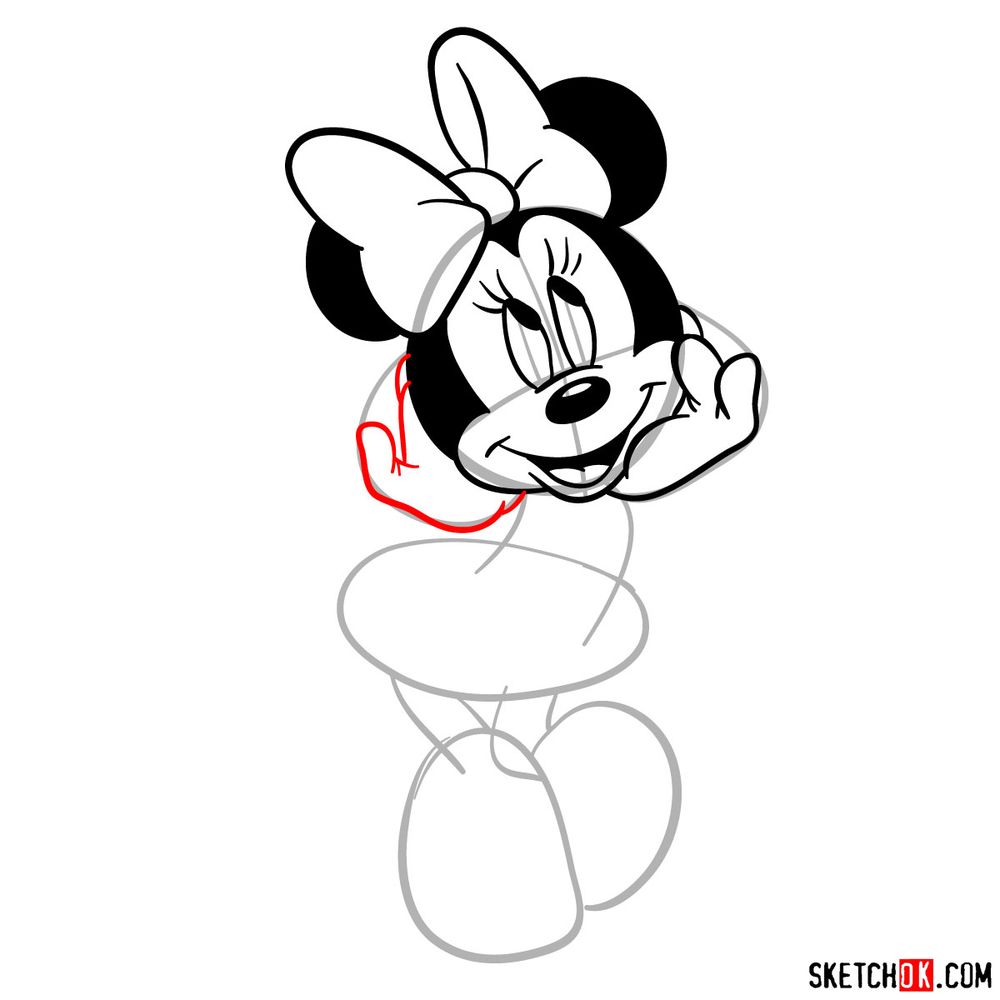
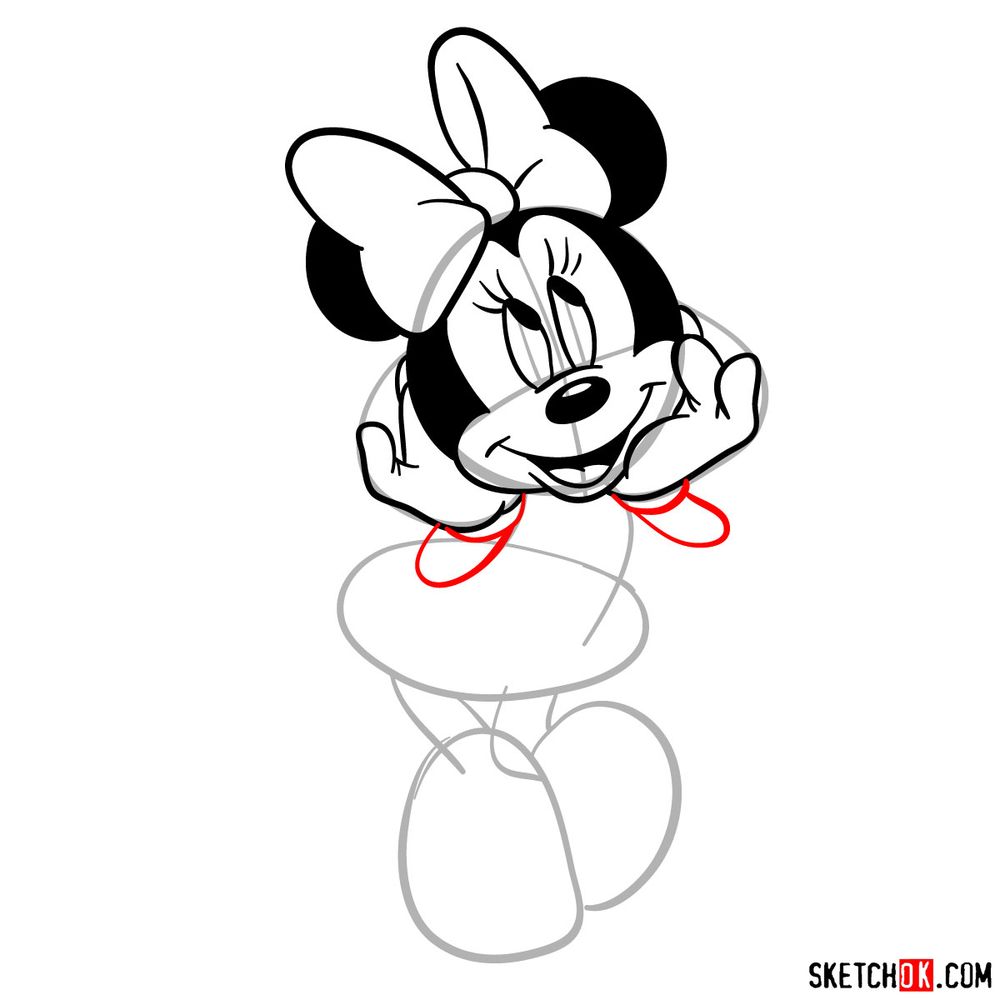
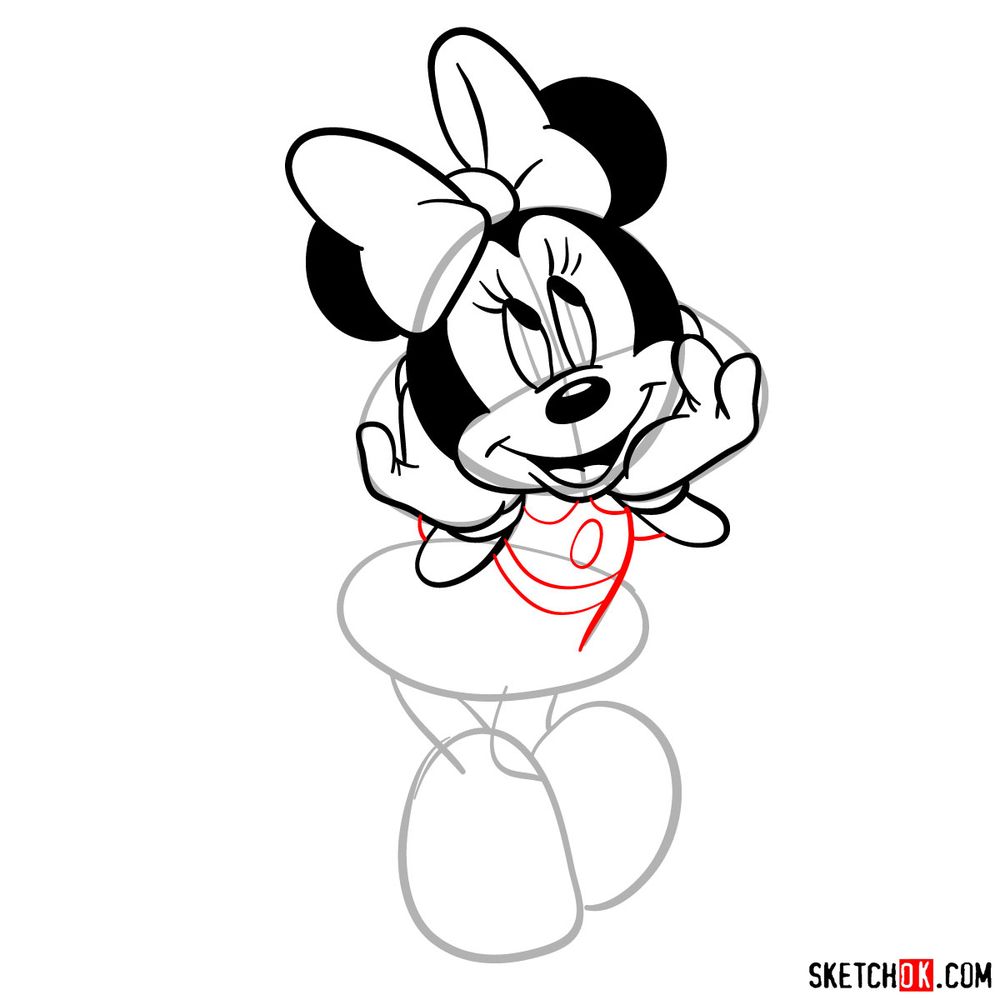
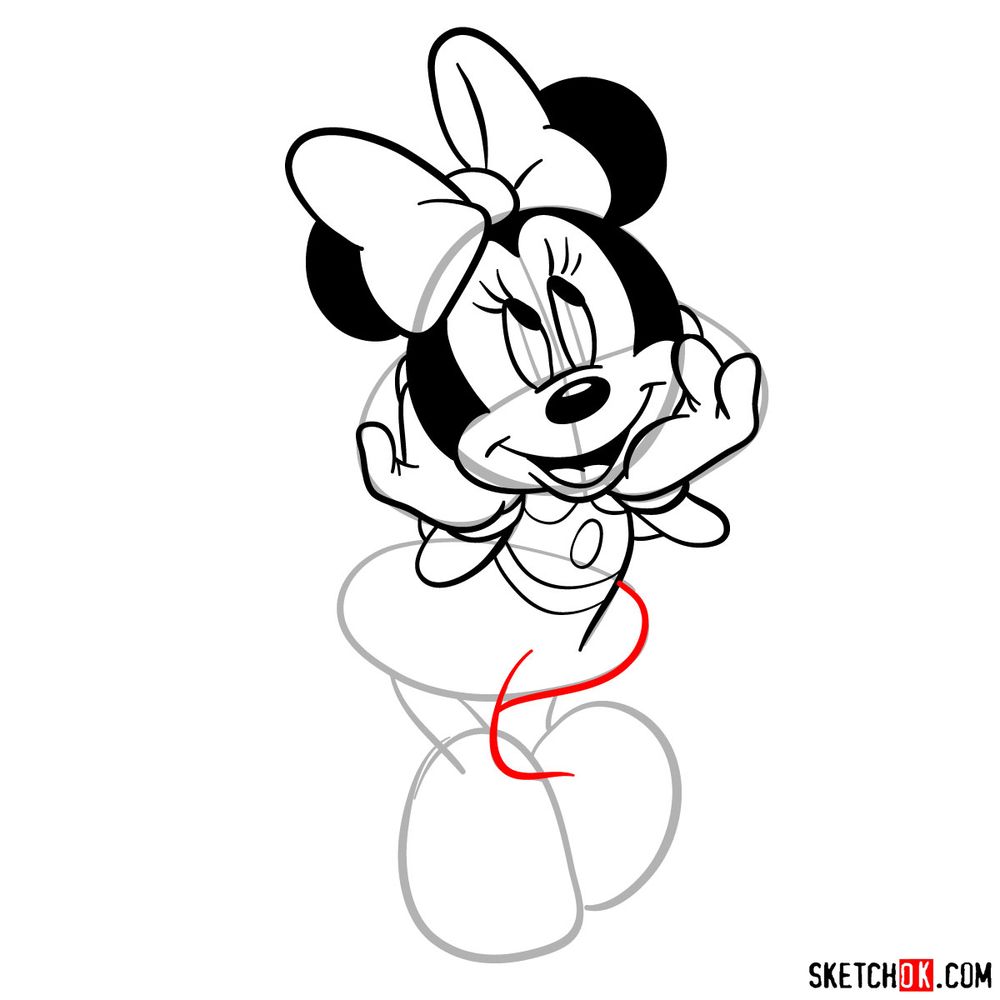
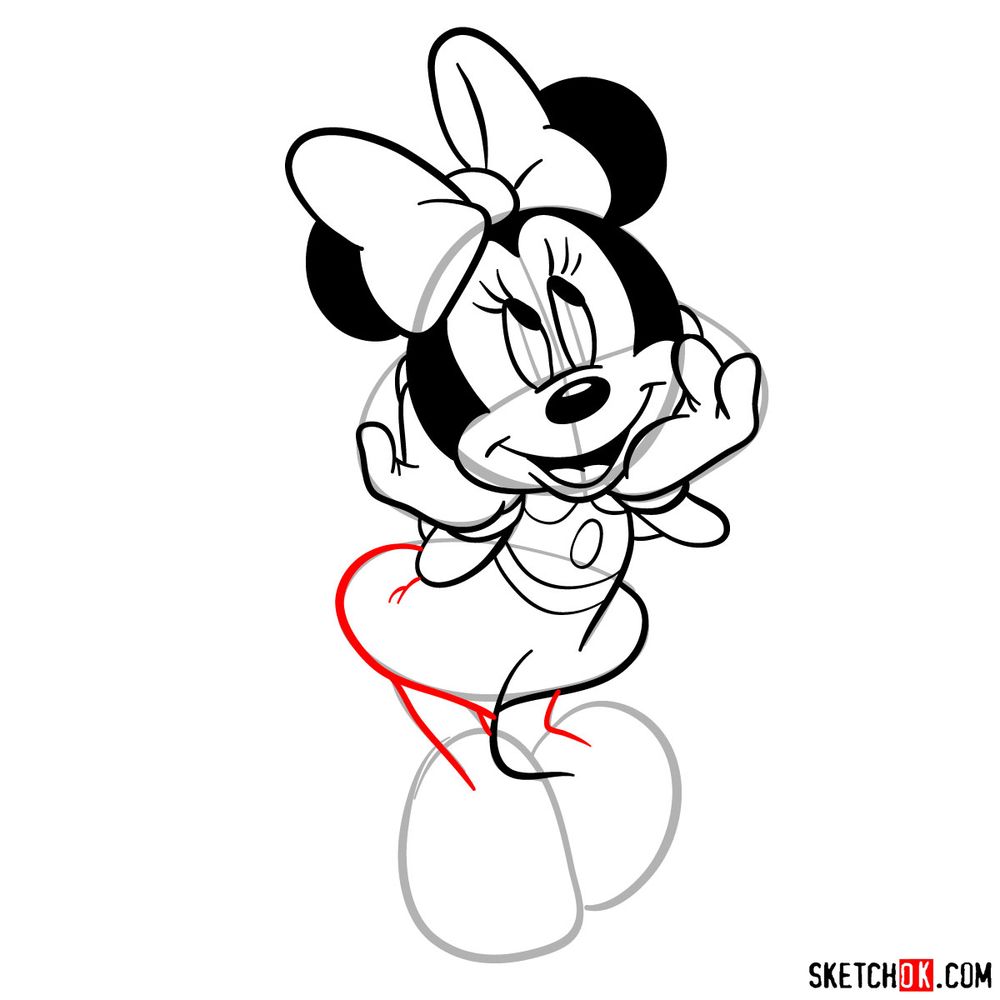
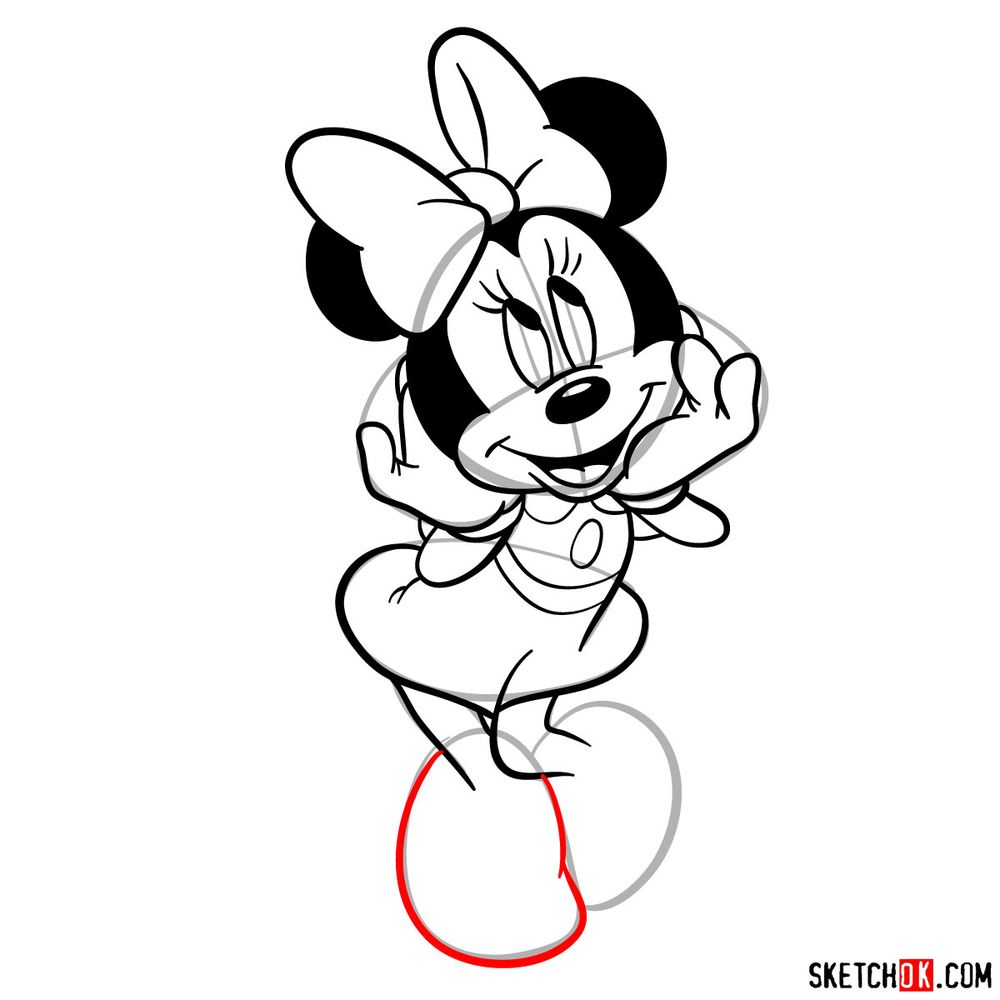
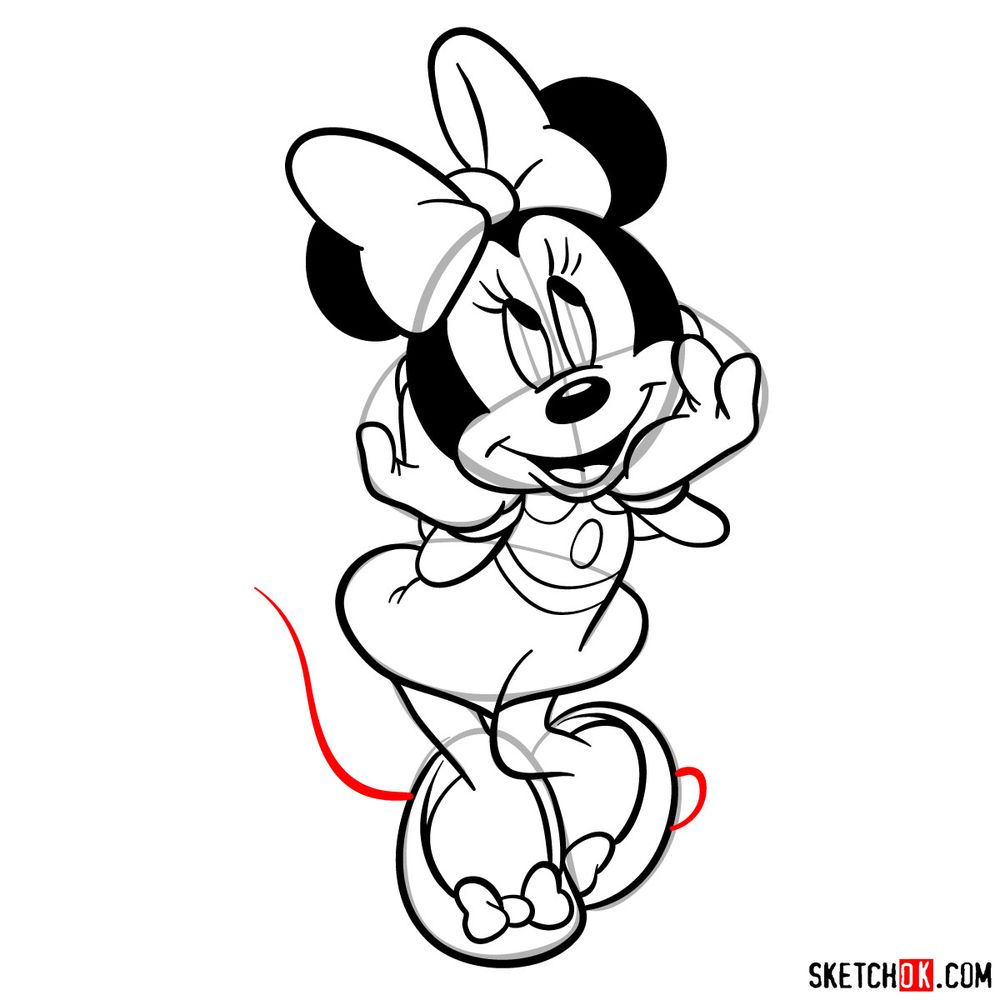
Understanding the Guide

This 20-step guide is designed to be intuitive and easy to follow. It makes use of color coding to simplify the process:

  • Red Color: Represents the current step. Focus on these lines and shapes in each image.
  • Black Color: Showcases the lines you’ve drawn in previous steps.
  • Grey Color: Illustrates the basic sketch for proportion guidance.

The initial 2 steps help to establish a basic sketch using light pencil strokes. It’s essential to start light so that any errors can be easily corrected. As you progress, the sketch becomes more detailed, culminating in an adorable Minnie Mouse illustration. After the sketch is complete, you can choose to ink your drawing, allowing it to truly stand out. Once the ink dries, gently erase the pencil sketch to reveal your final work of art.

Step 01

Draw cute Minnie Mouse in 20 steps - step 01Pin

Step 02

Draw cute Minnie Mouse in 20 steps - step 02Pin

Step 03

Draw cute Minnie Mouse in 20 steps - step 03Pin

Step 04

Draw cute Minnie Mouse in 20 steps - step 04Pin

Step 05

Draw cute Minnie Mouse in 20 steps - step 05Pin

Step 06

Draw cute Minnie Mouse in 20 steps - step 06Pin

Step 07

Draw cute Minnie Mouse in 20 steps - step 07Pin

Step 08

Draw cute Minnie Mouse in 20 steps - step 08Pin

Step 09

Draw cute Minnie Mouse in 20 steps - step 09Pin

Step 10

Draw cute Minnie Mouse in 20 steps - step 10Pin

Step 11

Draw cute Minnie Mouse in 20 steps - step 11Pin

Step 12

Draw cute Minnie Mouse in 20 steps - step 12Pin

Step 13

Draw cute Minnie Mouse in 20 steps - step 13Pin

Step 14

Draw cute Minnie Mouse in 20 steps - step 14Pin

Step 15

Draw cute Minnie Mouse in 20 steps - step 15Pin

Step 16

Draw cute Minnie Mouse in 20 steps - step 16Pin

Step 17

Draw cute Minnie Mouse in 20 steps - step 17Pin

Step 18

Draw cute Minnie Mouse in 20 steps - step 18Pin

Step 19

Draw cute Minnie Mouse in 20 steps - step 19Pin

Step 20

Draw cute Minnie Mouse in 20 stepsPin

Frequently Asked Questions

What is the best technique to draw Minnie’s bow?

When drawing Minnie’s bow, keep symmetry in mind. Start with a middle knot and expand with equal loops on each side. The bow is also slightly rounded, not pointed, to keep the softness of Minnie’s overall design.

How to sketch Minnie’s iconic shoes?

Minnie’s shoes are oversized compared to her body. Start by drawing an oval shape and add the small bows. Remember to give it a bit of a heel, adding to Minnie’s stylish look.

Any tips for capturing Minnie’s expression?

Minnie Mouse has a cheerful expression. Pay attention to her eyes, making them large and bright. Her mouth is often in a happy curve and slightly opened – simplicity is key when capturing her joyous look.

Wrapping Up

I hope this guide lights your path on the journey of how to draw Minnie Mouse. Remember, every artist starts somewhere, and each stroke brings you closer to mastery. As you progress, consider donating to keep this project alive. Your contributions not only fuel more tutorials like this but also provide a platform where you can suggest new tutorial ideas.

Spread the word about this guide and share the link with others. You never know who might find their artistic calling! Connect with us on our Facebook, Instagram, and Pinterest pages to stay updated on new tutorials.

Your support allows us to continue providing these guides for free, turning the impossible into possible for aspiring artists everywhere. So, let’s keep creating, keep sketching, and keep spreading the love of art!

Did you like the tutorial?

You can support the author of this website and also suggest your own ideas for new drawings by making a small donation here:

Leave a Comment

55