Last Updated on May 14, 2026
Mickey Mouse isn’t just an animated character; he’s a symbol of joy, laughter, and countless childhood memories. With his signature red shorts, large ears, and playful wink, Mickey has stolen hearts worldwide. Today, we’ll show you how to draw the iconic winking Mickey Mouse.
Decoding Mickey’s Mischievous Wink
Mickey’s allure lies in his simple yet expressive features. When sketching a winking Mickey, here are the focal points to keep in mind:
- Ears: Two large, round silhouettes that are unmistakably Mickey.
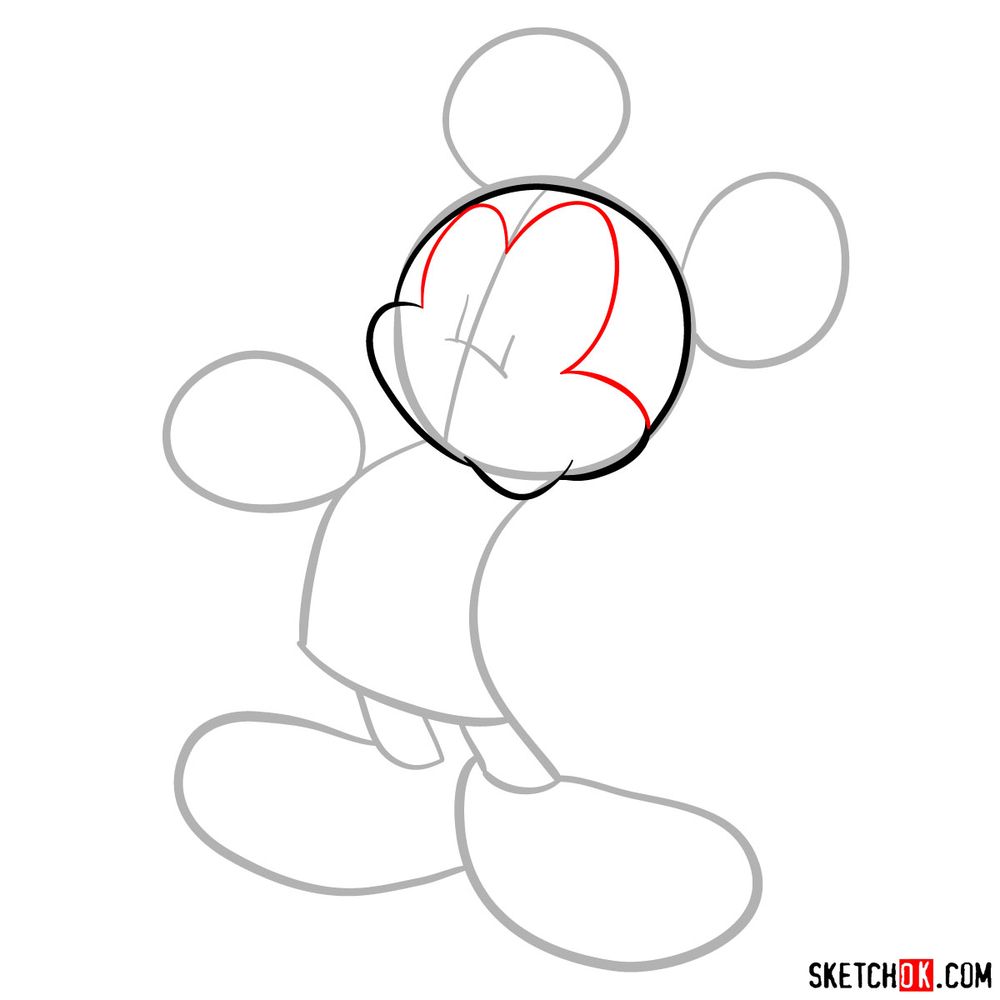
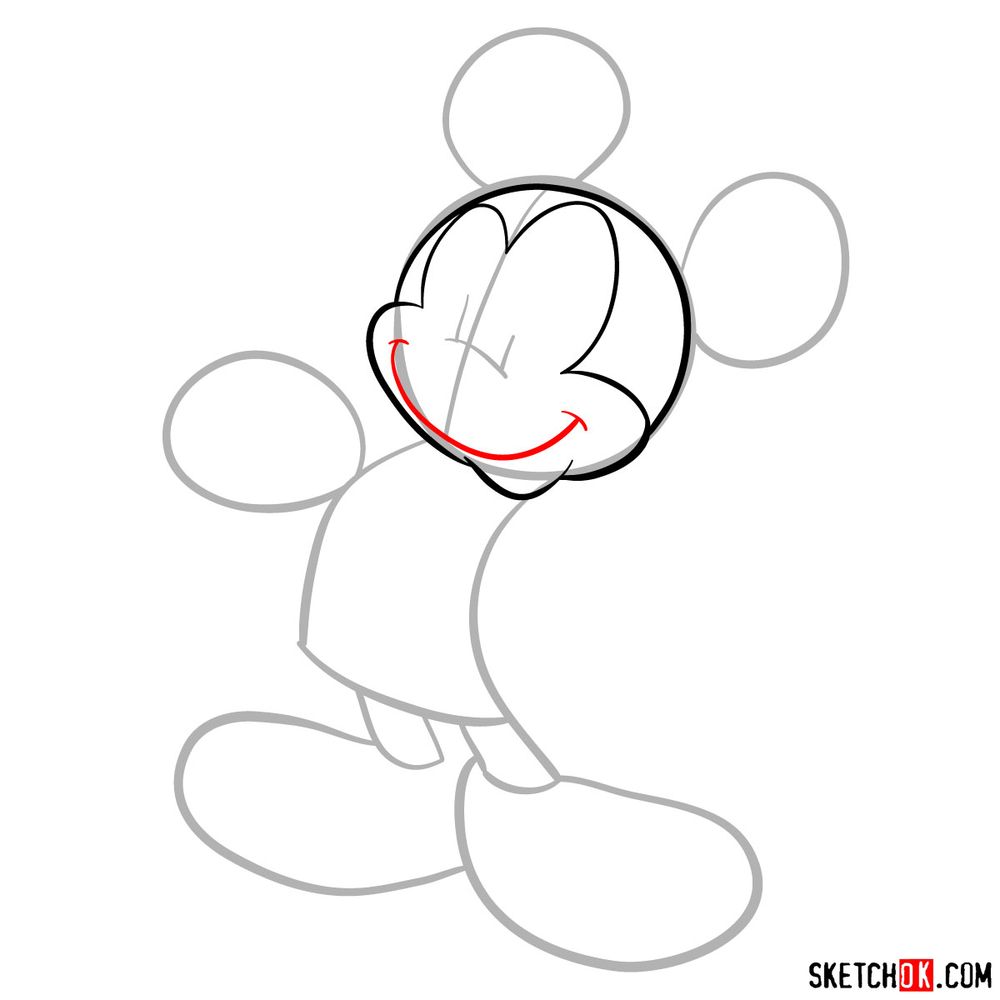
- Face: Highlighted by his winking eye and a cheerful open-mouthed grin.
- Nose: A small oval, almost at the center of his face.
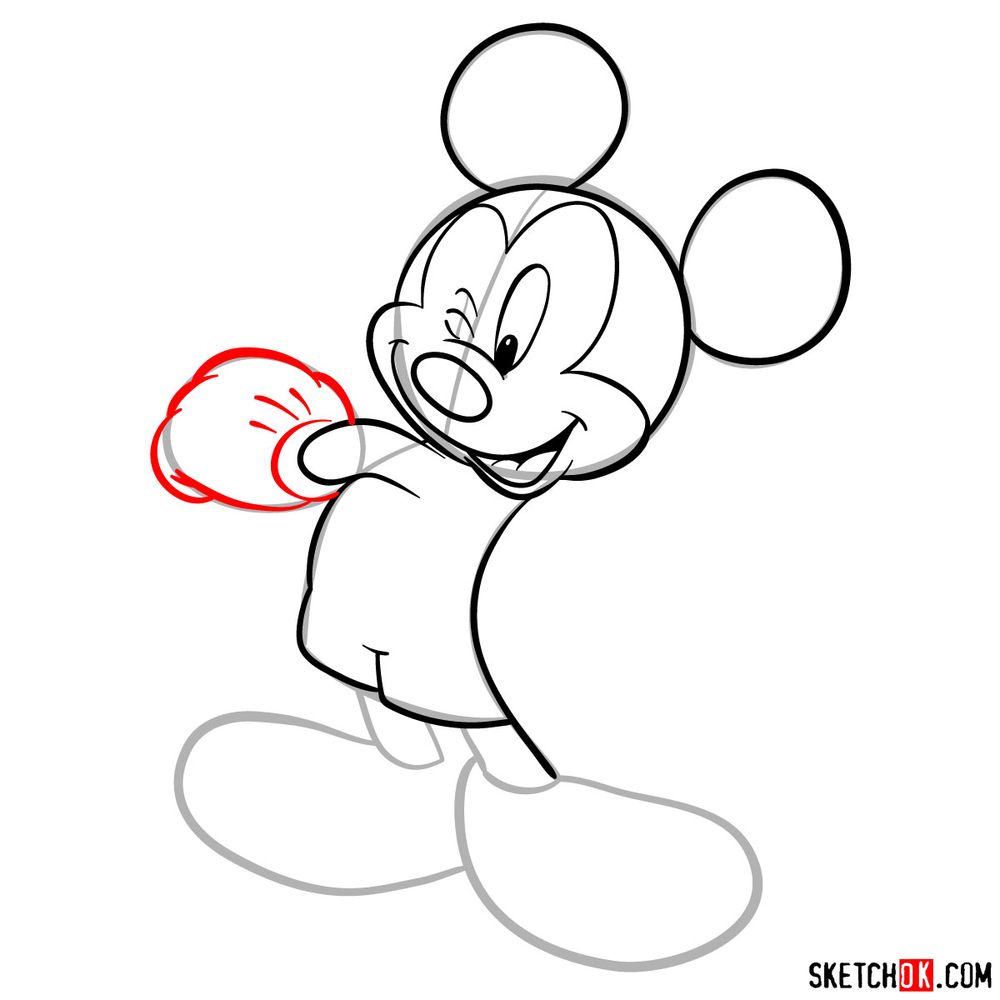
- Hands: White gloves with distinct lines, often gesturing or waving.
Once you’ve captured Mickey’s essence, why not draw his beloved Minnie, or even his trusty dog, Pluto? Their interactions can add depth and story to your artwork.
Navigating the Sketching Palette
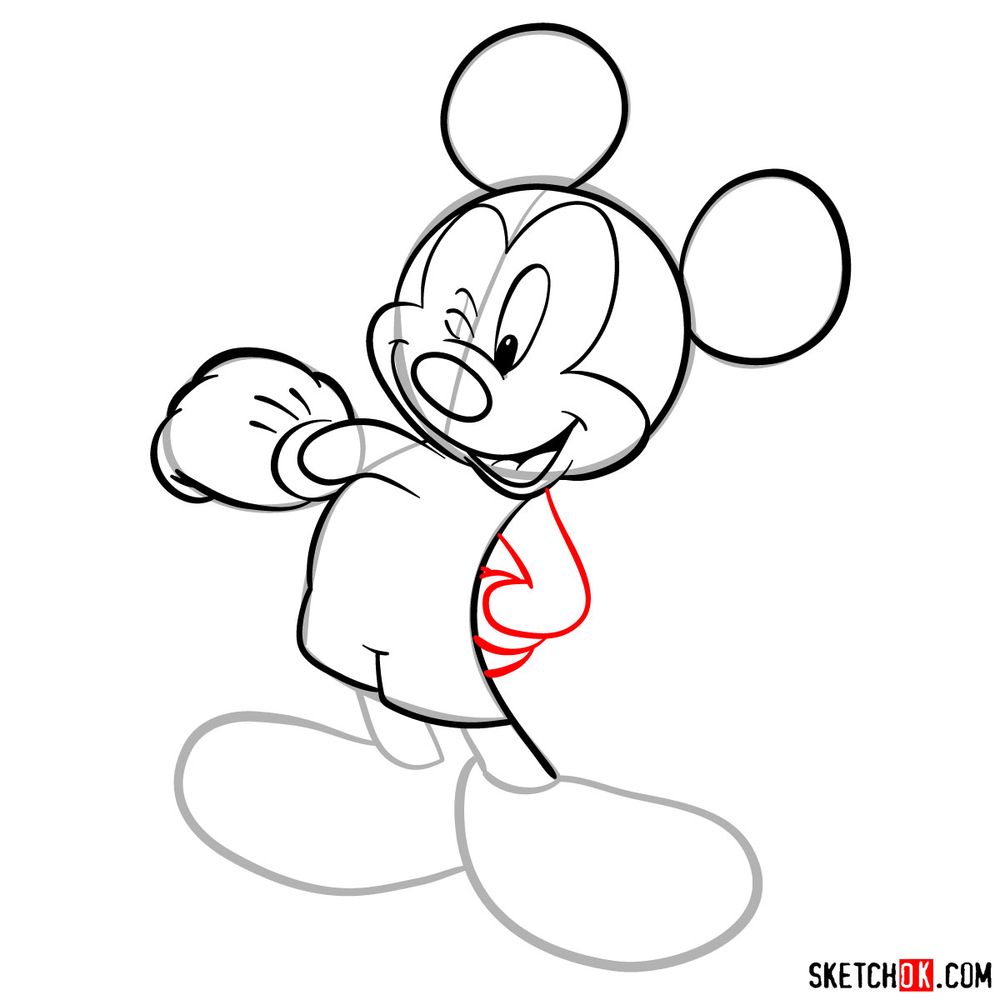
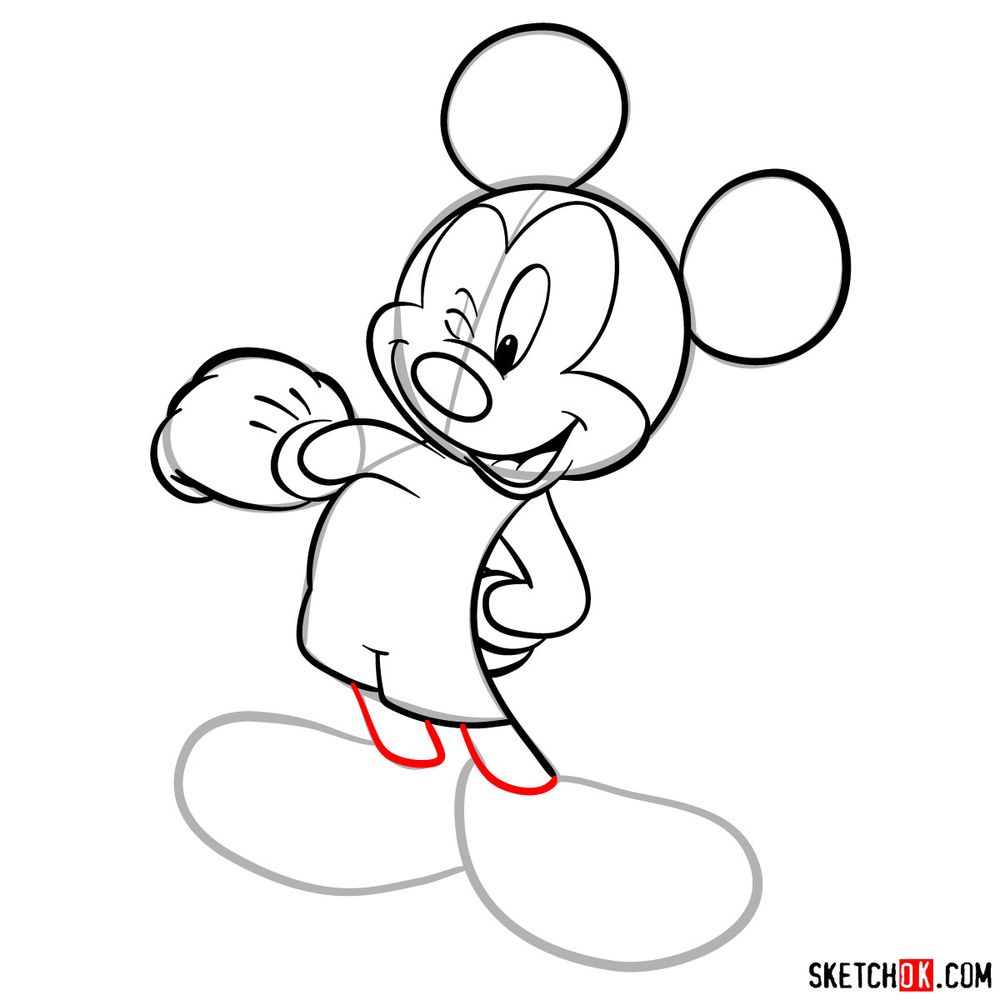
This drawing tutorial spans 18 defined steps. To make your journey smoother:
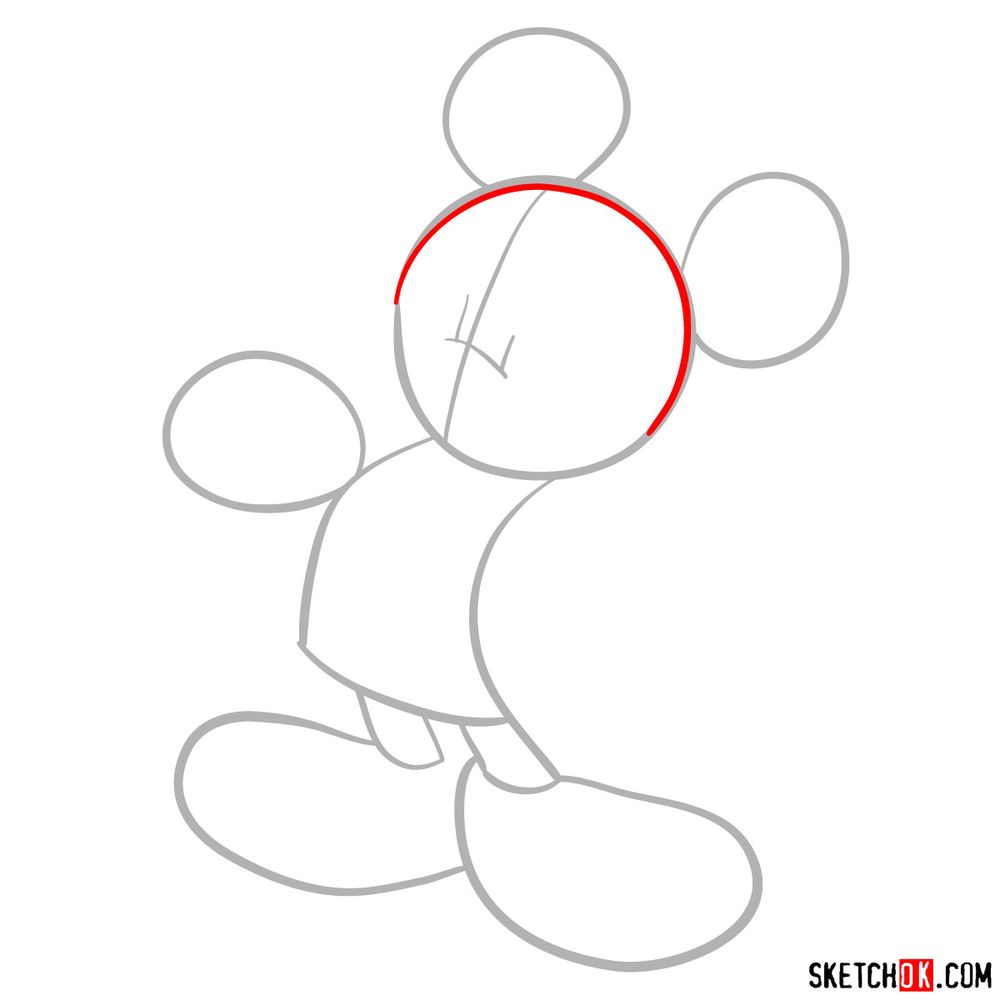
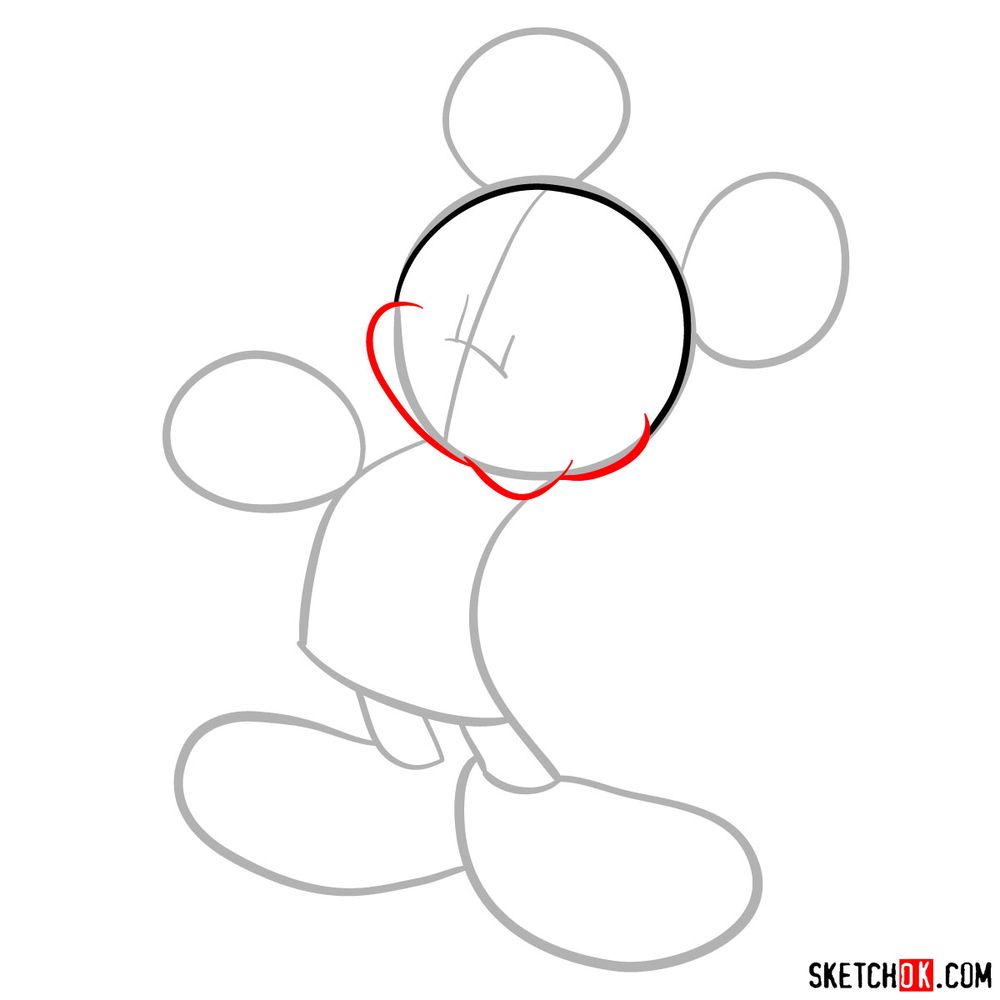
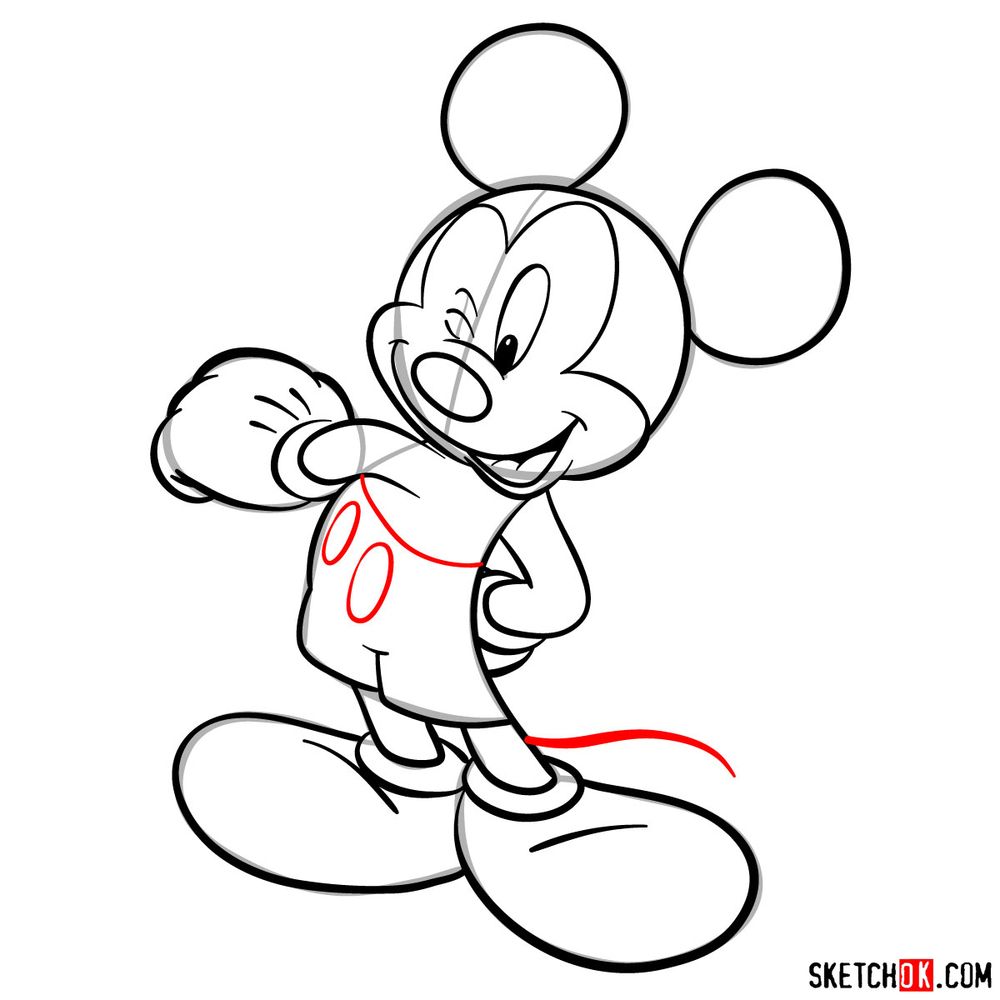
- Red Color: Indicates the current step, guiding your focus.
- Black Color: Represents previously drawn lines to track progress.
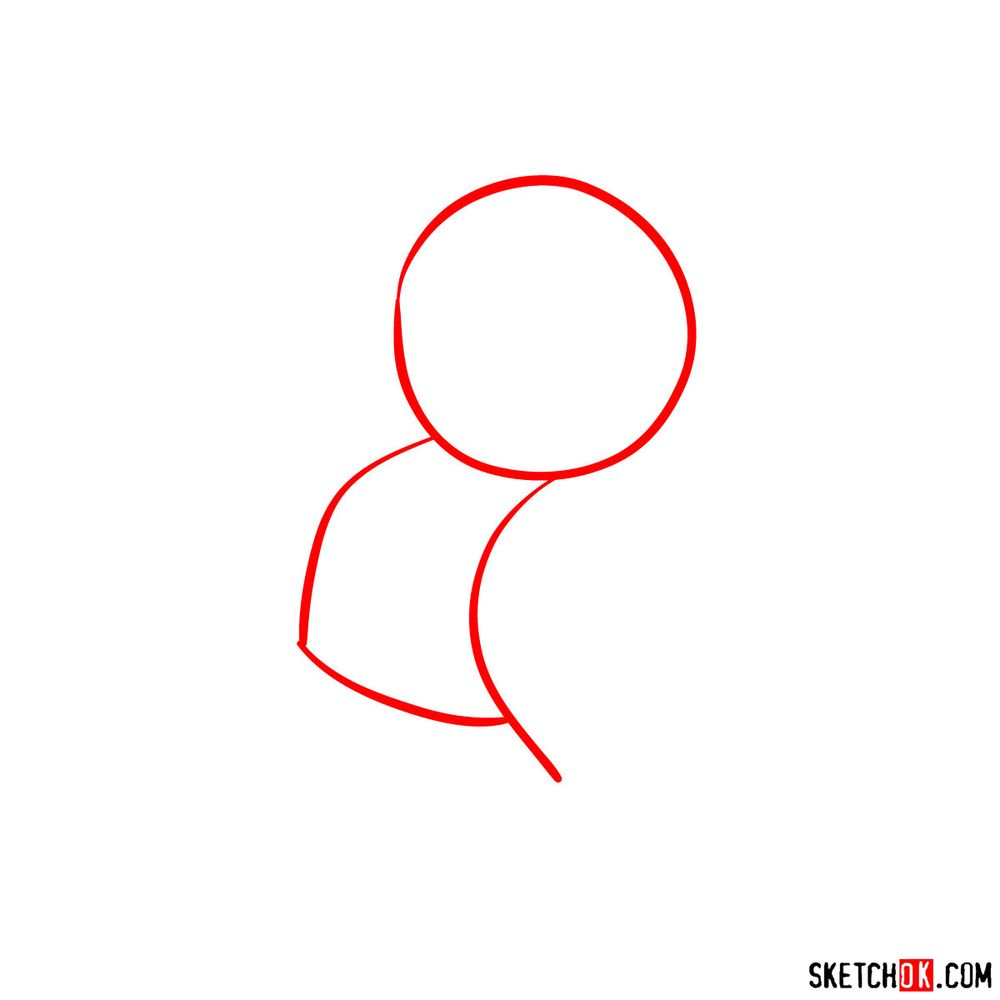
- Grey Color: Denotes the initial sketch, especially crucial in the first 2 steps that lay down proportions.
Upon finishing, artists have the option to ink the drawing. Once inking is done, always wait for it to dry to prevent any smears. Subsequently, you can erase the pencil marks, leaving a neat artwork behind.


That’s all there is to drawing a winking Mickey Mouse, and honestly it’s one of those subjects that gets more fun the more you practice it. If you want to share how yours turned out, drop it in the comments on the Pinterest pinned post for this guide.
hugo