Welcome to our comprehensive step-by-step guide on how to draw the iconic Charlie the Tuna! This suave spokes-tuna, a beloved figure in American advertising, is not just the face of StarKist, but a symbol of taste and sophistication, dressed in his signature beret and thick glasses. Whether you’re a budding artist or a seasoned pro, this guide will help you bring Charlie to life on your canvas.
The Hipster from the Depths: Characteristics and Key Focus Points
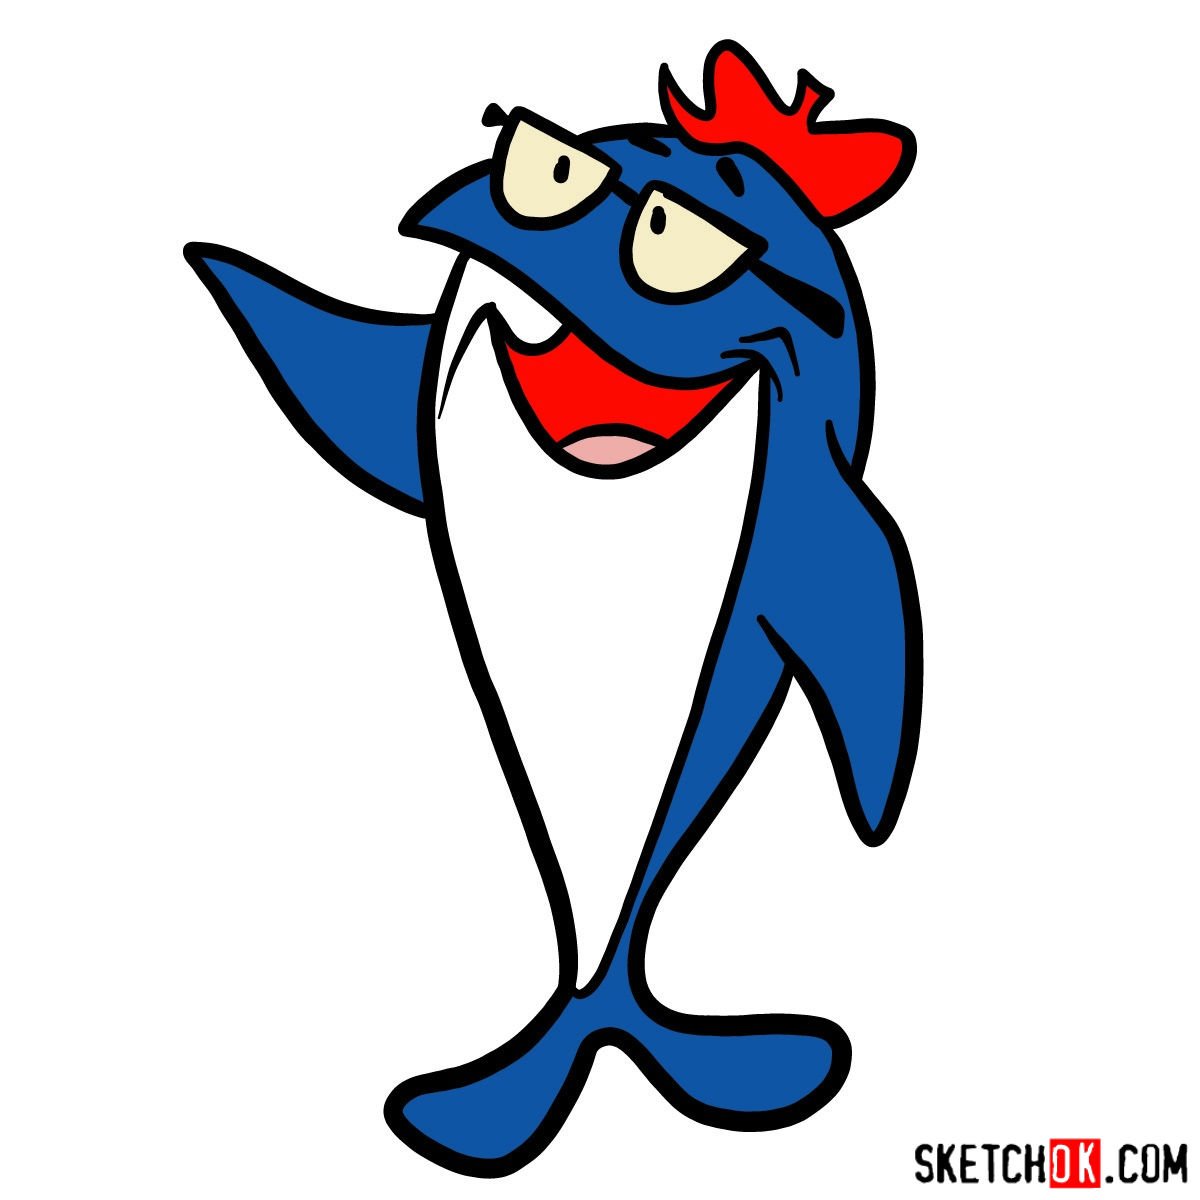
Charlie the Tuna stands out from the crowd with his unique attributes. When drawing him, here are the key features to pay attention to:
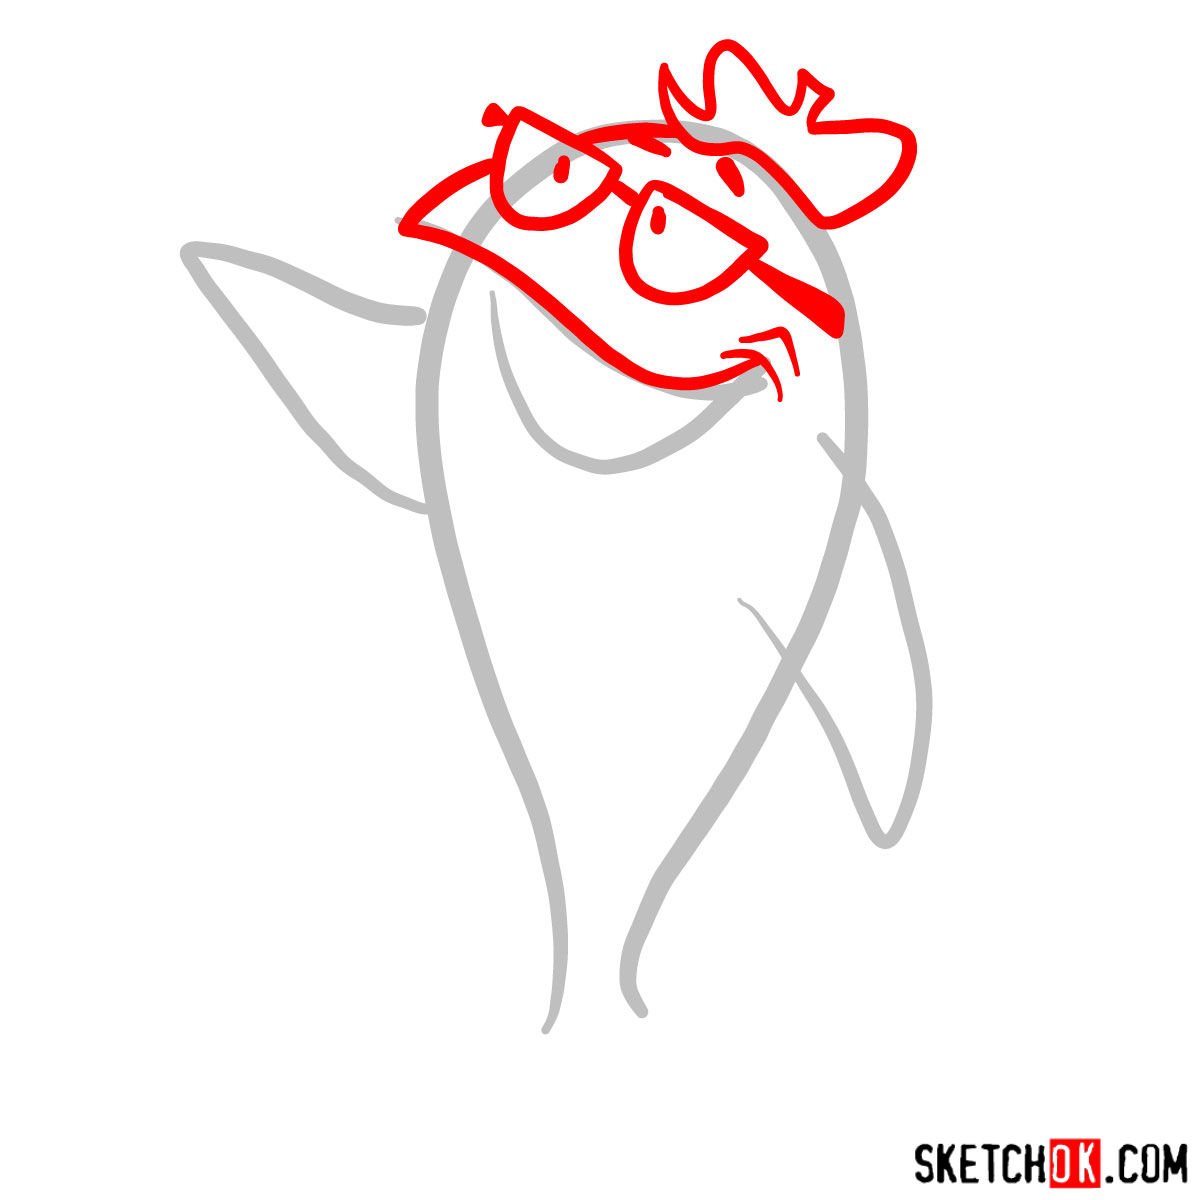
- The thick glasses that add to his intellectual look
- The jaunty beret, synonymous with his hipster persona
- His distinctive fins and tail that hint at his underwater abode
- Don’t forget his enthusiastic smile that shines brighter than any pearl in the ocean!
If you’re up for a challenge, consider adding other popular mascot characters such as Chester Cheetah, Kool-Aid Man, Cap’n Crunch or Snap, Crackle and Pop for an intriguing composition!
About the Guide: Understanding the Color Codes and Guidelines
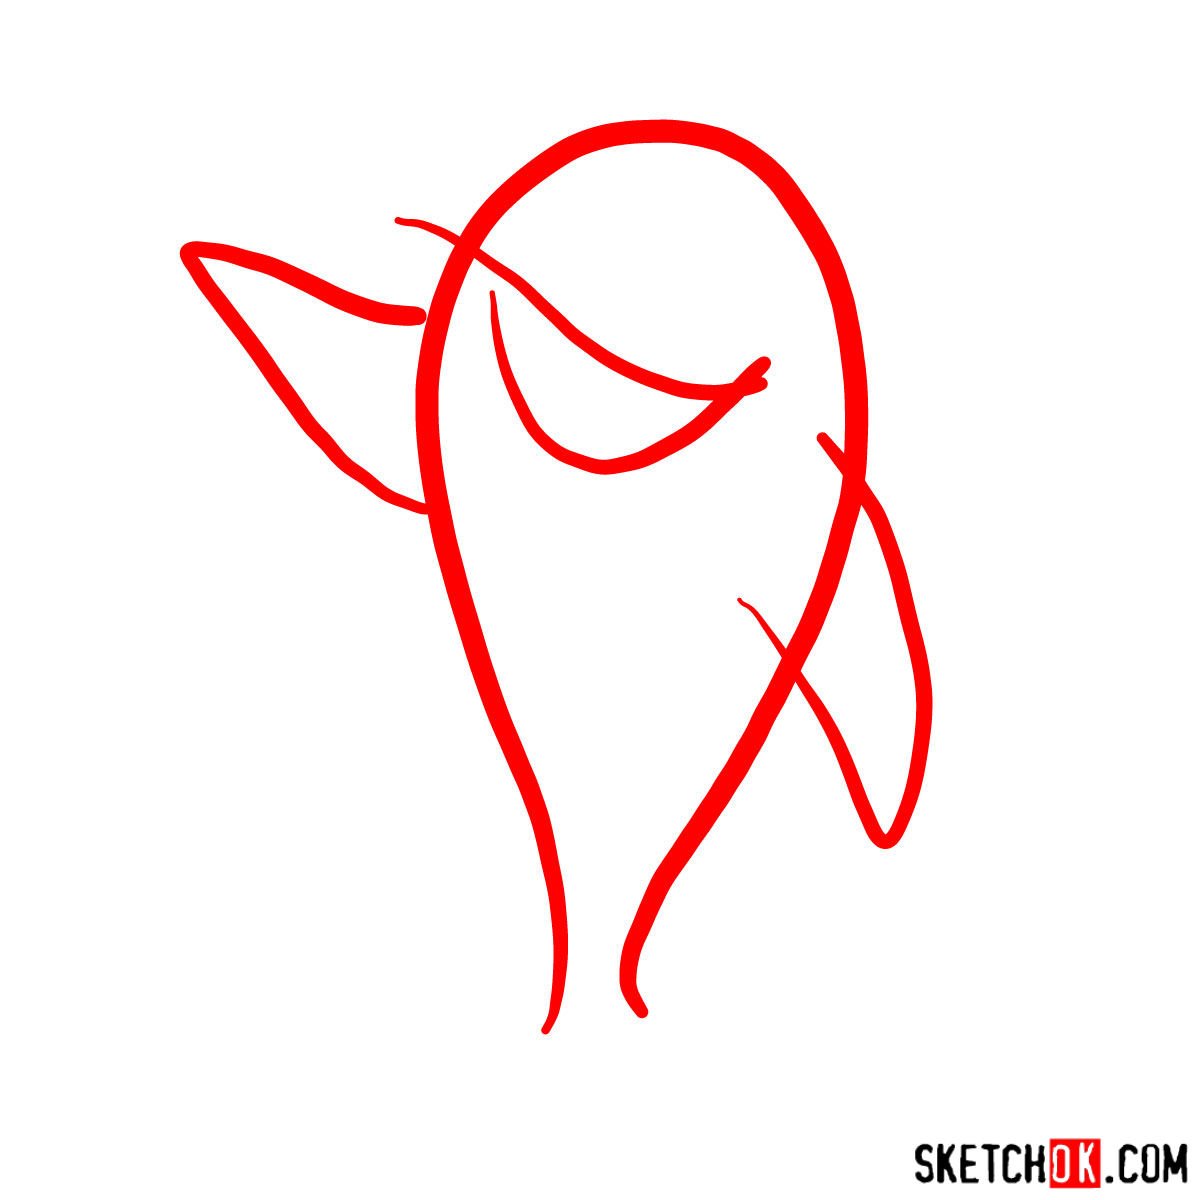
Our guide consists of 8 steps, beginning with creating a basic sketch using light pencil strokes. This preliminary sketch forms the basis of your drawing and helps in maintaining proportions. Remember, the first three steps primarily establish this basic structure.
Throughout this process, we use a simple color coding system to help you navigate:
- Red Color: Represents the current step to focus on
- Black Color: Indicates the lines drawn in the previous steps
- Grey Color: Illustrates the basic sketch or structure
After completing the sketch, you can choose to ink it. Be patient and allow the ink to dry before gently erasing the pencil lines to avoid any smudges. The final image serves as a color reference for coloring your drawing, bringing Charlie to life!





Now that you know how to draw Charlie the Tuna, was he easier or harder to pull off than you expected? That smug little fish has some tricky details, so no shame if it took a couple of tries. Drop your thoughts (or your finished drawing) in the comments on the pinned Pinterest post, that’s where most of the conversation tends to happen.