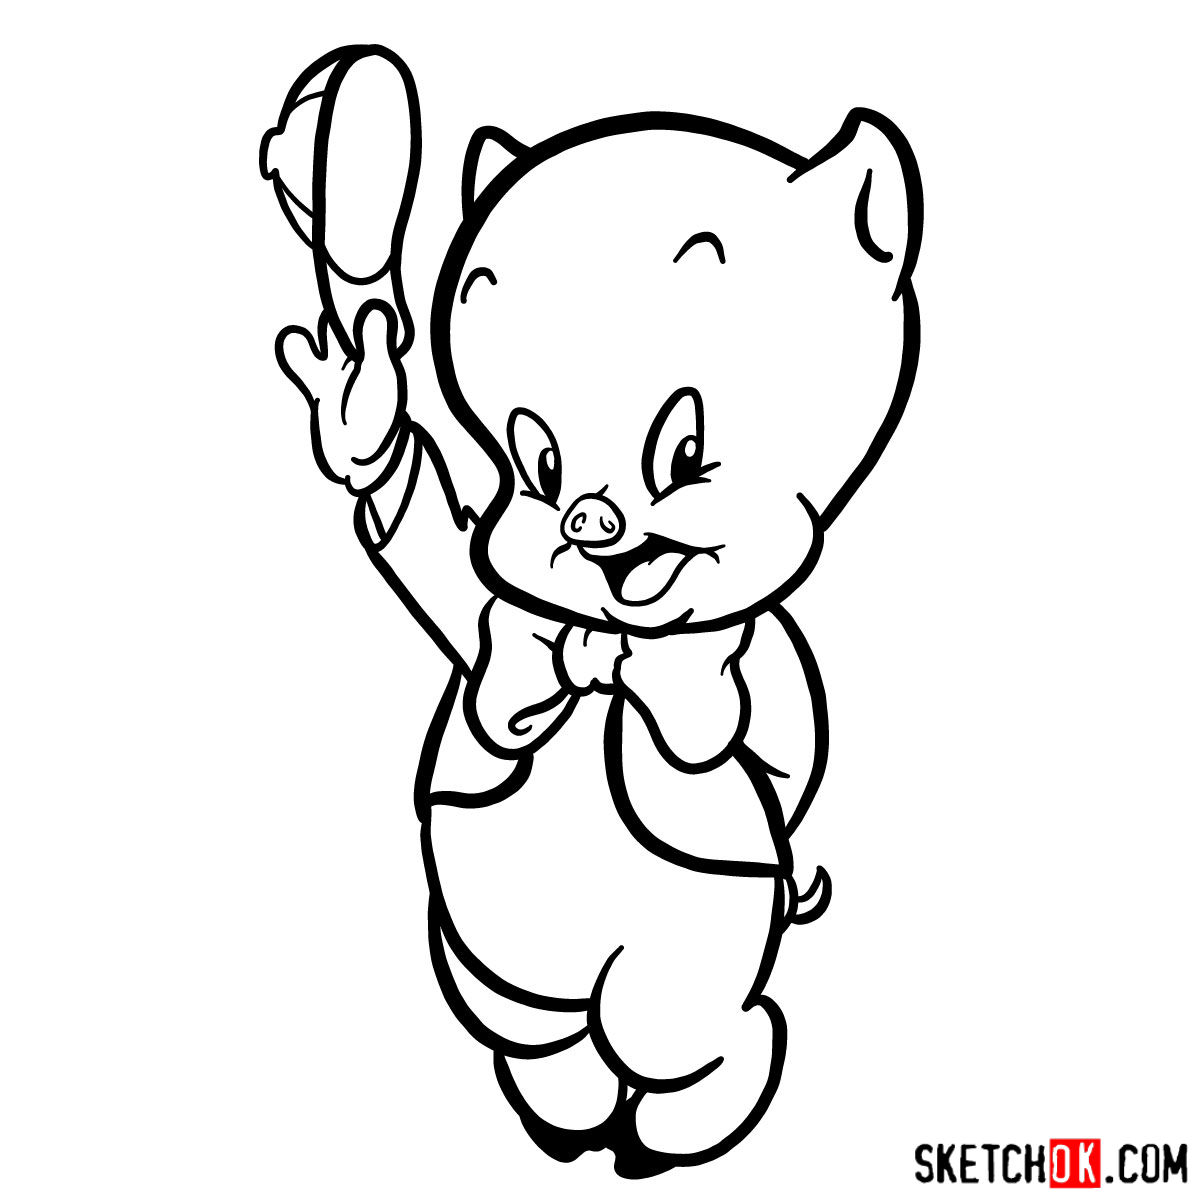
Have you ever been captivated by the charm of classic cartoons and wondered how to bring those delightful characters to life on paper? You’re in the right place. This guide will assist you in learning how to draw Porky Pig, a timeless figure from the renowned Warner Bros.’ Looney Tunes and Merrie Melodies series.
Porky Pig’s Portrait: Focus Points and Notable Features
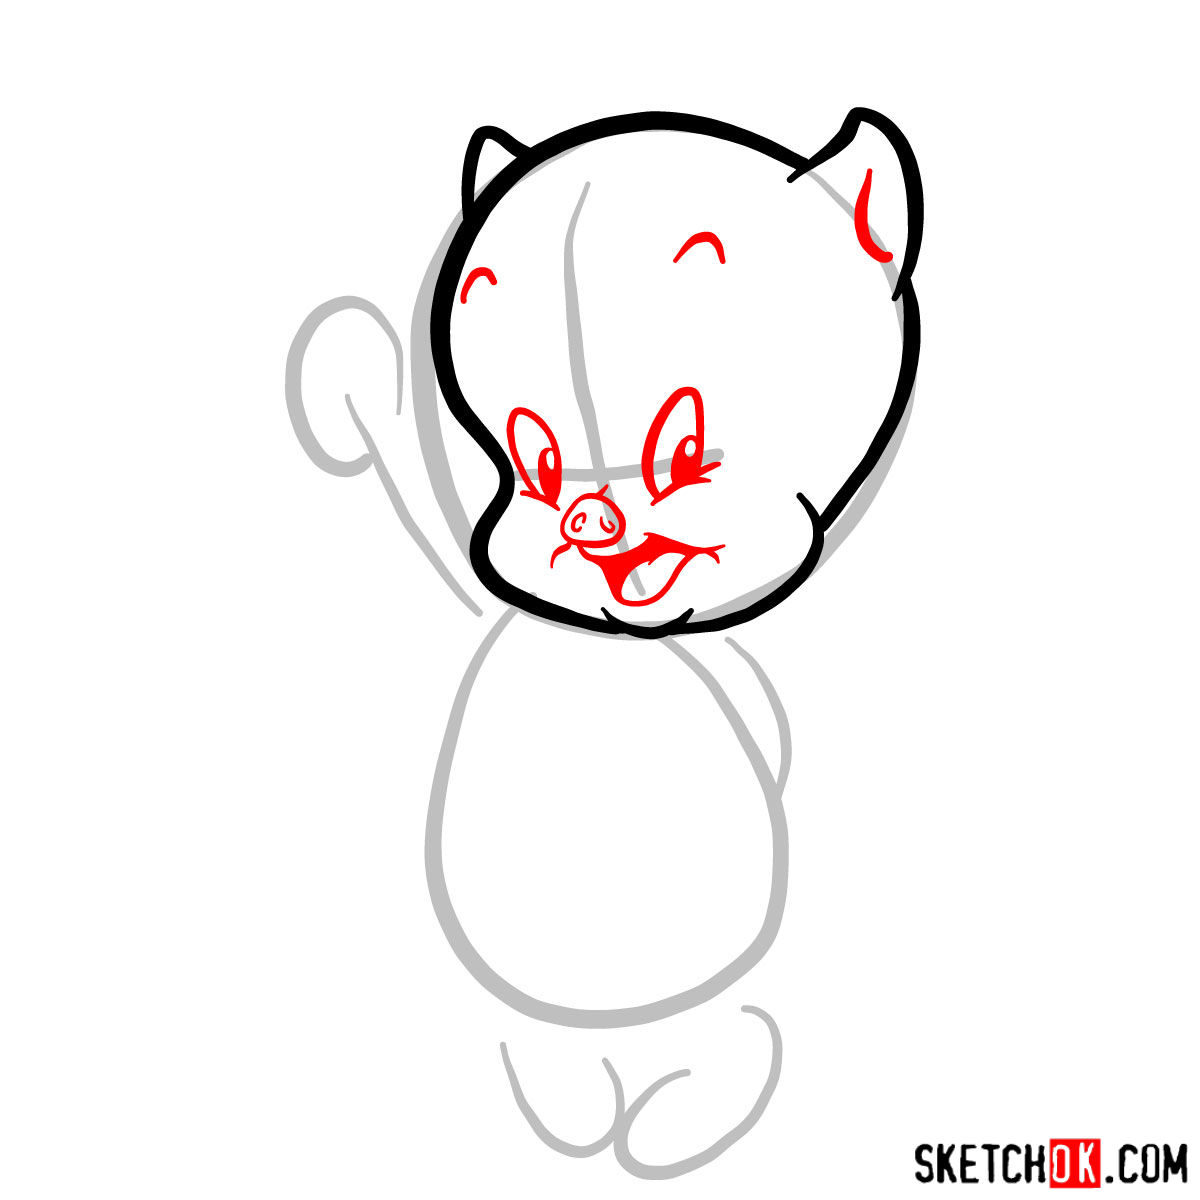
- Signature stutter: While this isn’t a visual trait, it’s an essential aspect of Porky’s character that can be hinted at through your drawing’s expression.
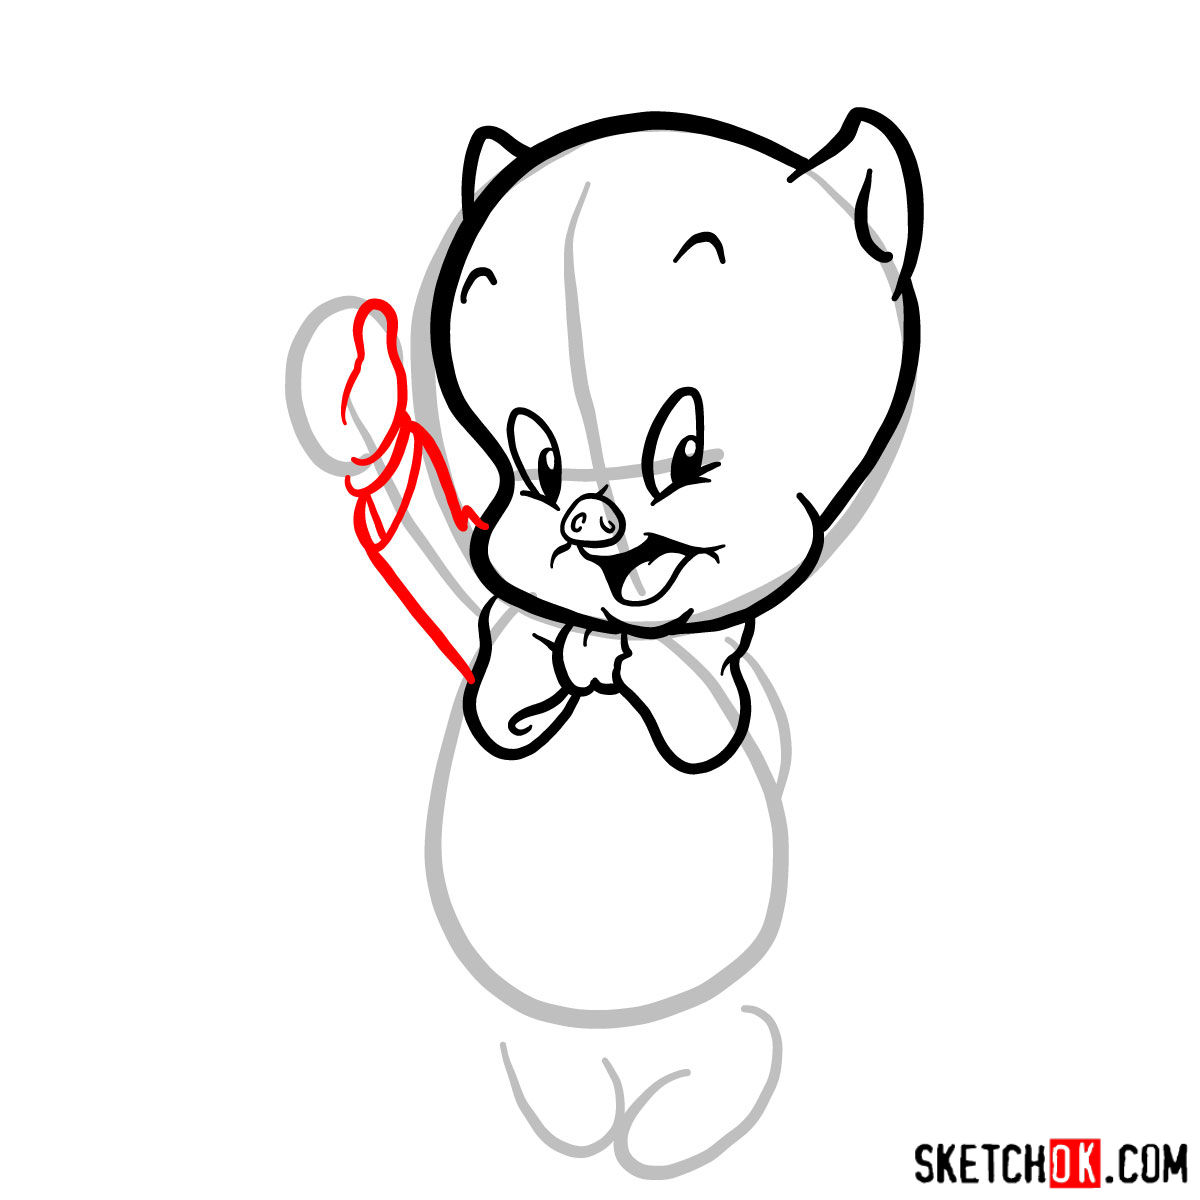
- Bulbous nose: Porky’s distinct round snout is one of his most distinguishing features.
- Rounded body: A key trait of Porky’s appearance is his round, plump body, which portrays his playful and jovial character.
- Classic outfit: Usually seen wearing a pinkish bowtie and a blue jacket, these clothing elements are fundamental to capture Porky’s iconic look.
While you’re mastering how to draw Porky Pig, consider adding other delightful characters from the series like Bugs Bunny, Daffy Duck, or Elmer Fudd to create a lively scene.
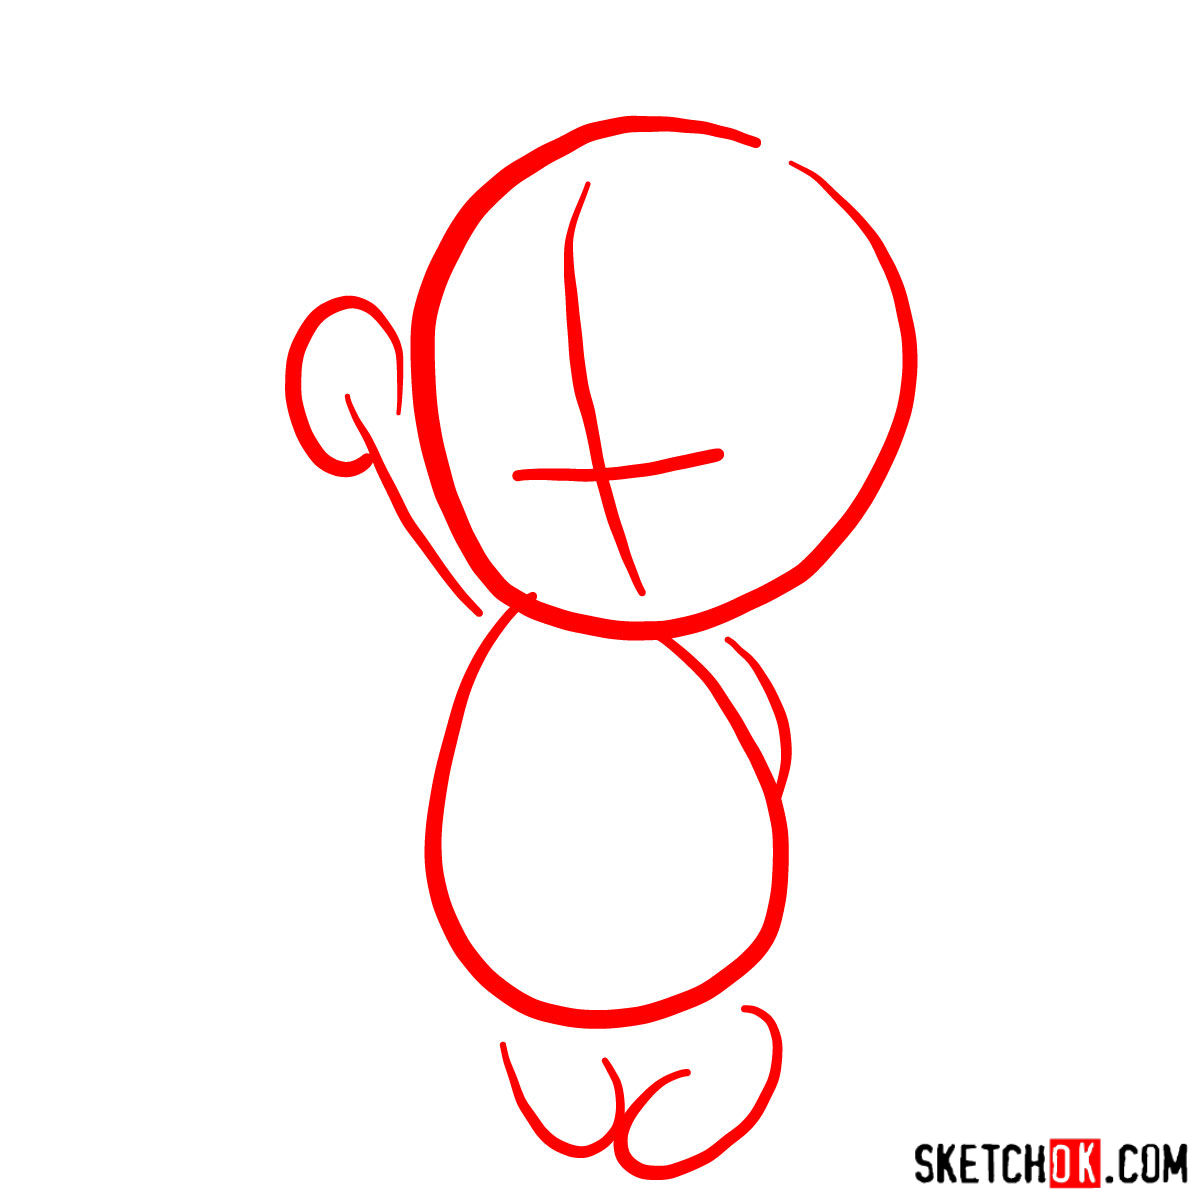
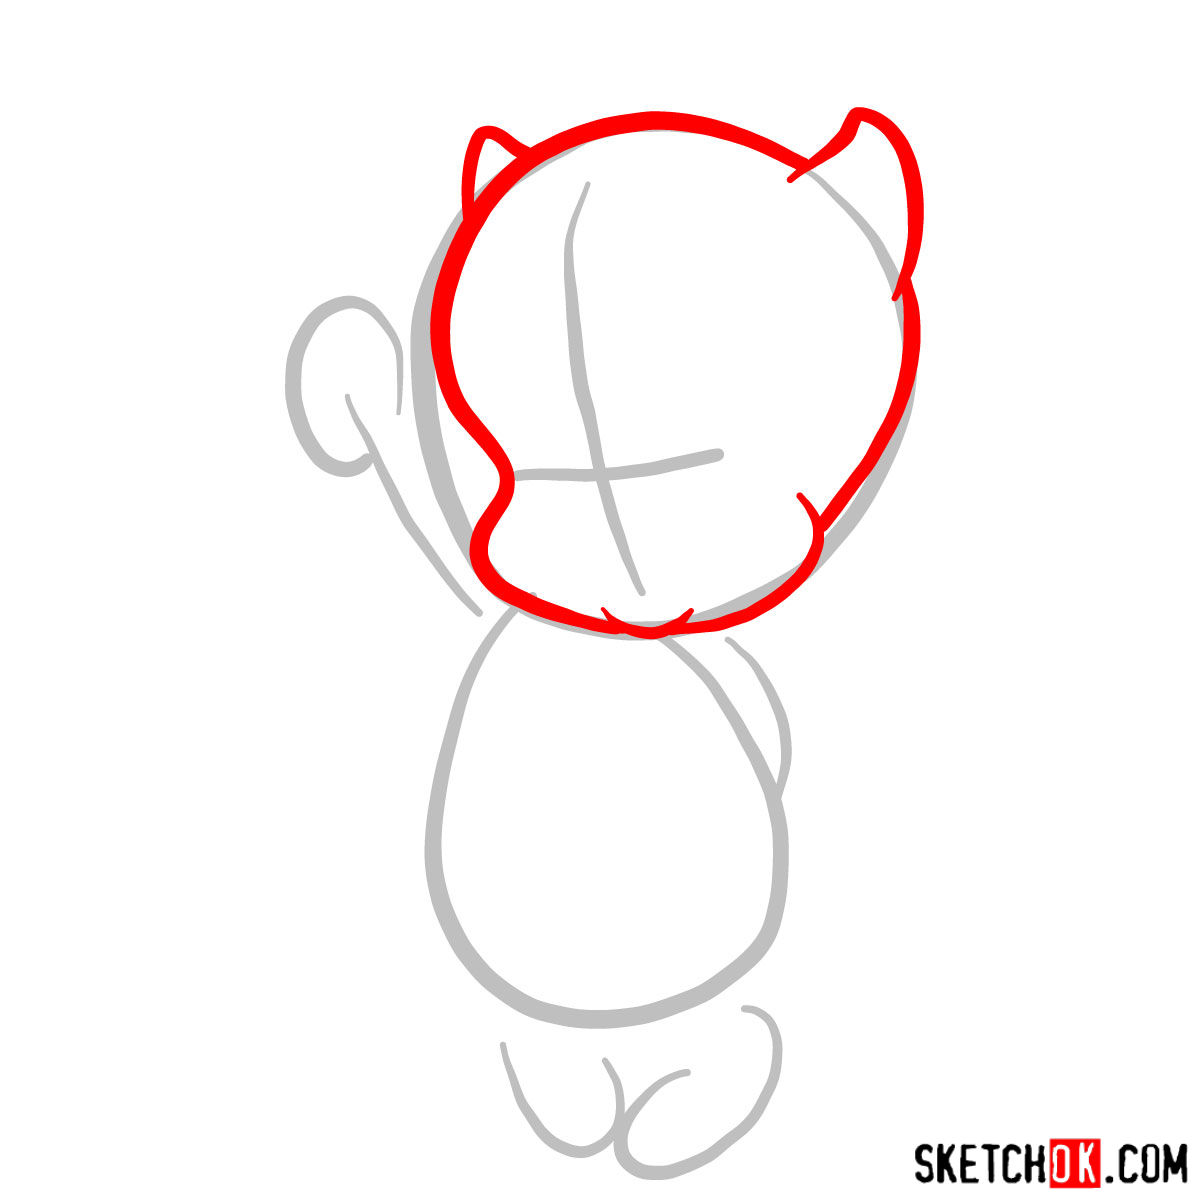
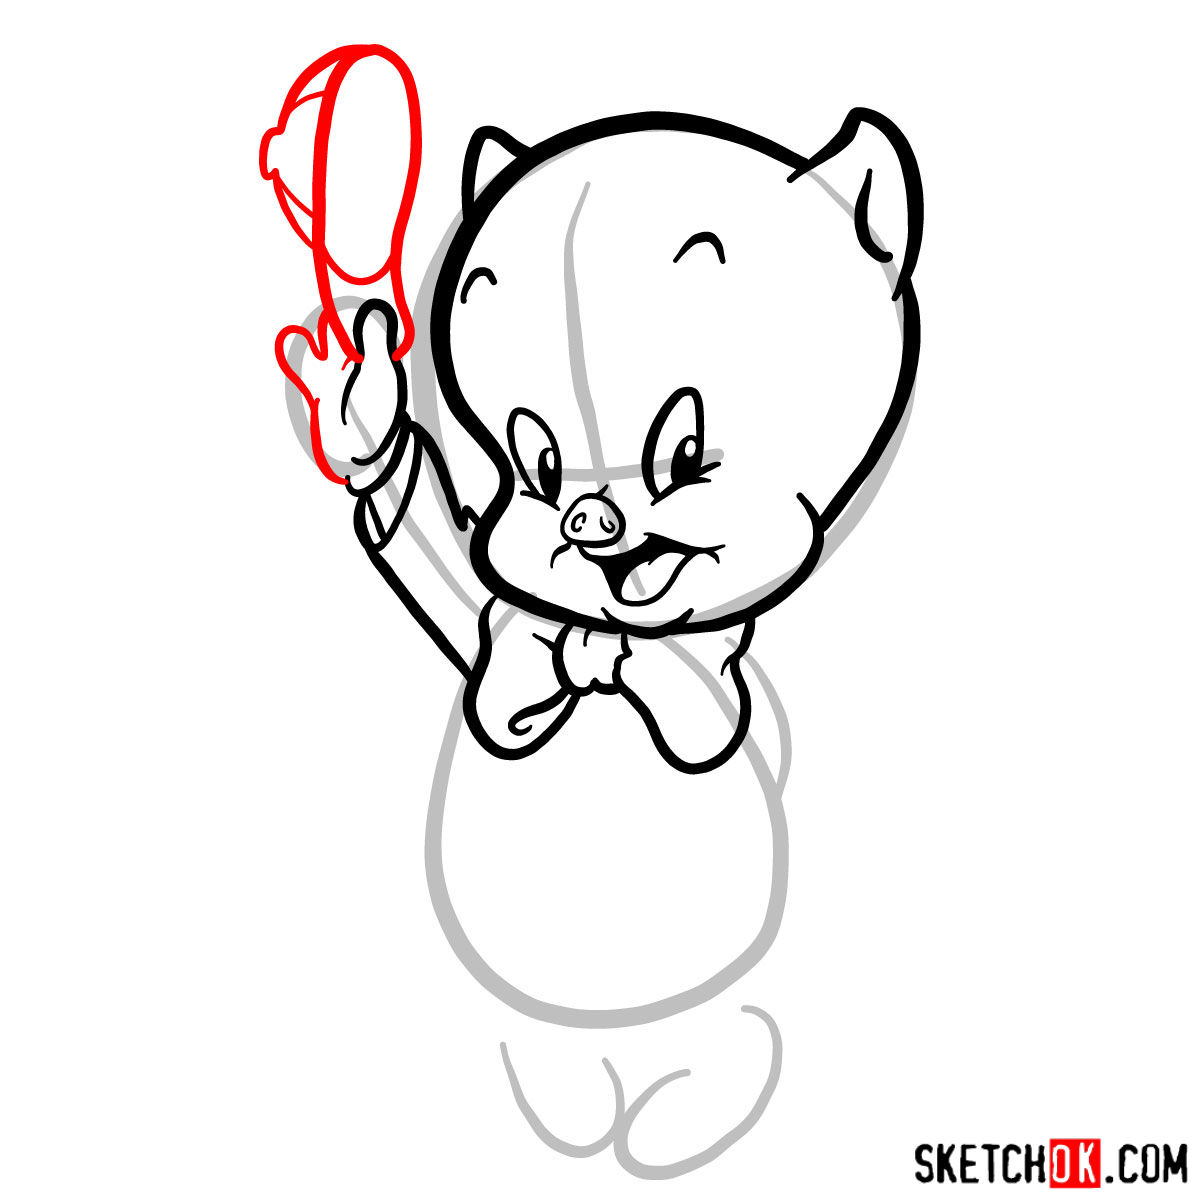
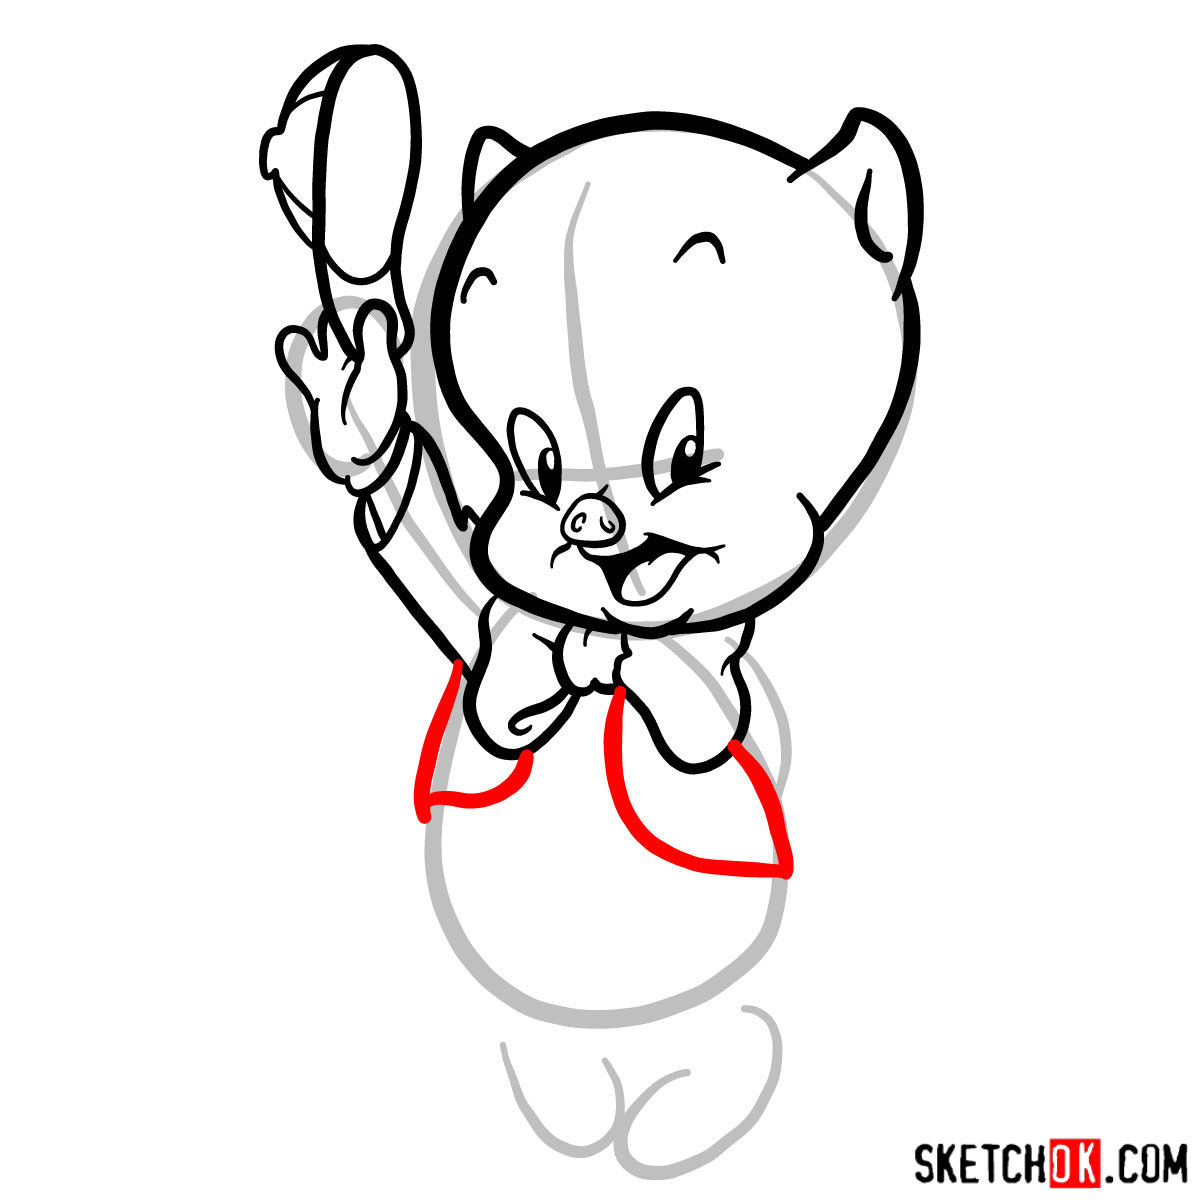
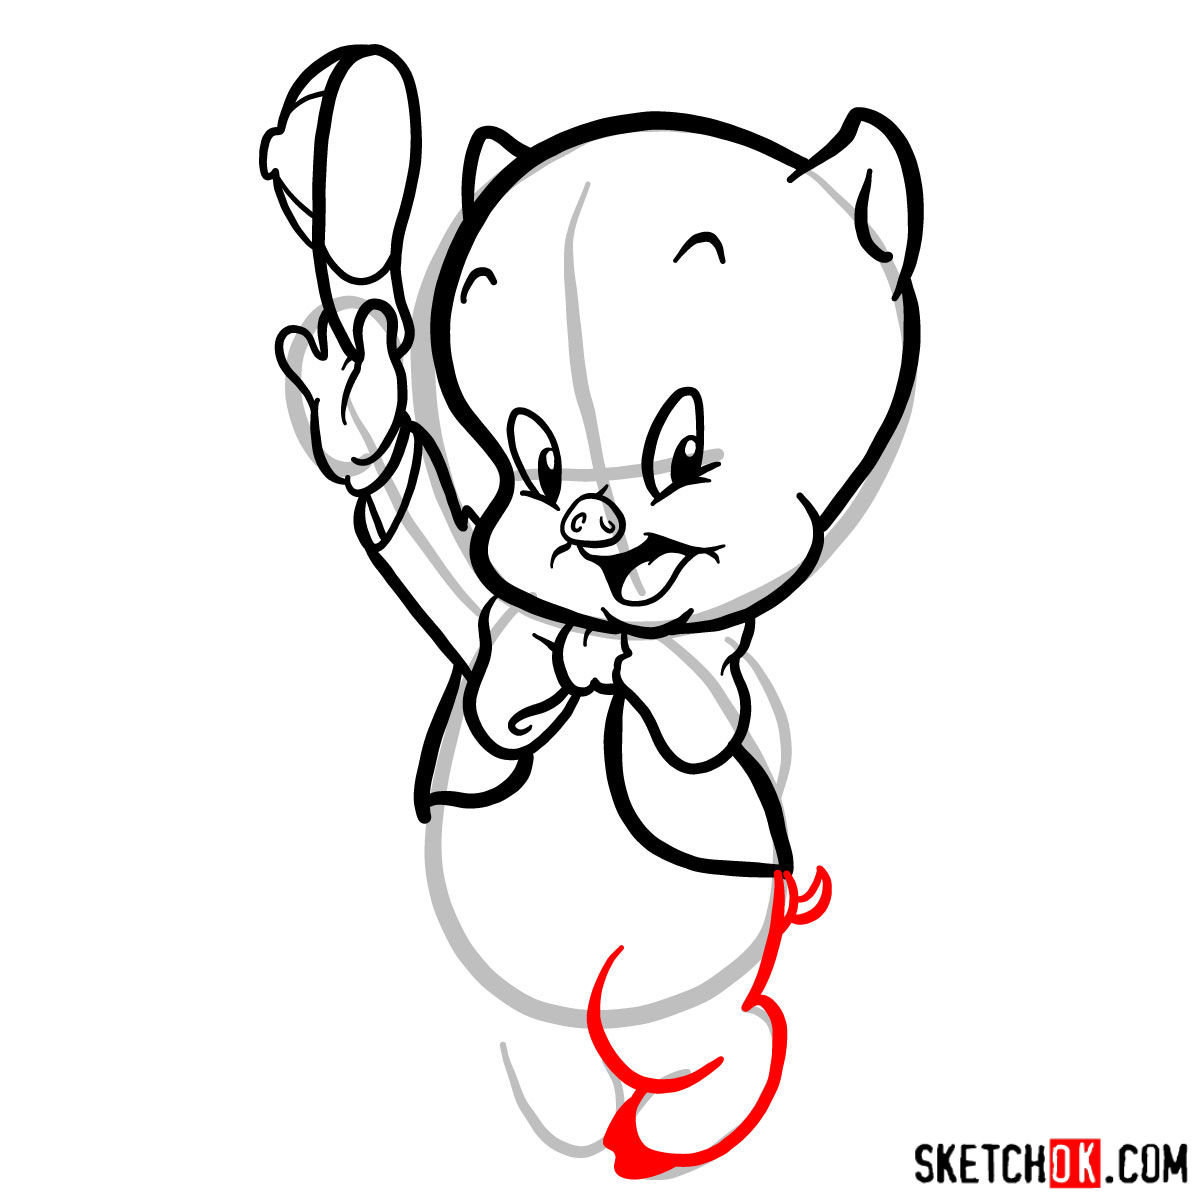
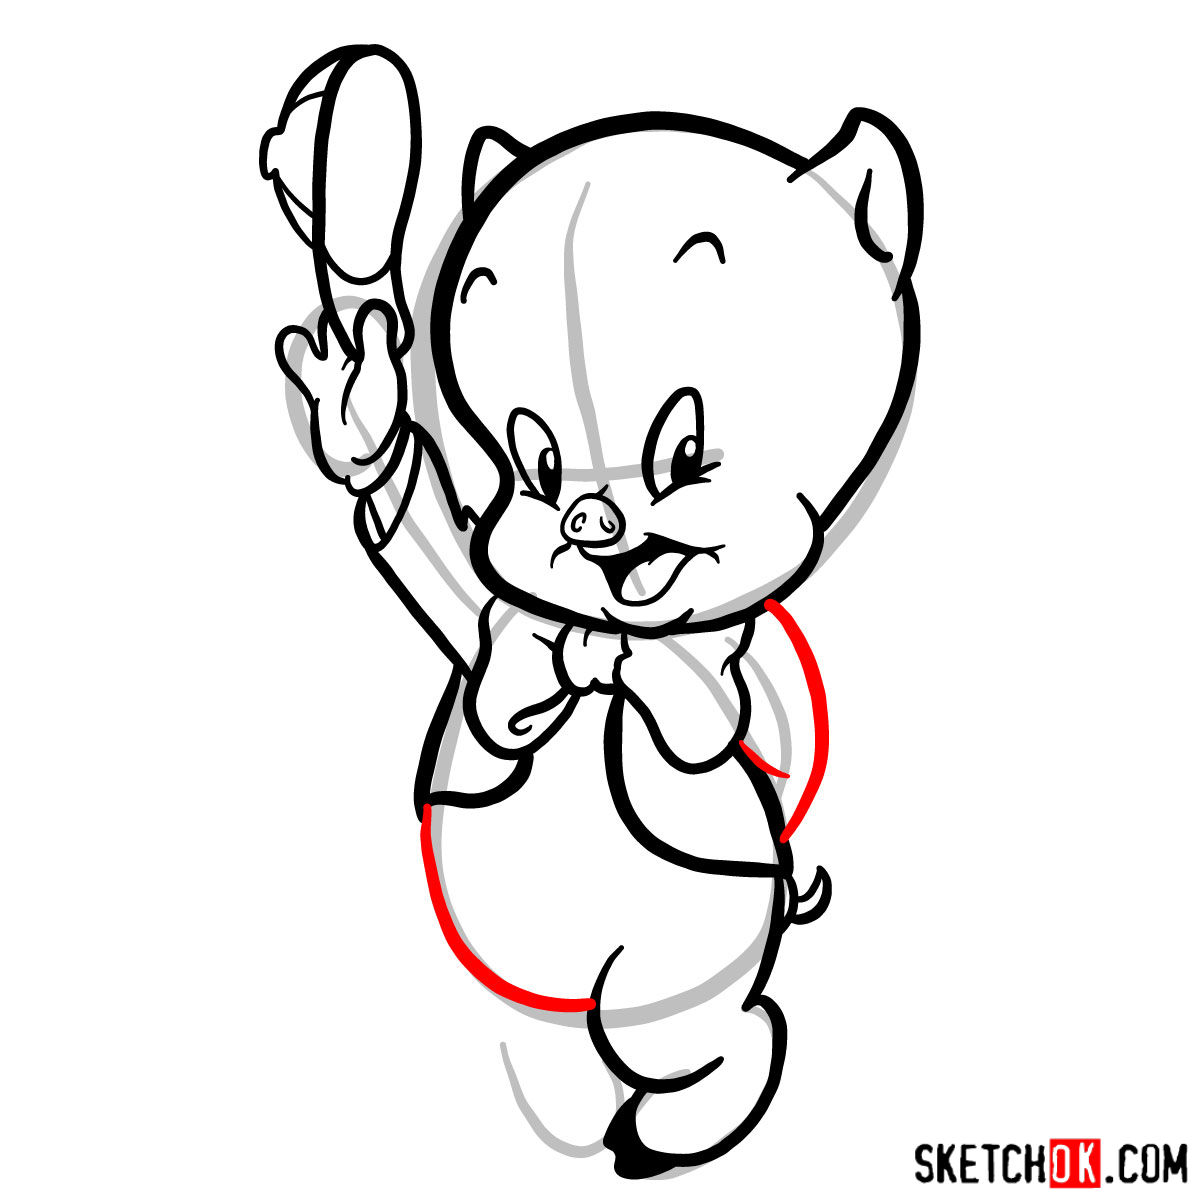
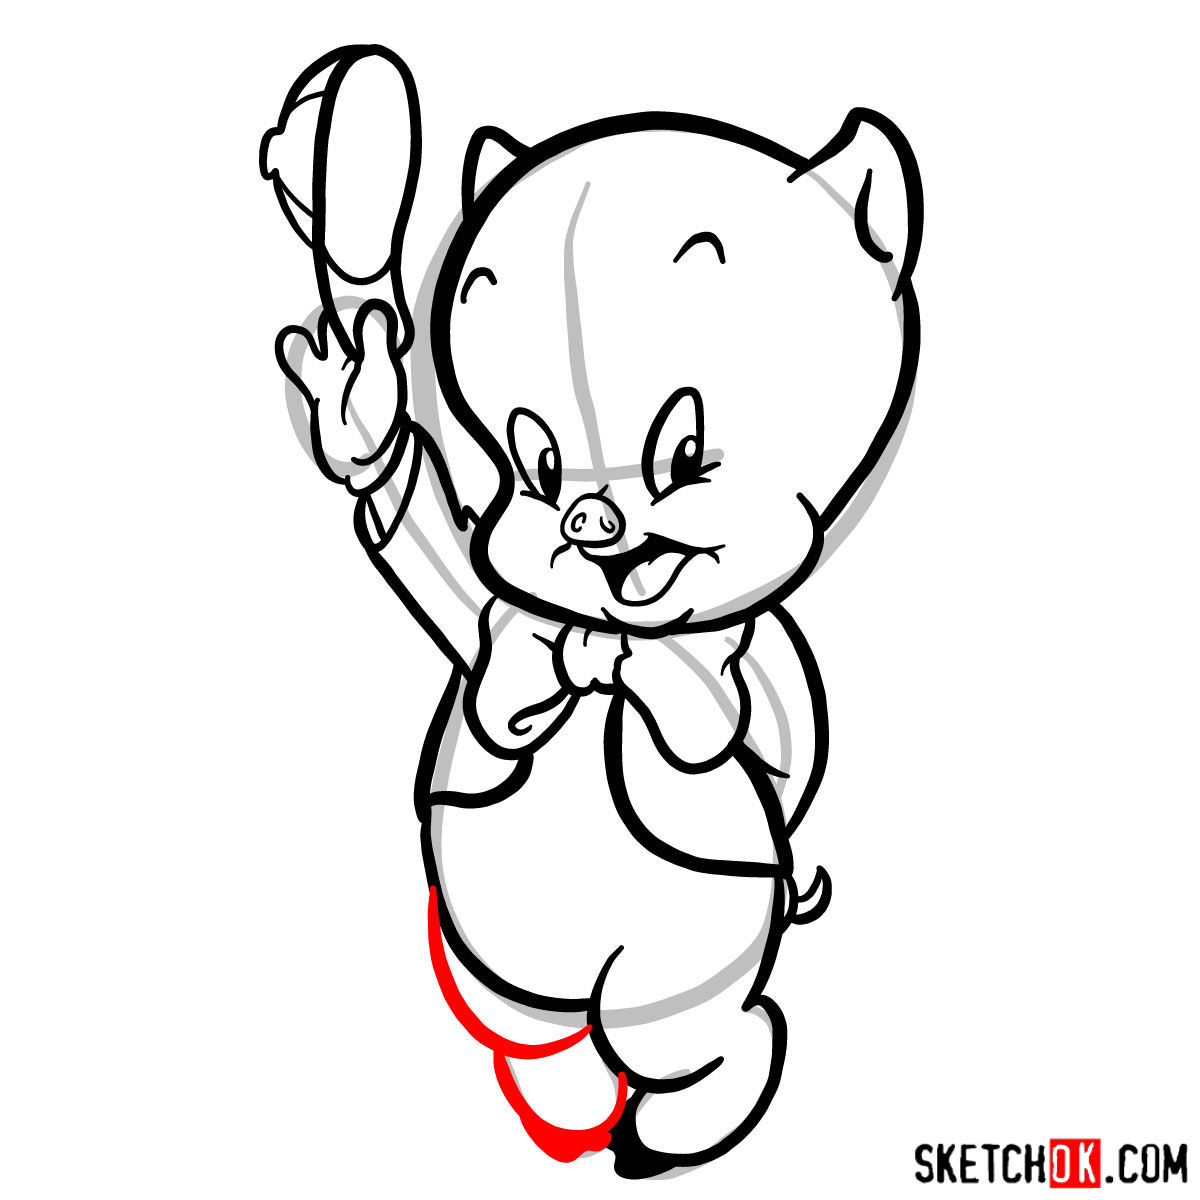
Breaking Down the Guide: Colors and Steps
The tutorial contains 12 steps, each step building on the previous one to ensure you capture every detail of Porky’s character. Here’s what each color in the guide represents:
- Red Color: These are the lines to draw during the current step.
- Black Color: These lines represent what you’ve drawn in the previous steps.
- Grey Color: These lines are the basic sketch or proportion guide, drawn in the first few steps using light pencil strokes.
In the final stage, you can choose to ink your sketch. It’s essential to wait for the ink to dry before gently erasing the pencil sketch to avoid smudging your drawing. It not only brings out the vibrancy but also gives a finished look to your sketch.


The easiest way to keep up with new guides is the email signup form at the top of the page, which sends a weekly digest so you never miss a tutorial. Now that you know how to draw Porky Pig, that list keeps growing with more classic cartoon characters worth adding to your sketchbook. You can also follow along on Pinterest, where people drop their finished drawings in the comments of each pinned post.