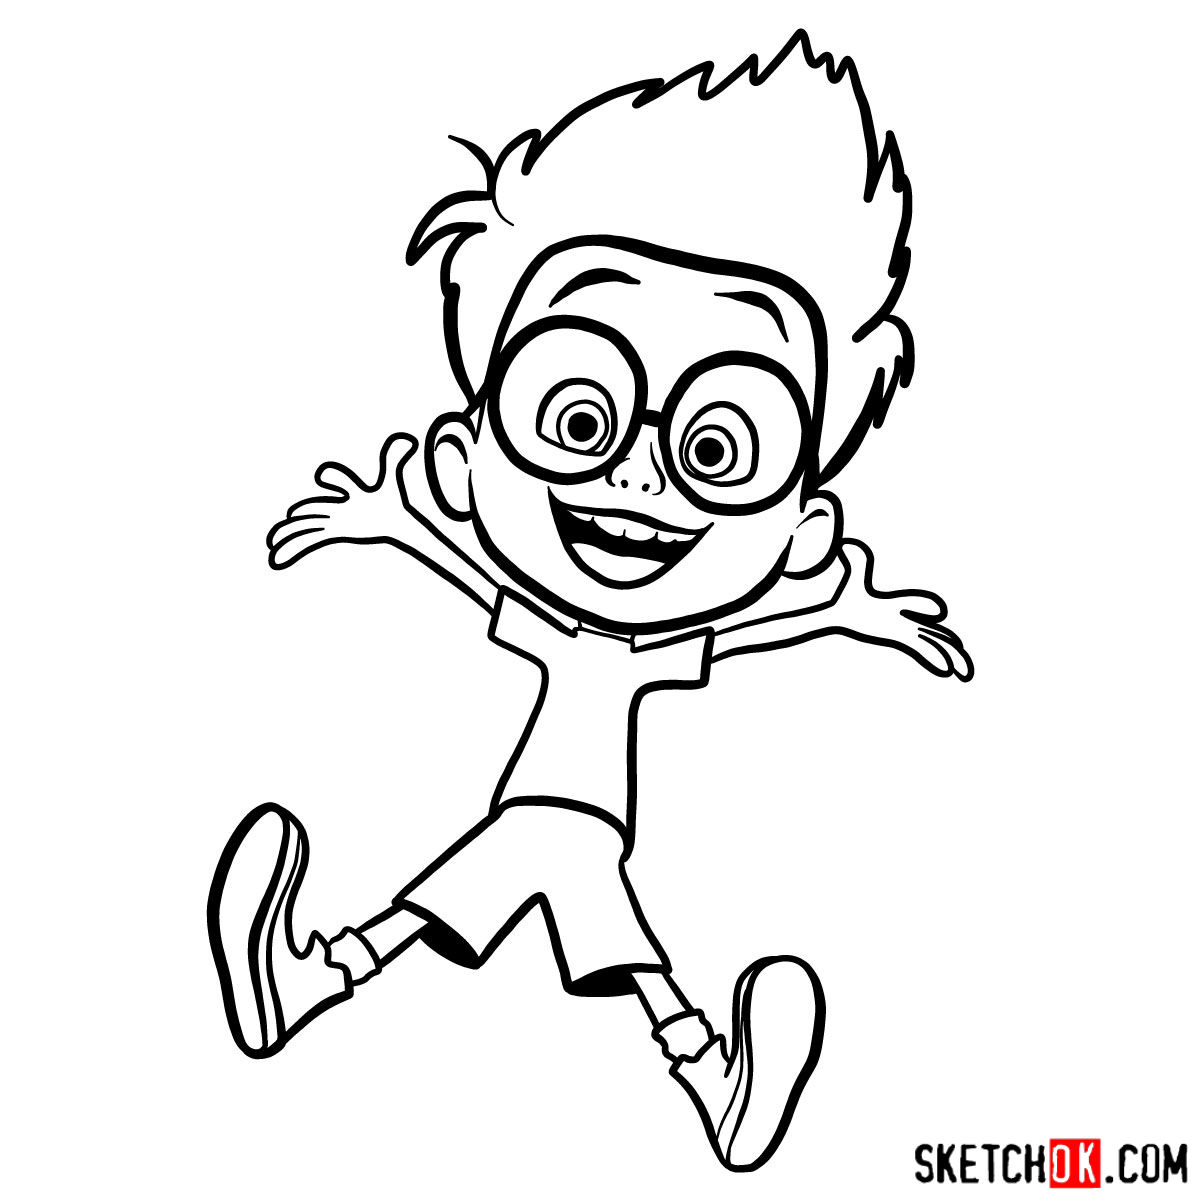
Have you ever wanted to bring your favorite animated characters to life? With this guide, you’ll uncover the steps to draw Sherman, the intelligent and adventurous young boy from the iconic series Mr. Peabody & Sherman. This fun and straightforward guide will help you create a delightful sketch of Sherman, even if you’re an absolute beginner.
Understanding Sherman’s Unique Appearance
Before we begin, let’s explore Sherman’s distinct features. This will guide your sketching process and make it easier to draw the character with accuracy:
- Sherman’s character has a large, round head, which is depicted larger than his body, accentuating his childlike appearance.
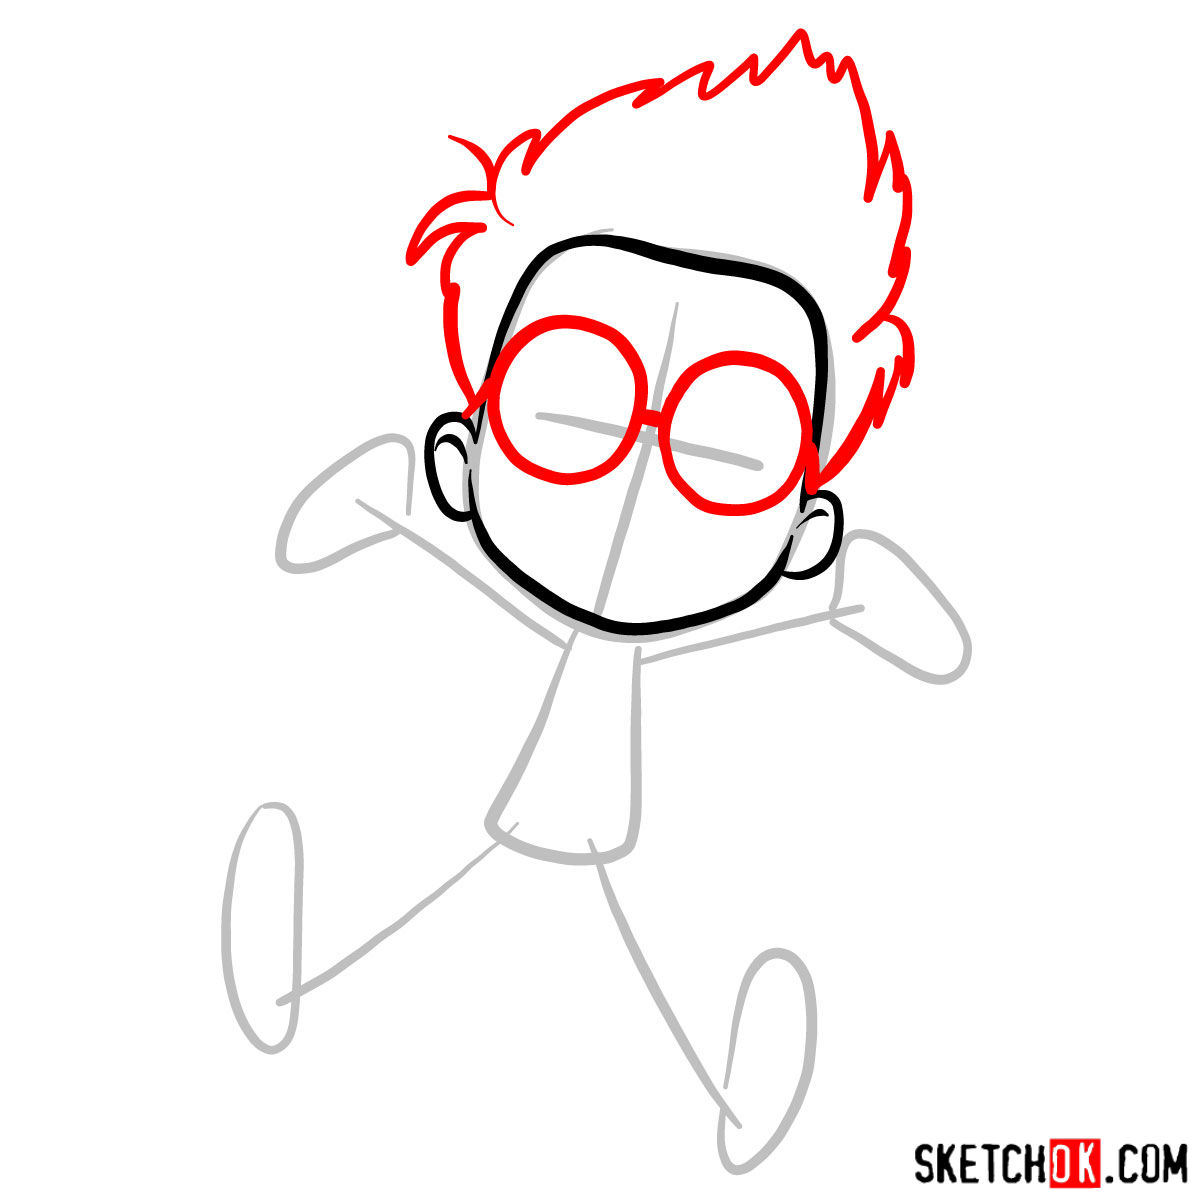
- His hair is drawn in an eccentric style, with a prominent curl at the front.
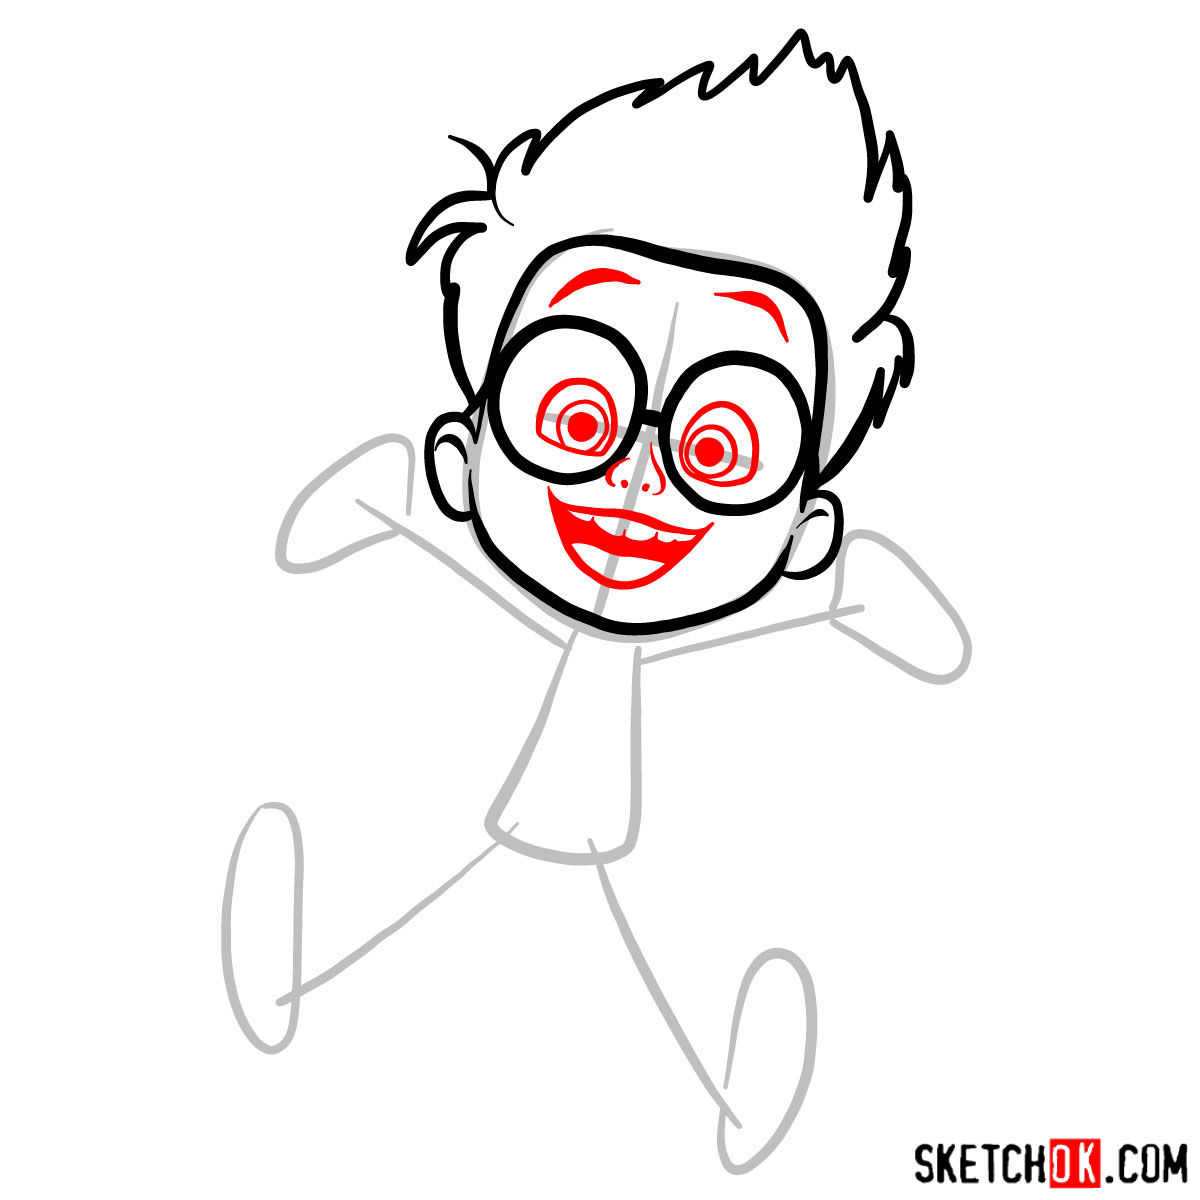
- Sherman has big, expressive eyes that showcase his wide-eyed curiosity.
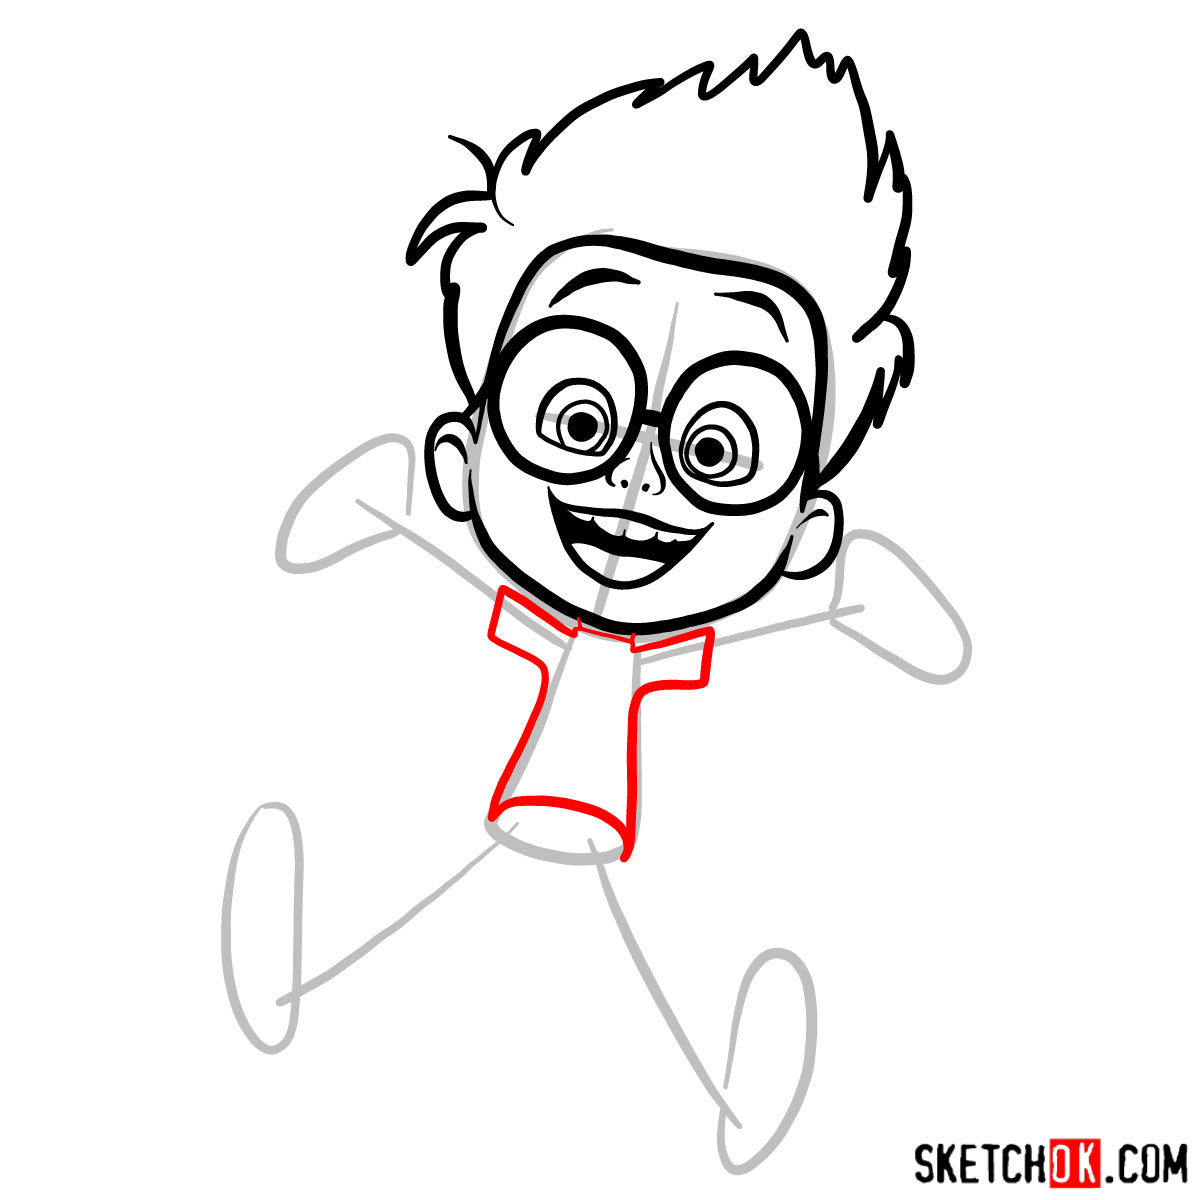
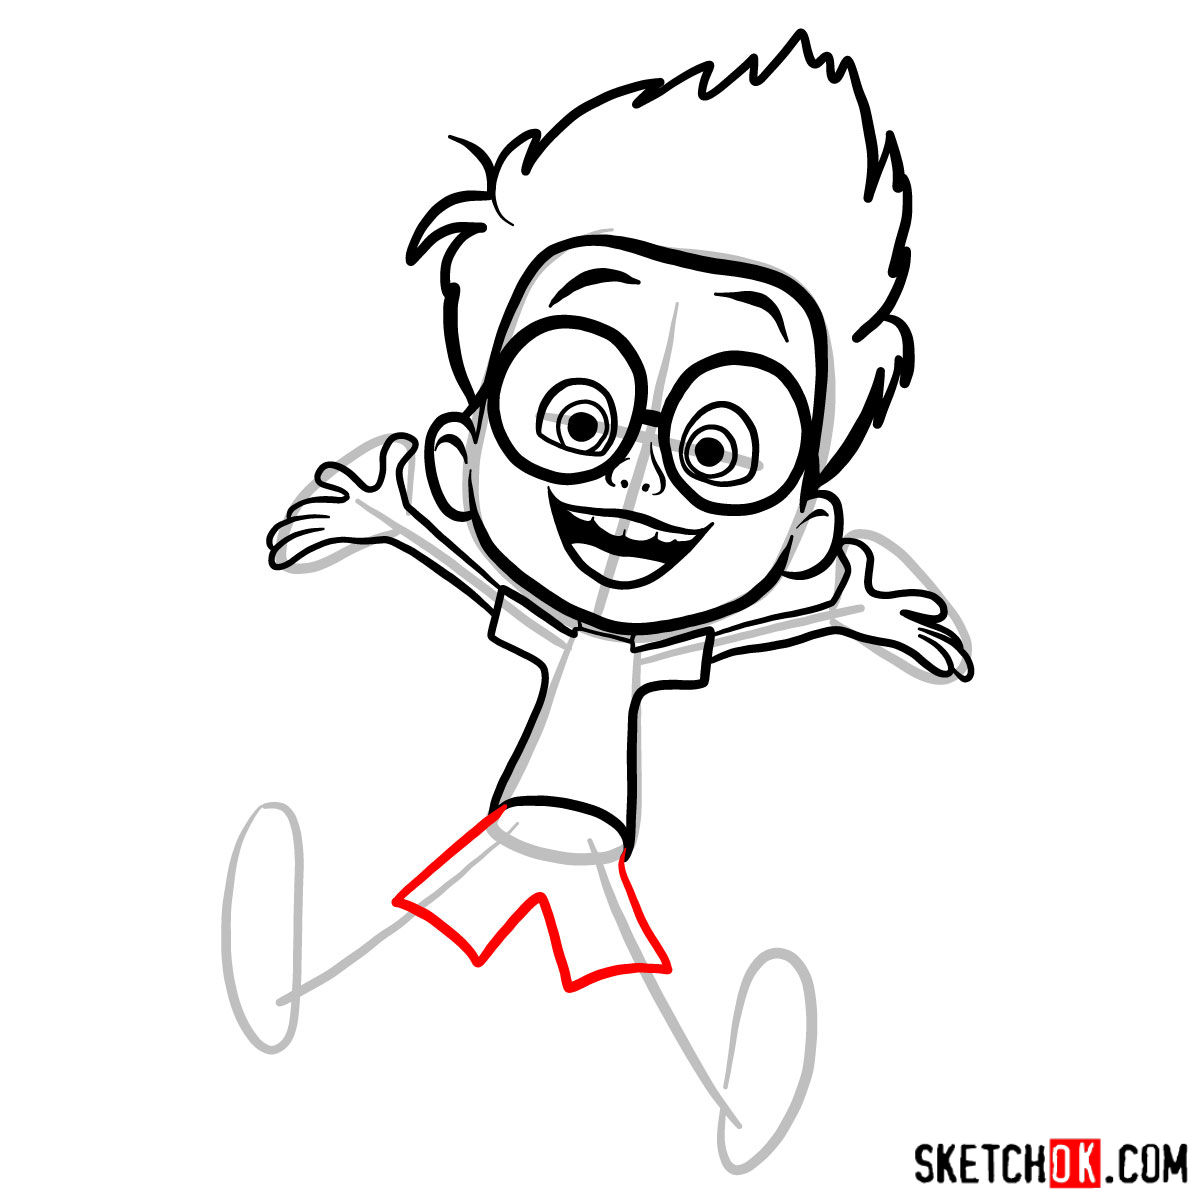
- His clothes are simple and casual, consisting of a T-shirt and shorts.
If you enjoyed drawing Sherman, you might also enjoy sketching other characters from the show, like the erudite canine, Mr. Peabody next to Sherman in their classic appearance.
Demystifying the Guide
Our tutorial uses a simple color-coded system to guide you through the drawing process:
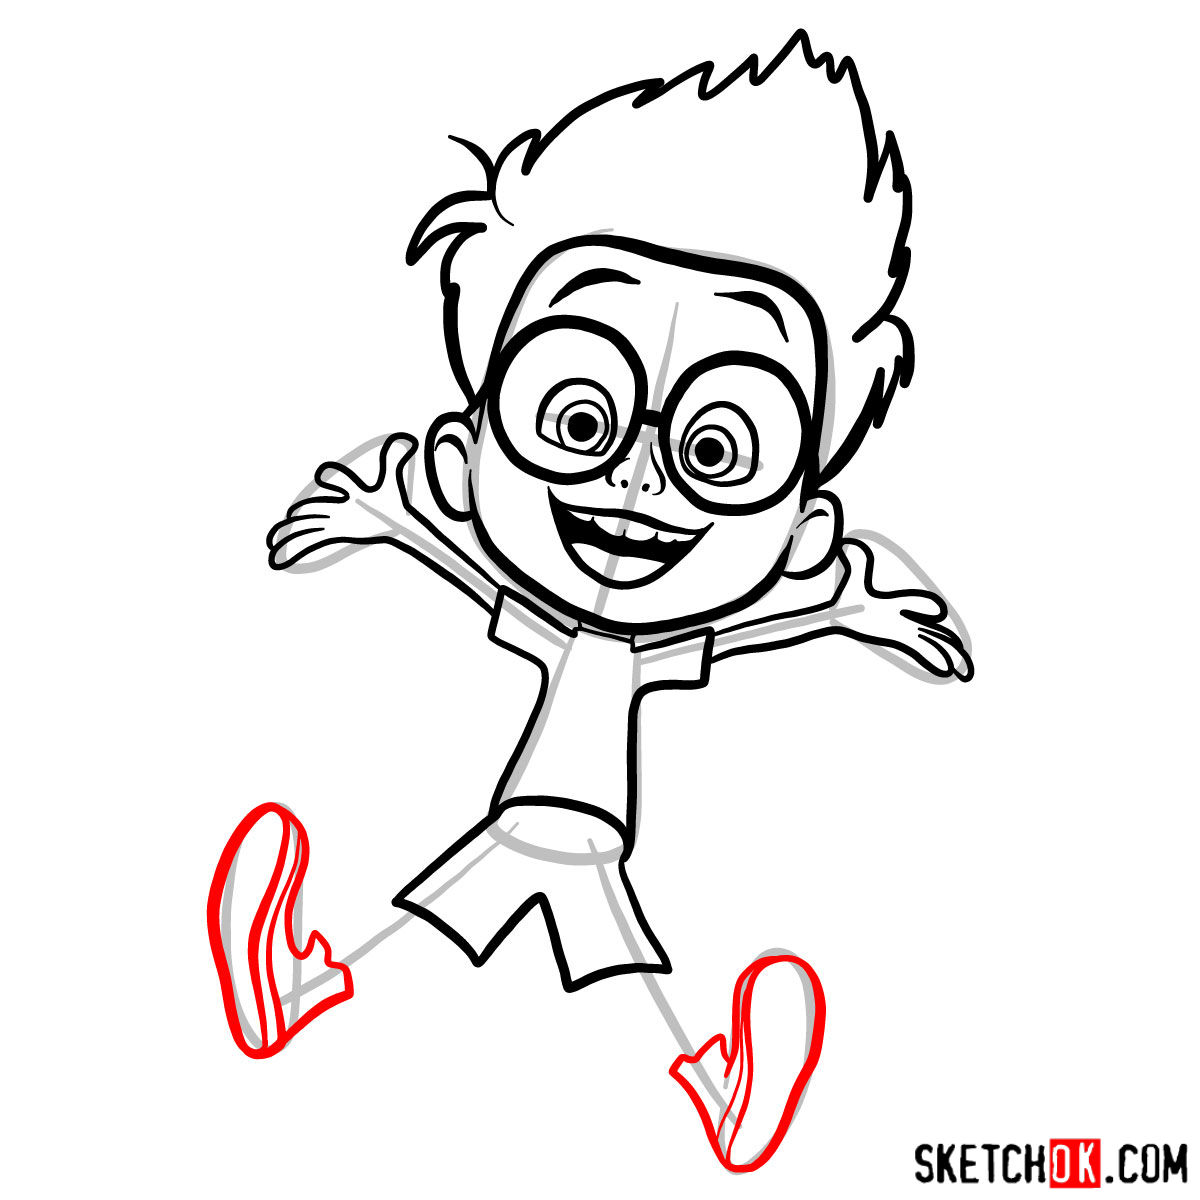
- Red Color: Represents the current step in the drawing process that you should focus on.
- Black Color: Shows the lines you’ve already drawn in previous steps.
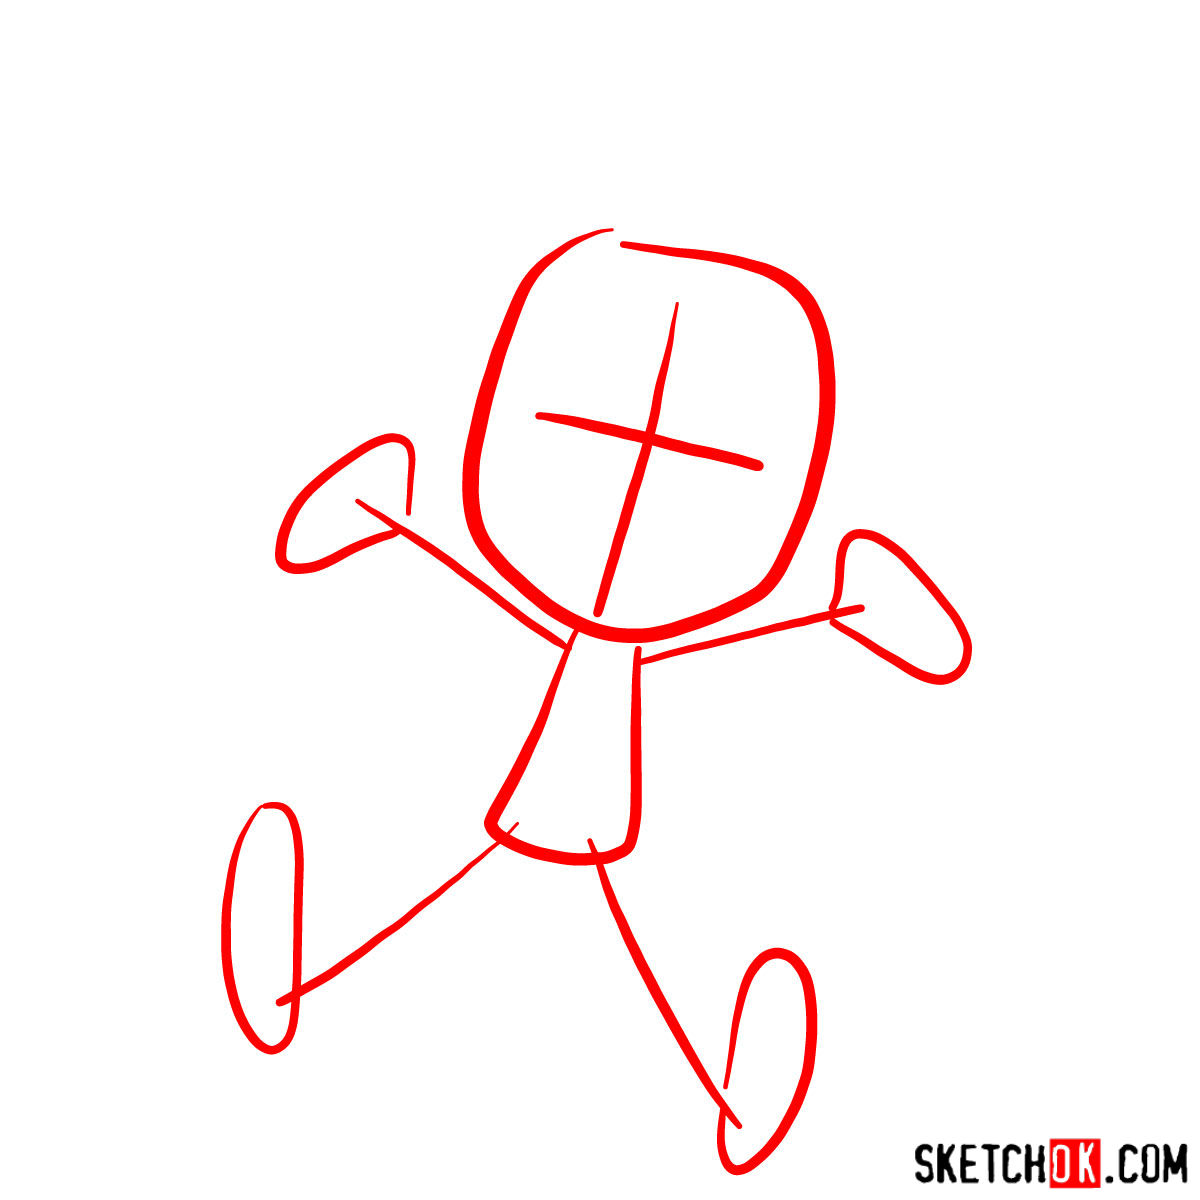
- Grey Color: Highlights the basic proportions sketch.
This guide consists of 11 steps, starting with a basic sketch to establish the proportions. As you advance through the steps, remember to use light pencil strokes for the initial stages, making it easier to erase and adjust as needed. The last step involves inking your sketch. Once you ink your drawing, wait for the ink to dry before gently erasing the pencil lines. This prevents any smudging that can blur your final image.


Frequently Asked Questions
Why do we start with a basic sketch?
Starting with a basic sketch helps in laying out the character’s proportions and design before delving into the details. This approach provides a roadmap for your drawing and reduces the chances of errors in the later stages.
Why do we need to wait for the ink to dry before erasing the pencil lines?
It’s essential to let the ink dry to prevent it from smearing across the page when you erase the pencil lines. Smudging can ruin your final drawing, distorting the clean lines and details you’ve worked on.
How can I make my Sherman drawing more expressive?
Sherman’s expressions are a significant part of his character. To capture this, focus on his facial features, particularly his eyes and mouth. Experiment with different expressions to bring out his personality.
Wrapping Up and Spreading the Word
I hope you enjoyed this journey into the world of sketching and learned how to draw Sherman in the process. Remember, practice makes perfect, so don’t get discouraged if your first attempts don’t come out as you expected.
If you found this guide useful, consider sharing it with others. Every share helps spread the word about our work and encourages more people to explore their creativity. You can also donate to our project at Buy Me a Coffee. Your contributions will help us create more free drawing guides and keep the SketchOk project going.
Stay connected with us through our social media channels:
Remember, every drawing journey begins with a single stroke. So, pick up your pencil, and let’s create some magic together!