Last Updated on May 14, 2026
Do you ever dream of bringing your favorite Disney characters to life on paper? In this guide, we’ll show you how to draw Mickey Mouse’s face, capturing the magic of this iconic Disney character with a step-by-step approach. This charming, cheerful character can easily become part of your sketching repertoire with some practice and patience.
Mickey’s Trademarks: What to Focus On
When drawing Mickey Mouse’s face, there are several key features to focus on:
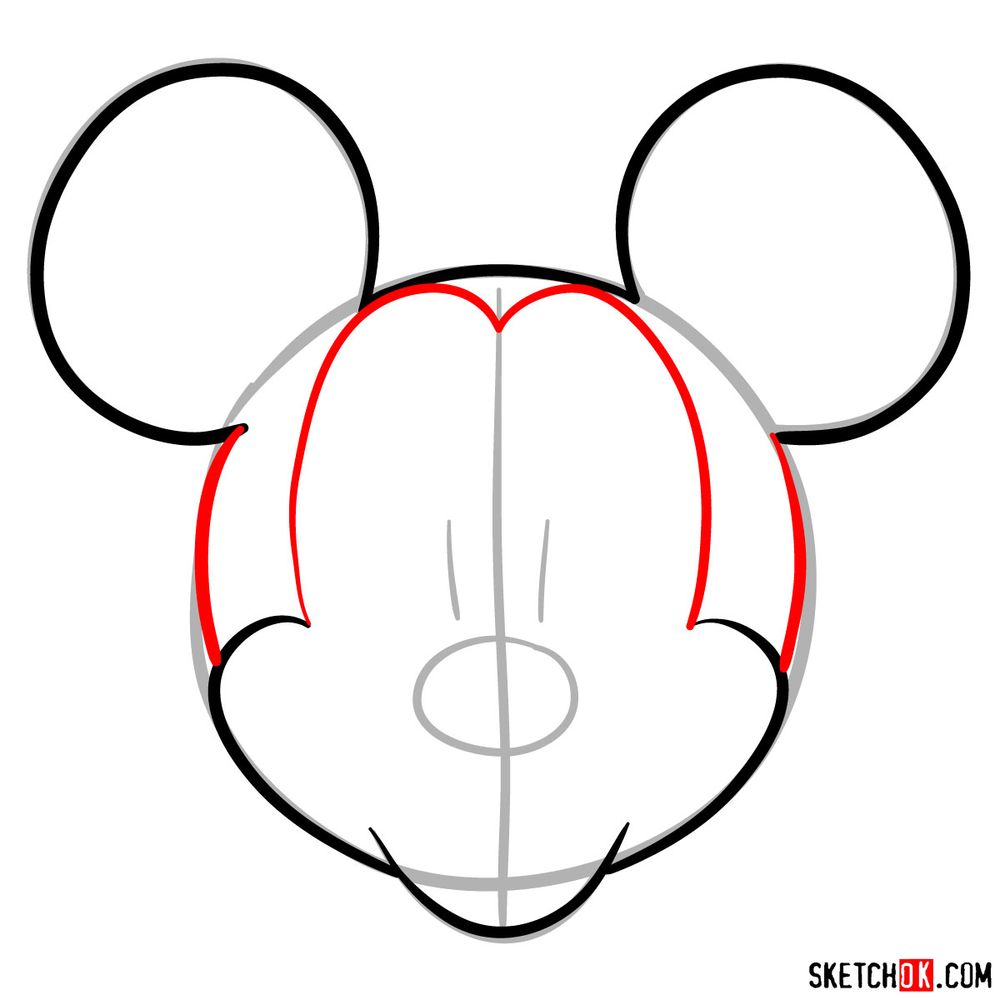
- His round face and ears: Mickey’s head and ears are circular, which gives him his recognizable look.
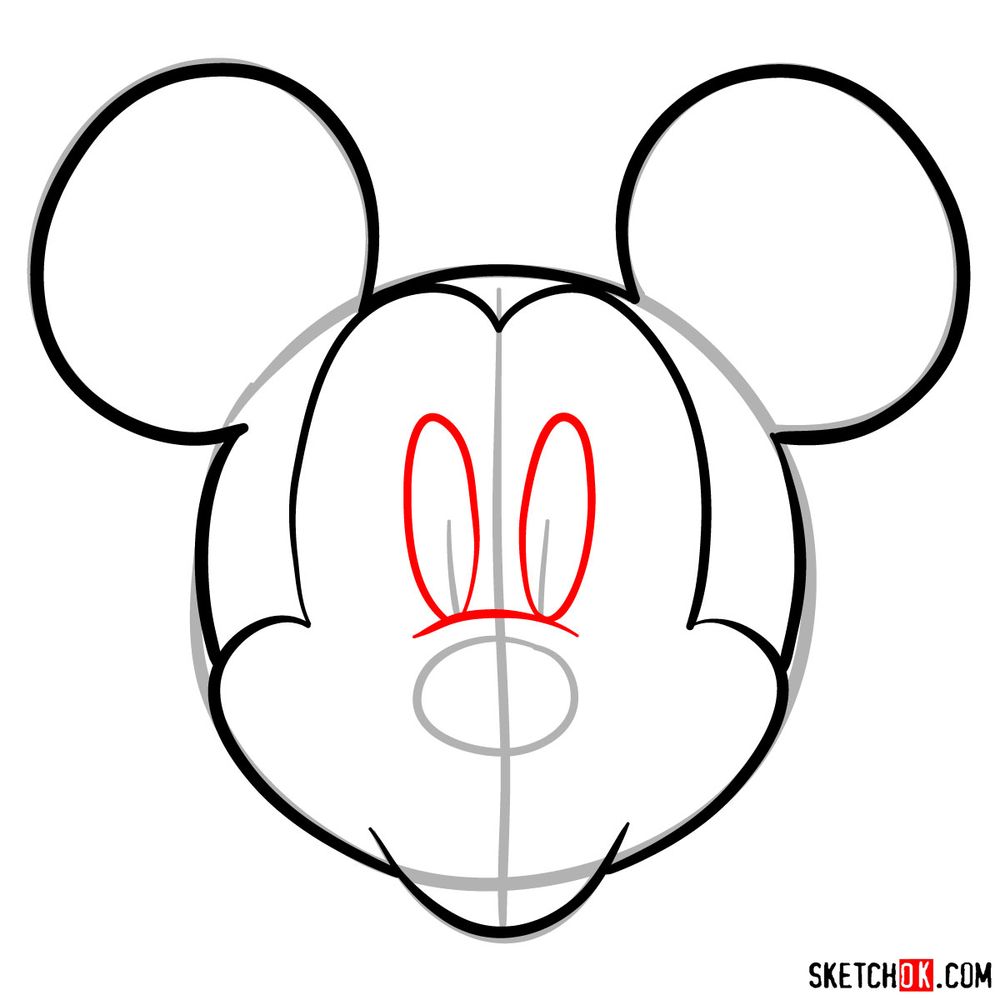
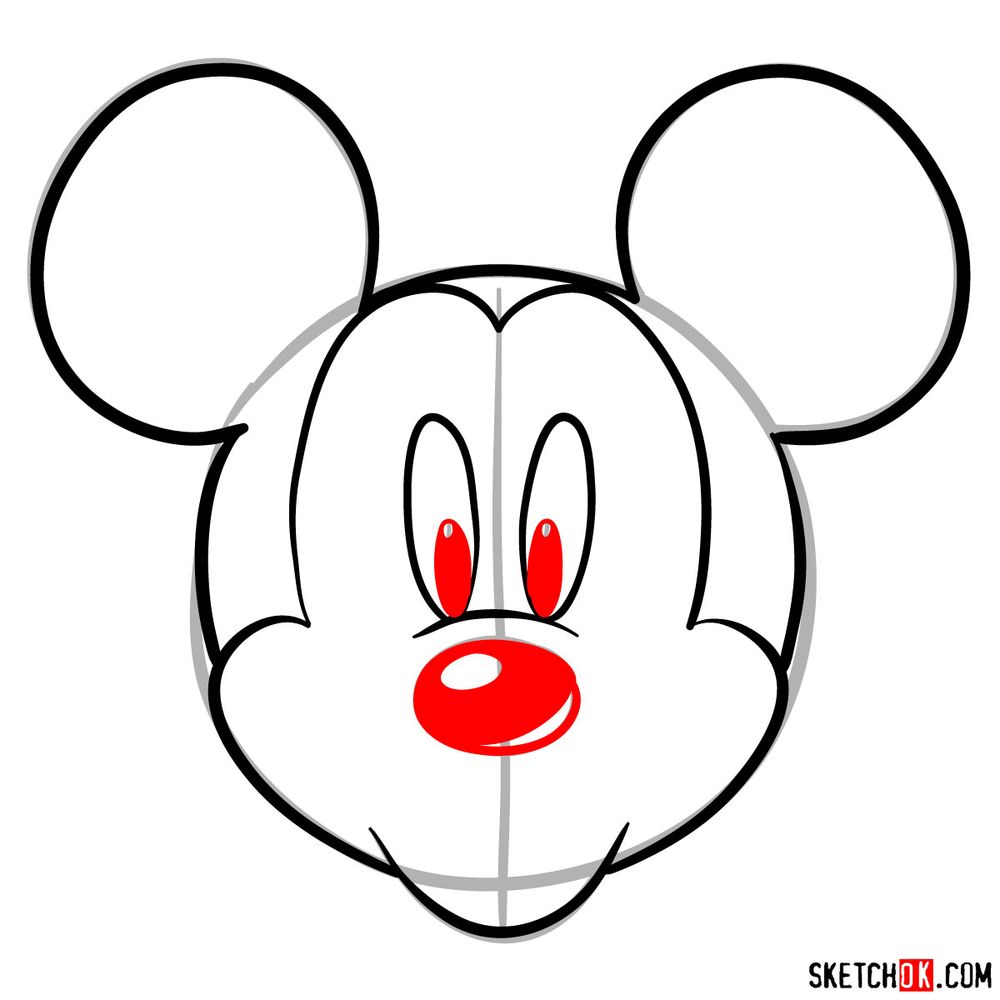
- His eyes: Large and oval-shaped, Mickey’s eyes are expressive and full of life.
- His button nose: Small and black, his nose is a simple yet crucial detail.
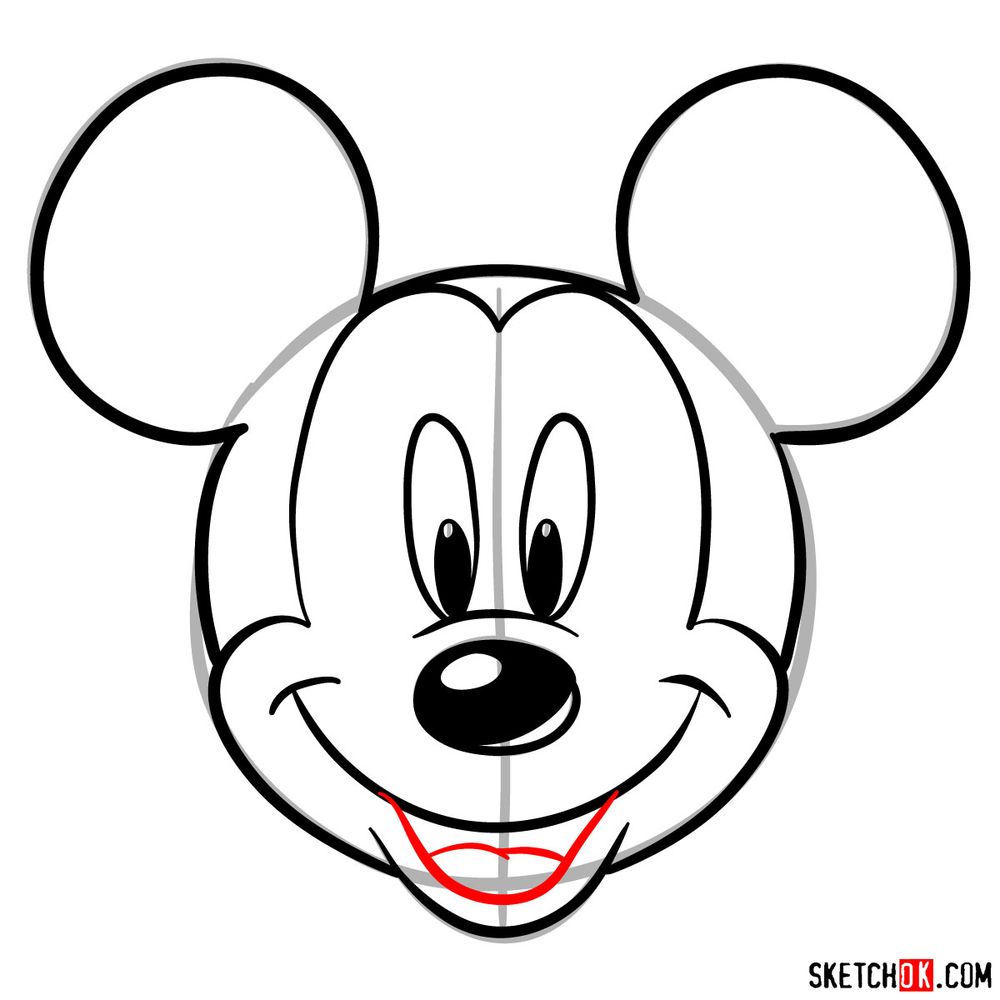
- His wide grin: Mickey’s broad, joyful smile truly brings his character to life.
Once you’ve mastered Mickey’s face, why not expand your Disney repertoire? Other characters like Donald Duck, Goofy or Minnie Mouse, can be an exciting challenge.
About Our Drawing Guide
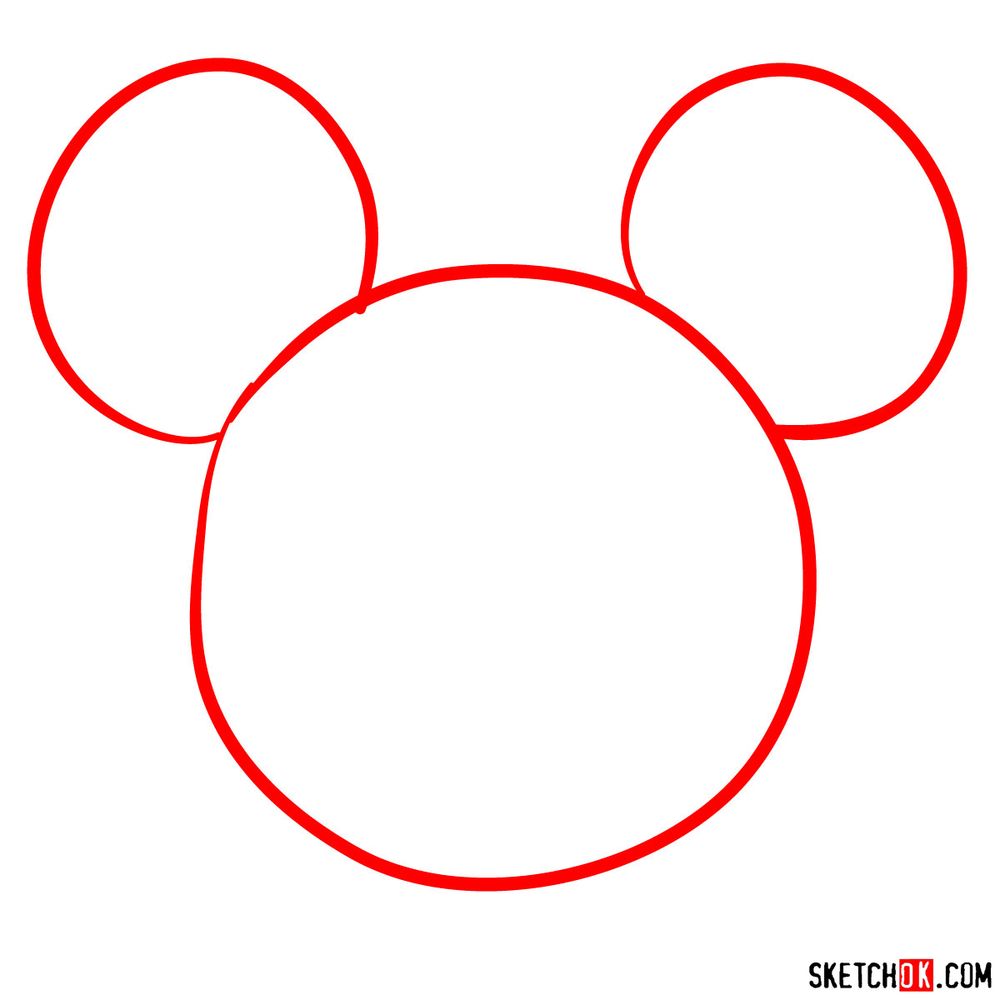
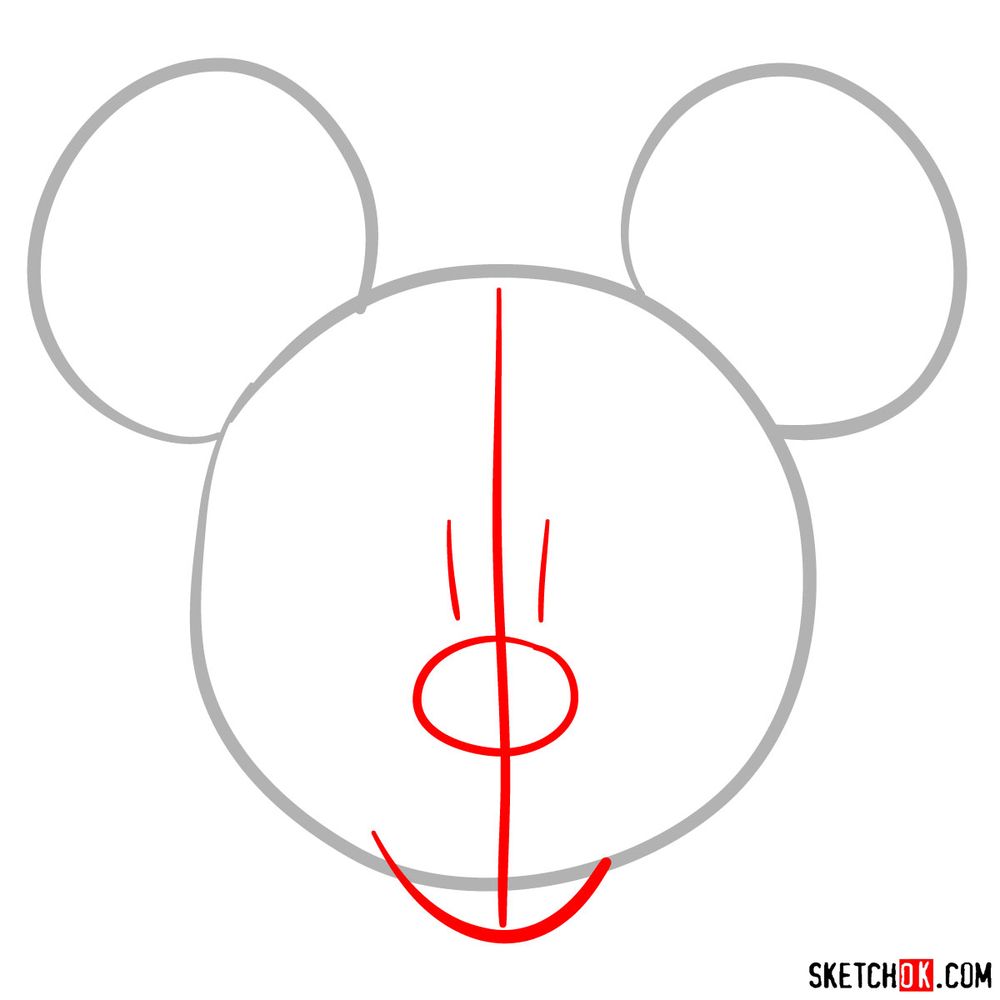
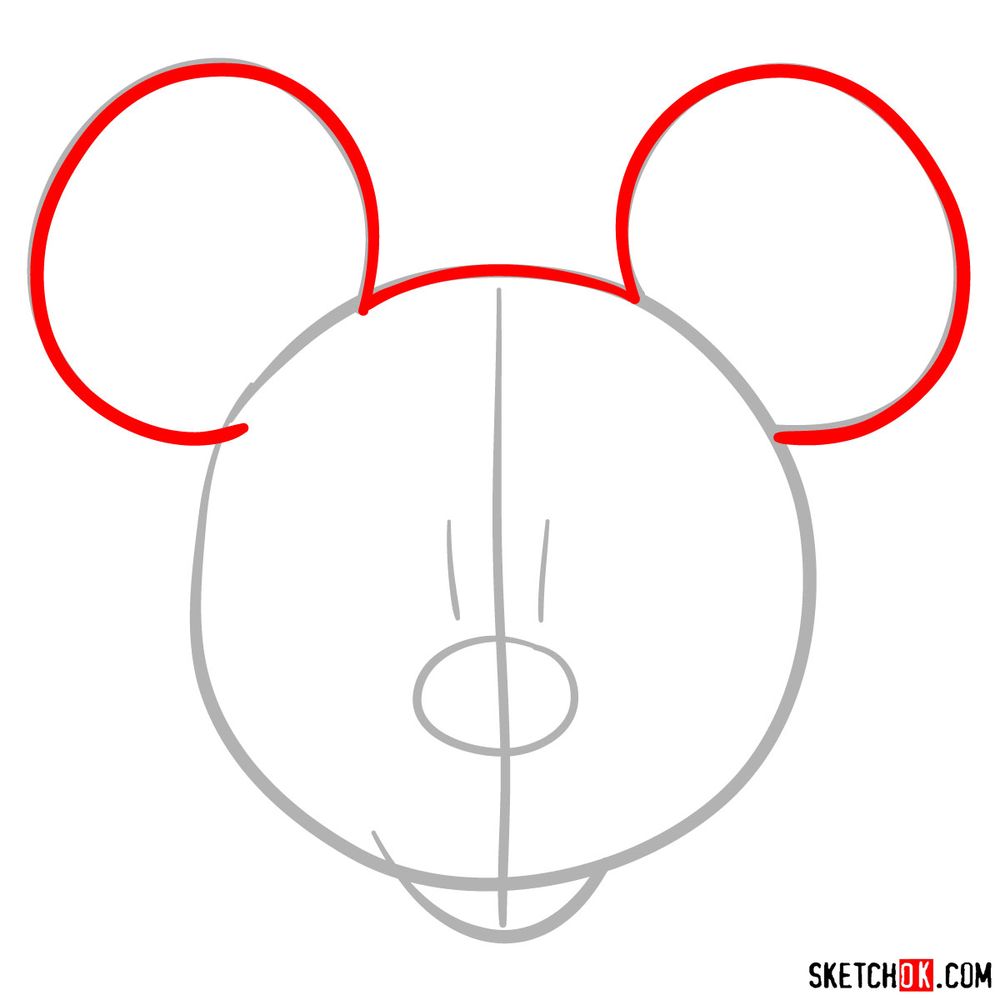
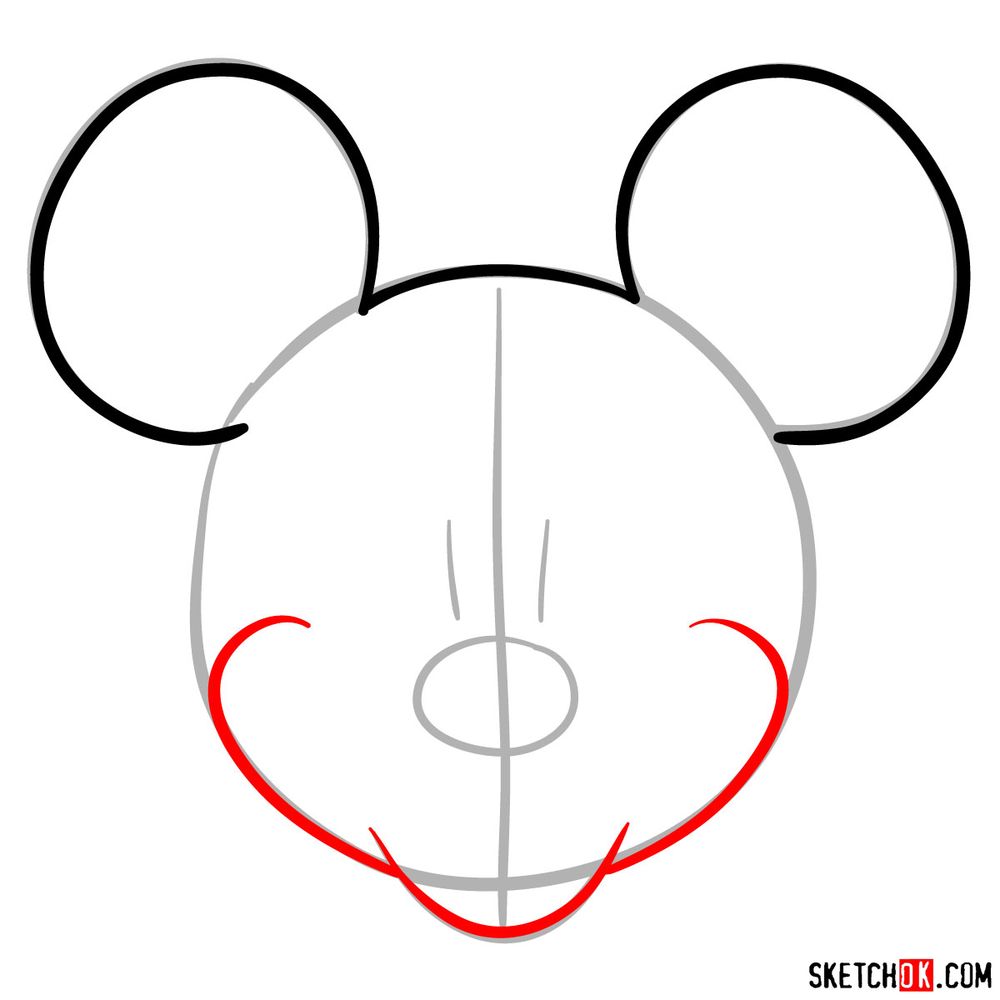
In our guide, we’ve broken down the process into 11 easy-to-follow steps. We’ve implemented a color-coding system to help you:
- Red Color: Marks the current step you should be working on.
- Black Color: Represents the lines you’ve already drawn.
- Grey Color: Displays the basic sketch and proportions.
The initial 2 steps focus on creating a basic structure for Mickey’s face. The final step includes inking the sketch. It’s important to let the ink dry before gently erasing the pencil sketch to keep the drawing neat and clean.



If you want to stay on top of new guides as they come out, the email signup at the top of the page is your best bet since a fresh digest lands in your inbox every week. Now that you know how to draw the face of Mickey Mouse, you have a solid foundation for tackling other classic Disney characters too. You can also follow along on Pinterest, where people drop their finished Mickey drawings in the comments of the pinned post.
