Flounder is not just a character, but an icon from the enchanting world of Disney’s The Little Mermaid. For artists and enthusiasts alike, drawing Ariel’s brave yet anxious best friend is a delightful experience. In this guide, you’ll learn how to draw Flounder, capturing the essence of this beloved character with each stroke.
Character’s Appearance & Key Focus Points
- Body Structure: Not actually a flounder, he’s a sergeant major with a distinct body shape.
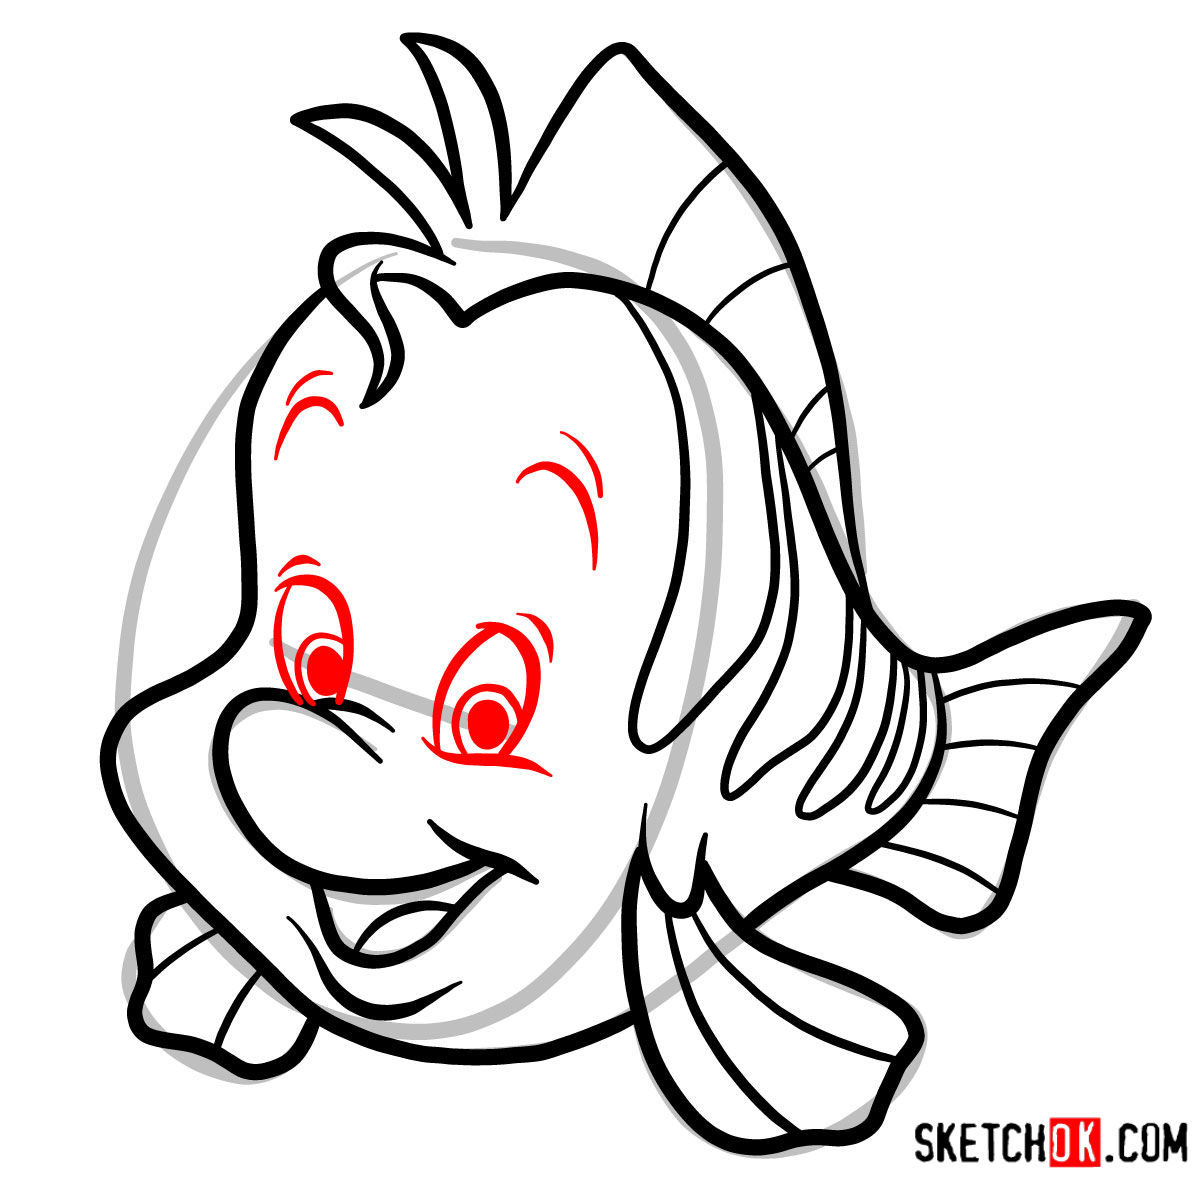
- Facial Expression: Often anxious, but can also be fiercely determined and loyal.
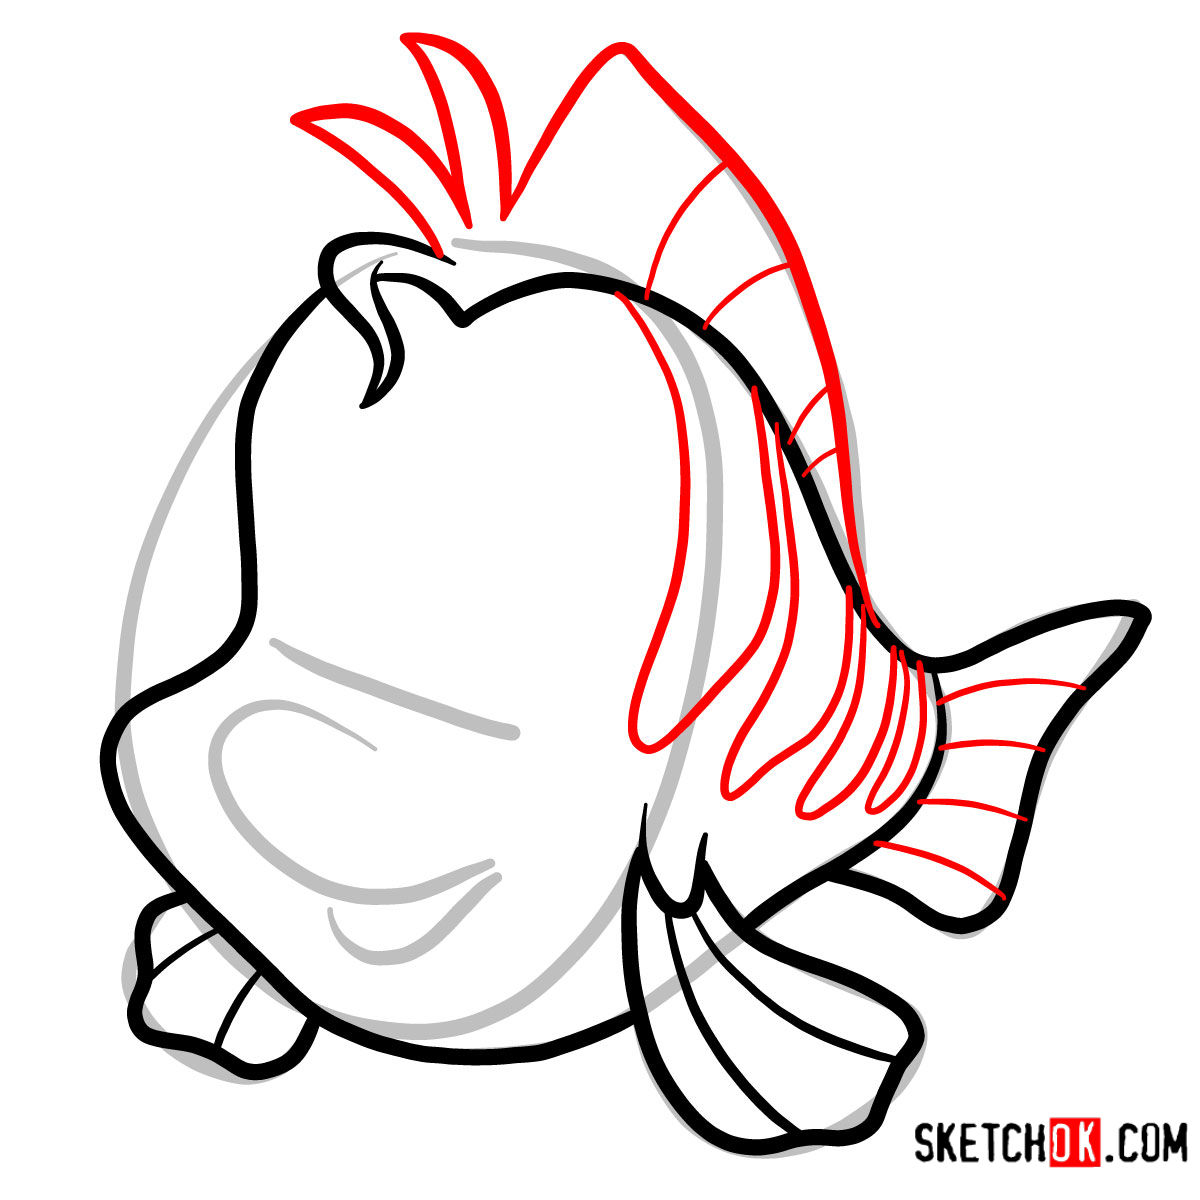
- Fins: Delicate and pivotal in showcasing his emotion or motion in the water.
- Companions: Considering adding Ariel, Sebastian, or even Ursula for a complete scene. They share a vibrant underwater world, and combining characters can make your artwork richer.
About the Guide
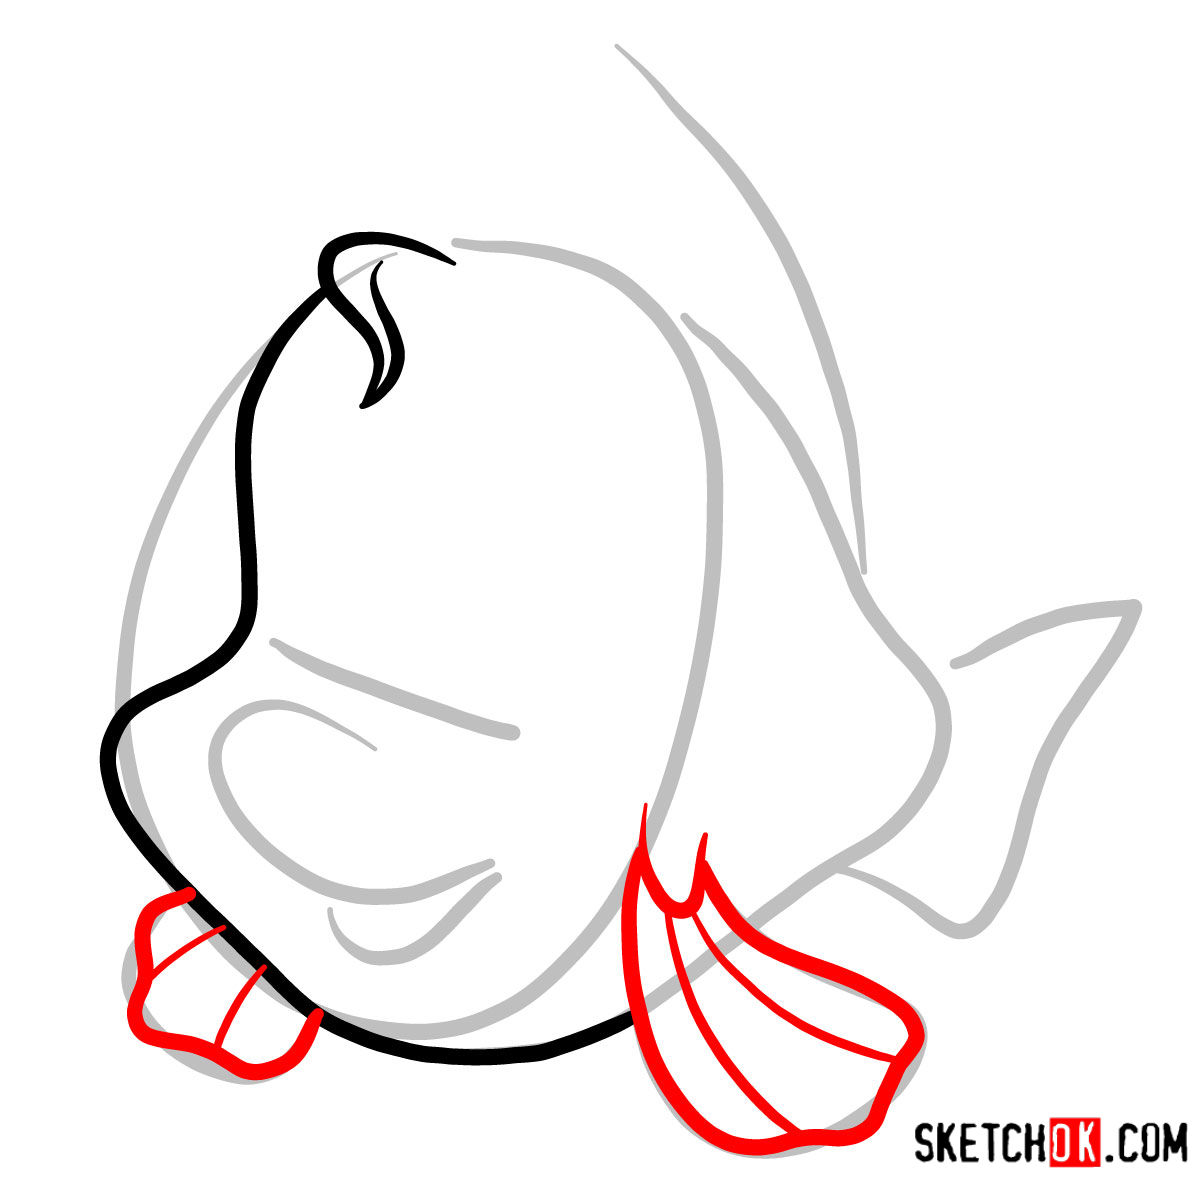
Our tutorial consists of 8 comprehensive steps. Not to worry, even if you’re a beginner, our guide ensures clarity with a unique color coding system:
- Red Color: Indicates the current drawing step.
- Black Color: Displays the lines previously drawn.
- Grey Color: Demonstrates the foundational sketch for proportion.
Begin with light pencil strokes to craft the basic structure. The journey starts with a basic sketch and ends with inking, providing a polished look. Remember, after inking, wait for it to dry before erasing the pencil marks to avoid smudging.


Frequently Asked Questions
What’s the best approach to capturing Flounder’s expressive eyes?
Flounder’s eyes are a window to his emotions. Start with an oval base and ensure they’re adequately spaced.
How can I best depict Flounder’s fins for natural movement?
Fins play a pivotal role in showing Flounder’s movements and emotions. Use wavy lines and ensure they’re not too stiff. Remember, they’re almost like underwater wings, so capturing their flow is essential.
Wrapping Up
Embarking on this artistic journey, you’ve not only learned how to draw Flounder but also delved deep into the nuances of capturing character essence. Your support means the world to the SketchOk project. By donating, you enable us to create more tutorials and consider your suggestions for future projects. Don’t forget to share this guide on Facebook, Instagram, or Pinterest. Every share helps other budding artists learn how to draw their favorite characters. Together, we keep the art alive, one sketch at a time.
great!