Last Updated on May 14, 2026
Welcome to our step-by-step tutorial on how to draw Pidsley, the famous feline antagonist from Shaun the Sheep’s Series 2. As we delve deeper into this artistic journey, we’ll first acquaint ourselves with the very essence of Pidsley and what makes him unique.
Character Insights: Pidsley’s Series 2 Redesign
While Pidsley might have been a minor character in Series 1, his role in Series 2 elevates him to that of a primary antagonist. As the Farmer’s cat, Pidsley craves to be the singular focus of the Farmer’s attention, often to the point of jealousy, especially with Bitzer. This envy drives his frequent schemes against the Flock and other animals he perceives as inferior. Although he’s constantly plotting against them, the Flock’s wit often leads to Pidsley’s own downfall.
Physical Traits and Drawing Focus Points:
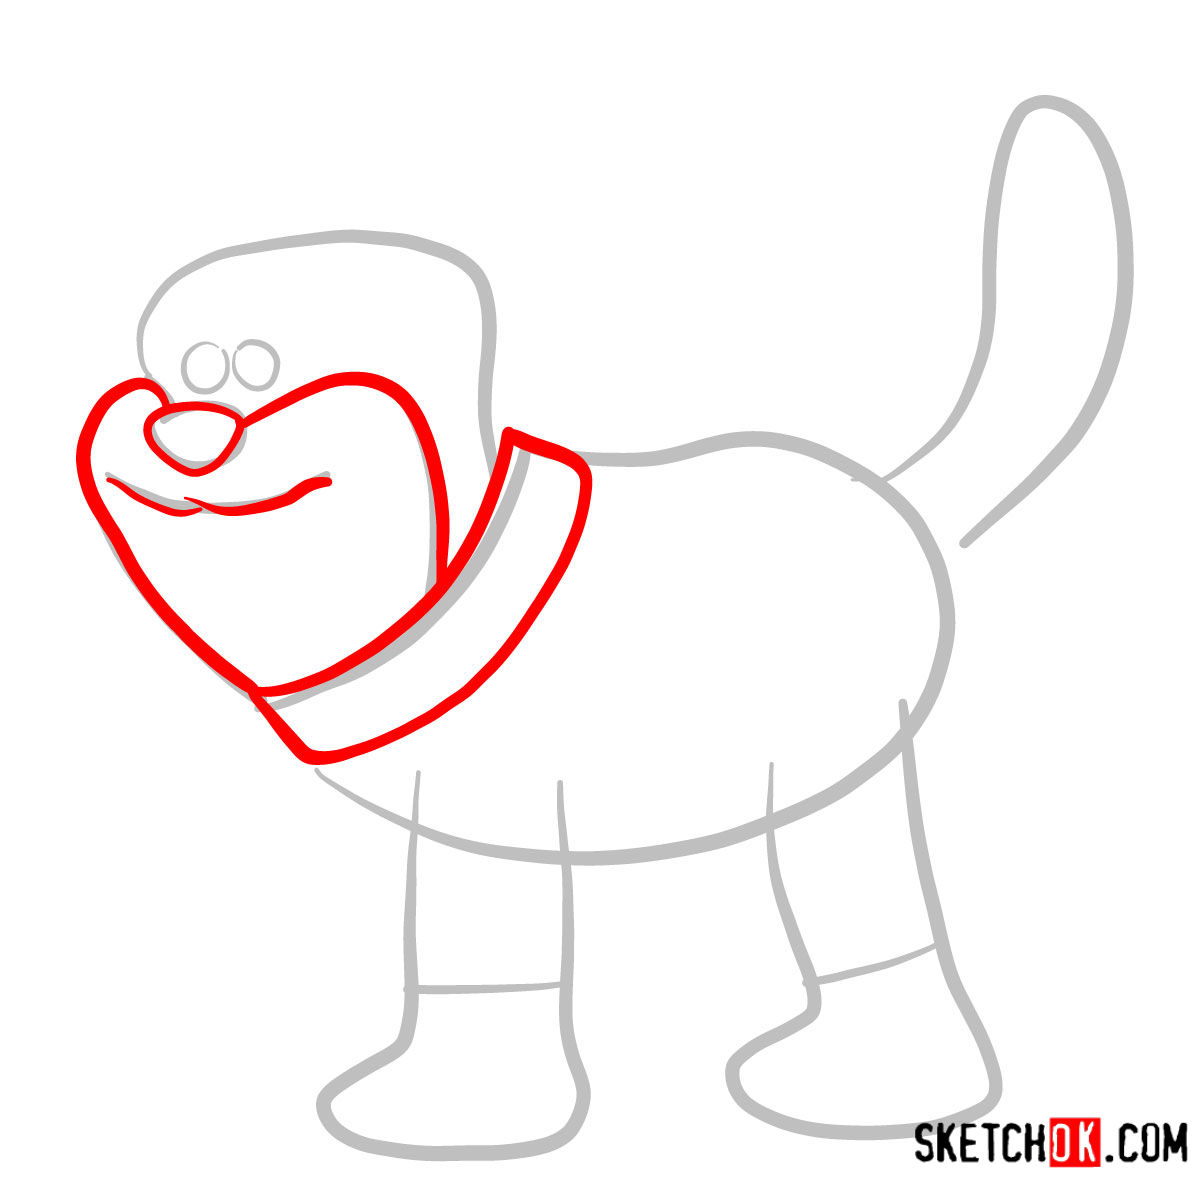
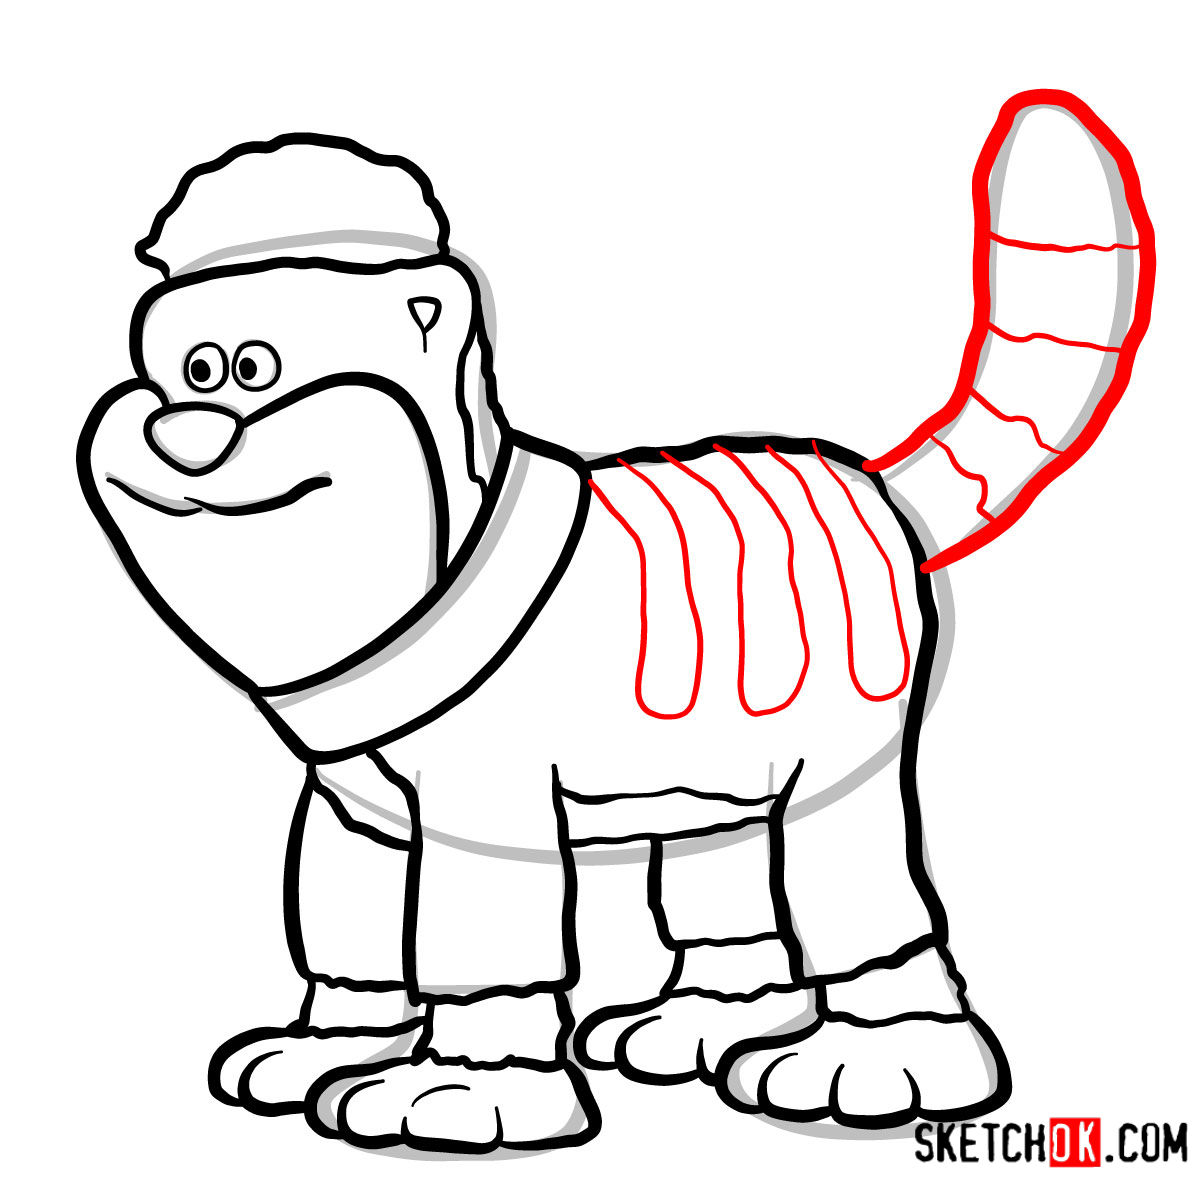
- Fur Detailing: Pidsley’s fur undergoes a major transformation in Series 2. Now more detailed and brighter, it boasts an orange shade with faded brown stripes.
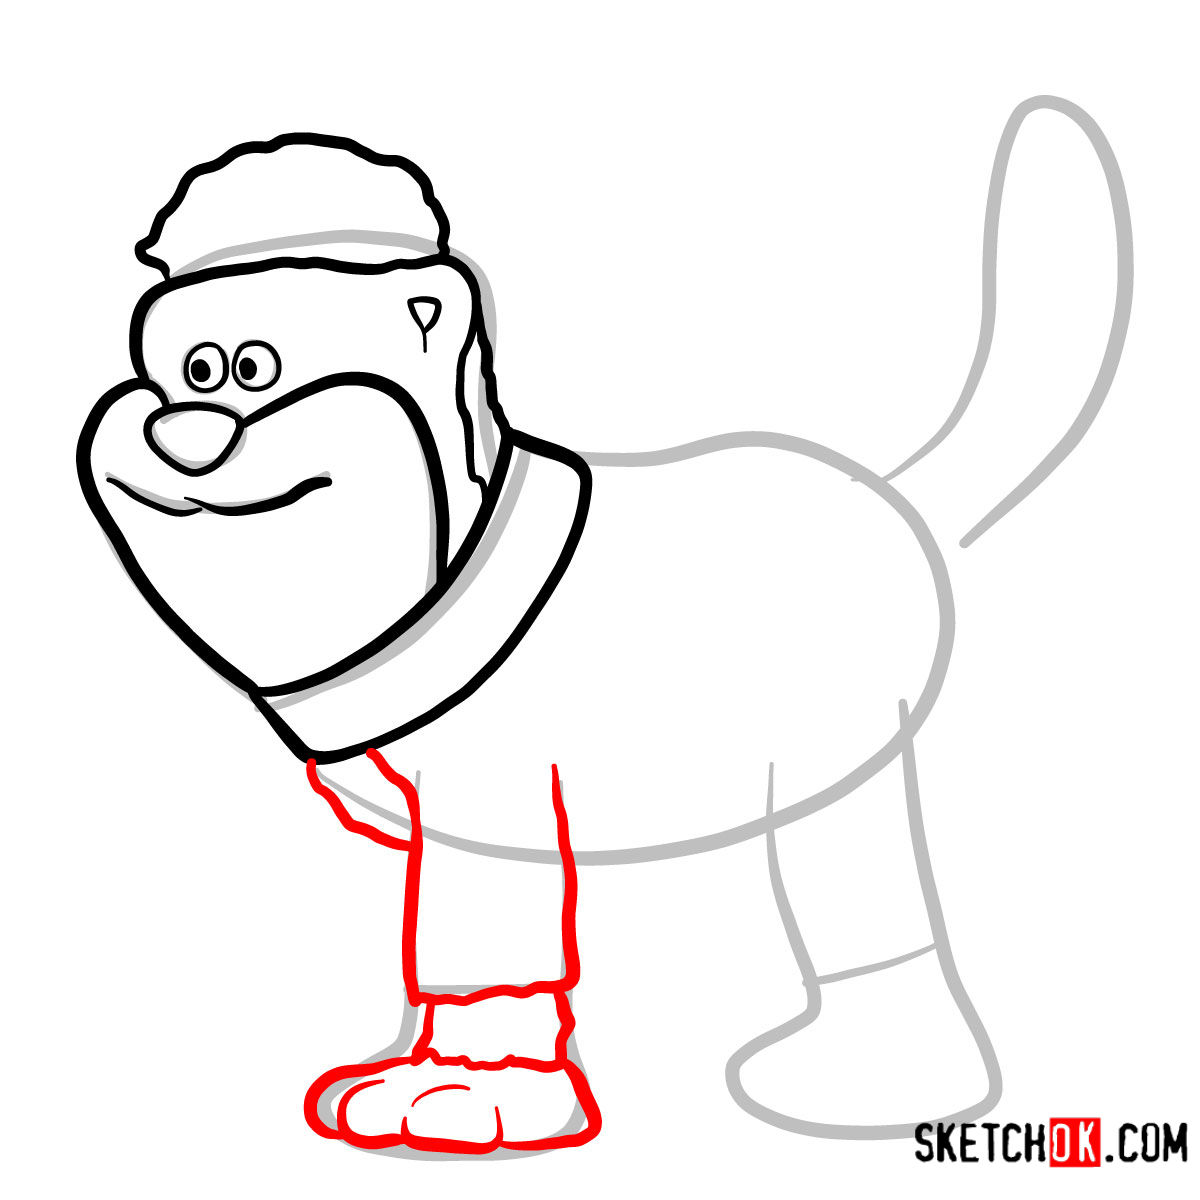
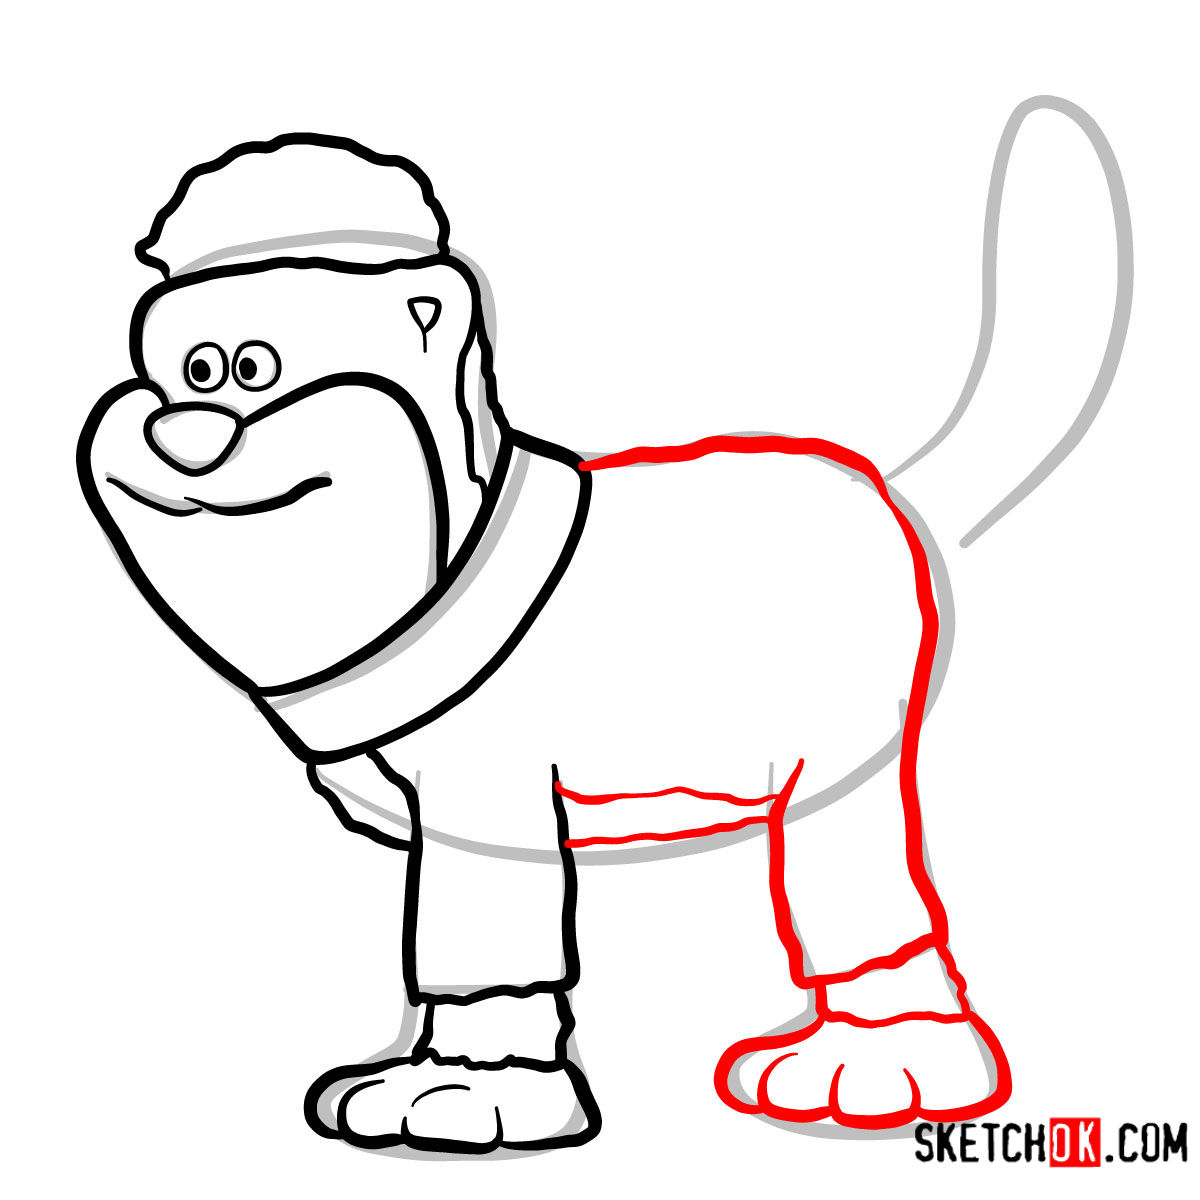
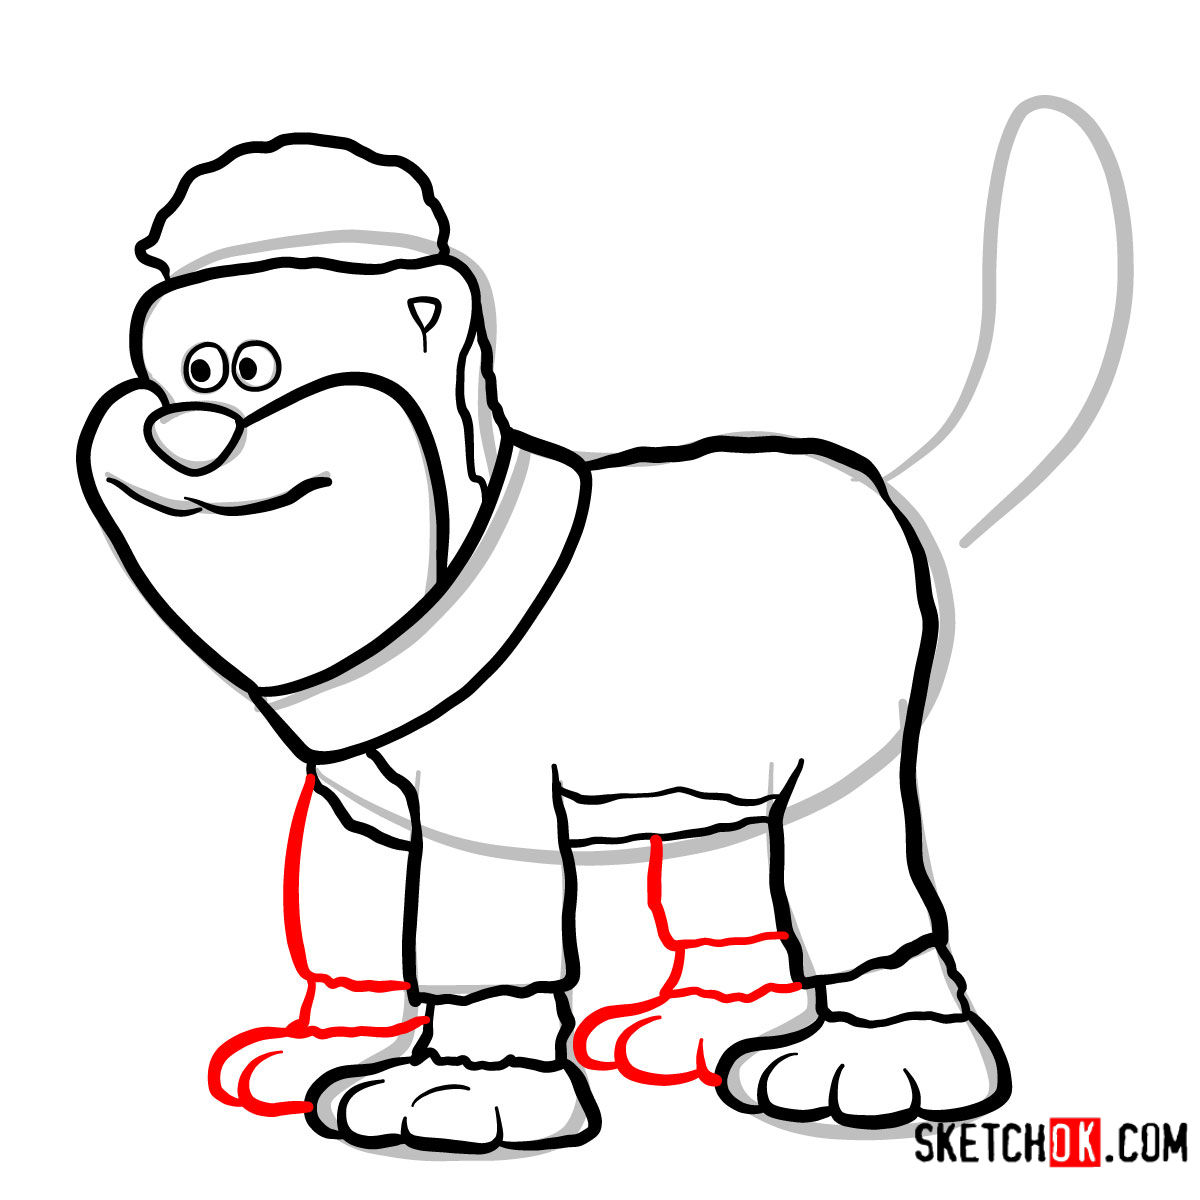
- Proportionate Limbs: Unlike his earlier design, Series 2 Pidsley features more balanced limbs. This requires careful sketching to ensure accurate proportions.
- Facial Features: Pidsley’s smaller ears and eyes make his face distinctive. Moreover, a well-defined neck and full set of teeth accentuate his Series 2 appearance.
- Accessories: Don’t forget the black collar! This small detail can add depth and character to your sketch.
Decoding the Guide: Sketching Tips and Techniques
The foundation of our guide rests on a 8-step process, designed to assist artists in perfecting their Pidsley sketch. Here’s the color-coding explanation:
- Red Color: Represents the current step to focus on.
- Black Color: Indicates the lines from previous steps.
- Grey Color: Denotes the basic structure sketch. It’s pivotal to use light pencil strokes here to set the proportions right.
While the initial steps center around forming a basic structure, the subsequent steps delve into finer details. For those inclined towards inking, ensure the ink completely dries before erasing preliminary sketches. This ensures a clean, smudge-free masterpiece.


How did your Pidsley turn out, suitably grumpy and self-important? If you’re happy with how it came together, drop your sketch in the comments under the pinned post on Pinterest, it’s always fun to see how everyone draws him. And if you want a fresh batch of guides landing in your inbox each week, the signup form is right at the top of this page, so that’s a handy way to keep learning how to draw Pidsley and plenty of other characters.