Welcome to our step-by-step guide on how to draw Garfield, one of the most iconic and beloved comic characters of all time. Created by Jim Davis, Garfield has charmed audiences worldwide with his love for lasagna, casual laziness, and sharp wit. This tutorial aims to make drawing Garfield an enjoyable and learning experience.
Features of Garfield to Focus On
Garfield has undergone significant visual transformations since his first appearance. Therefore, it’s crucial to highlight some key features when drawing him:
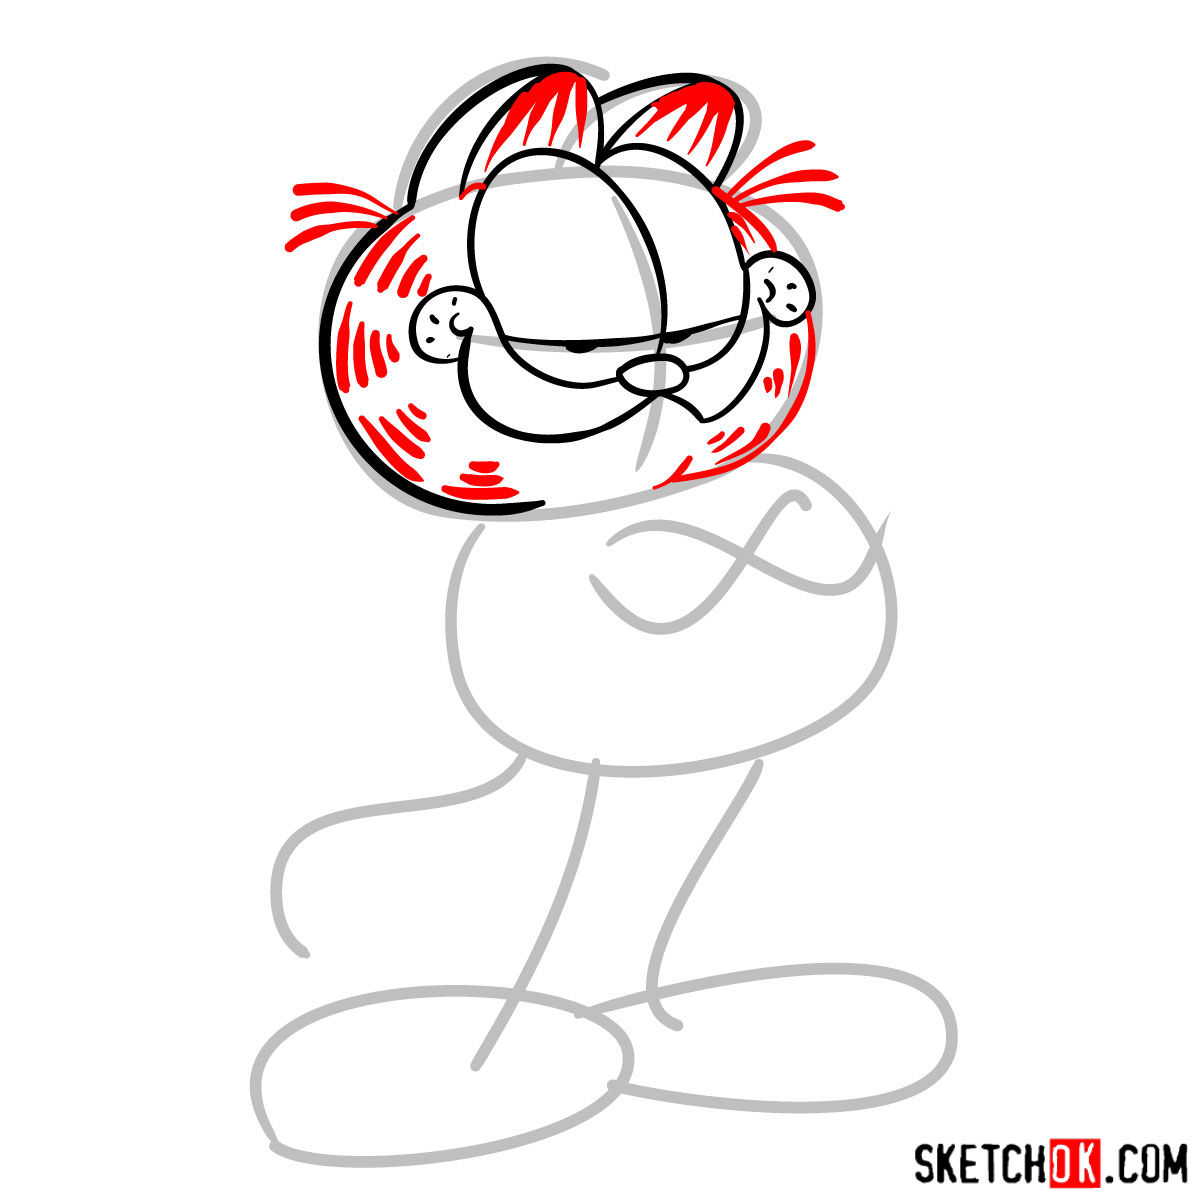
- Garfield is an orange tabby, so ensure to capture the stripes and fur’s texture even in a sketch.
- Garfield initially resembled a real Exotic Shorthair cat and was rather rotund, lending a unique character to his form.
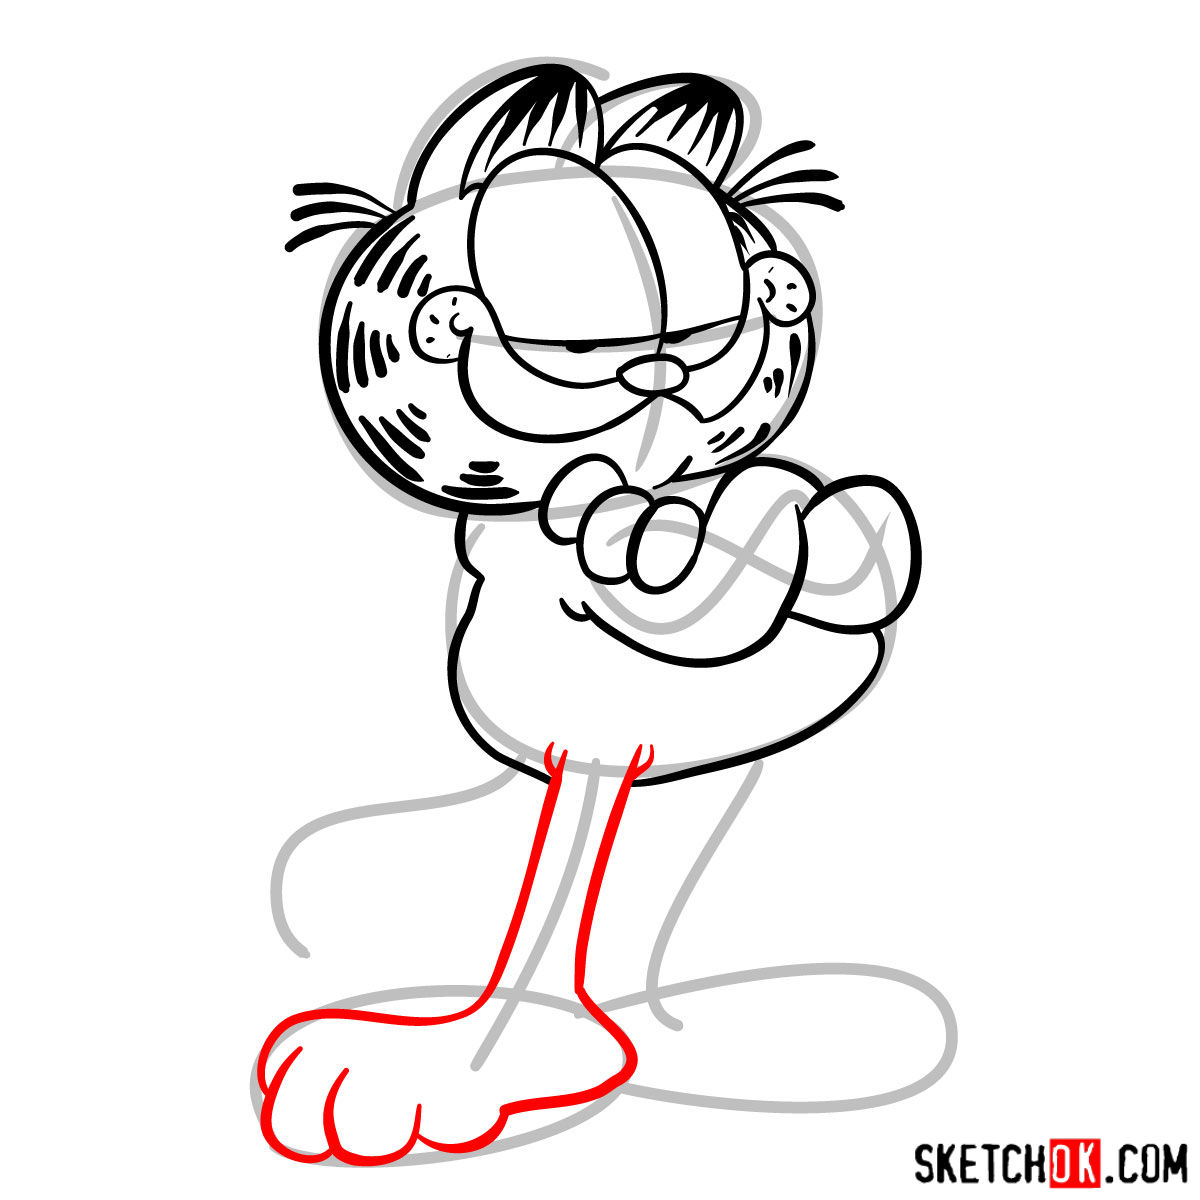
- Over time, Garfield evolved to be smaller and walked on two feet instead of all fours. Remember to incorporate this human-like characteristic.
- He has four distinct toes on his feet, a small detail that adds authenticity to your drawing.
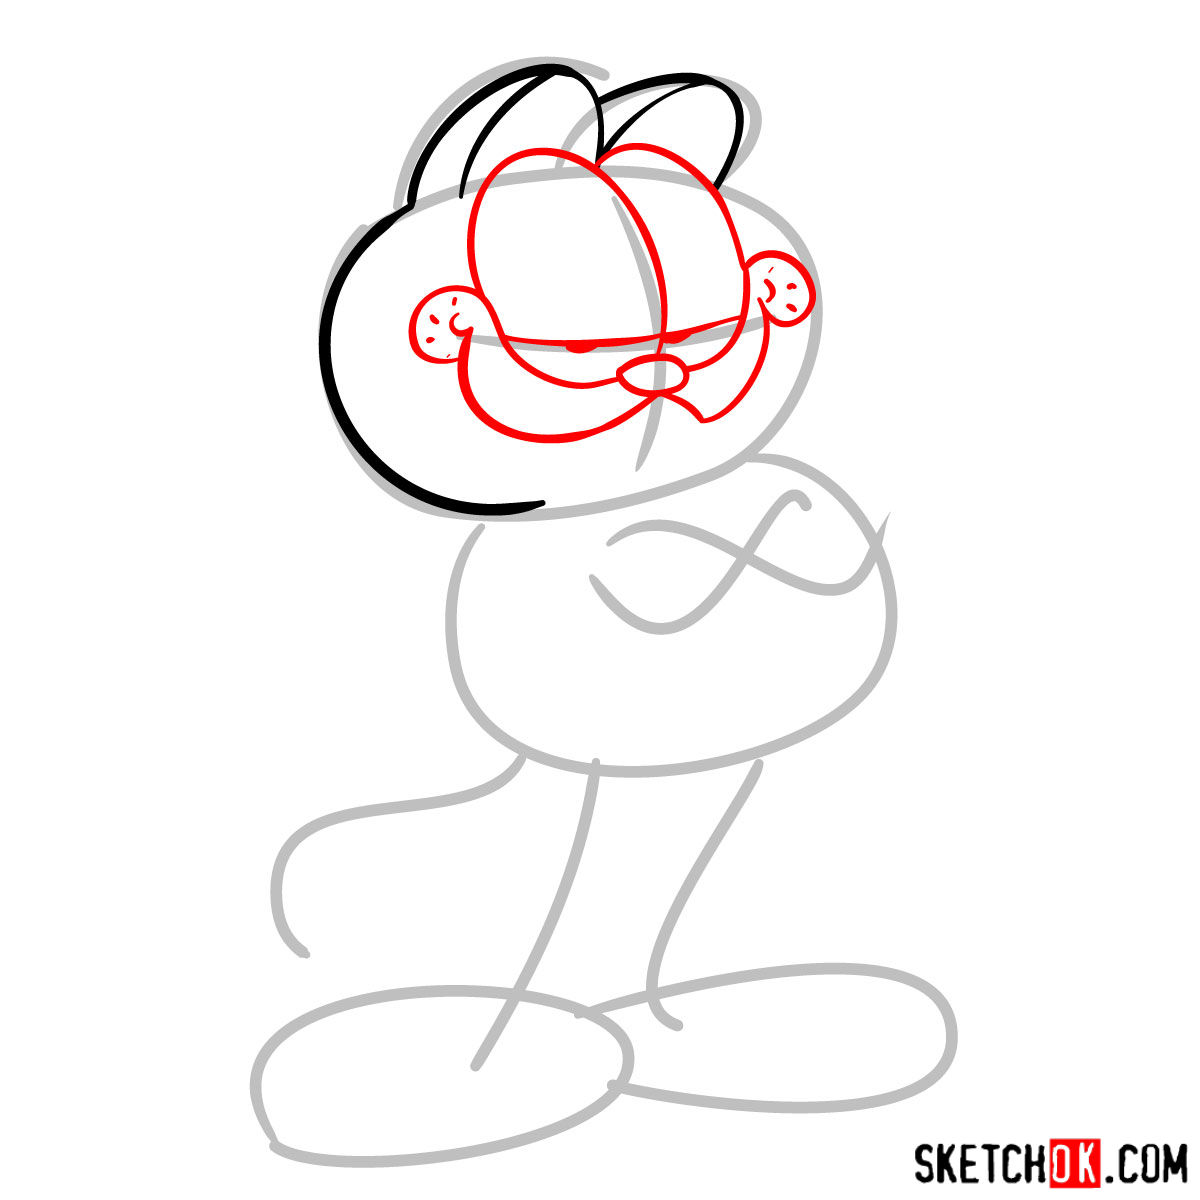
- Garfield’s expressive eyes and smirk also define his character. Do not miss these!
Other characters like Tom and Jerry, Top Cat, Hello Kitty or even the Cat in the Hat can also be included in your drawing for a more dynamic composition.
Deciphering the Guide
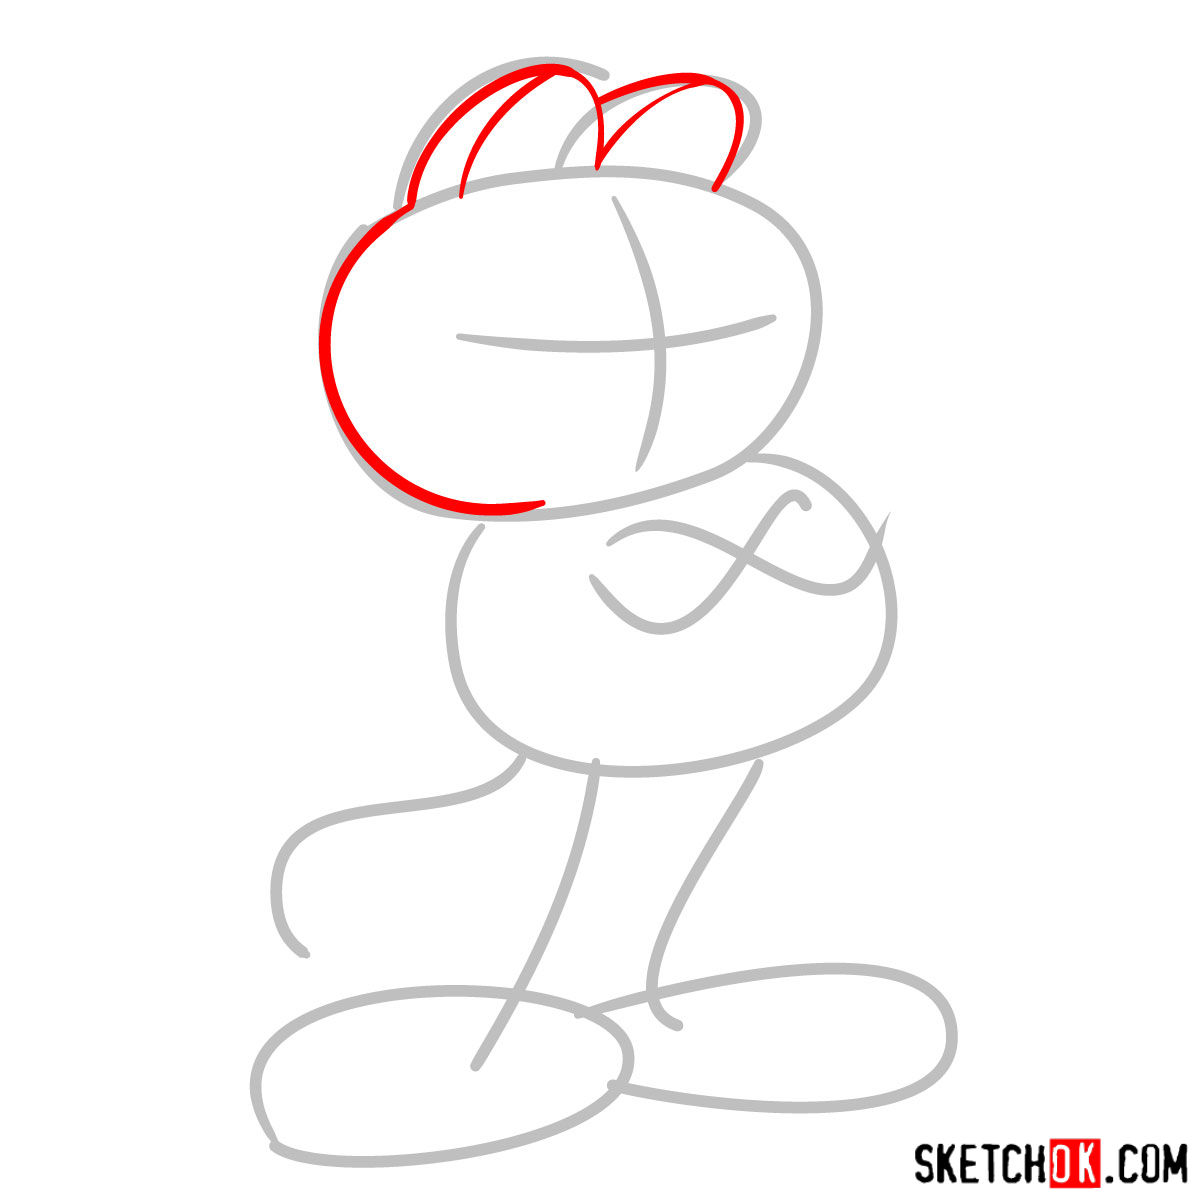
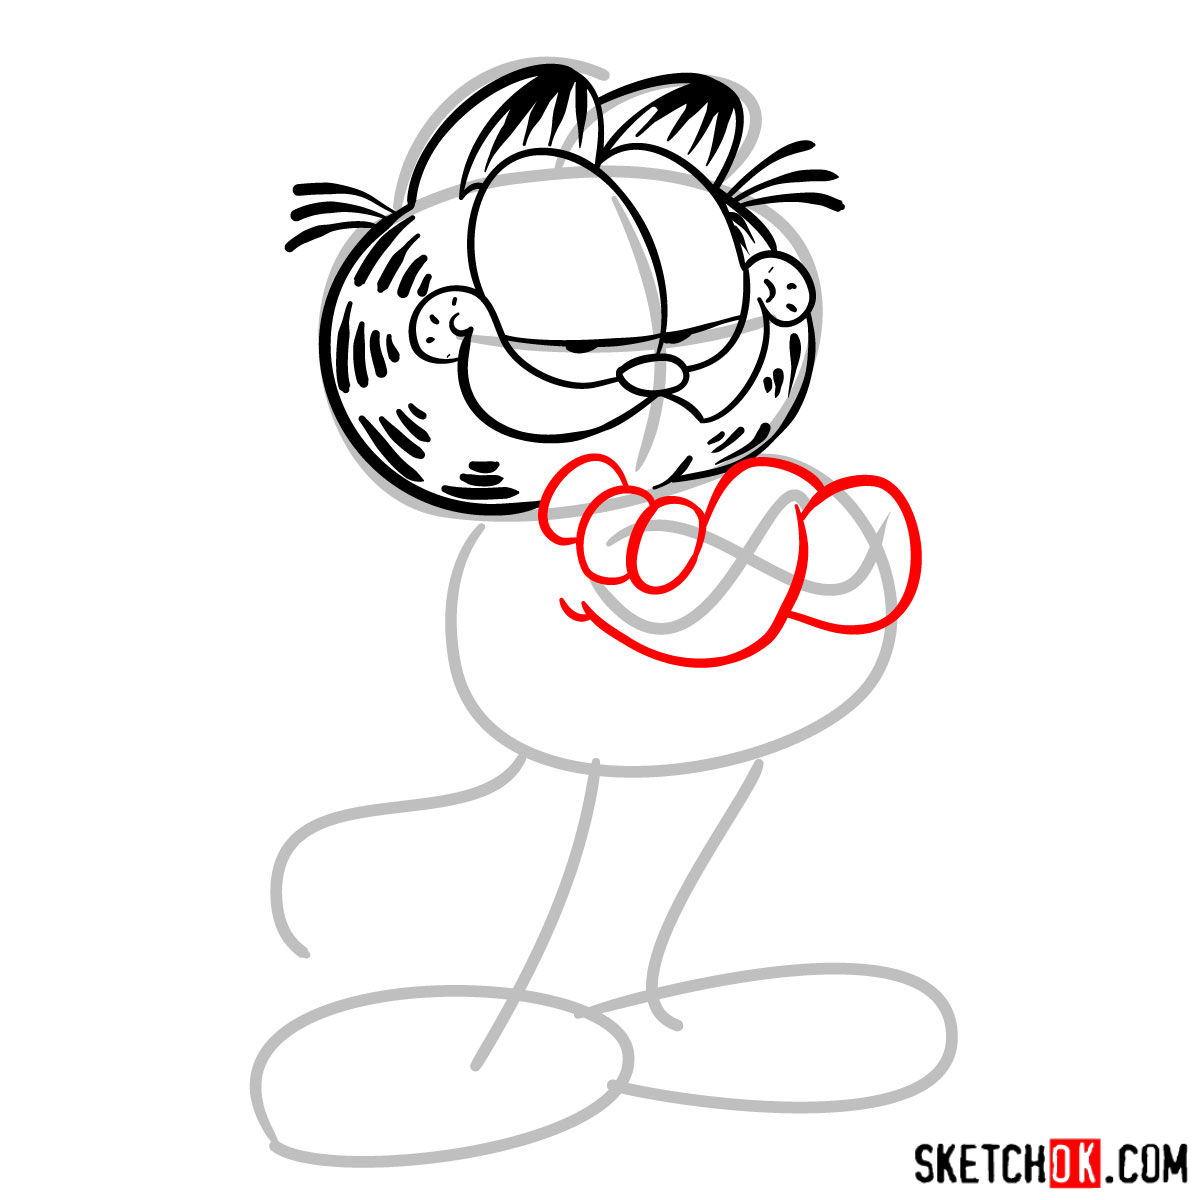
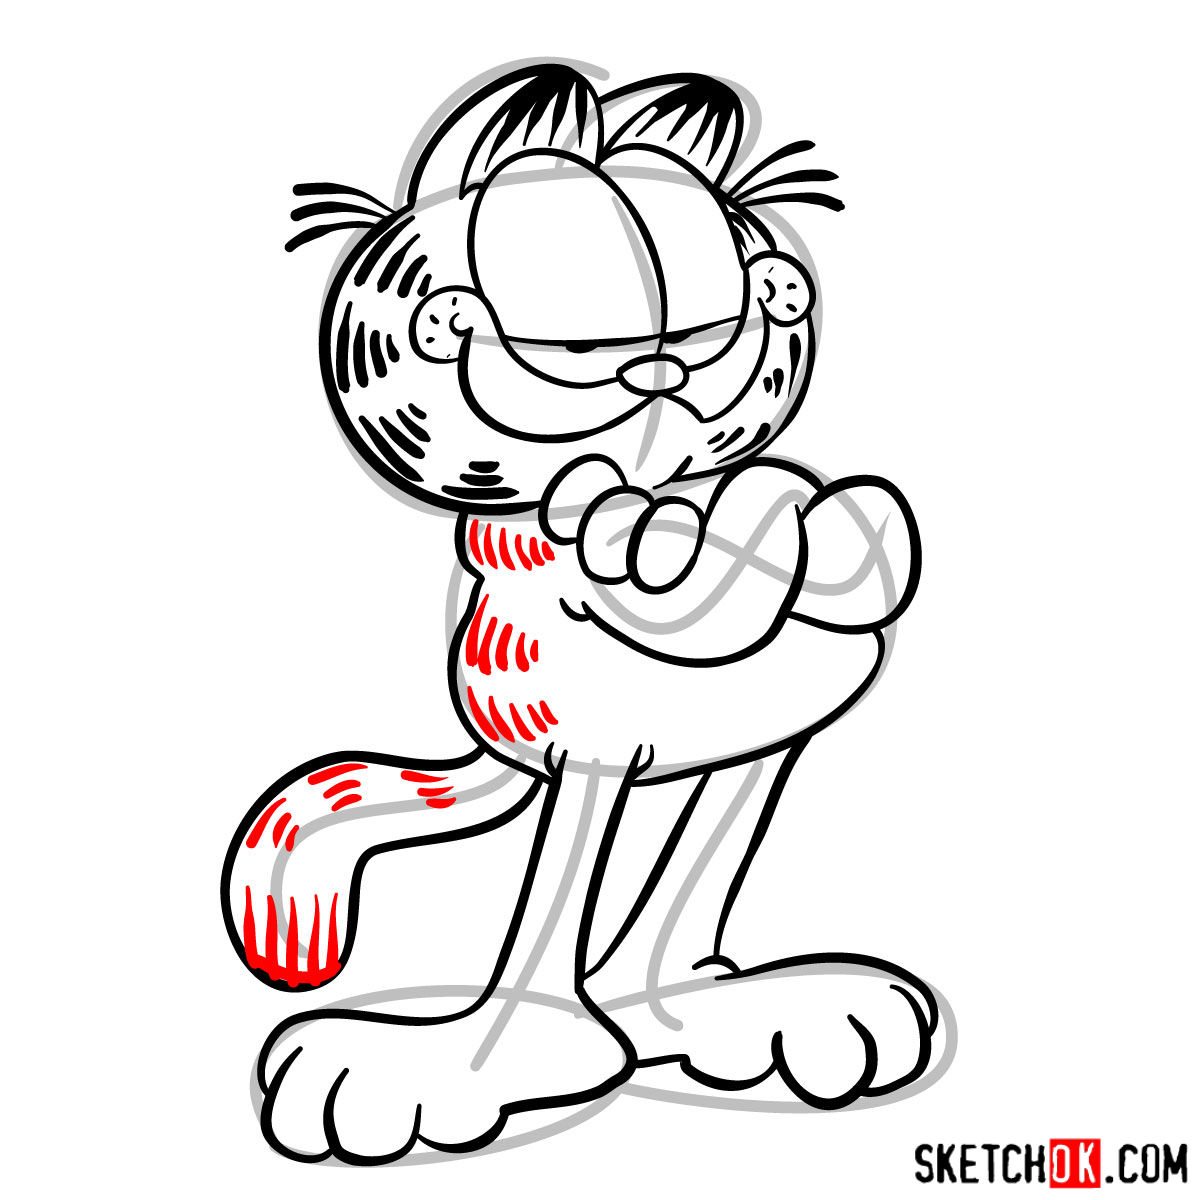
This step-by-step guide uses a unique color-coding system to help you navigate through the process. Here’s how to interpret it:
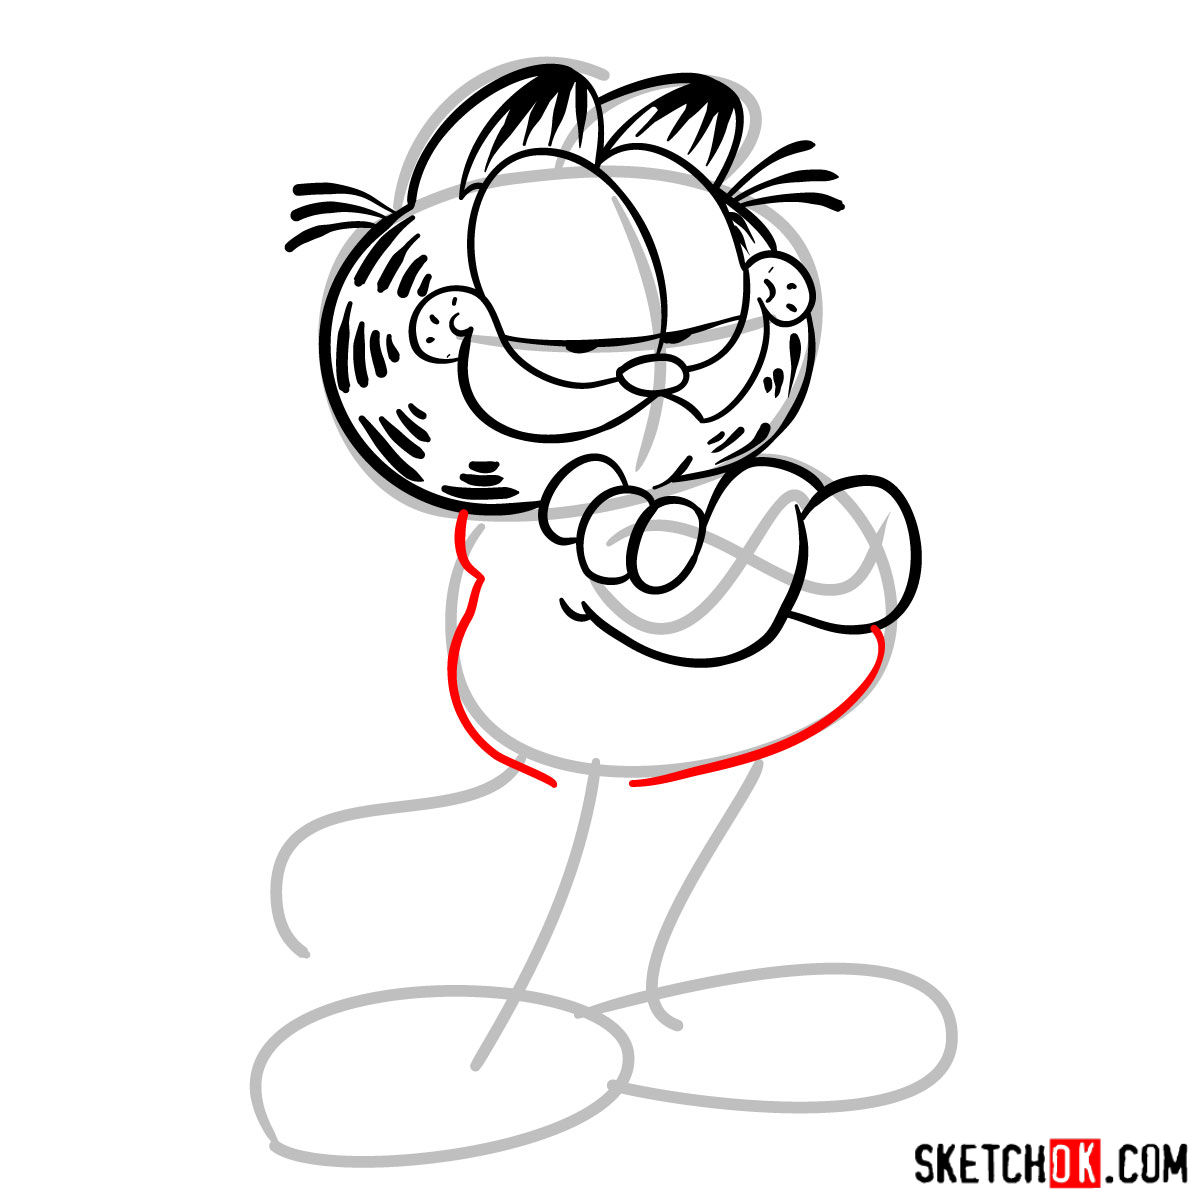
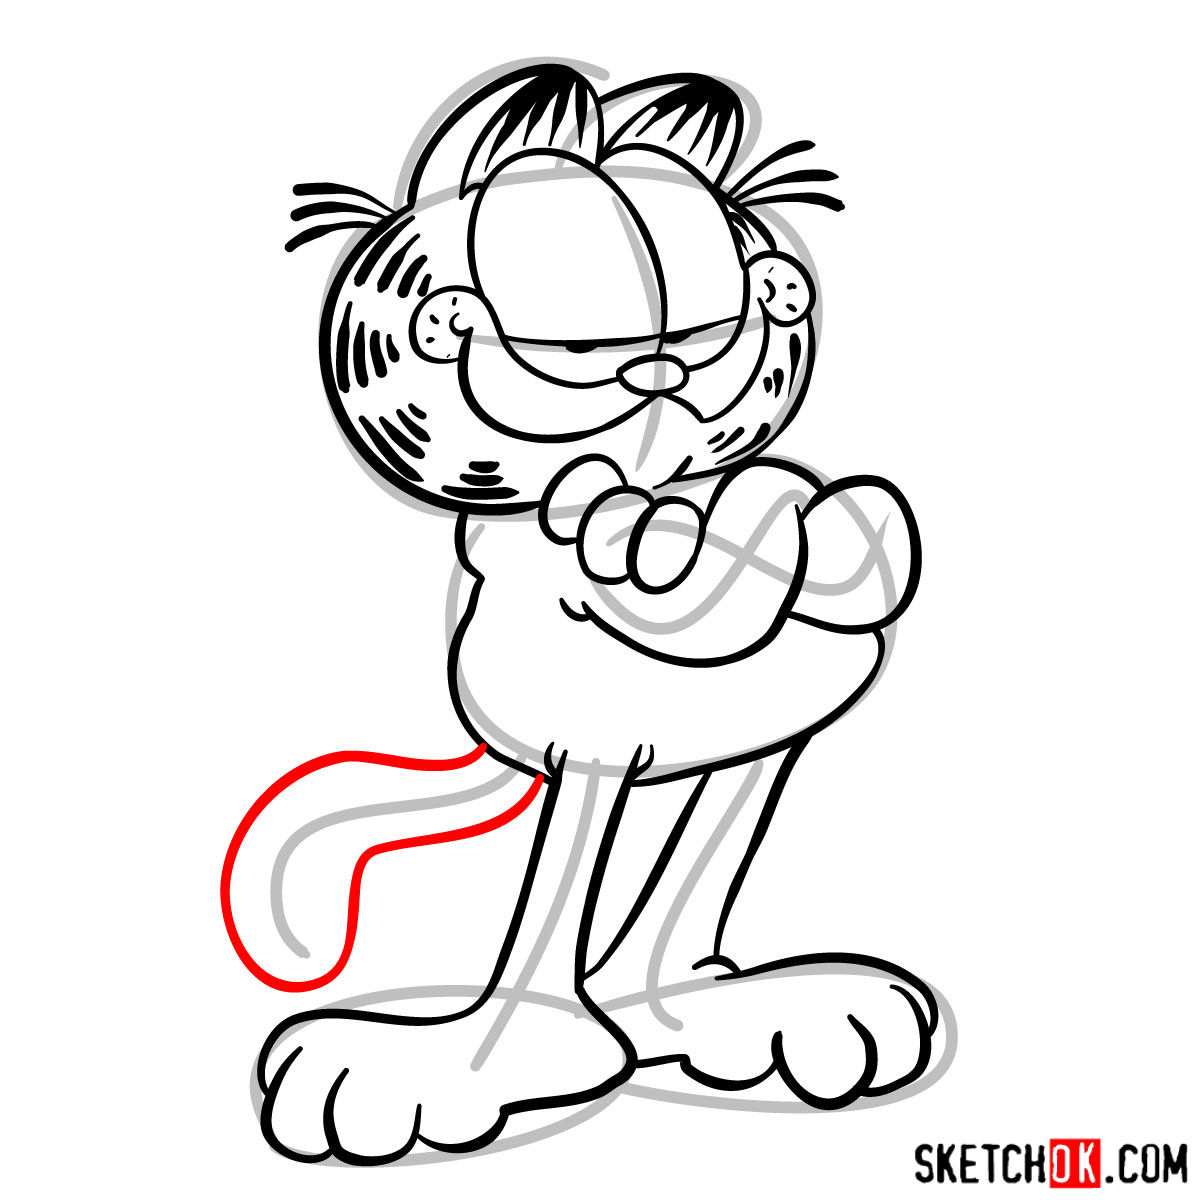
- Red Color: Represents the current step you should be focusing on.
- Black Color: Showcases the lines you have previously drawn.
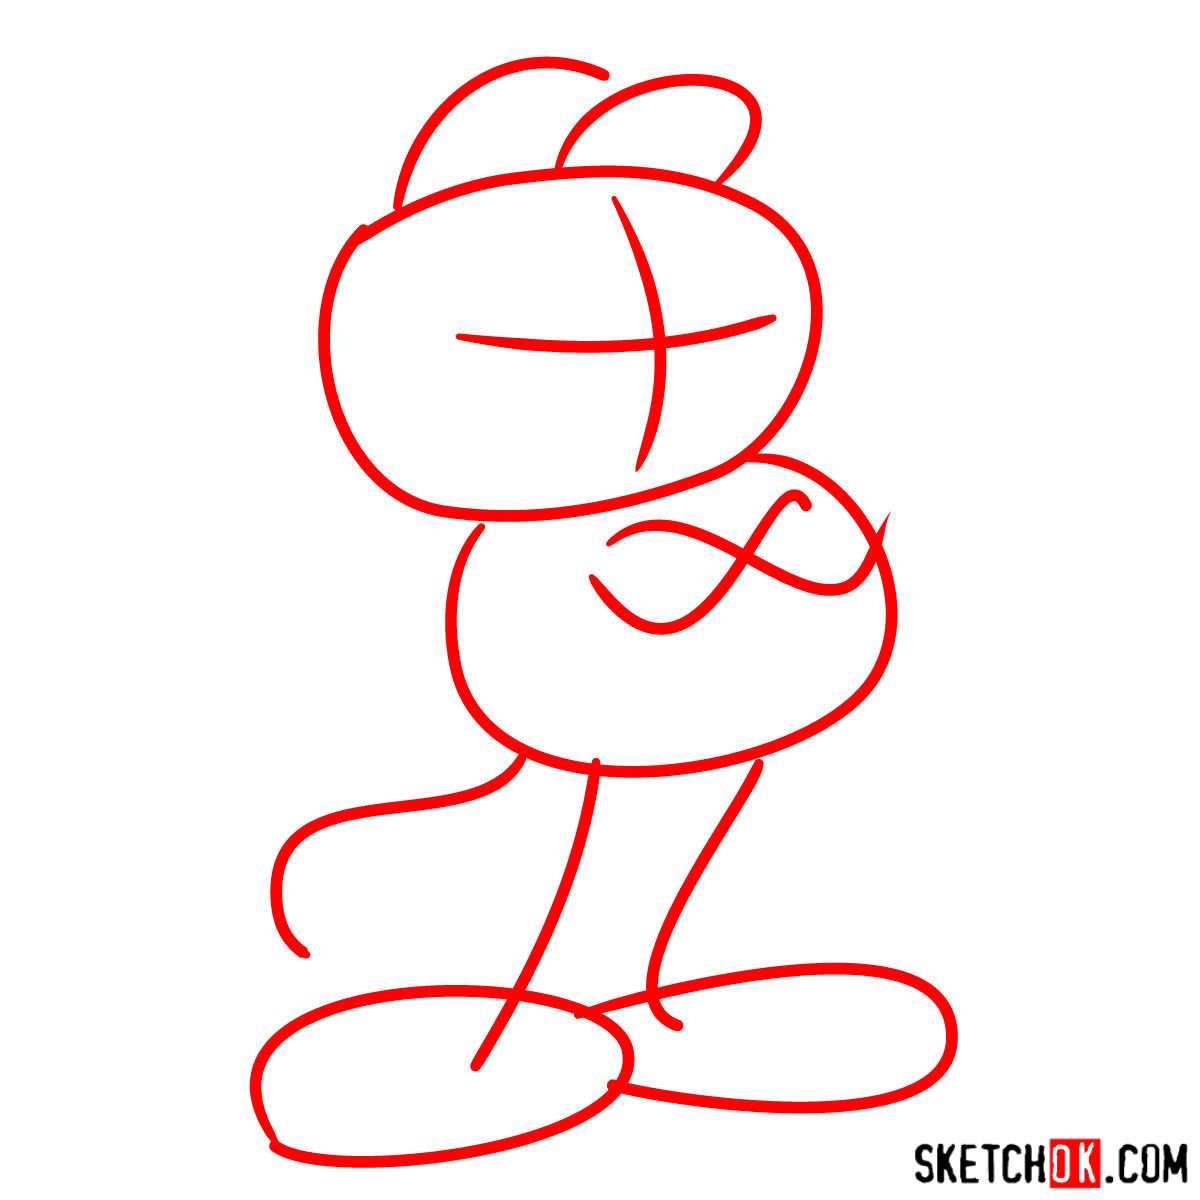
- Grey Color: Illustrates the basic sketch for proportions.
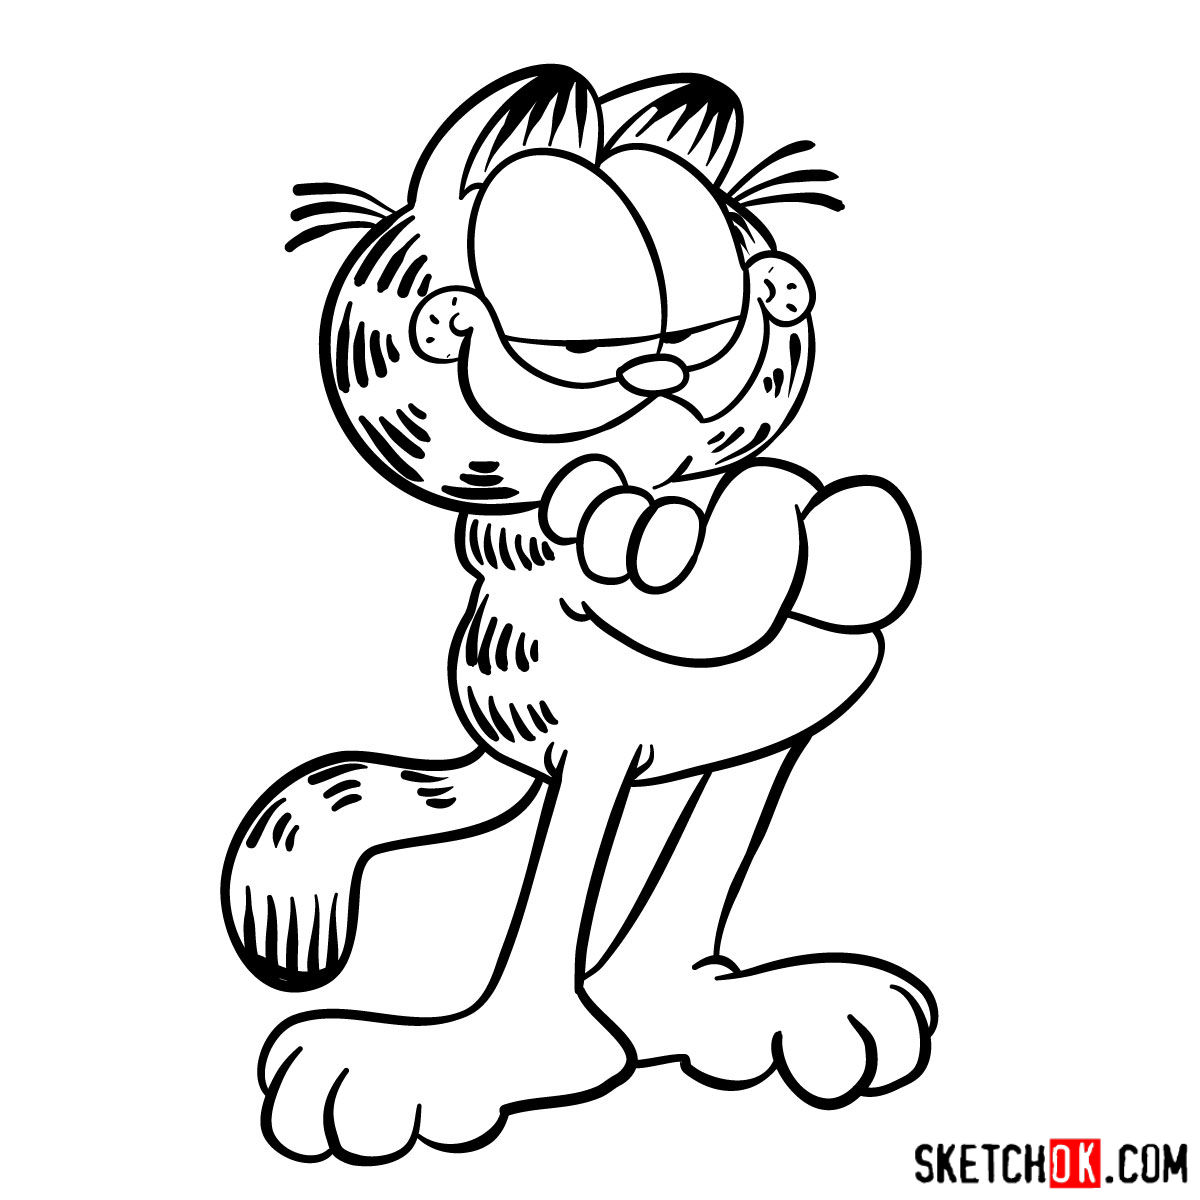
The guide consists of 12 steps, starting with a basic sketch drawn with light pencil strokes. The last part of the guide invites you to ink the sketch, but remember to wait for the ink to dry before gently erasing the pencil sketch. Inking enhances your drawing and adds depth, making it stand out more.


Artistic Queries Answered
Why should I start with a basic sketch?
A basic sketch serves as the foundational structure of your drawing. It helps you map out proportions and placements of different elements, making the final drawing more proportionate and balanced. Remember to use light pencil strokes for this preliminary sketch, allowing for easy adjustments or erasures.
Why is it necessary to wait for the ink to dry?
Allowing the ink to dry before erasing the pencil sketch prevents smudging or smearing of the ink. This ensures your final drawing is clean, sharp, and smudge-free. Depending on the type of ink used, the drying time may vary.
How can I add more depth to my Garfield sketch?
Adding depth to your sketch can be achieved by varying your lines’ thickness, adding shading, or emphasizing certain features. For instance, you could darken Garfield’s stripes or emphasize his unique smirk to make the character pop out.
Wrapping Up the Guide
In conclusion, learning how to draw Garfield can be a delightful journey into the world of sketching. Sharing this guide with others and donating to our project allows us to keep creating these free, comprehensive drawing tutorials. Your contributions fuel our passion and enable us to spread the joy of drawing far and wide.
If you enjoyed this guide, please consider donating at , and don’t forget to share it on your favorite social media platform. Follow us on Facebook, Instagram, and Pinterest to stay updated with our latest tutorials.
Your support is invaluable in keeping the SketchOk project alive and thriving. Every bit helps us create more free drawing guides for art enthusiasts all around the world. So grab your pencil, keep practicing, and continue to explore your artistic capabilities!