Last Updated on May 14, 2026
There are few images as instantly recognizable and universally adored as the playful rivalry between Tom and Jerry. What if you could bring this animated joy to your sketchbook? Today, we embark on an artistic journey to capture a snapshot of that happiness with a tutorial on how to draw a happy Tom. His arms wide open, our favorite cat is ready to leap off the page and embrace the artist in you.
The Expressive Feline: Tom’s Key Features
As an iconic character, Tom possesses a set of distinctive features that make him instantly recognizable. To successfully capture the essence of this jubilant cat, keep the following points in mind:
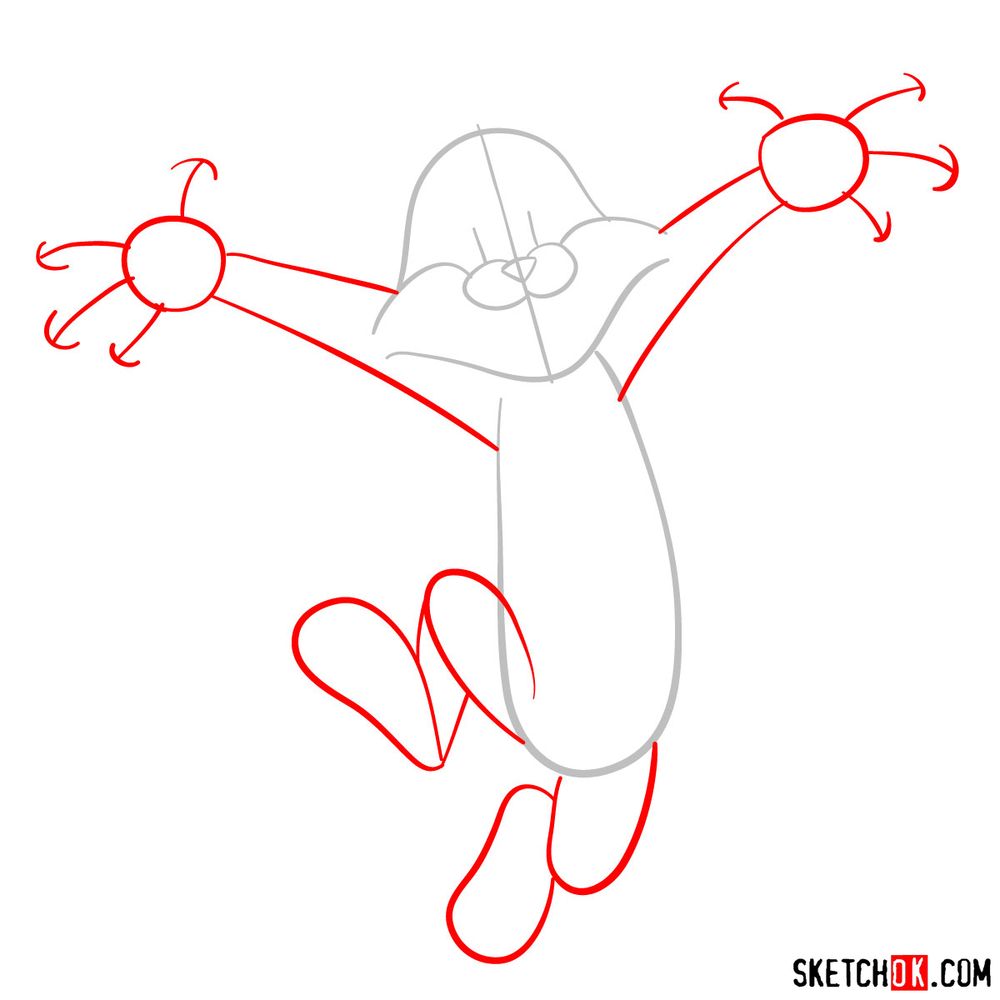
- Proportions: Tom’s body is characterized by a large head, a small, compact torso, and relatively long limbs. These proportions contribute to his exaggerated and cartoonish look.
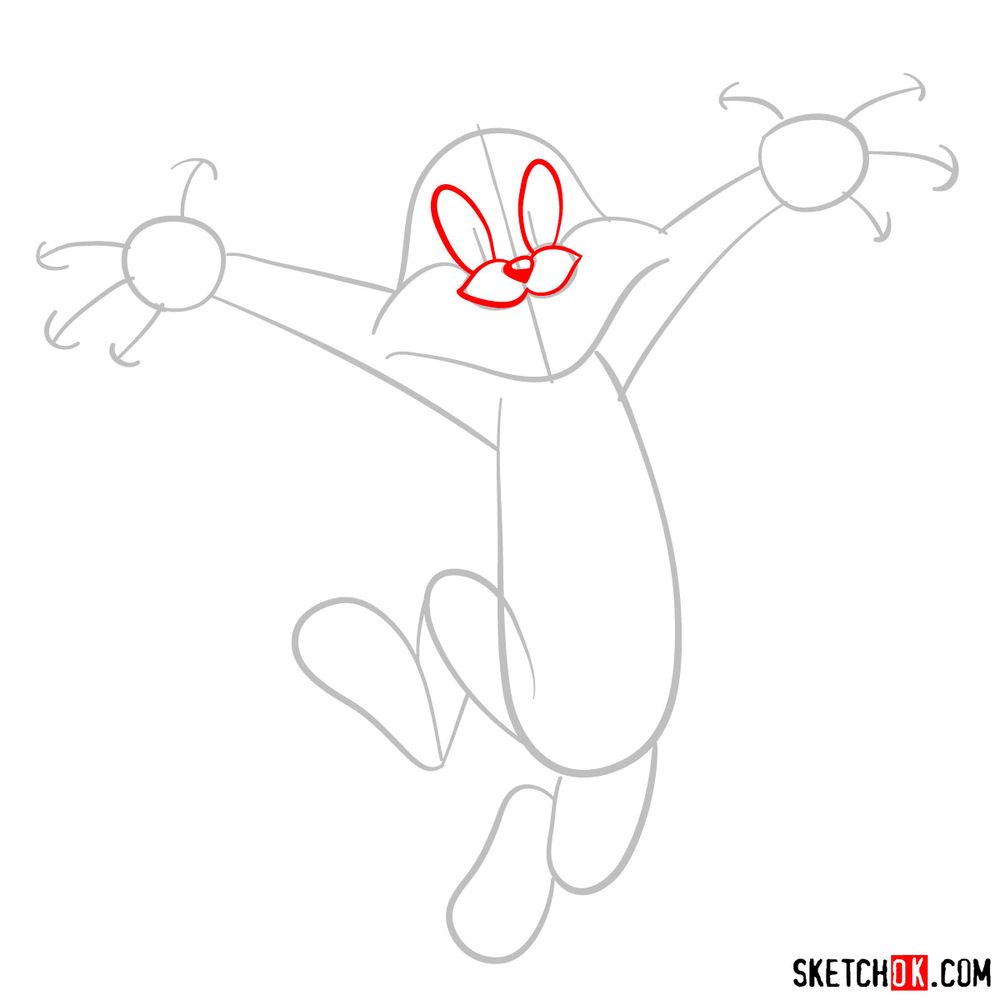
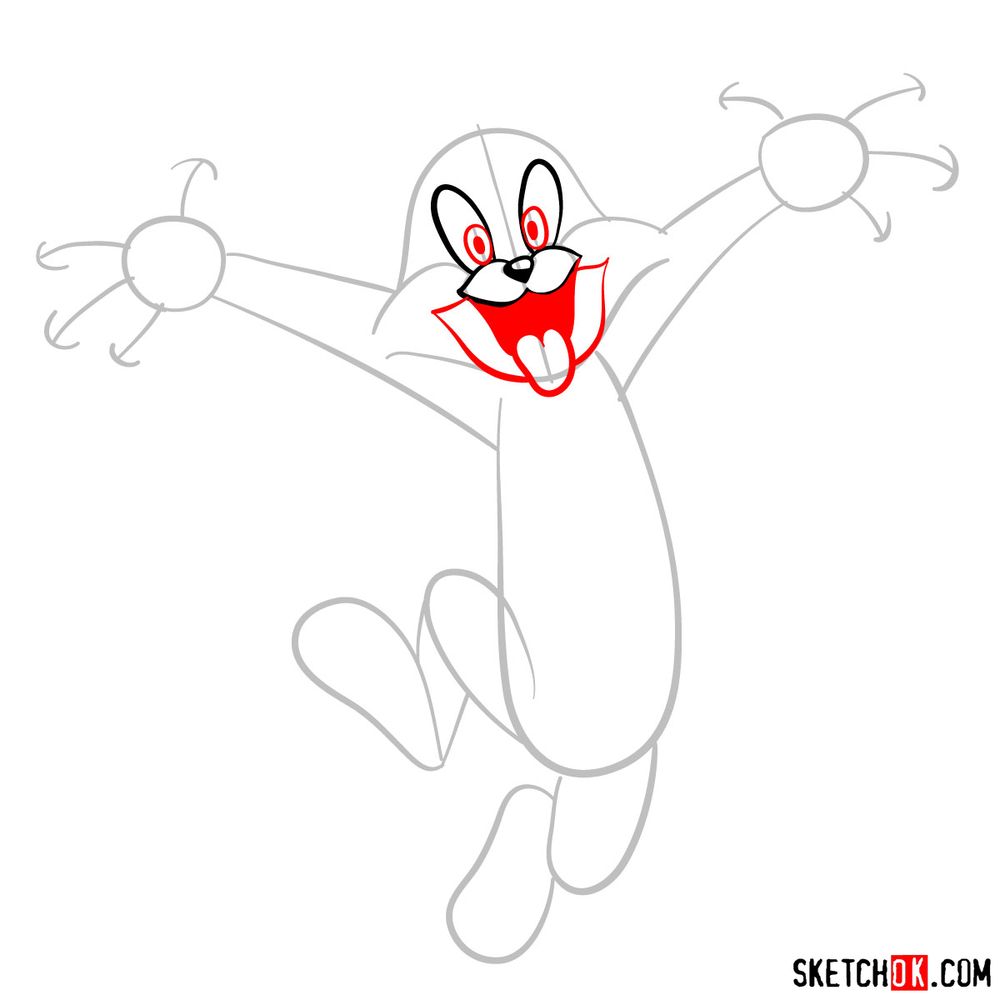
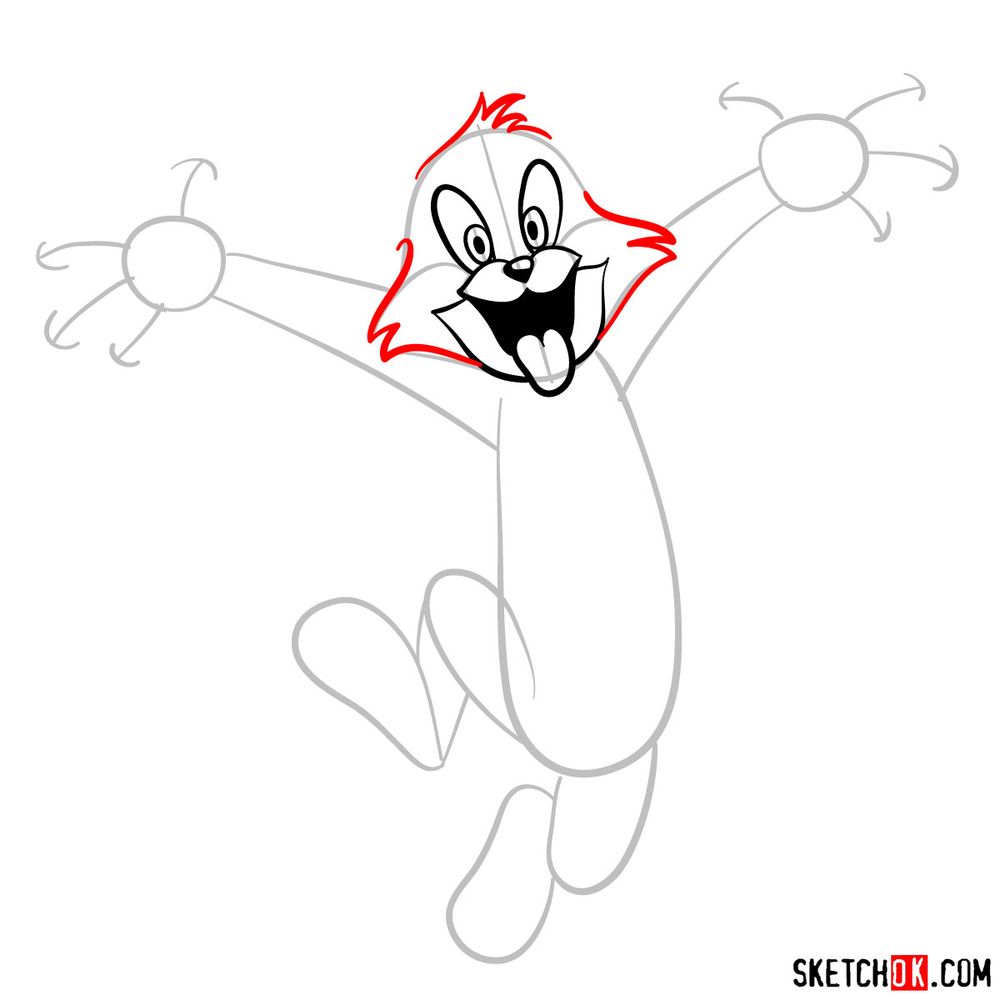
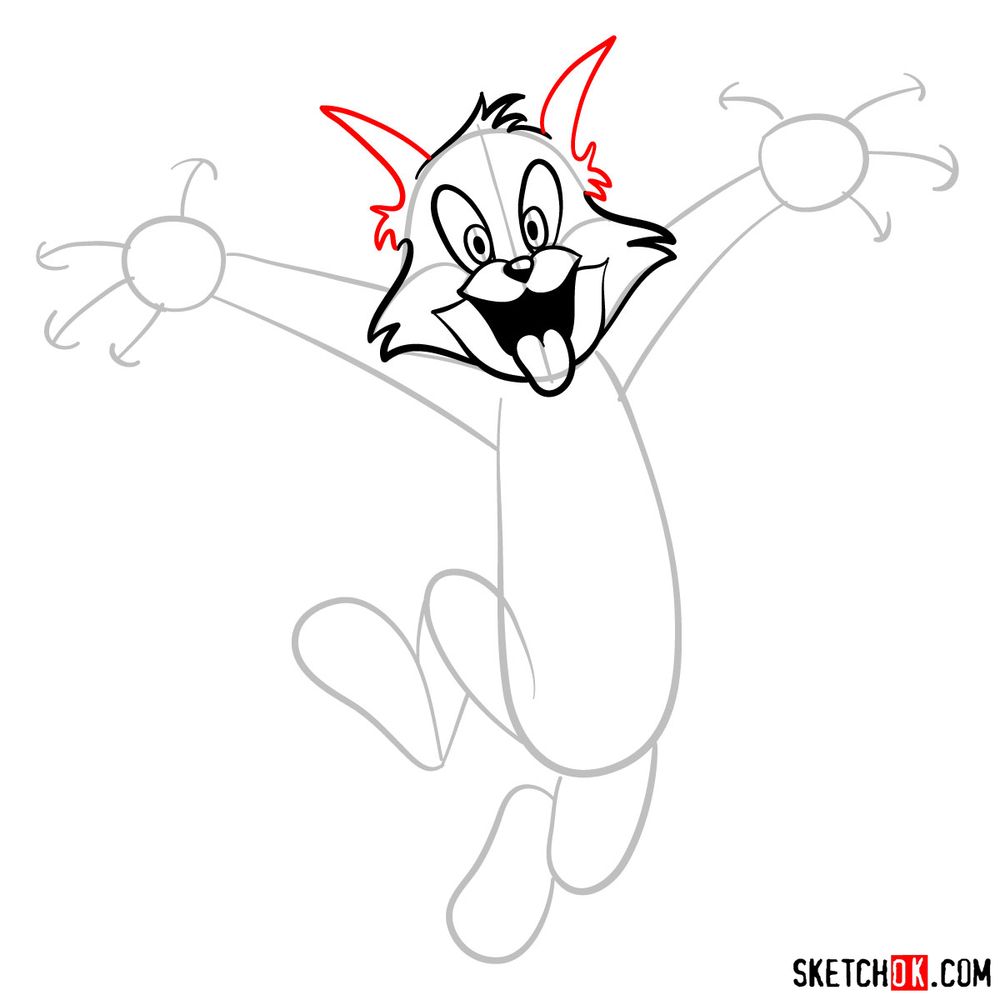
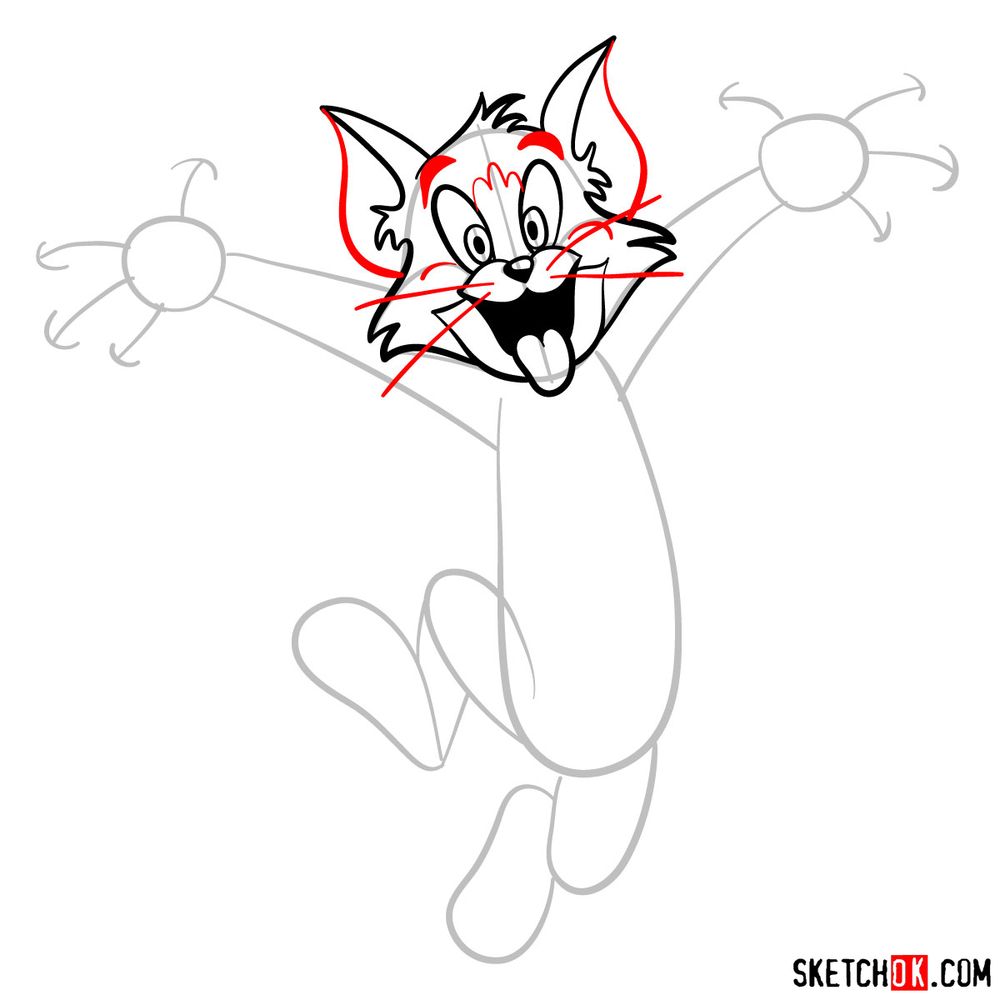
- Facial Features: Tom’s eyes, with their elliptical shape and prominent pupils, express a wide range of emotions. His wide grin, large ears, and thick eyebrows are also notable.
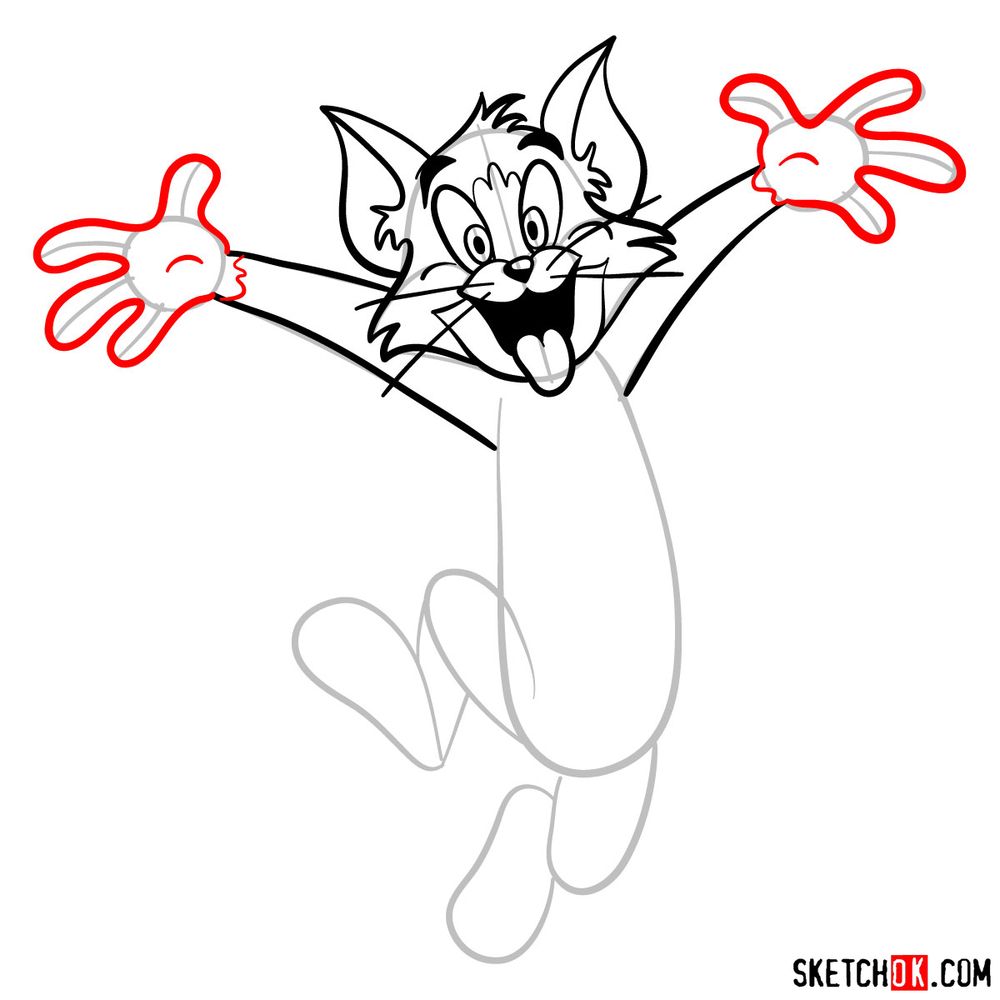
- Body language: Tom’s wide-open arms are key to portraying his happy demeanor. Pay special attention to the positioning of his arms, hands, and fingers.
You might also consider adding Jerry, or other popular characters from the series to complete your drawing and bring more dynamism to your creation.
A Rainbow of Guidelines: Understanding the Tutorial
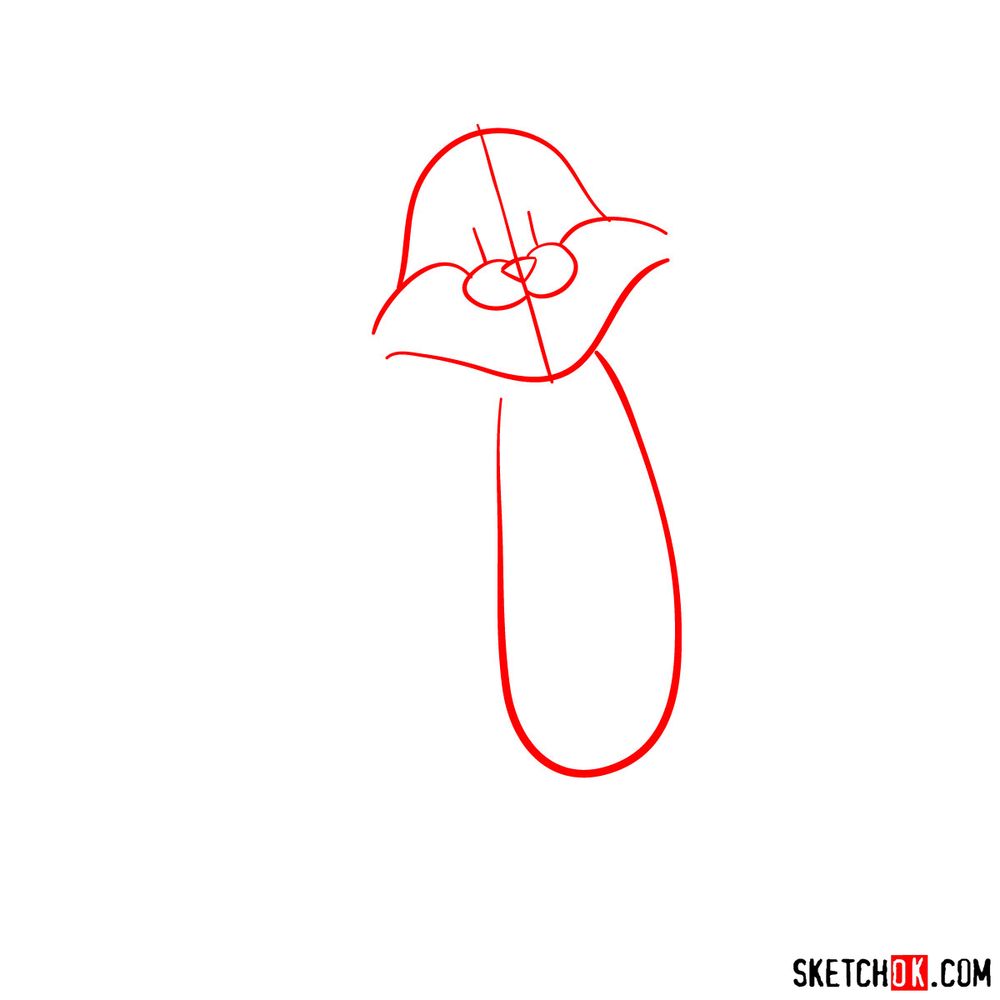
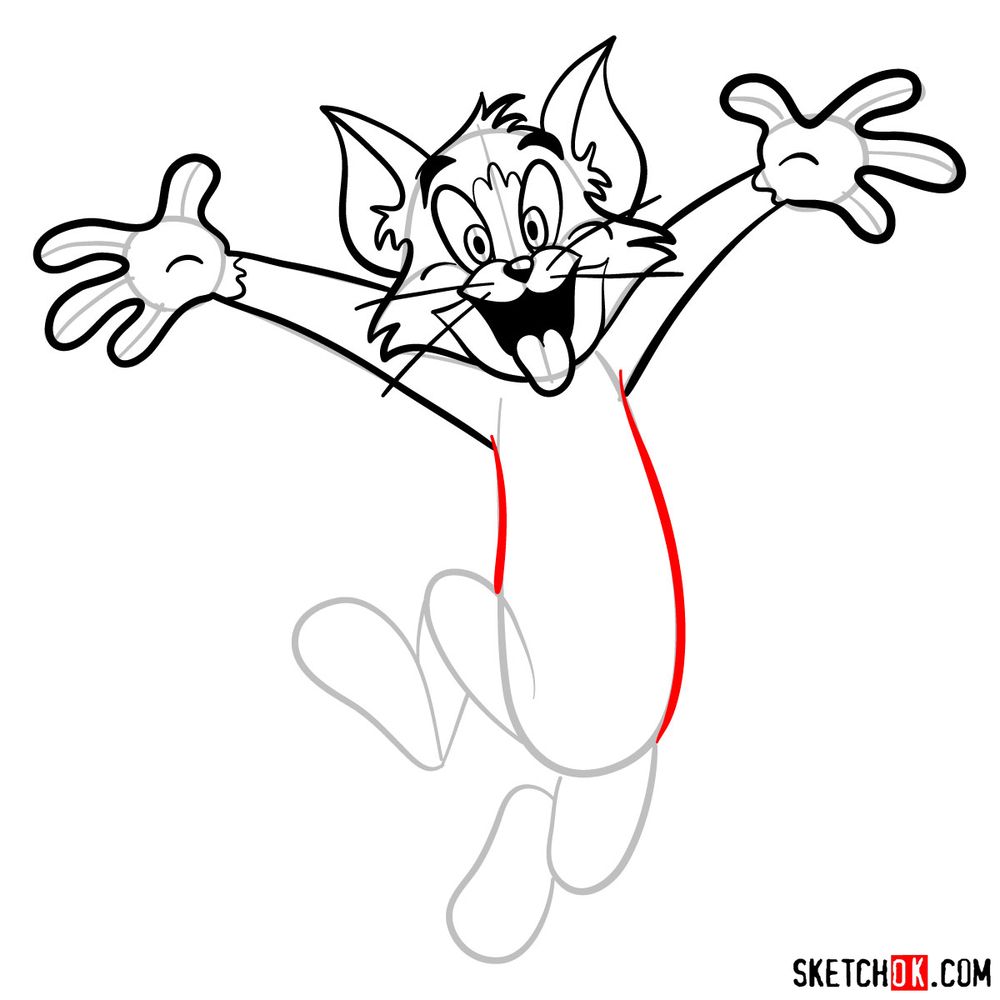
This step-by-step guide is your road map to a successful illustration. It involves 16 steps, starting with a basic sketch and culminating in a vibrant and joyful Tom. The coloring in the guide acts as your compass:
- Grey Color: These lines are for your basic sketch. Start with light pencil strokes for the initial proportion outlines.
- Black Color: Represents the lines from previous steps. It allows you to trace your progress.
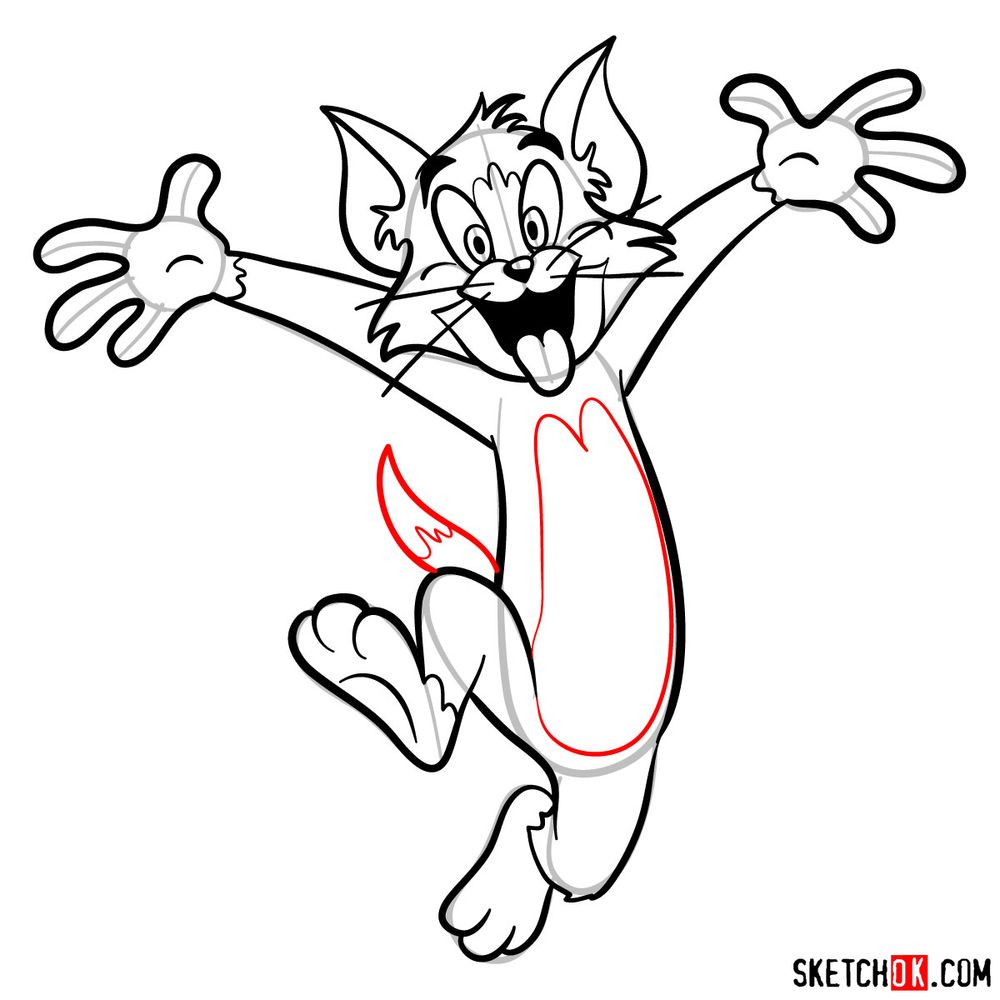
- Red Color: Indicates the lines you should draw in the current step. The color coding helps you to focus and proceed systematically.
Upon reaching the final steps, you can opt to ink your sketch. This process involves tracing over your pencil sketch with an ink pen. Be patient and allow the ink to dry before gently erasing the pencil lines, to avoid smudging. The final image in the guide serves as a color reference for bringing Tom to life.


Now that you know how to draw happy Tom, try setting the drawing aside for a day or two and then redoing it from scratch. You’ll notice how much more naturally the proportions and expressions come together the second time around. New guides go up regularly on SketchOk’s Pinterest, and video versions of some guides appear on the YouTube channel as well, so there’s always something fresh to practice with.