Bringing animated characters to life on a sketchpad can be a delightful experience, especially when it’s a beloved character like Ryder from PAW Patrol. A symbol of leadership, intelligence, and youthful zest, learning how to draw Ryder can be both challenging and fun. Whether you’re a seasoned artist or a beginner, this guide will provide clear guidelines to help you sketch him with precision and flair.
Focusing on Ryder’s Unique Features
When drawing Ryder, the young and dynamic leader of PAW Patrol, it’s vital to capture certain standout characteristics. While every drawing will have its personal touch, adhering to some essential features can make your sketch recognizable and true to Ryder’s identity.
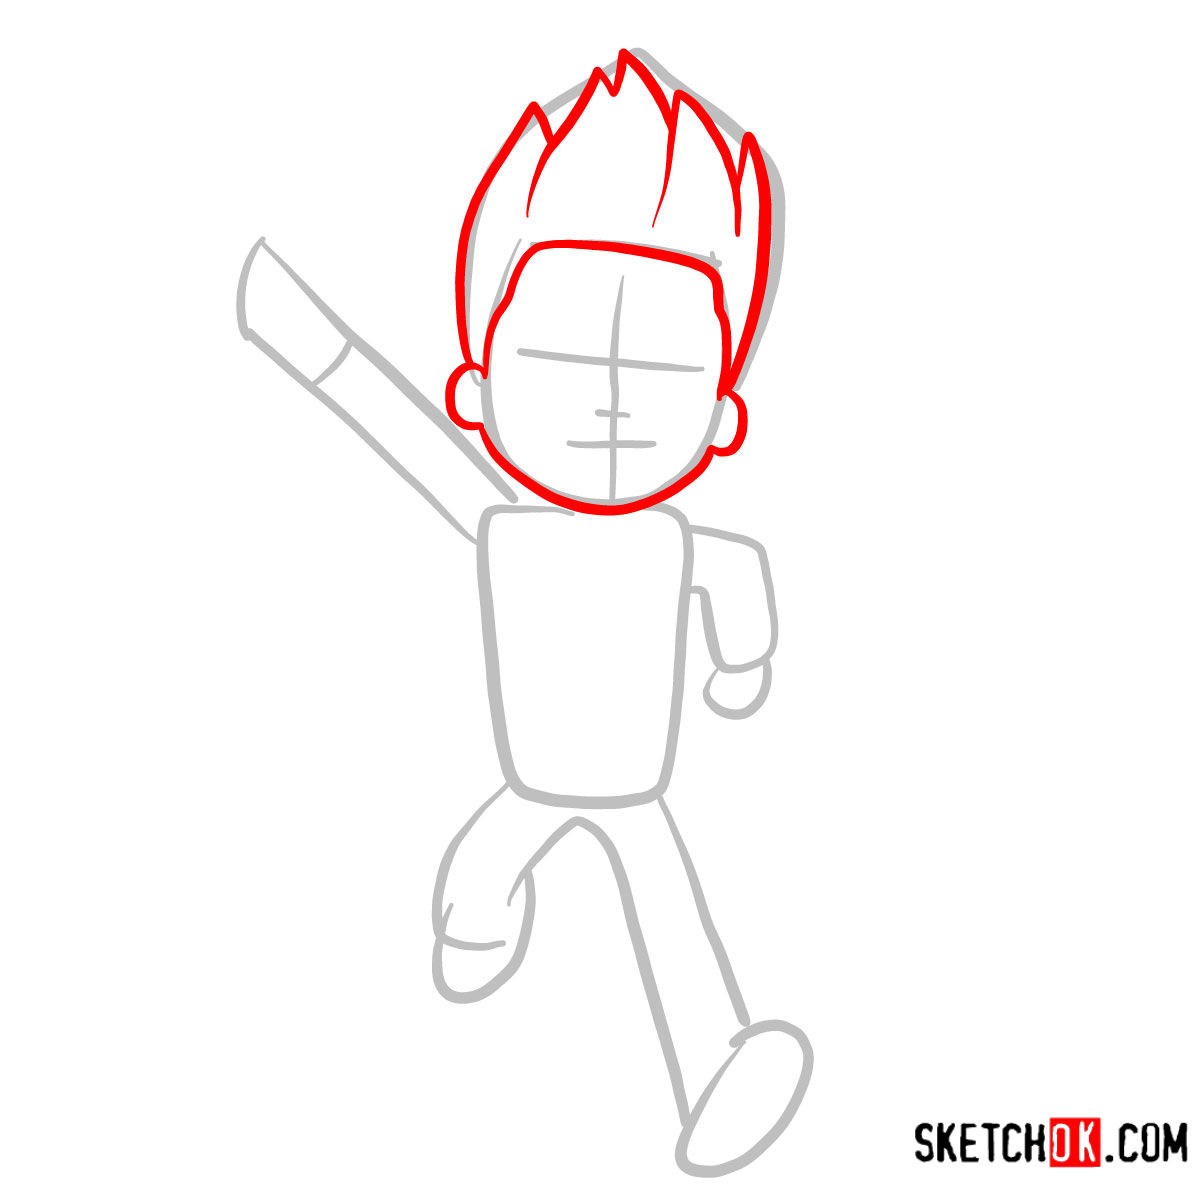
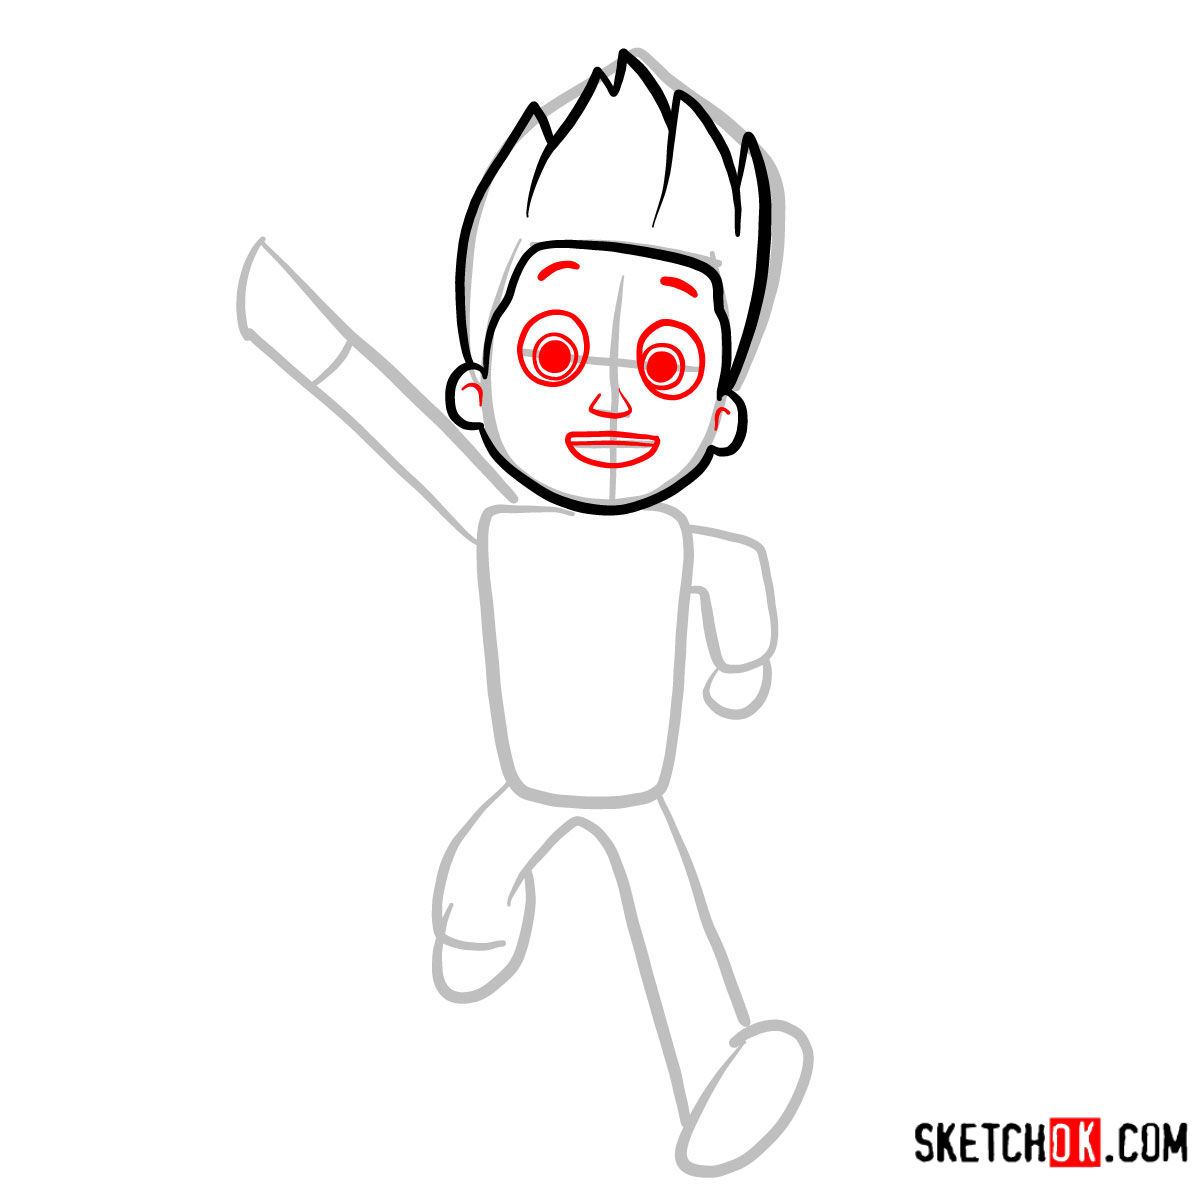
- Facial Features: Ryder has a youthful charm, with pronounced dark brown hair and keen brown eyes that often sparkle with curiosity.
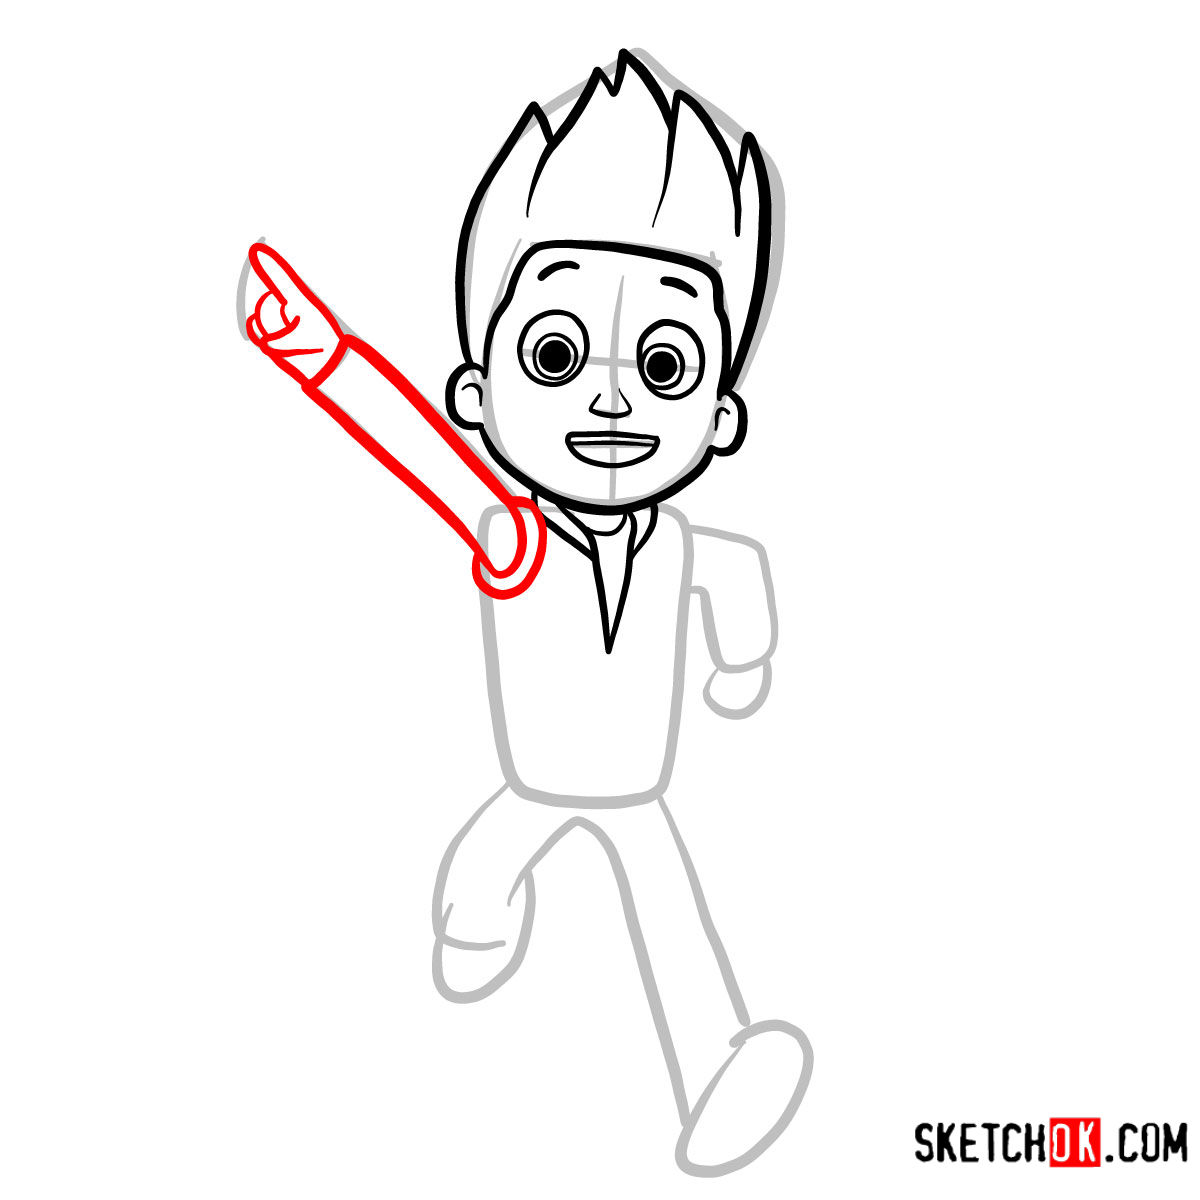
- Attire: His signature red, white, yellow, and blue vest adorned with the PAW Patrol logo, over a white long-sleeved shirt, is a must-have. This, paired with blue jeans and white shoes, completes his look.
- Stature: Given his age, Ryder isn’t as tall as the adult characters in the show. This childlike height gives him a distinctive presence amidst the pups and other adults.
And if you’re considering adding more members to your drawing, characters like Marshall, the firefighter pup, or Chase, the police dog, can be great additions, enhancing the ensemble and the dynamics of your artwork.
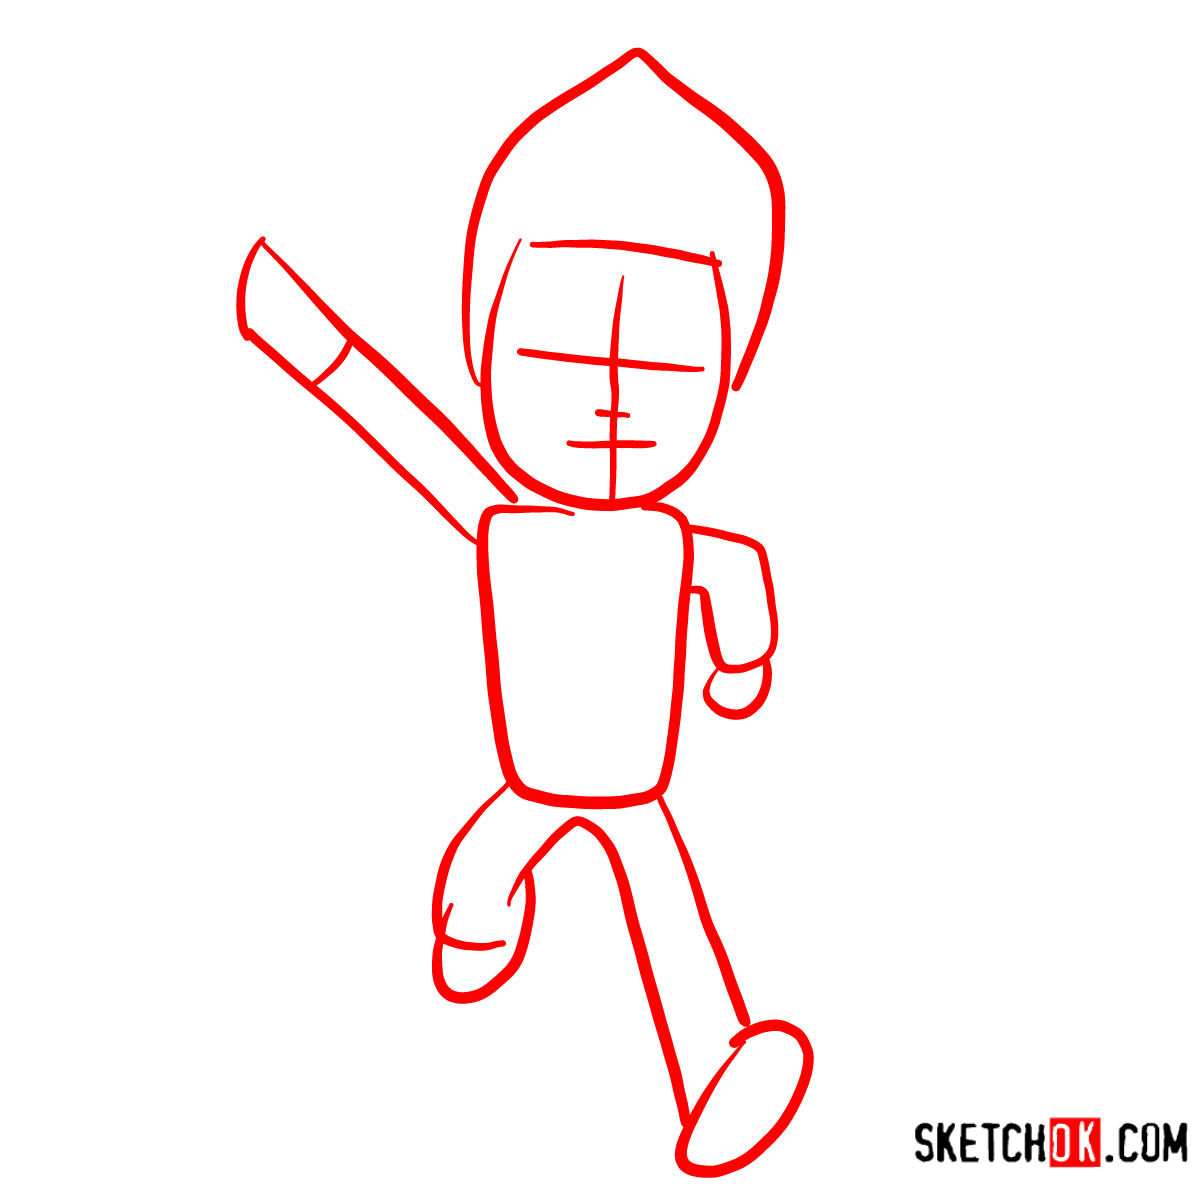
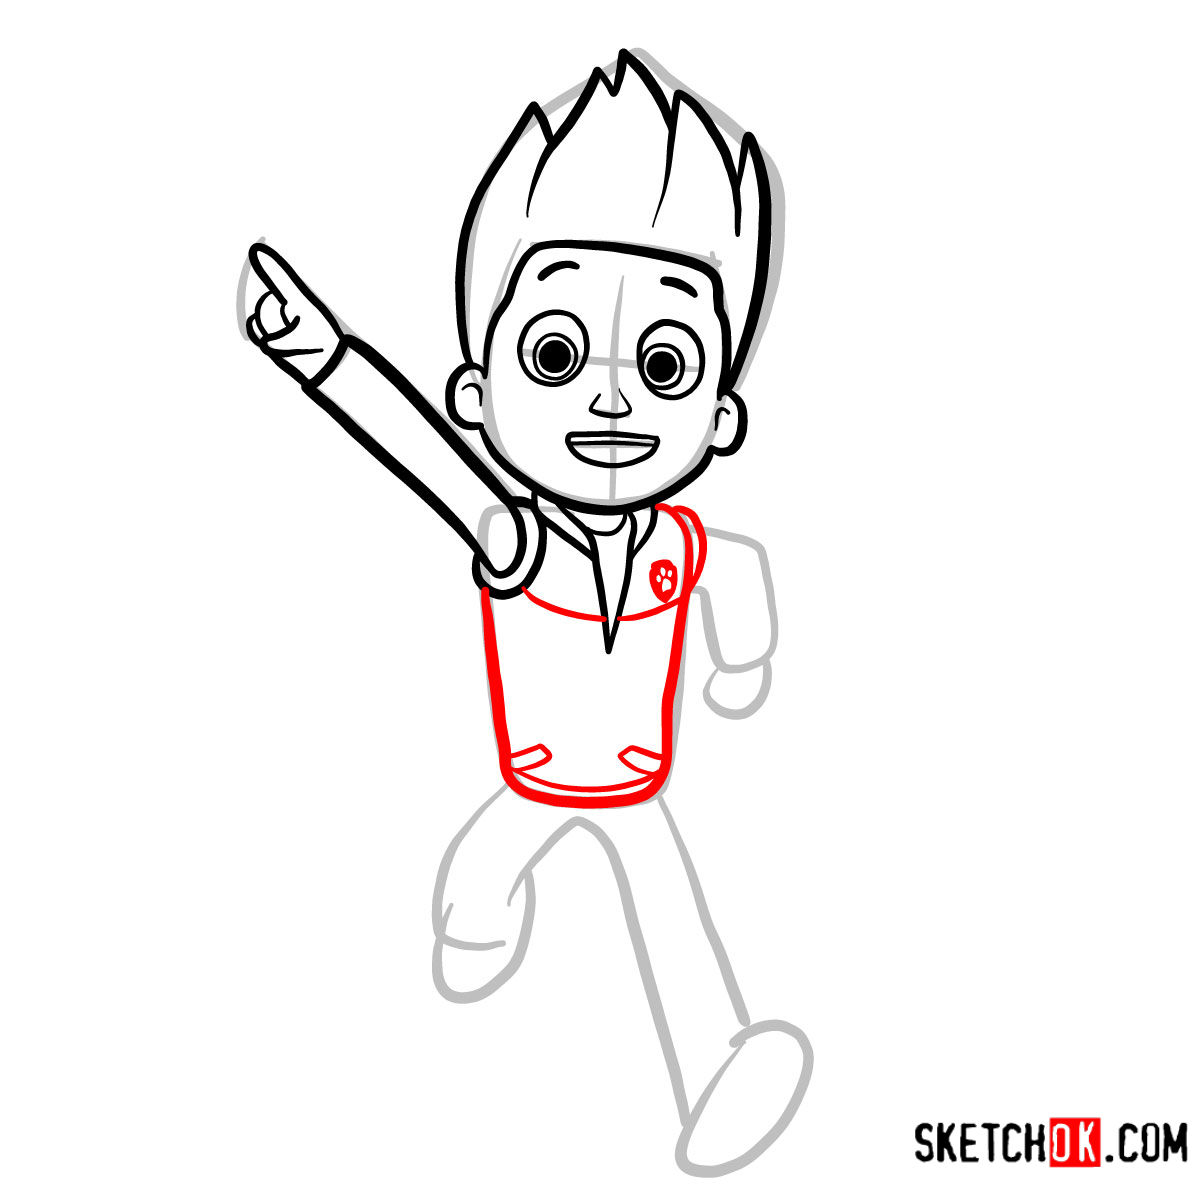
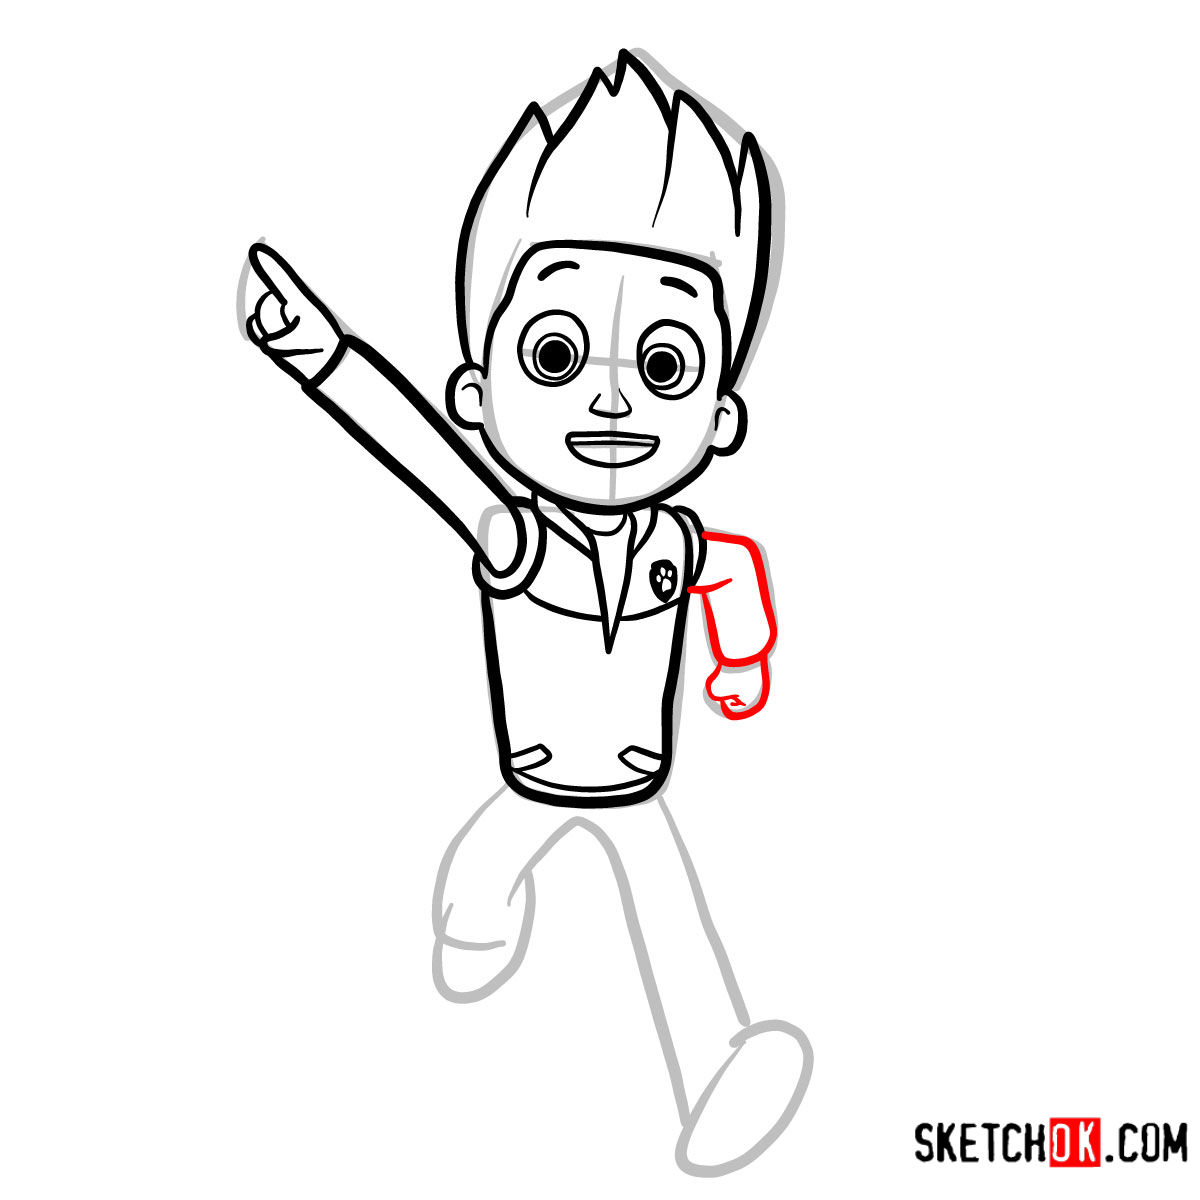
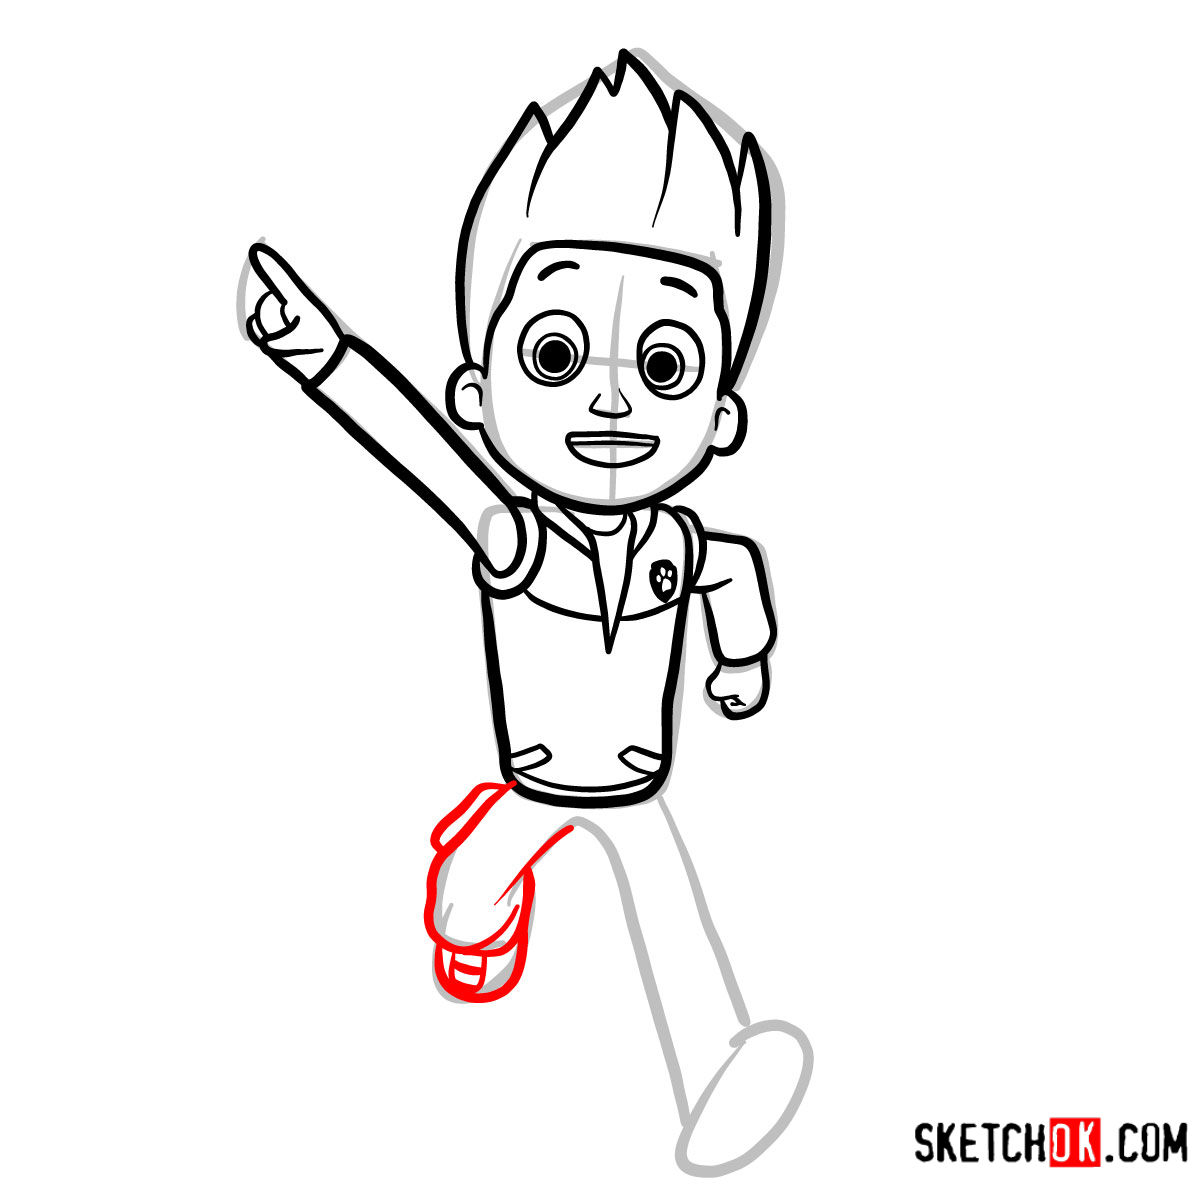
Understanding the Guide’s Blueprint
Our tutorial is designed in a series of 10 coherent steps, each building on the previous one. It’s crucial to understand the color coding we’ve employed to make your drawing process smoother:
- Red Color: Represents the current step to focus on.
- Black Color: Depicts the lines you’ve previously drawn.
- Grey Color: Shows the basic structure or the initial proportion sketch. Remember to keep these lines light, as they are meant to guide, not dominate the final artwork.
Beginning with a basic structure helps in getting the proportions right. As you progress, the intricacies of Ryder’s appearance will take shape. The culmination point? Inking your sketch. Inking enhances the sharpness and clarity of your drawing, but it’s pivotal to allow the ink to dry fully before erasing the pencil marks to avoid smudges.


Now that you know how to draw Ryder, you can pair him up with Chase, Marshall, or any of the other pups from the team. If you want to keep up with new guides, there’s an email signup at the top of the page, and video versions of some guides pop up on the YouTube channel too. Hope Ryder turned out great for you!
Love🤩🤩🤩🤩🤩🤩🤩🤩🤩