Last Updated on May 14, 2026
Drawing has always been a gateway to manifesting imagination. And when it comes to iconic characters like Ray Gillette from the beloved show Archer, mastering the art of their depiction can be both challenging and exhilarating. As a dedicated enthusiast, you might have wondered how to capture the essence of Ray, complete with his intriguing personality and unique design. Today, you’re in for a treat as we unveil the steps on how to draw Ray Gillette.
Character’s Appearance and Focus Points When Drawing
Raymond Q. Gillette, a standout character from Archer, has various nuances that make his design unique. When attempting to capture his persona on paper, here are a few aspects you should take into account:
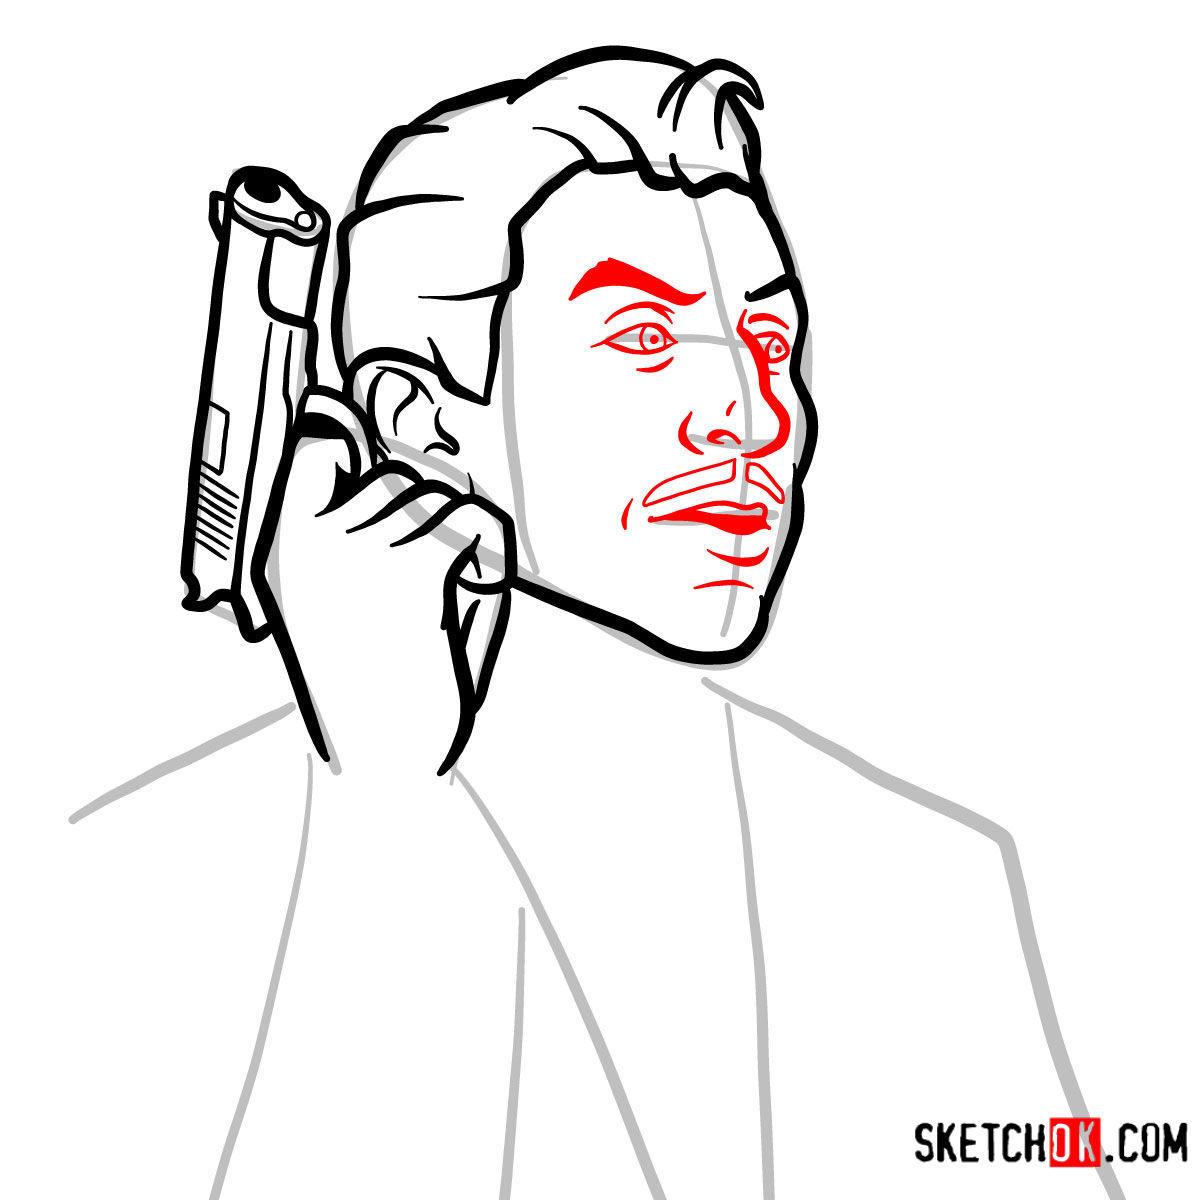
- Facial Features: Ray’s expressive eyes, confident smirk, and distinctive facial hair give him a discernible appearance.
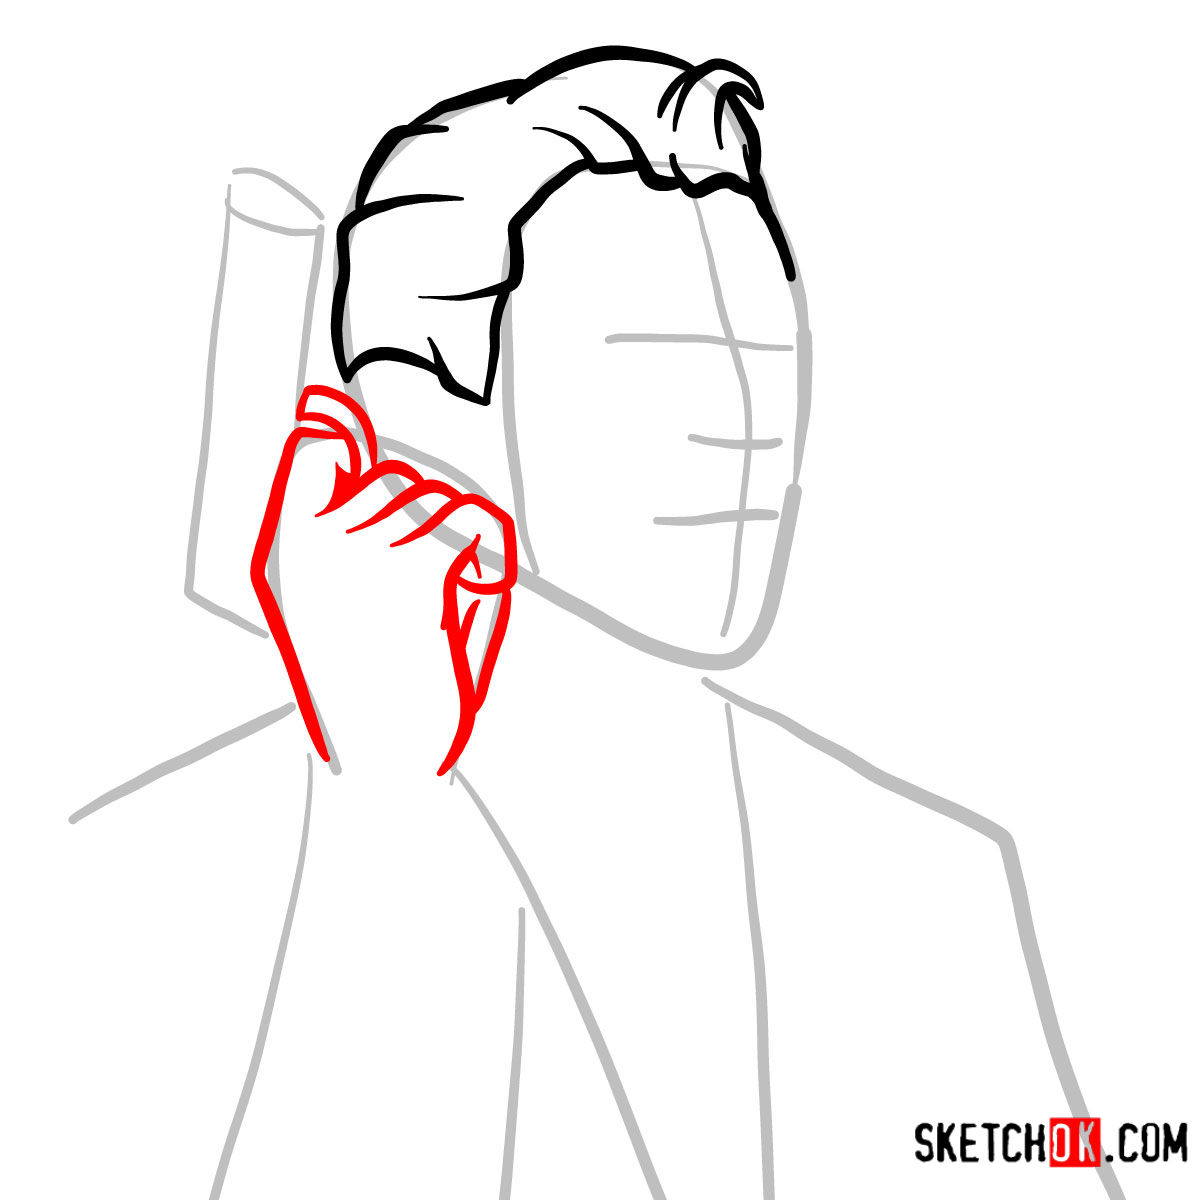
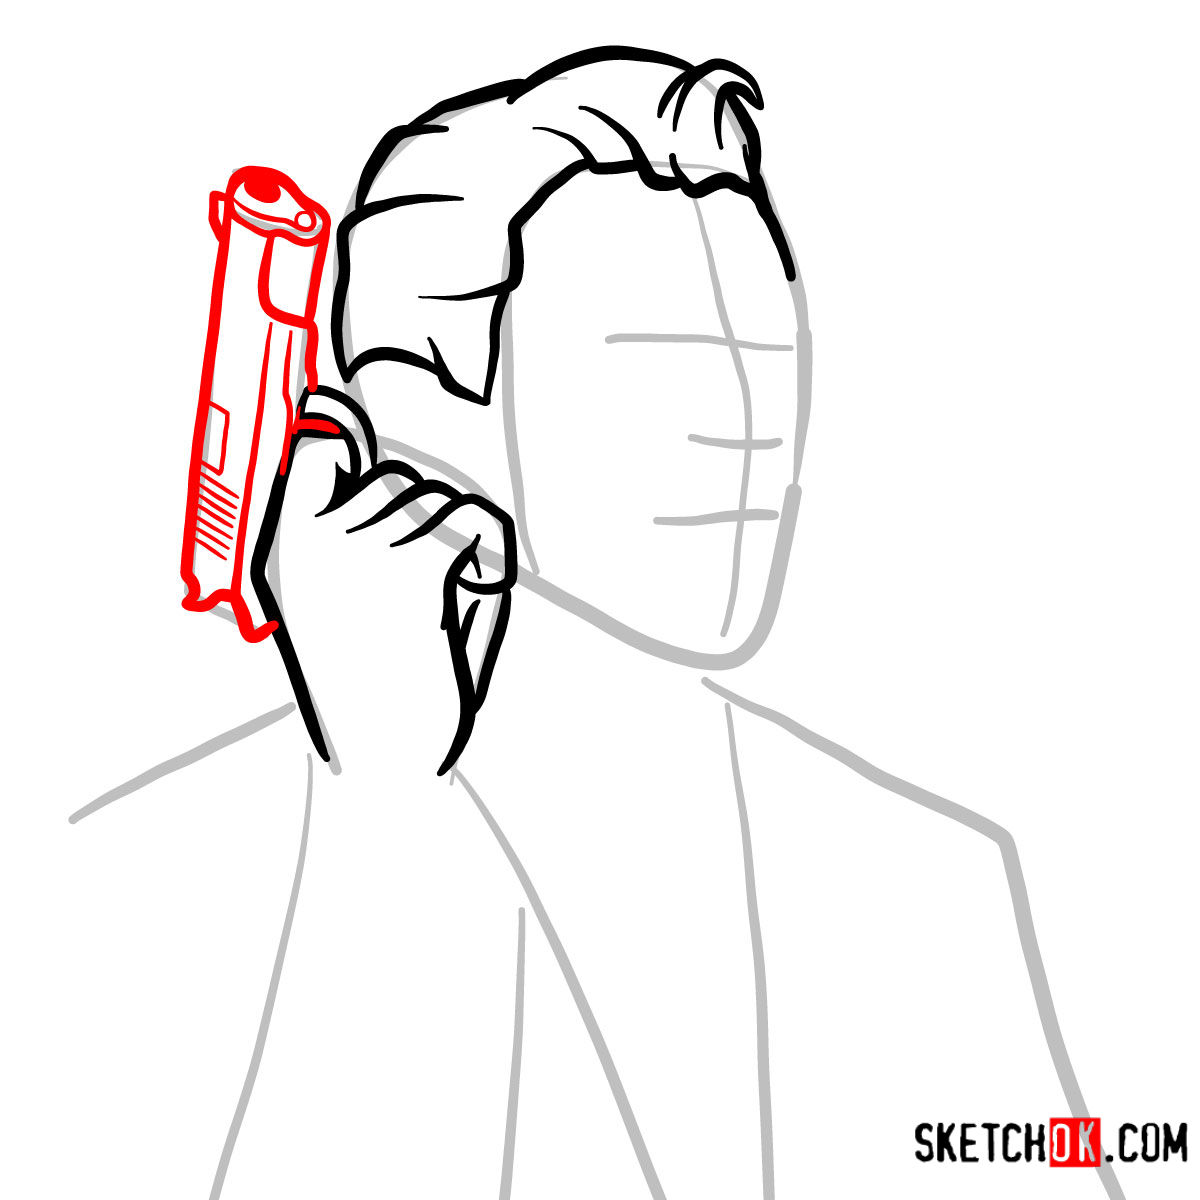
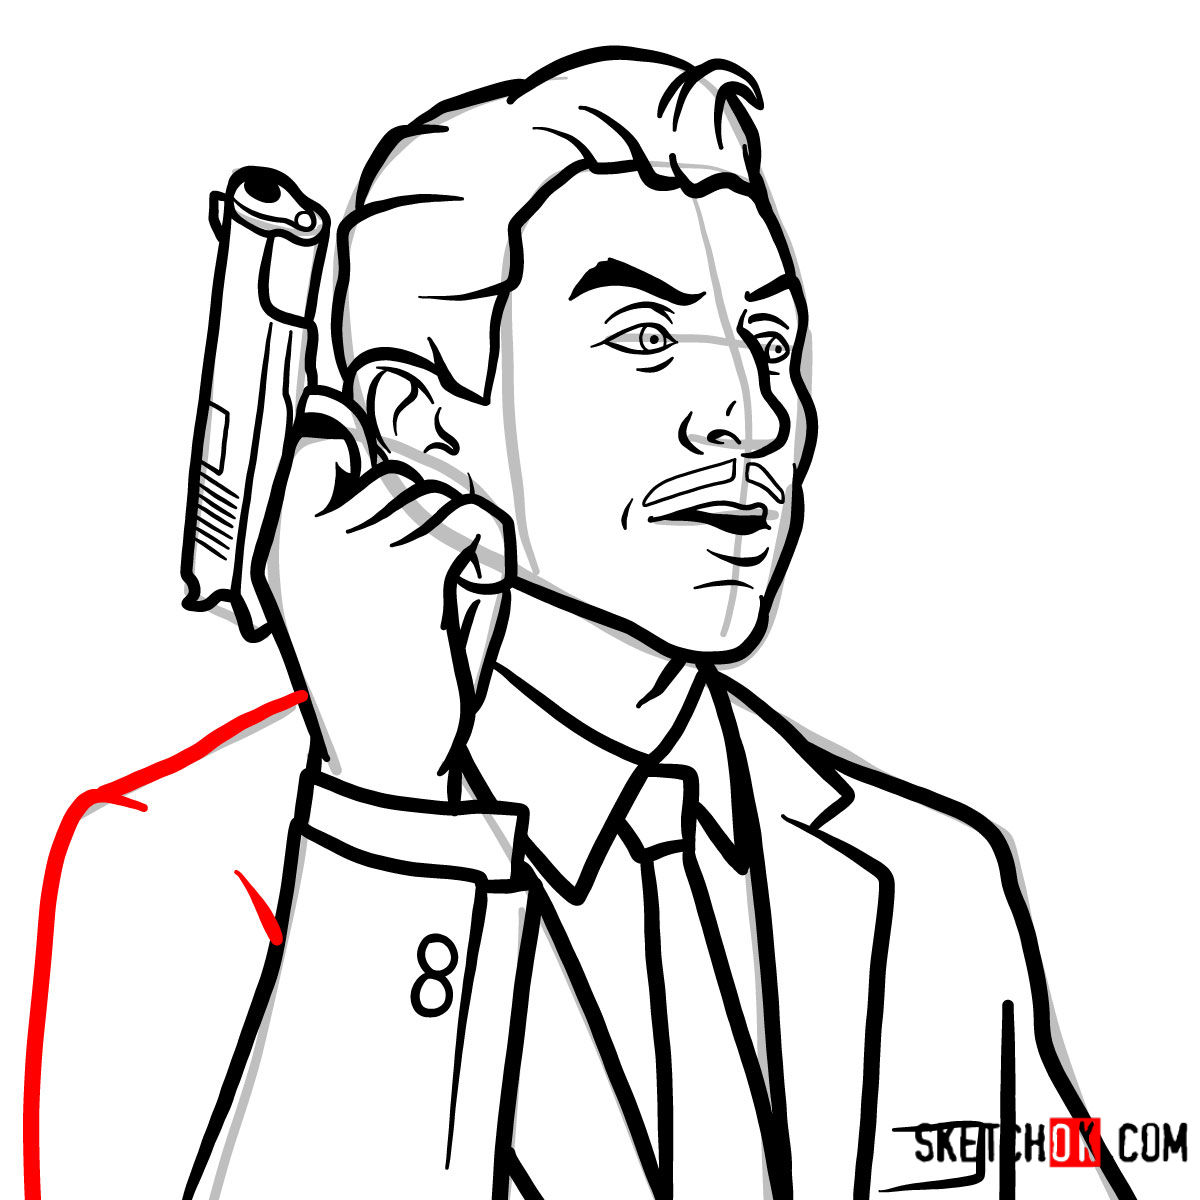
- Stance: His body language, especially in our guide where he holds a gun near his head, communicates his character’s blend of confidence and humor.
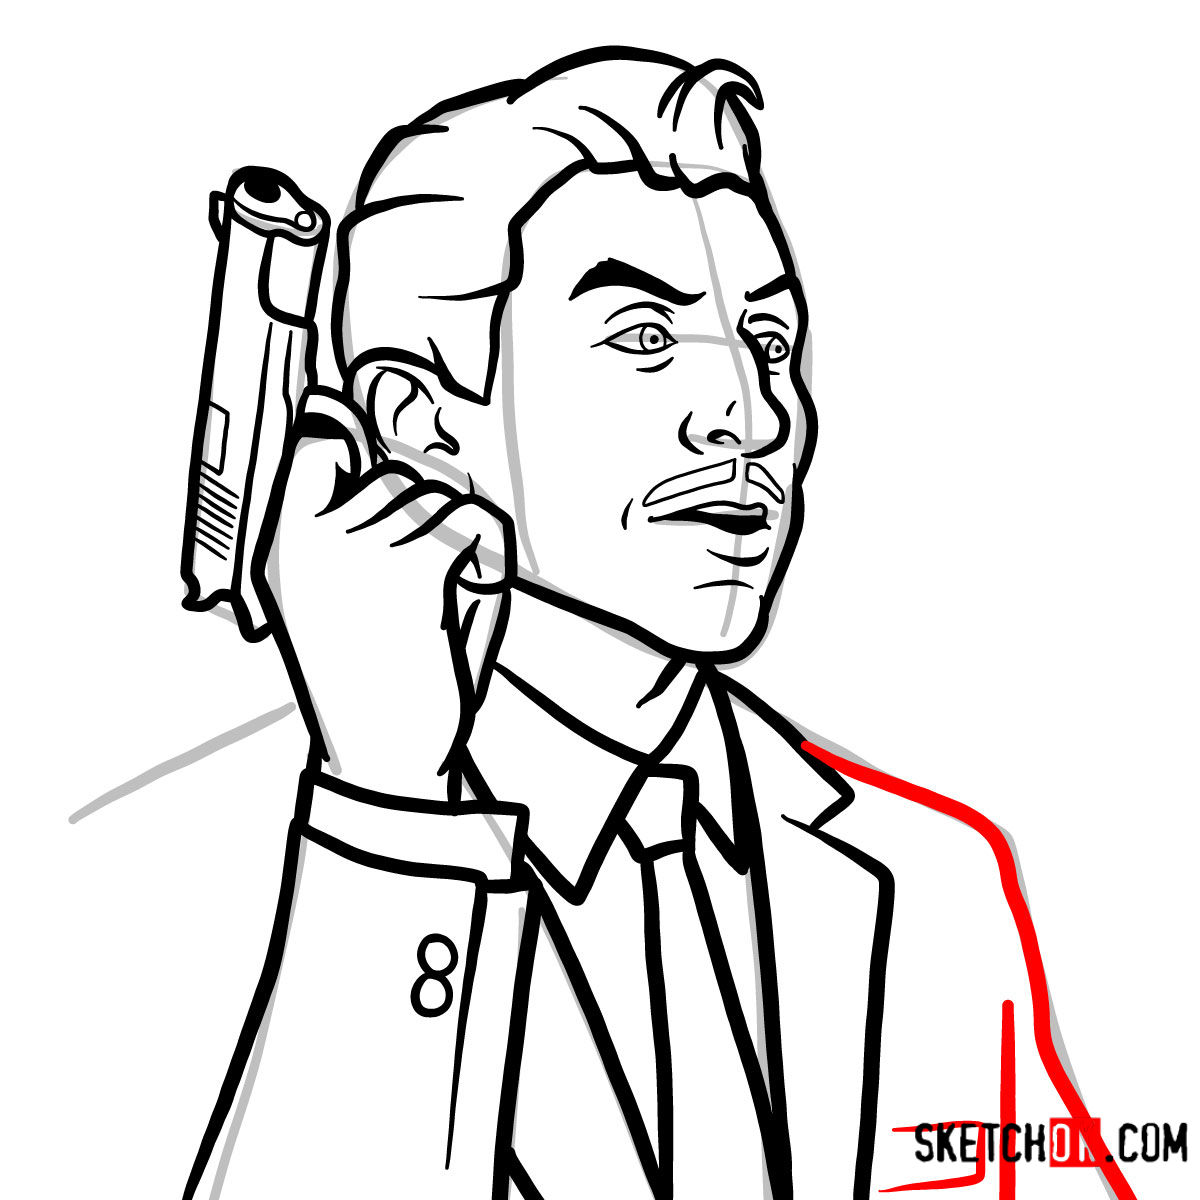
- Outfit: A true ISIS agent, Ray’s attire should resonate with his profession, bearing badges, and tailored suits.
Once you’re done with Ray, considering adding fellow agents like Lana Kane or even the infamous Sterling Archer to your drawing. The ensemble would give your artwork a compelling narrative touch.
About the Guide
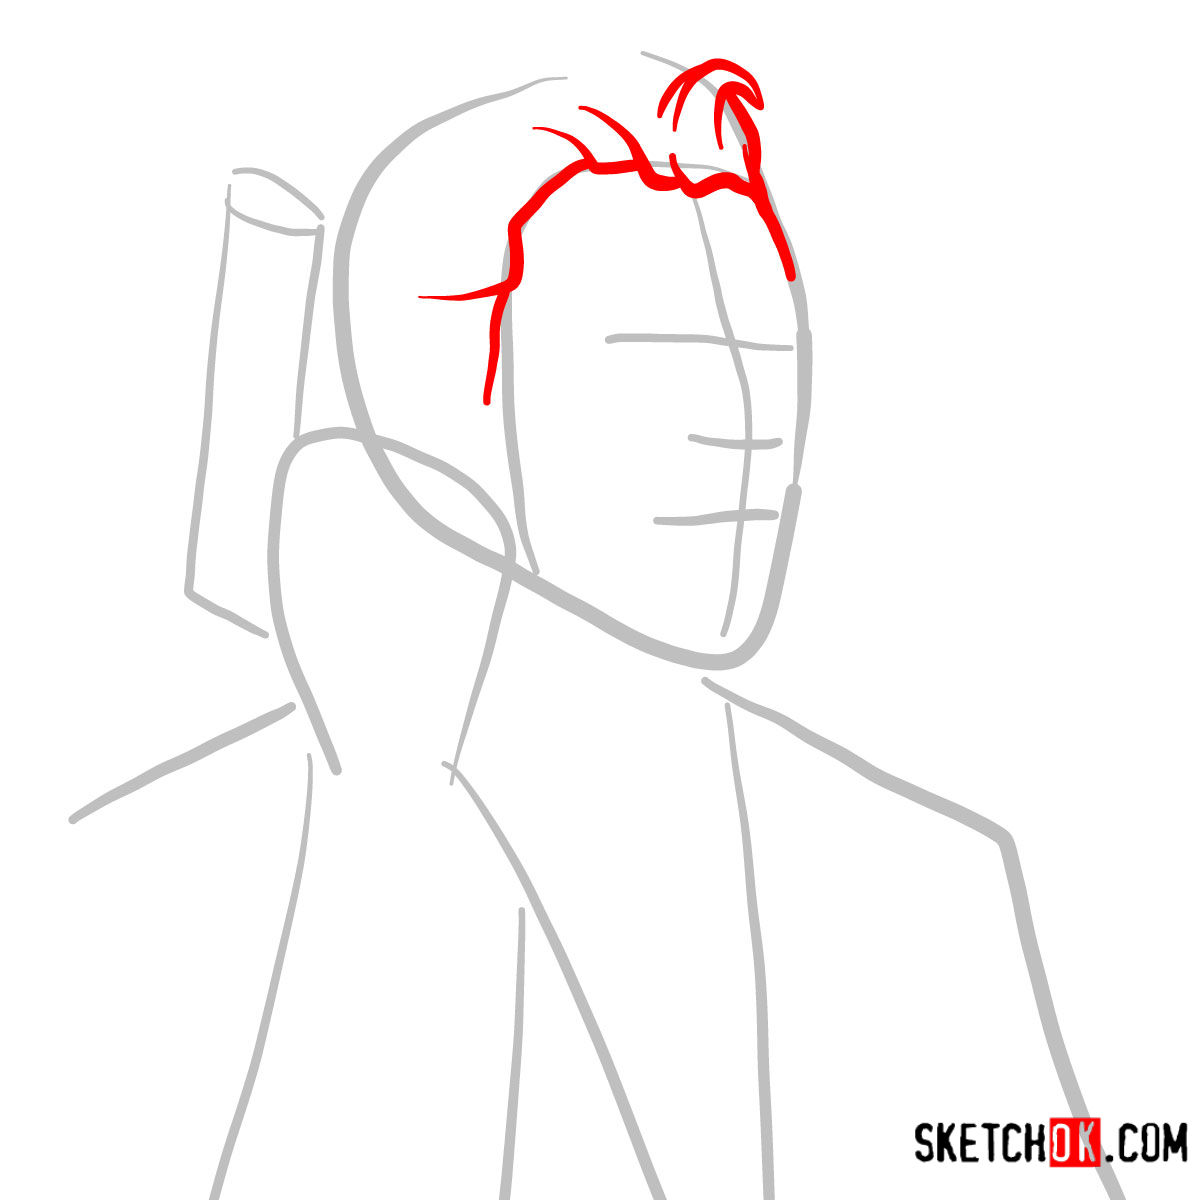
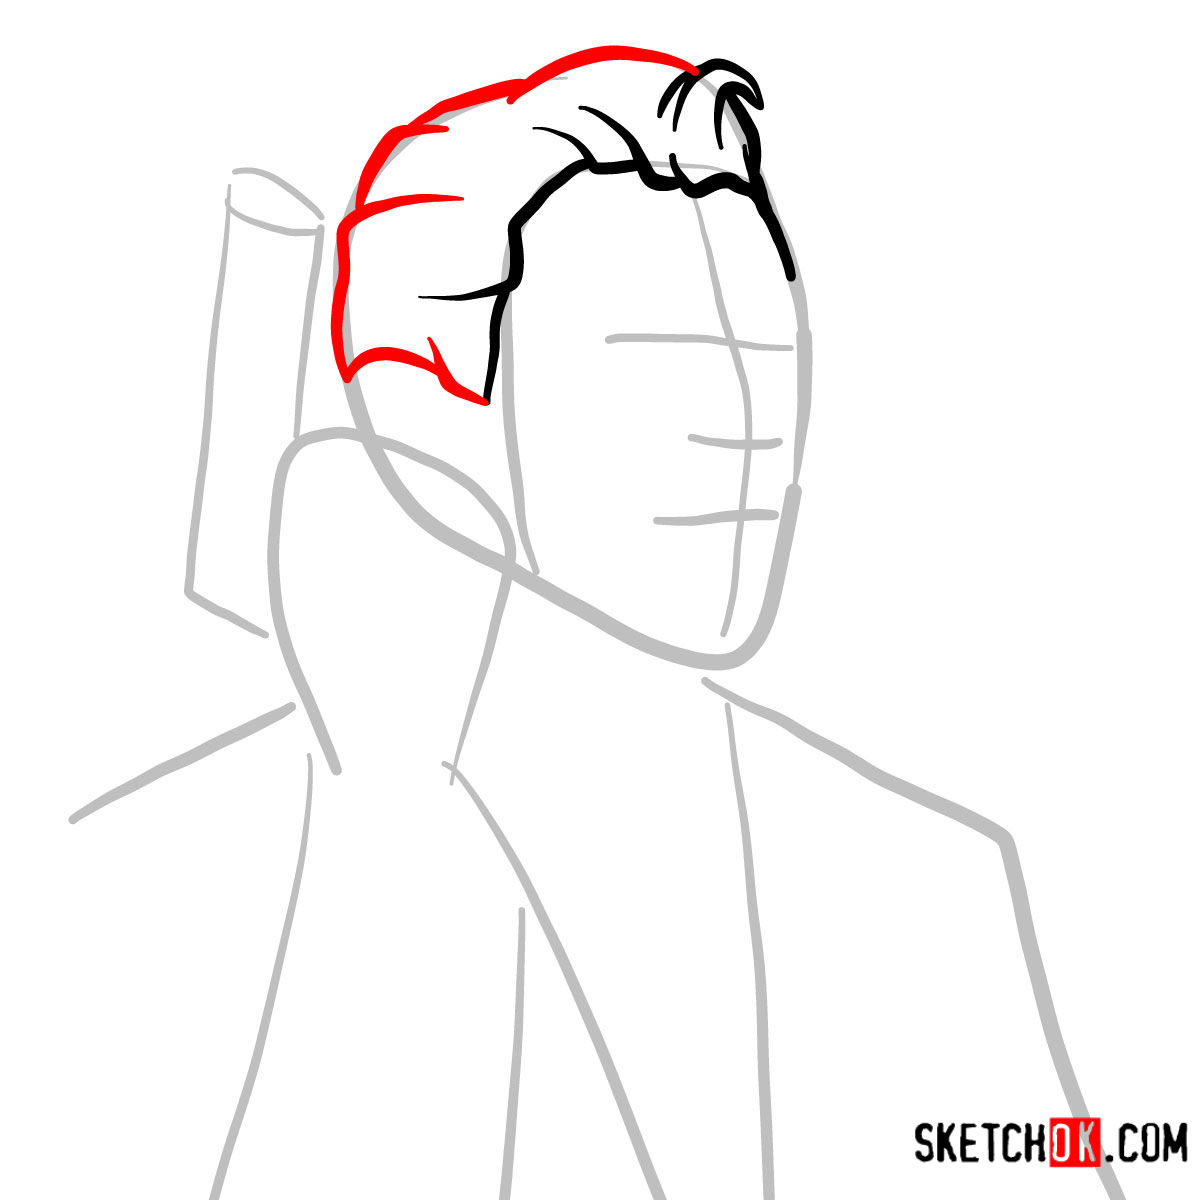
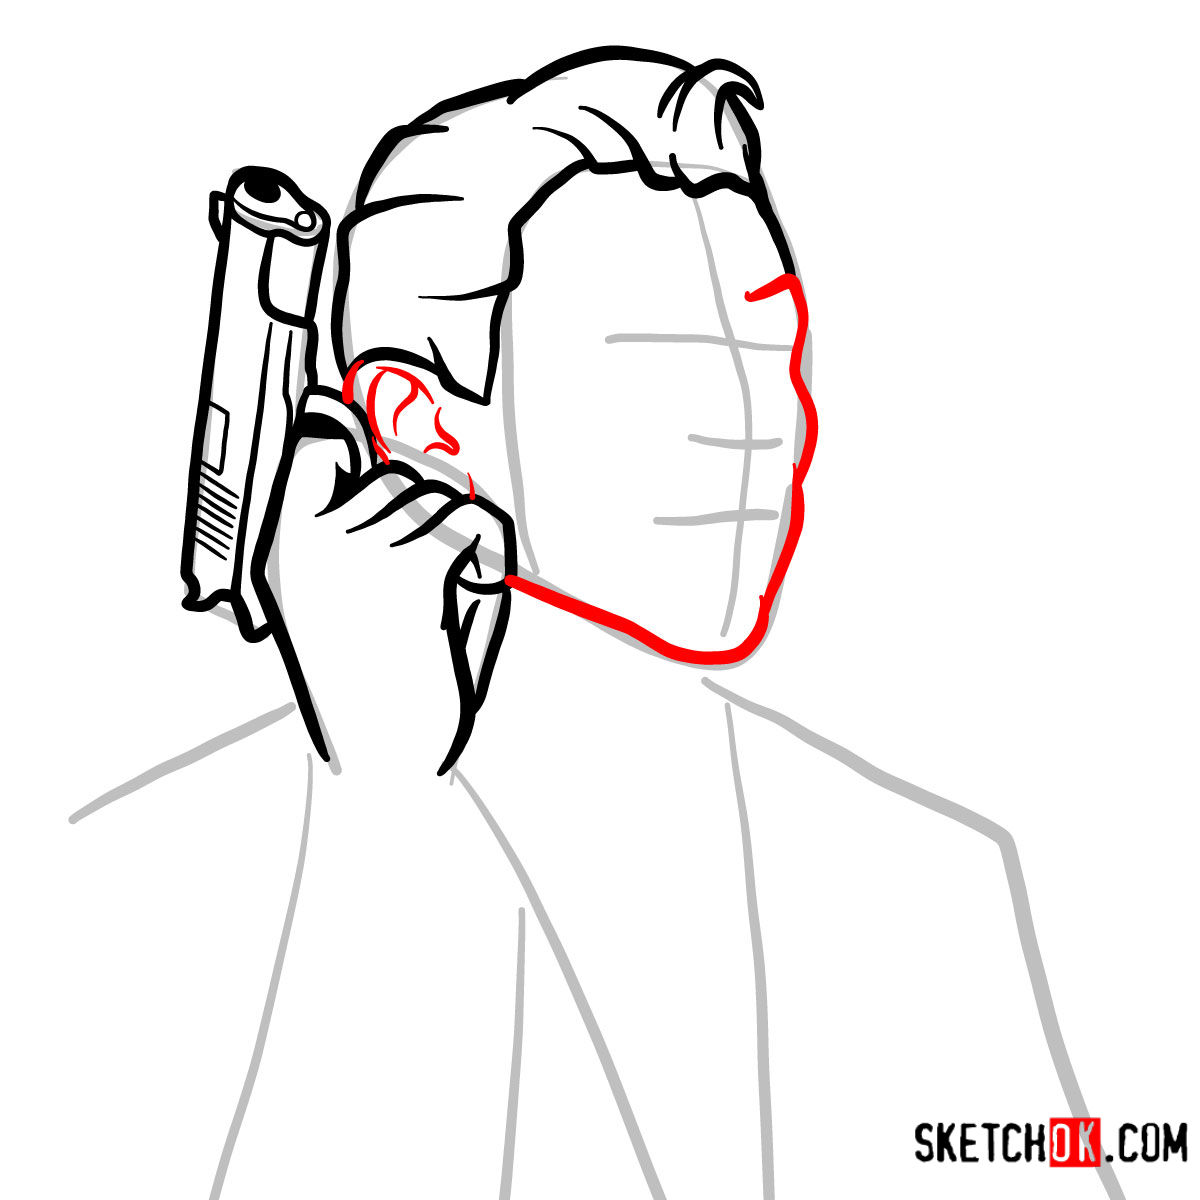
Our guide offers 12 distinct steps that lead you from a basic sketch to a refined drawing of Ray Gillette. To ensure clarity and ease of following:
- Red Color: Represents the current step you should be focusing on.
- Black Color: Showcases the lines you have previously drawn.
- Grey Color: Demonstrates the basic structure and proportions.
It’s essential to start with light pencil strokes when sketching the initial outline. Once you’re done with all the steps, you might want to consider inking the sketch for a polished look. However, always ensure that the ink is completely dry before erasing the pencil lines to avoid smudges.



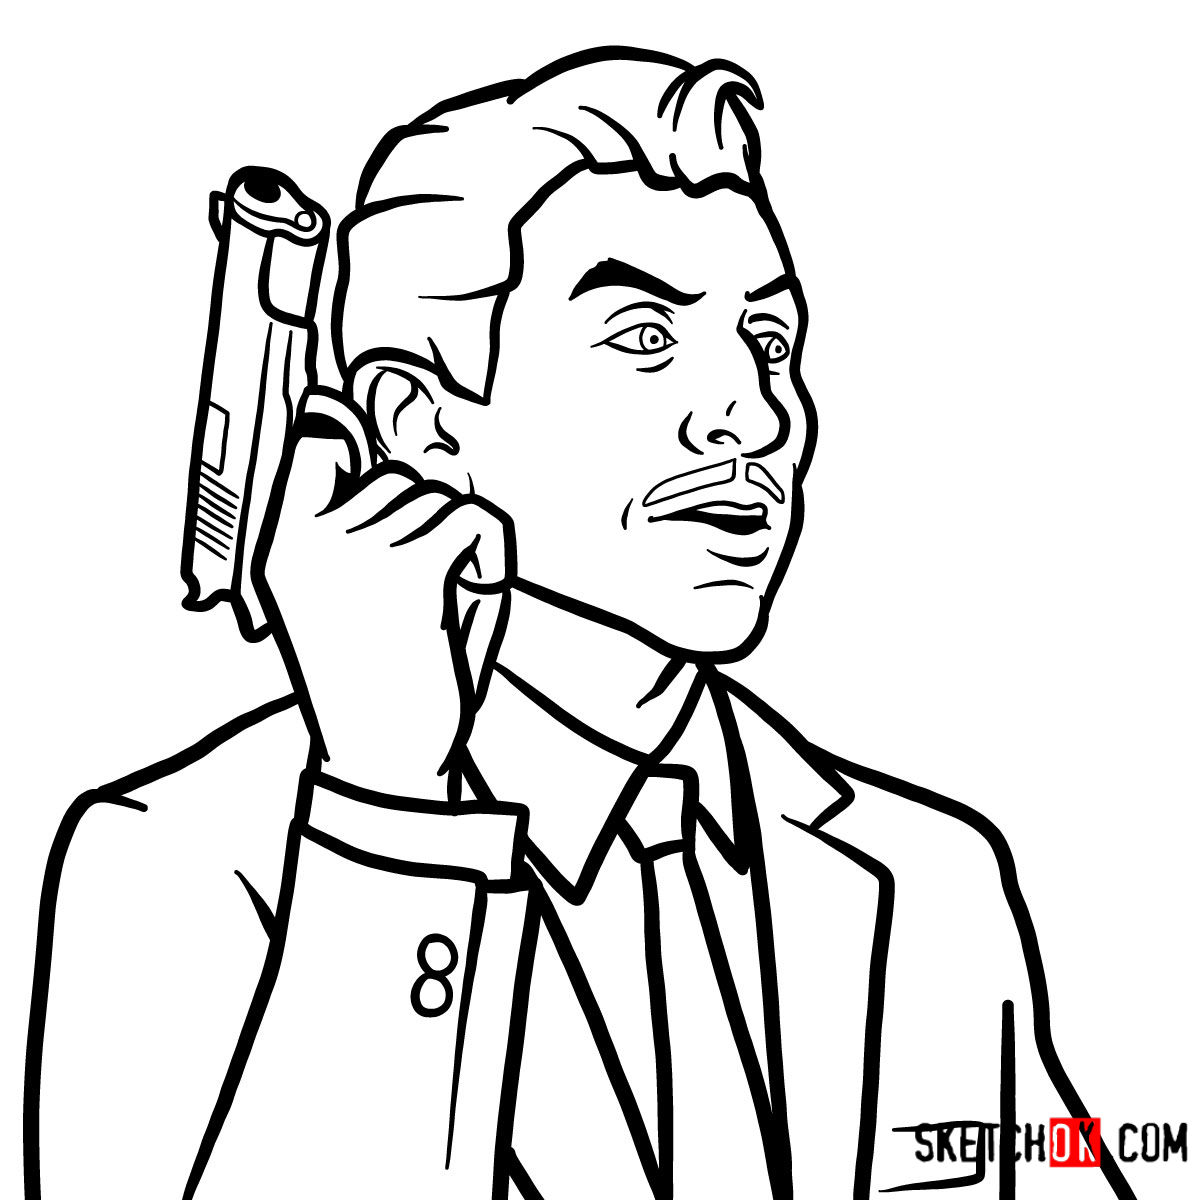
So now that you know how to draw Ray Gillette, how did it go? Easier than expected, or did those little details trip you up more than you thought? Drop your thoughts (and your finished drawing) in the comments on the pinned Pinterest post, that’s where most of the conversation tends to happen.
