Welcome, aspiring artists and Sword Art Online fans! In this step-by-step drawing tutorial, we’ll explore the fascinating world of Kirito and learn how to capture his essence on paper. Whether you’re a seasoned artist or just starting your artistic journey, this guide will provide you with the knowledge and techniques to draw him with confidence.
A Glimpse into Kirito’s Appearence and Story
Kirito, also known as Kirigaya Kazuto, is the main protagonist of the Sword Art Online series. Born as Narusaka Kazuto, he was one of the fortunate beta testers chosen to experience the revolutionary Virtual Reality Massively Multiplayer Online Role-Playing Game (VRMMORPG) called Sword Art Online.
Immersed in a dangerous virtual world, Kirito became a solo player and a beacon of hope for the trapped gamers. He faced countless challenges, fought epic battles, and emerged as the legendary “Black Swordsman.” With his iconic black attire and unrivaled swordsmanship, Kirito captured the hearts of fans worldwide.
Throughout the series, Kirito’s journey expanded beyond Sword Art Online, leading him to new adventures in ALfheim Online, Gun Gale Online, Project Alicization, and Unital Ring. Each arc unveils different facets of his character, adding depth and complexity to his story.
Kirito forms meaningful relationships throughout his adventures in various virtual worlds. One of the most significant relationships he develops is with Asuna, whom he meets in Sword Art Online and becomes deeply connected to both in the virtual realm and the real world. Their love and partnership play a central role in his journey. Kirito also forms friendships with other players, such as Klein, Lisbeth, Silica, and Sinon, each contributing to his growth and offering support in challenging moments. Additionally, Kirito’s bond with his sister figure, Suguha, brings a mix of love and complexity to his relationships. Through these connections, Kirito learns the importance of trust, loyalty, and the strength that can be found in shared experiences.
Materials and Tools: Equipping Yourself for the Drawing
Before we dive into the step-by-step process, let’s ensure you have the right tools at your disposal:
- A sketchpad or drawing paper
- A range of pencils (HB, 2B, 4B) for sketching and shading
- An eraser to correct any mistakes
- A fine liner or inking pen for outlining
- Markers, colored pencils, or watercolors for adding color (optional)
Remember, these are just recommendations. Feel free to use any alternative art supplies you prefer or have readily available.
Step-by-Step Drawing Guide: Mastering the Art of Kirito
Now it’s time to bring Kirito to life on paper! Follow these step-by-step instructions, utilizing the accompanying images, to create your very own depiction of the Black Swordsman.
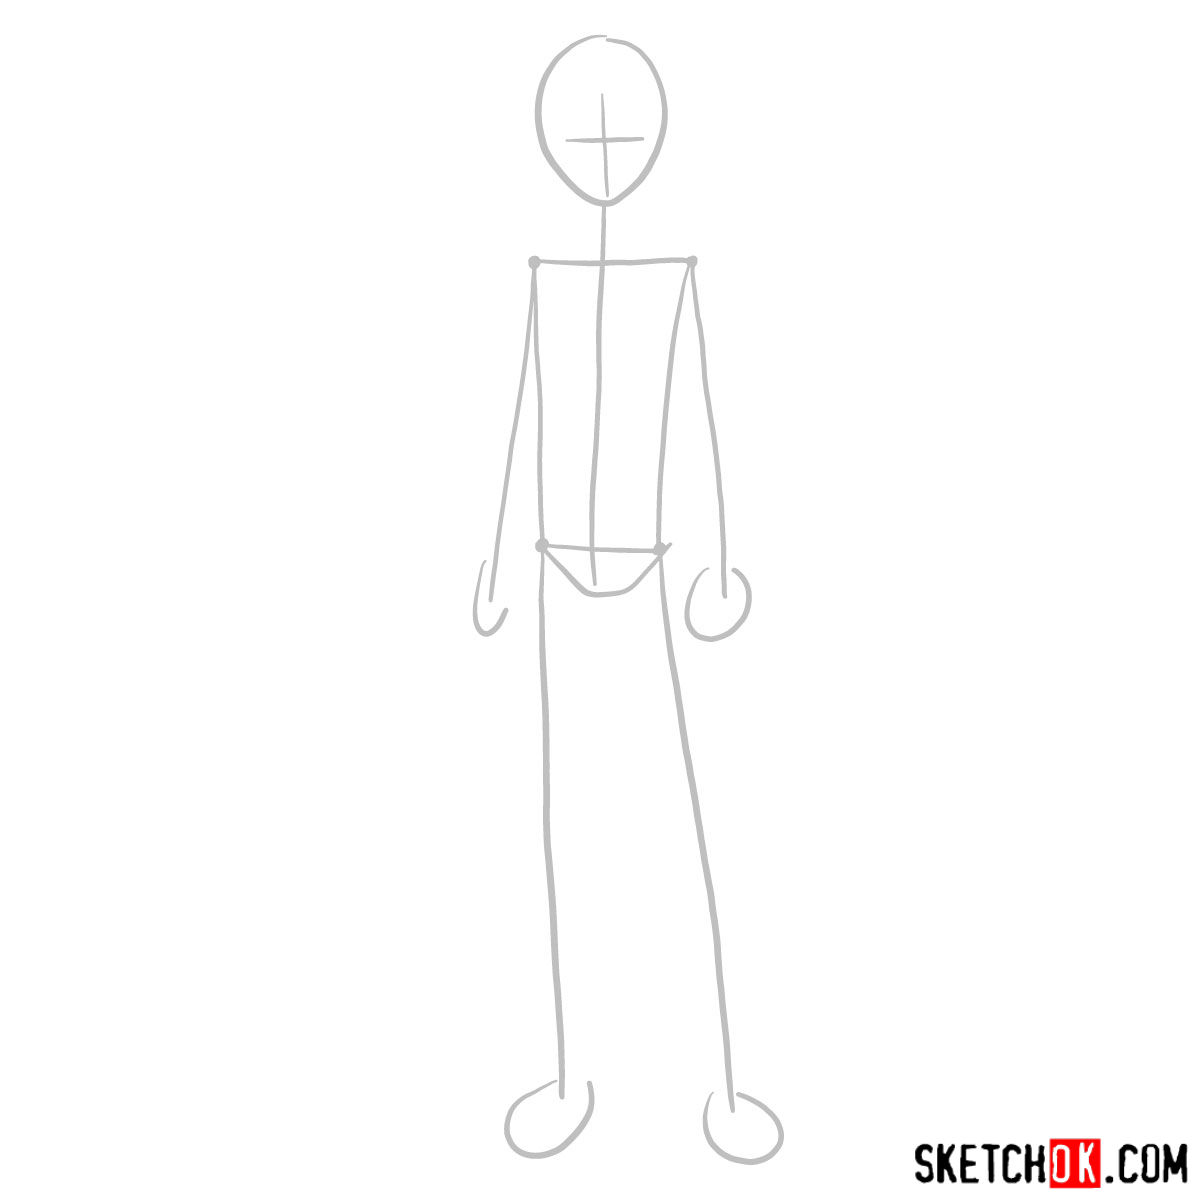
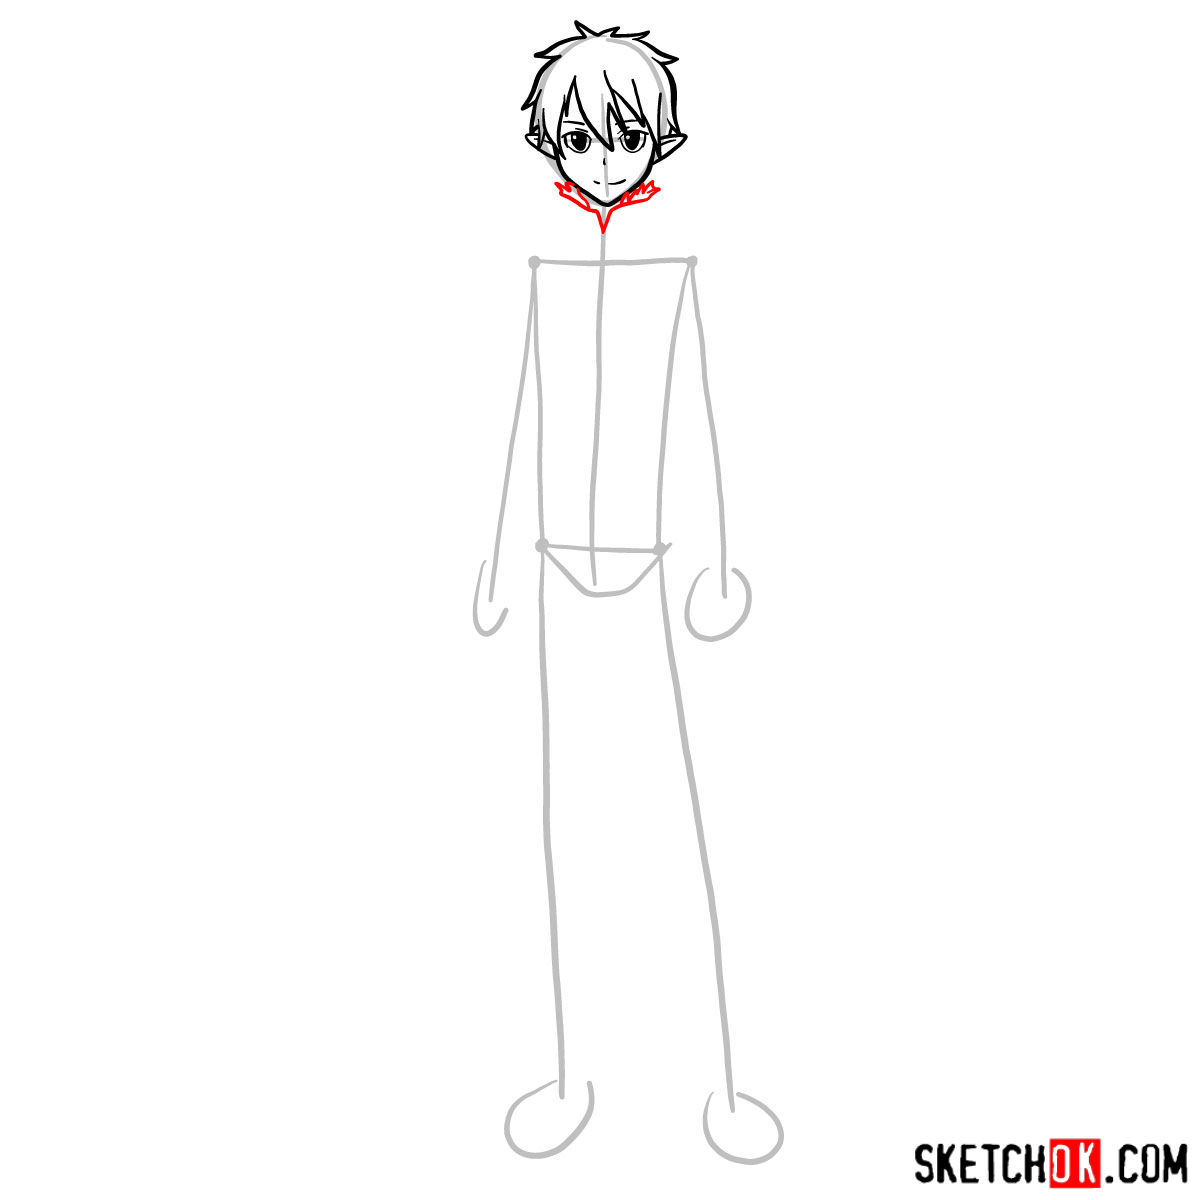
Part 1: Sketching the Basic Structure
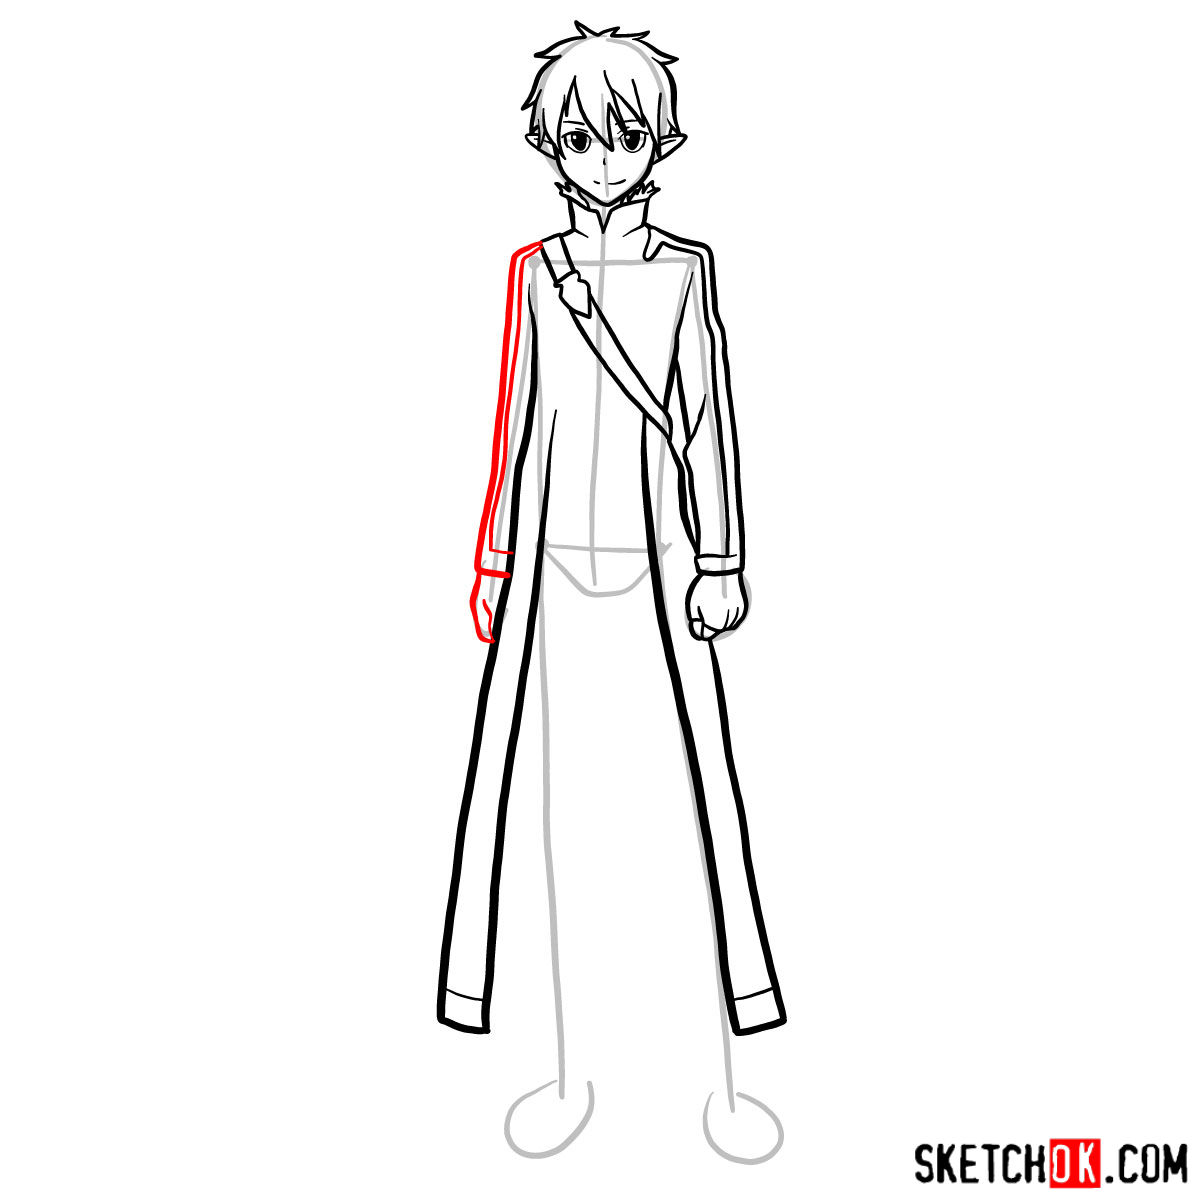
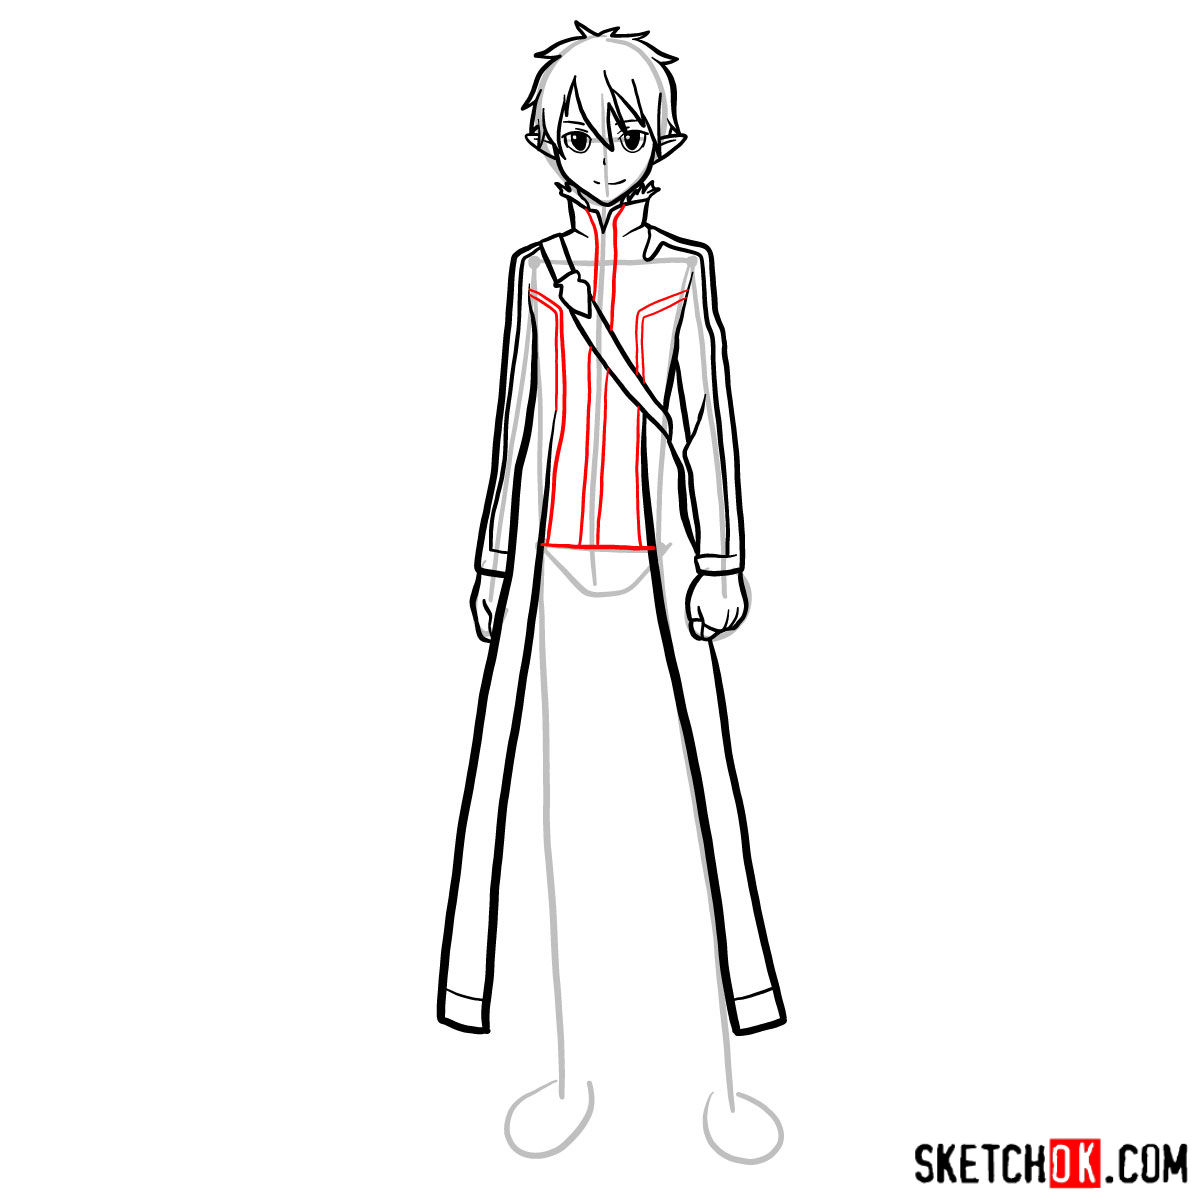
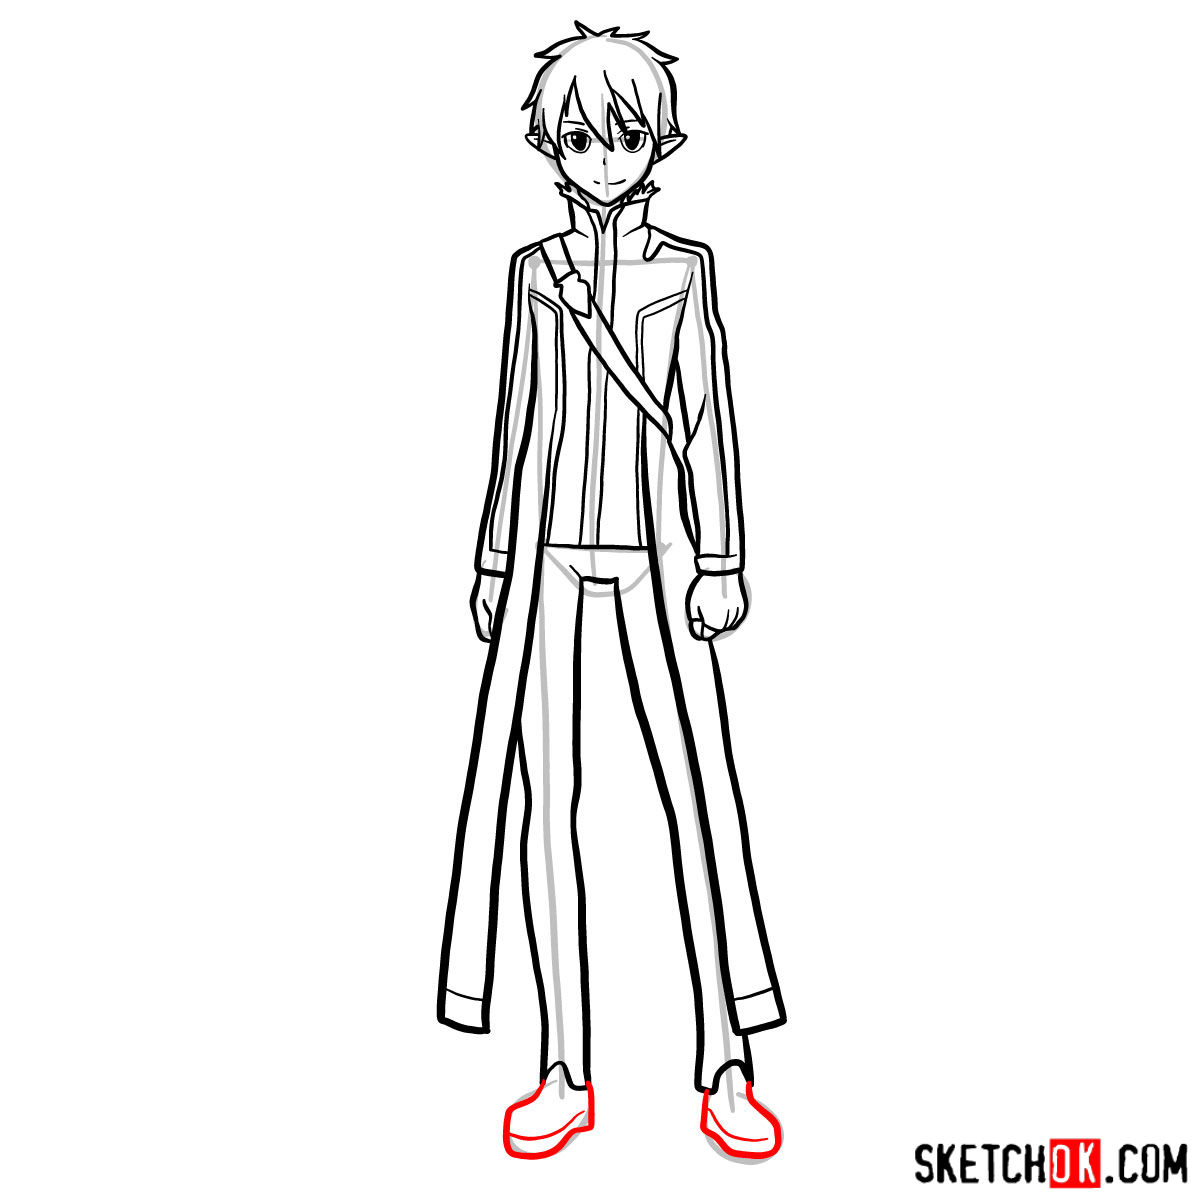
In this initial stage, we’ll focus on creating a basic structure for Kirito’s proportions. Using light pencil strokes, follow the guide images that show the red color indicating the current drawing step, the black color shows the previous steps, and the grey color representing the basic proportions sketch. Remember, take your time and don’t hesitate to adjust the lines as needed.
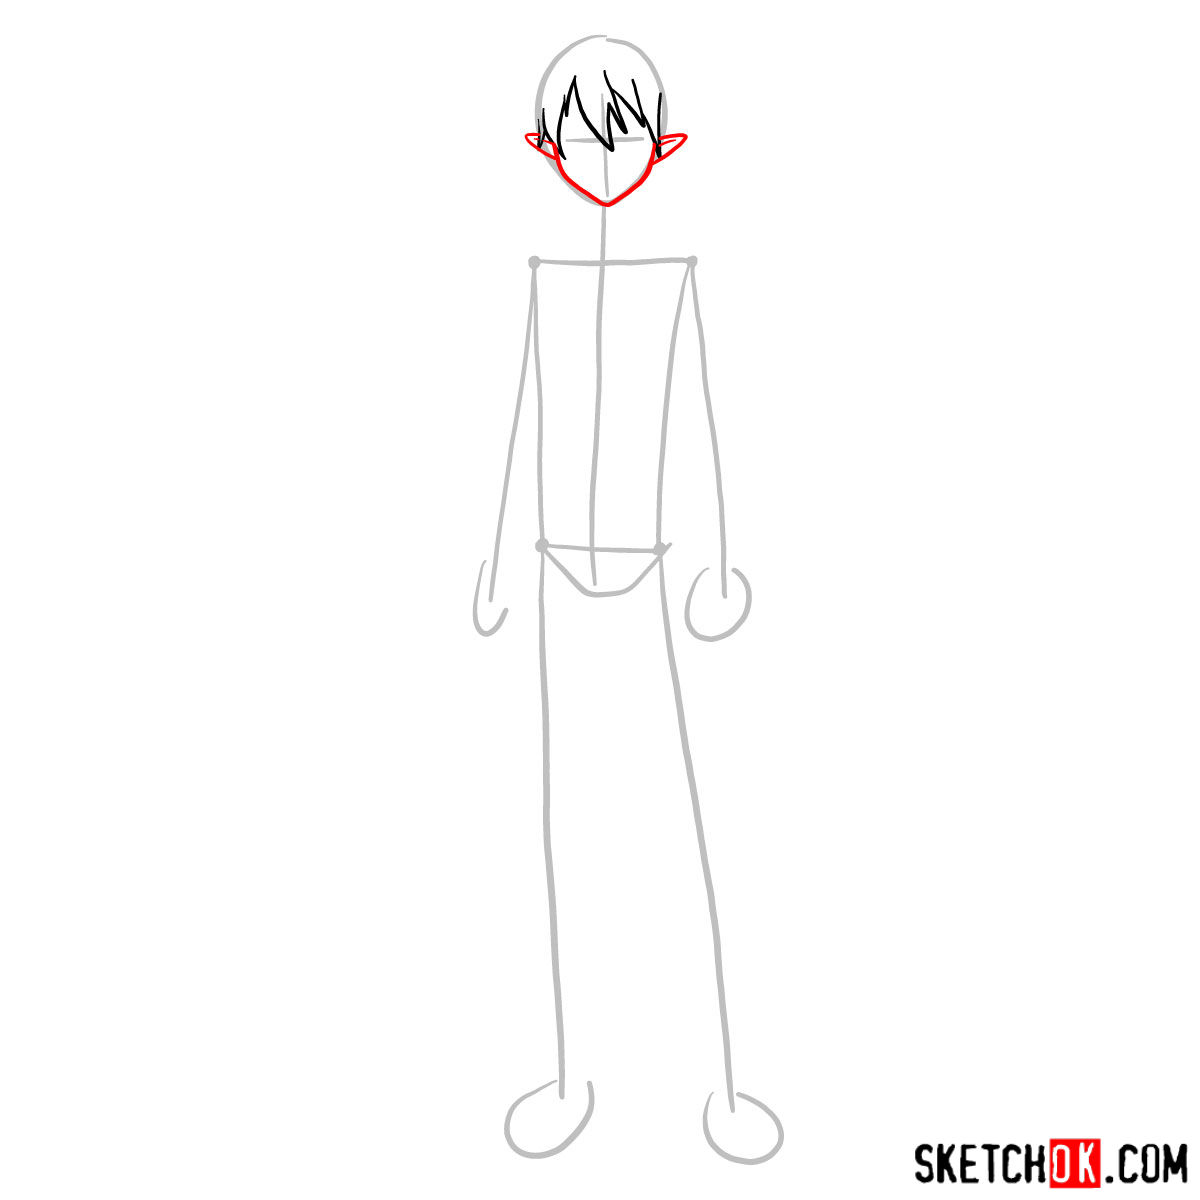
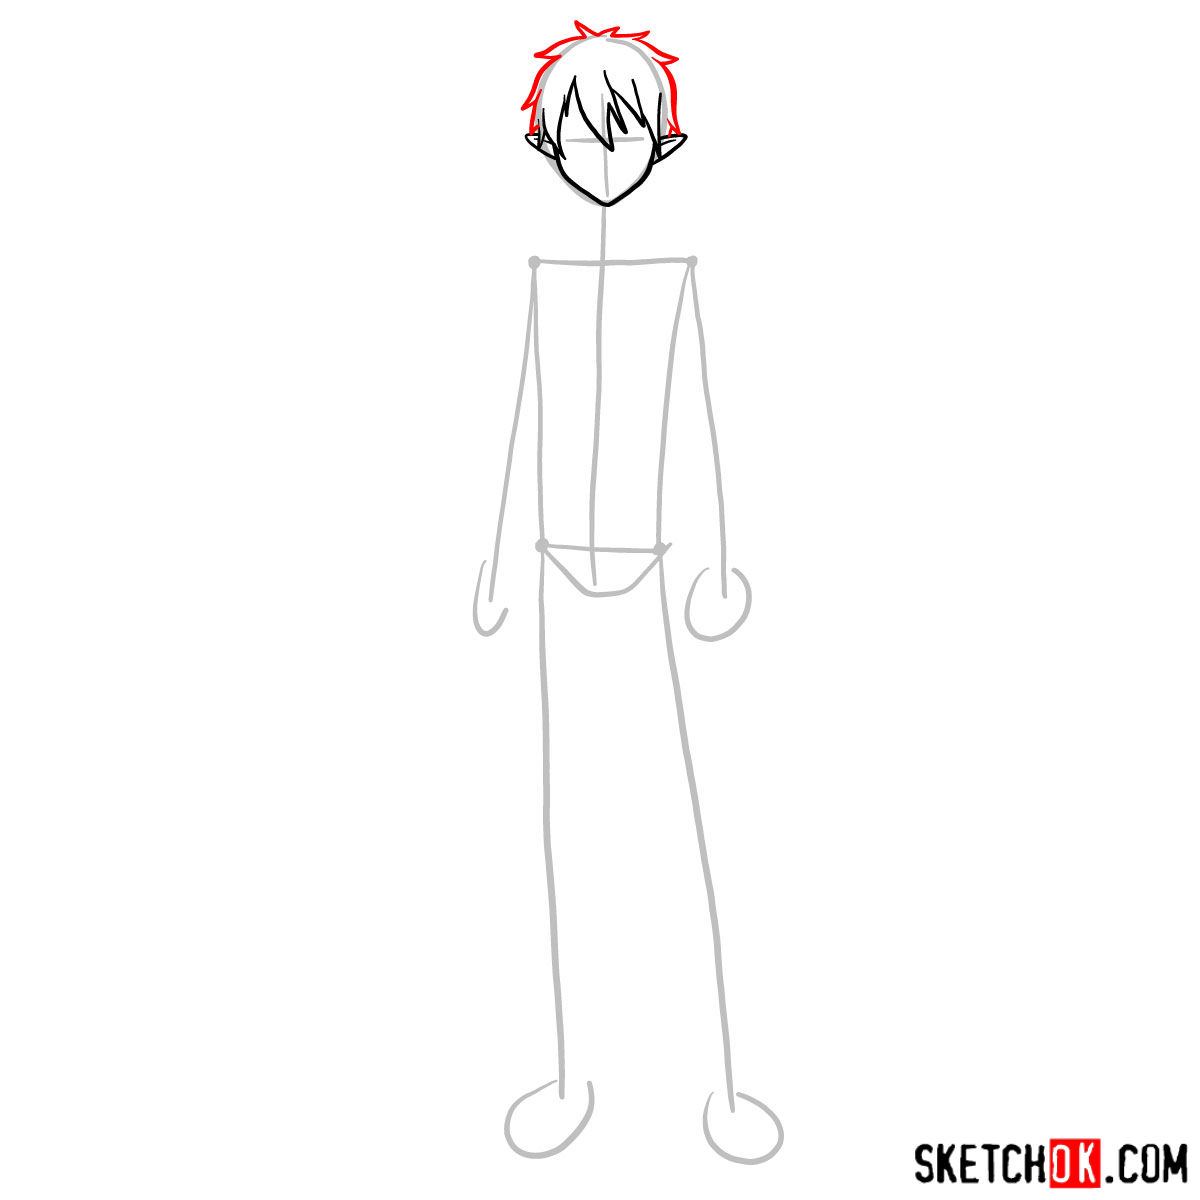
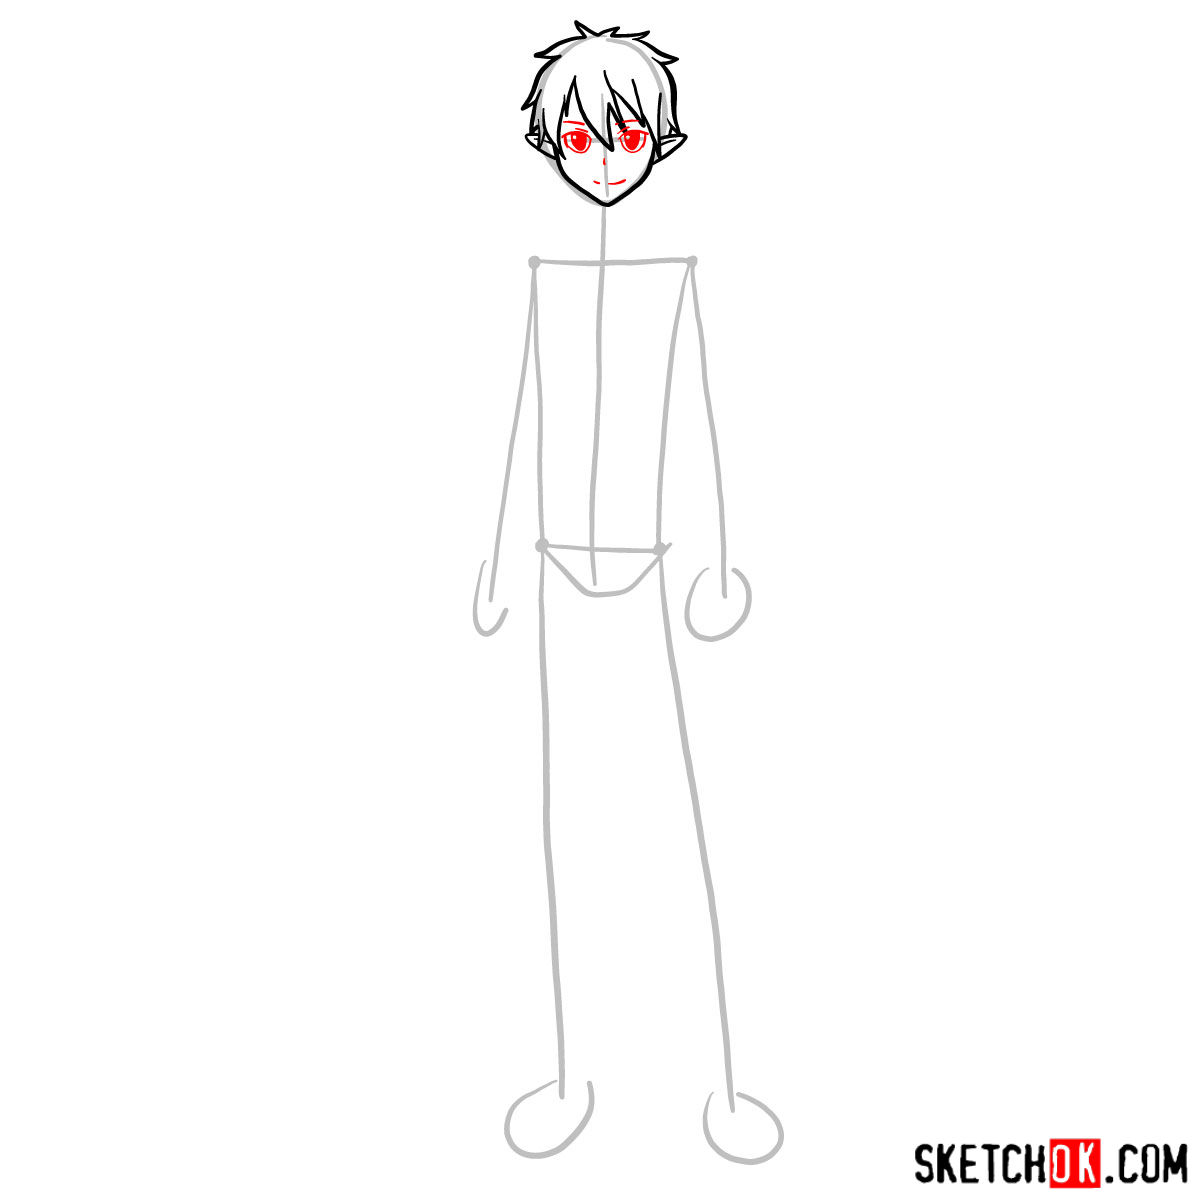
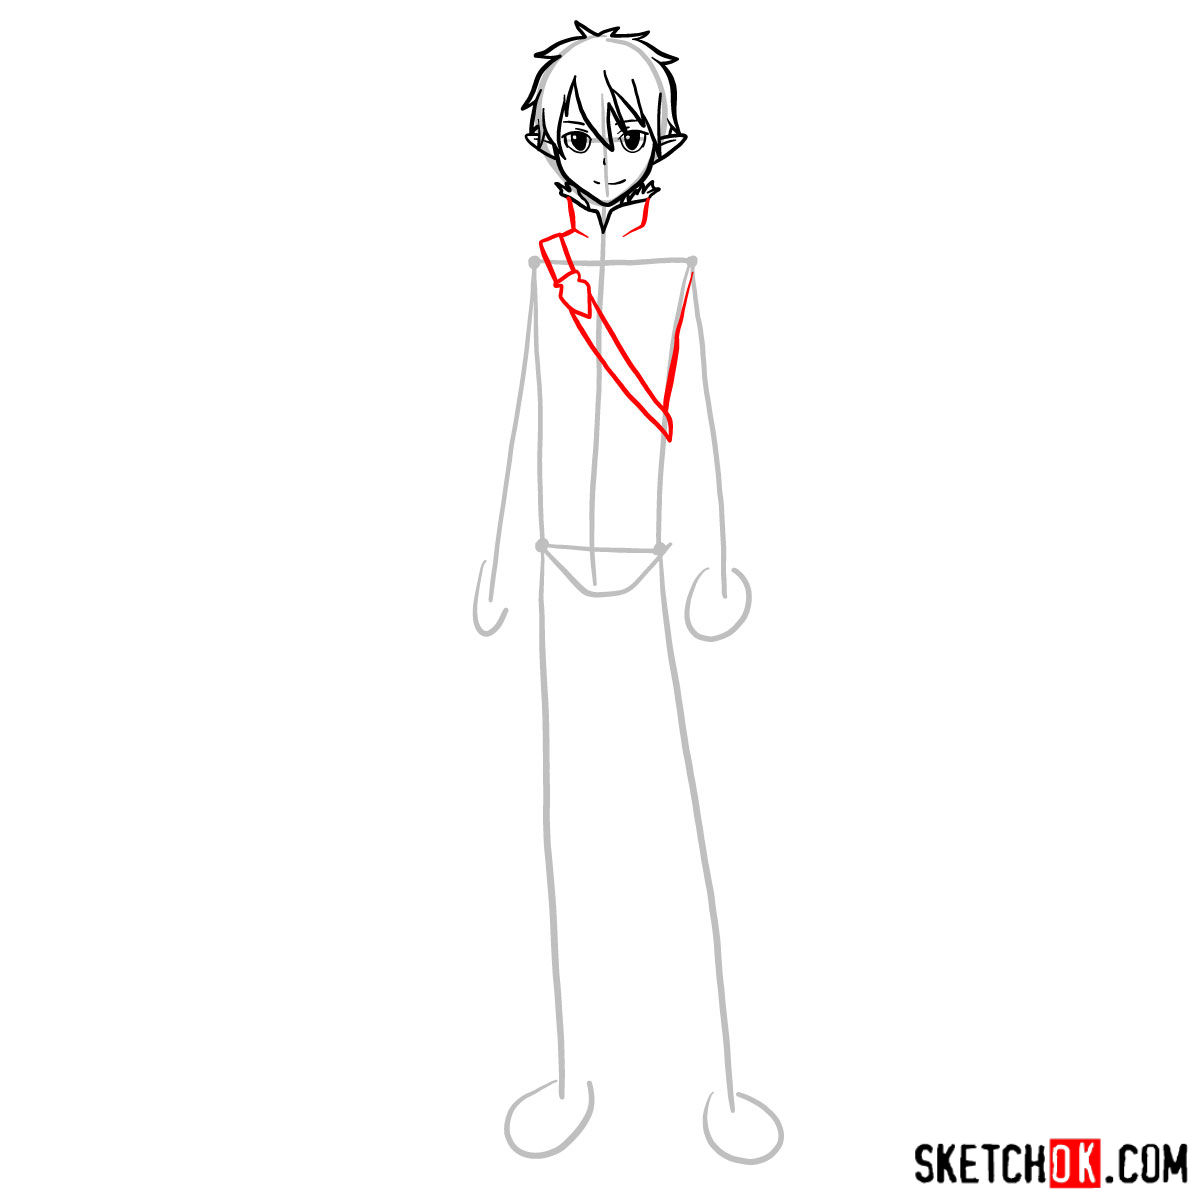
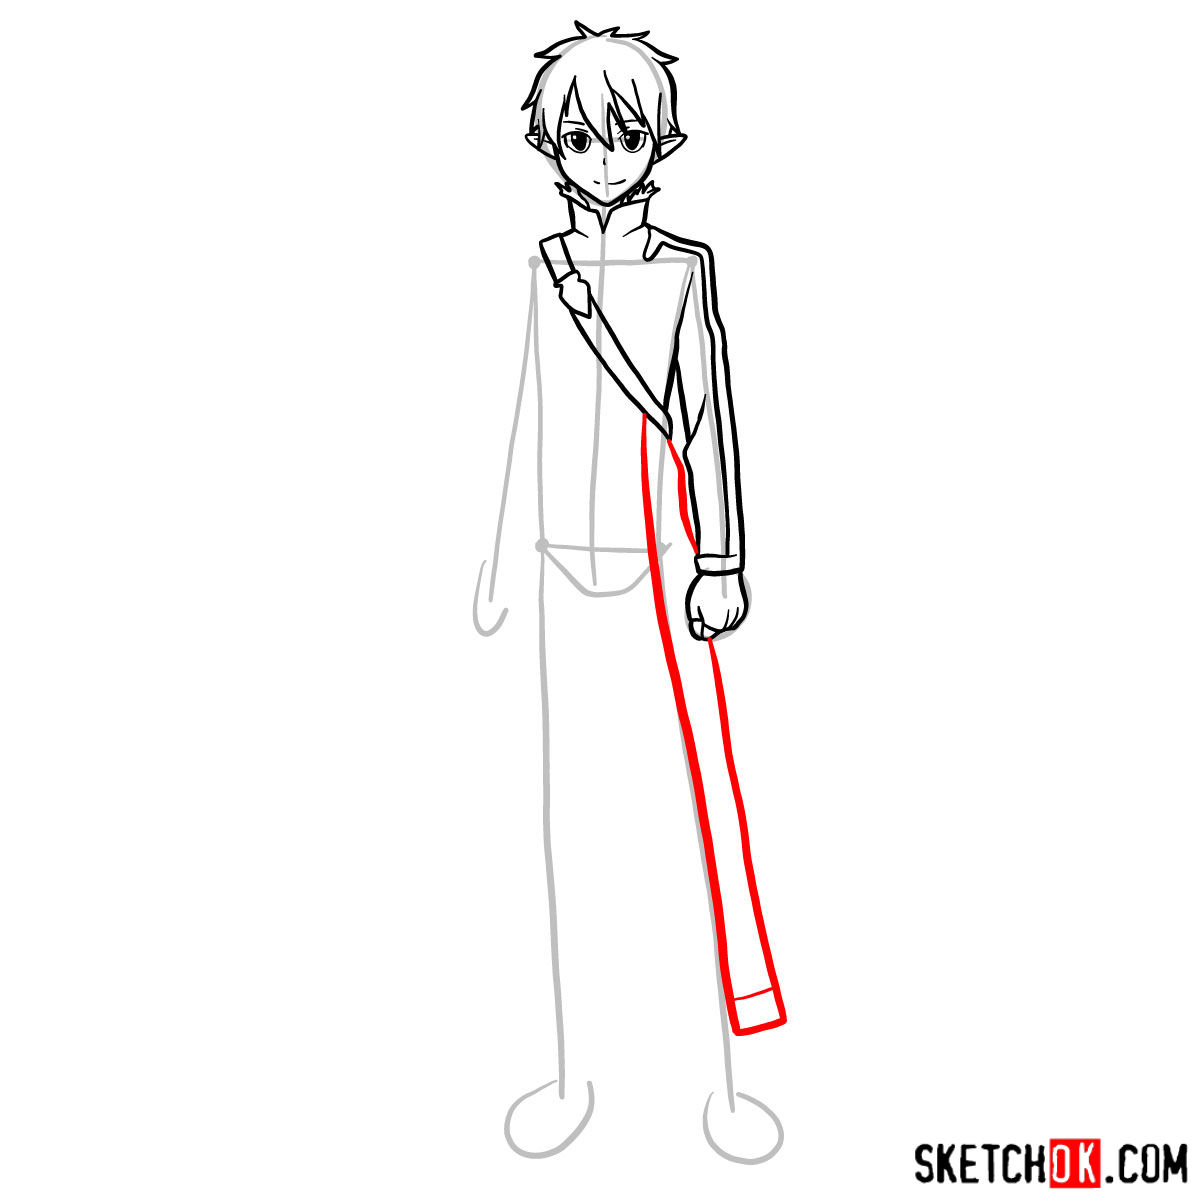
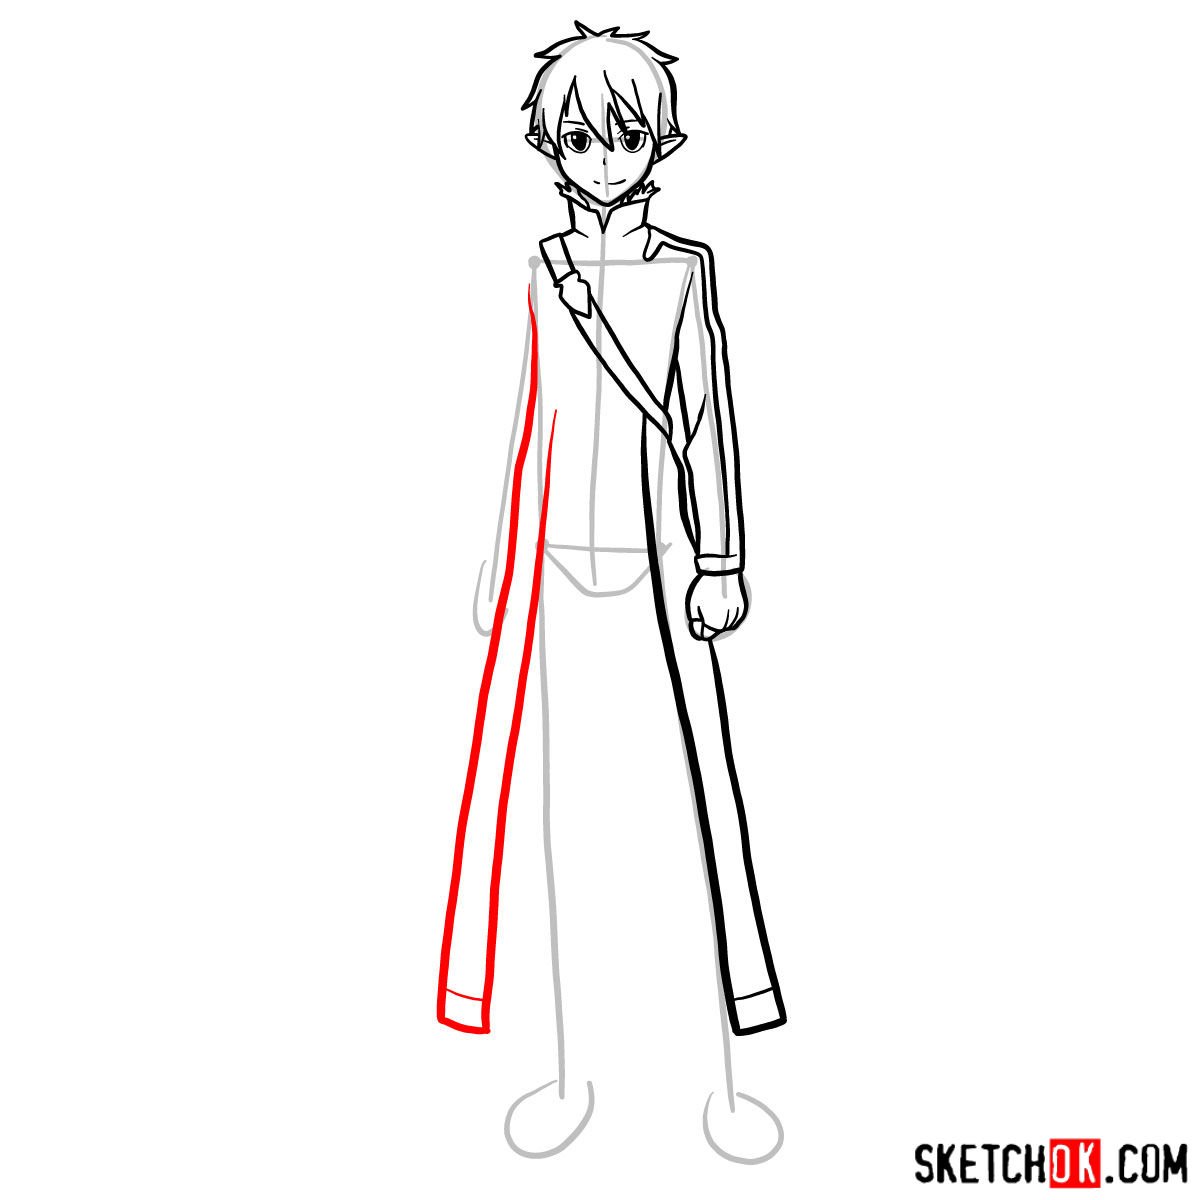
Part 2: Refining the Sketch and Adding Details
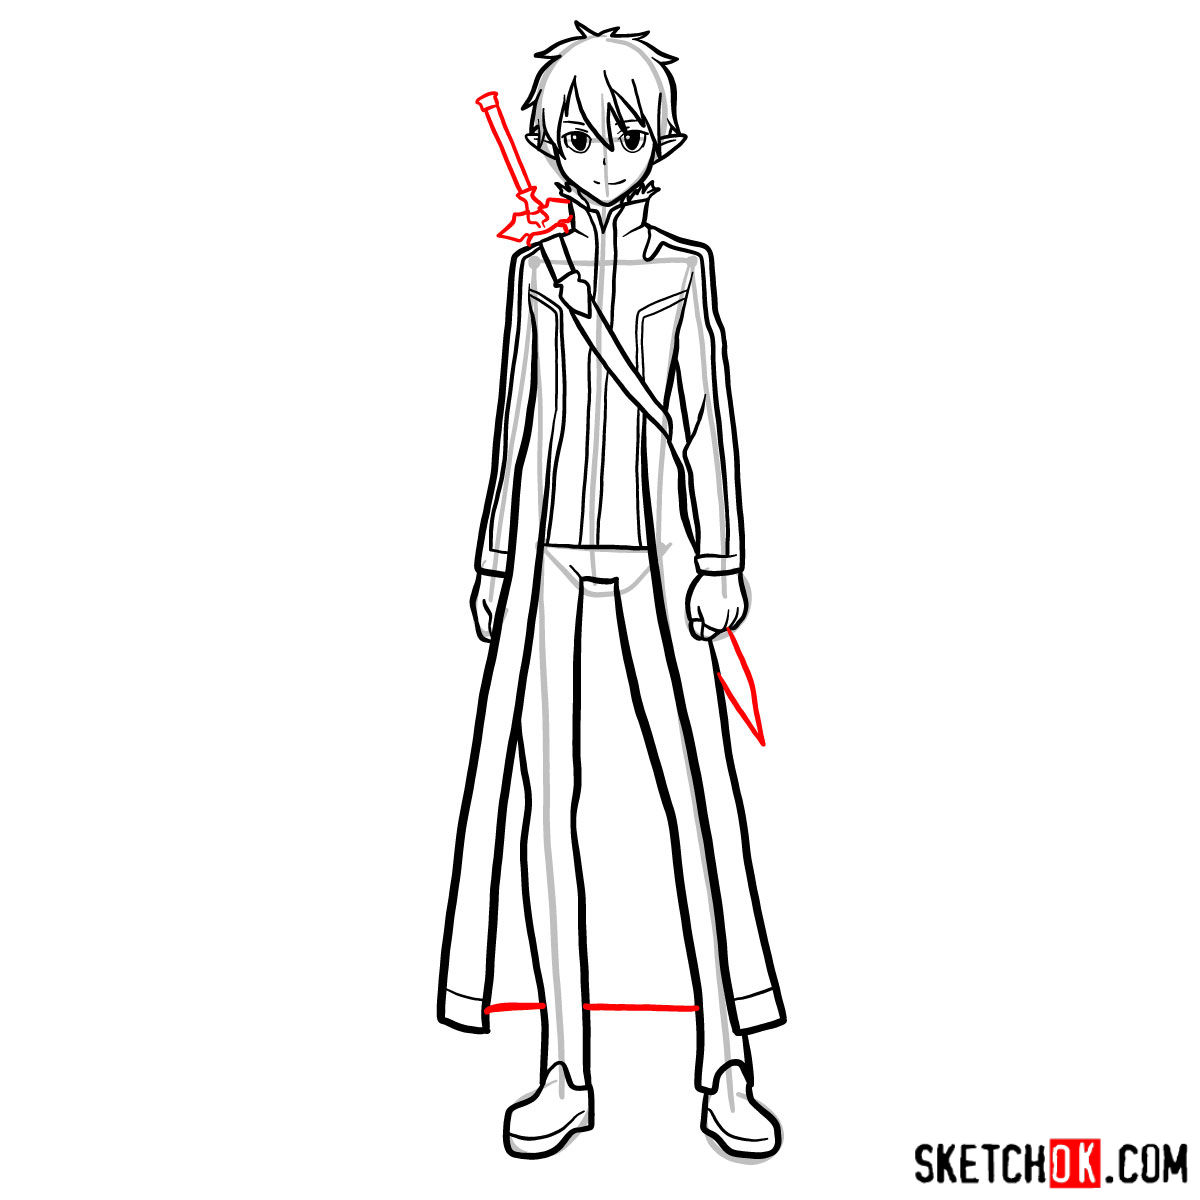
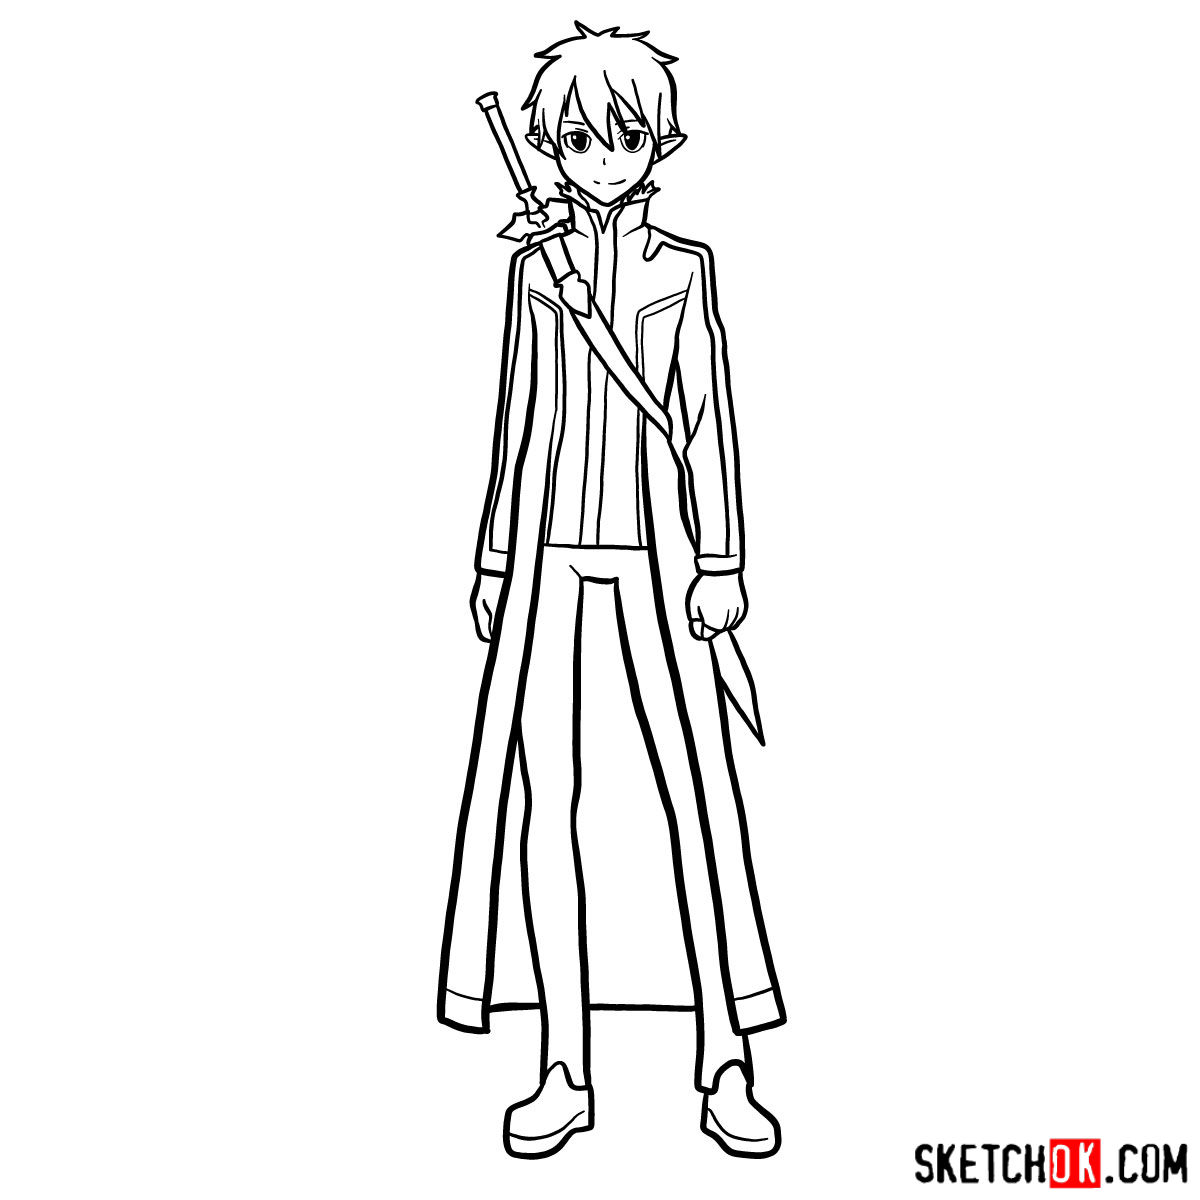
Now that we have the foundation, let’s refine the sketch and add more intricate details to capture Kirito’s essence. Start by developing his facial features, paying attention to his iconic hairstyle, expressive eyes, and determined expression. Move on to sketching his attire, highlighting the distinctive elements of his black clothing and the intricate design of his sword. Take your time to ensure accuracy.


Part 3: Inking and Final Touches
Once you’re satisfied with the refined sketch, it’s time to ink your drawing. Carefully outline the final lines, emphasizing the important features and adding depth to the artwork. You can use a fine liner or inking pen for this stage. Remember to let the ink dry before erasing any remaining pencil marks. Afterward, take a step back and evaluate your work. Make any necessary adjustments or final touches to enhance the overall impact of your drawing.
Part 4: Adding Color and Shading
If you wish to bring your drawing to life with color, this is the stage to unleash your creativity. Select your preferred coloring medium, whether it’s markers, colored pencils, or watercolors, and carefully apply the colors that resonate with Kirito’s appearance. Experiment with shading techniques to add depth and dimension, paying attention to light and shadow. Remember, coloring is optional, and if you prefer a black-and-white illustration, you can focus solely on shading to enhance the overall impact.
")
The easiest way to stay current with new guides is the weekly email digest, and you can sign up right at the top of this page. That way you’ll hear about new tutorials as soon as they go up, whether we cover more Sword Art Online characters or branch into something completely different. If you want to share how your attempt at learning how to draw Kirito turned out, drop it in the comments on the Pinterest post for this guide.