Last Updated on May 14, 2026
Welcome to our step-by-step drawing tutorial on how to draw Asuna, the beloved main heroine of the Sword Art Online series. In this guide, we will walk you through the process of creating a stunning artwork of Asuna, allowing you to unleash your creativity and master the art of drawing. Whether you’re a beginner or an experienced artist, this tutorial will provide you with the knowledge and techniques to bring your favorite character to life on paper.
Appearance, Story, and Relationship of the Character
Asuna, whose full name is Yuuki Asuna, is a central character in the Sword Art Online series. She plays various roles throughout the different arcs of the story and captures the hearts of fans worldwide. In the Aincrad Arc, she is the deuteragonist, while in the Mother’s Rosario side story, she takes on the role of the protagonist. Asuna is known for her skills with the rapier and her lightning-fast speed, earning her the nickname “The Flash.”
Initially trapped in the virtual reality game Sword Art Online, Asuna became a sub-leader of the renowned “Knights of the Blood” guild. After the game was cleared, she transitioned her avatar to ALfheim Online, where she played as an Undine. Despite being a healer, Asuna’s fierce determination led to her being called the “Berserk Healer” due to her tendency to charge into battle with her rapier.
Throughout the series, Asuna’s character undergoes significant development, and her relationships with other characters, particularly with the protagonist Kirito, are explored and cherished. Her captivating appearance, dynamic personality, and unwavering courage make her a favorite among fans and an excellent subject for a drawing tutorial.
Materials and Tools
Before we begin, let’s gather the materials and tools you’ll need to create your masterpiece:
- A set of drawing pencils
- A sharpener and eraser
- drawing paper or sketchbook
- Fineliner pens or markers
- A selection of colored pencils or markers
Note that these are recommended tools, but feel free to use any materials you’re comfortable with. The most important thing is to have fun and express your creativity!
Step-by-Step Drawing Guide
Now, let’s dive into the step-by-step process of drawing Asuna. Follow along and refer to the corresponding images to ensure accuracy.
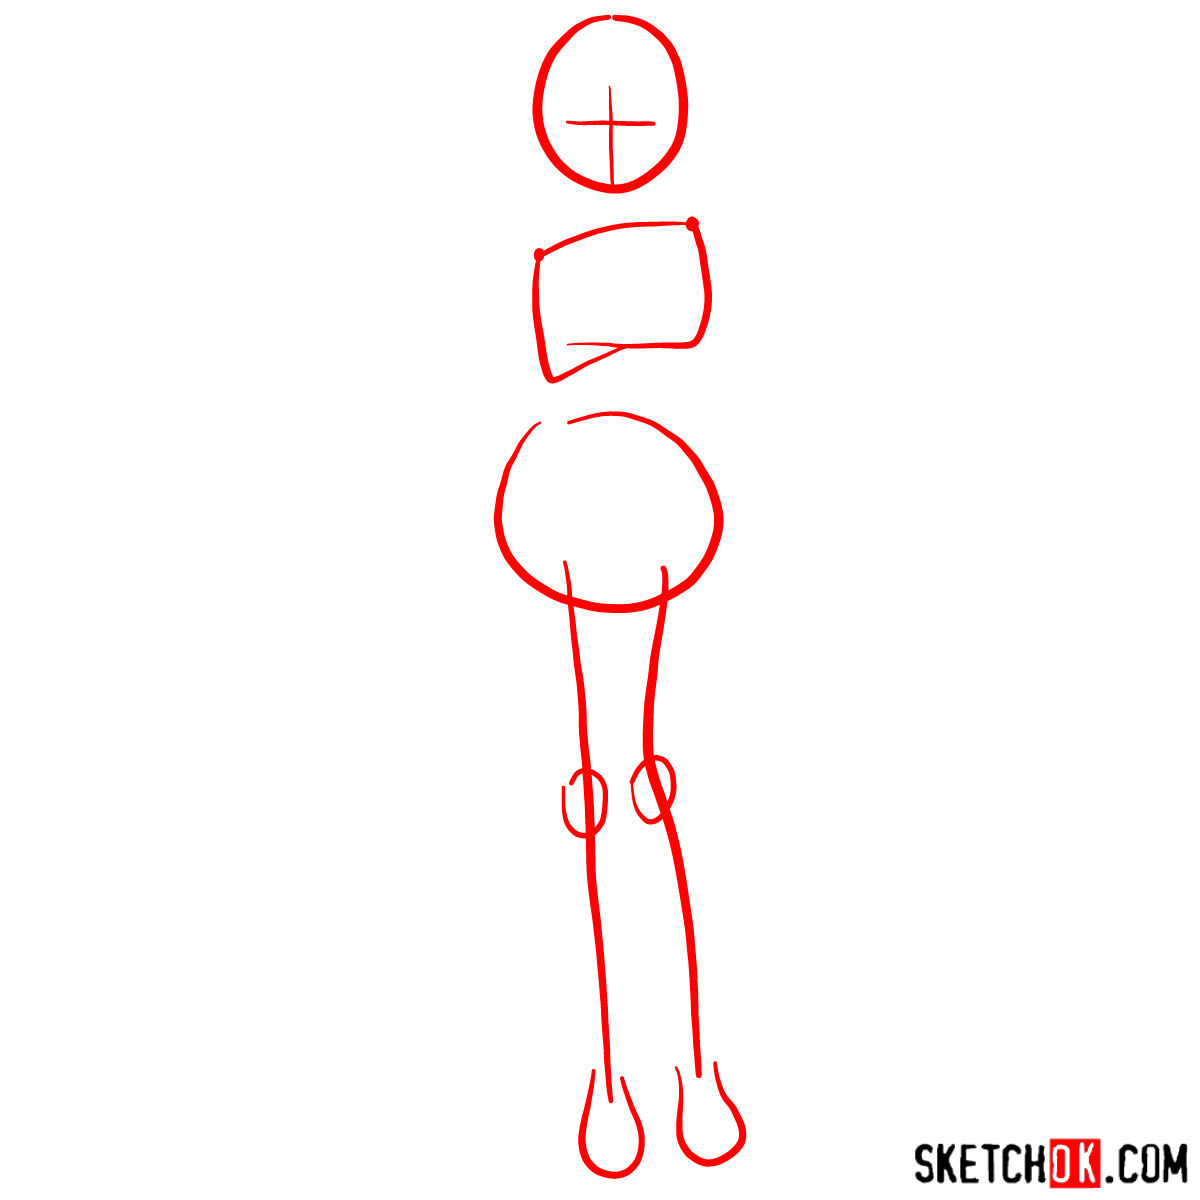
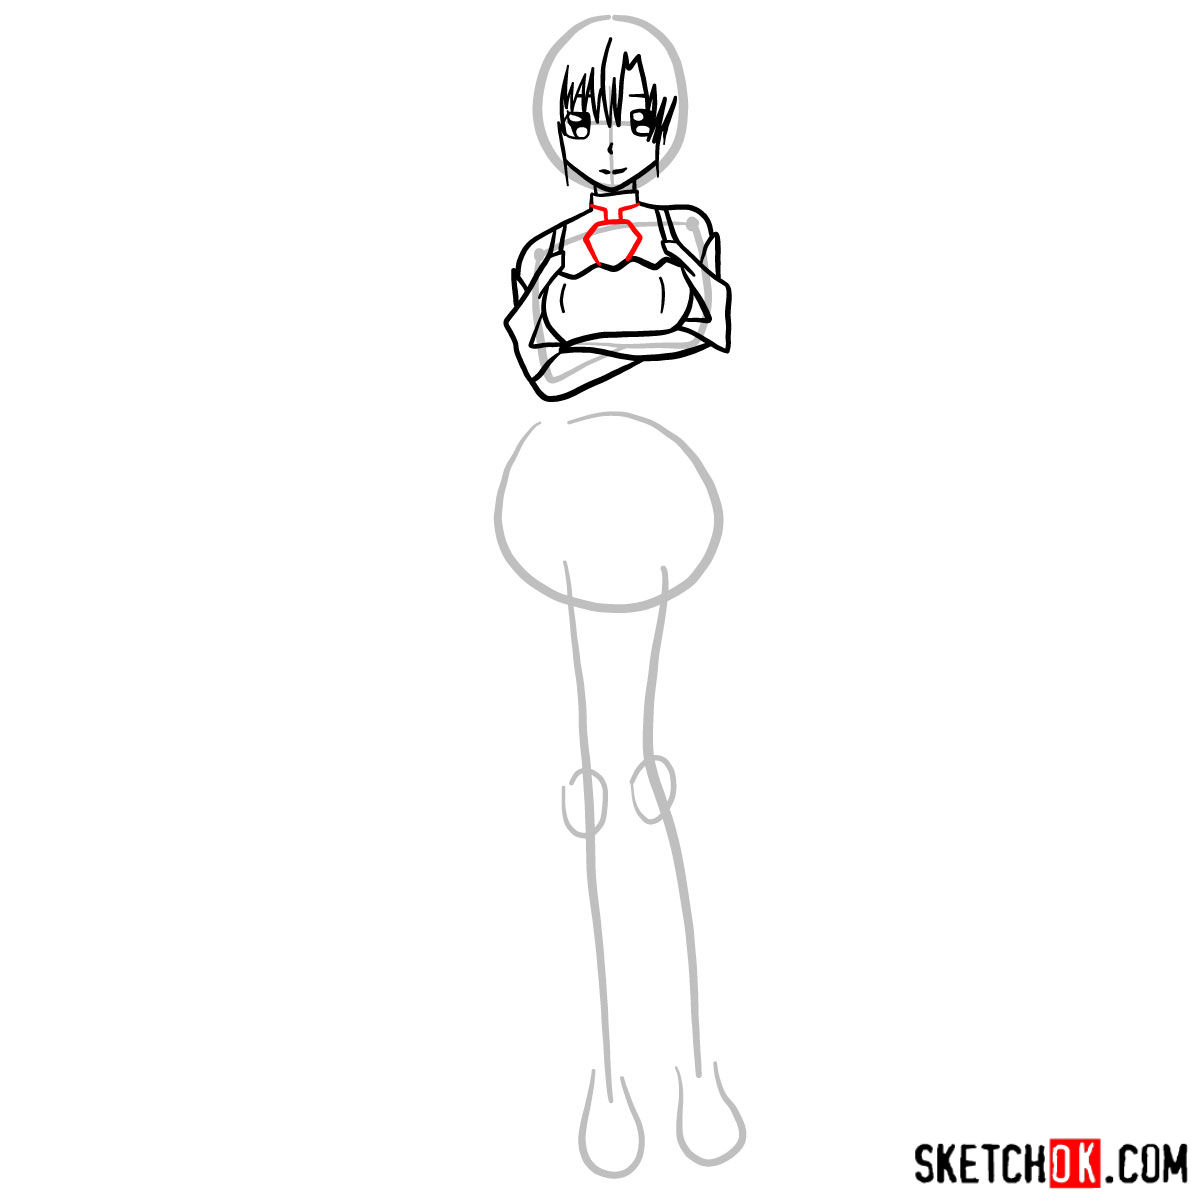
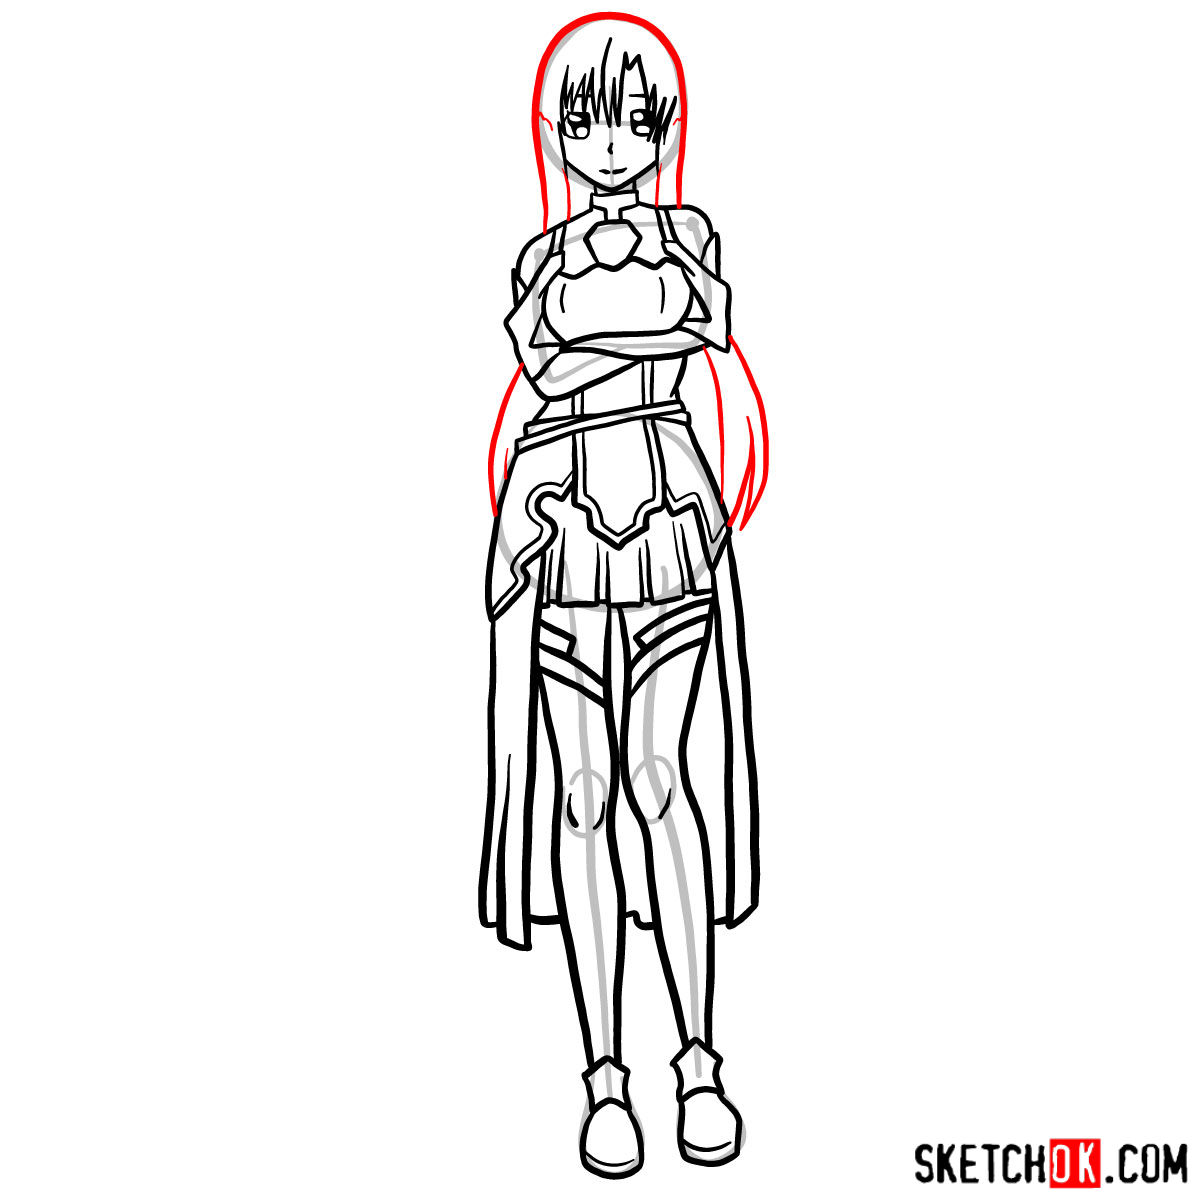
Part 1: Basic Sketch
Begin by creating the basic structure of the sketch. Use light pencil strokes to outline the proportions and overall shape of Asuna. The red color in the images represents the current drawing step, while the grey color indicates the basic proportions sketch, and the black color shows the finished steps. Pay close attention to capturing Asuna’s graceful pose and the unique features that define her character.
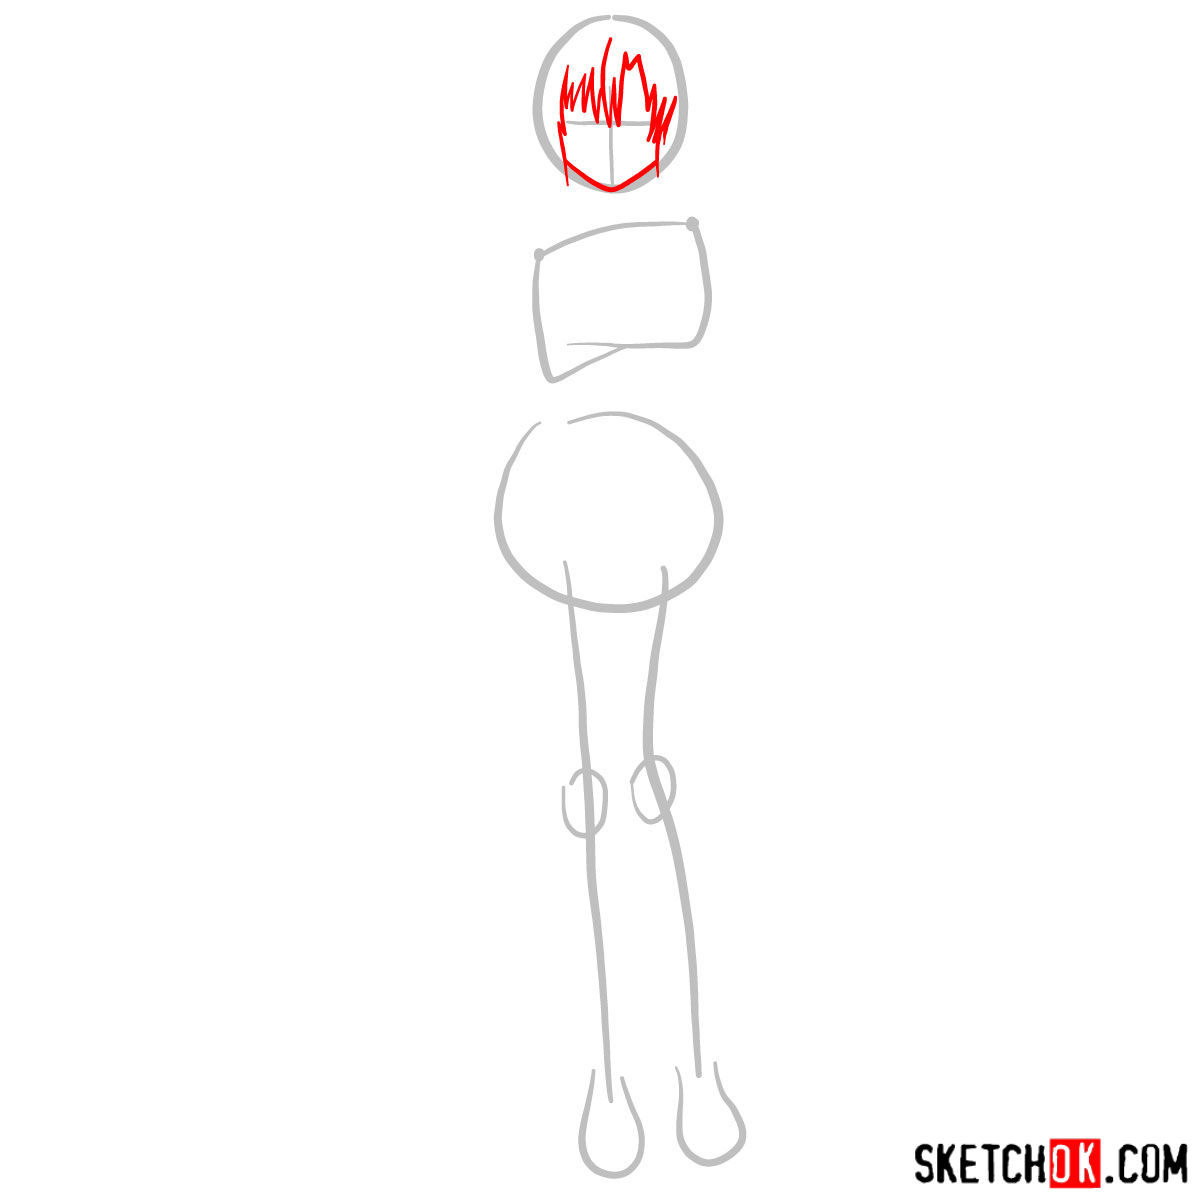
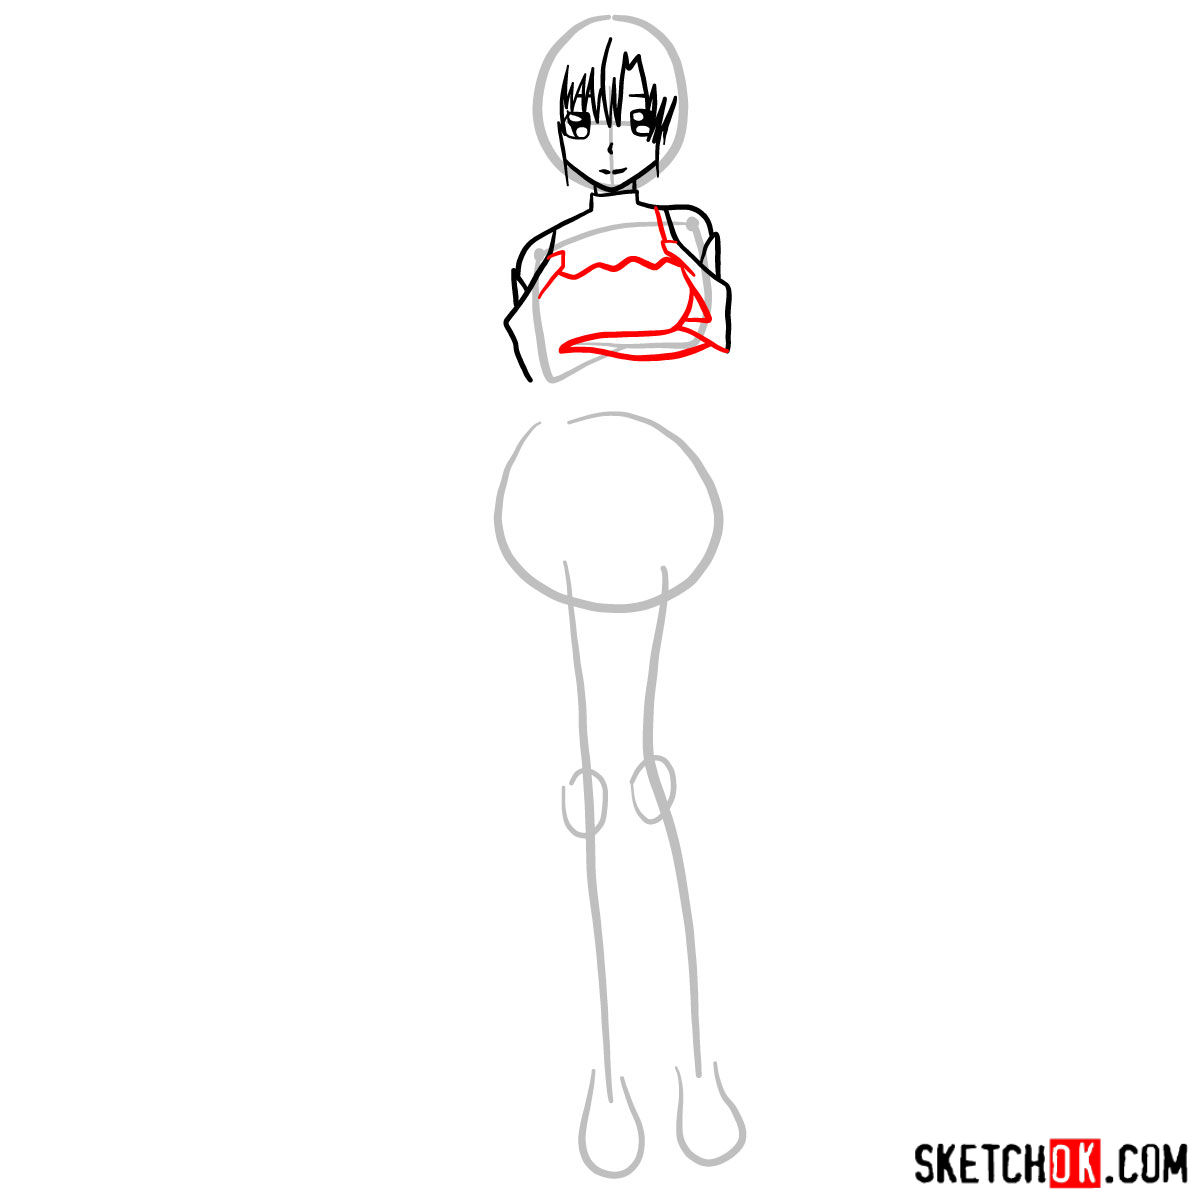
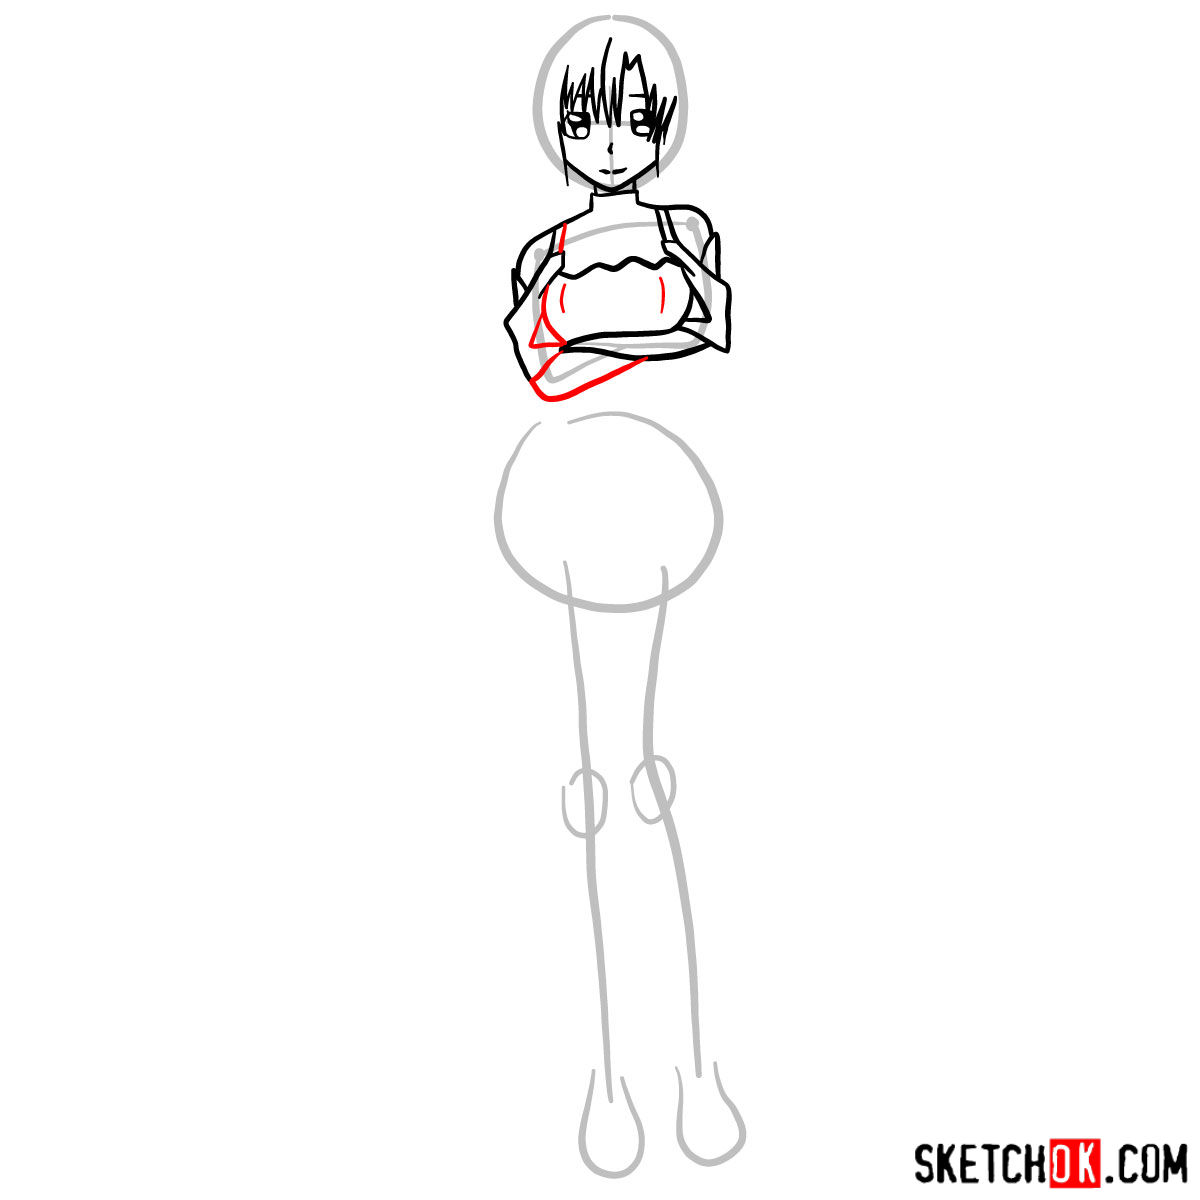
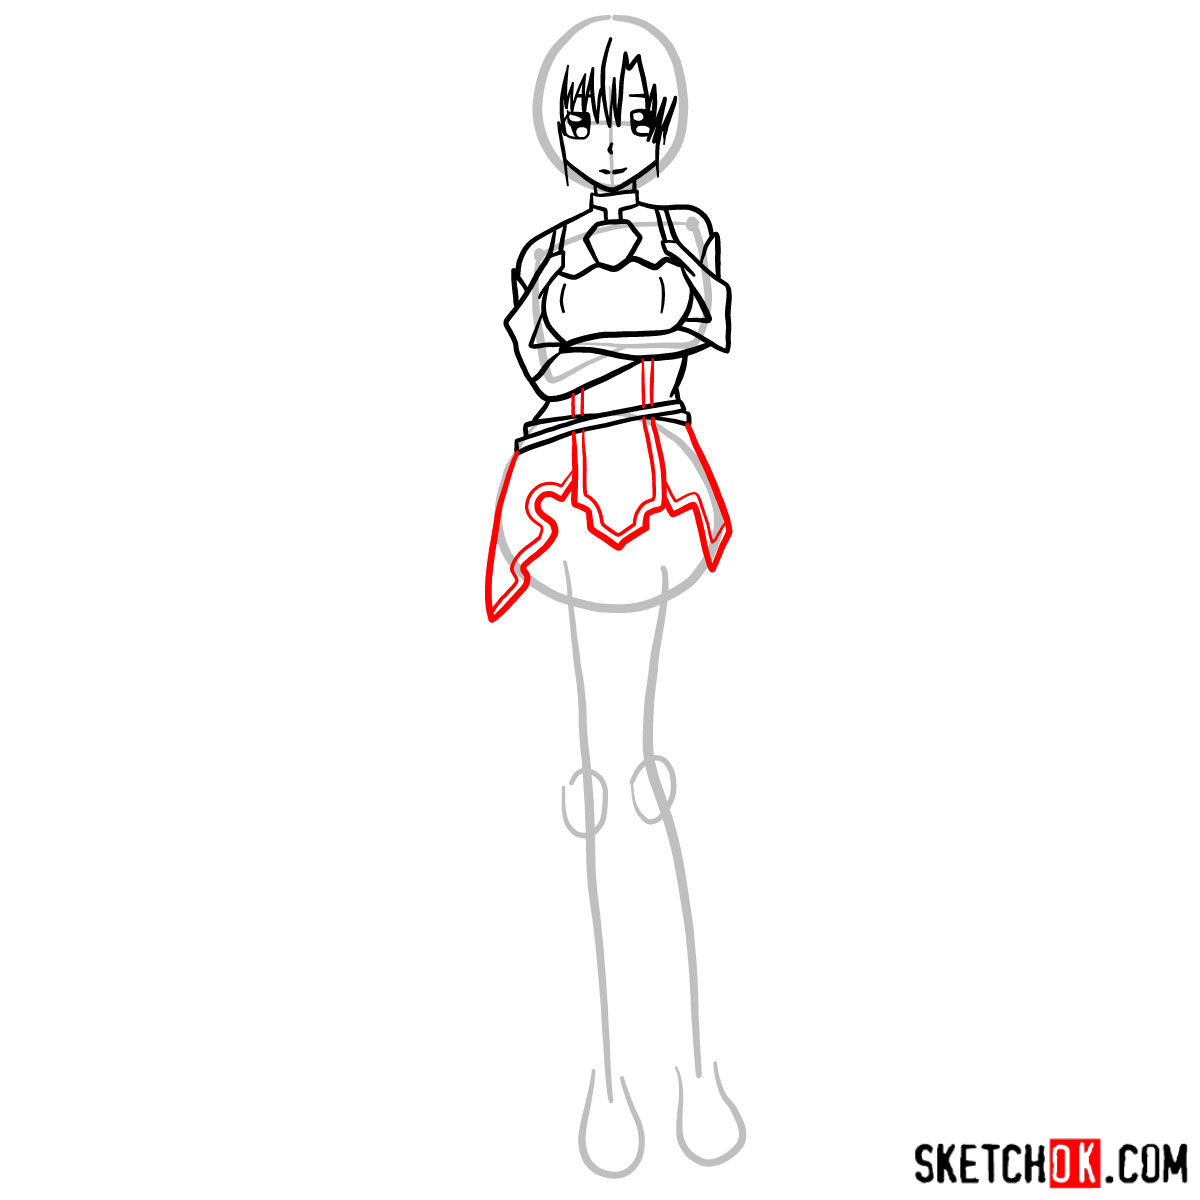
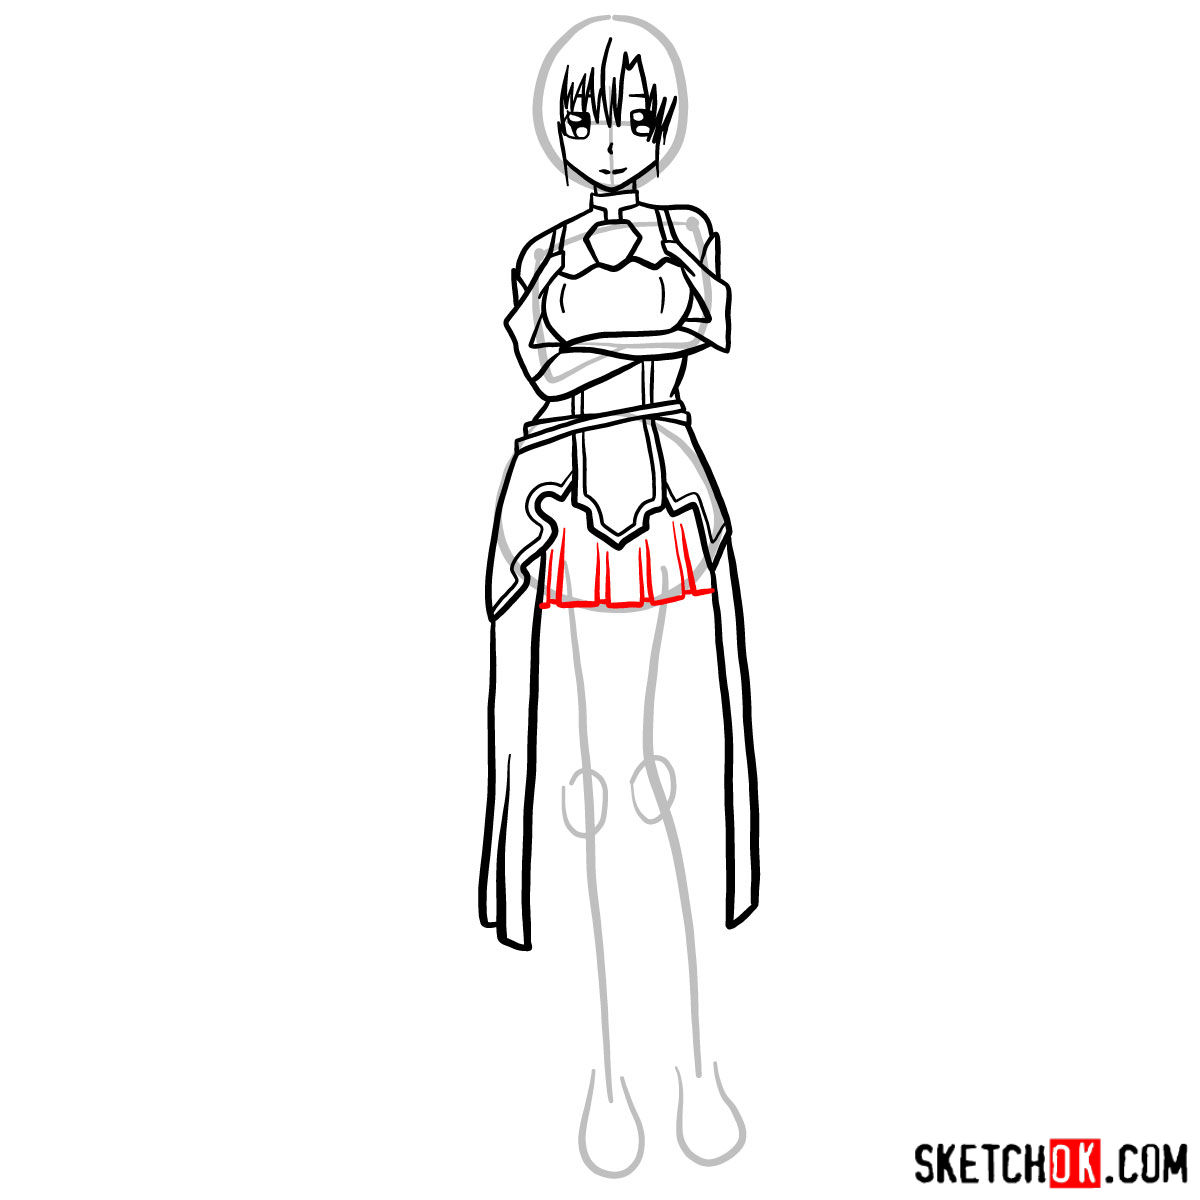
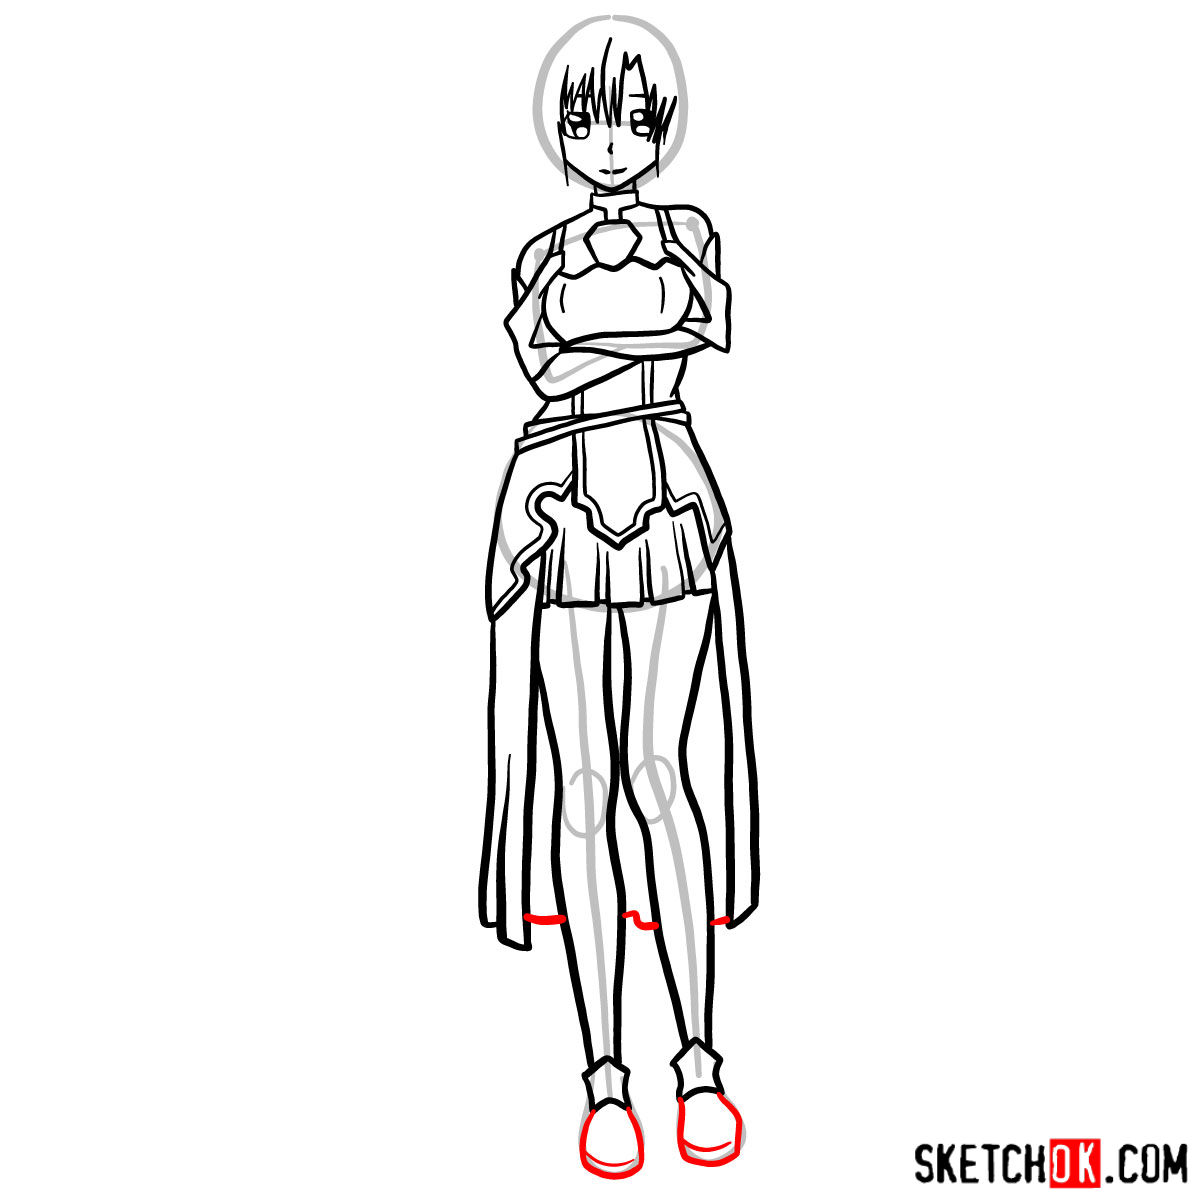
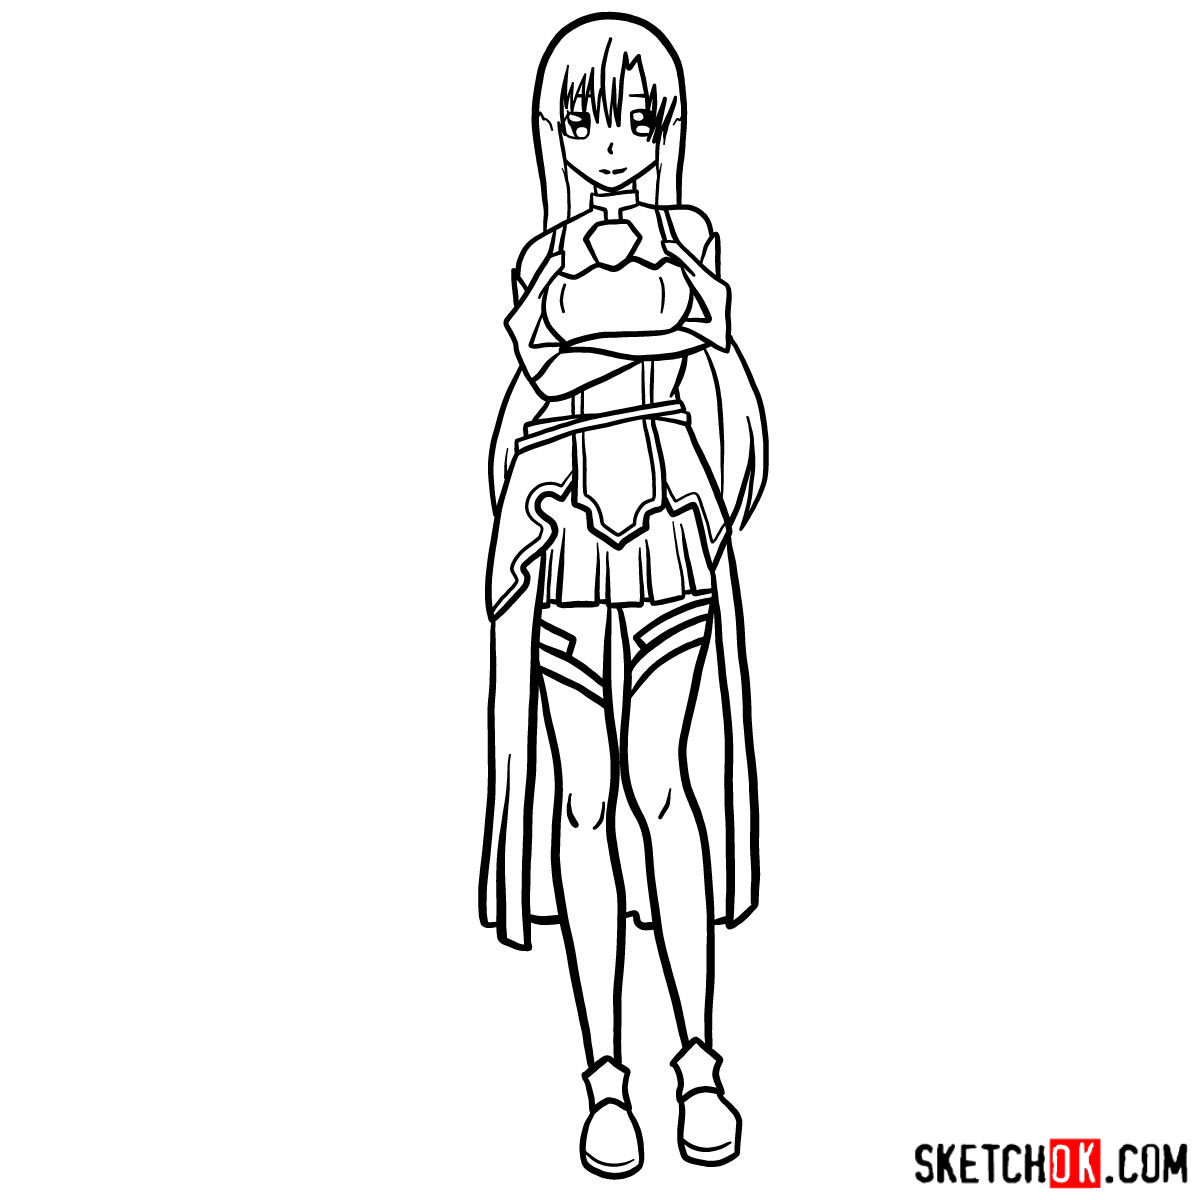
Part 2: Refining the Sketch
Once you have the basic sketch in place, it’s time to refine the details and improve the proportions. Add more definition to Asuna’s facial features, hair, and clothing, ensuring they match her iconic appearance. Use darker pencil strokes to emphasize the outlines and critical elements of the artwork. Remember to maintain the balance between accuracy and your artistic interpretation.


Part 3: Inking
Now that you have a refined sketch, it’s time to ink your drawing. Carefully trace over the finalized lines using fineliner pens or markers. Pay attention to the thickness and weight of the lines to create depth and dimension. Once the ink is dry, erase any remaining pencil marks to reveal your clean and crisp Asuna artwork. Don’t forget to add final touches and refine any areas that need extra attention.
Part 4: Coloring and Shading
To breathe life into your drawing, it’s time to add color, shading, and highlights. Choose a color palette that matches Asuna’s appearance and mood. Start by applying base colors to different elements of the artwork, gradually building up the layers and textures. Use shading techniques such as hatching, cross-hatching, or blending to create depth and three-dimensionality. Add highlights to make certain areas pop and create a sense of realism. Experiment with different coloring and shading techniques to achieve the desired effect.

Working through all the steps to learn how to draw Yuuki Asuna can feel a little tricky at first, especially getting her proportions and that signature hair right, but a lot of those shapes tend to click much better on a second pass. Don’t be discouraged if your first attempt isn’t quite where you want it, just go again with fresh eyes and you’ll notice the difference. If you want a steady stream of new guides like this one, there’s an email signup form at the top of the page where you can get a weekly batch of fresh tutorials sent straight to you.